The Ultimate Guide to The Twilight Forest
“`html
The Ultimate Guide to The Twilight Forest
Welcome to the complete guide to the Twilight Forest mod for Minecraft! Whether you’re a beginner just starting your adventure or an experienced player looking to master every boss, this guide will walk you through every step with clear, actionable instructions. We’ll cover everything from creating your first portal to defeating the final boss and all the incredible bosses and challenges in between.
Getting Started: Creating Your Portal
The first step to entering the Twilight Forest is surprisingly simple. To create a portal, you’ll need to construct a 2×2 pool of water and surround it completely with flowers. Any type of flower works, so feel free to use daisies or any other variety you have available.
Once your flowers are in place around the water, take a diamond and throw it into the pool. You’ll see lightning strike the water, confirming that the portal has been activated. You can now jump into the portal to enter the Twilight Forest. Don’t worry about getting back—a return portal will automatically be created on the other side.
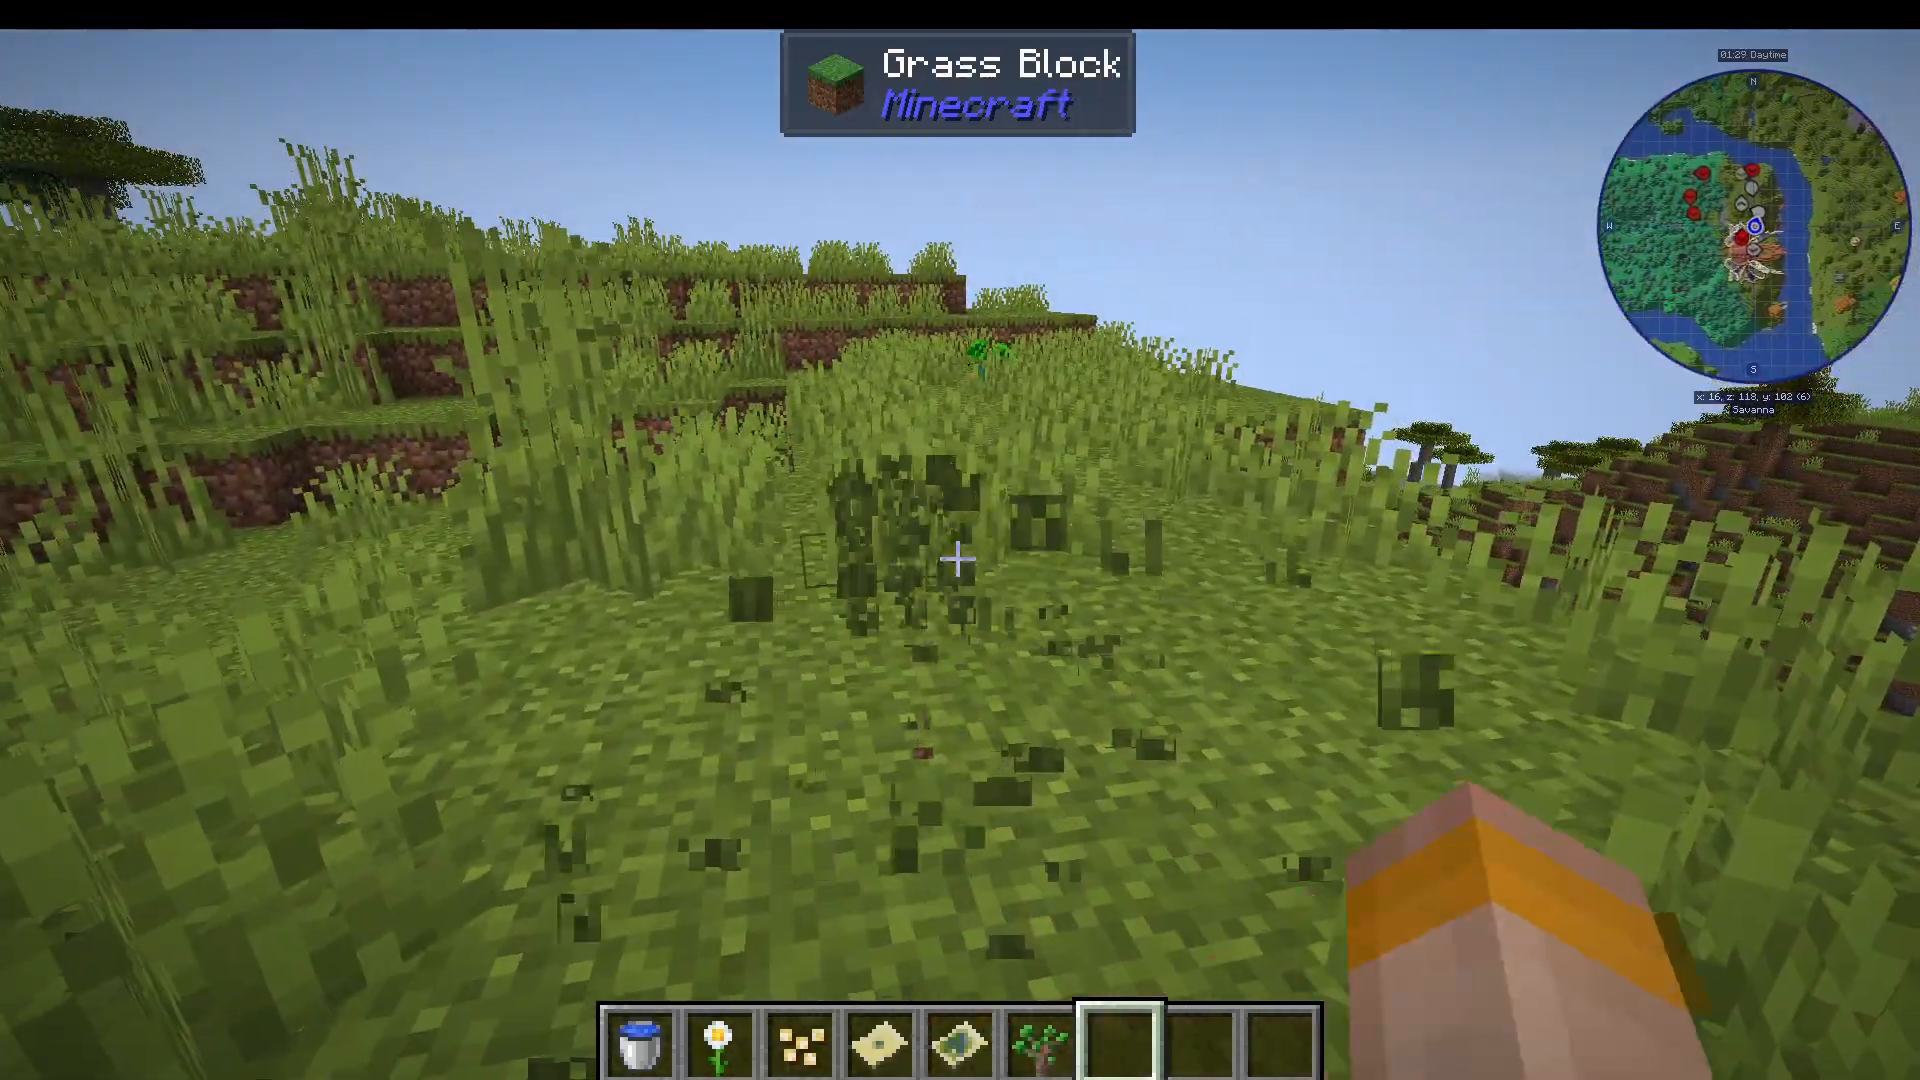
The Magic Map: Your Essential Tool
Your first priority upon entering the Twilight Forest should be crafting a magic map. This map is crucial for navigating the mod’s boss progression system, as the bosses must be defeated in a specific order.
Crafting Your Magic Map
To make a magic map, you’ll first need to craft a magic map focus, which requires:
Glowstone dust
Torch berries
Raven feather
To find raven feathers, explore until you locate obsidian pillars—ravens spawn near these structures. Kill the ravens to collect their feathers. Torch berries can be found in underground cave networks throughout the forest. Combine these ingredients with paper to create your blank magic map.
As you explore, your magic map will automatically fill in, revealing boss locations marked by special icons: the Naga, the Lich, the Minotaur, the Hydra, and more.
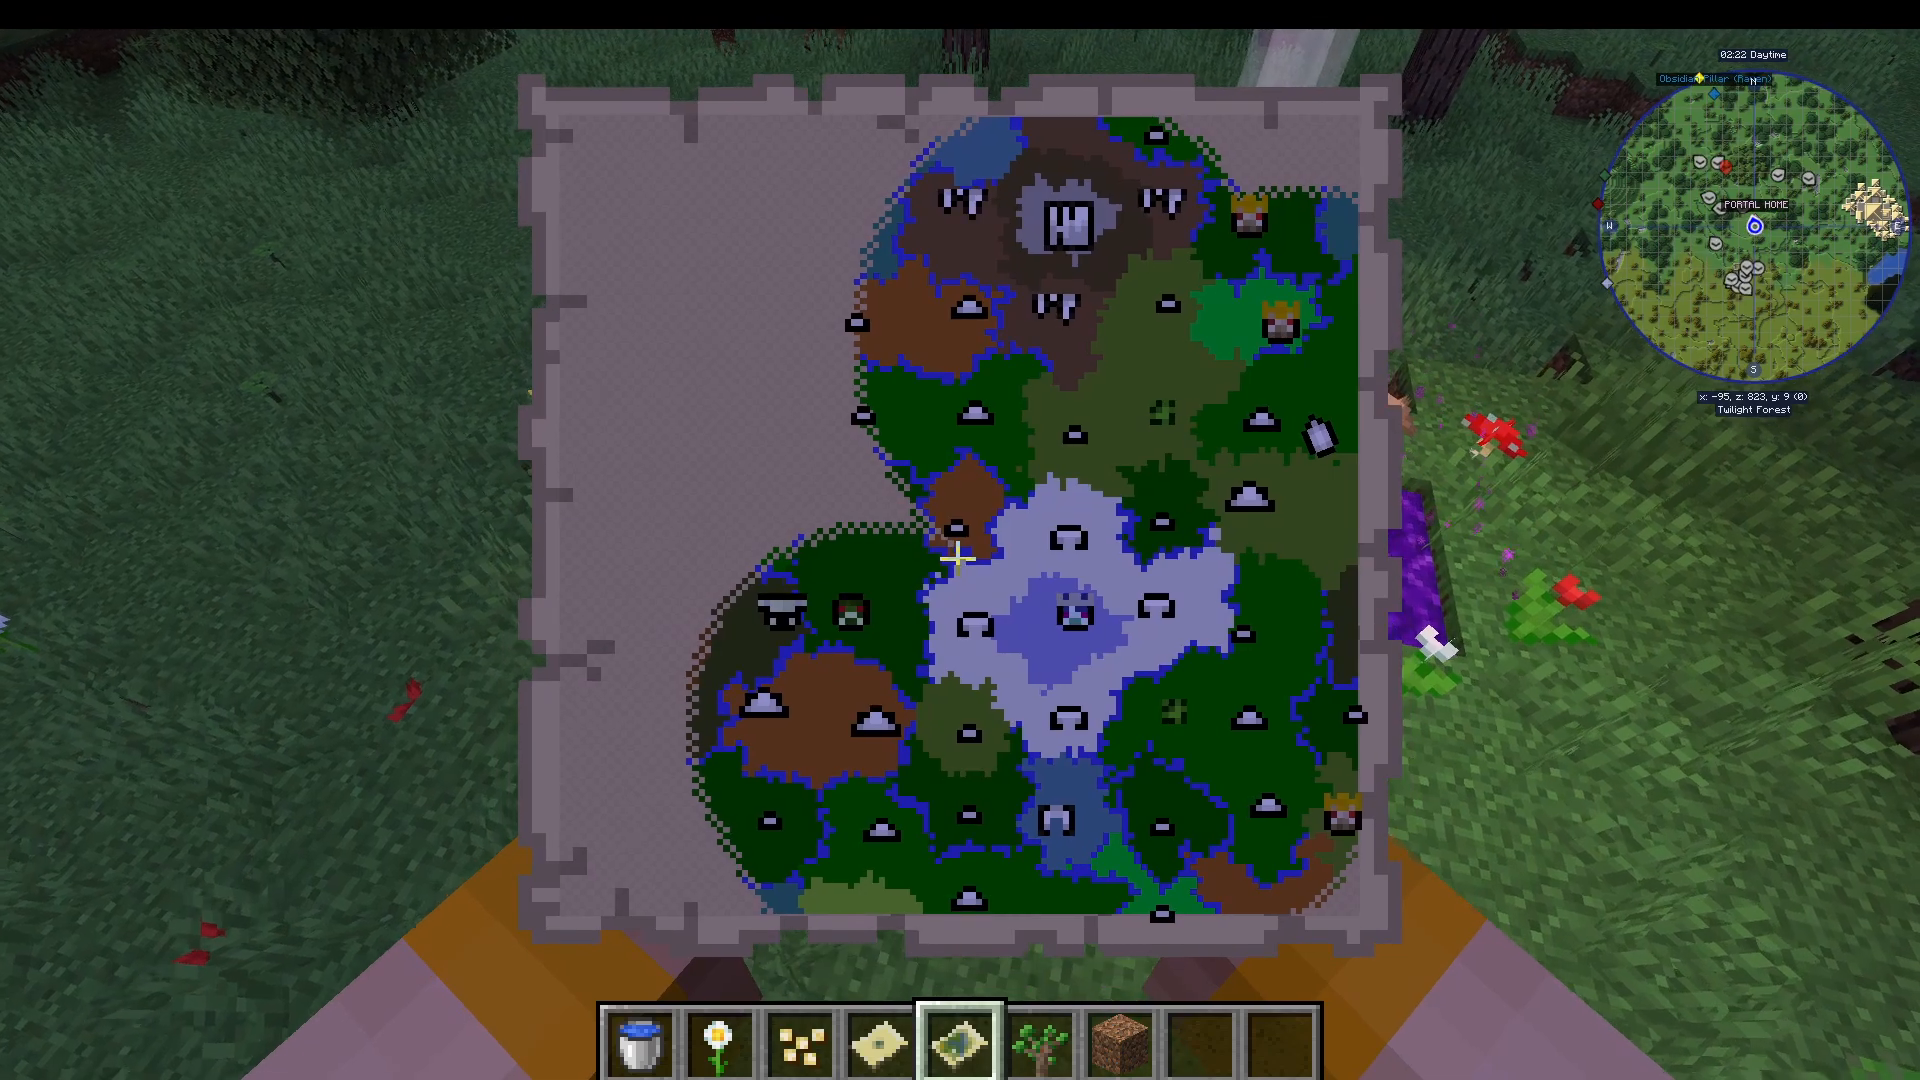
Exploring the Twilight Forest
While you’re gathering materials for your magic map, take time to explore and familiarize yourself with the landscape. You’ll encounter friendly mobs like deer and discover fascinating structures such as:
Cicada trees: Small trees that double as light sources and can be taken home
Giant obsidian trees: Massive natural formations
Ore mounds: Excellent sources of raw ore deposits—be careful of spawners and hostile mobs inside
Boss Progression: The Campaign
The Twilight Forest features a tiered boss progression system. Each boss must be defeated in order to unlock access to the next area. Here’s the sequence you’ll follow:
Boss 1: The Naga
The Naga is your first boss and serves as an introduction to the mod’s combat mechanics. Locate it on your magic map and head to its courtyard—a structure reminiscent of the classic Snake game.
Fighting the Naga
Equip yourself with Netherite gear or better modded equipment—Diamond gear with enchantments also works. The Naga attacks by lunging at you with its long body. Use a shield to block attacks and aim for the head when possible. The blocks on the end of its body will break off as you deal damage, making the fight progressively easier.
Focus on hitting its head for optimal damage. A basic Netherite sword without enchantments is sufficient to defeat this boss. Stay mobile and use your shield effectively.
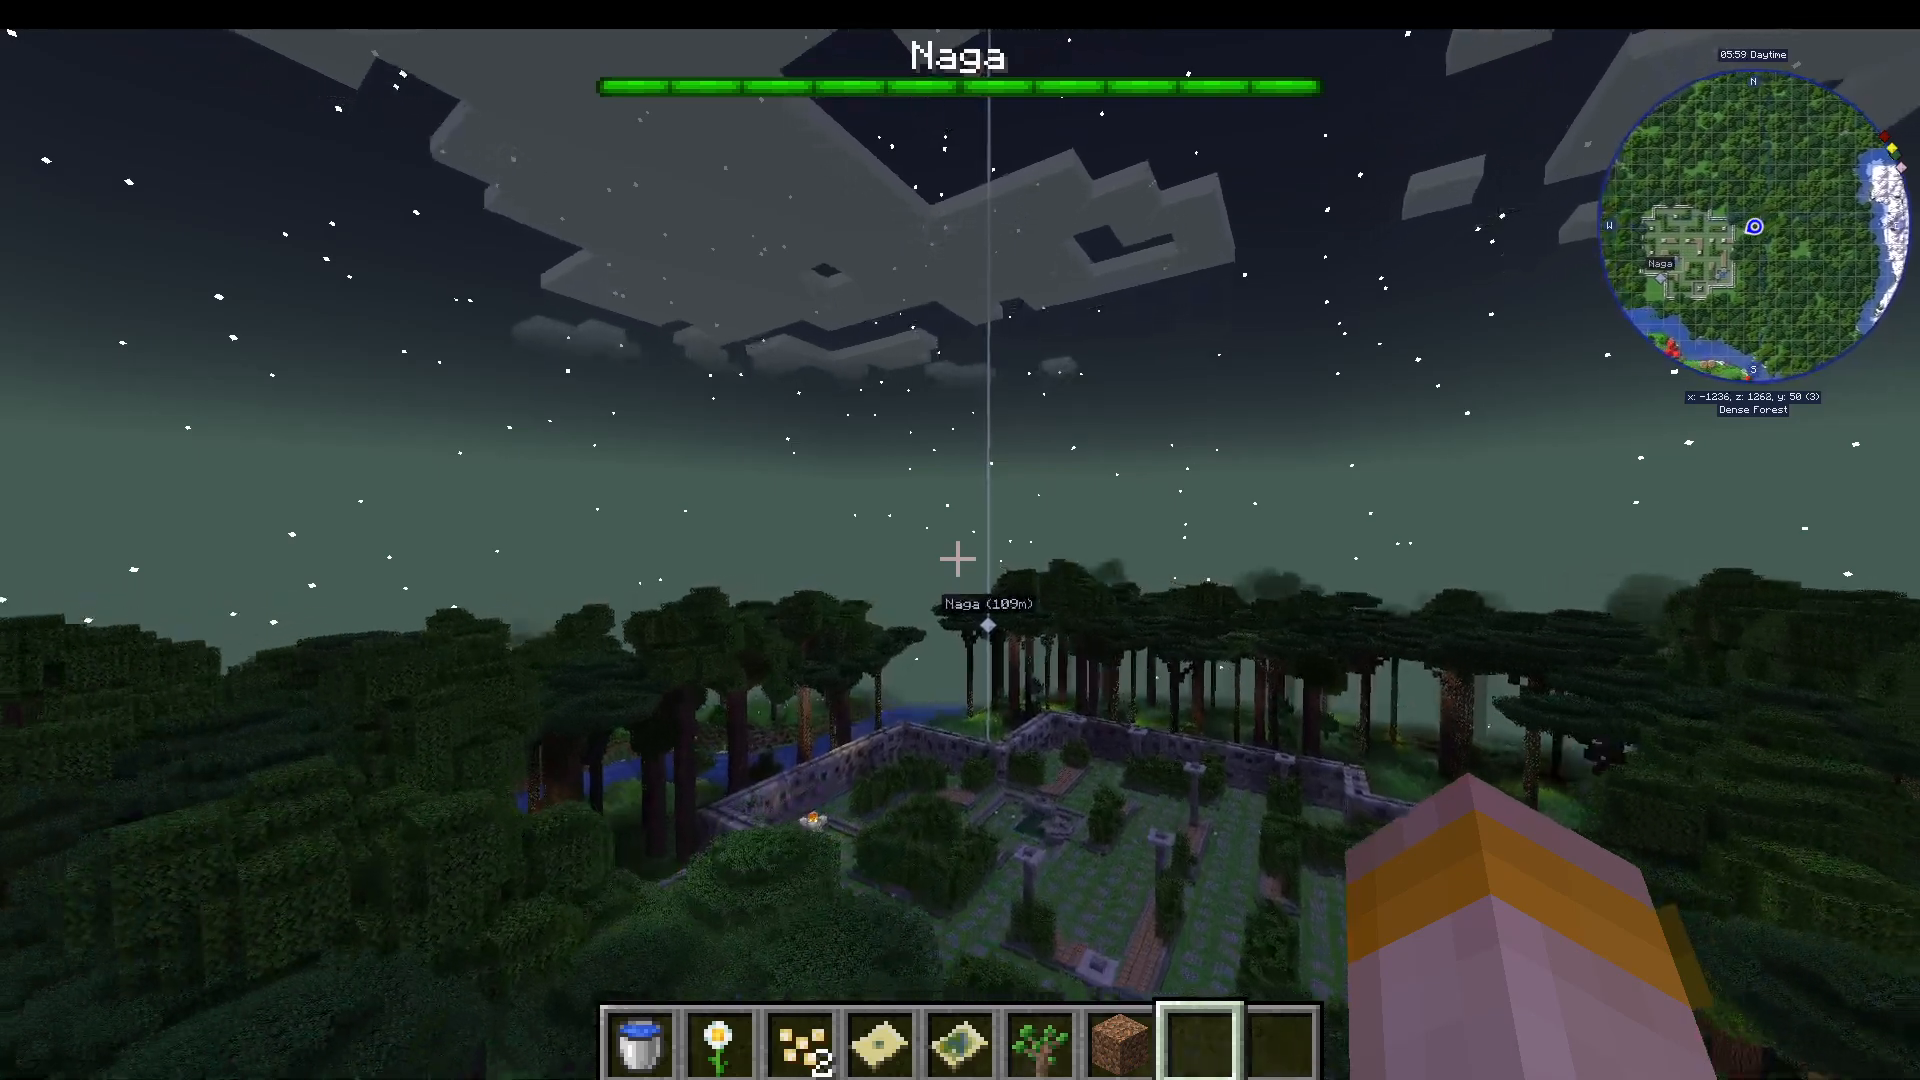
Naga Loot
After defeating the Naga, collect the items from the chest in the courtyard:
Naga scales: Craft into Naga scale leggings (Protection III) and Naga scale tunic (Fire Protection III)
Naga trophy: Required for unlocking the next boss areas
You may need to defeat multiple Nagas to gather enough scales for all armor pieces.
Boss 2: The Lich
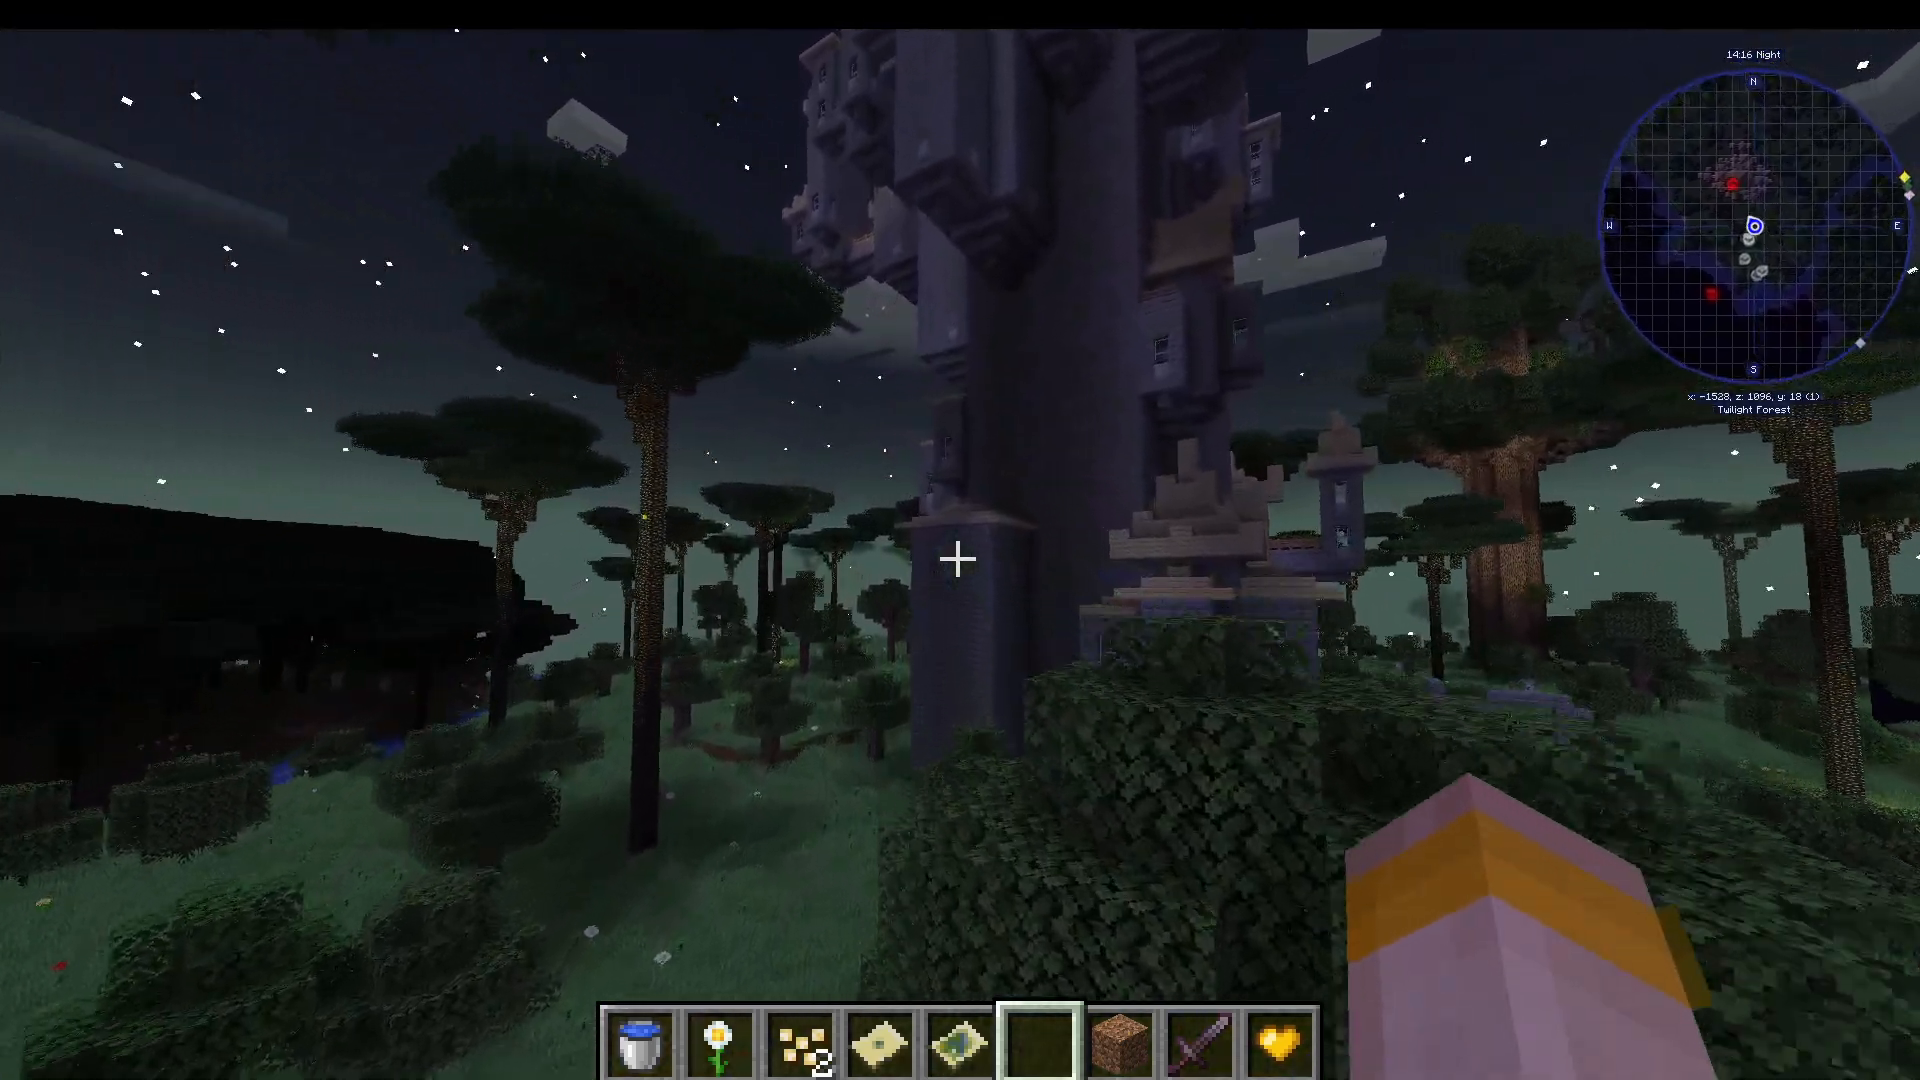
The Lich is the second boss, located in the Lich Tower. Once you’ve defeated the Naga, the magical barrier around the tower will dissipate, allowing entry.
Navigating the Tower
The tower is filled with cobwebs and hostile mobs. Make your way upward by climbing ladders and navigating through multiple rooms. You’ll encounter:
Death tomes
Skeleton druids
Various spawners
Search through chests along the way for valuable items like transformation powder. Keep climbing until you reach the top of the tower where the Lich awaits.
Lich Combat: Three Phases
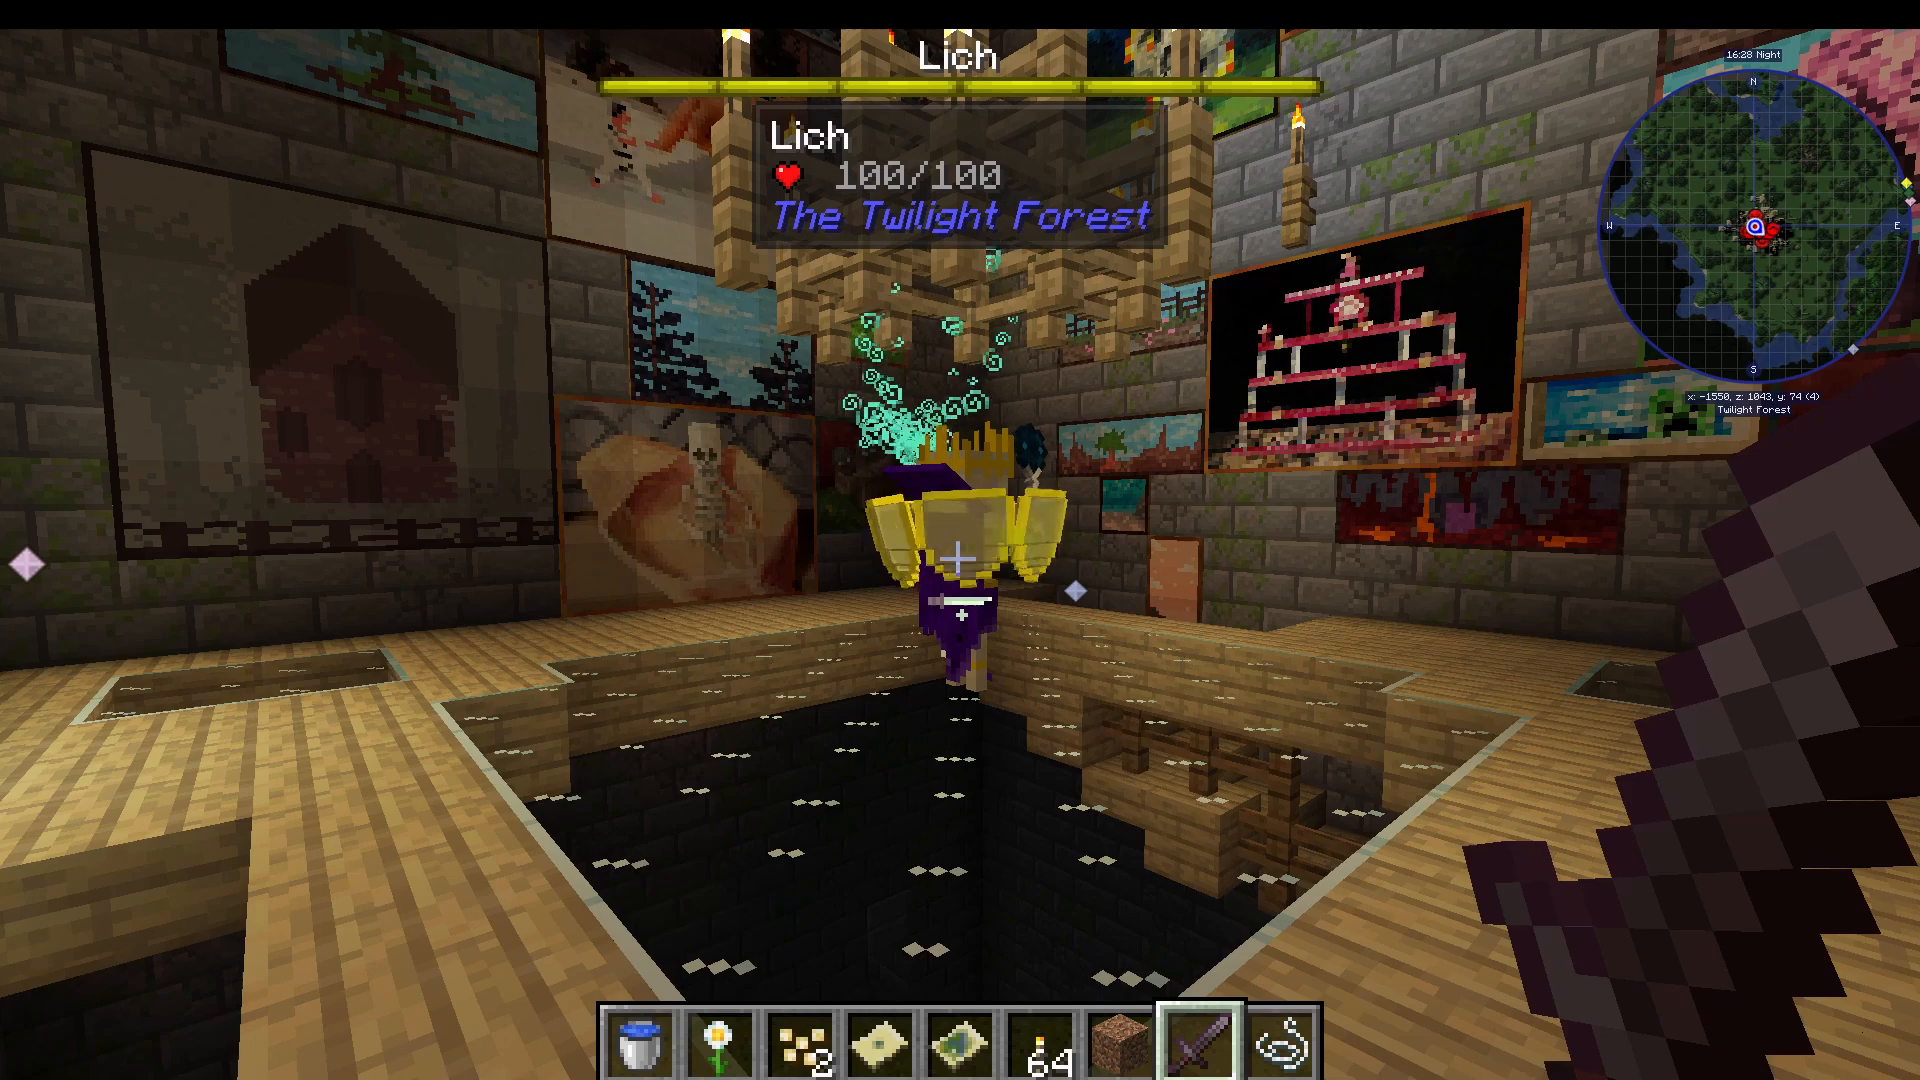
Phase One: The Lich surrounds itself with shields and fires magic bolts at you. Your goal is to reflect these bolts back at the Lich by attacking them with your sword, just as you would with a normal Ghast. The Lich will also summon duplicates to distract you. If this phase becomes overwhelming, retreat down the stairs to recover, then return to the attack. Standing in a corner and flicking your weapon helps direct bolts back at the Lich efficiently.
Phase Two: Once the Lich’s shields drop, it summons waves of zombies. Switch to melee attacks and hit the Lich directly. This phase is significantly easier than Phase One.
Phase Three: The Lich enters a berserk state but remains vulnerable to melee attacks. Continue hitting it until it’s defeated.
Lich Loot: Scepters
The Lich drops four different scepters in its chest. Each has unique abilities and recharge requirements:
Scepter of Fortification: Creates protective shields around you. Recharge with golden apples.
Scepter of Twilight: Shoots ender bolts like the Lich. Recharge with ender pearls.
Scepter of Life Draining: Drains health from enemies. Recharge with fermented spider eyes.
Zombie Scepter: Summons zombie minions. Recharge with potions of strength and rotten flesh.
Additionally, you’ll receive a Lich trophy and a golden sword.
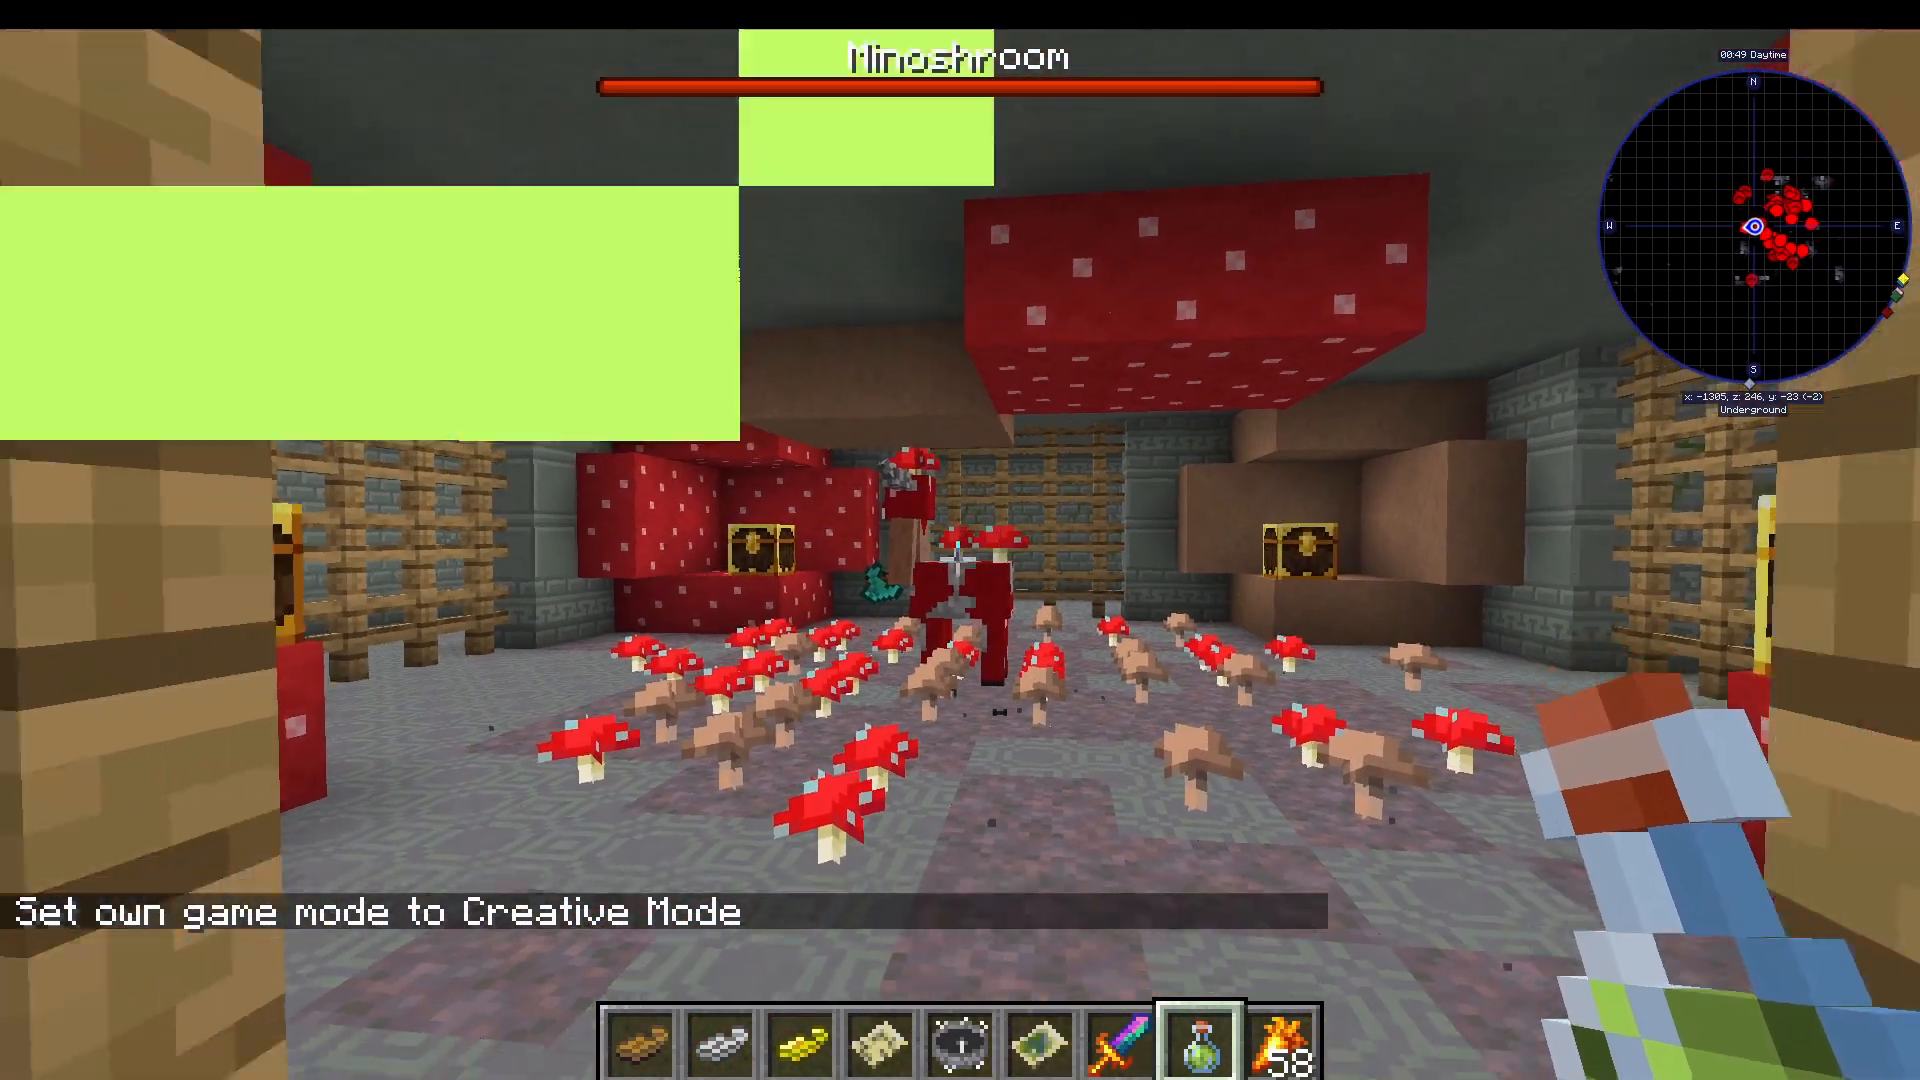
Boss 3: The Minotaur (Minoshroom)
The Minotaur is located in the Labyrinth, found in the swamp biome. This boss represents the next tier of difficulty and requires strategic navigation.
Finding the Labyrinth
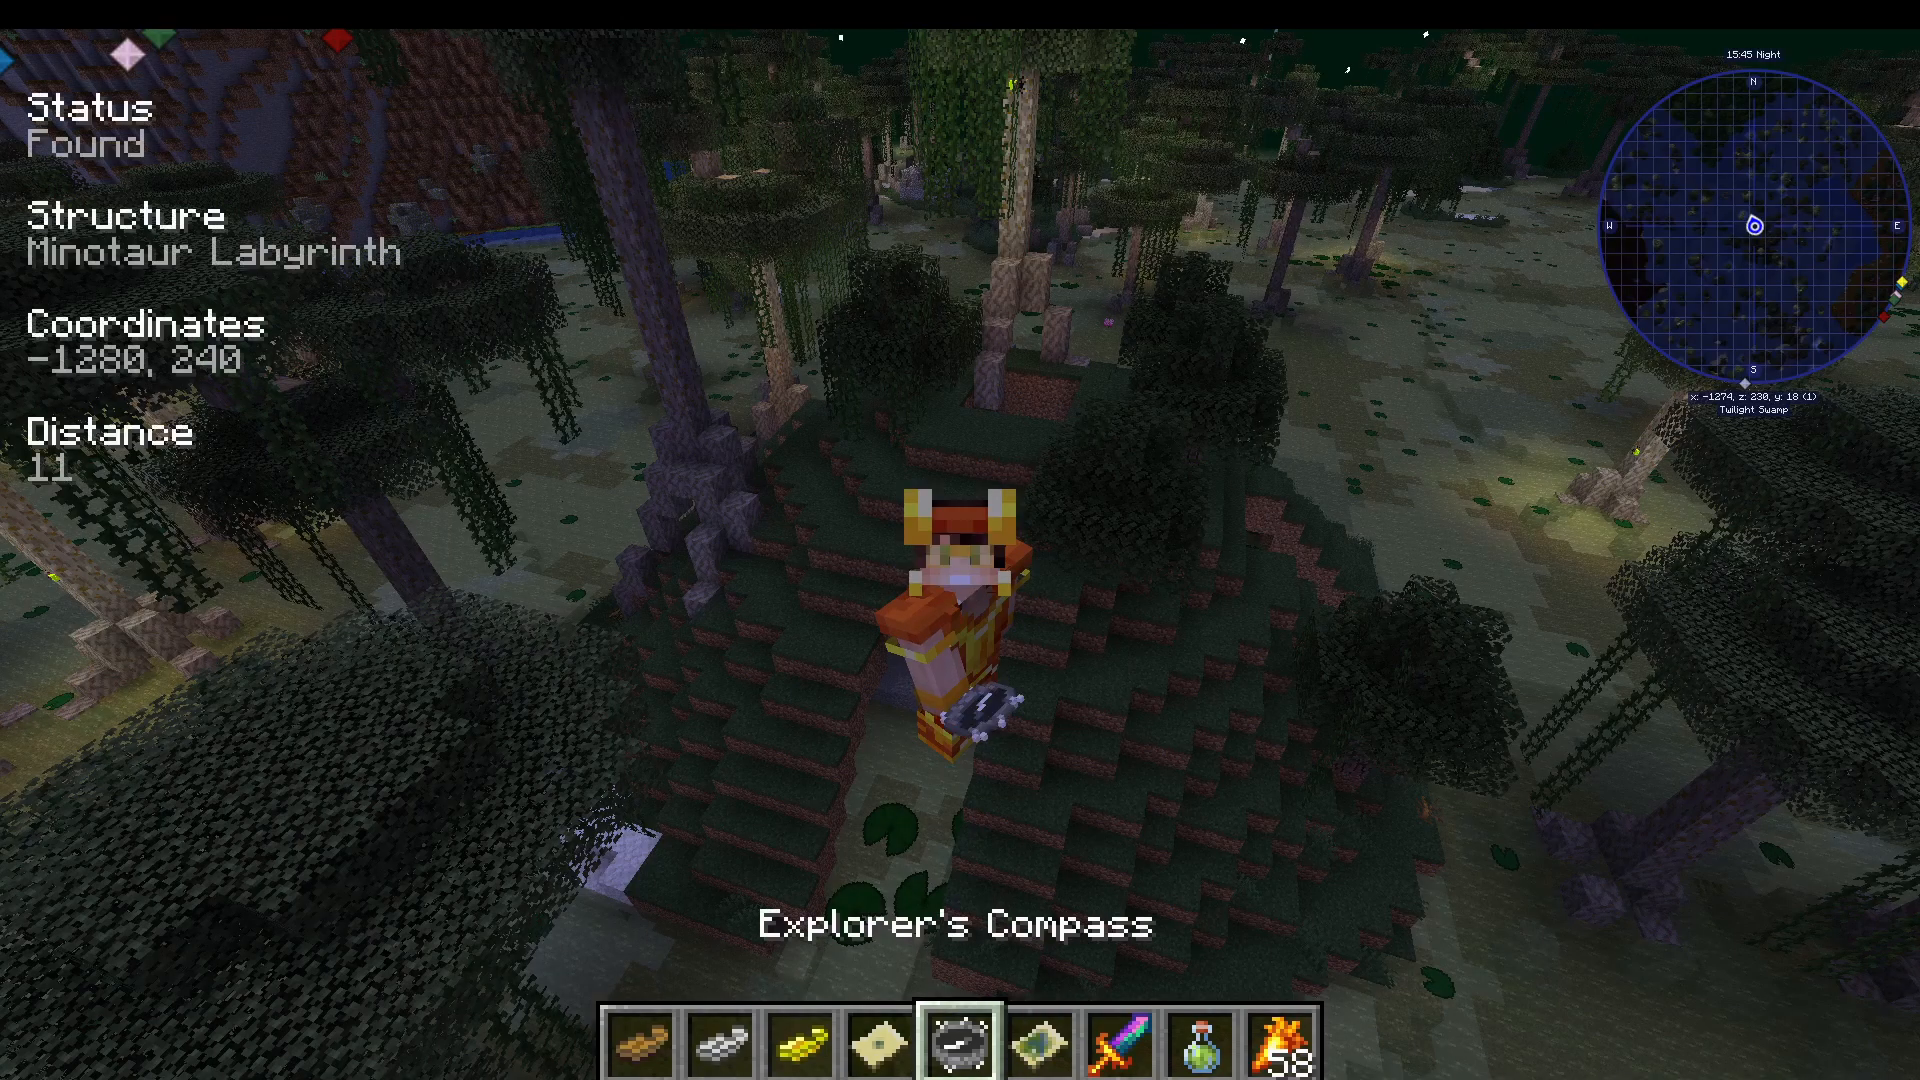
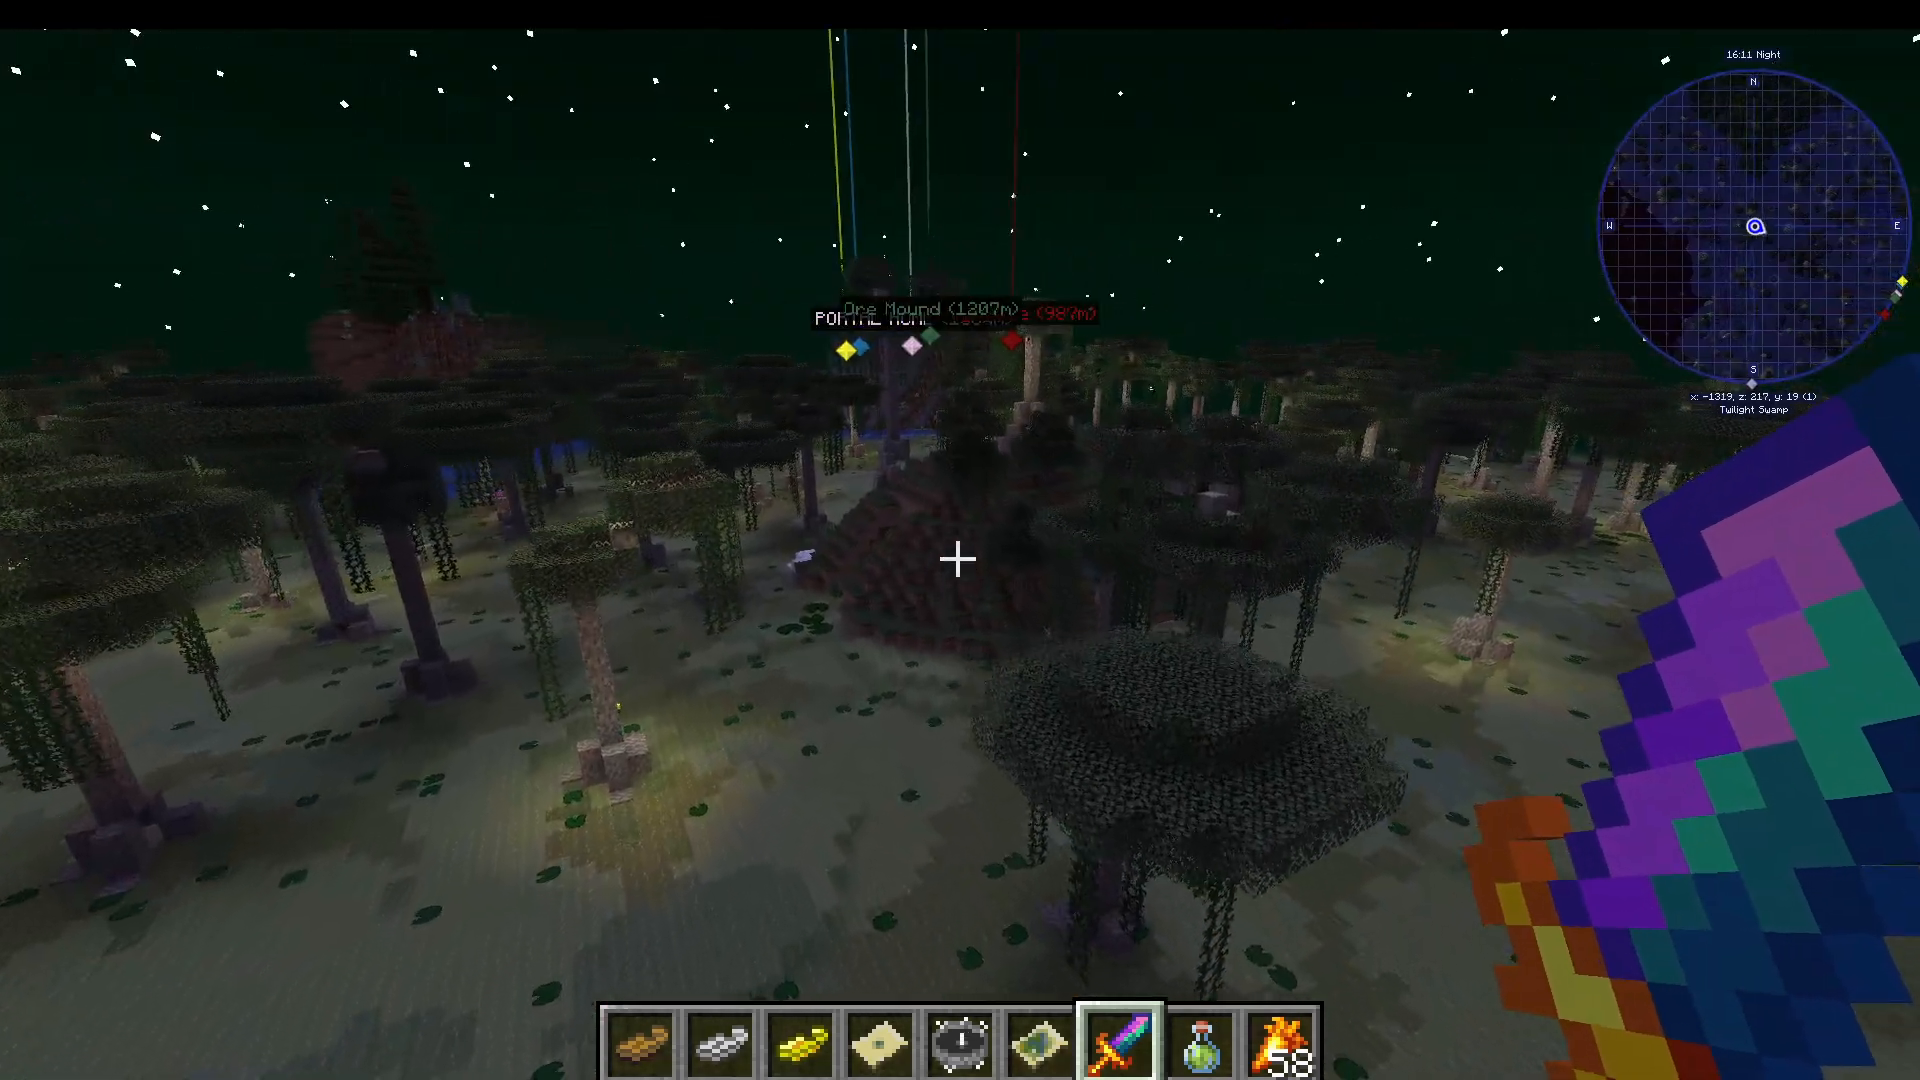
On your magic map, look for gray icons in the swamp biome—these mark labyrinth entrances. The entrance appears as an unremarkable hill. Enter and descend into the maze below.
Maze Navigation Tips
To help navigate the labyrinth, craft a blank maze map if you obtain a maze map focus (dropped by the Minotaur at a 2.5% rate). This creates a maze map that reveals the layout of the dungeon and marks treasure locations.
Alternatively, use the Explorer’s Compass mod if available in your modpack. Right-click it and search for “lab minotaur” or “lab ring” to locate the nearest labyrinth entrance.
Additional resources in the labyrinth:
Slimes: Drop the Charm of Keeping (1.5% chance). Collect four charms to upgrade them—Charm of Keeping II keeps your hotbar, Charm of Keeping III keeps your entire inventory upon death.
Maze Breaker Pickaxe: Found in treasure chests. Takes only one durability when breaking labyrinth blocks (normal pickaxes use 16). Includes Efficiency V, Unbreaking III, and Fortune II.
Bring a potion of night vision to make navigating the dark labyrinth much easier. Keep descending through the levels until you reach the boss chamber.
Fighting the Minoshroom
The Minoshroom has only 120 health, making it one of the easier bosses. If you can position yourself outside its chamber and attack through gaps in the fence, you can defeat it with ranged attacks. Otherwise, break through the fence and engage in melee combat.
Defeat the Minoshroom and open the chest to collect:
Diamond Minotaur Axe: Deals extra damage while sprinting (charging)
Meat Stroganoff: Eating this unlocks the next boss in the progression sequence
Boss 4: The Hydra
The Hydra is a significantly more challenging boss that requires understanding its attack patterns. Locate it on your magic map in the swamp—it appears as a large red patch with a hydra head icon.
Hydra Location and Setup
The Hydra resides in a crater surrounded by ore deposits. Unfortunately, its gas attacks can destroy these ores, so be prepared for potential loss.
Combat Mechanics and Tactics
The Hydra has three main attacks:
Fire Breath: The Hydra opens its mouths and shoots fire in a directional stream. This attack has travel time, making it easy to dodge by running in a circle. The fire will follow you initially but is avoidable with proper movement.
Bite Attack: When the Hydra’s heads lower toward you, it’s preparing to lunge and bite. This attack deals massive damage, so maintain distance or dodge to the side. The bite is the Hydra’s most dangerous attack.
TNT/Gas Attack: The Hydra shoots supercharged gas blocks similar to Ghast fireballs. These projectiles have travel time before exploding, giving you time to react.
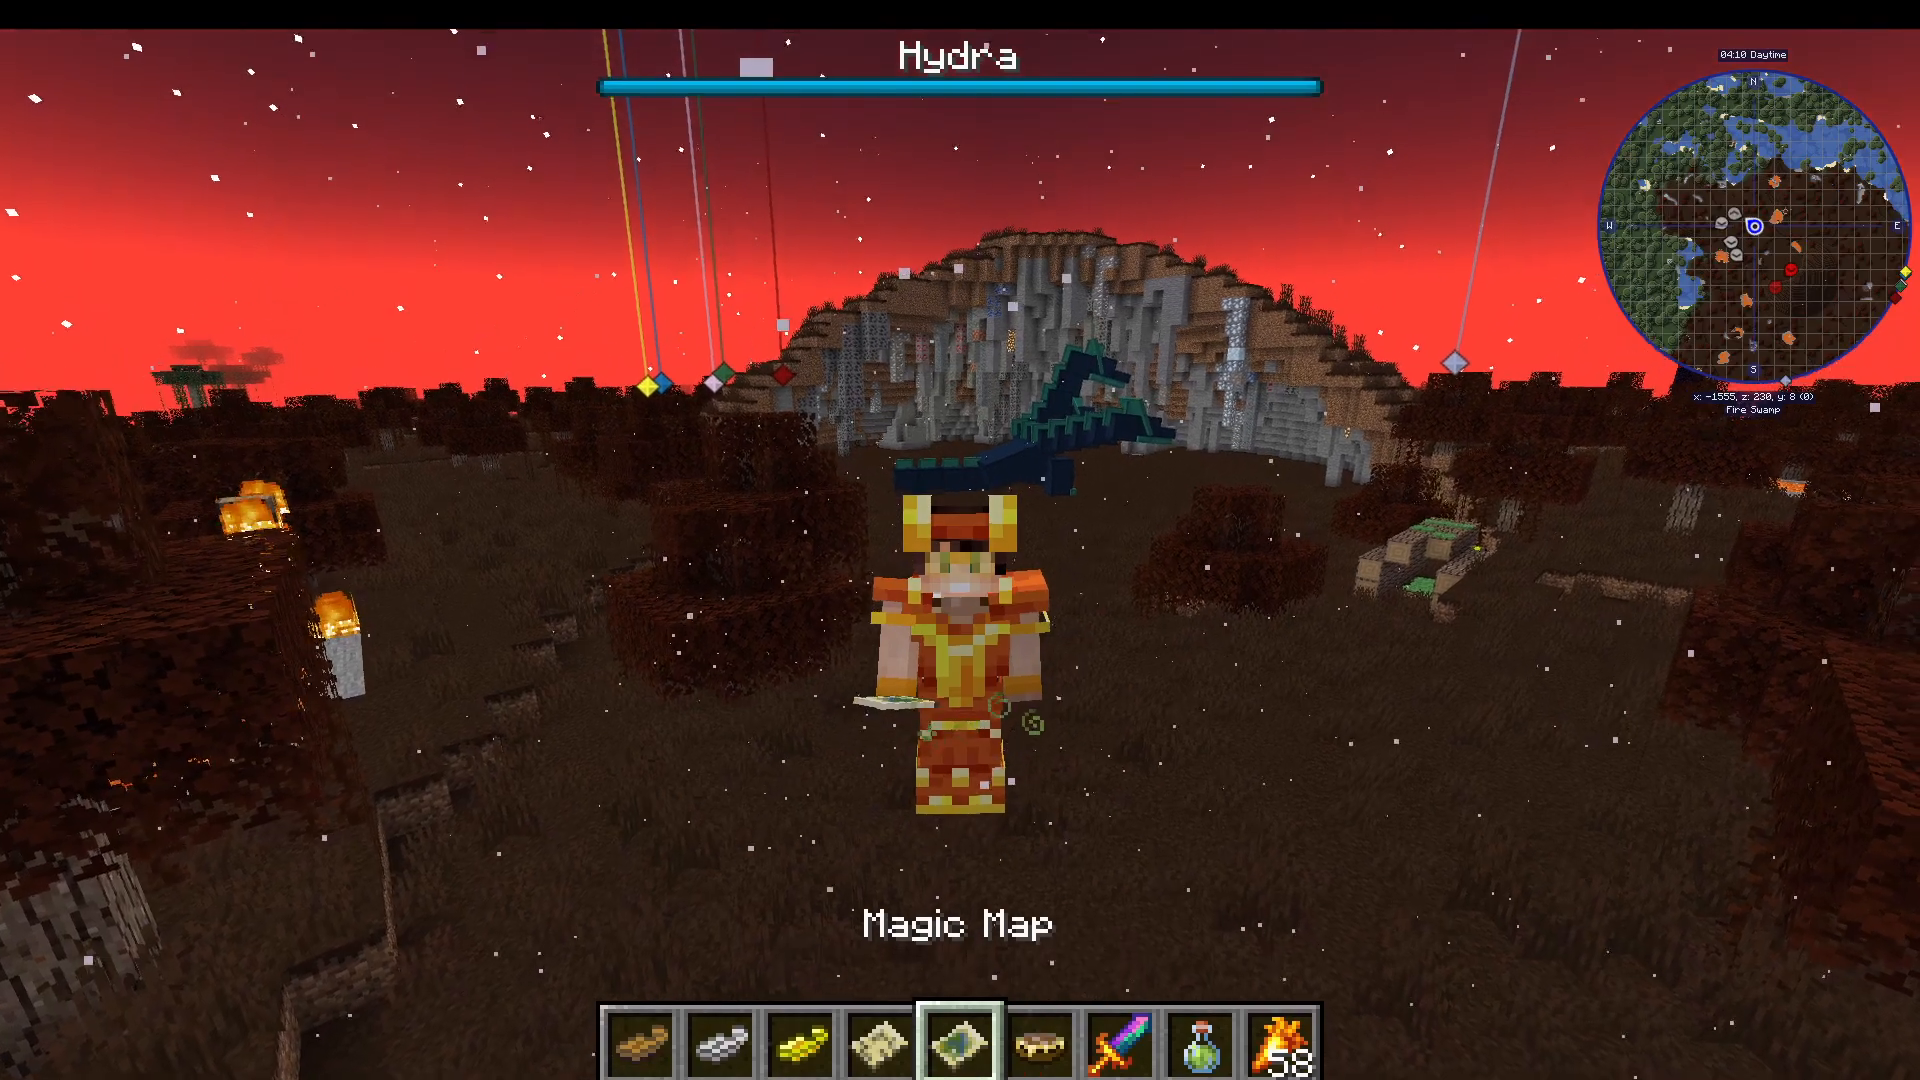
Recommended Strategy: Stay close to the Hydra’s body and use melee weapons. When you see flames building in its mouth, run in a circle to dodge the fire breath. Watch for the head lowering motion that indicates a bite attack—back away immediately when this happens. If playing with a friend, have one player run circles to distract while the other attacks from range.
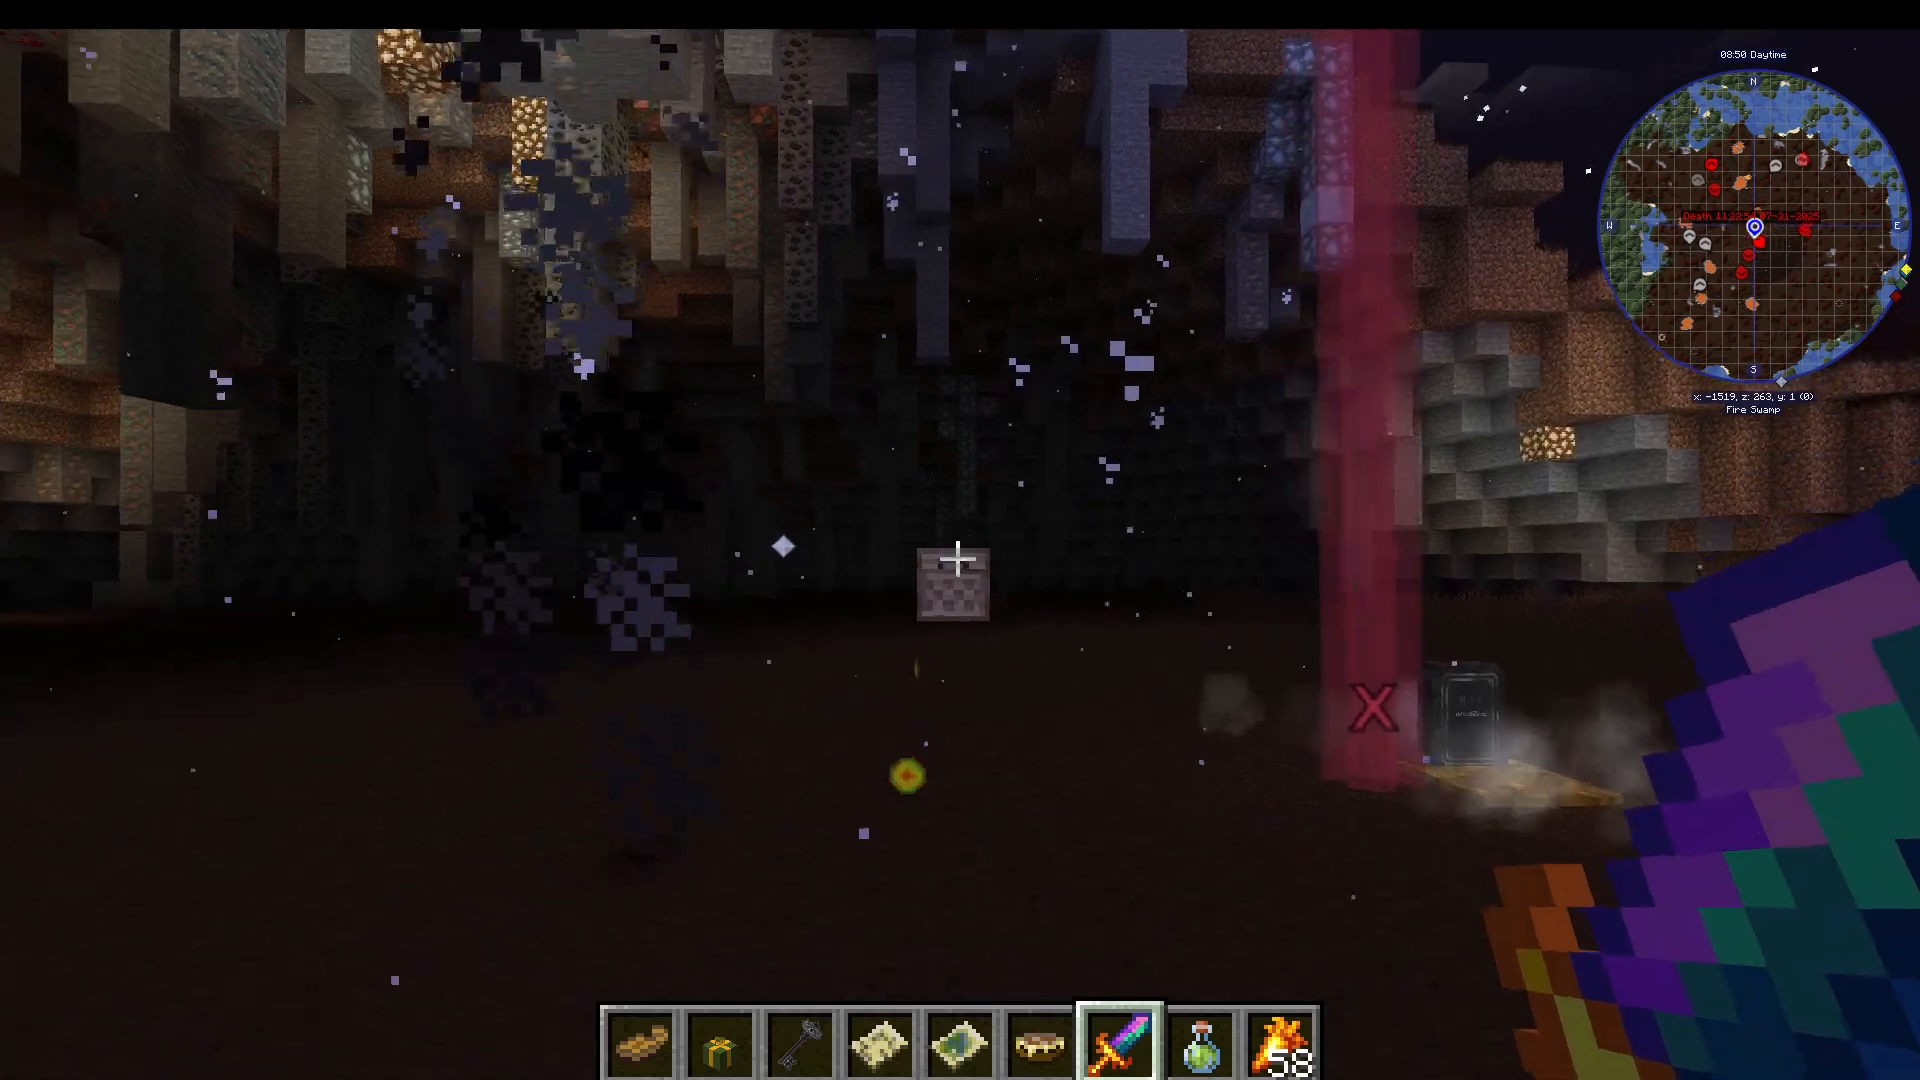
Hydra Loot
After defeating the Hydra, collect from the chest:
Fiery Blood: Craft into Fiery Boots (burns attackers)
Hydra Chops: Food item
Fiery Sword: Burns targets on hit
Fiery Pickaxe: Smelts blocks automatically
Boss 5: The Knight Phantom Stronghold
After defeating the Hydra, your next objective is to enter the Dark Forest and defeat the Knight Phantoms in their stronghold. This prepares you for the final boss challenge.
Dark Forest Navigation
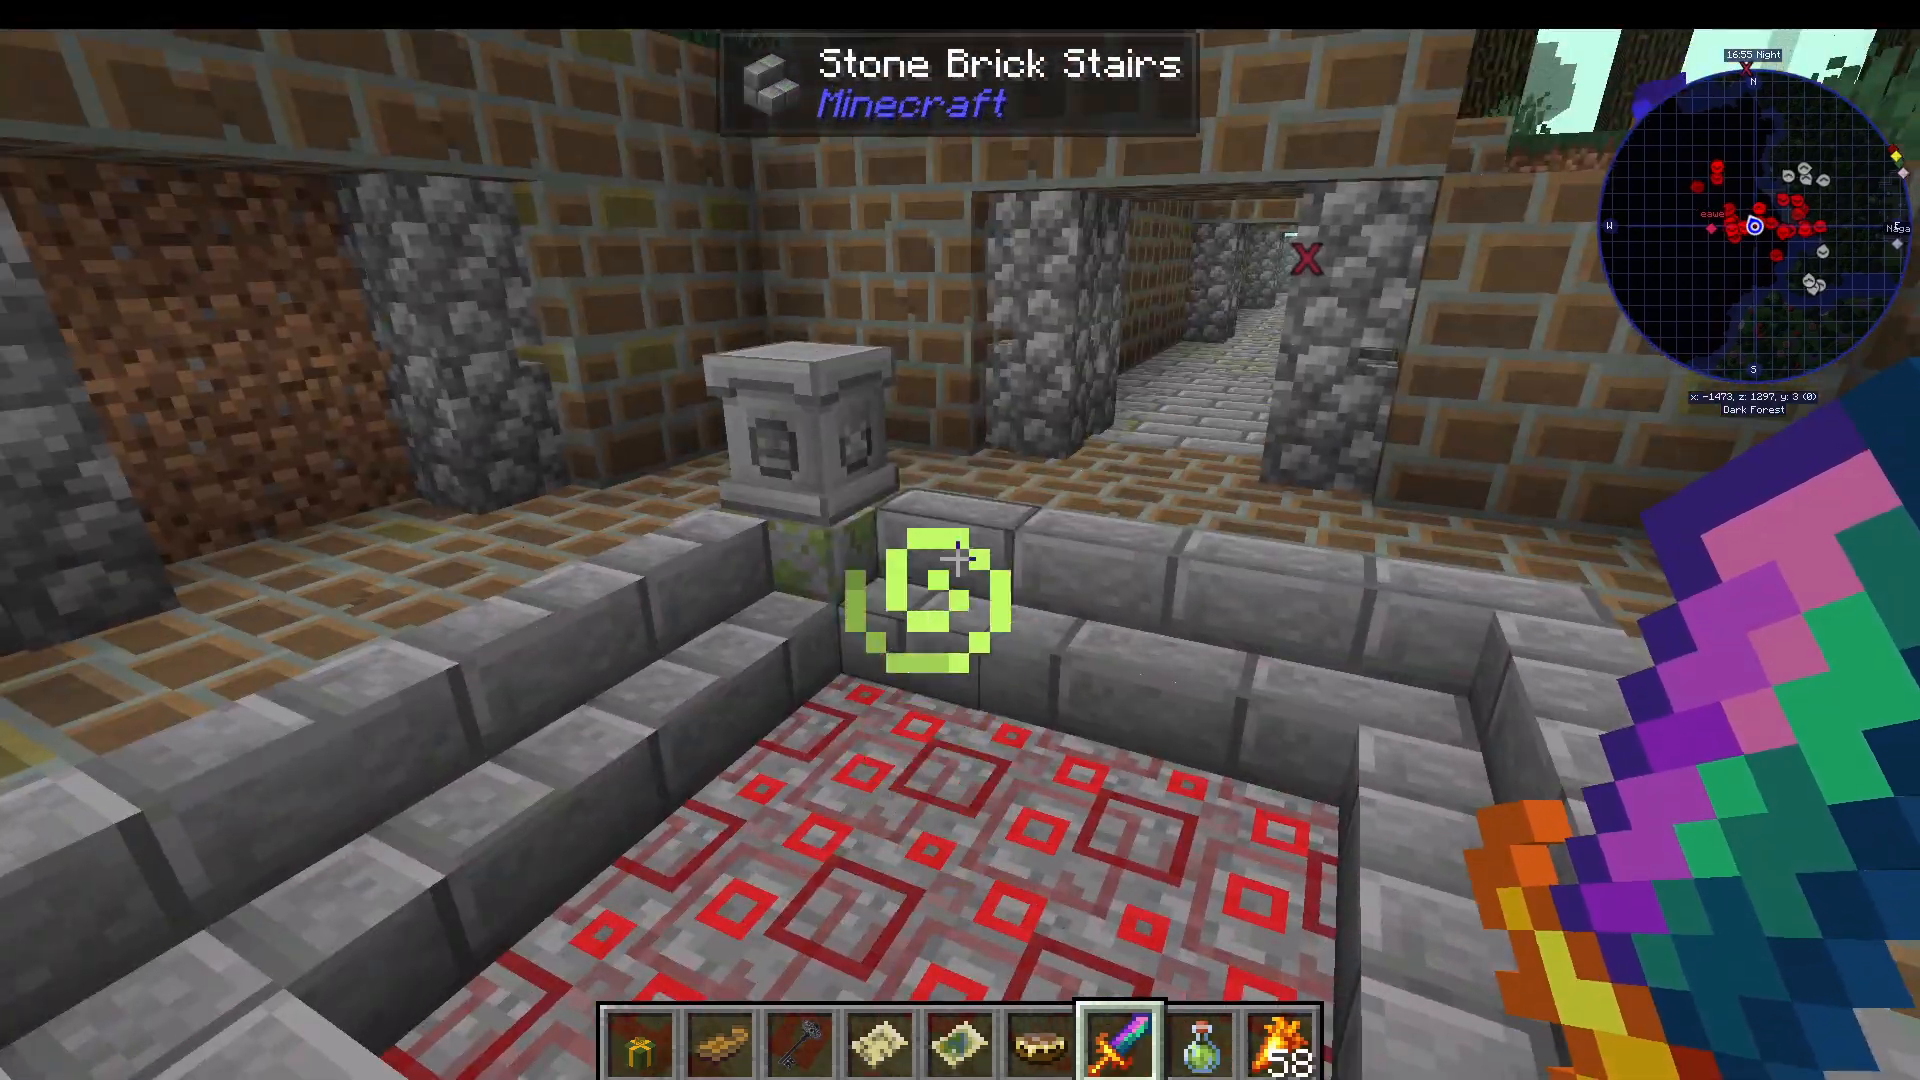
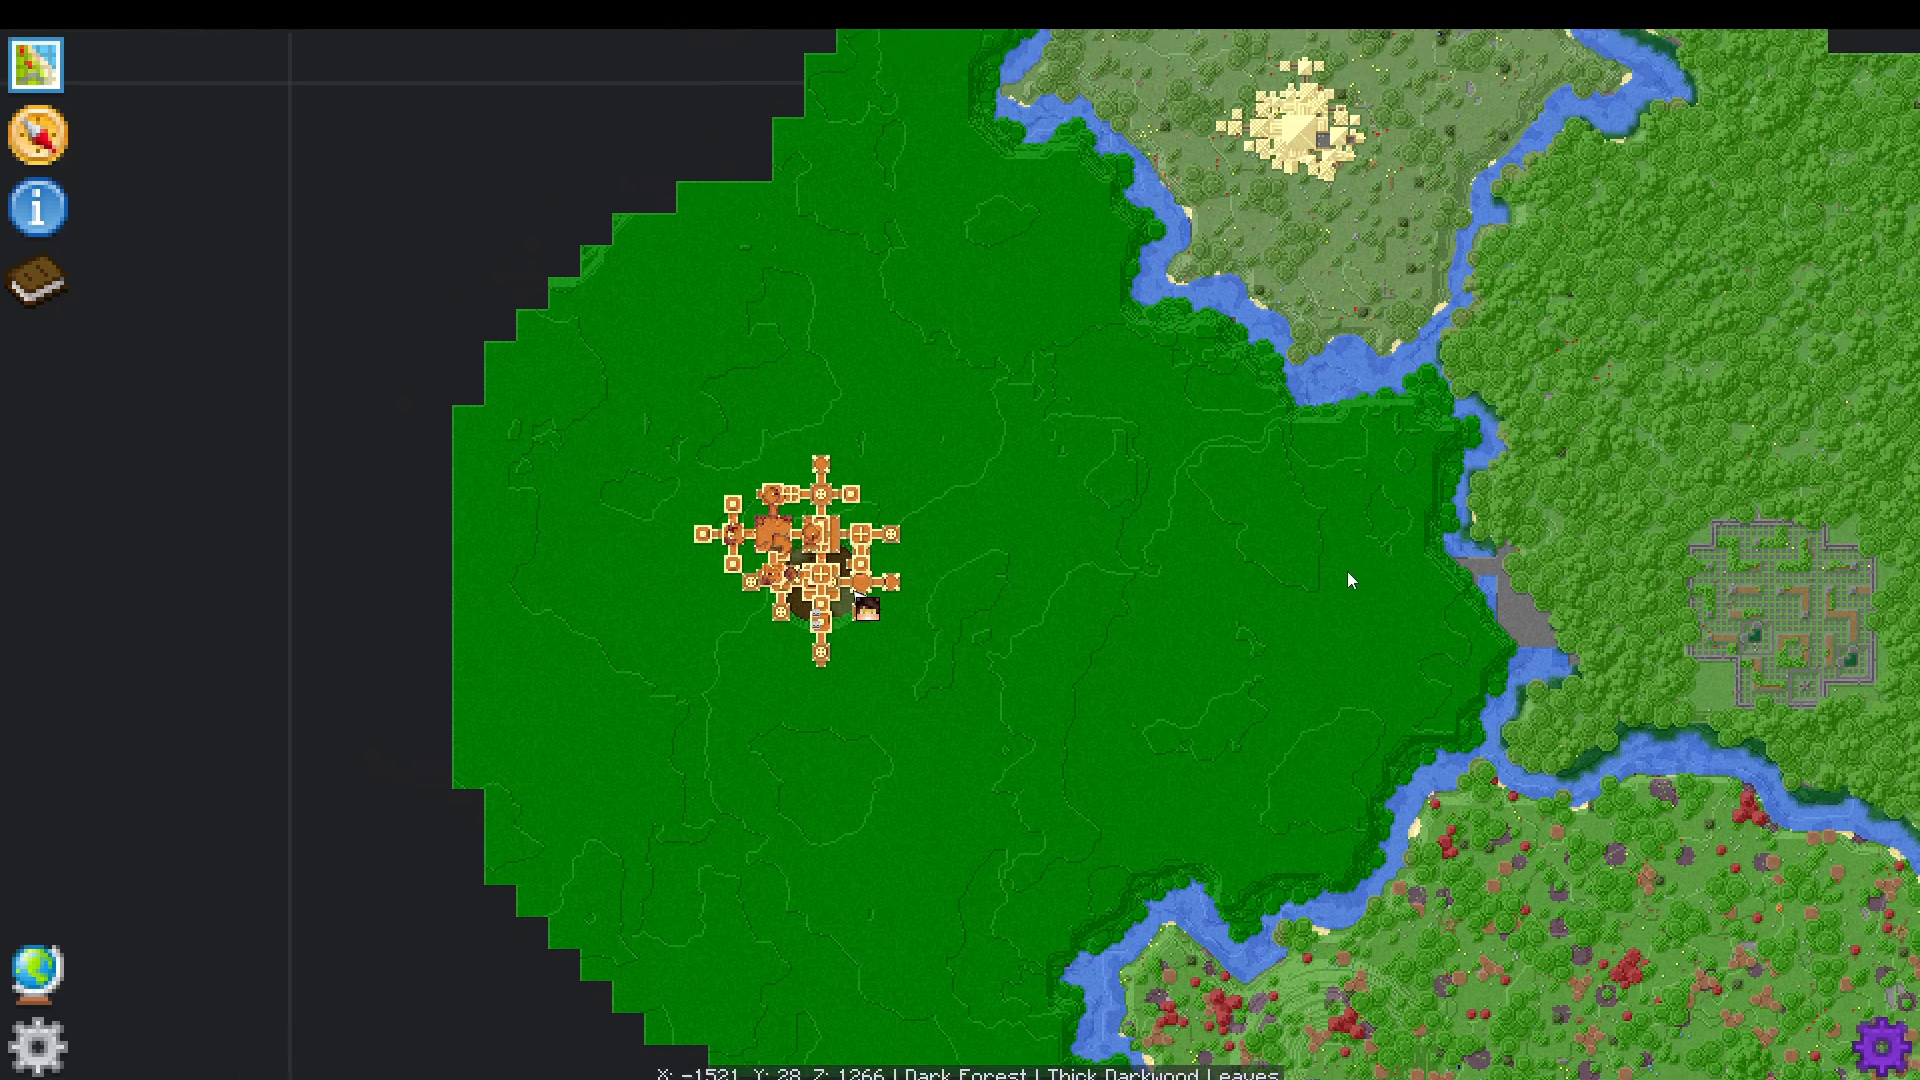
The Dark Forest is easily identified on your map as a large area covered by a massive roof that blocks sunlight. Look for gray anvil-shaped icons on your map—these mark the stronghold entrances.
Entering the Stronghold
Each stronghold is protected by a force field. To enter, place a trophy you’ve collected (such as a Naga trophy) on top of the trophy pedestal at the entrance. The least valuable trophy is recommended since you’ll lose it in the process.
Fighting the Knight Phantoms
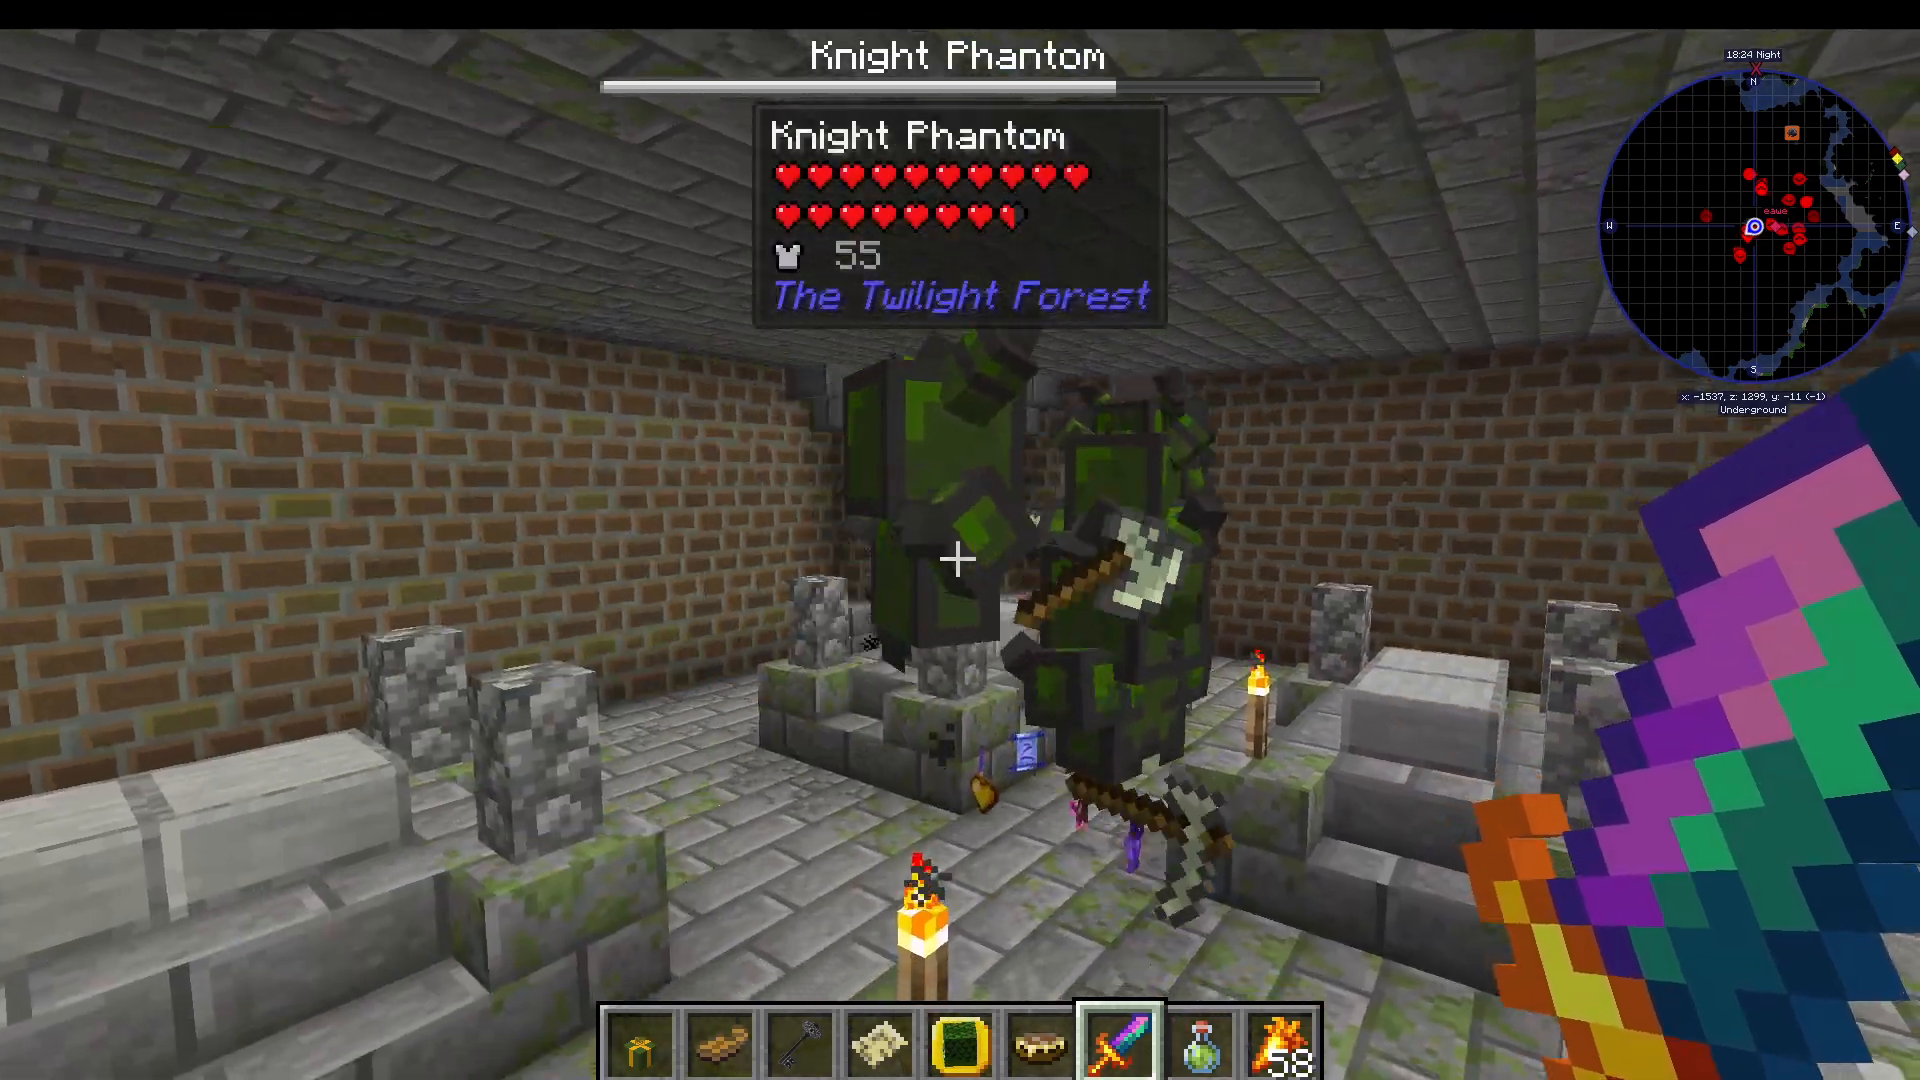
The stronghold contains six Knight Phantoms. Only one is real at any given time—the others are illusions. The real phantom has a visible body; the others are transparent. You must defeat them in the order they become real.
The Knight Phantoms throw their tools at you and deal significant damage. A shield is highly recommended for defense. Kill the real one, and a new phantom becomes solid. Repeat this process six times.
Defeated phantoms drop:
Phantom gear (armor and tools)
Knight metal axes and implements
Iron Forged Knight Phantom trophy
Boss 6: The Ур Ghast
After defeating the Knight Phantoms, venture deep into the Dark Forest to face the Ур Ghast, a supercharged version of the standard Ghast.
Navigating to the Ур Ghast
The Dark Forest is a tall maze structure. You can pillar up the outside or navigate through the interior passages. Right-clicking certain blocks makes them disappear, allowing passage through otherwise solid walls.
Your goal is to reach the very top of the structure where the Ур Ghast awaits on a central platform. This is an extremely high climb, but numerous treasure chests throughout the structure provide loot if you’re willing to explore.
Ур Ghast Combat
The Ур Ghast is essentially a giant, supercharged Ghast that fires explosive fireballs. Use a very strong bow to attack it from range, or attempt to reflect its bolts back at it like a normal Ghast. The boss also spawns smaller Ghasts that you can defeat to help weaken the main boss.
Ур Ghast Loot
Defeating the Ур Ghast yields:
Ур Ghast trophy
Carminite: Used to craft reappearing and vanishing blocks seen throughout the Dark Forest
Fiery tears: Same as Hydra drops
Boss 7: The Alpha Yeti
Once you’ve conquered the Dark Forest, travel to the icy biome to face the Alpha Yeti, a fearsome creature dwelling in the Yeti Caves.
Finding Yeti Caves
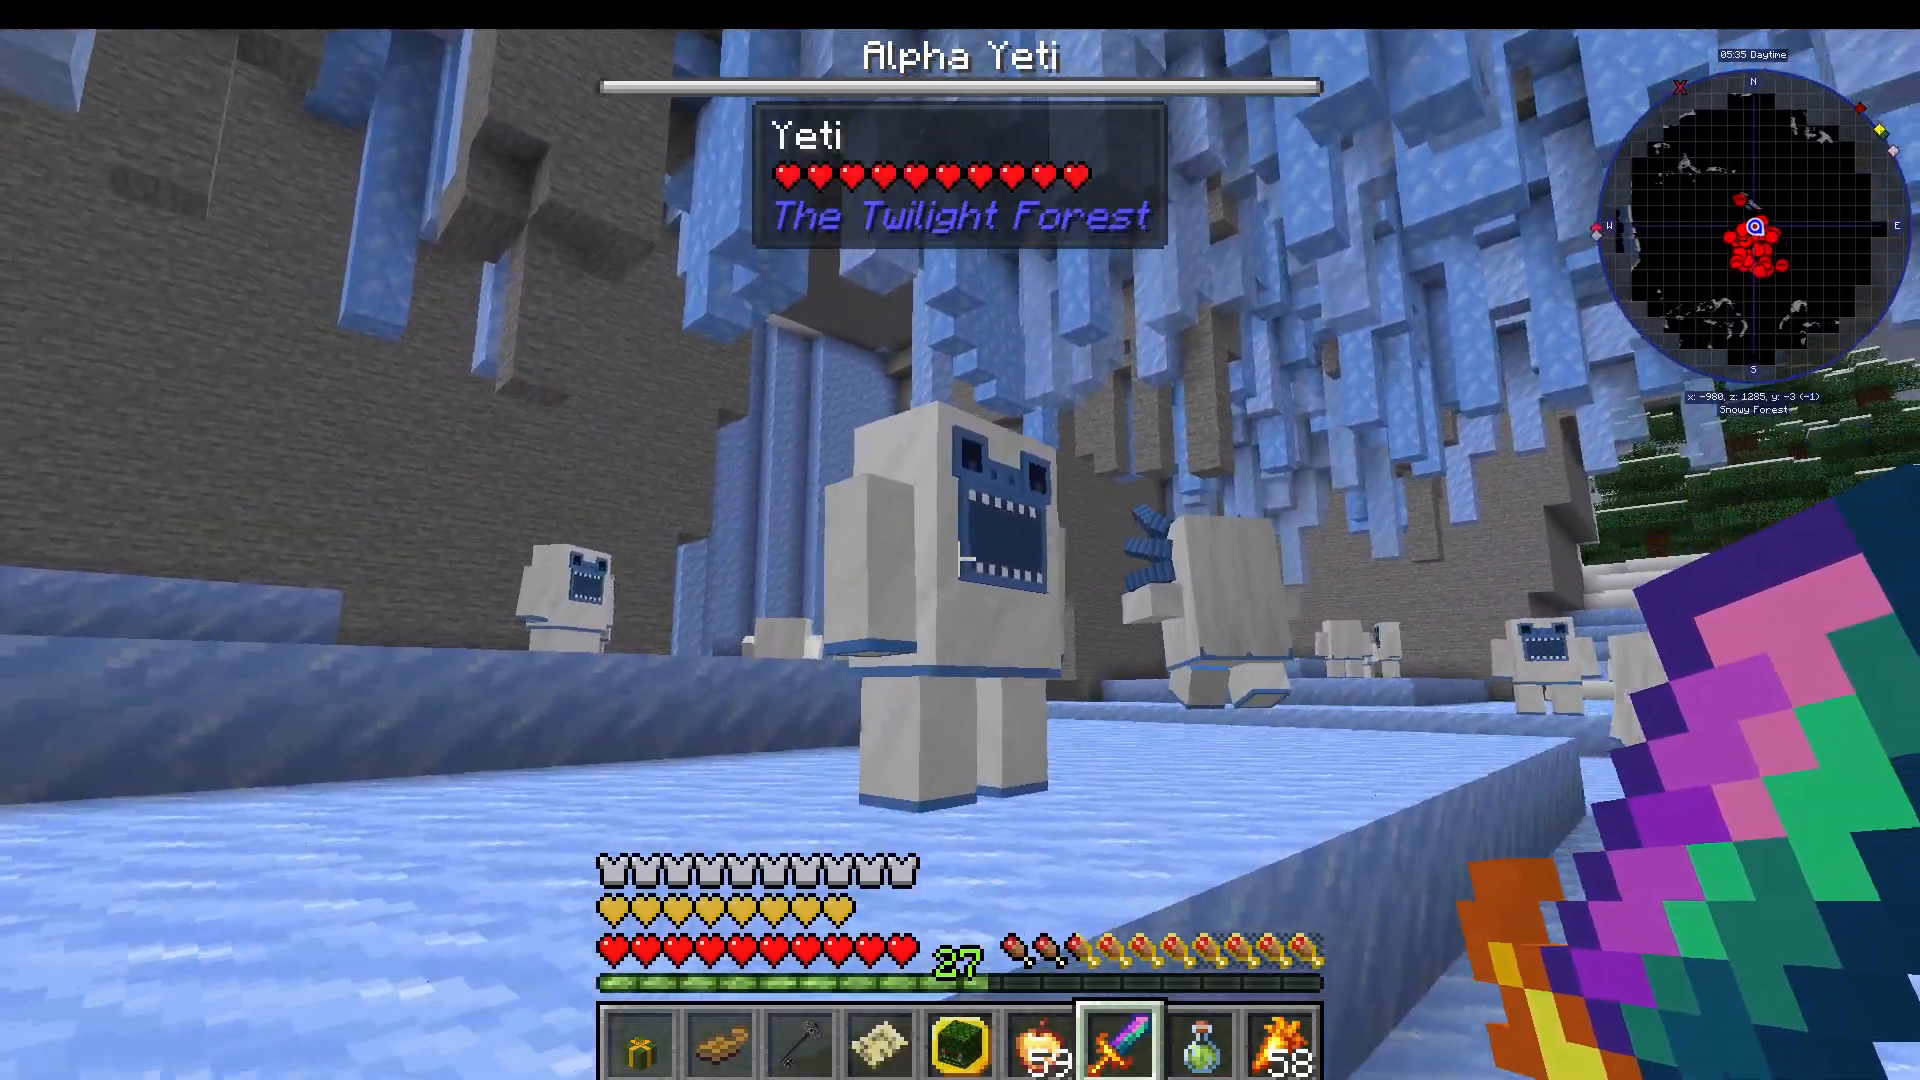
The icy biome is unmistakable on your map. Look for large cave entrances—there are multiple Yeti Caves scattered throughout. The Alpha Yeti is the strongest Yeti variant and resides in one of these caves.
Alpha Yeti Combat
The Alpha Yeti has two primary attacks:
Snowball Barrage: The Yeti throws snowballs that land on the ground and create a freezing effect area. These freeze you in place if you stand near them. Run in circles to avoid these projectiles while closing the distance.
Jump Attack: The Yeti jumps up and down repeatedly for approximately 20 seconds, dealing damage with each landing. Watch out for icicles falling from the ceiling during this phase. When the Yeti stops jumping (appearing to cry), it’s temporarily stunned—rush in and attack.
Additional Hazards: Smaller Yetis in the area will pick you up and throw you, potentially causing fall damage. Clear these out or avoid them while focusing on the Alpha Yeti.
Alpha Yeti Loot
The Alpha Yeti drops:
Alpha Yeti trophy
Ice bombs
Alpha Yeti fur: Craft into Yeti-horned helm, Yeti boots, and Yeti leggings (Protection IV, chills attackers)
Boss 8: The Snow Queen
The final major boss before the endgame is the Snow Queen, located deep within the icy biome highlands.
Finding the Snow Queen
In the center of the icy biome, you’ll find a tall tower surrounded by penguins. Climb to the top and enter the tower. Night vision is strongly recommended for navigating this dark structure.
The tower features:
Slippery ice floors
Snow guardians
Hidden side passages and doors
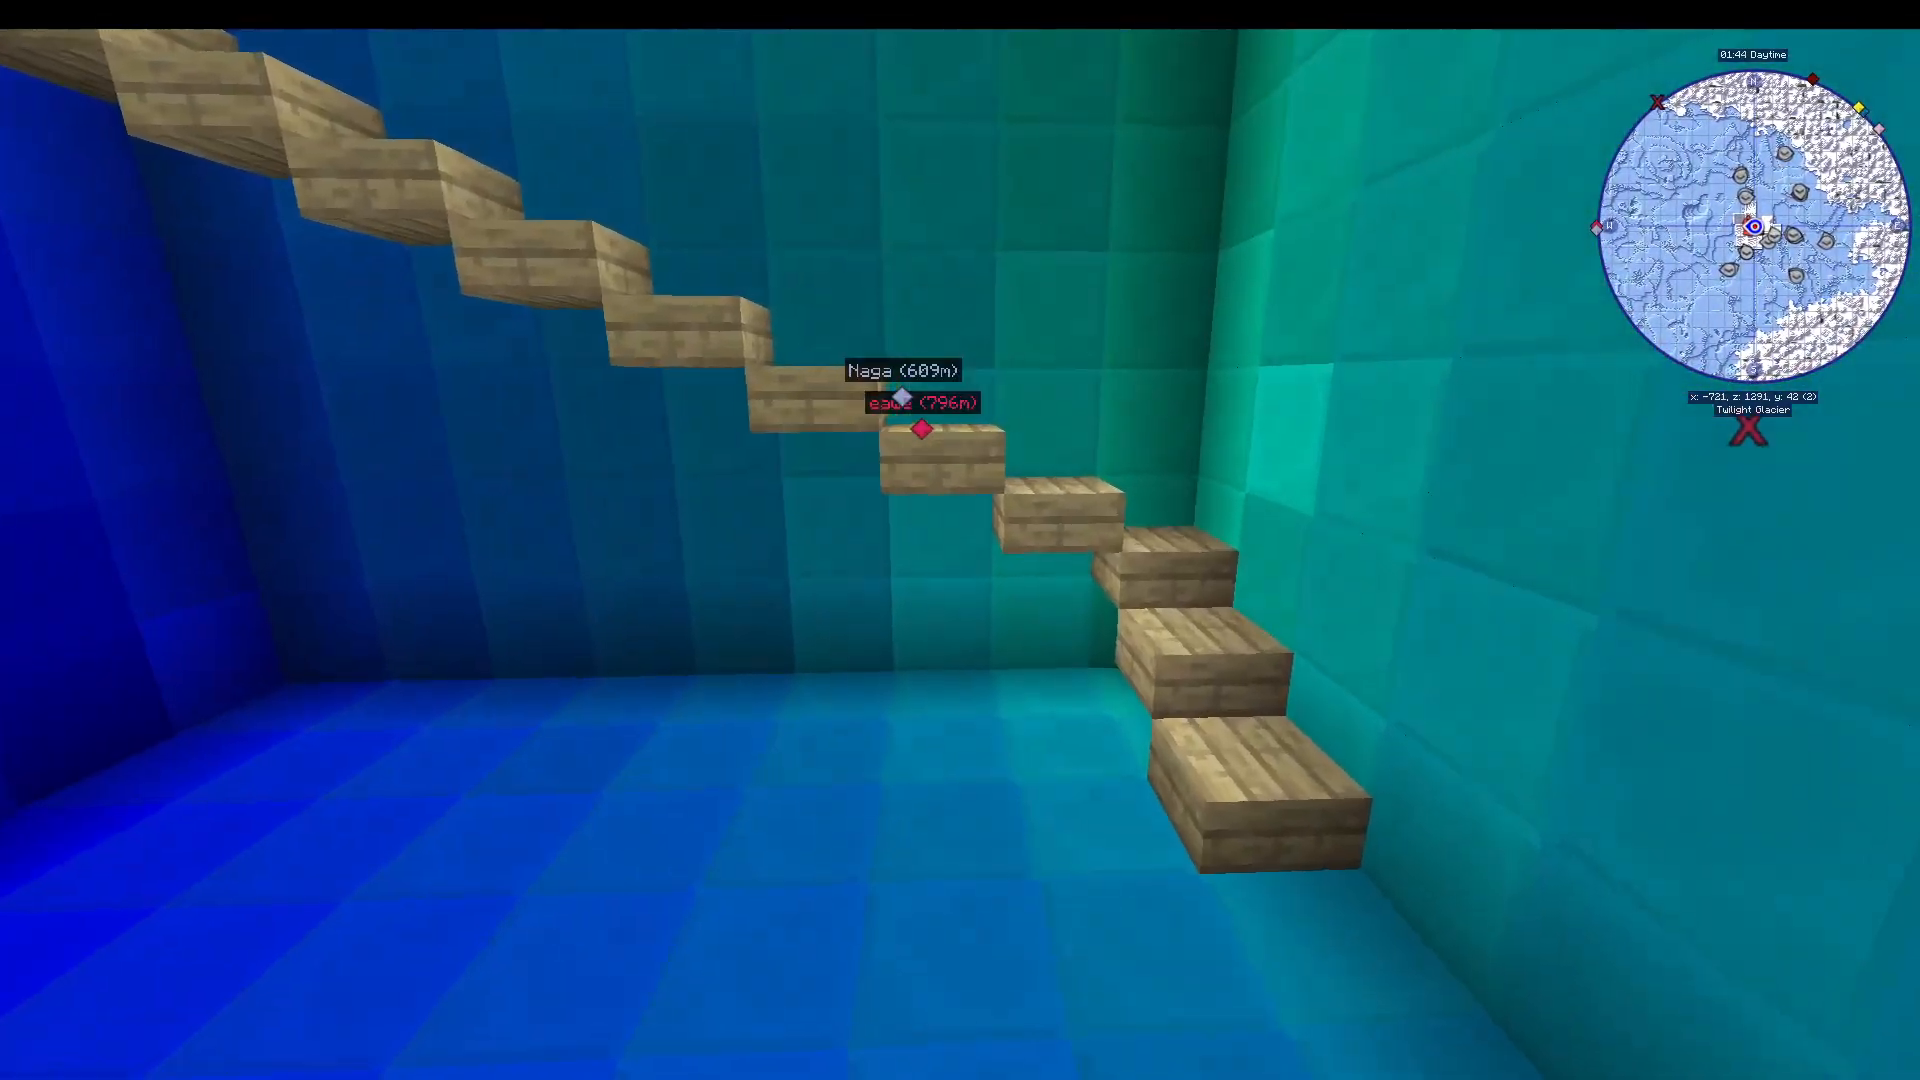
Climb all the way to the top of the tower, then continue upward by digging through ice blocks until you reach the Snow Queen’s chamber.
Snow Queen Combat: Two Phases
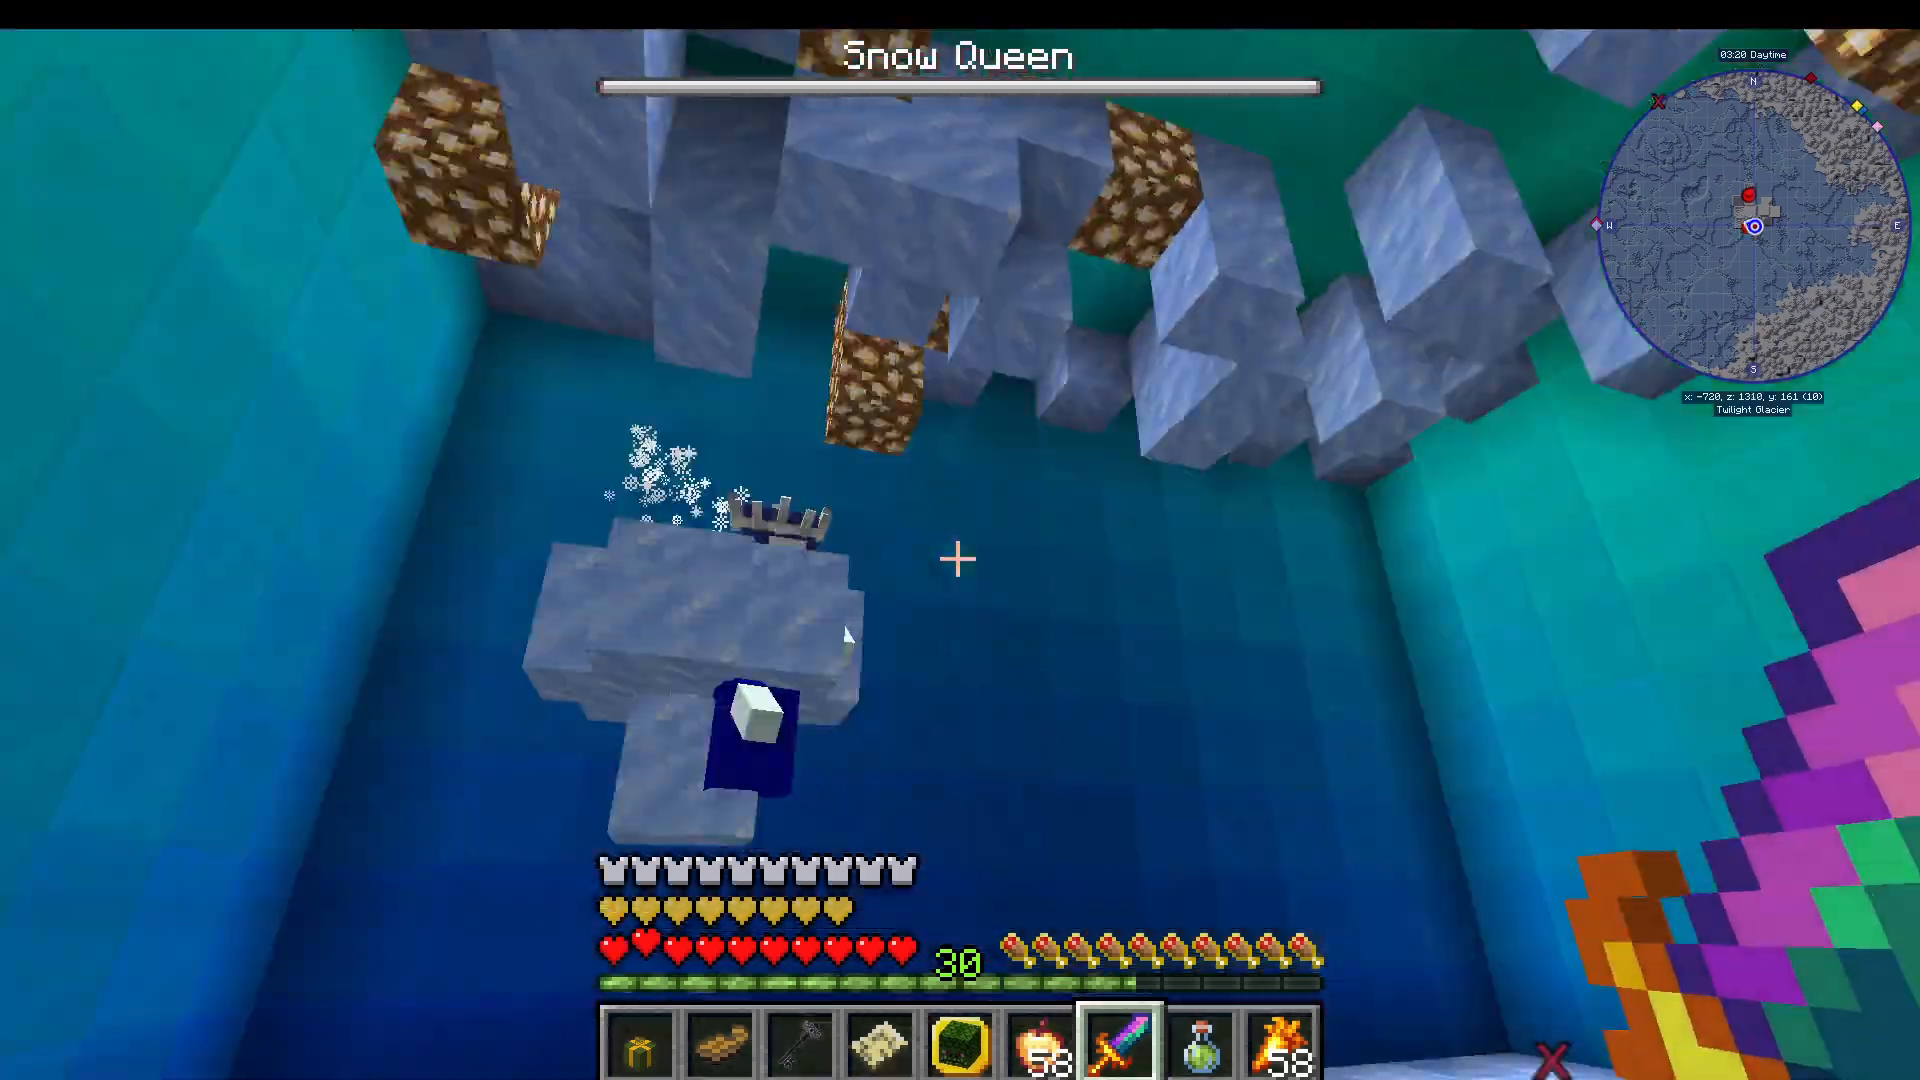
Phase One: The Snow Queen drifts on an ice cloud that acts as a barrier, preventing direct damage from below. She summons ice crystals that distract you and allow her to regenerate health. When she descends, jump up and attack her head. Deal with the ice crystal minions and continue attacking whenever she comes near the ground.
Phase Two: Once her health drops to 125, she enters Phase Two. The Snow Queen extends her arms and shoots from her hands. She can also fly to the top of the chamber and rapidly descend, crushing you with her ice cloud. Continue jumping to attack her while avoiding the impacts.
Snow Queen Loot
Defeating the Snow Queen yields:
Numerous snowballs
Tri-bow
Snow Queen trophy
Endgame Preparation: Giants and Magic Beans
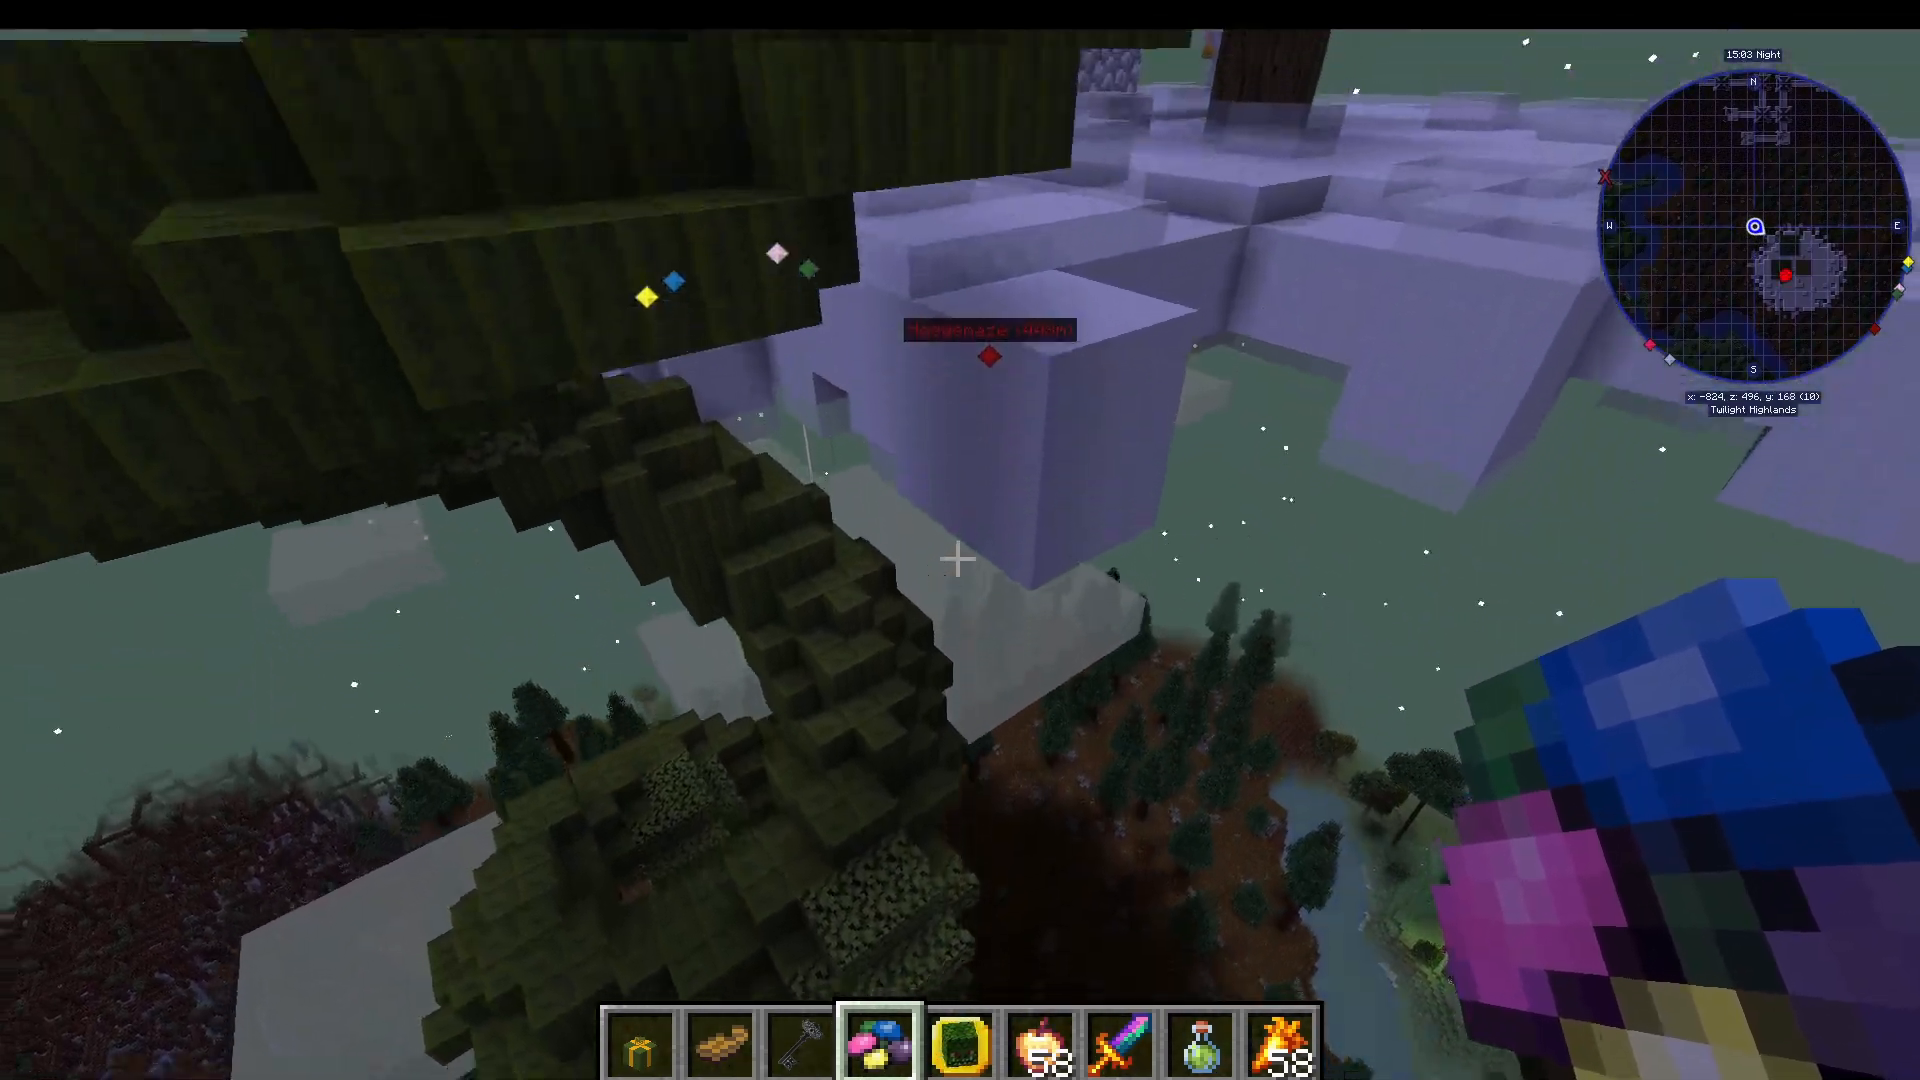
After defeating the Snow Queen, you’re entering the endgame phase. The Highlands contain mysterious giant structures that lead to the final challenges.
Finding the Giants
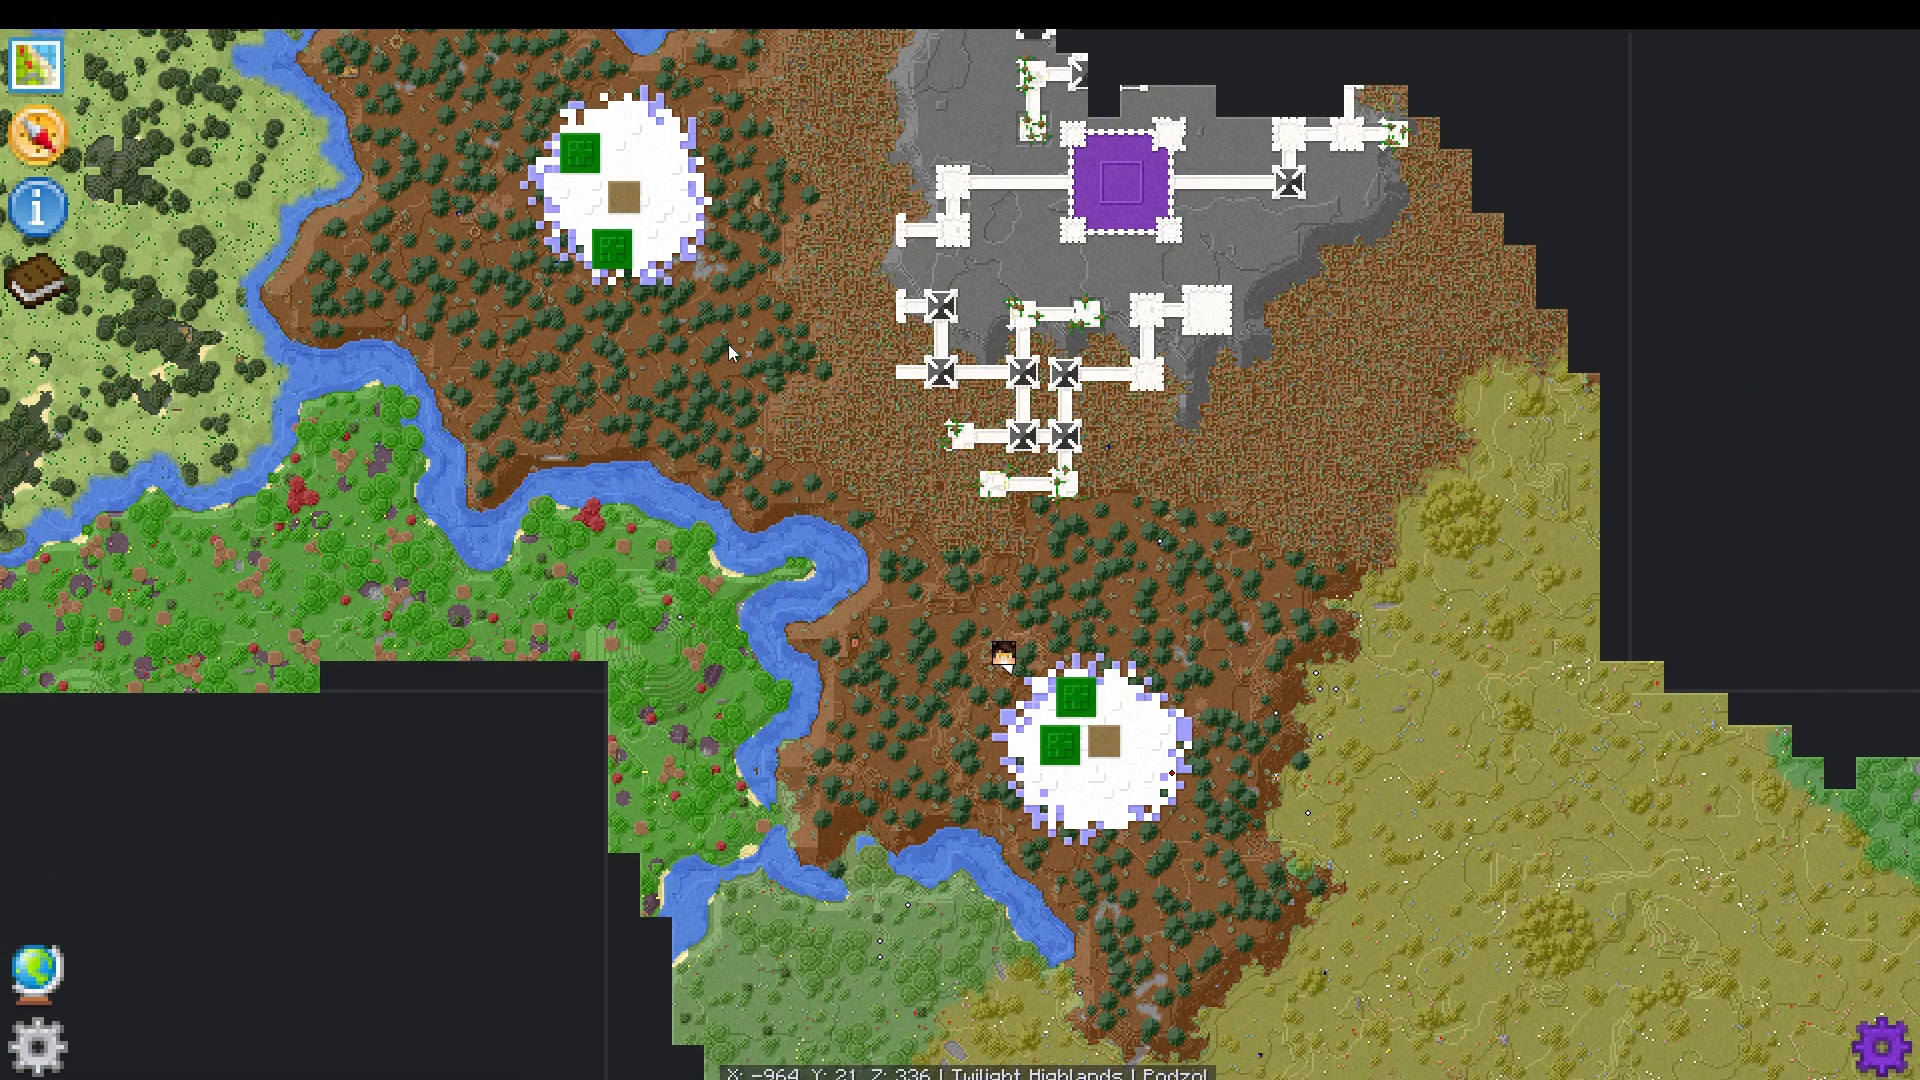
On your magic map, look for large cloud-like structures in the Highlands—these are the dwellings of giants (giant versions of you). These areas contain important preparations for the final boss.
Obtaining Magic Beans
Before fighting the giants, you need to gather magic beans. Dig down beneath the giant’s dwellings to find a cave system filled with cave trolls.
Kill cave trolls to obtain magic beans (2.5% drop rate). If you have the Hostile Neural Networks mod installed, you can use it to get troll predictions, making it easier to obtain magic beans.
Growing the Beanstalk
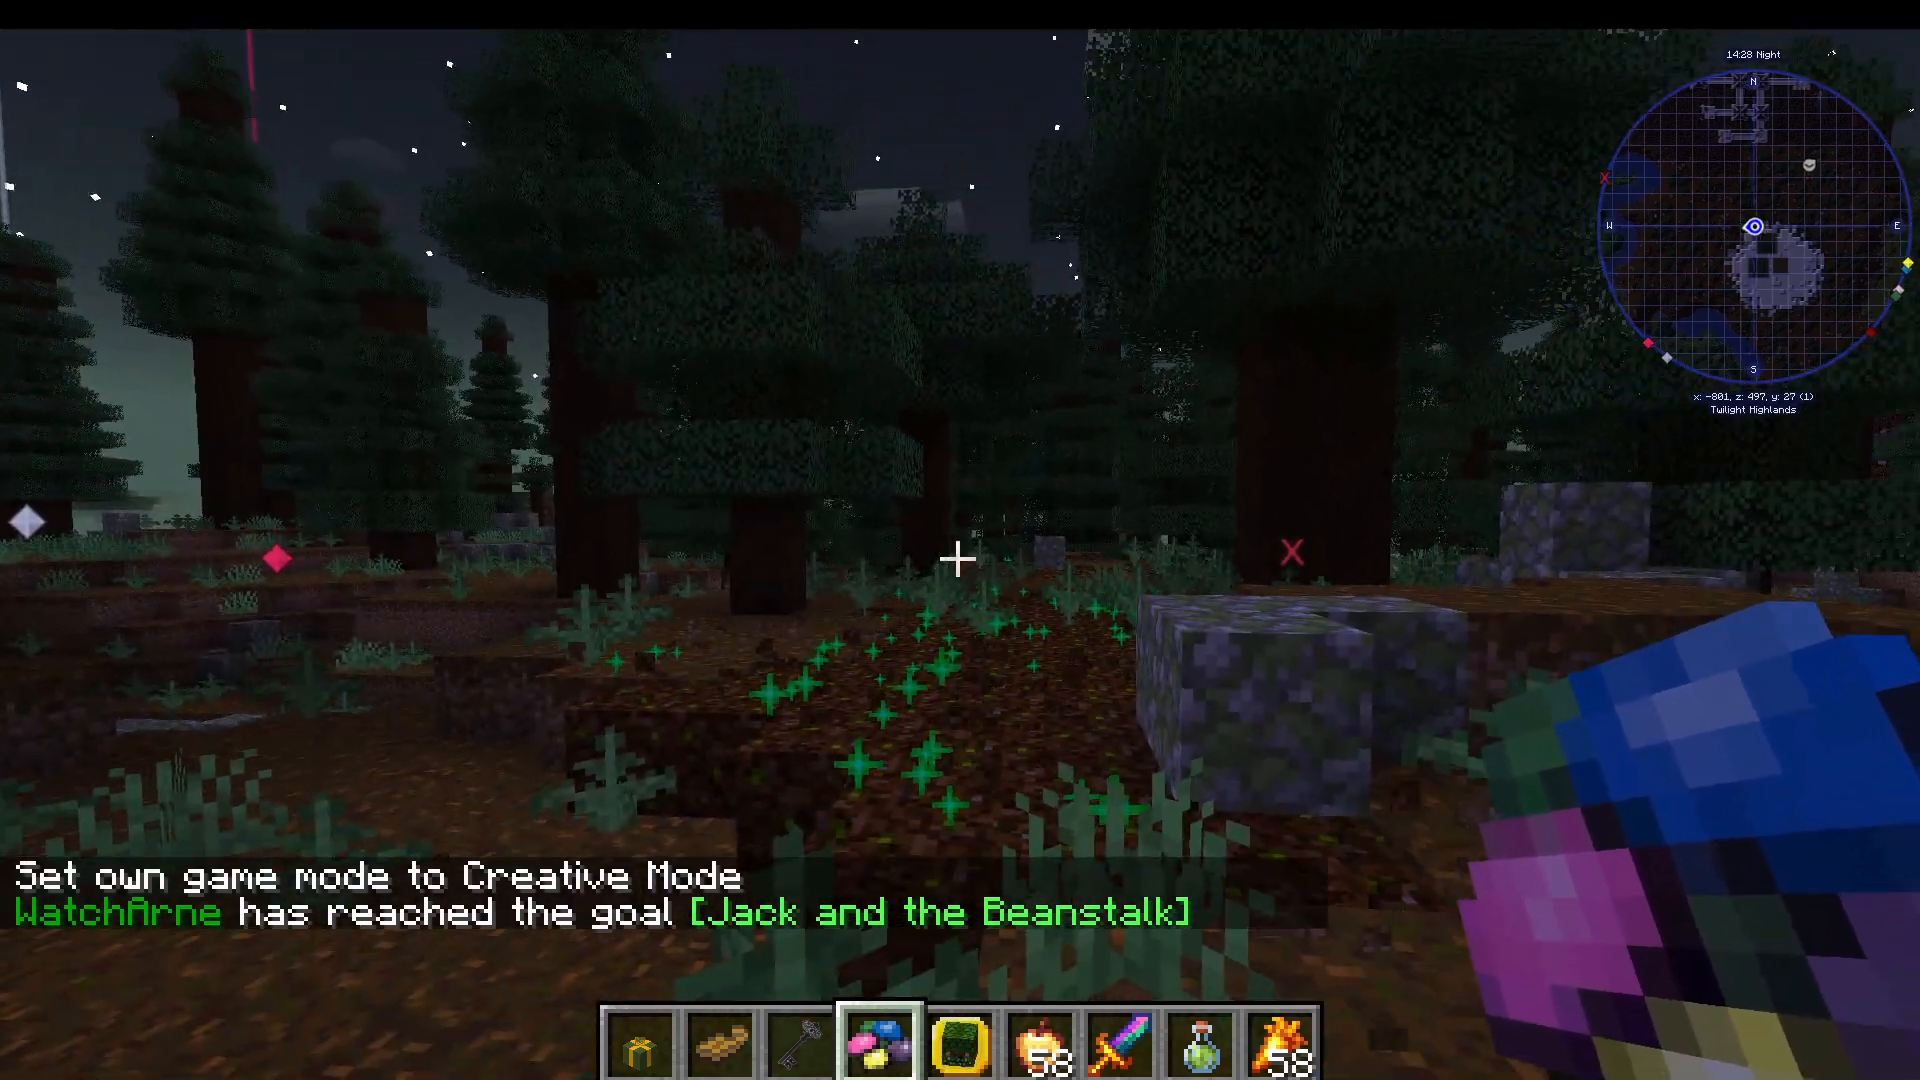
Once you have a magic bean, return to the surface and find Umbra soil. Plant your magic bean in the Umbra soil. The ground will shake spectacularly, and a giant beanstalk will grow before your eyes—one of the most impressive sights in the mod!
Climb the beanstalk to reach the cloud realm where the giants live. At the top, you’ll find the beanstalk descends on the other side, allowing you to return to the surface.
Fighting the Giants and Obtaining the Giant Pickaxe
The giants are giant versions of yourself and pose a significant threat. Upon defeat, they drop a giant pickaxe
With the giant pickaxe, return underground to the troll caves and locate a massive obsidian block. Mining this with your giant pickaxe takes considerable time but reveals a treasure chest containing valuable items, including the Lamp of Cinders
The Final Tower and Beyond
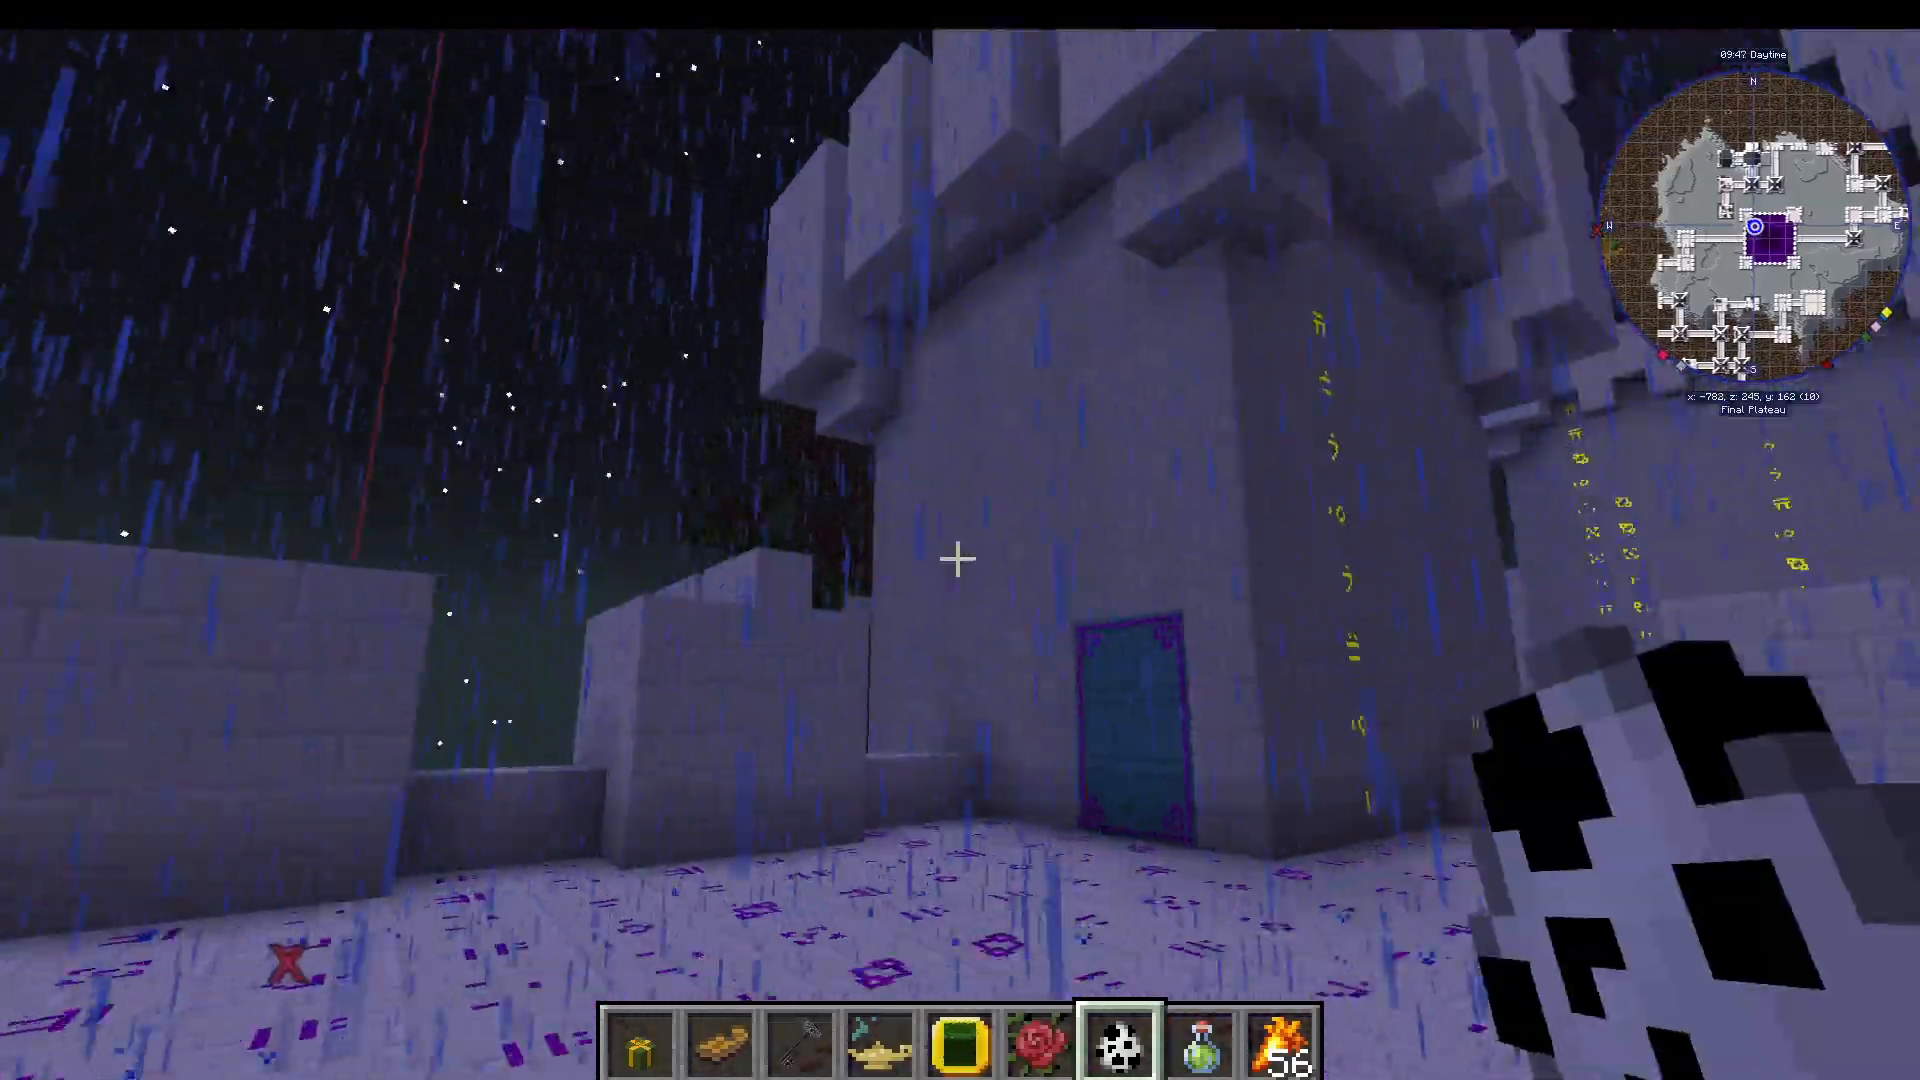
With the Lamp of Cinders in hand, return to the Highlands and locate the final castle structure. The castle is protected by magical barriers that can be burned away with the Lamp of Cinders.
Important Note on Development
As of the current version, the Twilight Forest’s final boss and castle are still marked as work in progress by the mod developers. You’ll receive a chat message warning about this when you approach the final areas.
However, community modders have created the Twilight Forest Final Boss mod, which adds an unofficial final boss. This boss combines elements from all the bosses you’ve defeated throughout your journey and spawns recreated versions of previous bosses during the fight—an impressive and challenging encounter.
To use this mod, you’ll also need the Twilight Tweaks mod to properly configure the boss spawner.
Conclusion
You’ve now completed the ultimate guide to the Twilight Forest! From your first portal to defeating the final bosses, you’ve experienced one of Minecraft’s most comprehensive exploration and boss-fighting mods. The Twilight Forest offers an incredible journey with unique bosses, challenging dungeons, and valuable loot at every turn. Whether you’re completing the official progression or attempting the community-made final boss, you’re in for an unforgettable adventure. Remember to explore thoroughly, gather the required items for each boss, and most importantly, have fun exploring this magical realm!
— Want to Support? —
If you would like to help us continue making these guides – please consider joining our patreon here –https://www.patreon.com/c/JaviHeals
Alternatively – we host a group of MC Servers you can join here –https://discord.gg/zD7Gjt6MHF
“`