






The Ultimate Guide to Society Sunlit Valley
The Ultimate Guide to Society Sunlit Valley
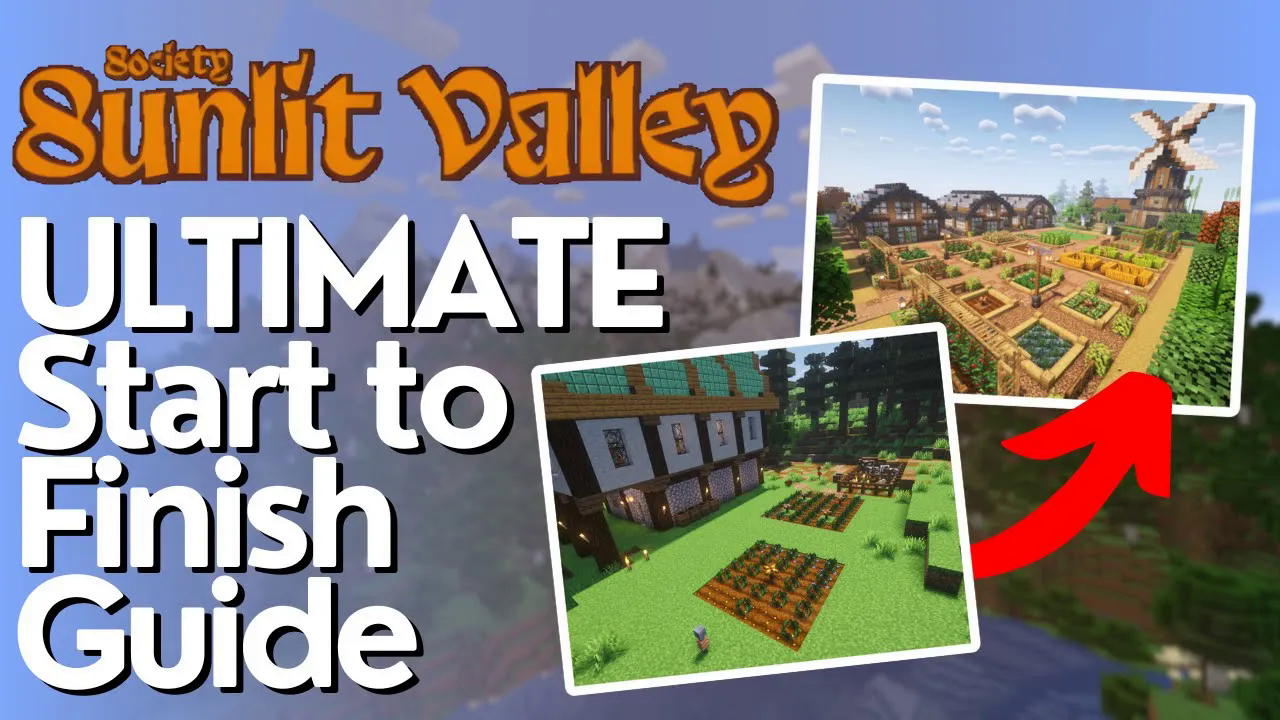
Welcome to Society Sunlit Valley, a unique Java Minecraft modpack that combines the relaxing gameplay of Stardew Valley and Animal Crossing with Minecraft’s exploration and building mechanics. This comprehensive guide will walk you through every major feature of the pack, helping you get started and progress efficiently from your first day all the way to endgame content in the Skull Cavern.
Understanding the Pack Concept
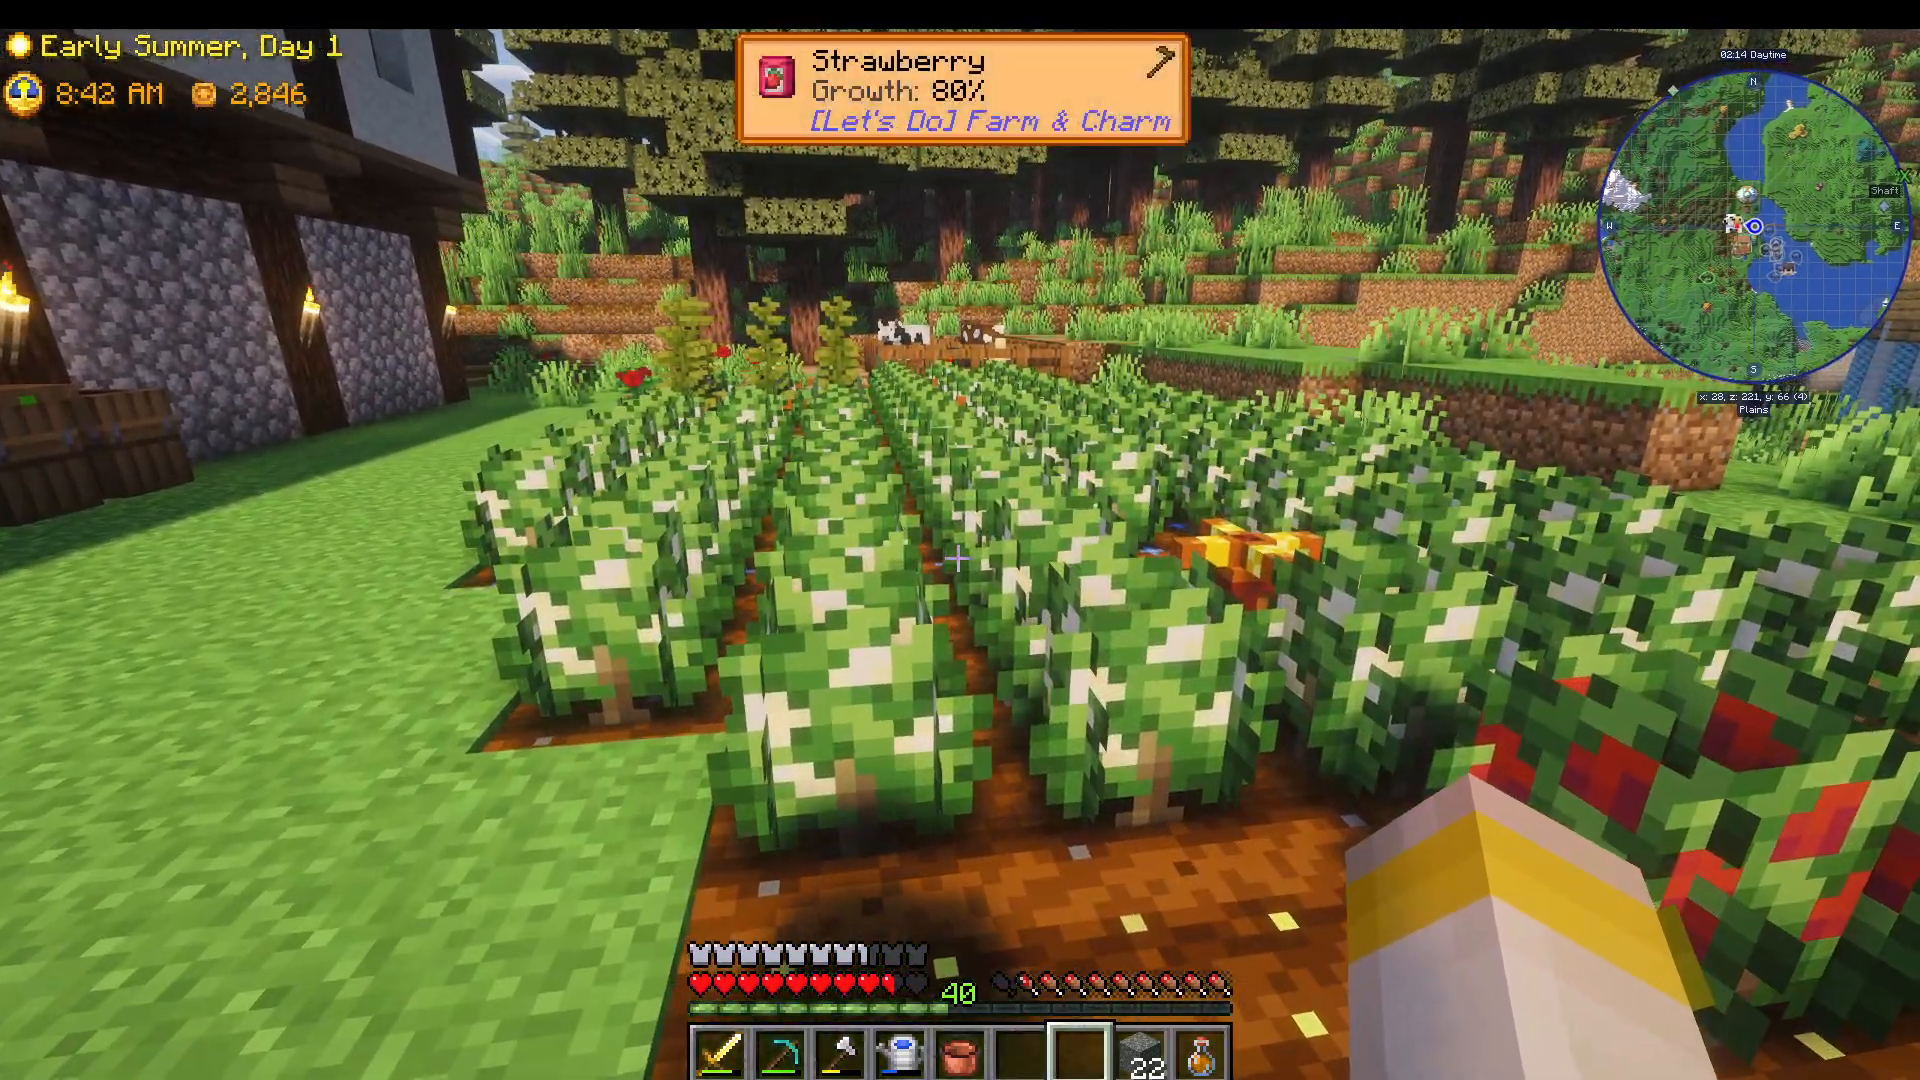
Society Sunlit Valley is fundamentally different from traditional Minecraft survival. The main concept draws inspiration from cozy farming simulators, combining agriculture, animal husbandry, and community building. You’ll spend your days growing crops, tending to animals, processing goods, and shipping items for profit rather than simply surviving.
The pack features multiple income streams including fruit and vegetable farming, animal husbandry, fishing, crop growing, and tree tapping. The complexity can scale from simple to incredibly intricate depending on how deep you want to go.
Getting Started in Your First Day
Initial Setup
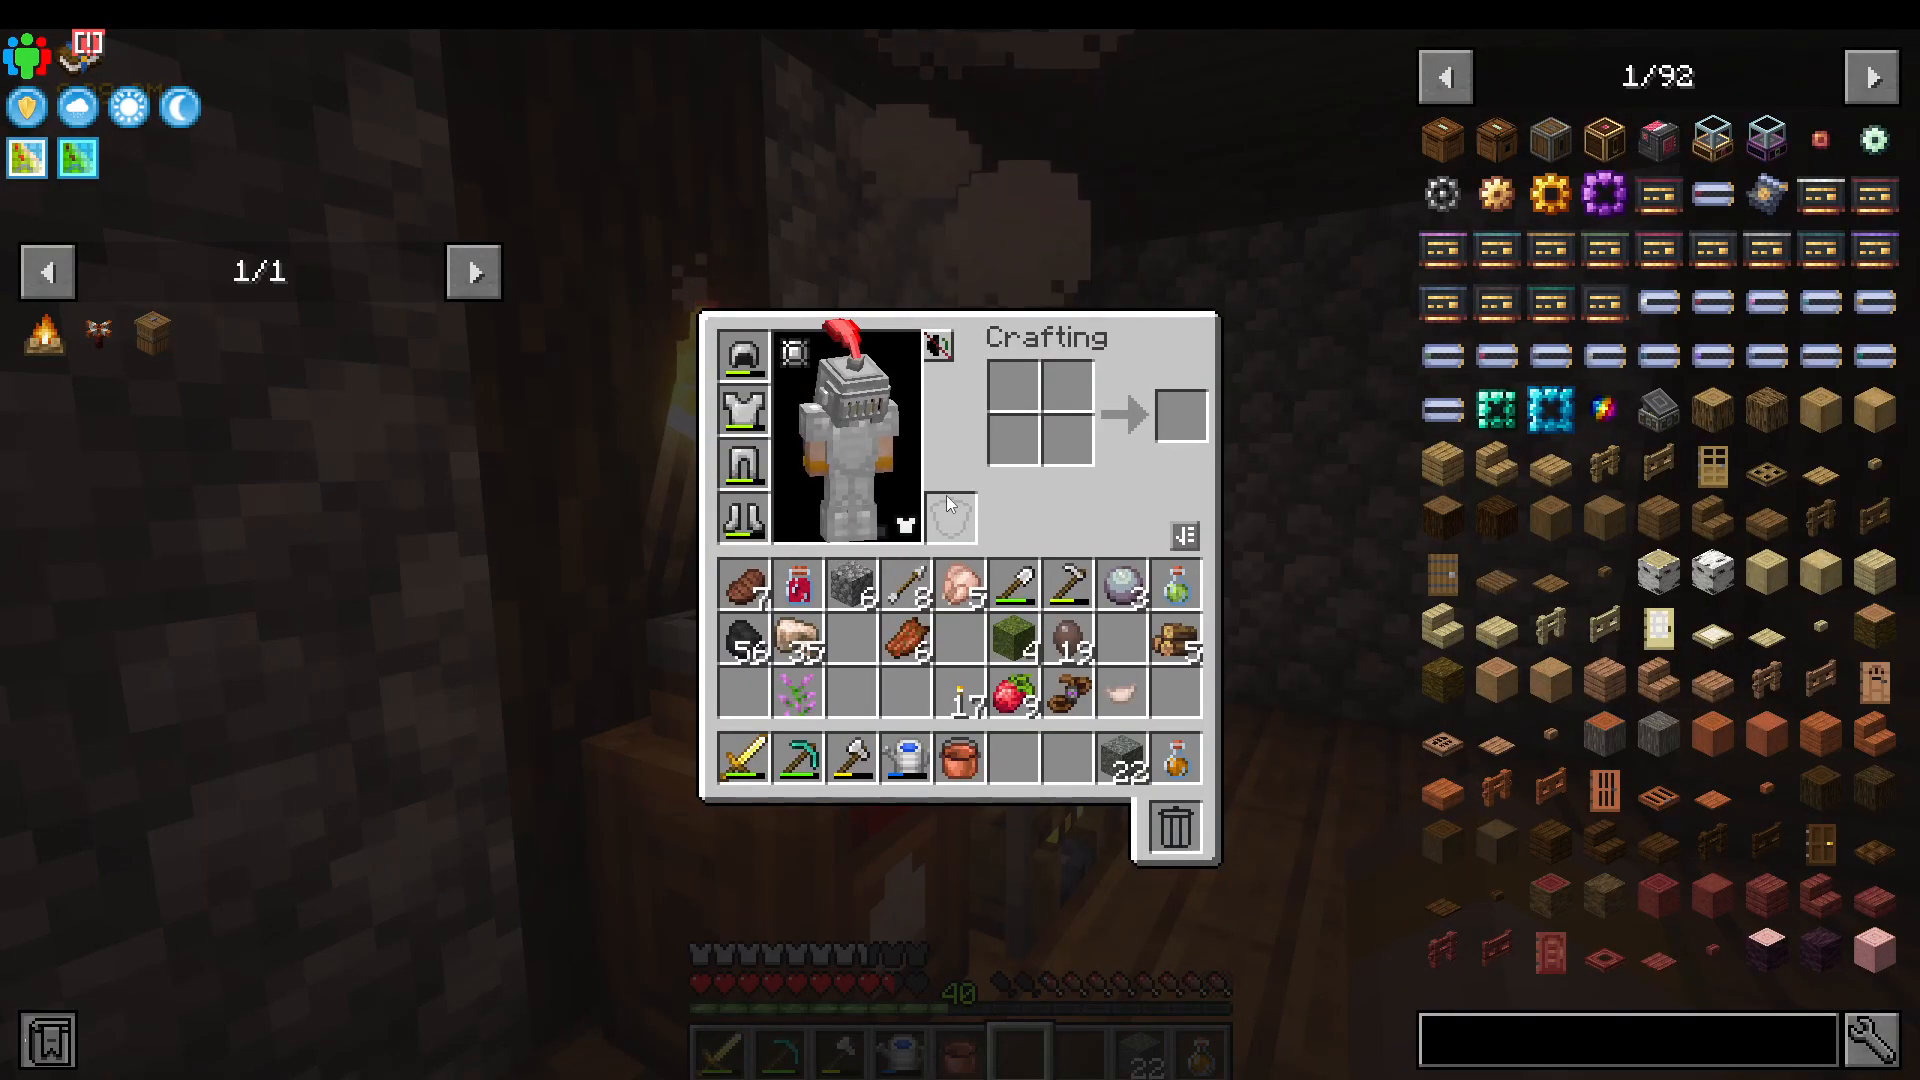
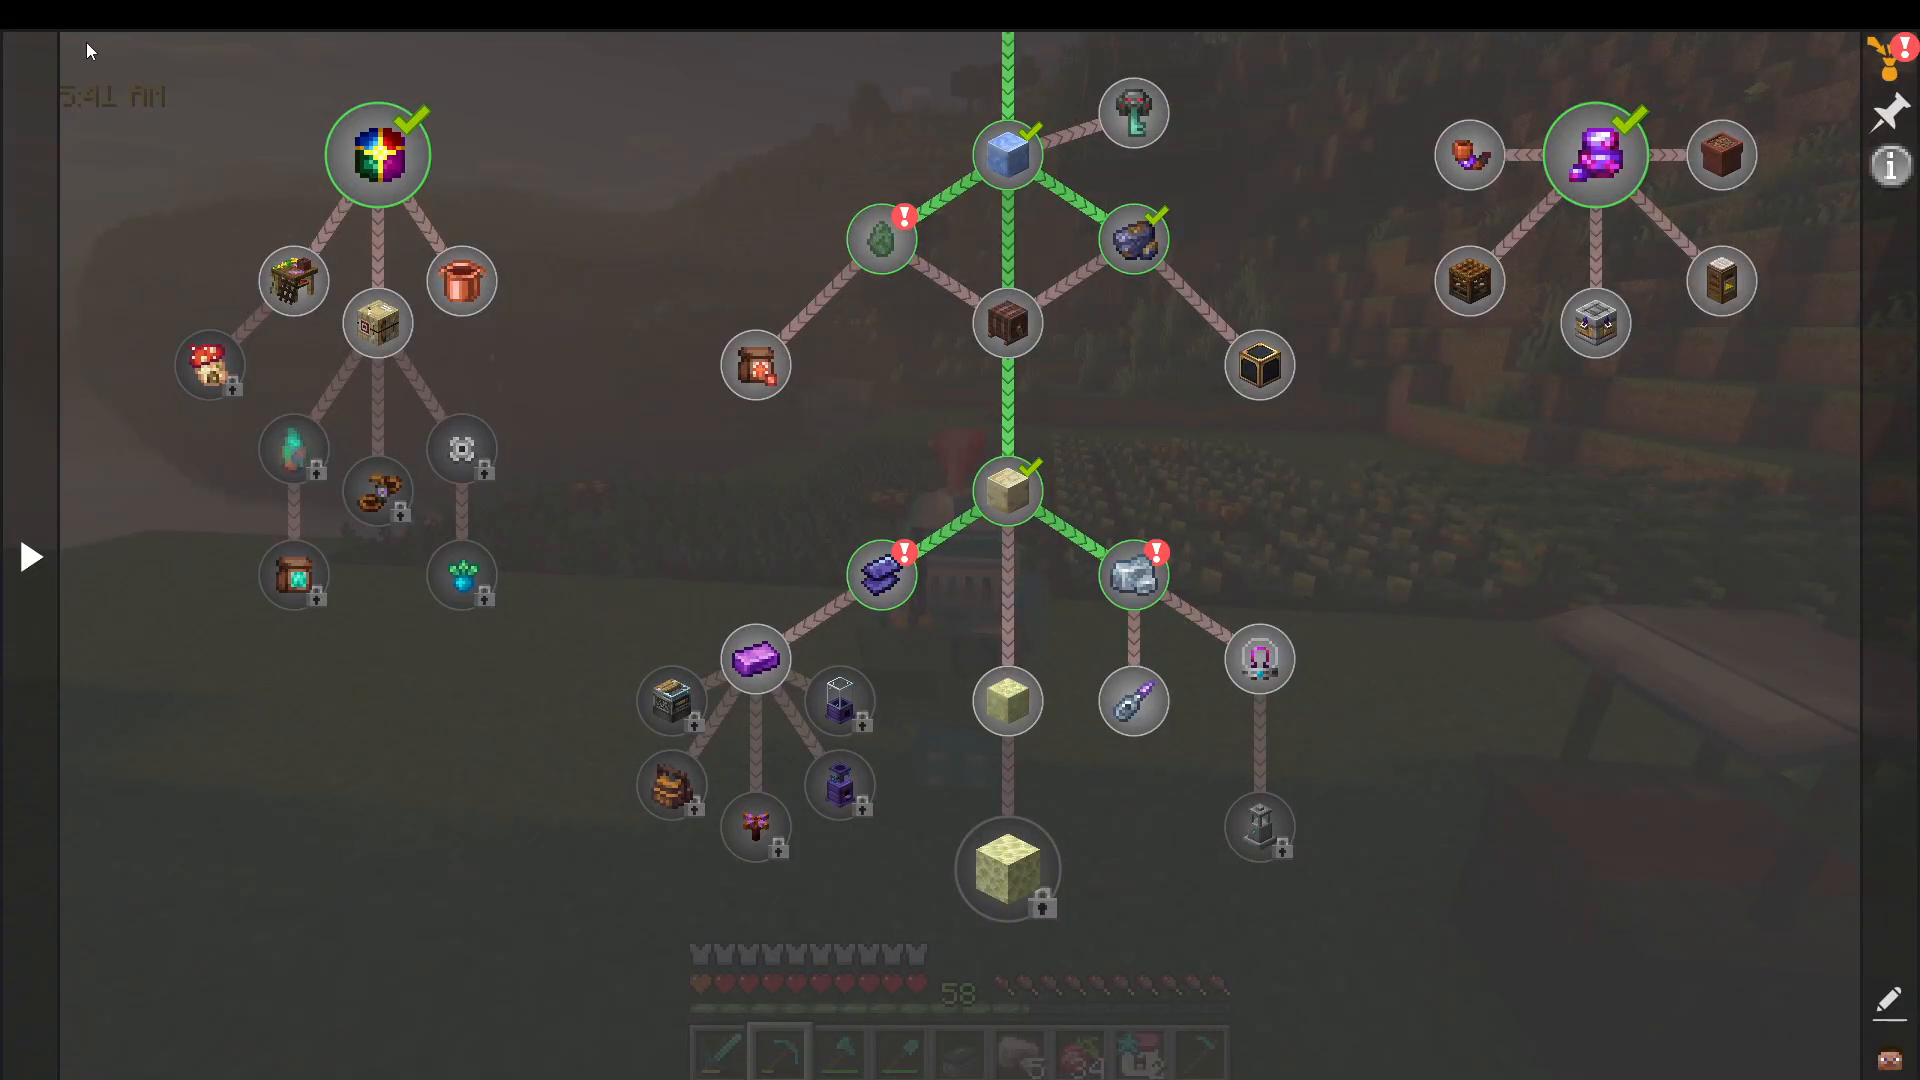
When you start, you’ll begin in a survival world. Your first action should be to access your inventory and navigate to the top left where you’ll find Feed the Beast Chunks Map. This tool allows you to claim chunks, which is especially important if you’re playing on a server.
Safety and Mob Mechanics
One of the pack’s unique features is that mobs do not spawn above ground. While zombies and other creatures won’t attack you in the overworld during the day or night, they do spawn in caves and in the special Skull Caverns. Additionally, phantoms and pillagers no longer spawn, and creepers explode with confetti instead of destroying your builds. This creates a more relaxed above-ground experience while keeping underground exploration dangerous.
The Quest System
Navigating Your Quests
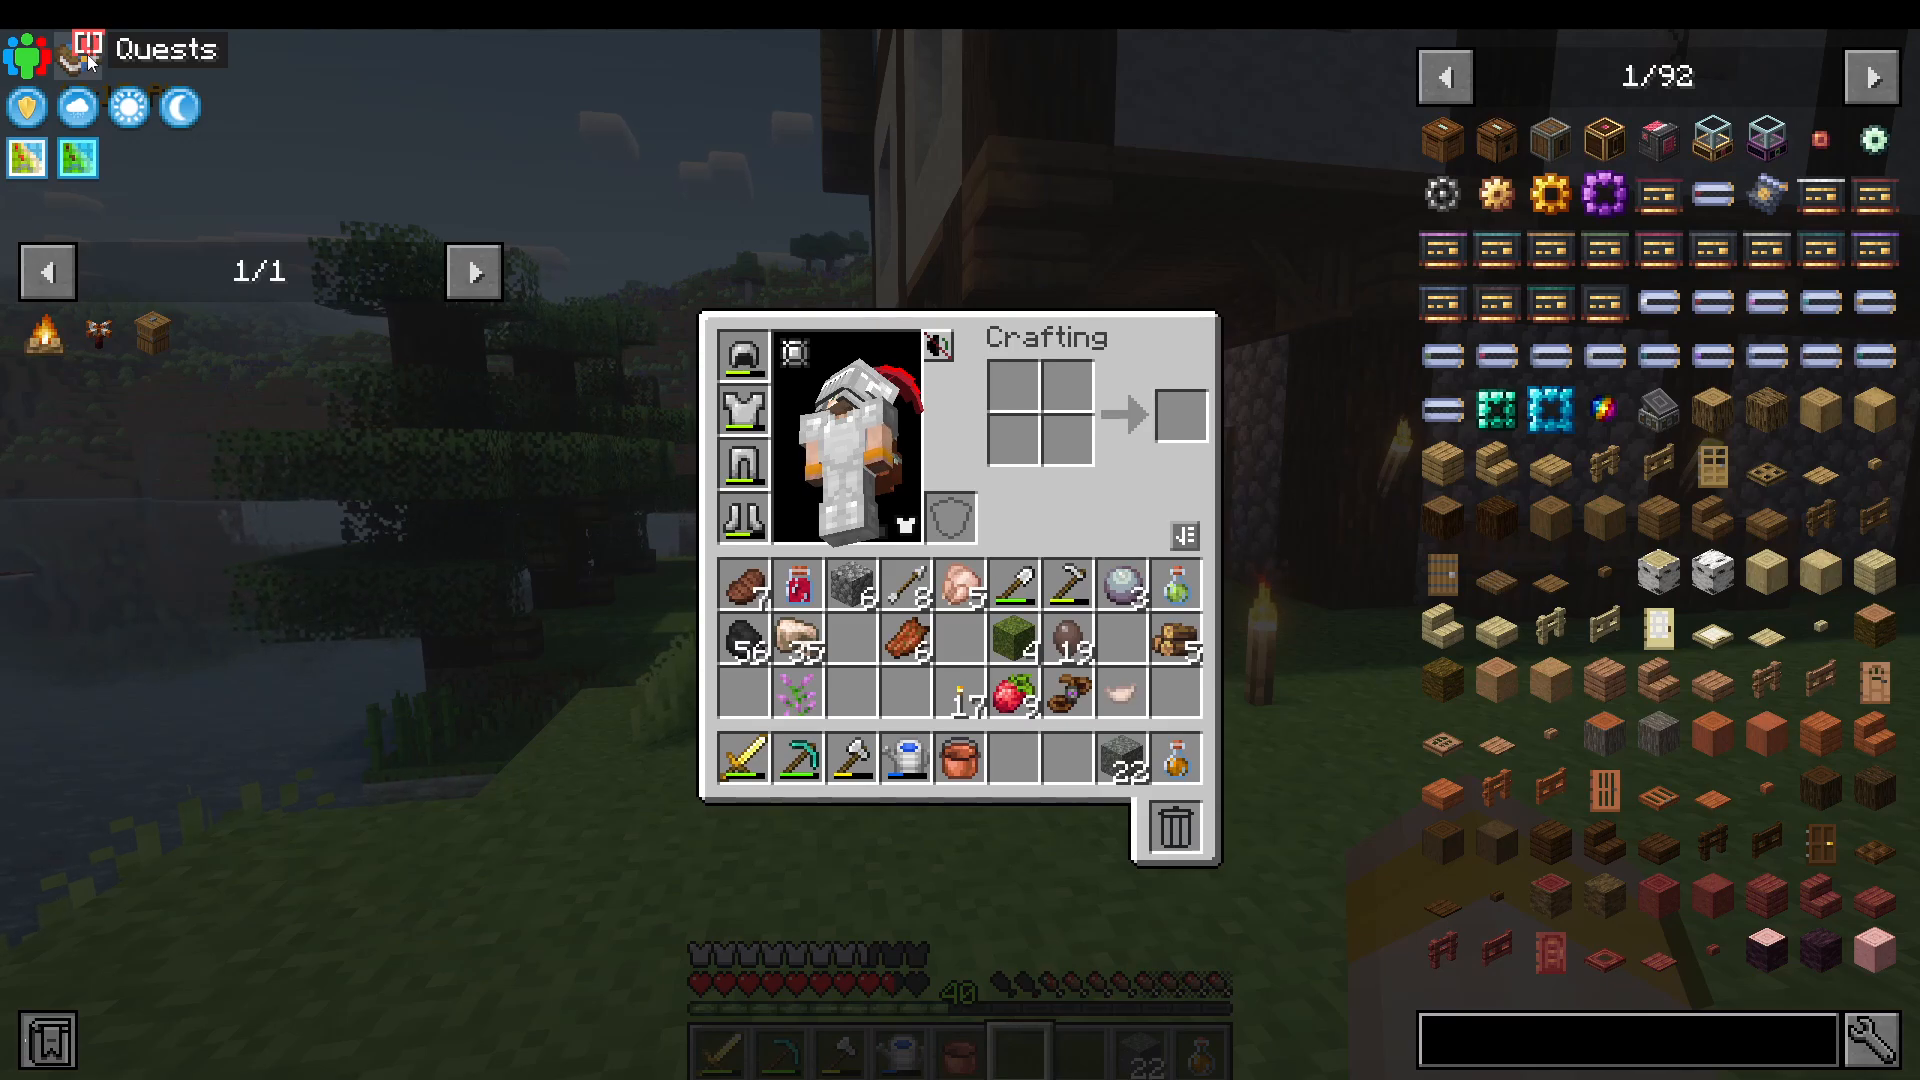
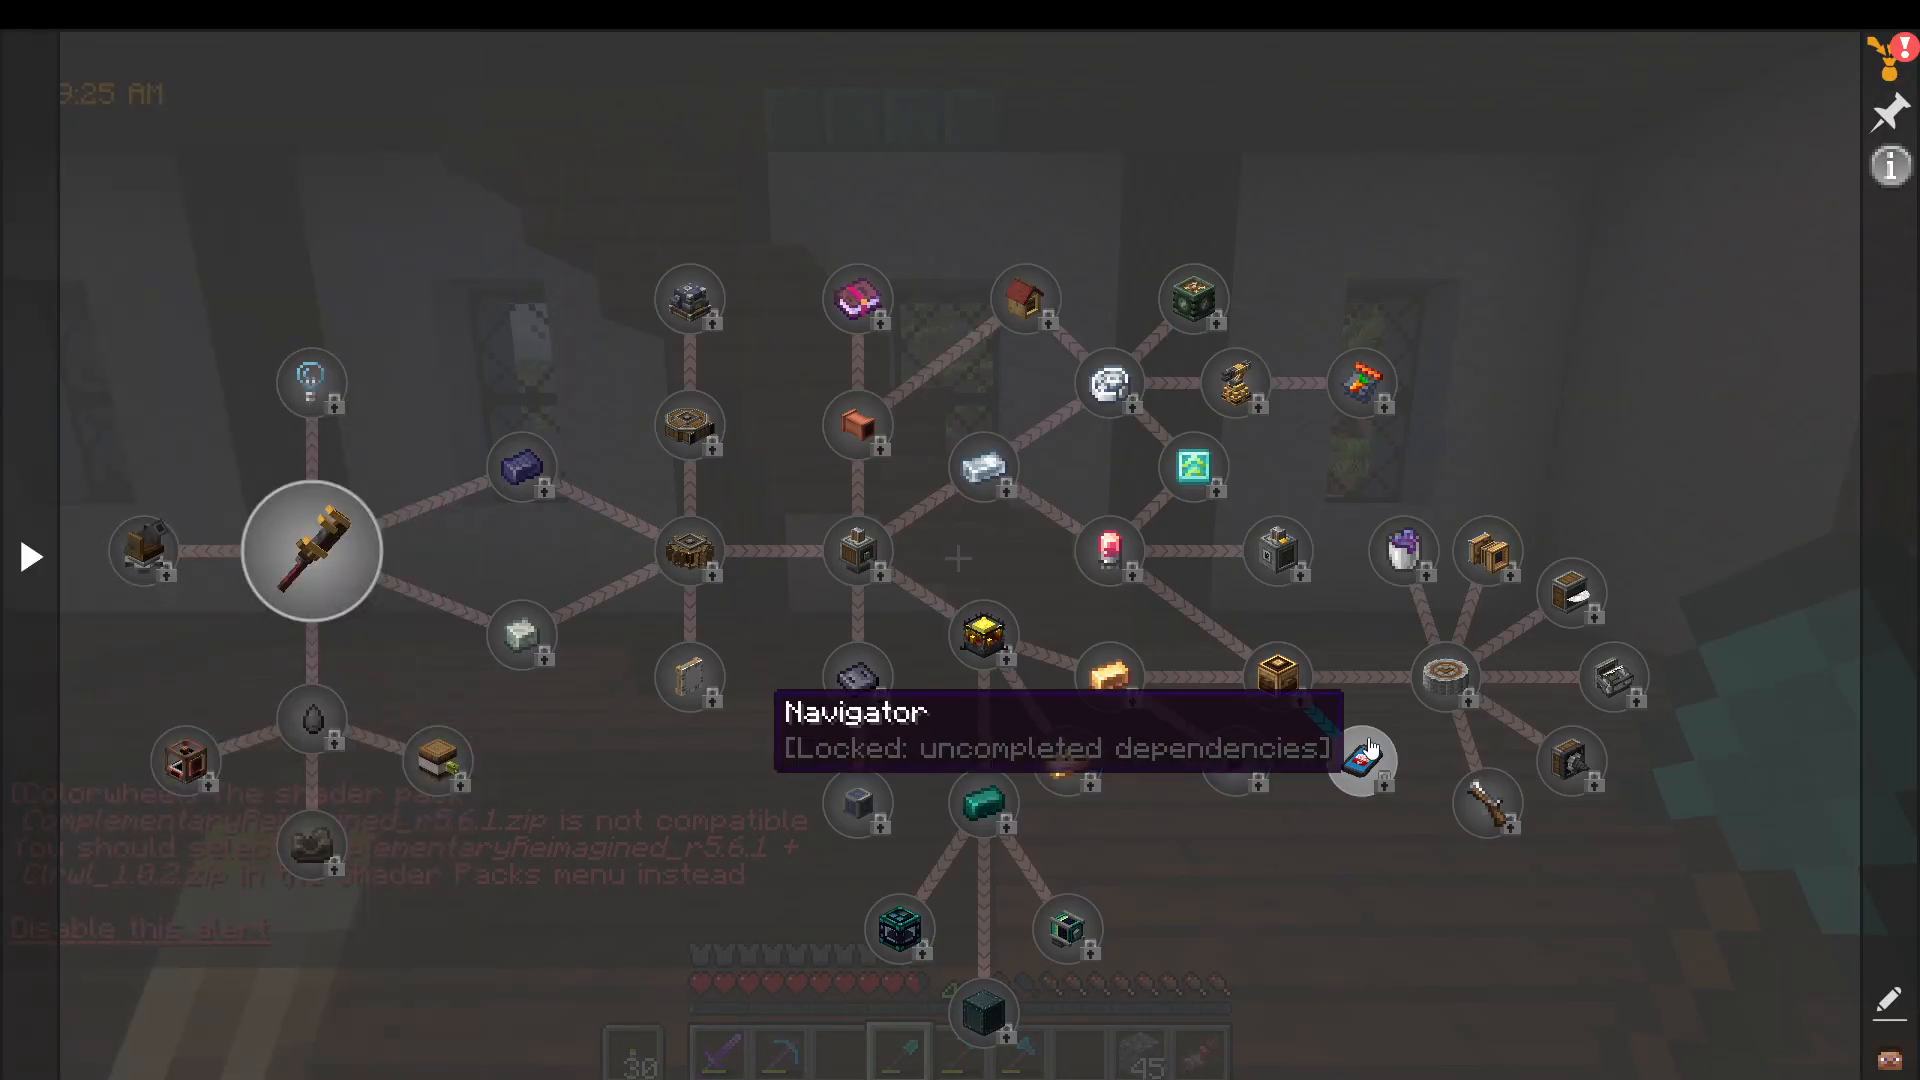
Open your quest book at the top left. You’ll see several quest categories represented by small triangles. When starting out, collapse the “Community Center” and “Collection” tabs as they can be overwhelming. Focus instead on these beginner-friendly categories:
Guides
Tutorial
Welcome
Building Shop
Welcome Tab Essentials
The Welcome tab introduces critical pack mechanics:
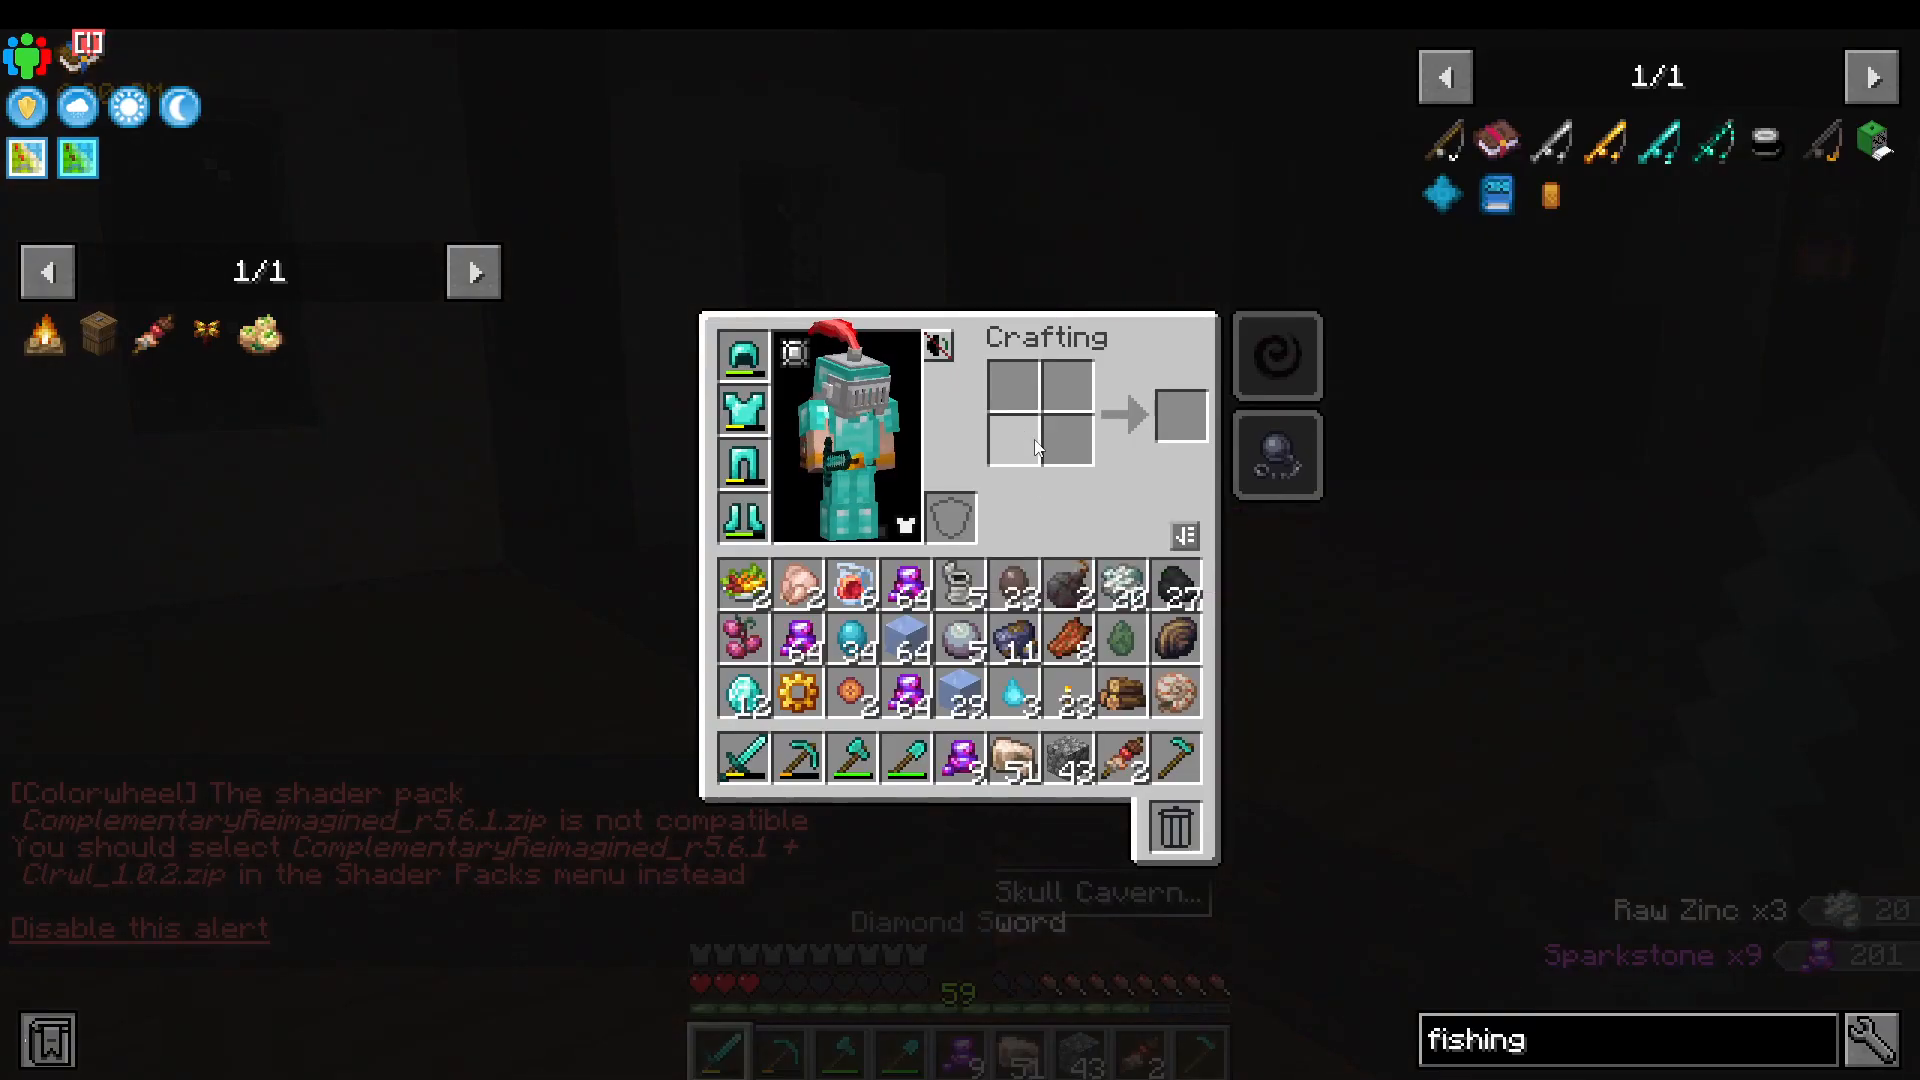
Inventory on Death: Your inventory is preserved when you die, but you will lose tool durability
Surface Safety: Mobs do not spawn above ground, making the overworld relatively safe
Underground Danger: Caves and Skull Caverns contain hostile mobs with enhanced difficulty
Tool and Armor Progression System
How Tools Work
Unlike traditional Minecraft, tools never lose durability during normal use. You start with a basic wooden tool and can craft a wooden pickaxe as usual. However, to upgrade beyond this, you must use a smithing table with the following recipe:
Wooden Pickaxe
Piece of Cobblestone
Brass Coin
This combination creates a stone pickaxe that will never lose durability. You can use these tools forever, slowly upgrading through different tiers.
Armor Progression
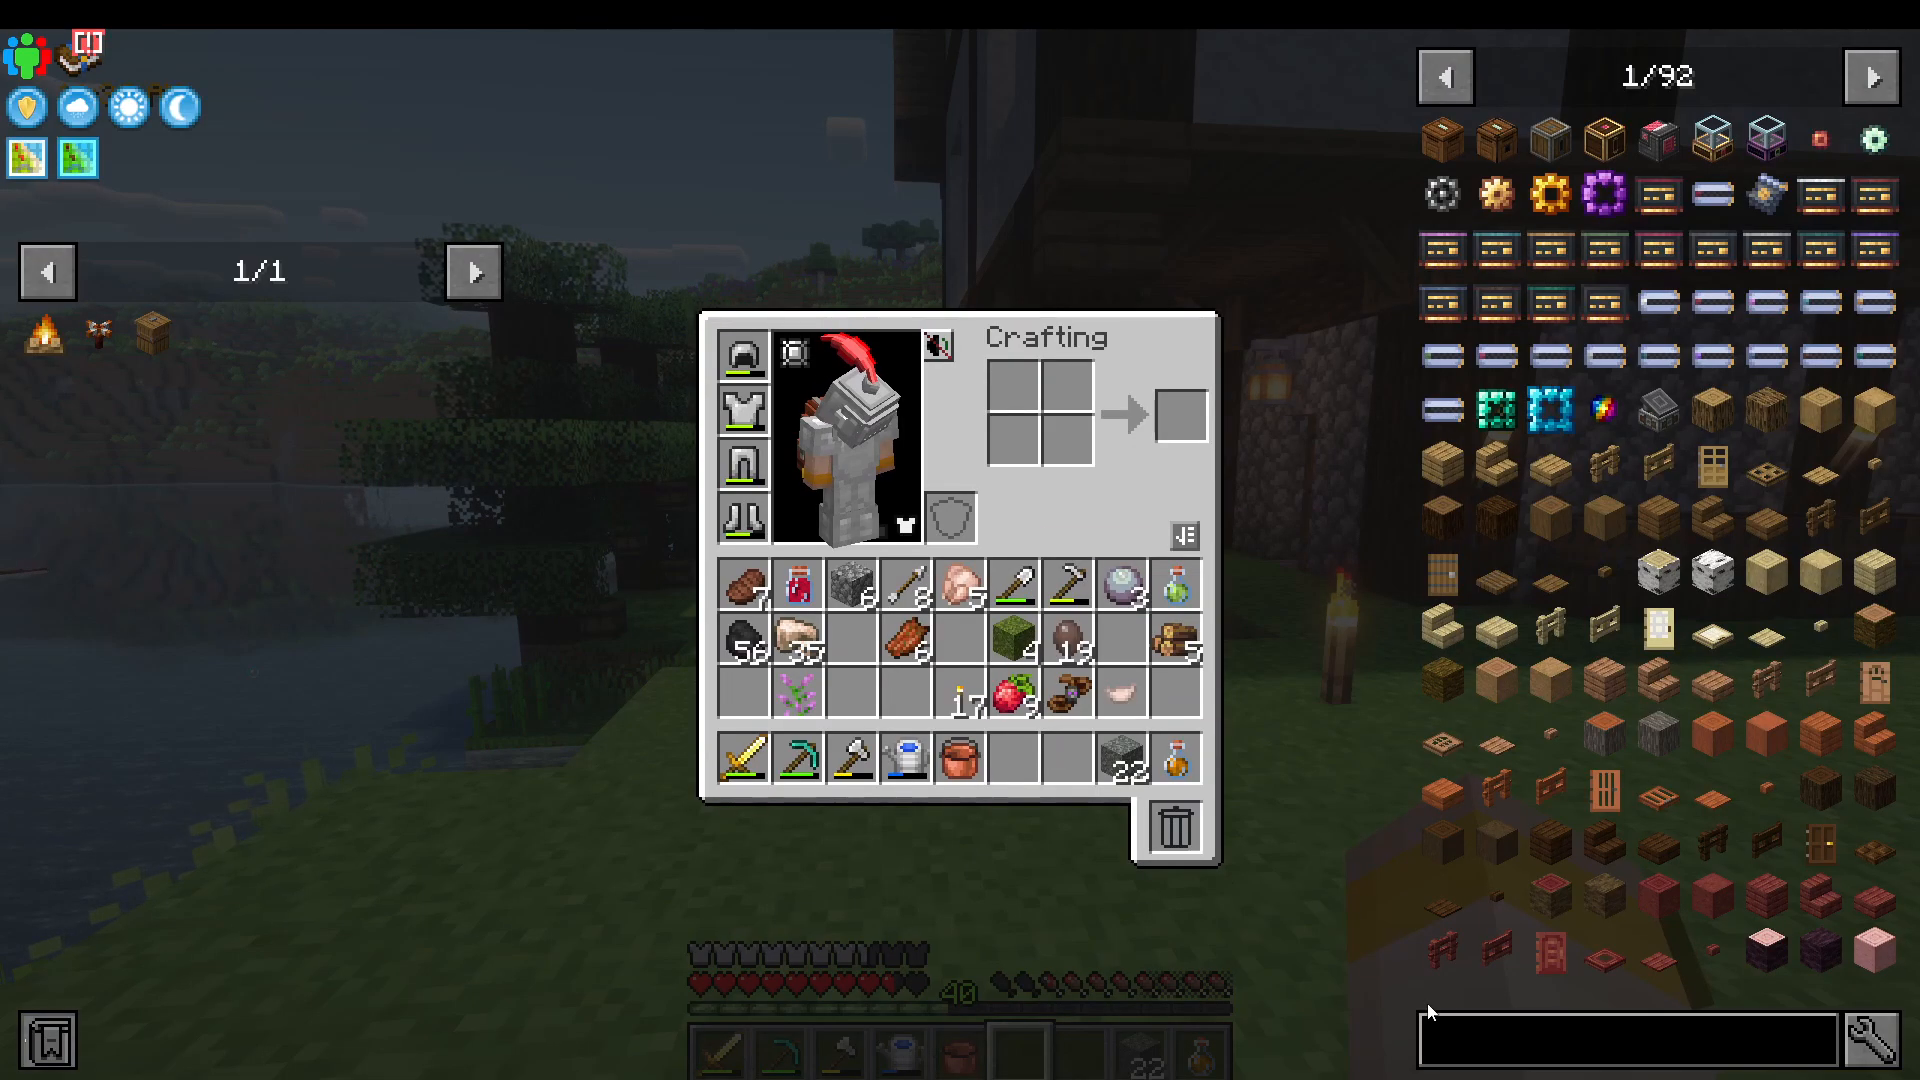
Armor follows a similar upgrade path: Leather → Chainmail → Iron → Gold → Diamond → and beyond. You’ll need smithing templates from traders to progress through tiers, with costs increasing as you advance.
Food Diversity System
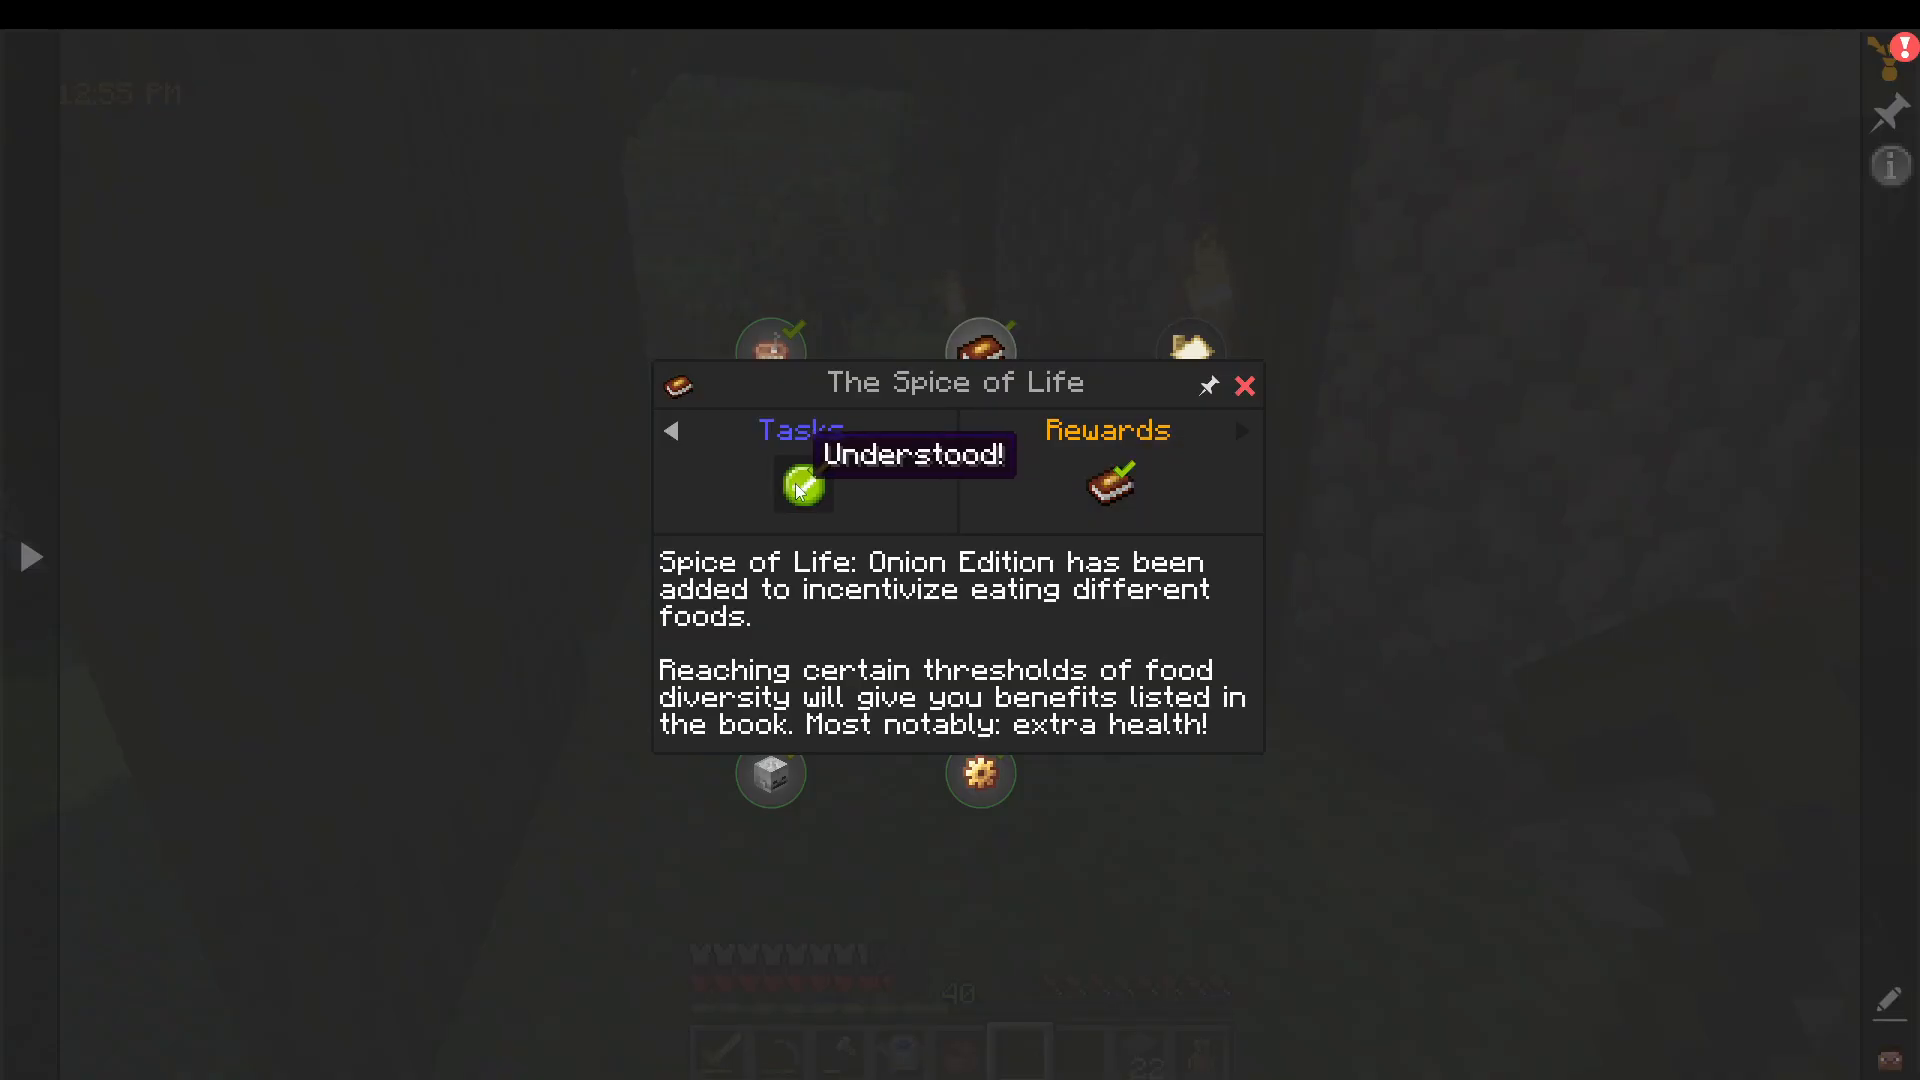
The Food Book Quest
Complete the “Dispatch of Life” quest to receive a food book. This item tracks your current food diversity, starting at 1.67. Food diversity provides significant health and status bonuses:
Diversity 5: +2 max health
Diversity 10: Strength I
Diversity 40: +20 max health
Different foods grant different diversity values. Raw chicken gives 0.14 diversity, while steak gives 2 diversity. You’ll need high food diversity later when exploring the Skull Cavern.
Progression Path Through the Pack
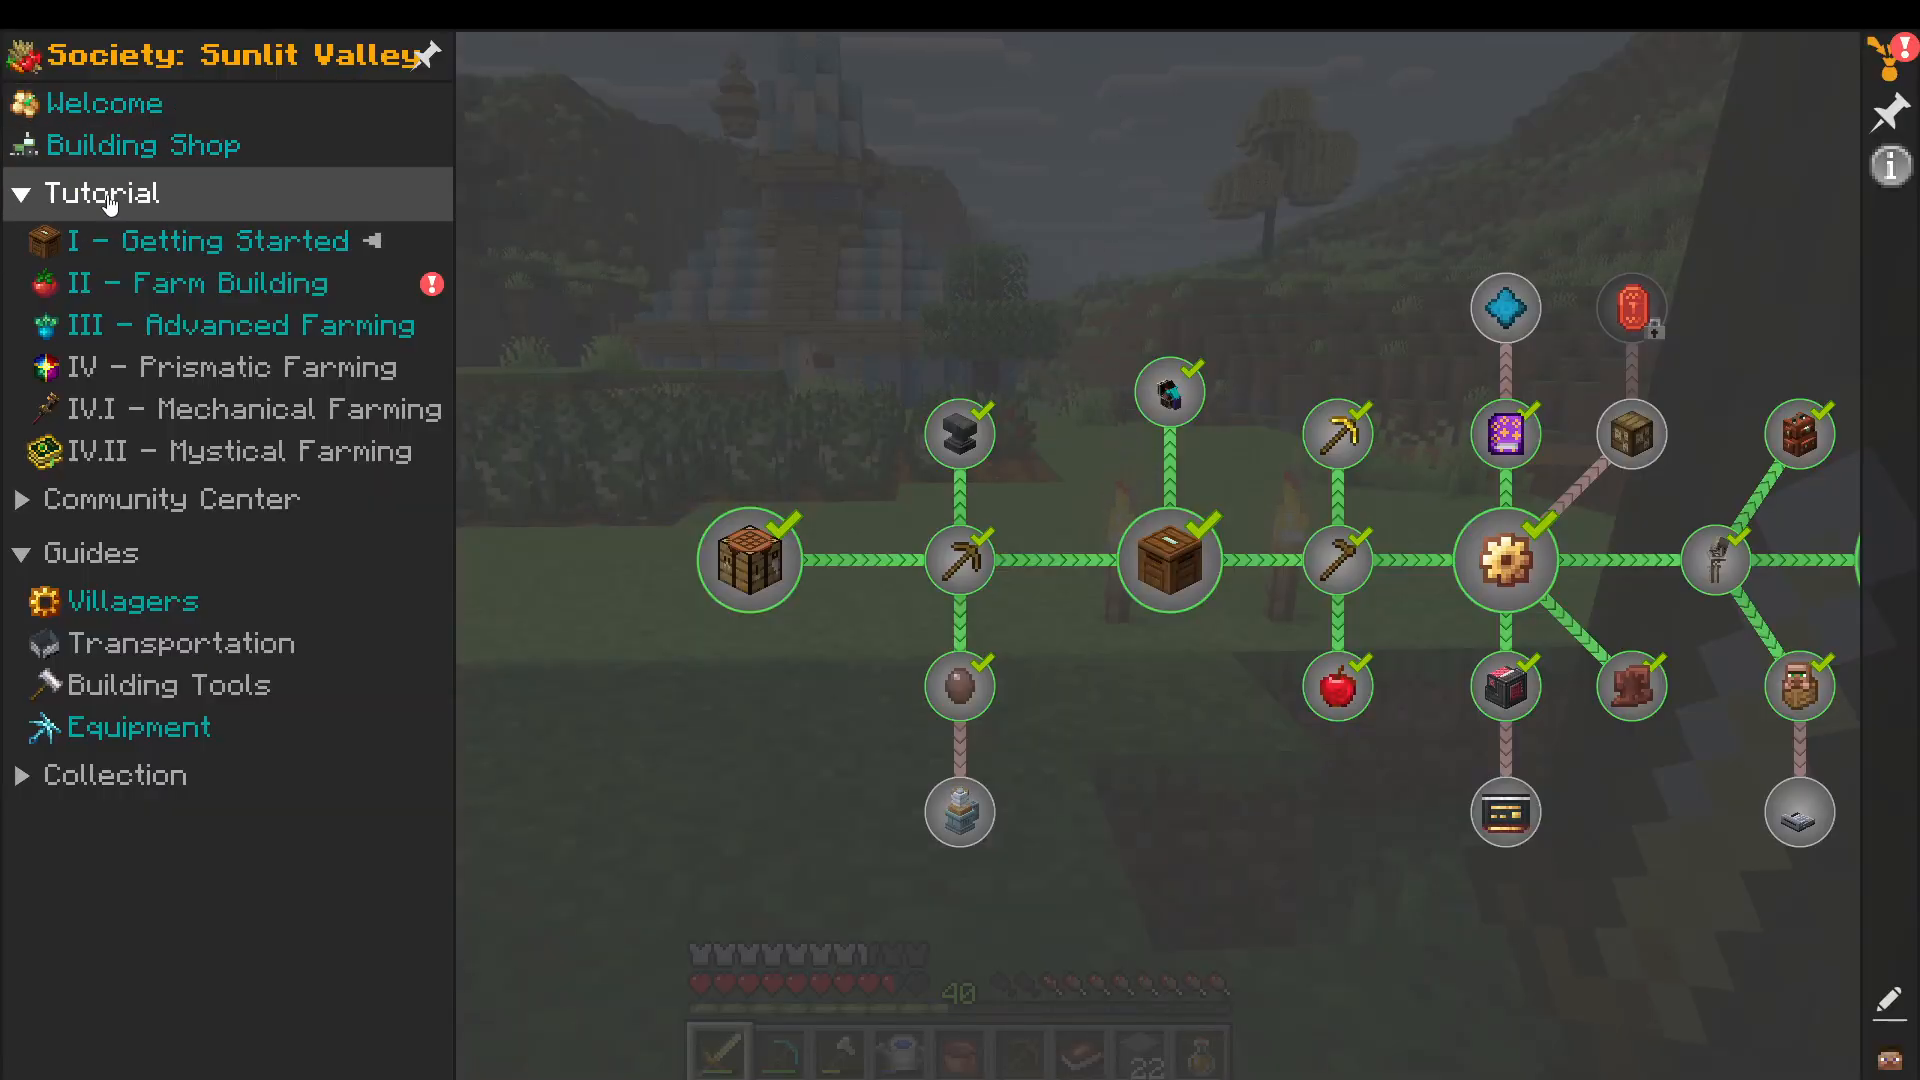
Quest Chapters in Order
Follow these quest chapters in sequence to progress naturally through the pack:
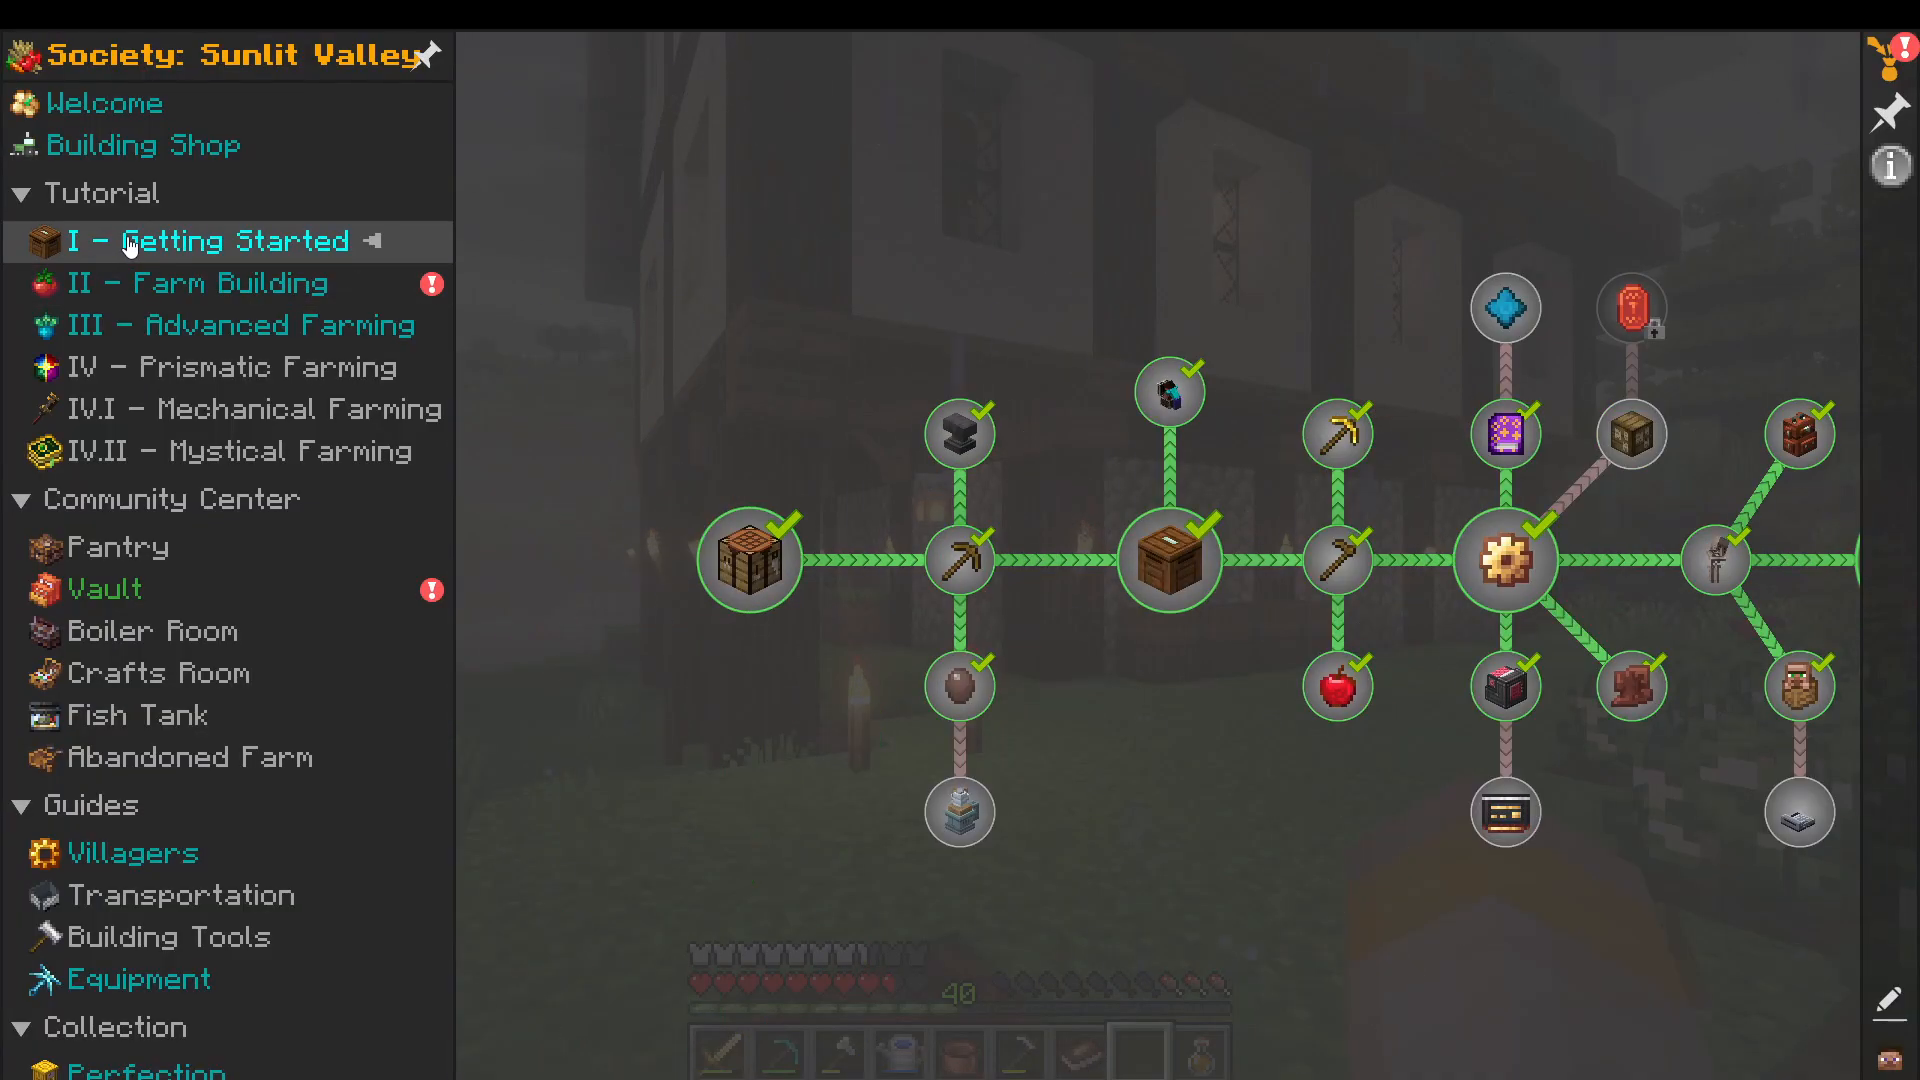
Getting Started: Obtain your farmhouse
Farm Building: Learn farming basics and work toward acquiring flint and steel for the Nether
Advanced Farming: Begin exploration of the Nether and progress toward Skull Cavern
Prismatic Farming: Navigate the Skull Cavern
Mechanical and Mystical: Progress into endgame content with Create and Botania
Trading and the Villager System
Important Villager Mechanics
Unlike vanilla Minecraft, villagers in this pack do not level up and will not change trades. However, there are many different villager types available. To prevent villagers from wandering, craft a white seat and right-click your villager onto it. Villagers will then remain stationary.
Obtaining Your First Villager
In the “Getting Started” quest, you’ll receive a village spawn crate that gives you your first villager. Alternatively, you can find villagers naturally spawning in existing villages on your map, or you can create a market.
The Market Villager
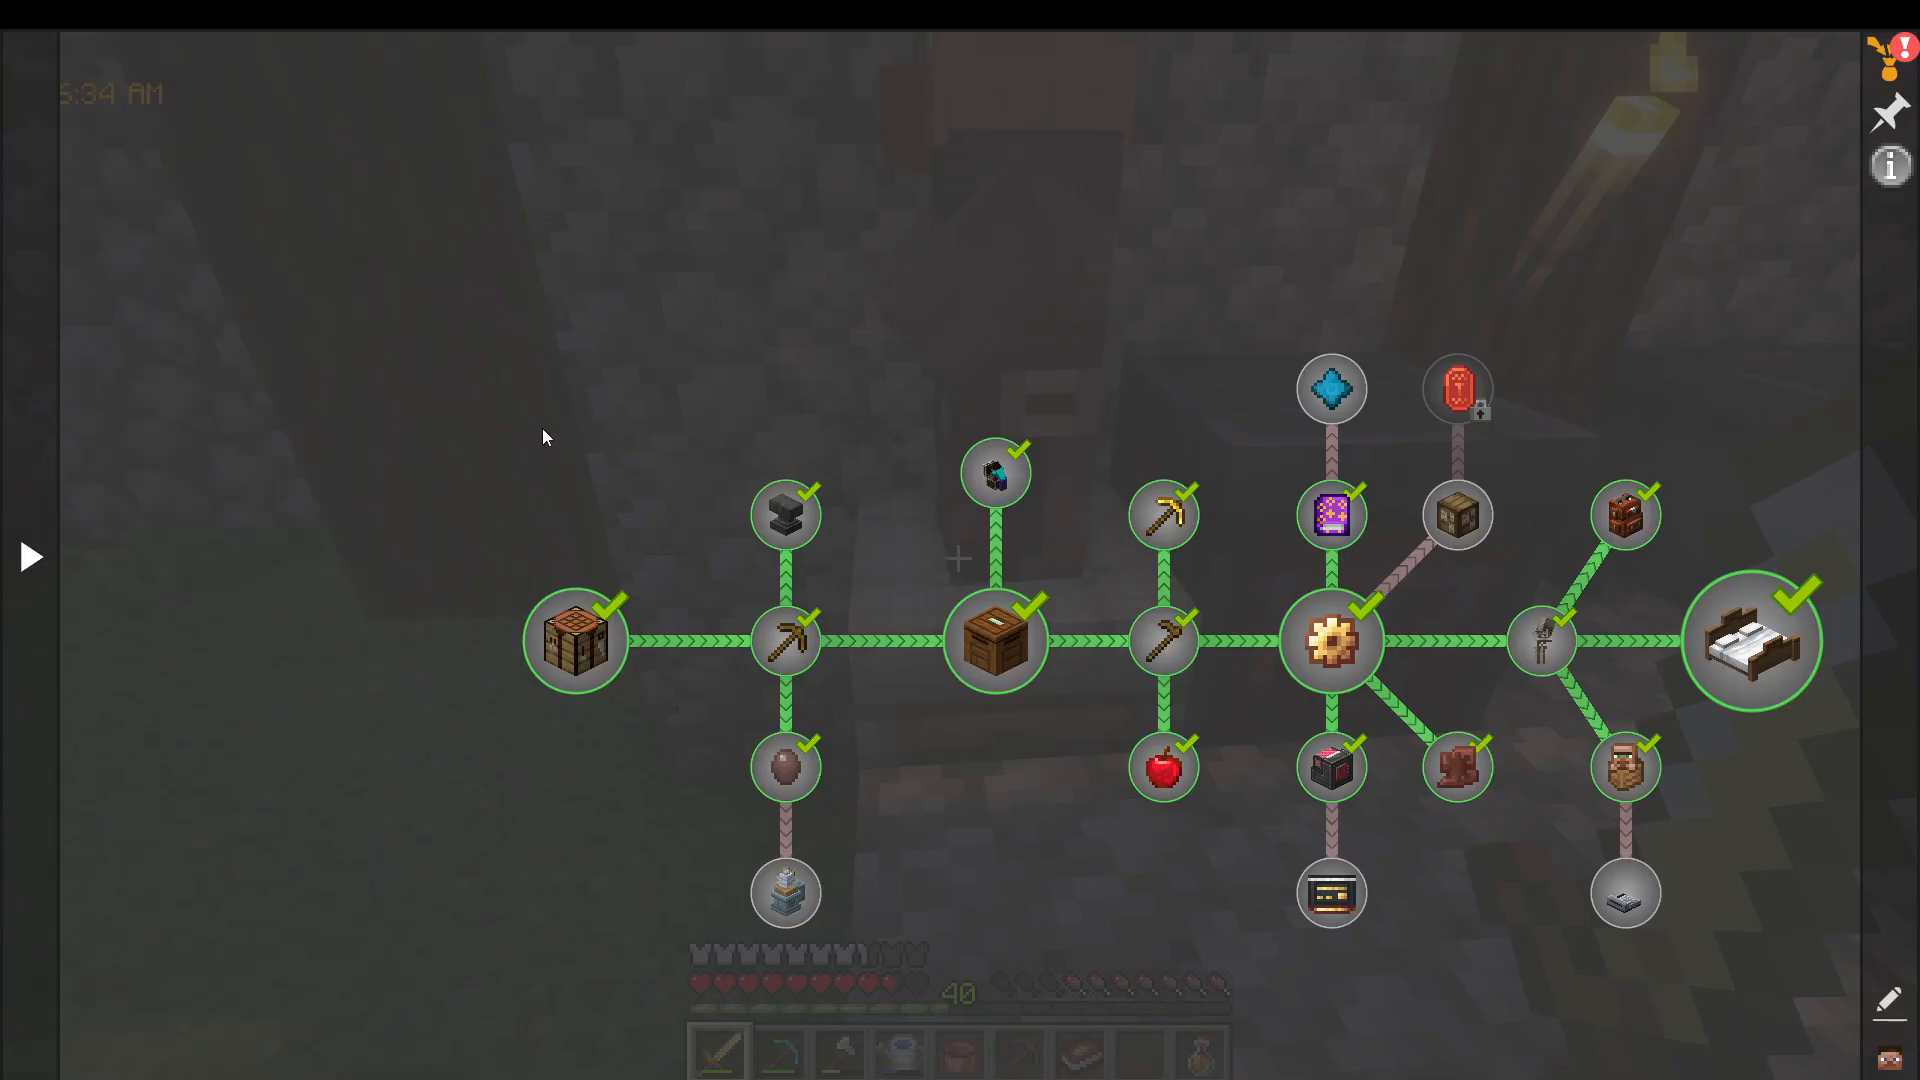
A market is crafted from a chest and zinc coins. The market villager sells seeds and various crops including rice, cactus, and sugar cane. Note that some items only become available after you’ve found them elsewhere in the world.
Currency System and Coin Tiers
Six Main Coin Tiers
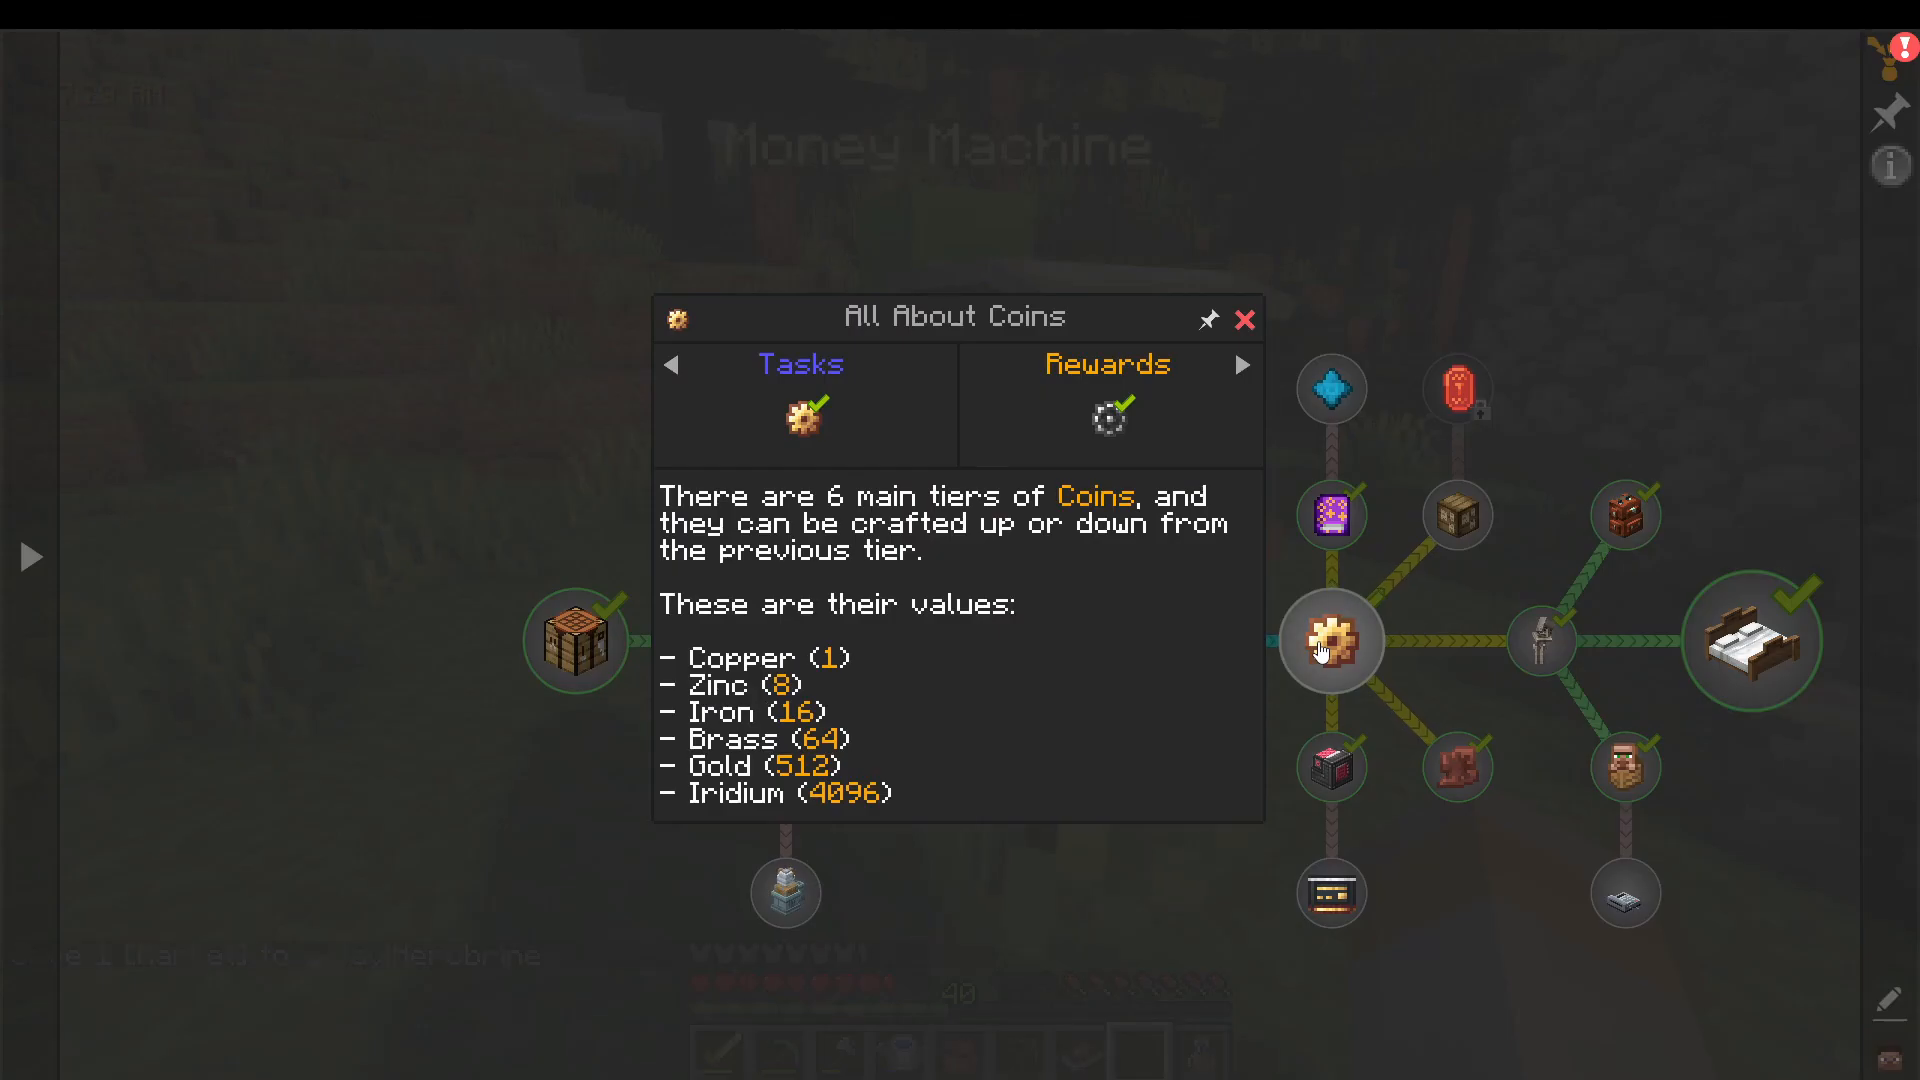
The currency system uses six tiers of coins that can be crafted up or down from one tier to the next:
Copper Coin = 1 cent (base unit)
Zinc Coin = 8
Iron Coin = 16
Brass Coin = 64
Gold Coin = 500
Iridium Coin = 4,096
Earning Money Through the Shipping Bin
Place items in a basic shipping bin. Every night, items are automatically sold and replaced with coins at 6am. Early-game profitable items include:
Raw Ore: Raw iron and cold are worth 8 coins each
Berry Bushes: Breaking a single bush yields 5 berries worth 80 coins total
Exploration Loot: Valuable items found in structure chests
Villager Types and Their Trades
Complete Villager List
Bard (Note Block): Sells music items, cameras, film, and easels. Not needed early game.
Shepherd (Loom): Essential for animal husbandry. Provides animal feed, feeding troughs for automatic feeding, milk, payals, and animal spawn crates.
Farmer (Composter): Sells tree fertilizer, herb fertilizers, salt, sugar, glass bottles, and jars for processing.
Fisherman (Barrel): Provides fishing rods, worms, fishing hooks, and other fishing equipment.
Grindstone Worker (Grindstone): Sells refined storage blocks and barrel upgrades for backpacks and organization systems.
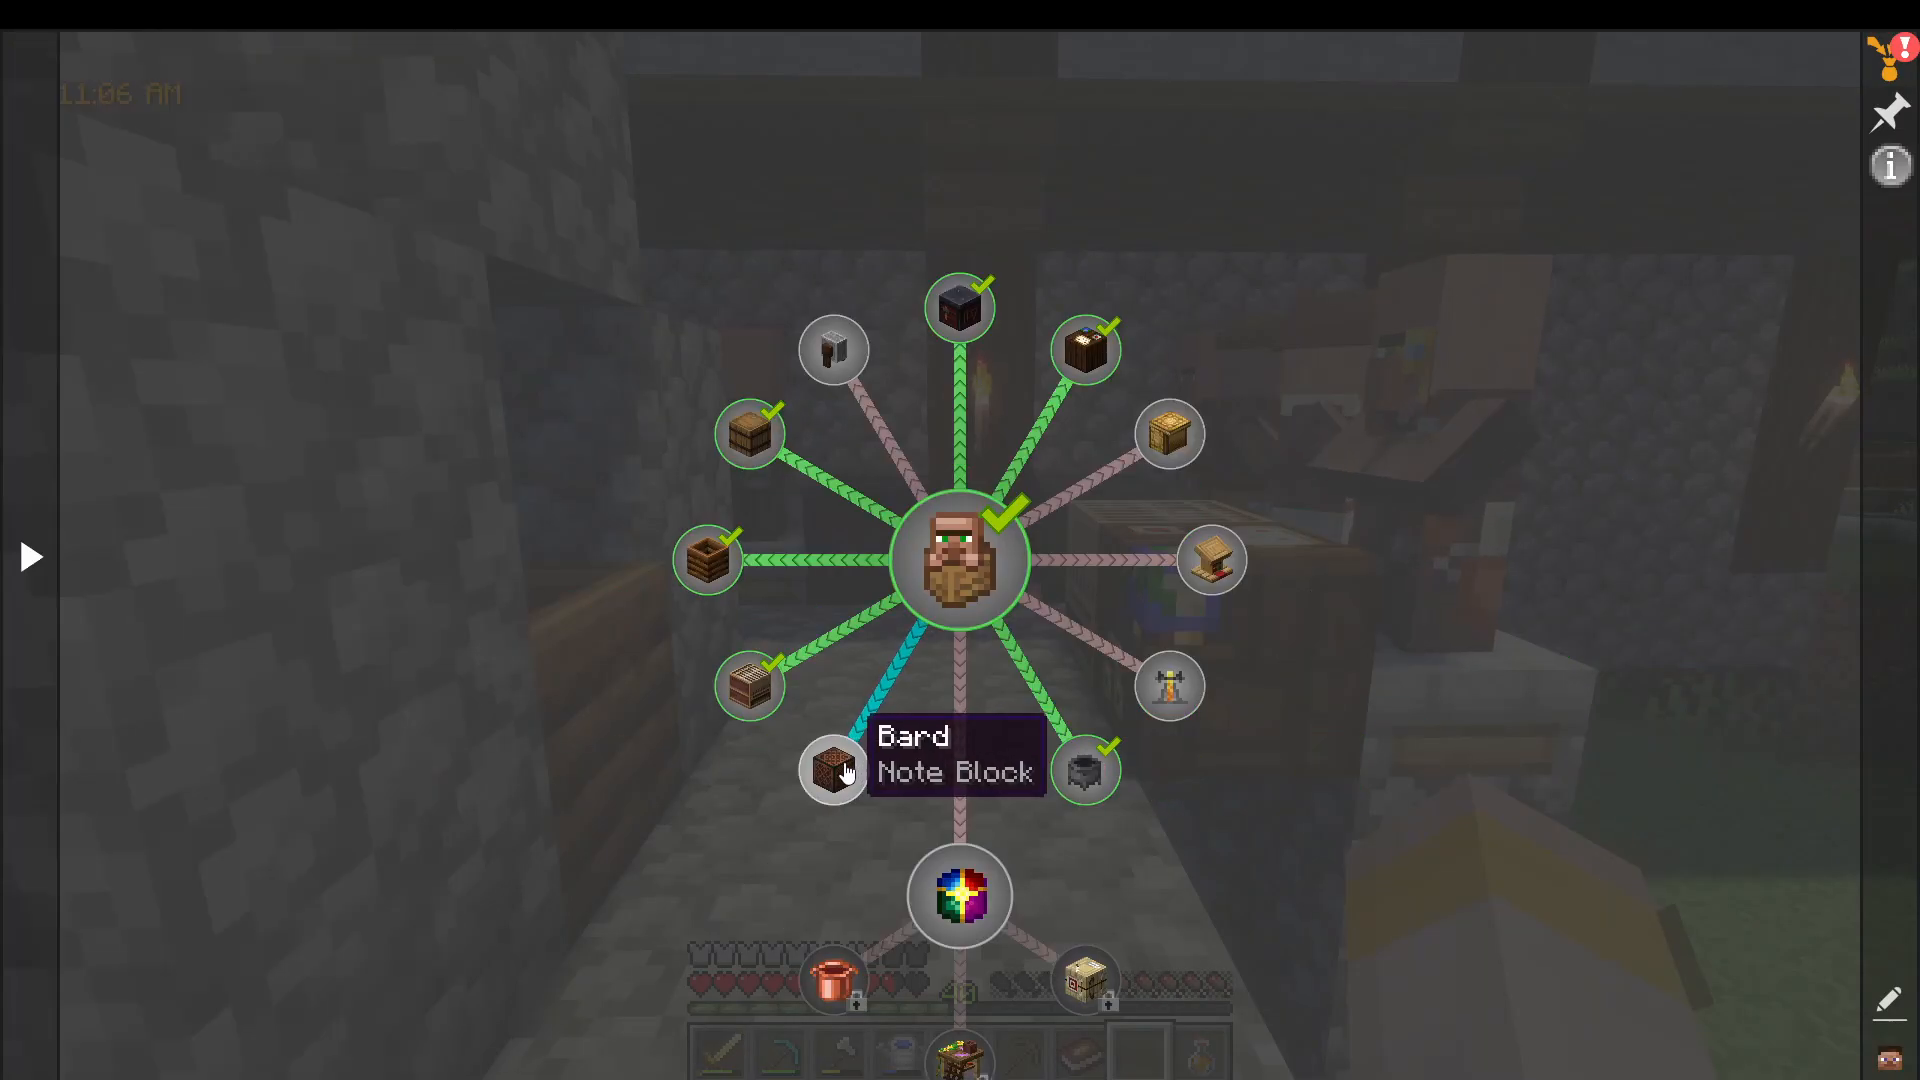
Smithing Table (Smithing Table): The most important early-game villager. Sells zinc ingots, flint and steel (20,000 coins), and smithing templates for armor and tool upgrades at costs ranging from 512 coins (iron) to 4,000 coins (gold) and beyond.
Banker (Cartography Table): Sells bank terminals for storing coins and advanced shipping bins. Also sells the bank meter (64 coins) which displays your balance in the top-left corner when equipped in the Curios slot.
Bar Keeper (Bar): Provides quality food items and lunch boxes for early-game sustenance.
Cleric (Lectern): Sells pickers, light wings, half stones (teleport to spawn point), blaze powder, stone wands, and crystals of regret for resetting skill points.
Librarian (Lectern): Sells enchanting tables, books, and disenchanters.
Level Worker (Lever Worker): Provides sewing tables and gear upgrades.
Advanced Late-Game Villagers
Later in the game, you can unlock advanced villagers using prismatic shards from the Skull Cavern:
Exotic Trader
Mystical Botanist
Master Cultivator
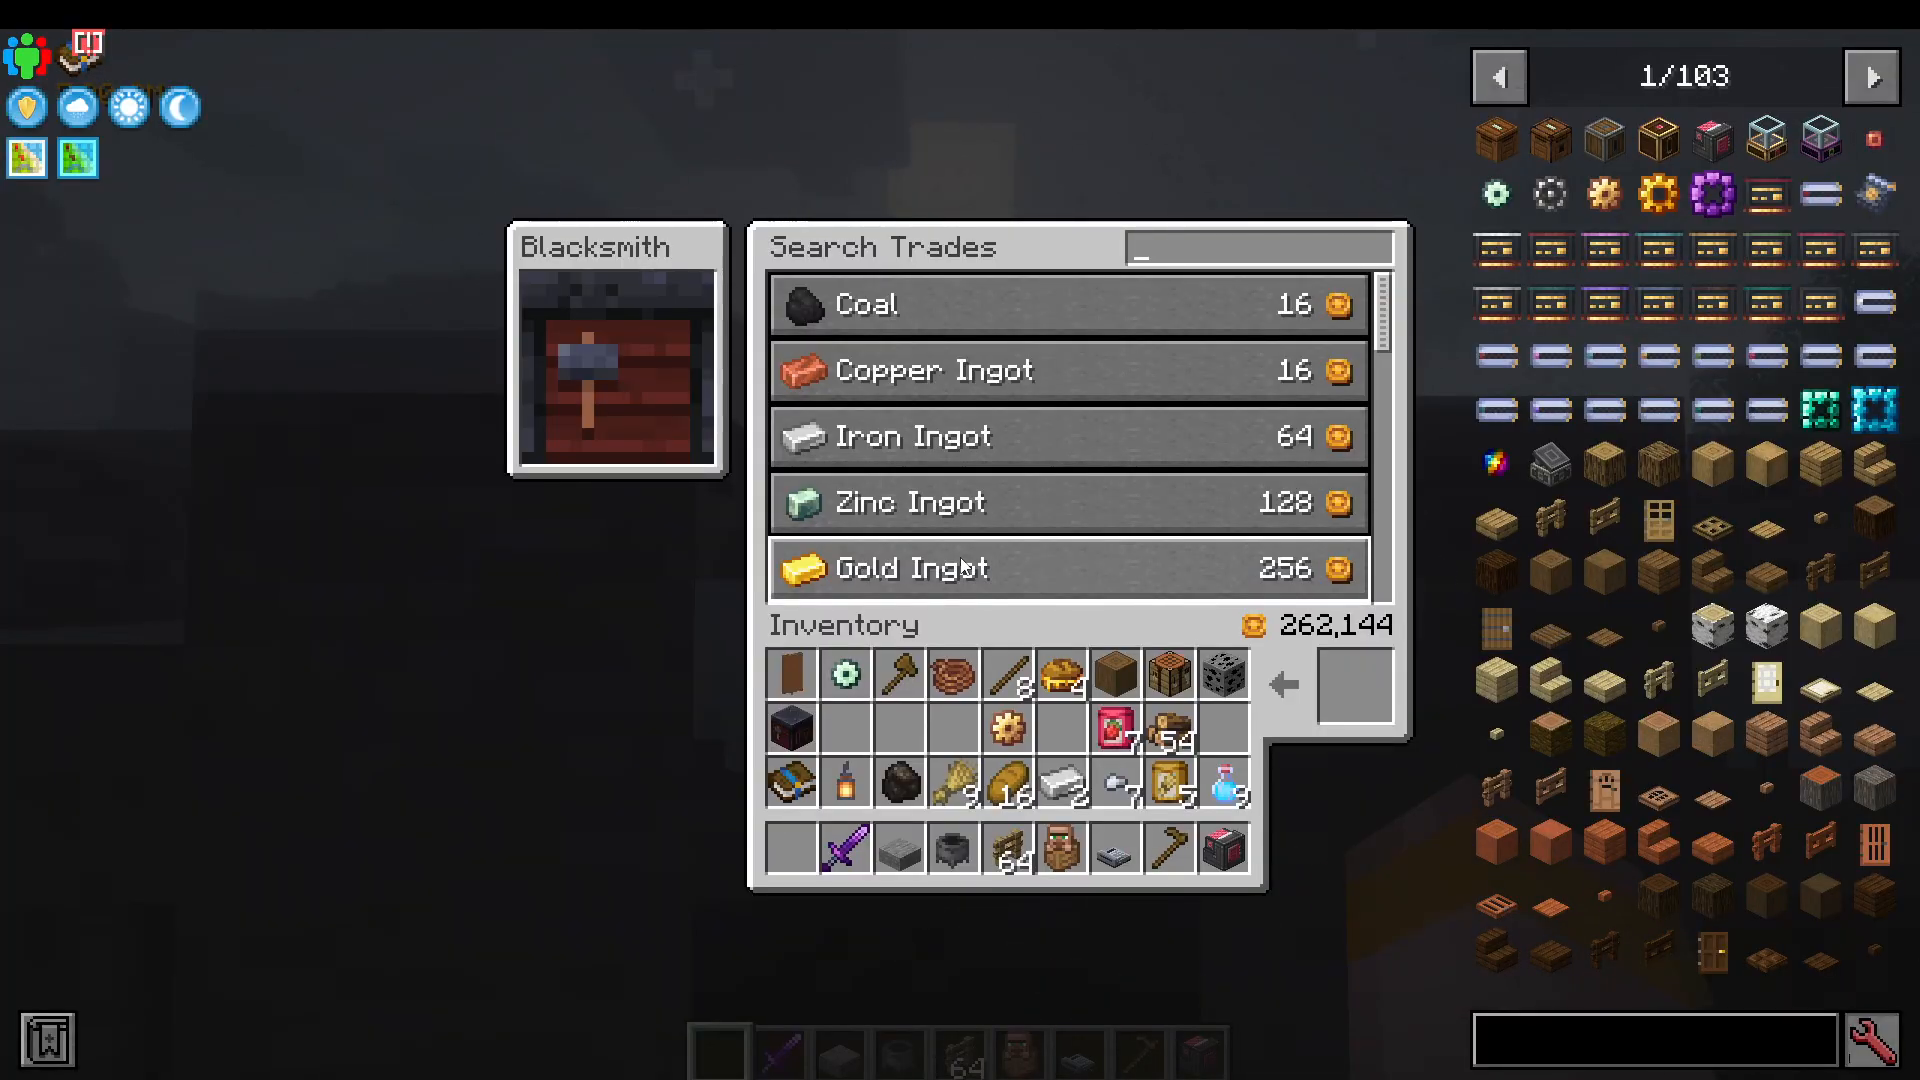
Mining and Skill System
Accessing Your Skills
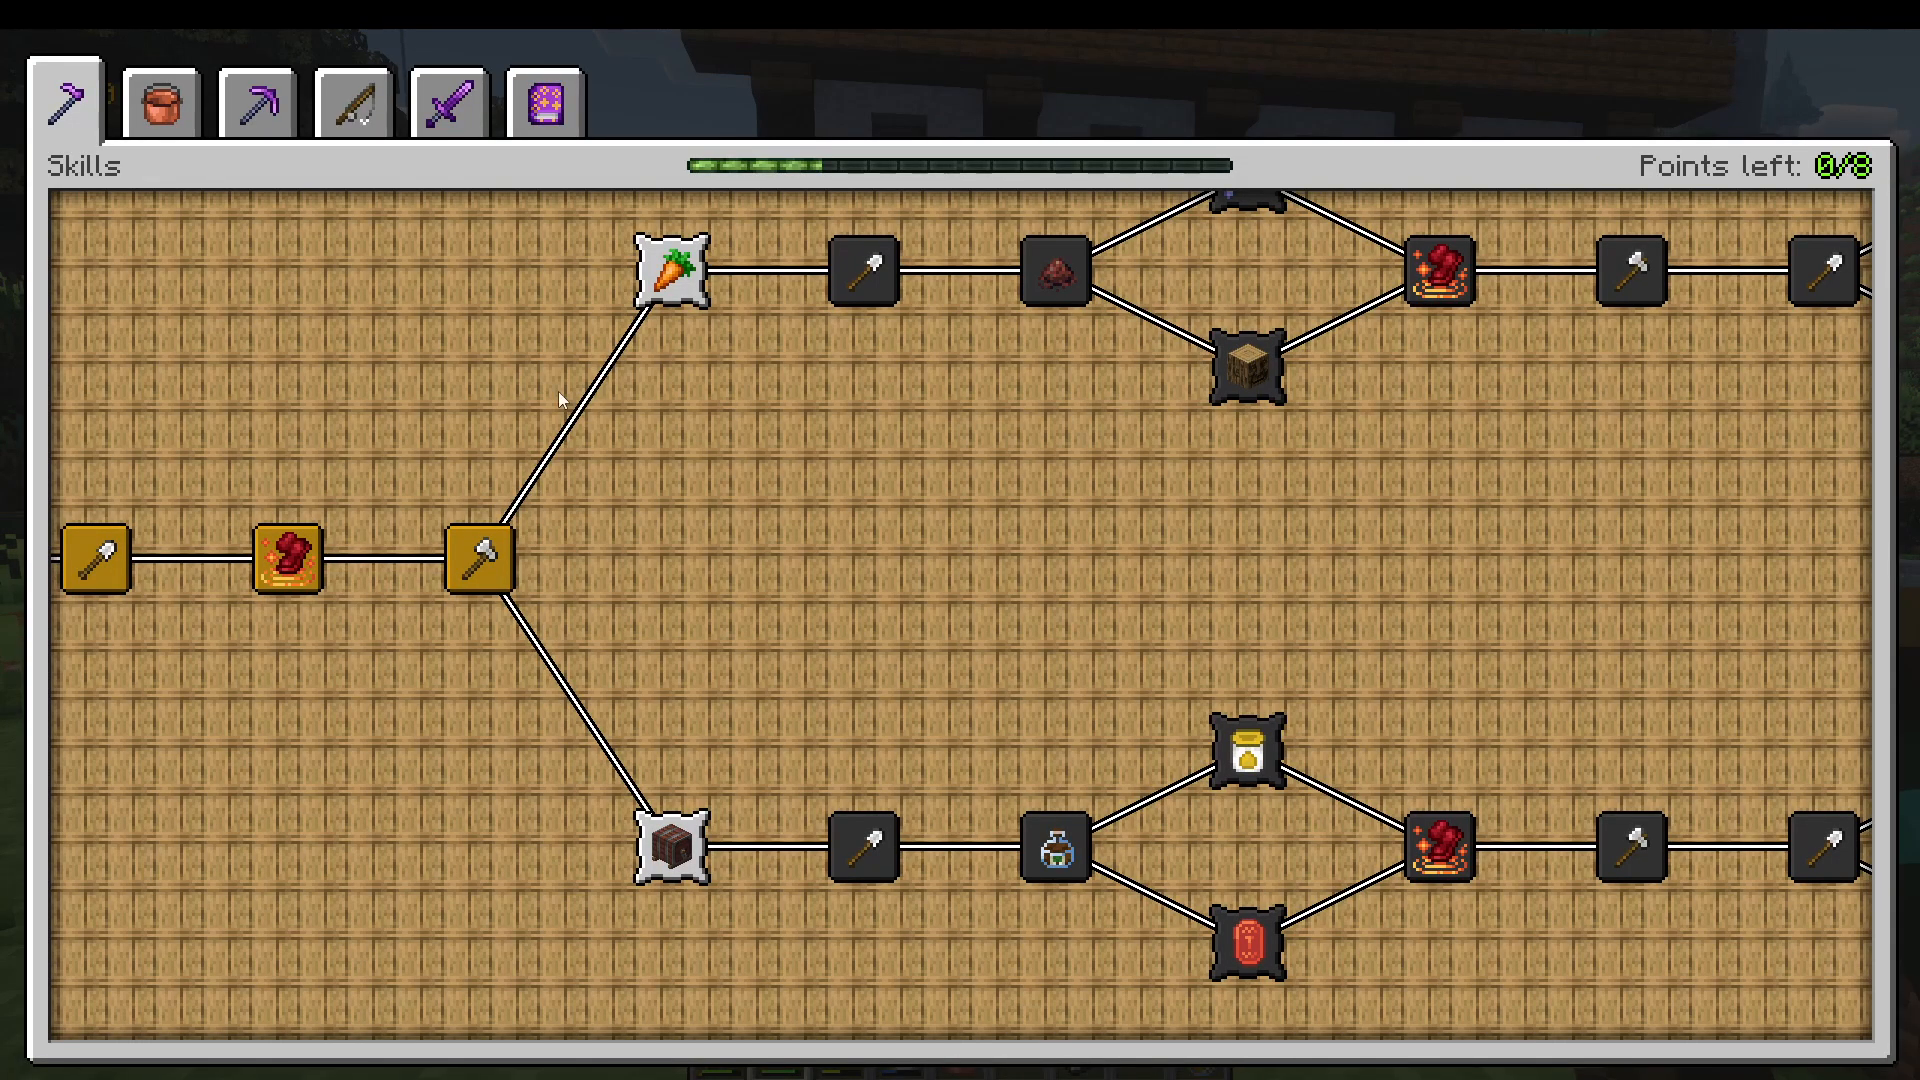
Press K to open your skills menu. As you perform activities, you gain XP in six skill categories:
Farming
Husbandry
Mining
Fishing
Adventuring
Each level grants you a skill point to invest in passive bonuses like pickaxe efficiency, fortune, melee damage, and more.
Geode Breaking for Profit
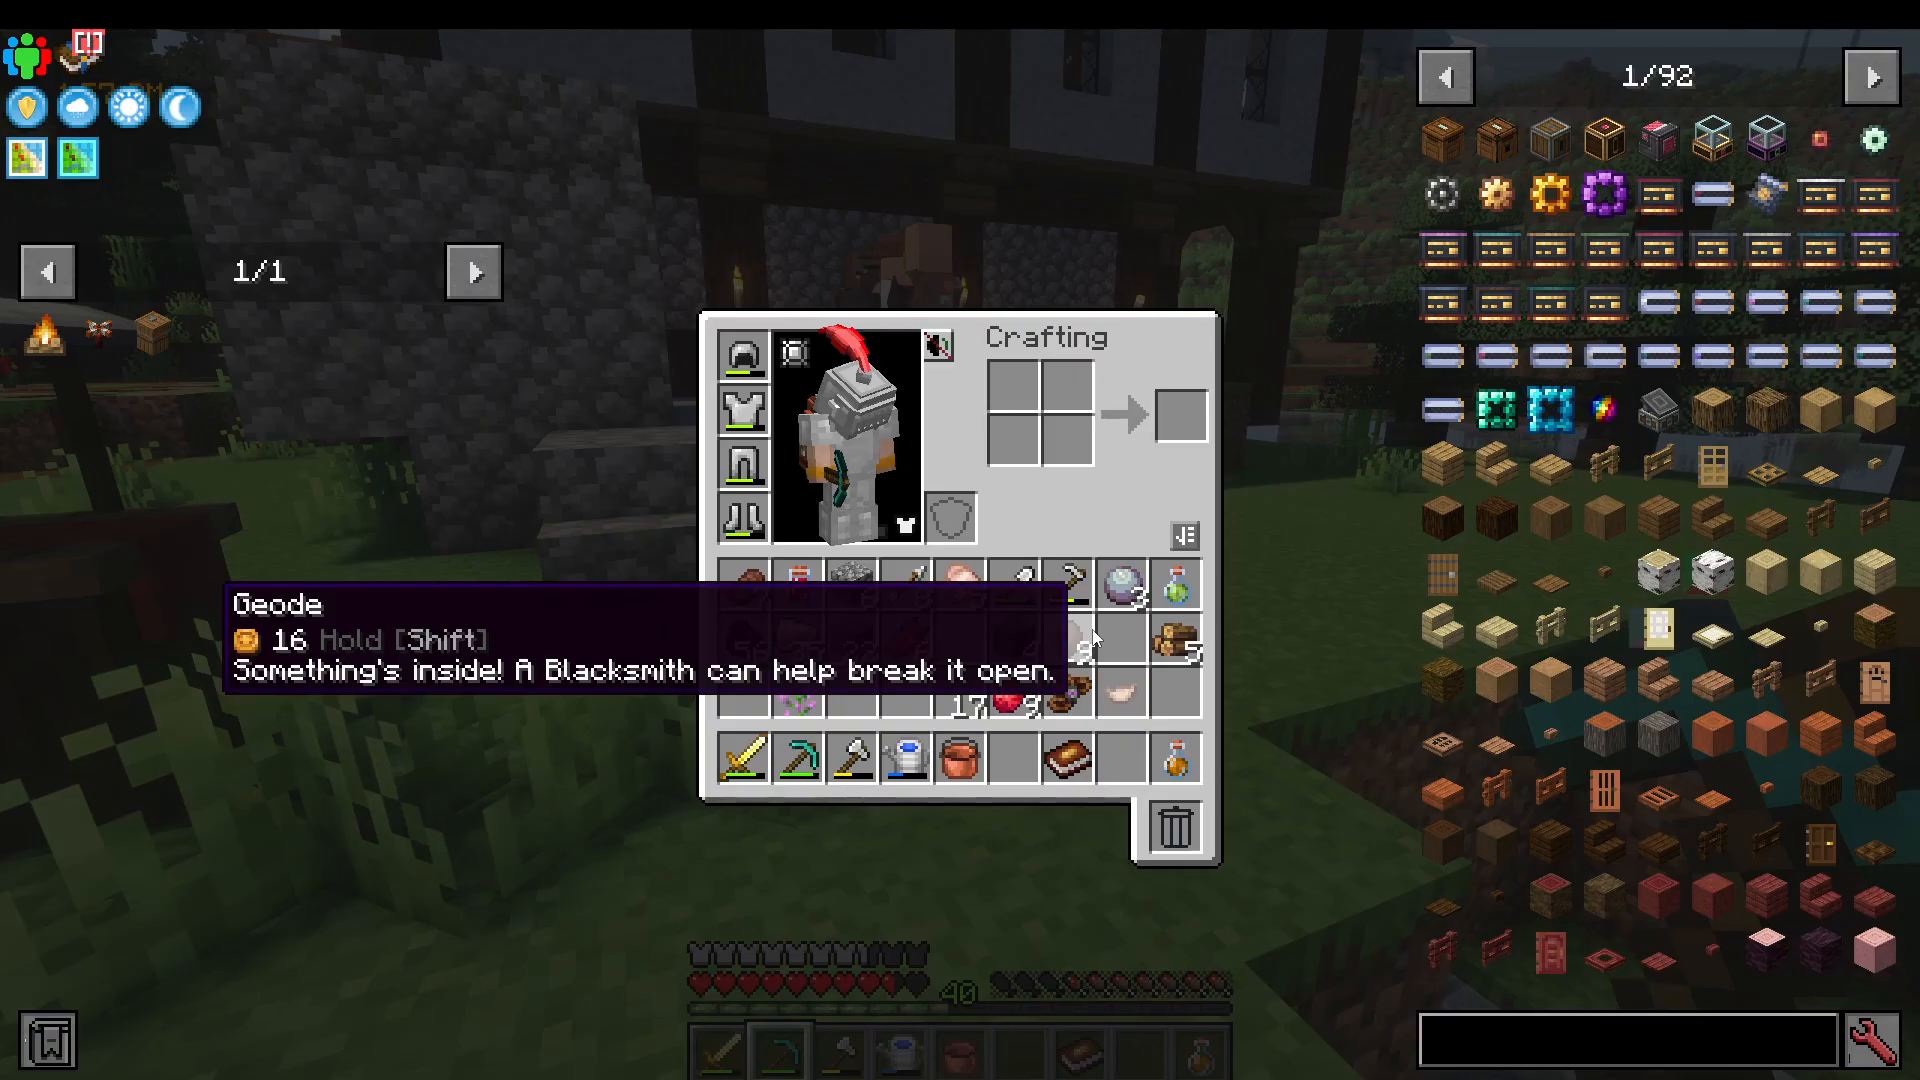
While mining, you’ll find geodes. In cold biomes, you’ll find frozen geodes; in the Nether, magma geodes. Purchase a geode buster from the blacksmith, then equip the geode in your offhand and right-click with the buster to break it.
Geodes yield diorites, andesite, and valuable items like froggies, petrified slime, and tin cans. These items can be shipped for immediate profit or processed further:
Tin Cans (Raw): Worth 1 coin
Tin Cans (Recycled): Worth 3 brass coins (via recycling machine)
Processing Items for Profit
Advanced machines like the recycling machine can transform low-value items into higher-value products. A recycling machine requires two blocks of iron, fire quartz, and fire logs—expensive upfront but profitable long-term.
Farming Guide
Basic Farming Mechanics
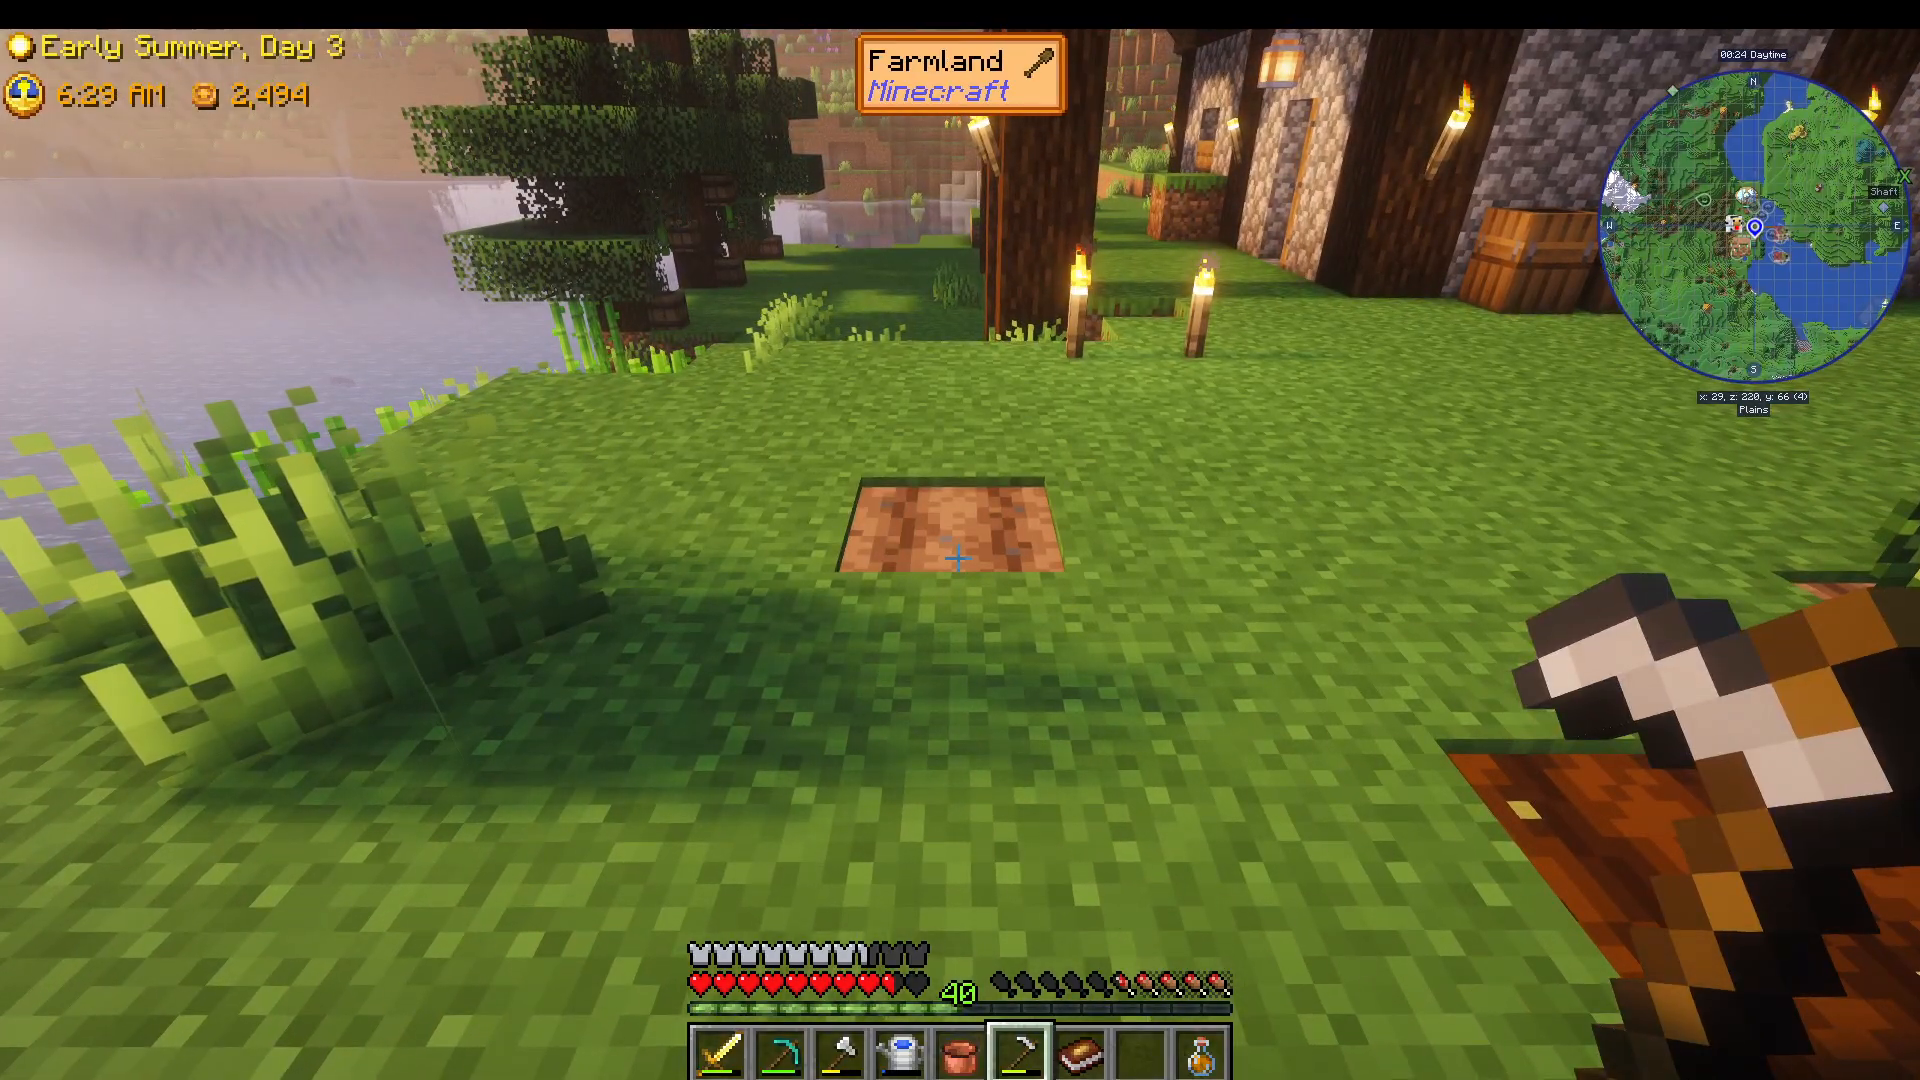
Unlike vanilla Minecraft, water proximity doesn’t hydrate crops. Instead, you must use a watering can:
Hoe the soil with a hoe
Plant seeds
Right-click with a filled watering can daily to hydrate
Crops grow 20% per day when properly watered. After 5 days, they’re fully mature. If a crop dries out for one day, it dies.
Watering Can Upgrades
Upgrade your watering can to cover larger areas. An iron watering can allows shift-right-click to water in a 3×3 area, making hydration much faster.
Sprinklers for Automation
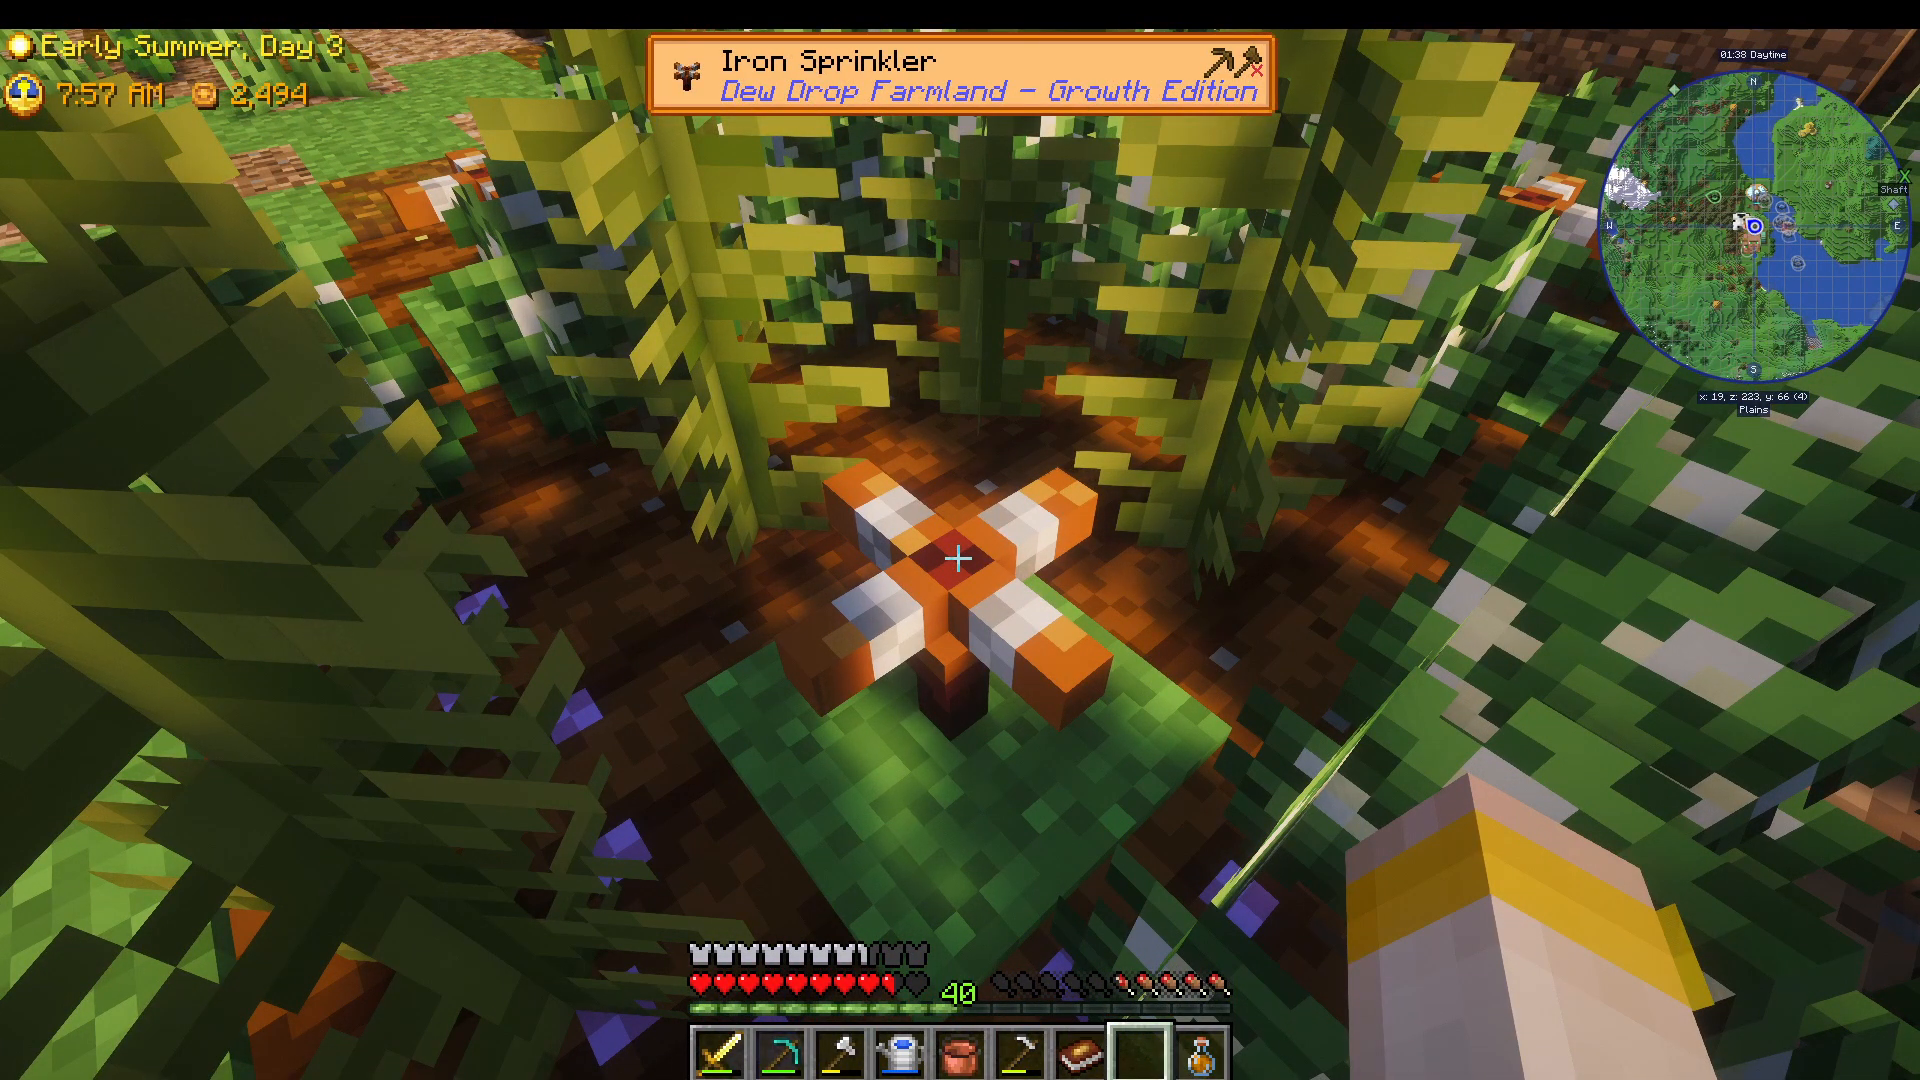
Craft sprinklers to automate hydration. An iron sprinkler waters a 3×3 area automatically each day. Sprinklers don’t show visible water but do hydrate crops overnight.
Seasonal Crops
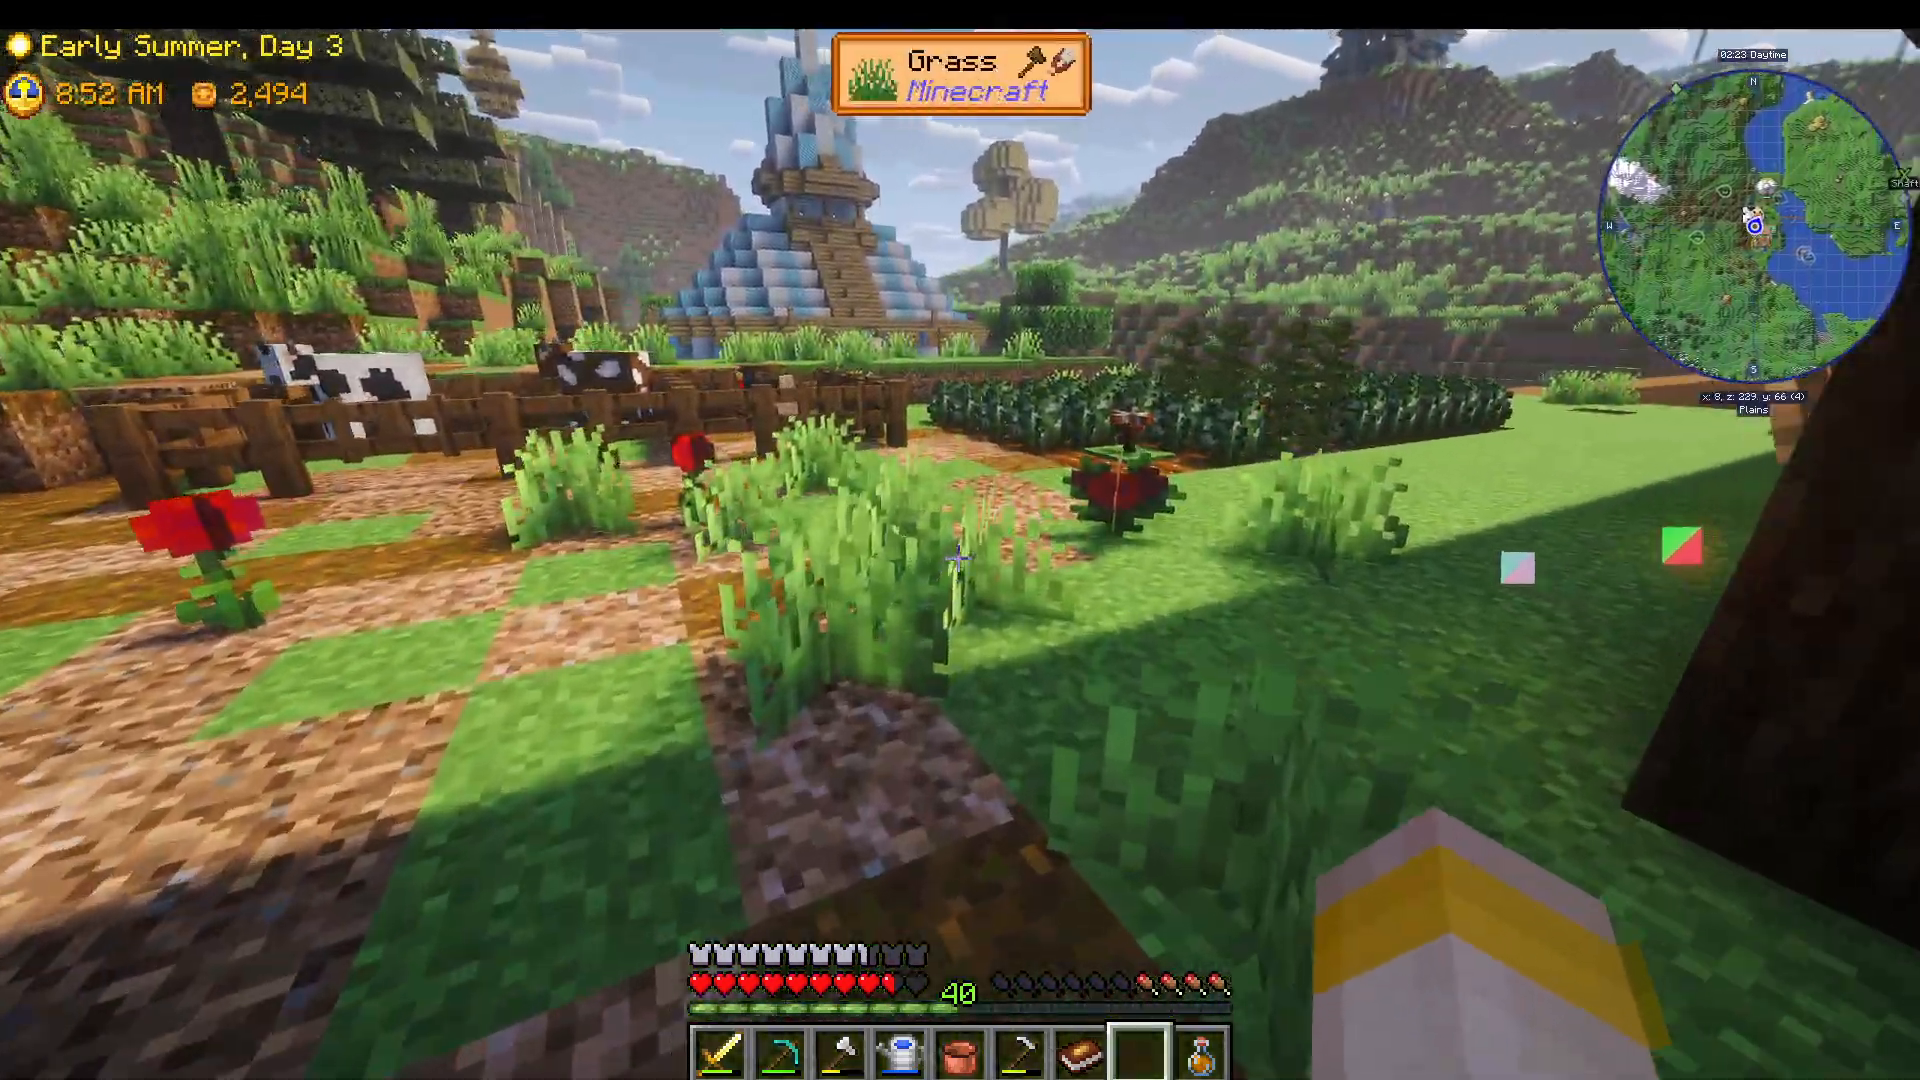
Different crops grow in different seasons. Strawberries grow in spring, tomatoes in spring/summer/autumn, blueberries in summer, etc. Seasons last 30 days. When a season changes, crops stop growing until their season returns.
Greenhouse Glass for Year-Round Growing
Create greenhouse glass using fire quartz (from the Nether), organic glass, or jade. Place it 16 blocks above a crop to enable year-round growth regardless of season.
Fertilizers
Multiple fertilizer types accelerate growth and improve quality:
Weak Fertilizer: -1 day growth time
Strong Fertilizer: -2 days growth time
Hydrating Fertilizer: Keeps soil watered until half-grown
Lux Hydrating: Never dries out
Bountiful Fertilizer: Chance for extra crop yield at harvest
Quality Fertilizers: Low, high, and pristine increase crop quality
Biome-Specific Growing
Savannah and jungle biomes are always summer with wet/dry seasons. Frozen biomes are always winter. Bone meal doesn’t work; use fertilizers instead.
Food Processing and Value Multiplication
Processing Multiplies Profits
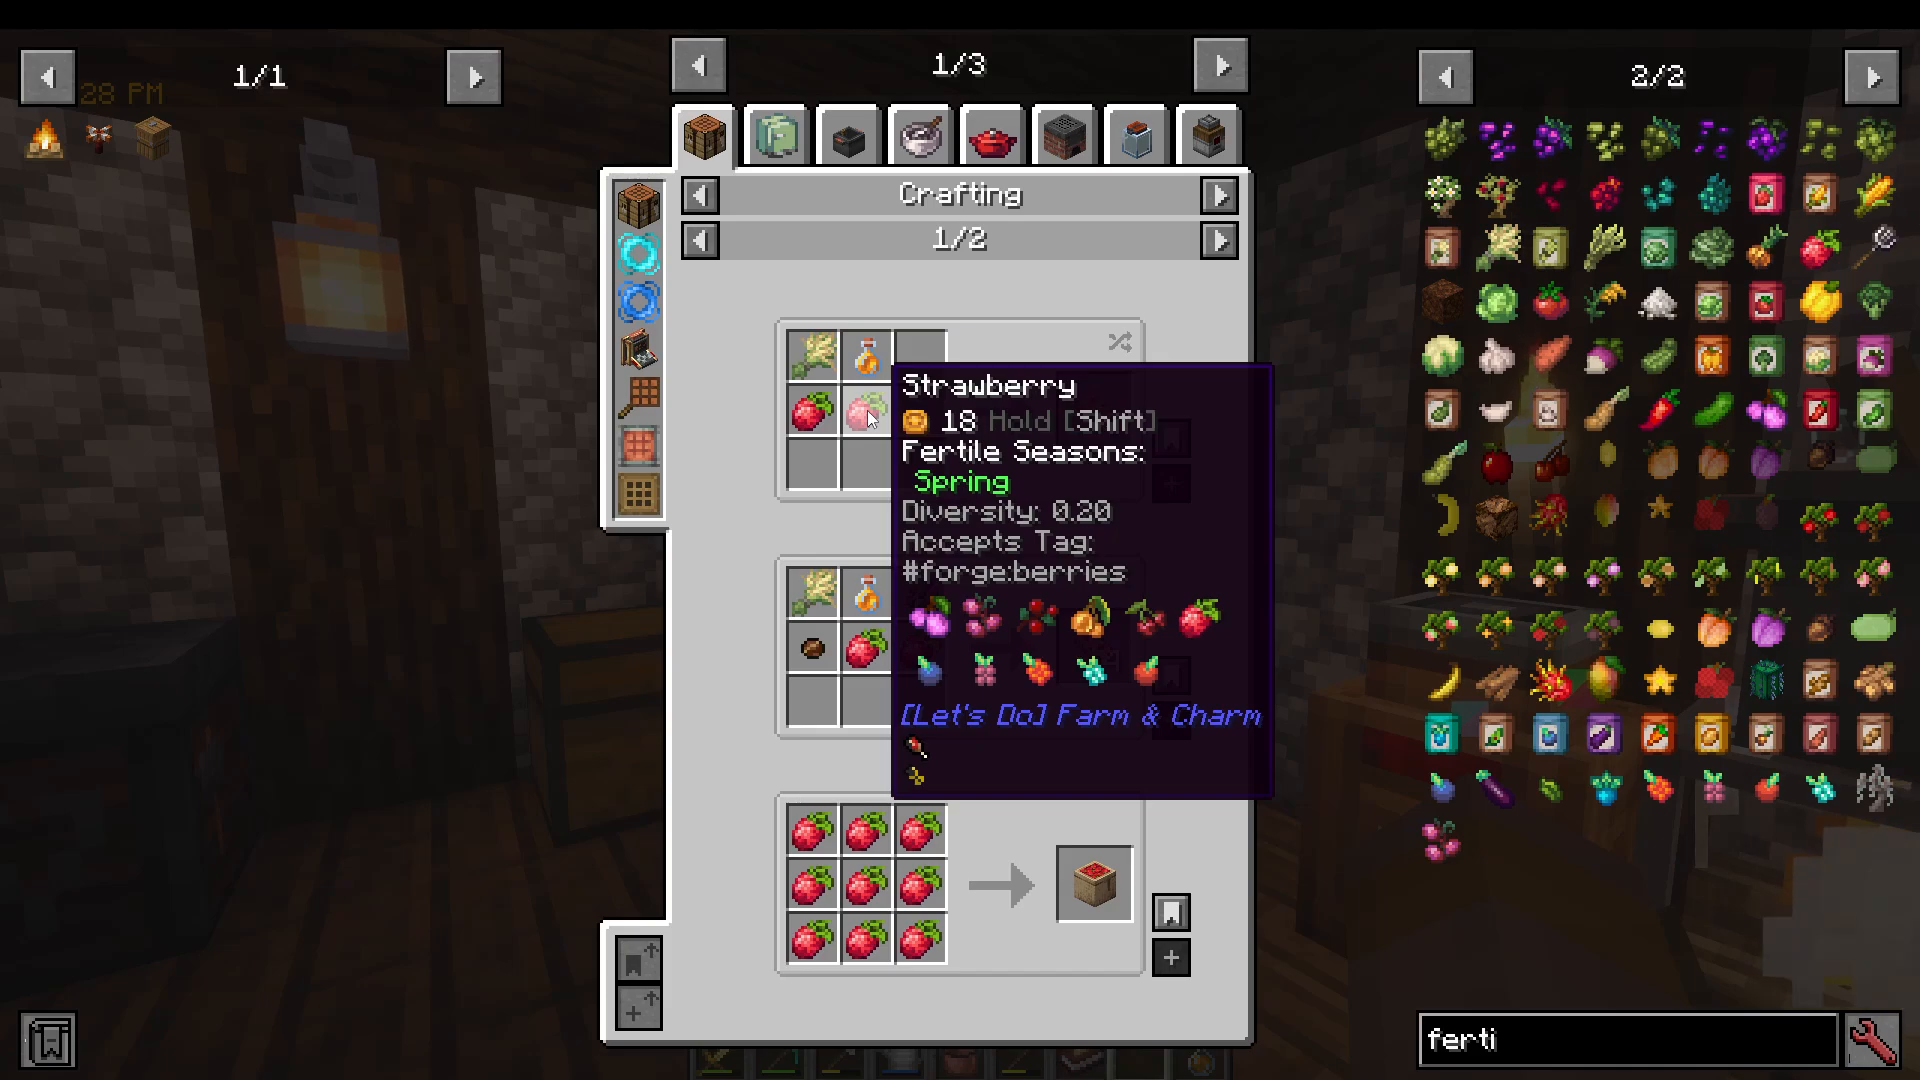
Raw strawberries are worth 18 coins. However, processing them multiplies their value:
Strawberry Tea: 2 strawberries + water = 80 coins (worth double)
Strawberry Jam: Strawberry + sugar = 42 coins
Bread with Jam: Jam + bread = 44 coins
Create a cooking pot with a campfire to process crops. Use water cups (8 water from 1 bucket) to reduce water ingredient costs.
Other processing examples include mayonnaise from eggs, tree tar from tapping, and honey-based fertilizers.
Building Your Farm Infrastructure
The Farmhouse Blueprint Quest
In “Getting Started” quests, you’ll receive a farmhouse blueprint requiring:
Fire Logs (crafted from logs)
Cobblestone
Building Shop Selection
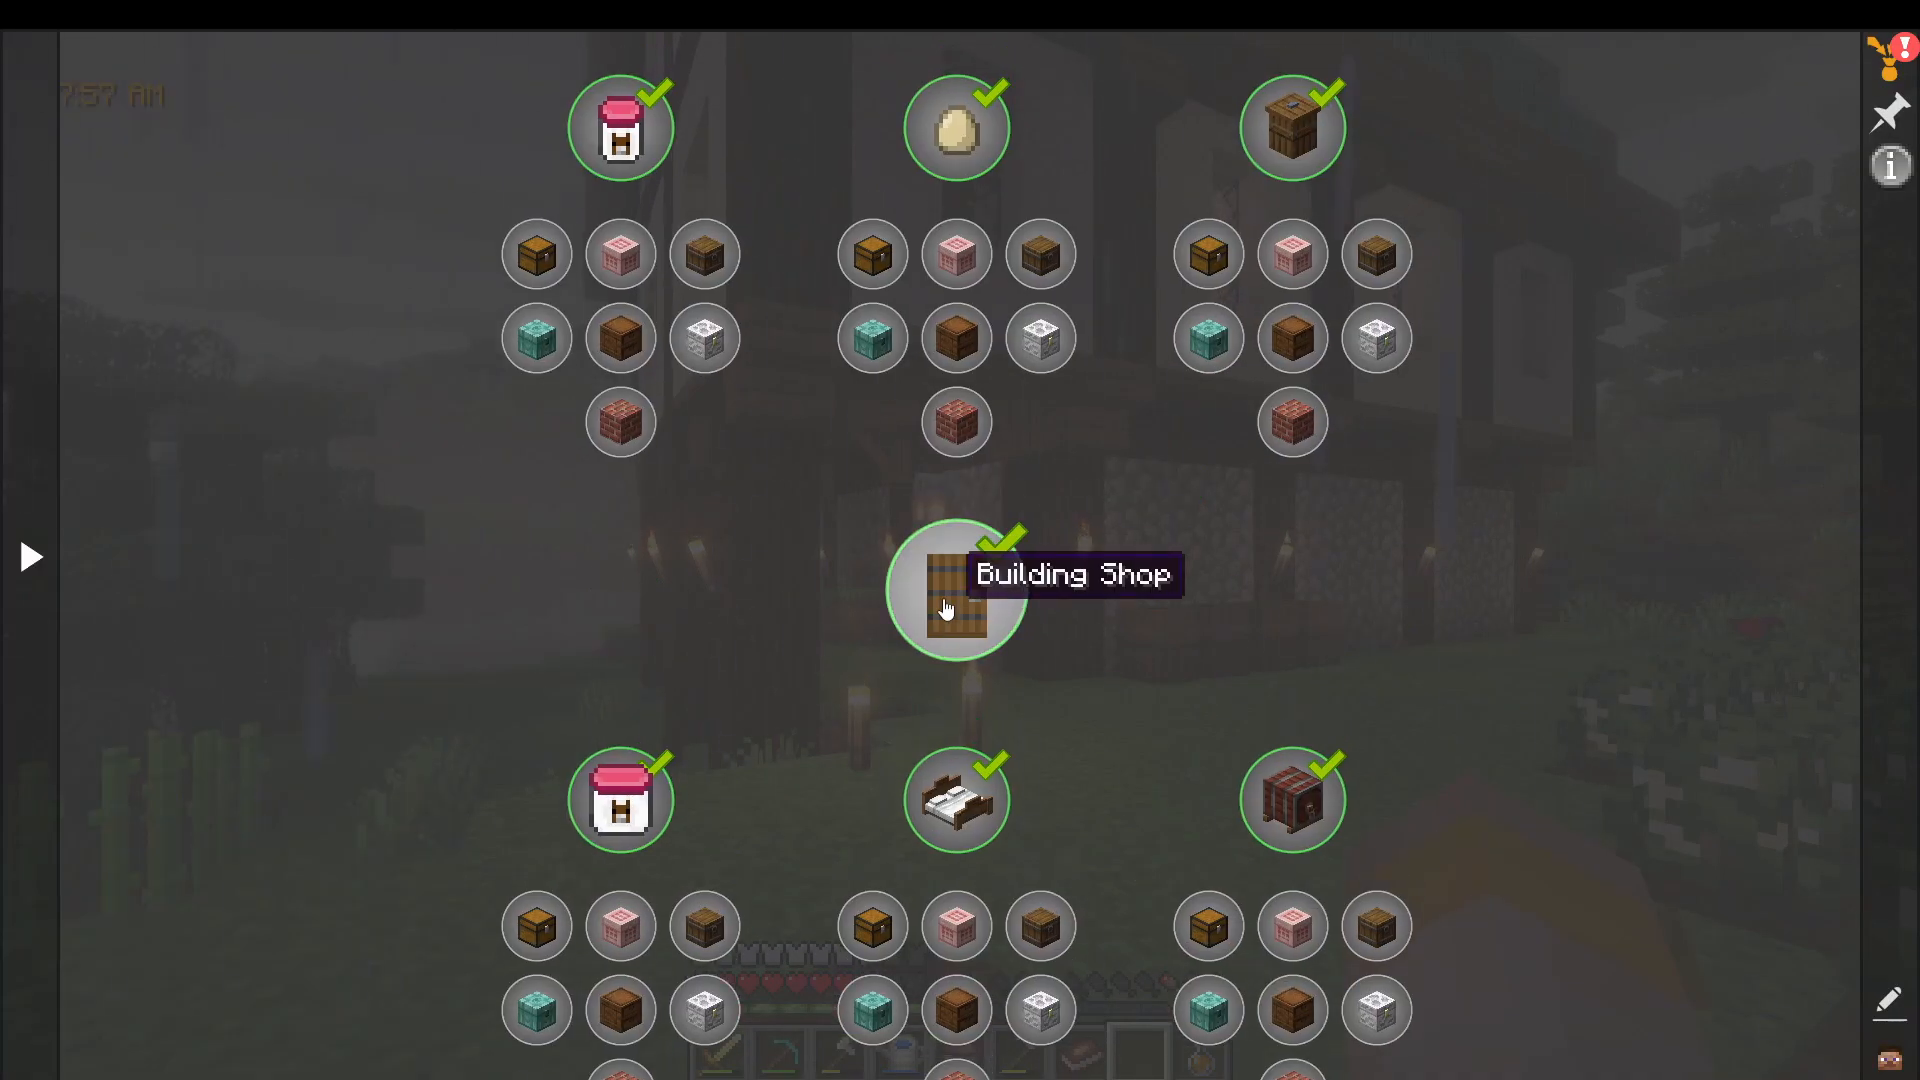
Access the Building Shop to view and purchase blueprints for various structures:
Farmhouses (Chestnut, Cherry, Siberian variants)
Chicken Coops
Sheds (standard and large)
Barns (standard and luxe)
Each blueprint shows a preview of the building. Purchase the blueprint with required materials, and it generates the structure instantly.
Building Tools and Transportation
The Guides section includes building gadgets, frames, and various transportation options including cars and rails.
Community Center and Advanced Unlocks
Pantry Bundle
Completing the spring crops bundle in the Pantry rewards fertilizer. Complete all bundles for a pantry trophy and greenhouse glass.
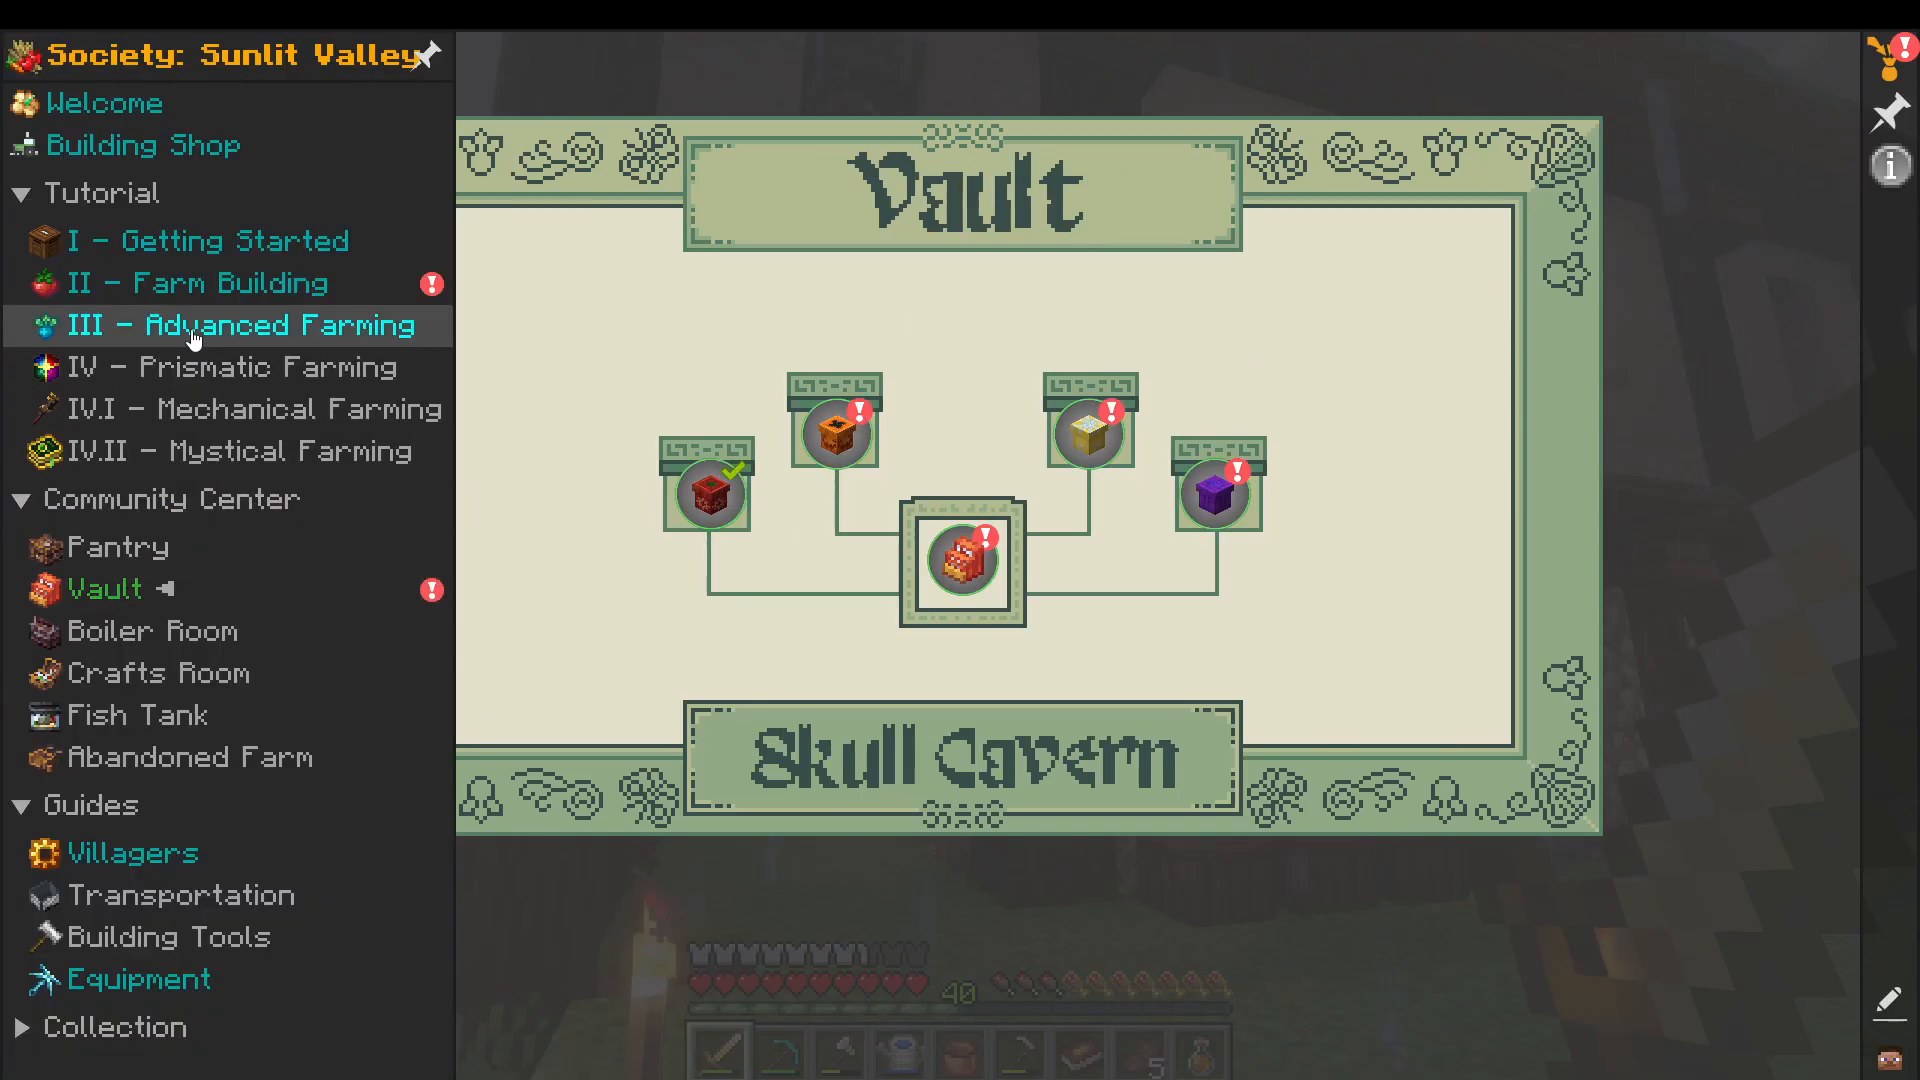
Vault Quest for Skull Cavern Access
To access the Skull Cavern, you must complete the vault quest in the community center. This requires donating approximately 410,000 coins across multiple tiers:
40,000 coins
50,000 coins
50,000 coins
50,000 coins
80,000 coins
80,000 coins
90,000 coins
Completing the vault grants the Skull Cavern Teleporter, essential for accessing late-game content.
Other Community Center Bundles
The abandoned farm bundle unlocks the petal apothecary for Botania progression. The white sleeping bag allows sleeping anywhere without resetting your spawn point.
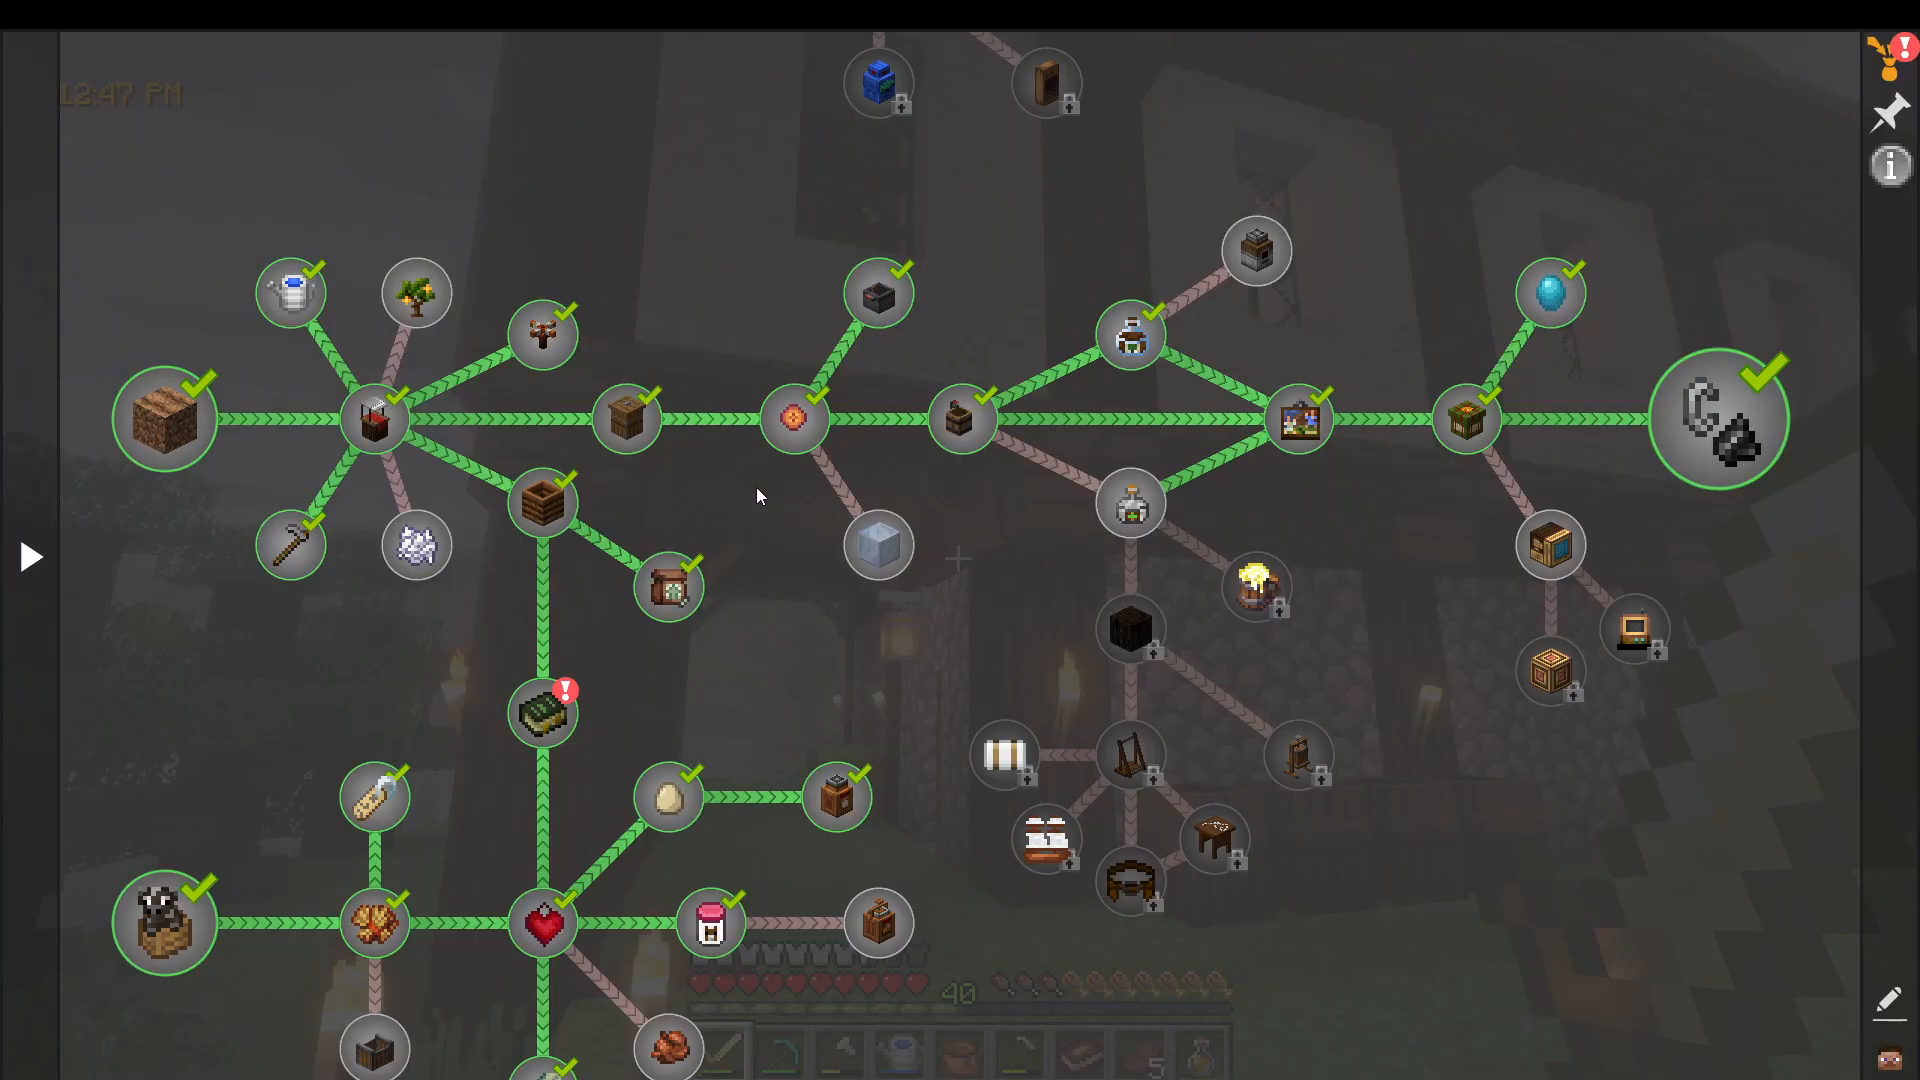
Sewing Table for Armor Crafting
A sewing table provides an alternative armor path using sewing needles, heart sewing needles, and shears to craft wool trims and wool rolls. This is useful when leather is difficult to obtain early game.
Animal Husbandry
Basic Animal Care
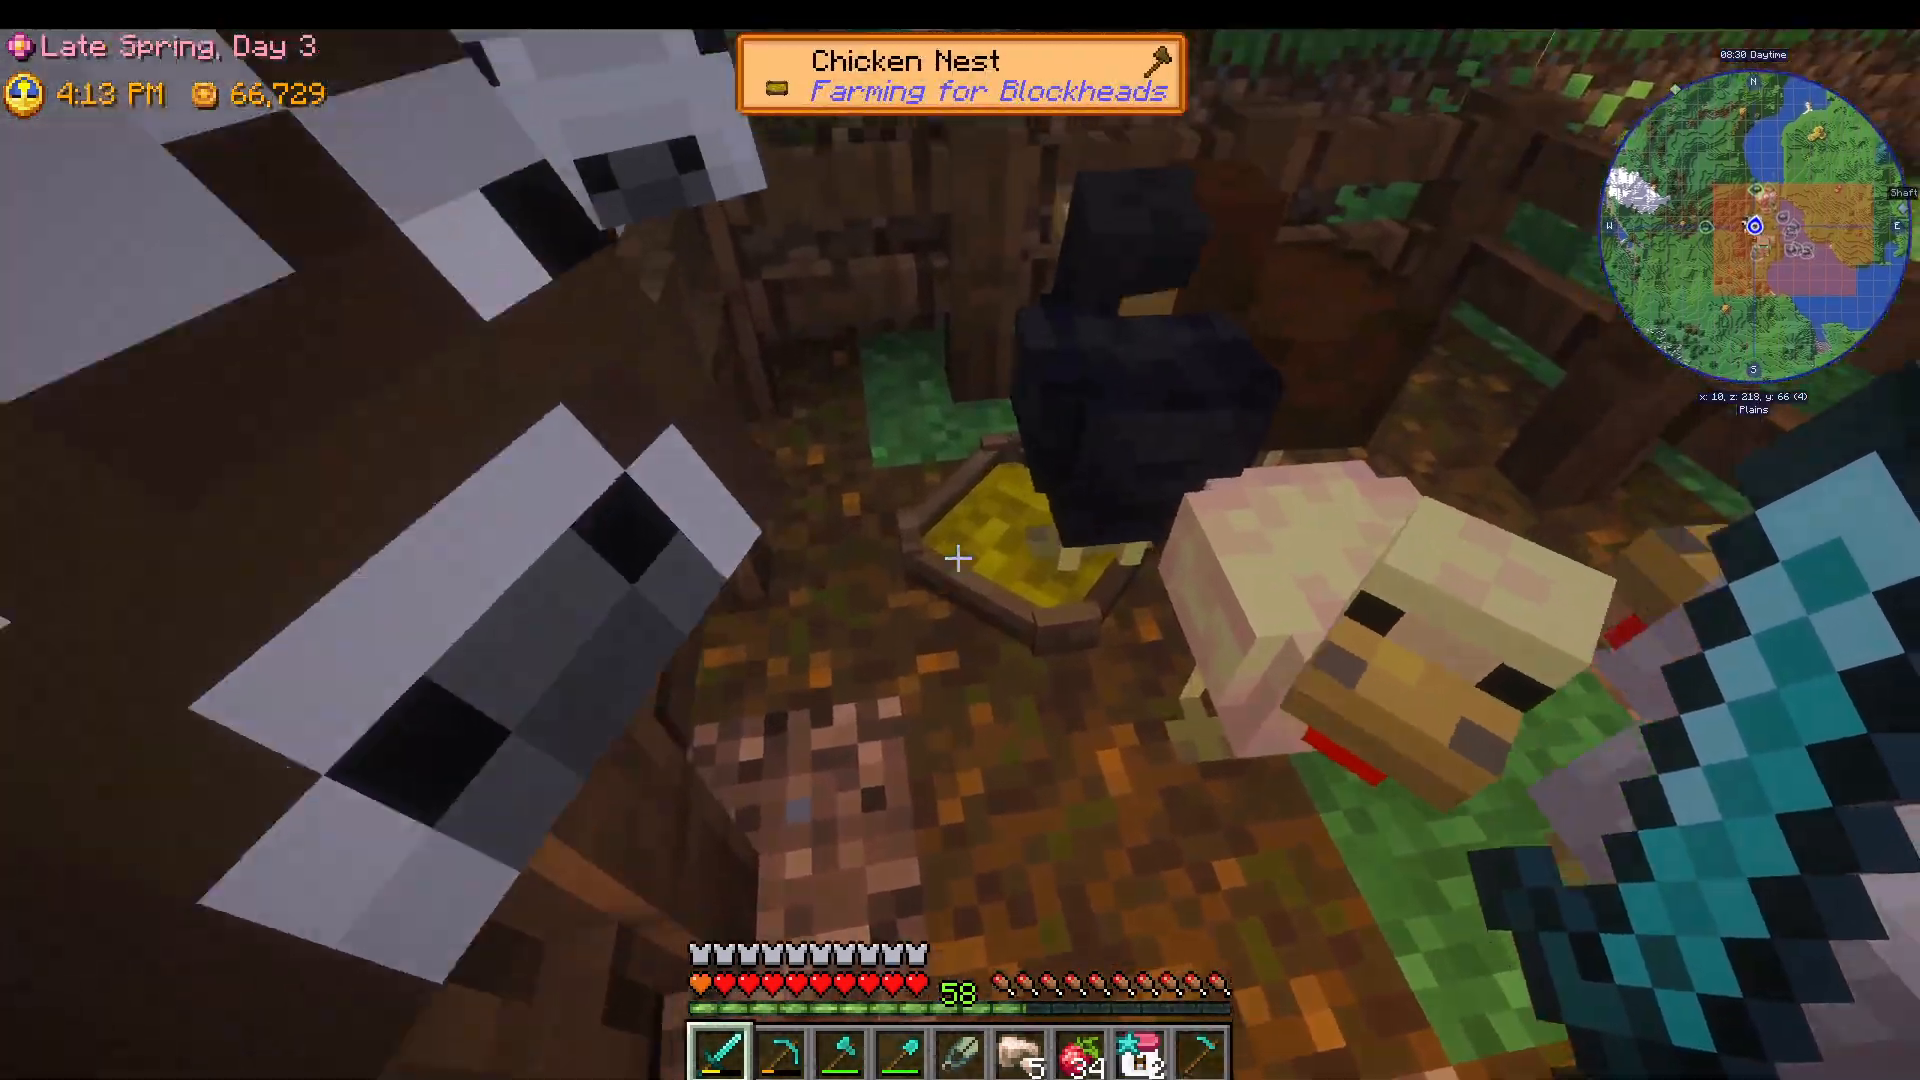
Animals require proper care to remain happy. Each enclosed area can hold up to four animals. Right-click with an empty hand to check an animal’s happiness (shown as hearts).
Animals need daily feeding. Purchase animal feed from the shepherd villager. Shift-click to grab a stack quickly.
📸 [ASSISTANT: TAKE SCREENSHOT AT SCREENSHOT AT TIMESTAMP 26:45]
Tools for Animal Management
Diamond Lasso: Transports animals easily
Feeding Troughs: Automatically feed nearby animals in a large area
Name Tags: Named animals like you more, improving happiness
Milk Pail: Right-click to extract 200 milk from cows
Magic Shoes: Costs 3,000 coins from the shepherd; right-click happy animals to get raw beef and leather without killing them
Passive Income from Animals
Feed animals daily and use magic shoes to harvest leather and beef passively. Use the feeding trough for automatic overnight feeding at 6am.
Animal Housing
Build chicken coops and barns from the building shop for organized animal management.
Fishing Guide
Basic Fishing Setup
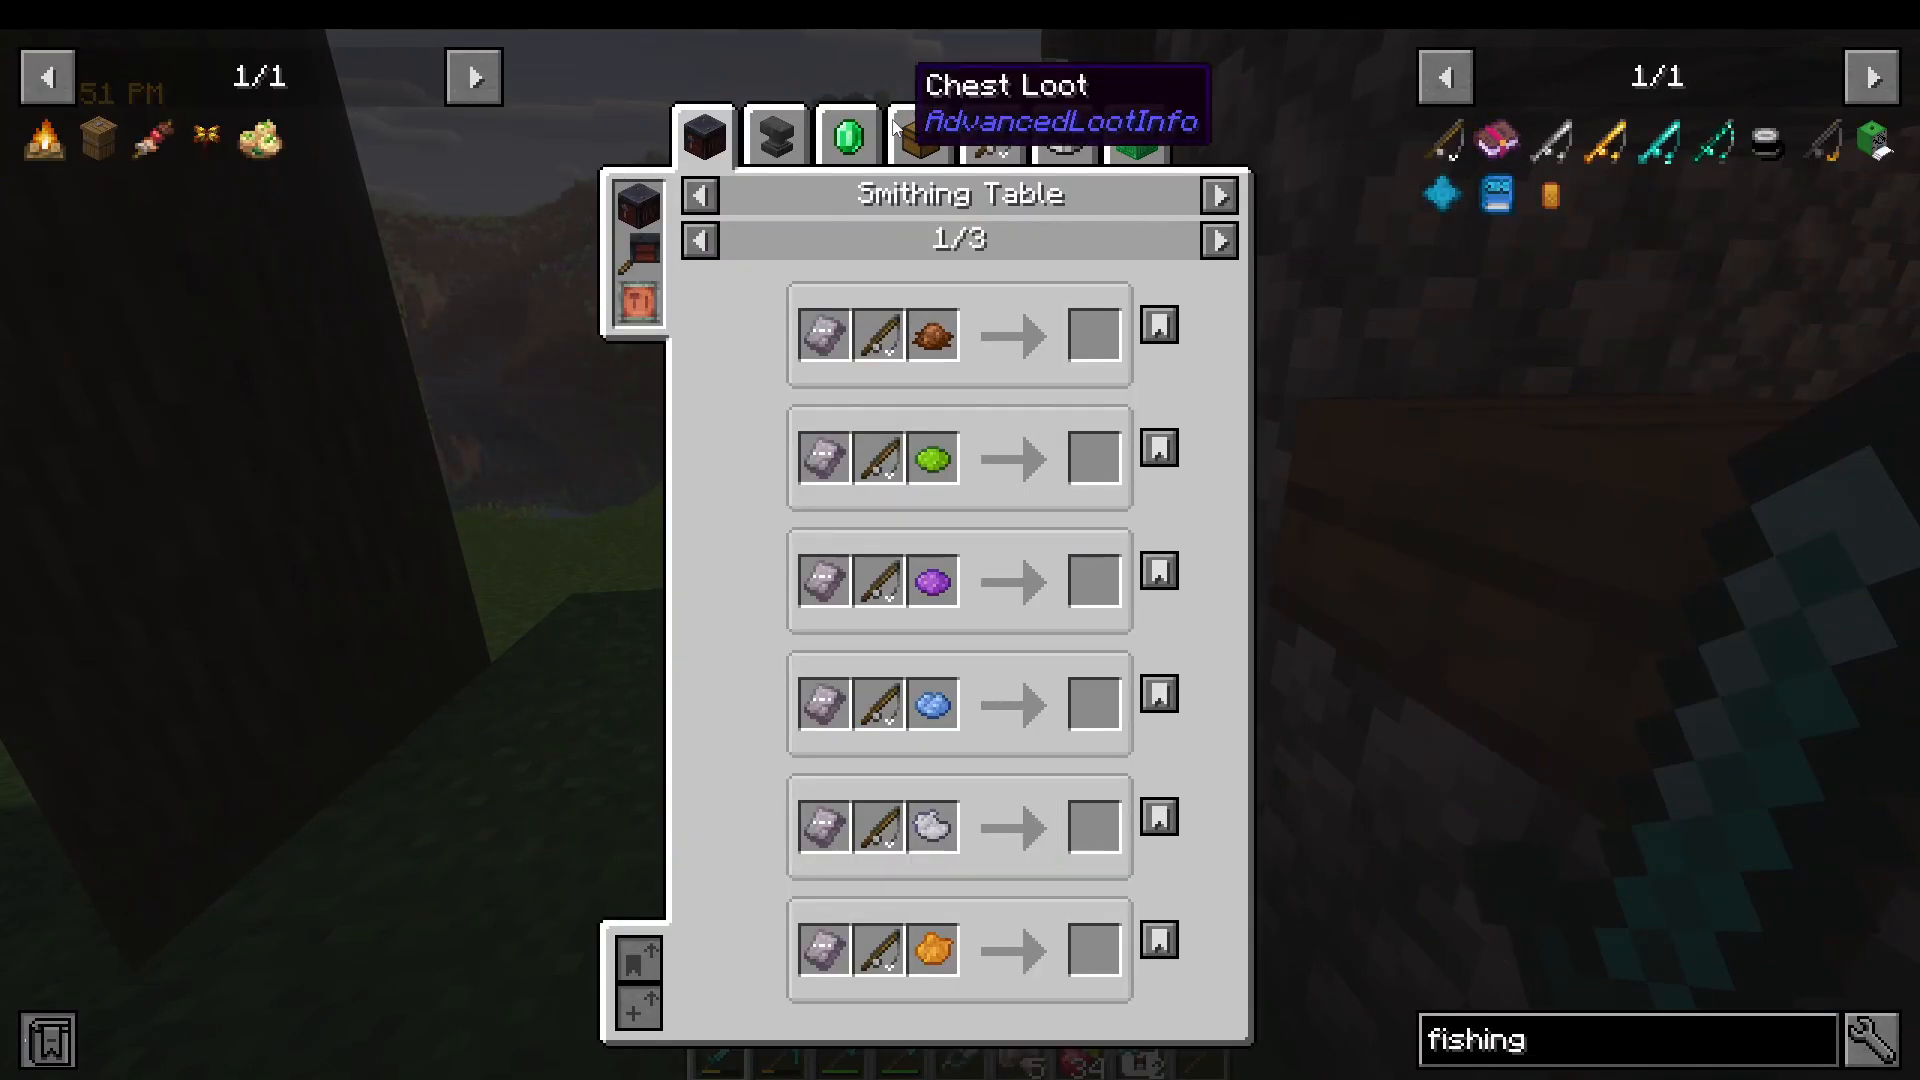
Trade with the fisherman villager to purchase a fishing rod for 2,000 coins. Upgrade it in an anvil to iron, gold, diamond, and beyond.
Fishing Mini-Game
When a fish bites, a mini-game begins. A bar appears with your fish at the bottom. Right-click to hold the bar upward so it stays on the fish. If the bar reaches the top completely, you catch the fish. Let it drop to the bottom and you lose the catch.
Season and Time-Based Fish
Different fish appear in different seasons, times of day, and locations (rivers vs. oceans). Some fish only appear at night; others spawn during the day.
Tackle Box and Upgrades
Upgrade your fishing rod to unlock a tackle box. Insert bobbas and hooks to improve your catch:
Light Hook: Casts further
Heavy Hook: Casts shorter
Jelly Hook: Charges to catch jellyfish
Gold Hook: Increased luck
Crab Hook: 50% charge to catch crabs
Different bobbas provide various bonuses. The tackle box attaches to your rod, enhancing your fishing effectiveness.
Worm Farms
Build worm farms to generate bait for fishing, another source of passive income.
The Skull Cavern: Endgame Exploration
Preparing for the Cavern
Before entering, ensure you have:
Full diamond armor (or gold minimum)
High-quality food (food diversity is crucial)
Escape ropes (teleport to surface immediately)
A good pickaxe for mining ore
The Skull Cavern is deadly. Mobs have double health and deal double damage. If you stay past 5:30am, you’ll get knocked out and charged 8,000 coins for medical bills by the hospital.
Placing the Teleporter
Once you have the Skull Cavern Teleporter from completing the vault quest, place it anywhere on your farm. Right-click it to enter the cavern entrance area.
Entering the Cavern
At the entrance, right-click boulders to reveal ropes. Descend via the ropes to begin your exploration.
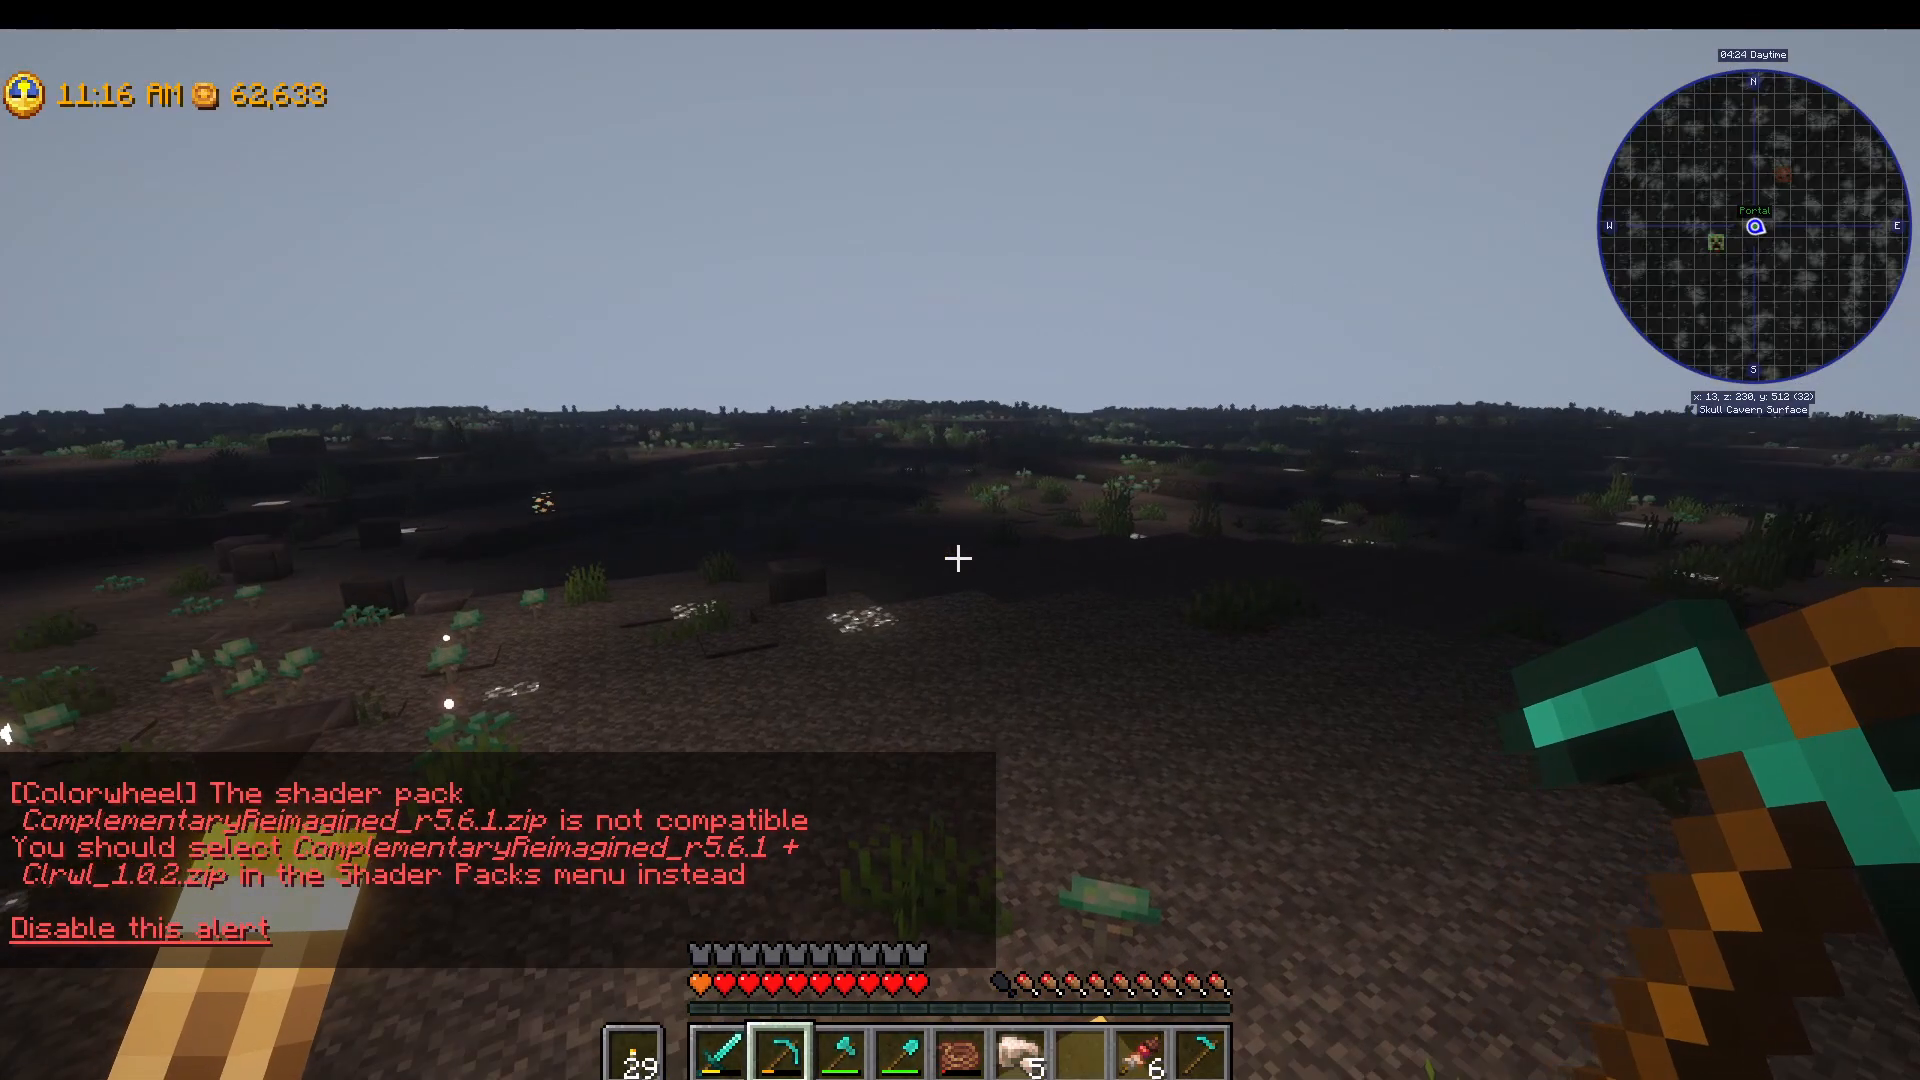
Skull Cavern Layers and Biomes
Layer 1: Mossy Area (Surface Level)
The first level features zombies and swampies. Swampies are particularly dangerous—they inflict blindness and poison, leaving poison clouds on the ground. Back away when they attack.
Mine all ore you find. You’ll notice purple gems dropping (spark stones) if you’ve learned the mining book. Multiple ore types exist here.
Mine boulders to reveal ropes descending to the next level.
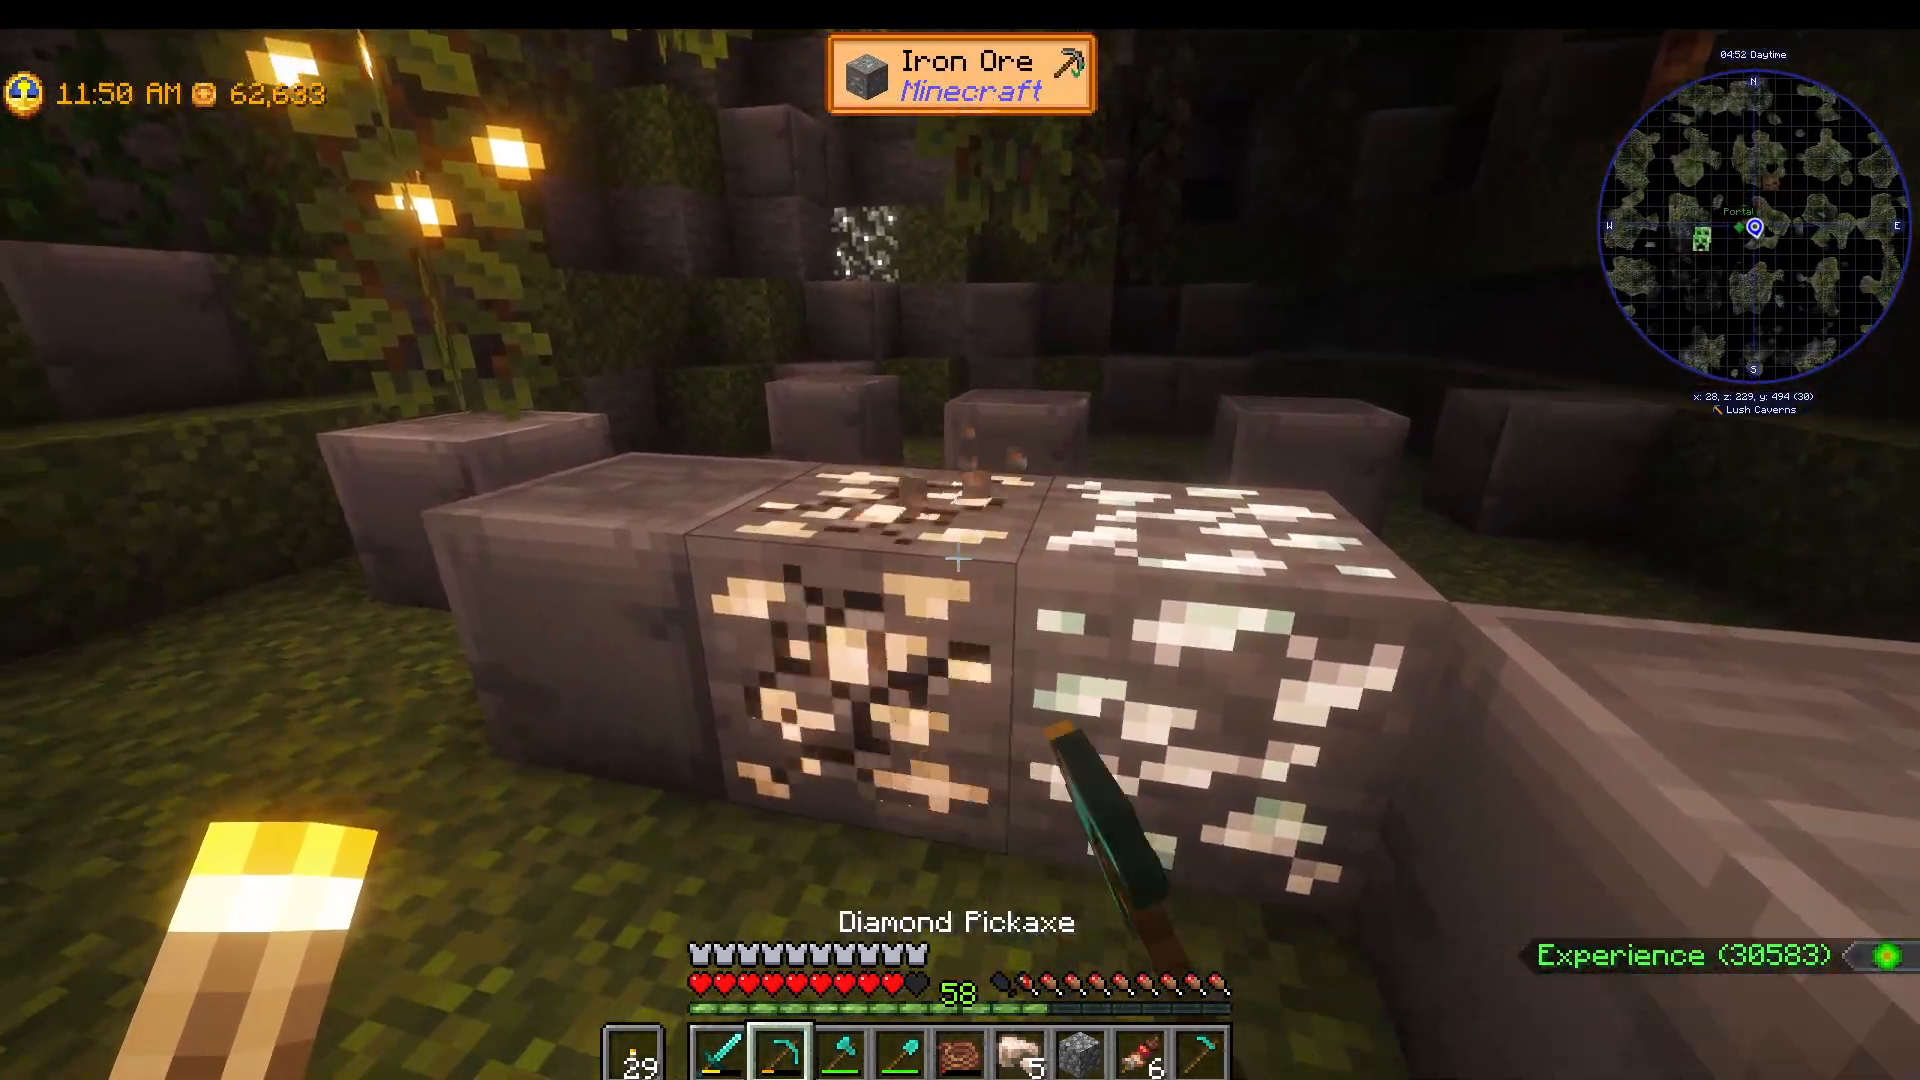
Progression Floor Indicator
When the floor texture changes to dark blue stone, you’re approaching a new phase. Descend to enter phase 2 of that biome.
Layer 2-3: Icy Area (Frozen Biome)
Expect drowned, quakes, and various ice-themed mobs. Quakes are extremely dangerous—they tick like bombs and release massive shock waves dealing fatal damage. Don’t attack them unless you’re ready to retreat.
Mine ice boulders to descend. Lead ore appears here but causes brain damage. Keep mining until you unlock the “Introduction to Algorithms” skill book to negate this effect.
Omni geodes drop here, superior to standard geodes above.
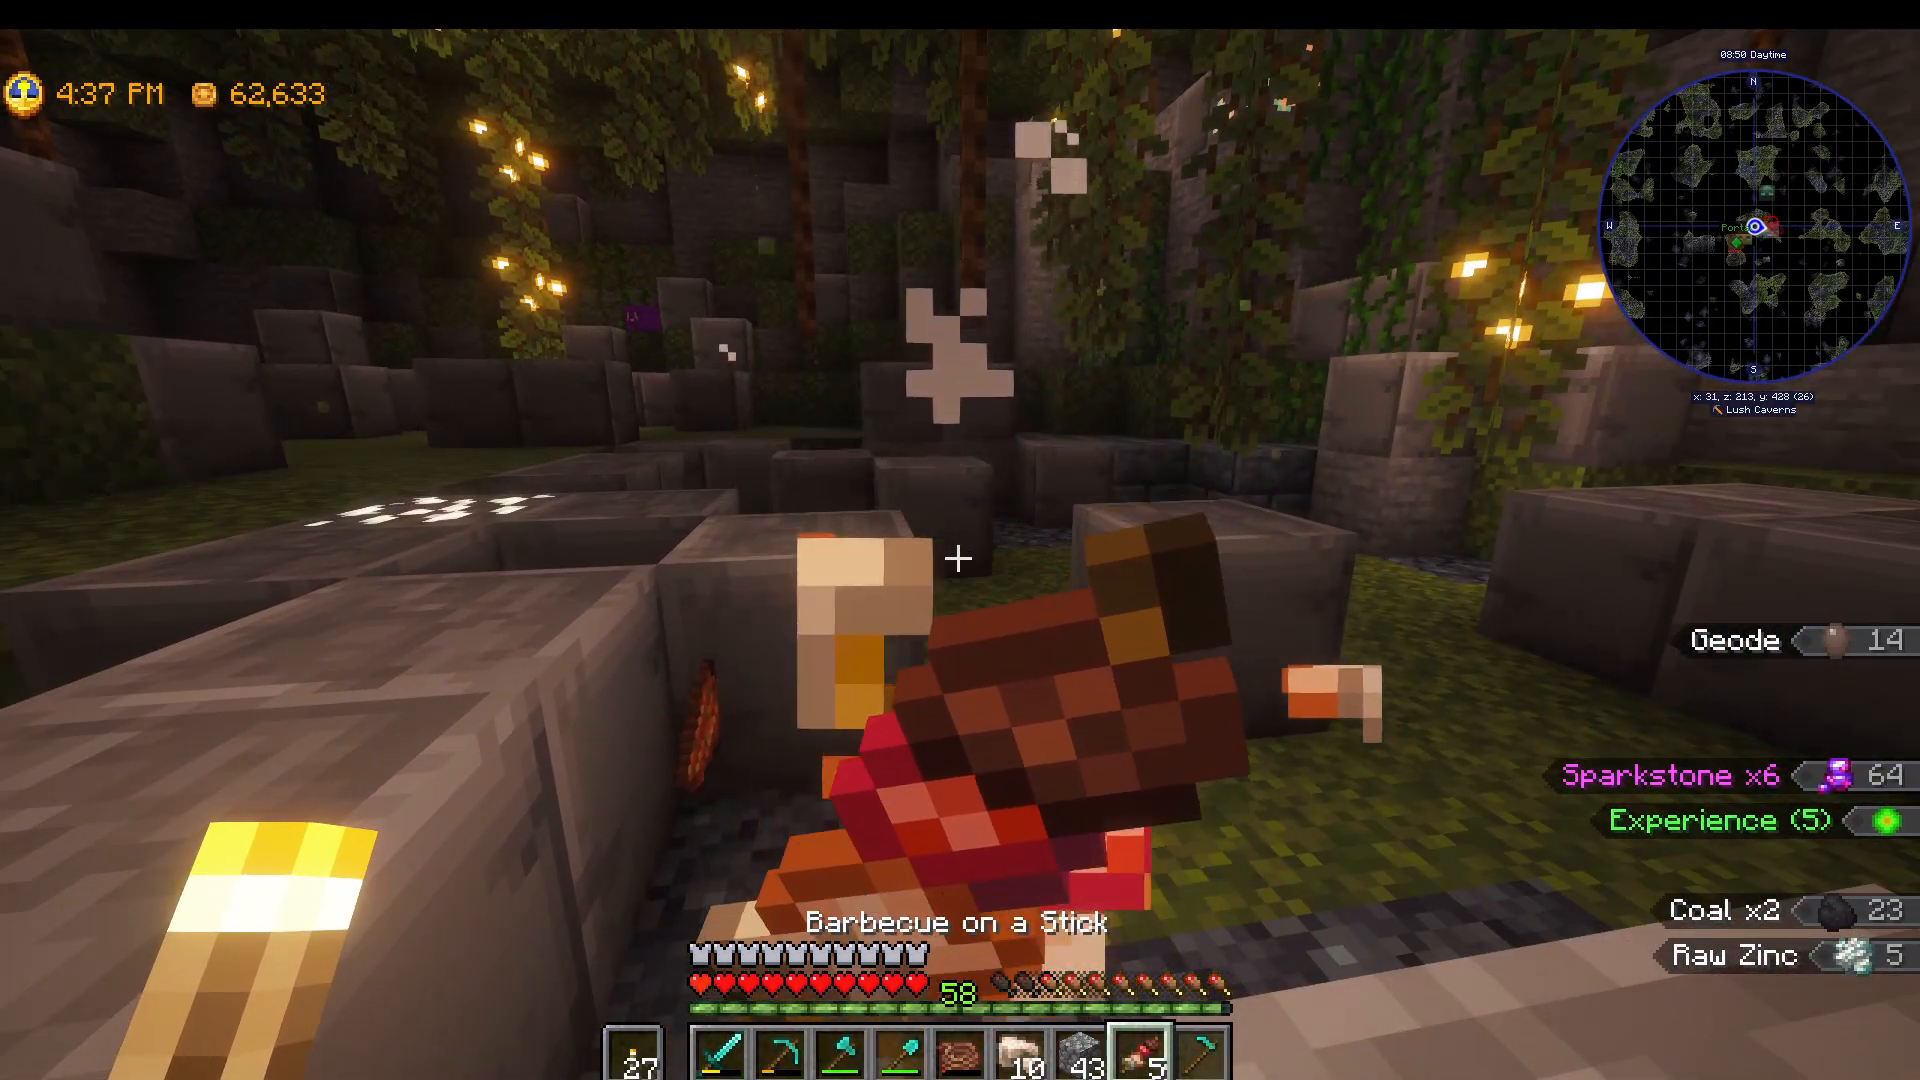
Lower Icy Levels
Diamond ore becomes abundant in lower levels, significantly increasing your loot value. Earth crystals also appear.
Layer 4-5: Desert/Nether Area (Fire Biome)
This area contains gold ore in abundance—the best way to farm gold in the entire pack. Fire quartz also spawns here (obtainable elsewhere in the Nether but abundant here).
Expect blazes, magma zombies, mummies, and breezes. Mummies spawn beetles that can overwhelm you—prioritize killing them. Breezes push you back annoyingly.
Prismatic shards drop from special colored mobs—essential for late-game gear.
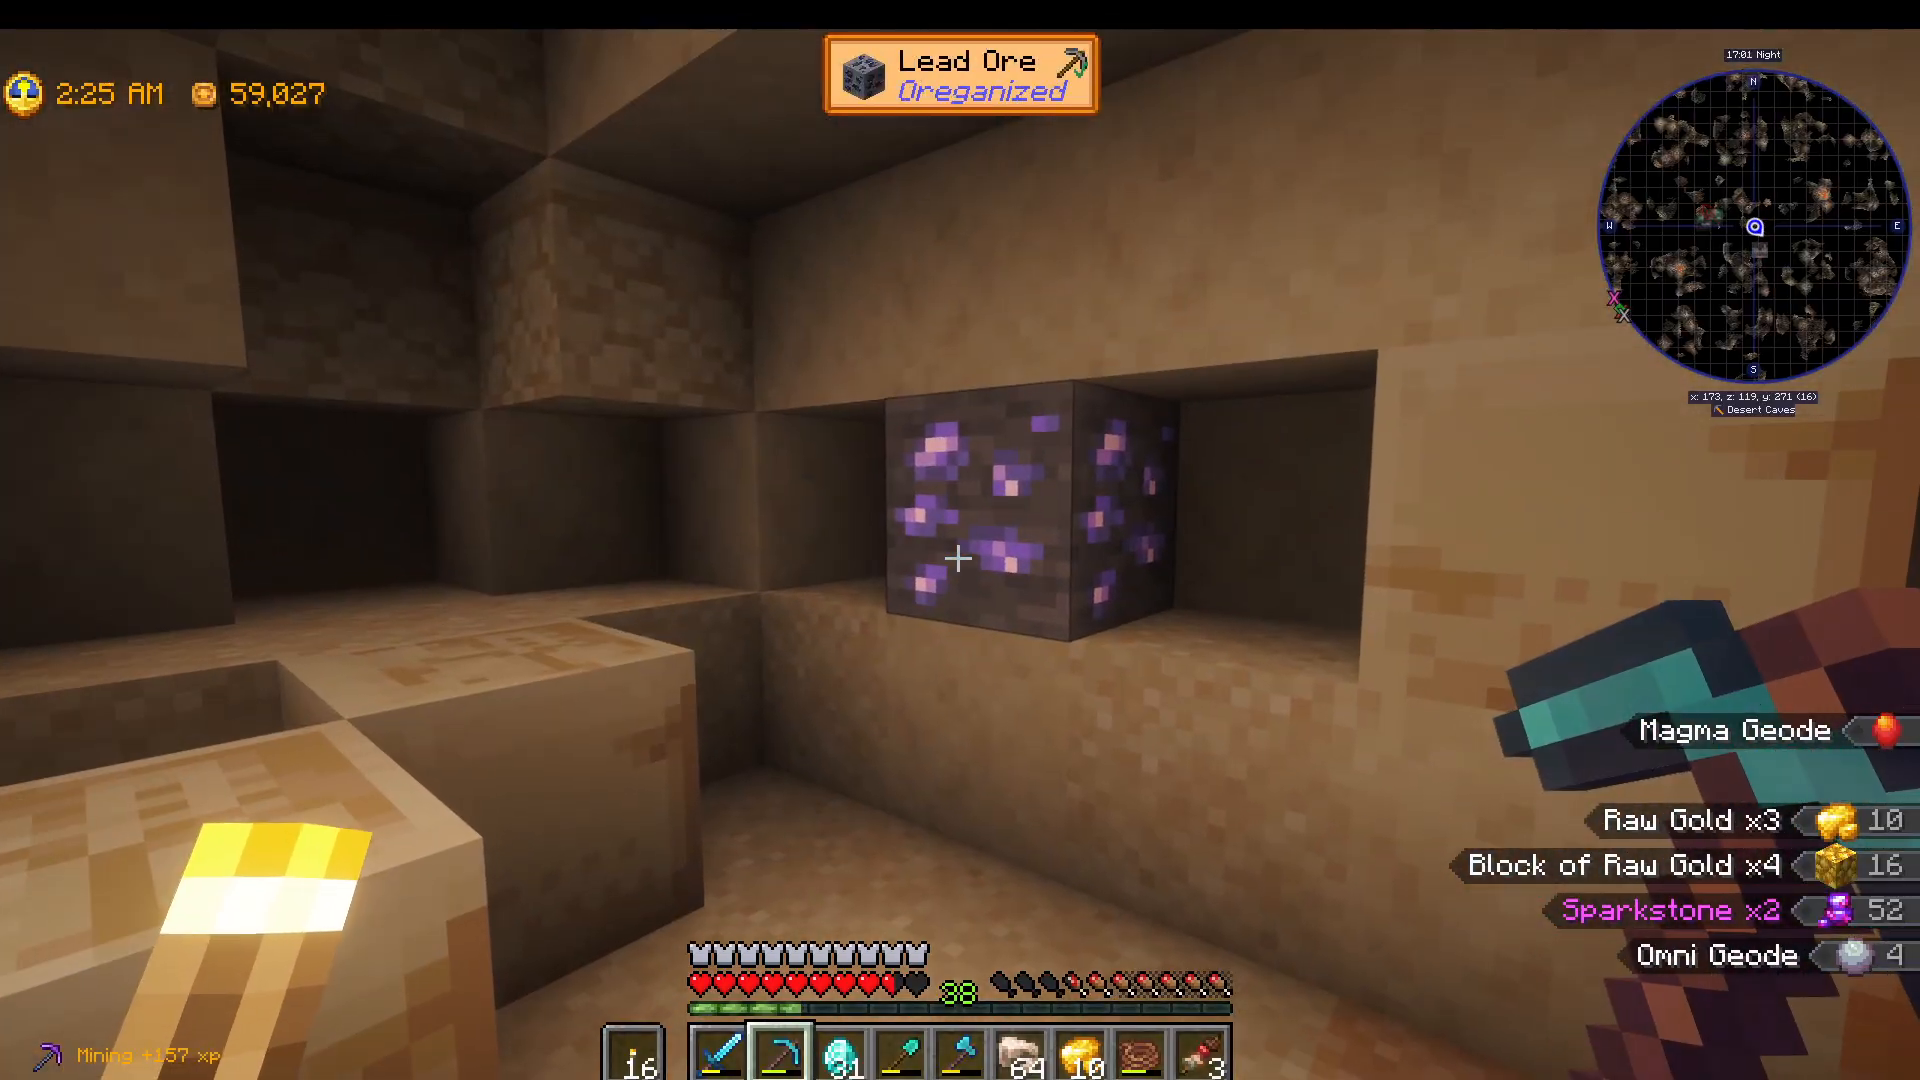
Lower Levels
Find supply crates with useful materials. Trial chambers occasionally appear—keep an eye on the mini-map for trial chamber keys dropped by mobs, allowing you to enter these special rooms.
The Absolute Bottom
At the deepest levels, blackstone and end biome blocks mix together. A teleporter here returns you to the surface. Special mobs drop valuable XP books. Mobs become increasingly difficult.
Special Rooms
Lucky exploration occasionally reveals themed rooms like honeycomb chambers (with bee-related loot) and trial chambers (combat challenges).
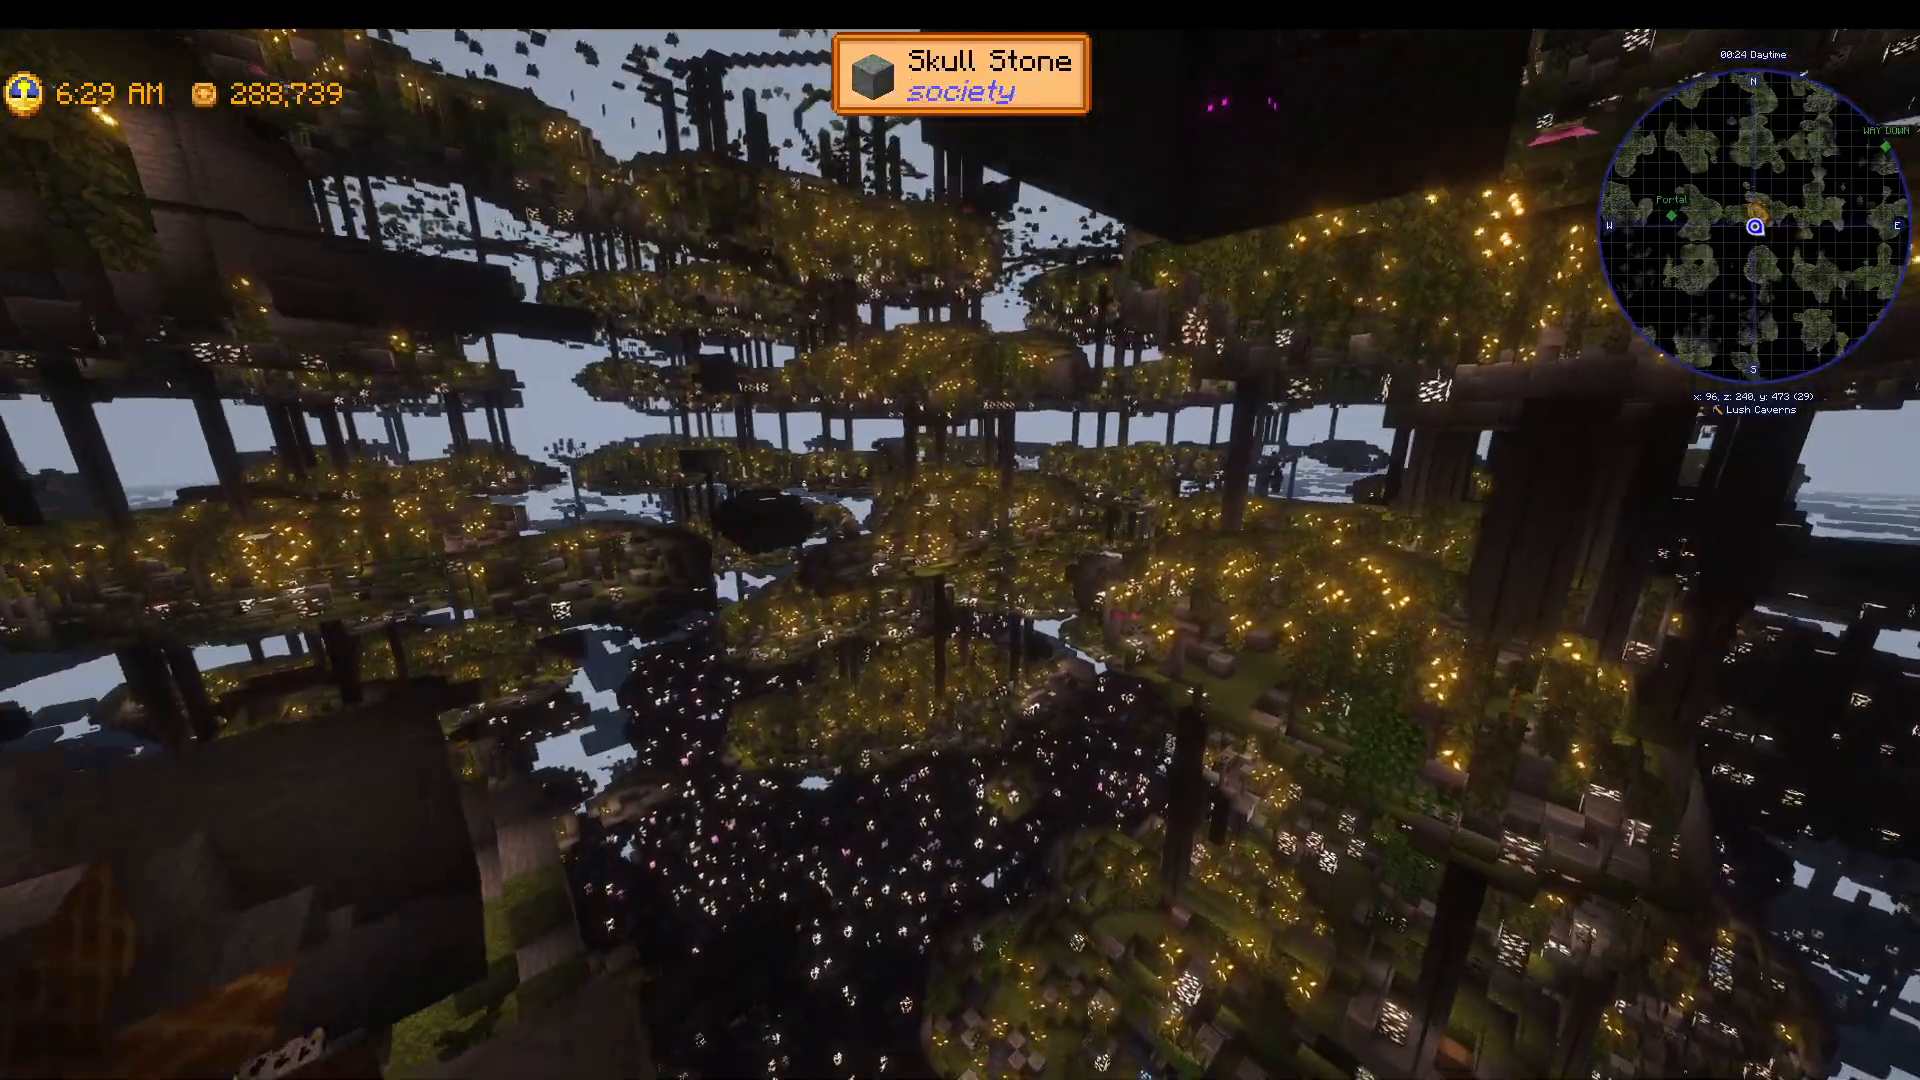
Sample Run Profitability
A typical Skull Cavern run can net 35,000+ coins in loot before processing, depending on luck and depth reached.
Escape Methods
Escape ropes teleport you directly to the surface. Alternatively, climb up the ropes you descend through, or find teleporters on most levels that return you to spawn.
Late-Game Progression
Mechanical Farming with Create
After completing the “Prismatic Farming” chapter (which takes you to the Skull Cavern’s lower depths), begin “Mechanical Farming.” This chapter focuses on the Create mod, automating farm operations and mining.
Mystical Farming with Botania
Complete the abandoned farm community center quest to unlock the petal apothecary. This grants access to Botania progression for magical farming enhancements.
The petal apothecary requires rare items found throughout late-game exploration.
Additional Resources
Channel Content
The guide creator has comprehensive tutorials for nearly every mod in Sunlit Valley, including detailed Farmers to Light, winery, and storage mod guides available on their YouTube channel.
Server Community
A Sunlit Valley modpack server is being launched. Join the Discord community to access the server and connect with other players.
Conclusion
Society Sunlit Valley offers an engaging blend of cozy farming simulation and adventurous exploration. Start with your farmhouse and basic crops, progress through strategic villager trading and mining, scale up through food processing, and eventually tackle the challenging Skull Cavern. The progression path is well-designed with quests guiding you naturally from early game through endgame content. With multiple income streams, seasonal mechanics, and complex crafting systems, there’s always something new to work toward. Follow the chapter quests from “Getting Started” through “Mechanical and Mystical” to experience the full depth of this amazing modpack.
— Want to Support? —
If you would like to help us continue making these guides – please consider joining our patreon here – https://www.patreon.com/c/JaviHeals
Alternatively – we host a group of MC Servers you can join here – https://discord.gg/zD7Gjt6MHF