







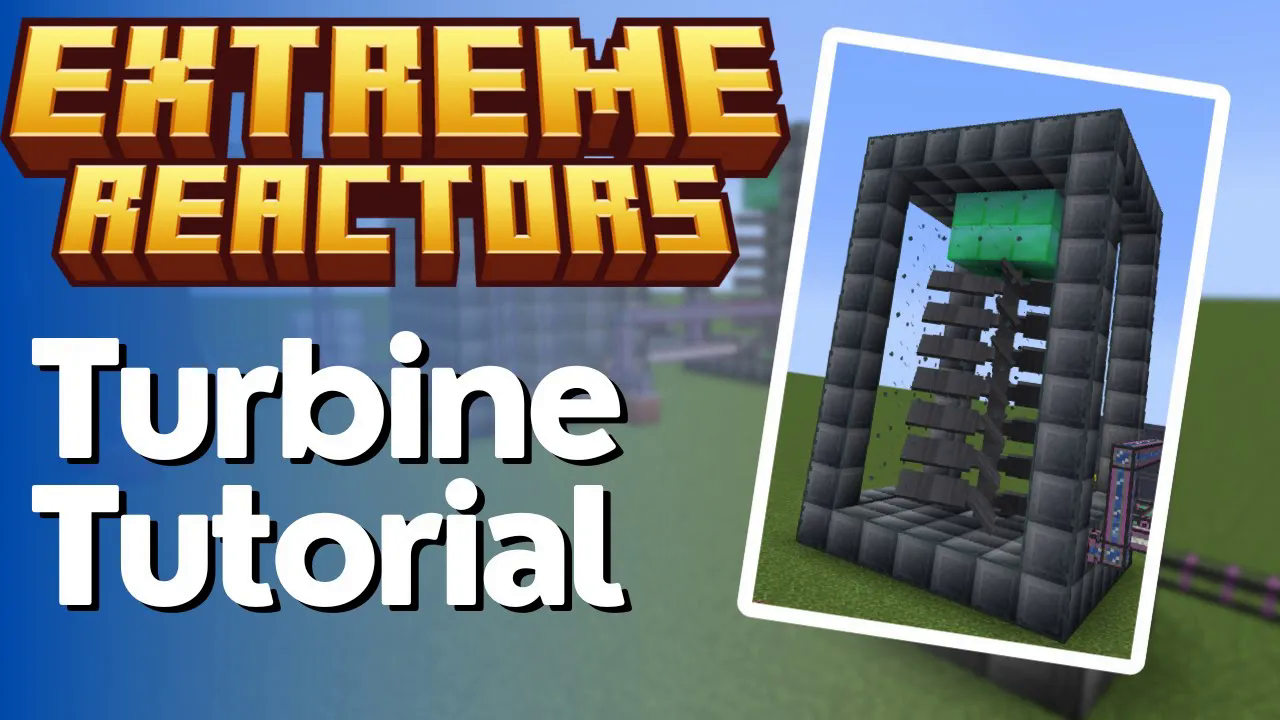
Turbines & Active Cooling Tutorial – Extreme Reactors
Turbines & Active Cooling Tutorial – Extreme Reactors
Once you’ve mastered passive reactors using yelloworium, plutonium, or their processed variants, the next logical step is upgrading to an actively-cooled reactor system. This guide walks you through building turbines and converting your reactor to active cooling, which can result in massive power increases—potentially 40% or more beyond what passive reactors alone can achieve.
Understanding Active Cooling Basics
If you’re currently running a passive reactor with basic fuel rods, you’re missing out on significant power generation. For example, a 7×7 reactor filled with yelloworium produces approximately 167,000 RF per tick. Switching to plutonium bumps this to 227,000 RF per tick—a 70,000 RF increase. However, adding active cooling with a turbine using ludicrite can push that to 300,000 RF per tick, providing an additional 73,000 RF increase.
To convert your reactor to actively-cooled operation, you’ll need:
A turbine (the focus of this tutorial)
Reactor Active Forge Fluid Ports (at least two)
A way to supply coolant and handle steam output
Setting Up Active Cooling on Your Reactor
Adding Fluid Ports
Start by attaching two Reactor Active Forge Fluid Ports to your existing reactor. One will serve as the coolant input, and the other will output steam. In this setup, water acts as your coolant, though different modpacks may support alternative coolants. The choice depends on what your specific modpack includes.
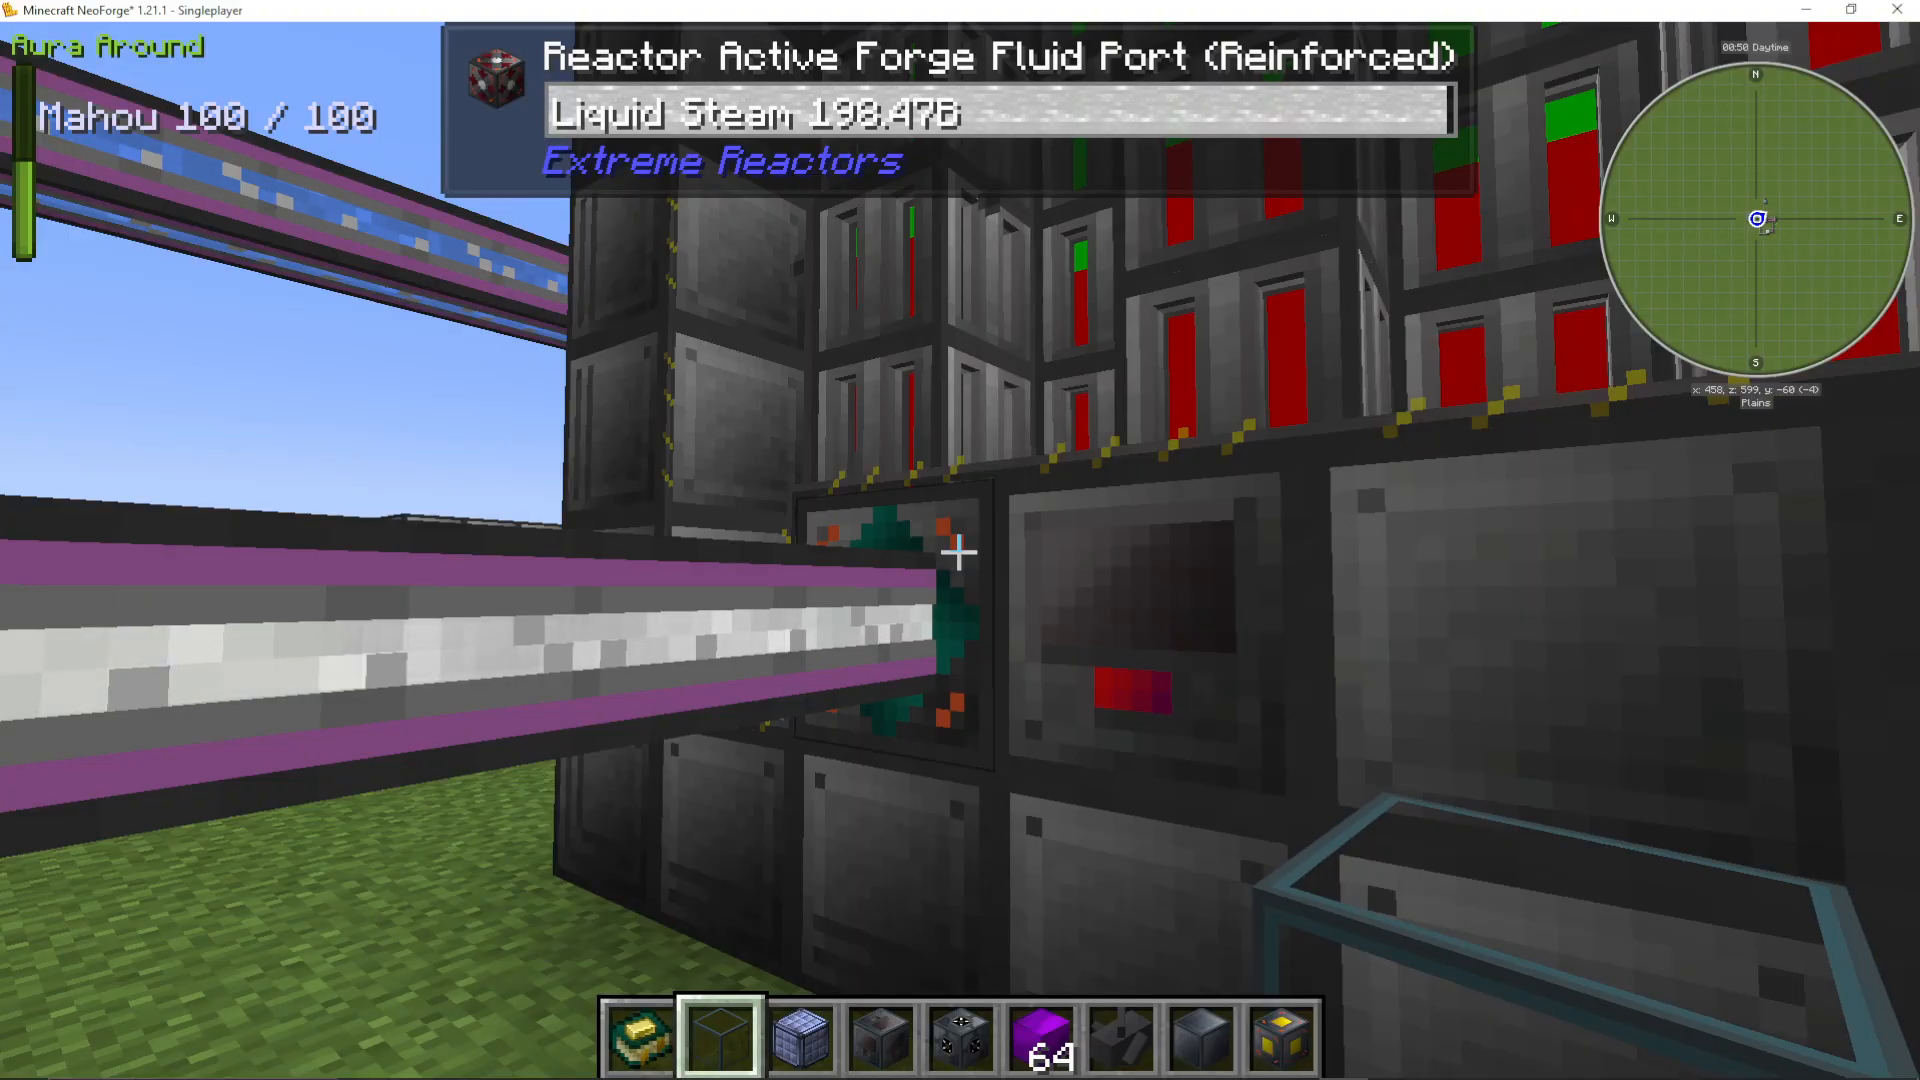
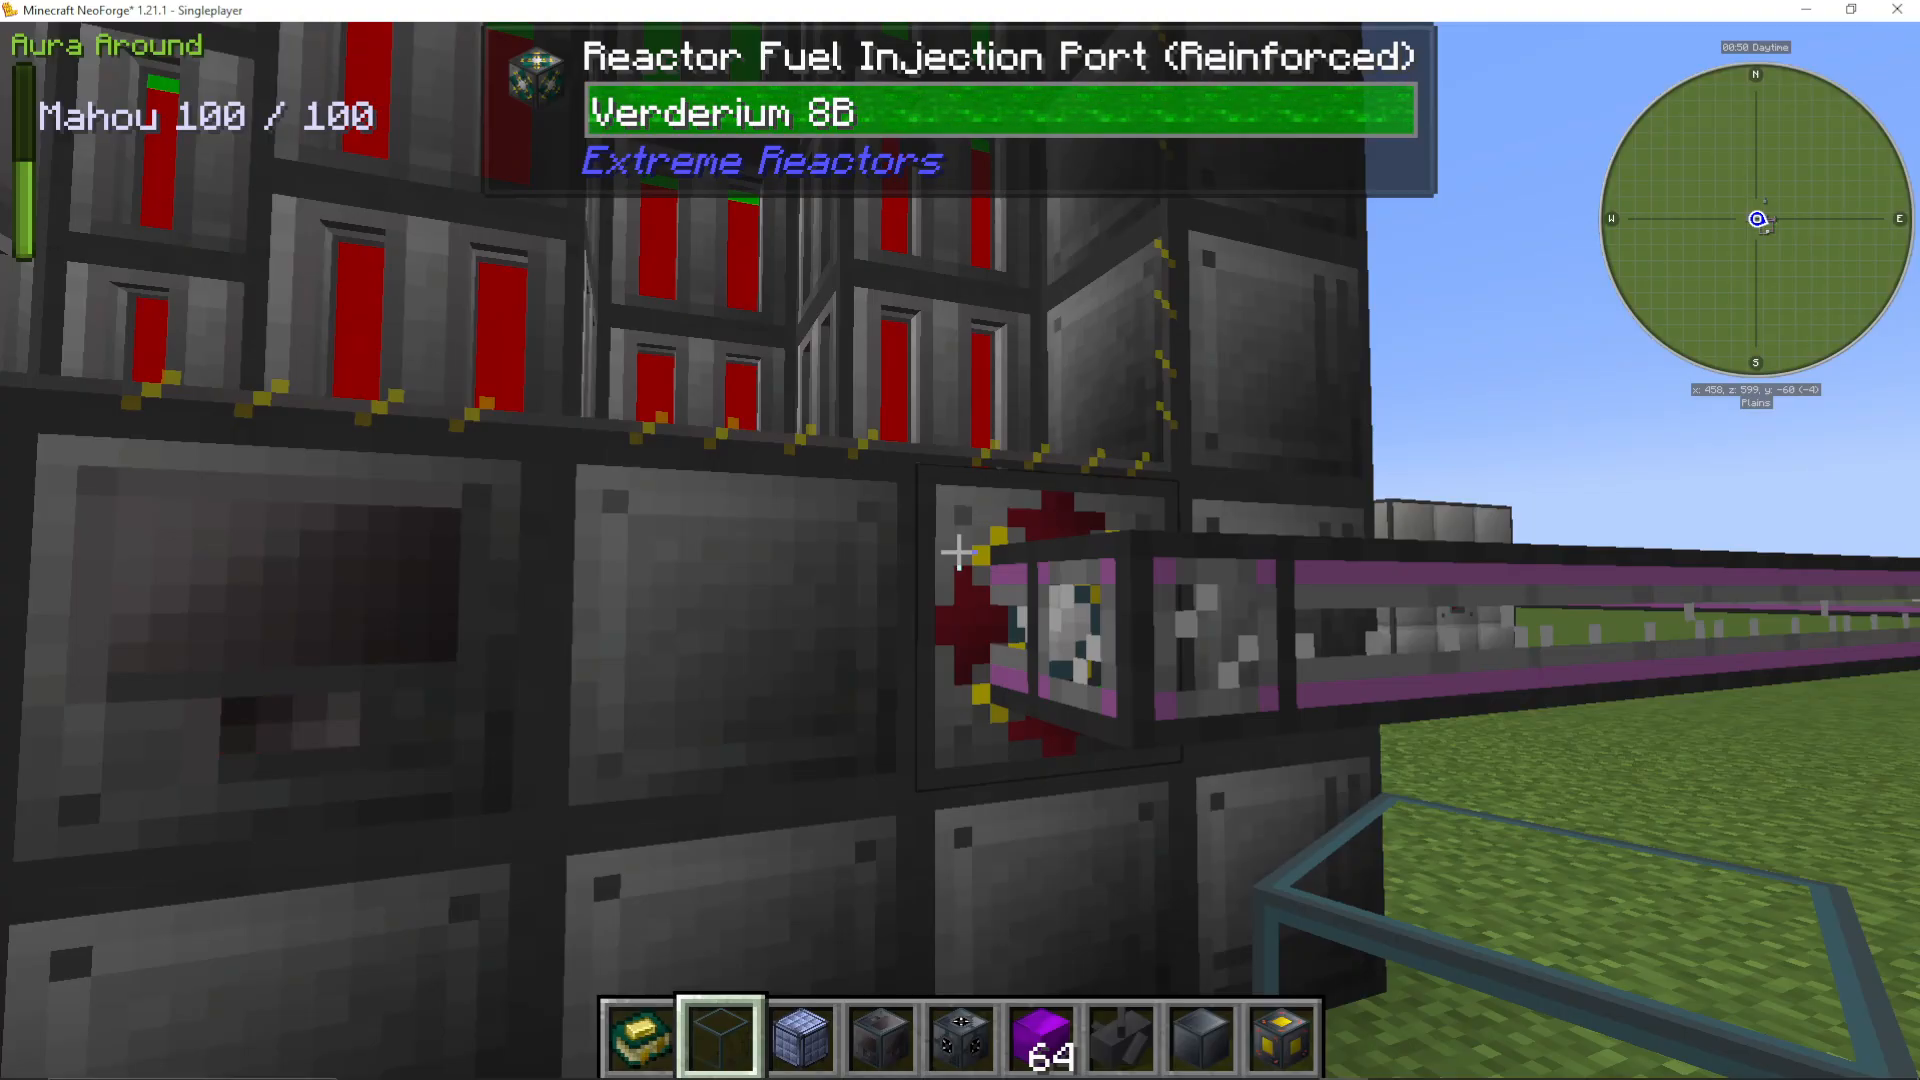
If you’re using fluidized fuel (like vardirium created from plutonium and yelloworium in a fluidizer), you’ll also want to add a Reactor Fuel Injection Port. This allows liquid fuel to enter your reactor. Alternatively, you can use a solid input port for yelloworium or plutonium if you prefer.
How Active Cooling Changes Your Reactor
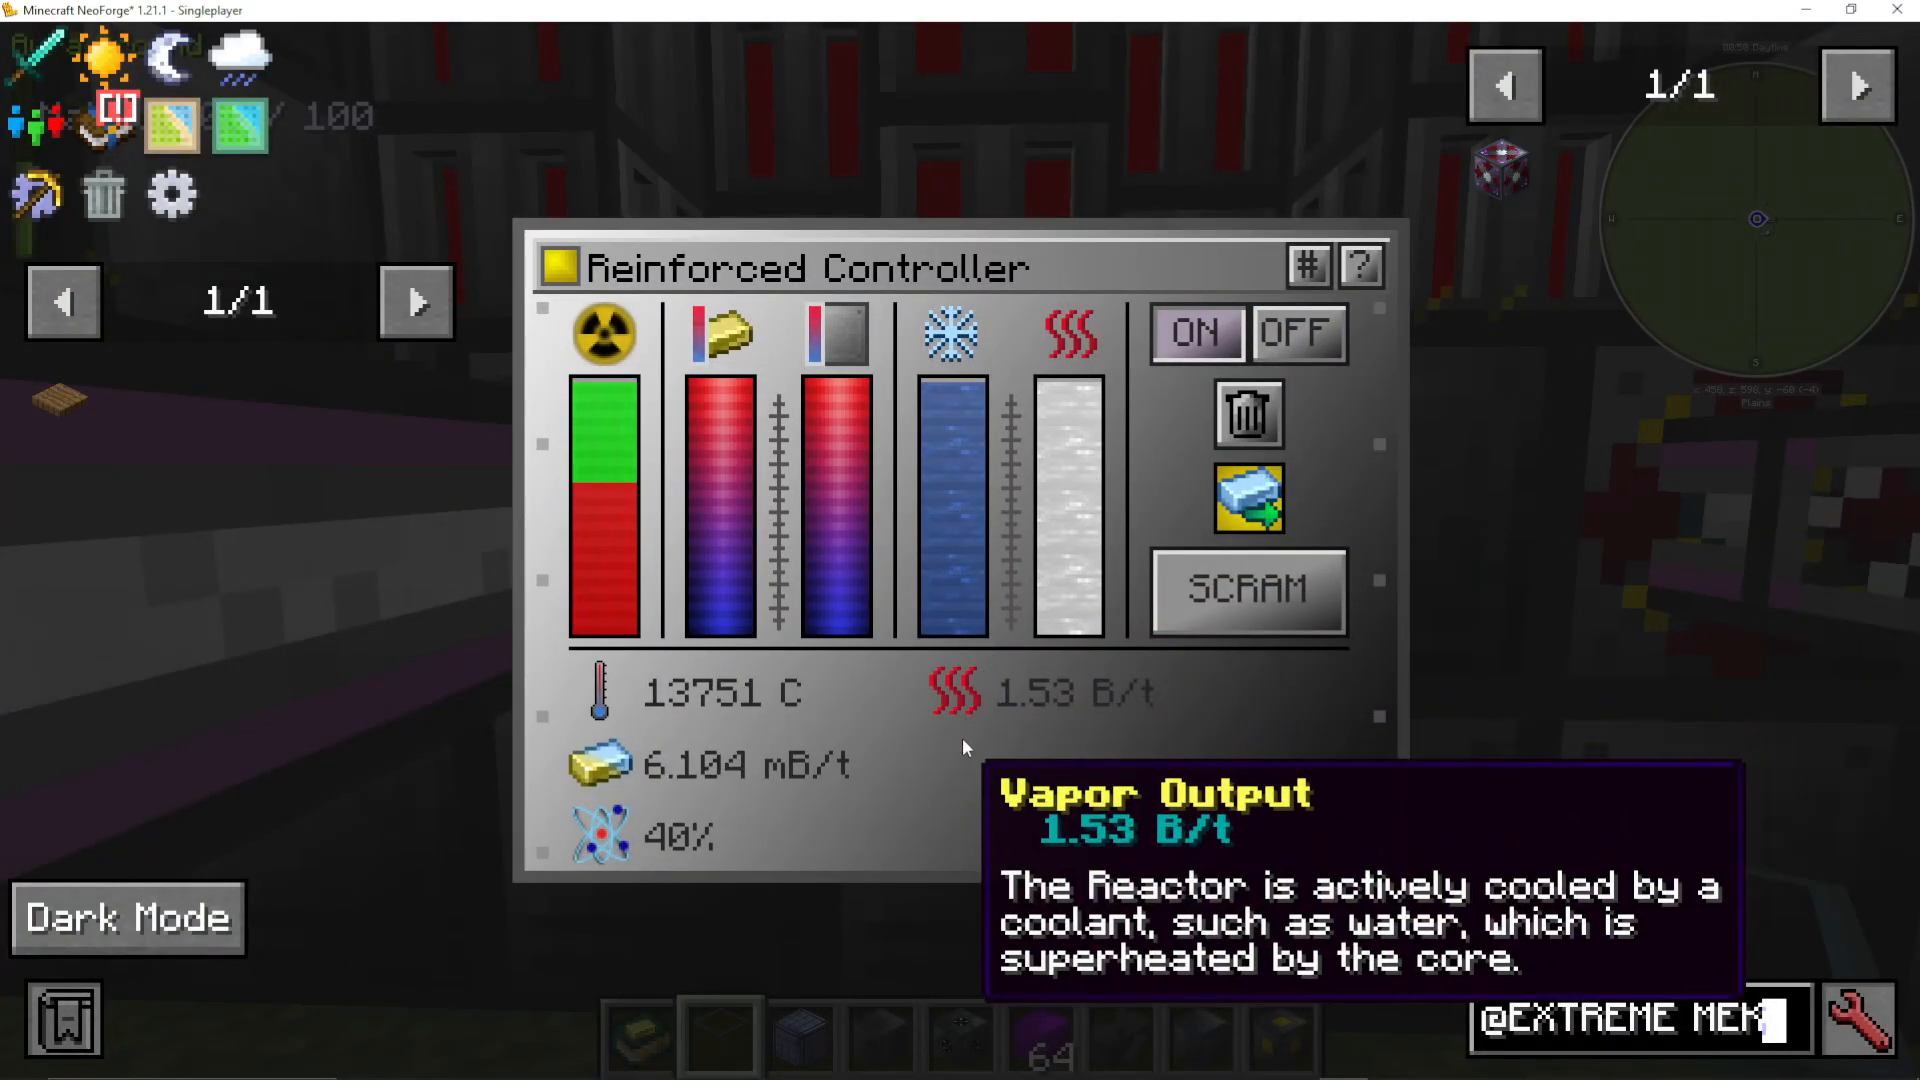
Once you’ve added these fluid ports, check your reactor controller. You’ll notice the output has changed—your reactor is no longer generating RF directly. Instead, it’s producing heat and converting that into steam (vapor). The water input cools the reactor, and the steam output feeds directly into your turbine to generate power.
Building Your Turbine
Turbine Size and Housing Options
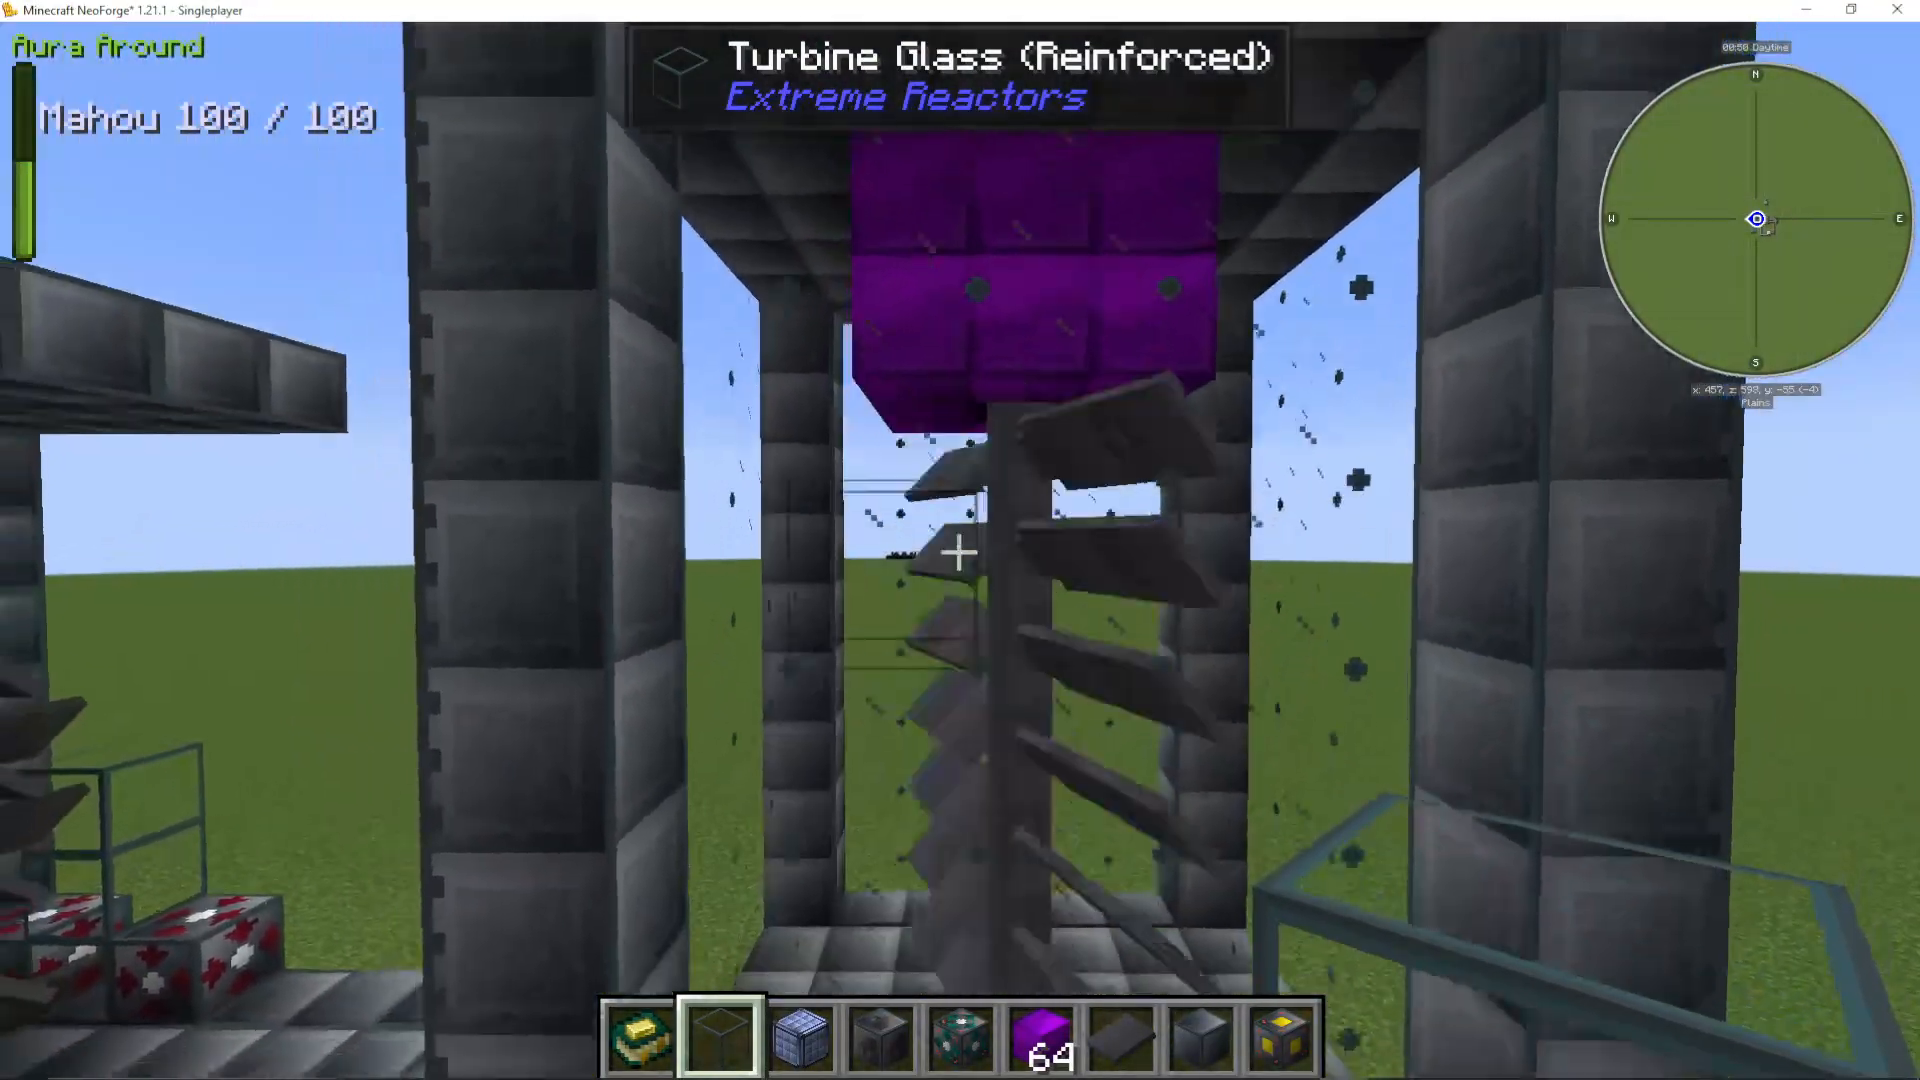
Turbines can be built with either basic or reinforced parts. Basic housing limits you to a 5x5x10 configuration. Reinforced housing allows for much larger builds, depending on your steam processing needs.
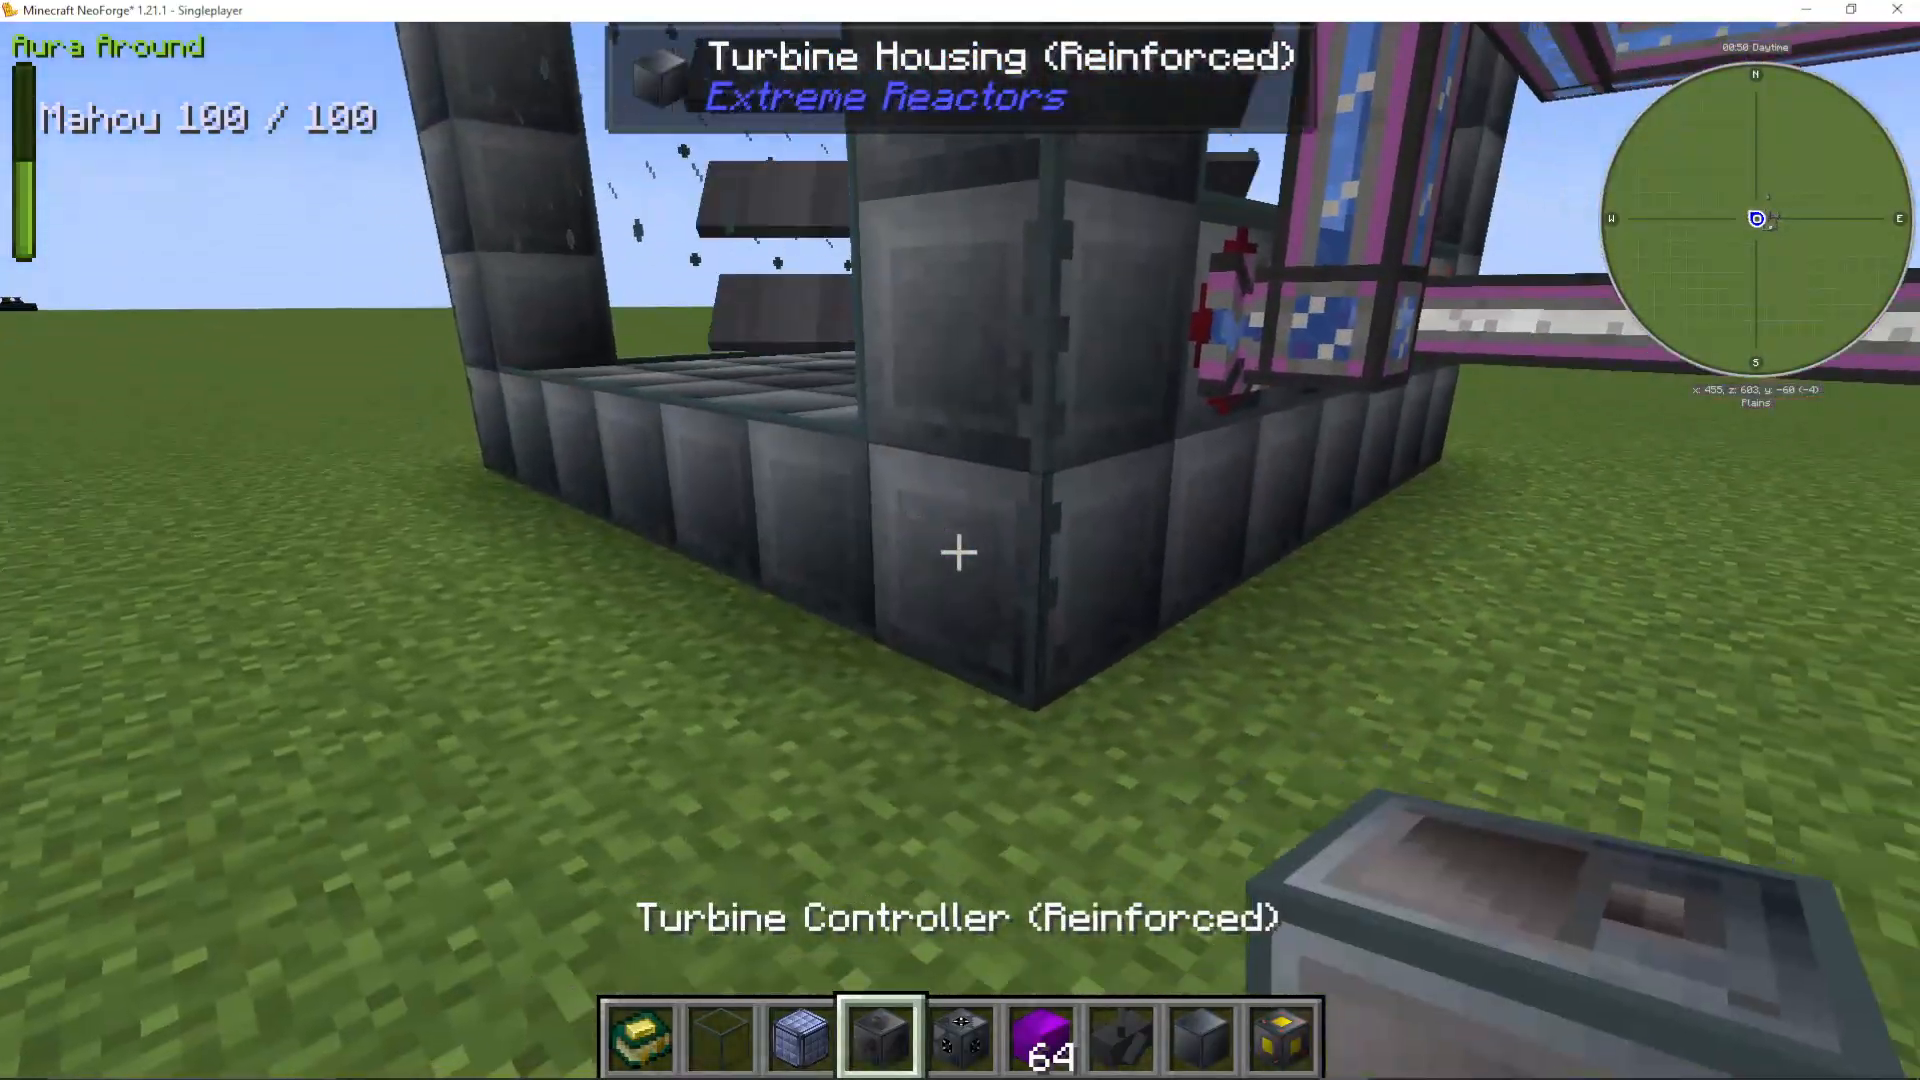
A basic turbine structure requires:
Housing on all exterior edges (reinforced or basic casing blocks)
Glass for interior walls (optional but commonly used)
A turbine rotor bearing in the center
A reactor turbine shaft running vertically through the bearing
Rotor blades attached to the shaft
Induction coils (optional, but significantly improve efficiency)
A turbine controller
An Active Forge Energy Power Tap (to output your generated power)
Two fluid ports: one for steam input, one for condensed coolant output
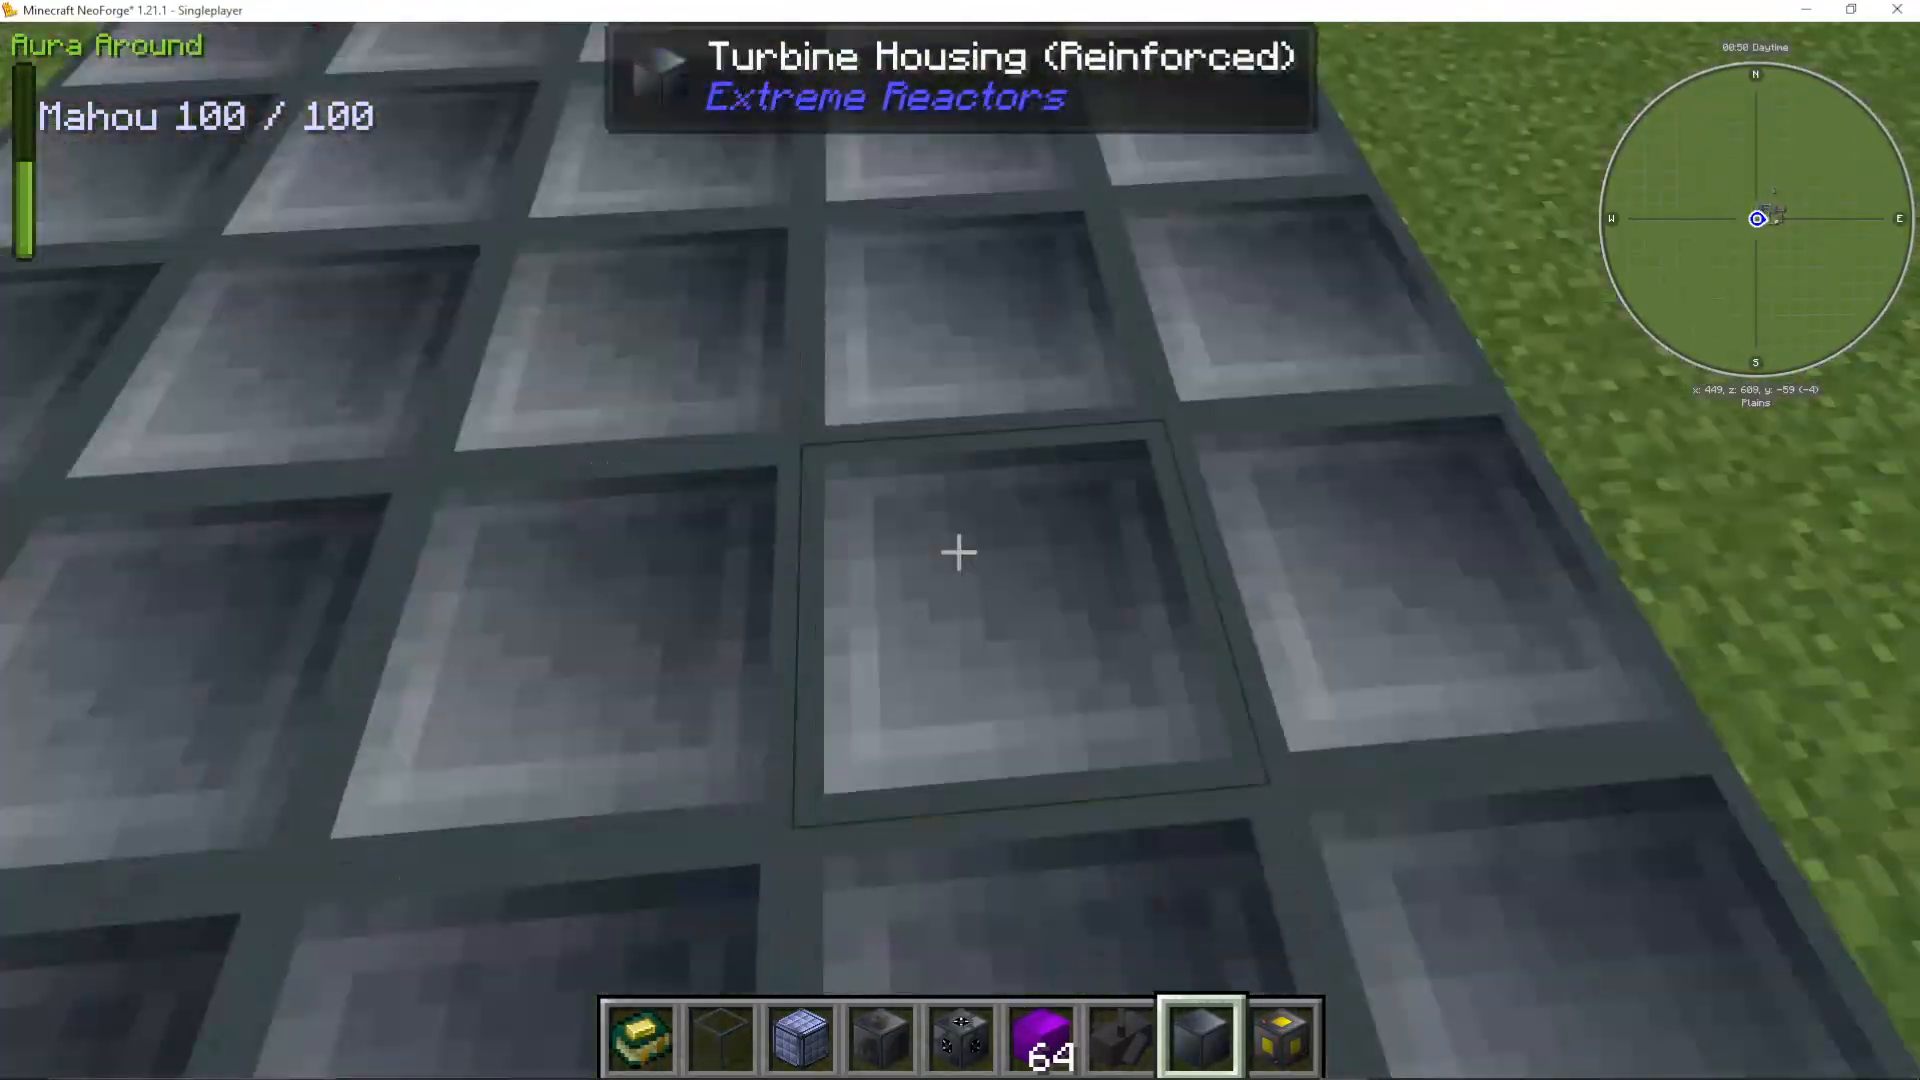
The Rotor Assembly
Install your turbine rotor bearing at the base of your turbine. From this bearing, run your reactor turbine shaft vertically upward through the center. The shaft can extend the full height of your turbine structure. Unlike the bottom, you do not need a second bearing at the top—the shaft can terminate directly in a casing block.
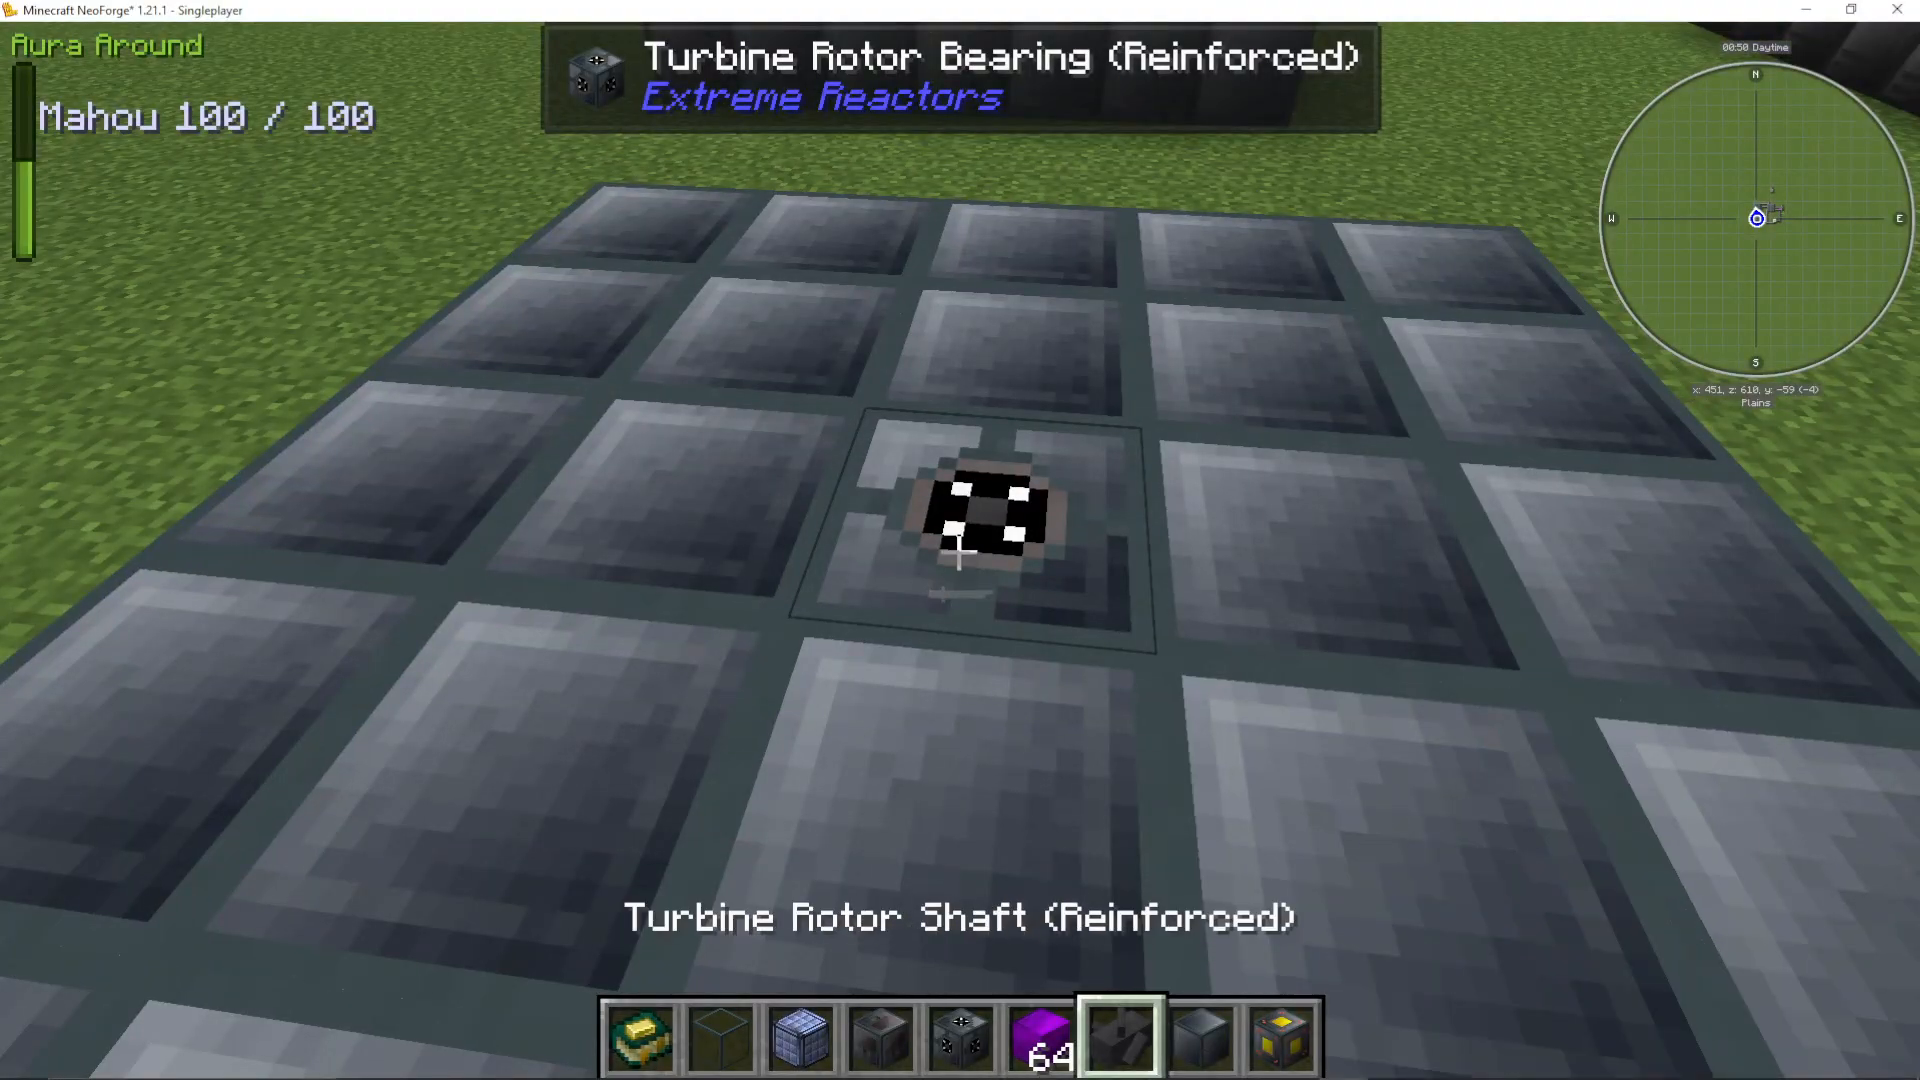
Adding Rotor Blades
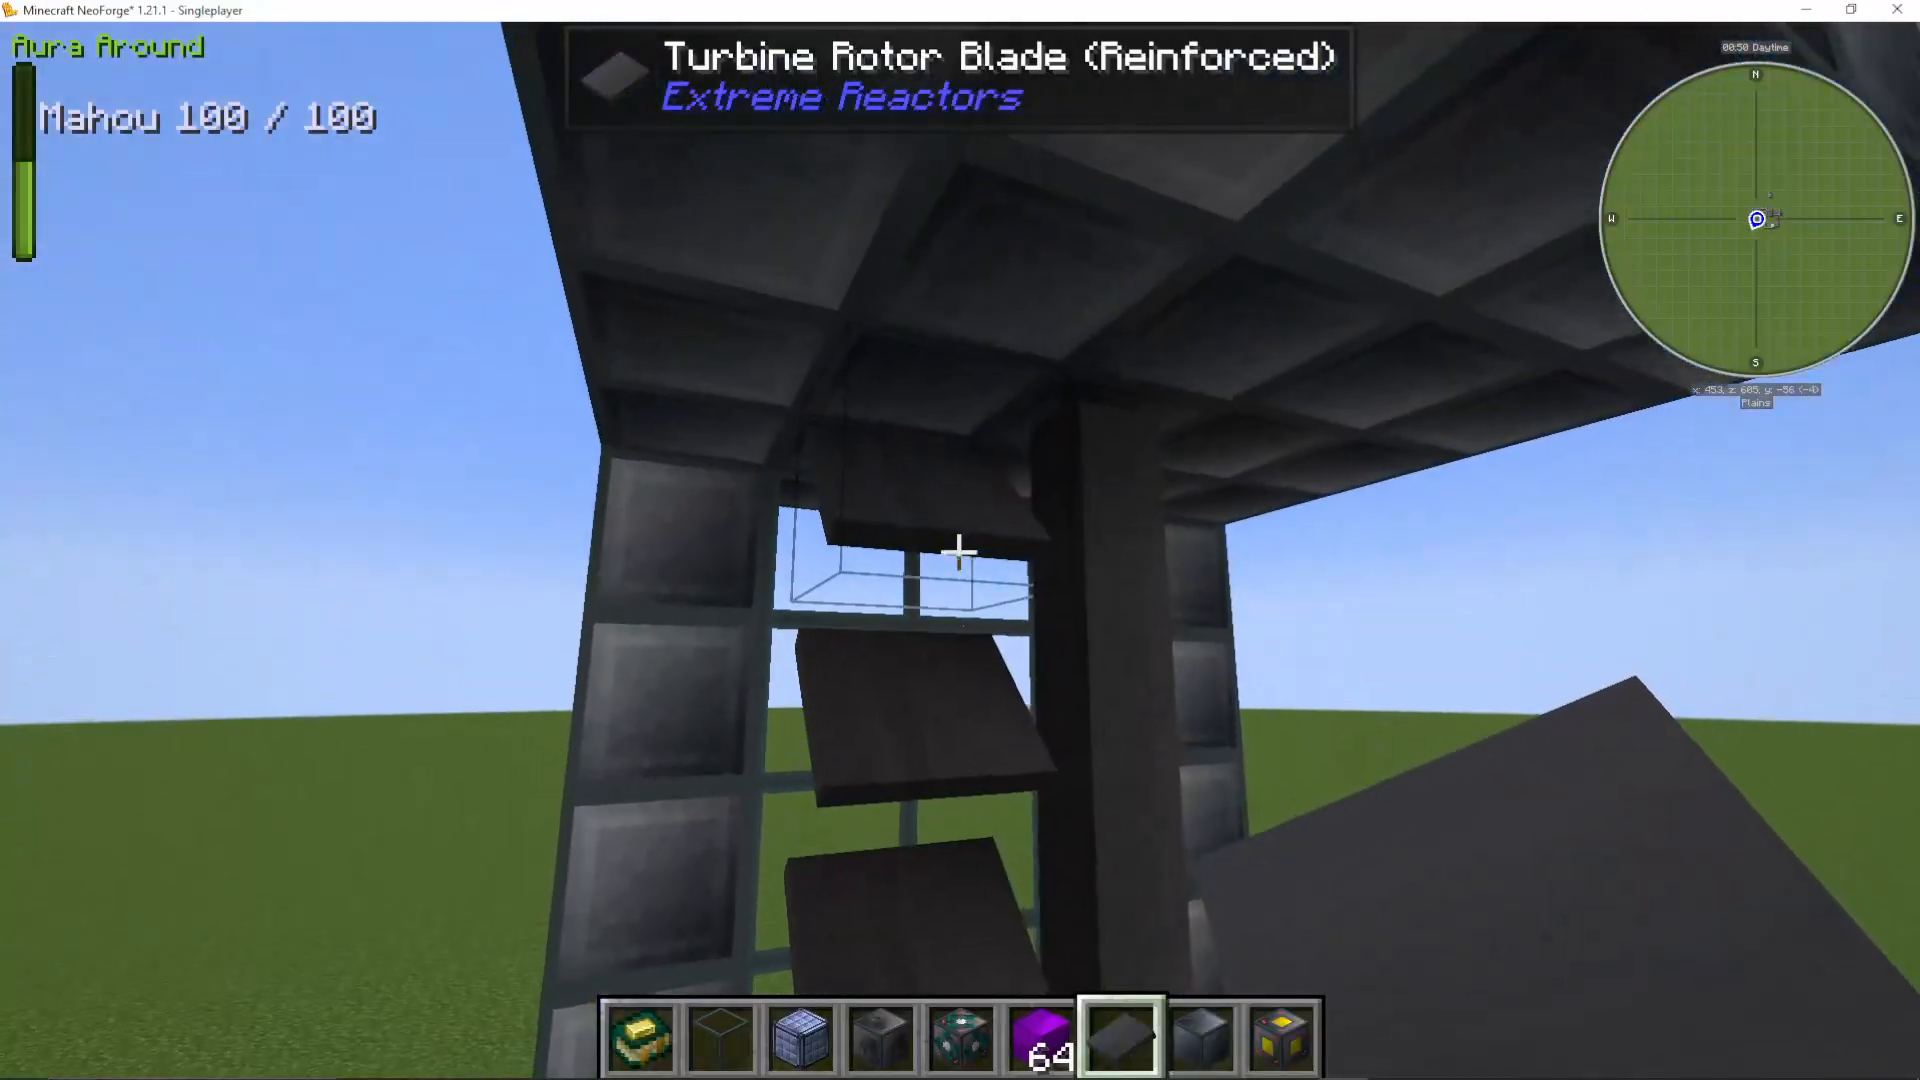
Rotor blades attach to the gaps along your shaft. You can place them on one side, multiple sides, or all sides—it’s entirely flexible. The key principle: more blades equals more steam processing capacity. You’ll need to experiment with blade placement based on your reactor’s steam output.
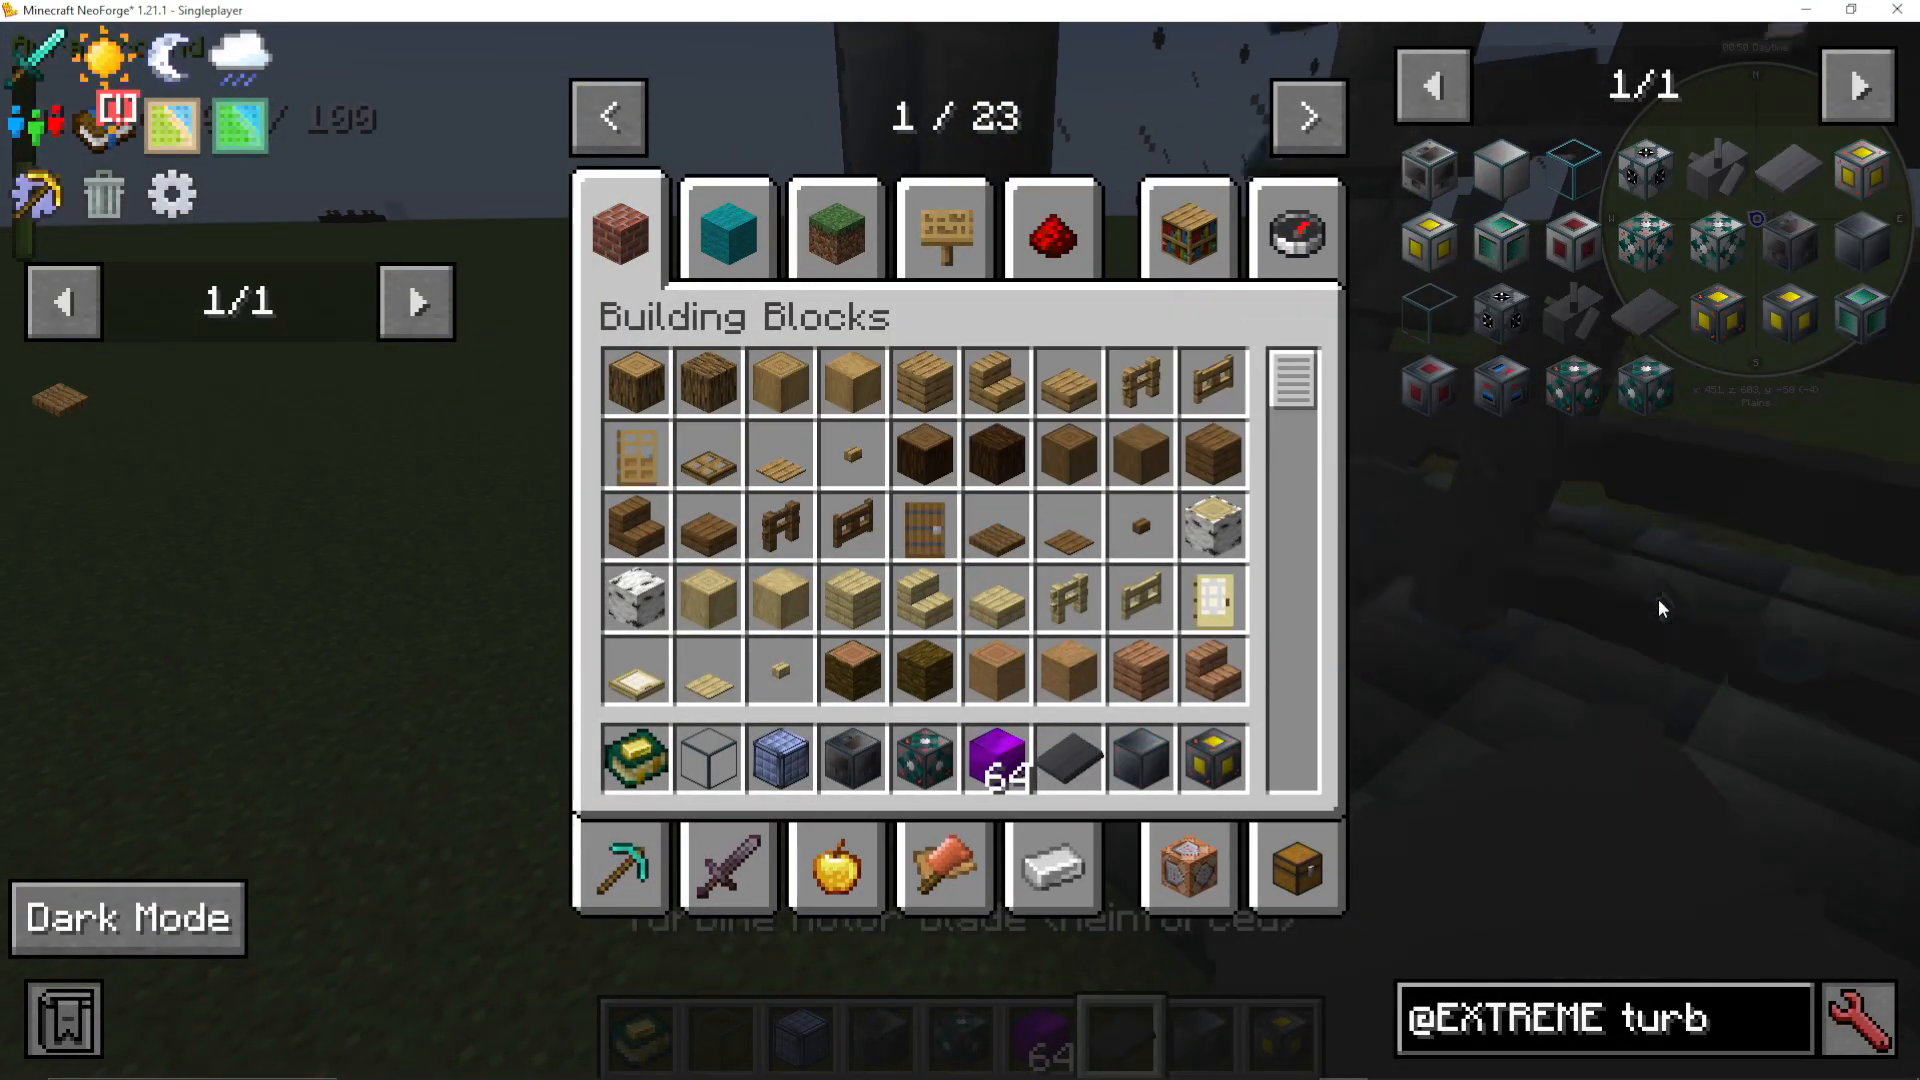
Think of blade placement strategically. If you’re building a larger turbine, you can extend blades further from the shaft, creating longer blade rows to handle excess steam.
Induction Coils and Material Selection
At the top of your turbine, you can wrap induction coil blocks around your rotor shaft. These coils dramatically improve turbine efficiency. You can layer them around the shaft in multiple rings. The material you use for these coils matters—different materials produce different power outputs.
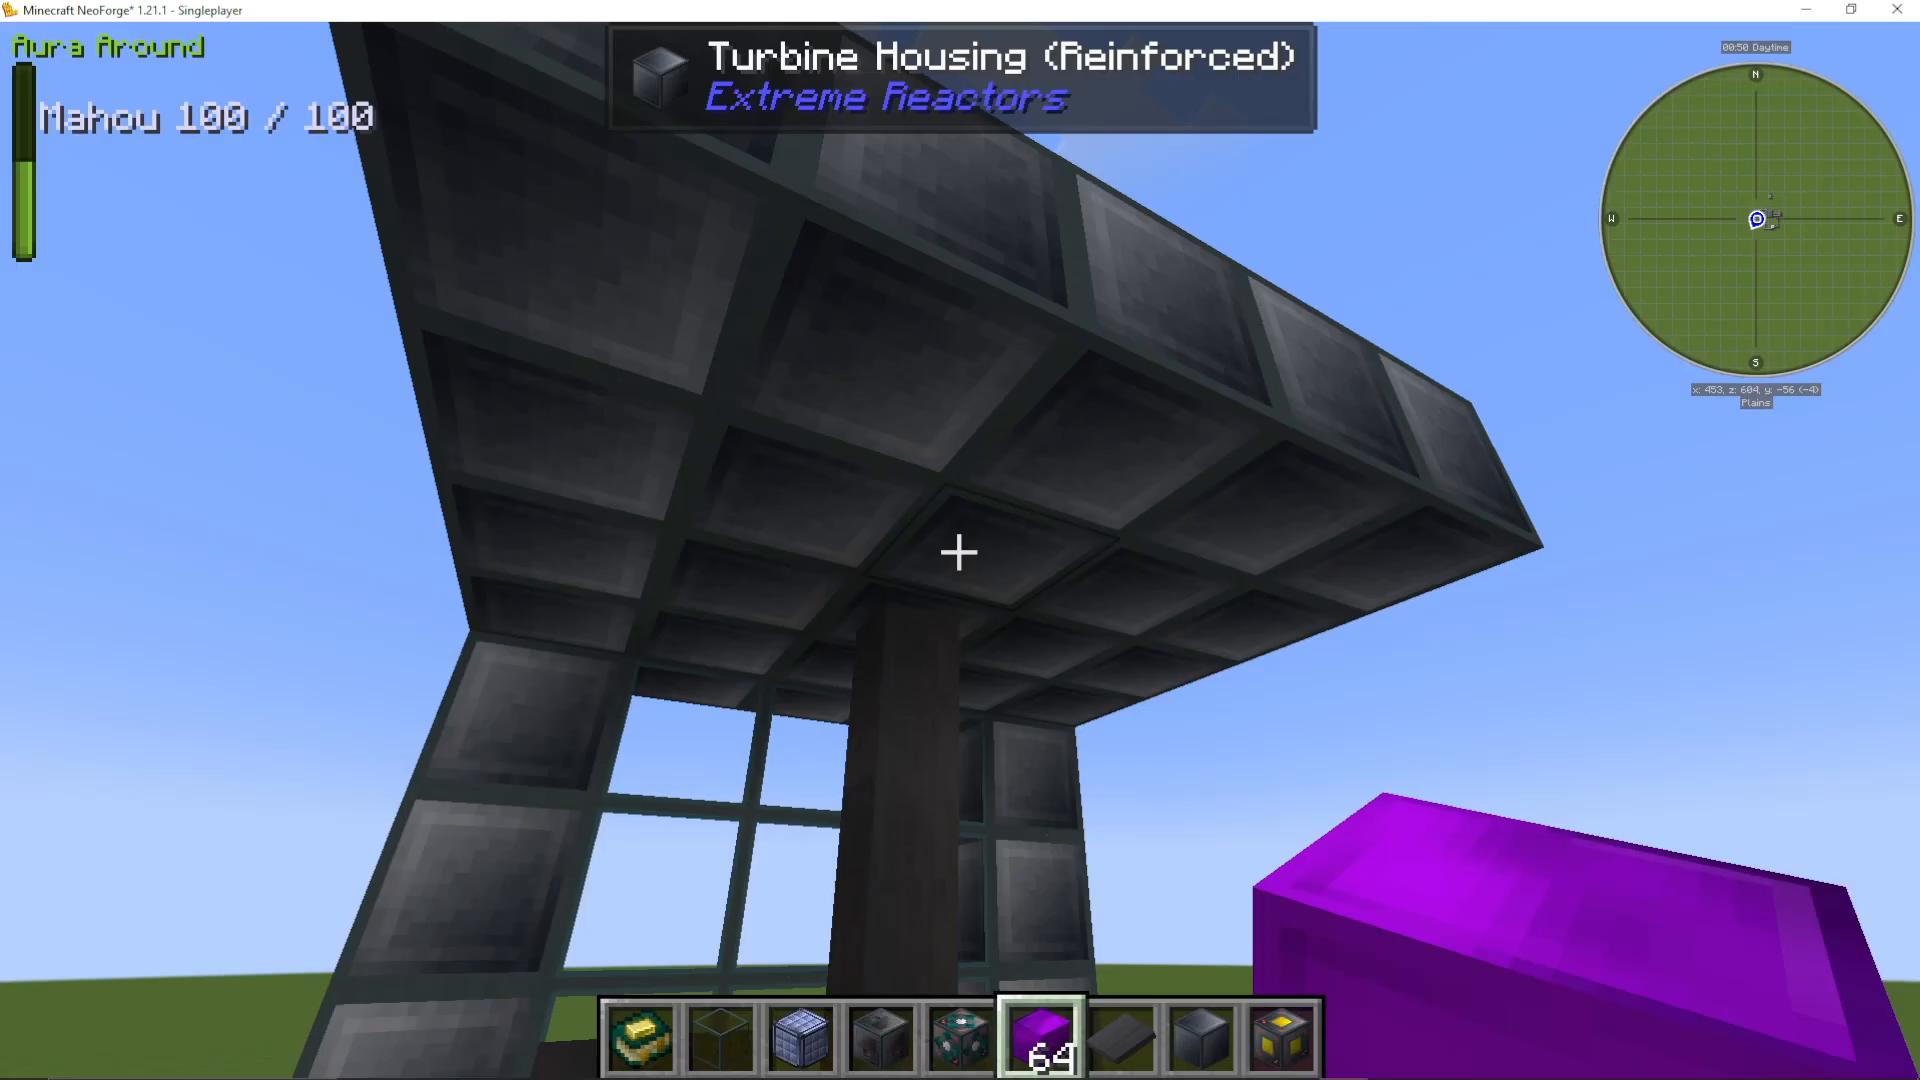
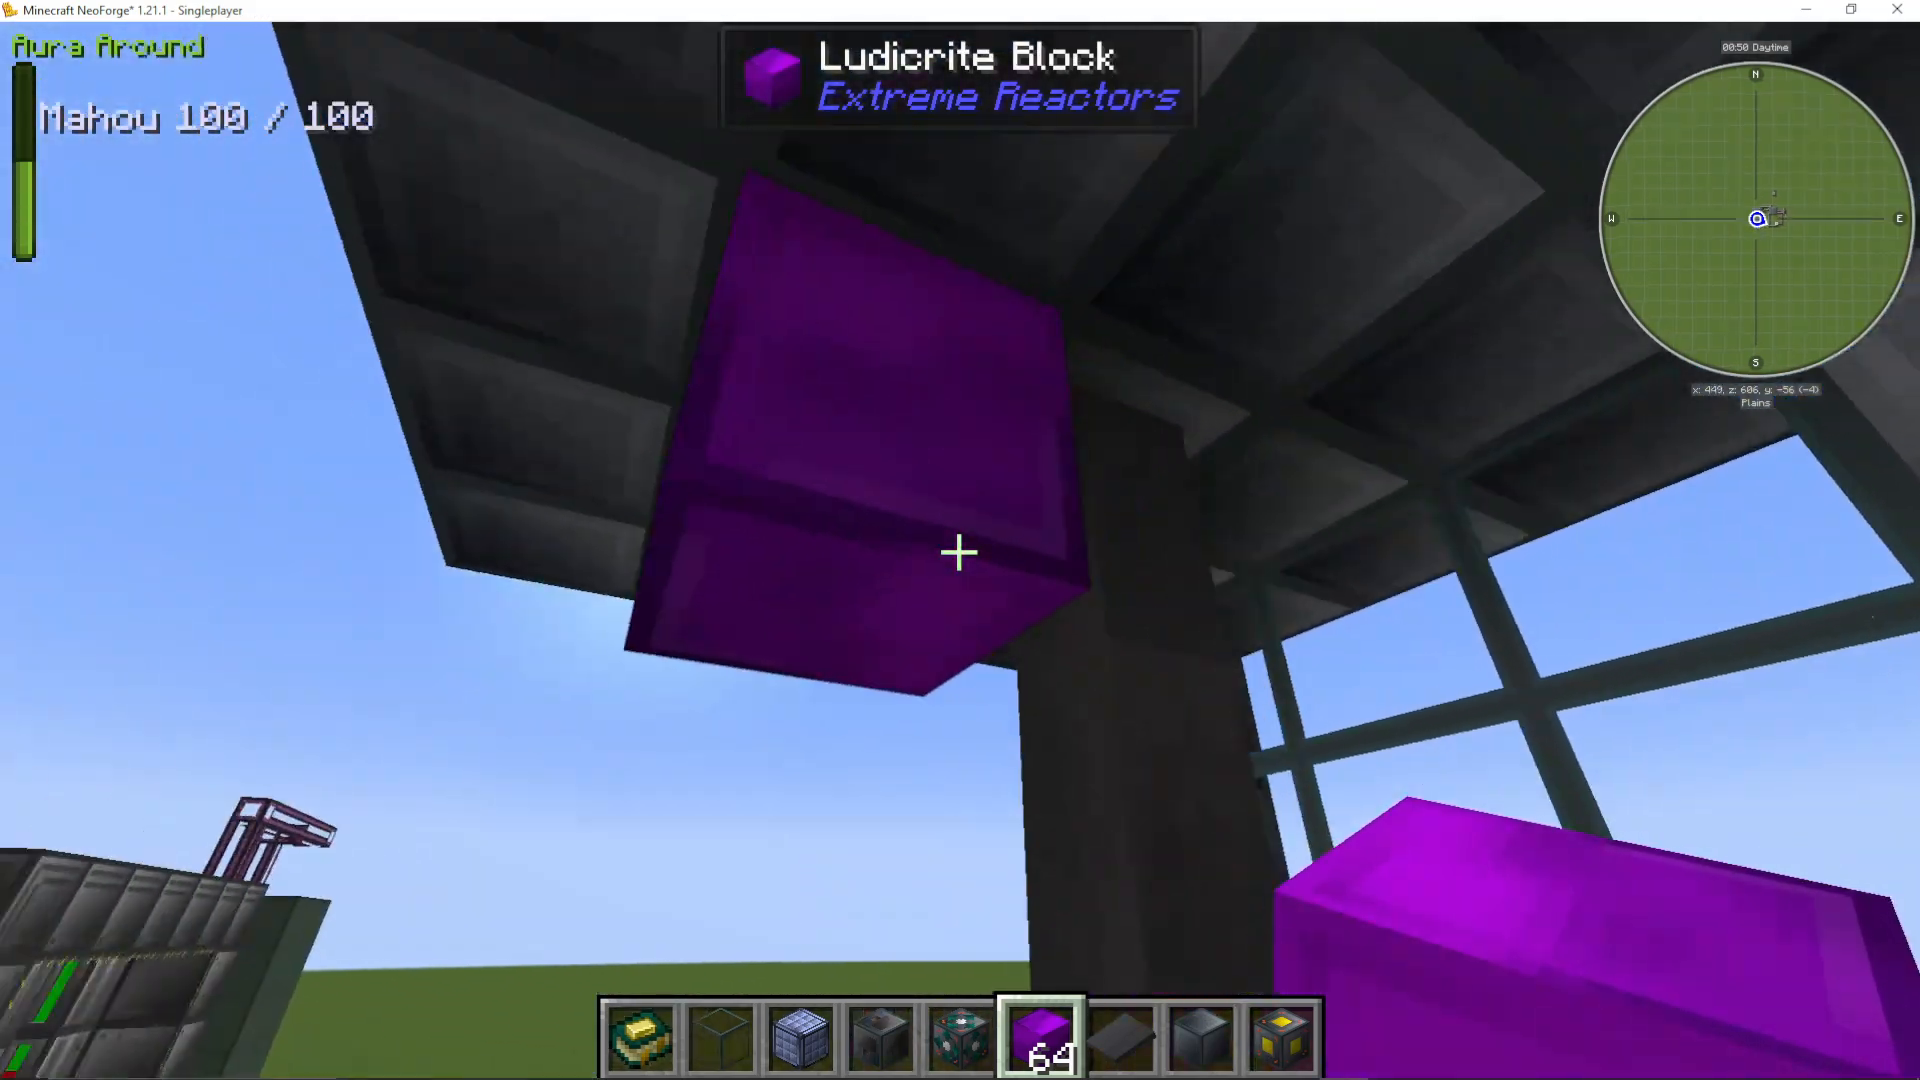
For the setup shown in this tutorial, ludicrite is used as the induction coil material. This is a mid-to-late game material that represents a significant power upgrade. The coil section should have the rotor shaft running through it without any blades attached—the blades go below the coils, while the coil-wrapped section remains blade-free.
Fluid Port Configuration
Install two fluid ports on your turbine:
Input Port: Receives steam from your actively-cooled reactor
Output Port: Returns condensed coolant/water back to your reactor
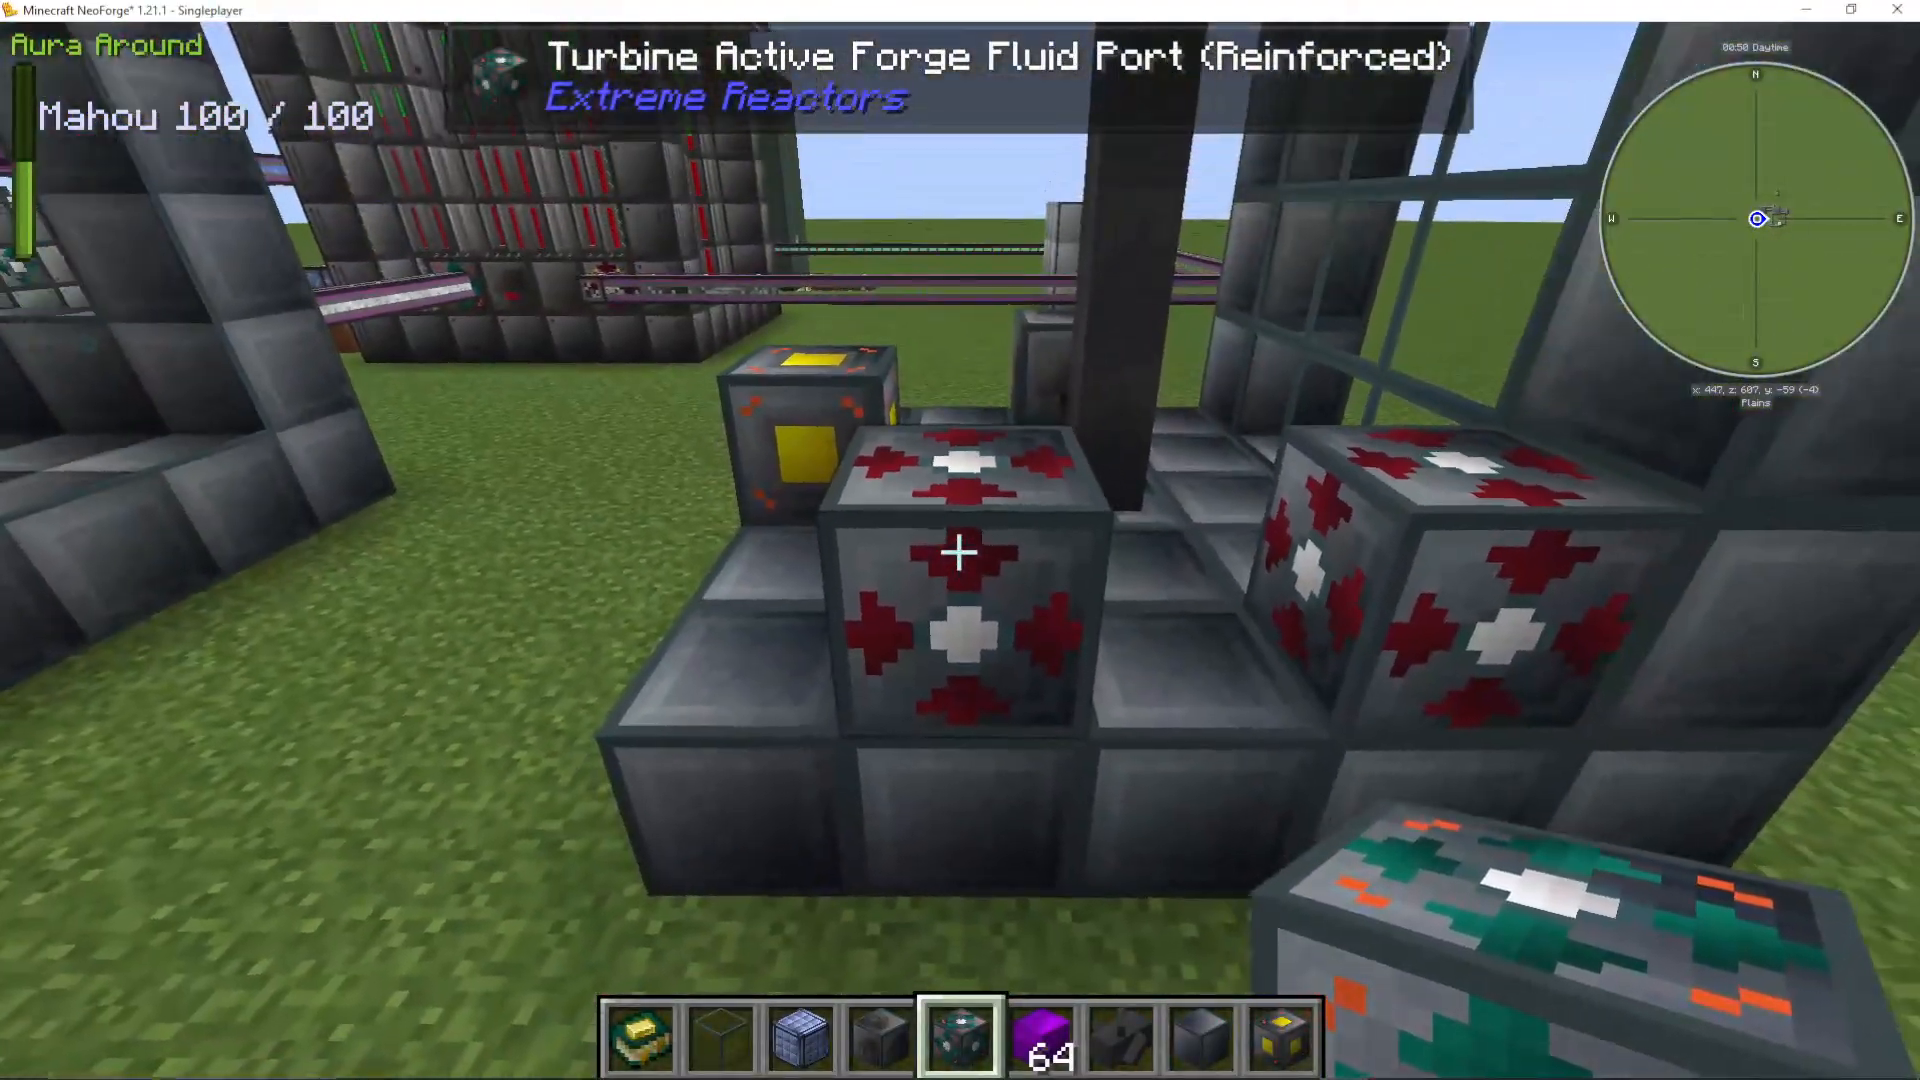
This creates a closed-loop system where steam flows in, drives the turbine, condenses back to water, and returns to cool your reactor again.
Understanding Turbine Controller Settings
Key Displays and Functions
When you open your turbine controller, you’ll see several important readings:
Steam Tank: Shows current steam volume and capacity
Coolant Tank: Displays stored condensed coolant ready to return to the reactor
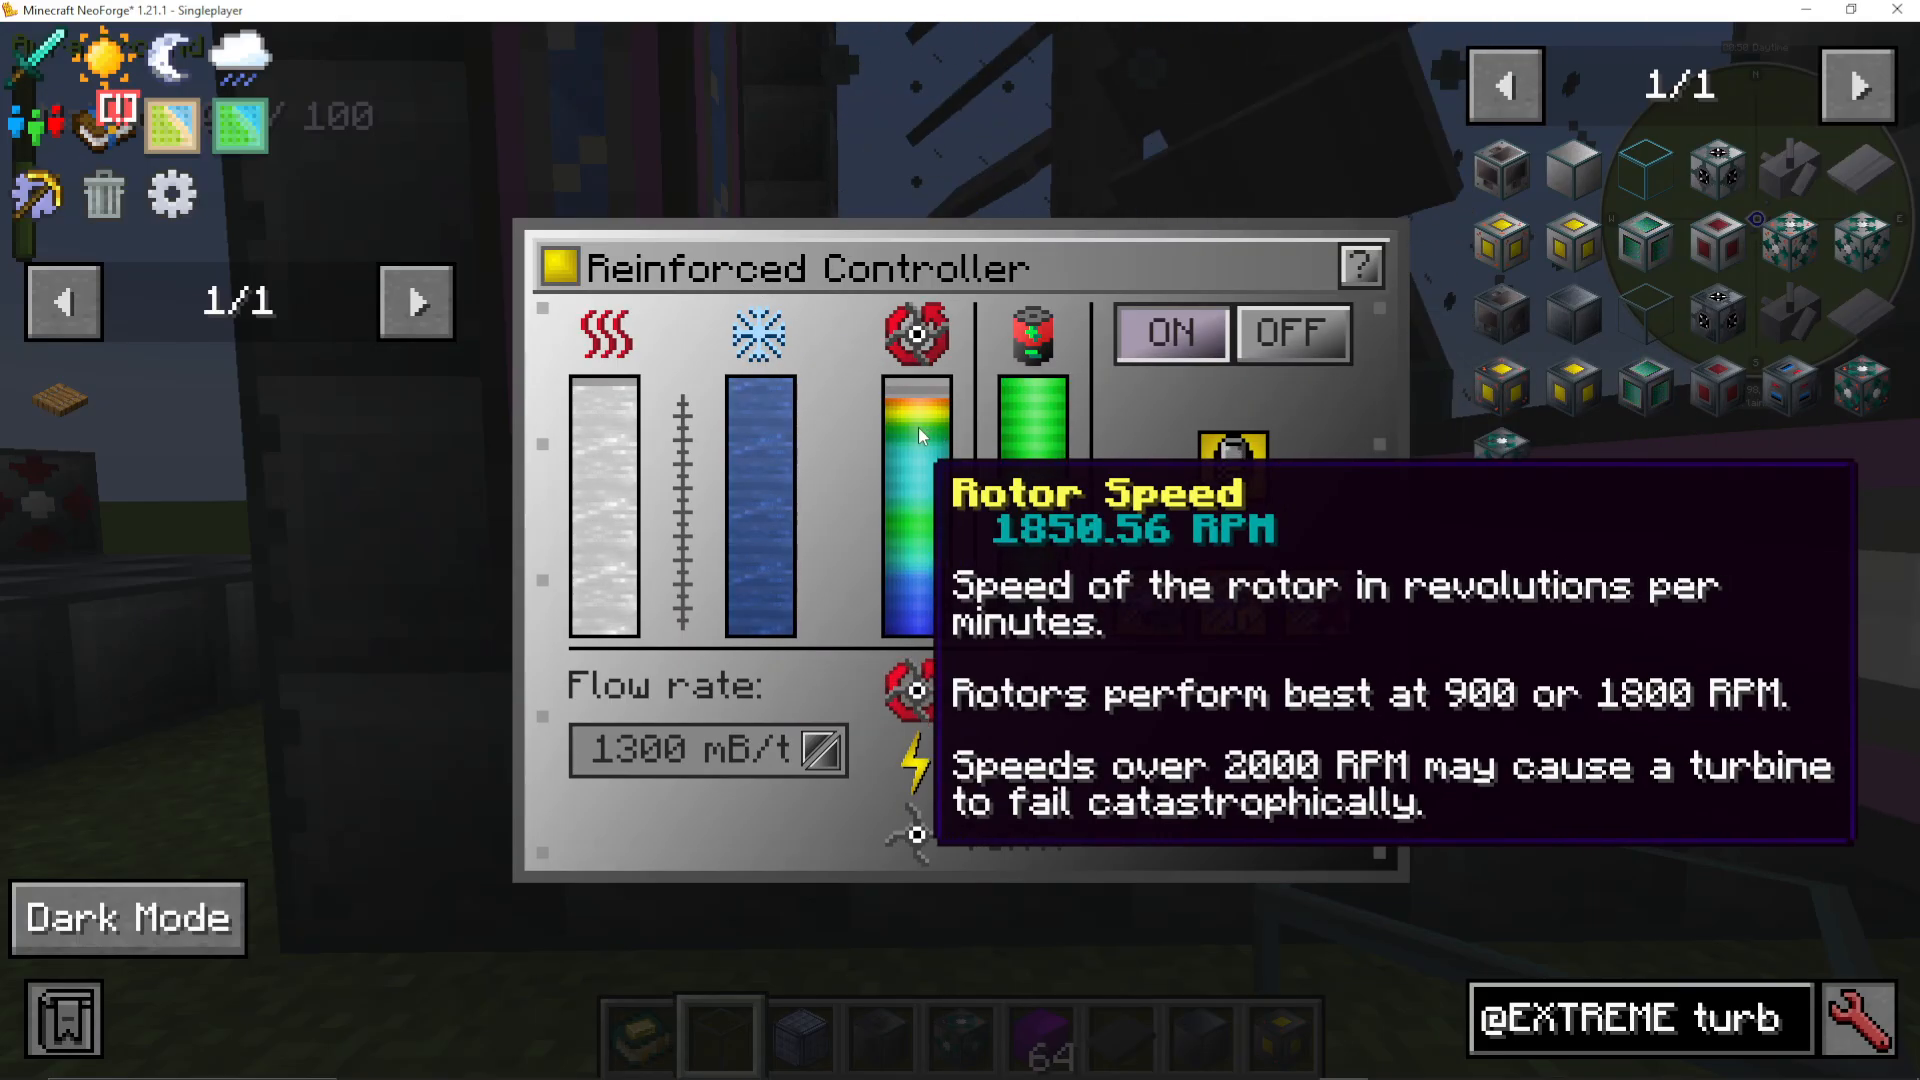
Rotor Speed (RPM): Critical for efficiency and safety
Internal Energy Buffer: Shows stored RF that hasn’t been exported yet
Optimal RPM and Safety
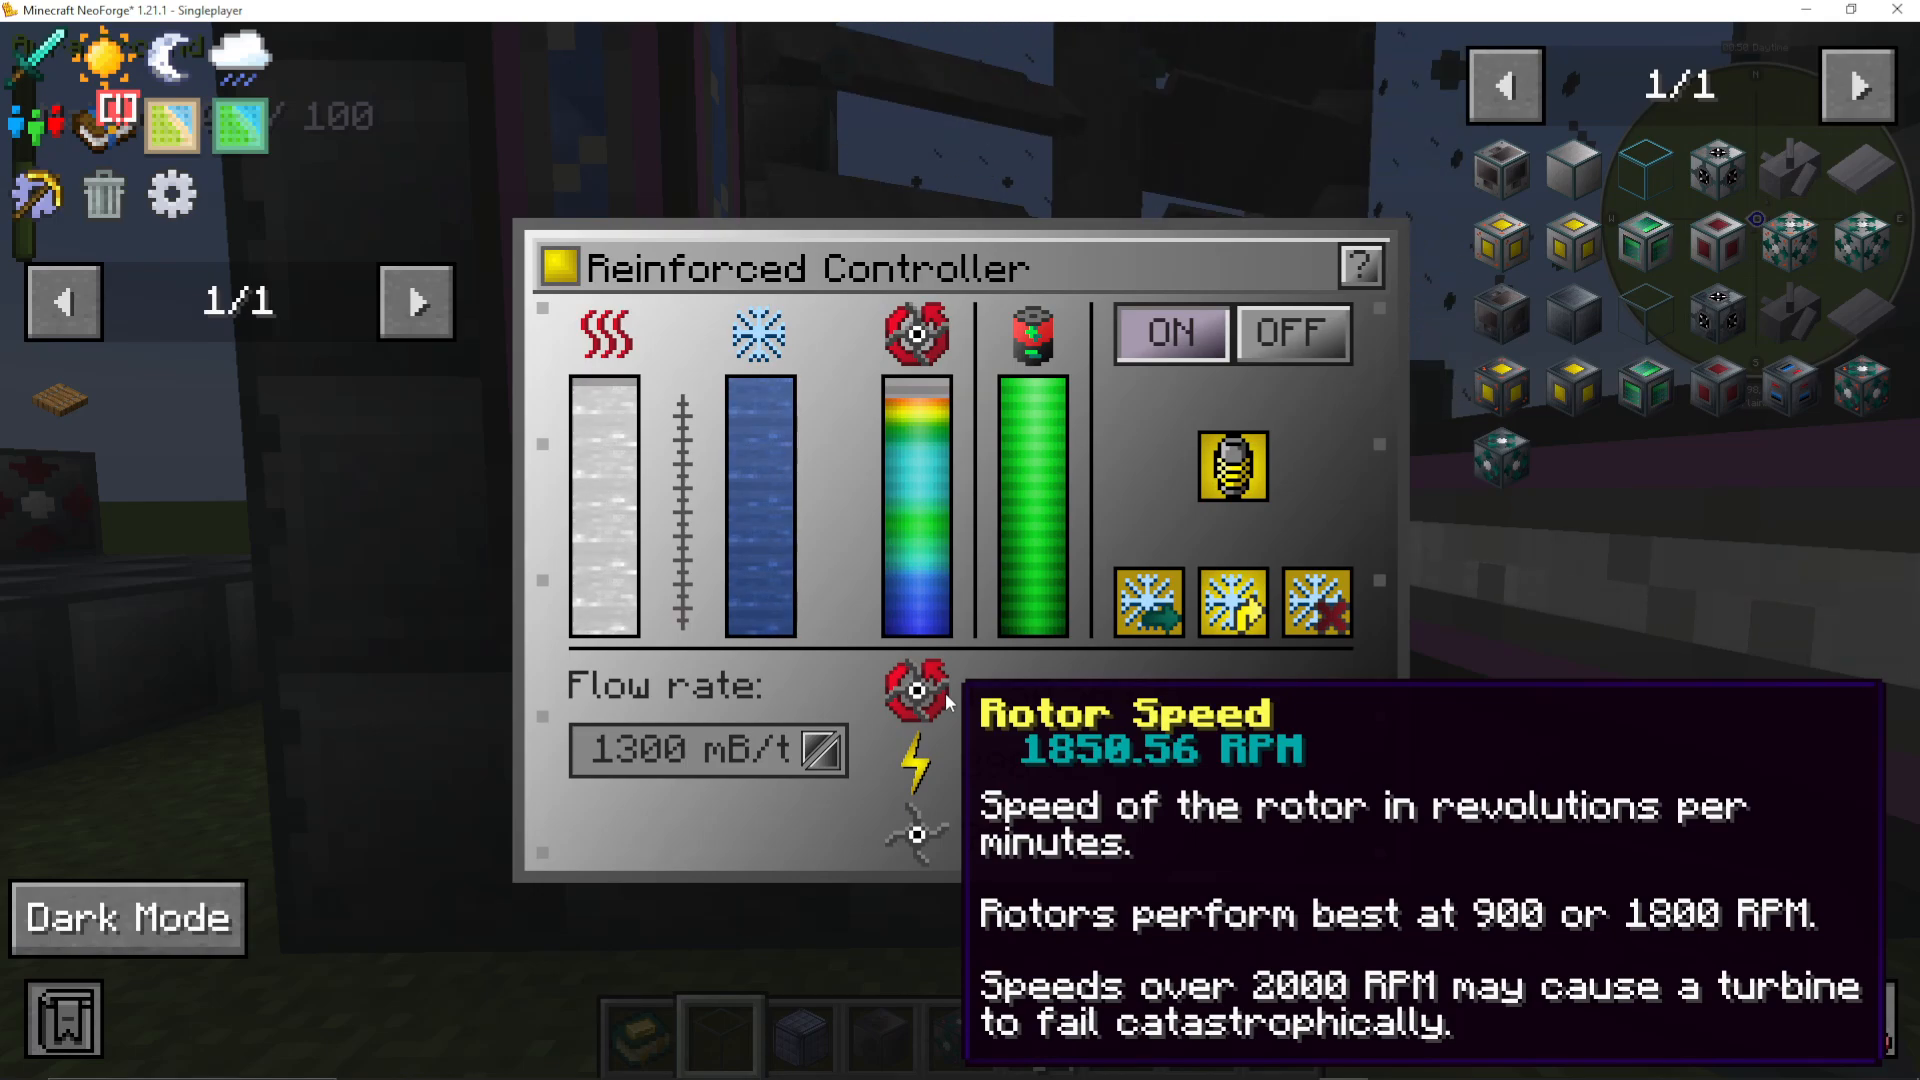
This is crucial: your turbine rotor performs best at 900 RPM or 1800 RPM. Speeds exceeding 2000 RPM risk catastrophic turbine failure. You must actively manage your turbine’s speed using the flow rate control.
Flow Rate Control
The flow rate setting controls how much steam enters your turbine per tick. This directly impacts rotor speed:
Higher flow rate = more steam = higher RPM and more power
Lower flow rate = less steam = lower RPM but still functional
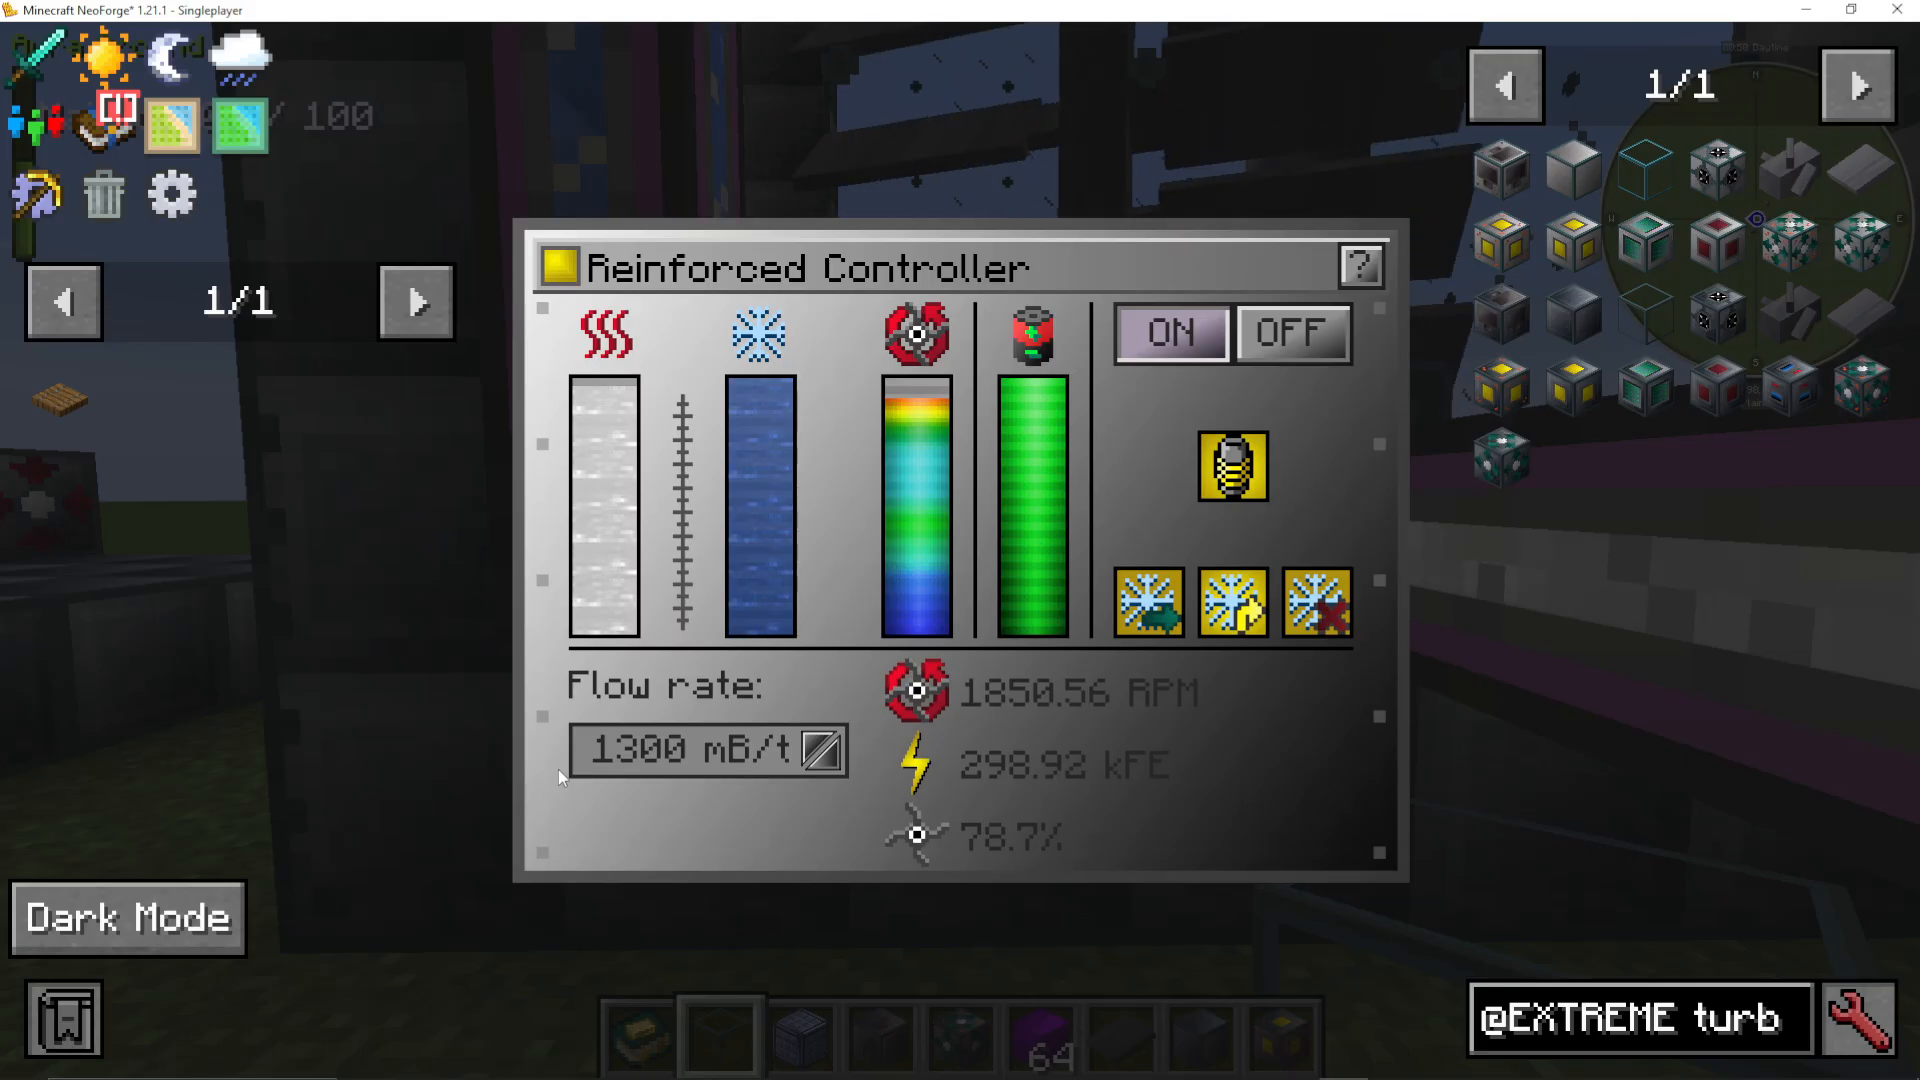
For the 7×11 turbine with ludicrite coils shown in this example, a flow rate of 1240 produces approximately 1850 RPM—very close to the optimal 1800 RPM target. You can fine-tune by adjusting the flow rate in small increments (try 10-point changes) while watching the RPM display. Once you’re running near 1800 RPM, your turbine is operating at peak efficiency.
Coolant Management
The turbine controller offers coolant venting options:
Vent Excess: Automatically returns excess coolant to your reactor when the tank is full
Do Not Vent: Holds all coolant; the turbine slows if the tank fills completely
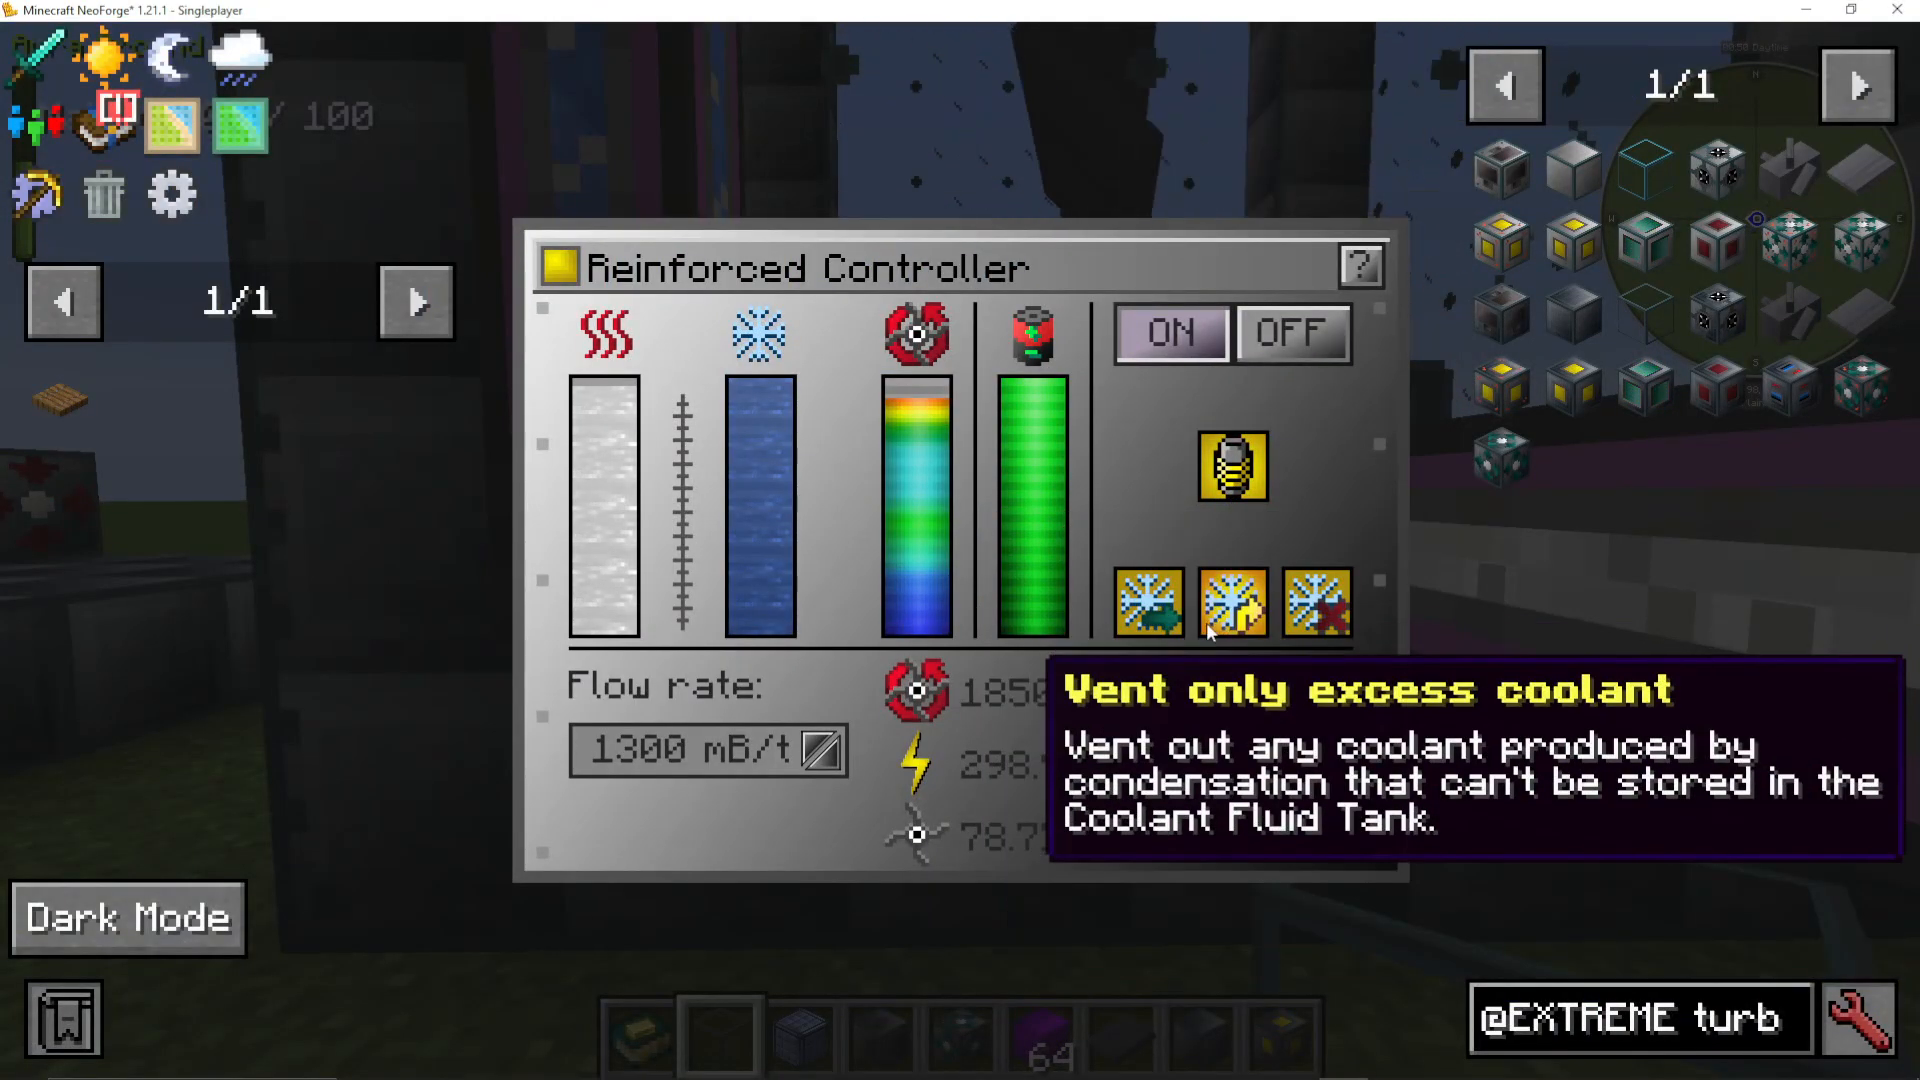
For most setups, “vent excess” works well, preventing the turbine from stalling due to a full coolant tank.
Energy Generation Toggle
You can enable or disable the induction coils (power generation) independently of turbine operation. This allows you to run the turbine for steam processing only if needed, though this is rarely necessary in practice.
Practical Setup Example
The Demonstration Reactor and Turbine
The setup shown in this tutorial uses:
Reactor: 7×7 active cooling with water, using vardirium liquid fuel
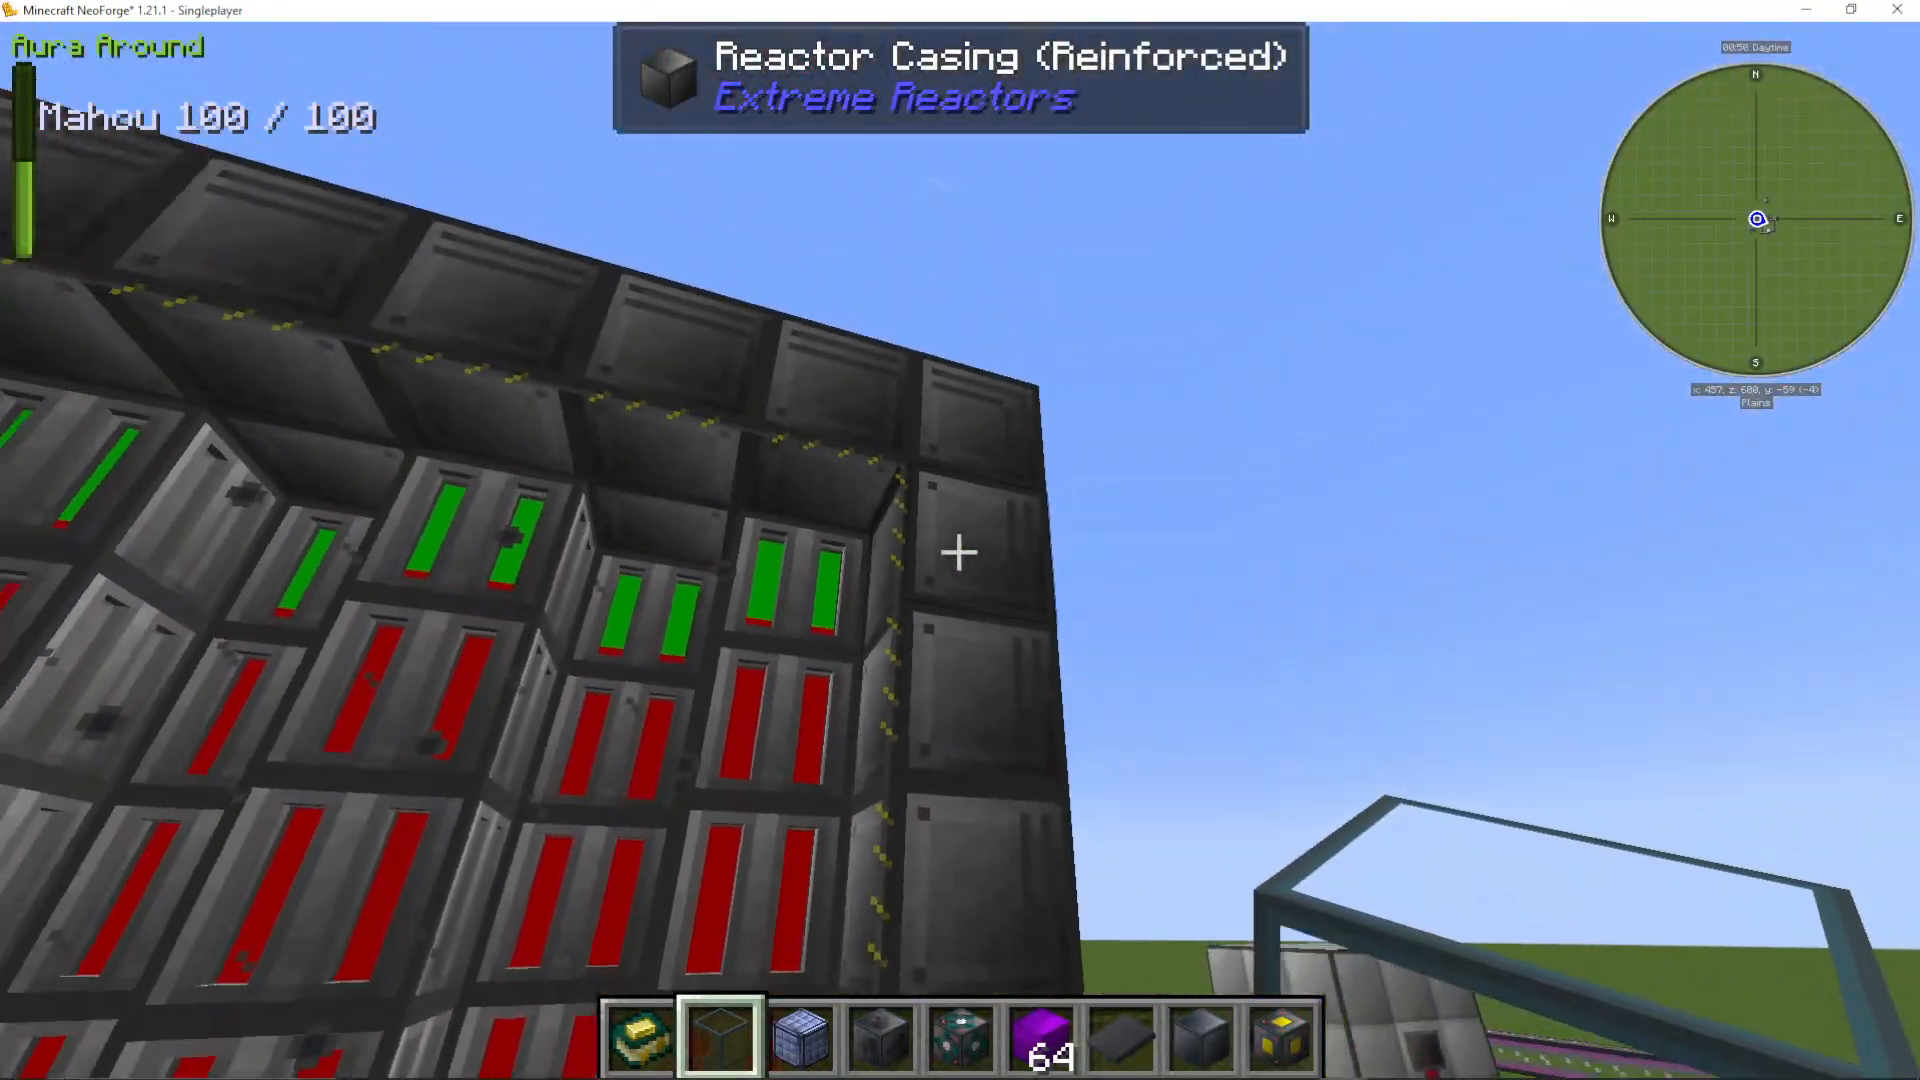
Turbine: 7×11 (width x height) with reinforced housing
Induction Coils: Two layers of ludicrite
Flow Rate: Set to approximately 1240 for ~1850 RPM
Power Output: 300,000 RF per tick
Steam and Fuel Consumption
The demonstrated setup consumes 1.2 buckets of steam per tick. With proper optimization, this turbine configuration could theoretically support two parallel turbines running off the same reactor, potentially reaching 600,000 RF per tick total output.
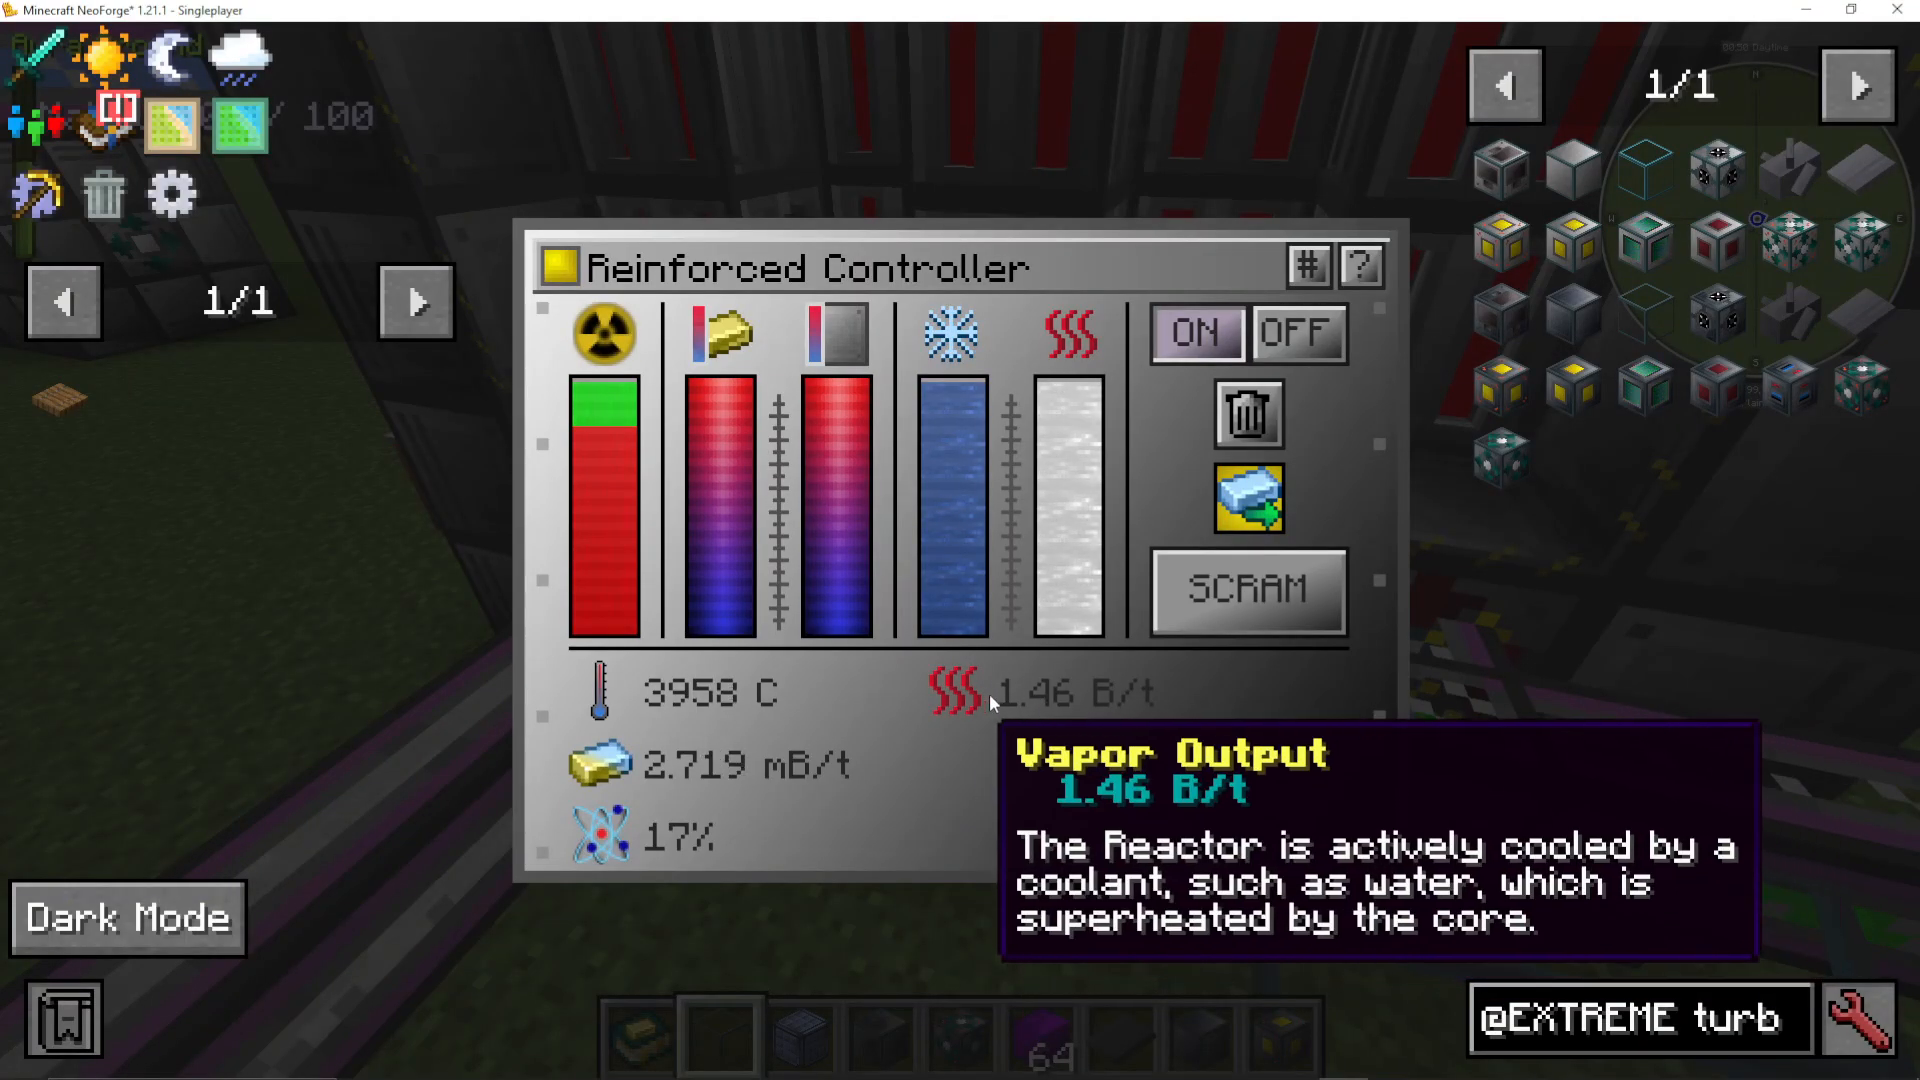
Vardirium consumption varies based on input rate, producing roughly 1-2 buckets of steam per tick depending on reactor fuel injection settings.
Customizing Your Build
While the 7×7 reactor + 7×11 turbine is a solid mid-game setup, you can adjust dimensions based on your needs:
Larger reactors produce more steam, requiring larger turbines with more blades
Different induction coil materials provide different efficiency levels (ludicrite shown here is one option)
Flow rate can be fine-tuned down from the maximum 2000 to achieve your target RPM
If you plan to expand later, aim for a starting flow rate around 1210-1240 when running ludicrite coils, which provides excellent efficiency margins and room to adjust based on actual performance.
Summary
Converting to active cooling and adding a turbine is one of the most significant power upgrades available in Extreme Reactors. By following this guide, you can expect to see power outputs increase by 40% or more compared to passive cooling alone. The key to success is proper turbine design (adequate blade count for your steam volume), correct induction coil installation, and careful flow rate tuning to maintain optimal RPM around 1800. Start with these fundamentals, monitor your RPM during operation, and you’ll have a powerful and efficient reactor-turbine system generating hundreds of thousands of RF per tick.
— Want to Support? —
If you would like to help us continue making these guides – please consider joining our patreon here – https://www.patreon.com/c/JaviHeals
Alternatively – we host a group of MC Servers you can join here – https://discord.gg/zD7Gjt6MHF



