







The Ultimate Guide to Oritech – Minecraft 1.21.1
The Ultimate Guide to OriTech – Minecraft 1.21.1
Welcome to the complete guide to OriTech! This comprehensive tutorial covers everything you need to know about OriTech, a brand-new mod available for Neo4j and Fabric in Minecraft 1.21.1. From basic world generation and power generation to advanced machinery like assemblers, centrifuges, and pulverizers, this guide walks you through the entire progression. You’ll discover how to set up logistics networks, create automatic farms, build particle accelerators, and even transport items using drones. Whether you’re a beginner or an experienced modded Minecraft player, this guide has something for everyone.
World Generation and Ore Mining
OriTech introduces two new ores to Minecraft: Nickel and Platinum. Understanding where to find these is crucial for early progression.
Nickel Ore
Nickel can be found approximately at Y level 40 down to Y -65 in deep slate blocks. This ore is relatively common and serves as a fundamental material for many OriTech machines.
Platinum Ore
Platinum is much rarer than nickel. In the Overworld, it spawns between Y -2 and Y -60, but it becomes extremely abundant in the End dimension, making the End a prime location for platinum farming.
Additional Resources
You will still need gold, redstone, and diamonds, as these vanilla materials are essential components in various OriTech recipes and machines. Make sure to gather these as you would in any standard Minecraft progression.
Basic Power Generation
The Basic Generator
The first machine you’ll craft is the Basic Generator, which is essential for generating RF (Redstone Flux) power in OriTech.
Recipe Components
To craft a basic generator, you’ll need:
Nickel ingots (can be smelted from mined nickel ore)
Magnetic coils
Making Magnetic Coils and Fine Wire
Magnetic coils require:
Fine wire (made from 3 nickel ingots)
Steel (crafted in a crafting table with 2 iron and 2 coal)
Fine wire is simple to produce: just combine 3 nickel ingots in a crafting table to get 4 fine wire.
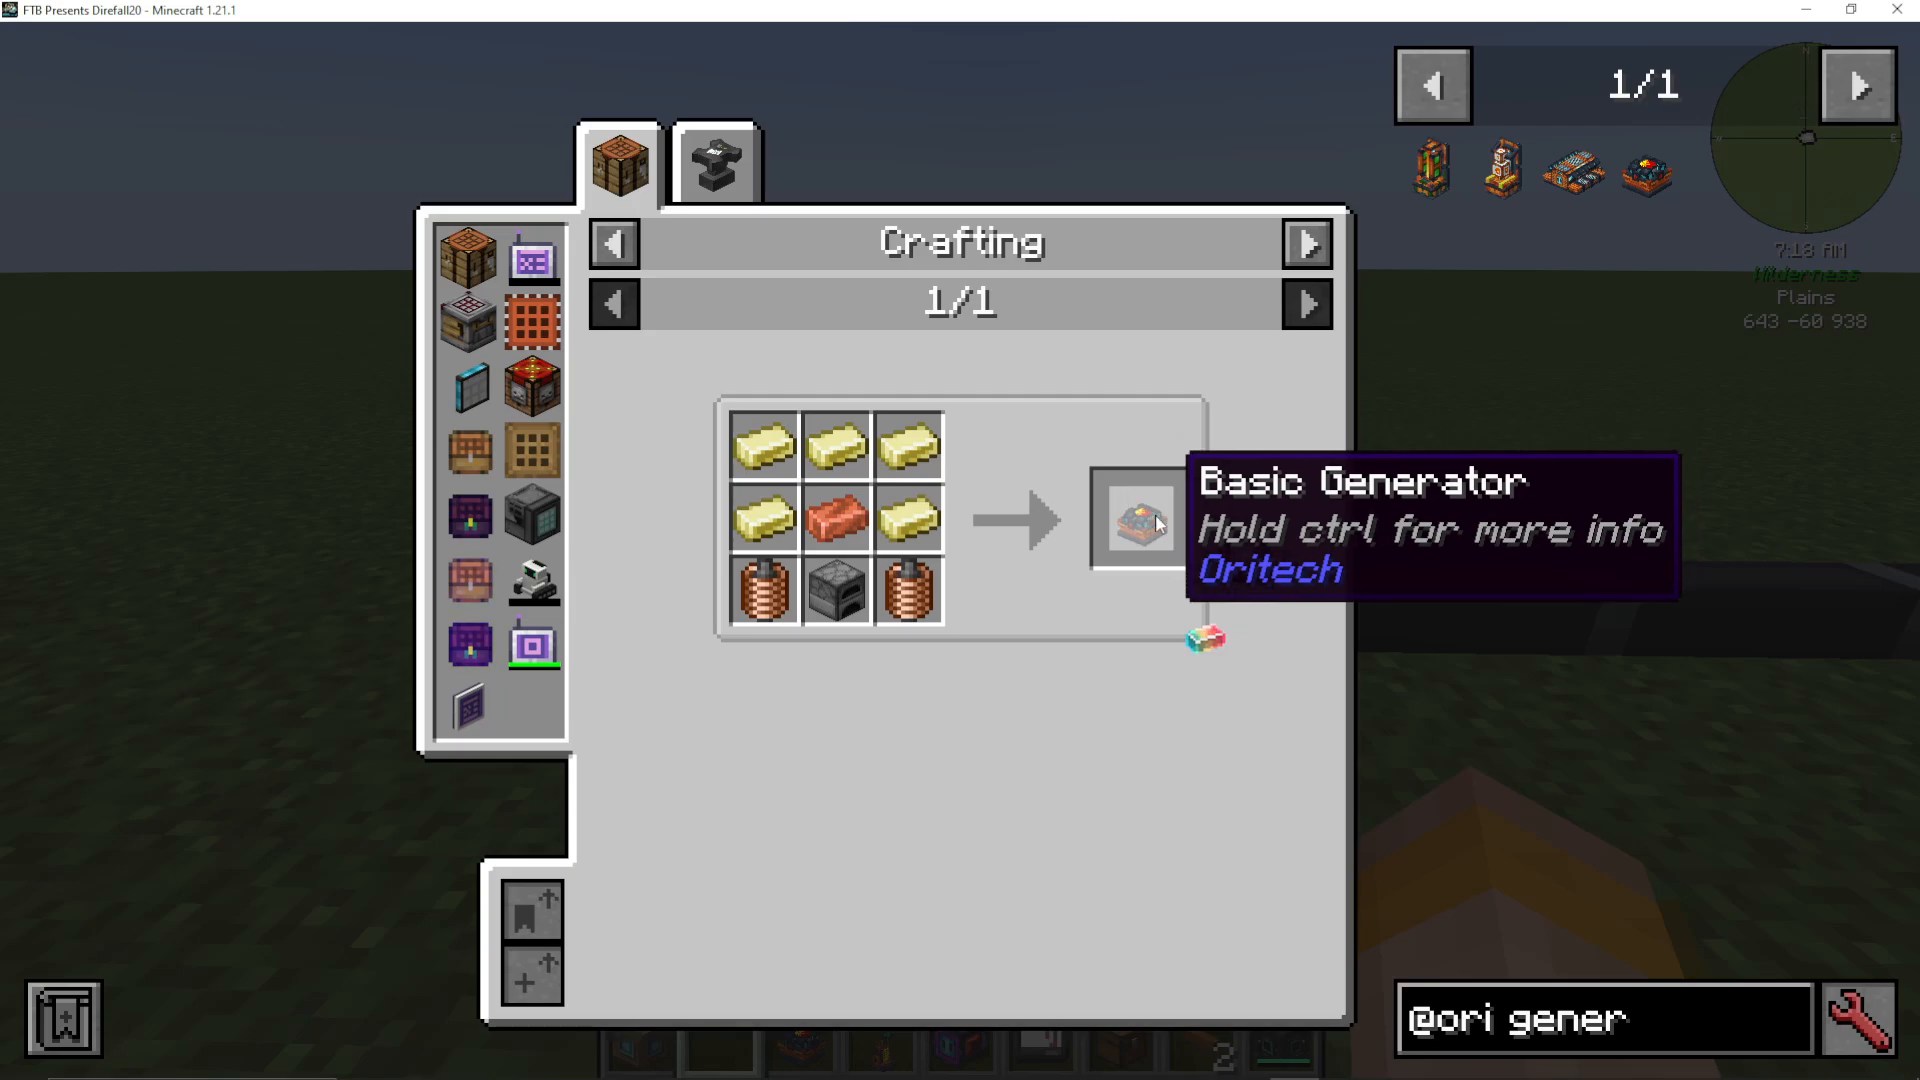
Basic Generator Stats
When you hold Control while viewing the basic generator in your inventory, you can see its specifications:
Power Output: 32 RF per tick
Energy Capacity: 50,000 RF
Add-on Slots: None
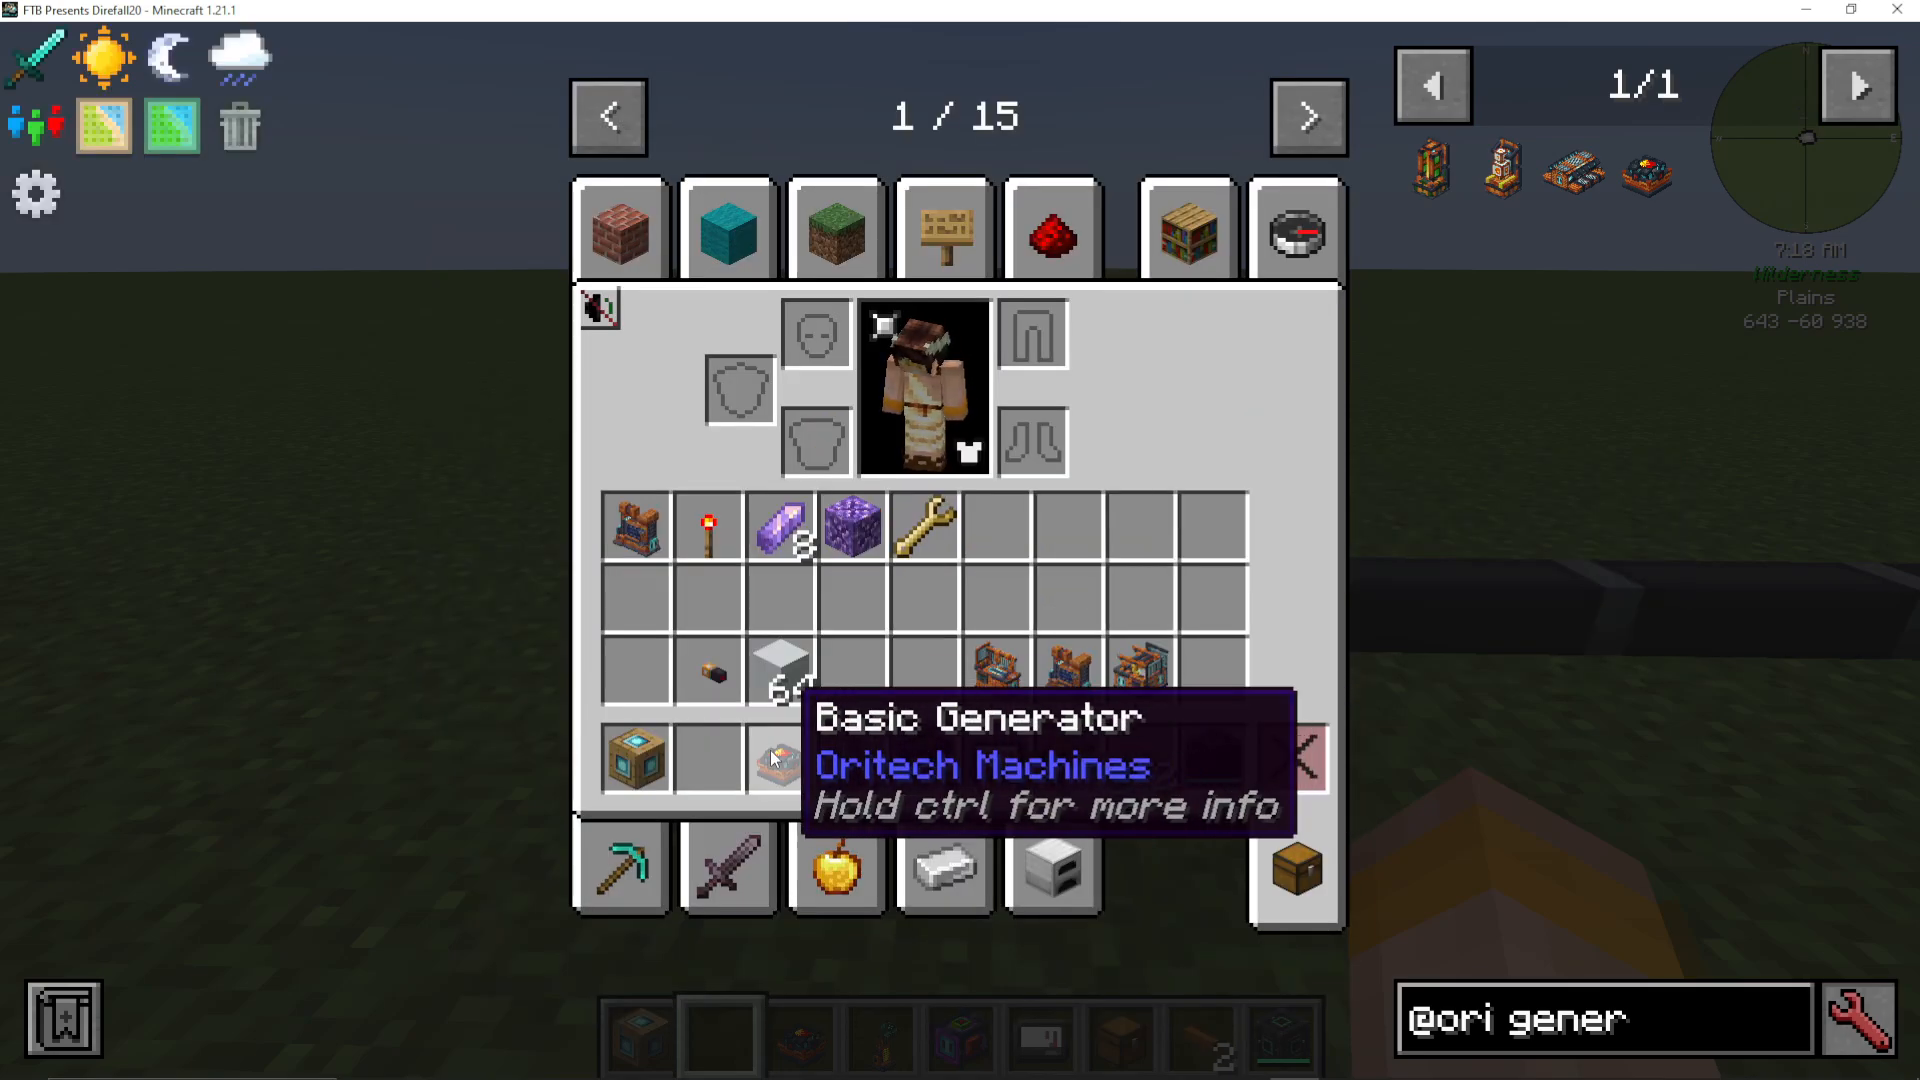
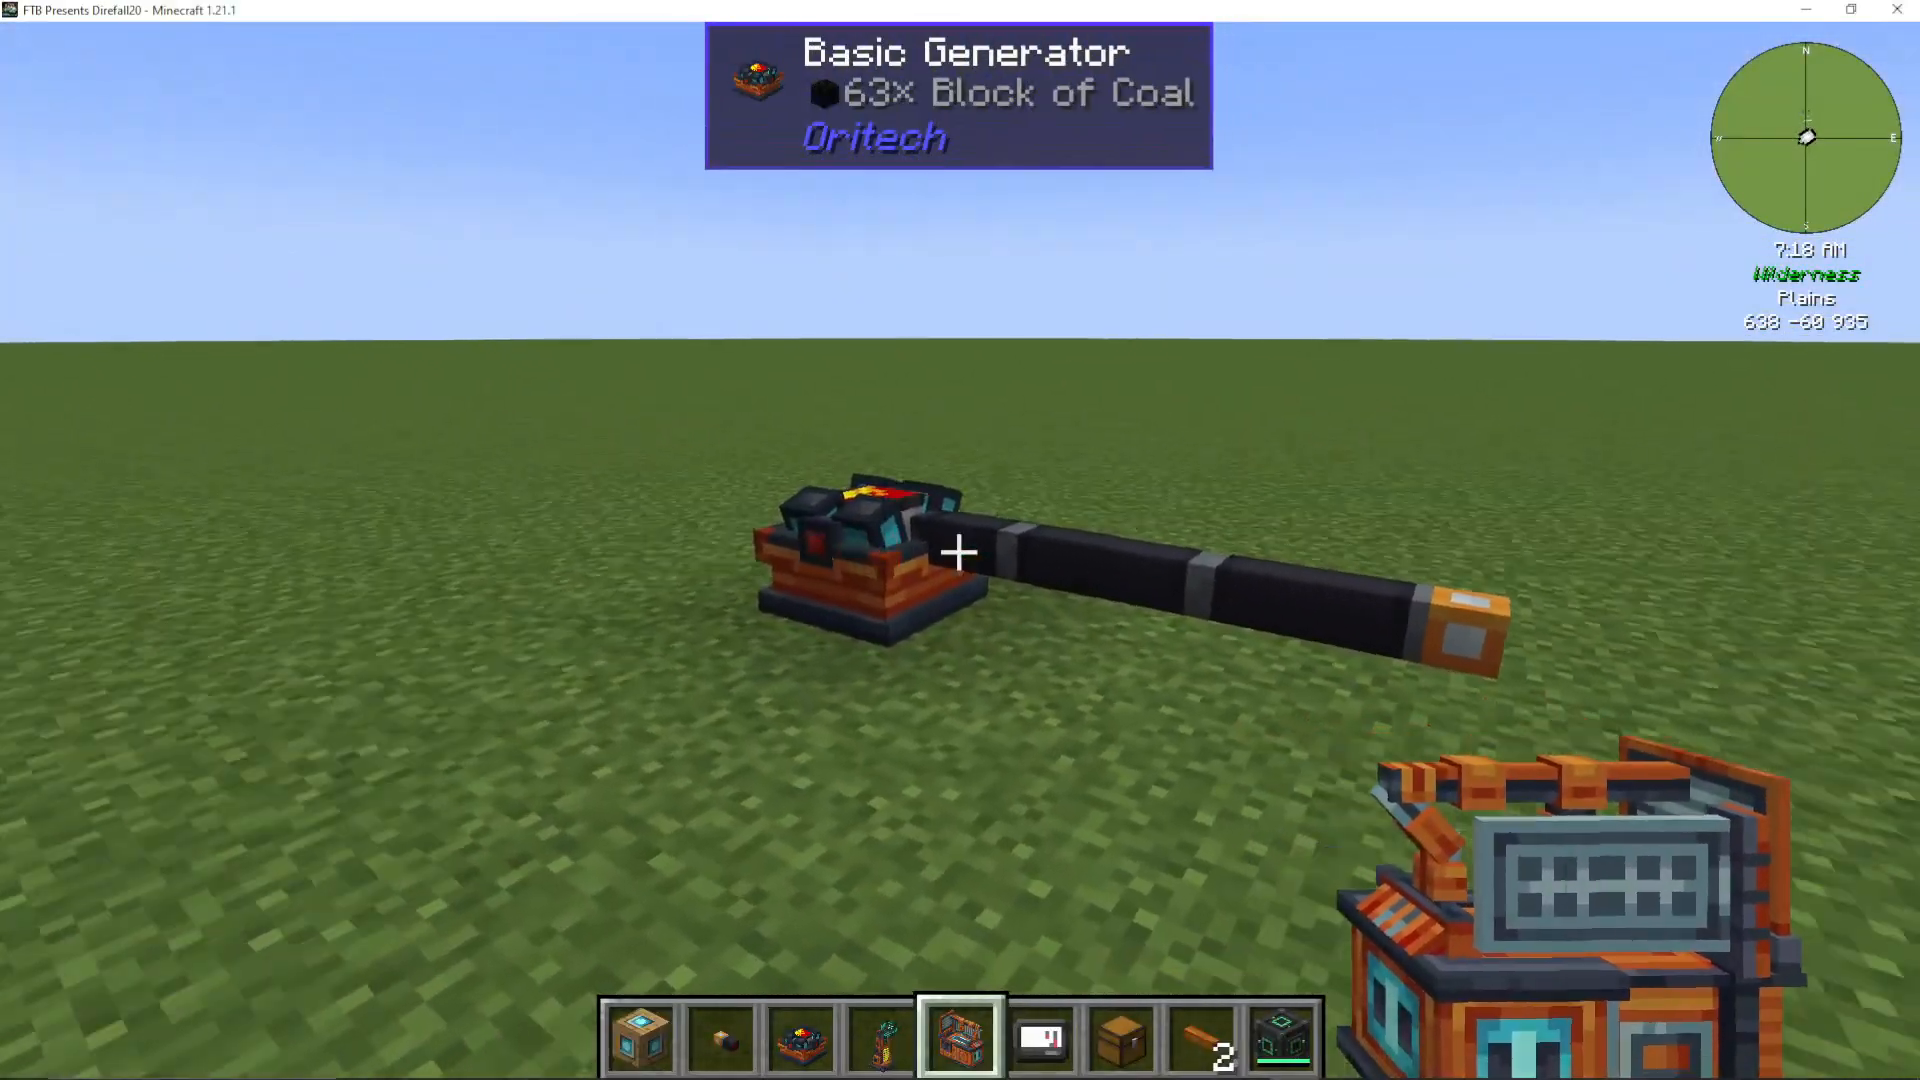
To use the basic generator, simply place it and feed it coal blocks. You’ll see the power meter rise as it generates energy.
Energy Pipes and Power Distribution
To transfer power from your generator to other machines, you’ll need energy pipes.
Crafting Energy Pipes
Energy pipes require:
Electromagnets (2 gold + 2 redstone)
Fine wire
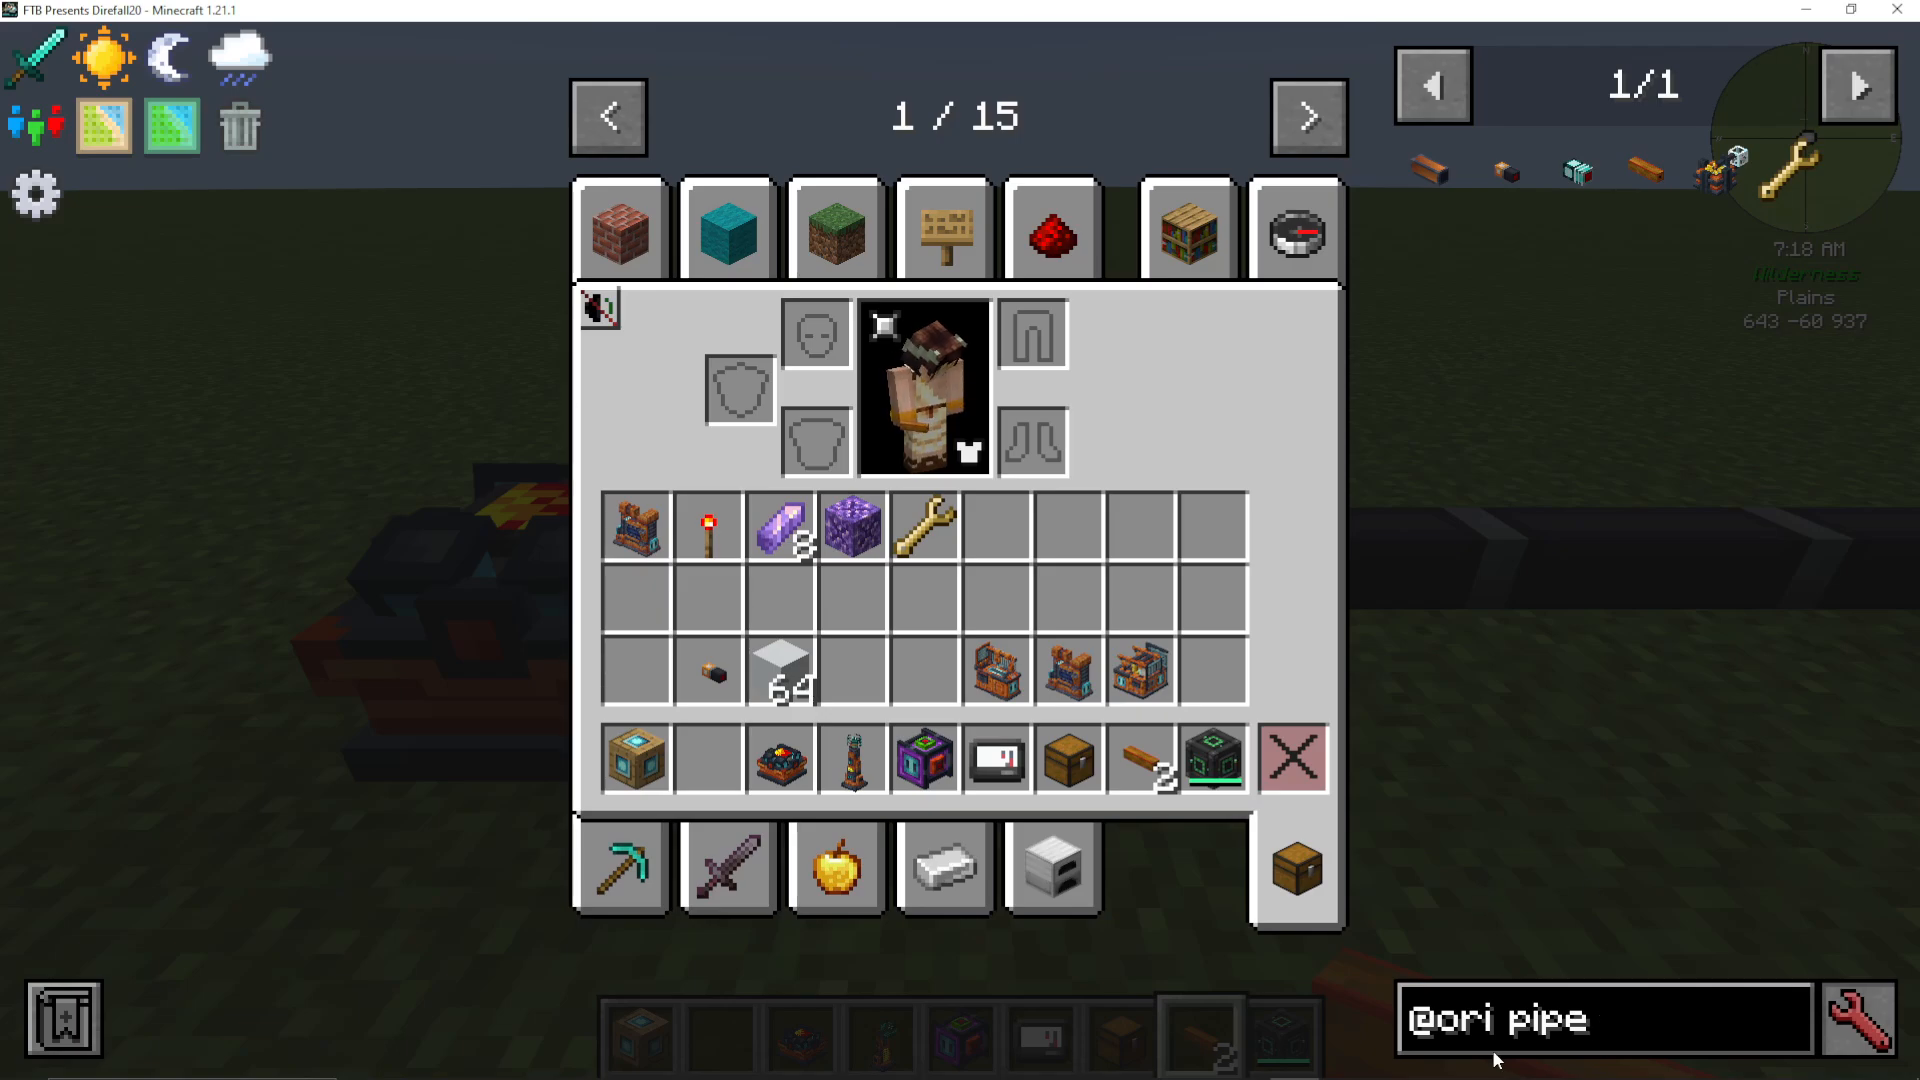
You can find energy pipes by searching “pipe” in the JEI interface after filtering by OriTech mods. Simply attach these pipes to any side of your generator and connect them to machines like the assembler. The pipes will automatically distribute power.
The Assembler Machine
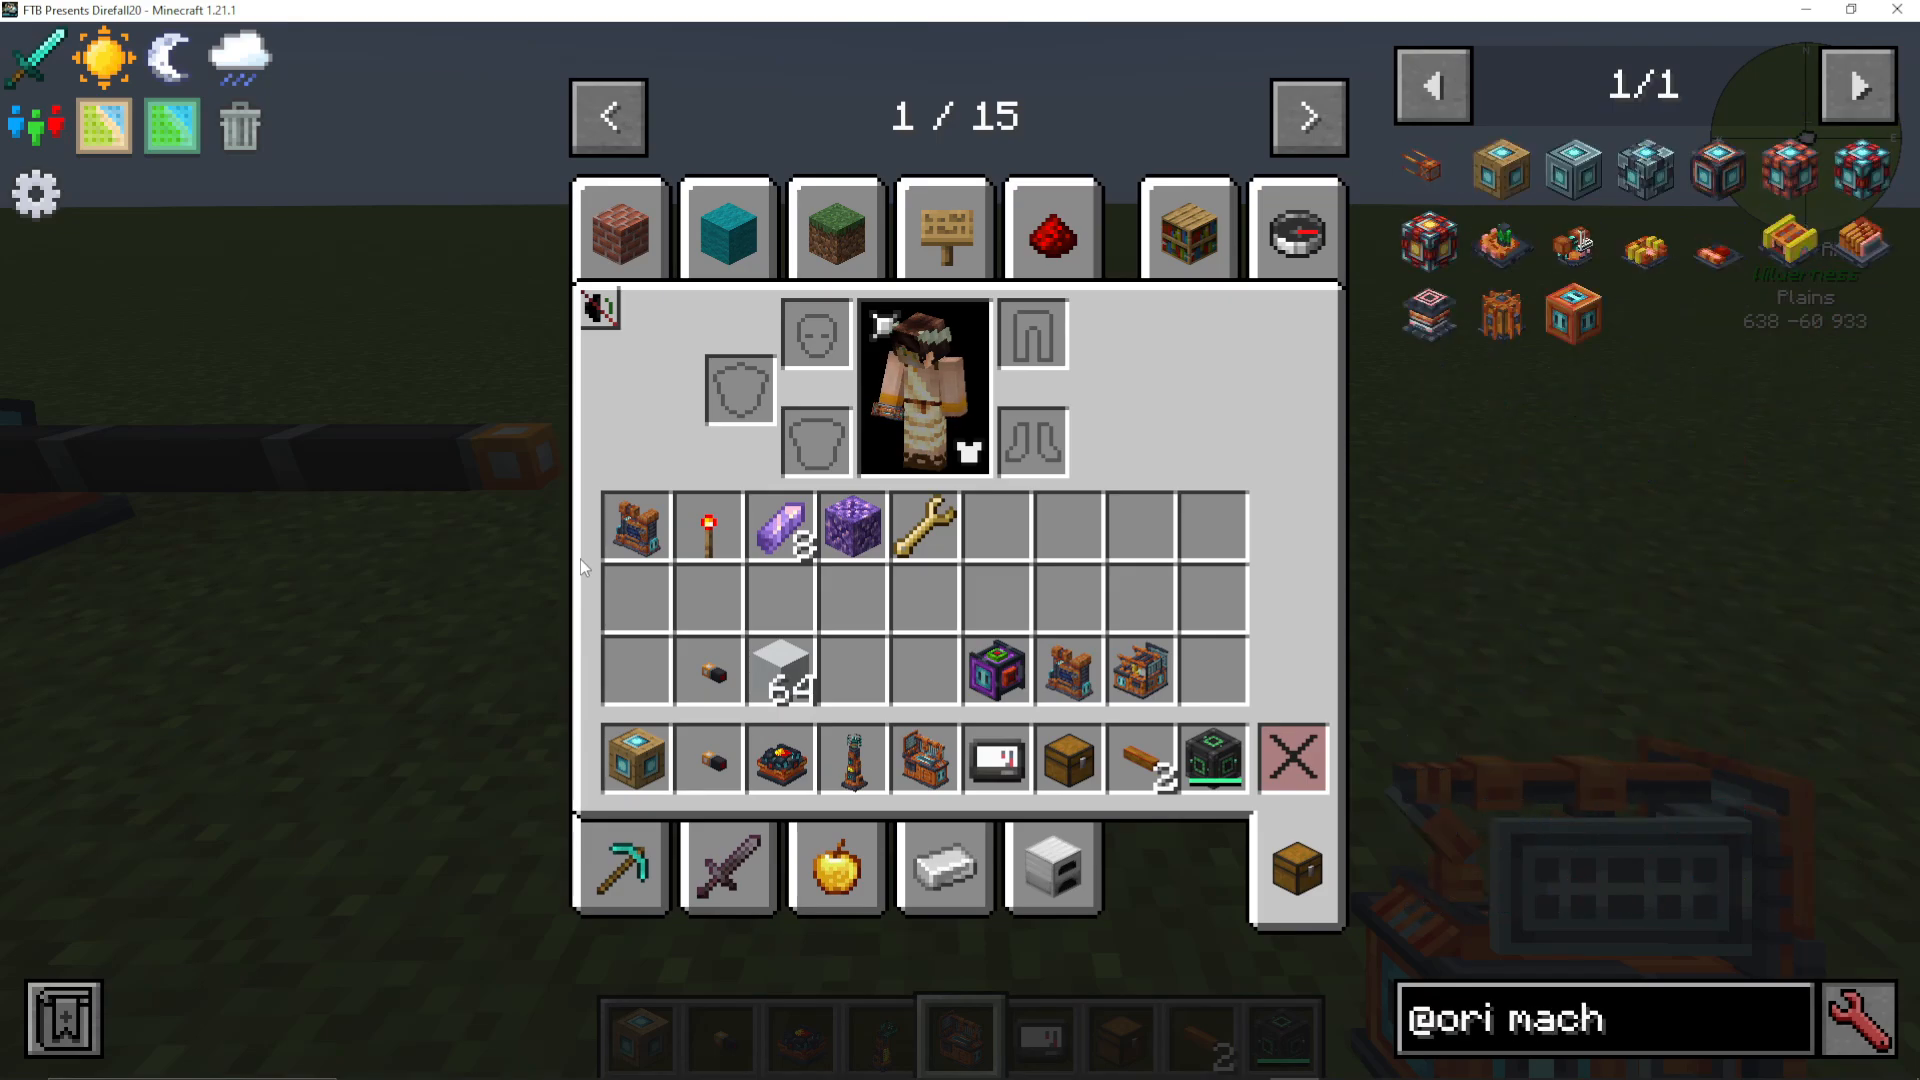
The Assembler is the second major machine you’ll construct and is one of the most useful devices in OriTech.
Assembler Recipe
To craft an assembler, you’ll need:
Adamant ingots (2 nickel + 2 diamonds)
Motors (made from steel and magnetic coils)
Reinforced plating
Machine Cores and Add-on Layers
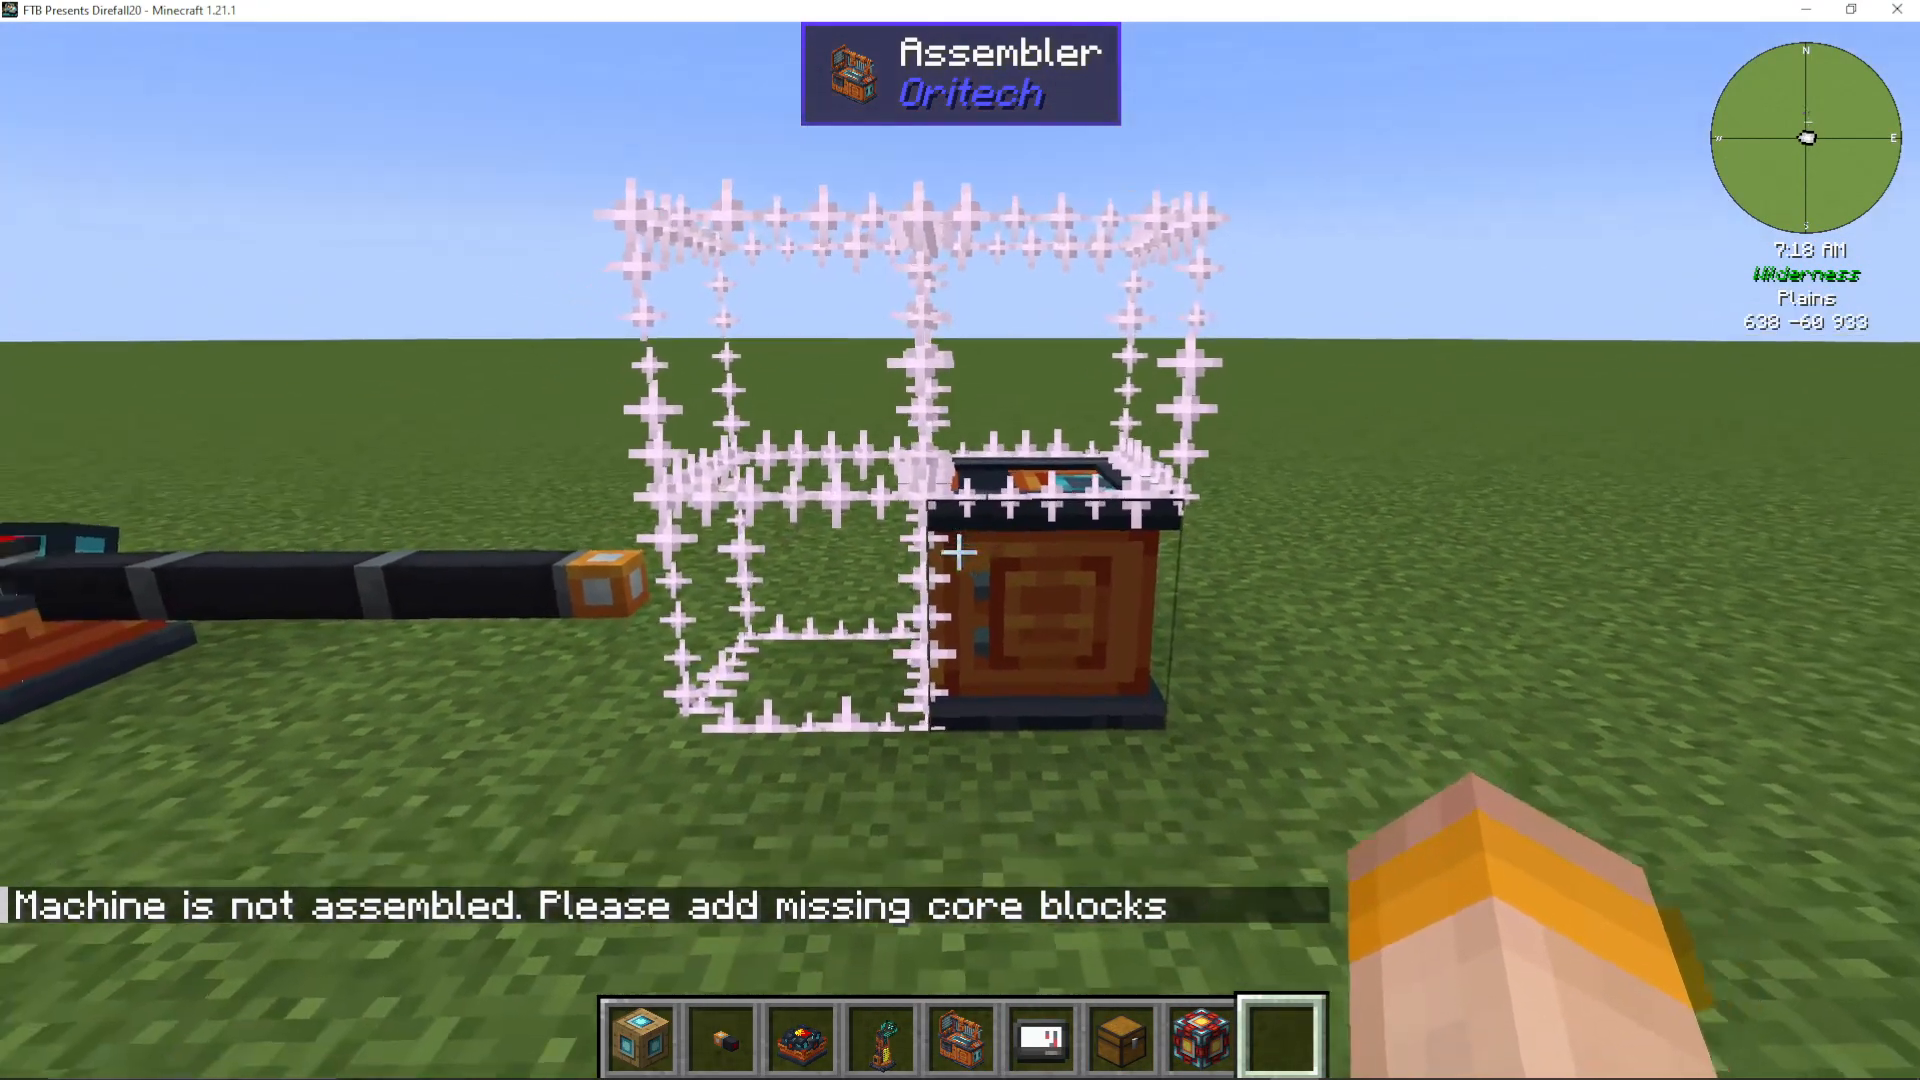
When you place an assembler, it appears as a single block initially. You’ll need to add machine cores to complete the construction. There are several core tiers available:
Primitive (easiest to make)
Basic
Improved (requires nickel and carbon fiber strands)
Advanced
Elite
Ultra
Ultimate (requires hepink, superconductors, and mefium)
The machine core tier determines how many layers of add-ons you can attach to the machine. If you don’t plan to use add-ons, a primitive core is sufficient. The assembler will show you missing core blocks when you right-click with an empty hand.
Placing Machine Cores
Right-click the assembler to see which blocks need cores. You can either manually place them one at a time or right-click multiple times in succession, and the cores will automatically place themselves where needed. After adding all cores, right-click once more to finalize the machine.
Assembler Settings and Recipes
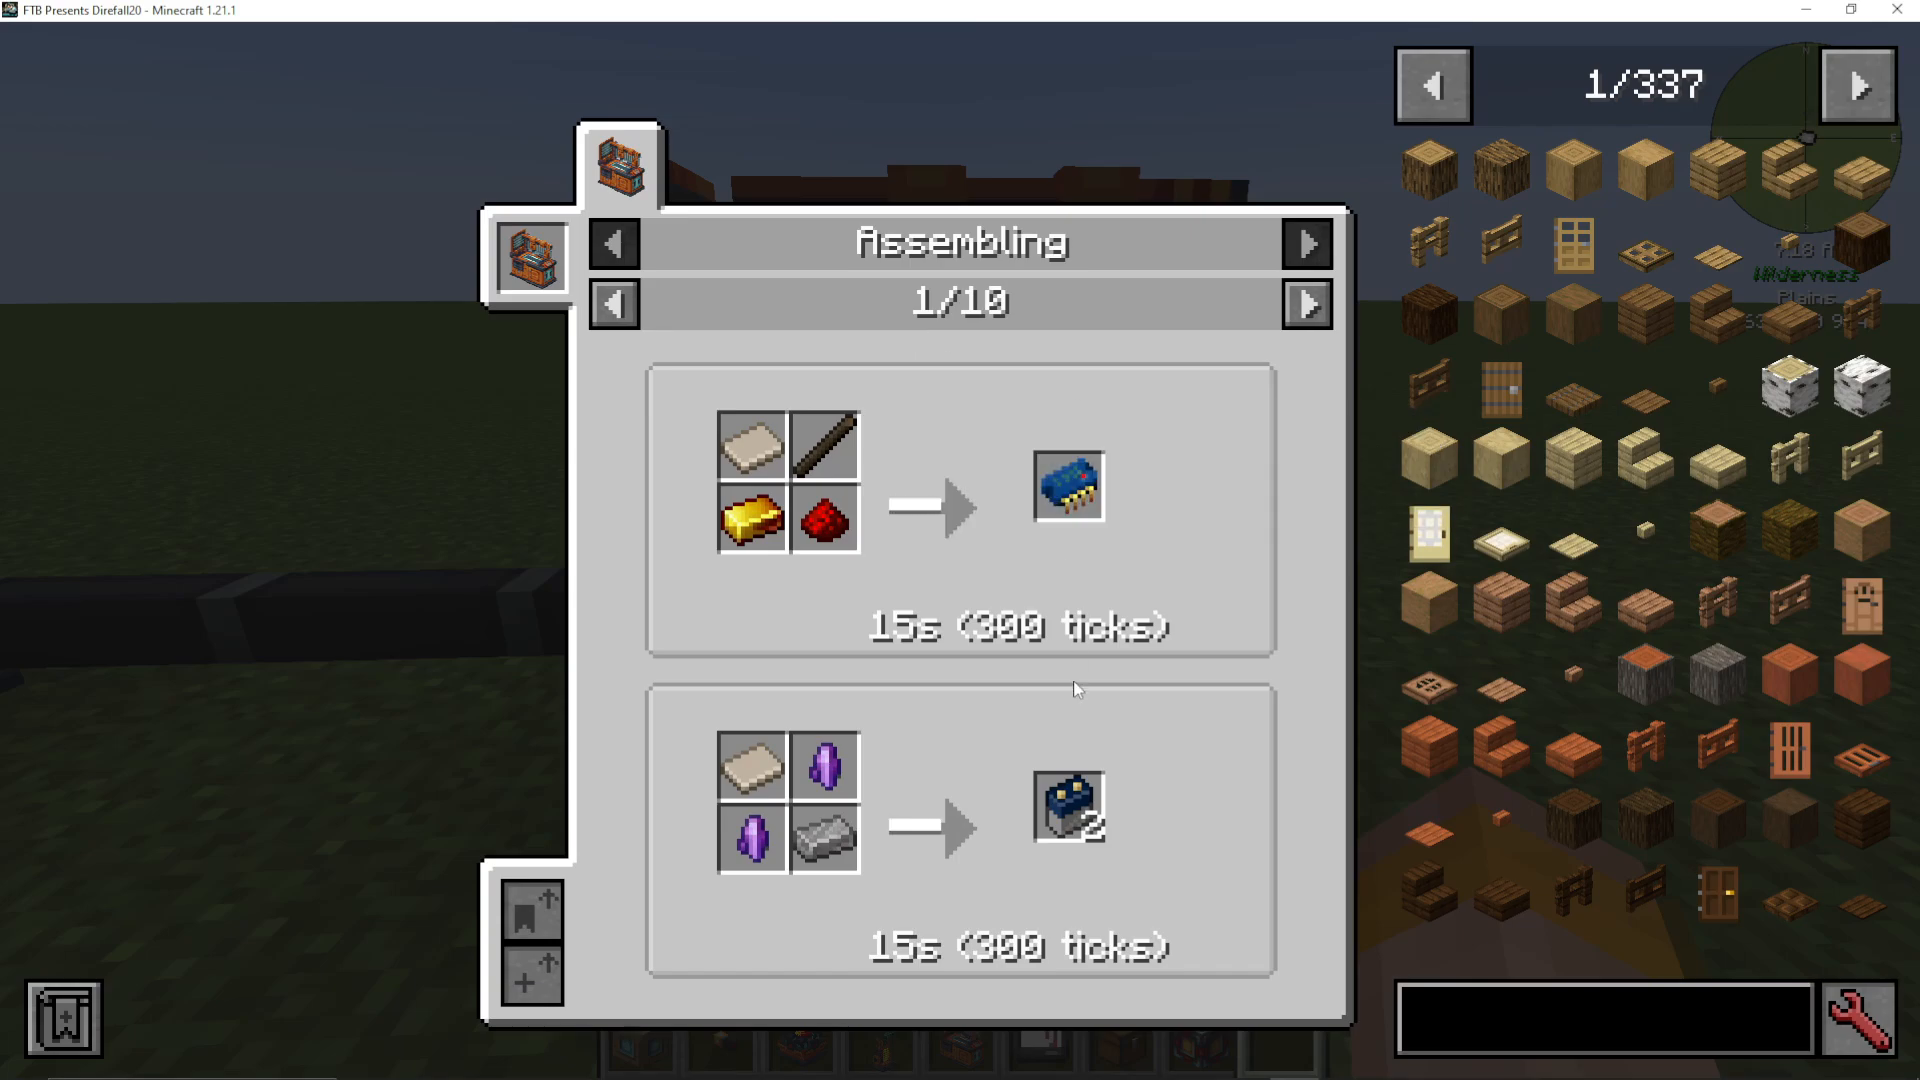
Once built, the assembler displays its machine quality level (based on core tier). Inside, you’ll find three important settings:
Default: Fills slots from left to right, moving to the next slot when the first is full
Fill Evenly: Distributes items evenly across matching slots
Match Recipe: Inserts items balanced according to recipe requirements
The assembler can craft numerous items more efficiently than manual crafting. For example, fine wire normally requires 3 nickel ingots to produce 4 units, but in the assembler, 3 nickel + 1 copper produces 12 fine wire—making it significantly more efficient.
The Powered Furnace
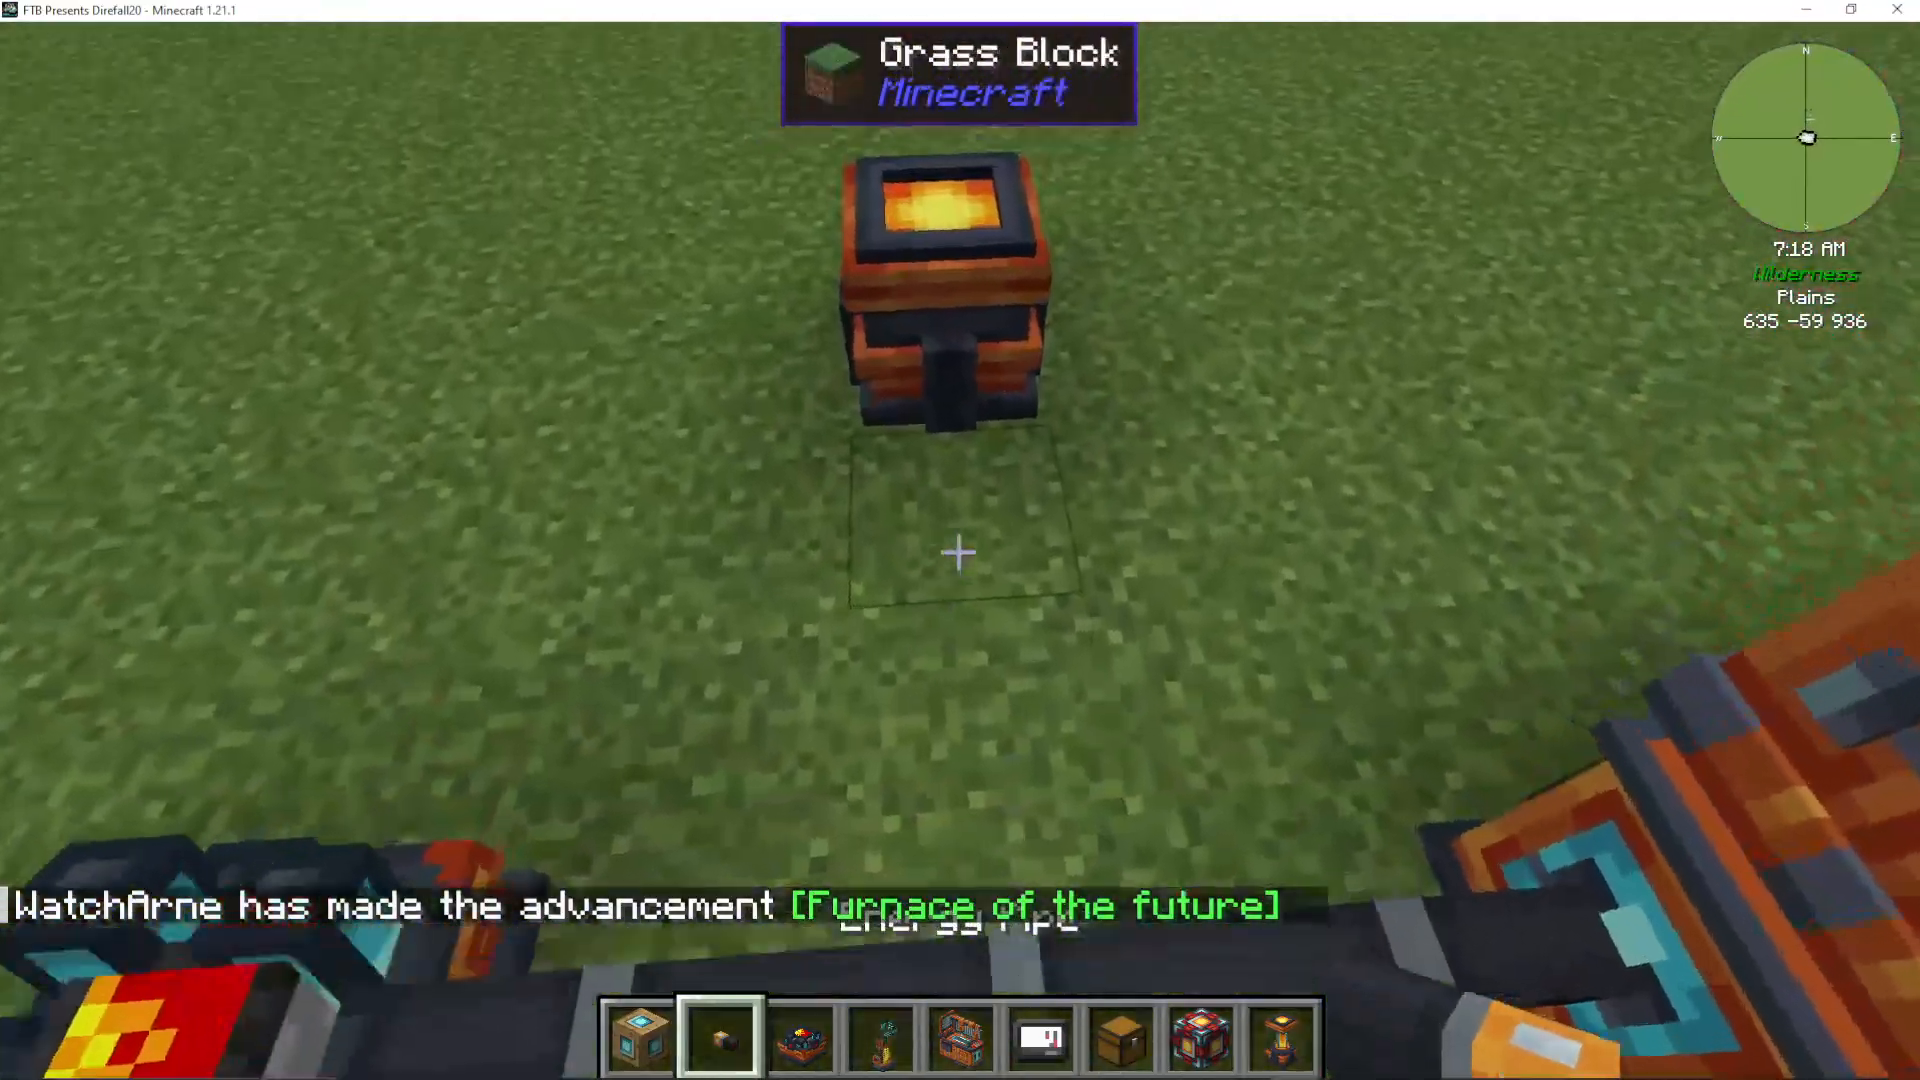
The Powered Furnace is an energy-based alternative to traditional furnaces that uses RF power instead of combustible fuel.
Powered Furnace Recipe
To craft a powered furnace, you’ll need:
Platinum ingots
Magnetic coils
After placing it and adding a machine core, connect energy pipes to power it. Unlike traditional furnaces that require coal or other fuel, the powered furnace will smelt items using only RF energy.
The Centrifuge Machine
The Centrifuge is essential for processing items and fluids, offering both item separation and fluid processing capabilities.
Centrifuge Recipe
To craft a centrifuge, you’ll need:
Blocks of iron
Motors
Glass bottles
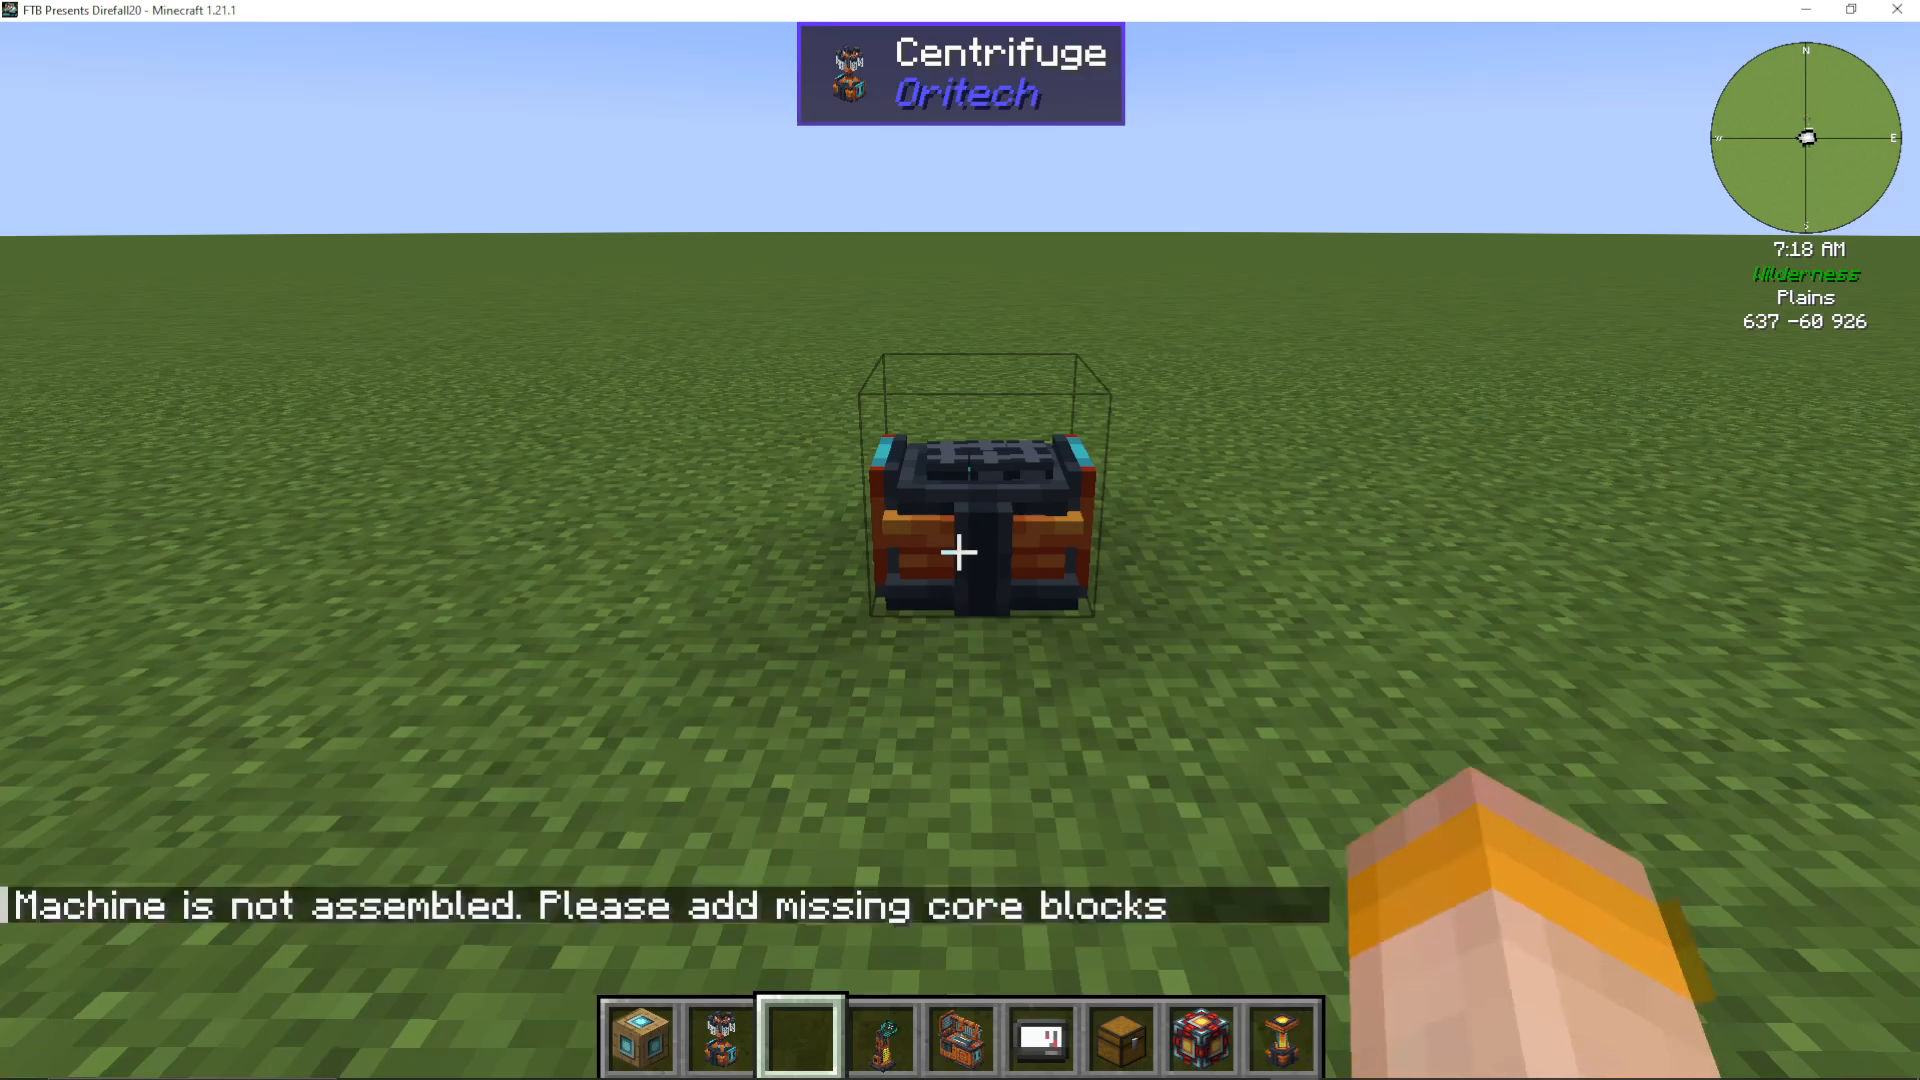
Machine Cores and Setup
Like other machines, the centrifuge requires machine cores to function. Place the cores where indicated and right-click to finalize construction.
Item Processing in the Centrifuge
The centrifuge can process items to extract secondary outputs. For example:
Platinum components yield platinum gems and fluxite
Gold clumps can be processed for additional materials
Fluid Separation and Add-ons
To enable fluid processing (such as separating water and dirt to create clay), you need to add a machine fluid add-on to the centrifuge. This add-on requires:
Carbon fiber strands
Fluid pipes
Silicon
Carbon fiber strands are created by centrifuging coal dust (which you can make in a pulverizer). Silicon is made by pulverizing nether quartz into quartz dust, then combining it with 2 sand and smelting the result.
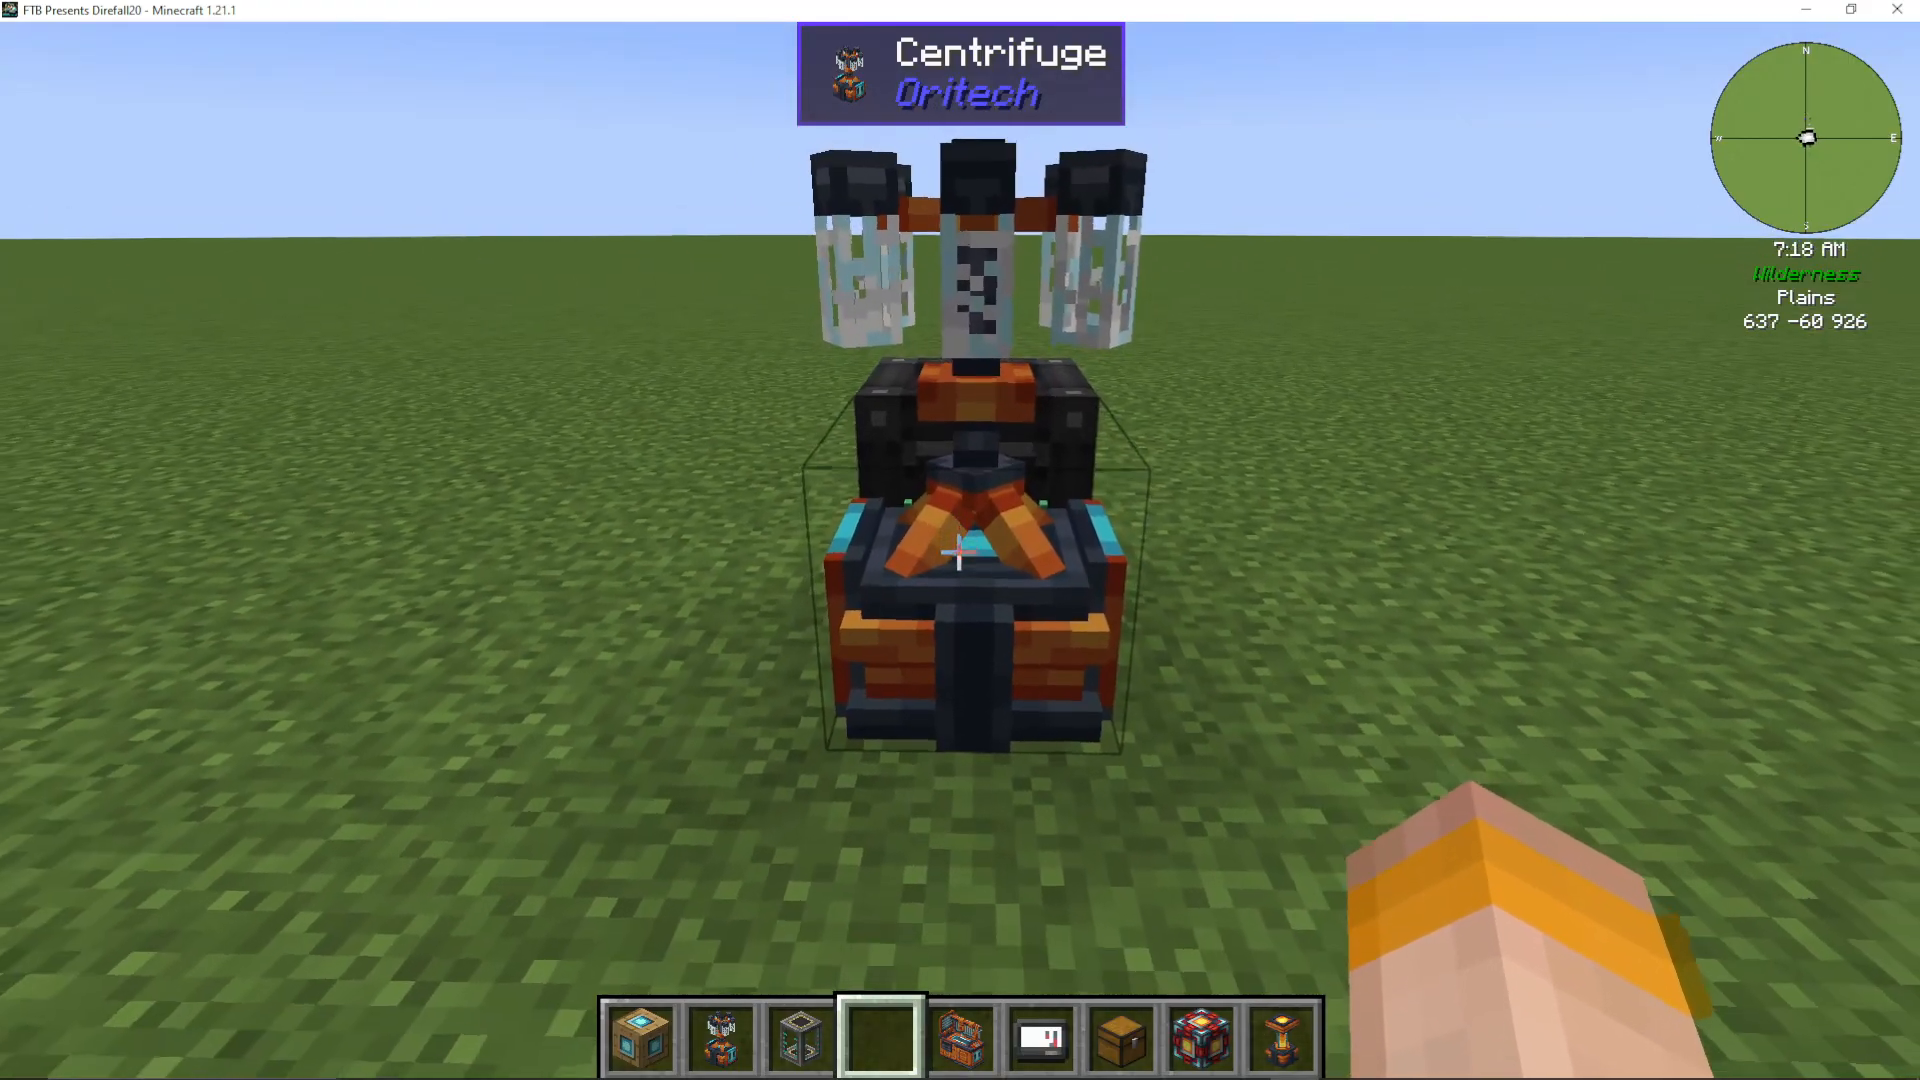
Once you’ve added the fluid add-on, you can place a water bucket into the centrifuge’s fluid slot, and it will process items using water as a catalyst.
The Pulverizer Machine
The Pulverizer is used to grind ores and other materials into dusts and other useful components.
Pulverizer Capabilities
The pulverizer can process a wide variety of materials:
Ores into dusts (nickel ore → 2 raw nickel, iron ore → iron dust)
Coal into coal dust
Glowstone into dust
Flowers into dyes
Wheat into packed wheat (4 wheat → 1 packed wheat)
Ender pearls into ender compounds
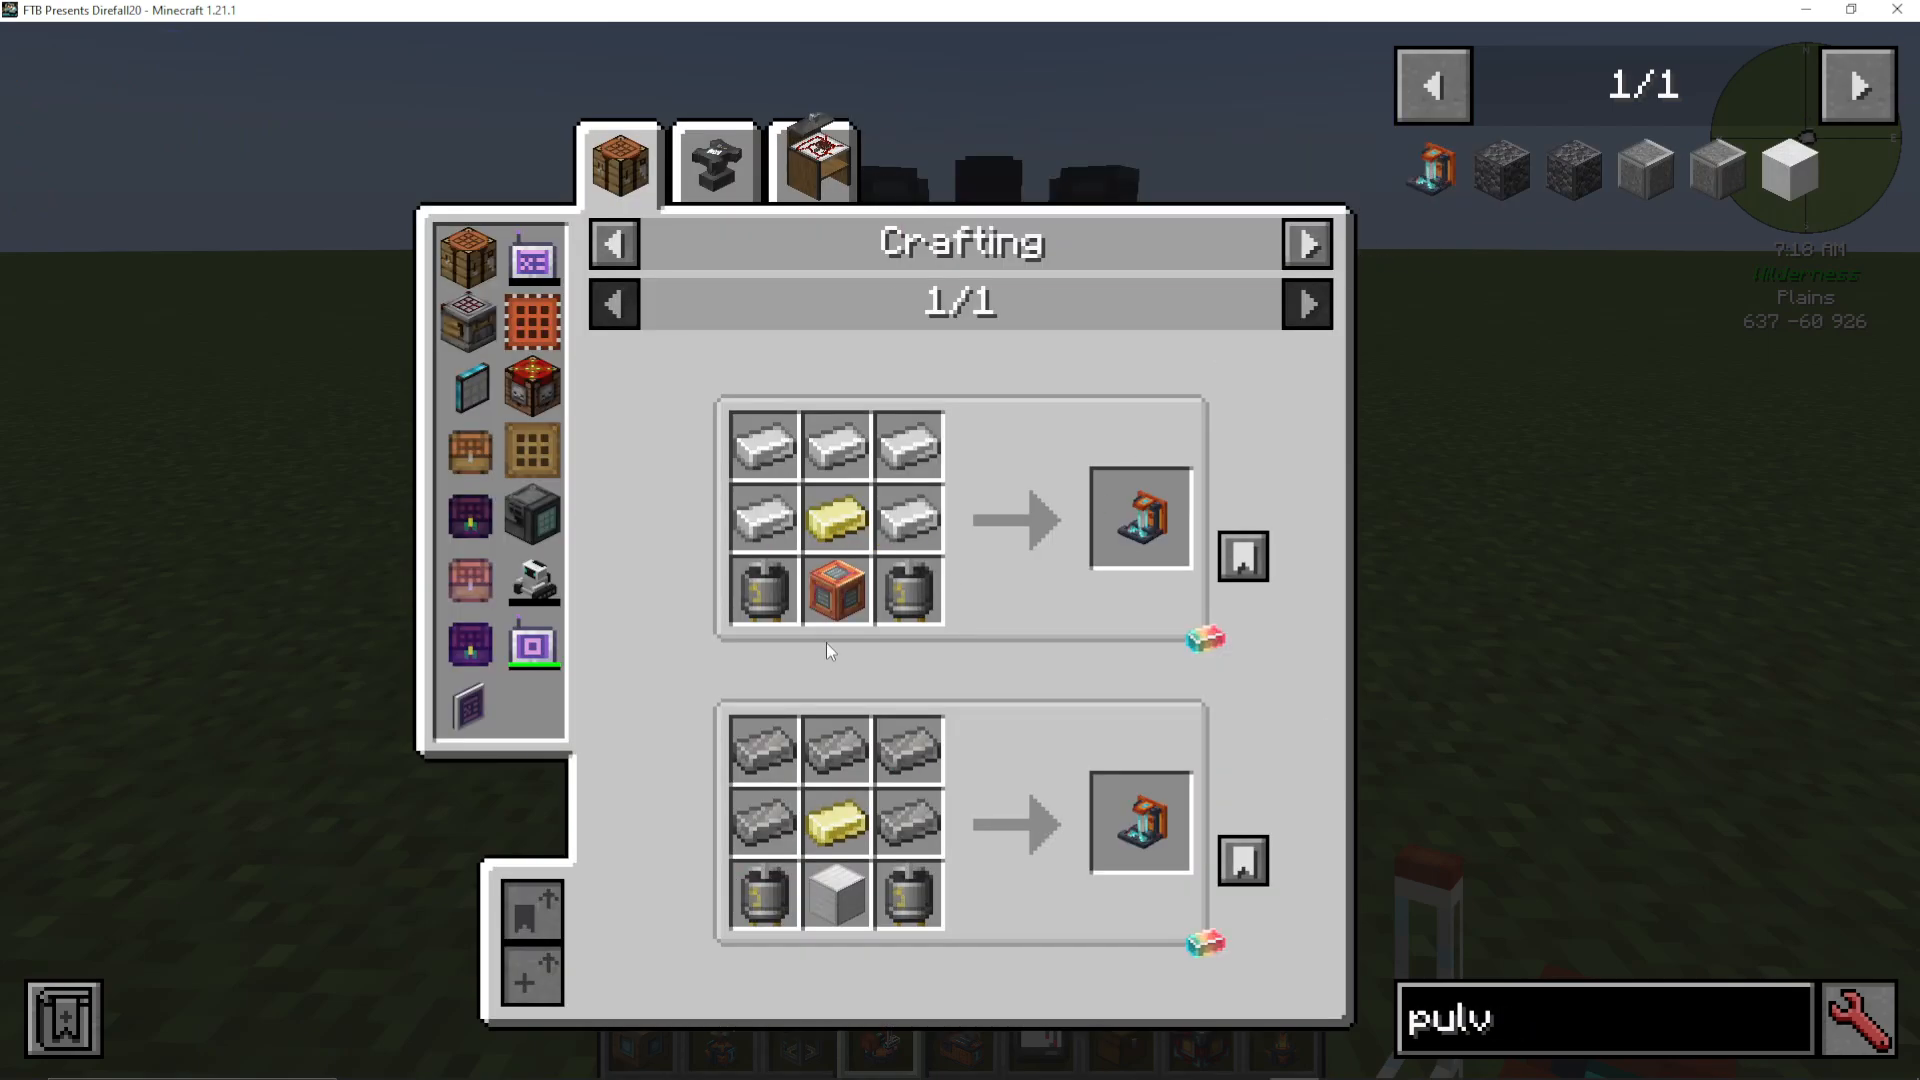
Coal dust is particularly important, as it’s used in the centrifuge to create carbon fiber strands and in the foundry to make steel more efficiently.
The Foundry Machine
The Foundry is where you craft alloys more efficiently than traditional crafting or smelting methods.
Foundry Recipe
To craft a foundry, you’ll need standard machine materials including blocks of iron and motors.
Efficient Alloy Production
The foundry dramatically improves alloy efficiency:
Steel: 1 iron ingot + 1 coal dust (vs. 2 iron + 2 coal in crafting)
Biopolymer Ingots: Made from raw biopolymer
Neverite Ingots: 1 gold ingot + 1 neverite scrap (much easier than 4 neverite scraps + 4 ingots)
Electricium: 1 gold ingot + 1 redstone (vs. 2 gold + 2 redstone)
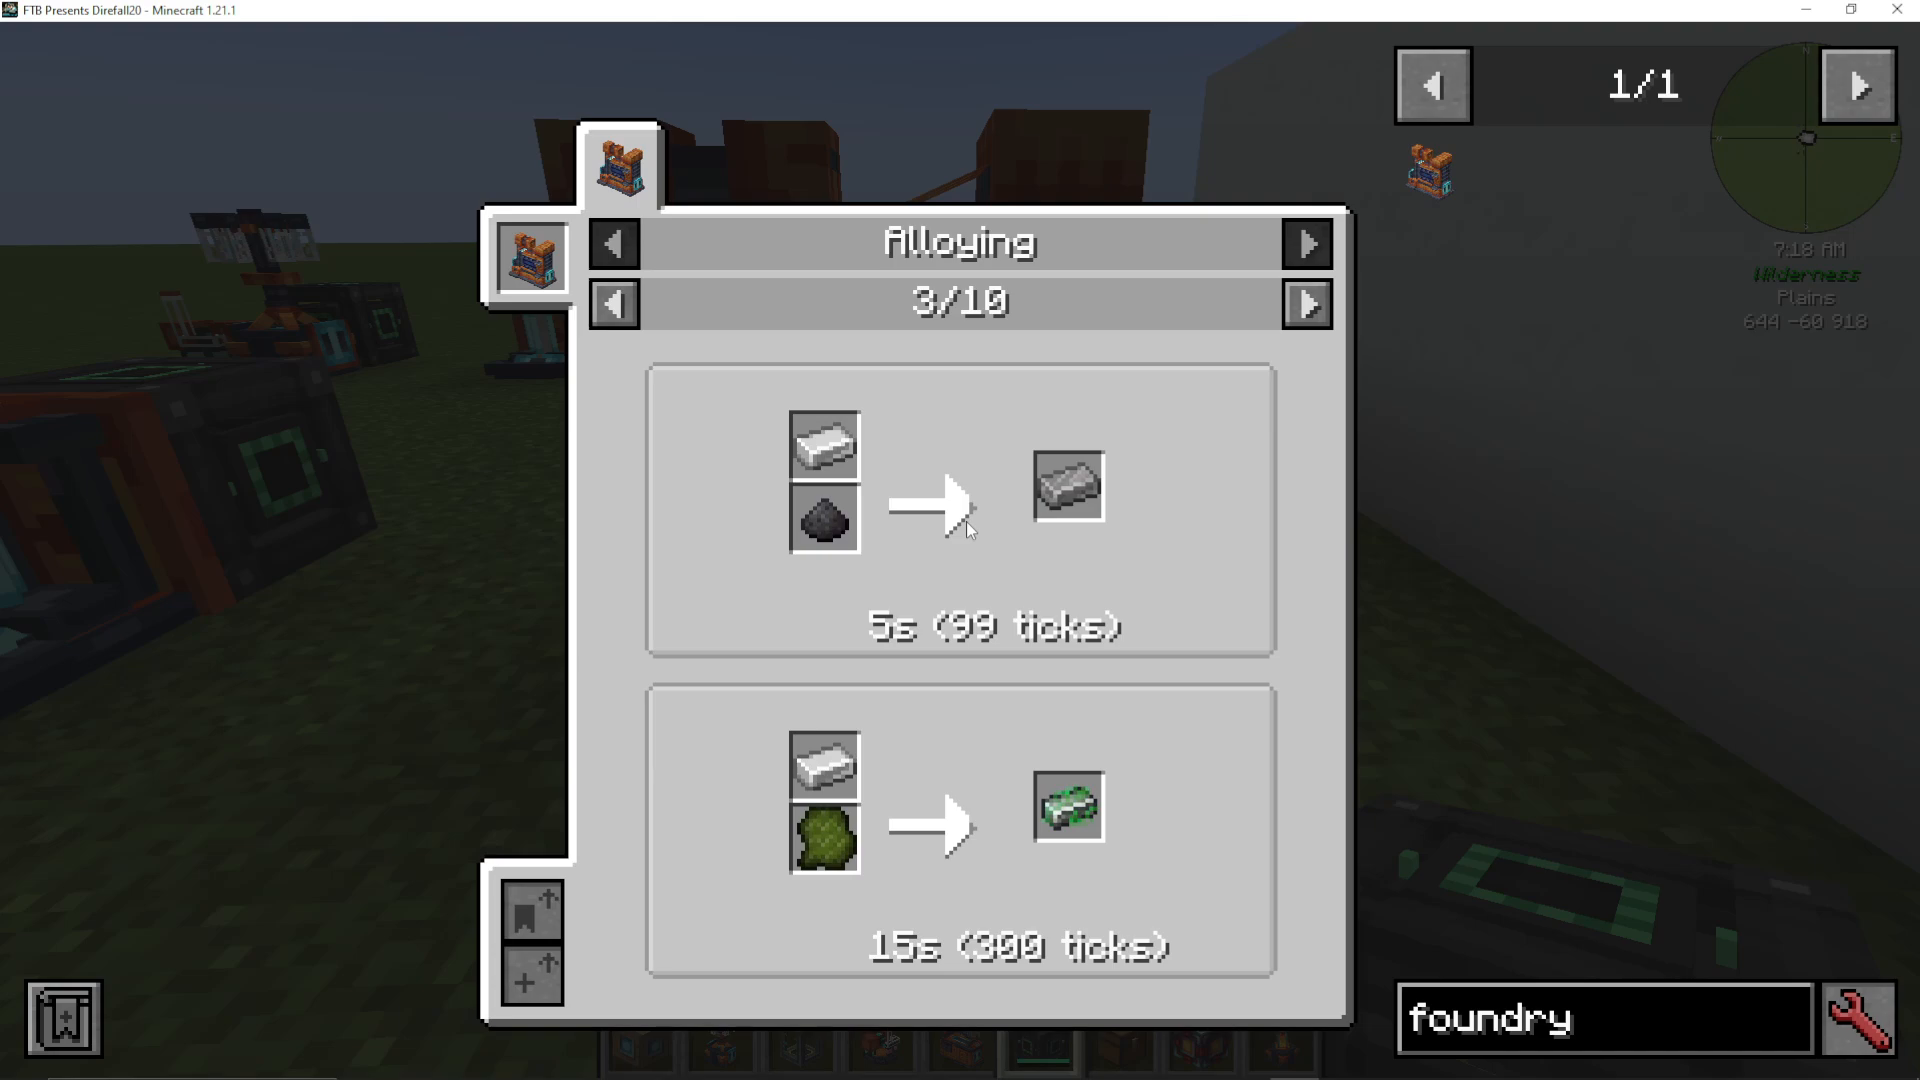
The foundry should be one of your priority builds after crafting a pulverizer, as it unlocks much more efficient progression.
The Fragment Forge
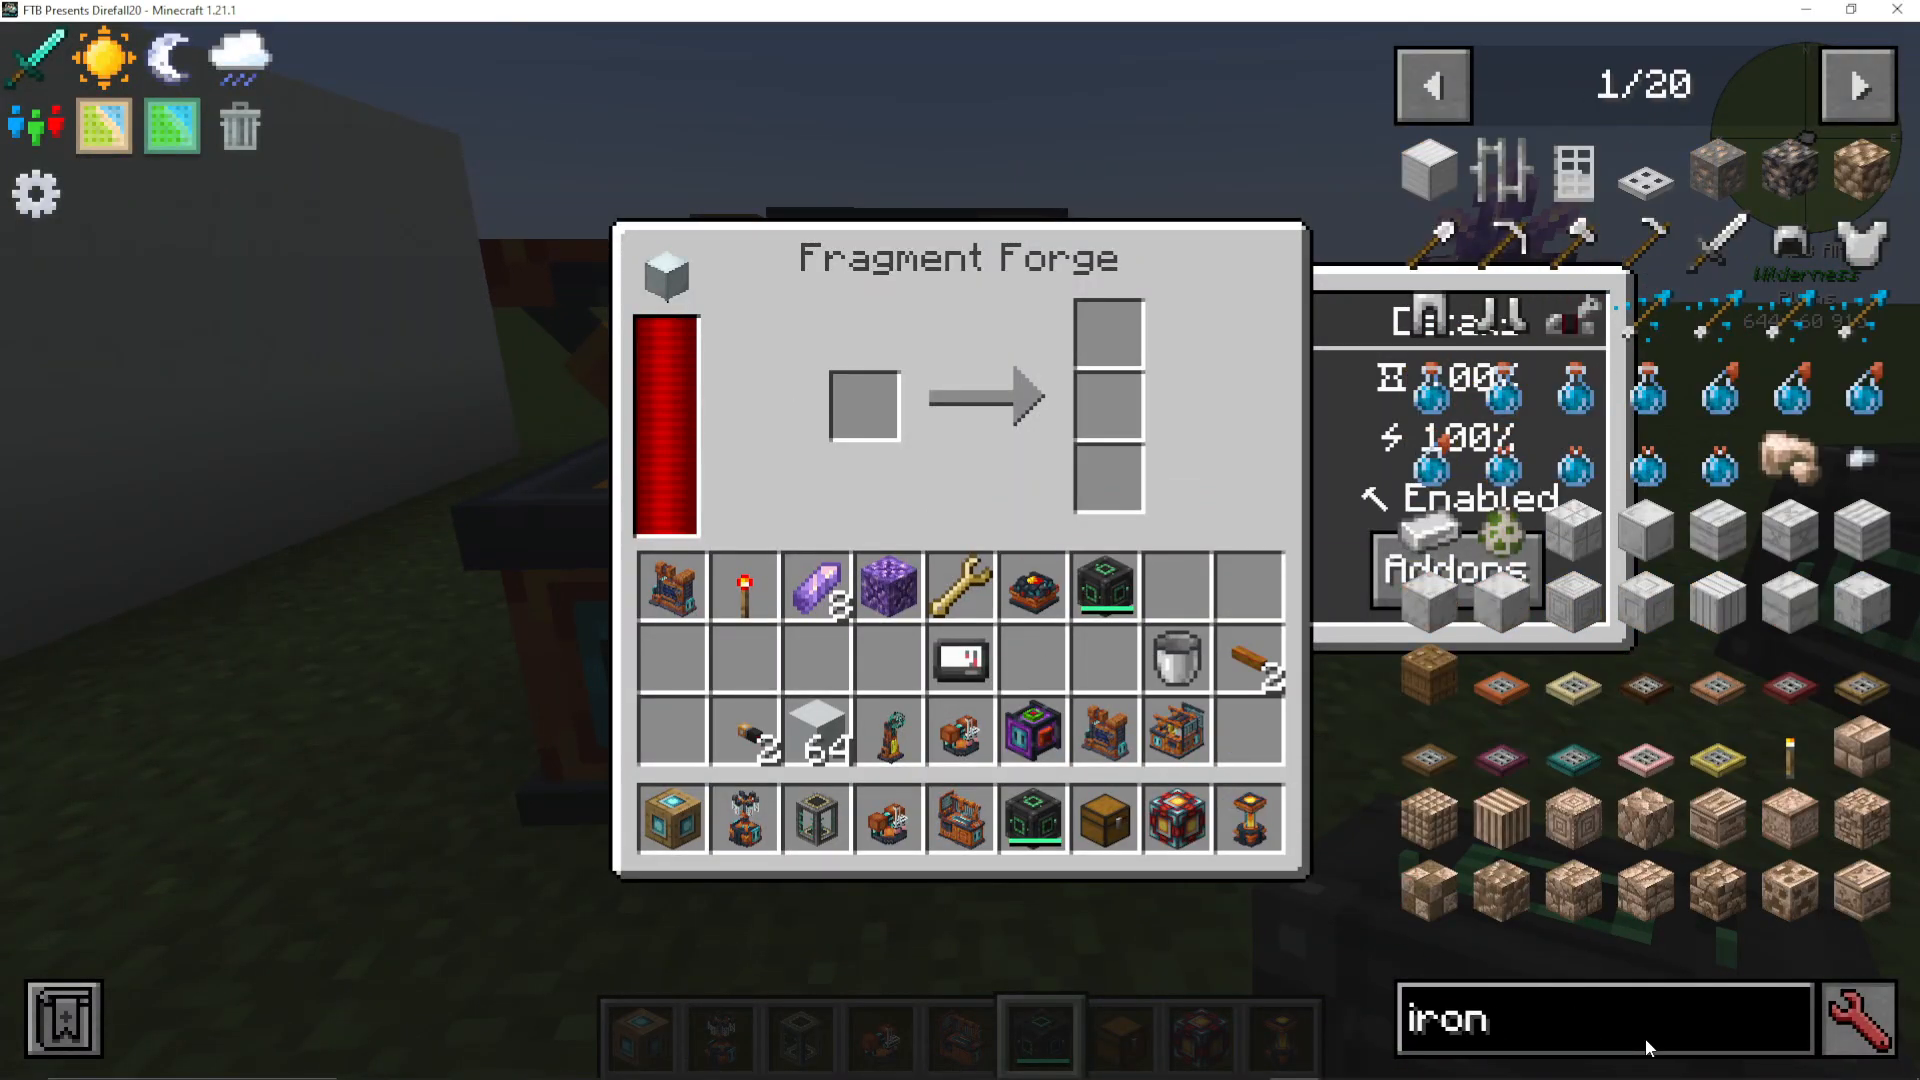
The Fragment Forge dramatically enhances ore processing yields by breaking ores into clumps and small clumps.
Ore Processing Multiplication
When raw ore is processed in the fragment forge:
1 raw iron → 1 iron clump + 3 small iron clumps
1 iron clump → 2 iron gems (in centrifuge fluid separation)
9 small iron clumps → 1 iron clump
This means that from just 1 raw iron, you can ultimately obtain 8 iron ingots plus additional nickel as a byproduct!
Additional Benefits
Processing nickel ore yields additional small platinum clumps, which can be converted to platinum gems and ingots. This makes the fragment forge an essential machine for maximizing ore yields.
Enderic Lasers
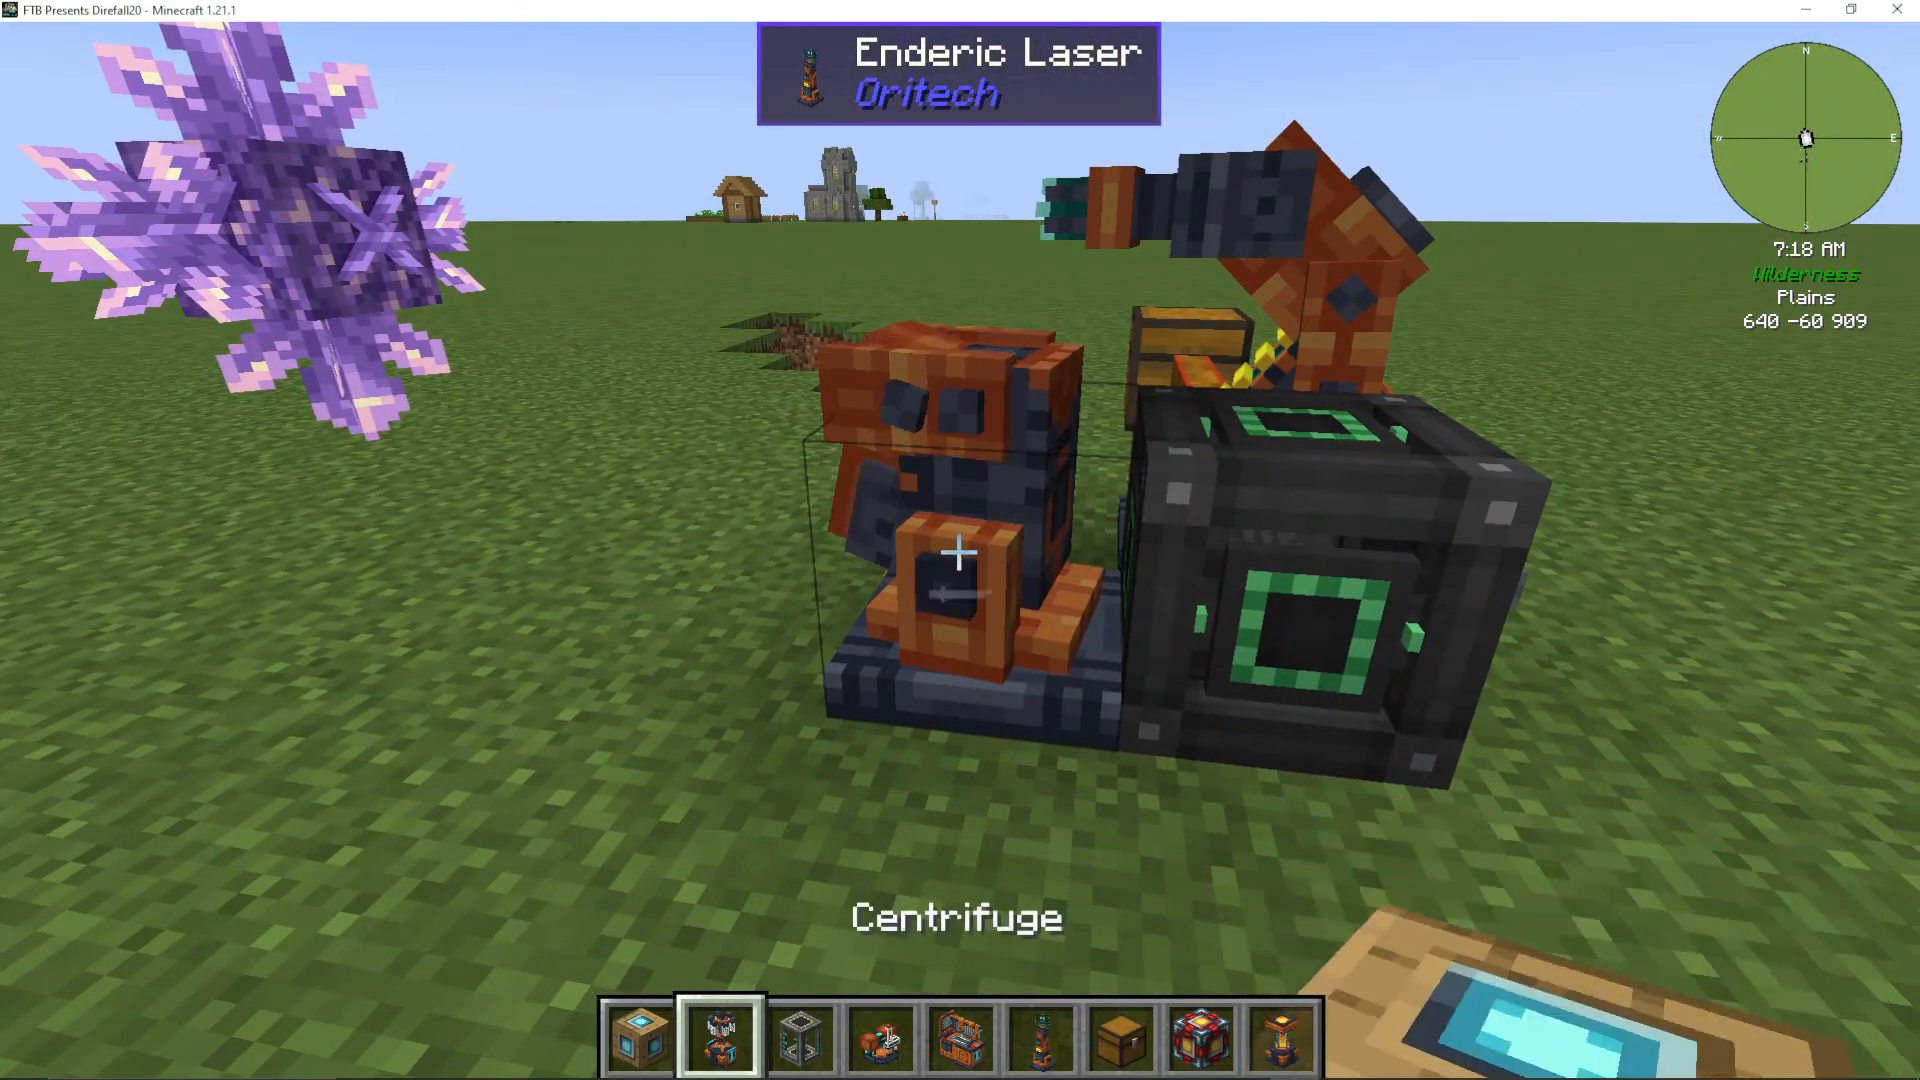
The Enderic Laser is one of OriTech’s most versatile and impressive machines, offering multiple functions including accelerated growth, mining, and wireless power transmission.
Laser Recipe and Setup
To craft an enderic laser, you’ll need:
Adamant ingots
Carbon fiber strands
Derek compounds (made in a pulverizer from ender pearls)
Motors
Target Designator
You’ll also need to craft a Target Designator, which requires:
Steel
Electrome plastic sheets (from raw biopolymer in the centrifuge)
Processing units (made in the assembler)
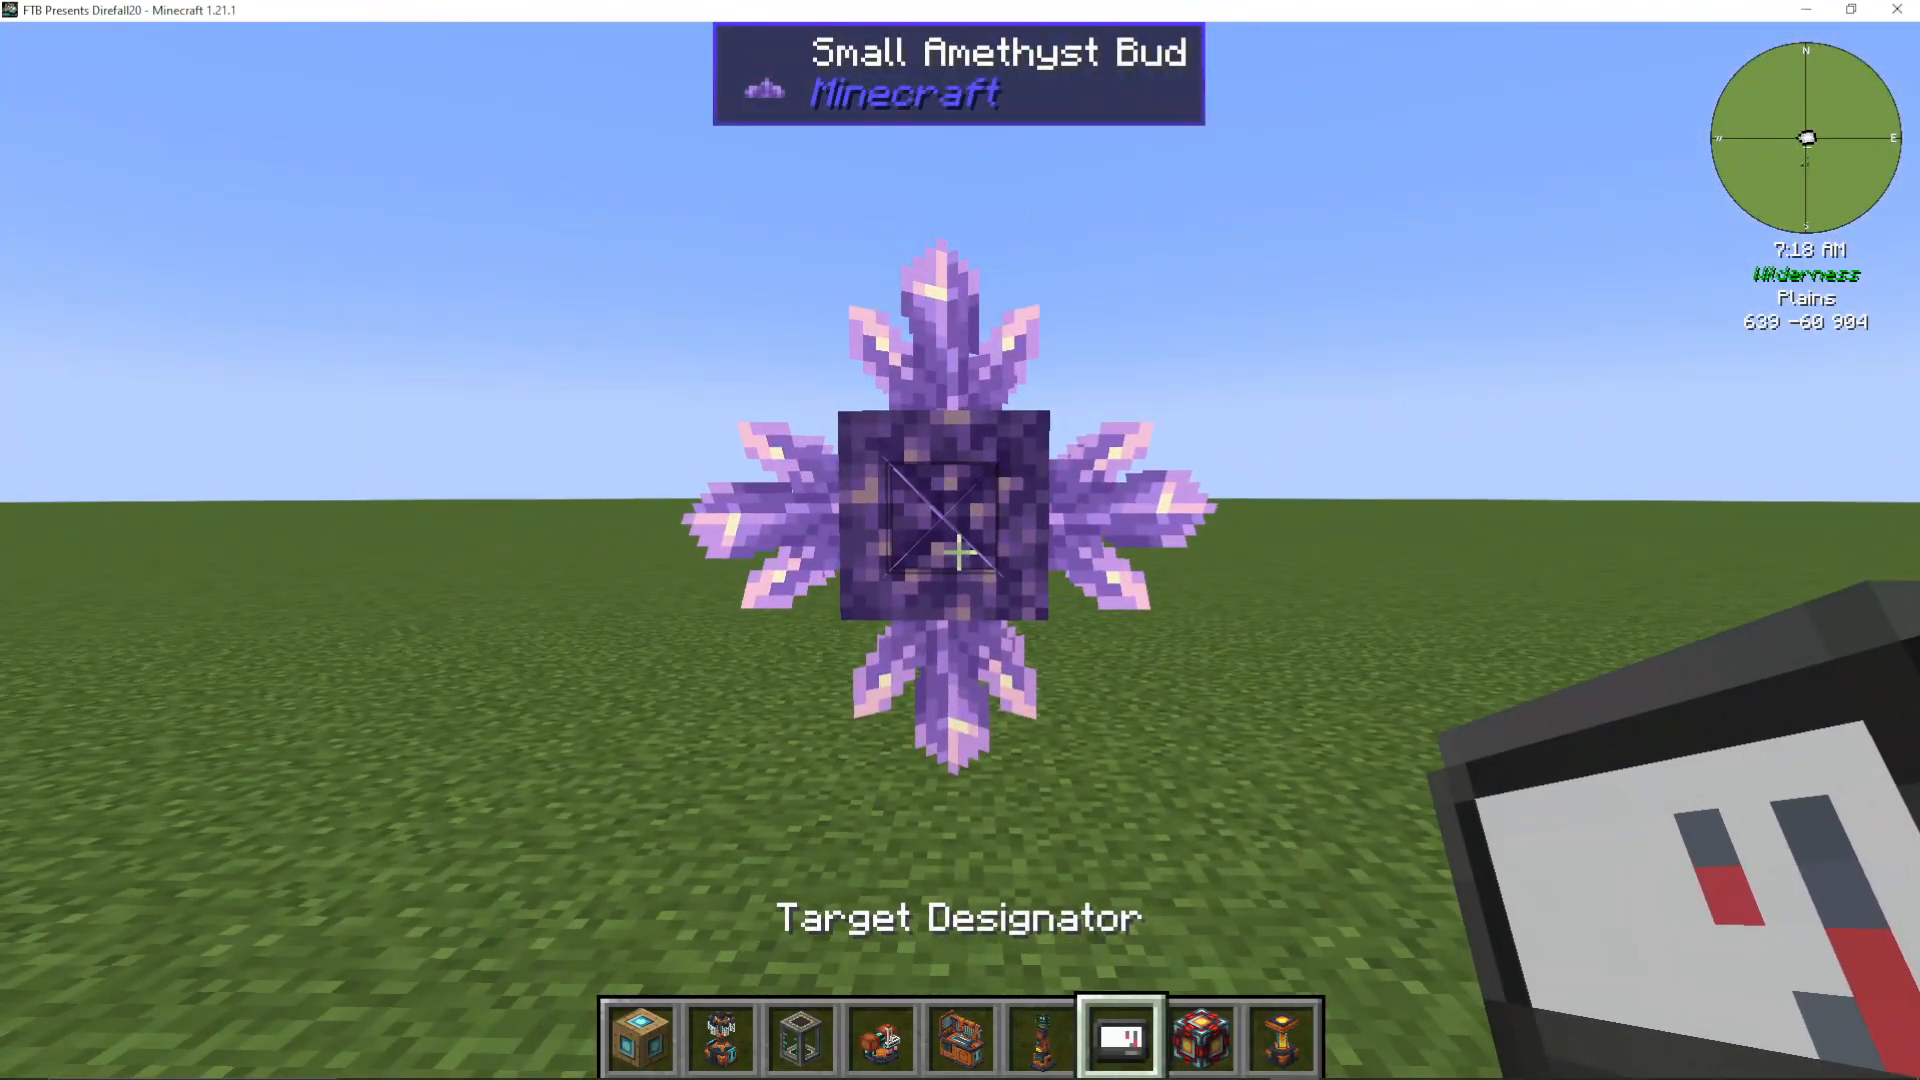
Targeting Budding Amethyst
To use the laser for accelerated crystal growth: First, shift right-click a budding amethyst bud with the target designator to store its position. Then shift right-click the bottom of your laser to set the target. The laser will fire at the budding amethyst, accelerating bud growth and overloading them to produce fluxite, a valuable material for advanced machines.
Multiple Lasers and Redstone Control
You can link multiple lasers to the same target to increase growth speed. Use a lever or other redstone signal to toggle lasers on and off.
Wireless Power Transmission
You can also designate a machine (like a fragment forge) and shift-click the laser to wirelessly transmit power directly to that machine. This is an elegant solution for powering devices at a distance.
Item, Fluid, and Energy Pipes
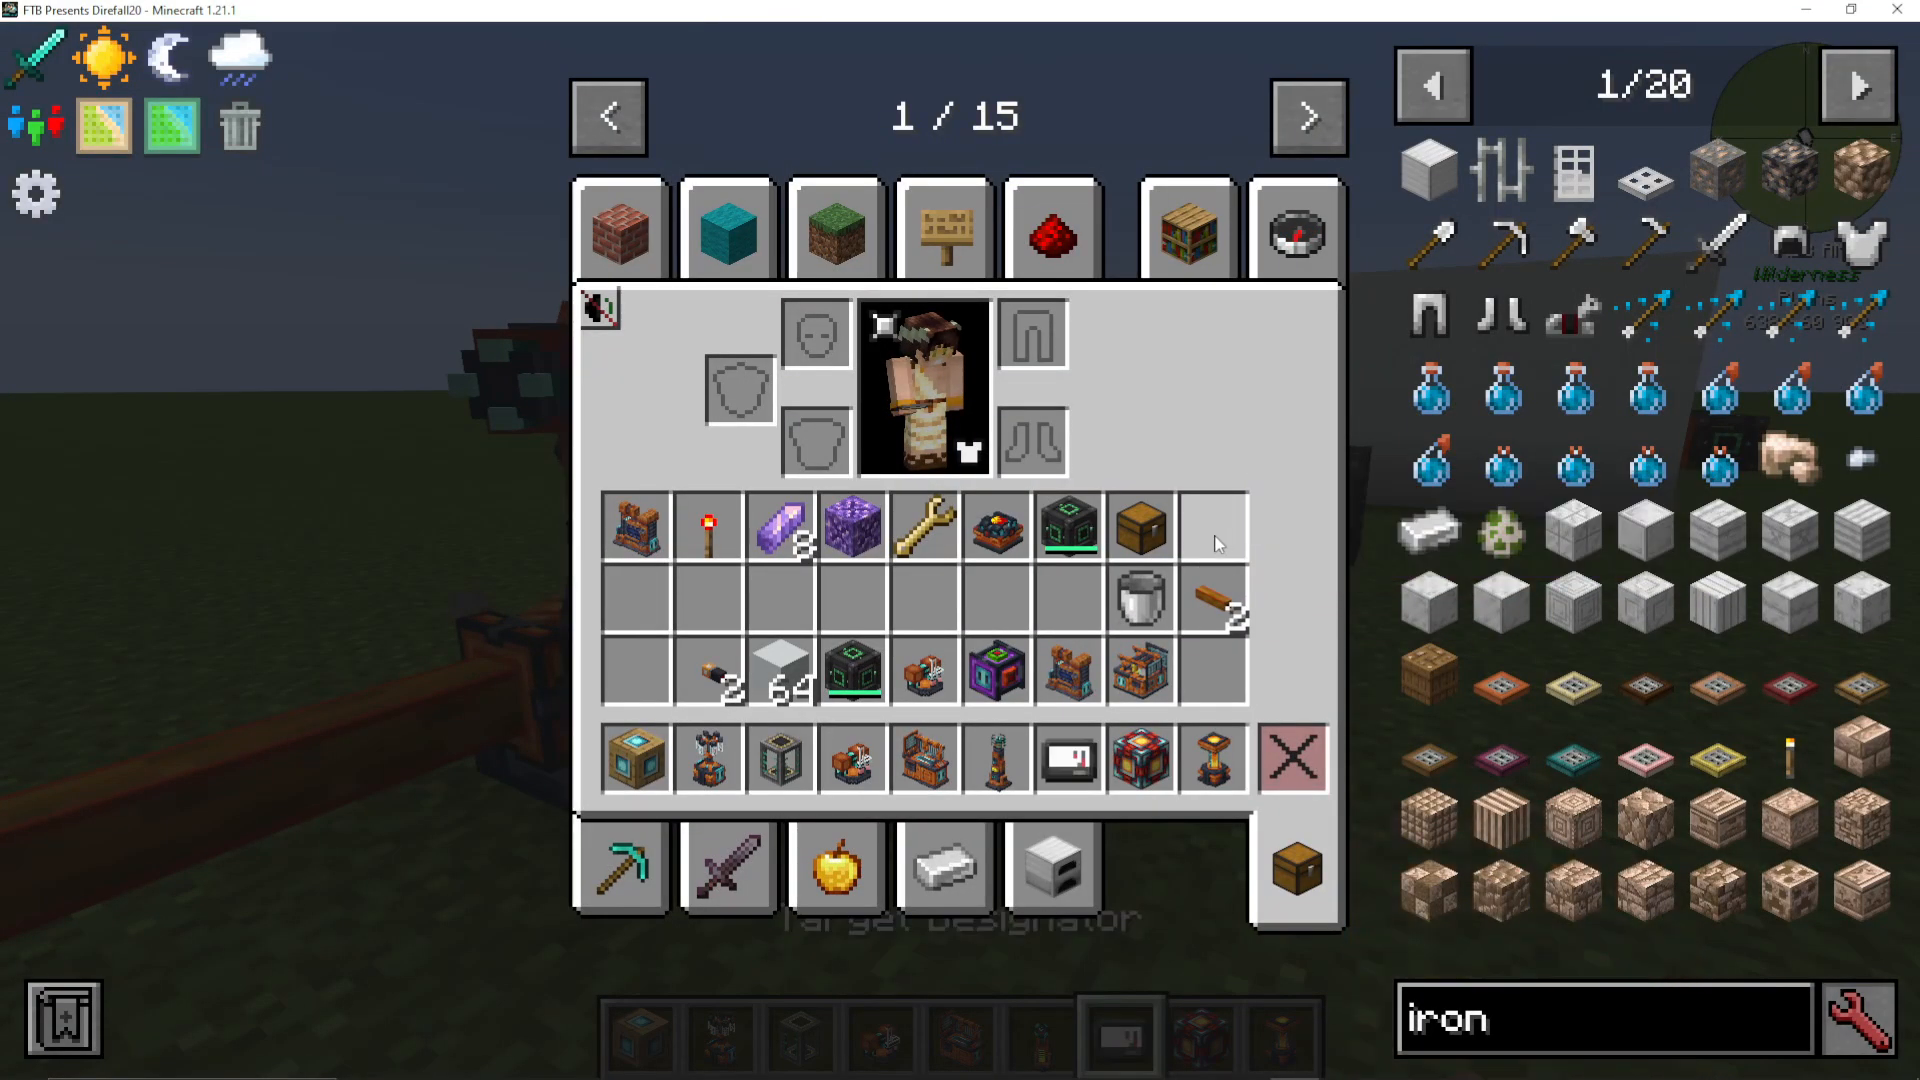
OriTech provides three types of pipes for logistics: item pipes, fluid pipes, and energy pipes.
Item Pipes
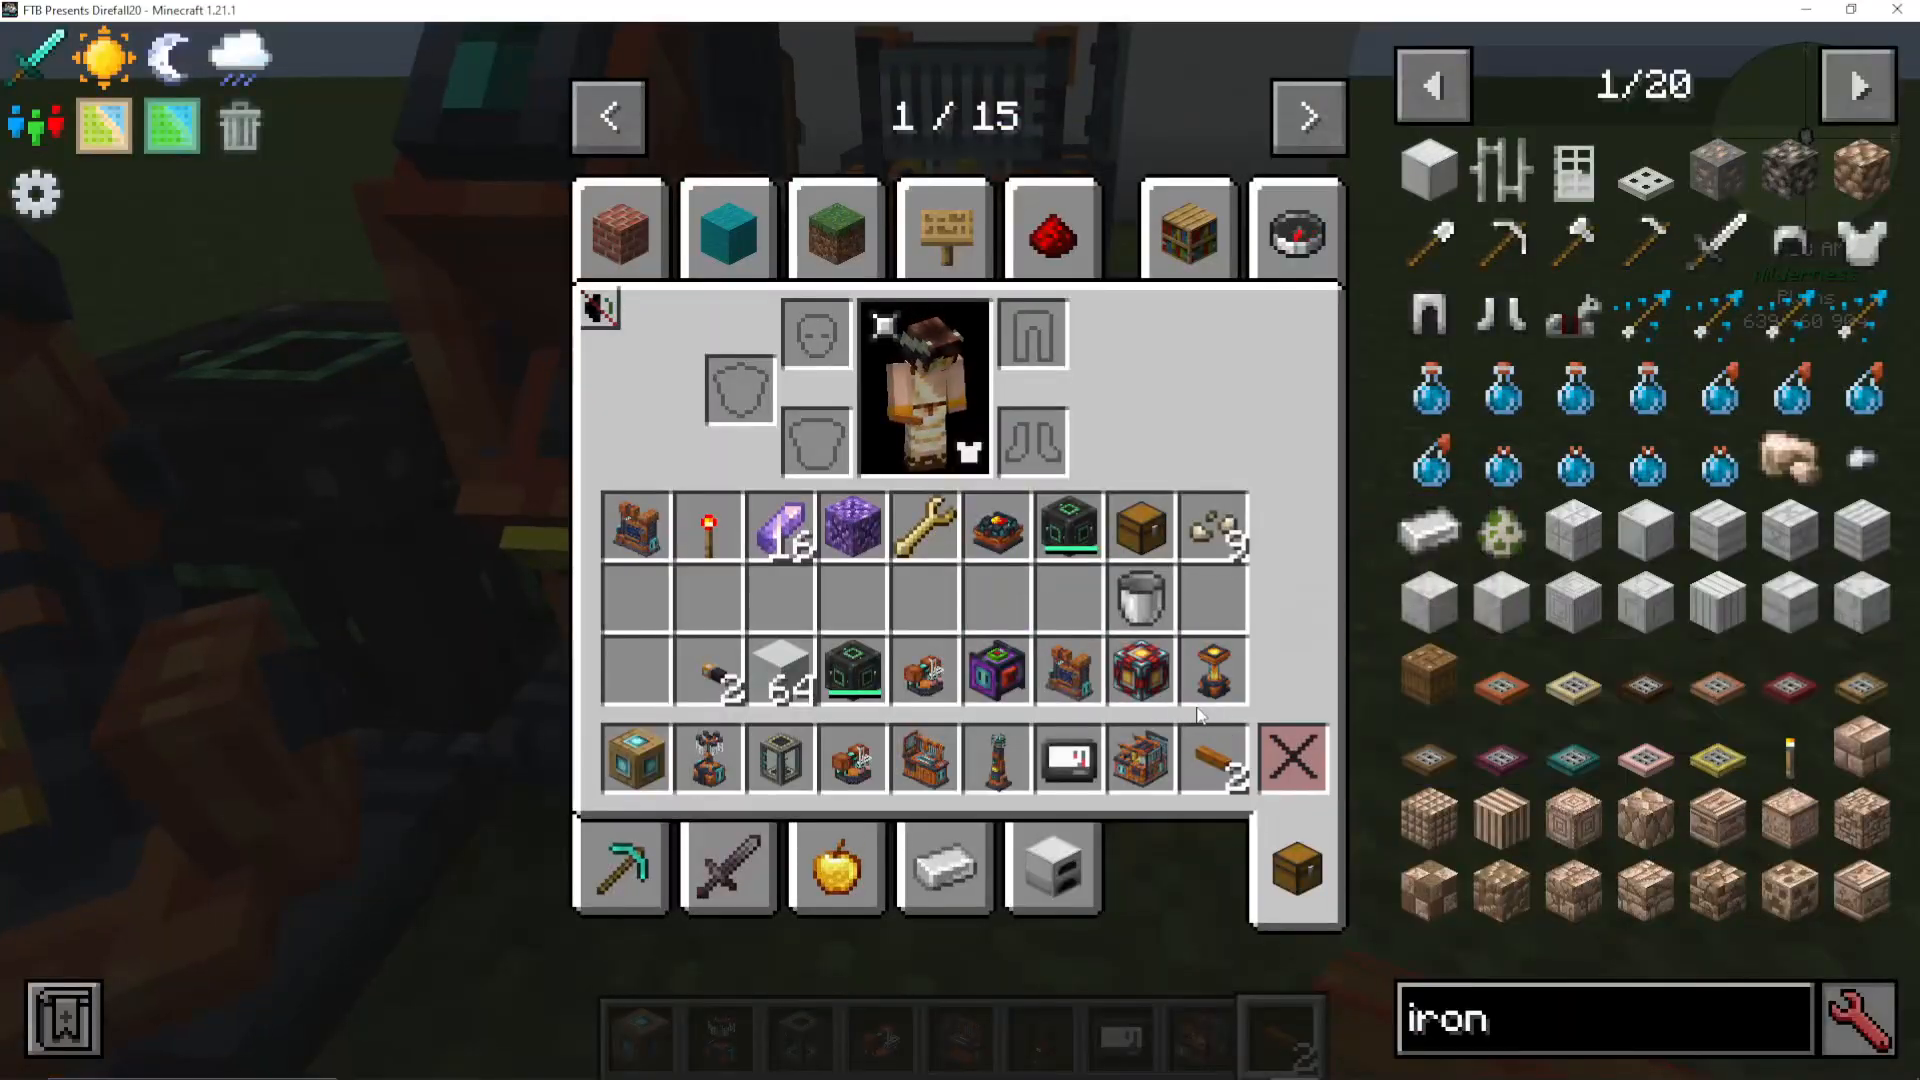
Item pipes transfer items between machines. Right-click a pipe connection to enable extraction from that side. You can toggle connections on and off using a pipe wrench.
Pipe Boosters
Pipe boosters dramatically increase transfer speeds when powered by energy. With a pipe booster, you can:
Extract entire stacks of items every tick
Transfer up to 40 buckets of fluid per tick
Fluid Pipes
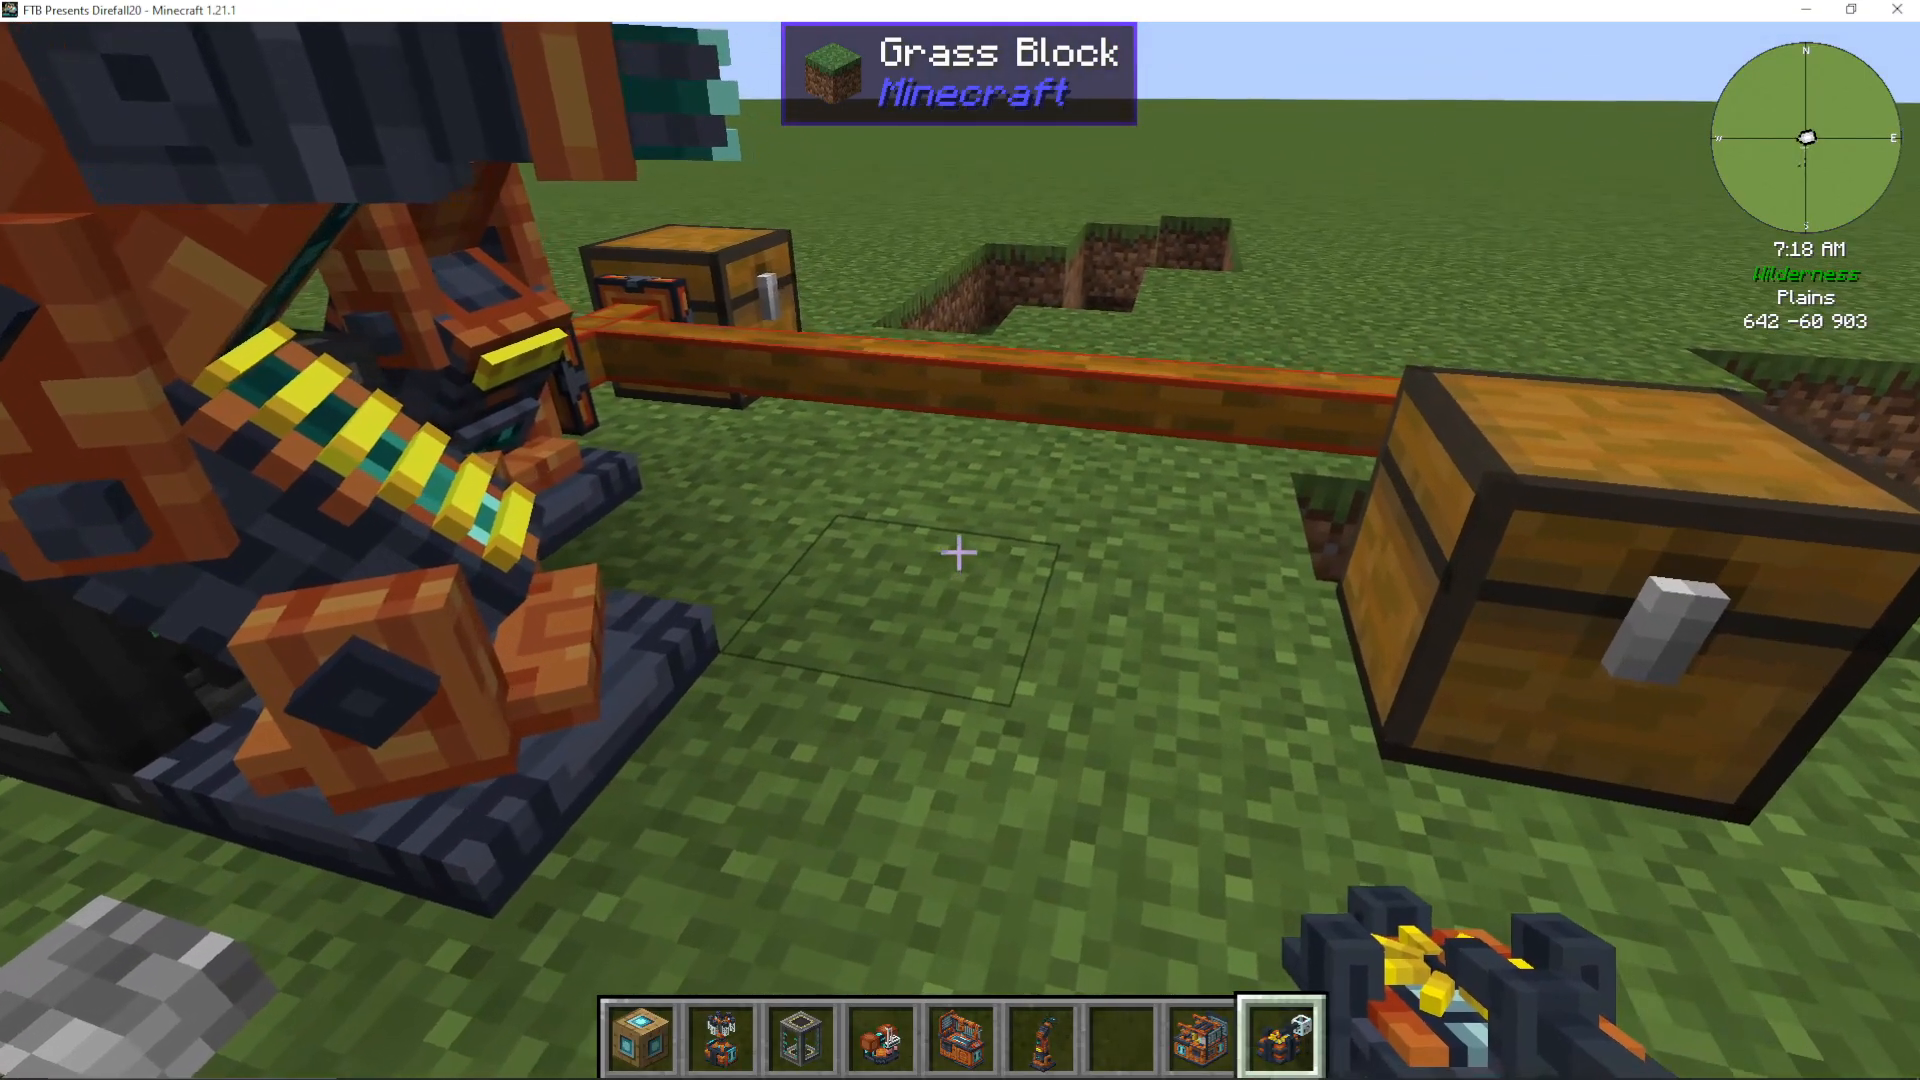
Fluid pipes work similarly to item pipes but transport liquids instead. They require power to boost their transfer rates.
Energy Pipes and Superconductors
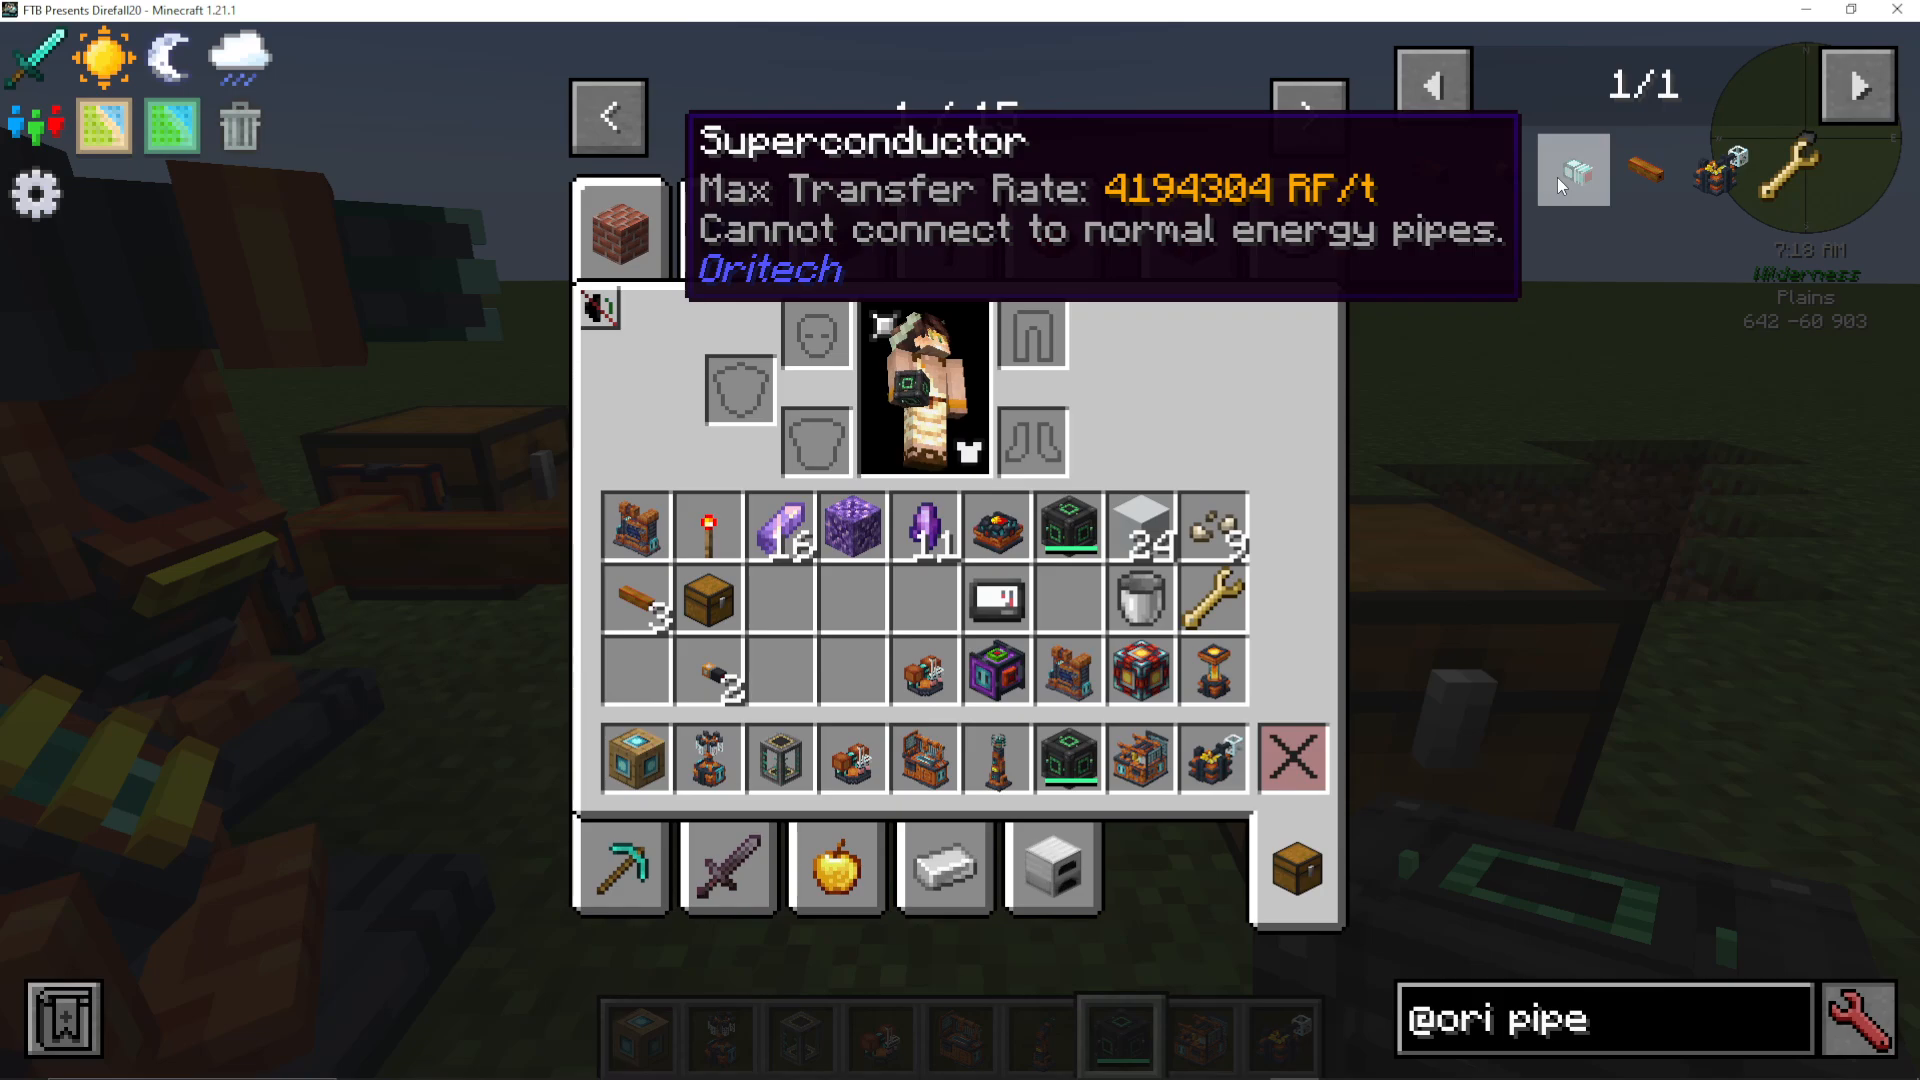
Energy pipes transmit RF power and can handle 10,000 RF per tick. For even higher power transfer, use superconductors, which transmit enormous amounts of energy but cannot connect to regular energy pipes. Superconductors require:
Fine wire and energite ingots
Flux gates
Processing units
Energy Storage
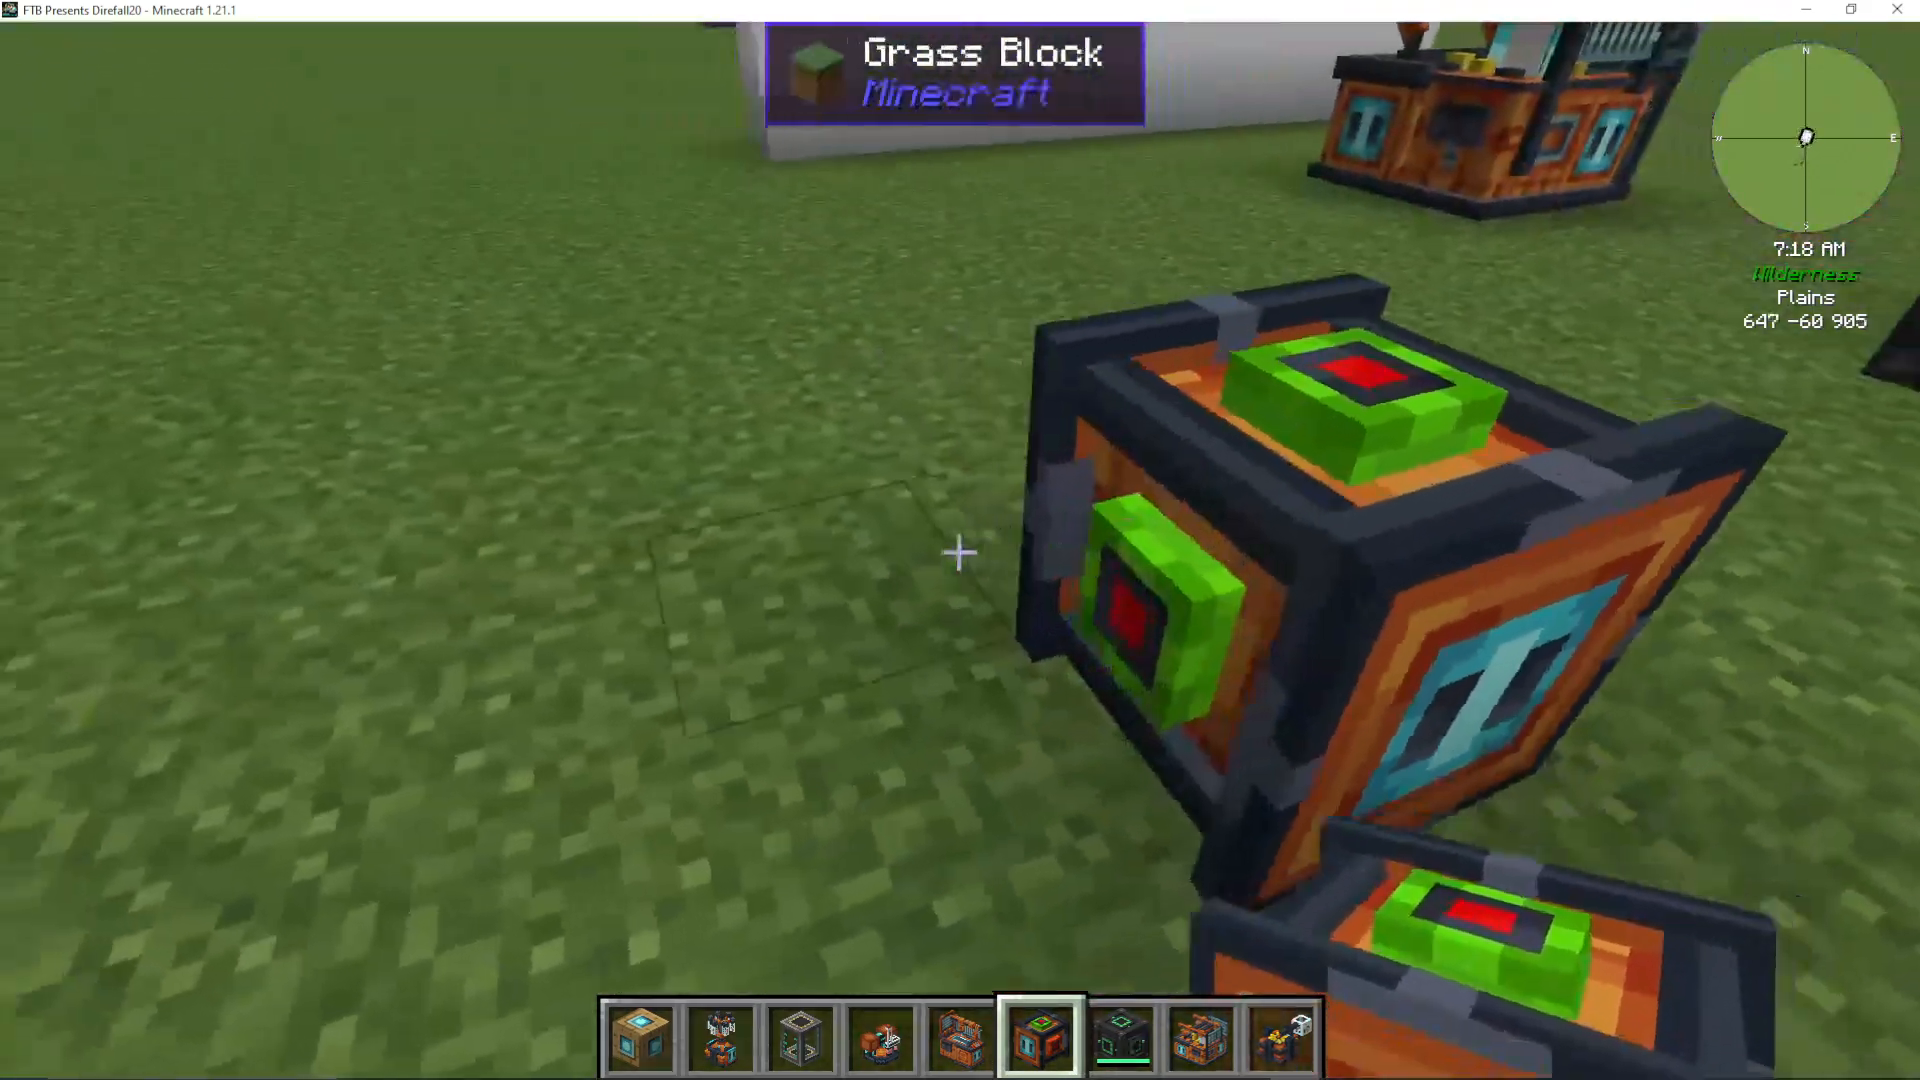
OriTech provides energy storage blocks in various sizes:
Portable Energy Storage: Accepts energy from all sides but outputs only from the red-marked port
Large Energy Storage: Much larger capacity with expandable size using machine casings
The Atomic Forge
The Atomic Forge is an advanced machine that must be powered exclusively by Enderic lasers, not traditional energy pipes.
Atomic Forge Setup
To power the atomic forge:
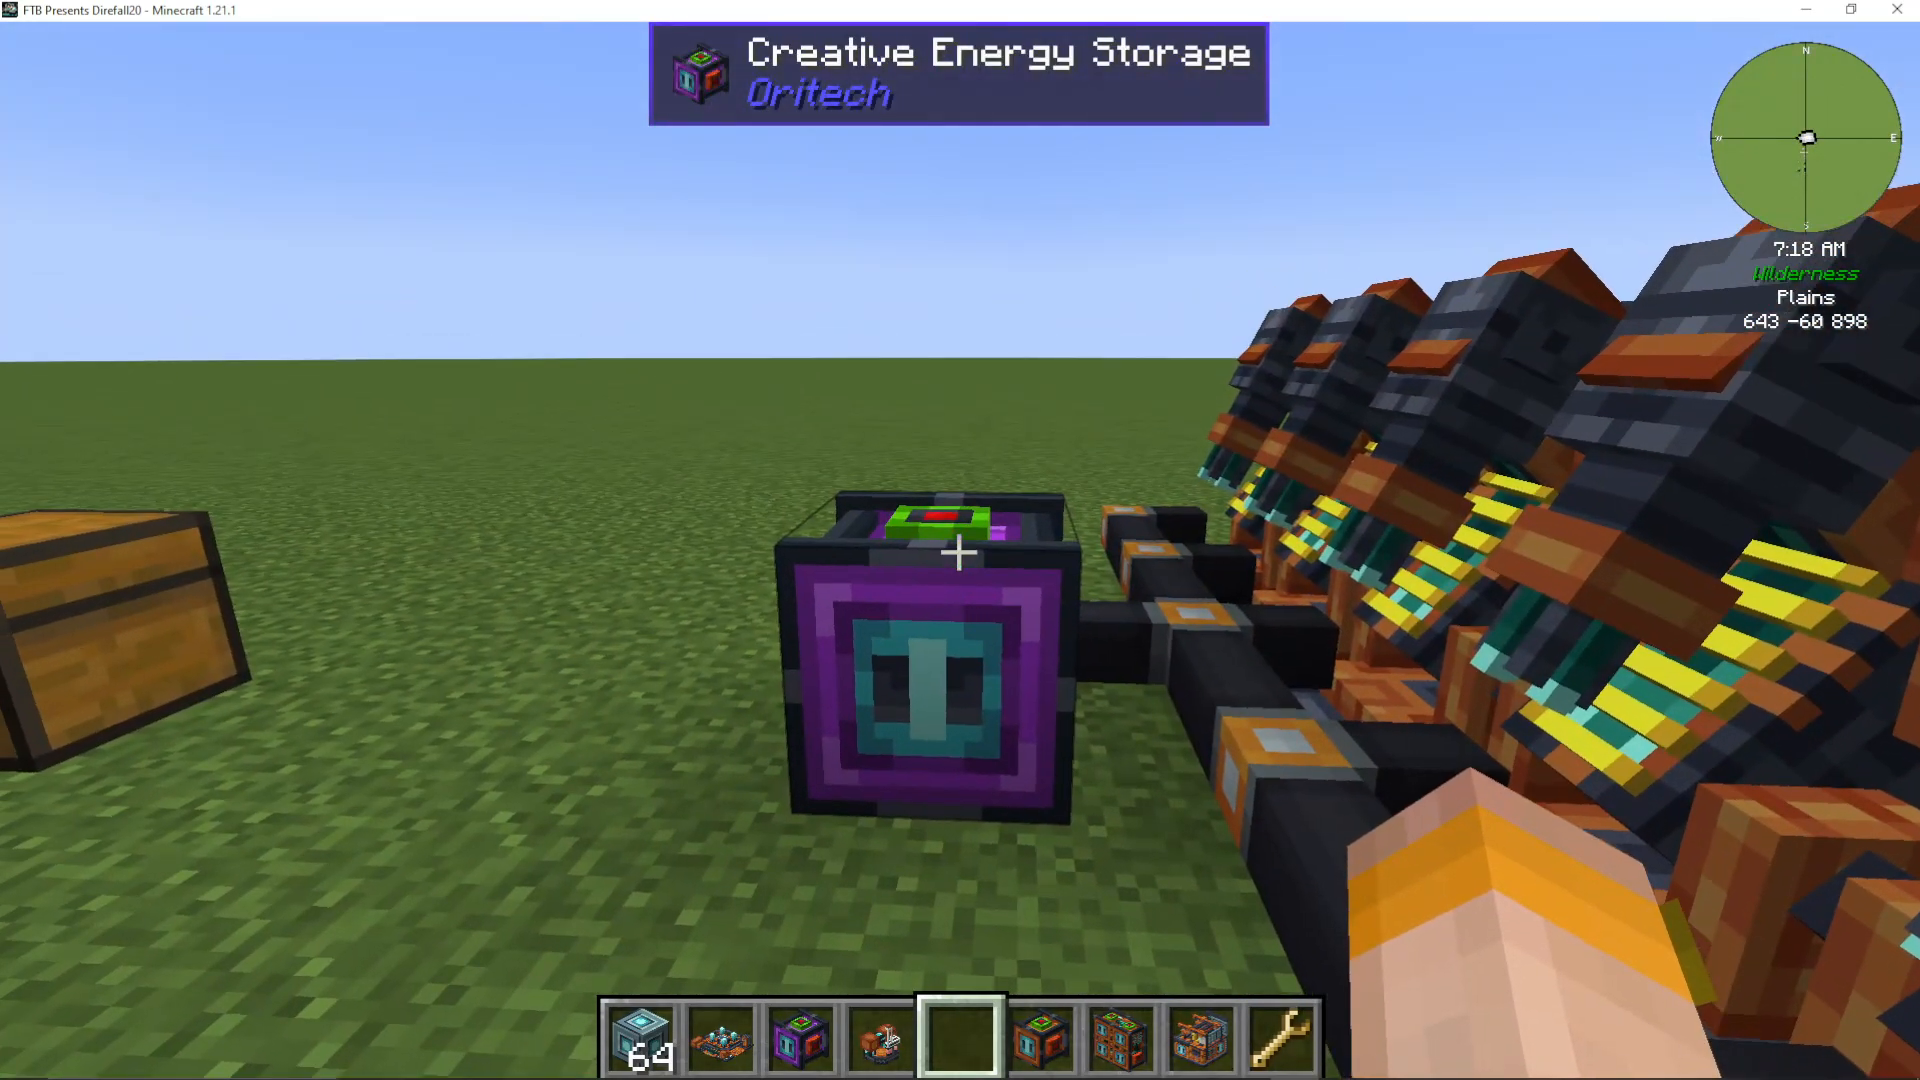
Connect an energy storage cell (with its red output facing toward the lasers)
Use energy pipes and superconductors to distribute power
Set up Enderic lasers with a target designator linked to the atomic forge
Engraving with the Atomic Forge
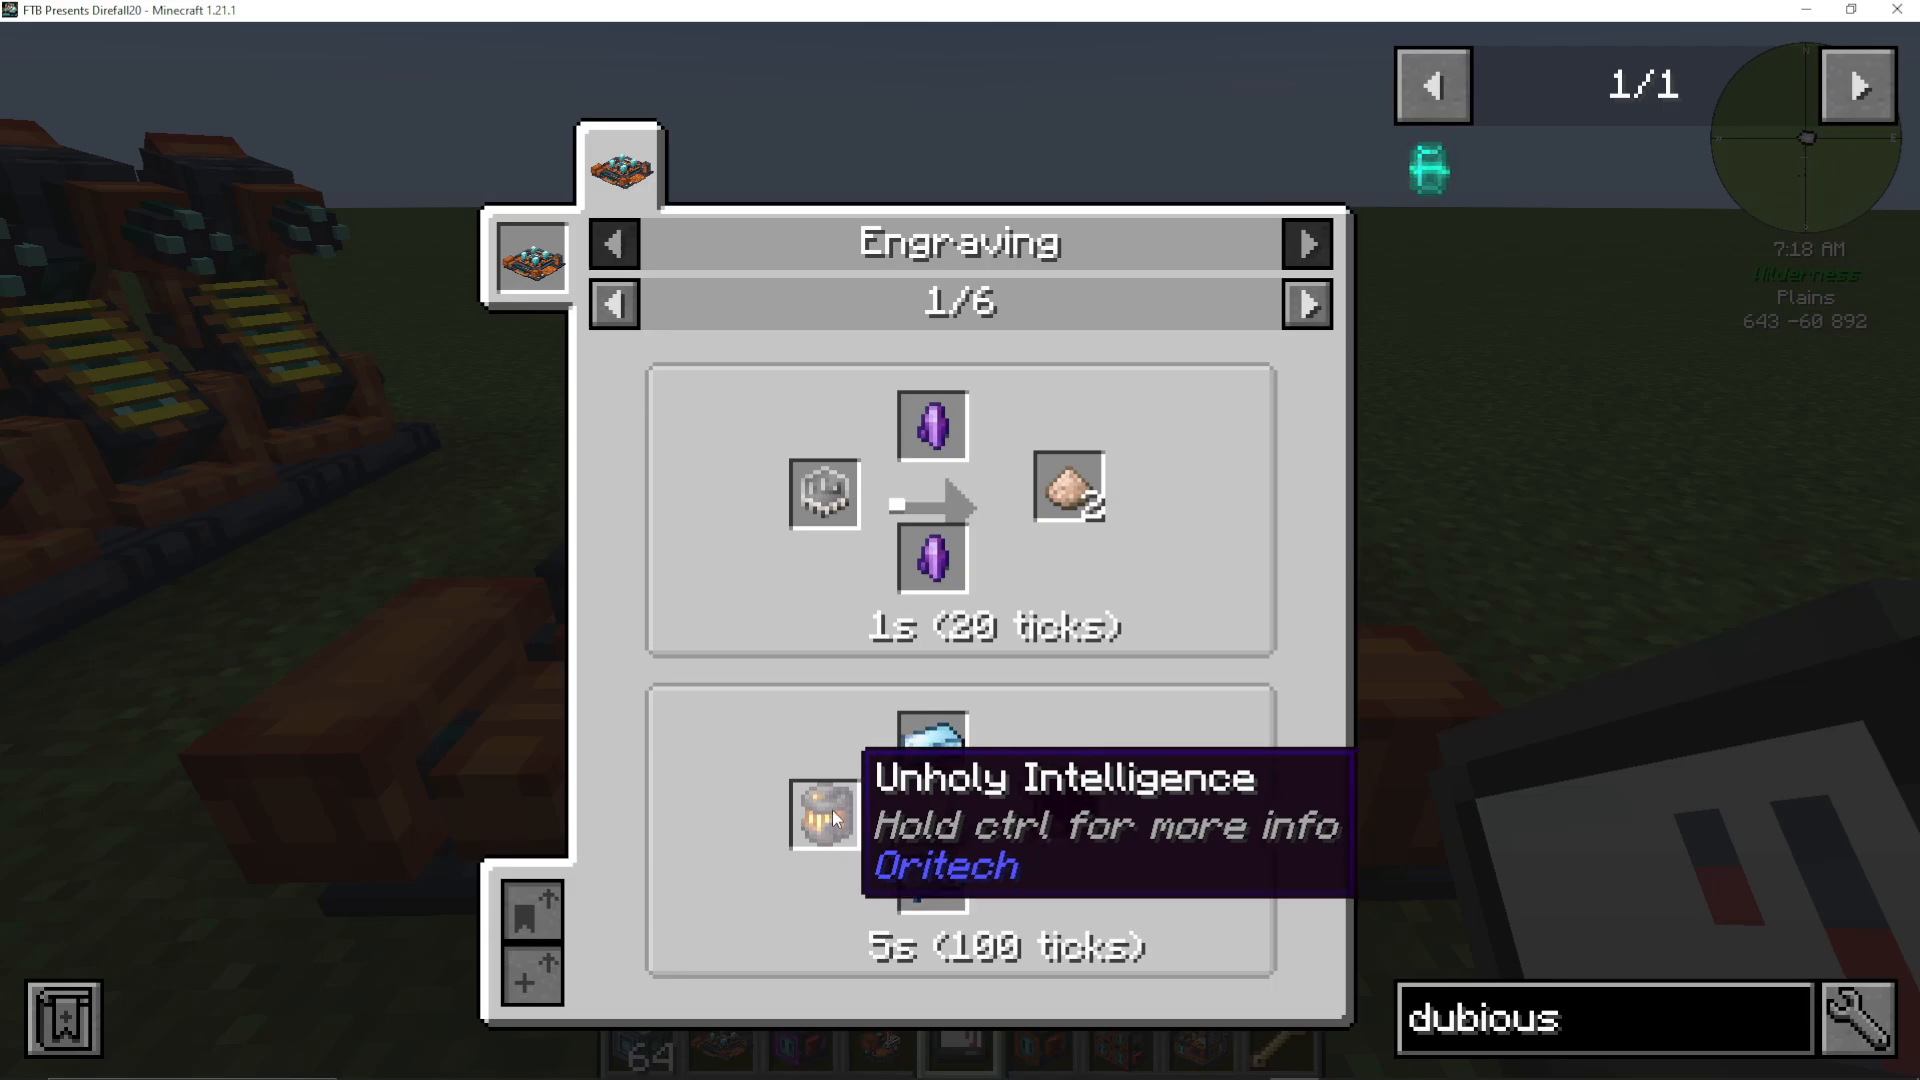
The atomic forge engraves gems using fluxite on the top and bottom. For example, placing iron gems with fluxite above and below engrave them into iron dust, effectively doubling your gem yields.
Advanced Recipes
The atomic forge can produce advanced materials including:
Eisenberg compensators (using unholy intelligence)
Silicon wafers
Gold dust
Advanced computing engines
Super AI chips
Unholy intelligence is obtained by capturing a vex, alloy, or phantom using a dubious container.
Advanced Power Generation Systems
OriTech features multiple generator types, each suited to different stages of progression.
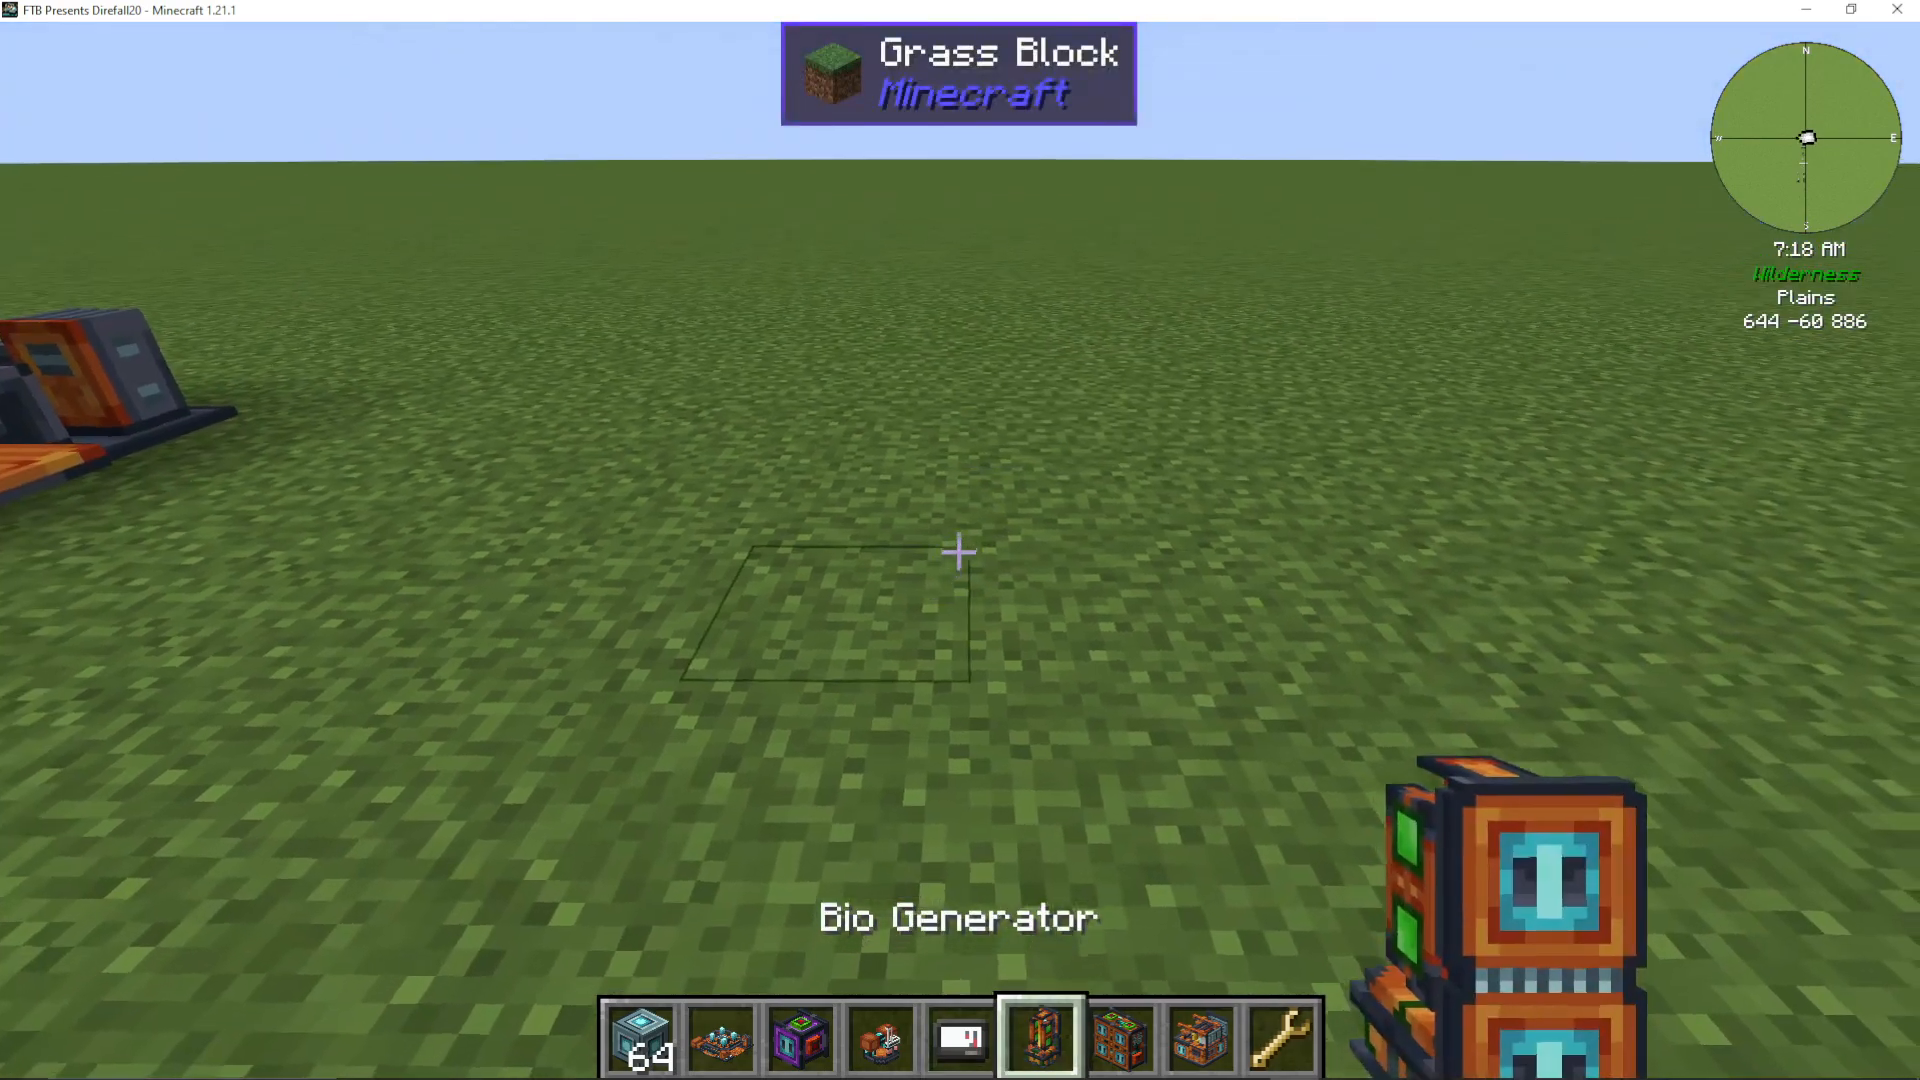
Bio Generator
The bio generator produces 64 RF per tick using organic materials. Fuel duration varies:
Solid biofuel: 160 seconds
Packed wheat: 200 seconds
Unholy intelligence: 3,000 seconds
Bio-organic materials (carrots, saplings): 15 seconds each
Lava Generator
The lava generator also produces 64 RF per tick by consuming lava pumped in via fluid pipes. Use a pump to extract lava from a lava lake.
Fuel Generator
The fuel generator consumes crude oil or turbo fuel (processed from crude oil in the centrifuge) and produces 256 RF per tick—more than any other basic generator. It has two add-on slots for upgrades.
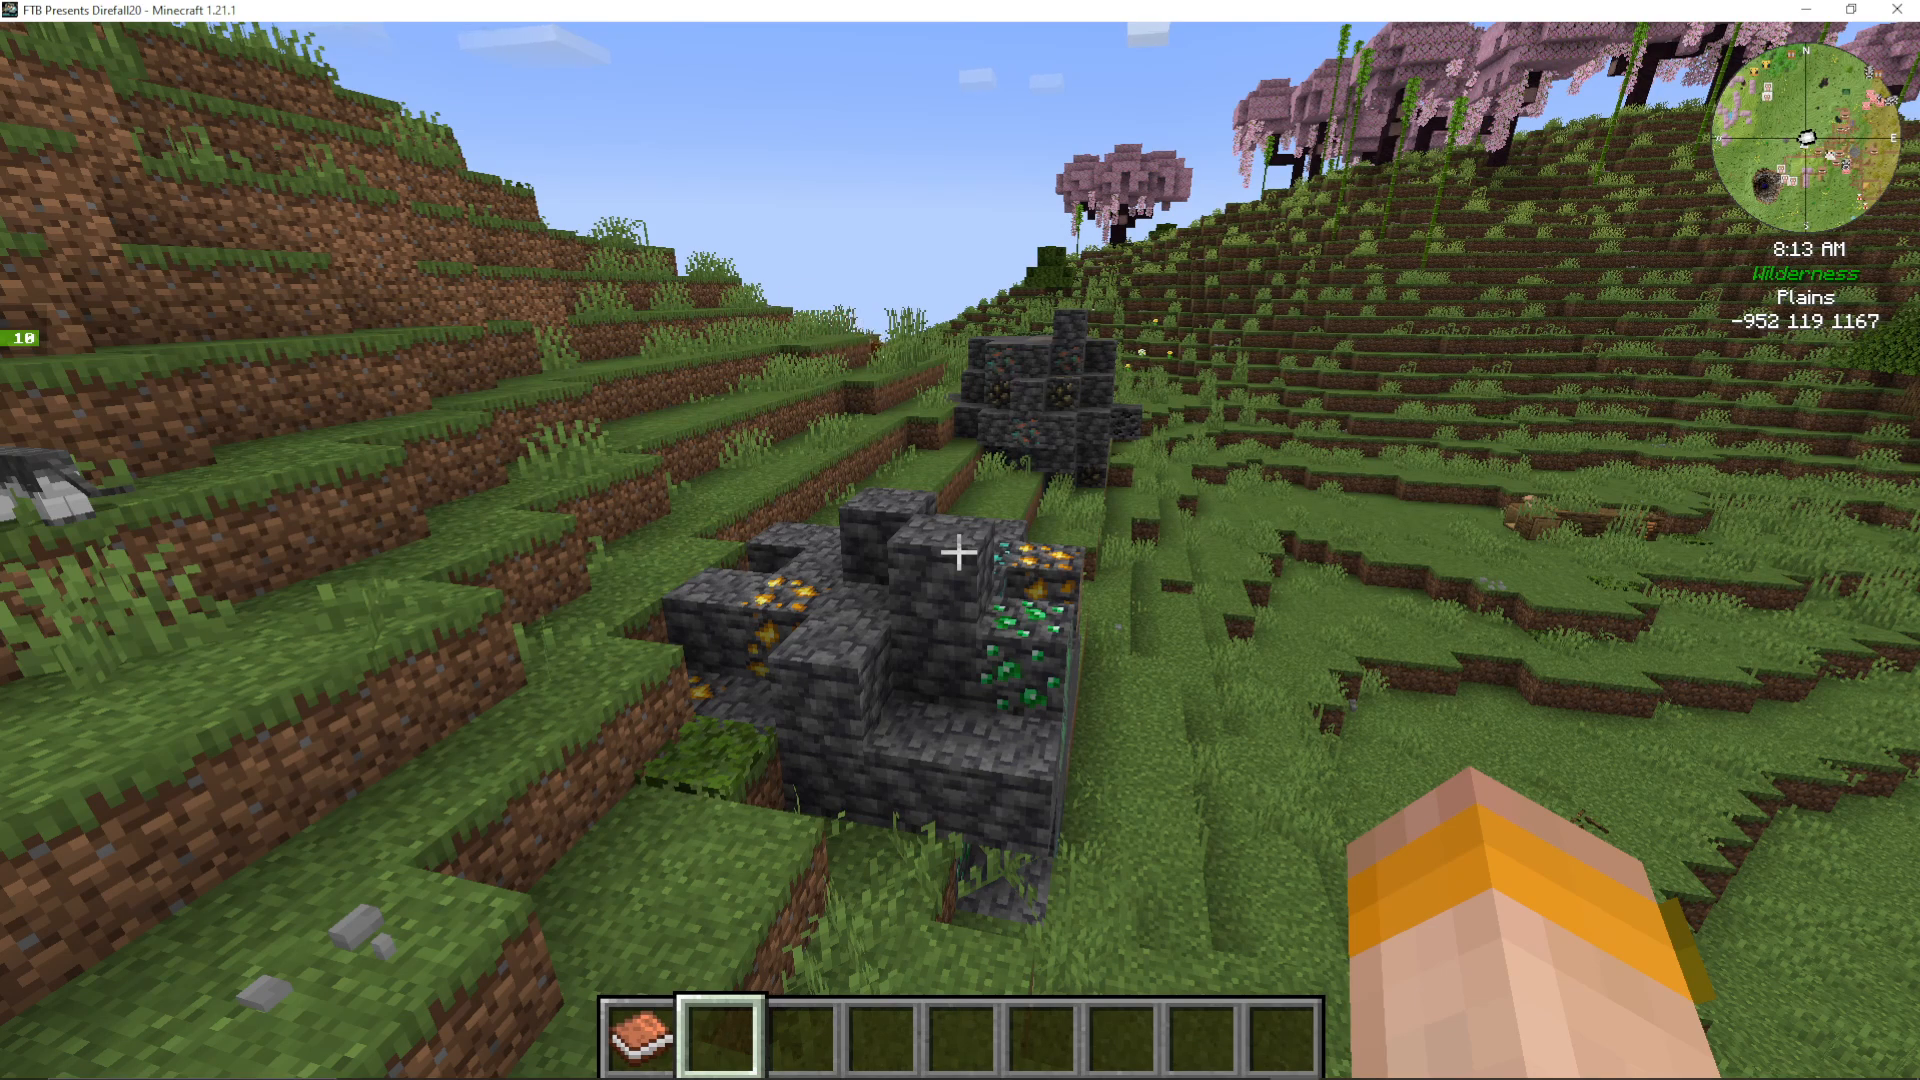
Crude oil is found in deep underground resource nodes (indicated by ore boulders on the surface) or naturally occurring in the landscape. Use a pump to extract it.
Big Solar Panel
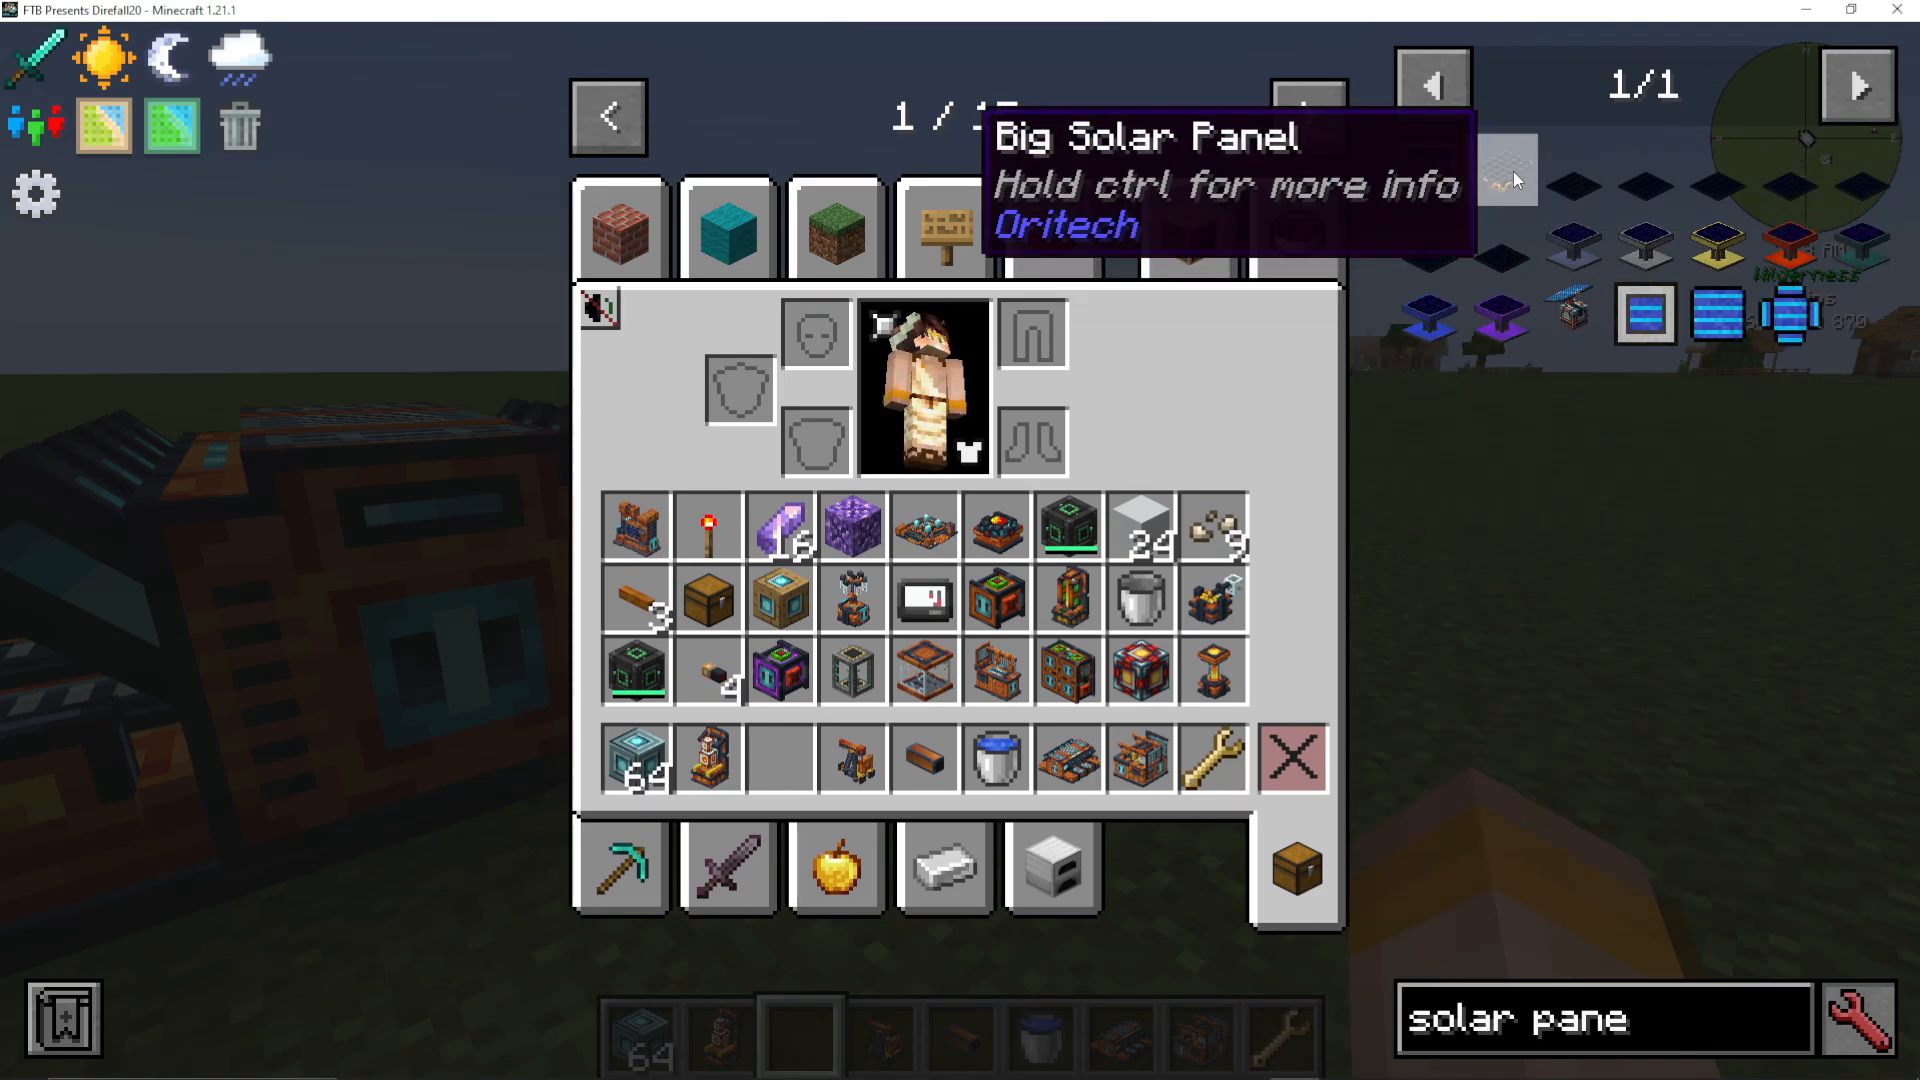
The big solar panel generates between 32 and 224 RF per tick depending on the machine core tier used. Unlike other generators, the machine core affects power output directly.
Machine Add-ons and the Boiler Add-on
Machine add-ons enhance generator and machine functionality. The boiler add-on converts a generator from producing RF electricity to producing steam.
Add-on Types
OriTech includes numerous add-ons:
Machine speed add-ons
Machine capacitor add-ons
Machine efficiency add-ons
Machine yield add-ons (doubles by-product amounts)
Machine fluid add-ons
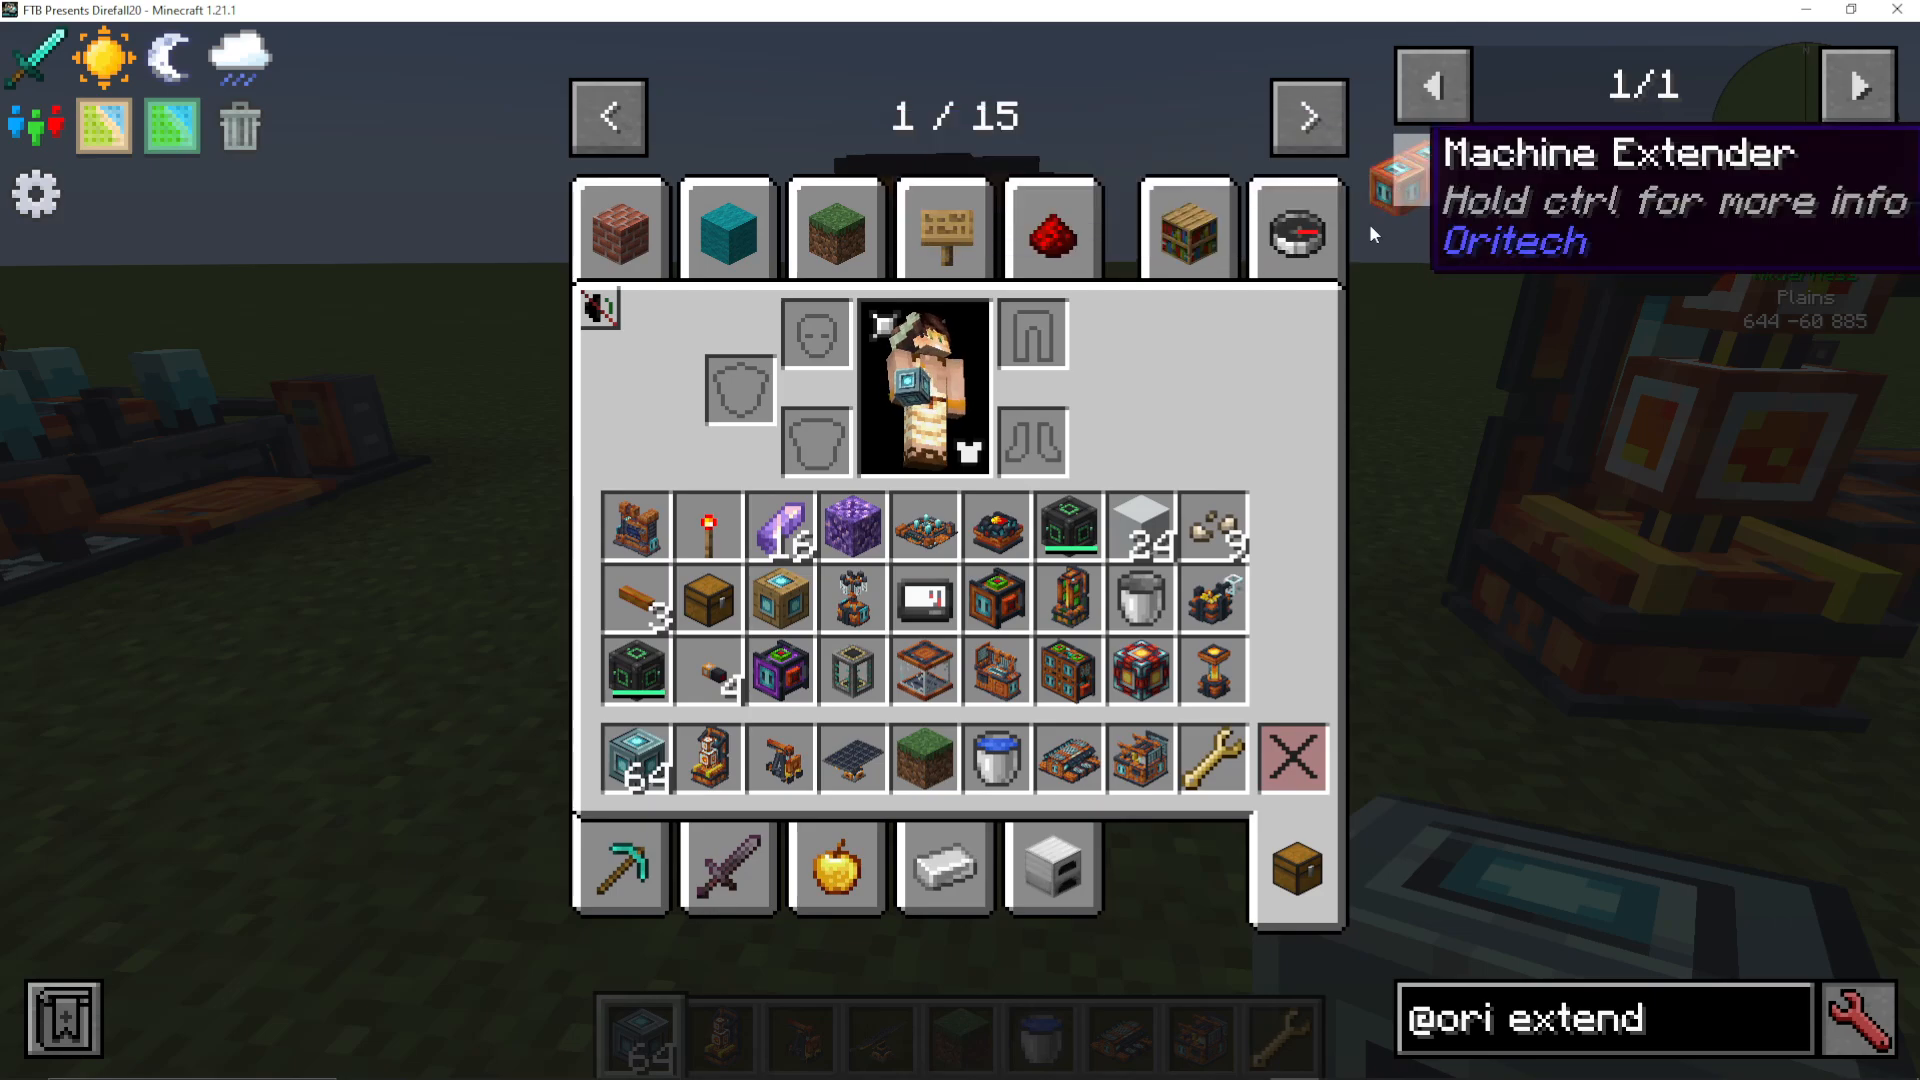
Machine Extenders
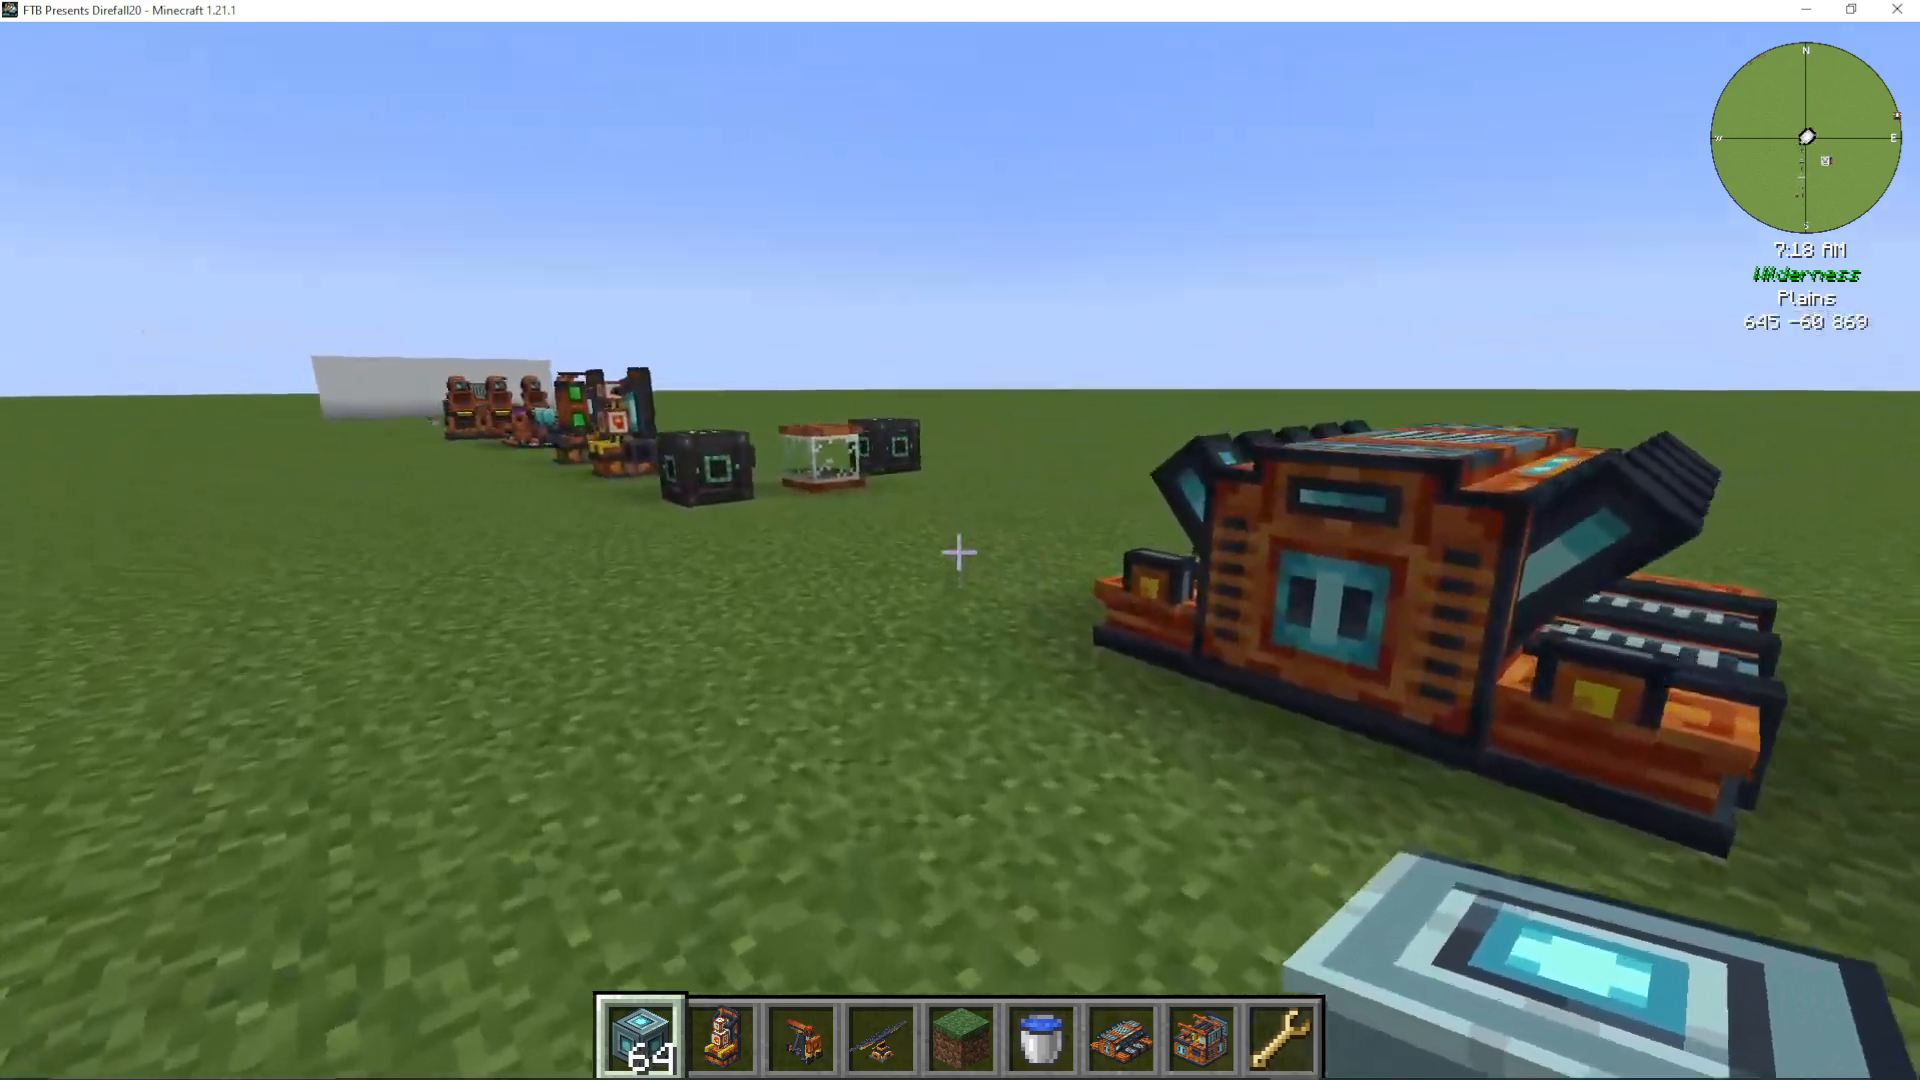
Machine extenders allow you to add more layers of add-ons beyond what the machine core naturally provides. This enables stacking multiple enhancements on a single machine.
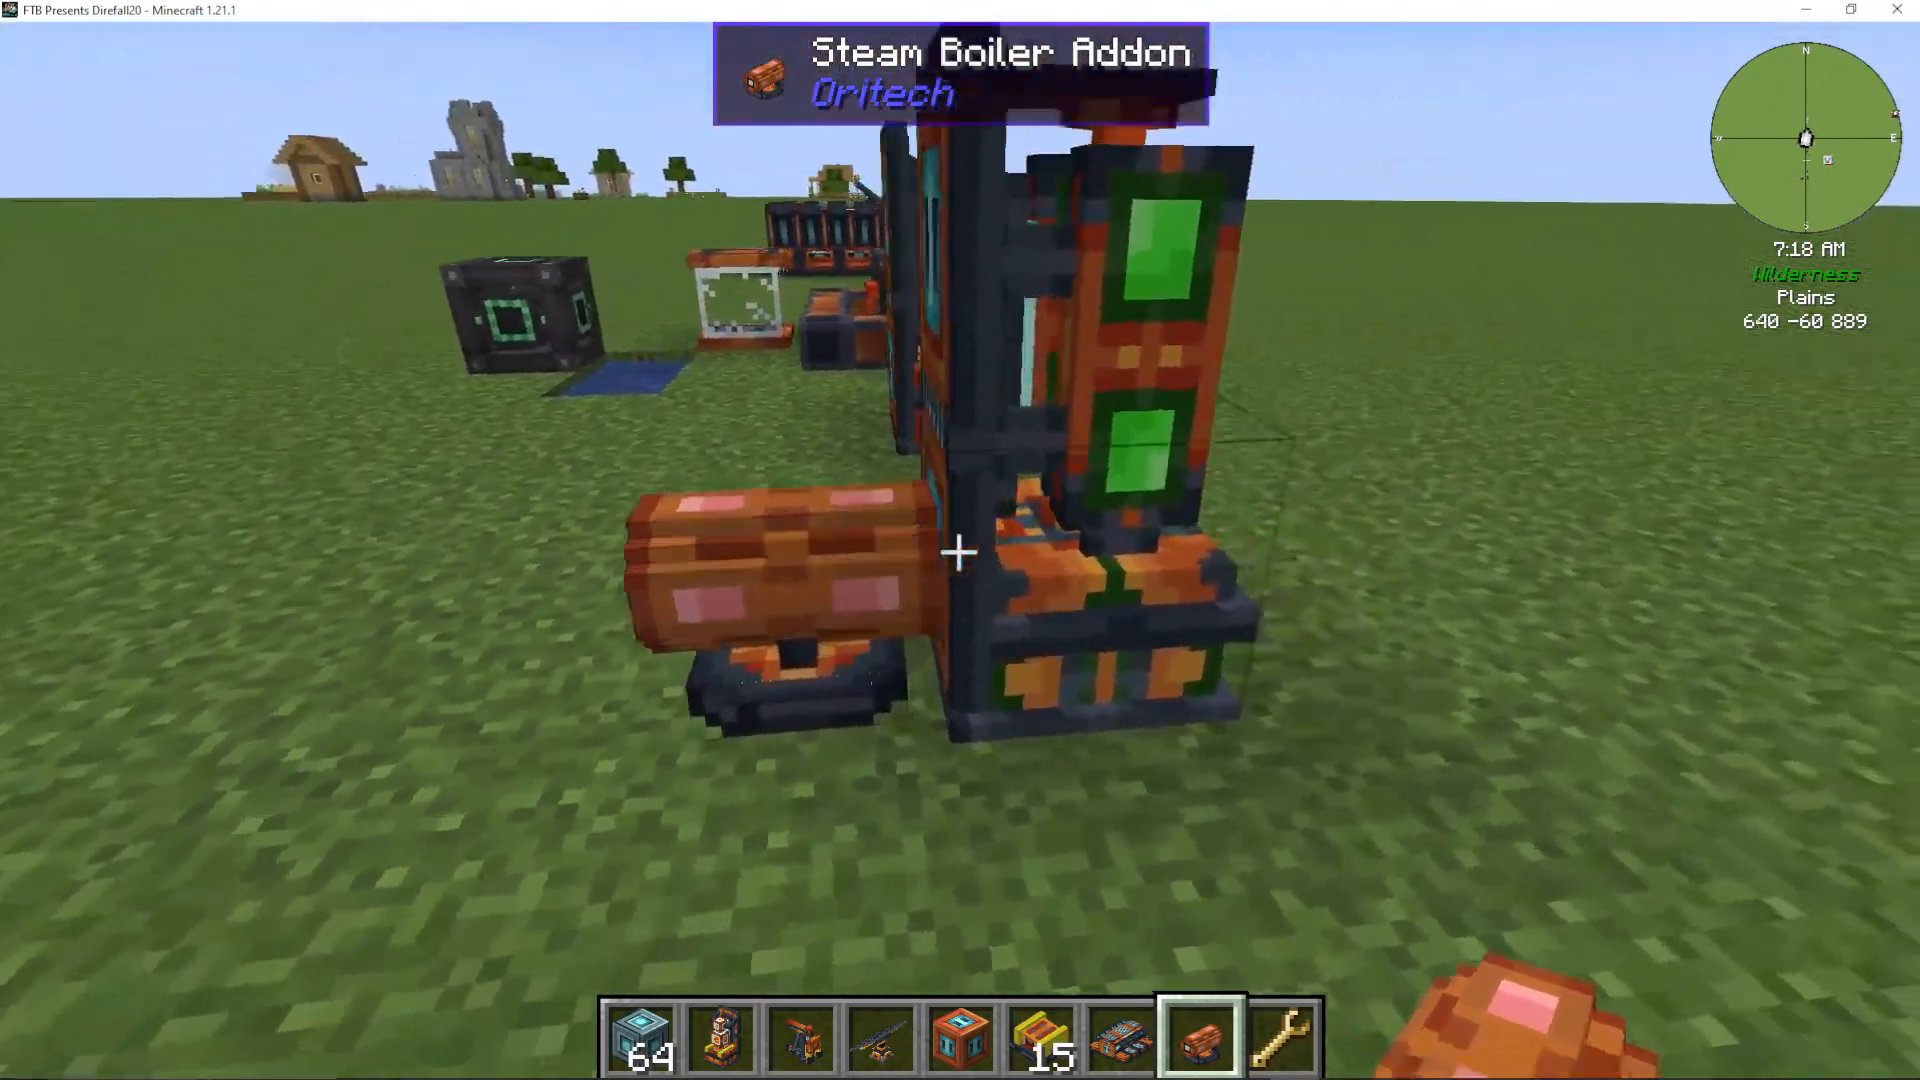
Steam Boiler Add-on
To convert a generator to steam production: Add a steam boiler add-on to any generator, then connect water via fluid pipes. The generator will now produce steam instead of RF electricity.
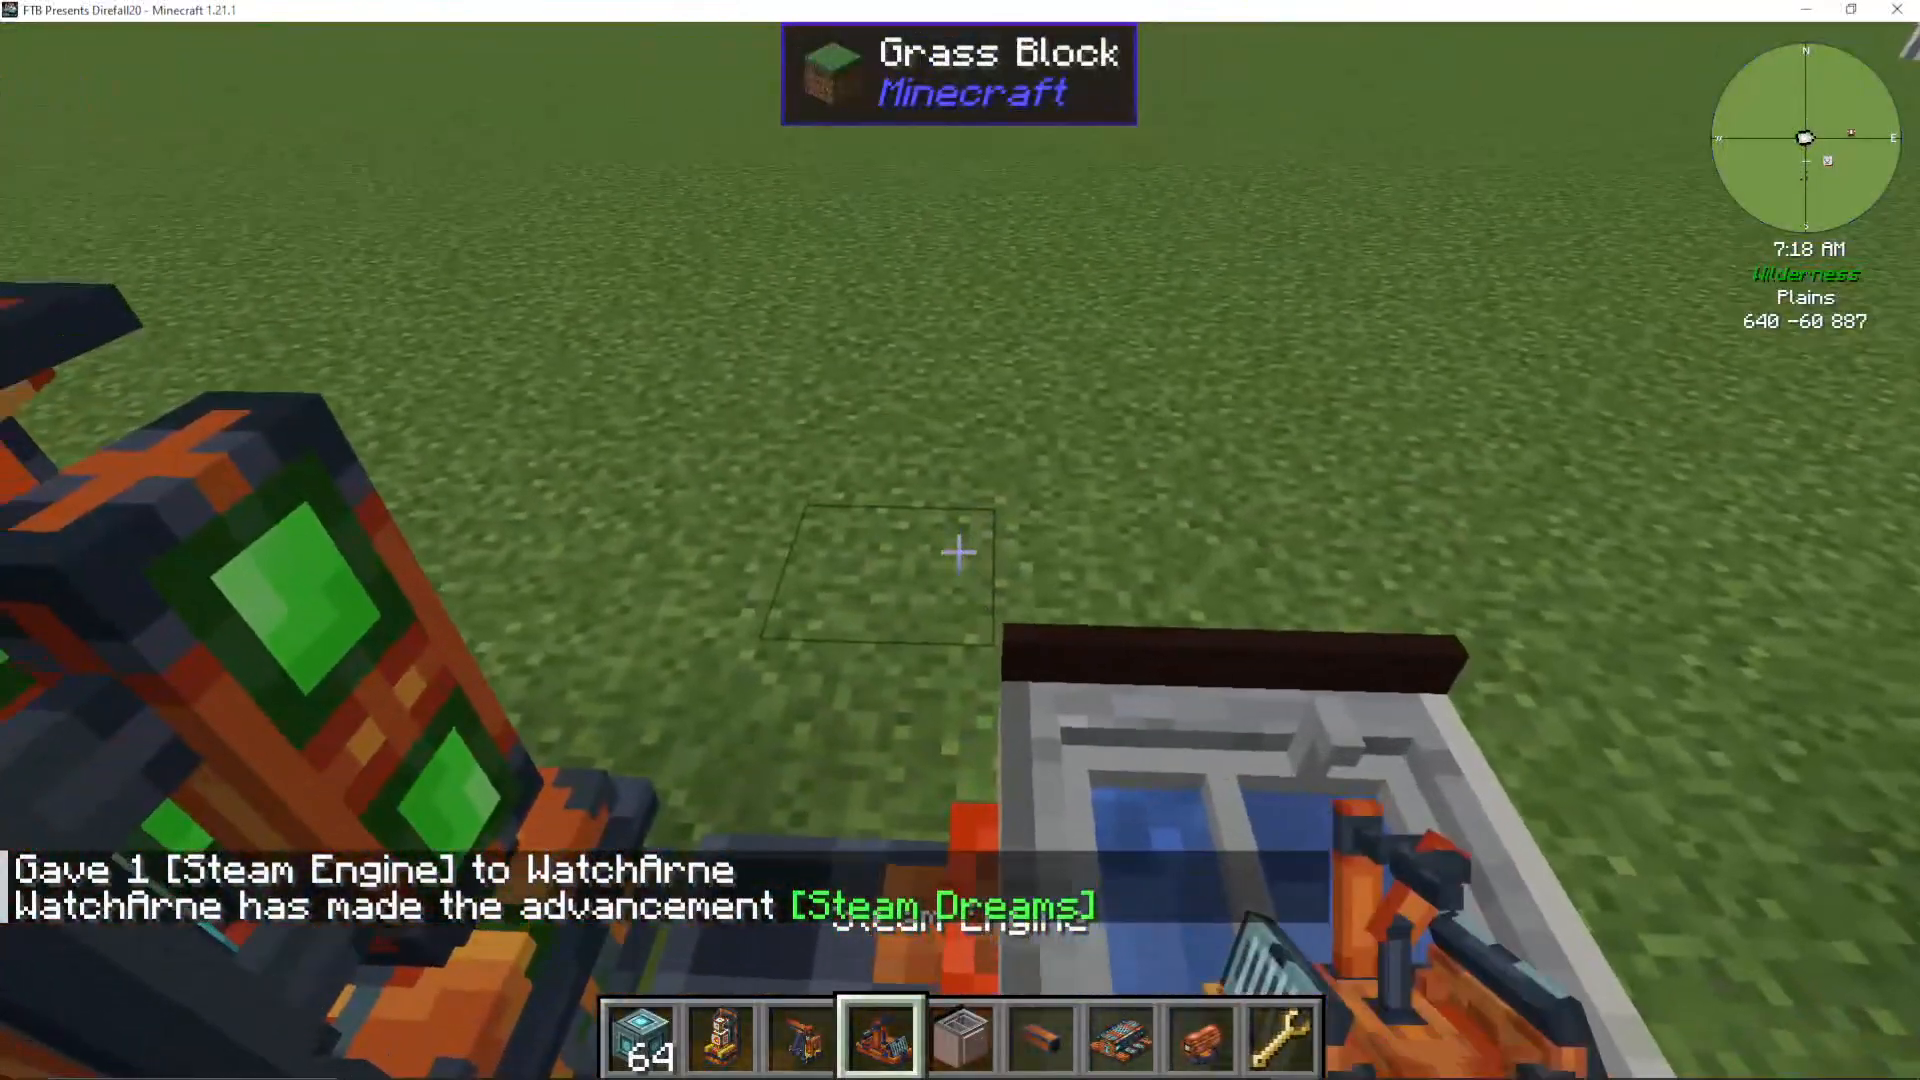
Steam Engines
Steam engines convert steam into RF power, and they’re significantly more efficient than basic generators when set up correctly.
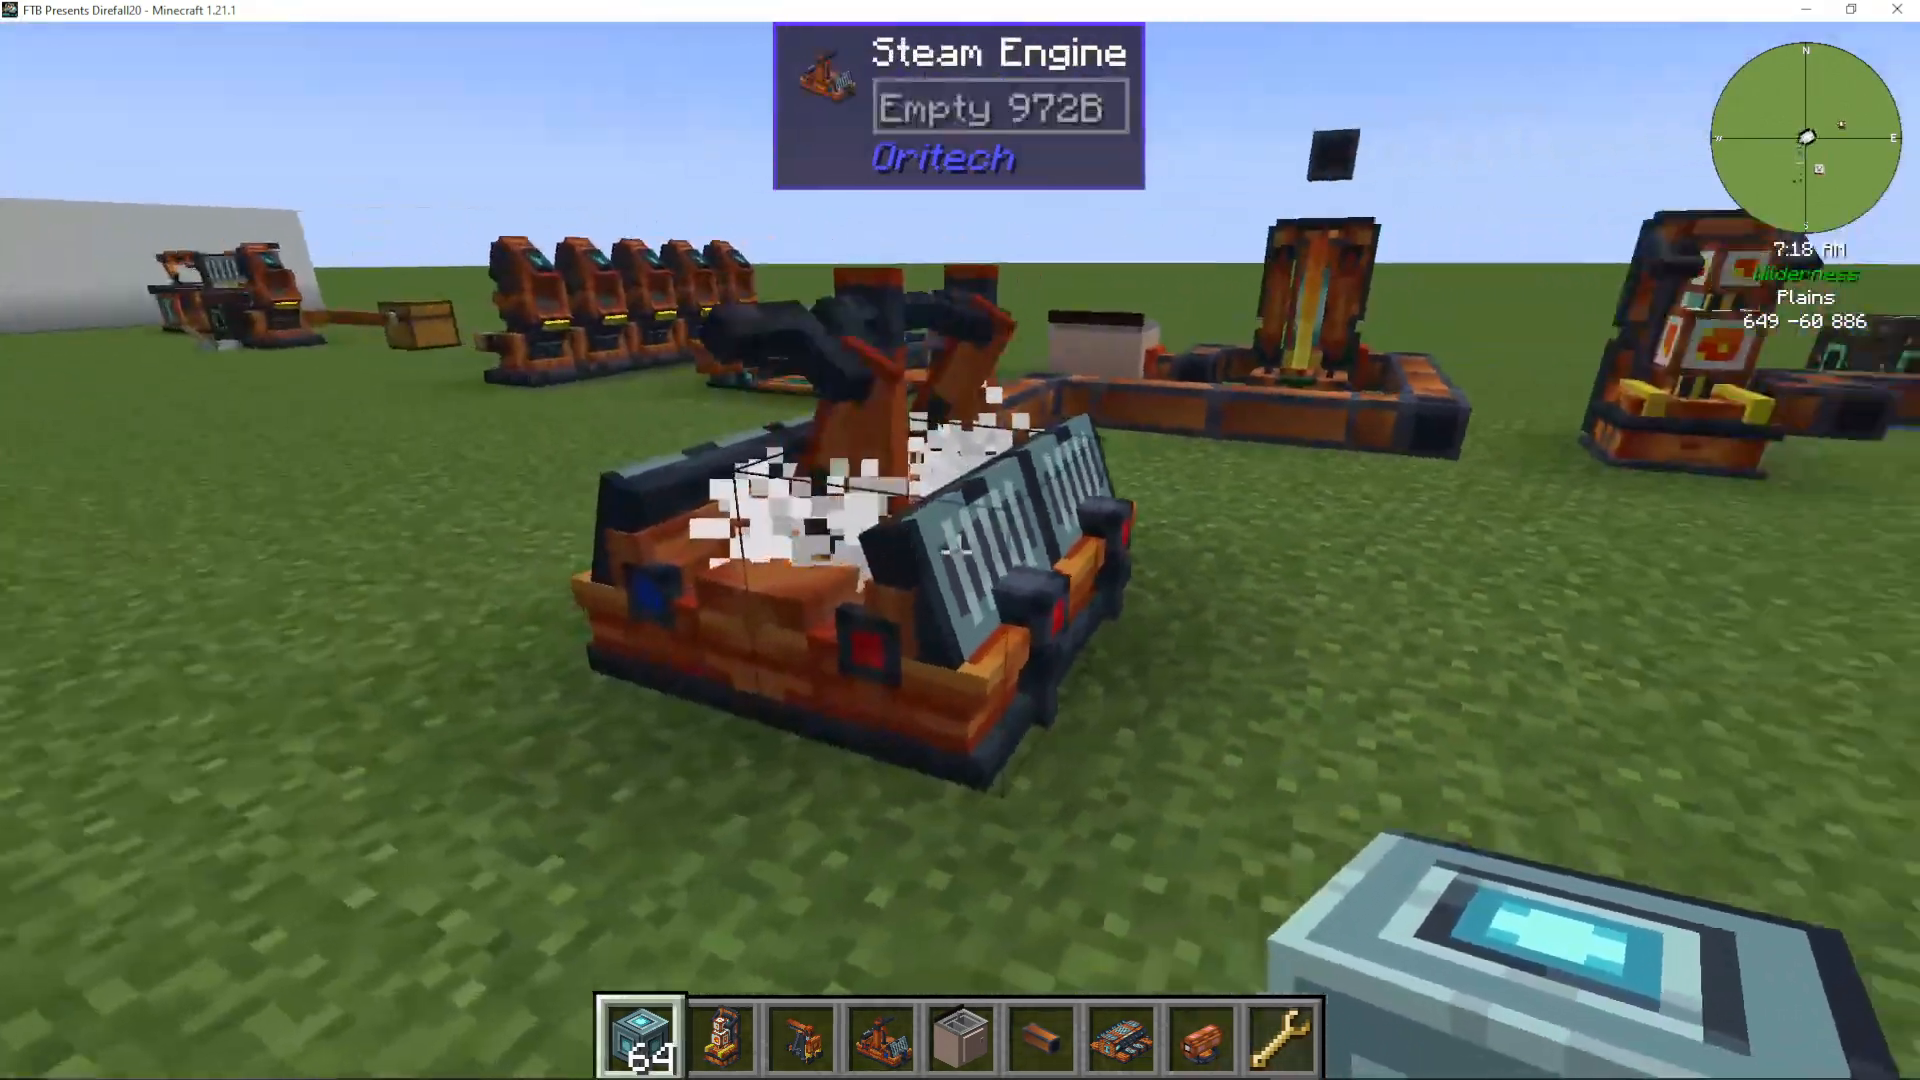
Steam Engine Setup
Connect your steam boiler output to a steam engine’s blue slot (steam input). The engine has multiple connection points:
Blue slots: Steam input and water output
Red slots: RF power output
Water Loop and Efficiency
Approximately 20% of water is lost during steam generation. Recycle the water output back to your boiler to maintain continuous operation. The water tank must not be completely full for the engine to continue working.
Steam Pressure and Speed
Engine processing speed varies based on steam pressure (steam tank fullness). Optimal efficiency occurs at approximately 700% pressure. Multiple steam engines can be chained together, sharing energy, water, and steam from the first engine in the line.
Machine Frames and Gantries
Machine frames (building on BuildCraft concepts) allow you to create moving mining and farming systems using gantries.
Frame Construction
Machine frames must be rectangular and completely empty in the middle. You can add various devices to these frames:
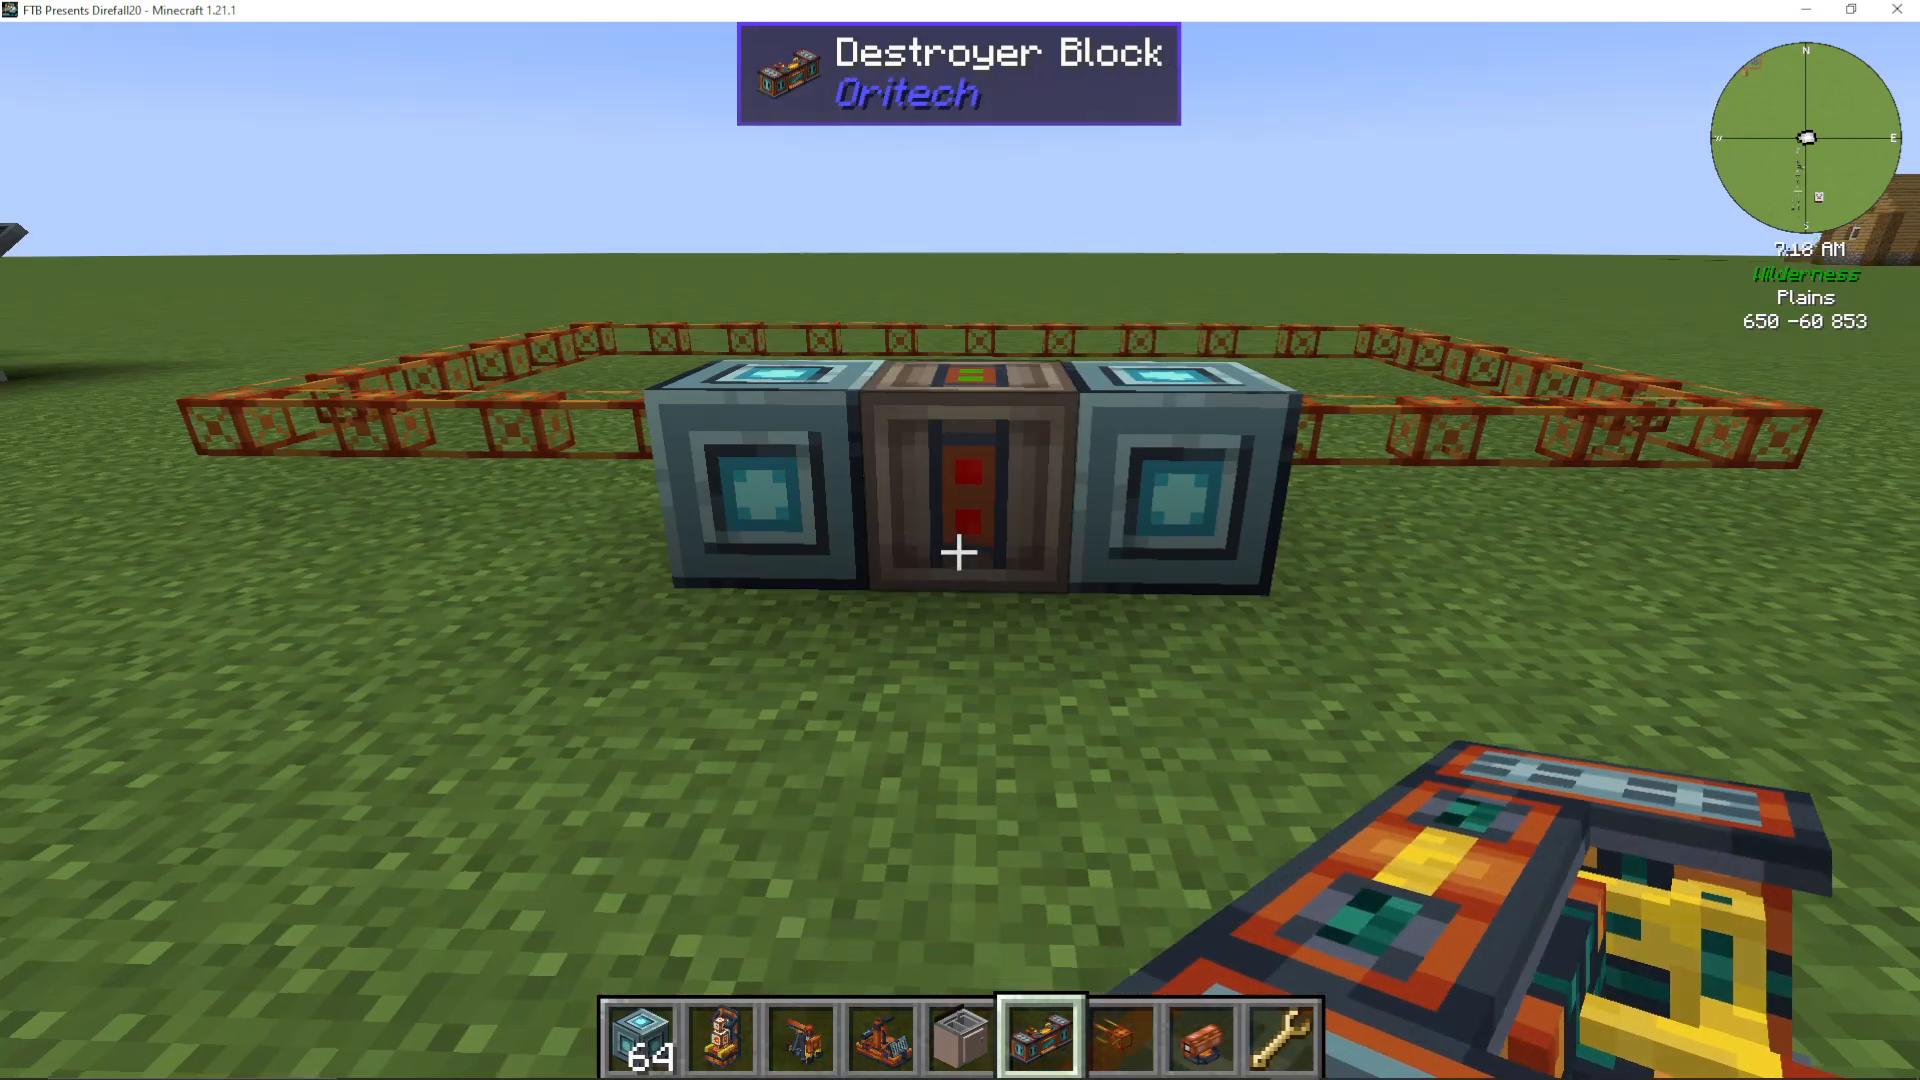
Block Destroyer
The block destroyer breaks blocks and collects items. You can add speed add-ons to increase mining speed. Harder blocks take longer to destroy but can be accelerated with upgrades.
Quarry Add-ons
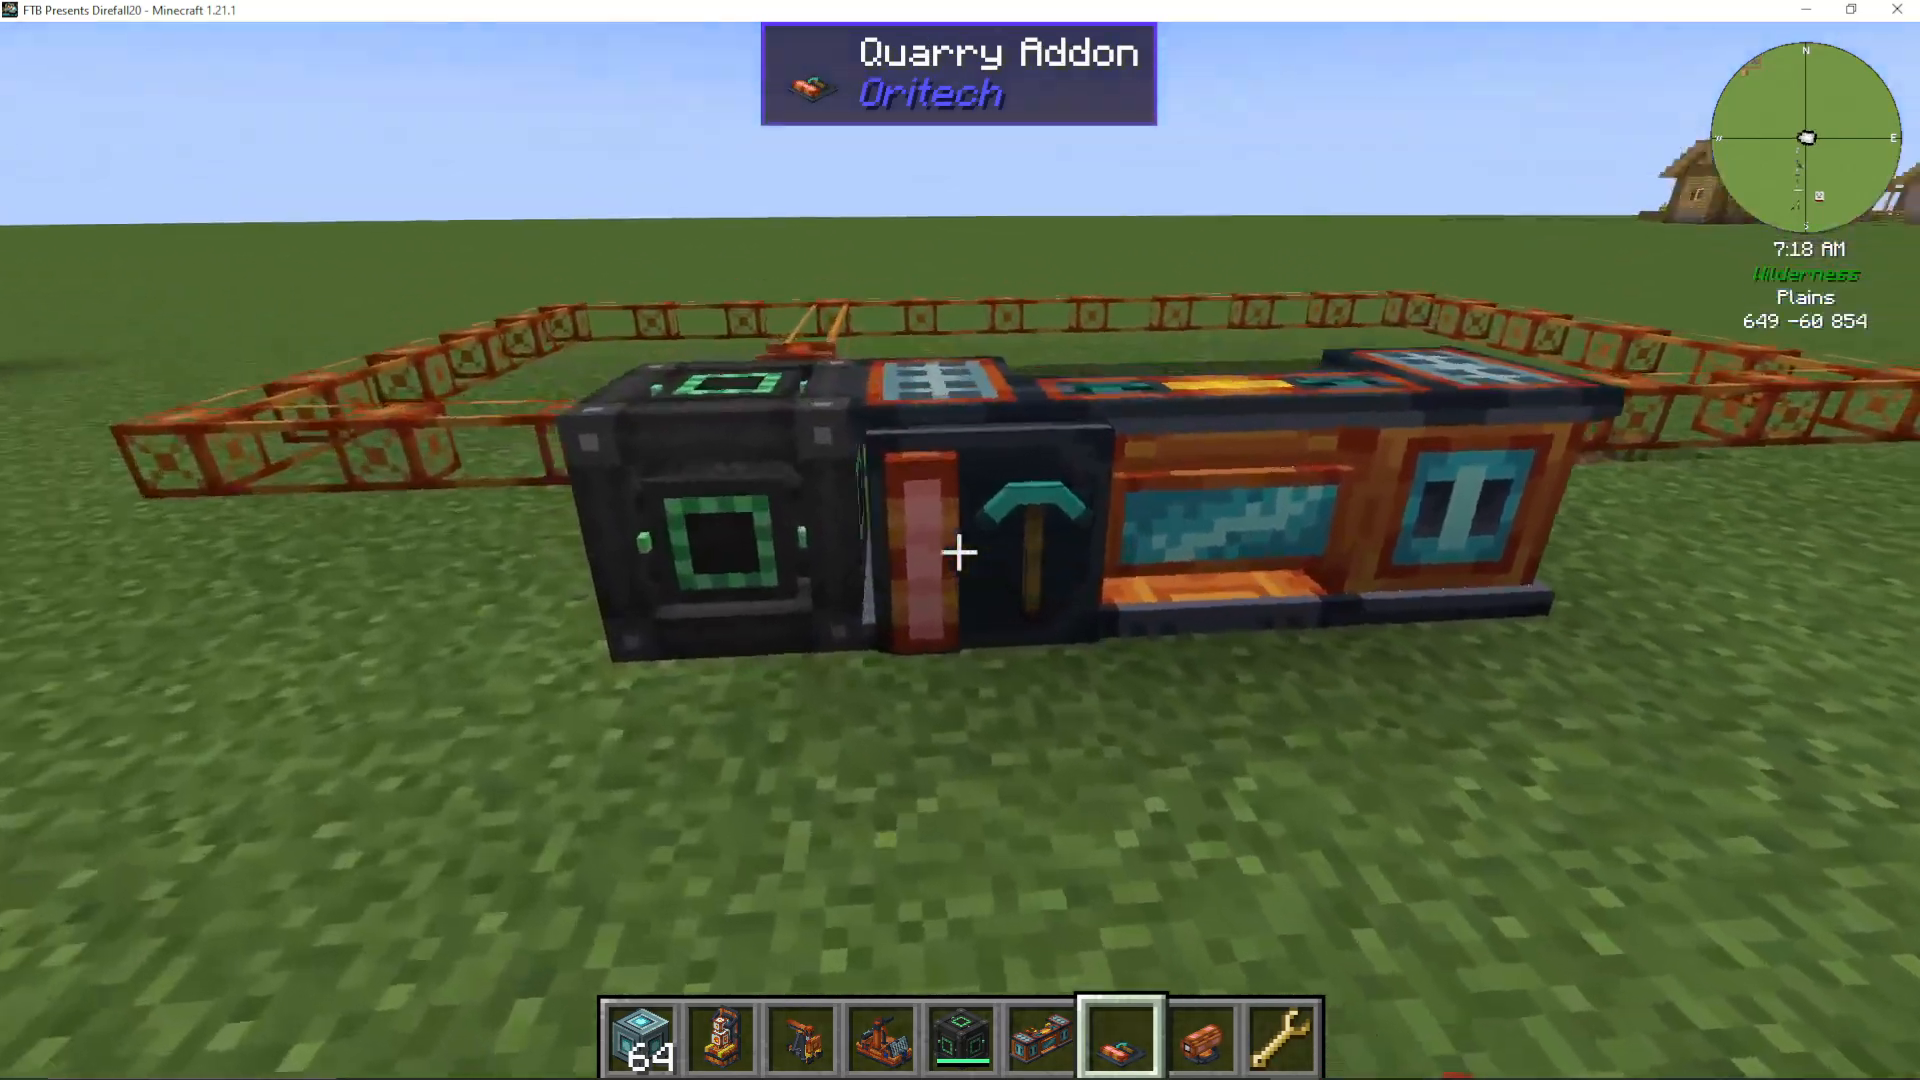
Quarry add-ons increase mining depth:
1 quarry add-on: 8 blocks deep
2 quarry add-ons: 64 blocks deep (multiplicative)
3 quarry add-ons: 512 blocks deep
Fertilizer Block
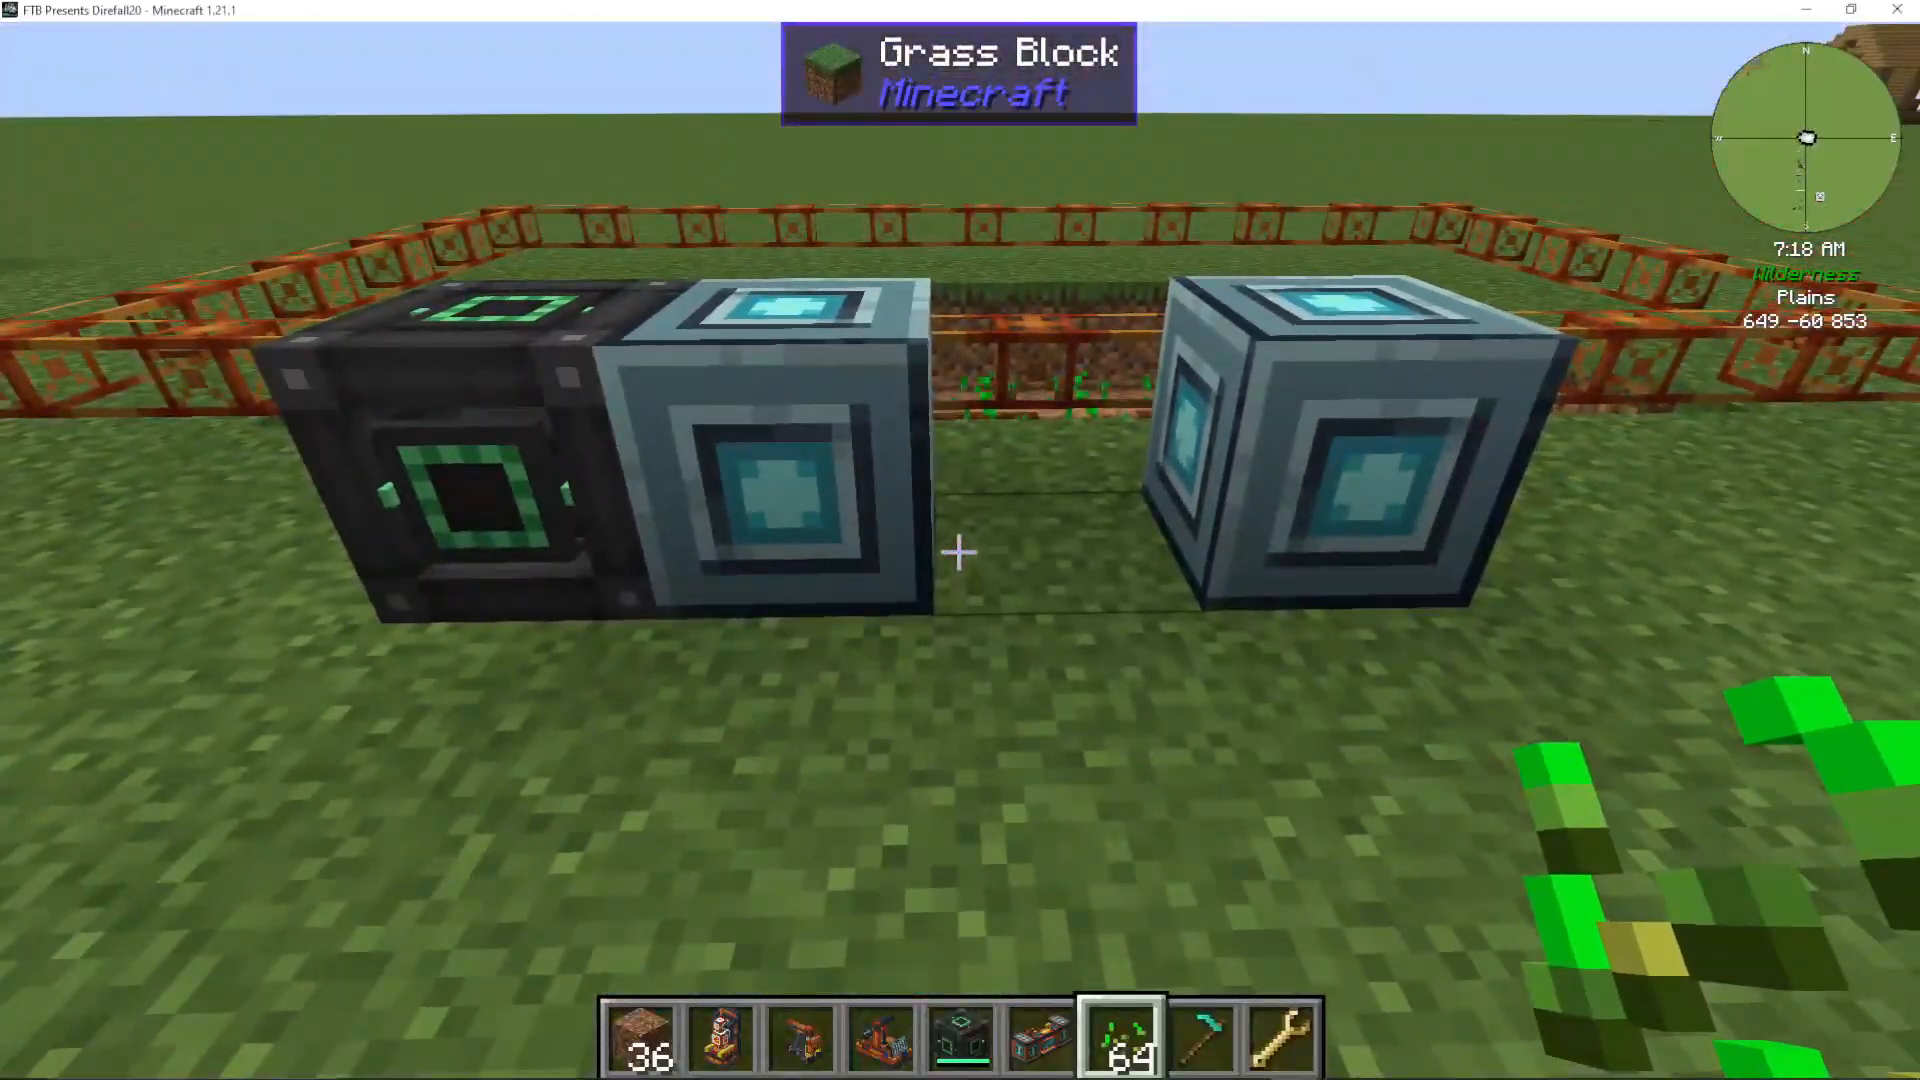
Add a fertilizer block to your frame to automatically fertilize crops using only water (no bone meal required). The rotating arm applies fertilizer to all crops.
Crop Filter Add-on
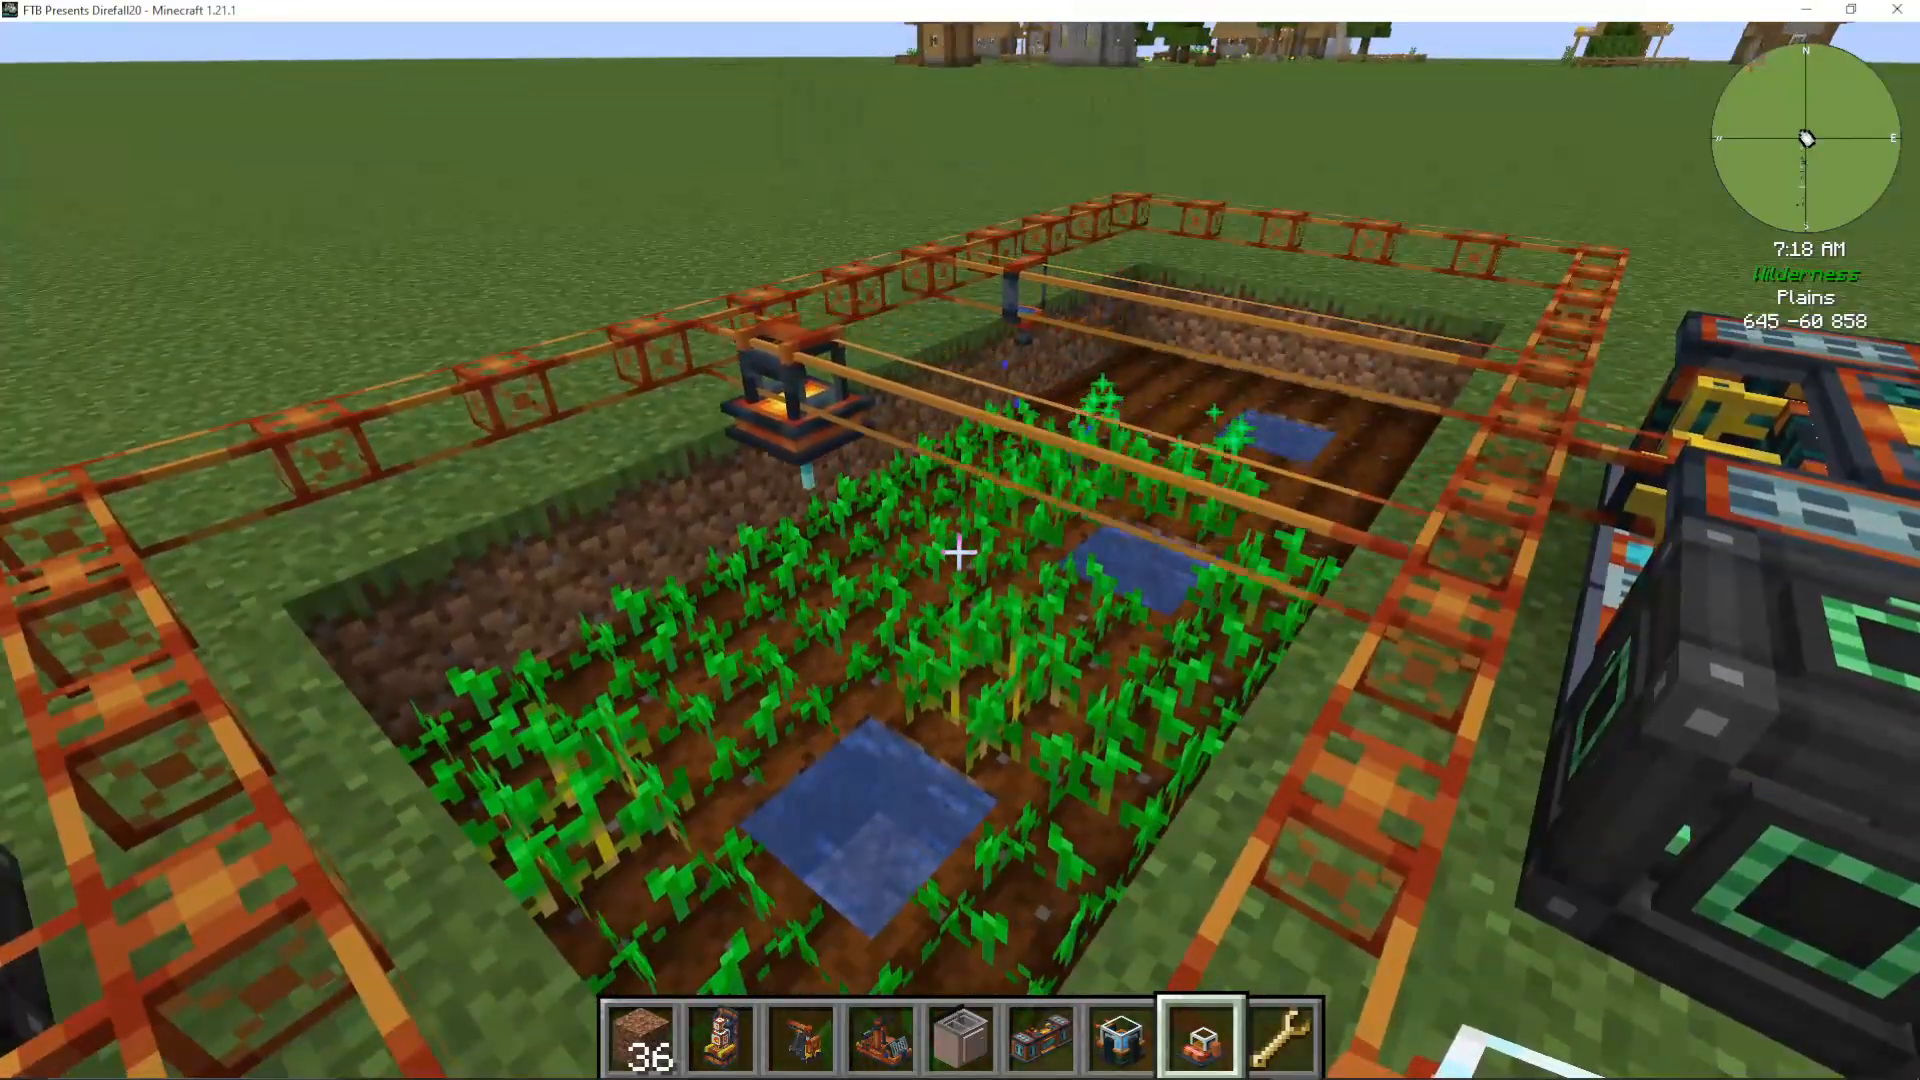
The crop filter add-on, when attached to a block destroyer, prevents harvesting non-grown crops. This allows you to create a fully automatic farm: the fertilizer grows crops while the destroyer harvests only mature plants.
Farming with Lasers
The crop filter also works with Enderic lasers and will skip non-grown animals. This enables automatic mob farms that only harvest adult mobs, preserving breeding animals.
Block Placer
The block placer does the opposite of the block destroyer—it places blocks. Use it to replant seeds or saplings, creating a fully automated farming or tree-farming operation.
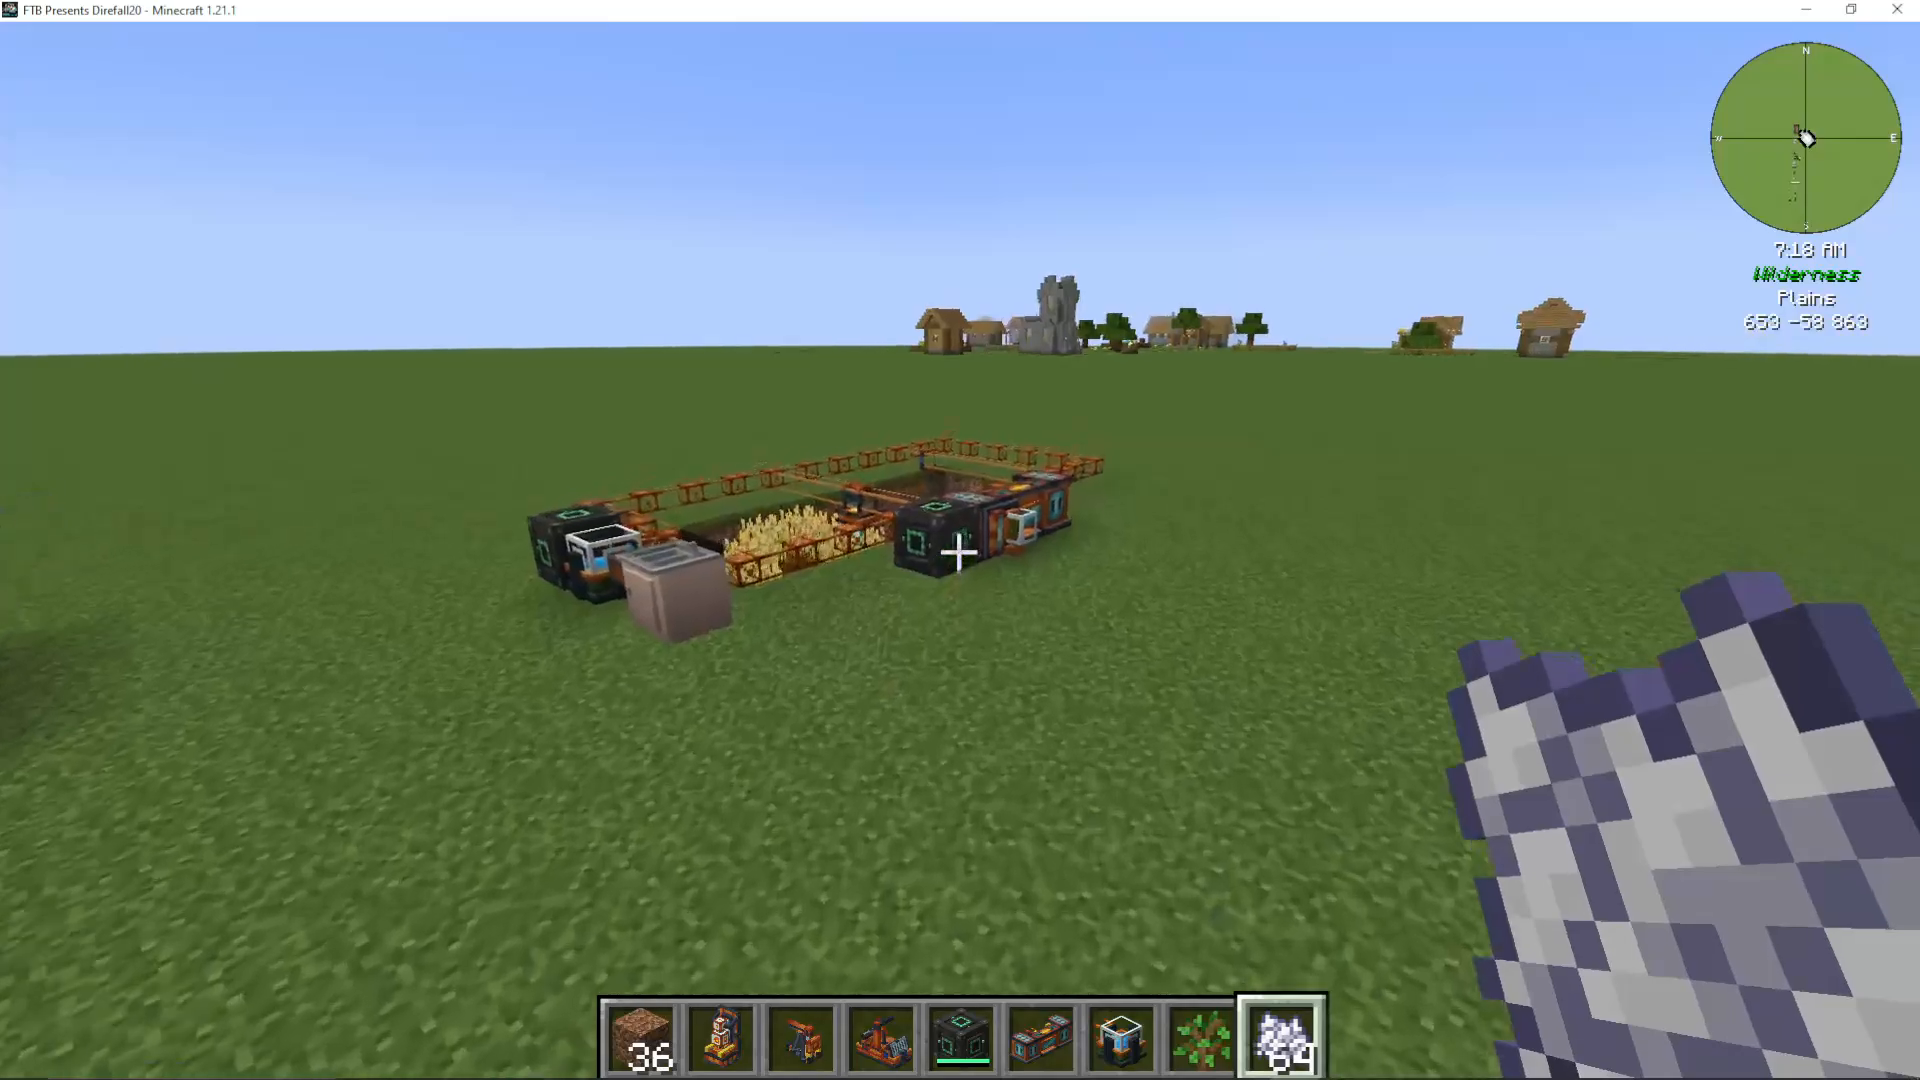
The Tree Cutter
The tree cutter is a simple yet powerful machine that rapidly fells and collects wood from trees.
Simply place a sapling in front of the tree cutter, let it grow, and the machine will automatically cut down the tree and collect the logs. This creates an automatic wood farm when combined with block placers and fertilizers.
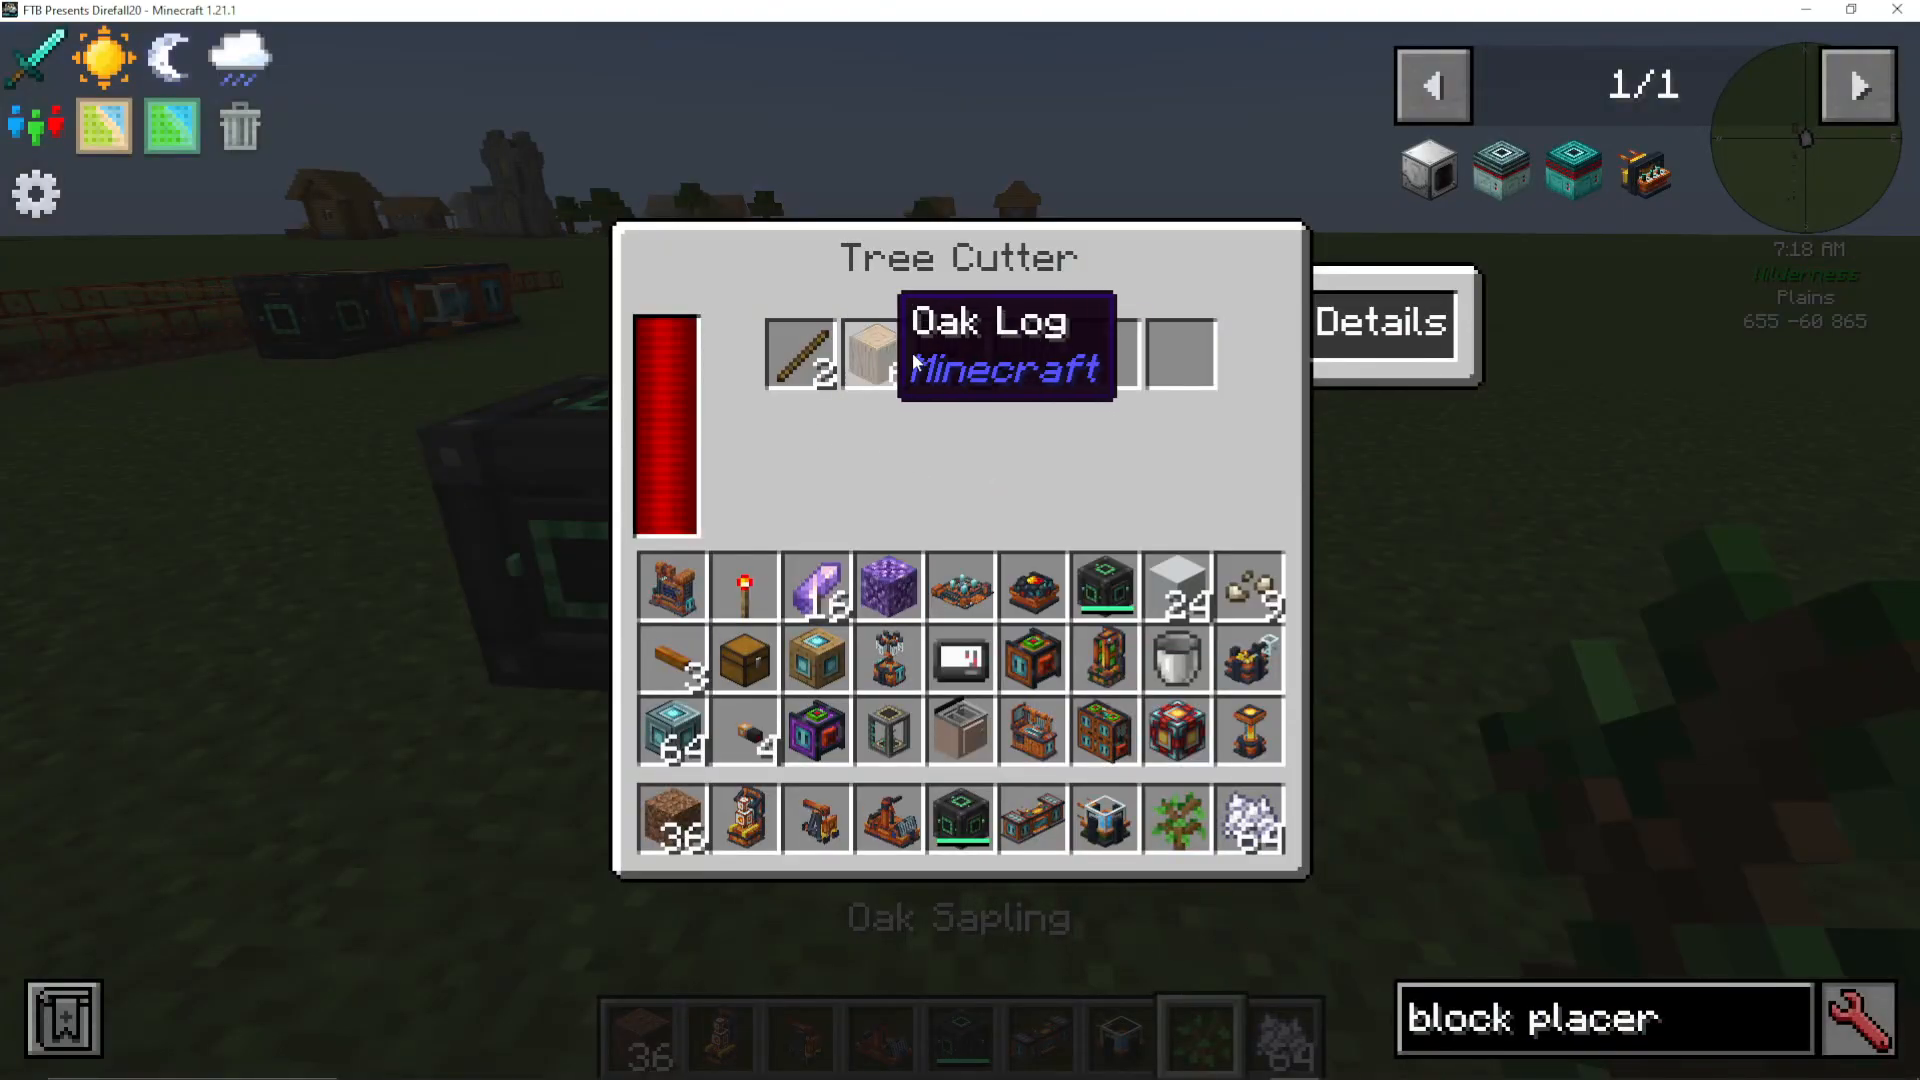
The Bedrock Extractor
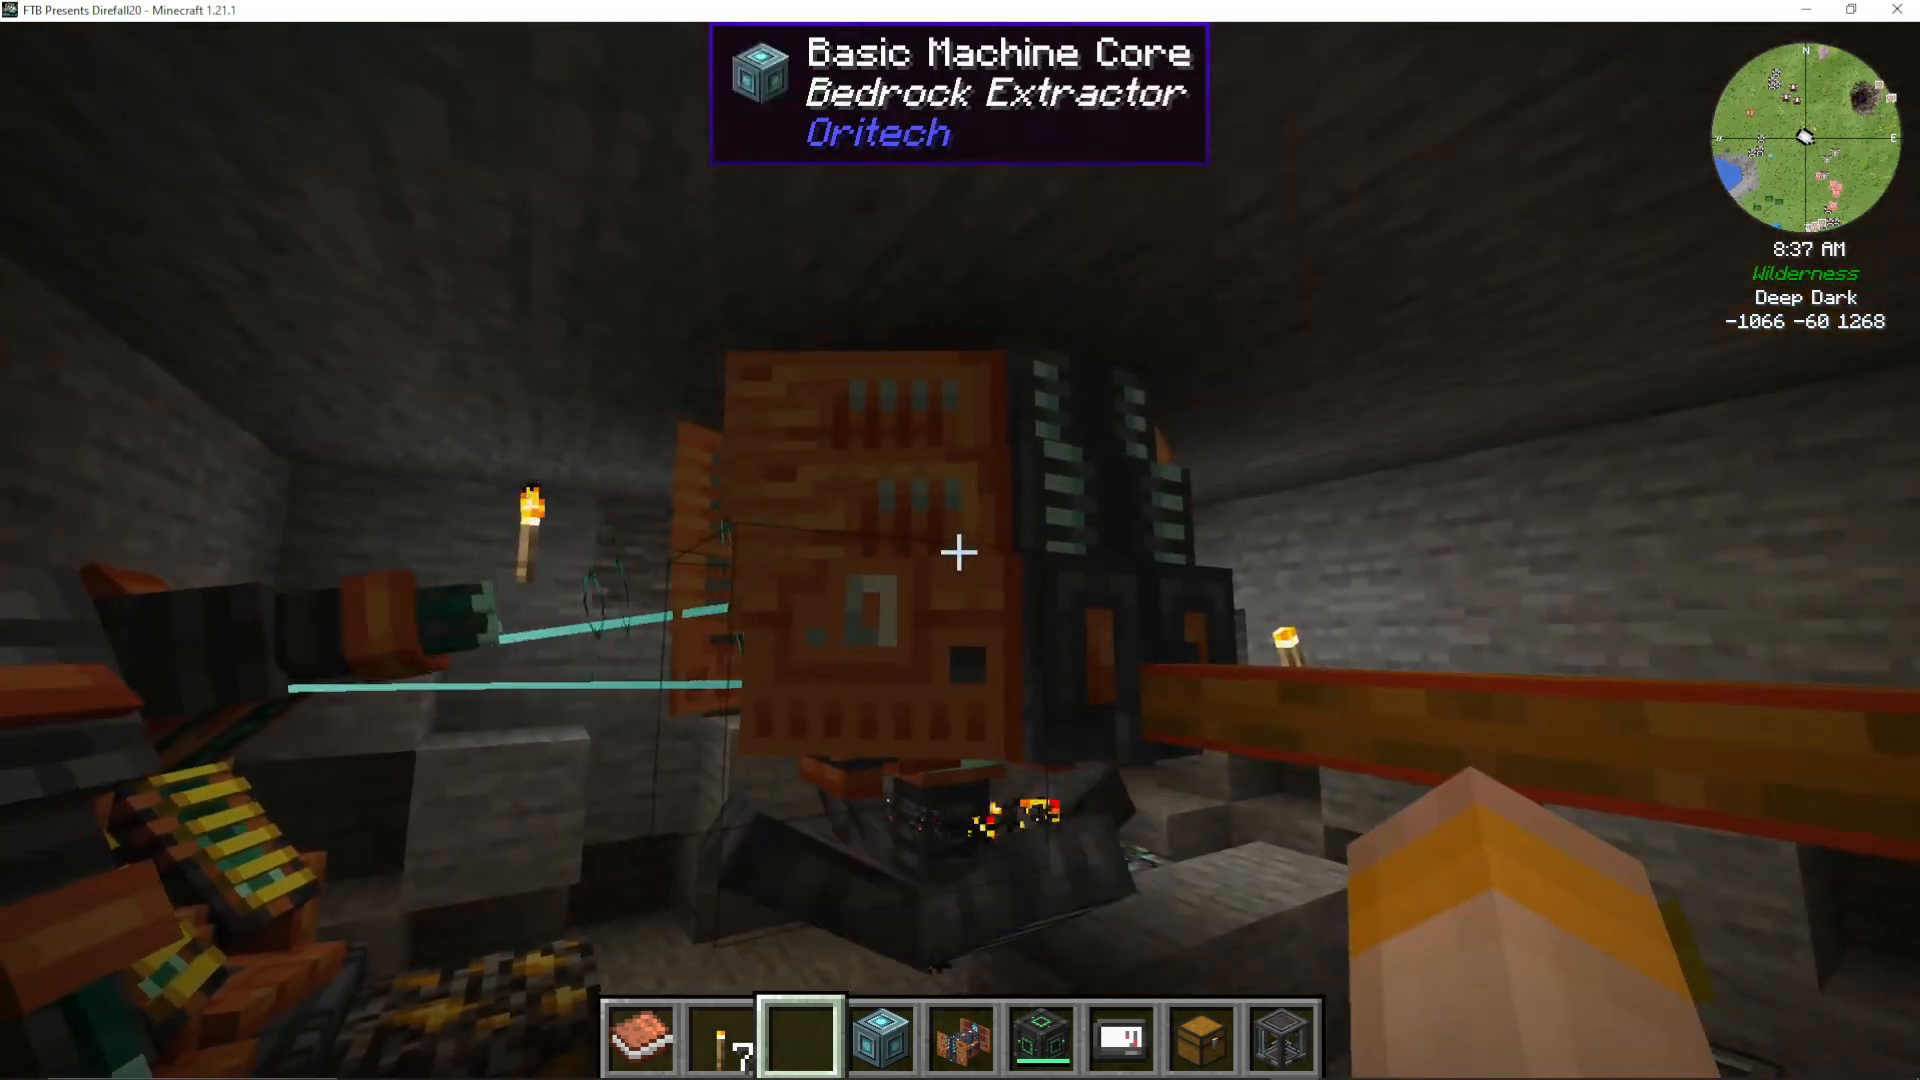
The bedrock extractor is OriTech’s late-game infinite ore mining solution.
Finding Resource Nodes
Resource nodes are located deep underground, indicated by ore boulders on the surface. The ore type visible in the boulder hints at what resources exist in the node below. Dig down to bedrock level (Y -64) where the actual resource node is located.
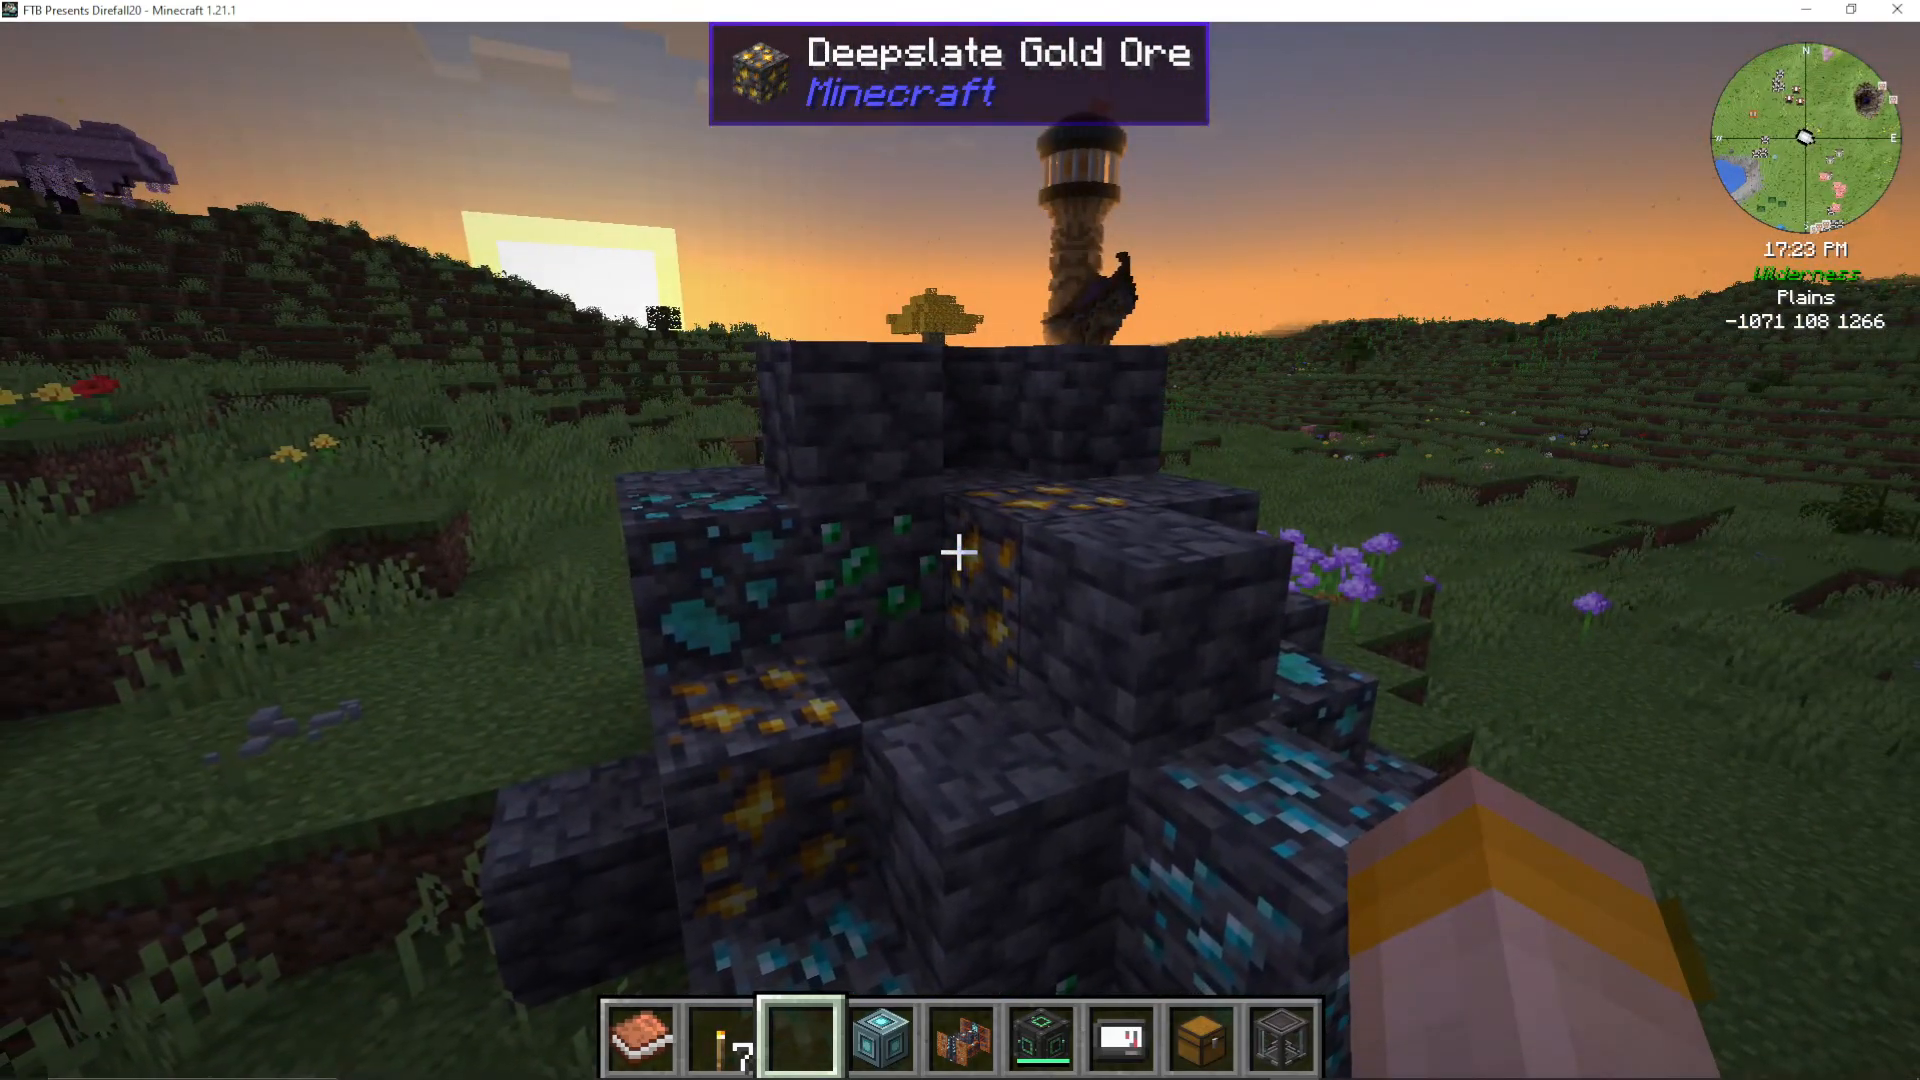
Oil and Turbo Fuel Challenge
Resource nodes are often surrounded by crude oil or turbo fuel. You may need to pump these out first to access the actual ore node—this is the mod’s only significant inconvenience.
Operating the Bedrock Extractor
Place the bedrock extractor directly on top of a resource node (identified by ore type indicators). Add machine cores and right-click to finalize. The extractor must be powered exclusively by Enderic lasers.
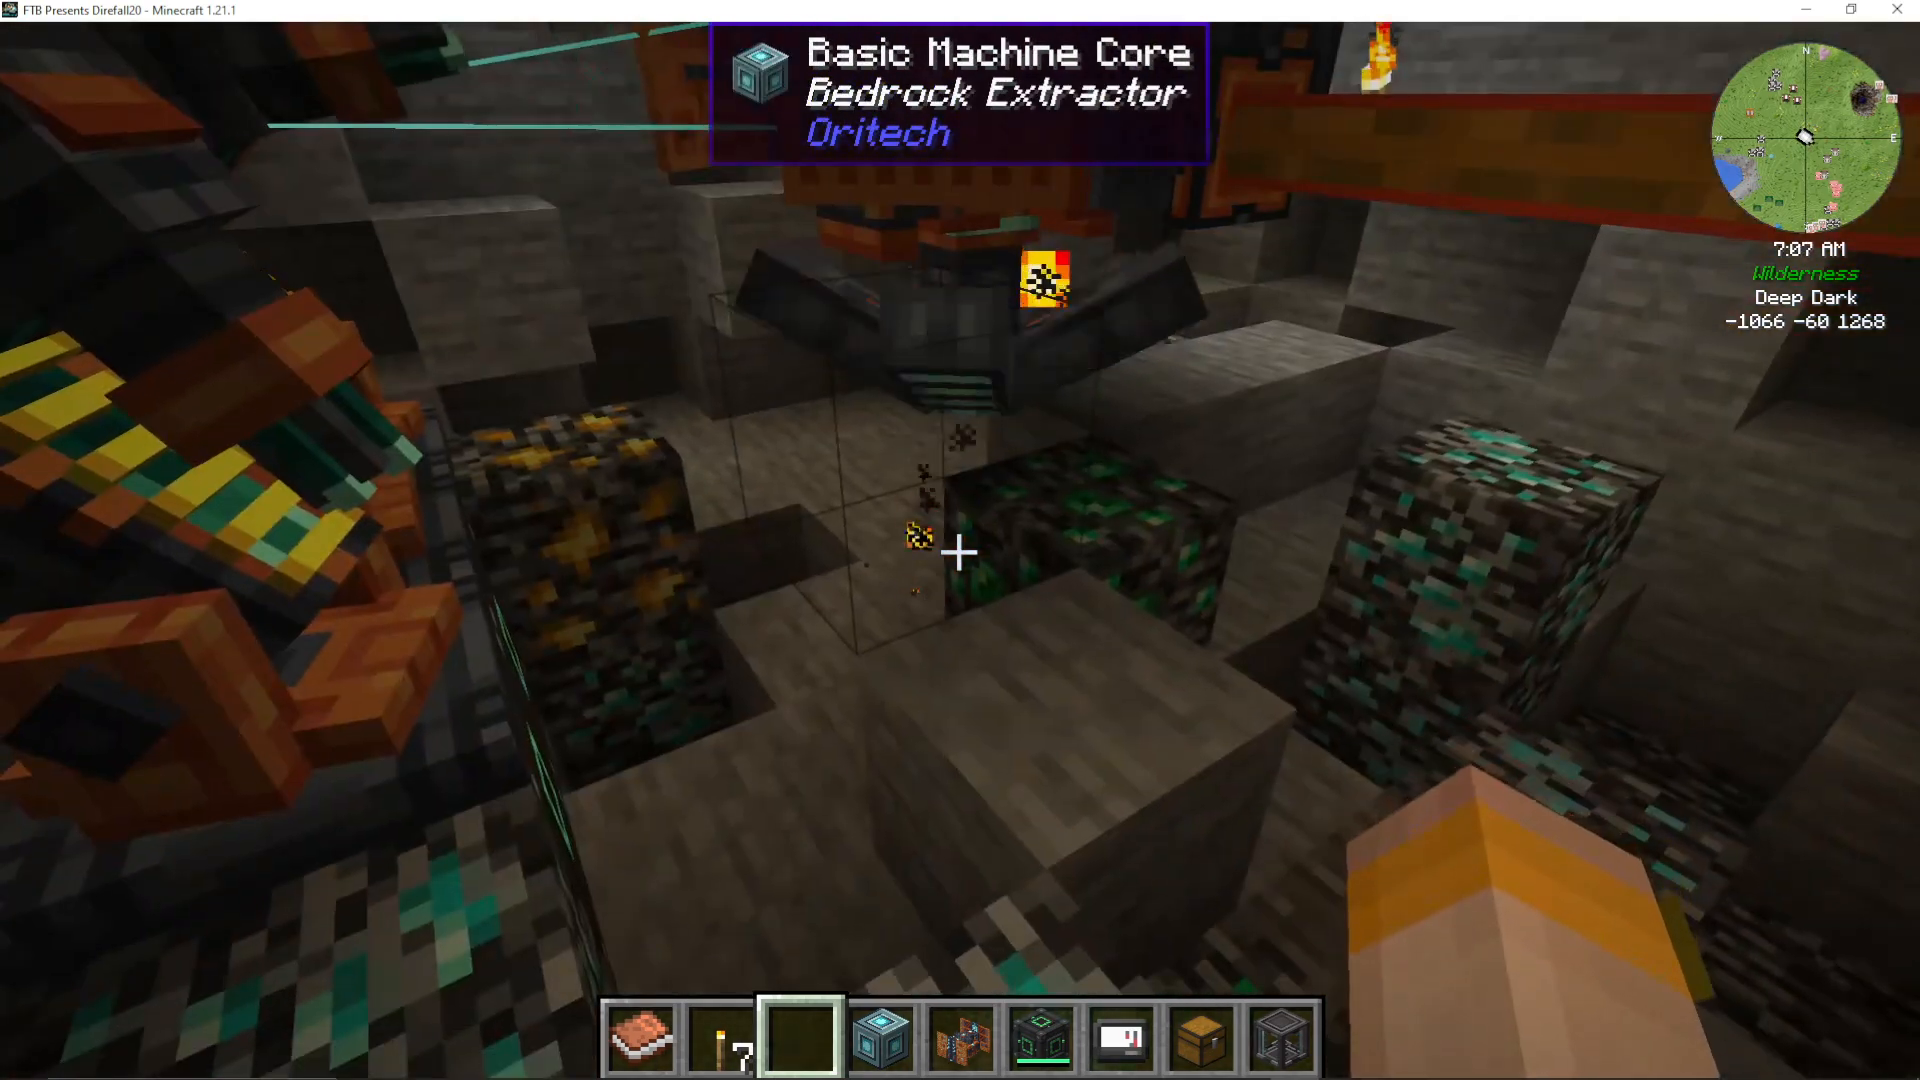
Automatic Item Collection
Attach item pipes to the extractor’s output holes without needing to right-click for extraction—items are automatically pushed out. The extractor extracts ore across a 3×3 area beneath it within the topmost 3 blocks of the node.
Infinite Ore Generation
The bedrock extractor generates ores infinitely. The ore deposits never deplete, making this a true infinite late-game ore solution.
Optimizing Placement
Position the extractor to maximize the valuable ore deposits in the 3×3 area directly below it for the most efficient collection.
The Particle Accelerator
The particle accelerator is OriTech’s most complex machine, designed for advanced players comfortable with redstone automation.
Basic Concept
The particle accelerator accelerates particles (like electrum dust or redstone) around a circular track using accelerator motors powered by Enderic lasers. Particles gain speed as they travel, and when two particles collide at sufficient speeds, they create advanced materials.
Collision Energy Requirements
Different outputs require specific collision energies:
Diamond: 500 collision energy
Fluxite: 1,000 collision energy
Nether stars: 15,000 collision energy
Lightless blocks: 10,000 collision energy
To achieve collision energy, particles must reach sufficient speed on both sides of the collision. For example, a 500 collision energy requires two particles at 250 speed each.
Advanced Redstone Setups
Creating a particle accelerator capable of producing these items requires building larger rings with appropriate curvature to achieve the necessary speeds. Many setups use redstone sensors and comparators to redirect particles between rings at optimal speeds.
Alternative Option
The particle accelerator is entirely optional. All materials it produces (fluxite, nether stars, lightless blocks) can be obtained through other means in OriTech. This machine is for advanced automation enthusiasts seeking the ultimate challenge.
Exo Gear and Tools
OriTech provides advanced armor and tools for enhanced gameplay mobility and durability.
Exo Armor Set
The Exo armor provides multiple benefits:
Exo Helmet: Grants night vision (requires enderic lens and plating)
Exo Chestplate: Charges equipped energy items and is unbreakable
Exo Leggings: Increases movement speed and flying speed
Exo Boots: Prevents fall damage
Jet Packs
Two jet pack variants exist:
Standard Jet Pack: Basic flight capability
Exo Jet Pack: Enhanced version that charges equipped items and requires electricity or turbo fuel for flight
Activate flight using the spacebar.
Advanced Tools
OriTech provides several unbreakable, enchantable tools:
Hand Drill: Combines pickaxe and shovel functions; rechargeable
Promethean Axe: Can fell entire trees when shift-harvesting
Promethean Pickaxe: Two modes—silk touch or 1×3 area mining (shift right-click to toggle)
Chainsaw: Rechargeable axe for rapid tree harvesting
All rechargeable tools charge in energy storage blocks or Exo chestplates.
Drone Delivery System
The drone port enables long-distance, fully automated item transportation.
Drone Port Setup
Build two drone ports with machine cores and power them with energy.
Setting Delivery Routes
Using a target designator:
Shift right-click the destination drone port to mark it as the target
Travel to the source drone port
Shift right-click the source drone port with the same designator
Input items into the source port via item pipes or manual placement
The drone will automatically deliver items whenever the source inventory contains items.
Distance and Chunk Requirements
Drone ports must be at least 50 blocks apart. The destination chunk must be loaded (via chunk loaders or proximity). The system will show an error if ports are closer than 50 blocks.
Automatic Delivery
Drones automatically carry inventory between ports. Attach item pipes to the destination port with extraction enabled to automatically pull delivered items into storage.
Conclusion
OriTech is an incredibly comprehensive technical mod that rivals many established modded Minecraft technologies. From basic power generation through advanced particle accelerators and infinite ore extraction, OriTech offers a complete and engaging progression system. The mod’s design philosophy emphasizes efficiency improvements at each stage—whether through the assembler’s crafting multipliers, the fragment forge’s ore doubling, or the steam engine’s superior power output.
The immersive design elements, such as laser targeting and rotating gantries, set OriTech apart from other tech mods. Whether you’re building automated farms, managing complex logistics networks, or pushing the limits of particle acceleration, OriTech provides the tools and machines to achieve your goals.
For 1.21.1 Minecraft players on Fabric or Neo4j, OriTech is an absolute must-try mod that will revolutionize your technical gameplay experience.
— Want to Support? —
If you would like to help us continue making these guides – please consider joining our patreon here – https://www.patreon.com/c/JaviHeals
Alternatively – we host a group of MC Servers you can join here – https://discord.gg/zD7Gjt6MHF



