







The Ultimate Guide to Mekanism
The Ultimate Guide to Mekanism
Welcome to the complete Mekanism mod tutorial! This guide covers everything from absolute basics to advanced end-game systems. Whether you’re just starting with osmium ore or building a fusion reactor, this tutorial will walk you through every step of your Mekanism journey in a clear, digestible format.
Getting Started: Mining Osmium and Making Power
Finding Osmium Ore
The first thing you’ll want to find in Mekanism is osmium ore. This ore spawns throughout the game at roughly the same frequency as iron ore, making it very easy to locate. Simply mine the osmium ore and smelt it to get osmium ingots, and you’re ready to begin.
Creating Your First Power Source: Heat Generator
Since Mekanism is a tech mod, power generation is essential. The heat generator is the easiest starting point for power generation. To craft a heat generator, you’ll need:
Iron ingots
Osmium ingots
Furnace
Copper ingots
Wood
The heat generator works by converting fuel (like coal) into lava, which then generates electricity. The power output port is located at the bottom of the machine.
Note: This tutorial assumes you’re familiar with JEI (Just Enough Items) for looking up recipes.
Alternative Power: Solar and Wind Generators
Solar generators produce power during the day and display their status (sunny/not sunny) when you interact with them. The power output is shown at the bottom.
Wind generators work better at higher altitudes and in windy biomes (like plains and savanna). The higher you place them, the more efficient they become. Their status interface shows whether the sky is blocked.
Both solar and wind generators require more complex crafting than the heat generator, as they need energy tablets and infused alloys. This is where we introduce the metallurgic infuser.
The Metallurgic Infuser: Your First Processing Machine
The metallurgic infuser is one of the most fundamental machines in Mekanism. It allows you to infuse items with various materials to create new compounds.
How the Metallurgic Infuser Works
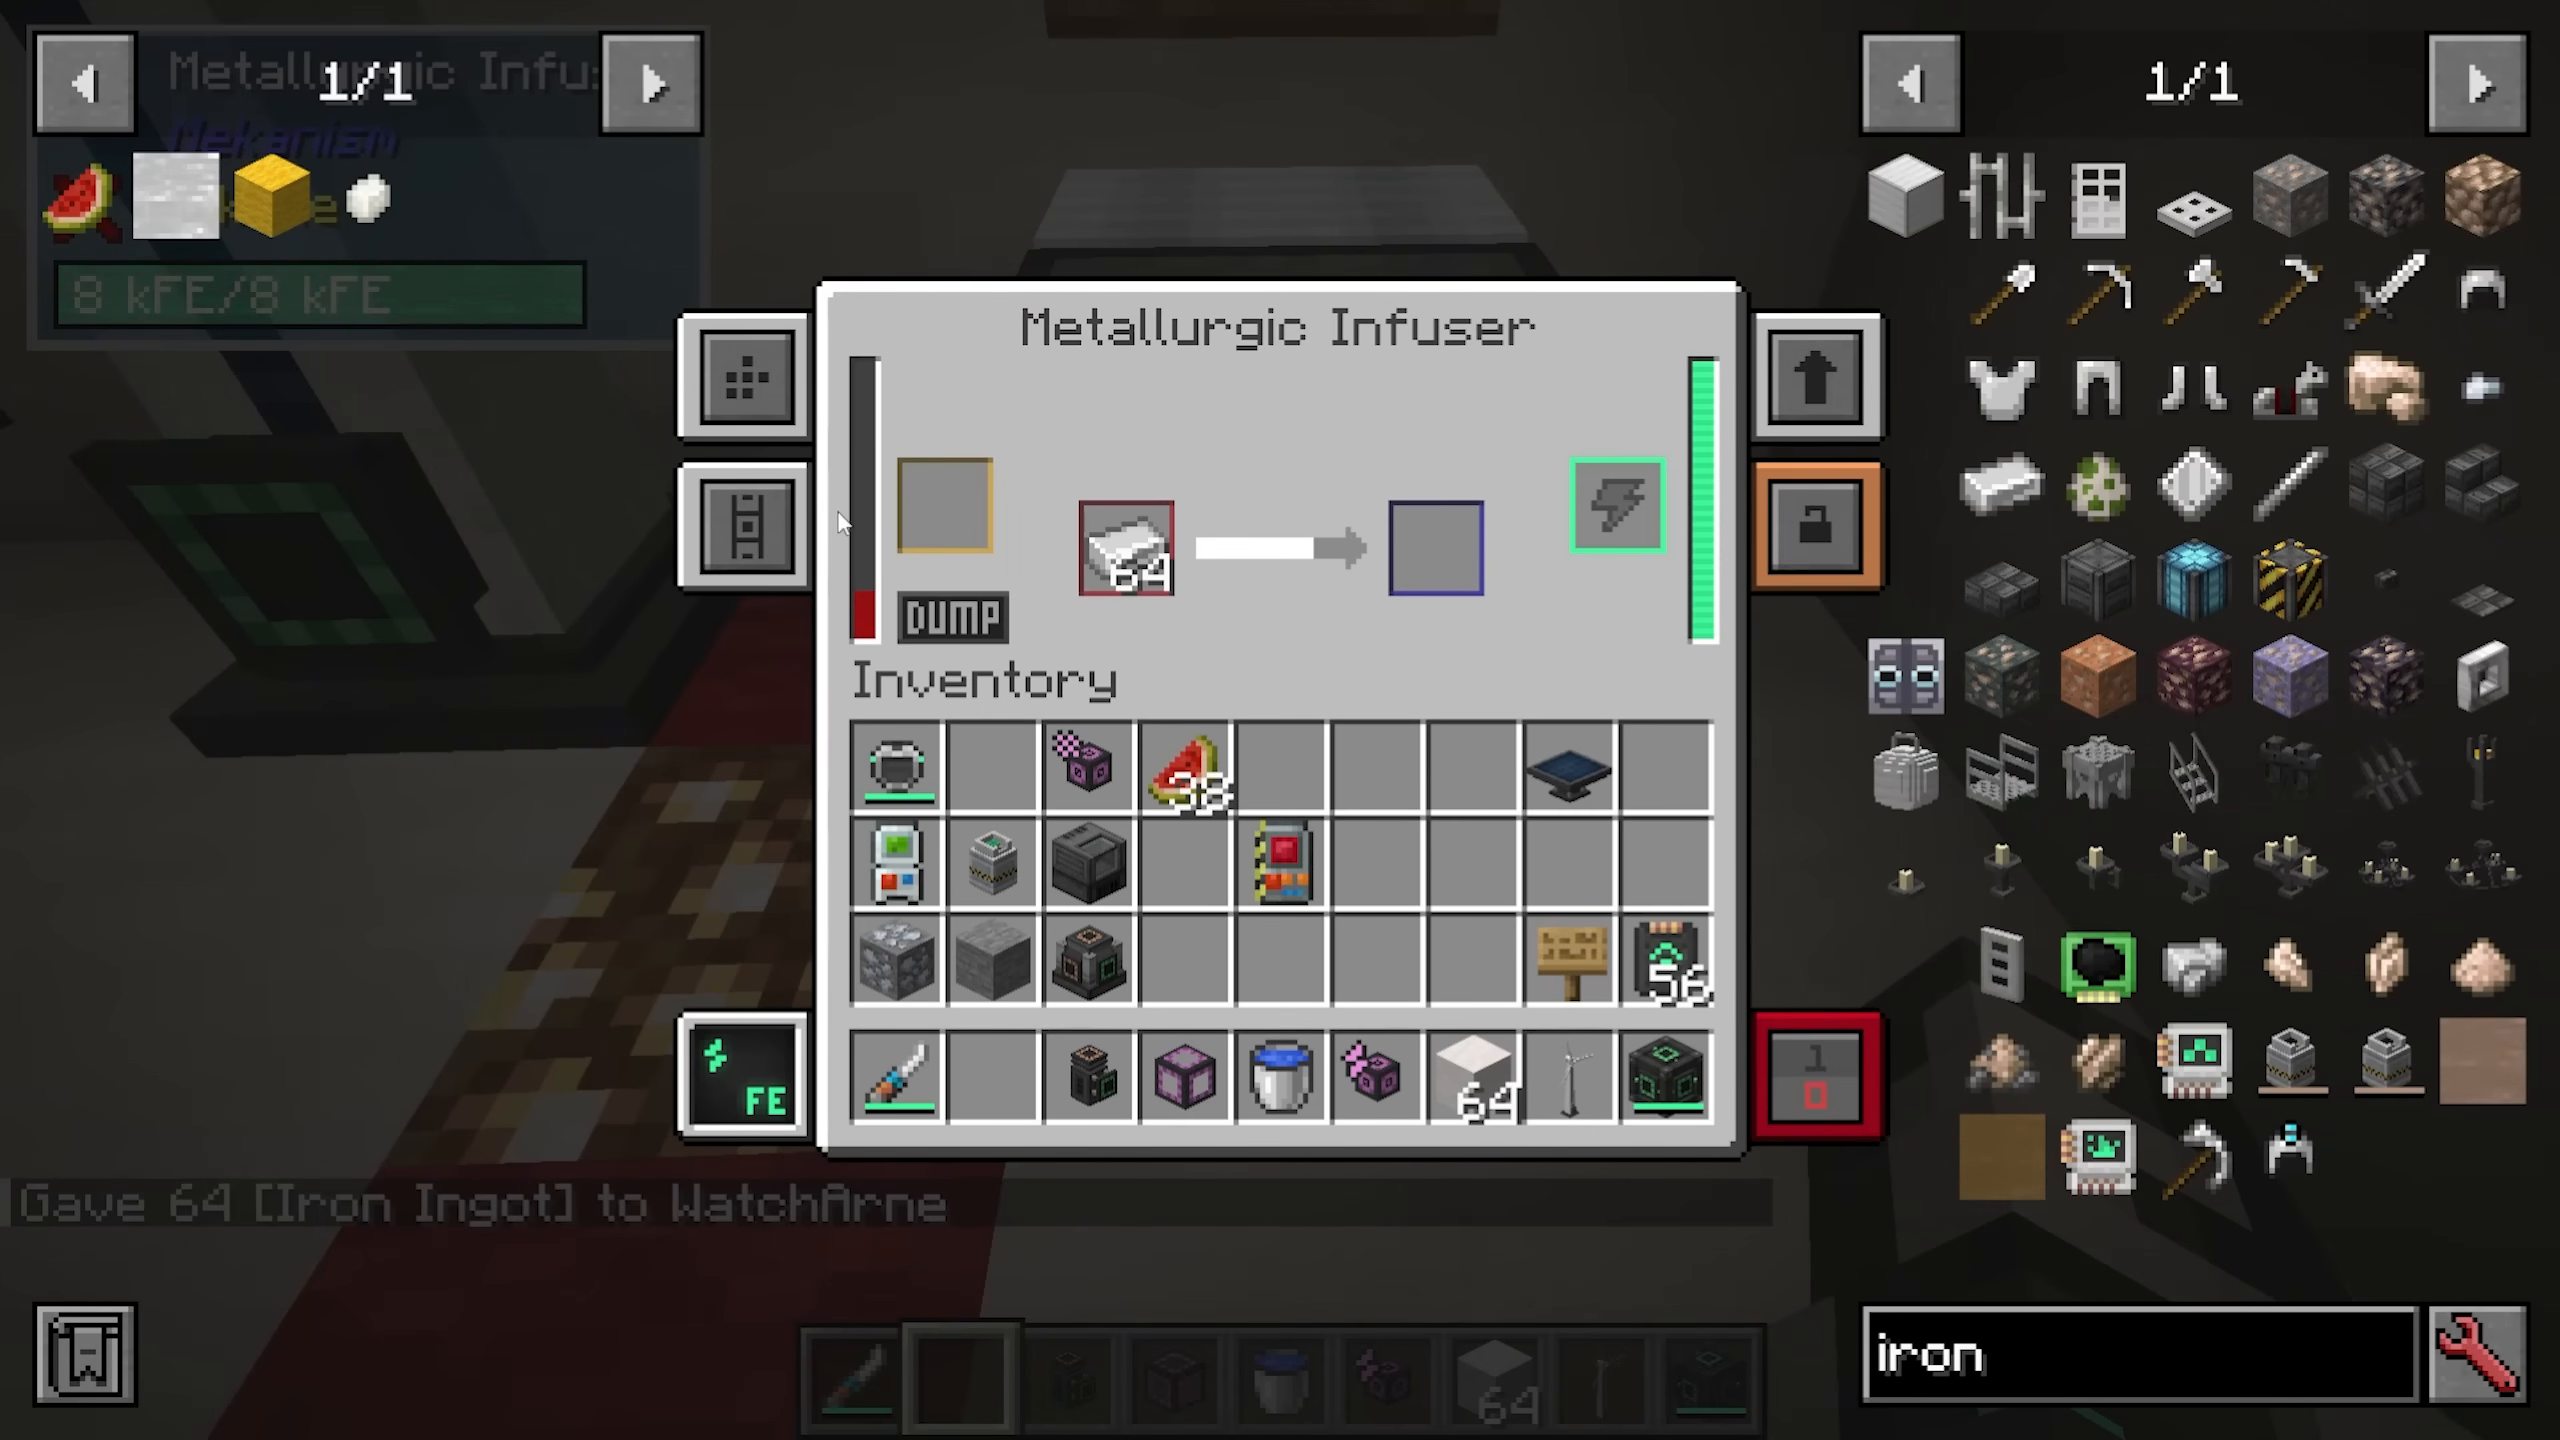
The infuser has three main slots:
Power input (right side): Where energy enters the machine
Resource slot (yellow/left): Where you place the infusing material (like redstone dust or blocks)
Item slot (red/middle): Where you place the item to be infused
A simple example: Place redstone in the yellow (resource) slot and an iron ingot in the red (item) slot. The infuser will slowly infuse the iron with redstone, creating an infused alloy.
Creating Infused Alloys and Basic Control Circuits
For infused alloys: Put redstone in the resource slot and iron in the item slot.
For basic control circuits: Put redstone in the resource slot and osmium in the item slot.
These recipes are critical for advancing through Mekanism and are used extensively in upgrading equipment and crafting advanced machines.
Transportation and Storage Systems
Understanding Mekanism’s Four Cable Types
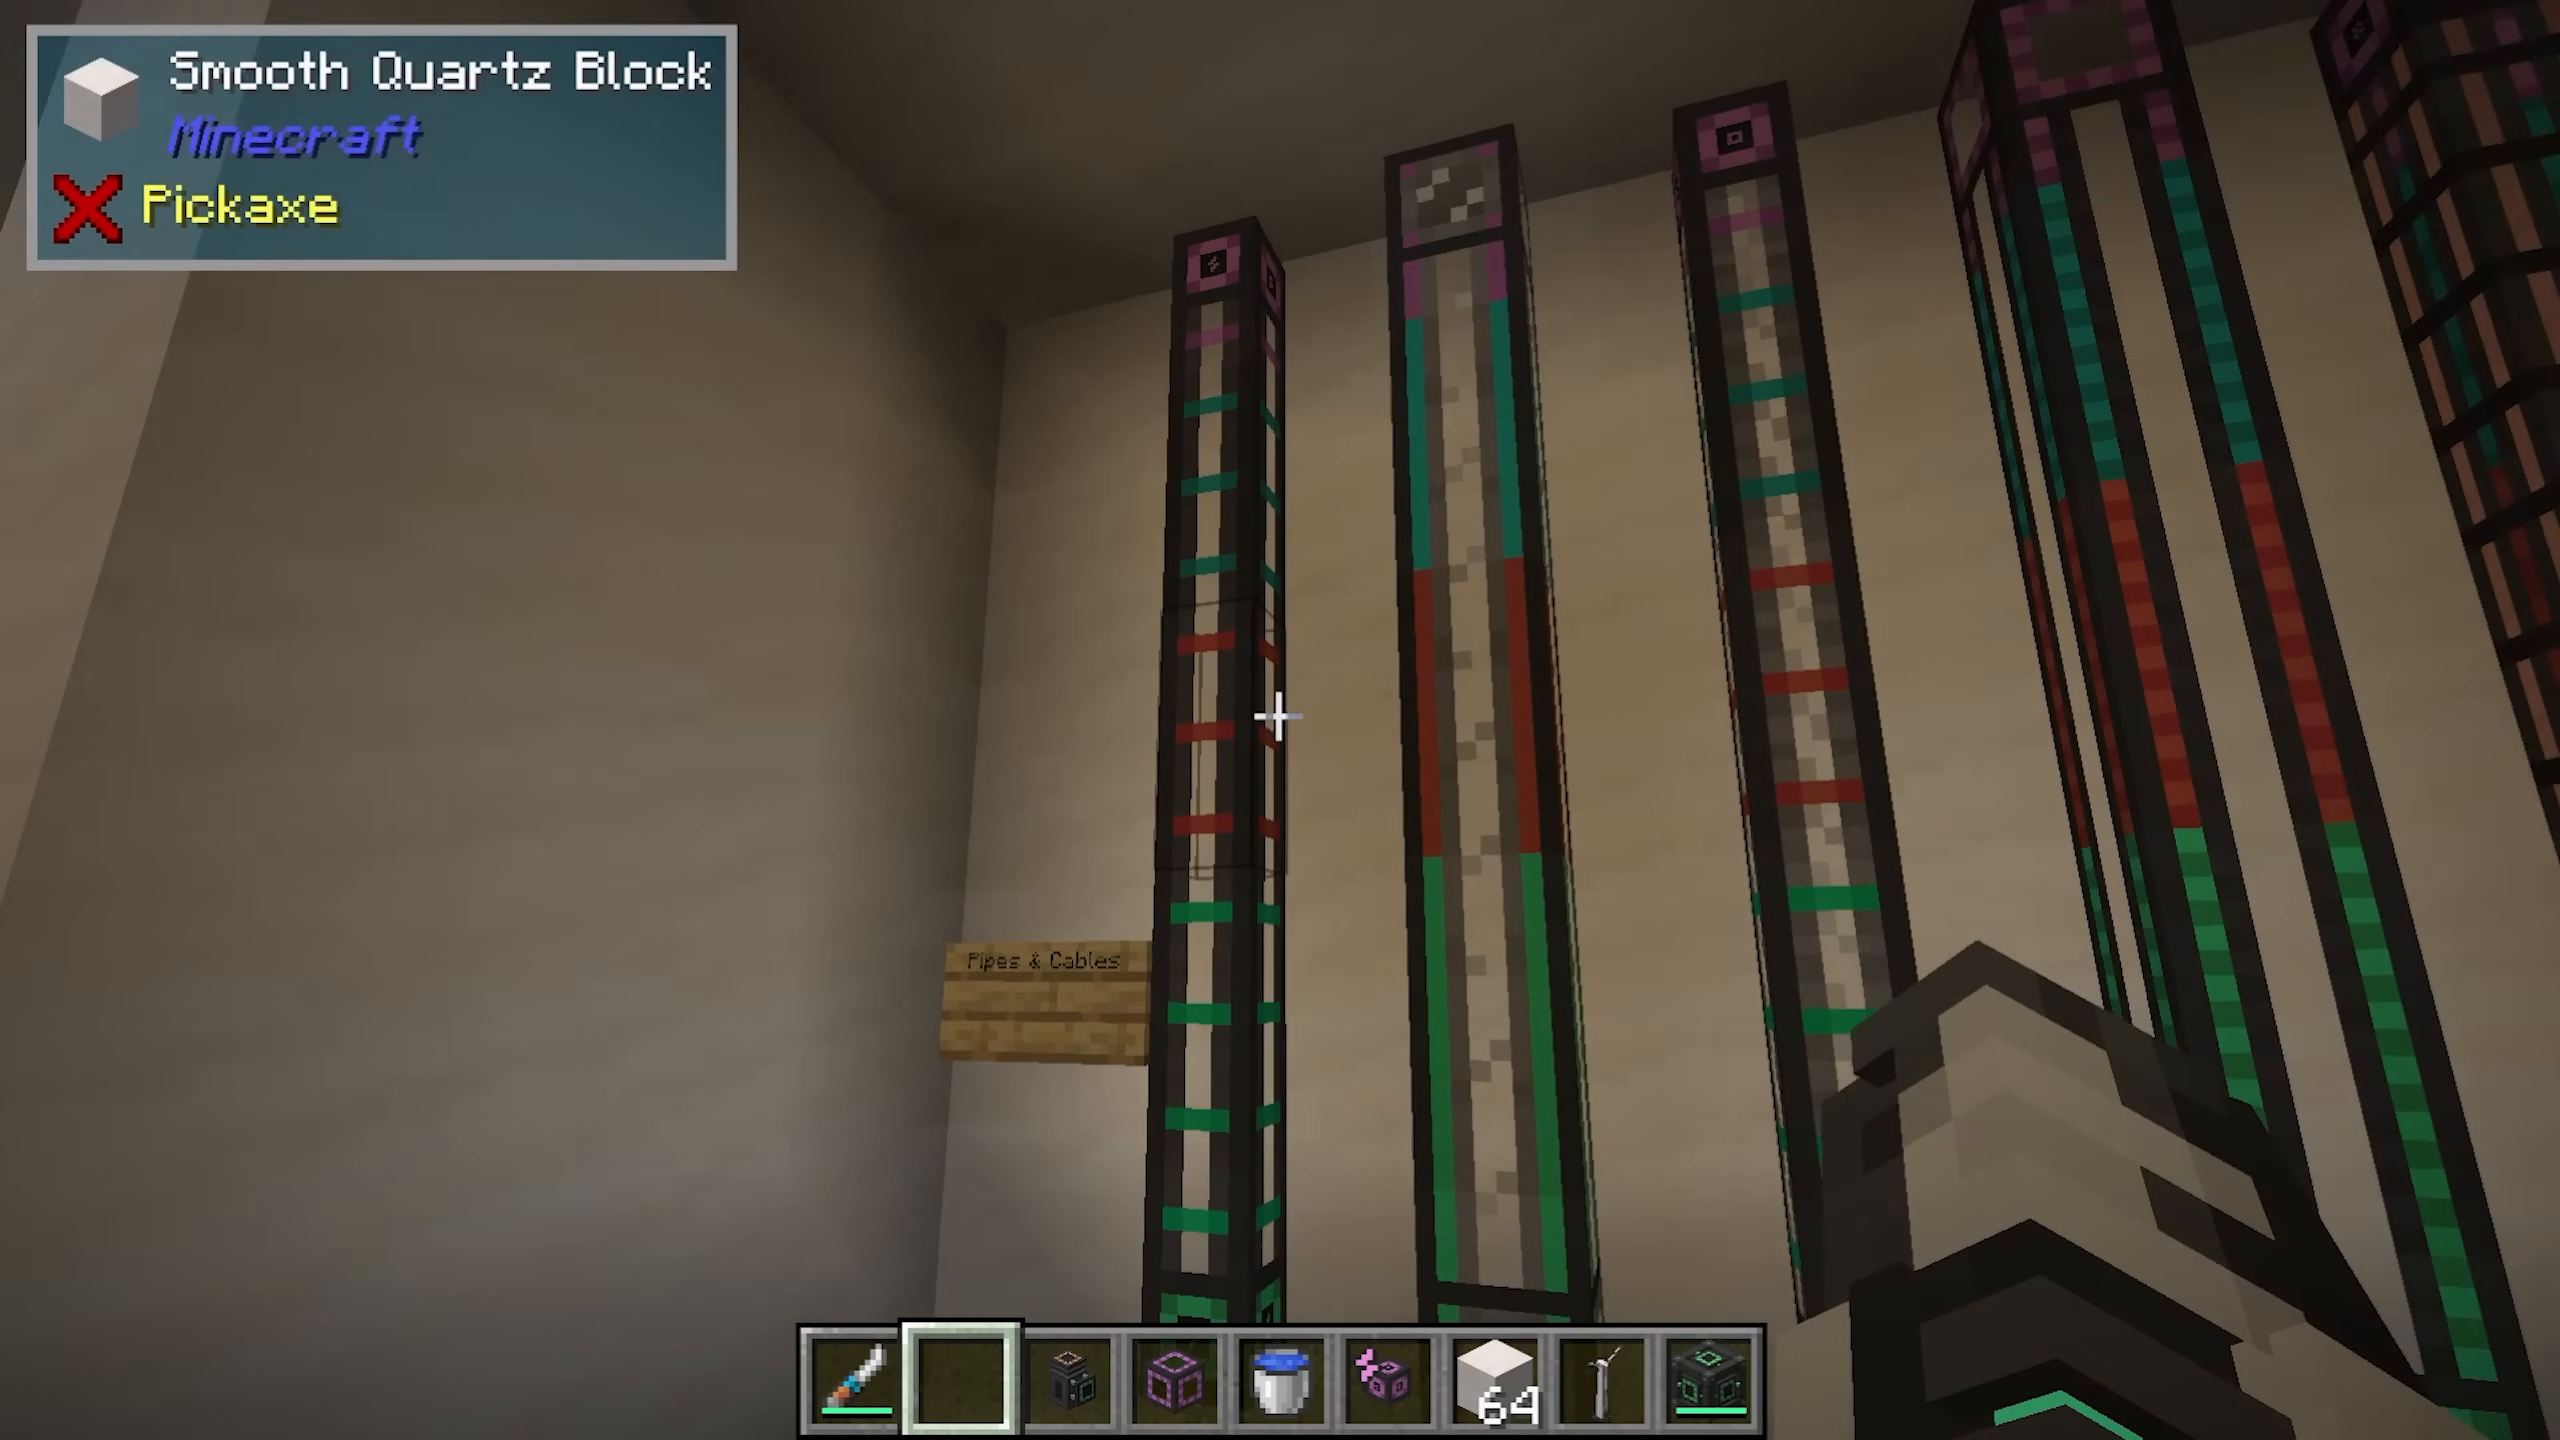
Mekanism provides four main transportation systems, each with basic, advanced, elite, and ultimate variants:
Universal Cables: Transport electricity
Mechanical Pipes: Transport fluids
Pressurized Tubes: Transport gases
Logistical Transporters: Transport items
Thermodynamic Conductors: Transport heat
Each tier uses different materials. For example, basic universal cables require two steel ingots and redstone dust.
Making Steel
Steel is required for most cable types. To make steel, you’ll use two metallurgic infusers and an energized smelter:
Put coal in the resource slot of a metallurgic infuser to create carbon
Infuse iron ingots with carbon to create enriched iron
In a second metallurgic infuser, infuse the enriched iron with more carbon to create steel dust
Smelt the steel dust in an energized smelter to get steel ingots
Storage Solutions: Energy Cubes, Chemical Tanks, and Fluid Tanks
Mekanism offers three types of storage, each with four tiers:
Energy Cubes: Store electrical energy. A basic cube stores 1.6 million FE, advanced stores 6.4 million, elite stores 25 million, and ultimate stores 102 million.
Chemical Tanks: Store chemical gases
Fluid Tanks: Store liquids
Upgrading to higher tiers follows the same pattern: use infused alloys for advanced, reinforced alloys for elite, and atomic alloys for ultimate versions.
Upgrading Cables and Storage: The Tier System
To upgrade basic equipment to advanced, elite, or ultimate versions, follow this progression:
Advanced: 8 basic items + 1 infused alloy
Elite: 8 advanced items + 1 reinforced alloy (made with diamond in infused alloy)
Ultimate: 8 elite items + 1 atomic alloy (made with refined obsidian in reinforced alloy)
Basic Machines and Processing
The Configurator: Your Essential Tool
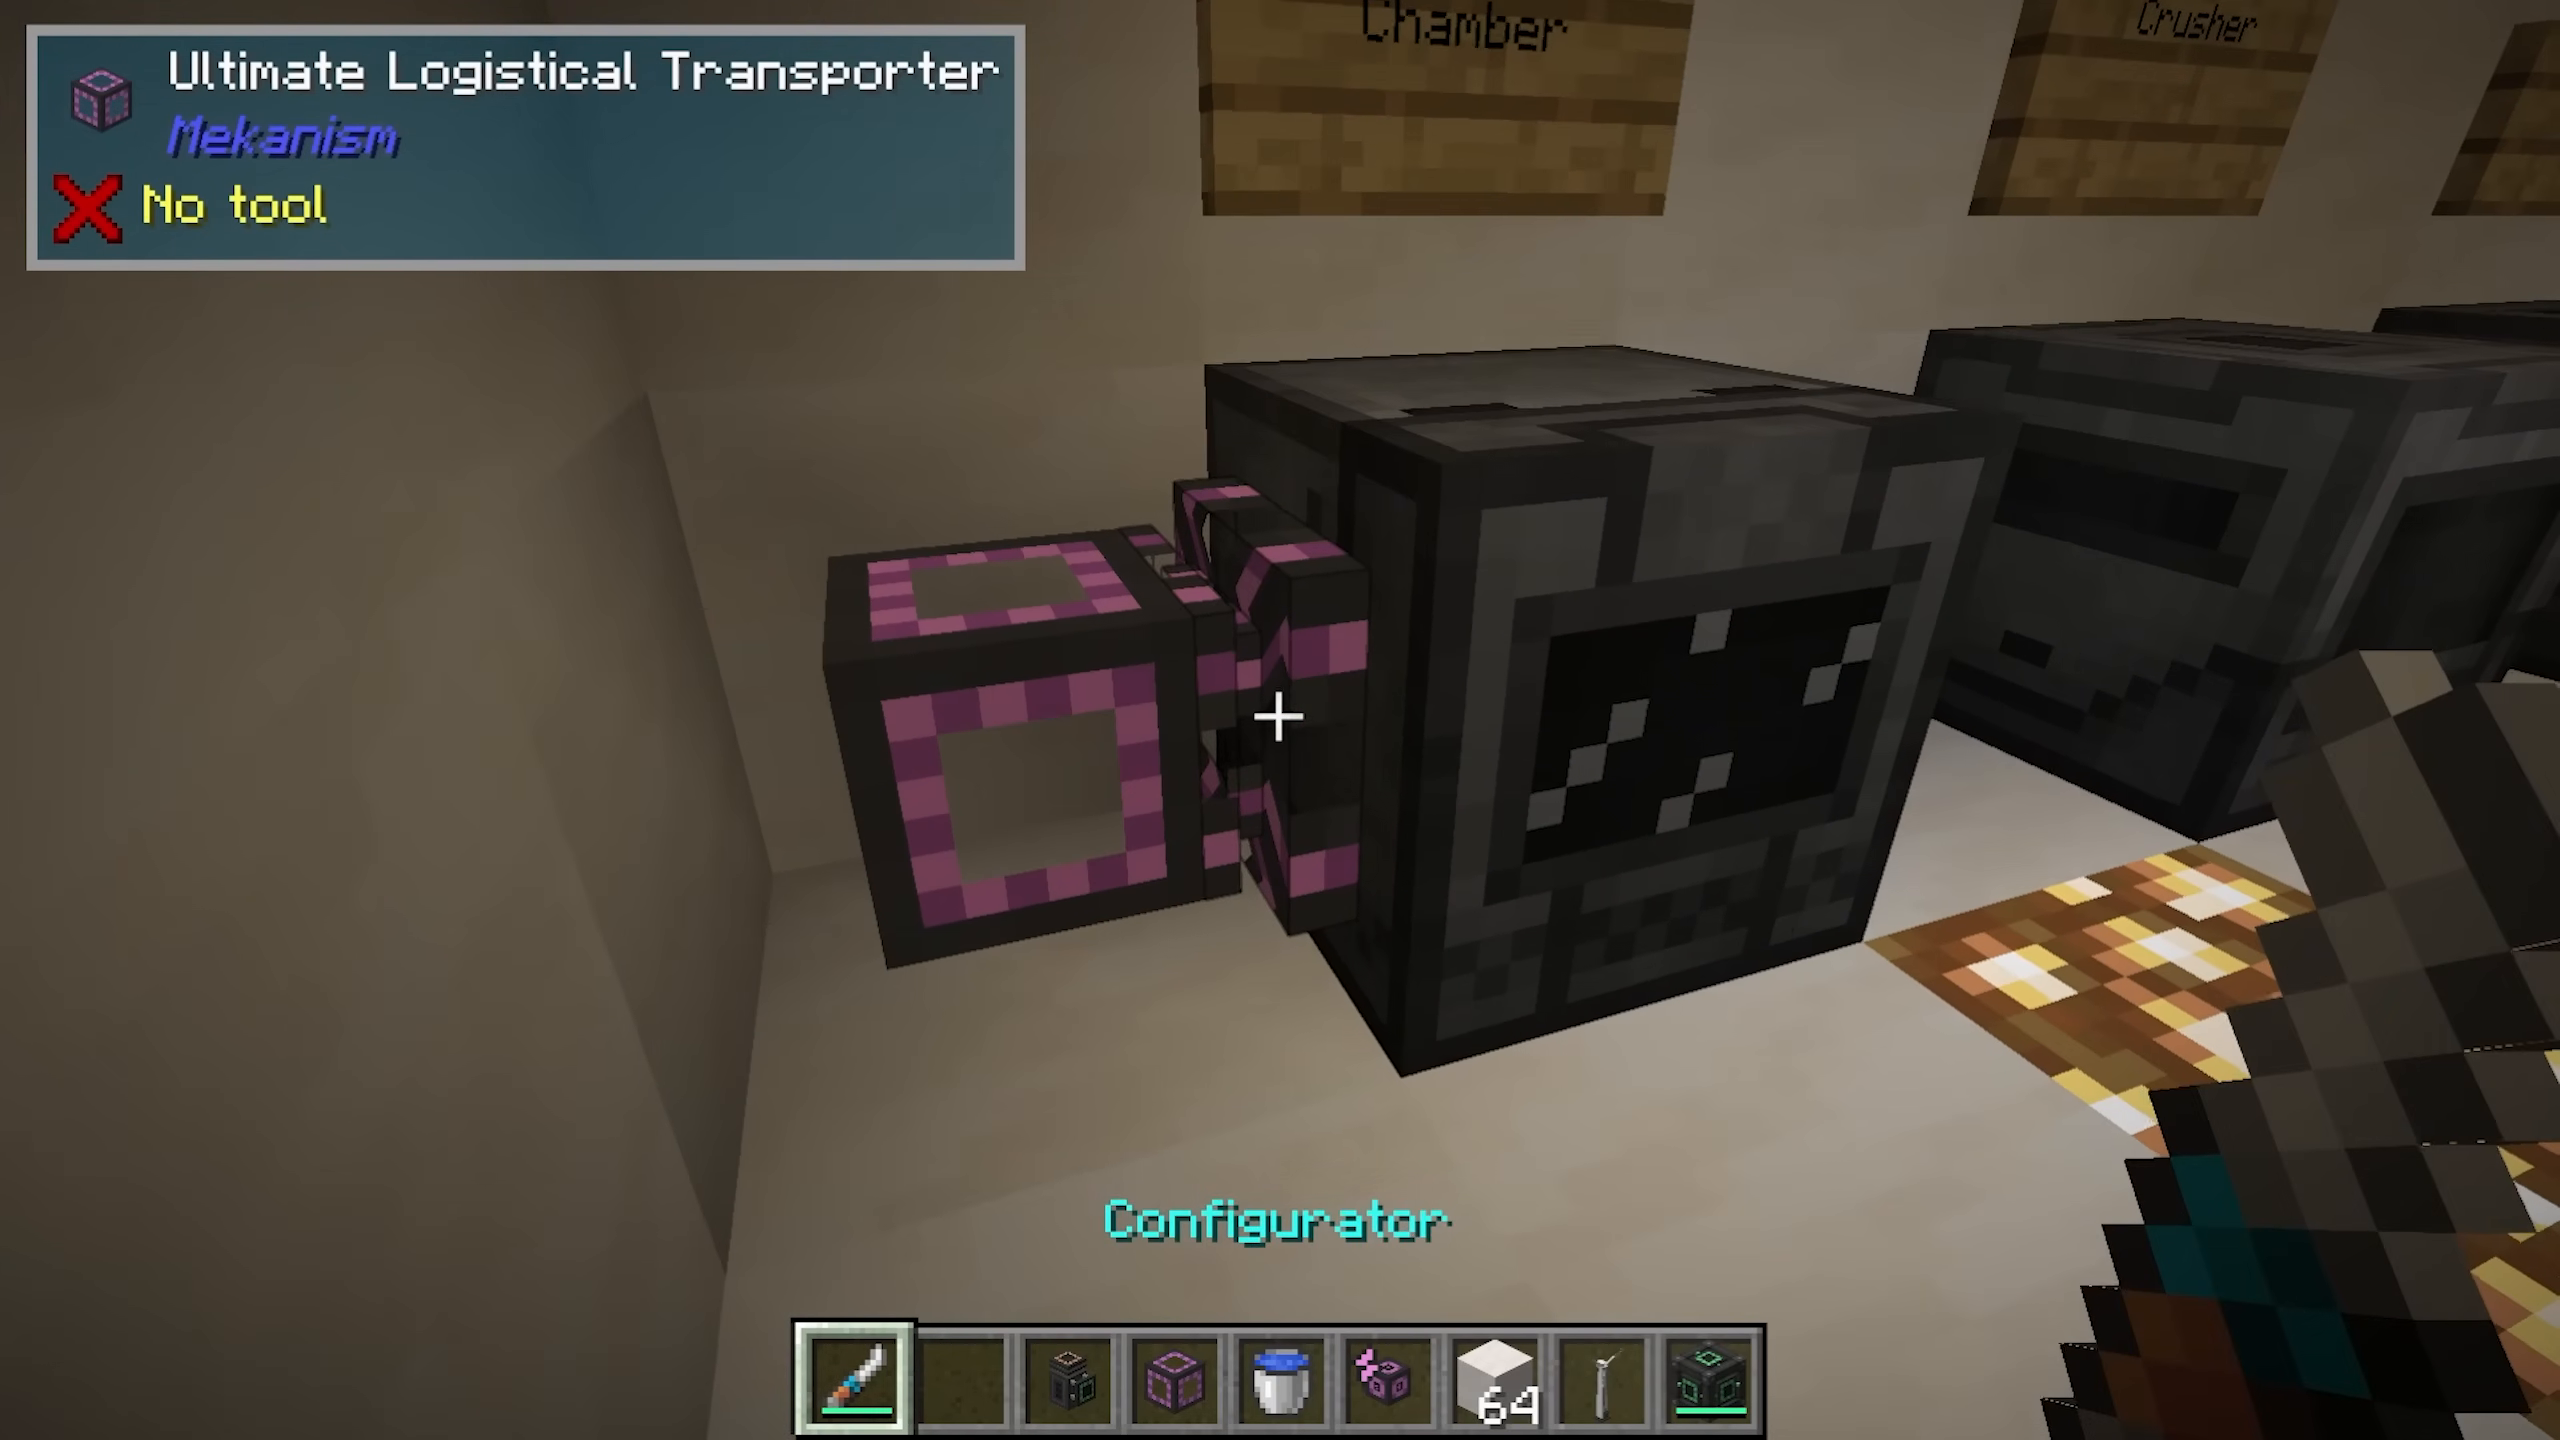
The configurator is a wrench-like tool needed to manage machine I/O. It requires Lapis, an infused alloy, an energy tablet, and a stick. Use it to:
Shift-click to rotate between modes (wrench, item configuration, fluid configuration, etc.)
Configure which sides of a machine accept input or output items, fluids, or energy
Access machine settings like security levels and upgrade slots
Machine I/O Configuration
When you shift-click on a machine’s side with the configurator, you can set it to:
Input: Items/fluids enter from this side
Output: Items/fluids exit from this side
Input/Output: Bidirectional transfer
Energy: Power enters from this side
None: No function on this side
You can also access the machine’s side configuration menu by right-clicking to set automatic ejection and configure each face individually.
Machine Upgrades
Most Mekanism machines support upgrades, which you can install in the upgrade slot. Available upgrades typically include:
Speed Upgrades: Increase processing speed (up to 8 can be installed; effect is 10x with maximum upgrades)
Energy Upgrades: Increase energy storage and efficiency
Muffling Upgrades: Silence the machine
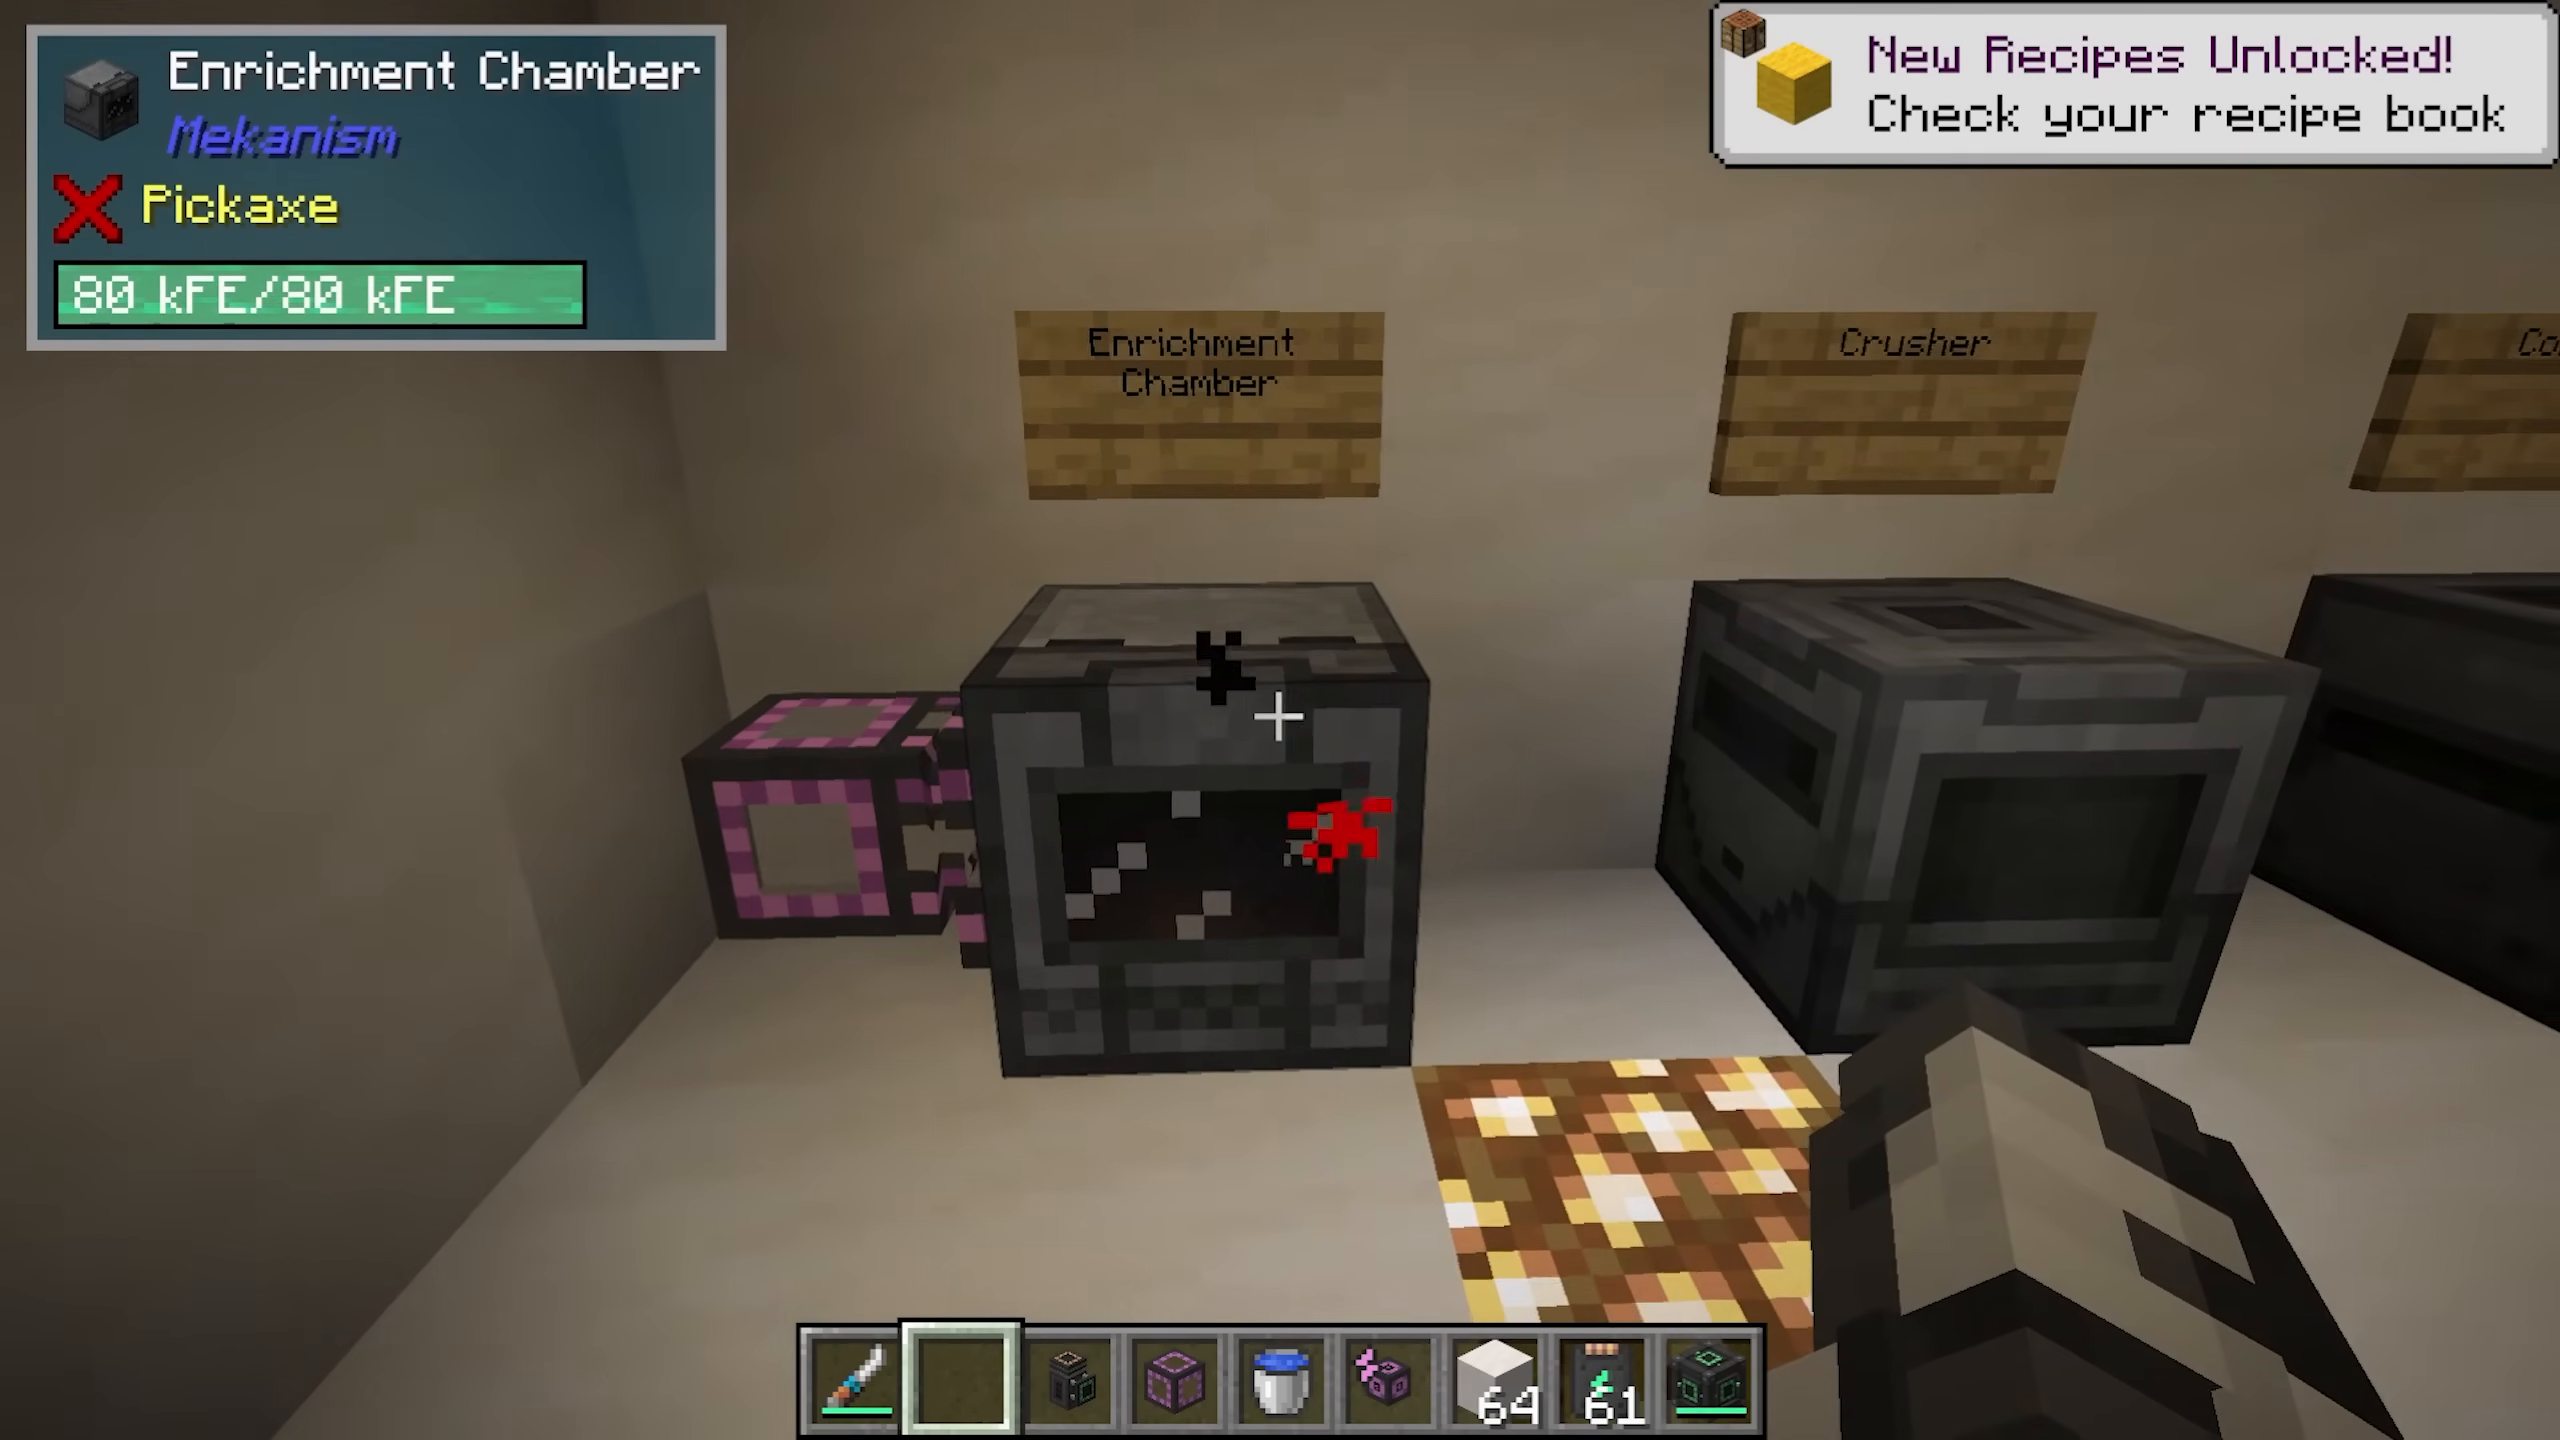
Install upgrades by placing them in the upgrade slot. You can install multiple upgrades simultaneously—up to 8 of each type per machine.
Common Basic Machines
Enrichment Chamber: Enriches items into other forms. JEI can show all recipes—for example, beetroot and poppies become red dye.
Crusher: Crushes items into dust or other forms. Ingots become dust, and plant matter becomes biofuel.
Combiner: Combines materials into their ore forms. Raw iron becomes iron ore, sweetberries become glow berries, and redstone dust becomes ores.
Energized Smelter: An upgraded furnace that smelts faster, especially with speed upgrades installed.
Precision Sawmill: Deconstructs items into components. Pressure plates and boats with chests can be broken down into planks.
Pump: Pumps fluids from the world. Power input at the back; place a mechanical pipe on top to output the fluid. Very efficient for water pumping. Can be upgraded with filter upgrades to pump heavy water instead of regular water.
Resistive Heater: Provides heat to machines. Supply power and set the energy level (higher values generate more heat and consume more power).
Fuel-Burning Heater: Burns materials like spruce wood to generate heat without electricity, using thermodynamic cables to transfer the heat.
Early Game Power Generation
Gas-Burning Generator
The gas-burning generator burns gases to produce power. To set it up:
Pump water into an electrolytic separator using an electric pump with power input
The separator produces hydrogen (left outlet) and oxygen (right outlet)
Pump hydrogen into the gas-burning generator at a burn rate of 2 millibuckets per tick
The generator converts the hydrogen into electrical energy
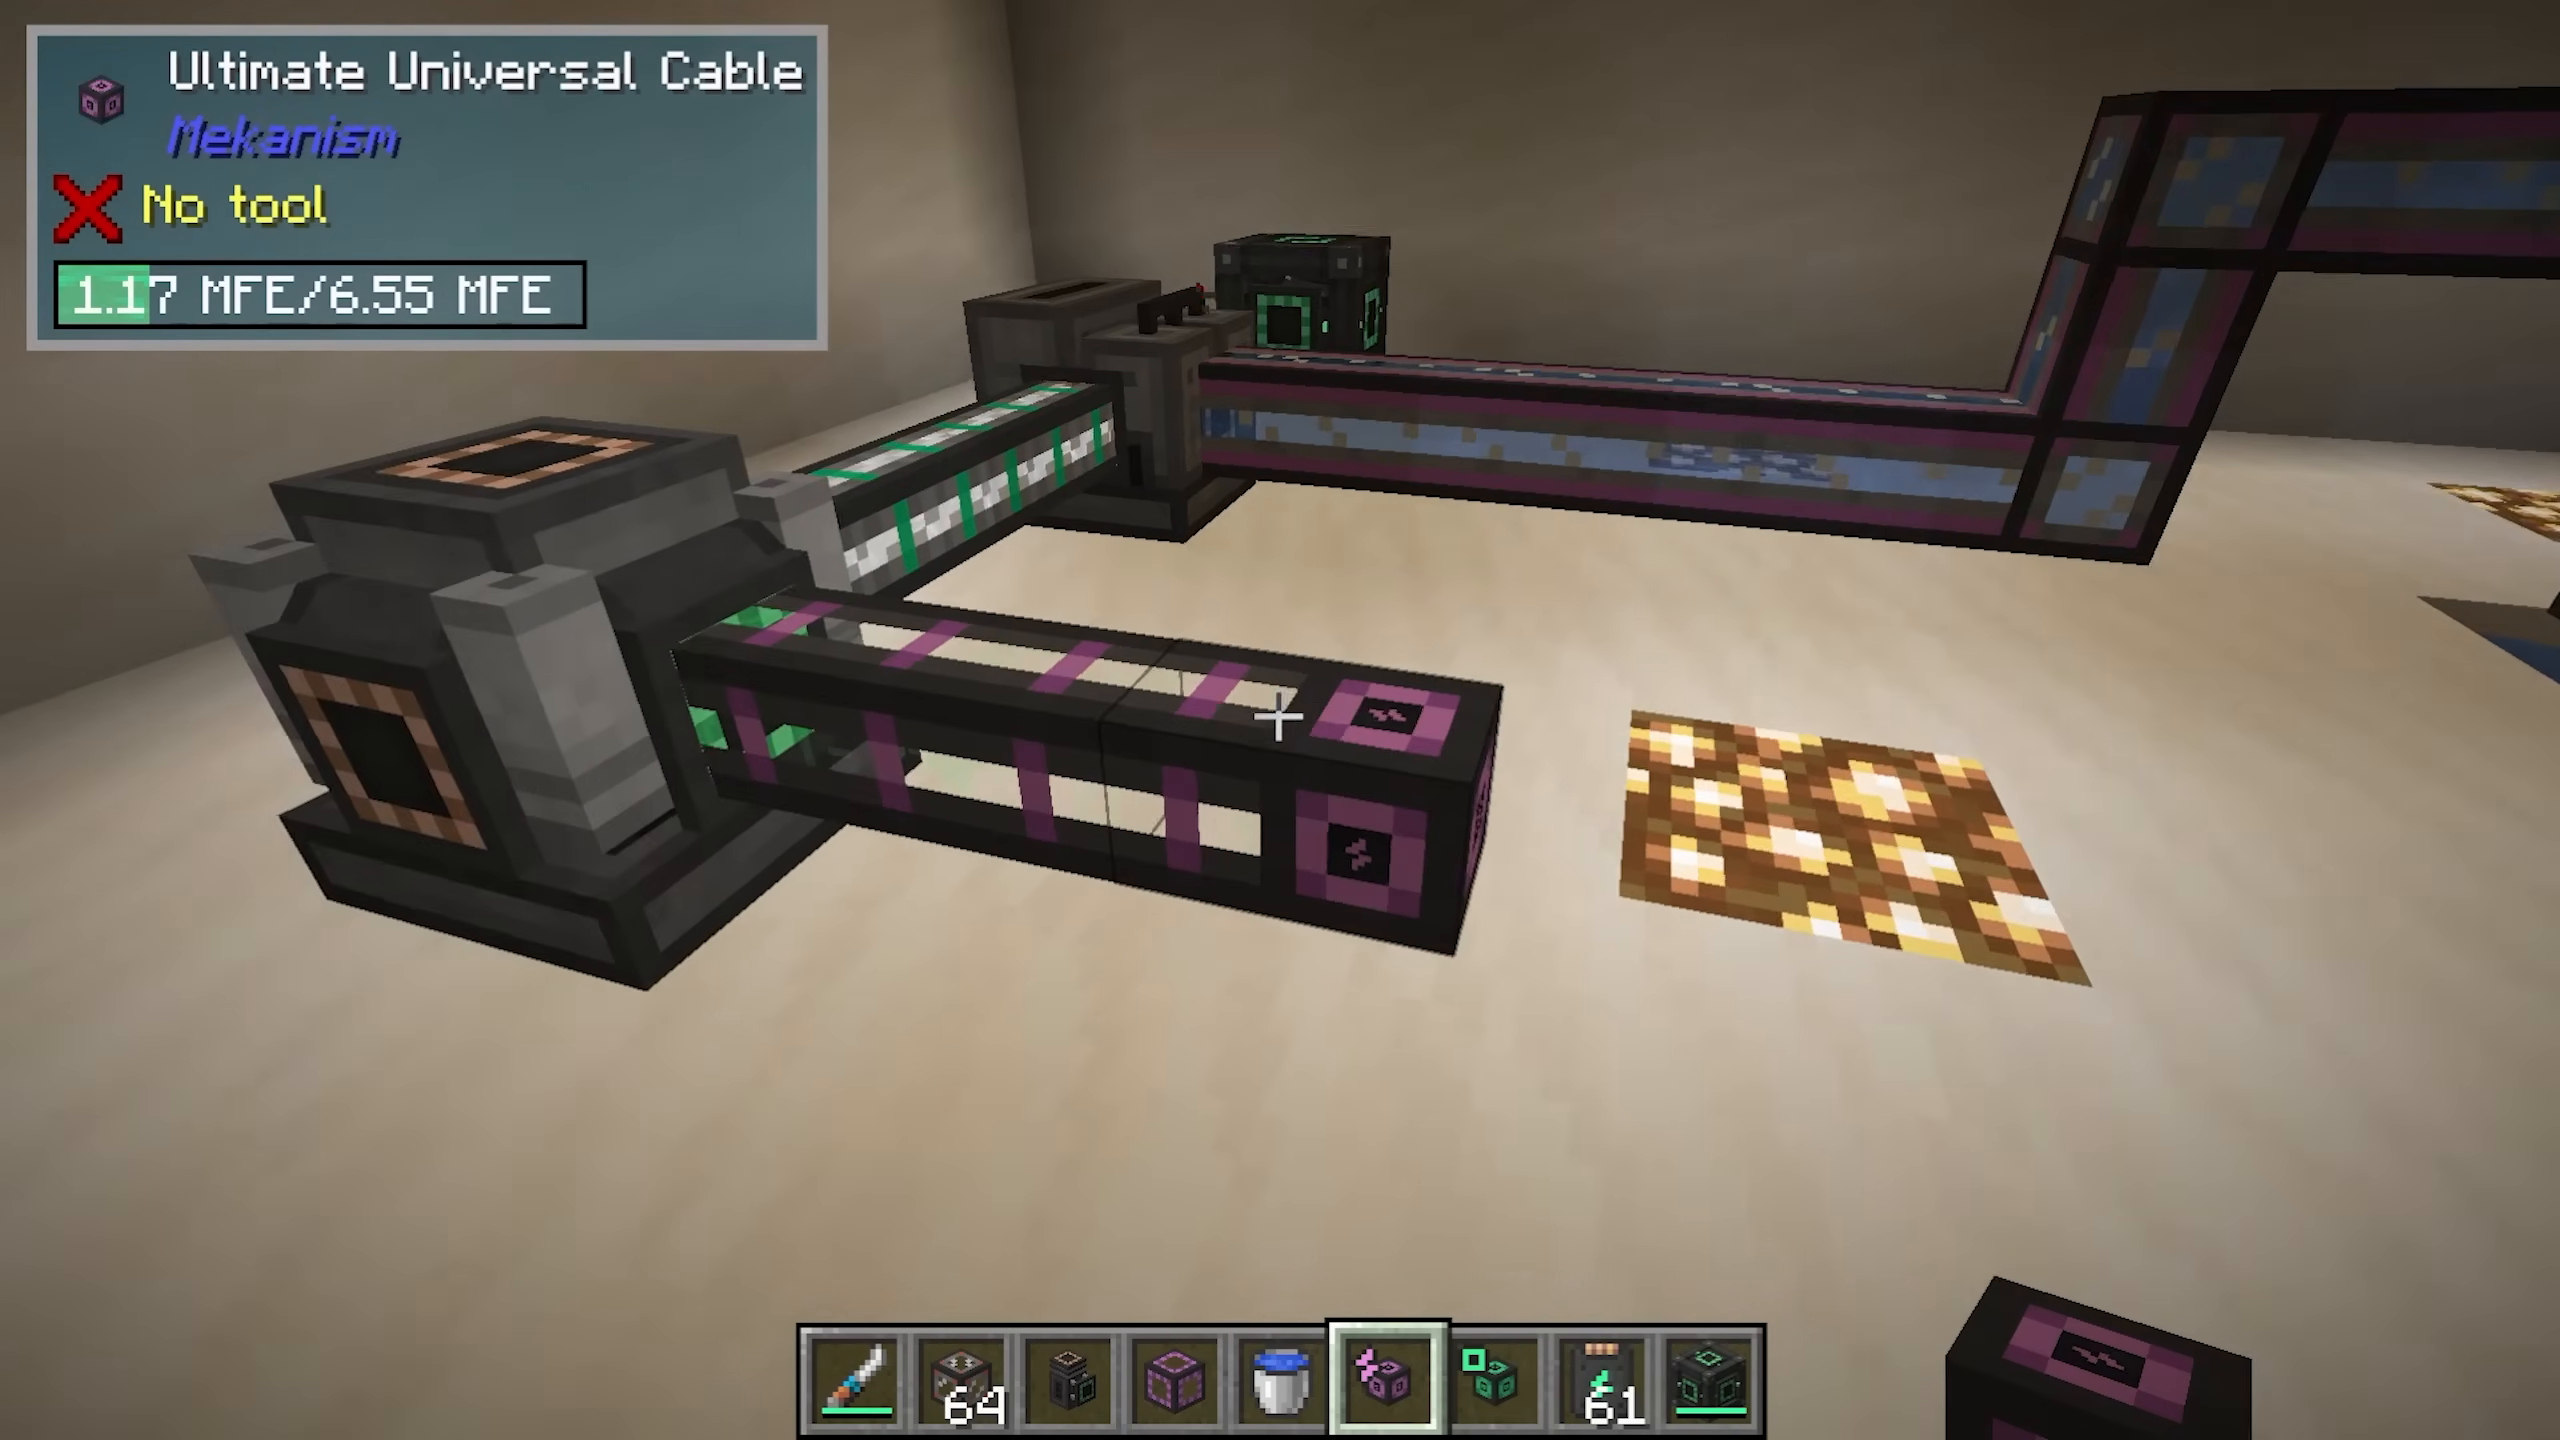
You can also use more advanced gases like ethylene for increased energy output (a separate tutorial covers ethylene production in detail).
Bio-Generator
The bio-generator burns biofuel for power:
Use a crusher to process organic matter (like leaves) into biofuel
Transport the biofuel using logistical transporters to the bio-generator
The generator burns biofuel and outputs power through the front port (shown as a green hole)
Advanced Systems: Factories, Robots, and Digital Mining
Machine Factories
Basic machines can be upgraded into factories, which have multiple processing slots:
Basic Factory: 3 slots
Advanced Factory: 5 slots
Elite Factory: 7 slots
Ultimate Factory: 9 slots
With auto-sort enabled, factories distribute input evenly across all slots, tripling (or more) your output. Upgradeable machines include enrichment chambers, crushers, osmium compressors, combiners, purification chambers, chemical injection chambers, metallurgic infusers, and precision sawmills.
You can upgrade machines using installers (basic, advanced, elite, ultimate) or by directly upgrading the machine block itself.
Creating Refined Obsidian
Refined obsidian is a critical material for end-game progression. To make it:
Crush obsidian in an enrichment chamber to create obsidian dust
Infuse the obsidian dust with diamond dust in a metallurgic infuser to create refined obsidian dust
(Optional) Compress refined obsidian dust into refined obsidian ingots using an osmium compressor with osmium ingots
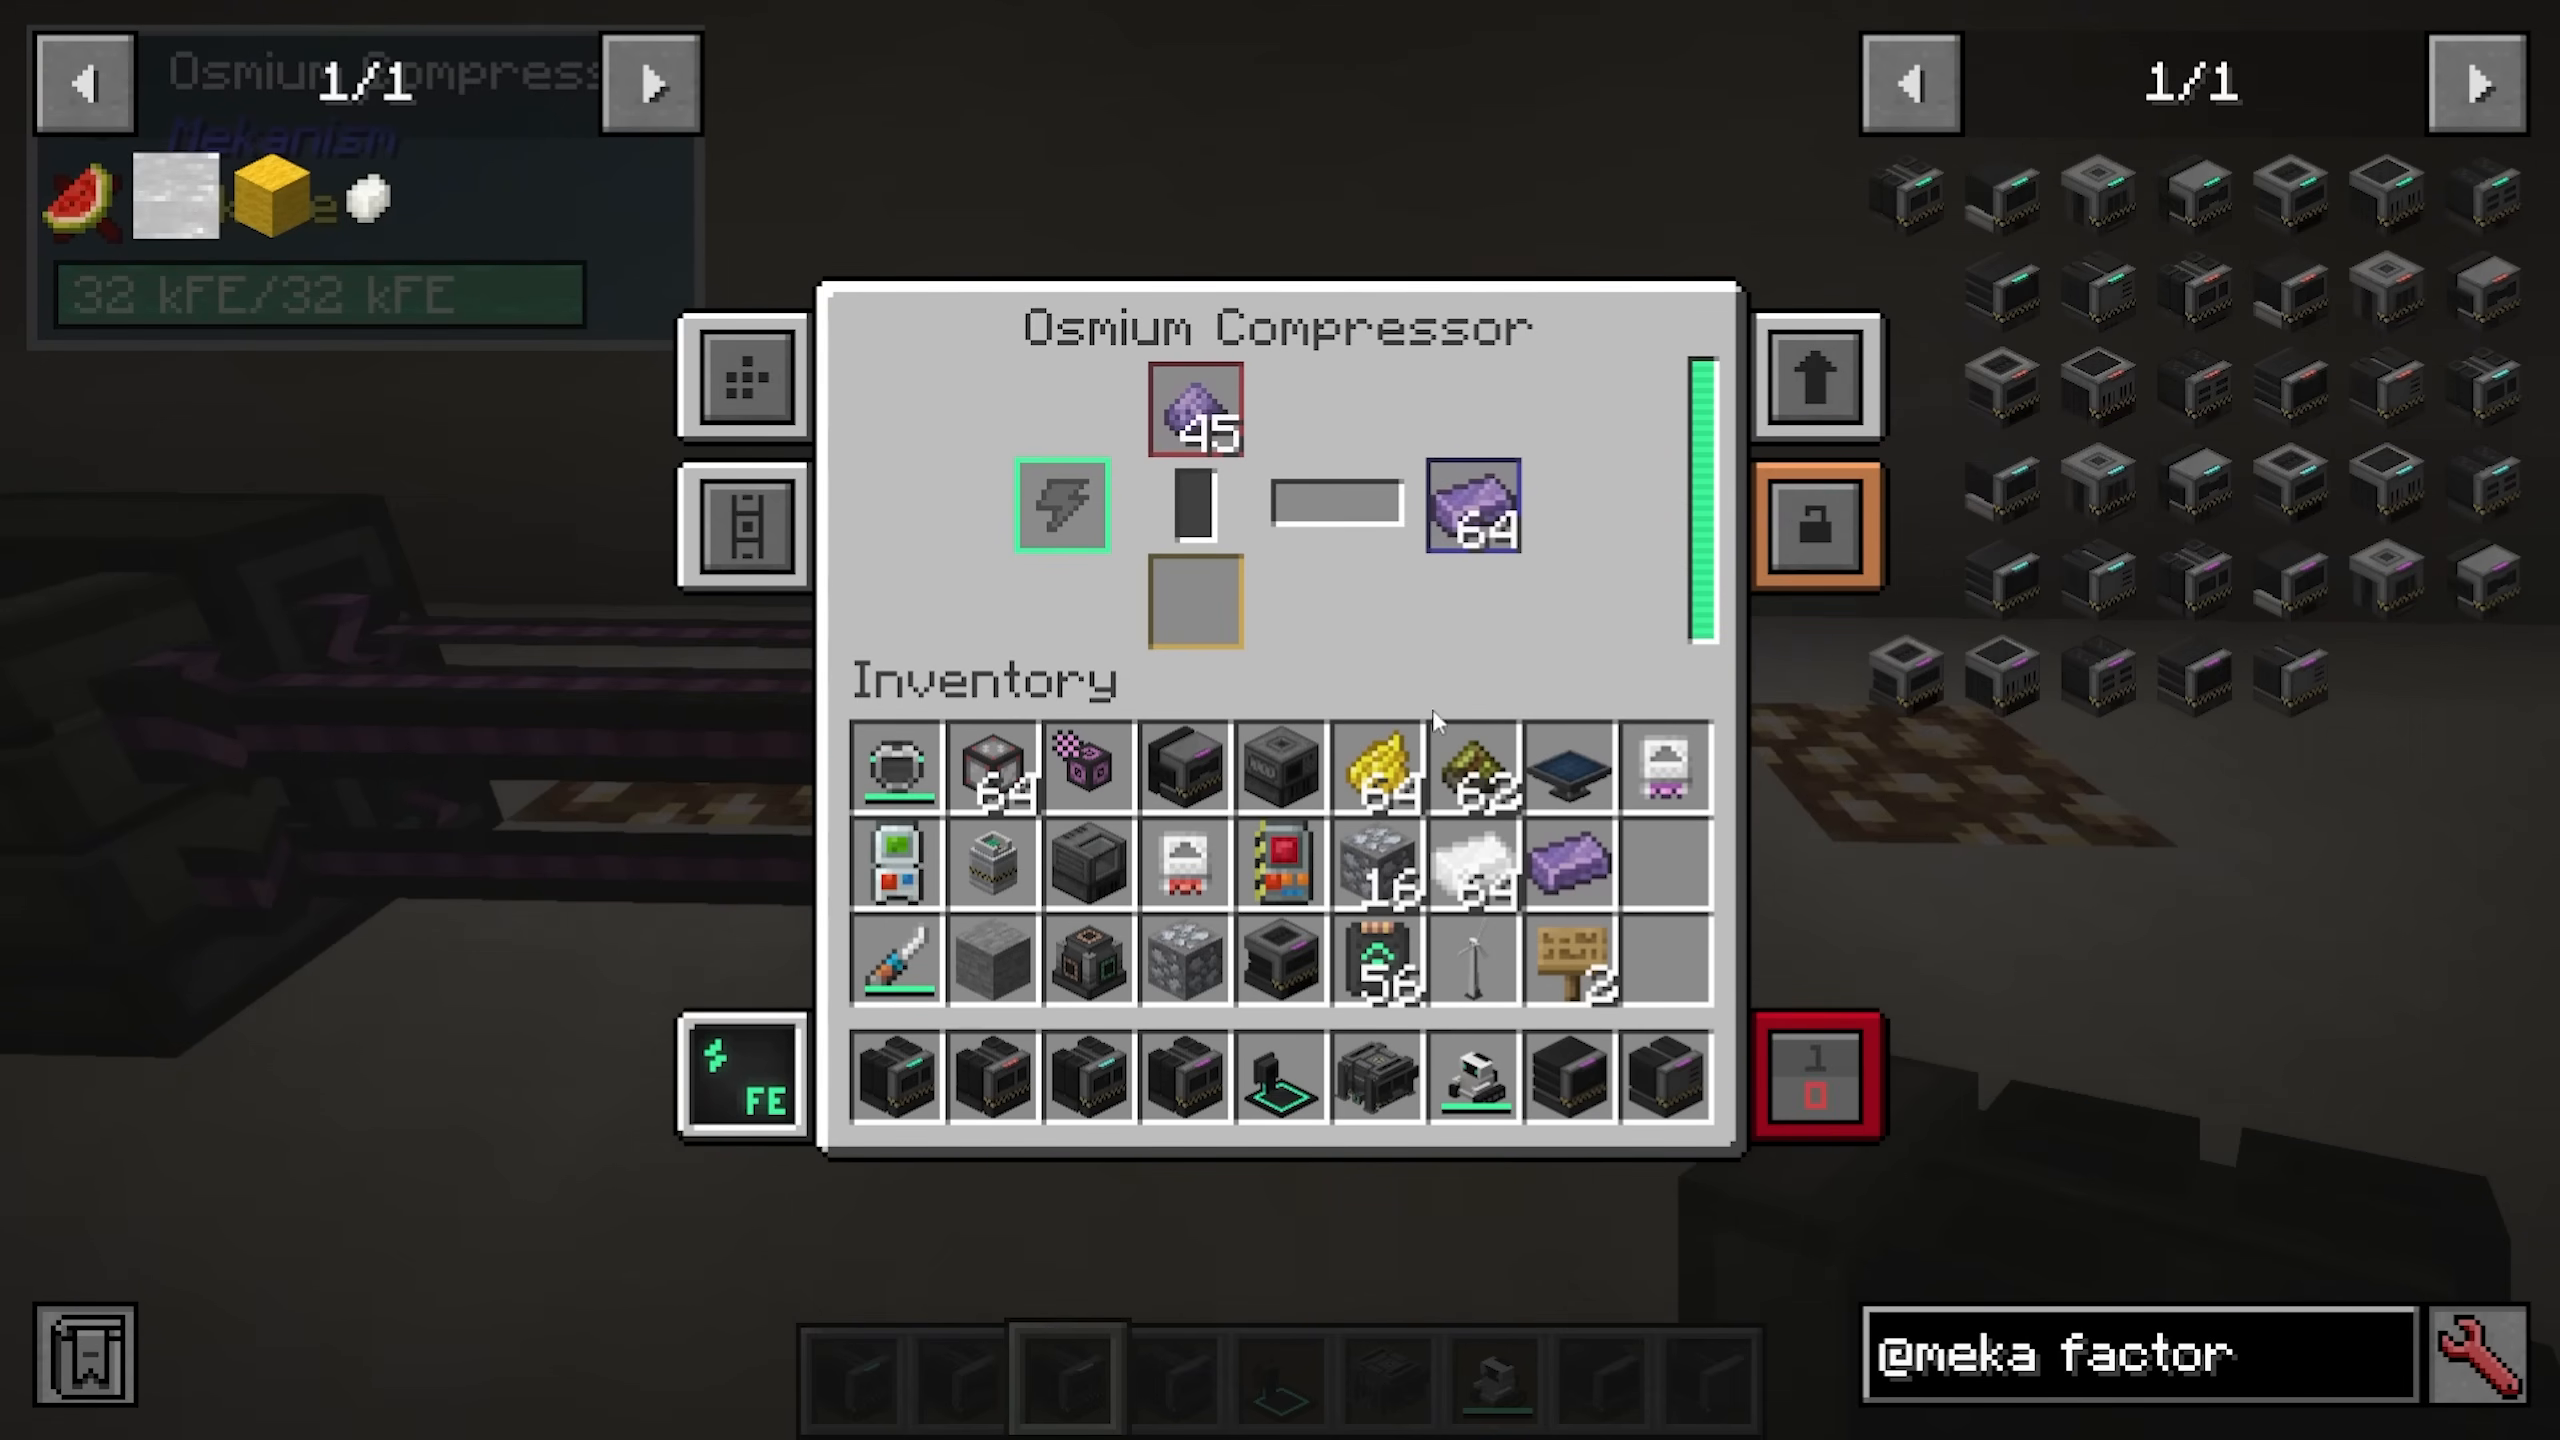
Robit: Your Portable Companion
Robit is a cute robot companion that requires refined obsidian to craft. To activate Robit:
Craft the Robit in your crafting grid
Place a charge pad powered with energy
Right-click the charge pad with your Robit to set its home base
Robit can function as:
Crafting grid
Furnace
Anvil
Chest (with inventory)
Personal companion
Robit is immune to fire and will follow you around your base, making it invaluable as a portable crafting station. Use the Robit menu to toggle following, drop/pickup behavior, teleportation back home, or cosmetic changes.
Digital Miner
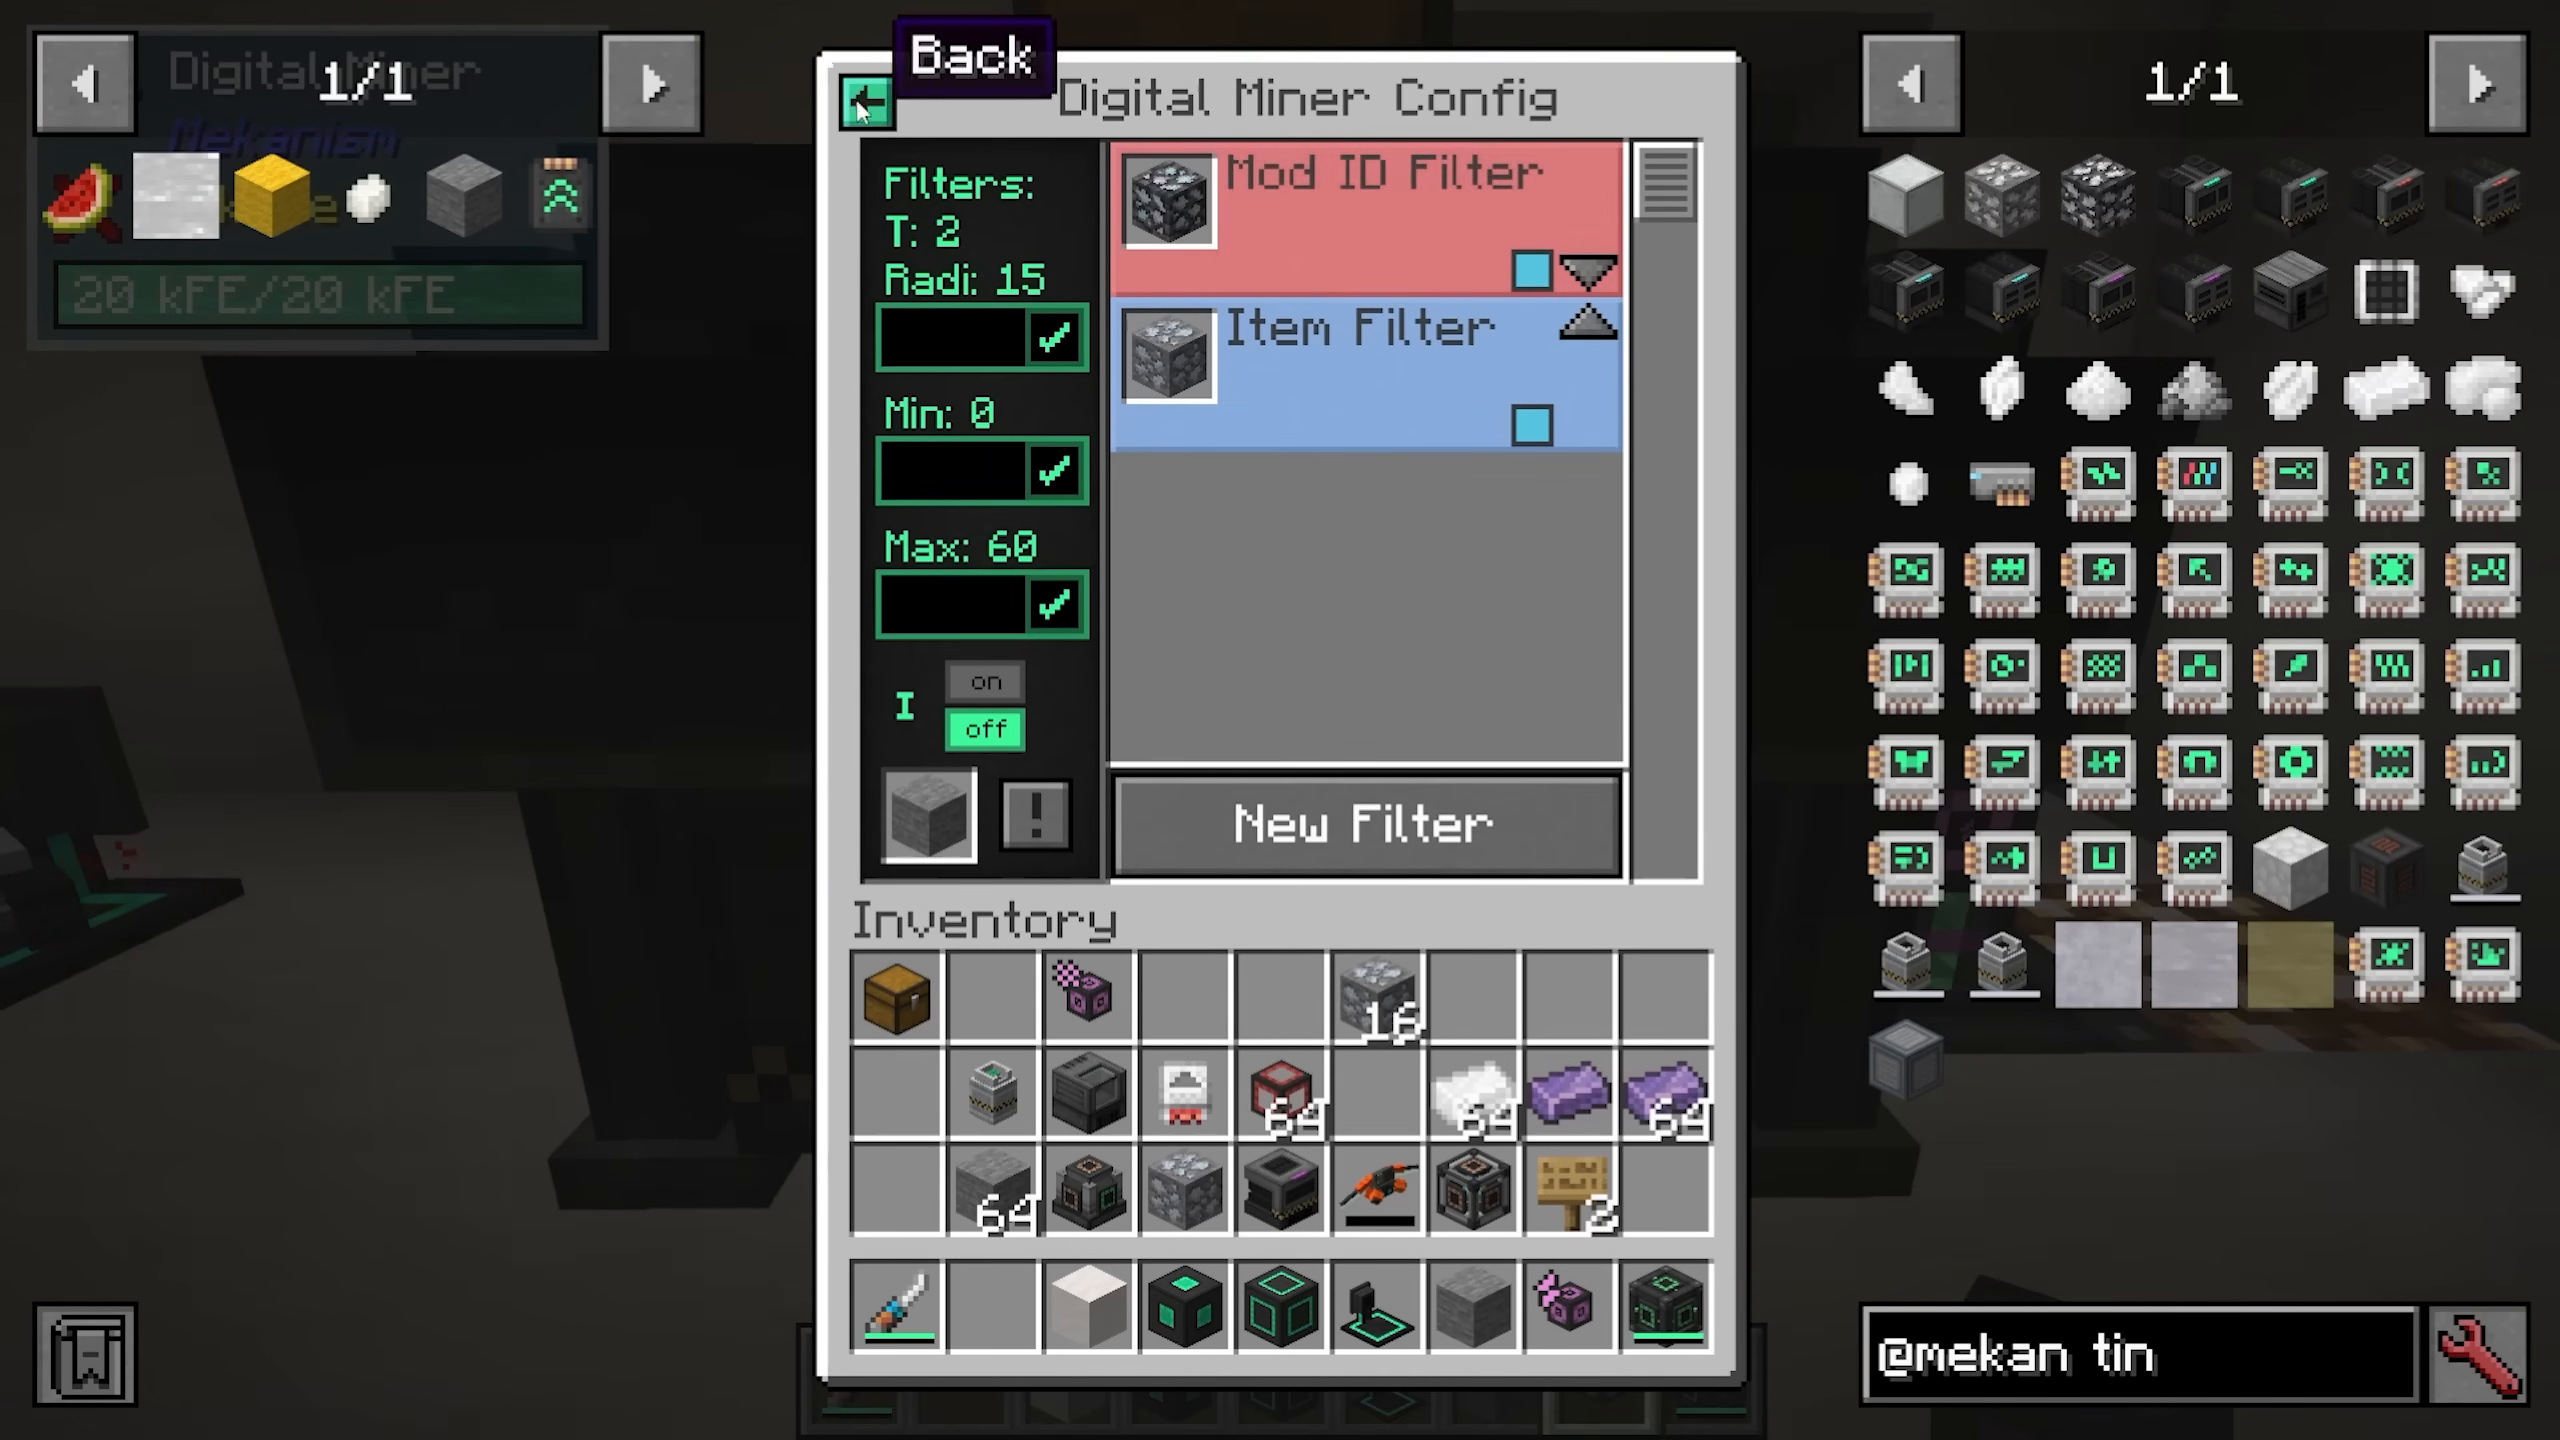
The digital miner automatically mines ores and blocks in a specified area without manual mining. Setup and configuration:
Power the miner from the green port at the side
Input fissile fuel through designated ports
Configure filters to specify what to mine (by mod ID or individual item)
Set the mining radius and vertical range (e.g., 0 to 60 blocks)
Optionally enable block replacement (e.g., replace mined ore with cobblestone) and silk touch
Mining output comes out the orange port at the back. Optional upgrades include stone generator (for automatic replacement blocks), anchor (to keep the chunk loaded), speed, and energy upgrades.
Quantum Entangloporter
The quantum entangloporter allows wireless transfer of items, fluids, gases, and energy between machines on the same frequency:
Set a frequency (e.g., “tutorial”)
Configure which sides handle which type of transfer using side config
All connected devices on the same frequency share that data
Example: Items exit the digital miner, enter a quantum entangloporter on frequency “tutorial,” and exit from another quantum entangloporter on the same frequency at your base
Teleporters
Teleporter portals allow instant travel:
Build a frame using teleporter frame blocks surrounding a teleporter block
Right-click to power it and set a frequency
Customize the color (gray, blue, lime, etc.) to match your frequency
Step through to teleport to another portal on the same frequency
You can have multiple portals at different locations and change which one is active by adjusting the frequency on the central portal.
Ore Processing: Doubling, Tripling, Quadrupling, and 5x
2x Ore Processing
Double your ore output with basic processing:
Feed ores into an enrichment chamber to create ore dust
Smelt the ore dust in an energized smelter to produce double the ingots
3x Ore Processing
Triple ore output using oxygen purification:
Feed ores into a purification chamber with oxygen to create ore clumps
Crush the clumps in a crusher to create ore shards
Enrich the shards in an enrichment chamber
Smelt in an energized smelter for 3x output
To generate oxygen: Pump water with an electric pump into an electrolytic separator. Oxygen exits the right side (blue pipe); dump excess and use what you need.
4x Ore Processing
Quadruple ore output by adding a chemical injection chamber:
Feed ores into a chemical injection chamber with hydrogen chloride
Continue through purification chamber (with oxygen), crusher, enrichment chamber, and smelter
To make hydrogen chloride, you’ll need a thermal evaporation tower (see section below).
Thermal Evaporation Tower Setup
The thermal evaporation tower converts water to brine using heat:
Build a 4×4 hollow tower (up to 17 blocks high) using thermal evaporation blocks
Place a controller for access and valves for fluid input/output
Use a resistive heater to supply heat (300+ FE/tick recommended)
Pump in water using a pump; brine comes out a valve at the top
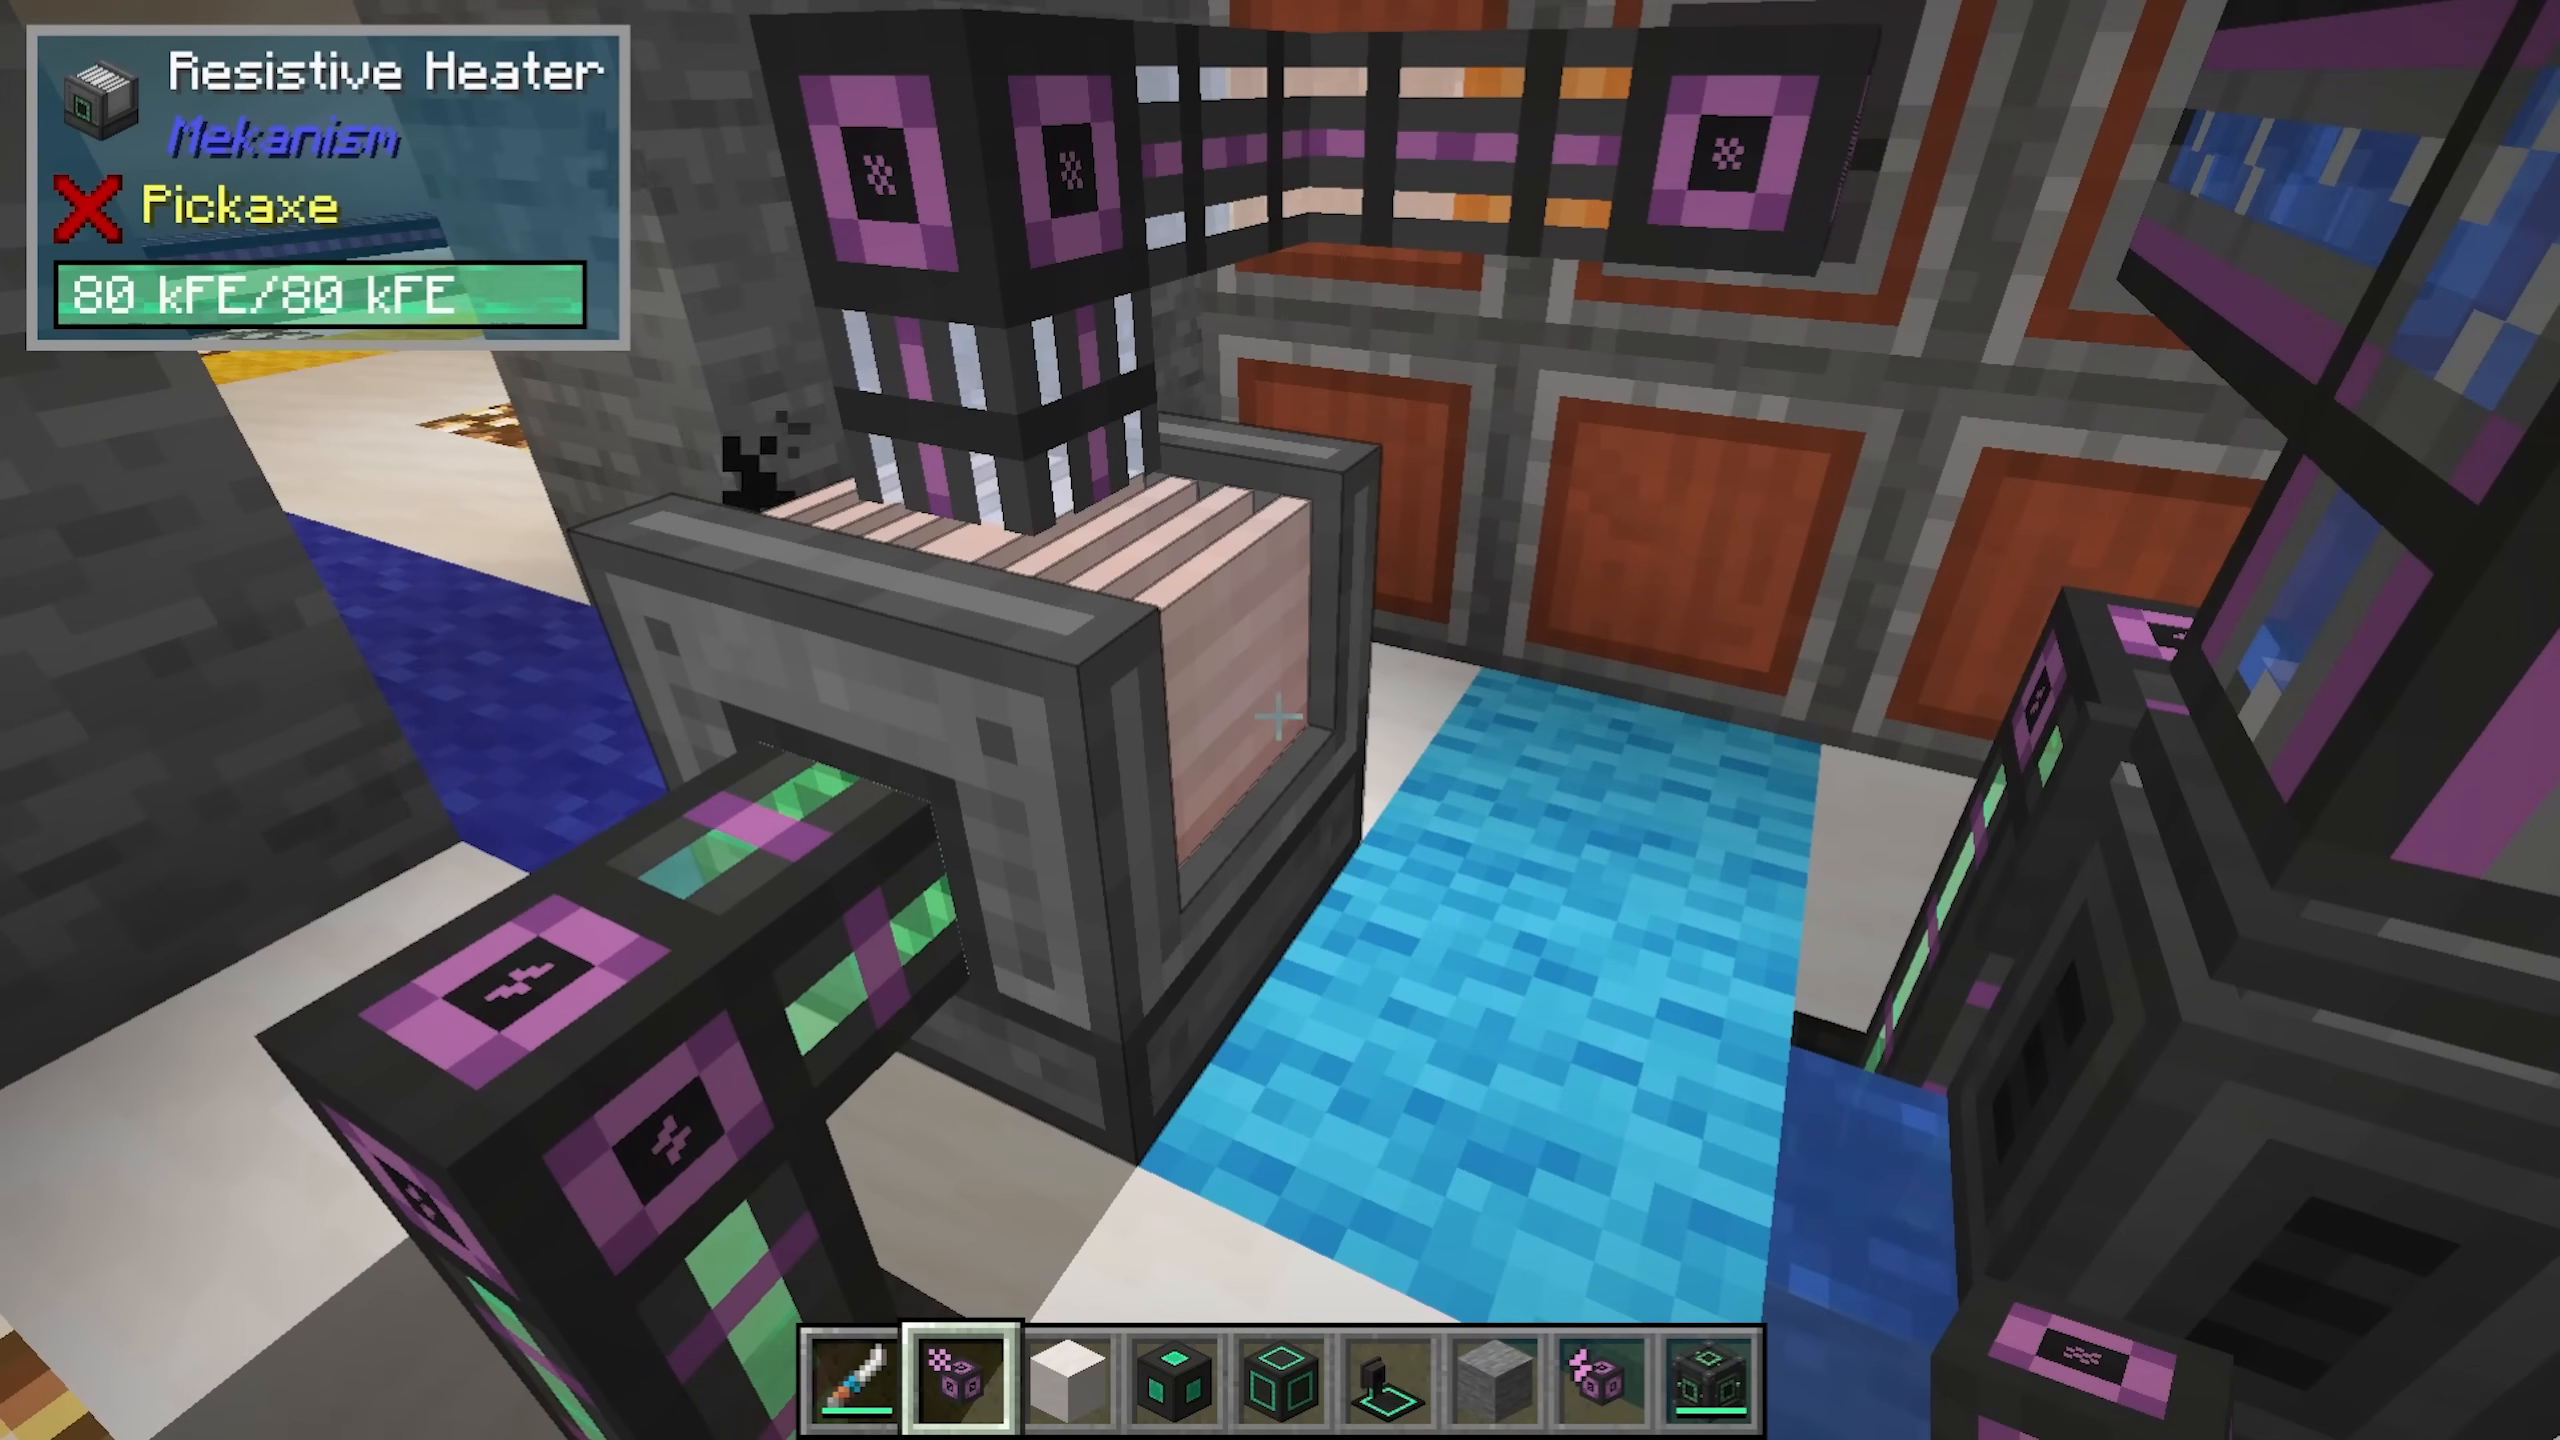
Advanced solar generators can be placed on the corners for increased efficiency.
Making Hydrogen Chloride
To produce hydrogen chloride for 4x ore processing:
Separate brine in an electrolytic separator to produce sodium and chlorine (dump sodium)
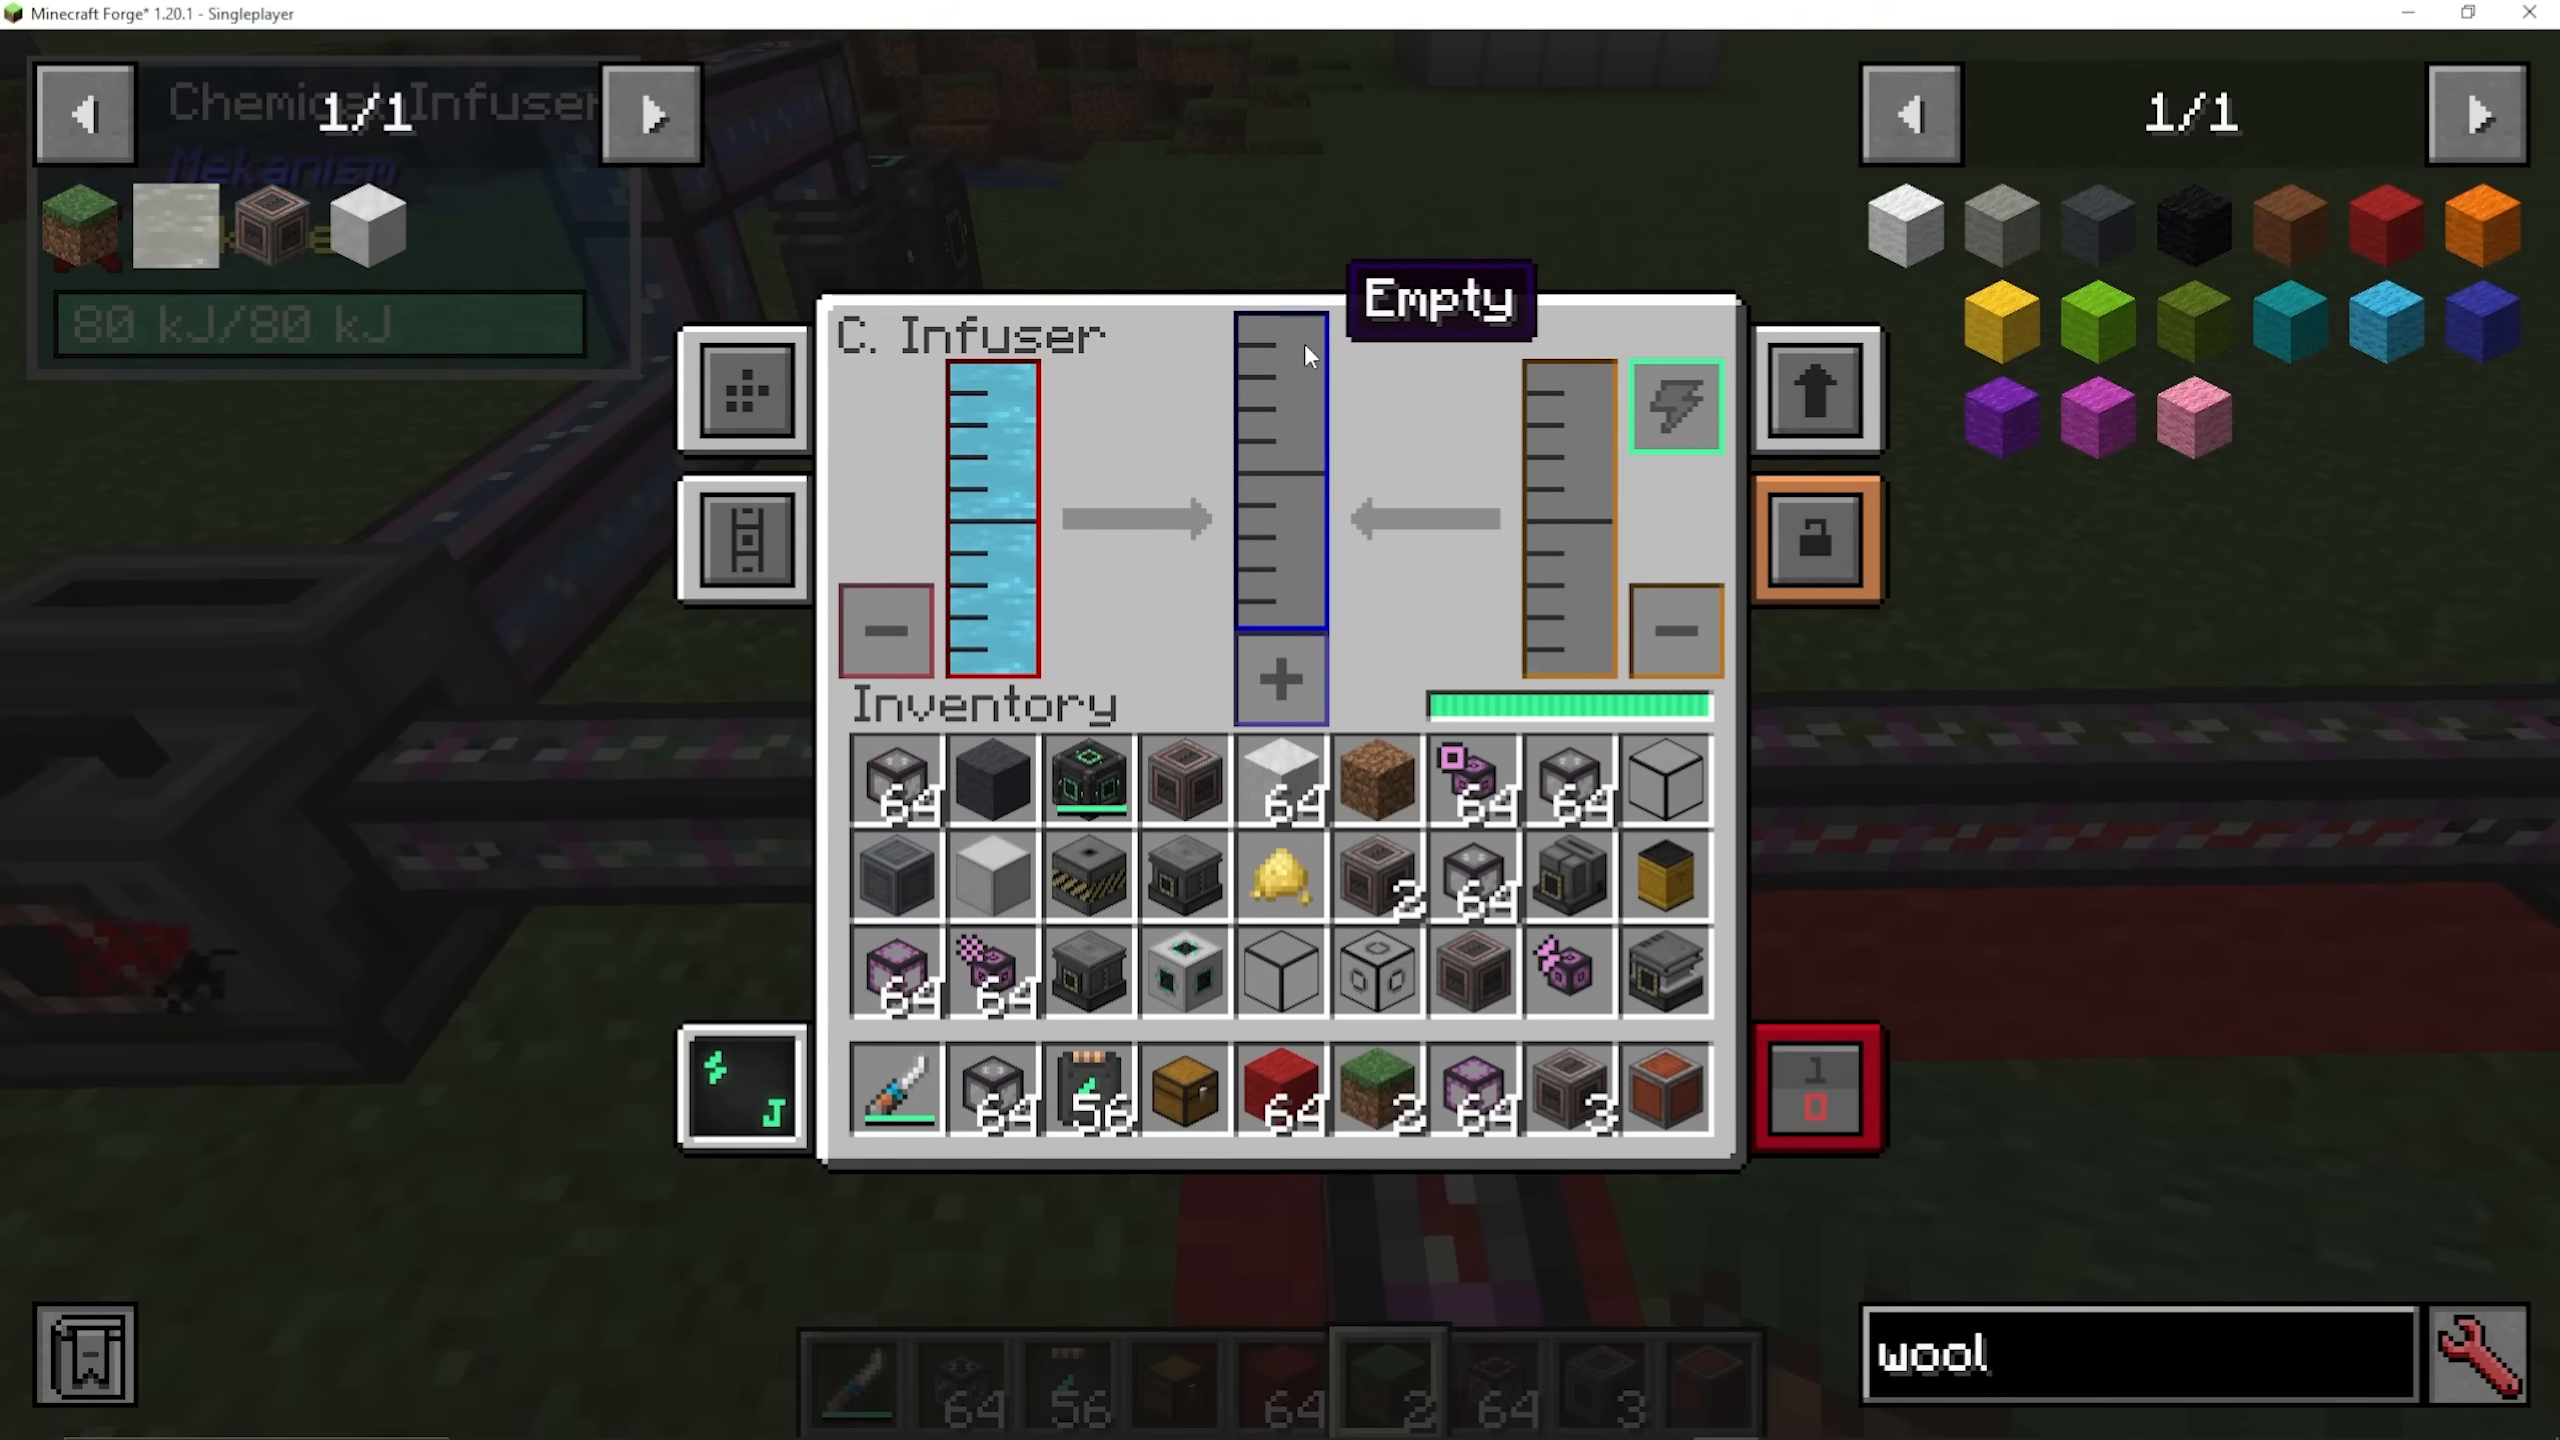
Pump chlorine into one side of a chemical infuser
Pump hydrogen (from water electrolysis) into the other side
The infuser produces hydrogen chloride
5x Ore Processing
Achieve maximum ore yield by adding three additional machines after the chemical injection chamber:
Ores → Chemical Injection Chamber (with hydrogen chloride) → Purification Chamber (with oxygen)
Purification → Crusher → Enrichment Chamber → Smelter
Add: Chemical Crystallizer, Chemical Washer, and Chemical Dissolution Chamber
The solution becomes dirty ore slurry → washed with water → crystallized into solid ores → proceeds to 4x chain
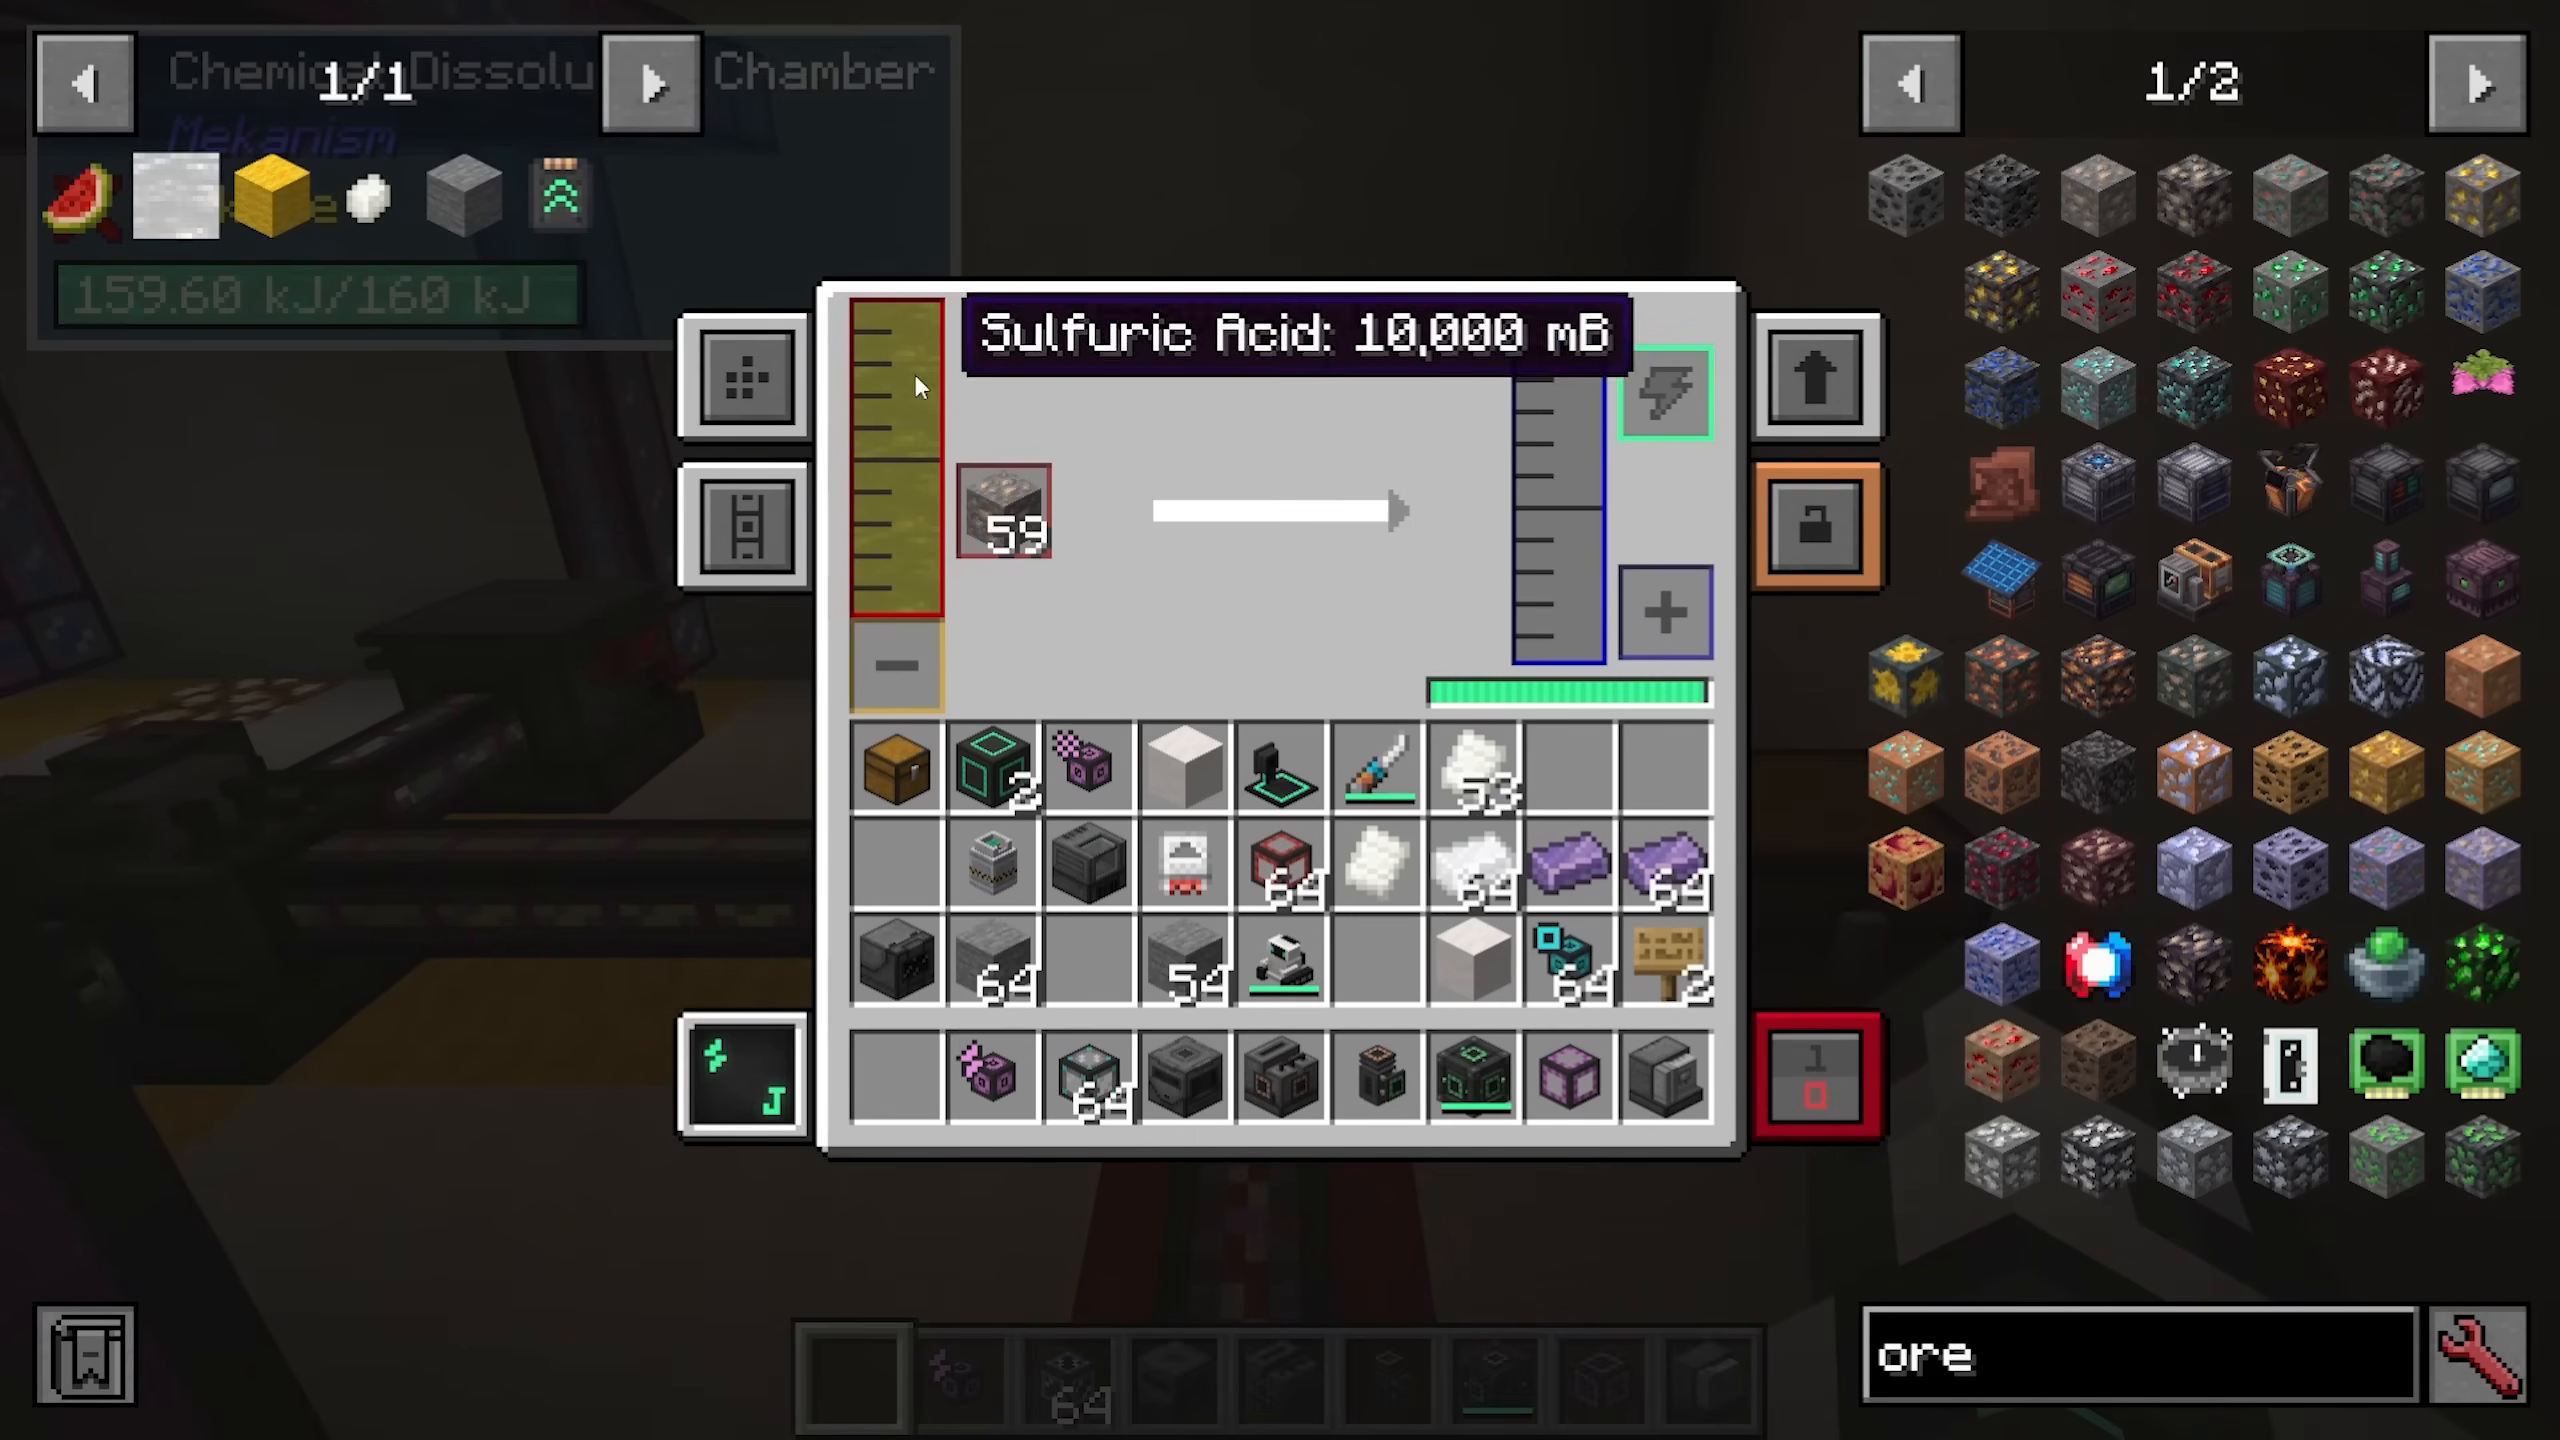
To make sulfuric acid (required for the dissolution chamber):
Use hydrogen chloride with gunpowder in a chemical injection chamber to make sulfur
Oxidize sulfur in a chemical oxidizer to create sulfur dioxide
Combine sulfur dioxide with oxygen in a chemical infuser to create sulfur trioxide
Combine sulfur trioxide with water vapor (from a rotary condenser) to create sulfuric acid
Dissolve fluorite blocks in sulfuric acid using a chemical dissolution chamber
End-Game Power: Fission Reactors
Creating Fissile Fuel
Fissile fuel powers fission reactors and is made in an isotopic centrifuge:
Enrich uranium ingots in an enrichment chamber to create yellow cake uranium
Oxidize yellow cake in a chemical oxidizer to create uranium oxide
Create uranium hexafluoride by combining uranium oxide with hydrofluoric acid in a chemical infuser
Centrifuge uranium hexafluoride in an isotopic centrifuge to produce fissile fuel
Making hydrofluoric acid is complex and involves brine, electrolytic separators, chemical infusers, and a chemical dissolution chamber with fluorite blocks. See the detailed steps in the guide video for full instructions.
Building a Fission Reactor
Construct a fission reactor using these components:
Base: Fission reactor casings forming the bottom layer
Fuel Assemblies: Fission fuel assemblies arranged in a zigzag pattern from bottom to top
Control Rods: Control rod assemblies placed at the top of each fuel assembly column
Coolant Gaps: Leave spaces for water (or other coolant) to flow
Roof: Cover with reactor glass or casings
A small reactor might have 4 fuel assemblies on the corners and 1 in the center; larger designs are possible but more complex.
Configuring Reactor Ports
Use reactor ports to manage reactor input/output:
Water Input: Set to input-only for coolant supply
Waste Output: Set to output-waste; connect to a radioactive waste barrel
Fissile Fuel Input: Set to input-only
Heated Coolant Output: Set to output-coolant; connect to a turbine
CRITICAL: If waste or steam backs up, a nuclear meltdown occurs, destroying everything and creating radioactive pollution. Always ensure sufficient turbine capacity and coolant flow.
Turbine Setup
A turbine converts steam into water and generates power:
Base: Turbine casings in a 5×5 or larger pattern
Rotor: Turbine rotor in the center with turbine blades (2 per height block)
Top Assembly: Rotational complex on top of the rotor, surrounded by pressure dispensers
Coils: Electromagnetic coils above the pressure dispensers (these generate power)
Vents: Turbine vents to expel water and prevent backups
Shell: Complete with turbine casings and structural glass
Connect the reactor’s heated coolant output to a turbine valve. Connect the turbine’s power output via universal cables to an energy storage system. Water output should loop back to the reactor as coolant.
If the turbine backs up with steam or the energy storage fills up, pressure builds back into the reactor, causing a meltdown. Always build turbines large enough for your reactor size.
Induction Matrix: End-Game Energy Storage
The induction matrix is Mekanism’s ultimate energy storage solution, capable of storing tetrajoules of energy:
Building an Induction Matrix
Matrices range from tiny to massive (up to 17×17 blocks):
Shell: Induction casings and structural glass
Ports: Induction ports for energy input/output
Interior: Induction cells (for storage capacity) and induction providers (for transfer rate)
Understanding Cells and Providers
Induction Cells: Determine total storage capacity
Basic: 8 kilojoules
Advanced: 64 kilojoules
Elite: 512 kilojoules
Ultimate: 4 terajoules
Induction Providers: Determine input/output rate
Basic: 256 kilojoules/tick
Advanced: 2,048 kilojoules/tick
Elite: 16,384 kilojoules/tick
Ultimate: 131,072 kilojoules/tick
You can mix and match cell and provider tiers to customize capacity and transfer rates. Use many basic cells for large storage without expensive materials, or combine advanced and ultimate components for higher transfer rates.
Using the Induction Matrix
Right-click the matrix to:
Charge armor or tools directly
Use item slots for auto-charging equipment
View matrix statistics and energy levels
End-Game Power: Fusion Reactors
Polonium Pellets: The Gateway to Fusion
Fusion reactors require polonium pellets, which come from fission reactor waste:
Pump nuclear waste from your fission reactor into a solar neutron activator
This produces polonium gas
Pump the polonium into a pressurized reaction chamber with water and fluorite dust (crushed fluorite ore)
This produces polonium pellets (spent waste goes to a radioactive barrel)
Building a Fusion Reactor
Fusion reactors are built in a distinctive star shape:
Form a cross pattern with fusion reactor frames (frames alternate in corners to create the star shape)
Use reactor glass in the middle sections
Surround with more frames and casings to complete the star
Place a fusion reactor controller on top
Place a laser focus matrix on one side
Add reactor ports for fuel input (two types) and energy output
Starting the Fusion Reaction
To ignite the reactor, you need a holoarm and DT fuel:
Create a holoram using a metallurgic infuser with carbon (coal) and gold dust, filled with DT fuel
Make DT fuel: Combine deuterium and tritium in a chemical infuser
Build a laser amplifier chain to supply 1 gigajoule of energy to the laser focus matrix
When ready, fire the laser to ignite the reaction
Fuel Input: Deuterium and Tritium
Deuterium: Heavy water separated in an electrolytic separator
Pump water into an electric pump with a filter upgrade (gets heavy water)
Separate in an electrolytic separator
Deuterium exits the left side
Tritium: Made from lithium using the thermal evaporation tower and solar neutron activator
Create brine in a thermal evaporation tower
Separate brine to produce lithium
Condense lithium gas in a rotary condenser
Activate lithium in a solar neutron activator to produce tritium
Operating the Fusion Reactor
Once ignited:
Pump deuterium and tritium into separate ports at the injection rate you set (minimum 2)
The reactor generates massive amounts of power
You can water-cool by pumping water for extra cooling, but requires enormous turbine setups
CRITICAL: If you run out of fuel or the injection rate drops below 2, the reactor shuts down. You’ll need a new holoram and to refill the laser amplifier to restart
Alternatively, you can pump DT fuel directly (1 bucket/tick), but supply must be very fast
Fusion reactors don’t have meltdowns like fission reactors, making them much safer once operational.
Advanced Storage: QIO System
The QIO (Quantum Input/Output) system is a wireless storage and crafting solution that requires polonium to craft:
QIO Drive Array
The core of the QIO system. Place it down (no power required) and set:
Frequency (e.g., “tutorial”)
Whether it’s on the subscribed frequency or a specific number
Color (for visual organization)
Install QIO drives inside:
Basic Drive: 16,000 items, 128 types
Hyper-Dense Drive: Made from 4 basic drives; stores more
Advanced/Elite/Ultimate: Even larger capacity; ultimate requires anti-matter
QIO Dashboard
Access stored items and craft with a QIO dashboard (requires power):
View all stored items
Search and sort by name, count, or mod
Use crafting grids to craft items using stored materials
Withdraw items to your inventory
No power required for the drive array itself, making it incredibly efficient
QIO Importers and Exporters
Automatically move items in and out of the QIO system:
Importer: Pulls items from a connected chest into the QIO drive
Exporter: Pushes items from the QIO drive into a connected chest
Both support filters (mod ID, tags, or specific items)
Set frequency to link with the array
Portable QIO Dashboard
Right-click to access your QIO storage remotely. Set the frequency to match your drive array, and you can access all stored items and crafting anywhere.
HDPE Sheets and Pressurized Reaction Chambers
HDPE (High-Density Polyethylene) sheets are critical for advanced machines like the SPS casing and solar neutron activator. Production is complex:
Step 1: Crush organic matter (e.g., melon slices) into biofuel using a crusher
Step 2: Feed biofuel into a pressurized reaction chamber with hydrogen and water to create substrate (also produces ethylene gas as a byproduct)
Step 3: Condense ethylene gas in a rotary condenser into liquid ethylene
Step 4: Feed substrate and liquid ethylene into a second pressurized reaction chamber with oxygen to create HDPE pellets
Step 5: Enrich HDPE pellets in an enrichment chamber to create HDPE sheets
Hydrogen and oxygen come from an electrolytic separator fed with water.
Anti-Matter and Super-Critical Phase Shifter
Making Anti-Matter
The super-critical phase shifter (SPS) converts polonium into anti-matter—the most exotic material in Mekanism:
Building the SPS
Structure (3×5×5 in the middle, expand as needed):
Base: SPS casings and reactor glass
Ports: SPS ports for power input (multiple required)
Supercharged Coils: Placed on ports above reactor glass
Fill: Add more SPS casings and glass as desired
When complete, the structure will glow red. Hook power to each port—the more power available, the faster it operates.
Operating the SPS
Input:
Polonium (via input port)
Power (hooked to all input ports)
Output:
Anti-matter (via output port with pressurized pipe)
Anti-matter is consumed in a chemical crystallizer to create anti-matter pellets, which are used for advanced items and supermassive QIO drives.
Anti-Protonic Nucleosynthesizer
Use anti-matter liquid to convert simple items into more valuable variants:
Obsidian → Crying Obsidian
Coal → Diamonds
Golden Apple → Enchanted Golden Apple
Skeleton Skull → Other skull variants
Flower Pots → Nautilus Shells
Chest → Ender Chest
Bed → Respawn Anchor
Meka-Suit: Wearable Equipment
The Meka-Suit is customizable powered armor made with polonium:
Modification Station
Use the modification station (powered from the back) to customize Meka-Suit pieces:
Place a suit piece (e.g., helmet) in the modification station
Install upgrade units into available slots (up to 8 units per piece)
Remove units by clicking them
Available Units
Energy Unit: Stores energy to power the suit
Gravitational Modulating Unit: Allows flight and gravity defiance (requires anti-matter pellets)
Teleportation Unit: Enable short-range teleportation
Light Draw Unit: Provides light sources
End-game units often require anti-matter pellets, making them the pinnacle of Mekanism technology.
Conclusion
You’ve now learned the complete progression through Mekanism—from harvesting your first osmium ore to building fusion reactors and anti-matter generators. This mod offers incredible depth, with interconnected systems that reward careful planning and automation. Whether you’re setting up your first heat generator or fine-tuning a quantum storage system, Mekanism provides endless possibilities for creative and efficient engineering.
Remember: progression in Mekanism is gated by materials like infused alloys, reinforced alloys, atomic alloys, refined obsidian, and ultimately polonium. Plan your factories accordingly, and don’t be afraid to automate every step of production—the mod is designed with automation in mind.
Want to Support?
If you would like to help us continue making these guides – please consider joining our patreon here – https://www.patreon.com/c/JaviHeals
Alternatively – we host a group of MC Servers you can join here – https://discord.gg/zD7Gjt6MHF



