








The Ultimate Guide to Electrodynamics
The Ultimate Guide to Electrodynamics in Minecraft
Electrodynamics is a very complex technical mod that introduces a realistic electrical system to Minecraft. This comprehensive guide walks you through everything from basic electricity concepts to advanced ore processing setups, covering voltage systems, machine types, wire specifications, and eventually working up to 20x ore processing. Whether you’re new to technical mods or looking to master Electrodynamics, this guide will help you understand and implement each system step by step.
Understanding Electricity in Electrodynamics
Voltage System and Machine Types
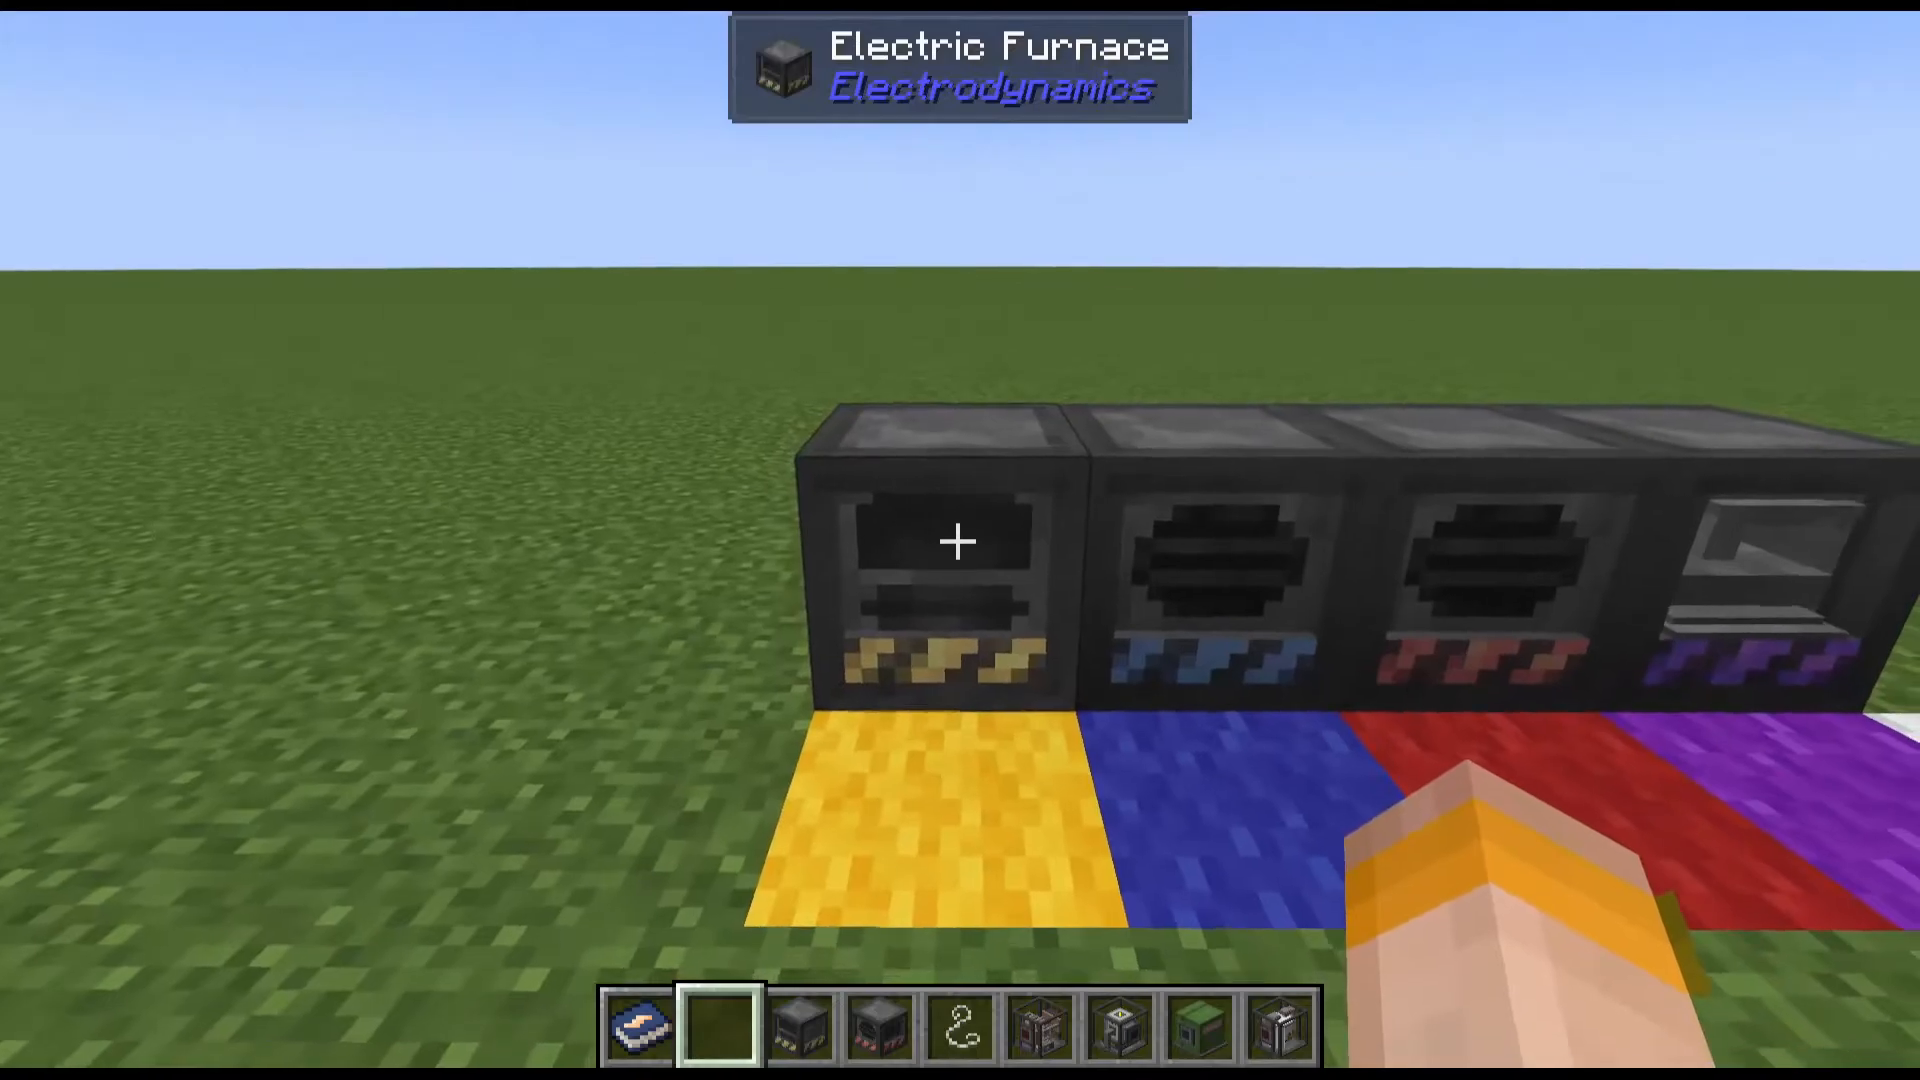
Electrodynamics uses joules for energy, not Forge Energy. The mod features five different voltage tiers that you need to understand:
Yellow: 120 volts
Blue: 240 volts
Red: 480 volts
Purple: 960 volts
White: 1,920 volts
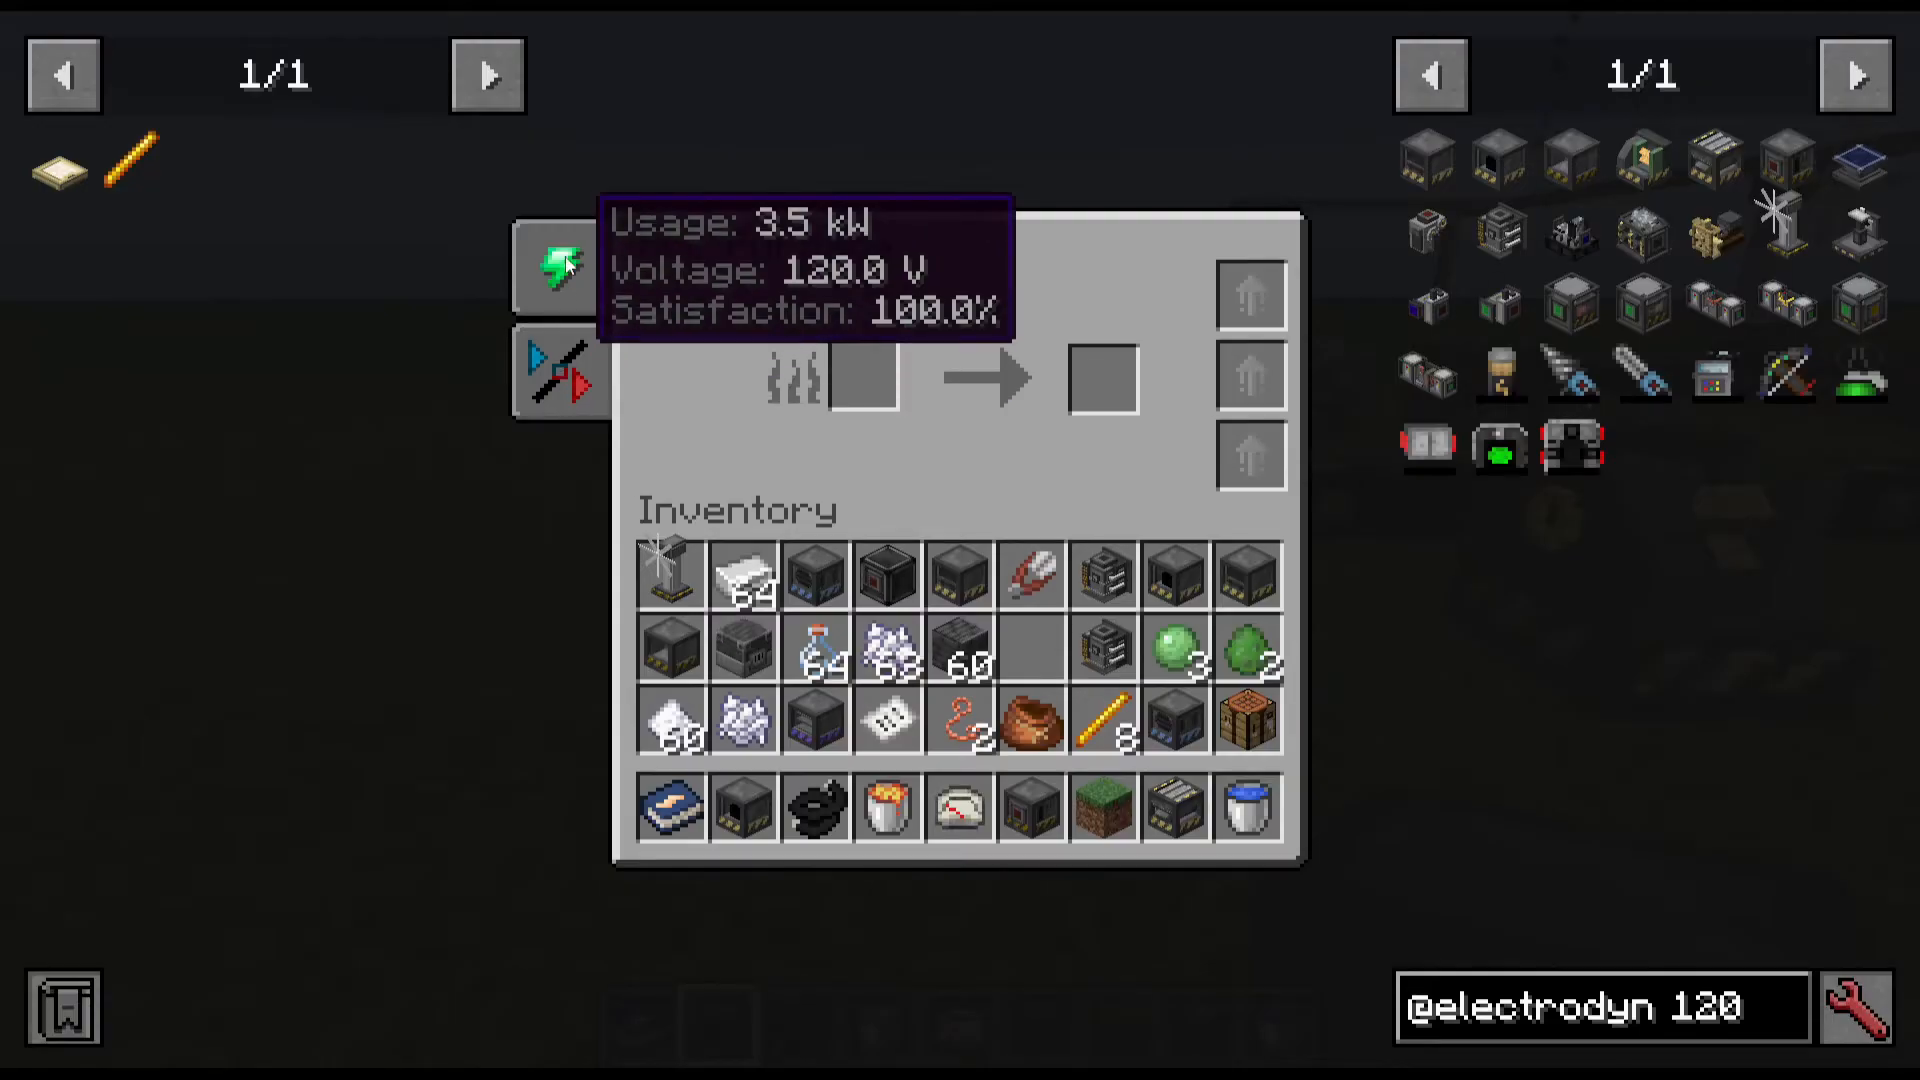
You can identify machine voltages by their color coding. For example, yellow electric furnaces operate at 120 volts. To check exact specifications, hover over the green icon on a machine or use JEI to look up voltage and wattage requirements. Each machine shows its required power consumption in kilowatts—understanding this is crucial for building proper power systems.
Power Generation: FAMO Electric Generators
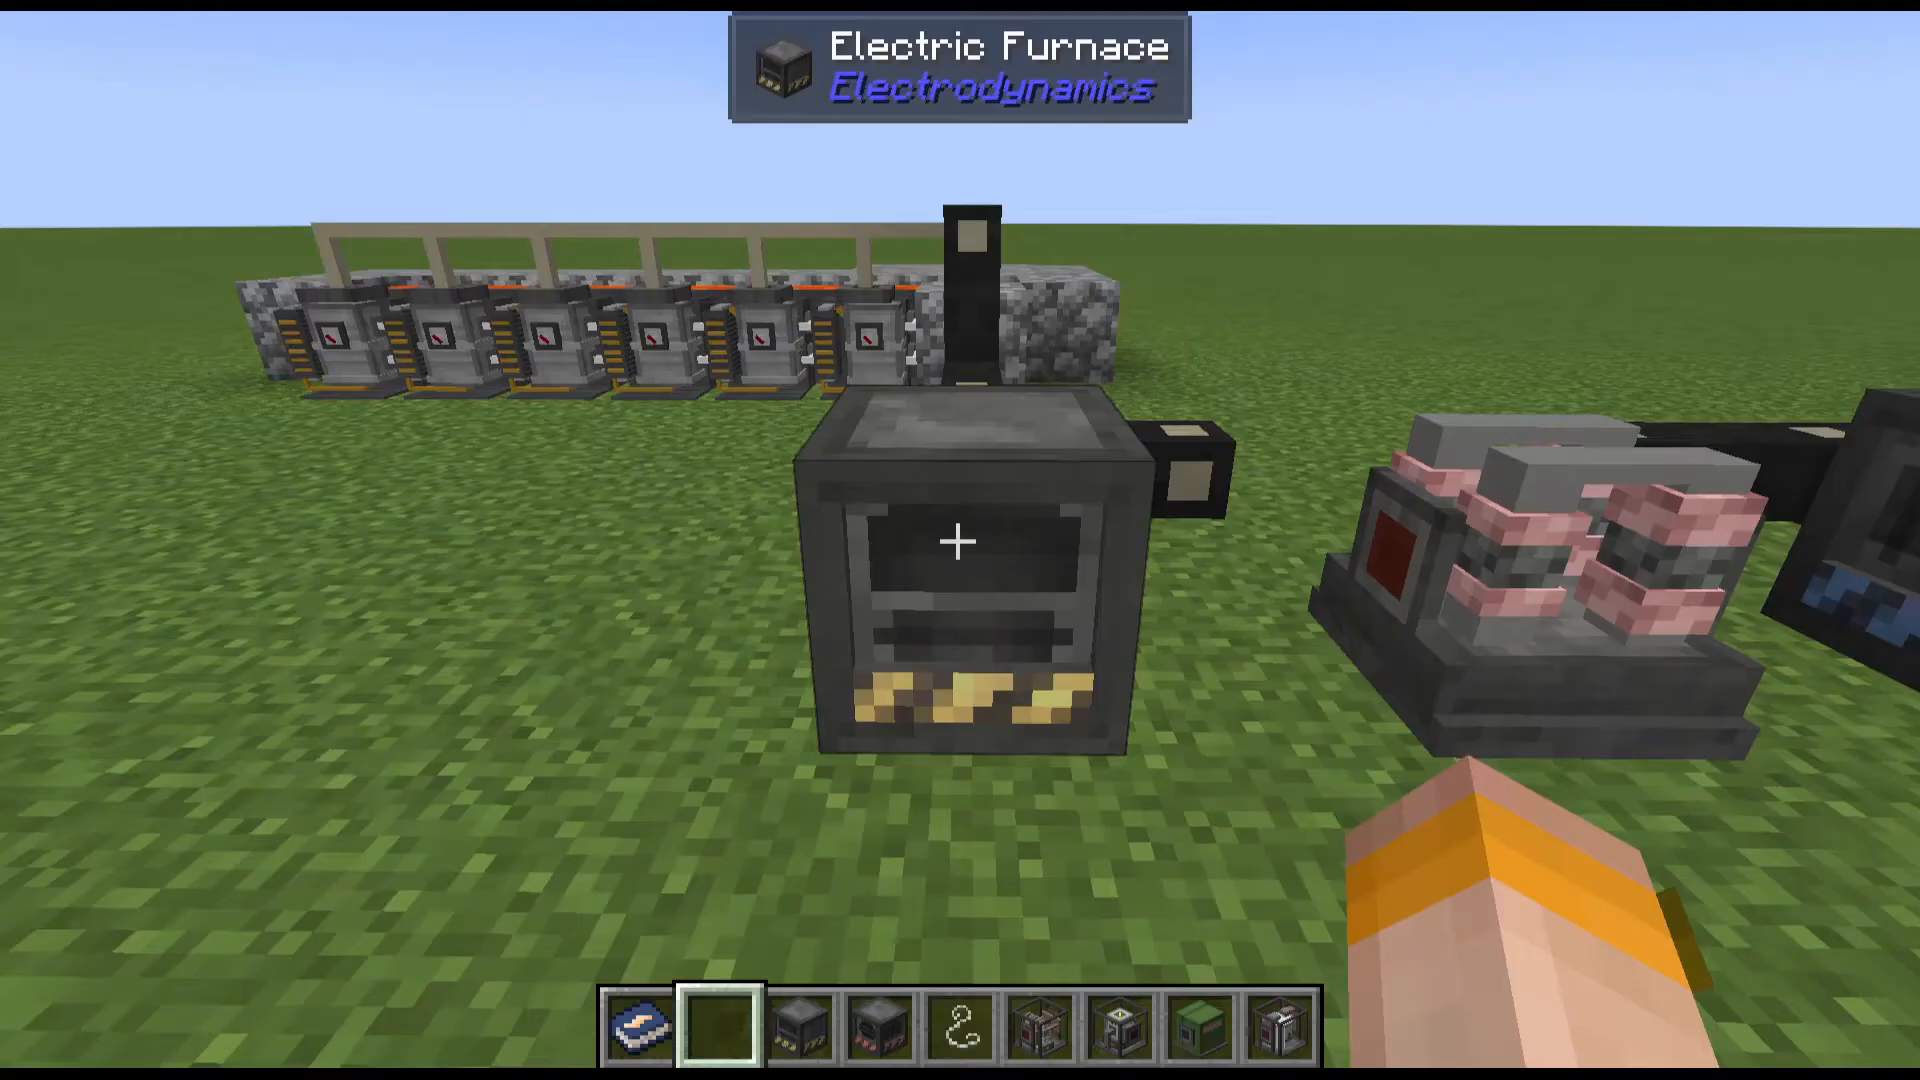
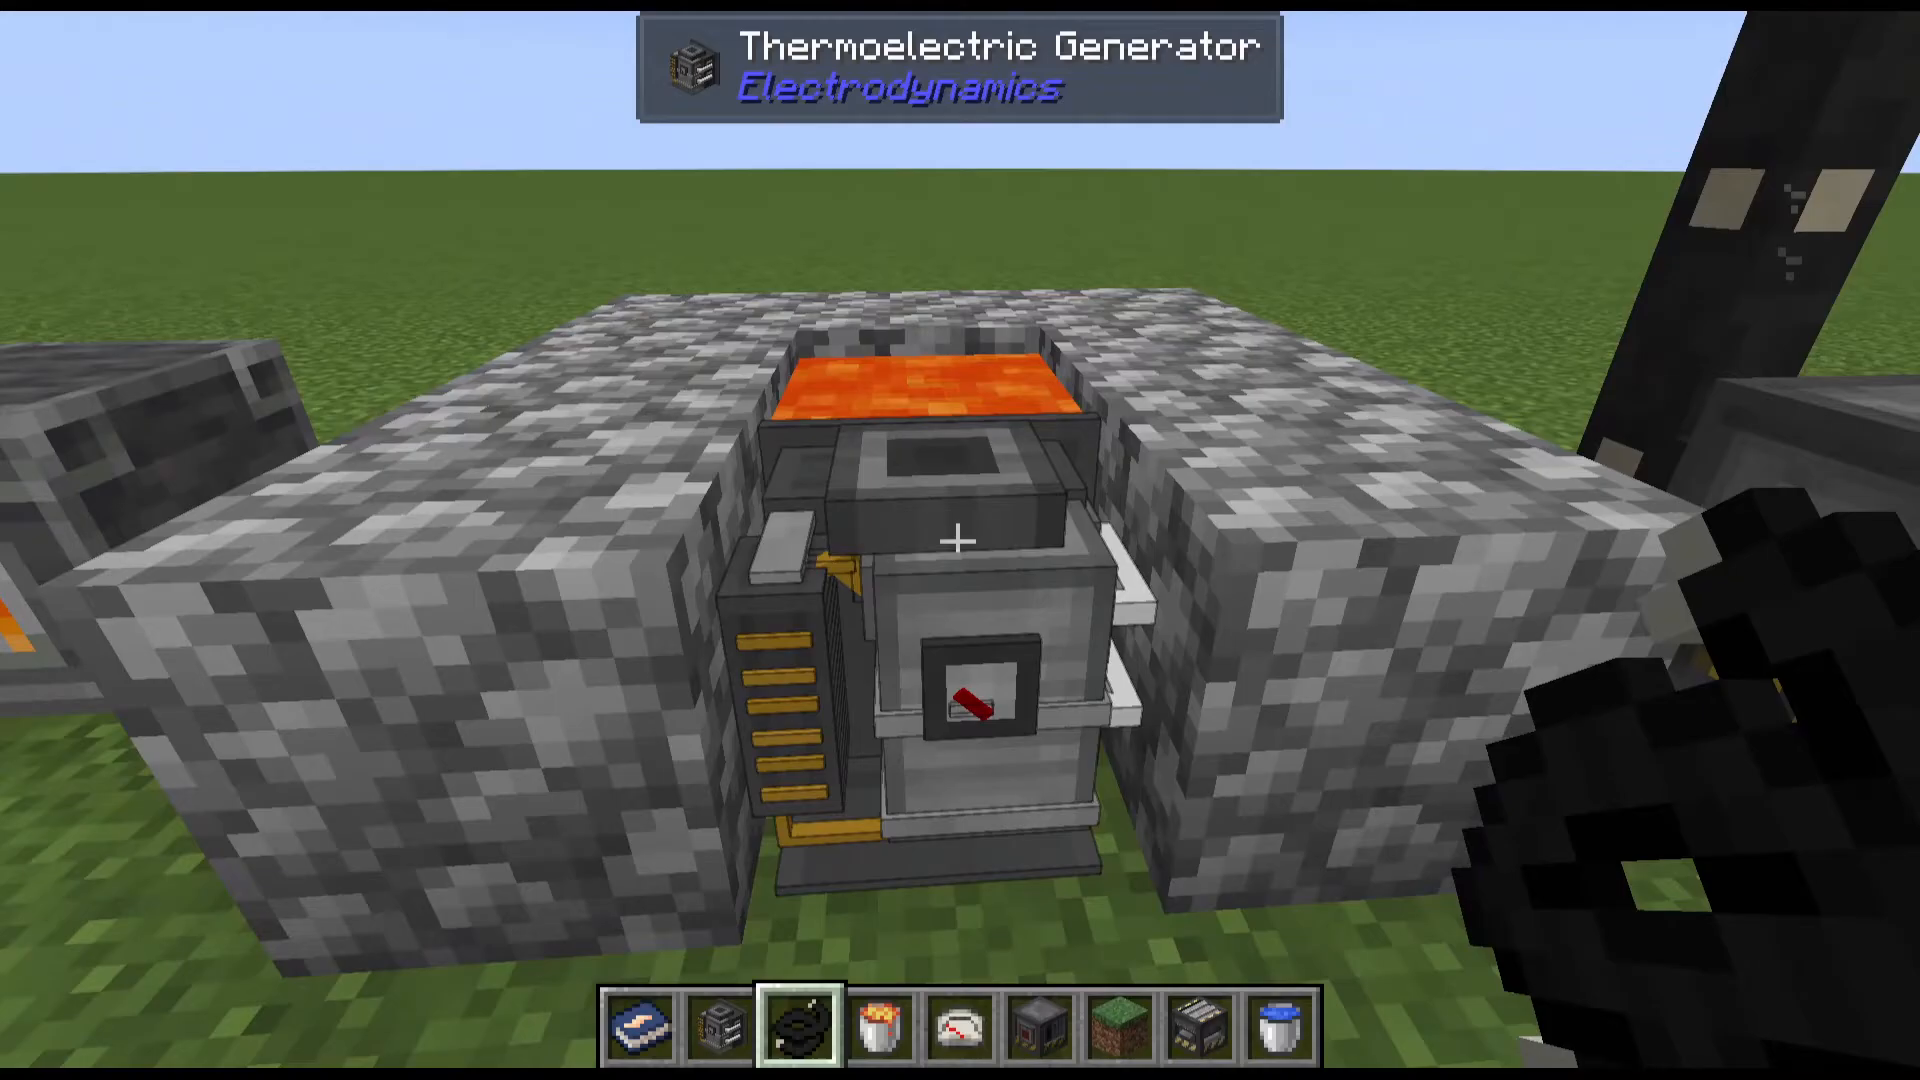
The FAMO Electric Generator is likely your first power source. It generates approximately 540 watts at 120 volts and requires lava placed behind it. Since an electric furnace needs 3.5 kilowatts to run, you’ll need about 7 FAMO generators to power a single furnace at this voltage tier.
Transformers and Voltage Regulation
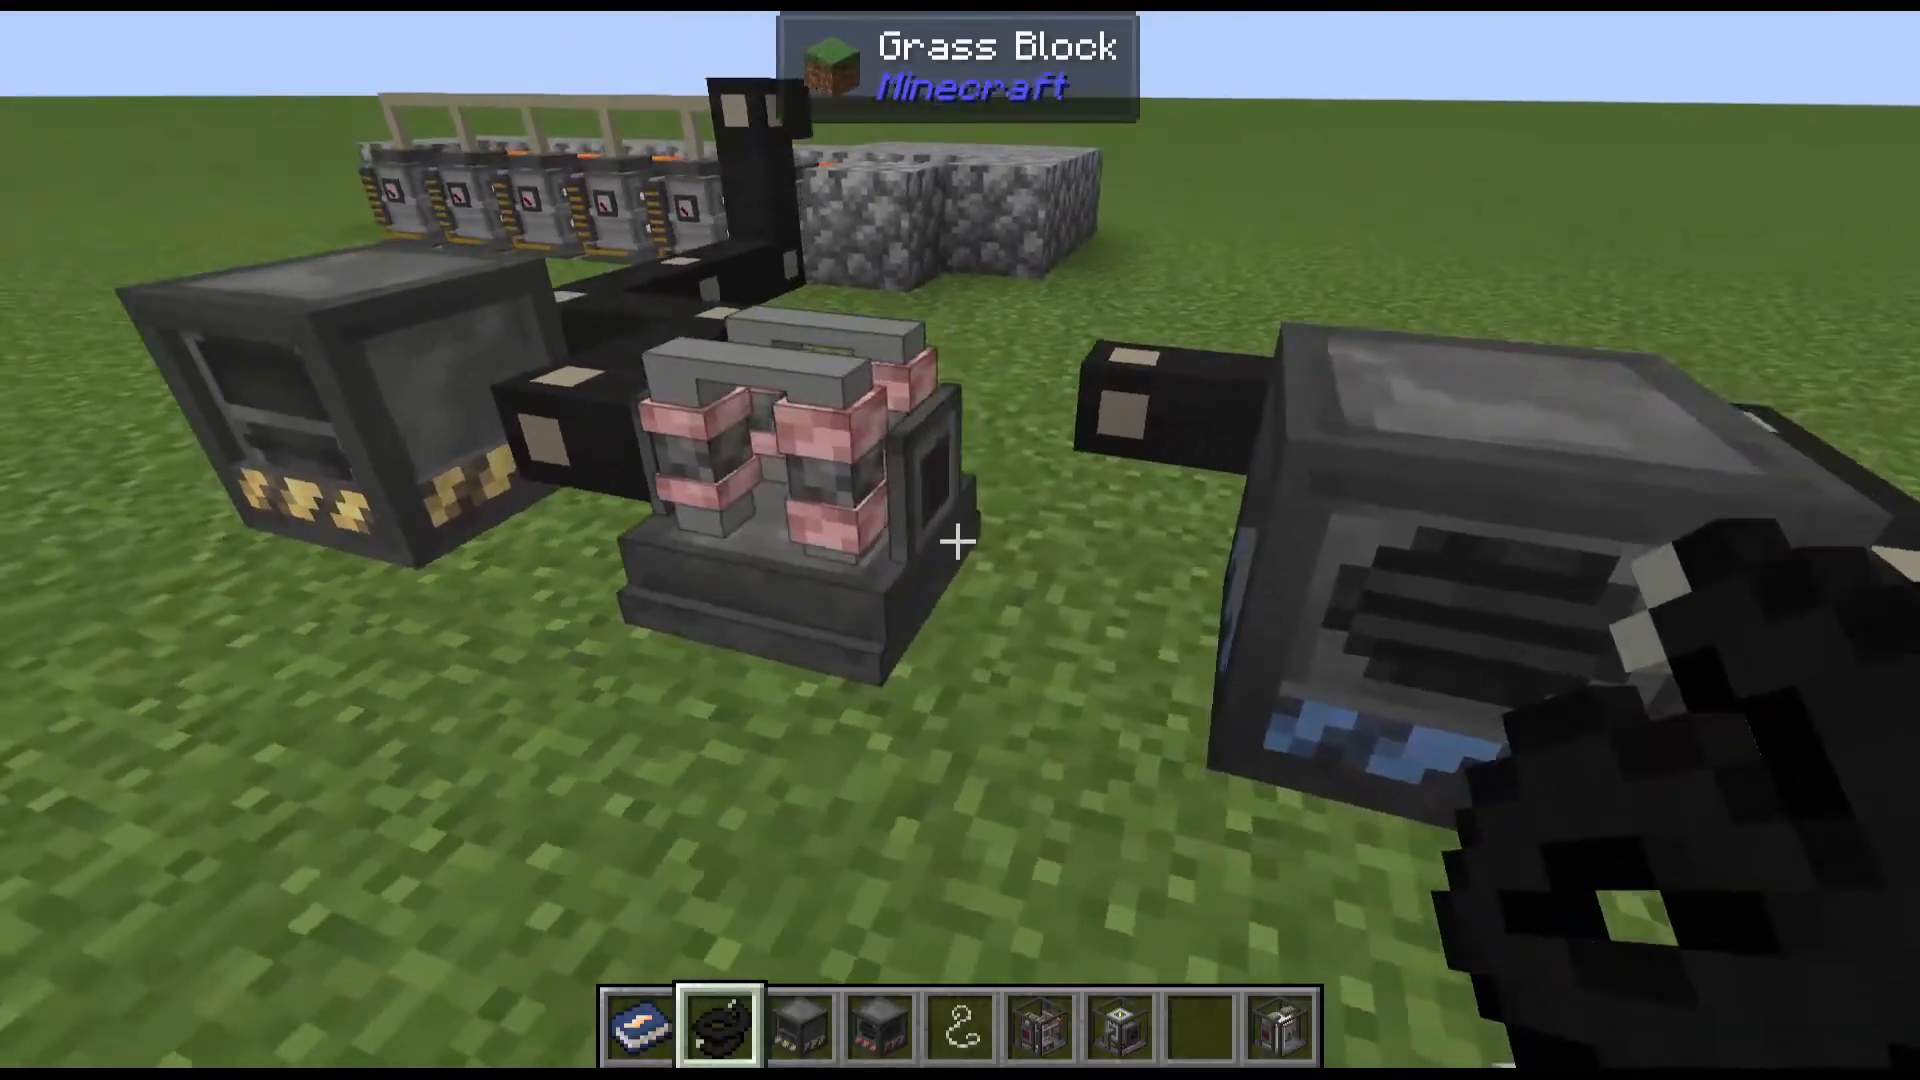
Transformers allow you to step voltage up or down. Basic transformers use simple turn ratios (Mark 2 versions use more complex configurations). Remember the color coding: red slots are inputs and gray slots are outputs for electrical connections. An upgrade transformer takes 120 voltage input and outputs 240 voltage, while a downgrade transformer works in the opposite direction.
Wiring and Cables
Wire Types and Materials
Electrodynamics offers multiple wire options in different material types:
Tin wire
Iron wire
Copper wire
Silver wire
Gold wire
Superconductive wire
Each wire comes in insulated and uninsulated versions. Insulation can be applied using two methods: ceramic or woolen insulation. Leather creates 6 insulation pieces, polyethylene sheets create 20, and wool creates 1. Ceramic insulation cannot be set on fire, making it ideal for lava-adjacent applications.
Wire Specifications: Resistance, Ampacity, and Voltage Rating
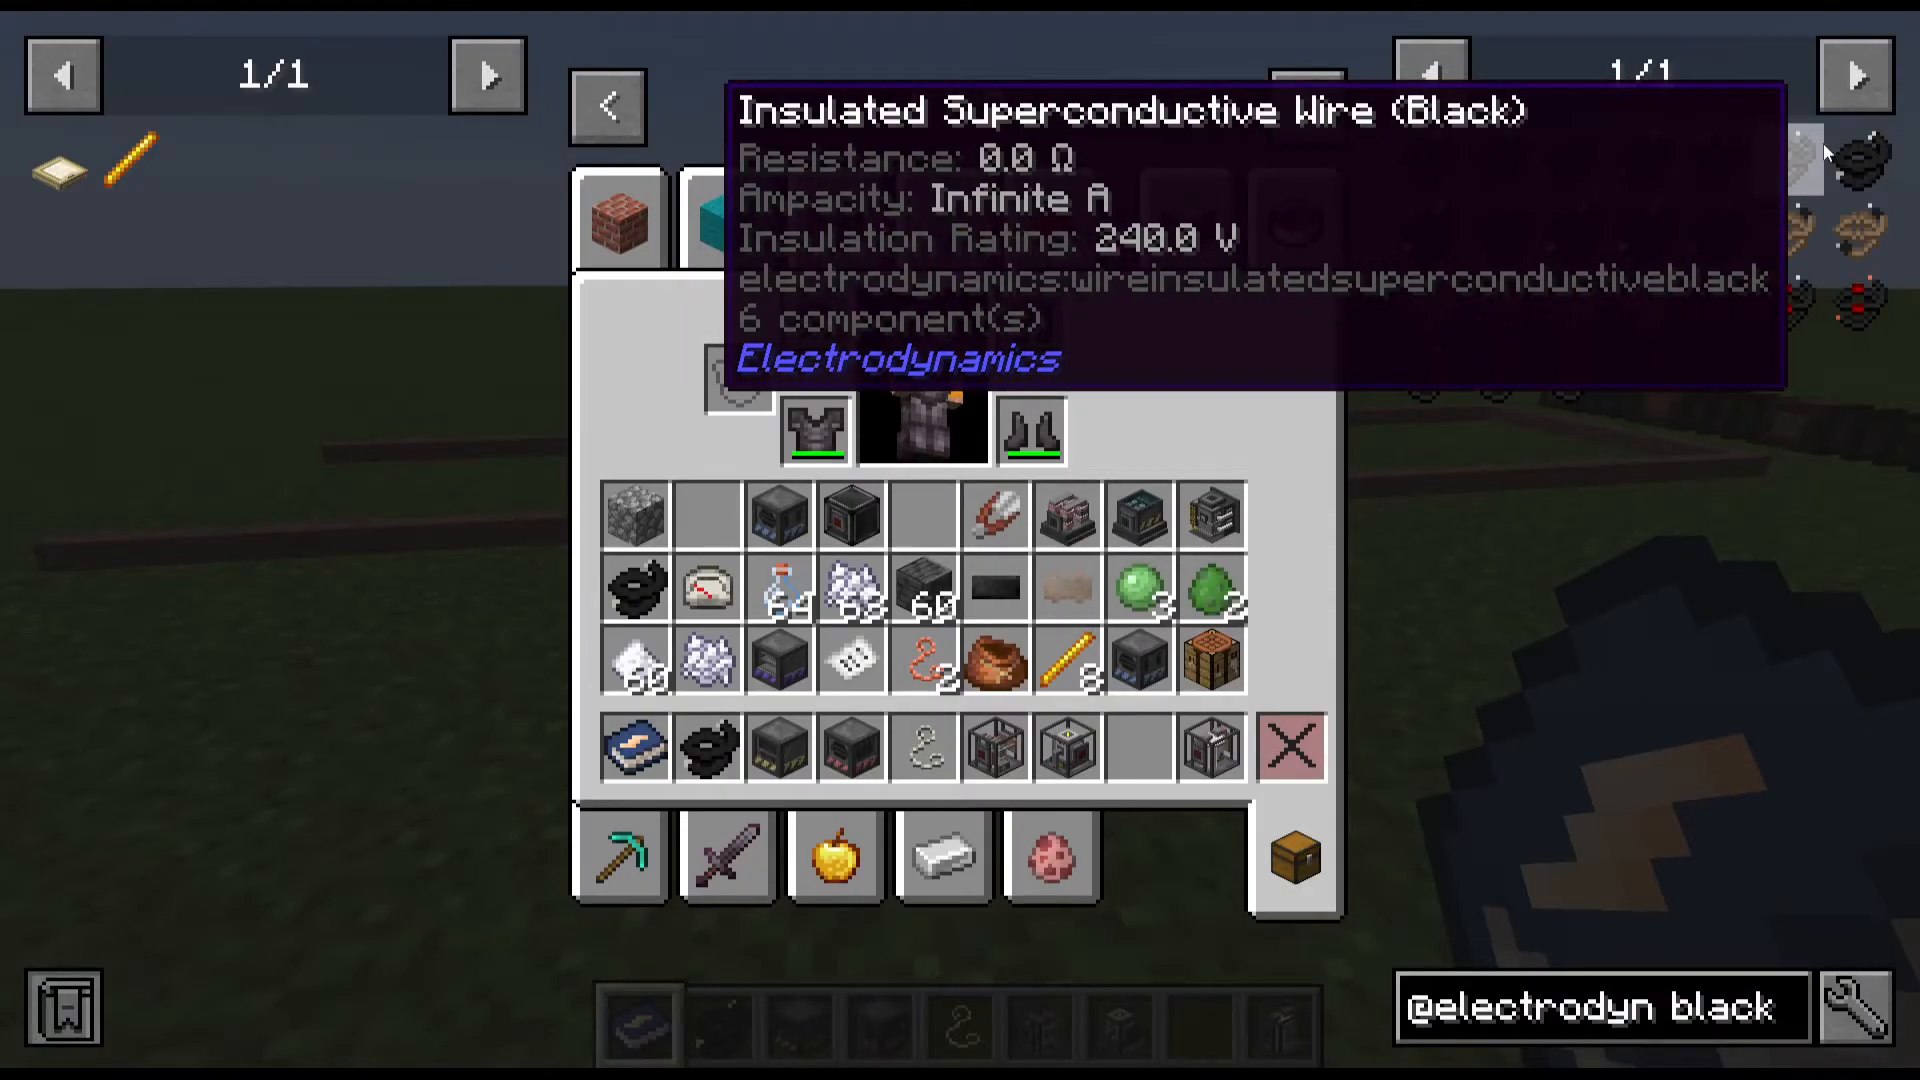
Three critical properties define each wire:
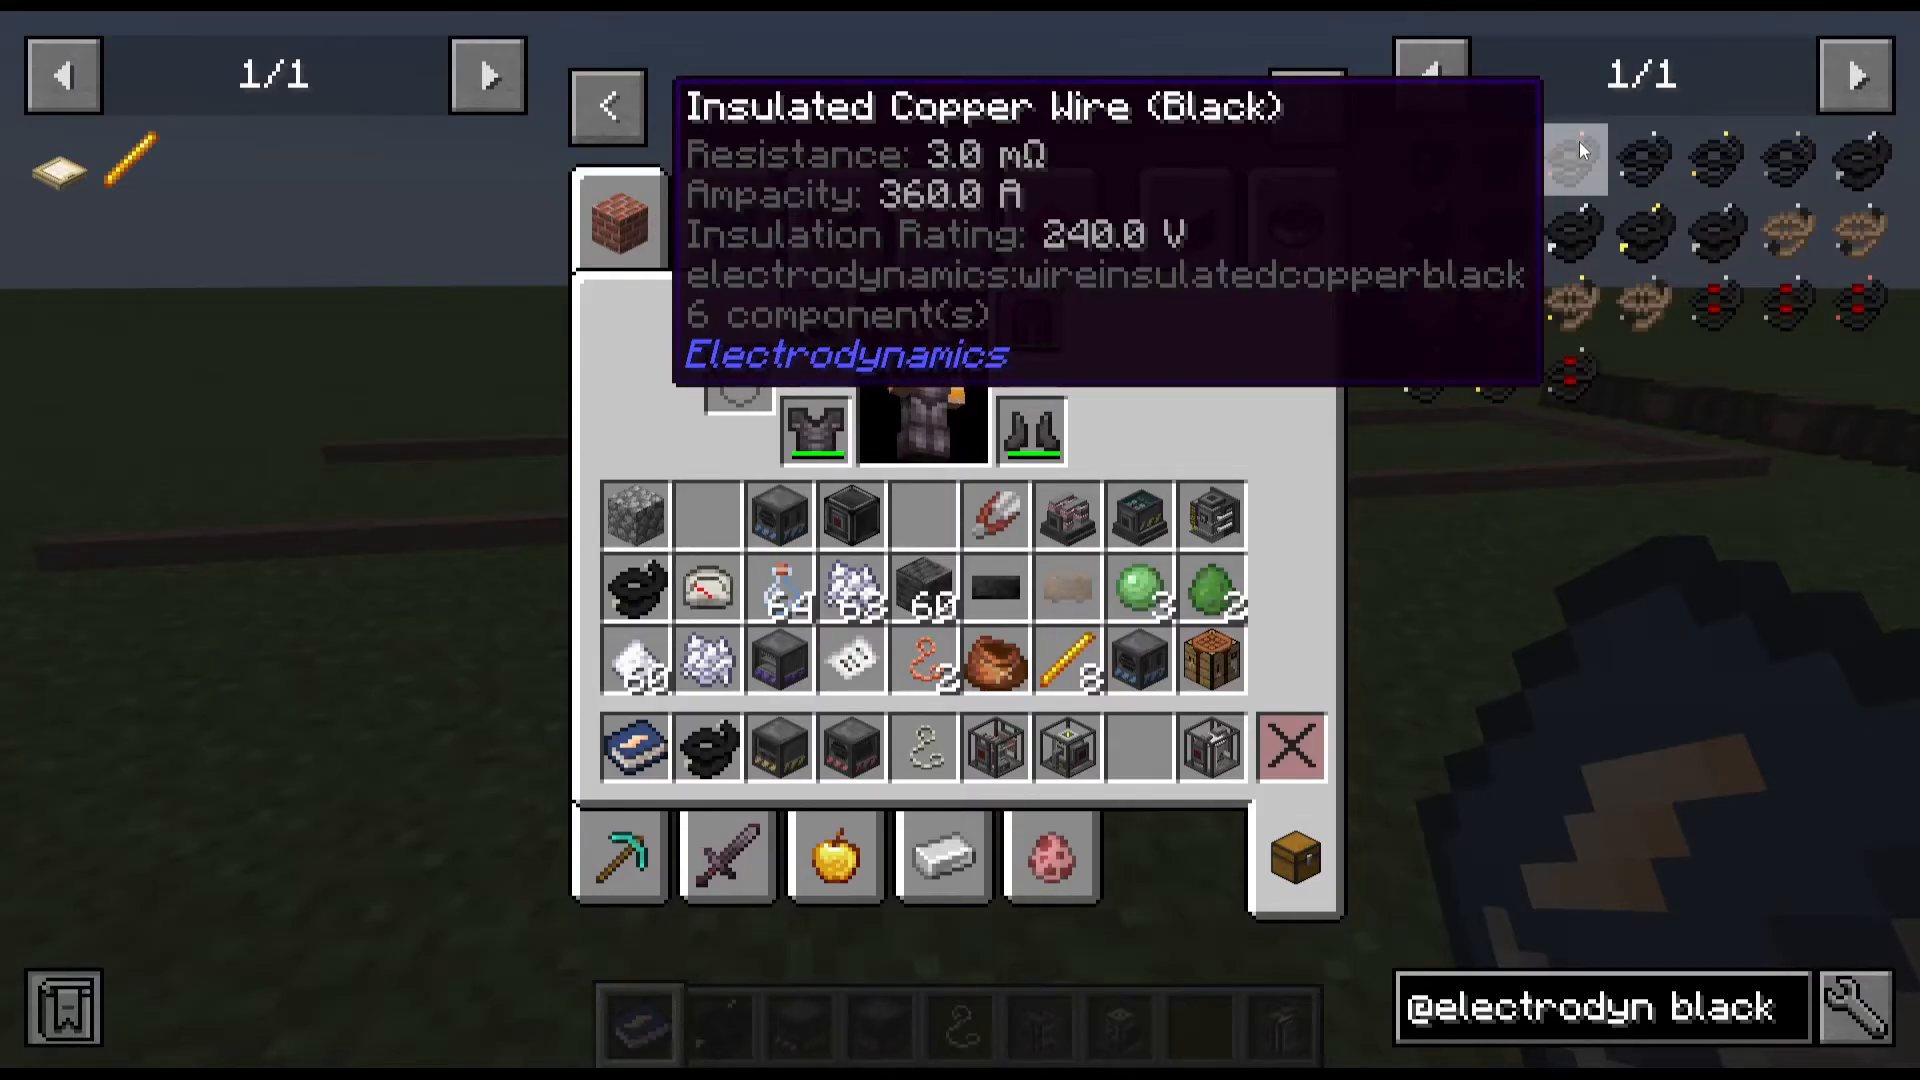
Resistance: Higher resistance causes energy loss over distance. Iron wire has 17 ohms resistance, while copper has only 3 ohms. For long-distance power transmission, copper is significantly more efficient than iron.
Ampacity: This is the maximum amperage a wire can handle before breaking down. Insulated copper wire carries 360 amps, iron carries 100, tin carries 60, silver carries 600, and gold carries an extremely high amperage. Insulated superconductive wire has infinite ampacity, meaning it will never break down.
Voltage Rating: Insulated wires typically handle 240 volts, ceramic insulated wires handle 480 volts, and thick wiring handles 960 volts.
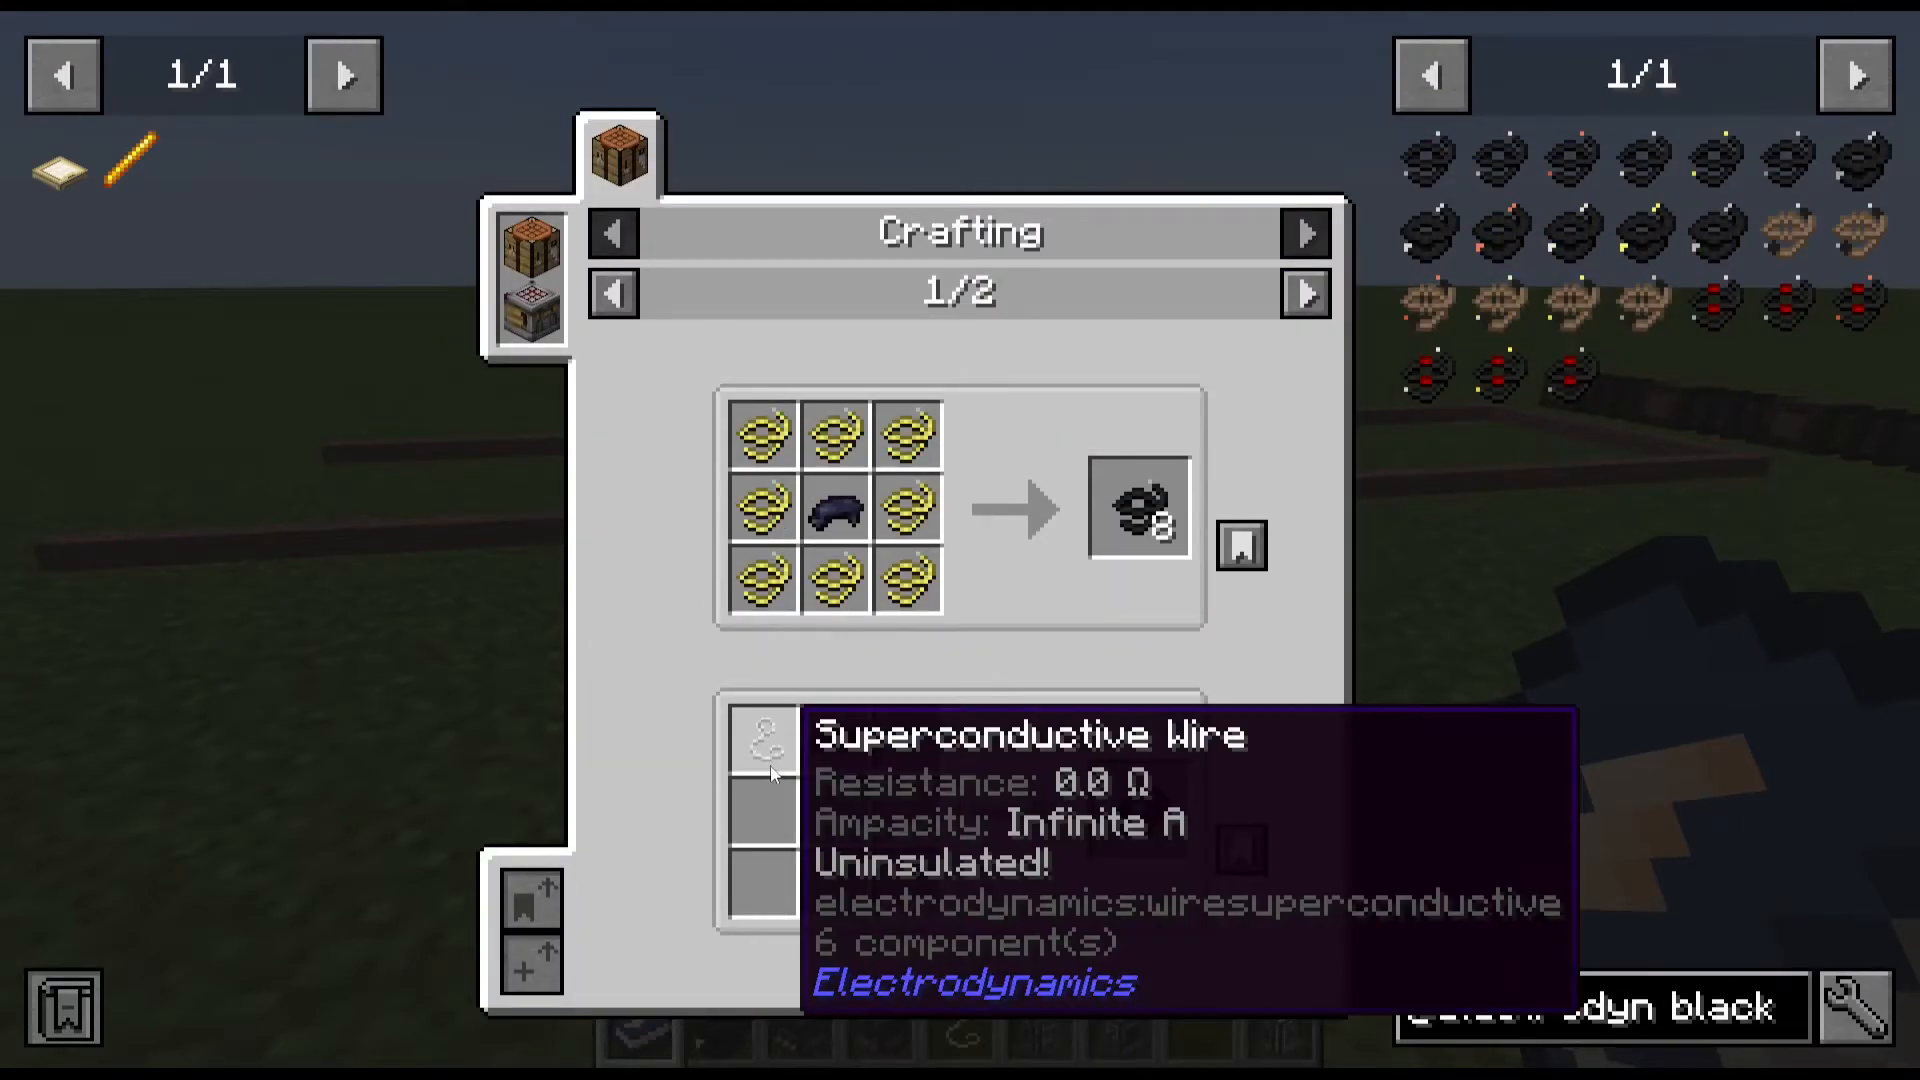
Superconductive Wire
Superconductive wire is made from superconductive ingots in a wire mill. The ingots are created by smelting superconductive blend, which requires endstone dust, gold, and silver. While expensive, superconductive wire features infinite ampacity, zero resistance (no energy loss), and never breaks down—making it worthwhile for critical power lines.
Electrical Safety and Monitoring
Circuit Breakers and Protection
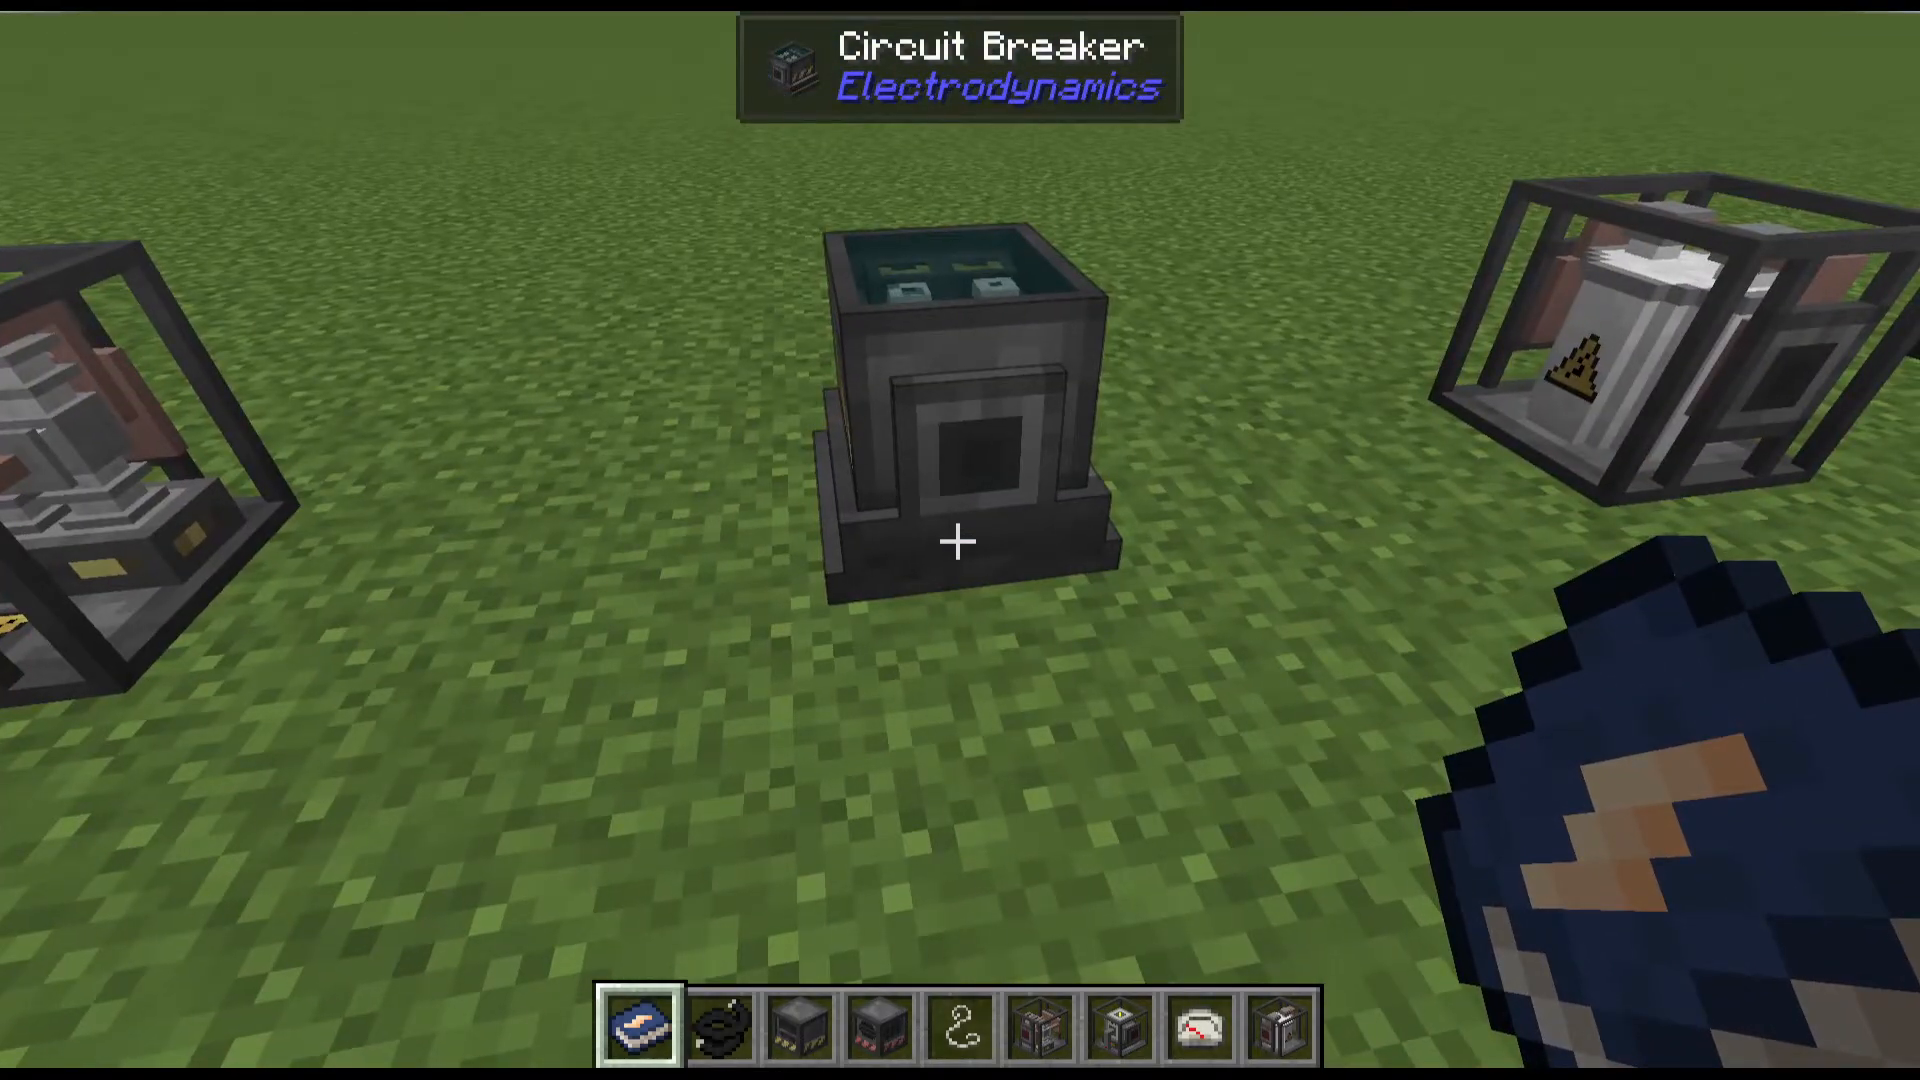
A circuit breaker acts like a fuse box. If current running through exceeds the breaker’s rating, it automatically cuts power to prevent machine explosions. This is essential protection when experimenting with voltage systems. Without one, feeding high-voltage power into a low-voltage machine results in explosion and destruction.
Handheld Multimeter
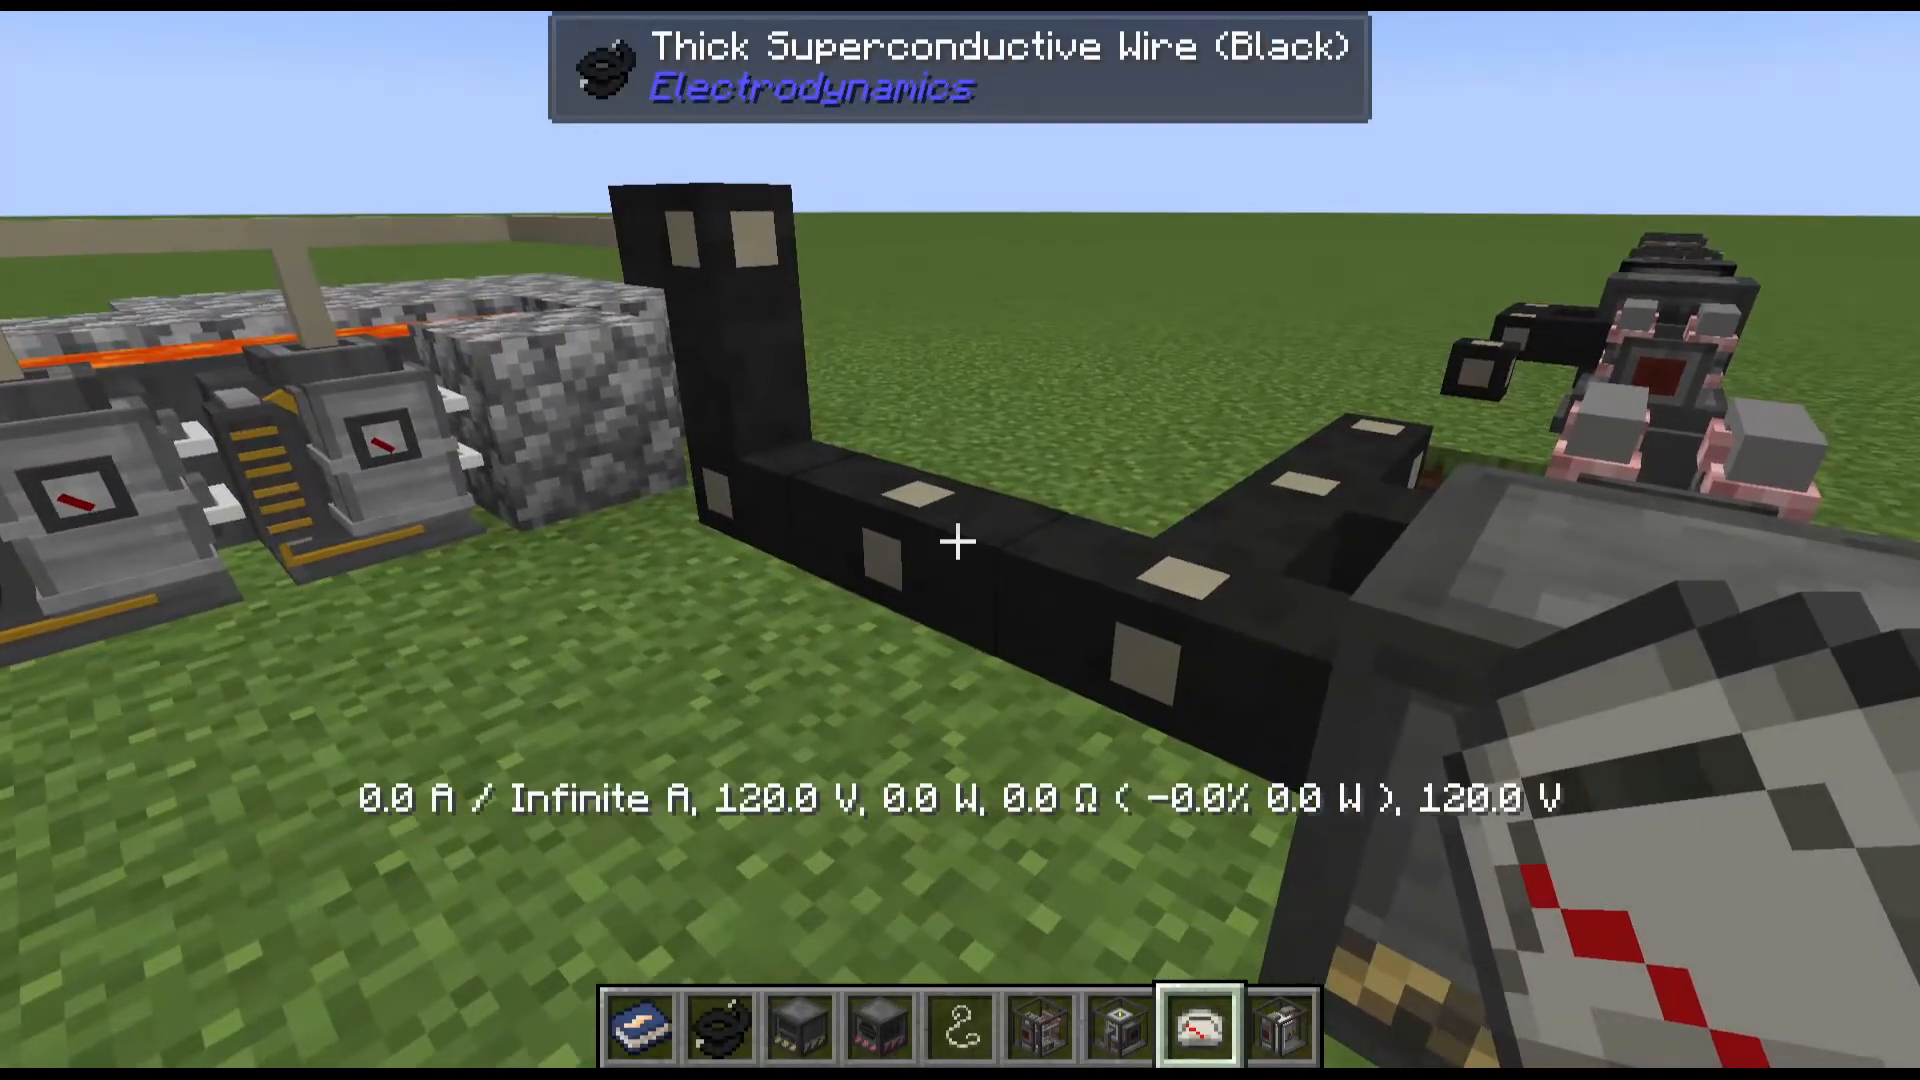
The handheld multimeter provides real-time power diagnostics. Right-click on power lines or machines to see:
Current amperage running through (displayed as amps out of maximum capacity)
Voltage being transmitted
Power consumption in kilowatts
Wire resistance (shown with the omega symbol)
Total wattage on the network
This tool is invaluable for troubleshooting power delivery issues and ensuring machines receive sufficient power.
Early Game Power Generation
Making Steel
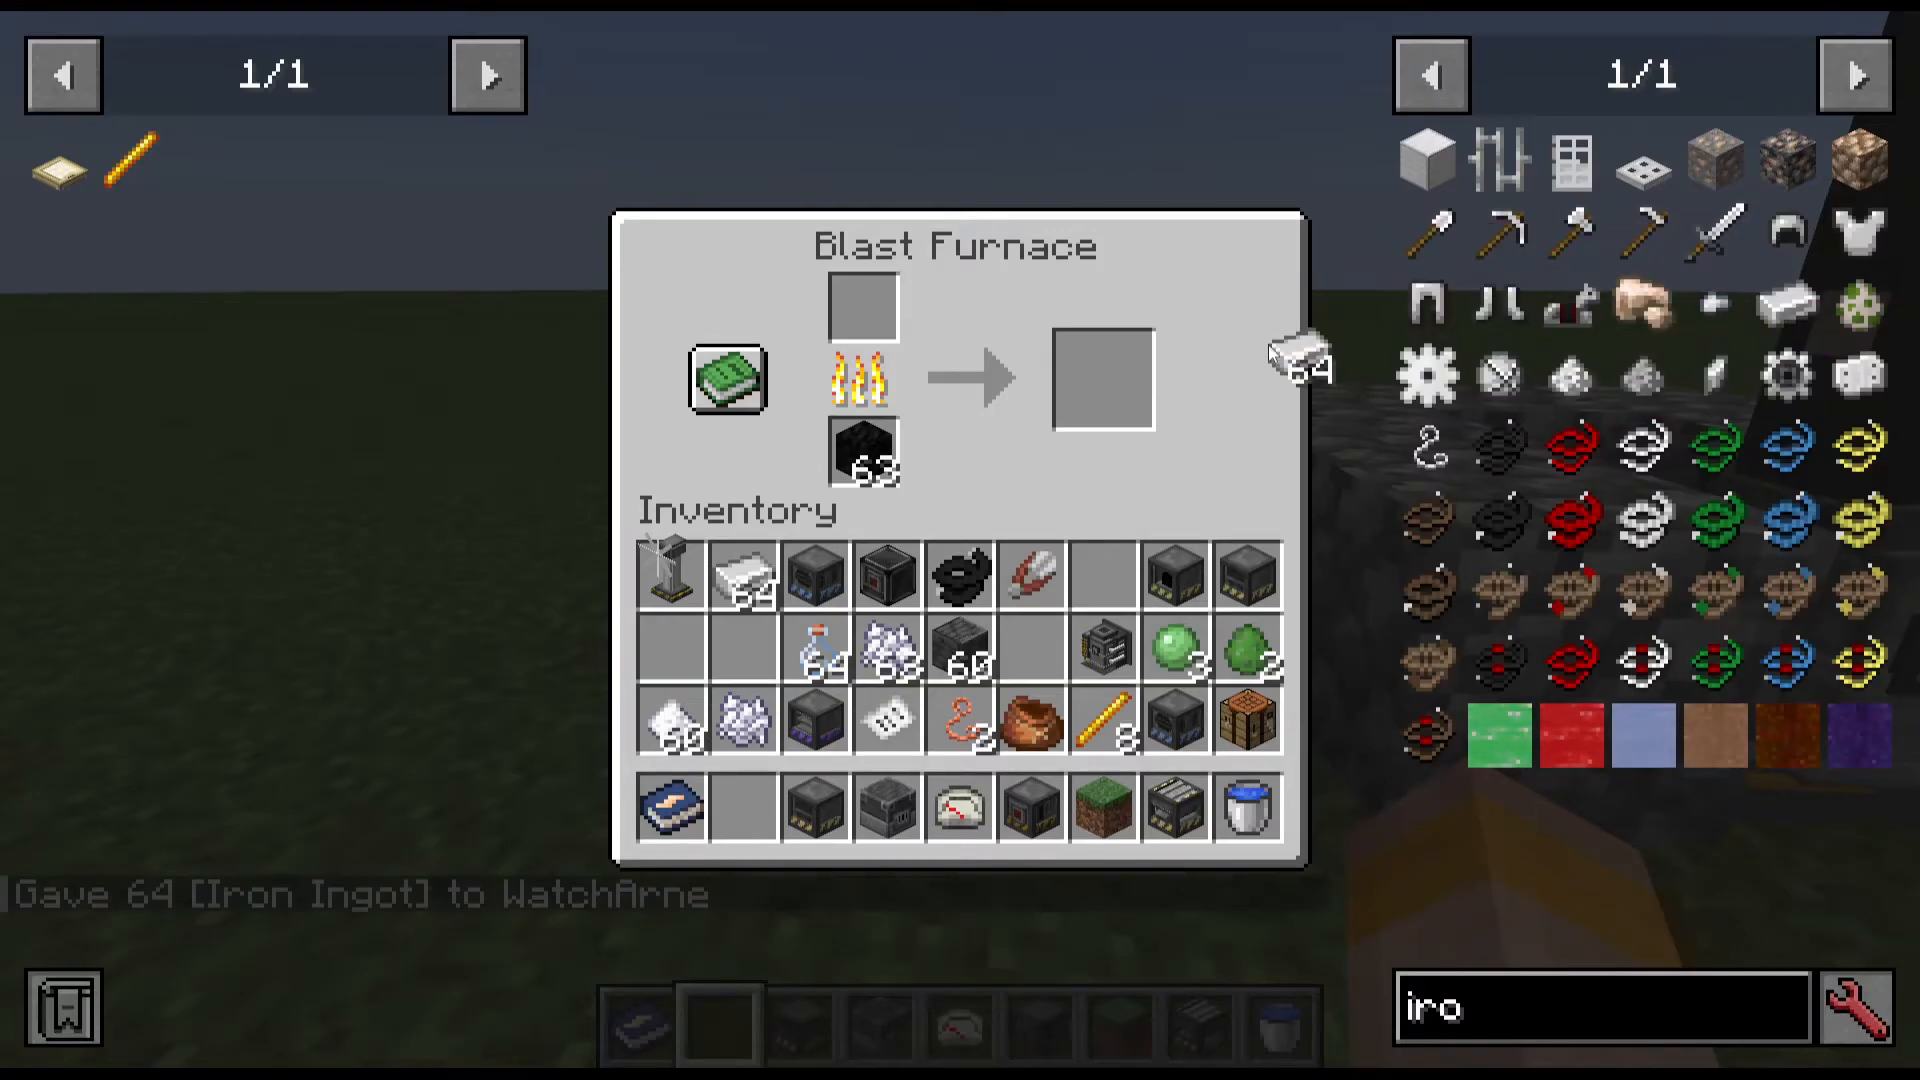
Your first step in Electrodynamics is making steel. Place iron ingots in a blast furnace and they transform into steel ingots. Steel is the foundational material for most machines.
Coal Generator
The coal generator requires a motor (made from steel ingots, copper coil, copper wire, and insulated copper wire). It burns coal to generate power and slowly heats up to produce more power over time. Like all early generators, it outputs at 120 volts.
Renewable Power Sources
Several renewable options exist for power generation:
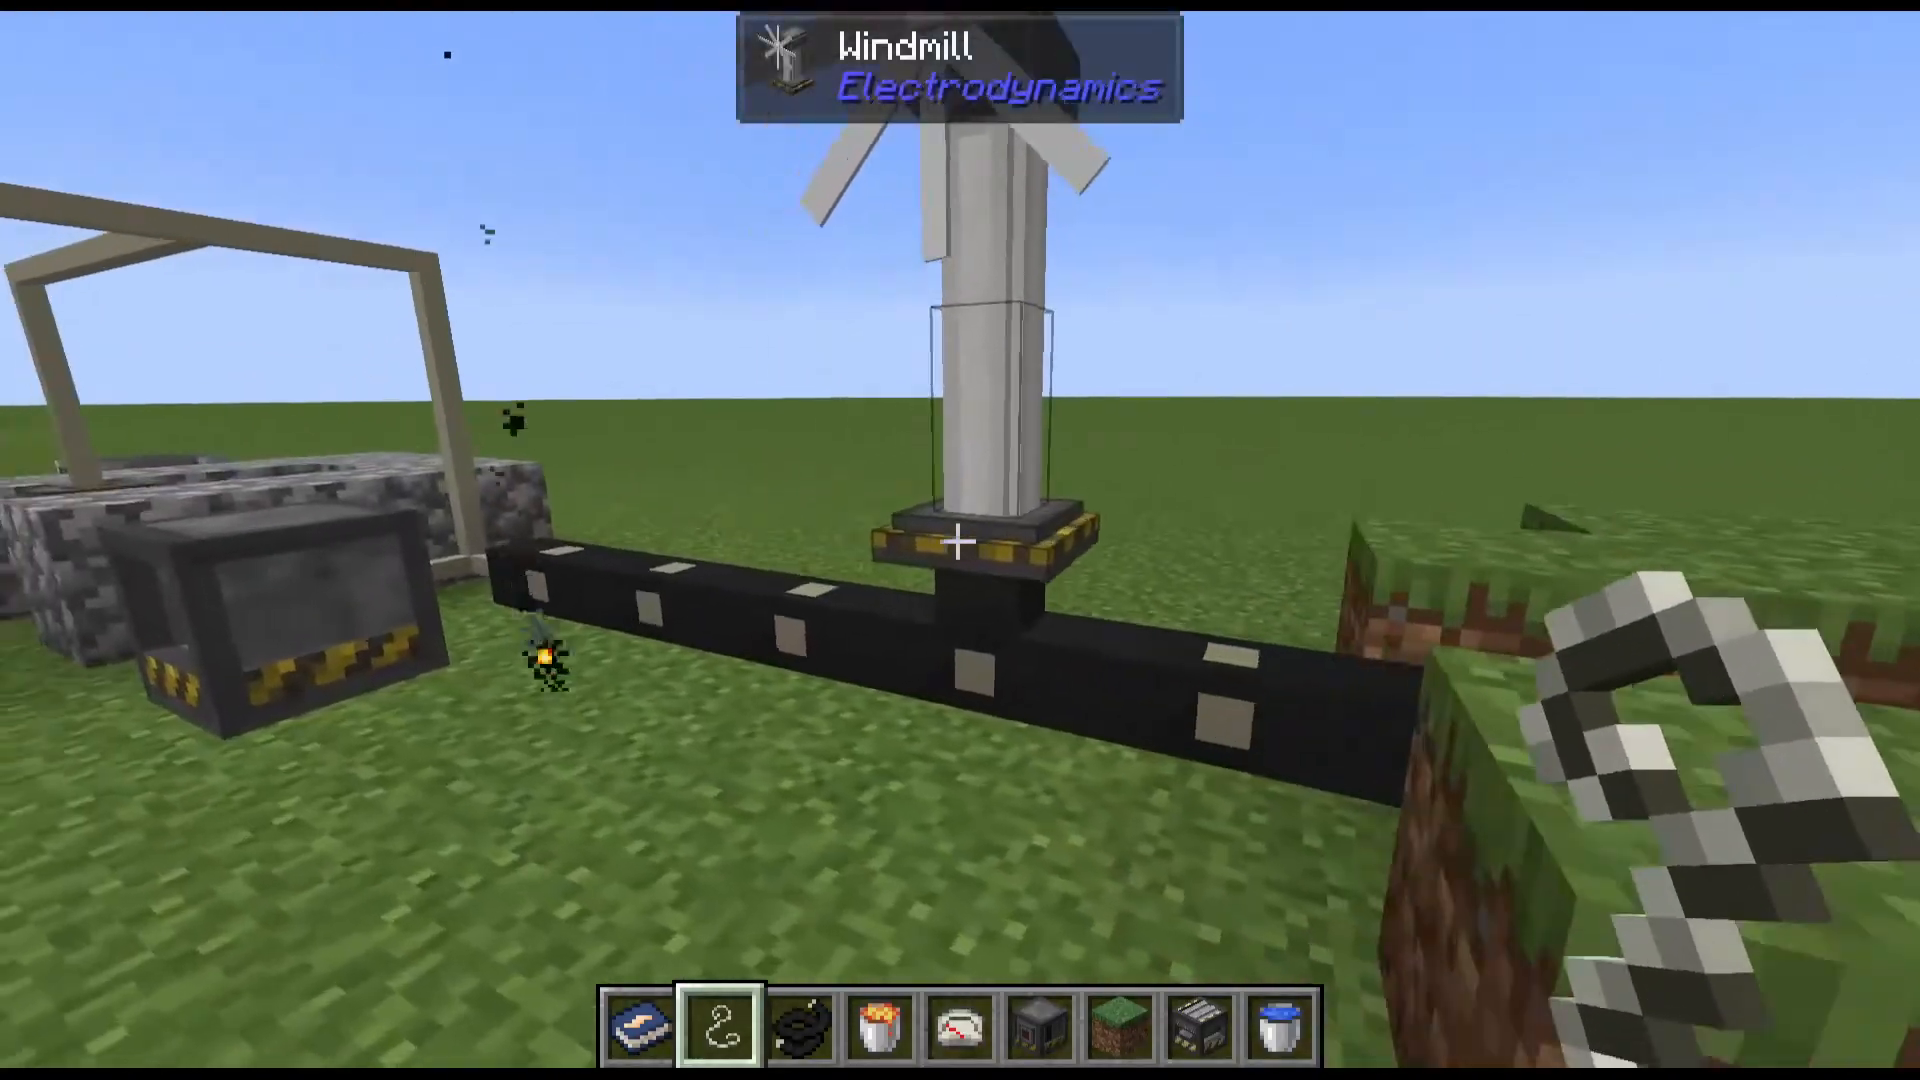
Windmill: Generates 1.2 kilowatts at ideal wind level (Y-level 319)
Hydroelectric Generator: Outputs 720 watts at base with water flowing over the wheel
Solar Panel: Produces 840 watts (upgradeable to 1.89 kilowatts with solar cell upgrade); output increases in hotter biomes and decreases in rain
Advanced Solar Panel: Generates 6 kilowatts at 240 volts (made from three basic solar panels)
The advanced solar panel is significant because it’s one of the first accessible ways to reach 240-volt generation without requiring transformers.
120-Volt Machines and Equipment
Electric Arc Furnace
The electric arc furnace is an upgraded blast furnace that operates electrically at 120 volts, consuming 2.5 kilowatts of power. It’s more efficient than traditional smelting when you have adequate power.
Wire Mill
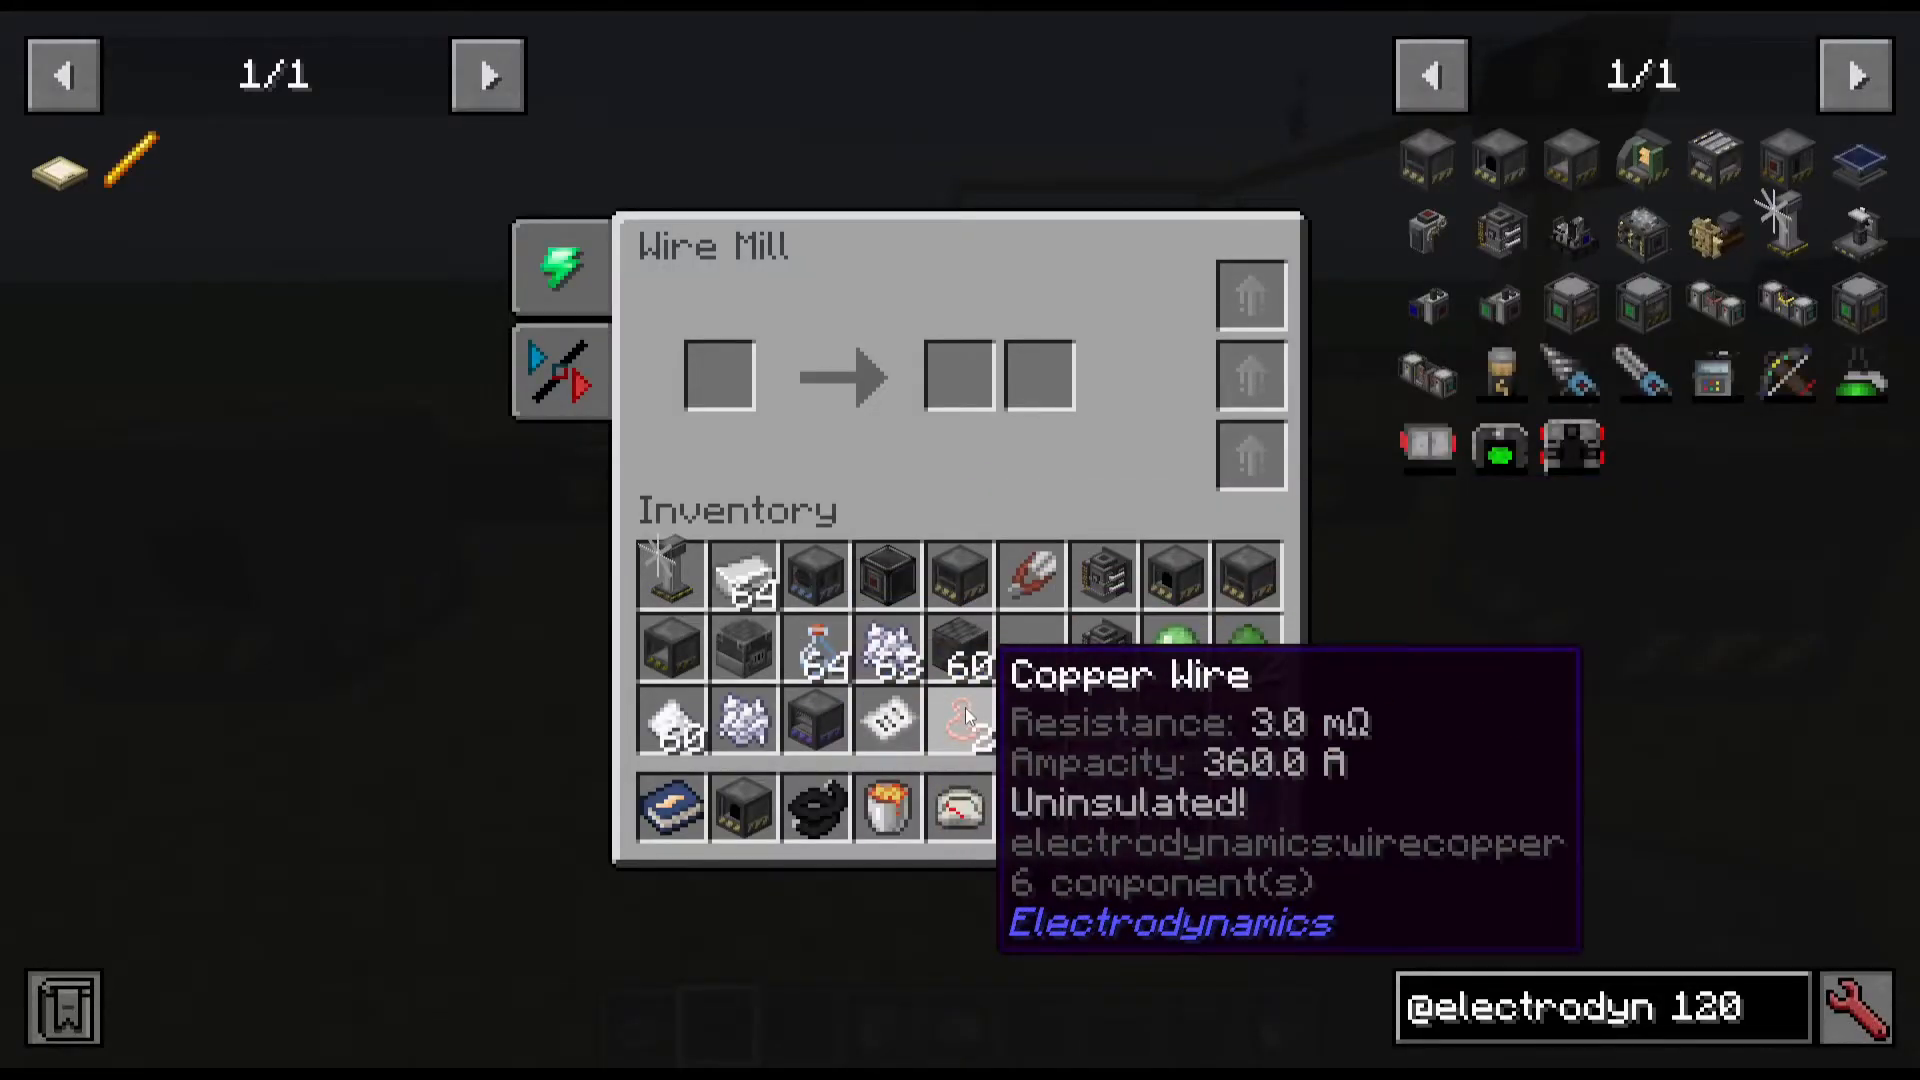
The wire mill is essential for efficient wire production. Instead of the crafting recipe (2 ingots = 1 wire), the wire mill converts 1 ingot into 1 wire while returning a nugget, making it twice as efficient. It operates at 120 volts consuming 2.5 kilowatts.
Mineral Grinder
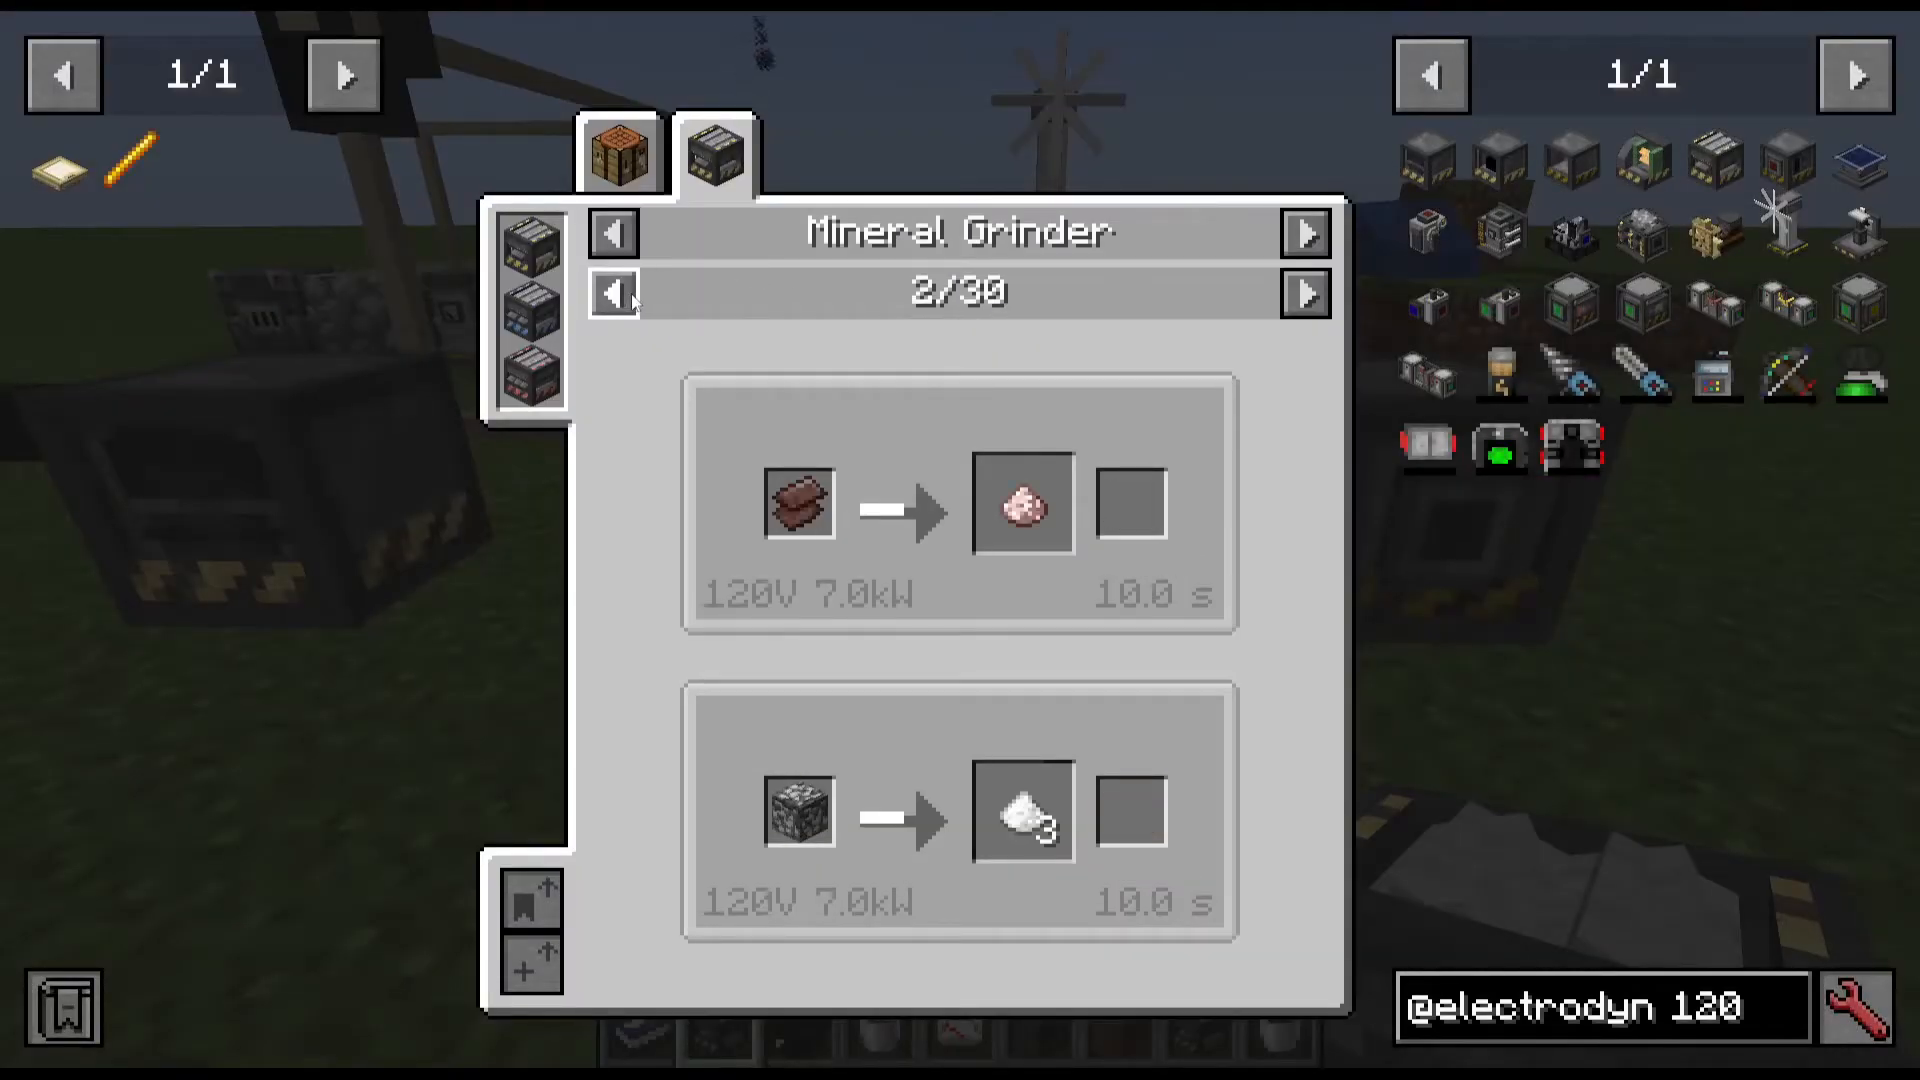
The mineral grinder doubles or triples your ore yields. For example:
Iron ore becomes 2 iron dust
Redstone yields 6 redstone with a 5% chance for a diamond
Cassiterite (tin ore) produces 2 tin dust
Since dust can be smelted into ingots, the mineral grinder effectively doubles your ore processing. Getting one early is highly recommended.
Battery Box
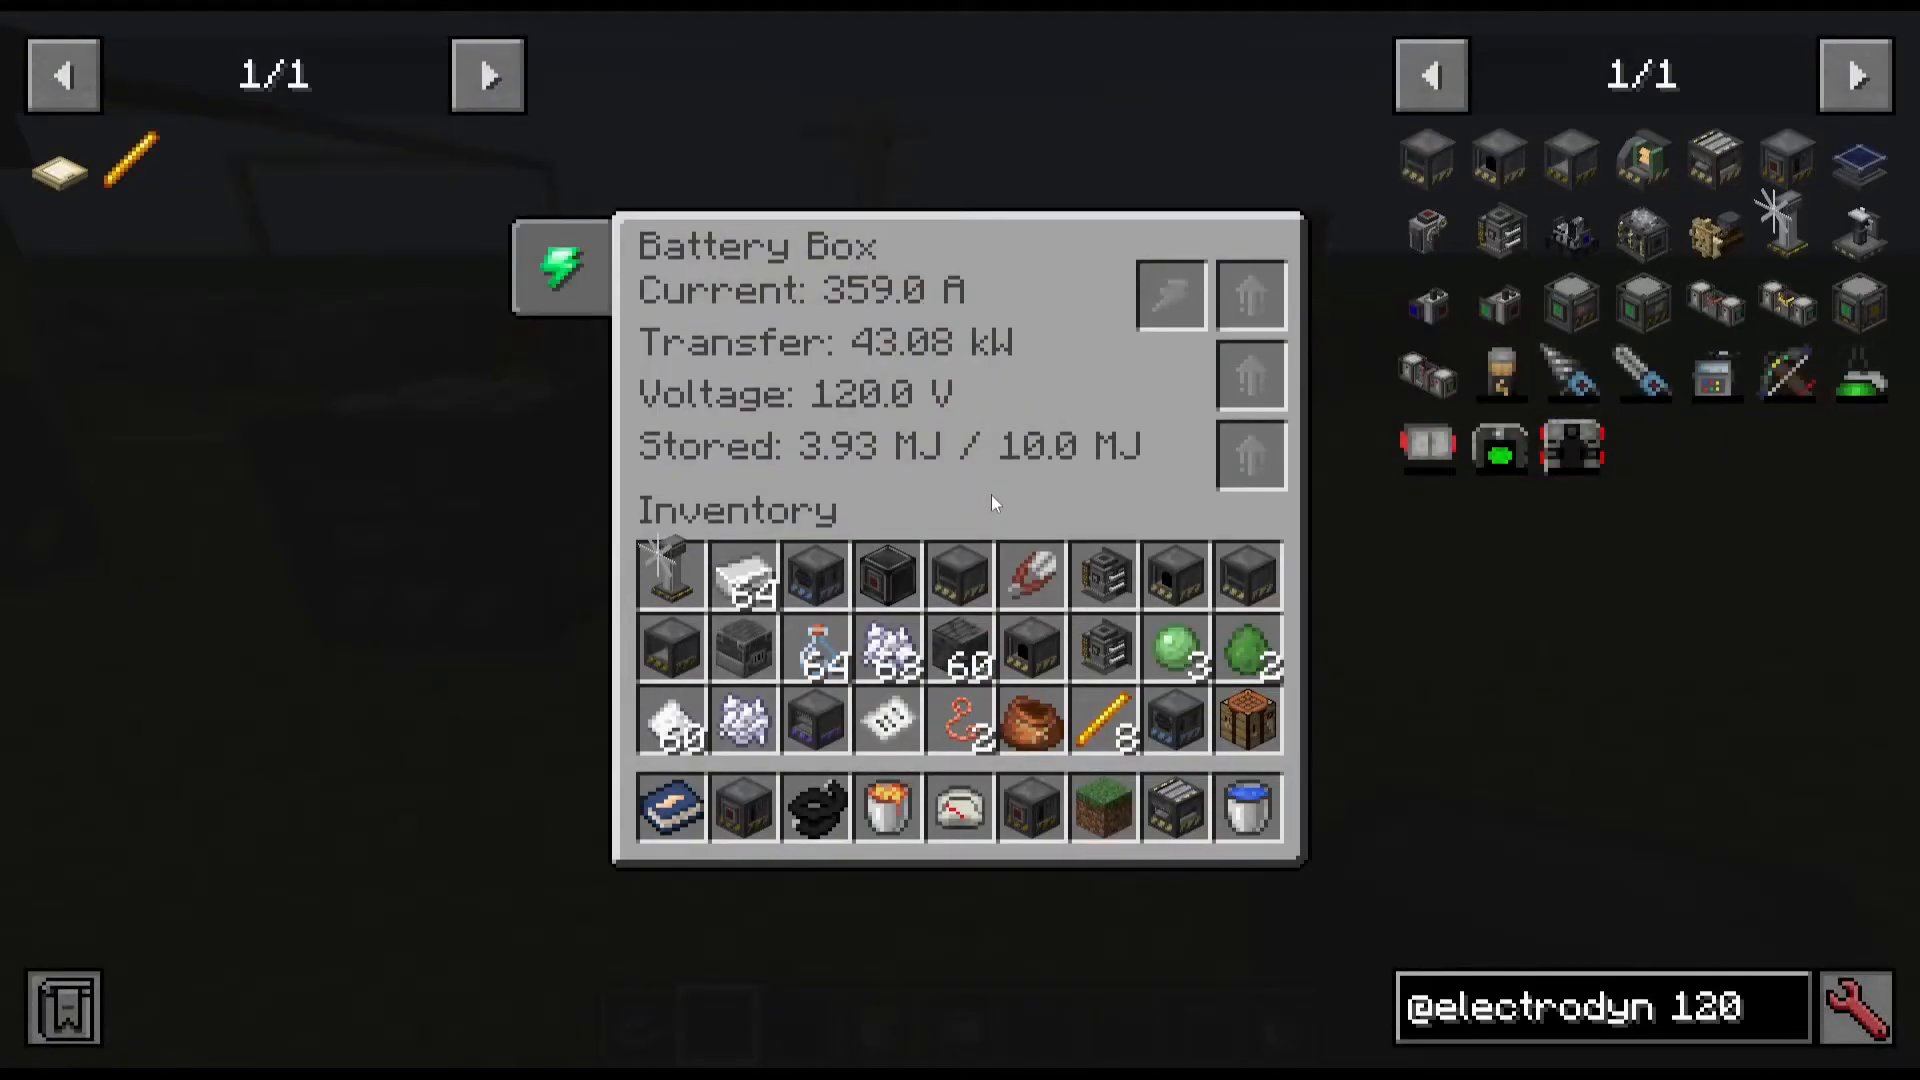
The battery box stores electrical energy for later use. Right-click to see current storage (measured in megajoules), transfer rate, voltage, and charge amount. Red slots input energy while gray slots output. Placing a battery box between your power generation and machines allows excess energy storage and prevents power interruptions.
Combustion Power and Fluid Systems
Electric Pump and Fluid Pipes
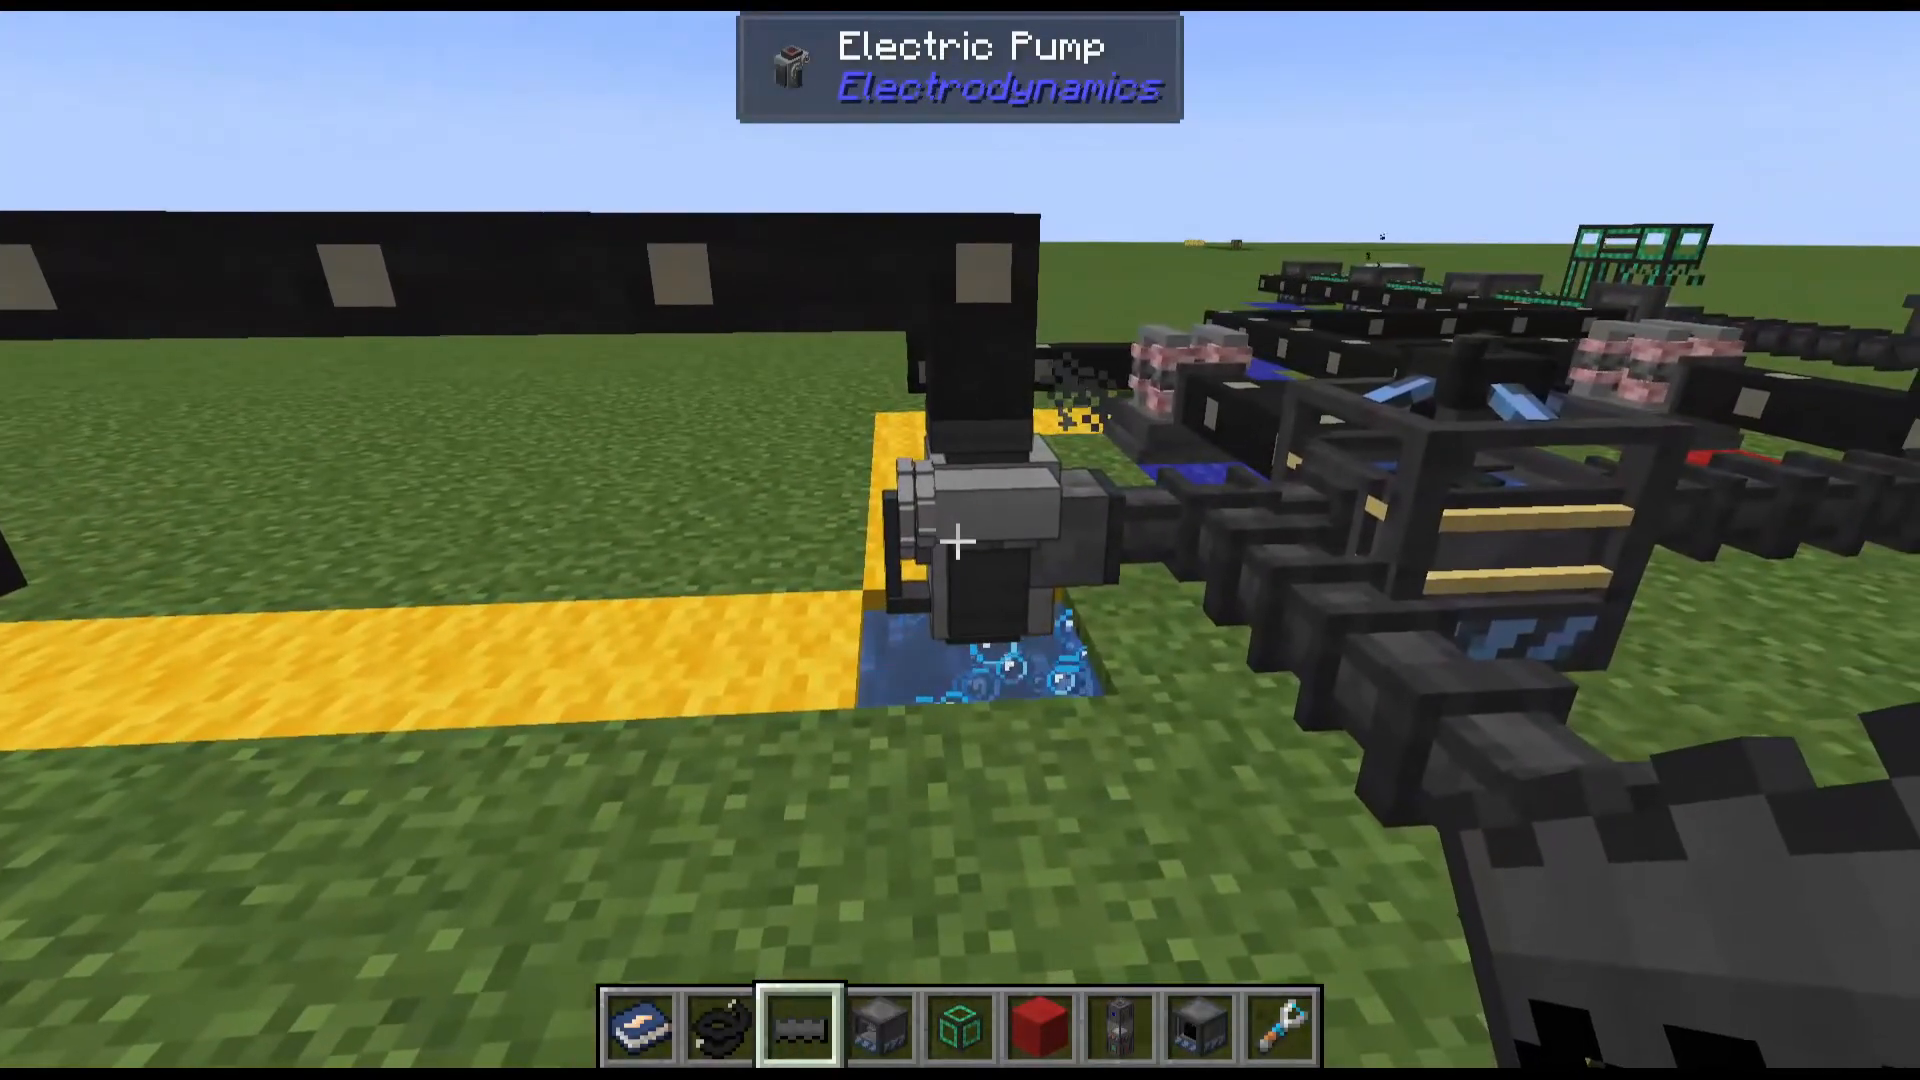
The electric pump transfers fluids from source to destination. Place it above water with electricity input on top. Yellow ports output fluids while blue ports input them. Steel fluid pipes transfer 10 buckets per tick, while copper pipes transfer 5 buckets per tick.
Fermentation Plant
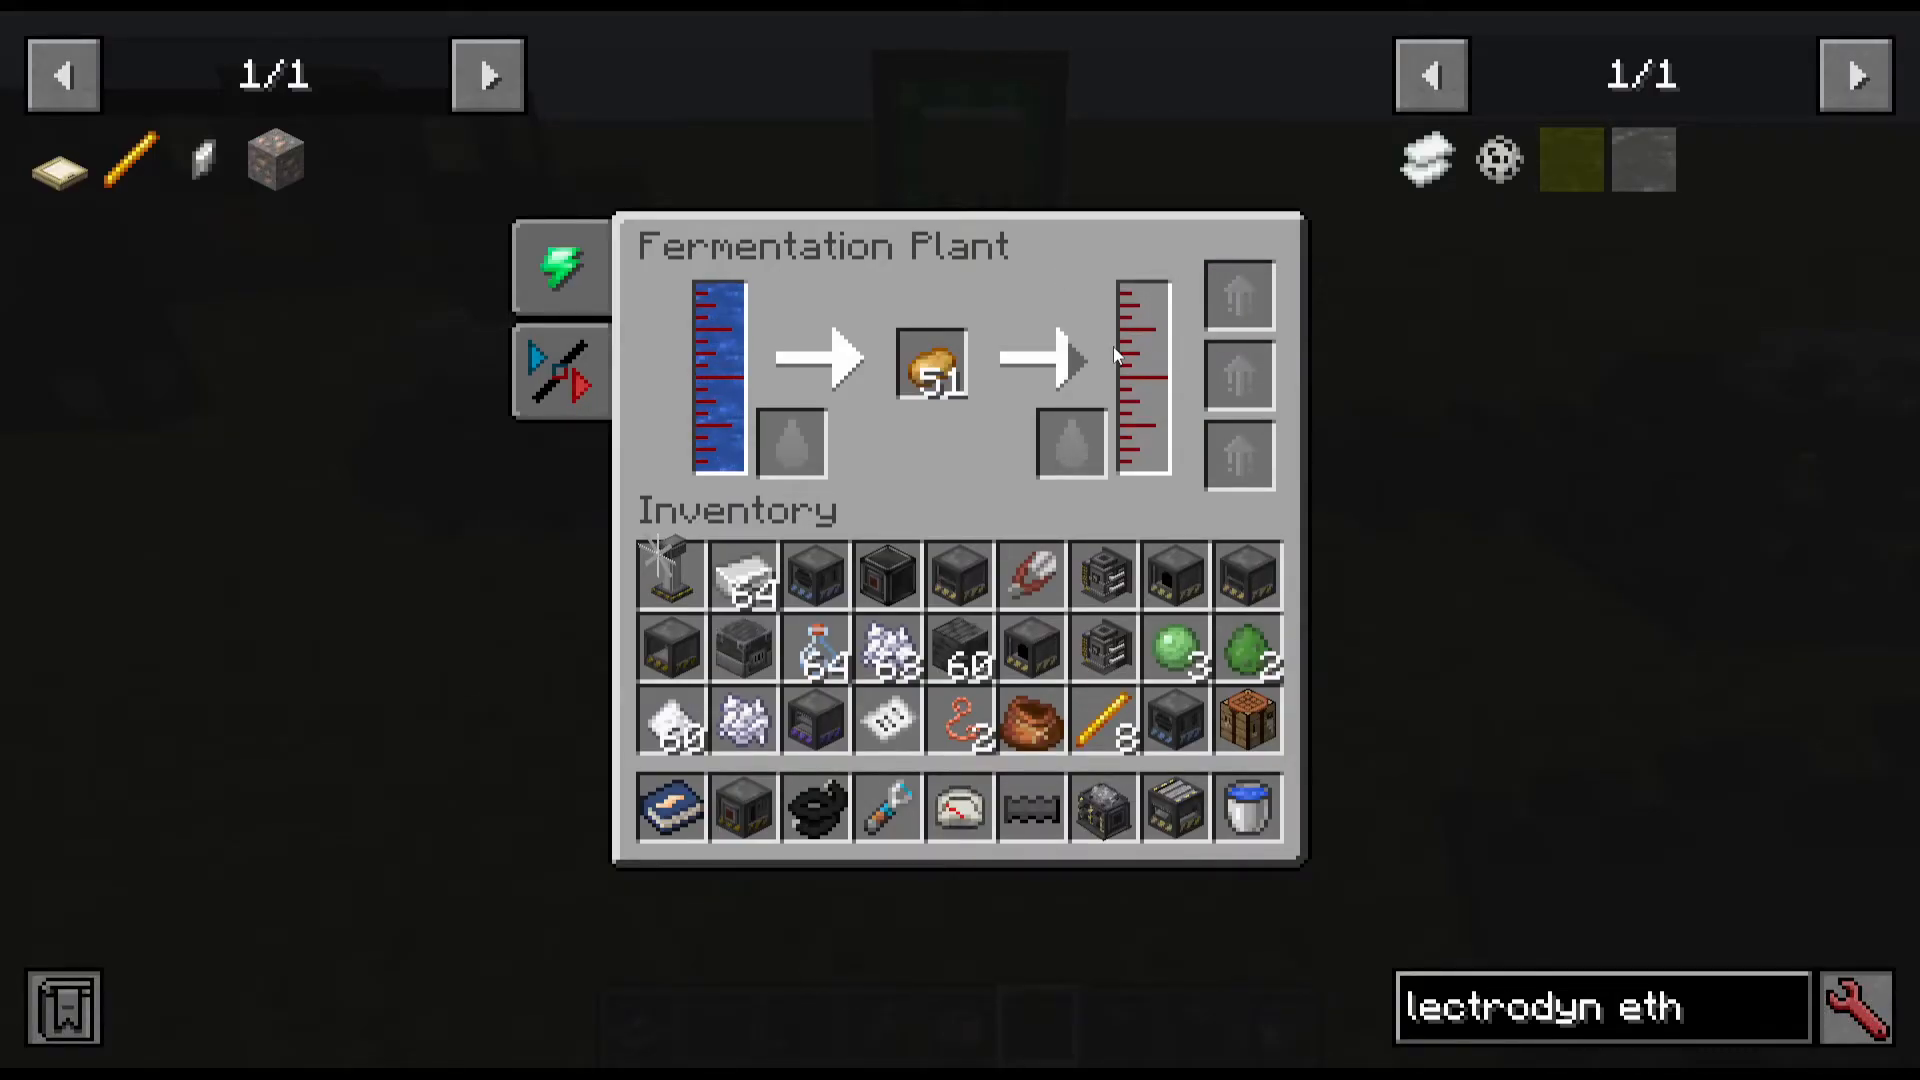
The fermentation plant converts water and agricultural products (potatoes, carrots, sugar cane, melon) into ethanol. It’s a straightforward 120-volt machine that forms the foundation of combustion-based power generation.
Combustion Chamber
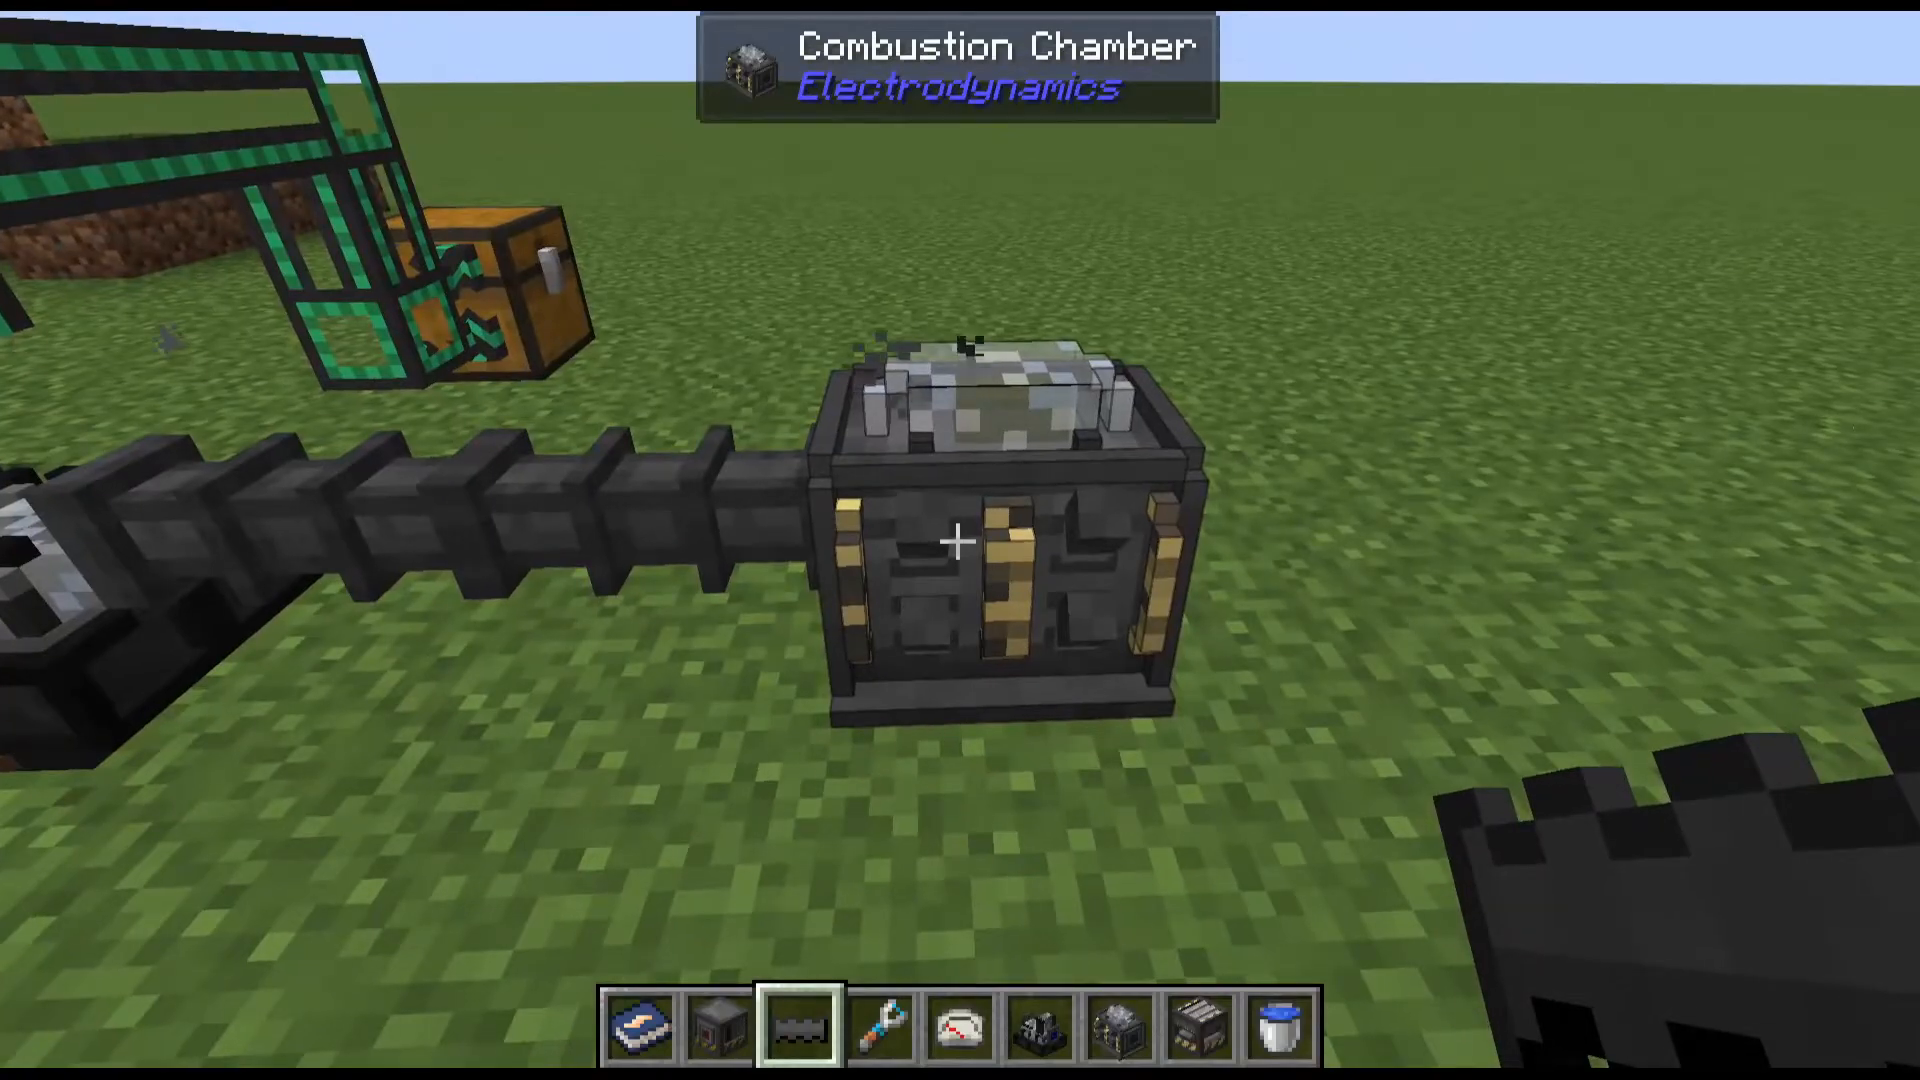
The combustion chamber burns ethanol or liquid hydrogen to generate 7 kilowatts at 120 volts. This is substantially more power than early generators, making combustion an attractive option despite requiring fluid infrastructure. The high wattage output makes it worth the setup complexity.
Reinforced Canisters
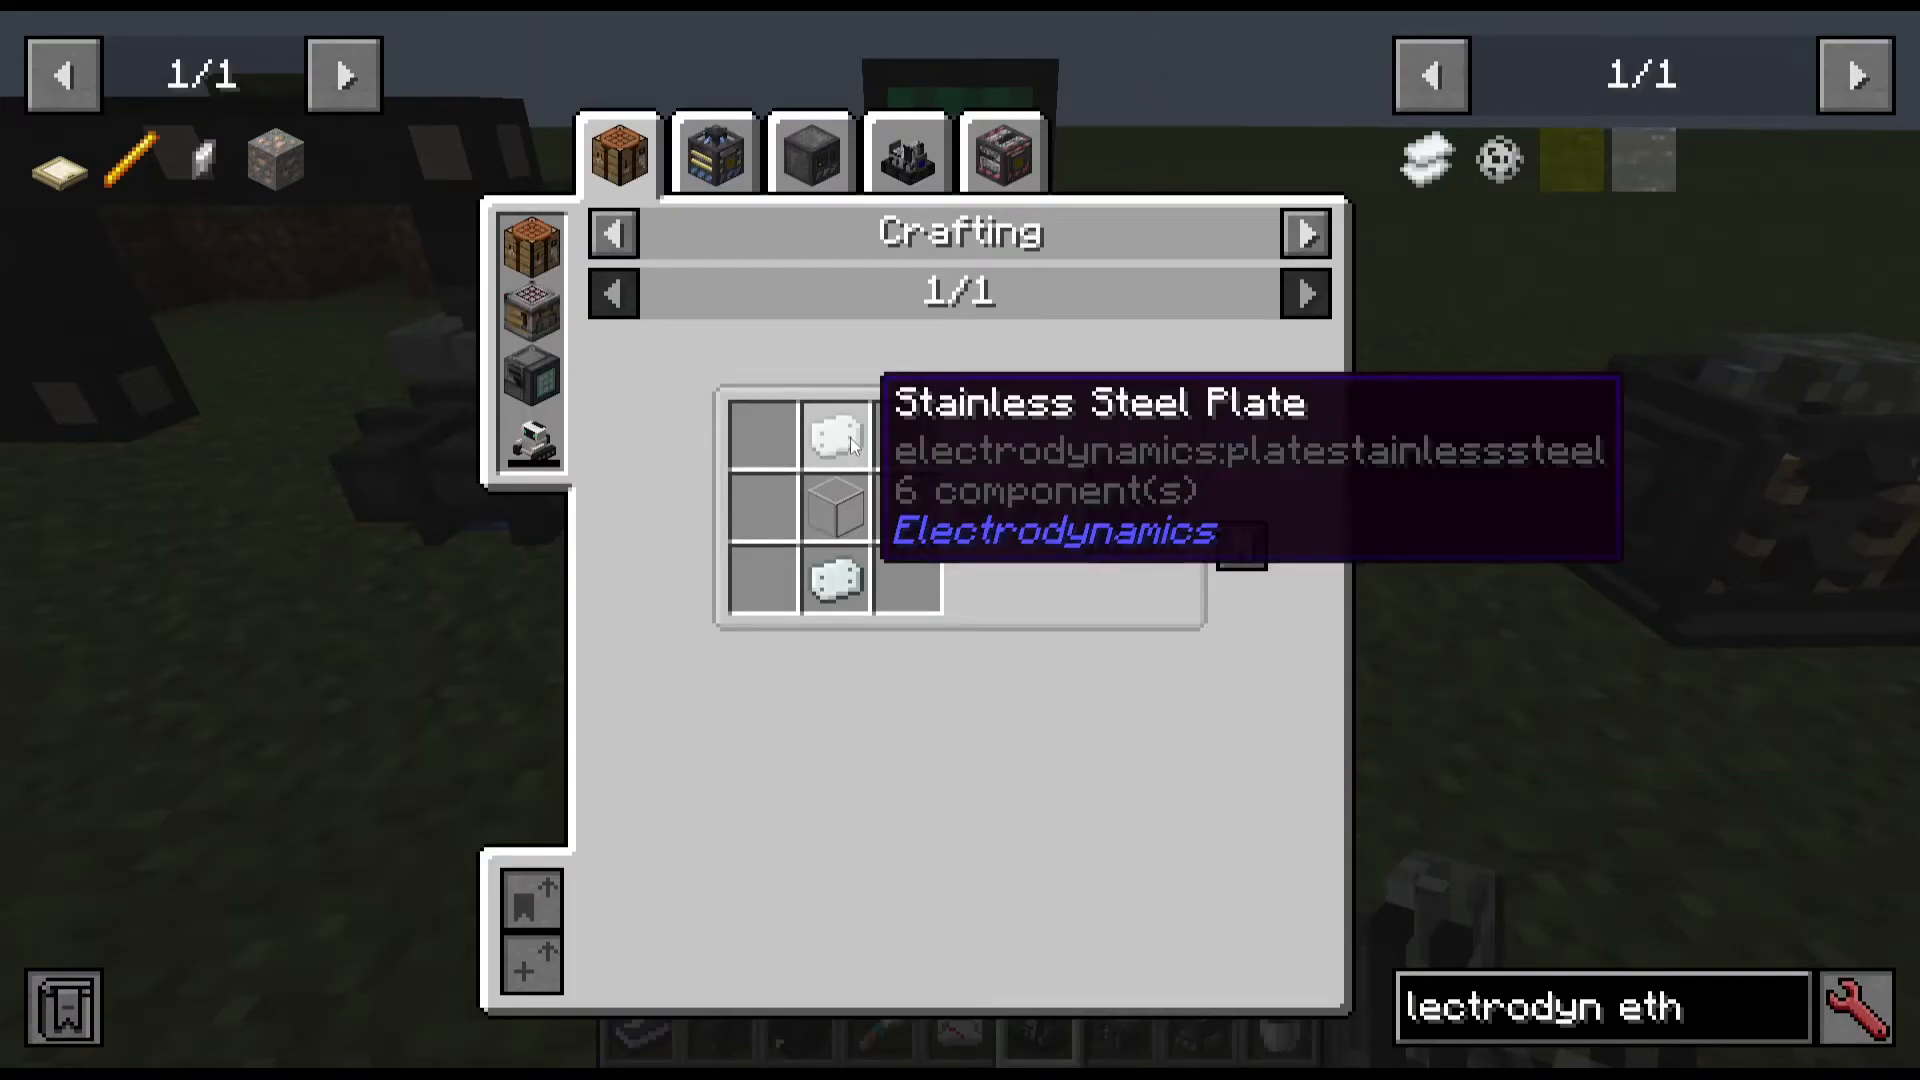
Some hot materials cannot be carried in standard buckets for logical reasons (they would melt metal). Reinforced canisters, made from stainless steel, are required for these substances. When you learn to make stainless steel, reinforced canisters become available.
Inventory Management: Inventory IO
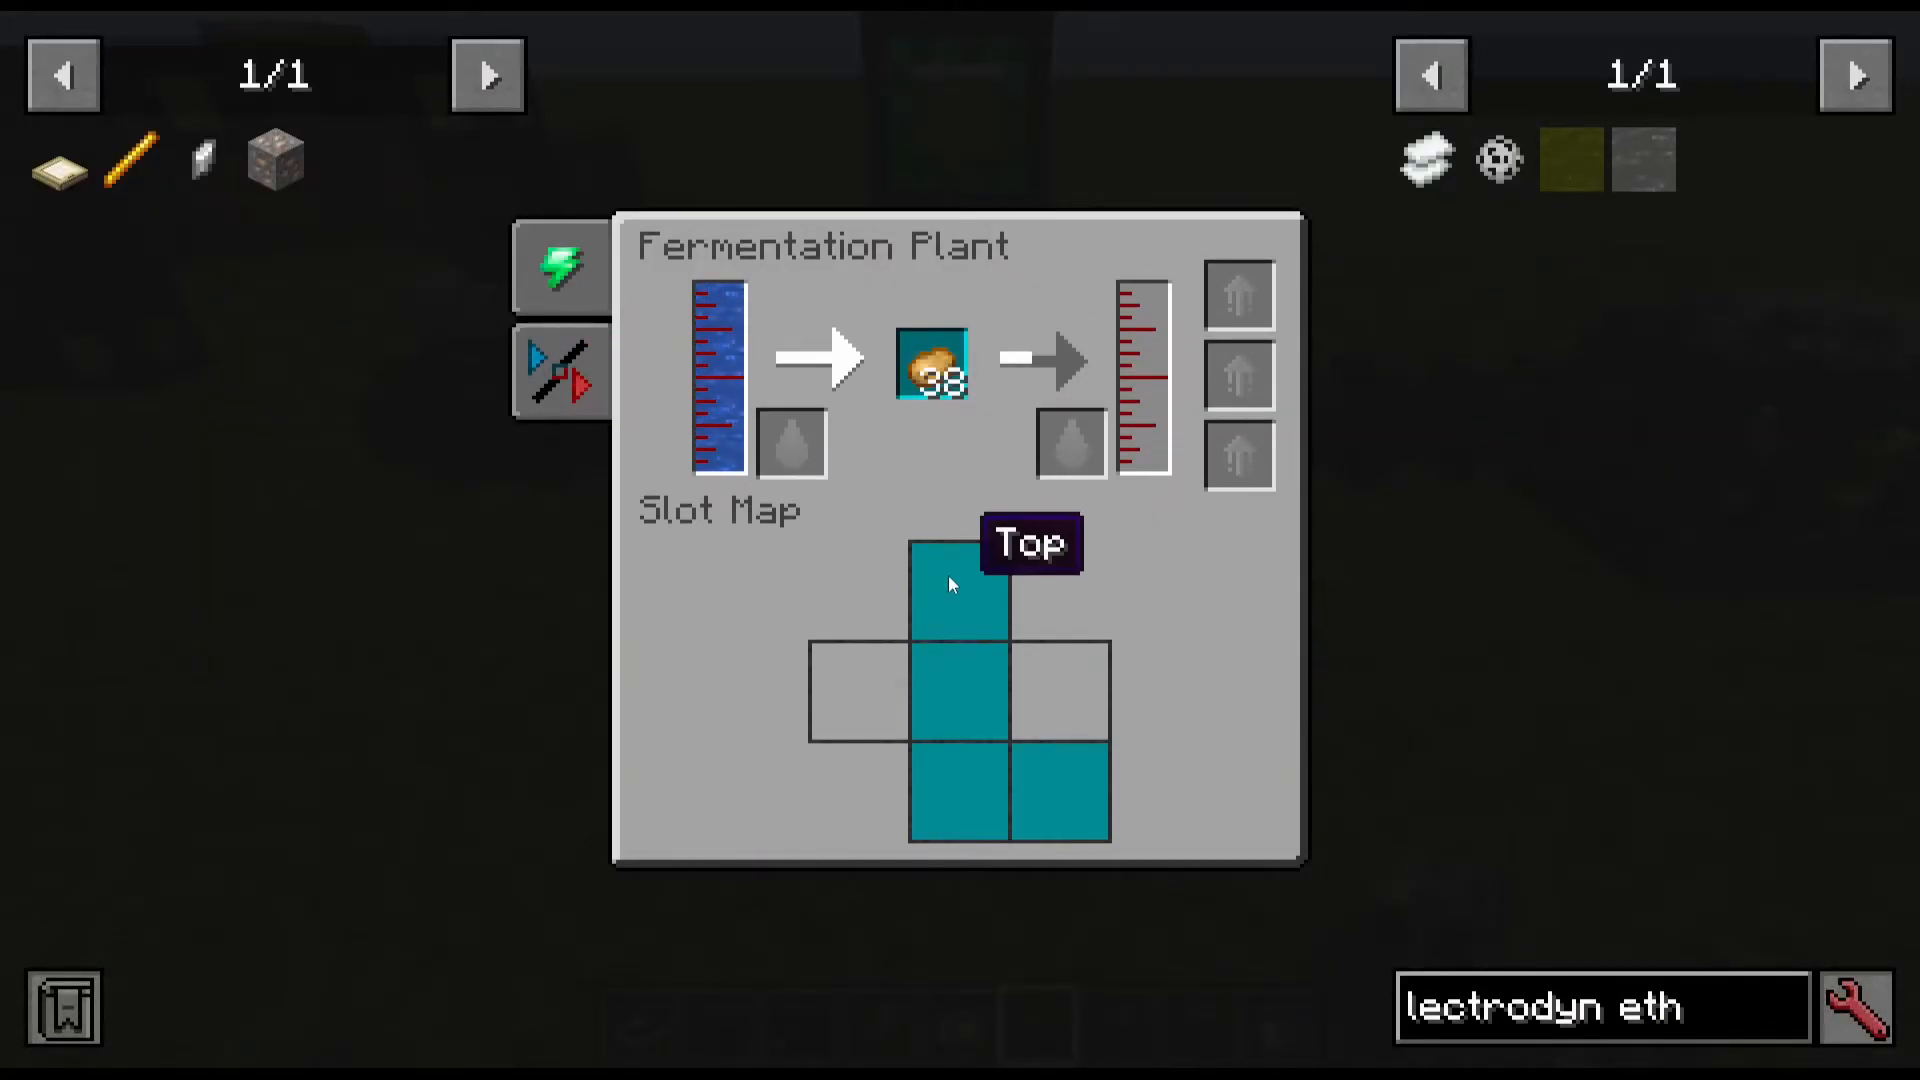
Machines have color-coded input and output ports on different sides. Blue slots indicate inputs, and you can place items through any corresponding colored side. The Inventory IO system shows which sides connect to which slots. For example, if the top side shows blue, you can input items from the top into that blue slot.
Upgrading to 240 Volts
Advanced Solar Panels
Advanced solar panels are the easiest path to 240-volt power generation. Made from three basic solar panels plus steel, they generate 6 kilowatts at 240 volts. This makes them ideal for bridging from 120-volt early game to mid-game 240-volt systems.
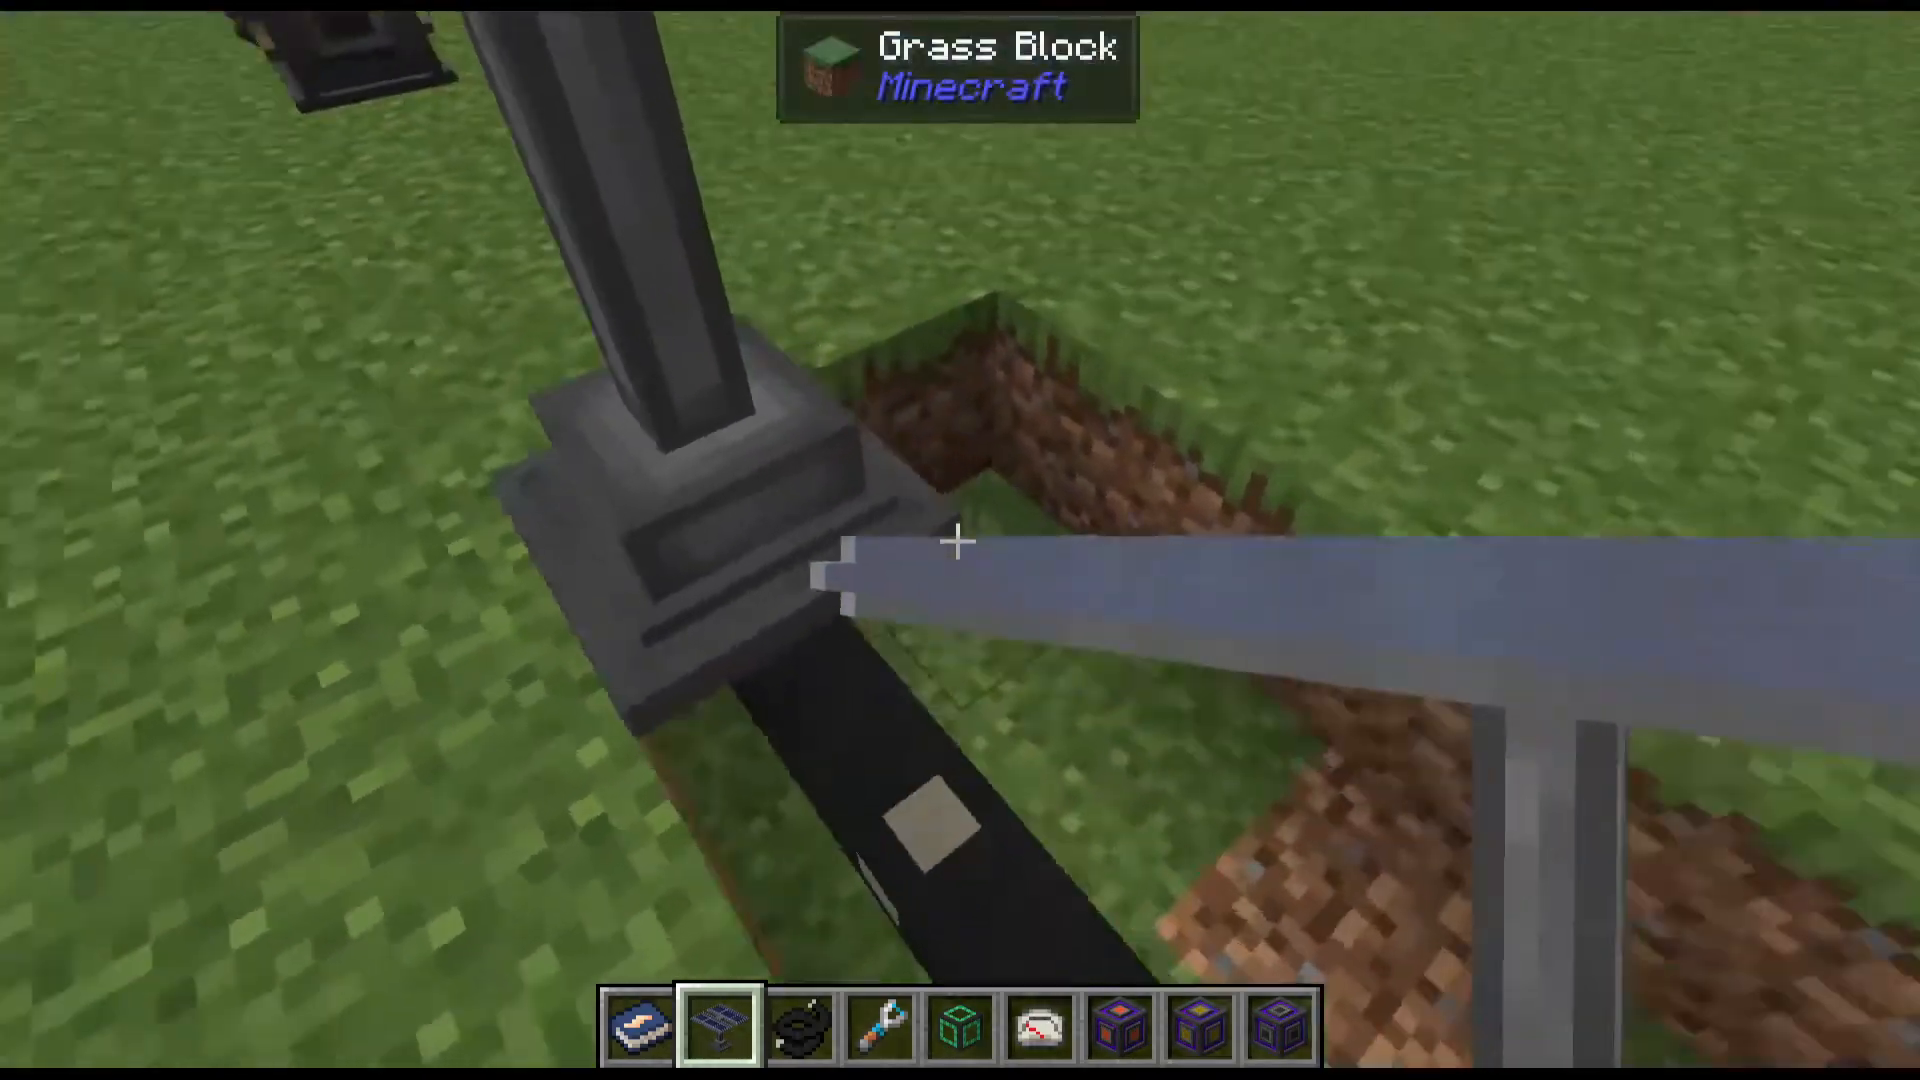
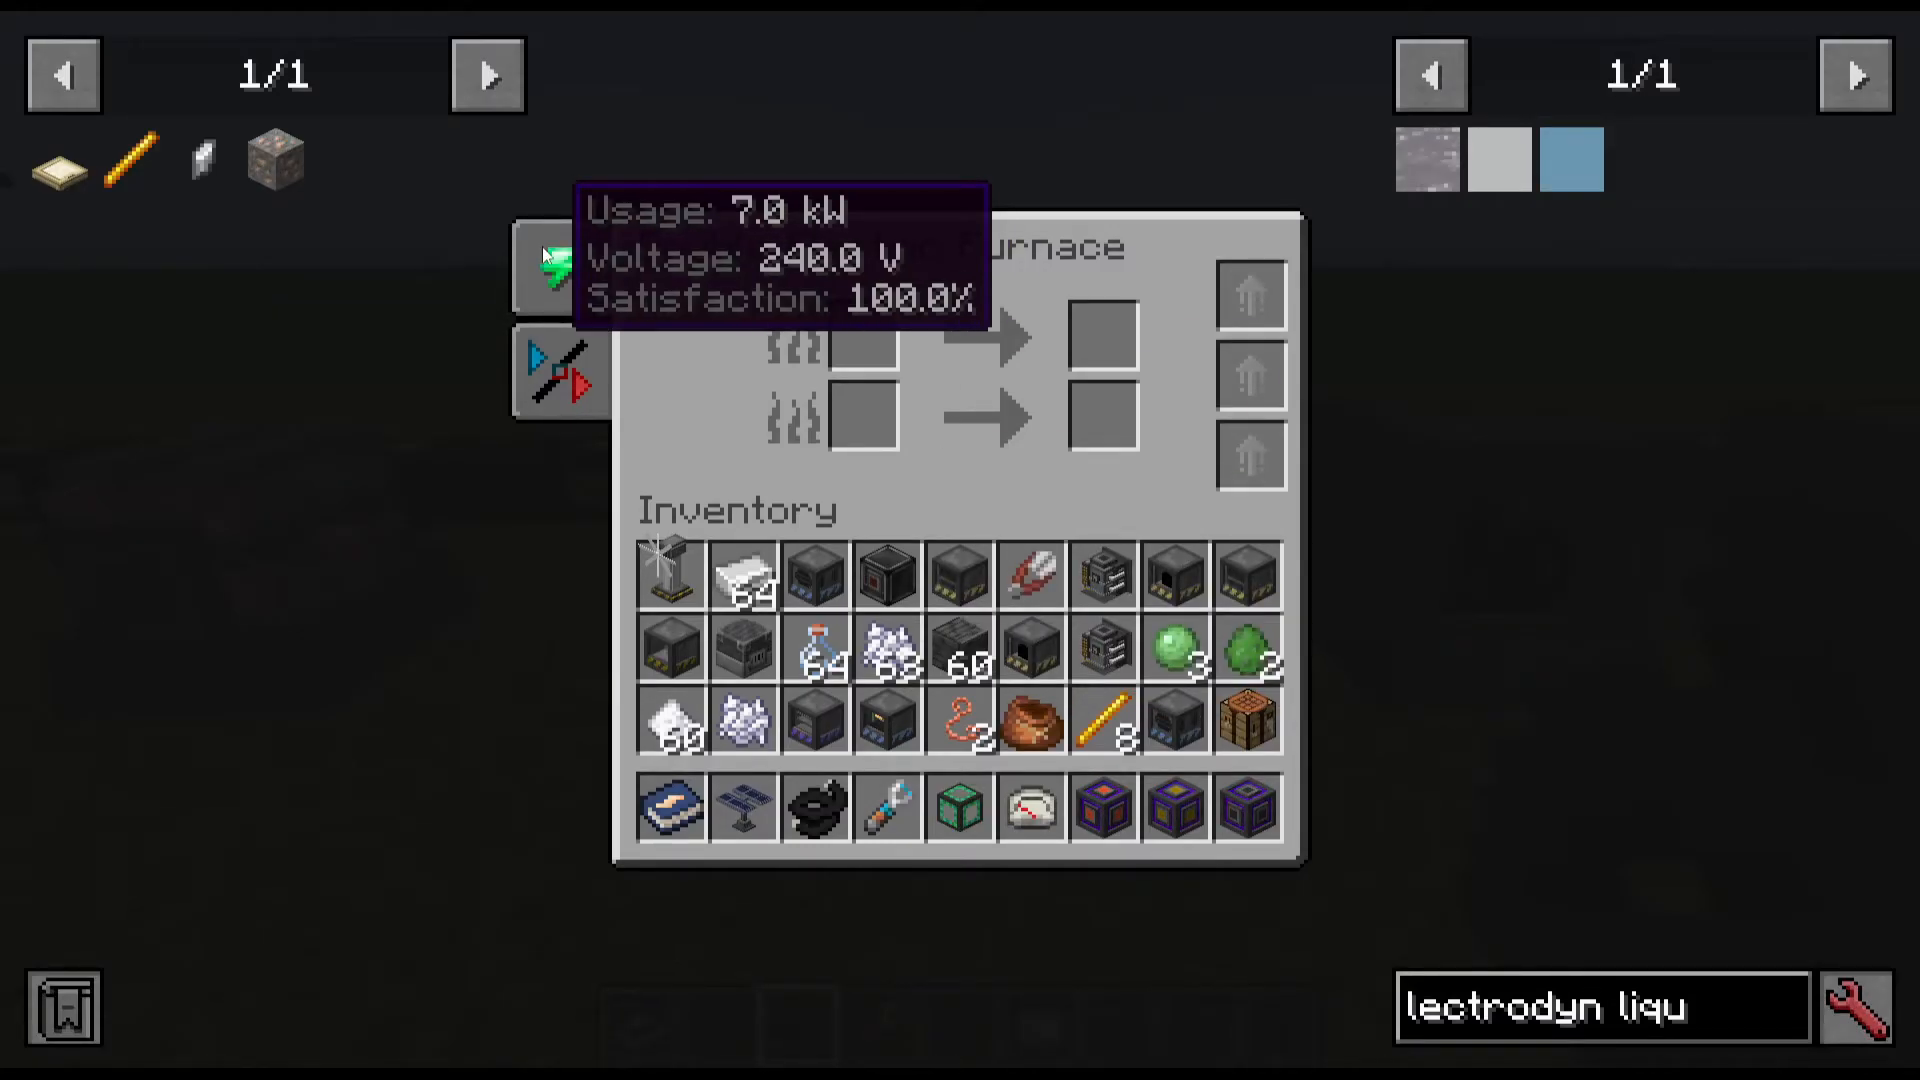
Double Machines (240 Volts)
At 240 volts, doubled versions of machines become available:
Double Electric Furnace (7 kilowatts)
Double Electric Arc Furnace
Double Wire Mill
Double Mineral Grinder
Double Mineral Crusher
These require the base machine recipe plus advanced circuits (basic circuits with diamond and nether quartz) and bronze. Bronze is made from bronze dust (2 copper dust + 1 tin dust) smelted into bronze ingots.
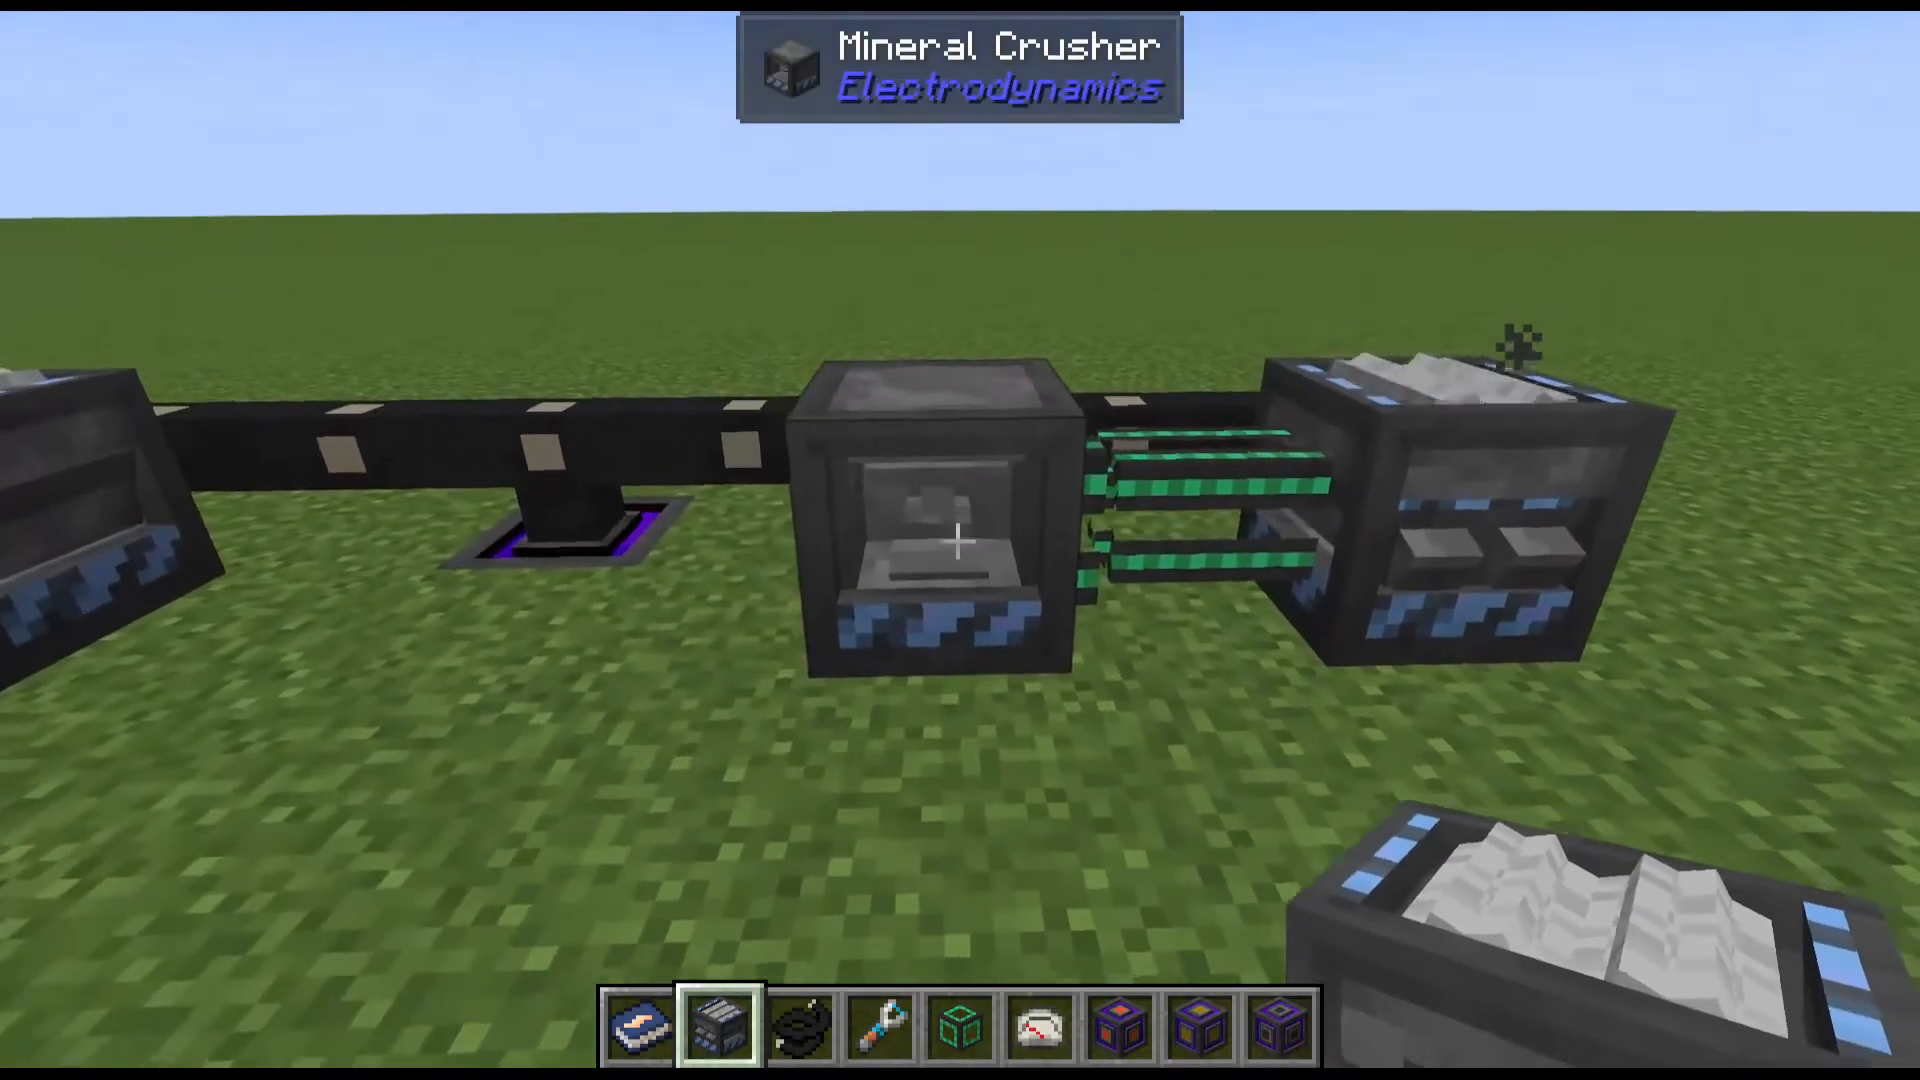
Mineral Crusher for Triple Ore Processing
The mineral crusher creates three dust from one ore. Pipe its output to a mineral grinder to convert impure dust to pure, giving you 3x ore multiplication before smelting. This is more efficient than the basic 2x from the mineral grinder alone.
Making Stainless Steel (Tier 2 Materials)
Chemical Furnace Process
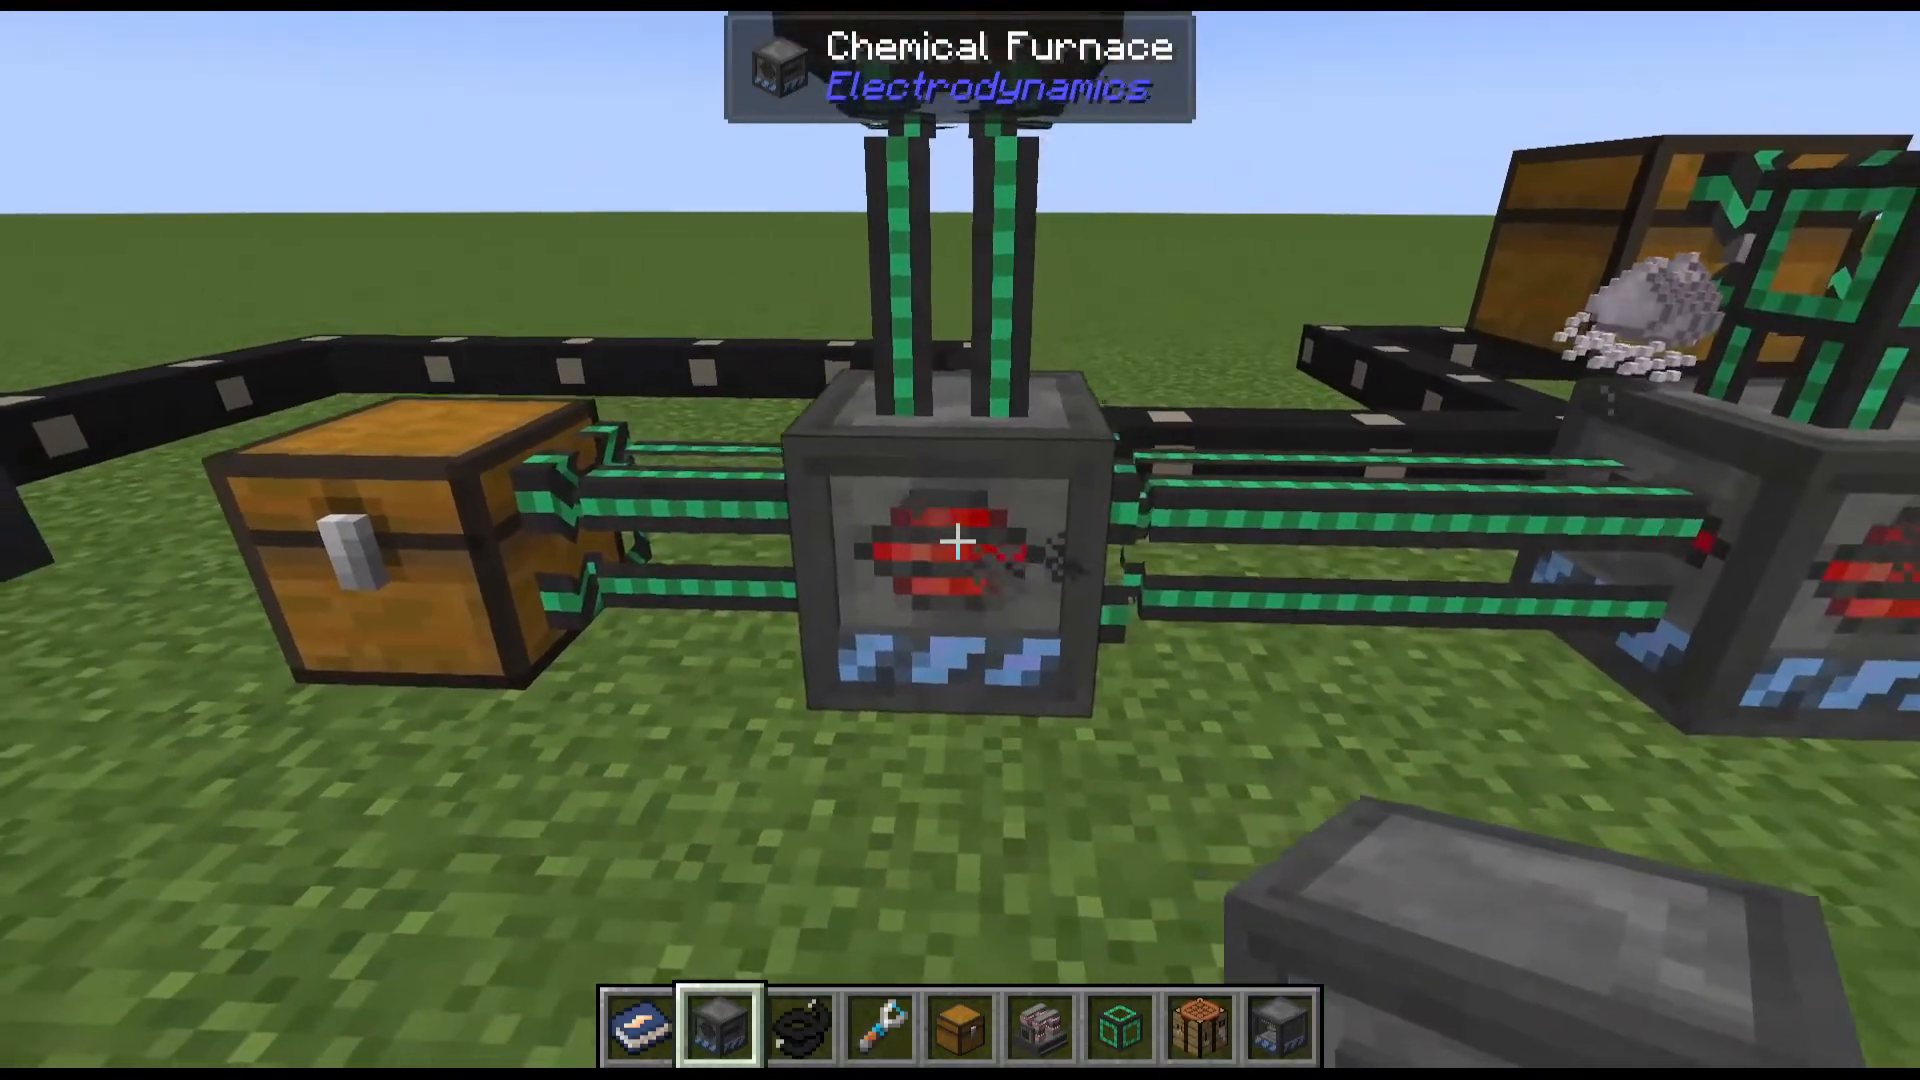
Stainless steel requires multiple steps through chemical furnaces. The process involves three chemical furnace reactions:
Step 1: Combine coal and salt (240 volts) to make sodium carbonate
Step 2: Combine sodium carbonate with bone meal (vanilla item) to make calcium carbonate
Step 3: Combine calcium carbonate with chromium oxide (from crushed chromite ore) to make chromium ingots
Energized Alloyer (Tier 3 Machine)
The energized alloyer (red color, indicating Tier 3 classification) combines chromium ingots with steel to create stainless steel. It operates at 480 volts and requires titanium and aluminum components to construct. Use upgrade transformers to step 240-volt power up to 480 volts.
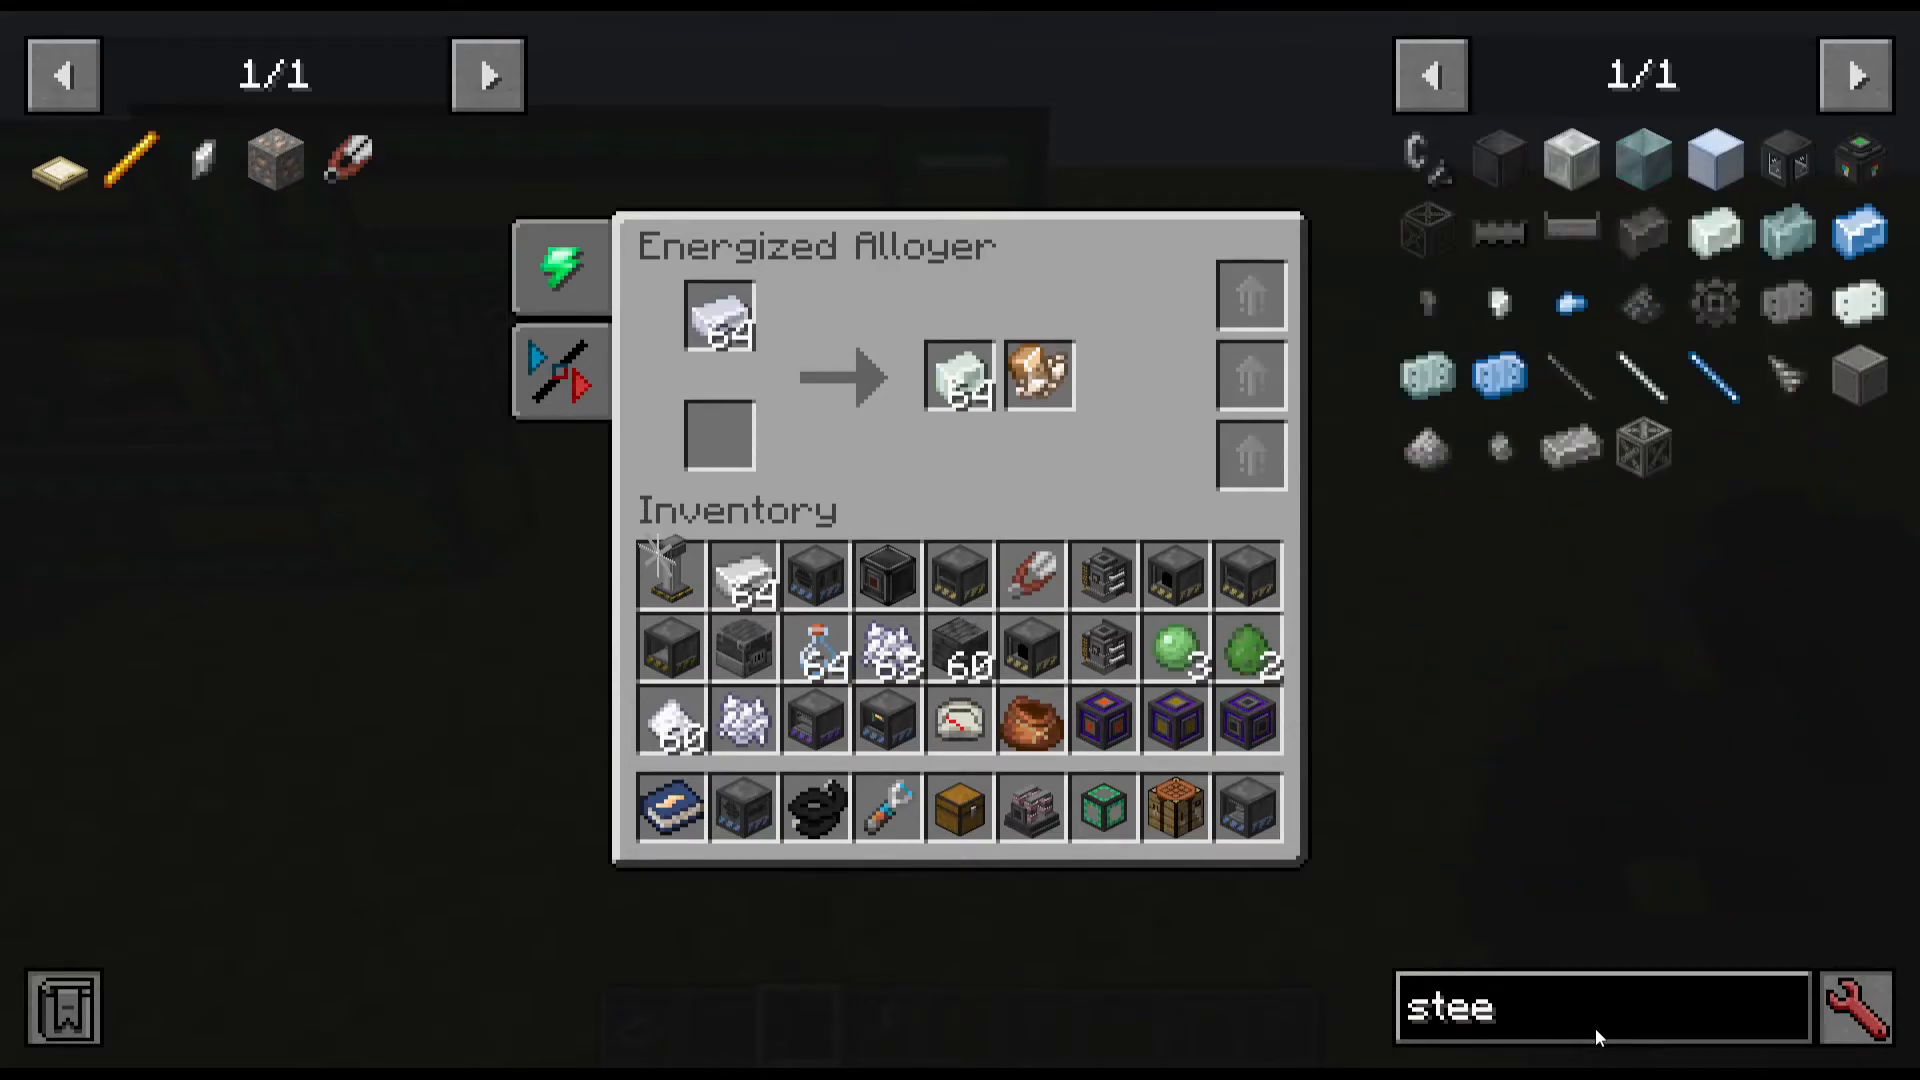
Making Aluminum and Titanium
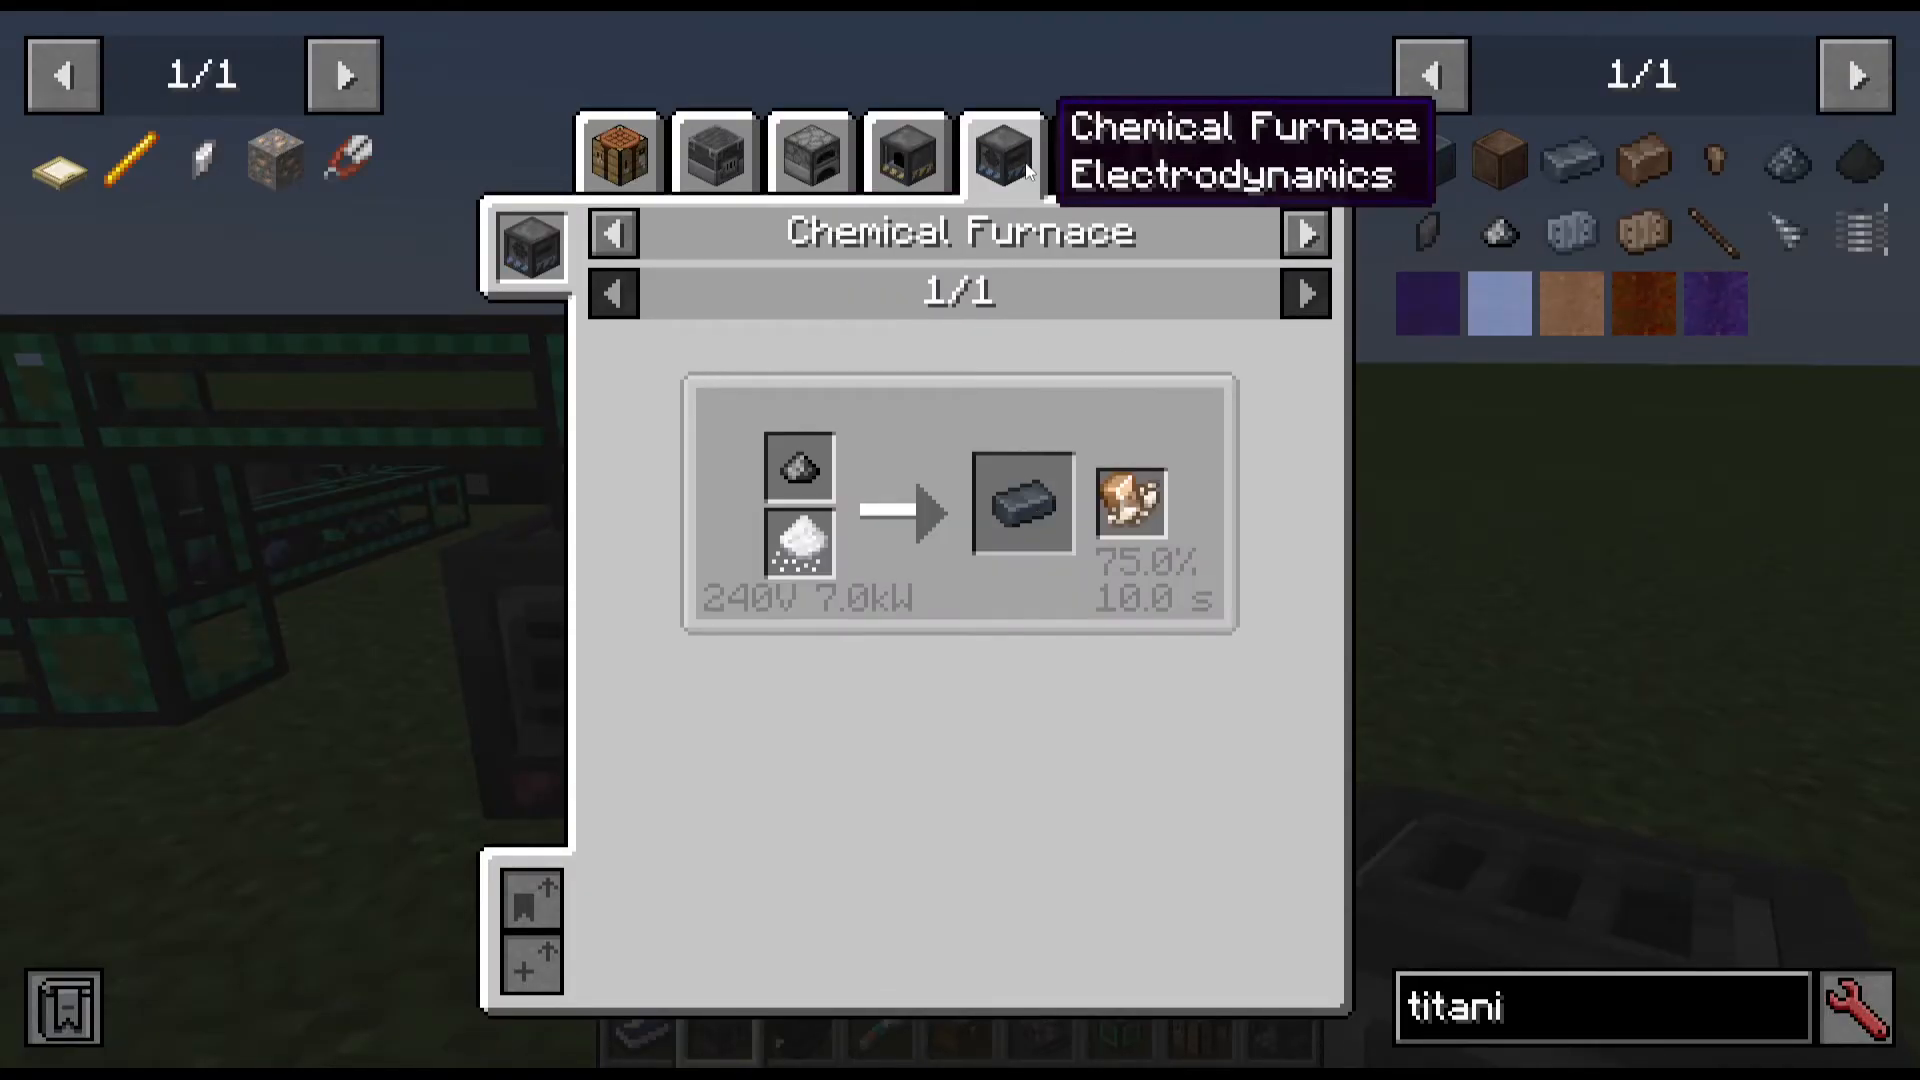
Titanium: Made in a chemical furnace by combining salt and titanium dioxide (crushed from rutile ore or other titanium sources)
Aluminum: Made in a chemical furnace by combining bauxite ore and niter
To construct the energized alloyer, you need a titanium coil (9 titanium ingots in a wire mill) and aluminum plates (aluminum ingots in a mineral crusher). With these components plus basic materials, you can build the energized alloyer for stainless steel production.
Machine Upgrades
Capacity and Speed Upgrades
Machines accept upgrade cards that modify performance:
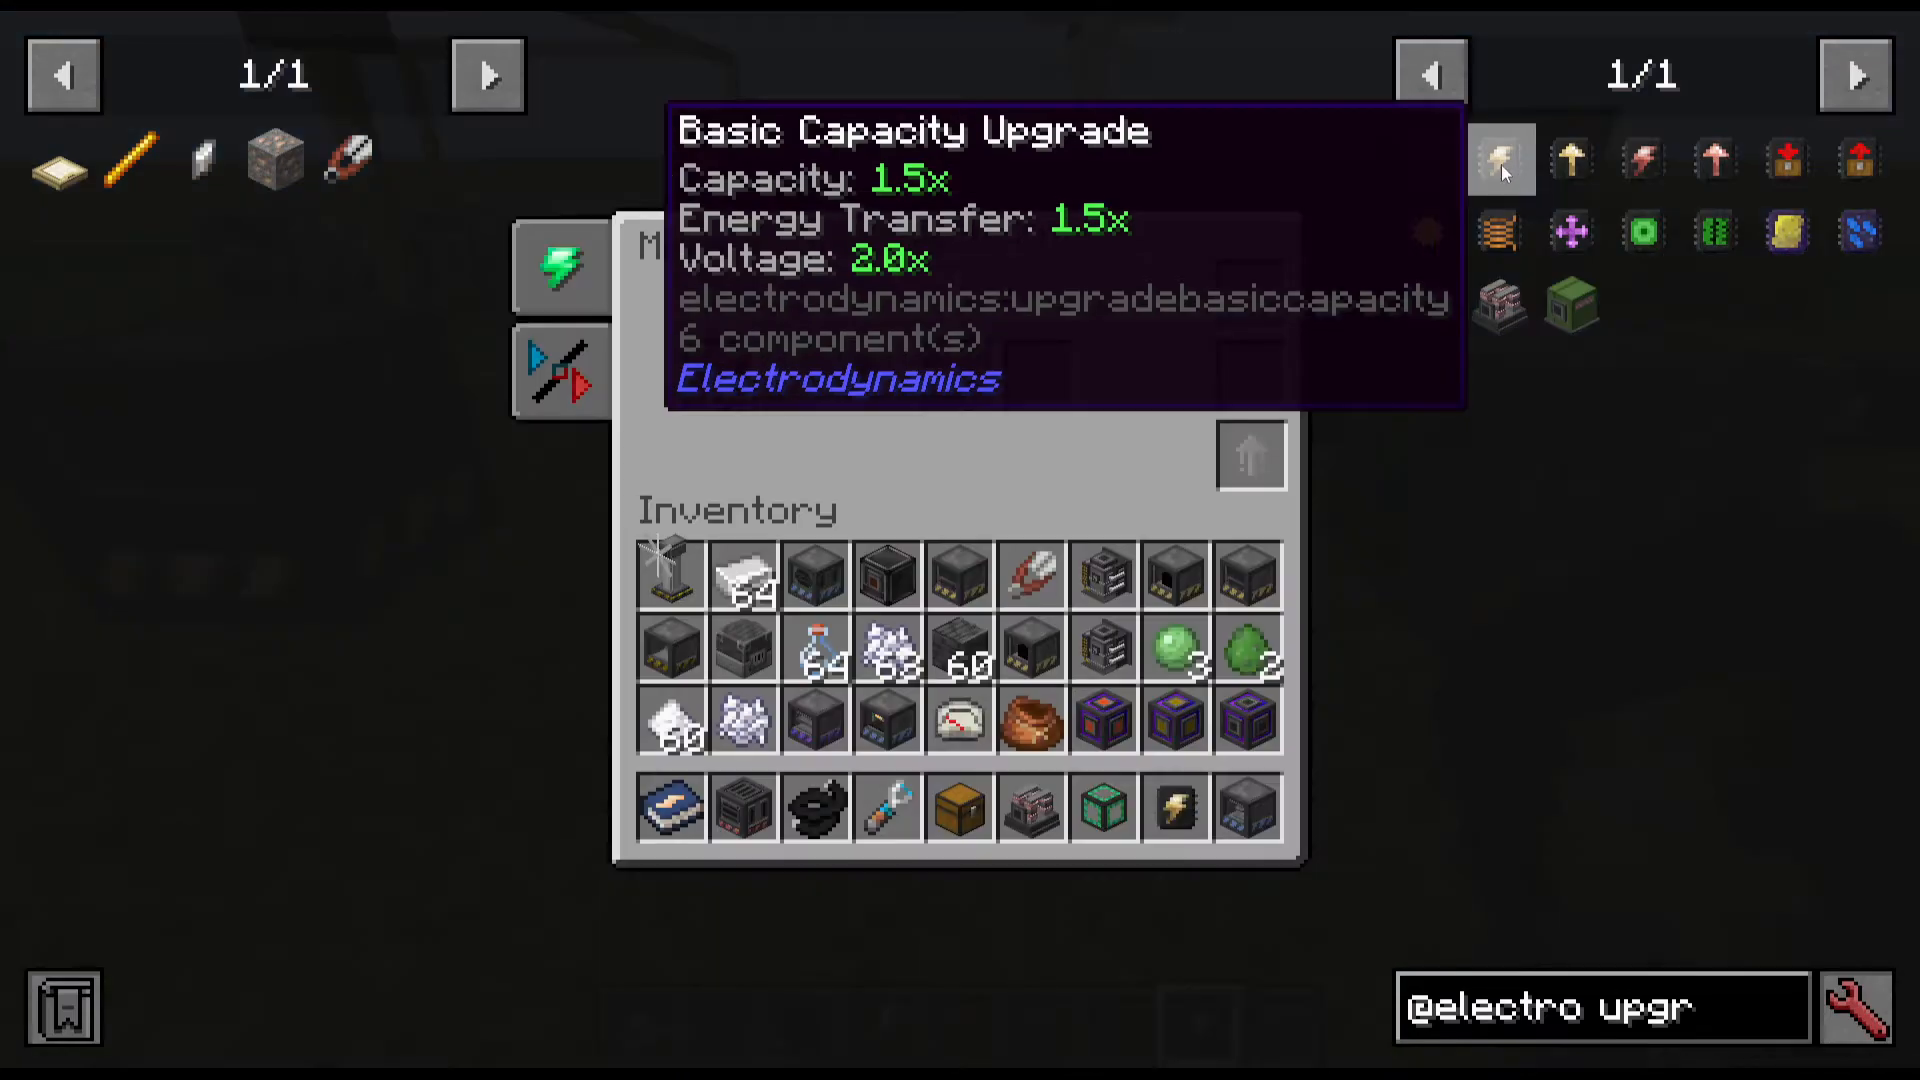
Basic Capacity Upgrade: Increases machine capacity, energy transfer, and operating voltage
Basic Speed Upgrade: Increases processing speed at the cost of higher power consumption (1.5x speed multiplier)
Advanced Upgrades: More efficient versions requiring 4 basic upgrades to craft
You can install multiple upgrades in a single machine to compound effects.
Auto Injector and Auto Ejector
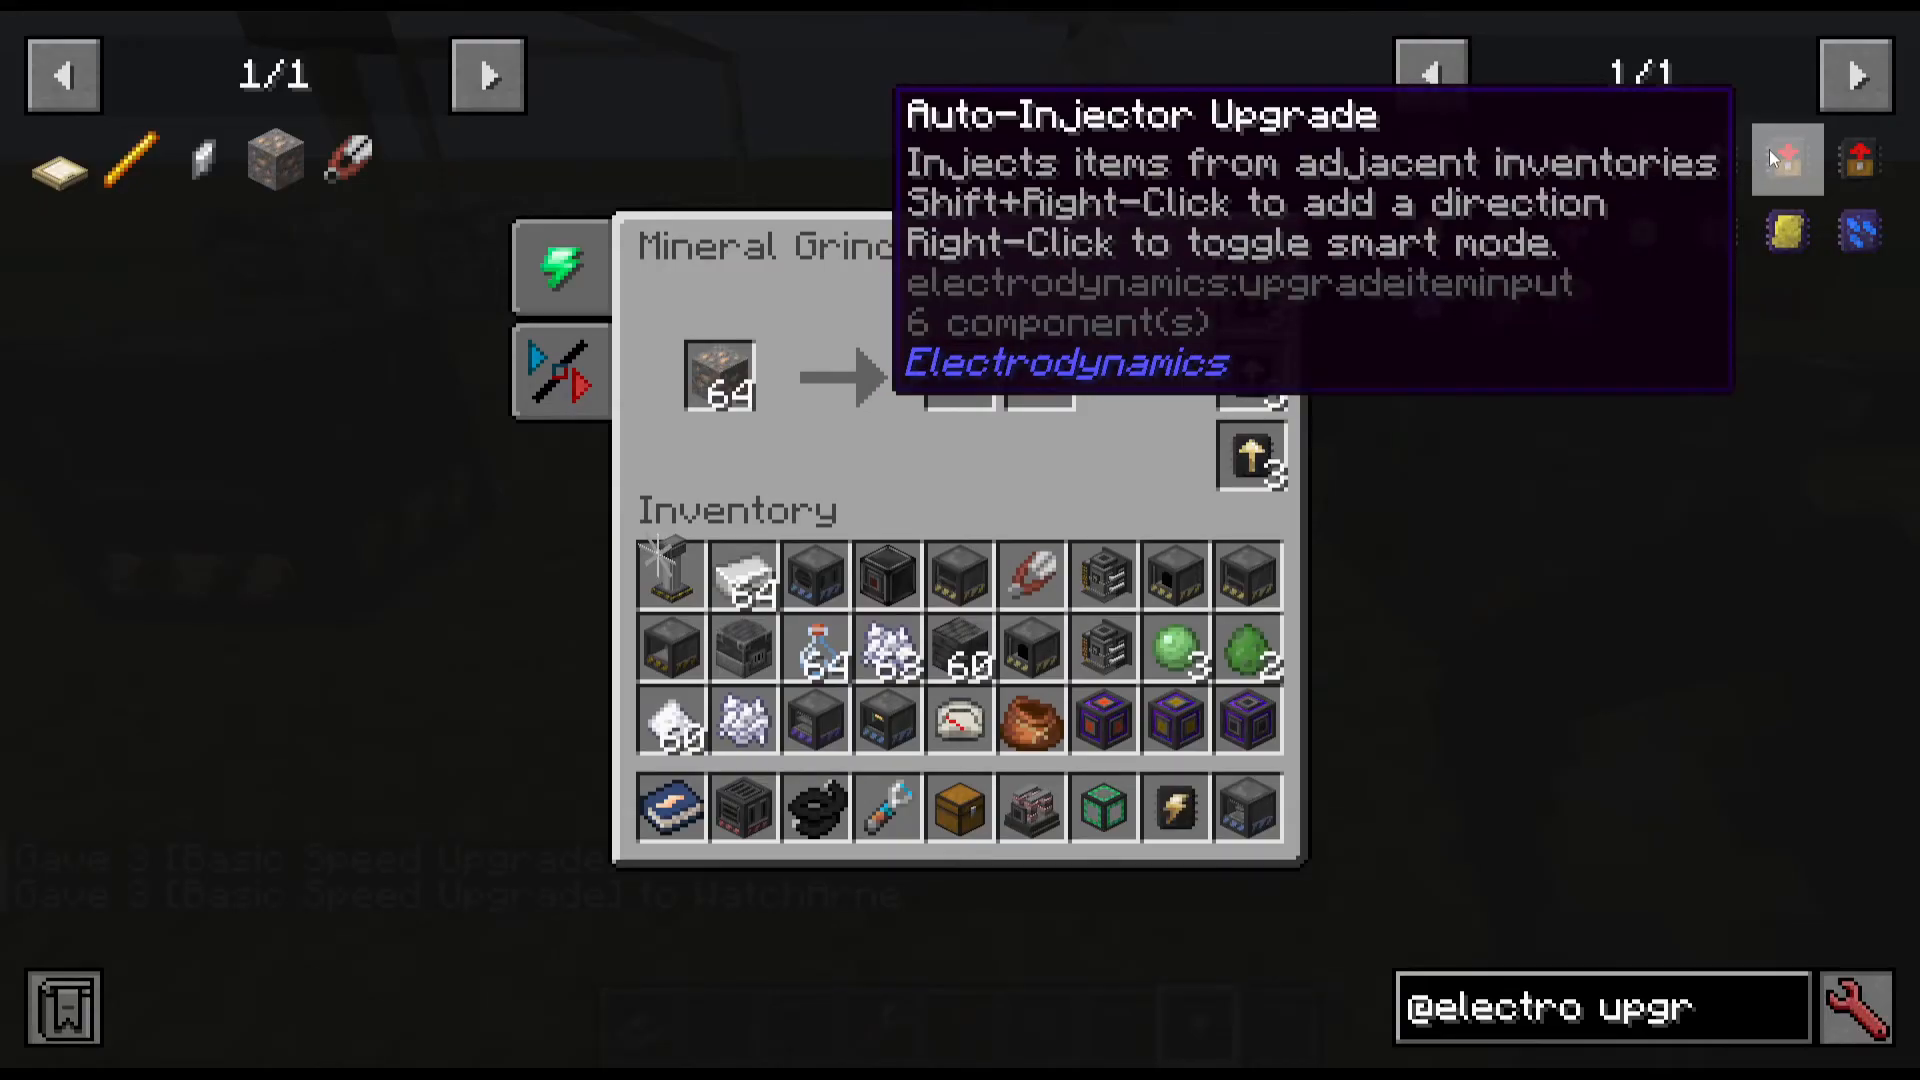
These upgrades automatically move items into adjacent inventories (injector) or eject items to neighbors (ejector). Shift right-click to set direction, and right-click to toggle smart mode. They’re useful alternatives to hoppers for managing item flow.
Specialized Upgrades
Additional upgrades include solar cell upgrades for solar panels, storage upgrades, range upgrades for area-effect machines, experience upgrades, void upgrades, silk touch, and fortune cards for mining equipment.
Understanding Gases and Temperature
Gas Pressure and Temperature Basics
Gases in Electrodynamics use pressure measured in ATMs (atmospheres) and temperature measured in Kelvins. Pressure always starts at a minimum of 1 and increases as volume decreases. Each machine and pipe has maximum rated pressure—exceeding this rating causes damage or explosions. Temperature affects gas properties and phase changes (gas to liquid conversion).
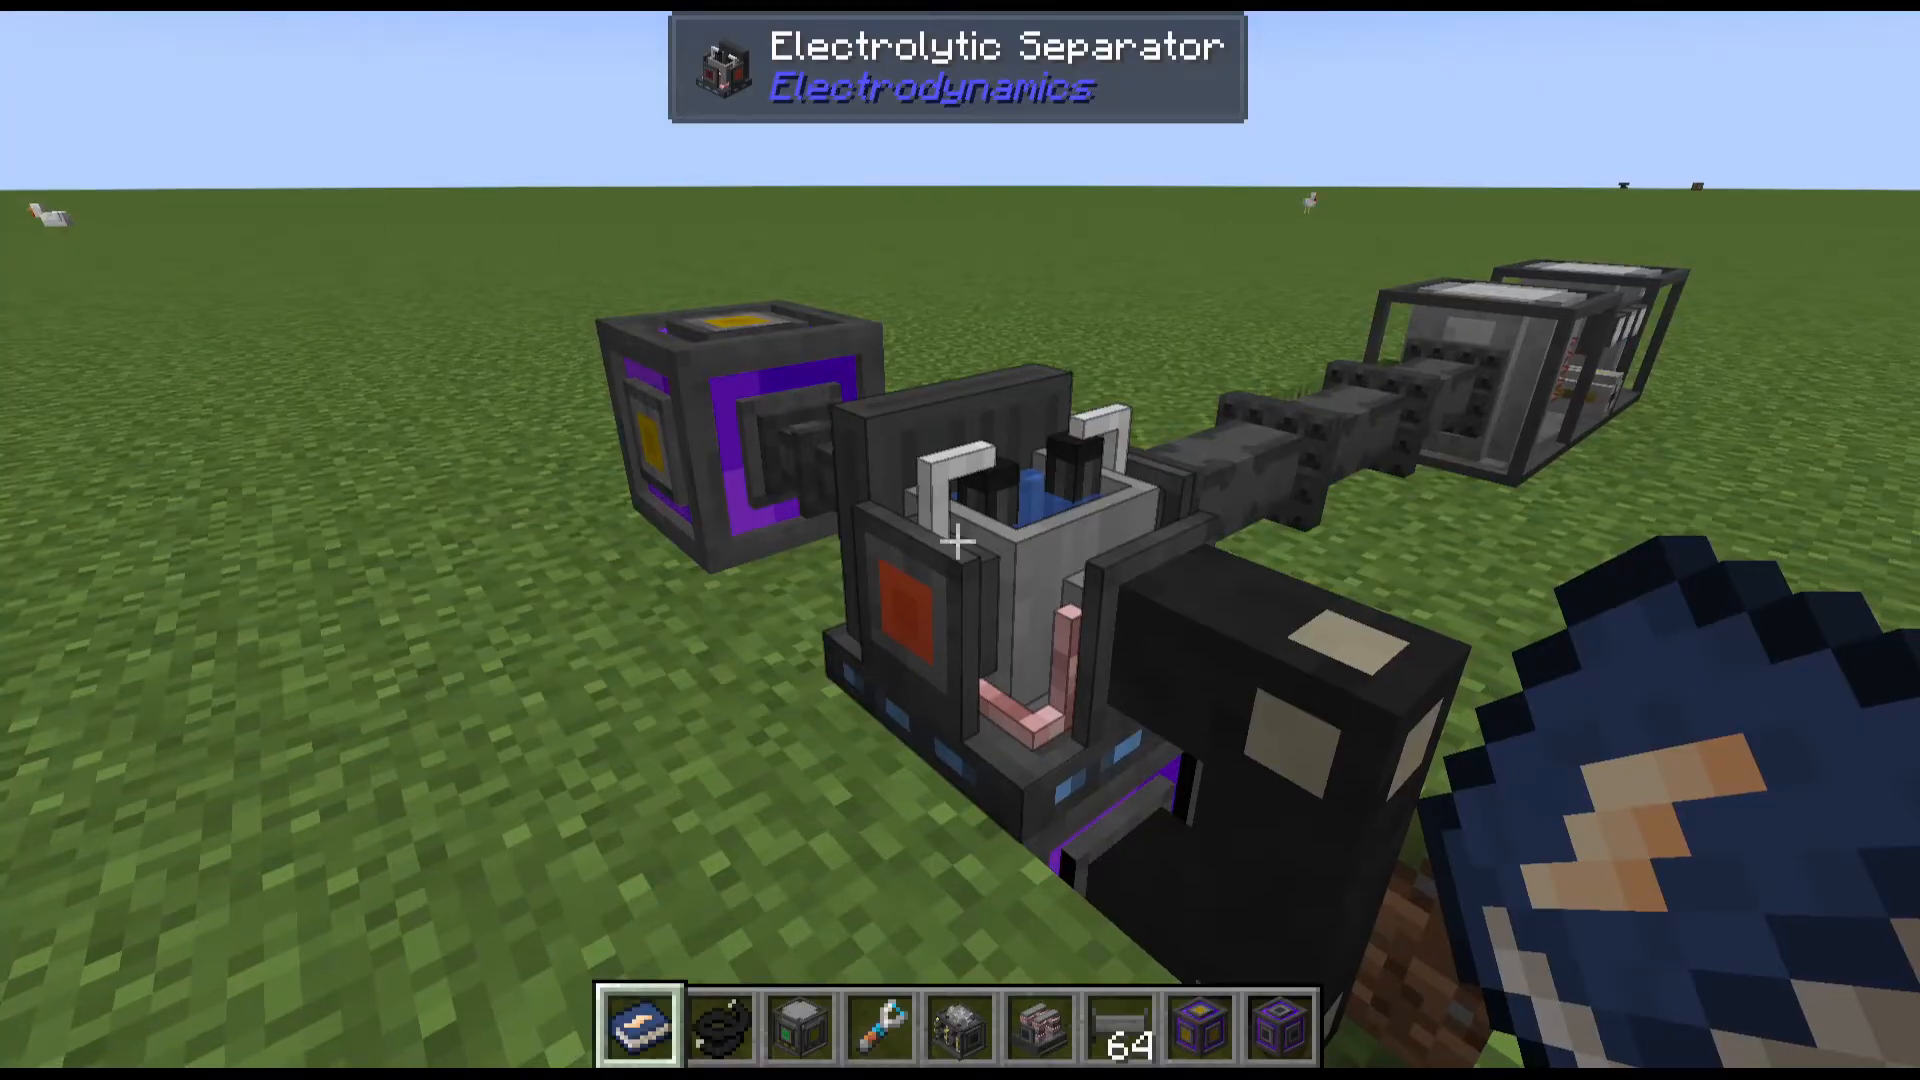
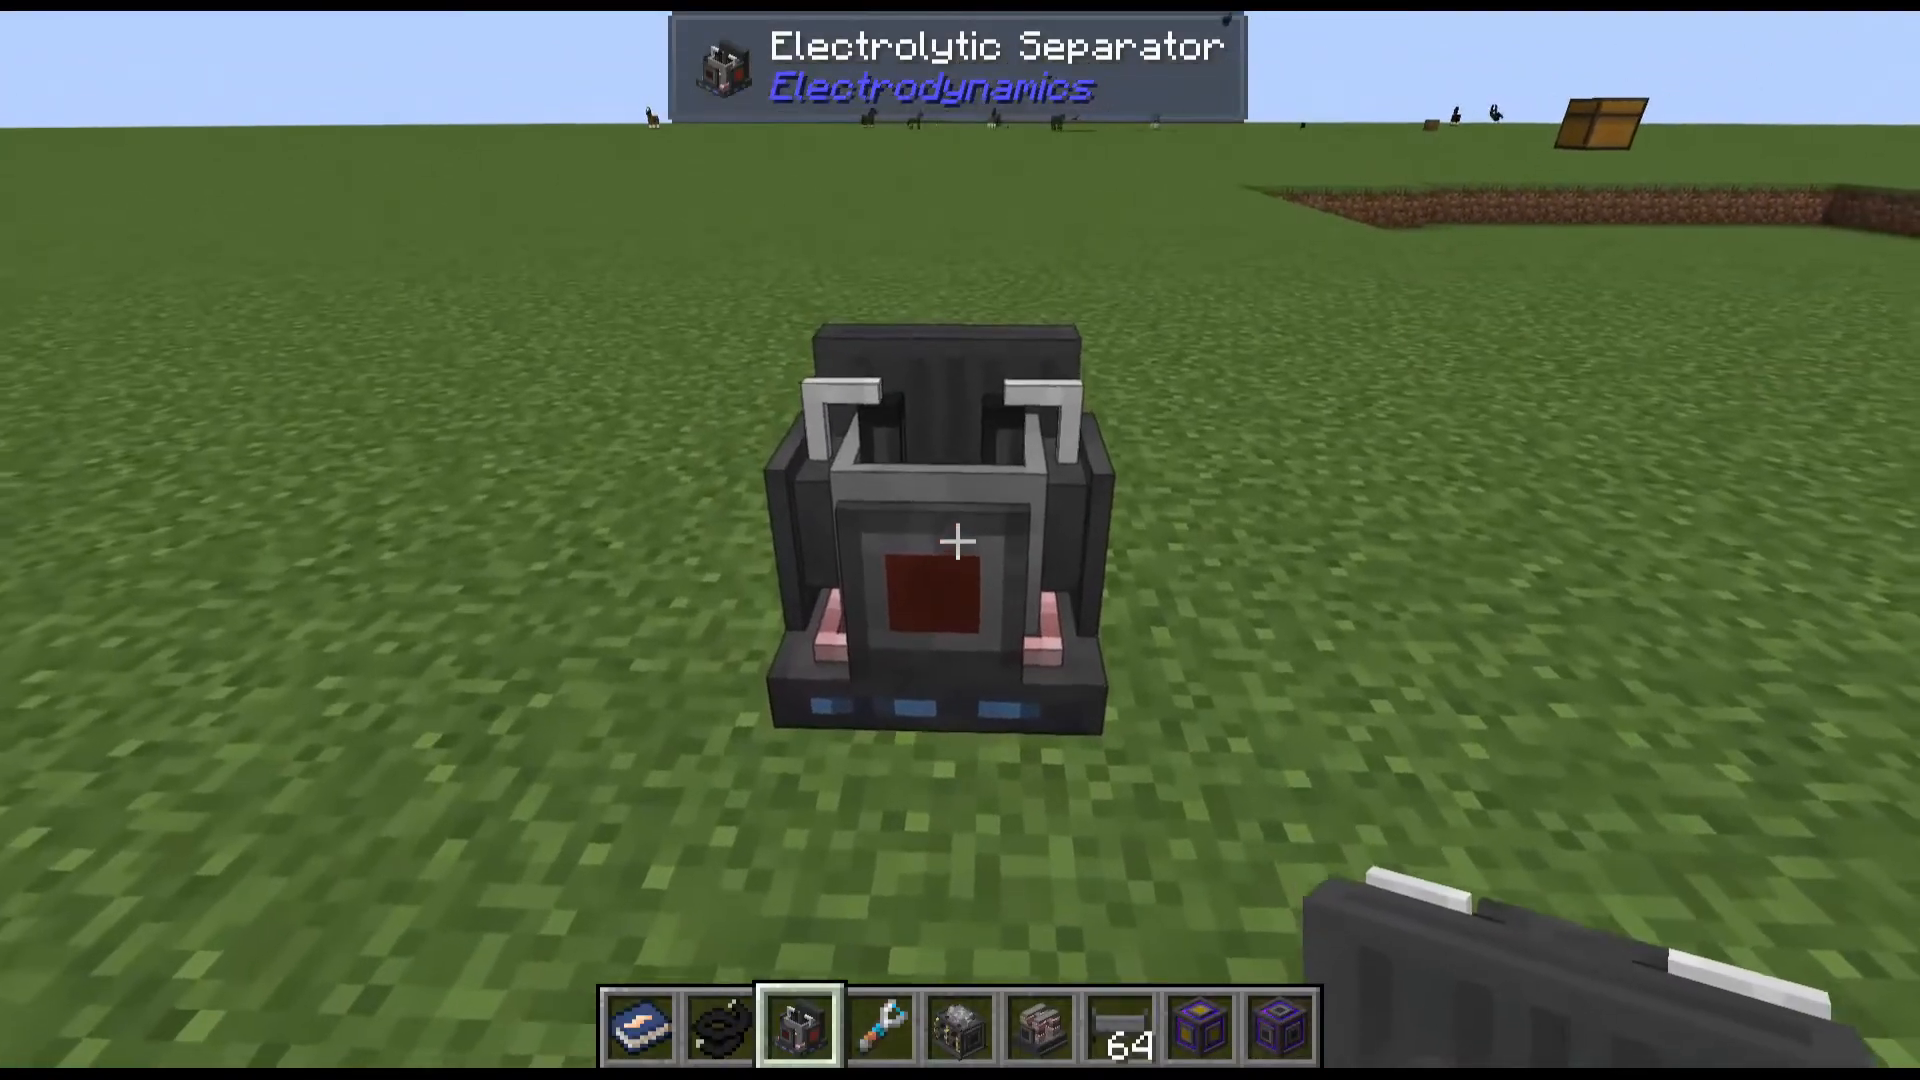
Electrolytic Separator
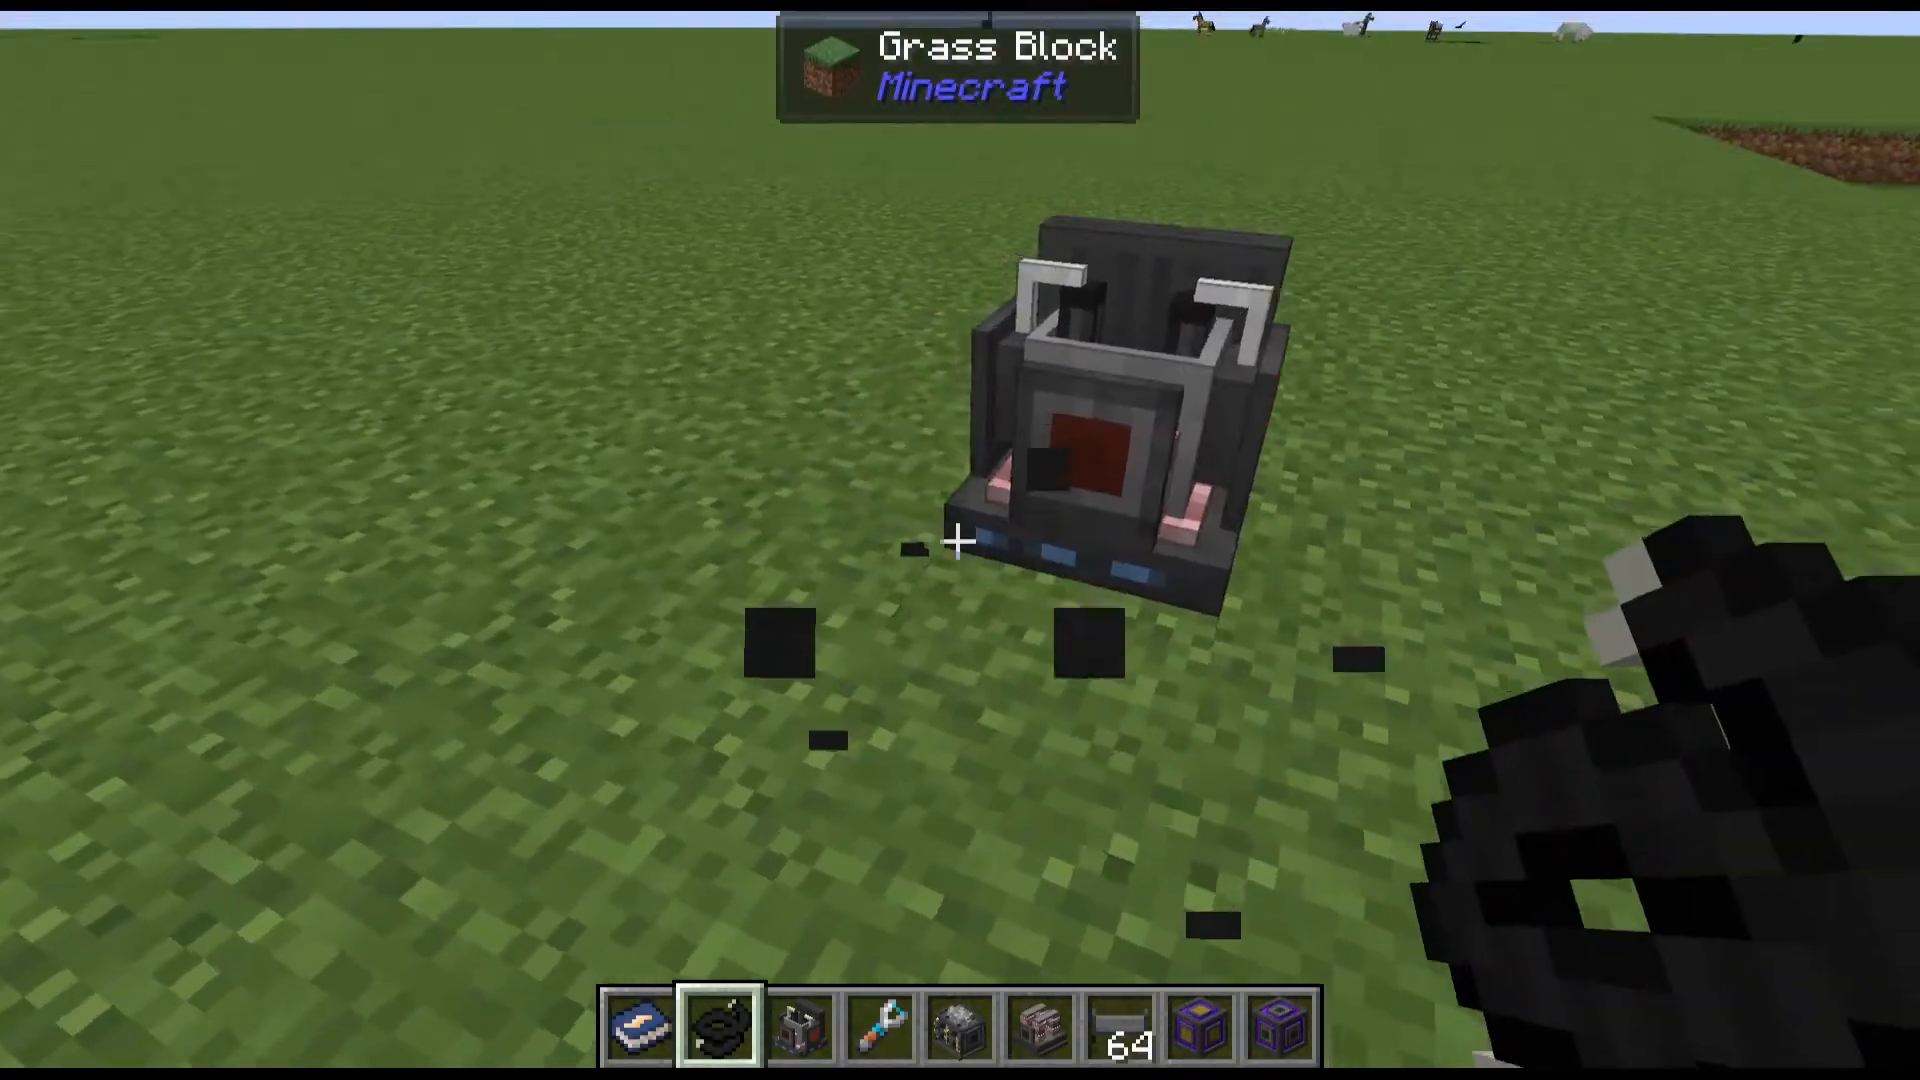
The electrolytic separator (240 volts) splits water into oxygen and hydrogen gases. Oxygen outputs from one port while hydrogen outputs from another. Both gases can be vented if unwanted using a gas vent. This machine is foundational for any hydrogen-based system.
Gas Pipes and Throughput
Different gas pipes offer different throughputs and pressure ratings:
Copper Gas Pipe: 10 buckets throughput, 16 ATM maximum
Steel Gas Pipe: 30 buckets throughput, 128 ATM maximum
Plastic Gas Pipe: 1 bucket throughput, 16 ATM maximum (required for corrosive gases like sulfur dioxide)
Gas machine inputs are green (input) and outputs are orange (output).
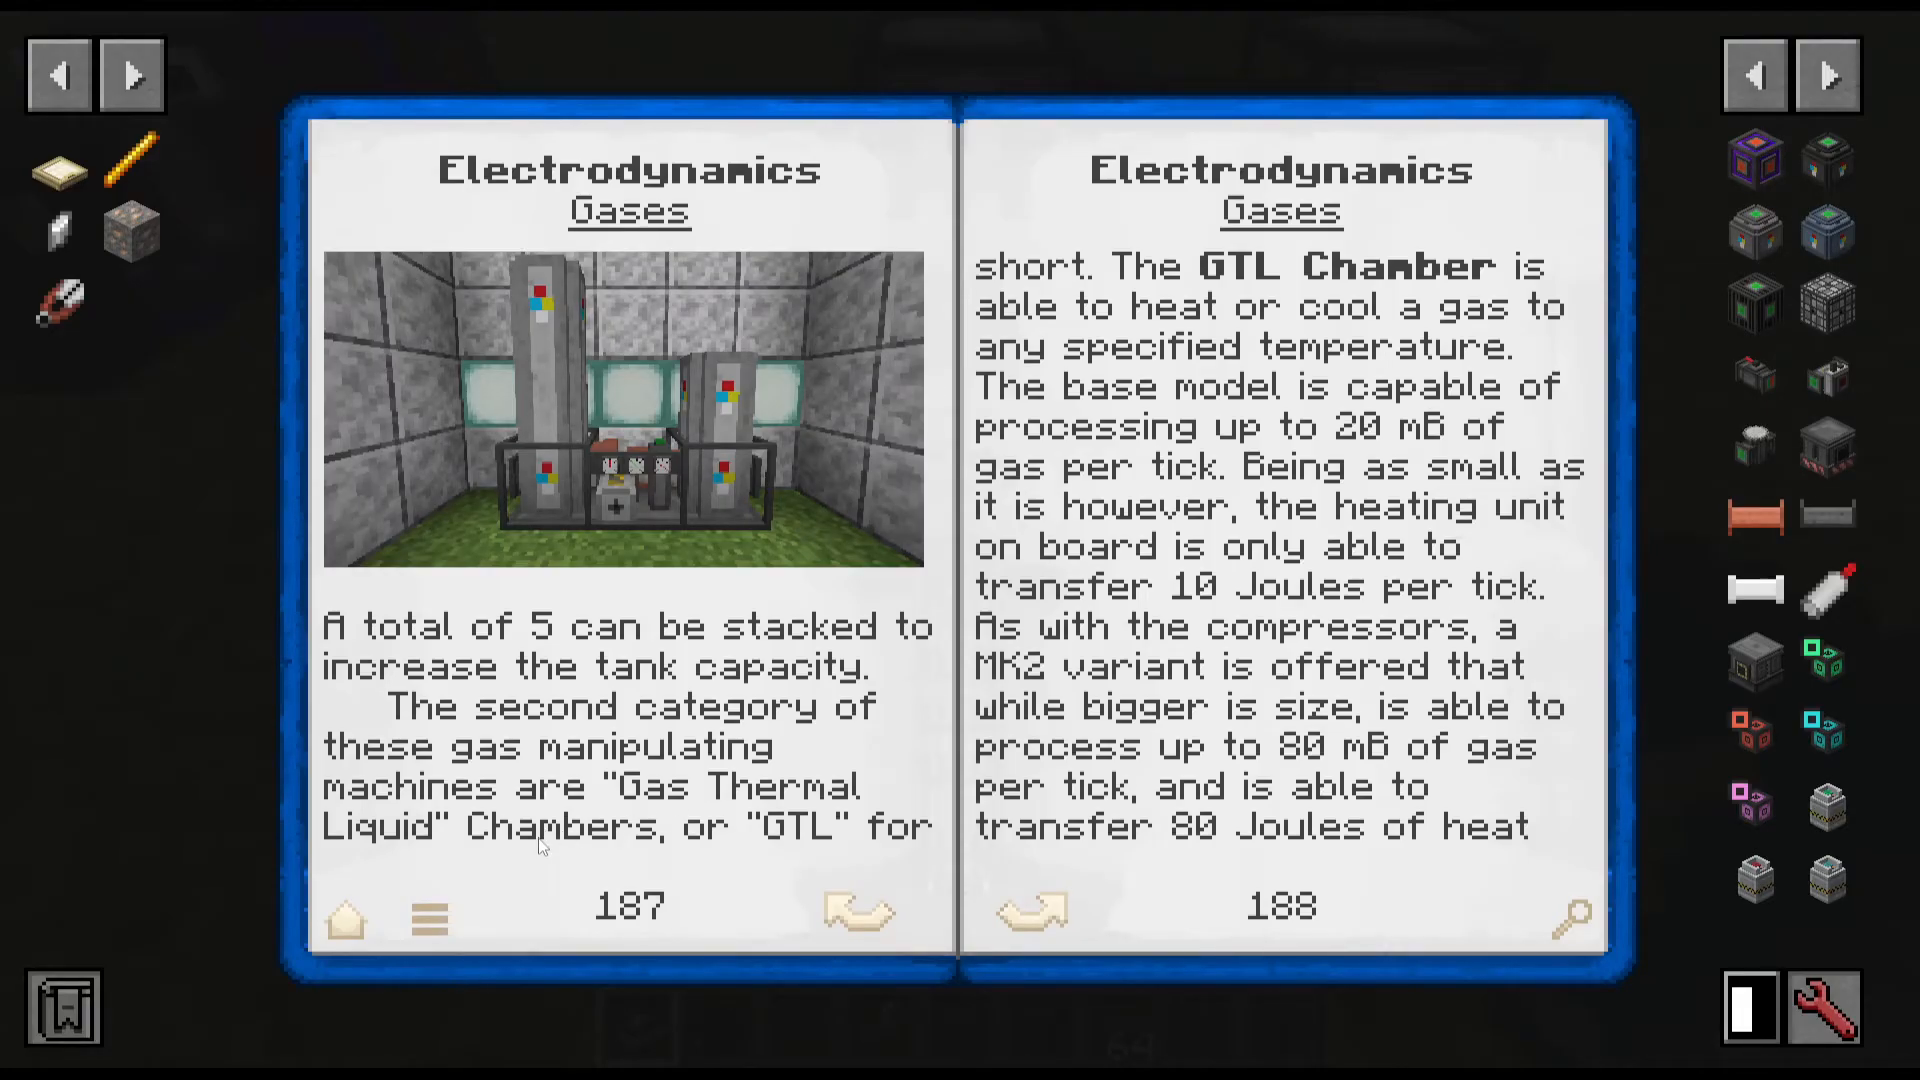
GTL Chamber (Gas Thermal Liquid)
The GTL chamber converts gases to their liquid counterparts when specific temperature conditions are met. For example, hydrogen becomes liquid hydrogen at 33 Kelvins or below. Check JEI for exact temperature requirements. The chamber is powered on the side and requires a pressure gauge (made from steel rods).
Gas Manipulation Equipment
Compressor: Increases gas pressure
Decompressor: Decreases gas pressure
Gas Vent: Safely vents unwanted gases
Pressurized Tanks: Stack up to 5 on top of machines to greatly increase storage
Gas Valve: Bidirectional switch for gas flow control
Gas Pipe Pump: Allows powered, one-directional gas flow with priority settings
Gas Pipe Filter: Filters gases with blacklist/whitelist options
Gas Cylinder: Portable gas storage (not thermally insulated; use glass sheets to mitigate heat loss)
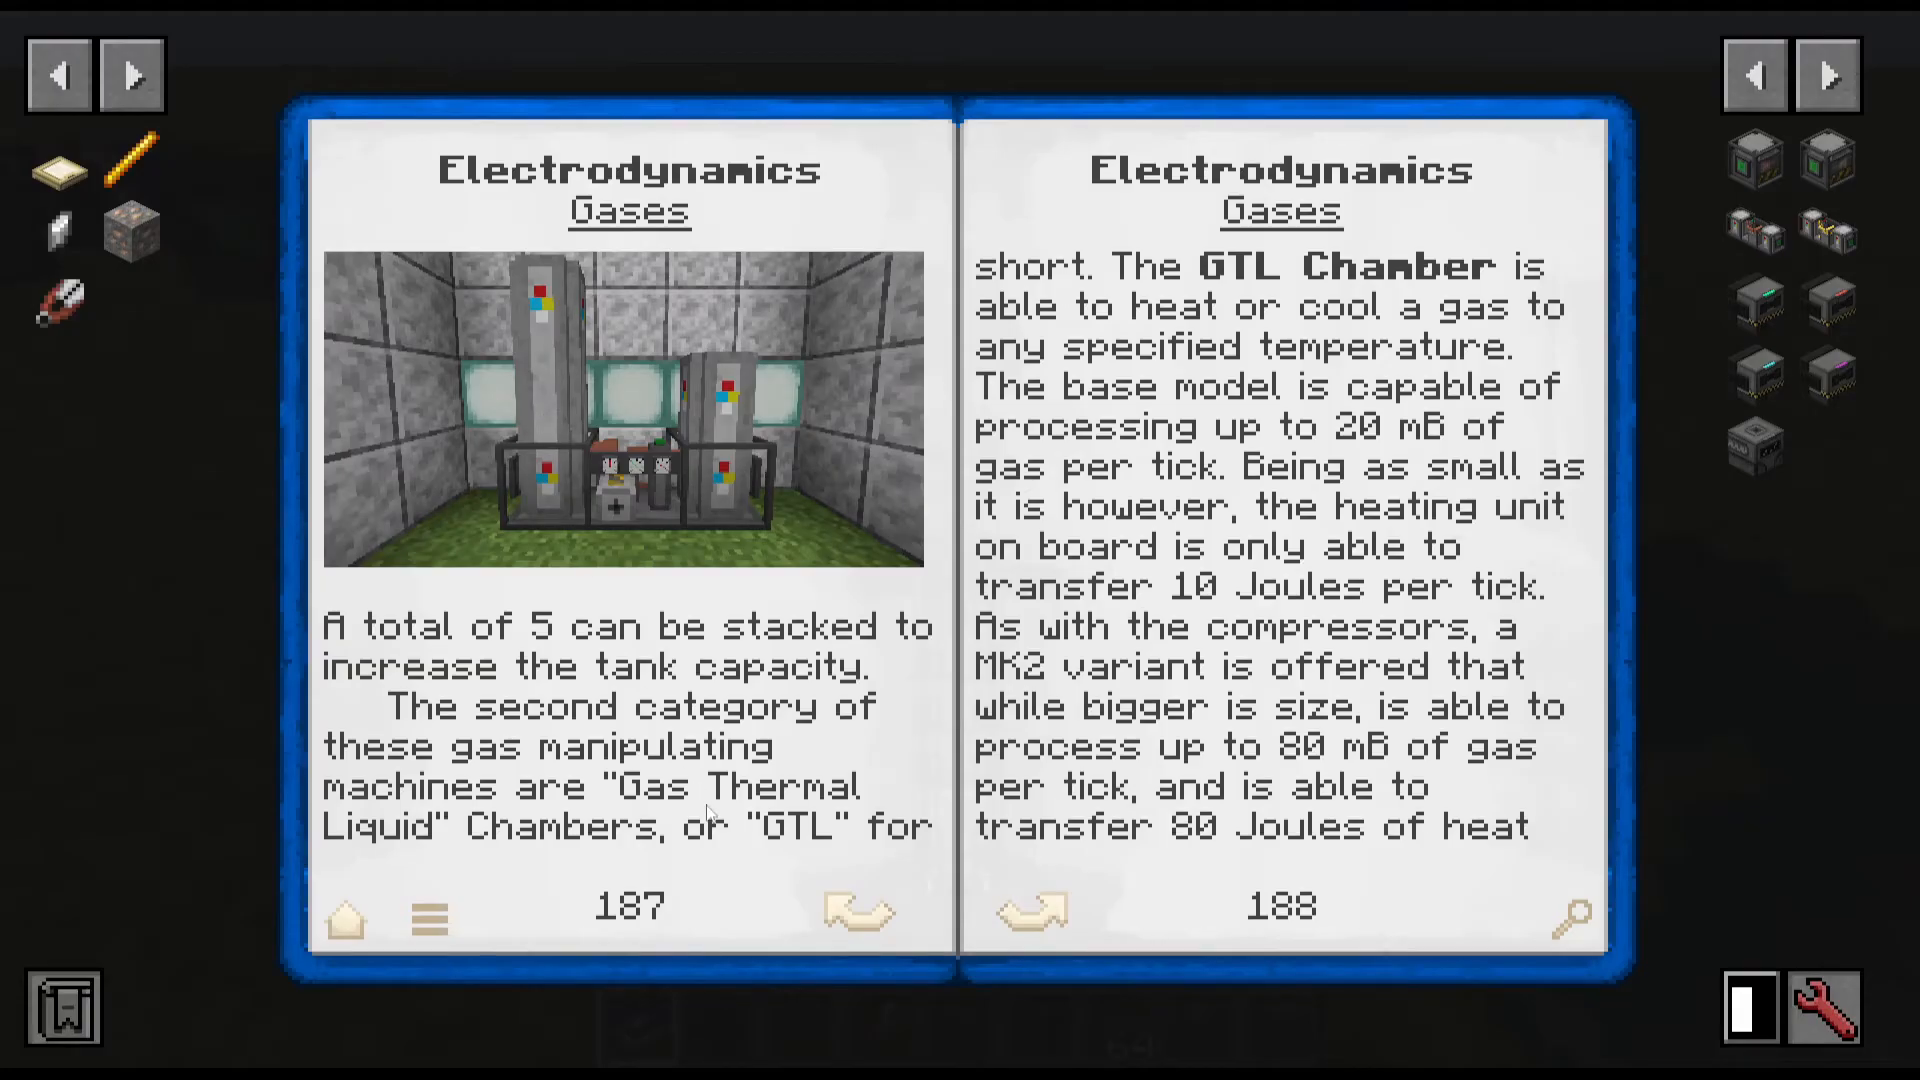
Making Liquid Hydrogen
To produce liquid hydrogen: run an electrolytic separator to generate hydrogen gas, pipe it to a GTL chamber set to 33 Kelvins or below, then output to a compressor set to compress it. The resulting liquid hydrogen can be burned in a combustion chamber for power generation.
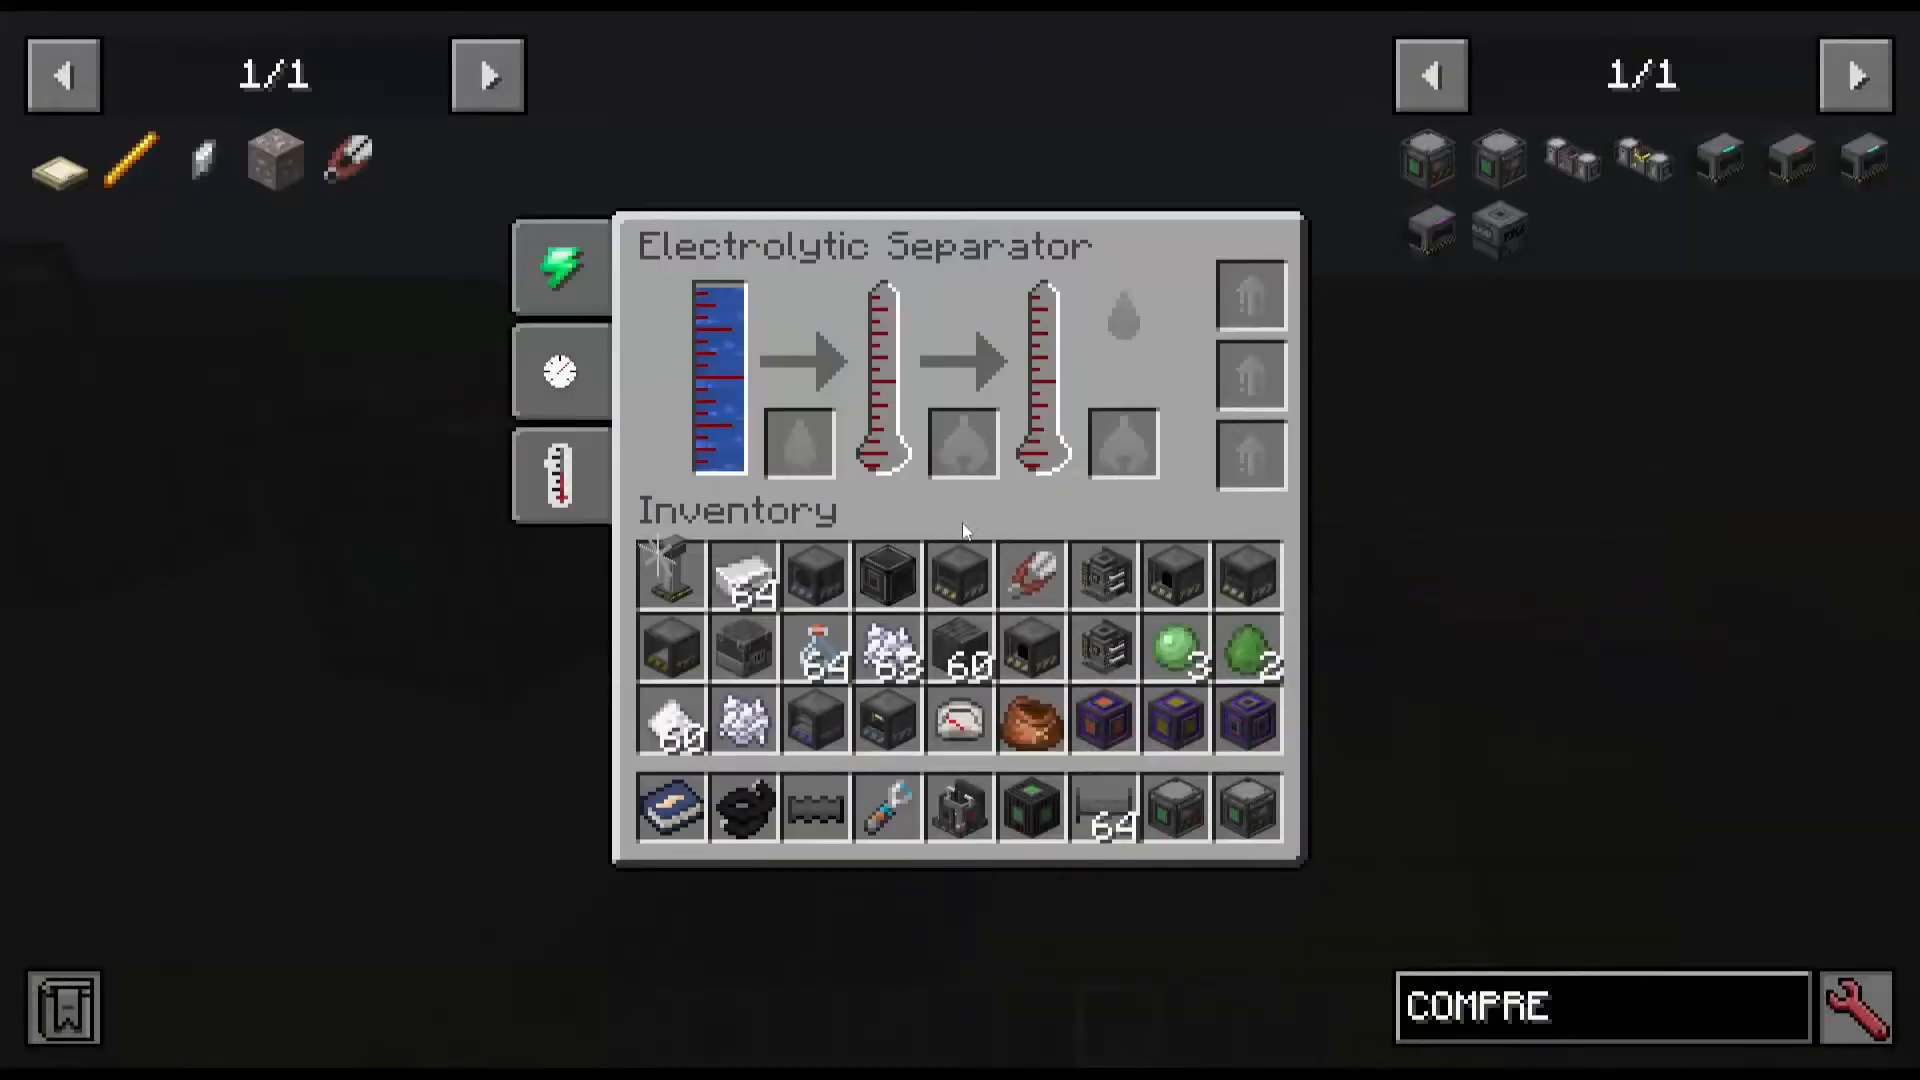
240-Volt Machines and Lithium Batteries
Lithium Battery Box
Lithium batteries provide increased storage capacity over basic battery boxes. They require lithium plate and ethanol chloride (made through a multi-step chemical furnace process). Raw lepidolite ore, when crushed, yields lithium dust for ingot smelting and plate crafting.
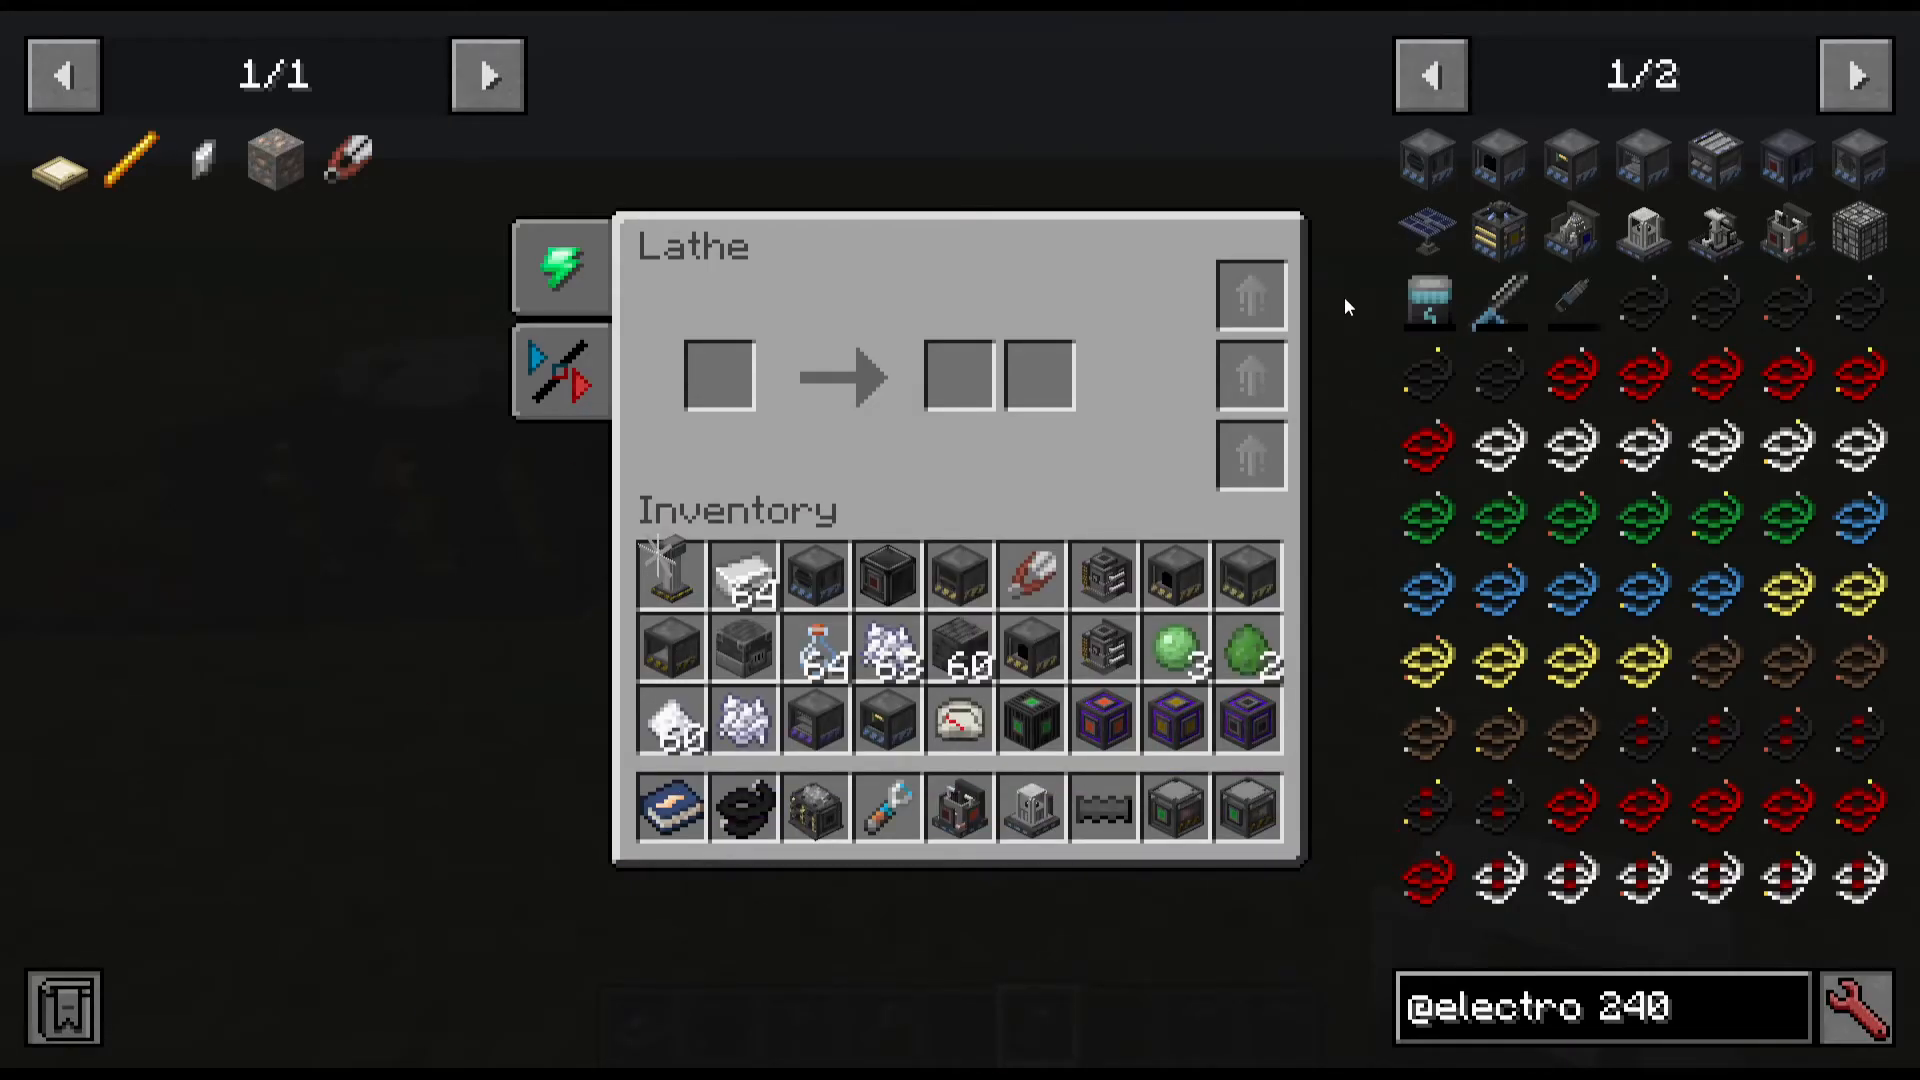
Making Ethanol Chloride
Ethanol chloride requires:
Sulfur trioxide (made from vanadium oxide + sulfur dioxide in a chemical furnace)
Sulfur dichloride (made from sulfur + salt in a chemical furnace)
Combining these in a chemical furnace produces ethanol chloride, which pairs with lithium plates to create lithium batteries.
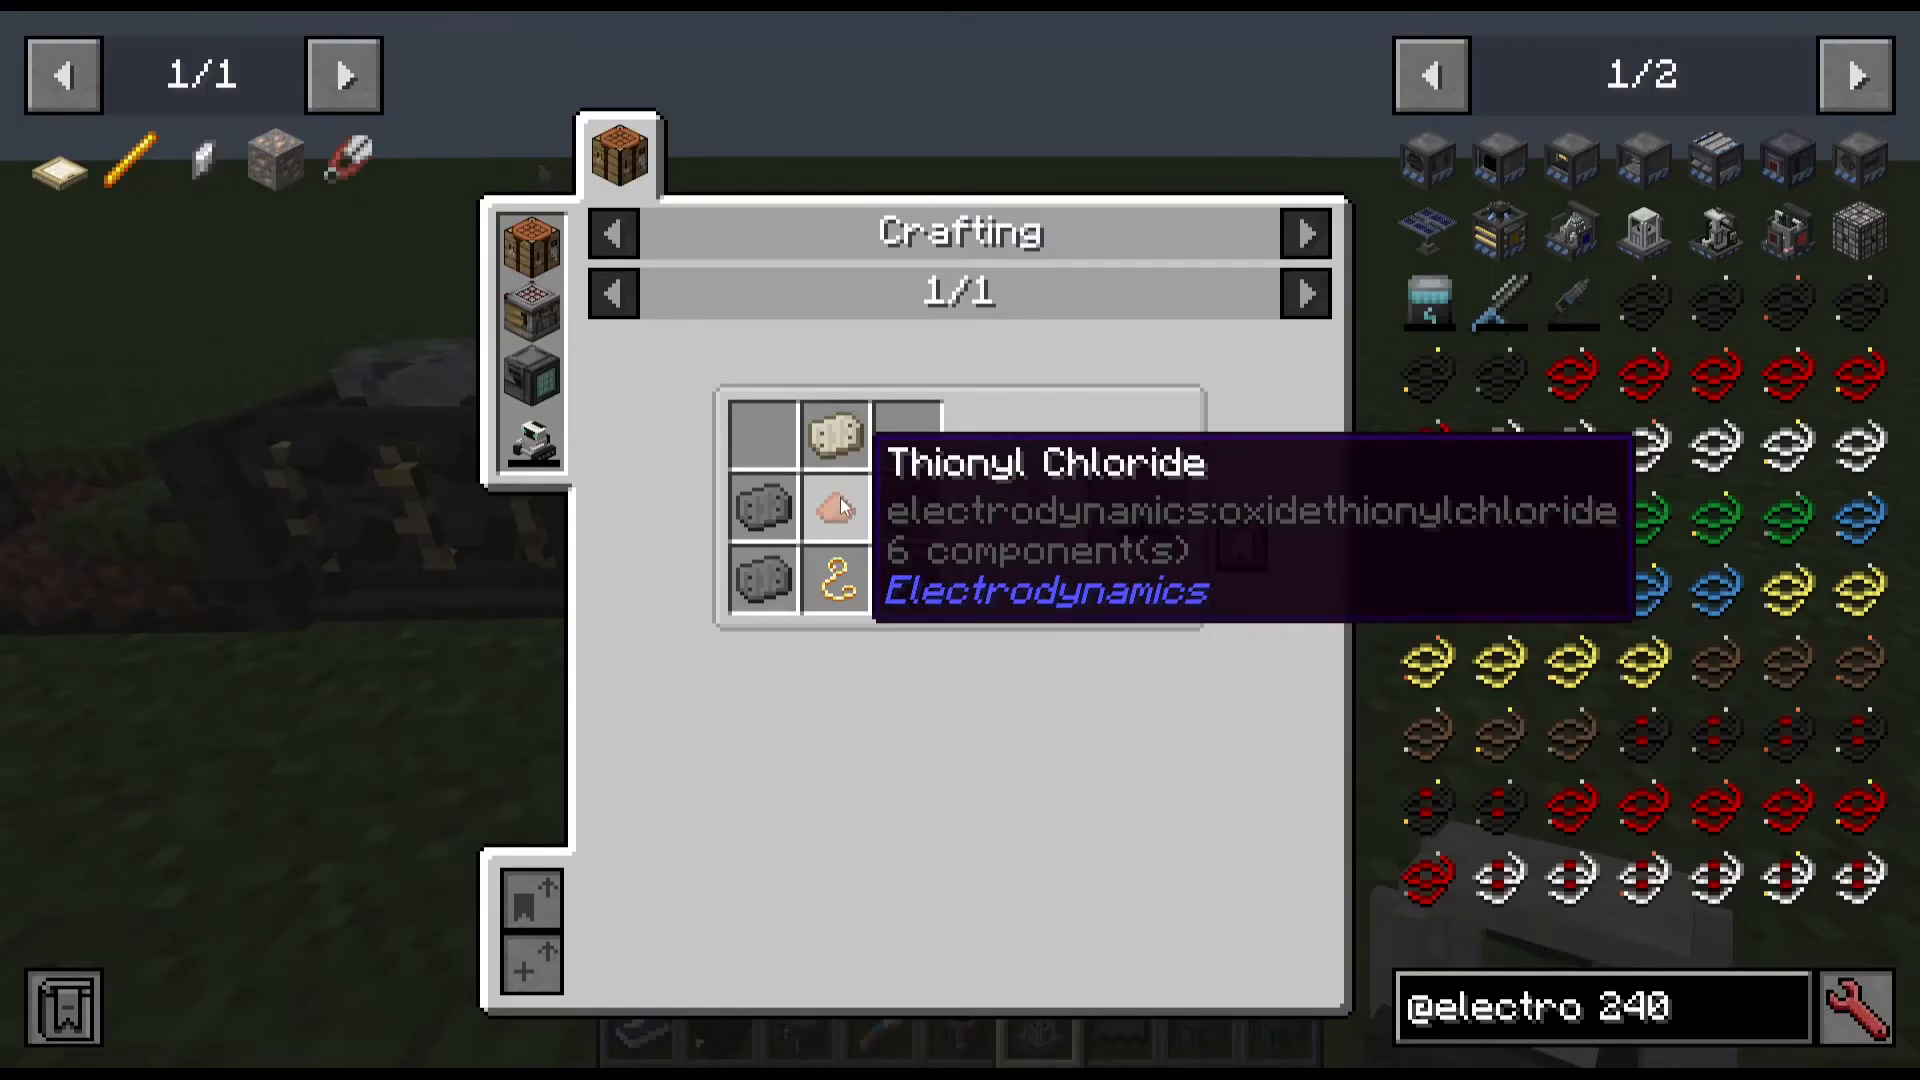
480-Volt Tier and 5x Ore Processing
Mineral Washer (Tier 3)
The mineral washer is a 480-volt machine that processes ore with sulfuric acid. When sulfuric acid meets ore, it creates an ore sulfate solution. For every 1 ore processed, you get 1 bucket (1000 millibuckets) of sulfate solution. Since the next step only requires 200 millibuckets per crystal, this enables 5x ore multiplication.
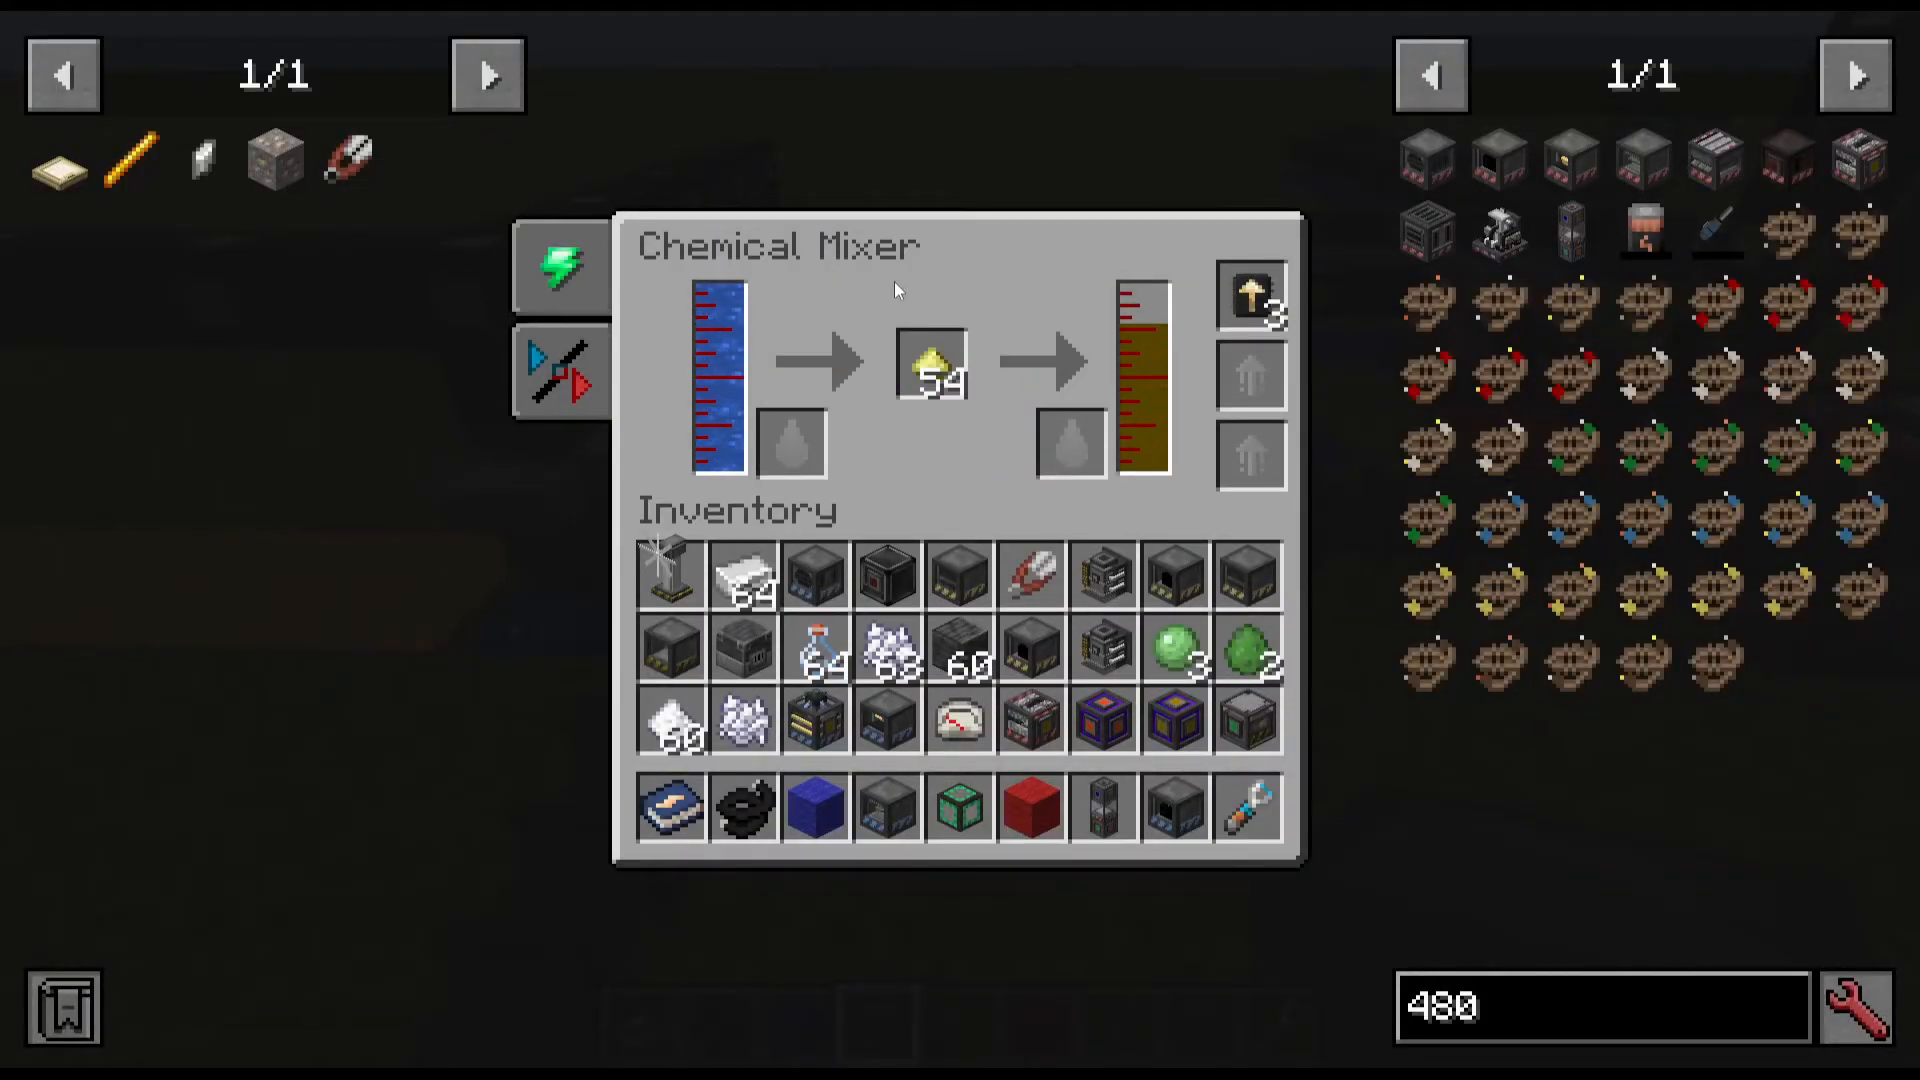
Chemical Mixer for Sulfuric Acid
To make sulfuric acid: combine water (from an electric pump) with sulfur trioxide (made from sulfur dioxide + vanadium oxide in a chemical furnace) in a 240-volt chemical mixer.
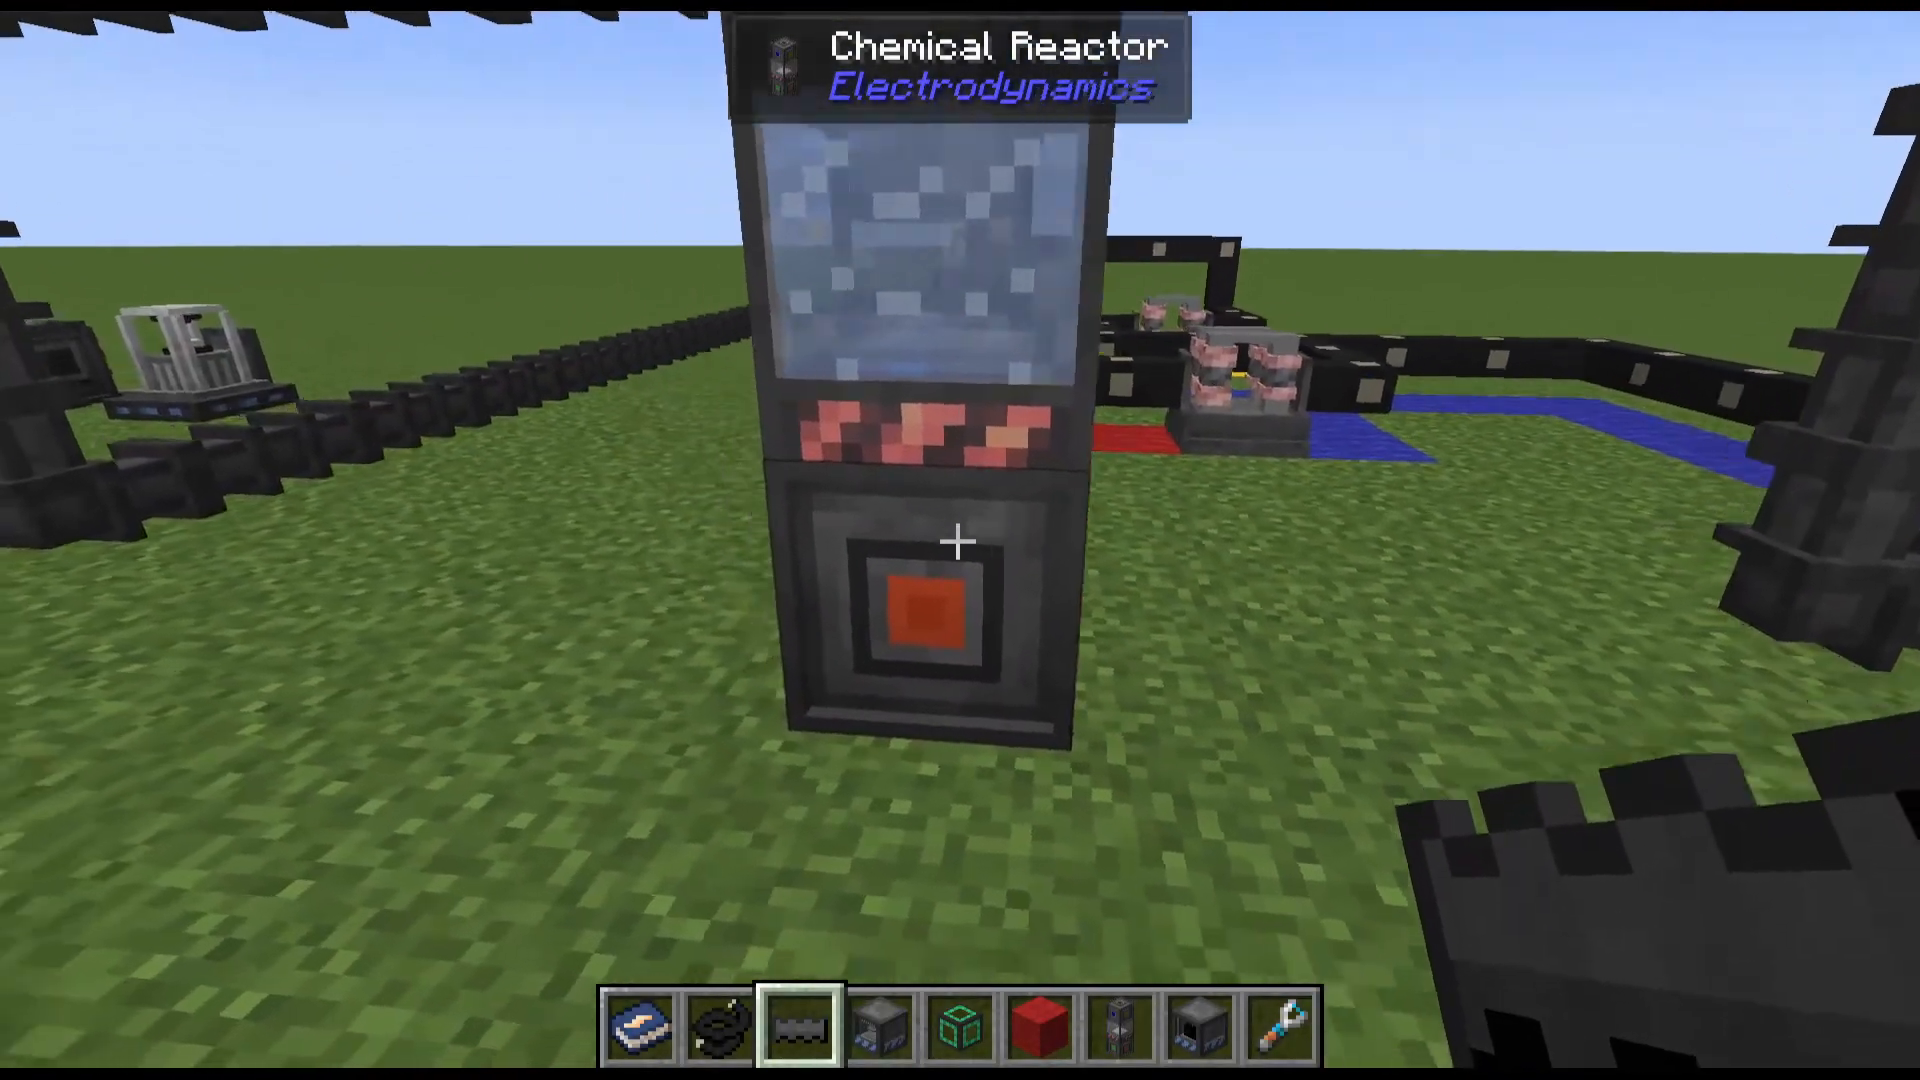
Chemical Reactor
The chemical reactor combines multiple inputs (fluids and/or gases) to produce outputs. For 5x ore processing, it takes iron sulfate solution and water to produce pure iron solution and returns some sulfuric acid as a byproduct. You can loop the sulfuric acid back into your system to reduce resource consumption.
Chemical Crystallizer
The chemical crystallizer converts pure solution into crystals. These crystals are then crushed in a mineral crusher (producing dirty/impure dust), ground in a mineral grinder (producing pure dust), and finally smelted in an arc furnace to create ingots.
📸 [ASSISTANT: TAKE SCREENSHOT AT SCREENSHOT AT TIMESTAMP 50:01]
5x Ore Processing Summary
The complete 5x process:
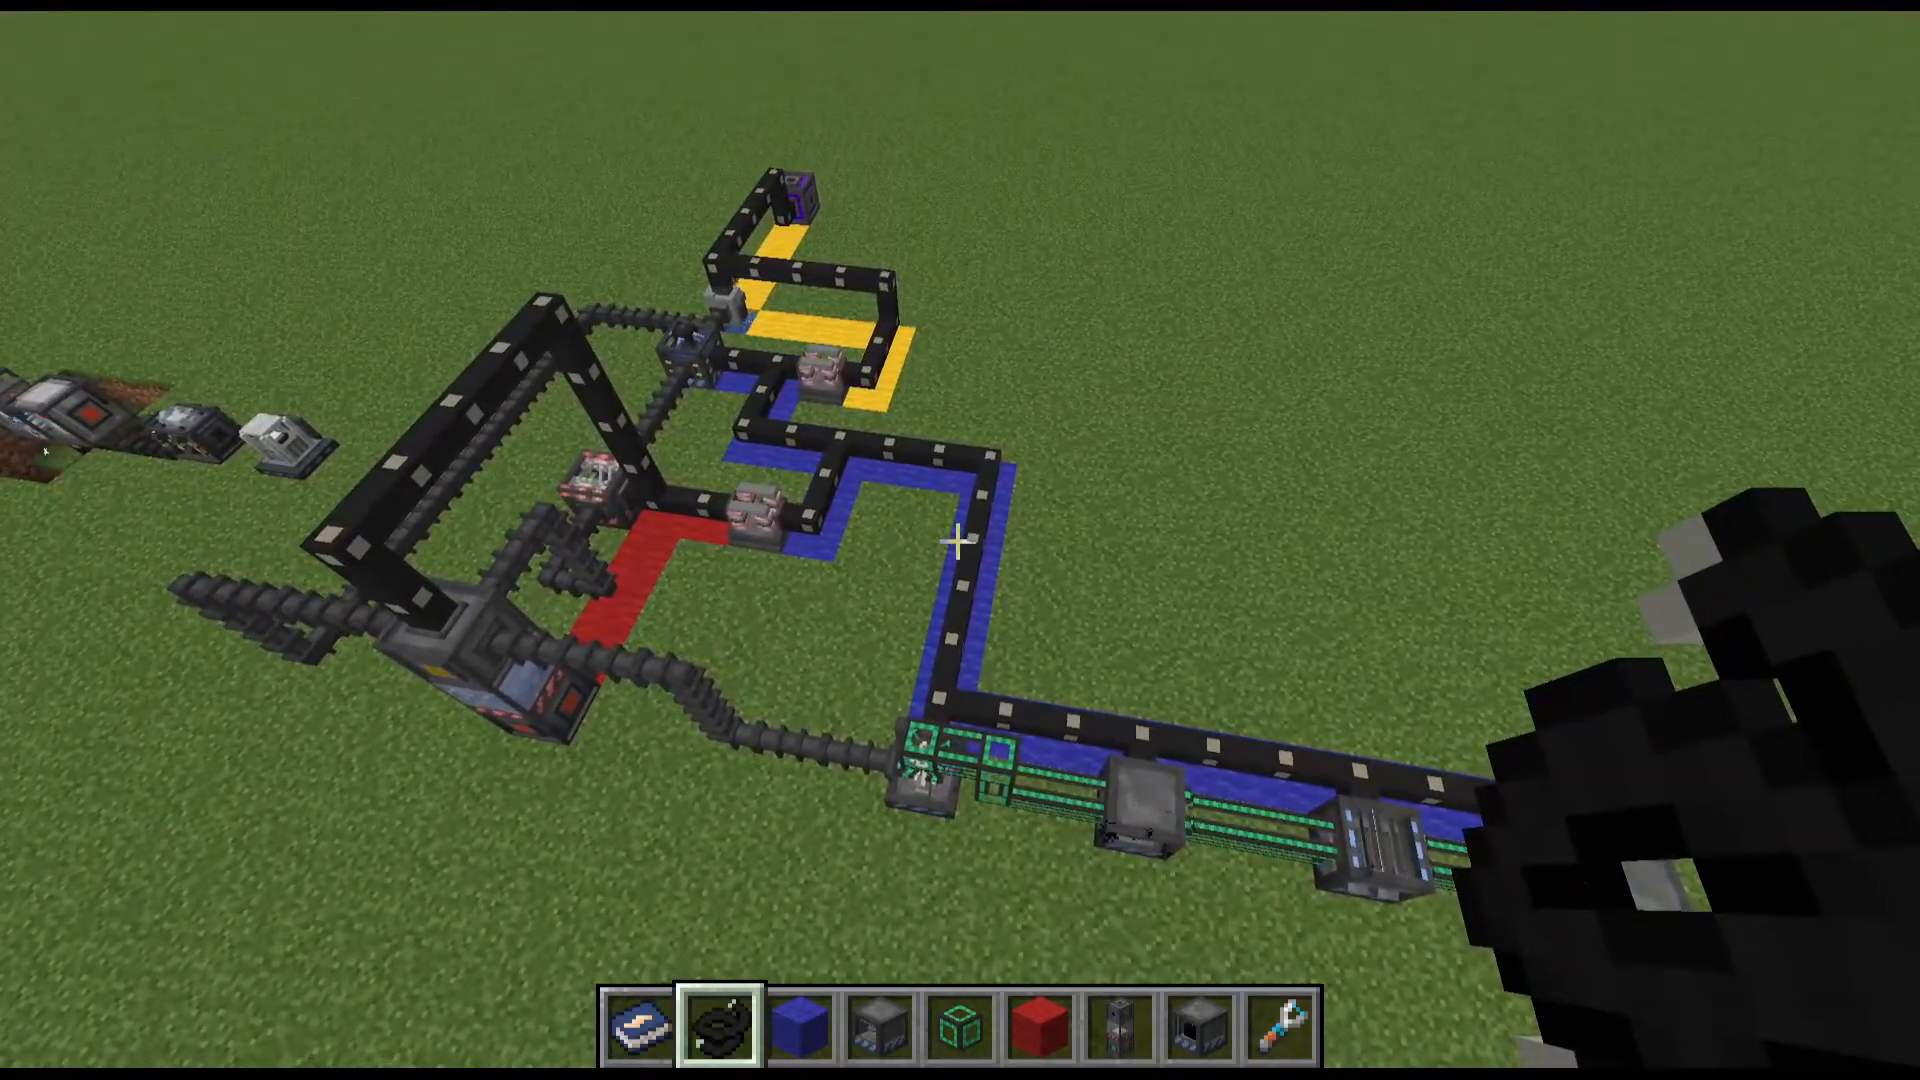
Pump water into a chemical mixer (240V) with sulfur trioxide to make sulfuric acid
Pump sulfuric acid with ore into a mineral washer (480V) to create ore sulfate solution
Feed sulfate solution into a chemical reactor (480V) with water to get pure solution
Output pure solution to a chemical crystallizer (240V) to create crystals
Crush crystals in a mineral crusher → grind impure dust in mineral grinder → smelt in arc furnace
Making Aqua Regia (10x/20x Ore Processing)
Hydrochloric Acid Production
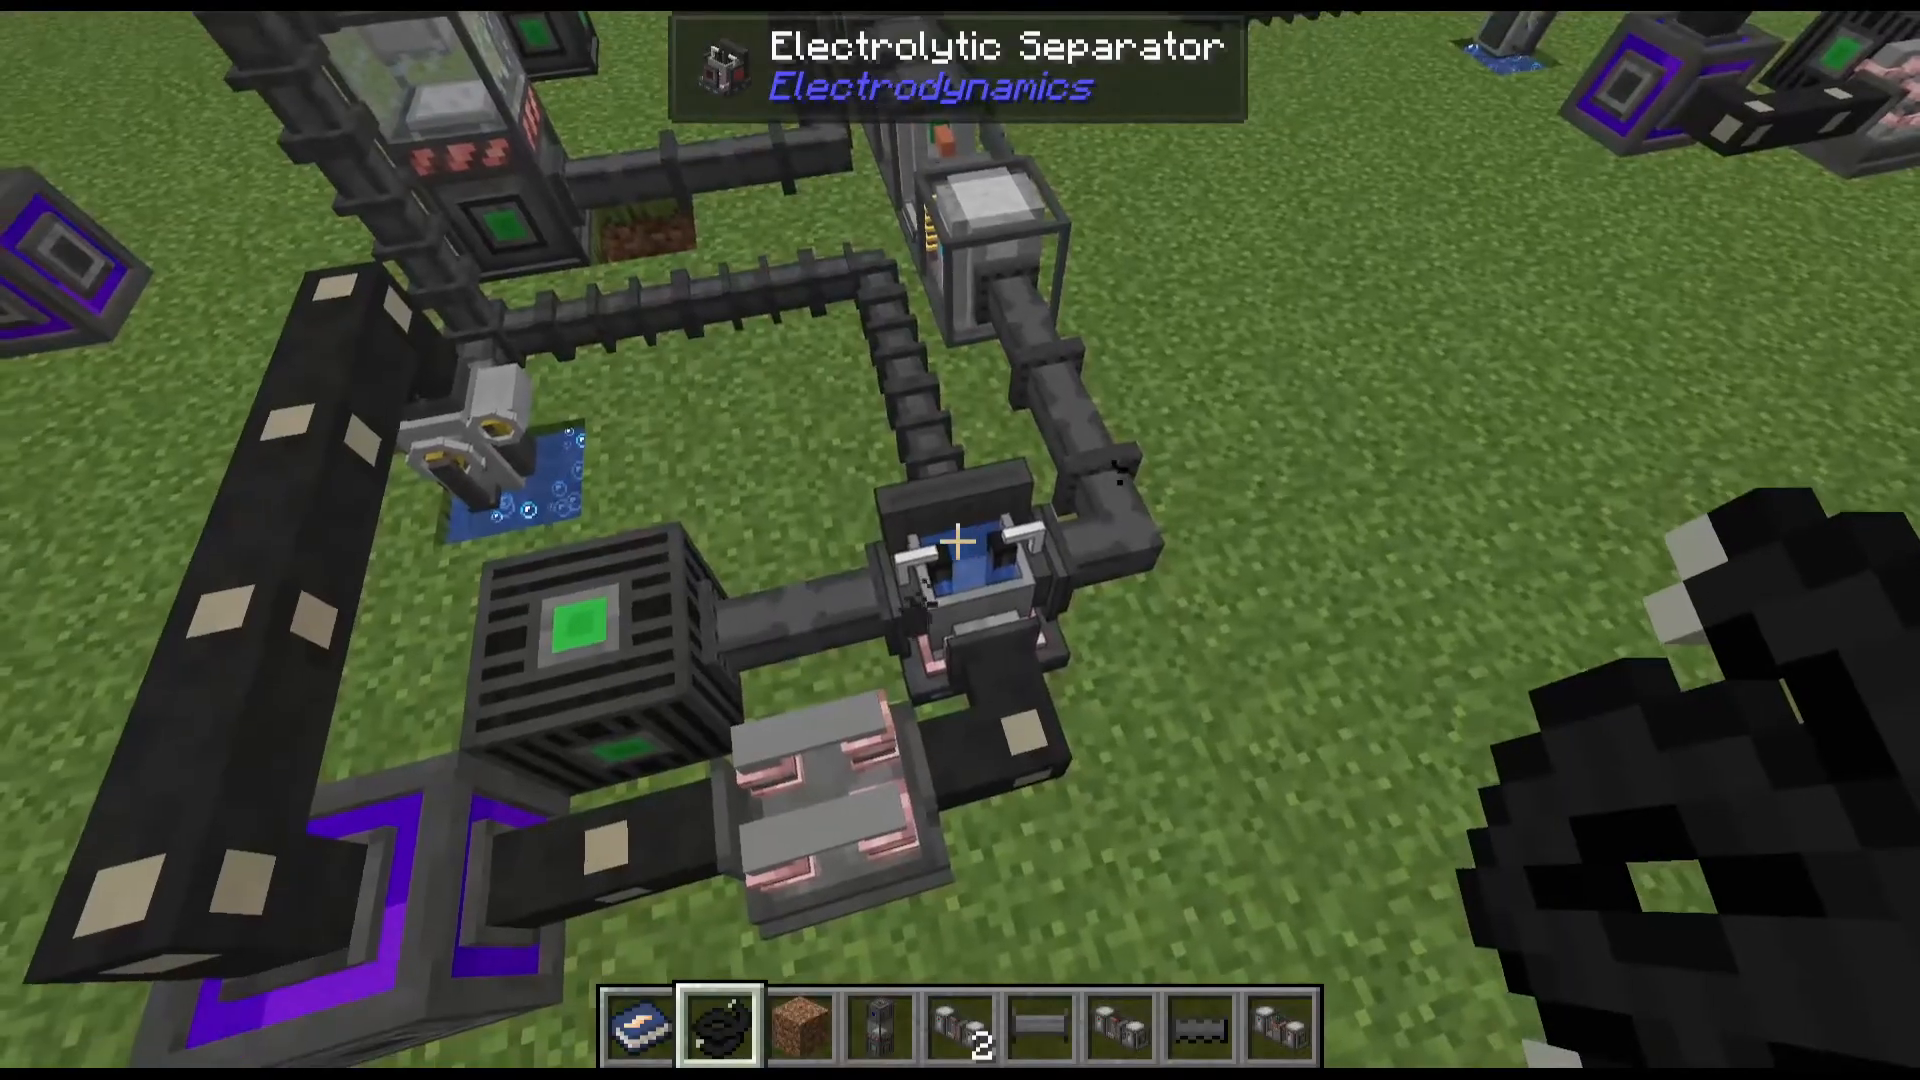
Hydrochloric acid is made in a chemical reactor combining:
Water (pumped from source)
Hydrogen gas (from electrolytic separator, temperature-adjusted to 500K in a GTL chamber, then pressure-compressed to 8 ATM)
Salt (mined from halite ore)
Set your GTL chamber to exactly 500 Kelvins, then compress the hydrogen to 8 ATM before feeding into the chemical reactor.
Nitric Acid Production
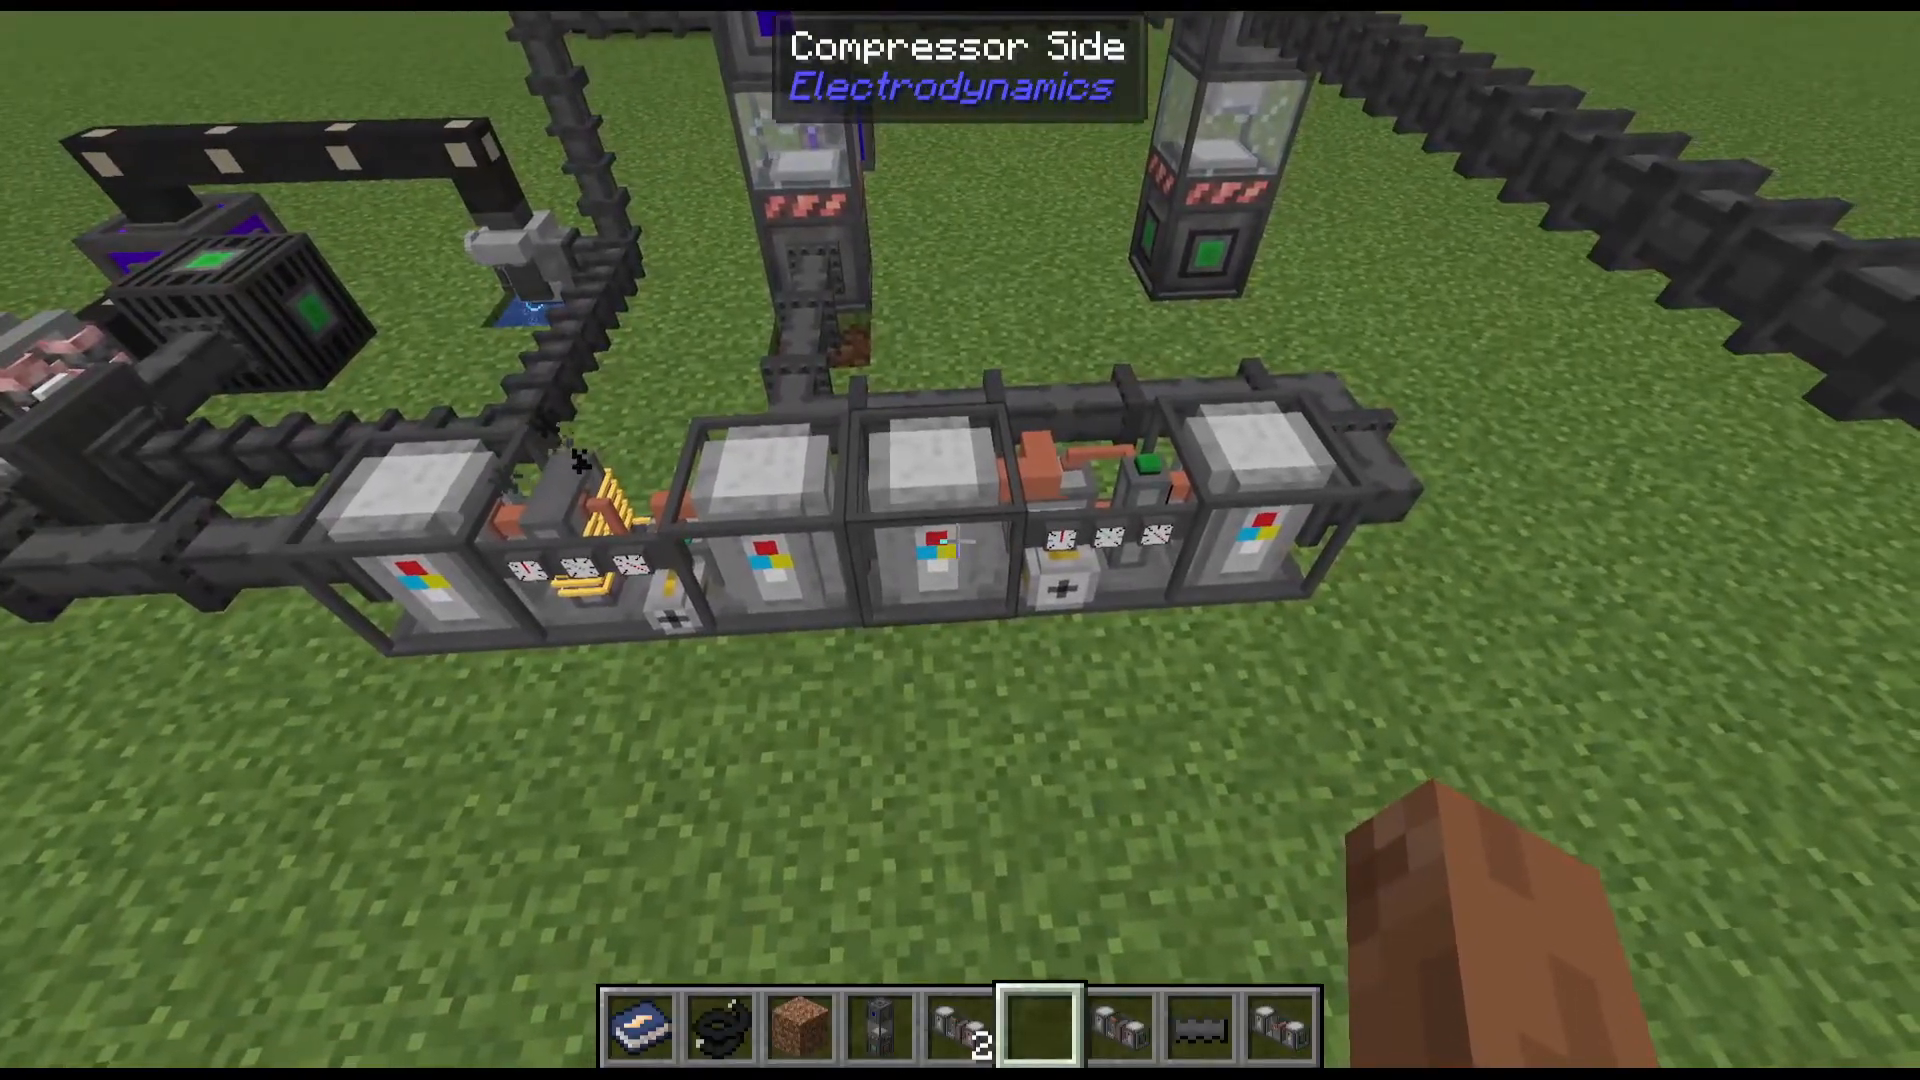
Nitric acid requires more complex setup:
Water (pumped from source)
Hydrogen gas (500K temperature, 4 ATM pressure)
Nitrogen gas (collected using gas collector with nitrogen chromatography card, 500K, 4 ATM pressure) → feeds into chemical reactor to make ammonia
Ammonia (must be at 700K, 4 ATM pressure before final reactor)
Water and ammonia at correct conditions combine in a chemical reactor to produce nitric acid.
Combining Acids to Make Aqua Regia
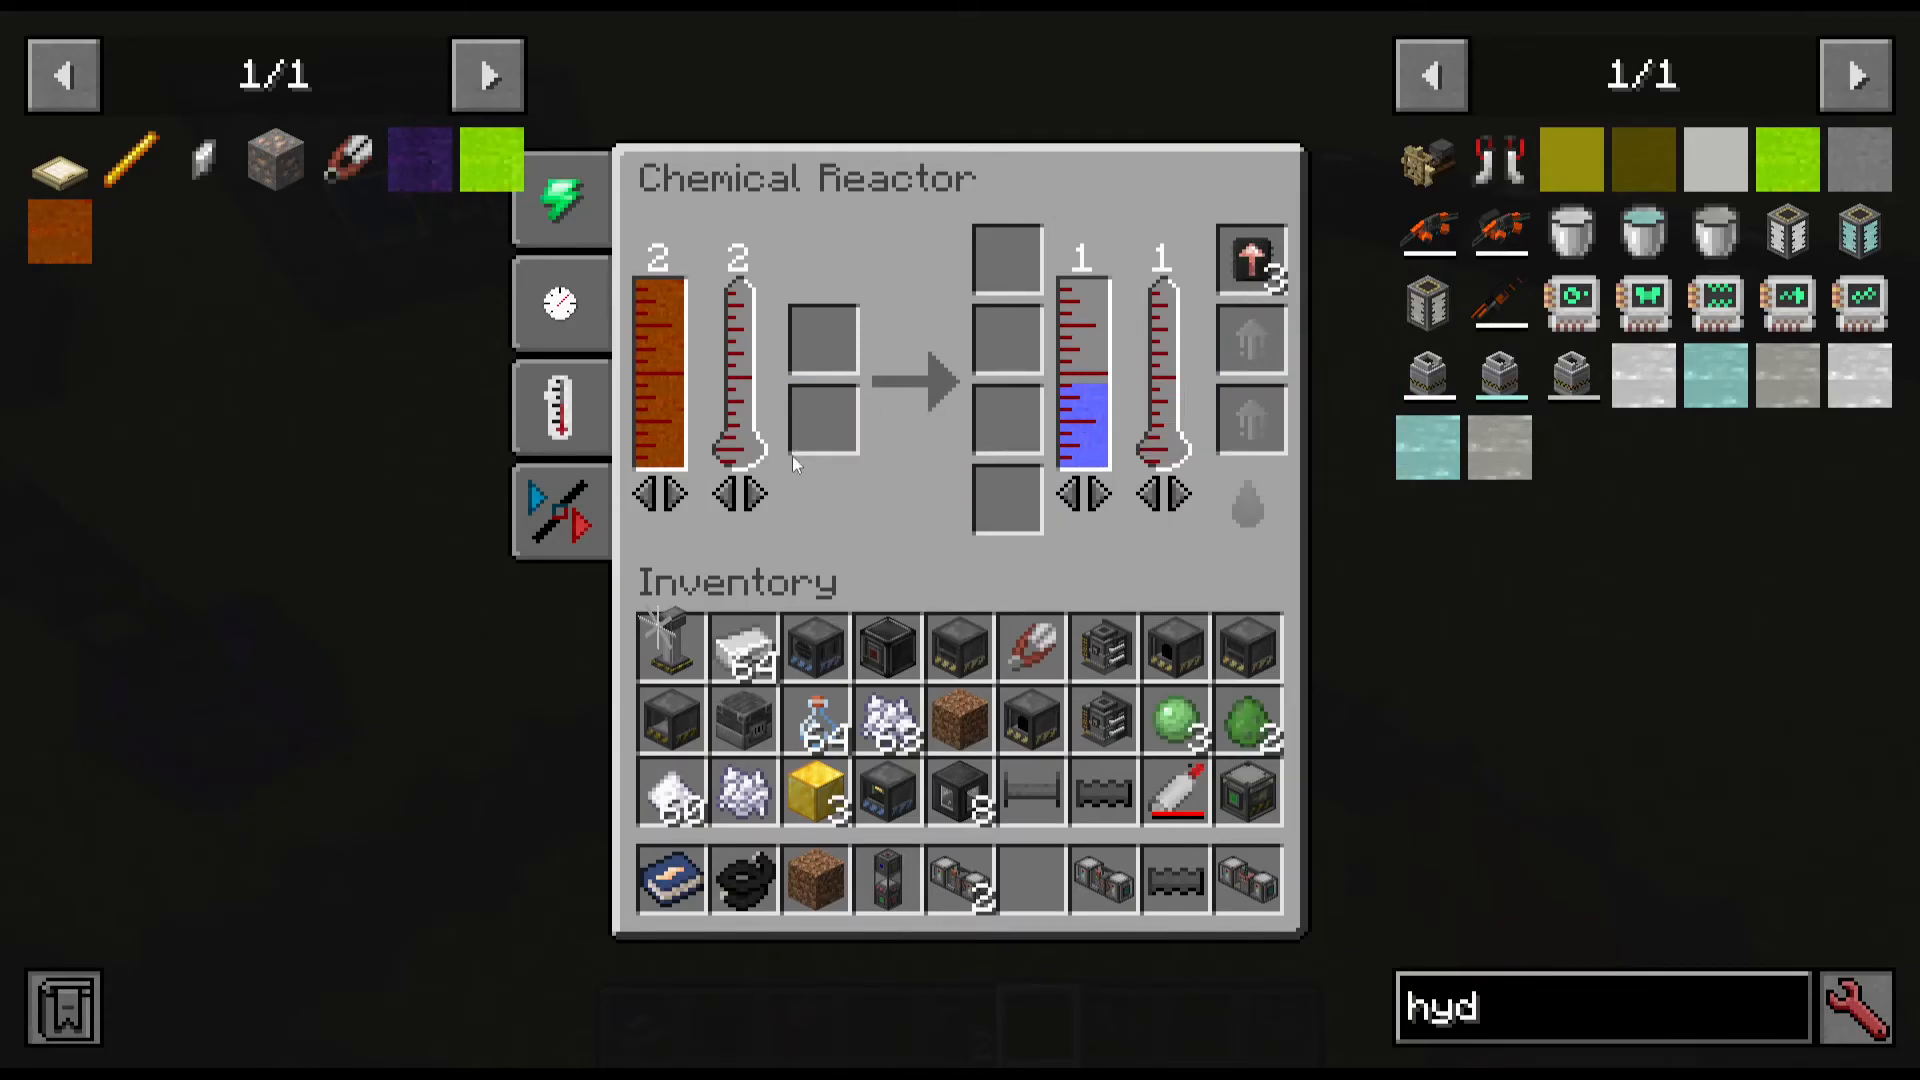
Mix hydrochloric acid with nitric acid in a chemical reactor to produce aqua regia. This corrosive acid is the key to advanced ore processing but requires careful construction of gas pressure and temperature systems.
Construction Tips for Complex Systems
When building intricate setups like aqua regia production:
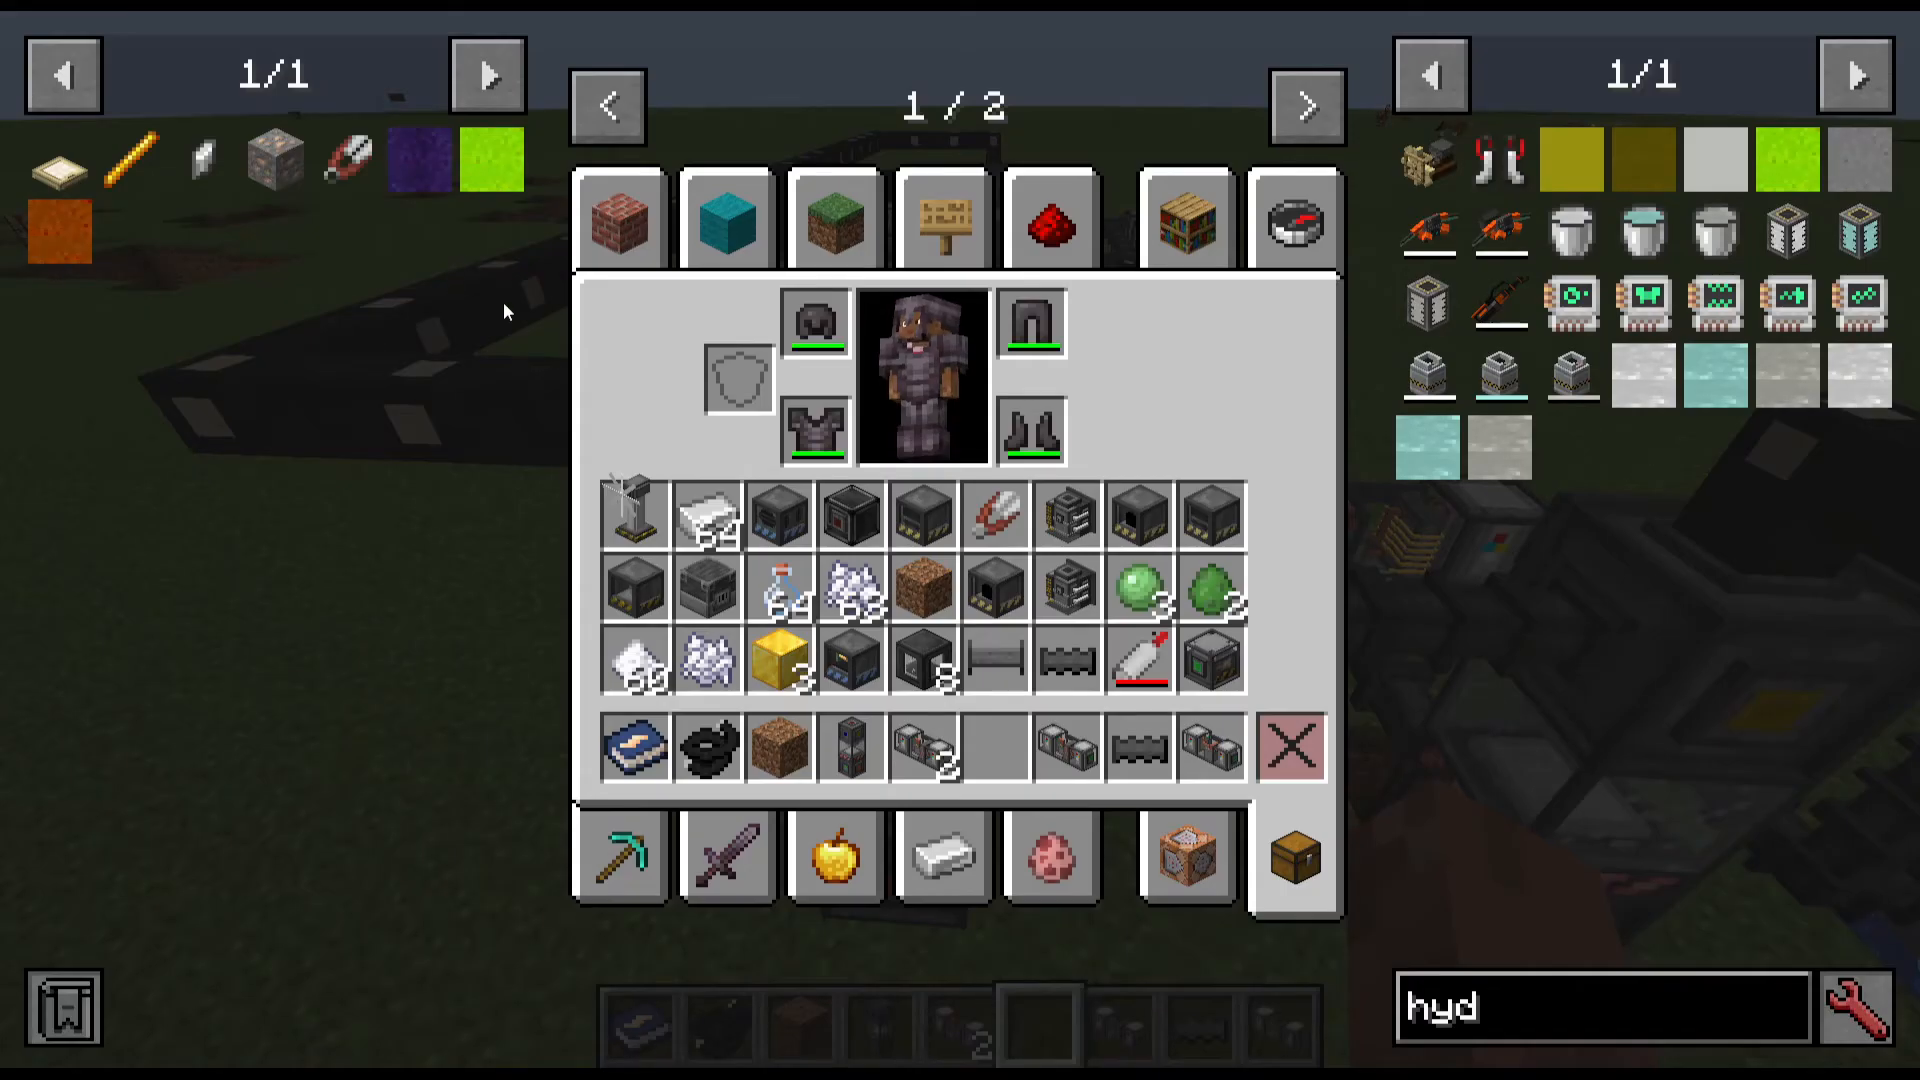
Use JEI to find recipes—press R on the final item to see requirements
Work backwards from the final product
Place machines down before connecting pipes to visualize the layout
Use signs to label machine requirements
Favorite key items in JEI for quick reference
Don’t worry about perfection—focus on understanding each step
Electrolysis Chamber Multiblock (20x Ore Processing)
Multiblock Construction
The electrolysis chamber is a large multiblock structure requiring:
49 steel scaffolds
17 aluminum ingots
8 steel tanks
3 gold blocks
1 electrolytic separator (core)
1 electrolysis chamber block
1 ultimate circuit (steel + obsidian dust)
Construction process:
Build 5×5 base of steel scaffolds
Place 4 steel scaffolds in corners with aluminum blocks on the outside
Fill remaining space with steel tanks
Place electrolytic separator in the center
Add 2 gold blocks on one side and 1 on another
Complete the structure with steel scaffolds on top and aluminum blocks
Use a wrench to convert to active multiblock
Electrolysis Chamber Operation
The electrolysis chamber is remarkably simple to use despite its complex construction. Feed it impure iron solution (from earlier processing) and it instantly converts to pure iron solution. The machine operates at 1,920 volts (white tier) and requires massive power. Use multiple upgrade transformers or direct high-voltage connection to supply sufficient power.
Complete 20x Ore Processing Chain
Step 1 – Aqua Regia Creation: Produce hydrochloric and nitric acids, combine them
Step 2 – Ore Washing: Feed aqua regia with raw ore to mineral washer (480V) → creates royal solution
Step 3 – Solution Processing:
Chemical Reactor 1: Royal solution + water → crude iron solution (aqua regia loops back)
Chemical Reactor 2: Crude + liquid sulfuric acid → dirty solution (water loops back)
Chemical Reactor 3: Dirty + water → impure solution (sulfuric acid loops back)
Step 4 – Electrolysis: Impure solution through electrolysis chamber → pure iron solution
Step 5 – Crystallization and Smelting: Pure solution → crystals → mineral crusher → mineral grinder → arc furnace for final ingots
One iron ore produces 4,000 millibuckets of solution, and since each crystallization step requires 200 millibuckets per crystal, one ore yields 20 crystals, which becomes 20 ingots—a 20x multiplication.
The Quarry System
Setting Up Your Quarry
The quarry is an automated mining machine that extracts blocks within a defined area. Begin by placing seismic markers at four corners of your desired mining area (minimum 3×3, maximum 66×66). Place a seismic relay at one corner—all markers will disappear into its inventory, storing the coordinates.
Quarry Configuration
Adjacent to the seismic relay, place:
Quarry head: On the left or right of the relay (position so green connection matches)
Motor complex: Linked to the quarry with green connection matching
Coolant reservoir: On top of the quarry (filled with water from a pump)
Drill head: Inserted into the quarry’s top slot (determines mining speed)
Both quarry and motor operate at 240 volts. Power must connect properly—use a wrench to rotate machines if needed.
Drill Heads and Durability
Different drill heads offer different durability:
Steel Drill Head: 200 durability
Stainless Steel Drill Head: 600 durability
Titanium Drill Head: 1,000 durability
Carbide Drill Head: Infinite durability
Higher-tier drill heads last longer, reducing the frequency of replacements.
Quarry Upgrades and Output
Place a logistical transporter on the front of the quarry and connect chests to collect mined blocks. The quarry’s internal inventory shows:
Mining status (actively mining, waiting, etc.)
Current inventory contents
Power and coolant status
Installed upgrades (speed, fortune, silk touch)
Current mining altitude
Installed drill head
Speed upgrades increase mining rate. Fortune and silk touch cards modify block drops similarly to enchantments.
Conclusion
Electrodynamics is a comprehensive and complex mod that takes you through an incredible journey—from basic 120-volt power generation all the way to advanced 20x ore processing systems. You’ve learned about electricity fundamentals, built progressively more powerful machines, mastered gas systems, and constructed massive multiblock structures. The progression from simple FAMO generators to the electrolysis chamber represents a significant investment of time and resources, but each step teaches valuable lessons about power management, fluid logistics, and multi-step crafting chains.
The quarry system serves as an excellent capstone, providing an automated way to gather materials for your advanced builds. At this point, you’ve covered the core systems of Electrodynamics. While there are certainly more advanced applications and optimization opportunities, you now have the foundation to explore the mod independently and tackle future challenges.
— Want to Support? —
If you would like to help us continue making these guides – please consider joining our patreon here – https://www.patreon.com/c/JaviHeals
Alternatively – we host a group of MC Servers you can join here – https://discord.gg/zD7Gjt6MHF



