The Ultimate Guide to Assembly Line Machines
“`html
The Ultimate Guide to Assembly Line Machines
Welcome to the comprehensive guide for the Assembly Line Machines mod! This tutorial will walk you through all the major progression stages of the mod, from the Primitive Age where you’ll craft basic tools and fluid baths, all the way to the Synthetic Age where you’ll build entropy reactors and work with world corruption. Whether you’re just starting out or looking to master advanced machinery, this guide covers everything you need to know about automation, power generation, oil refining, and more.
Getting Started: The Primitive Age
Assembly Line Machines begins with a progression system that moves through several distinct ages. You’ll start in the Primitive Age, progress through the Crank Age, then the Electric Age, and finally reach the Synthetic Age. Each stage introduces more automation and advanced crafting options.
Finding Titanium Ore and Creating Your First Fluid Bath
The first step is to find titanium ore, which spawns deep underground and is fairly rare, similar to diamonds. You may need to search for a while before finding it. Once you’ve located titanium ore, your first major crafting goal is to create a fluid bath.
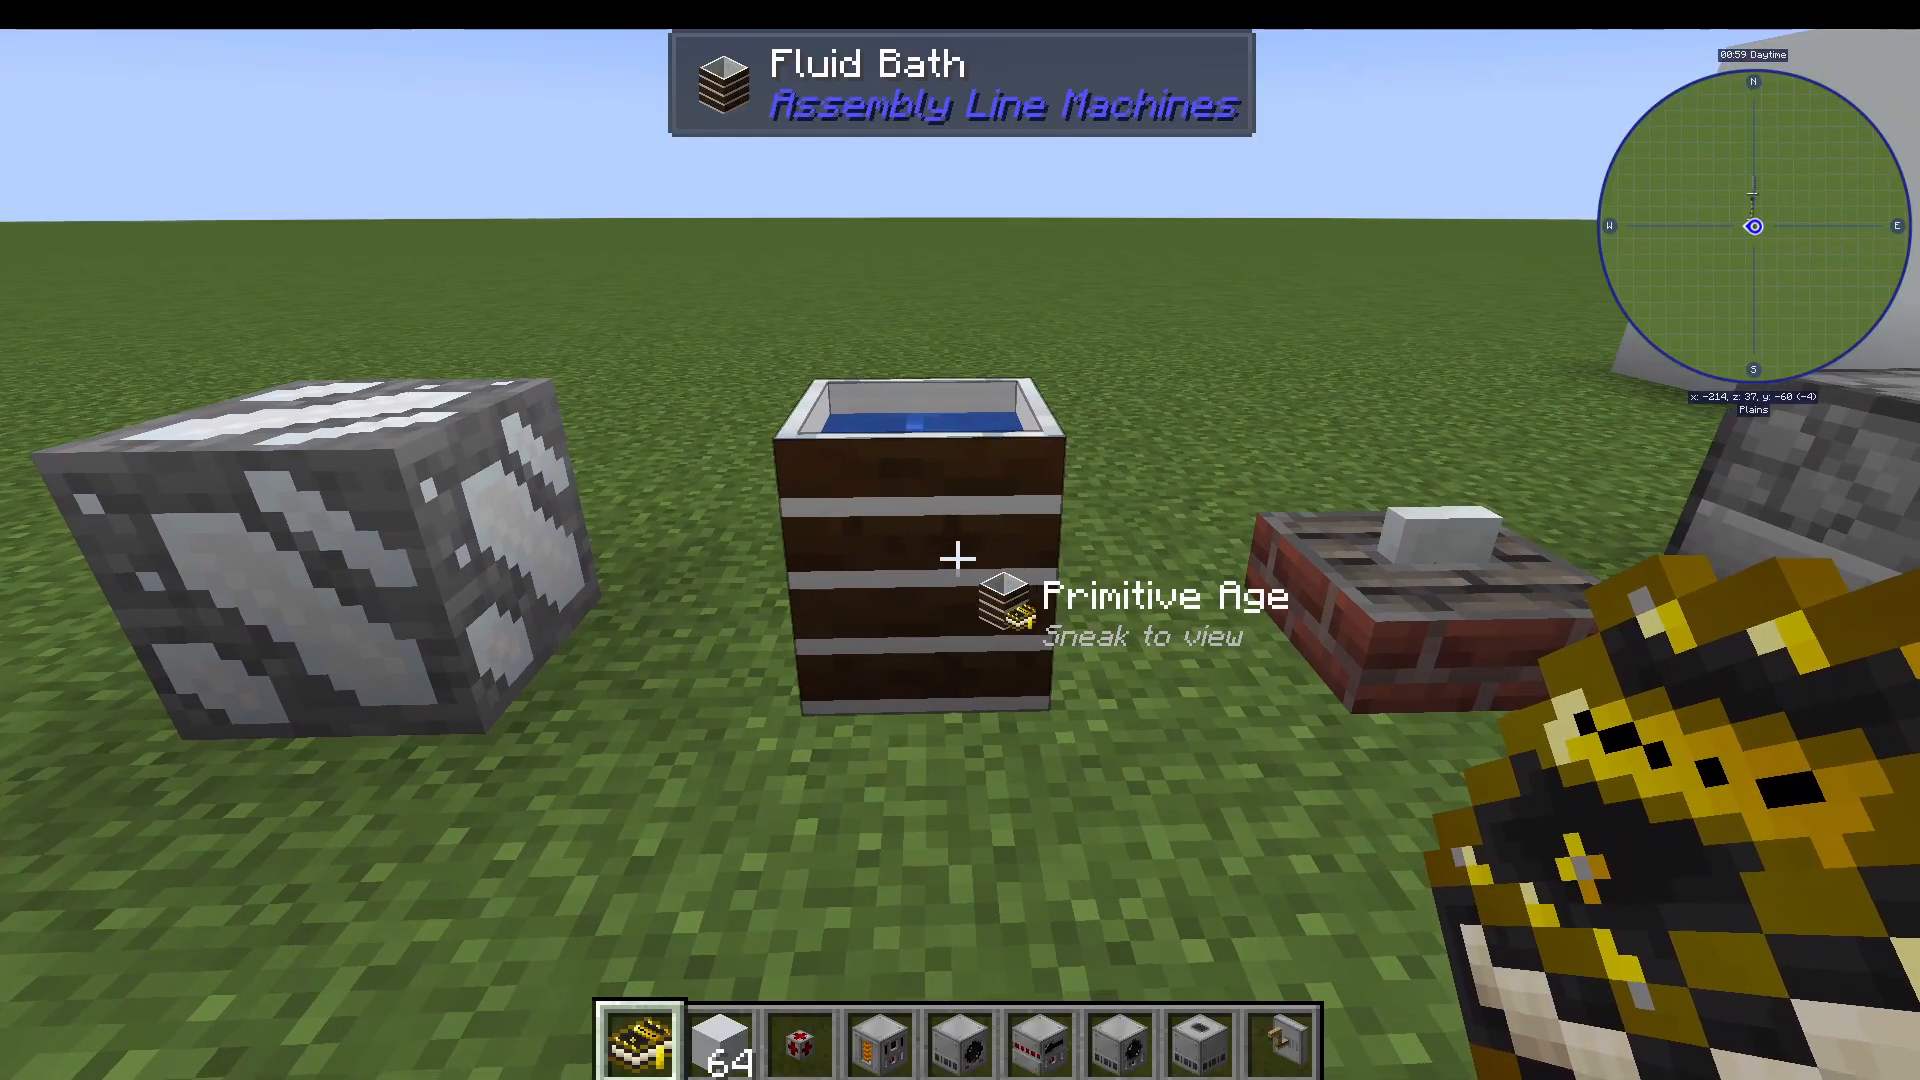
The fluid bath is the fundamental machine of the Primitive Age. You’ll use it to mix and process materials through liquid baths. Start by filling your fluid bath with a bucket of water. To actually work with the fluid bath, you’ll need a stirring stick—initially, you can only make a wooden stirring stick, which works exclusively with water. Later, you’ll need pure iron or steel stirring sticks to progress with lava recipes.
Making Silt and Basic Materials
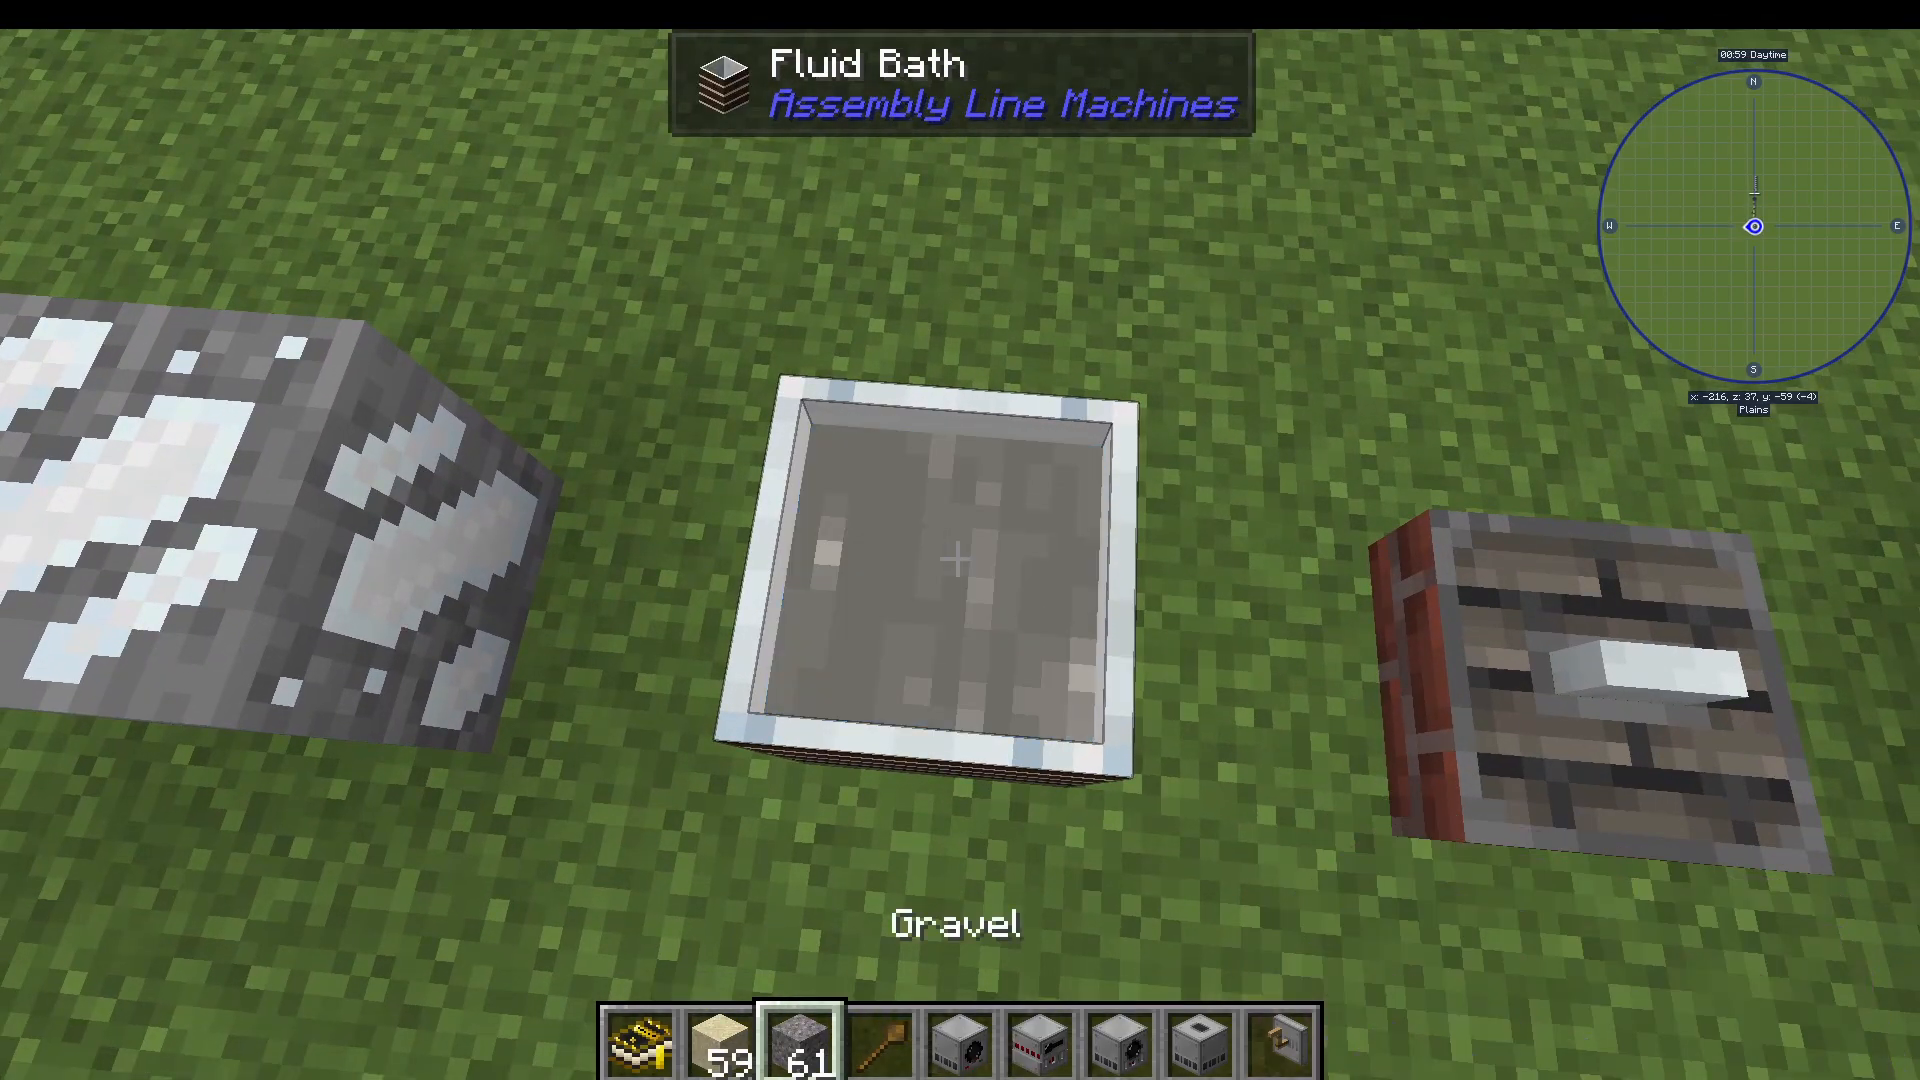
Your first important recipe is silt, which is made in the fluid bath using gravel, sand, and water. To create silt:
Place water in your fluid bath
Right-click sand into the bath
Right-click gravel into the bath
The mixture will change color, indicating the recipe is correct
Right-click with your stirring stick multiple times until silt emerges
If you add incorrect ingredients (like sand twice), the mixture will turn black and produce sludge instead. Simply refill your water bucket and try again.
Next, you’ll need to smelt your titanium ore into titanium ingots. You’ll also want to create silt bricks by converting four silt into smooth silt, then combining these with other materials to make bricks.
Crafting the Manual Grinder
The manual grinder is your first grinding machine. To use it:
Create a titanium blade by combining three titanium blade pieces (made from titanium nuggets and ingots)
Place the manual grinder on the ground
Right-click your titanium blade into the grinder to install it
Now you can grind up iron and gold ore. Simply right-click iron ingots onto the manual grinder repeatedly to produce ground iron. Do the same process with gold. You can also grind raw ore to double your ore yields.
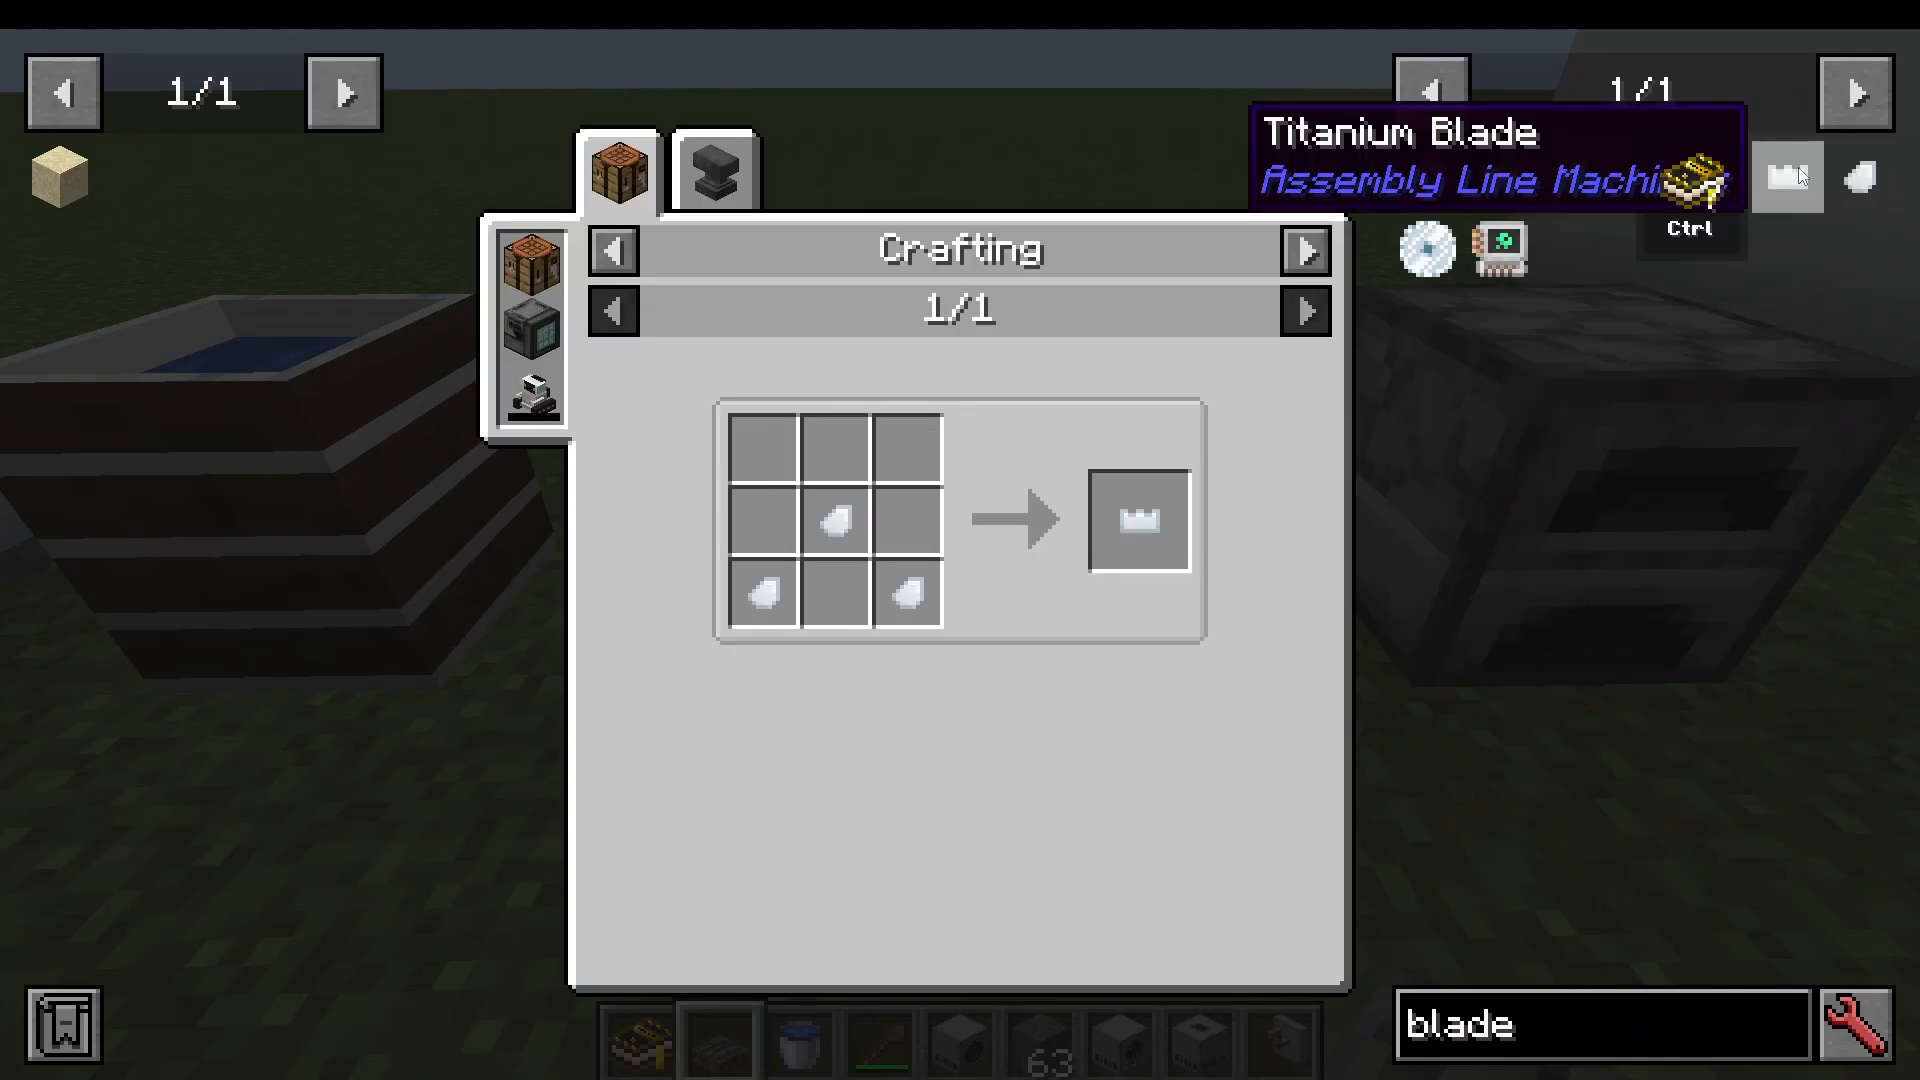
Creating Pure Metals
To advance, you need to create pure iron and pure gold ingots:
Mix your ground iron with silt in the fluid bath to create iron silt
Smelt the iron silt to get pure iron ingots
Repeat the process with gold to create pure gold ingots
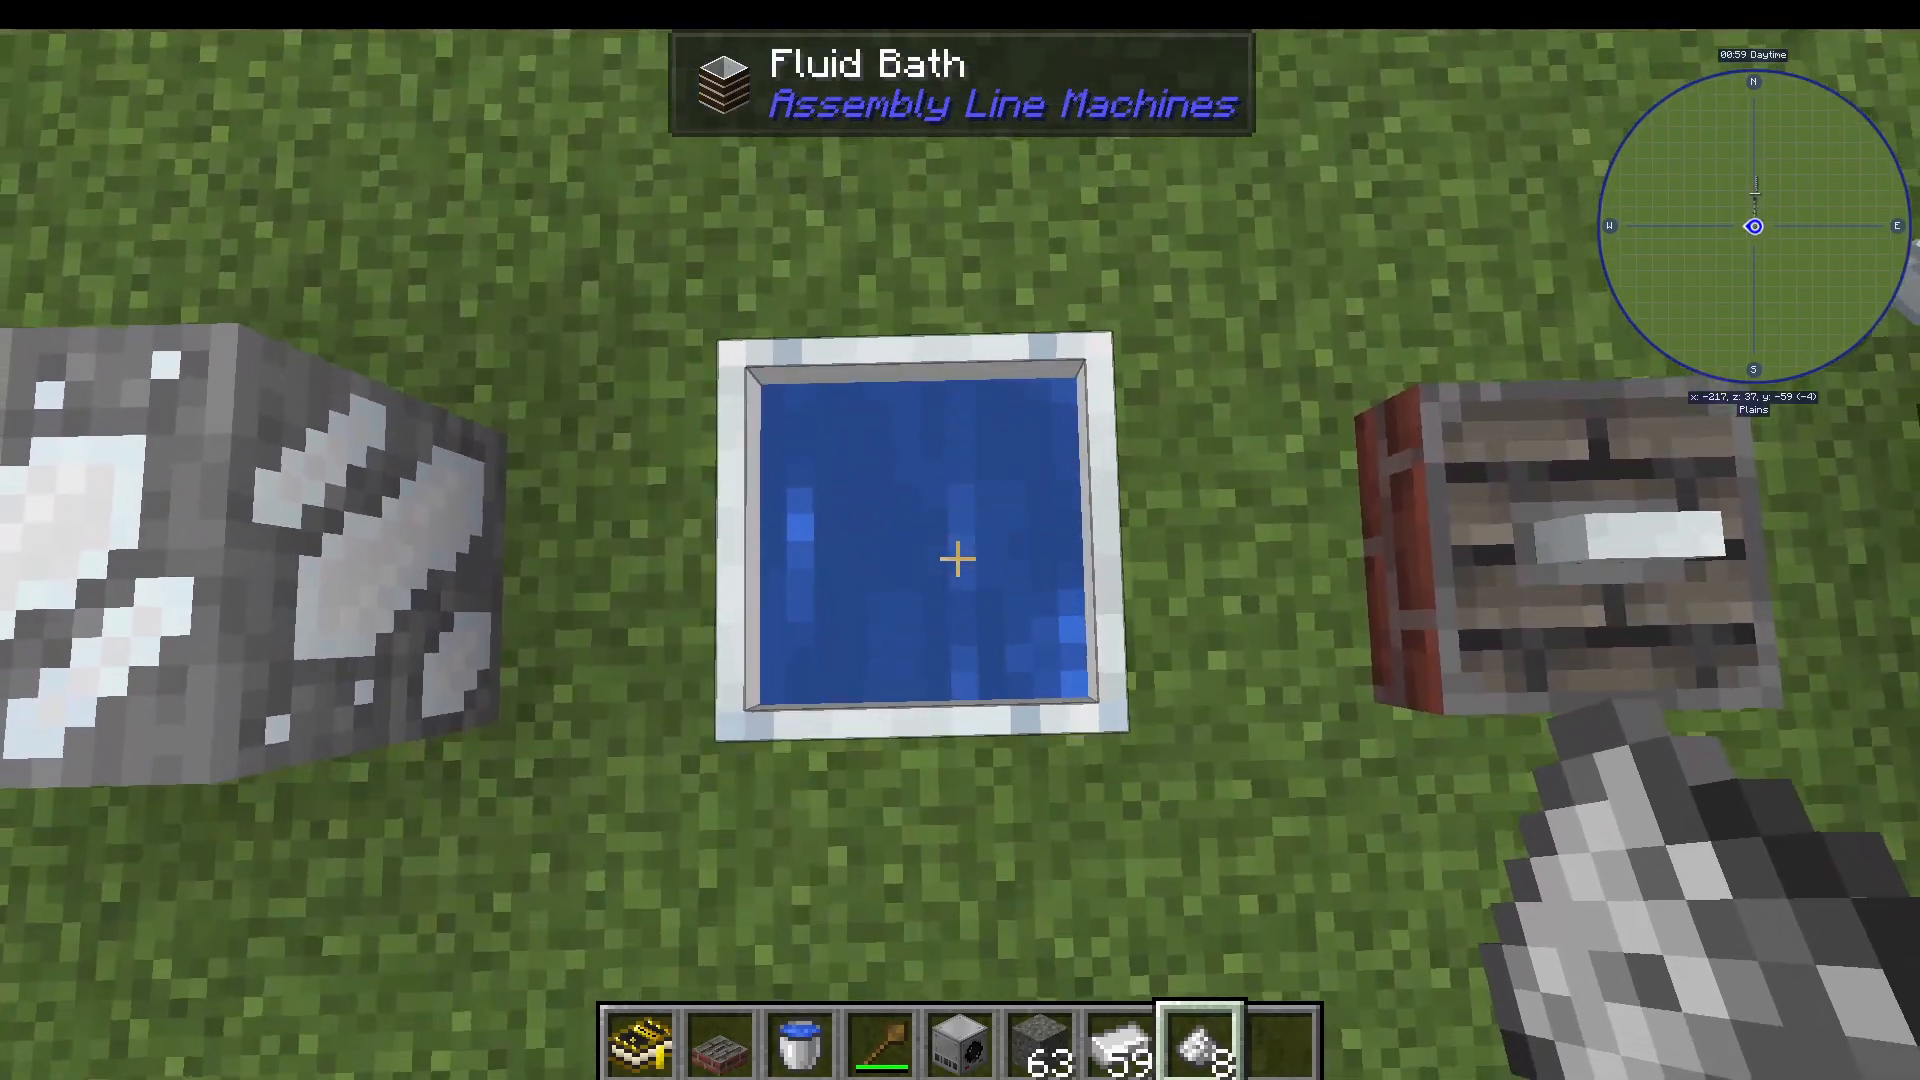
Working with Lava and Creating Steel
Now that you have pure iron, you can create a pure iron stirring stick to work with lava. To do this:
Shift right-click your fluid bath to drain the water
Add lava to the basin
Create a pure iron stirring stick
With your pure iron stirring stick, you can now work with lava recipes. Place titanium blade pieces in lava with a pure gold ingot, then stir with your pure iron stick to create pure gold dipped blade pieces. Combine three of these to make a pure gold dipped blade, which replaces your titanium blade in the manual grinder.
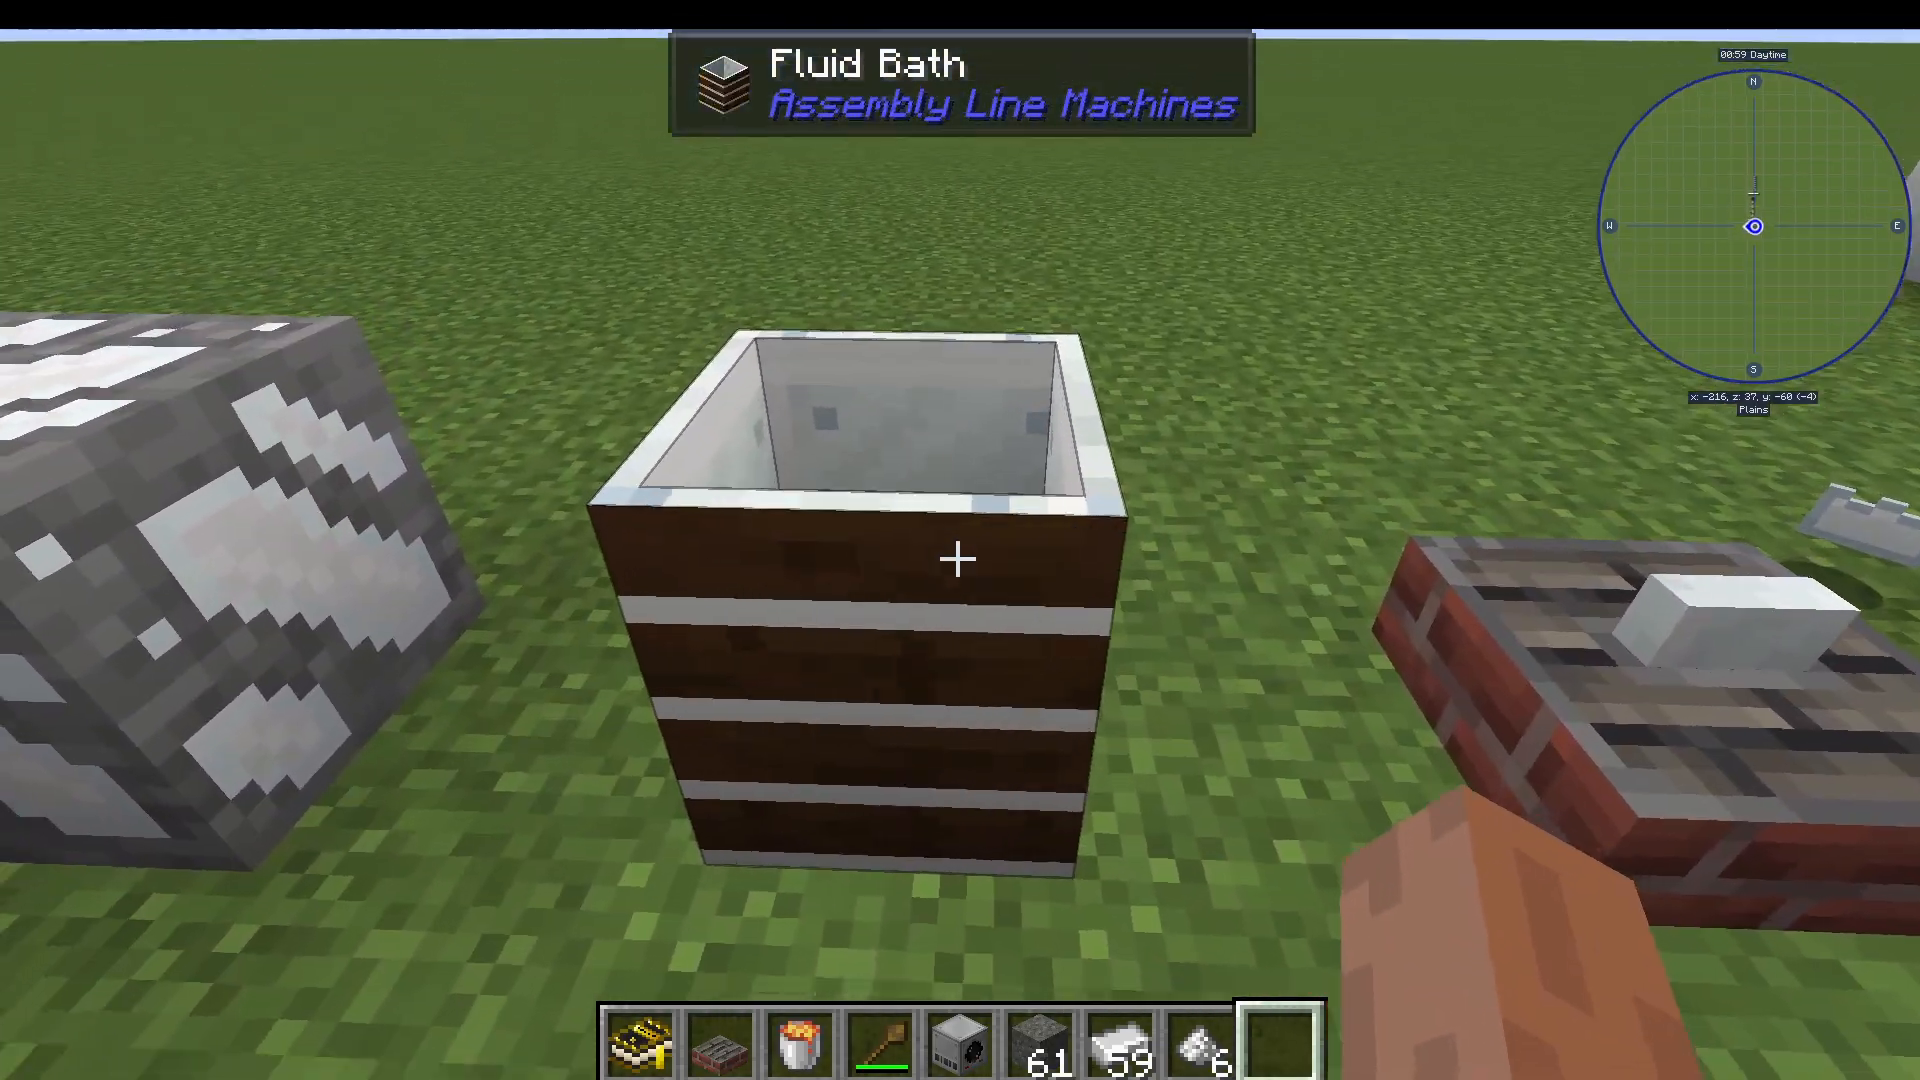
With the gold blade installed, you can now grind coal and create ground iron. Mix ground coal and ground iron in a lava-filled fluid bath with your pure iron stirring stick to produce steel ingots.
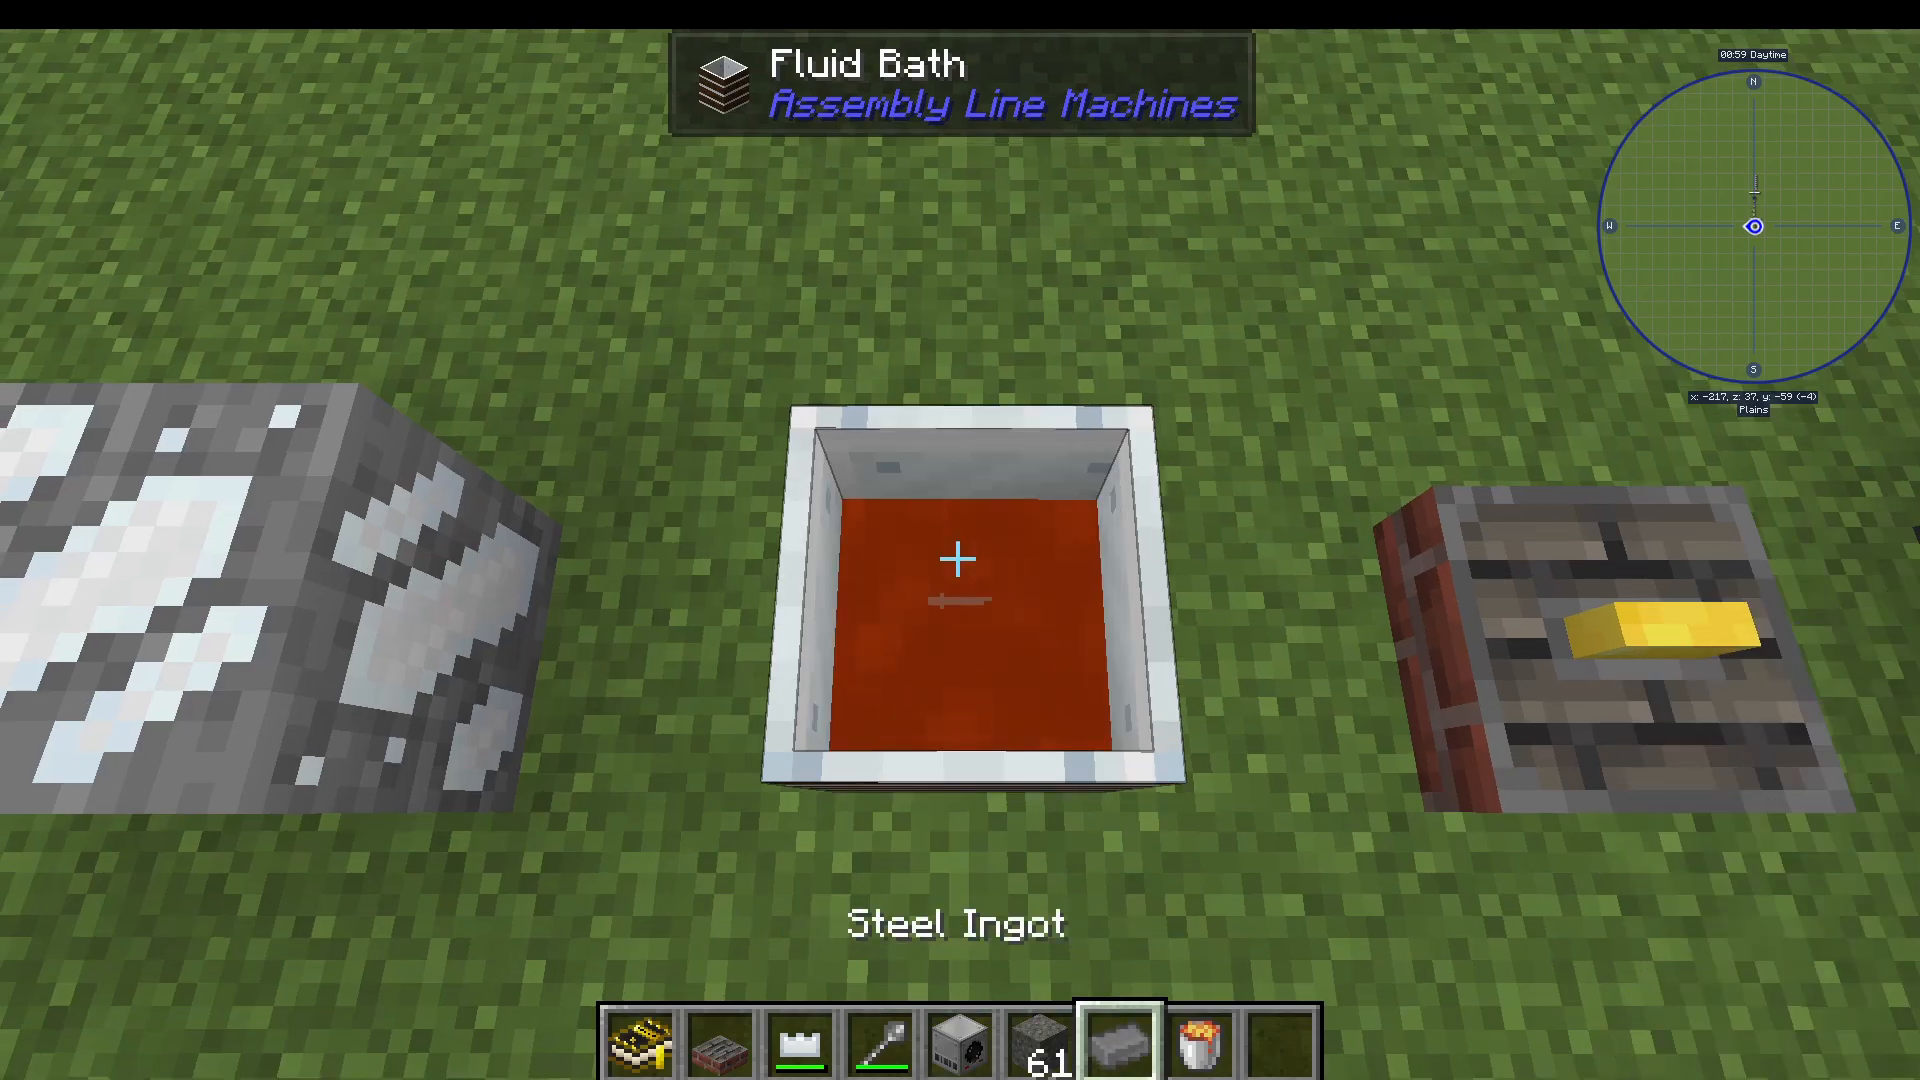
Congratulations! You’ve completed the Primitive Age. You can now create steel stirring sticks and steel blades, marking your readiness to progress to the Crank Age.
The Crank Age: Manual Automation
The Crank Age introduces your first level of automation, allowing you to reduce manual labor through mechanical power. However, it’s still primarily a manual process that gradually becomes more automated.
Setting Up the Kinetic Grinder
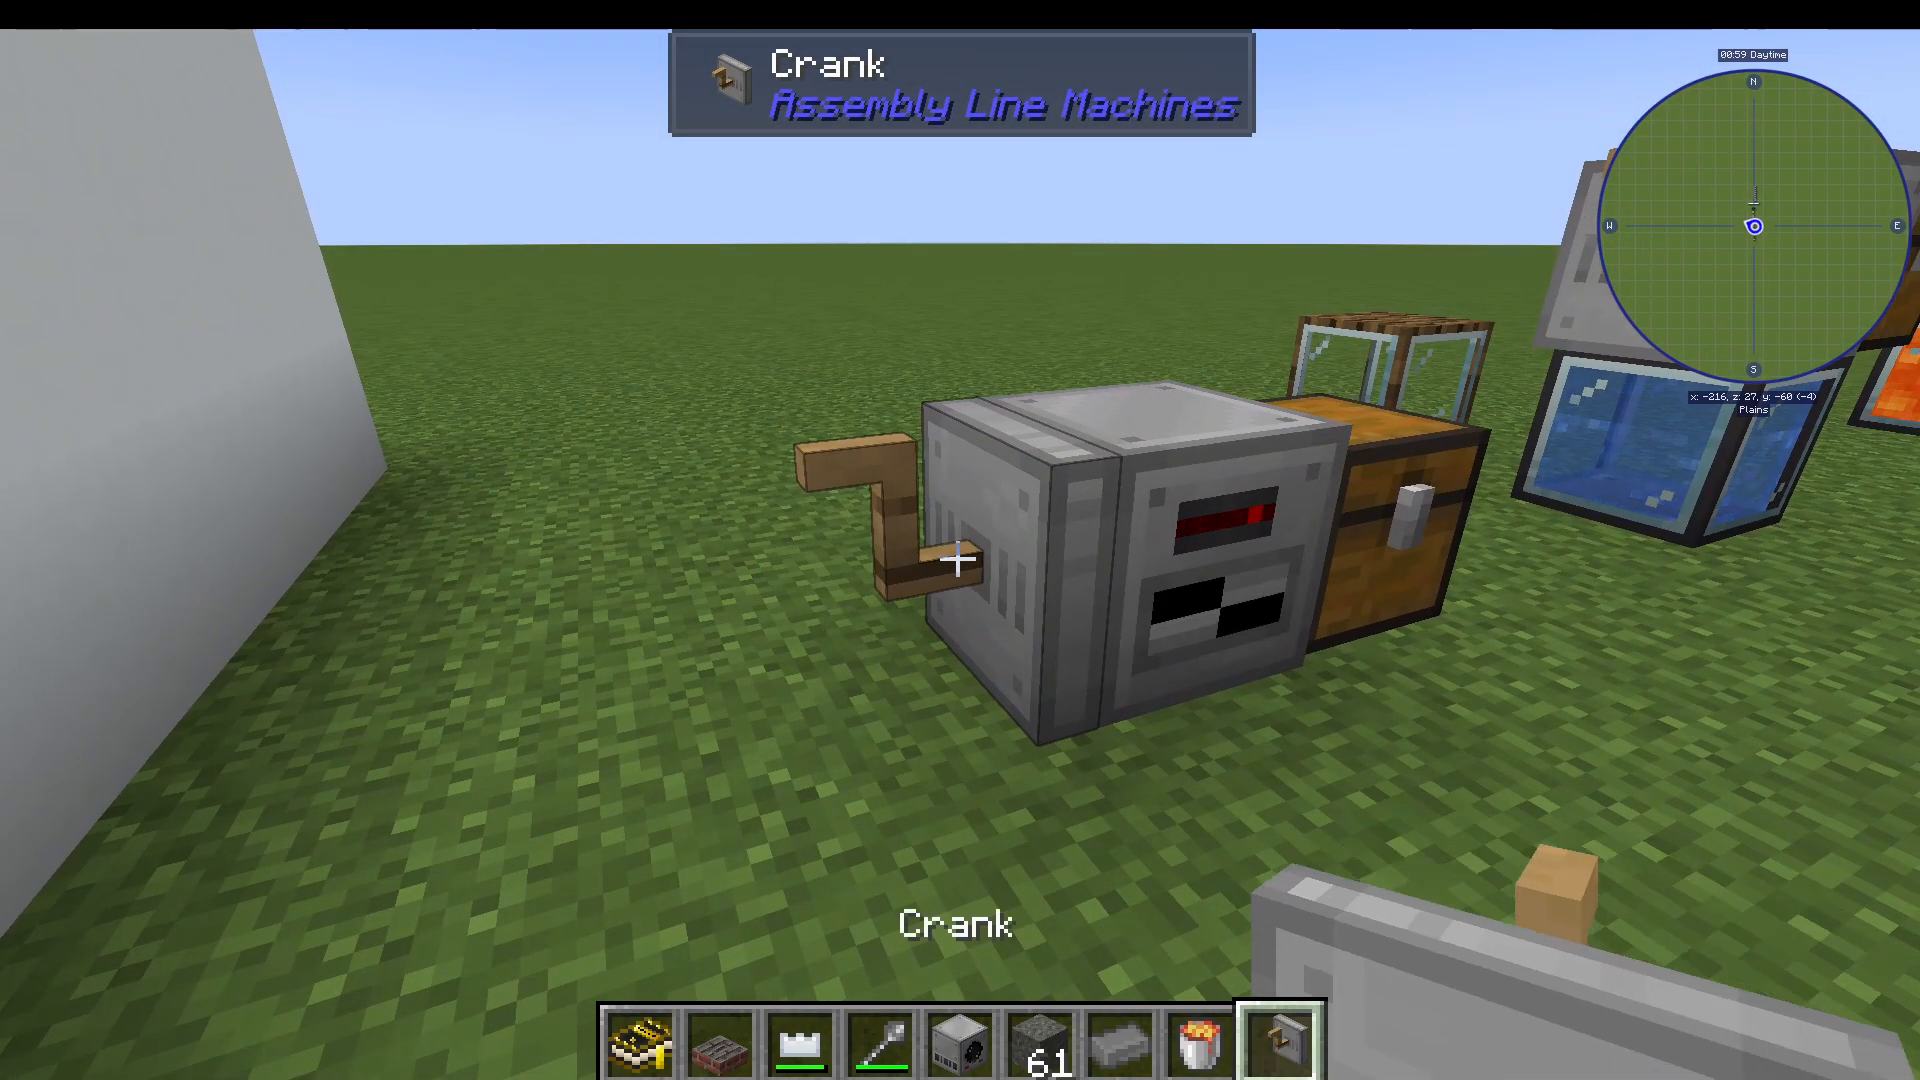
The first machine of the Crank Age is the kinetic grinder. Create one using your manual grinder from the Primitive Age and add steel ingots. To set it up:
Place the kinetic grinder on the ground
Place a crank on the left side of the grinder
Place a chest on the right side (sides matter in this mod)
Right-click to open the GUI and insert your pure gold dipped blade
You can now right-click the crank to grind materials. The progress bar shows how far along you are, and your progress is saved even if you stop cranking.
Grinding Steel and Making Steel Rods
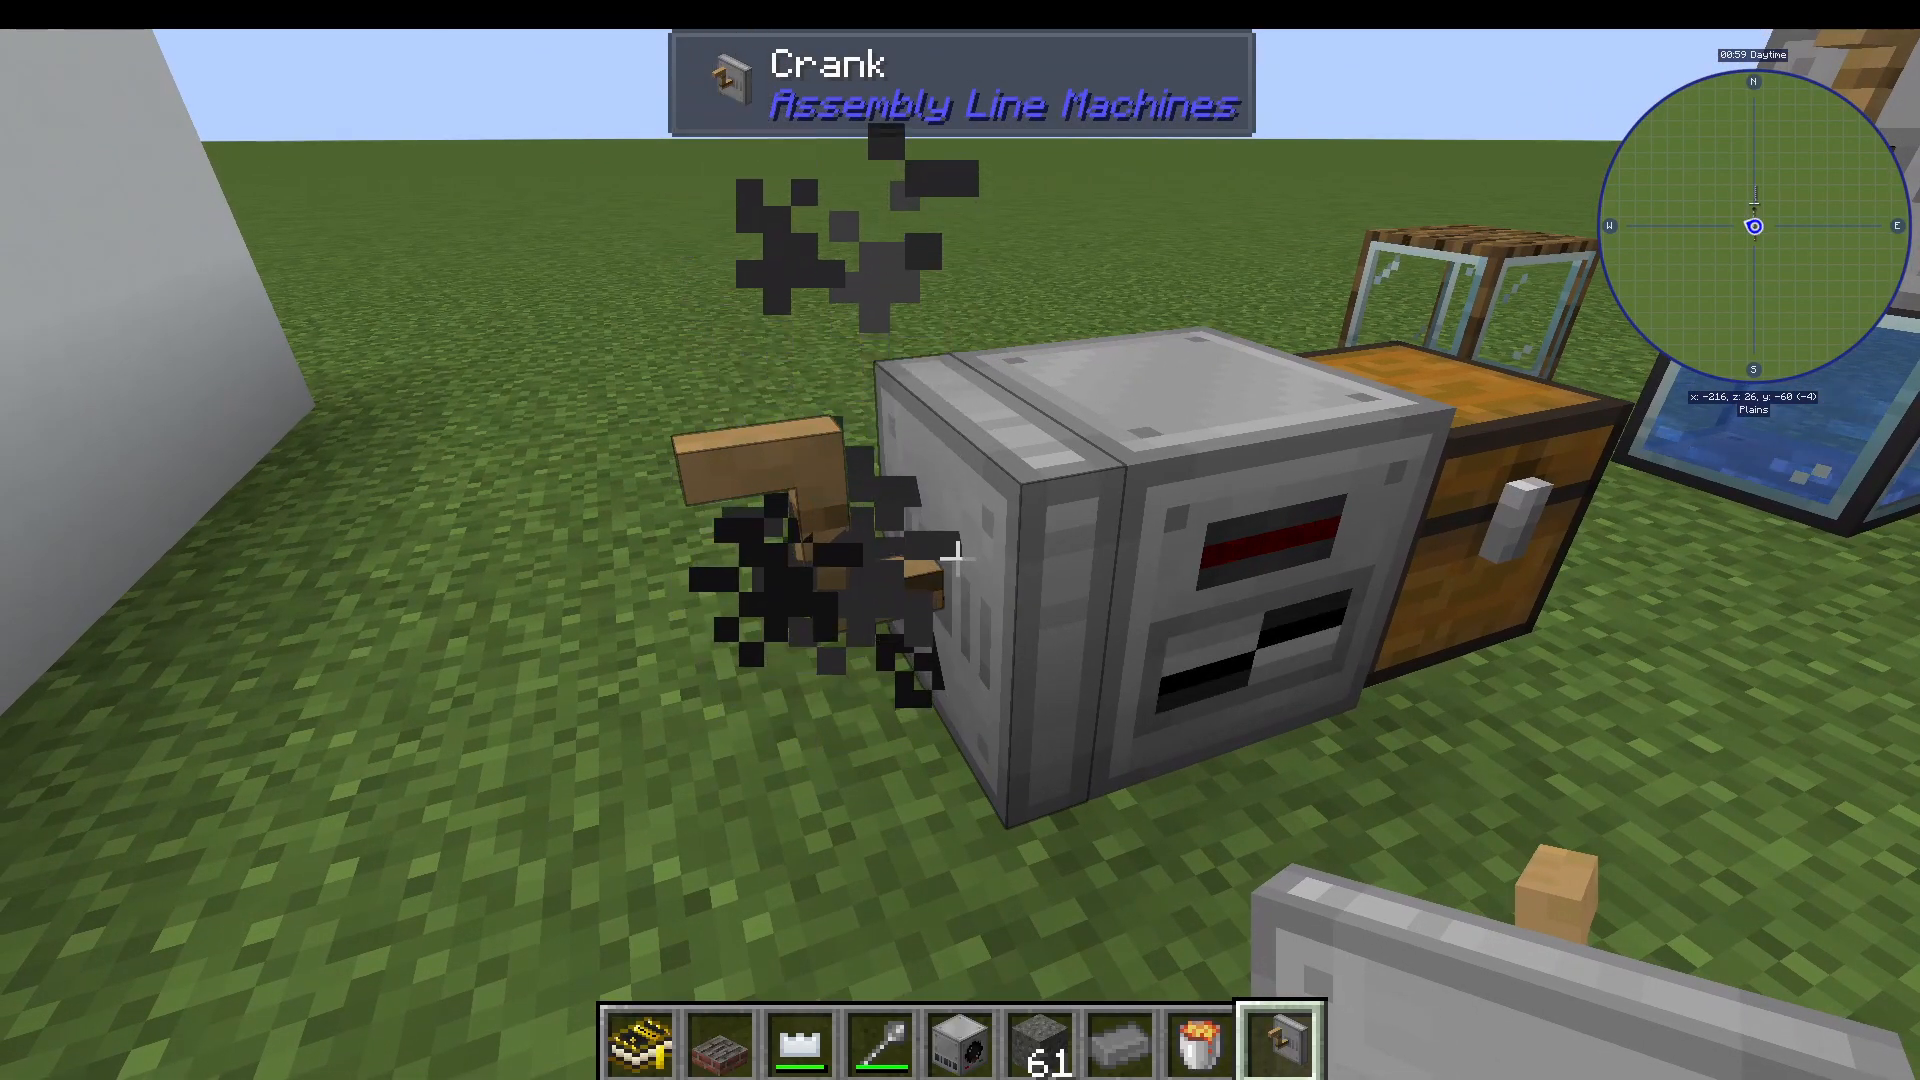
You can grind steel blocks in the kinetic grinder to produce steel rods. Cranking a steel block multiple times will yield nine steel rods. Steel blocks take longer to grind than individual ingots, but the yield is worthwhile.
Introducing Tanks and the Kinetic Fluid Mixer
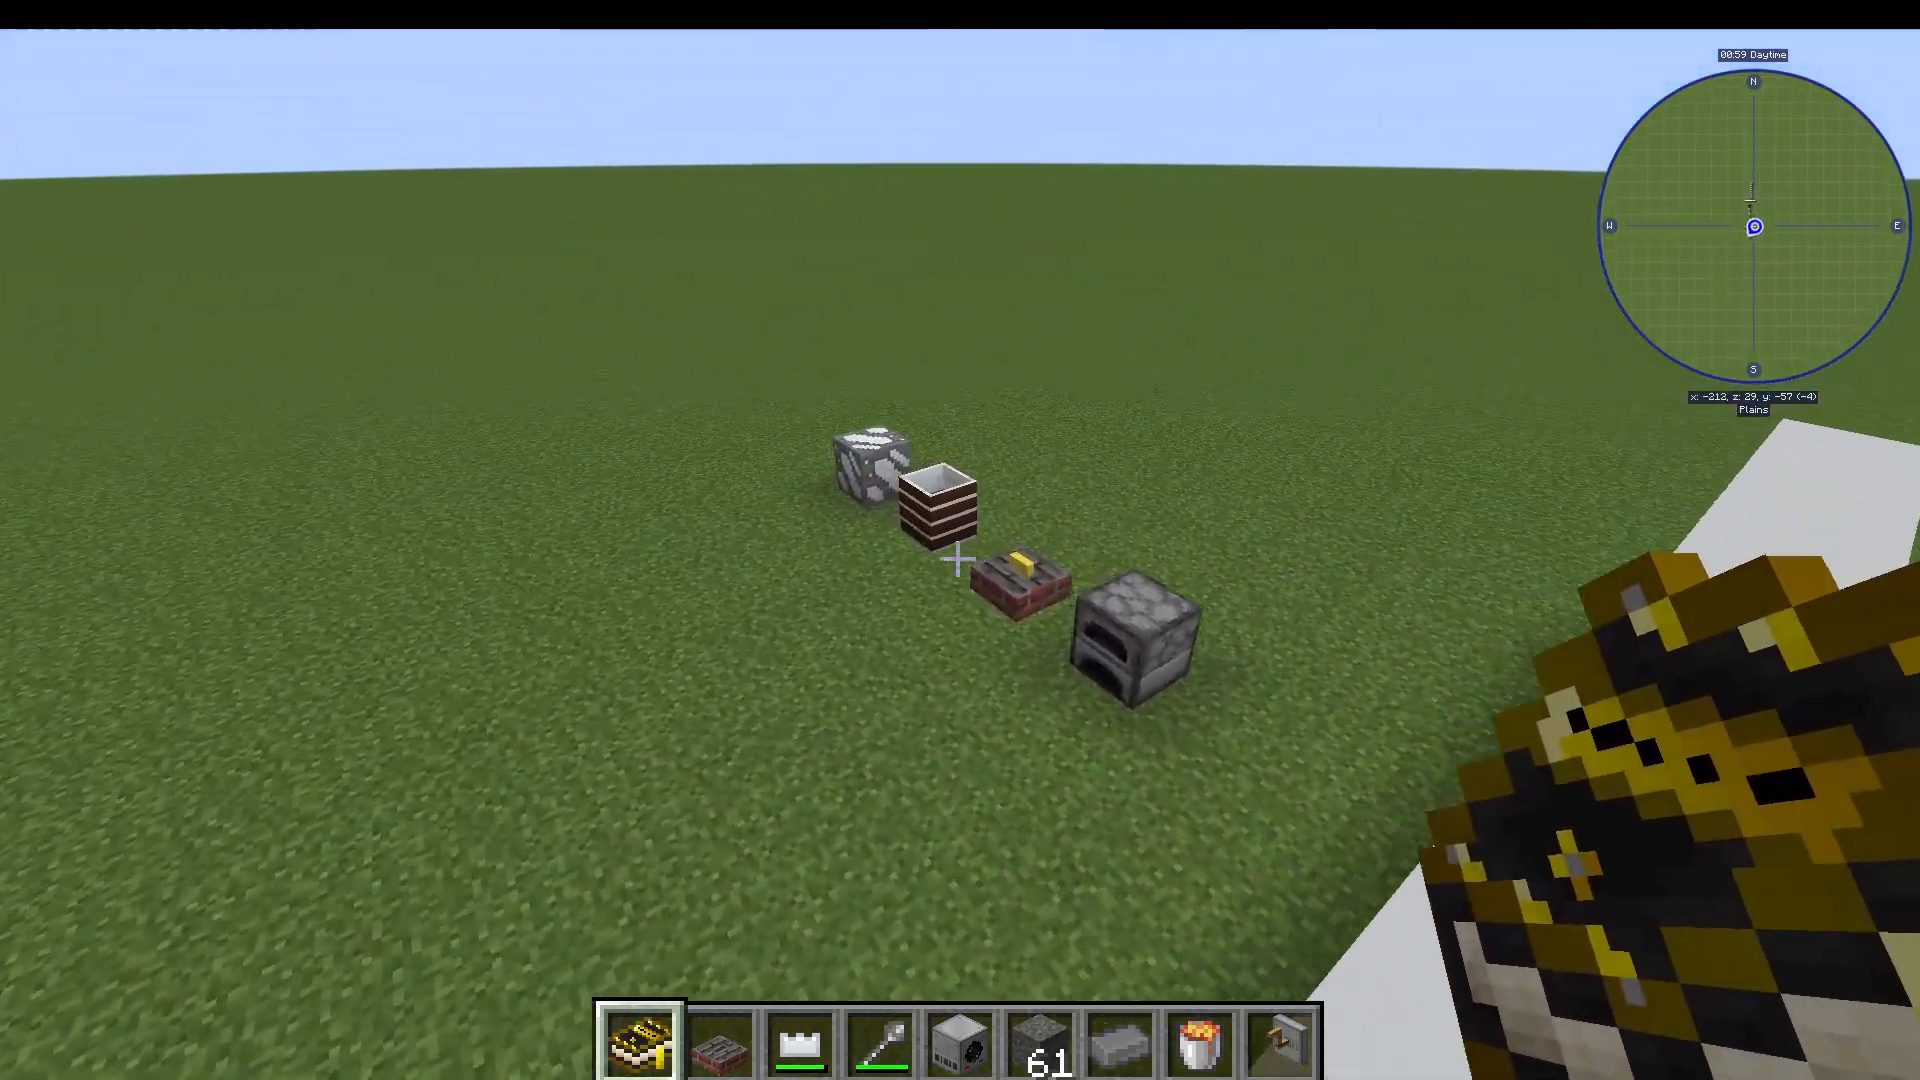
You can create two types of fluid tanks in the Crank Age:
Wooden Fluid Tank: Stores 6 buckets
Steel Fluid Tank: Stores 19 buckets
The kinetic fluid mixer is a more automated version of the fluid bath. Instead of continuously refilling water and lava, you can simply input your materials and crank. For example, to make pure iron silt:
Input silt and ground iron into the mixer
Right-click the crank
Output goes directly into a connected chest
Creating Empowered Coal
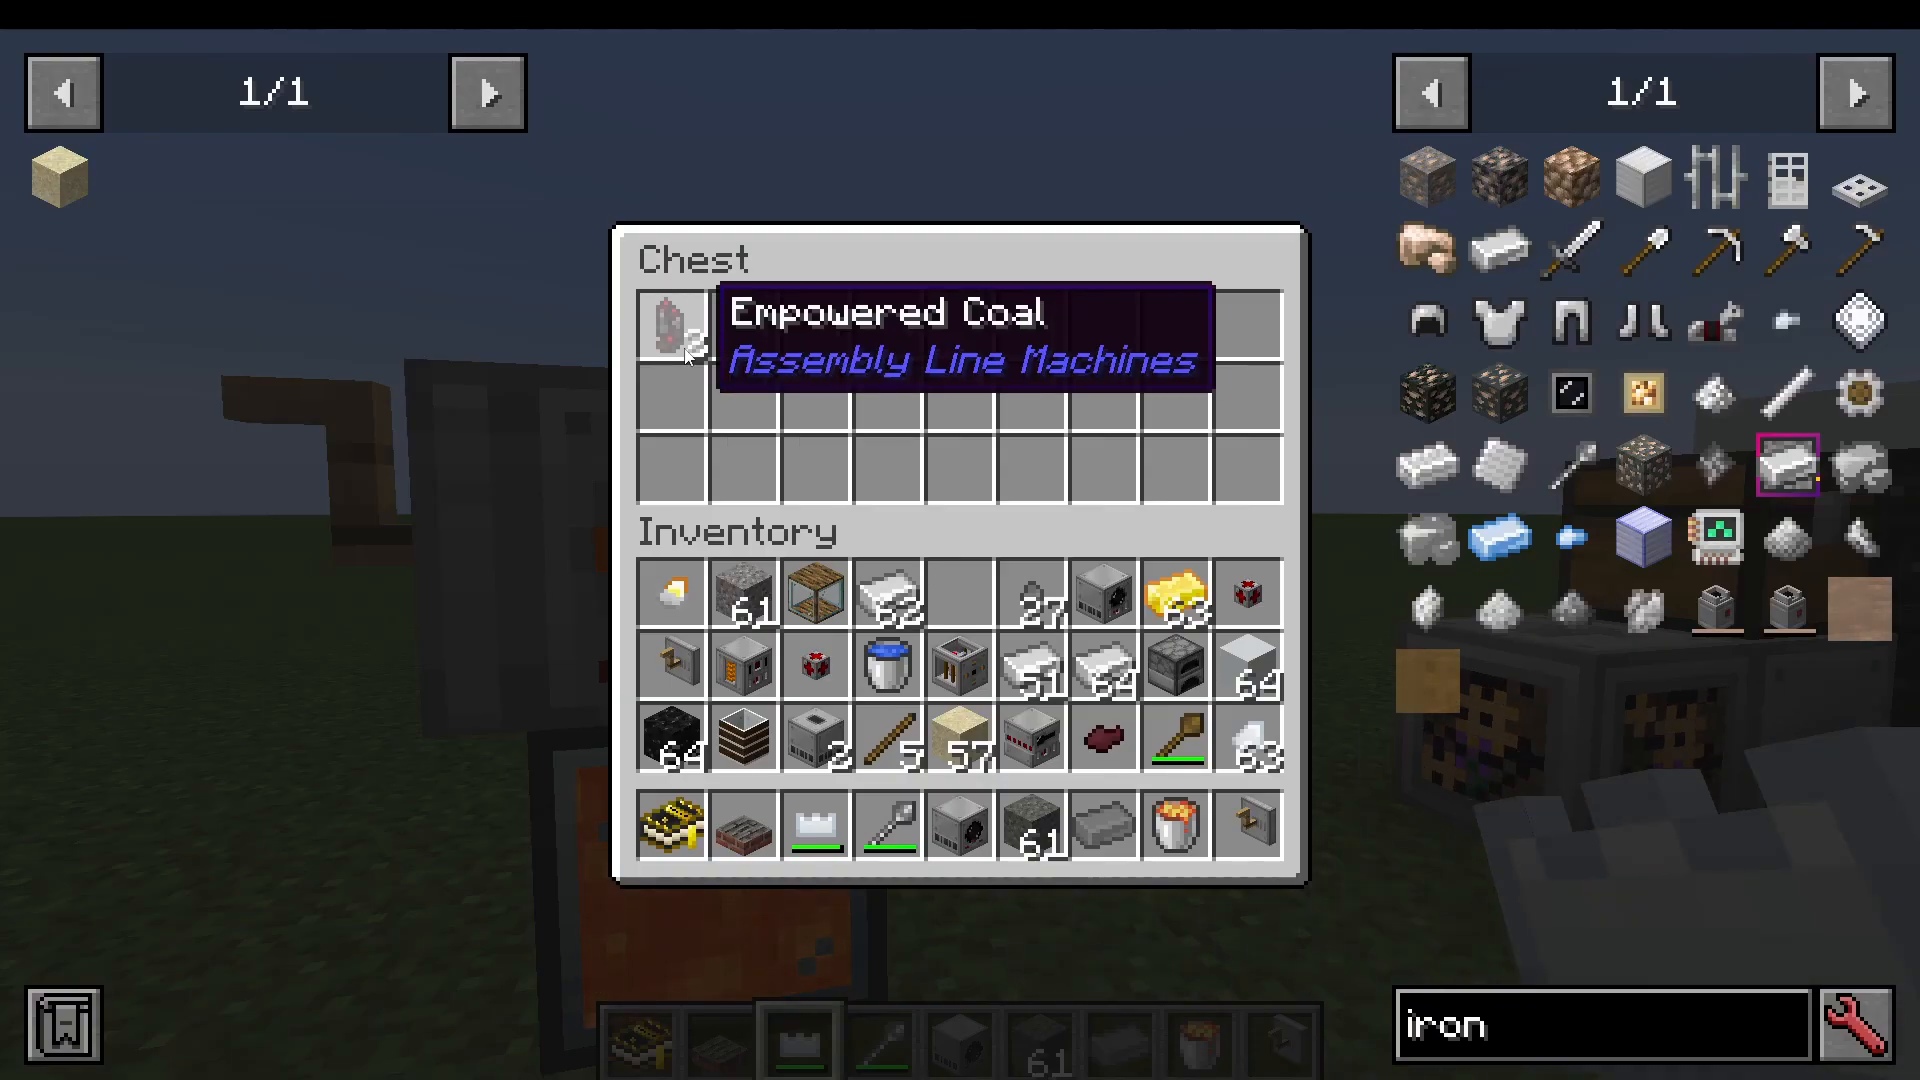
Set up a kinetic fluid mixer with lava in the tank below. Add ground coal and redstone dust, then crank to create empowered coal—the first actual fuel type in the mod. This will be essential for powering machines in the next age.
The Gearbox and Simple Crank Charger
The gearbox is essentially an automatic crank, eliminating manual cranking. To create it, you’ll need pure iron plates. Make these by using a hammer on pure iron ingots—you’ll get three pure iron plates per ingot.
The gearbox has an arrow indicating the direction it’s cranking. You must place it onto a machine rather than on the ground. Right-click to open the gearbox GUI and insert empowered coal as fuel.
The simple crank charger pairs with the gearbox. Place a chest on top of the simple crank charger and insert tools like a crank powered pickaxe to charge them. However, certain recipes require specific gear types:
Some recipes accept any gear (copper is most efficient)
Some tools require gold or titanium gears specifically
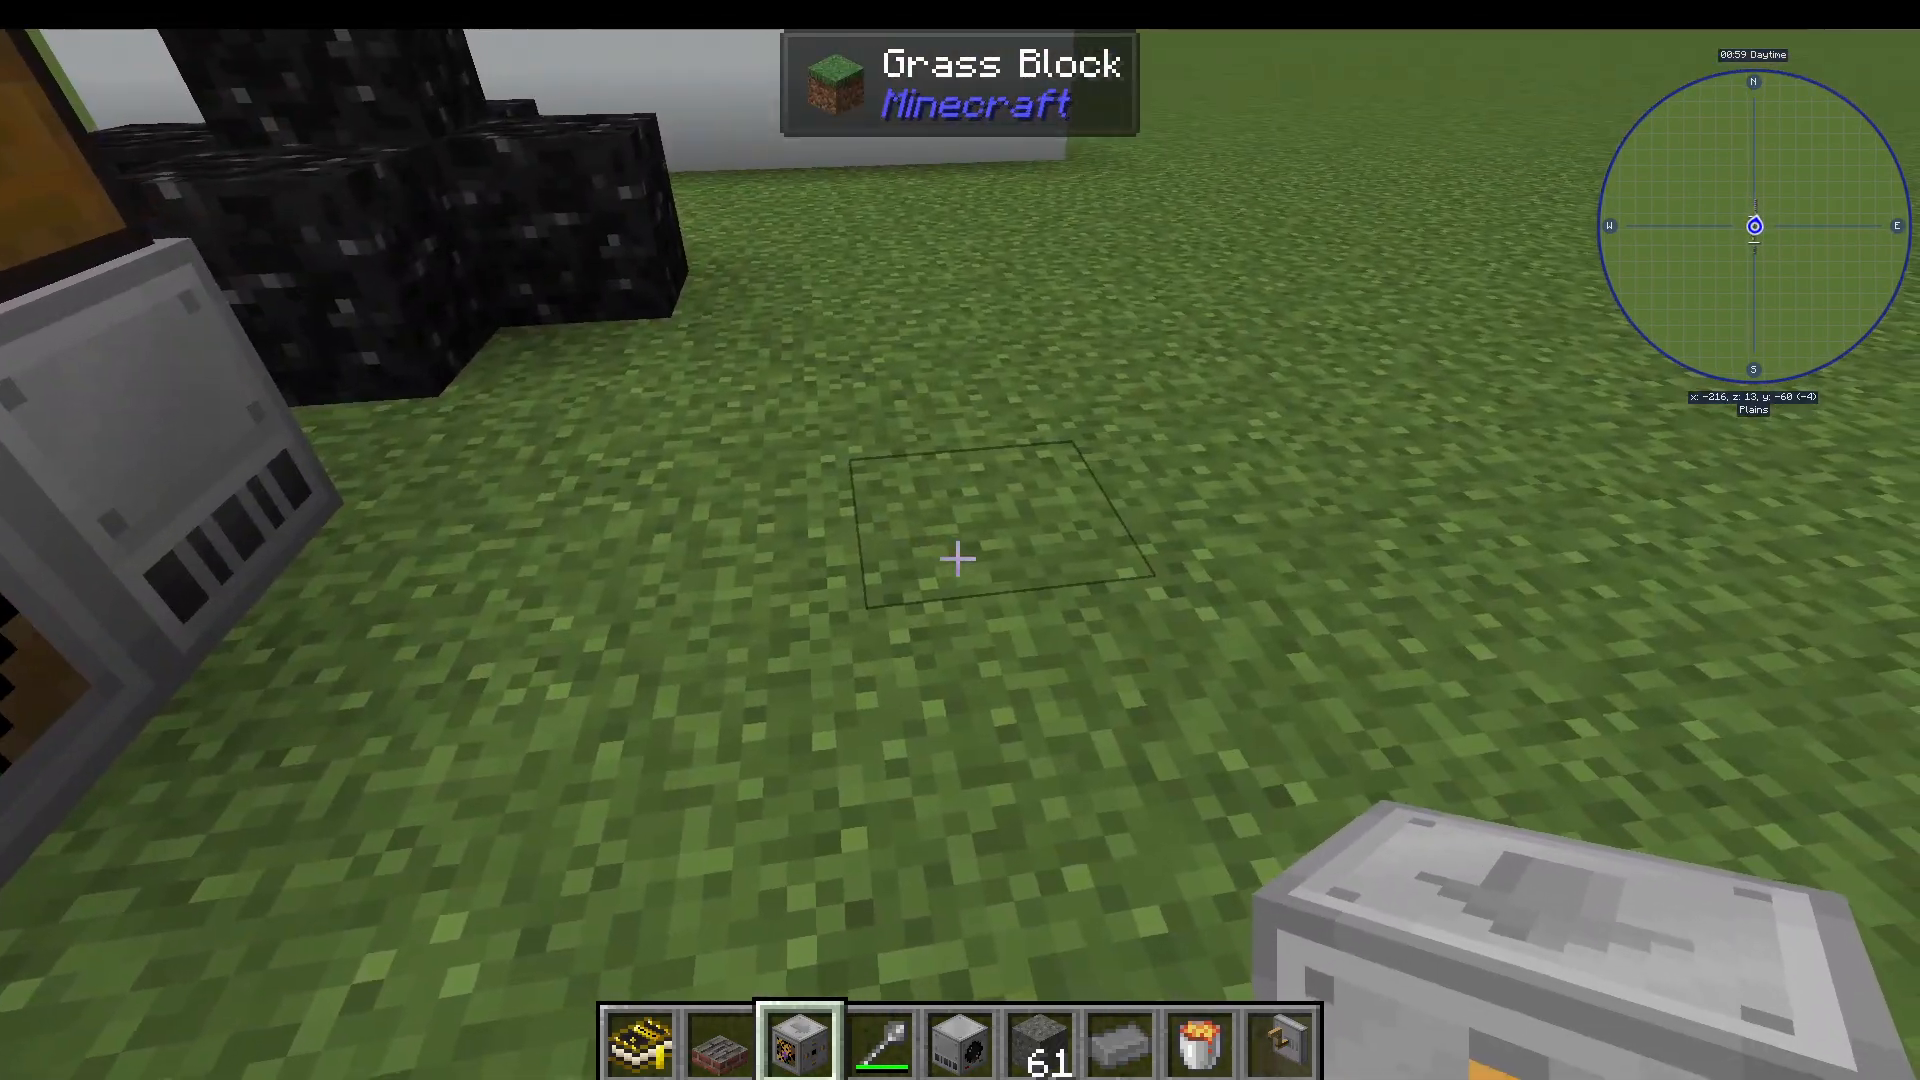
Creating Crank Powered Tools
The crank powered pickaxe is essential for progressing to the Electric Age. Use it to mine black granite in the Nether. Other crank powered tools (axe, shovel, great axe, and broadsword) are optional but useful for terraforming and combat.
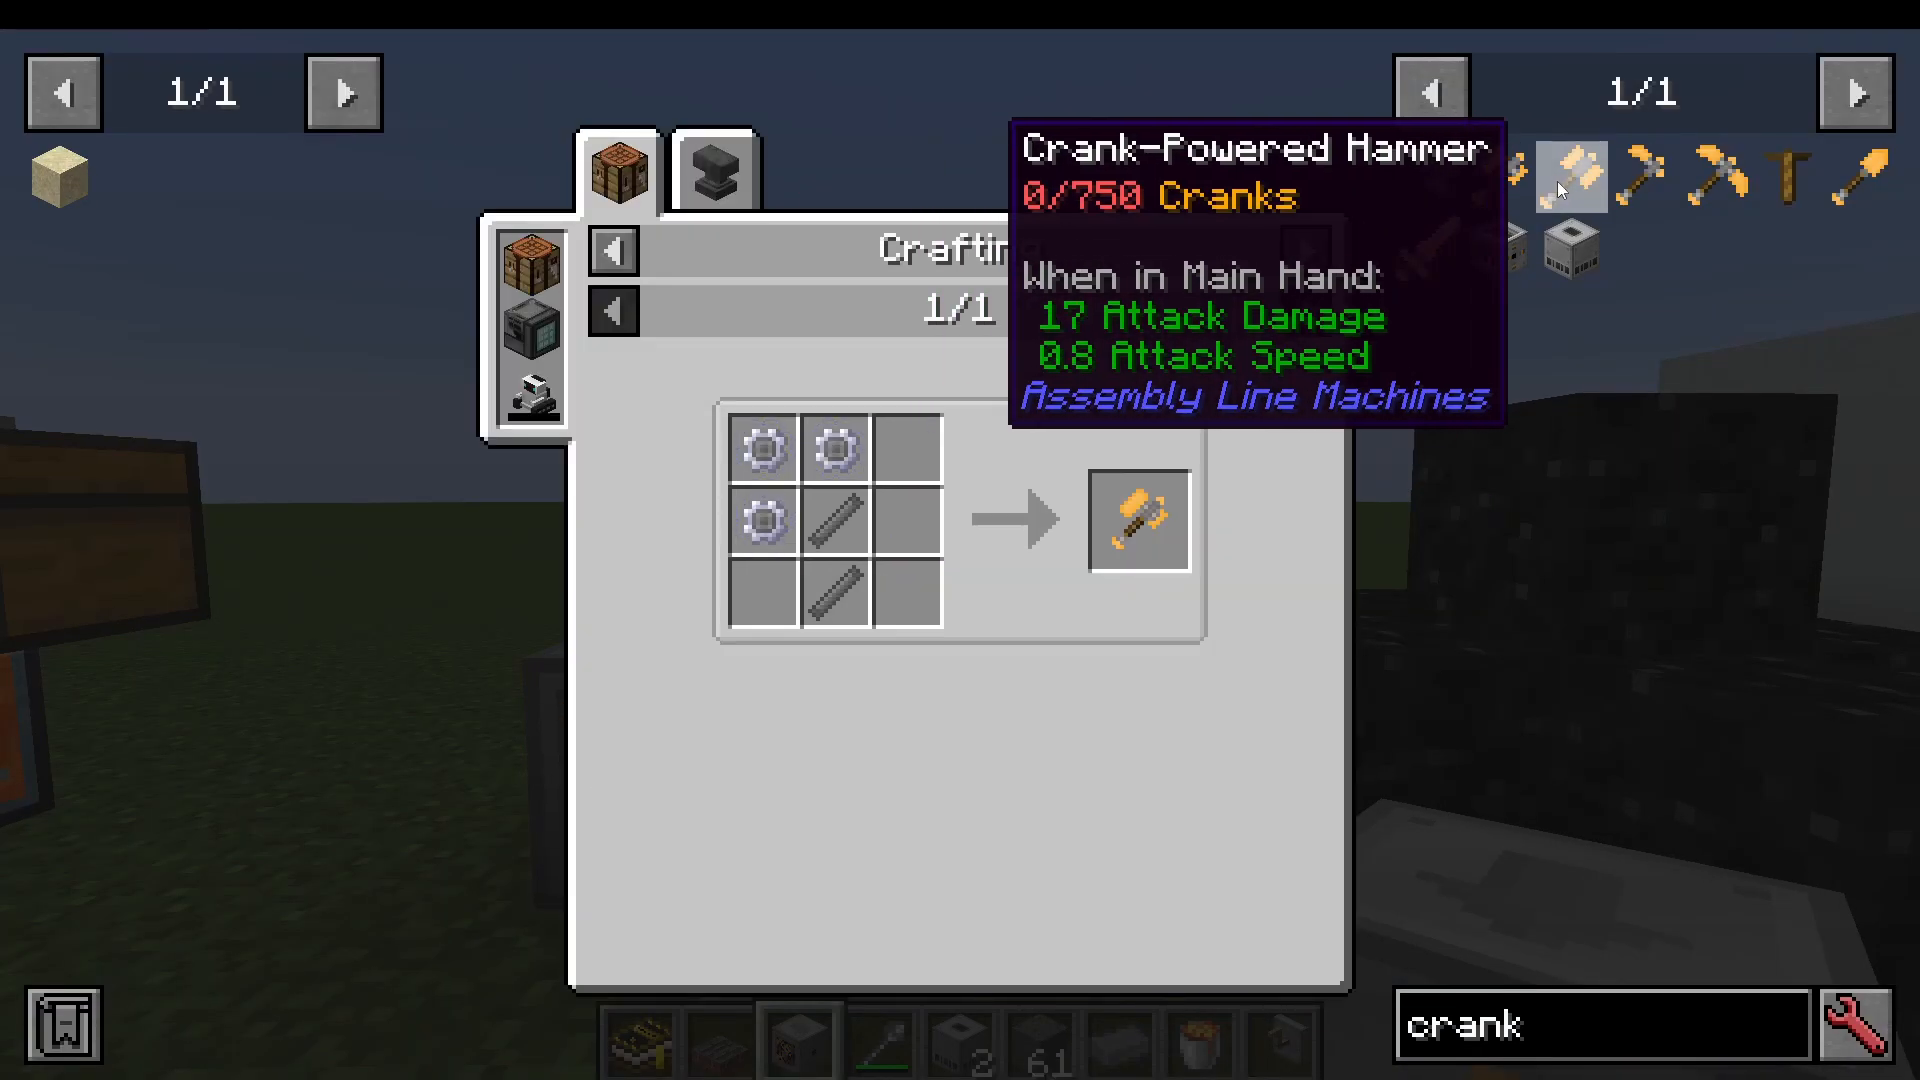
The Electric Age: Power and Automation
Once you’ve collected black granite from the Nether with your crank powered pickaxe, you’re ready for the Electric Age. This age introduces electricity-based machines and significantly more automation.
Starting with Basic Energy Pipes and the Crank Mill
Begin by crafting basic energy pipes using black granite and pure iron plates. The crank mill is your first power-generating machine:
Craft a crank mill using basic energy pipes, a crank shaft, and related materials
Place the crank mill and attach a gearbox to its left side
The gearbox (powered by empowered coal) will drive the crank mill to generate electricity
Connect basic energy pipes to the output (red side) to distribute power
Right-click on energy pipe connections with an empty hand to toggle input/output modes.
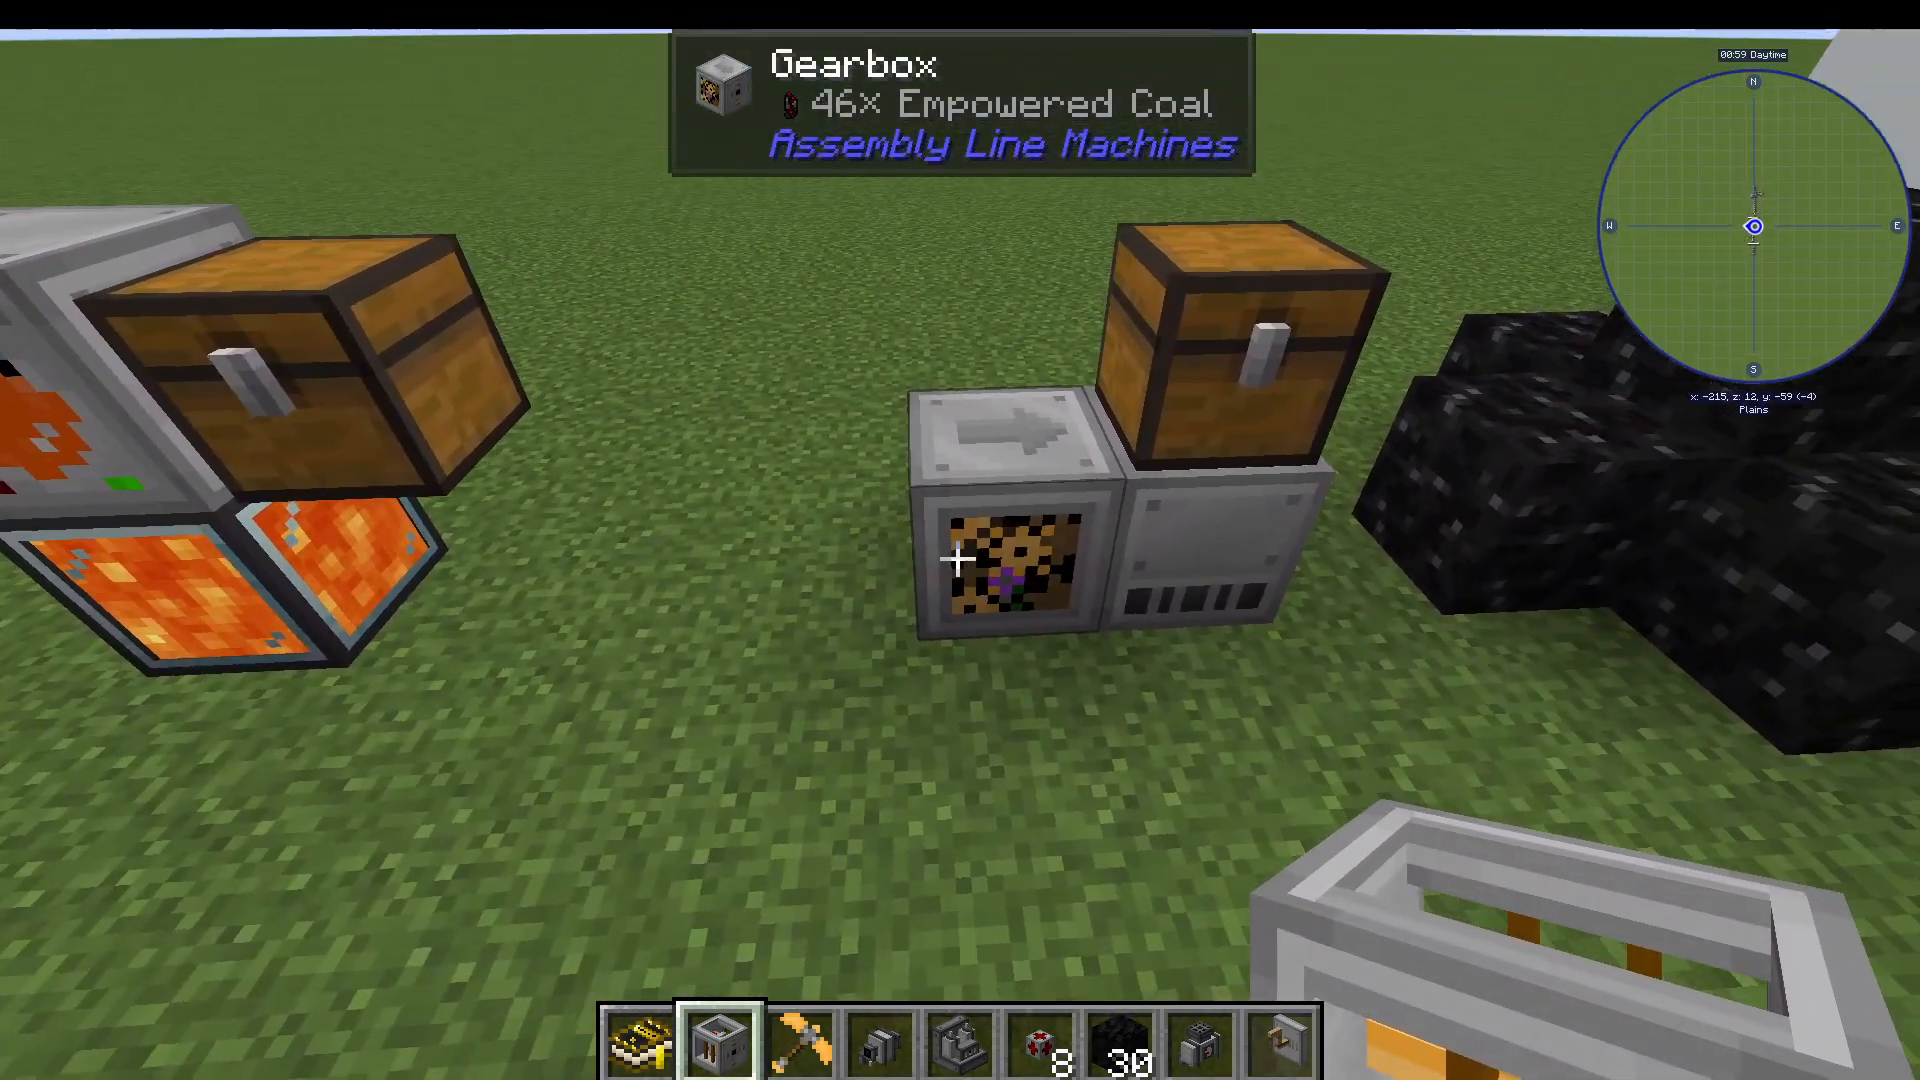
Basic Electric Machines
The Electric Age introduces several fundamental machines:
Electric Purifier: Quickly purifies materials like sand and gravel into pure versions (pure copper, pure steel, etc.)
Coal Generator: Converts coal and other flammable items into electrical energy
Basic Battery Cell: Stores electrical energy (requires pure steel plates)
Geothermal Generator: Converts lava into electrical energy
Combustion Generator: Converts oil byproducts (diesel, gasoline) into electrical energy
Electric Grinder: Grinds items electrically; can accept blades for enhanced efficiency
Electric Furnace: Smelts items using electricity
Electric Fluid Mixer: Electric version of the fluid bath for creating materials like silt and dust mixtures
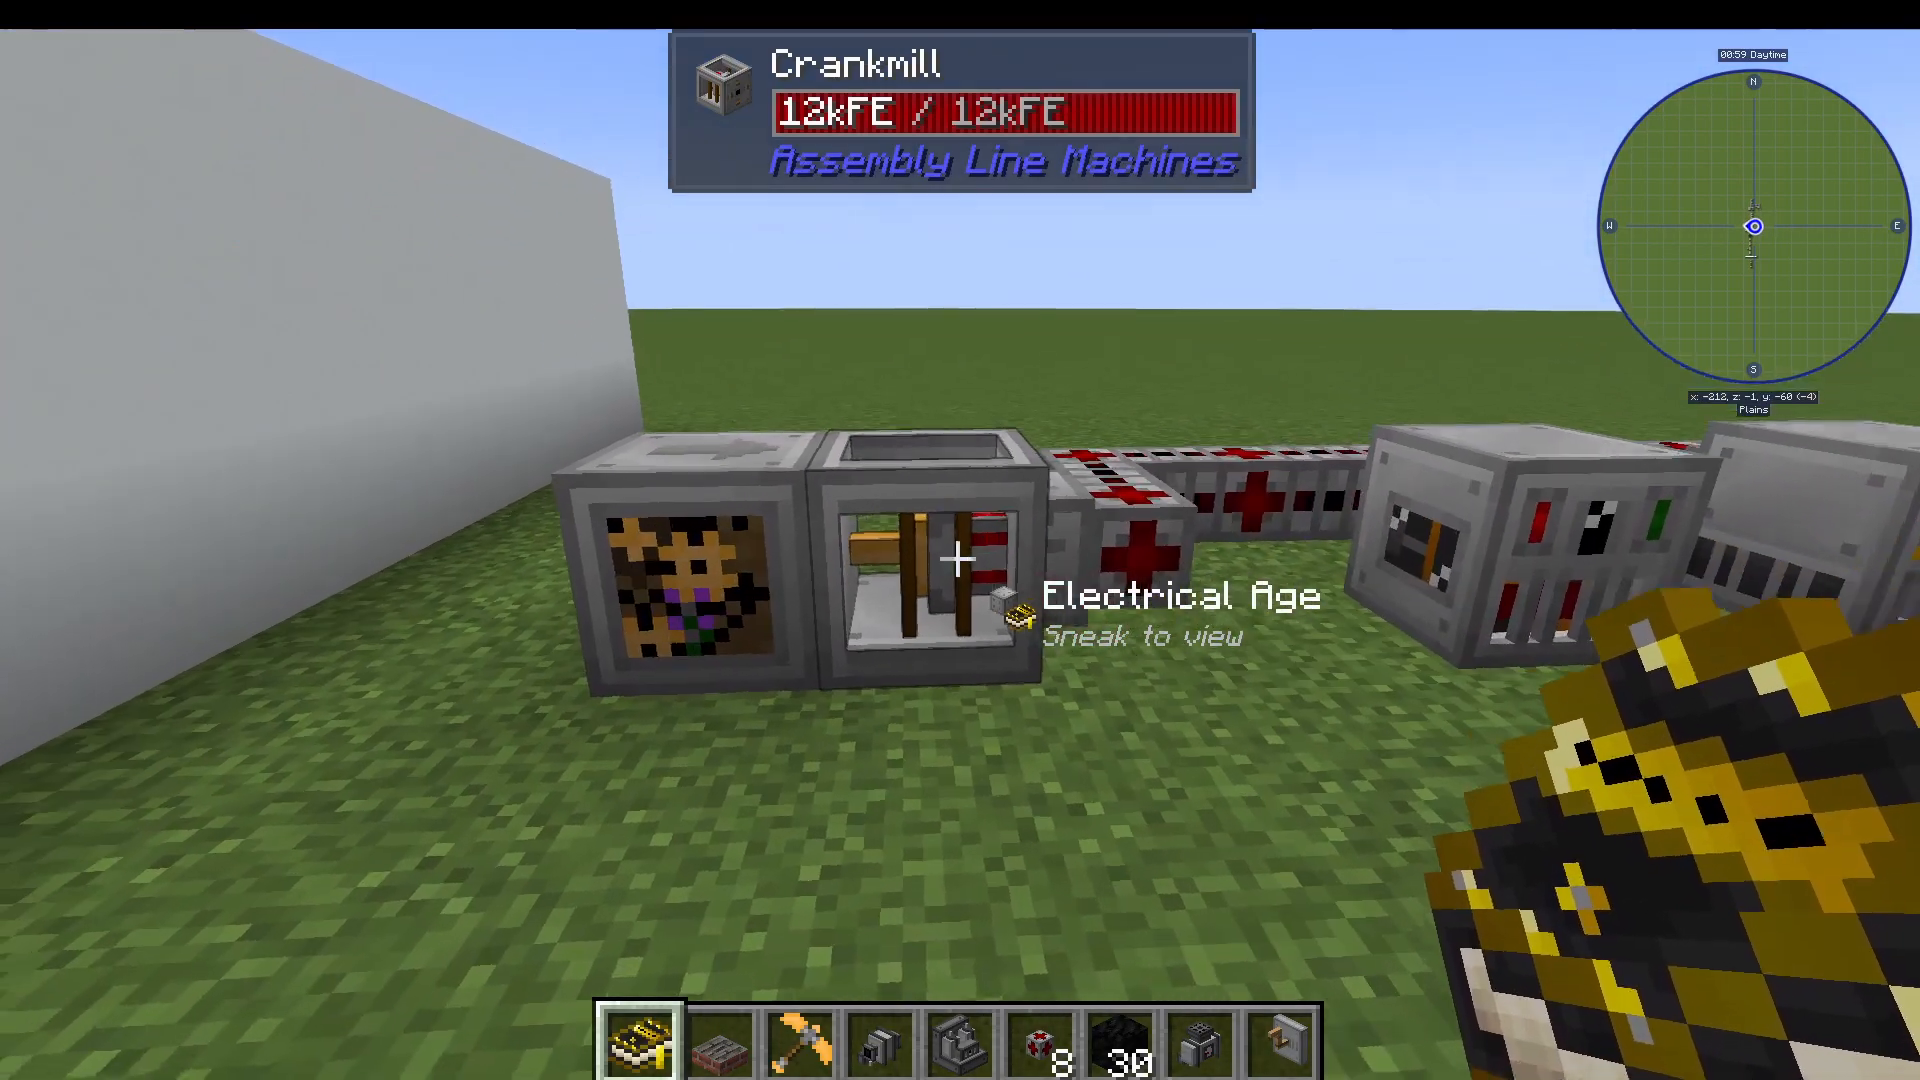
Making Pure Steel
Pure steel can only be made in the electric purifier (not in earlier machines). Simply place steel in the purifier to create pure steel ingots.
The Pneumatic Compressor and Molds
The pneumatic compressor uses molds to compress ingots into plates and gears:
Create molds (plate molds, gear molds, etc.) from pure materials
Insert the mold into the pneumatic compressor
Feed in the corresponding ingots (e.g., two pure steel ingots for a steel plate)
The machine outputs the shaped component
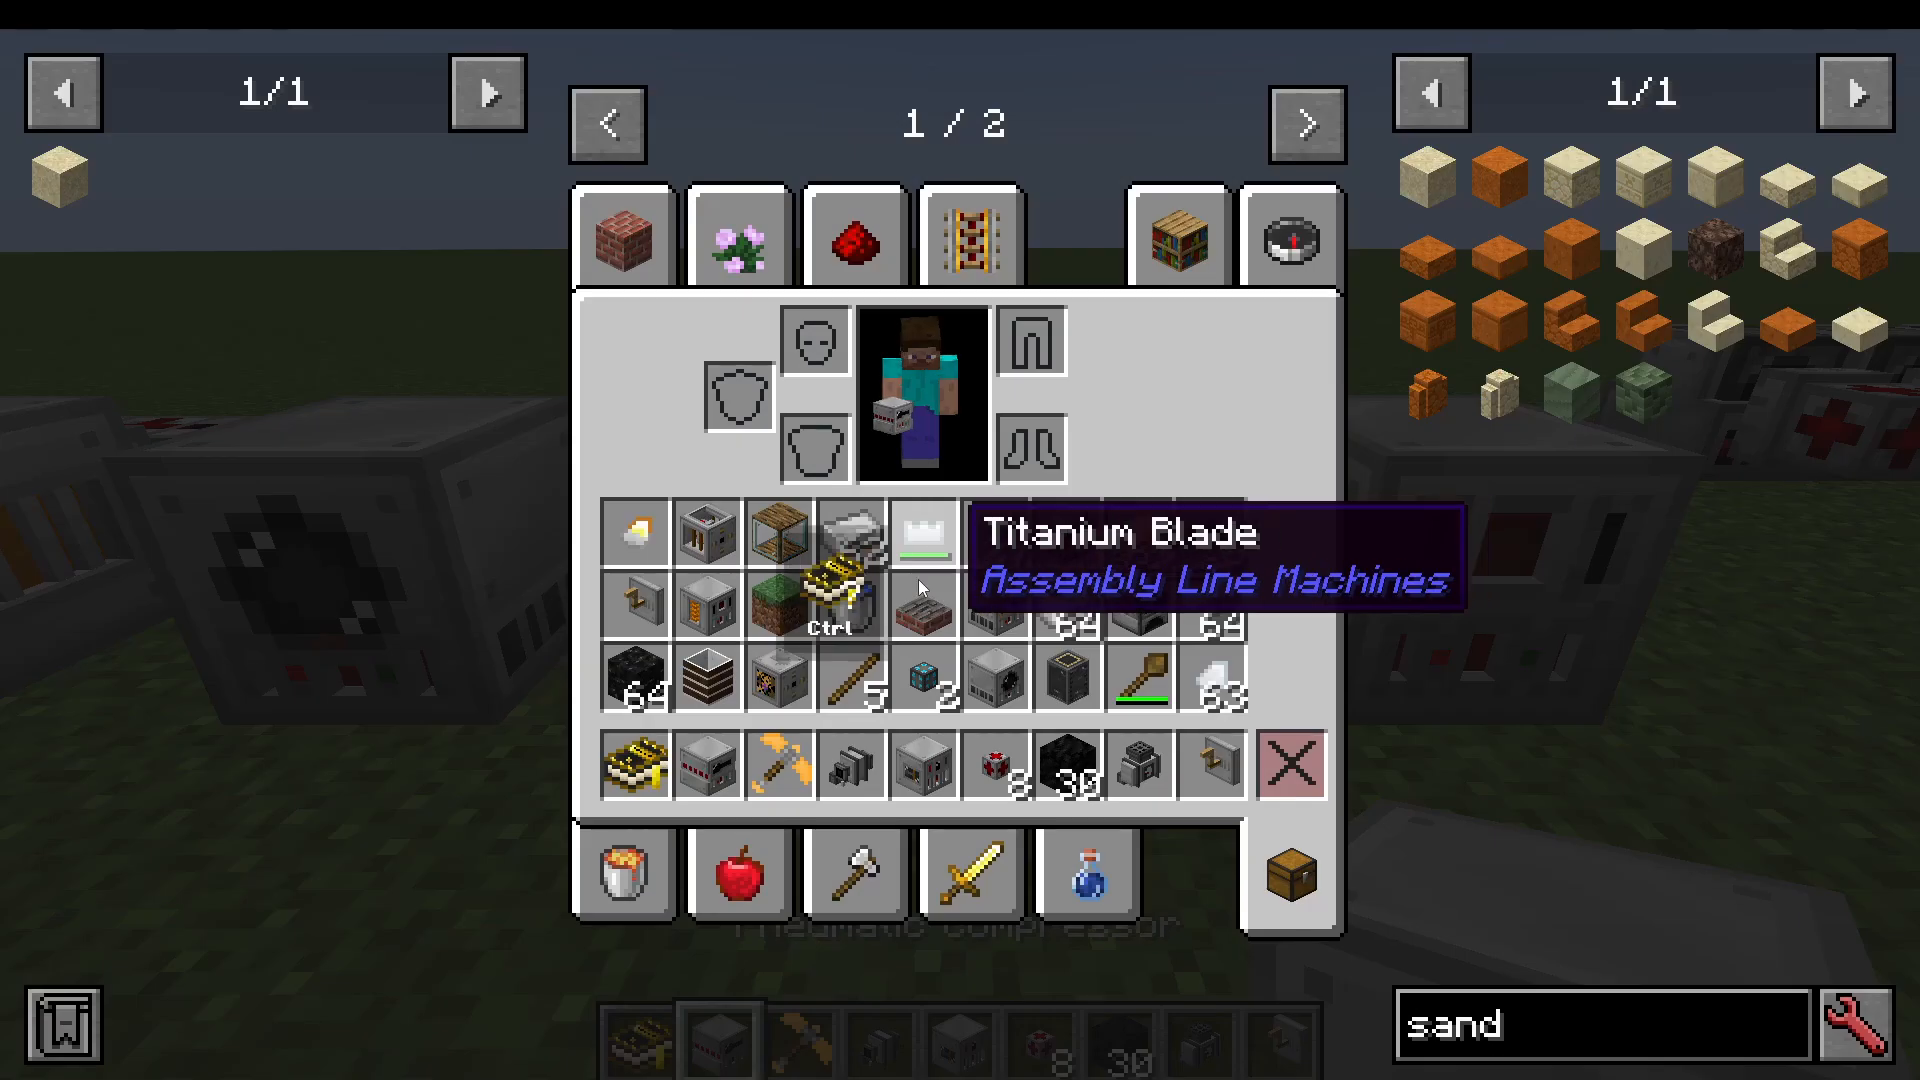
Redstone dust + pure gold = energized gold ingots
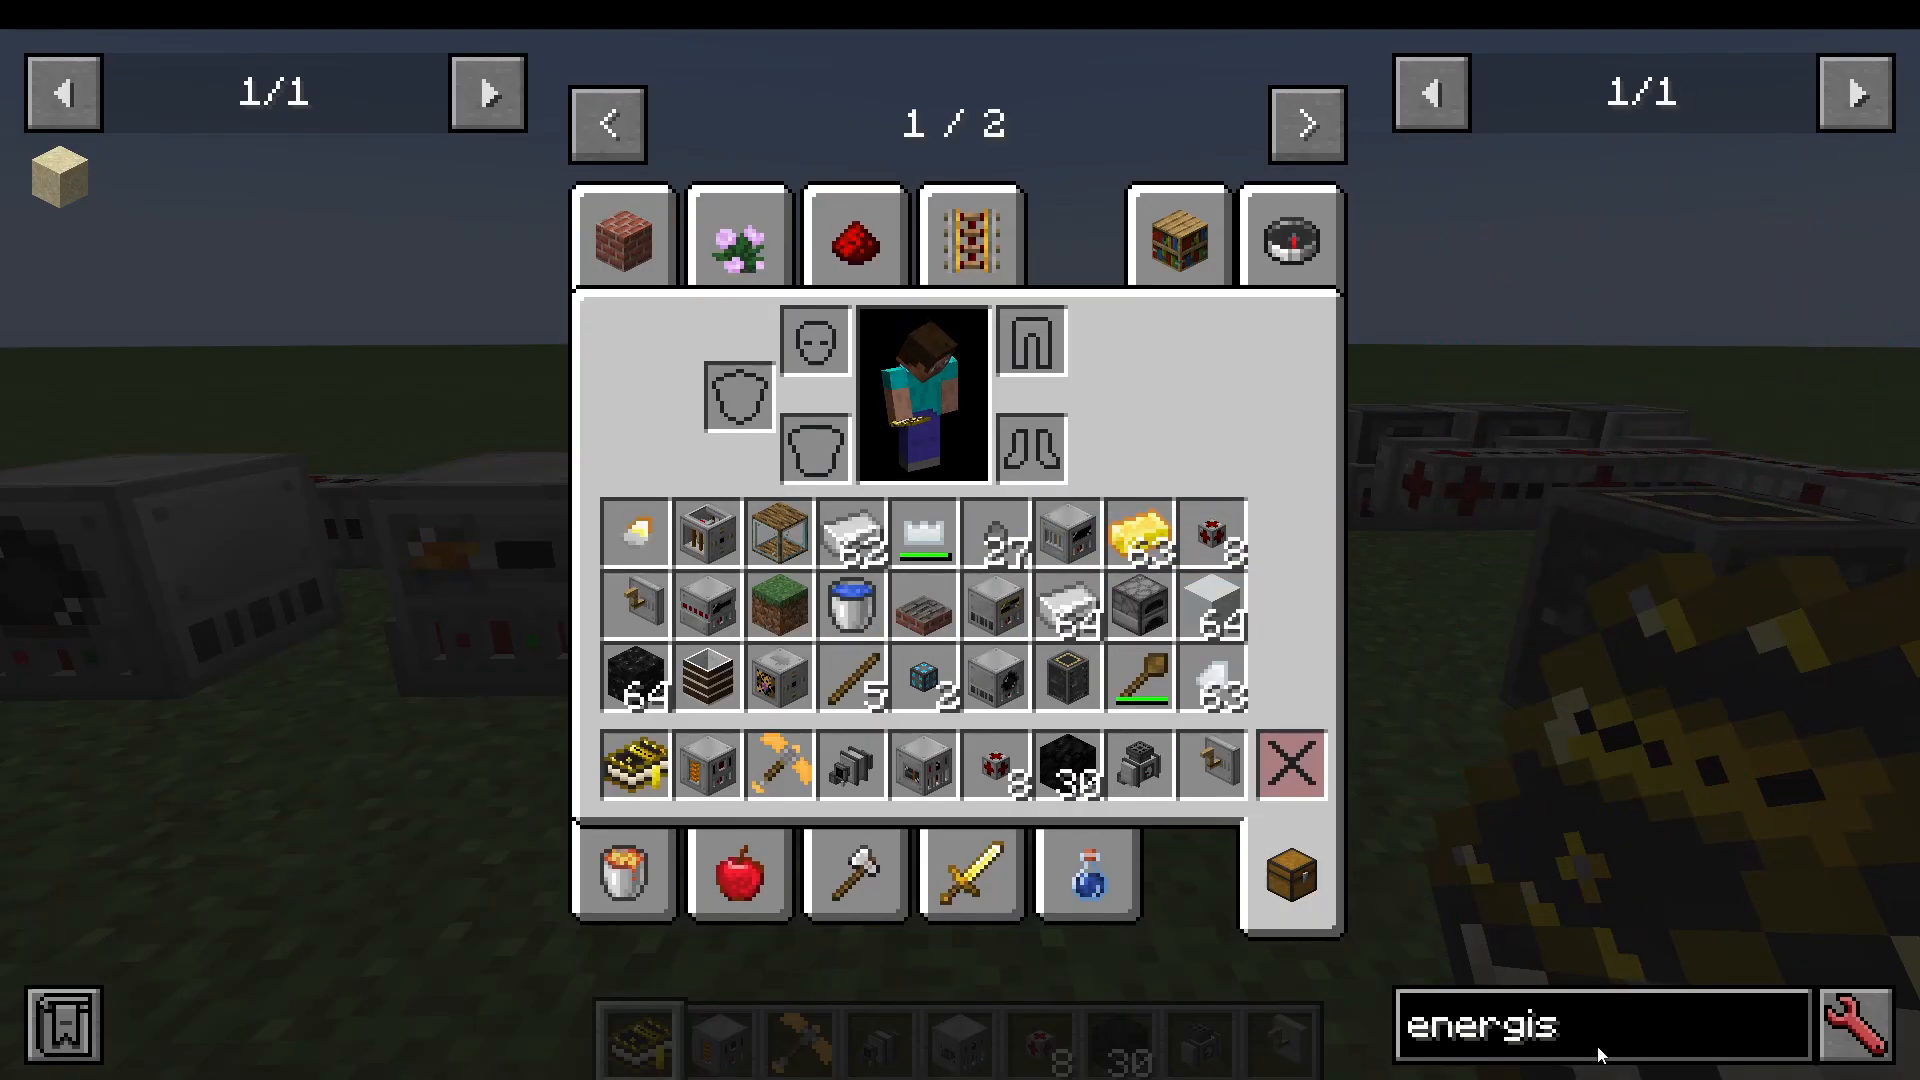
Energized gold + ground neverite = electrified neverite blend
Grind lapis lazuli in the electric grinder to get ground lapis lazuli
Mix ground lapis with redstone dust in the electric fluid mixer (using a steel fluid tank filled with lava) to create mystium blend
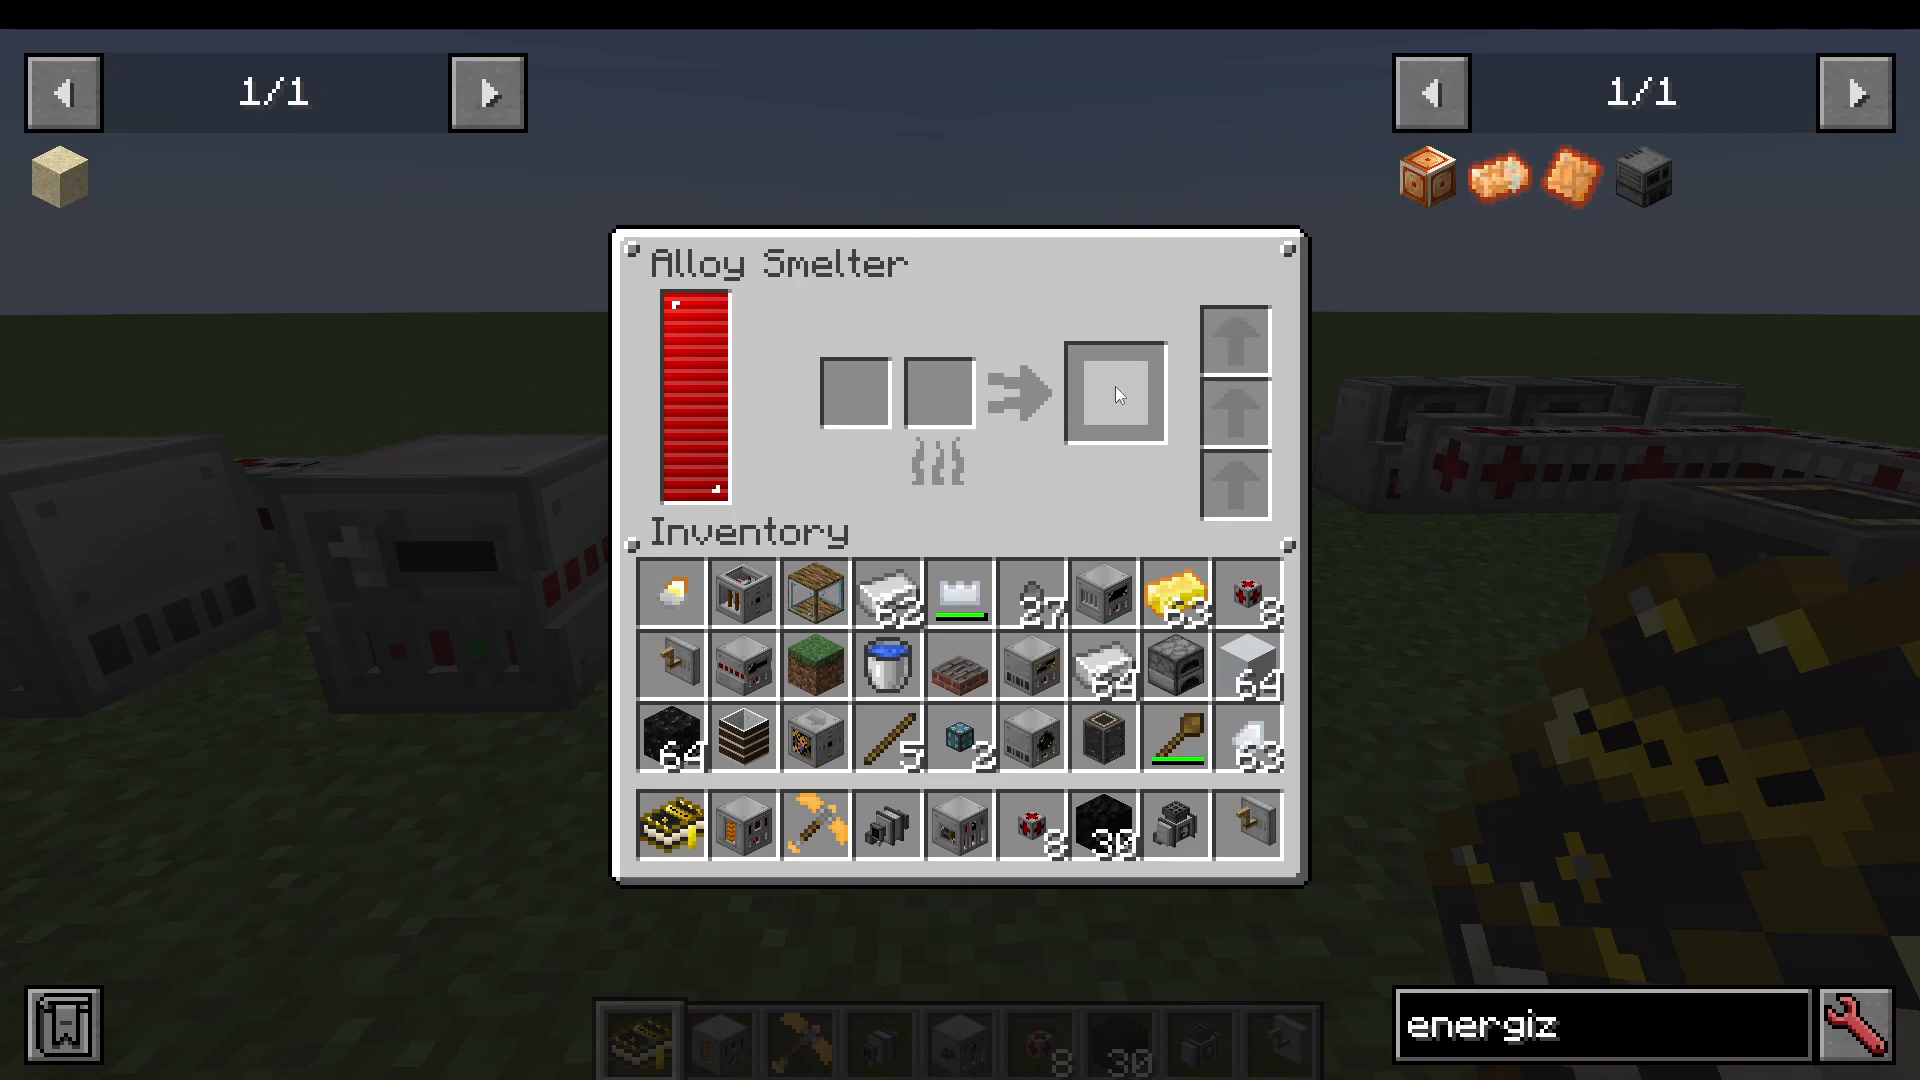
Combine mystium blend with electrified neverite blend in the alloy smelter to produce mystium ingots
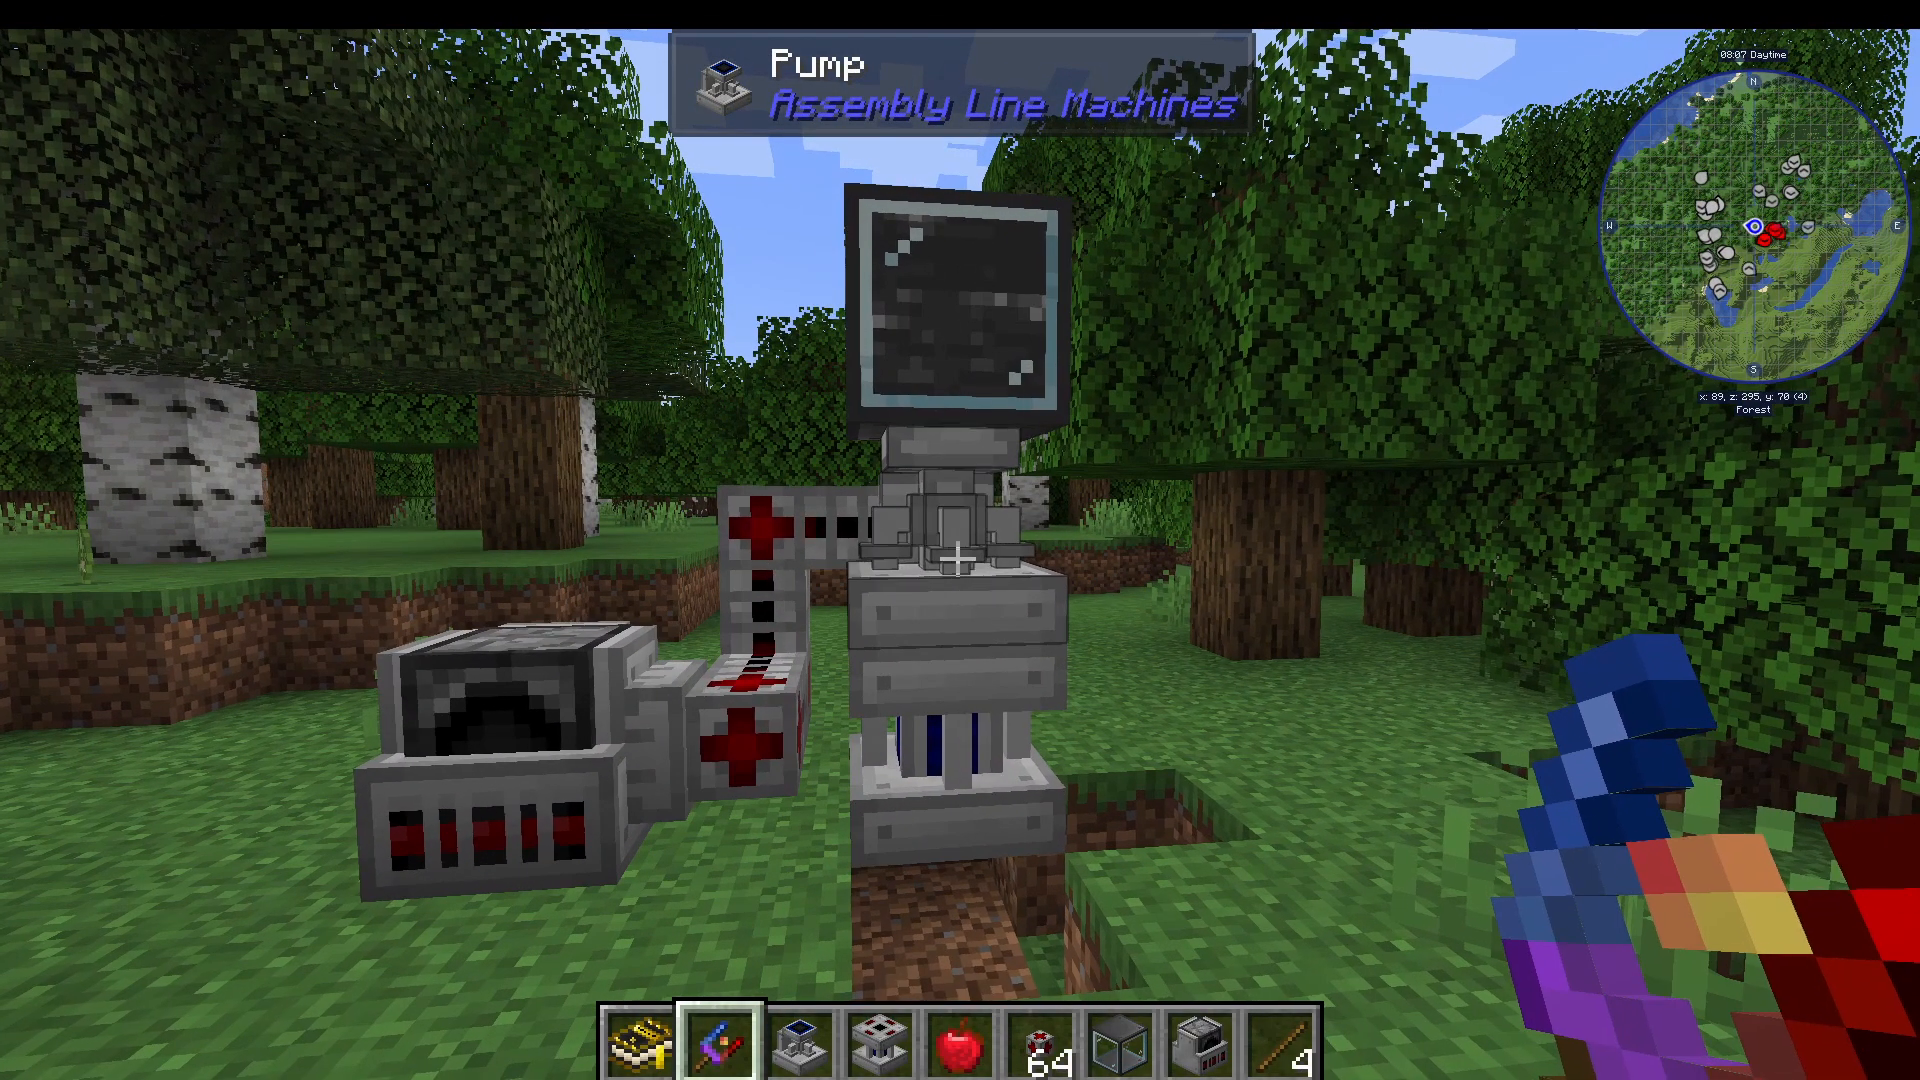
Place a pump shaft at the location
Place a pump on top of the shaft
Power the pump with electricity
Connect a fluid tank on top of the pump to collect oil
5 refineries total
2 refinery cracking chamber attachments
2 refinery addition attachments
Basic or advanced fluid pipes for routing
A fluid router for distributing different outputs
Process Overview:
Raw oil enters the first refinery and splits into propane and ethane
Use a fluid router to separate propane and ethane into different output lines
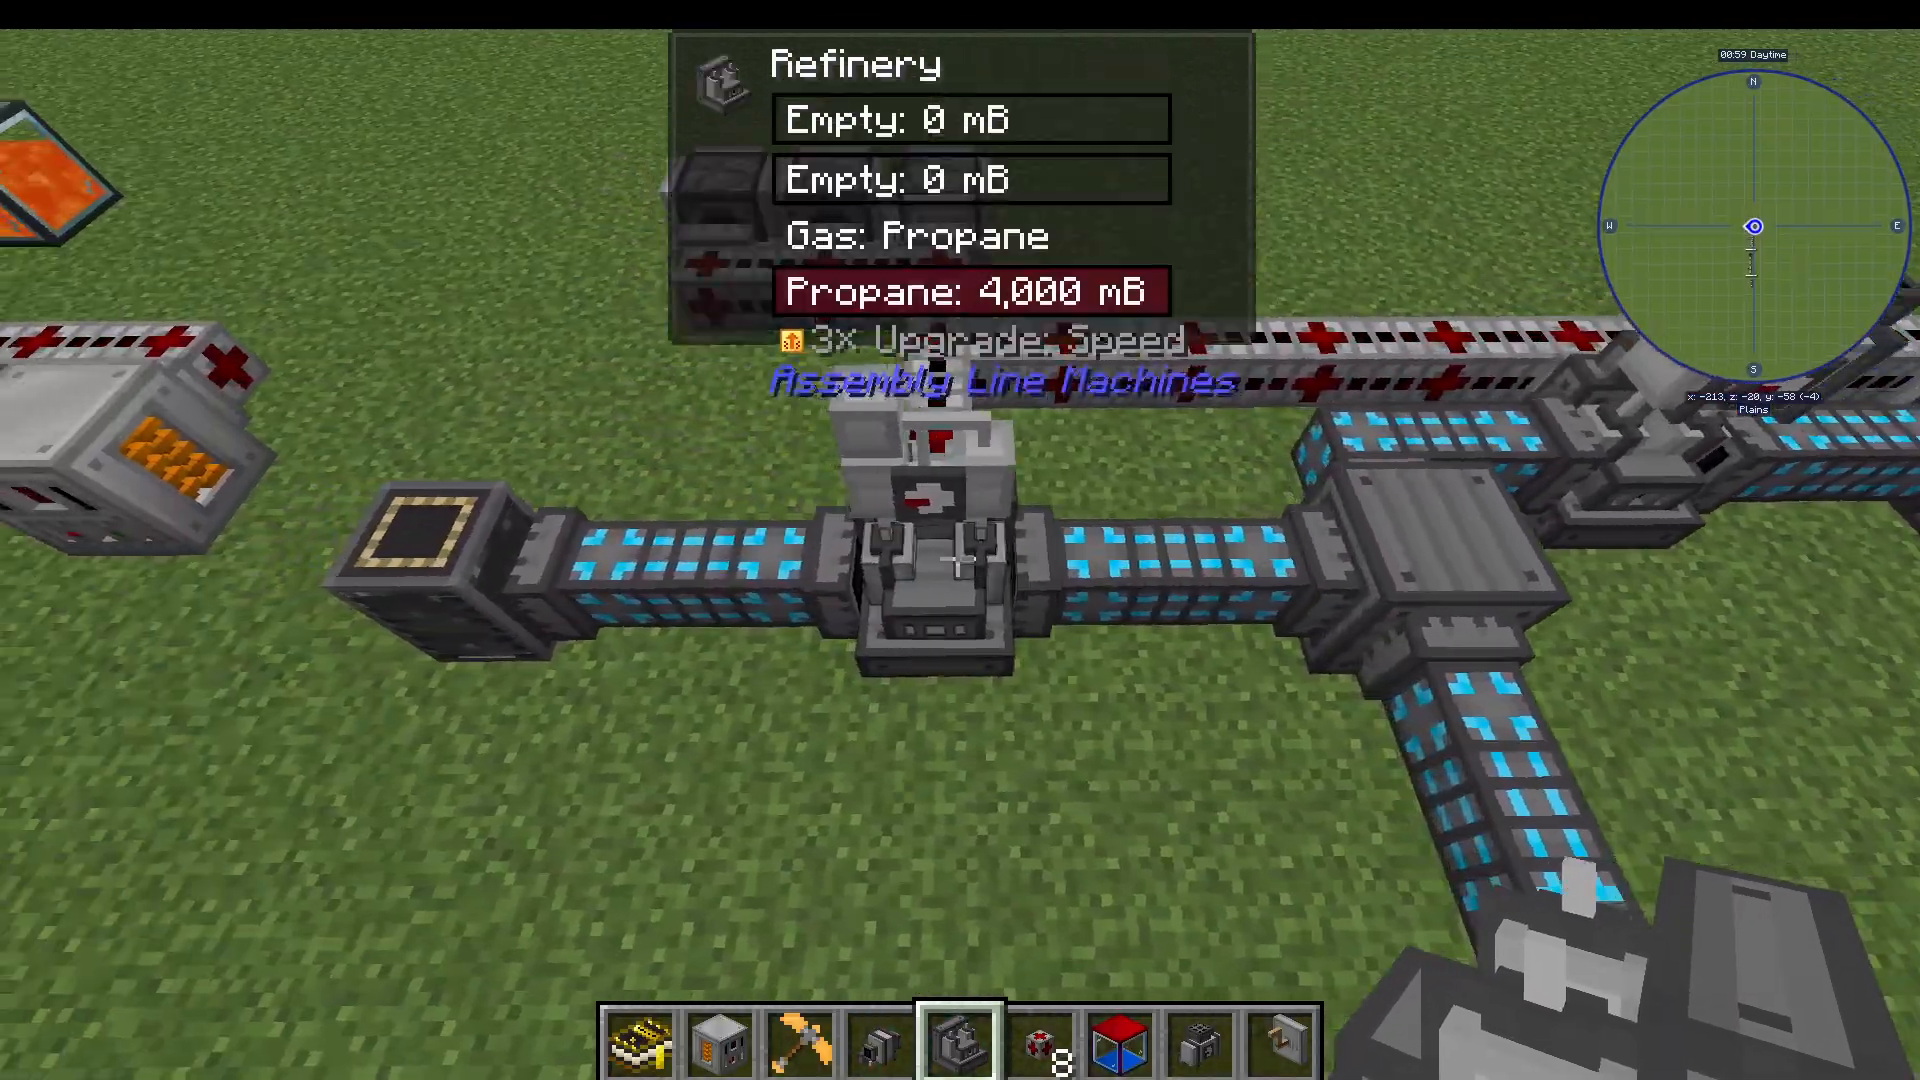
Feed propane into a refinery with a cracking chamber attachment and gas processing upgrade to create propylene
Mix propylene with ground charcoal in another refinery with an addition attachment to produce rubber balls
Making Plastic Balls:
Feed ethane into a refinery with a cracking chamber attachment to create ethylene
Mix ethylene with ground charcoal in another refinery with an addition attachment to produce plastic balls
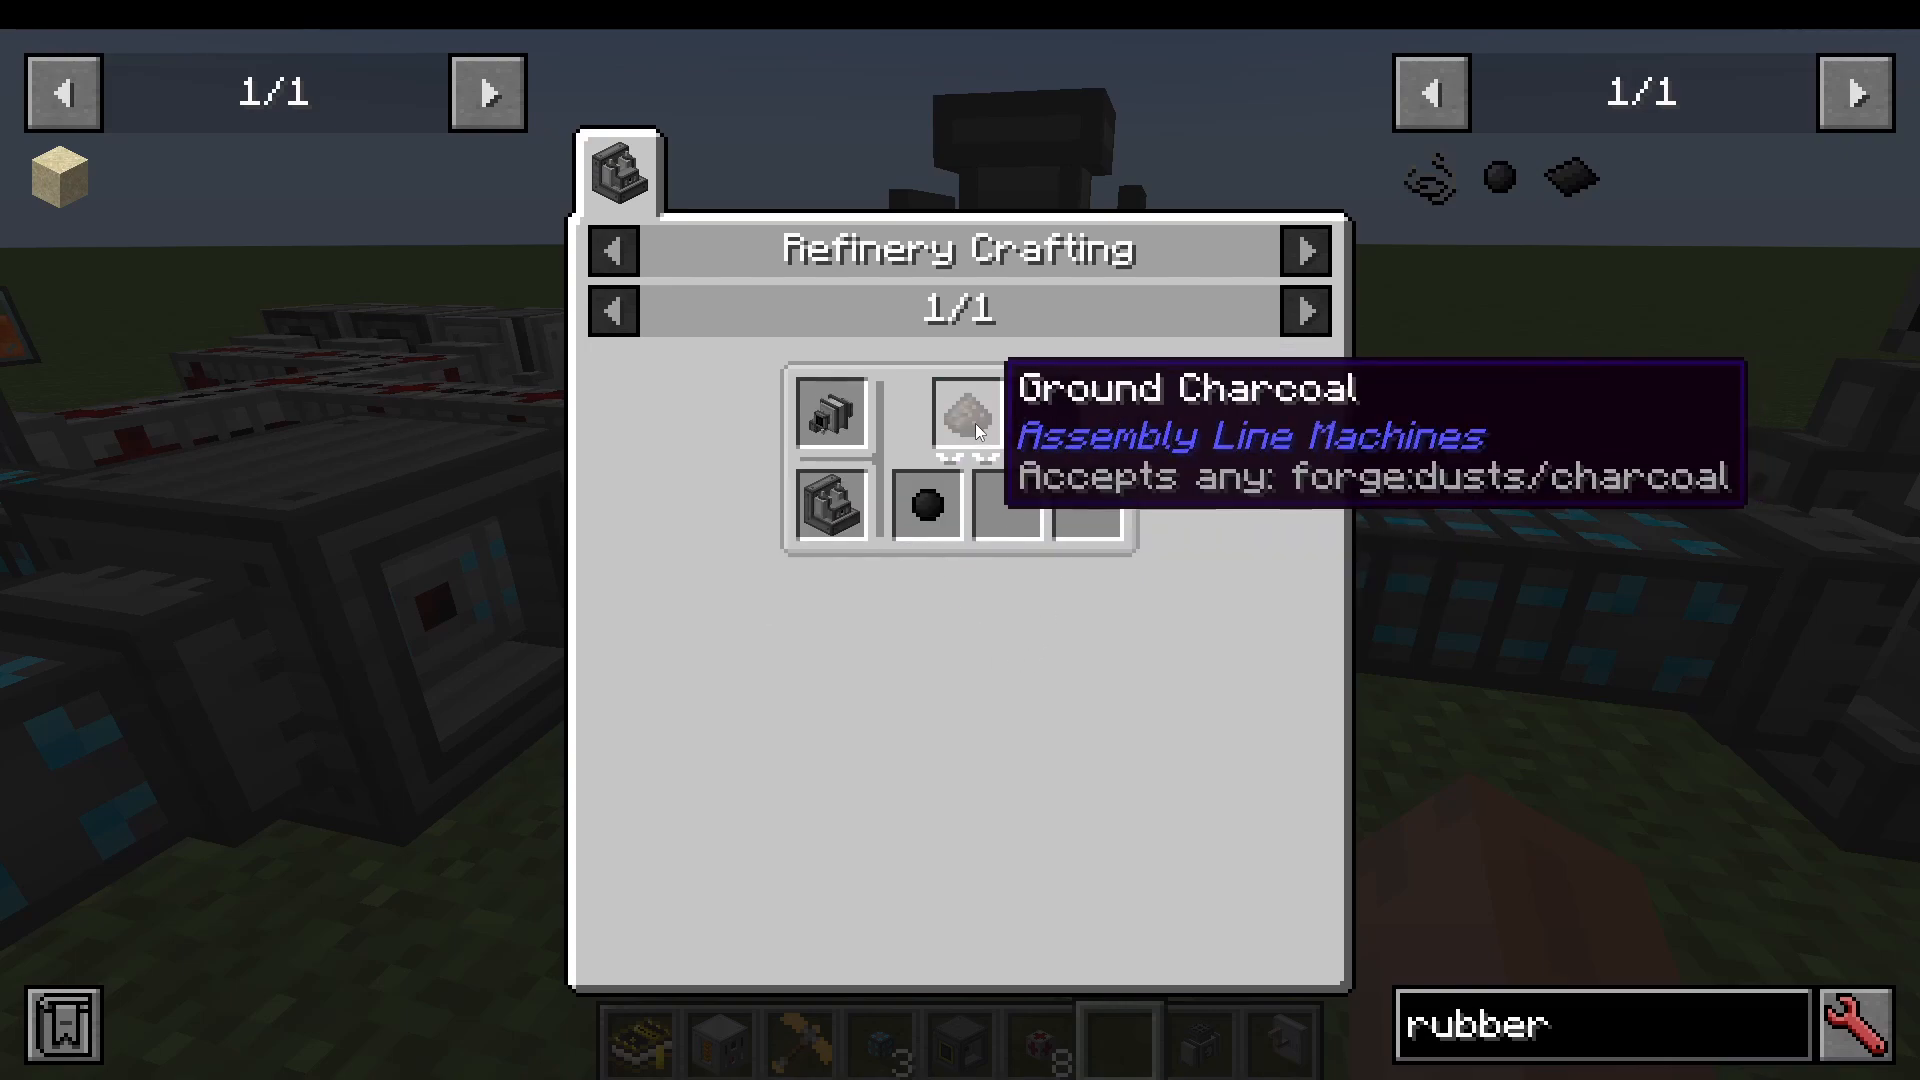
Mystium blend
End-a-pal
Pure titanium ingot
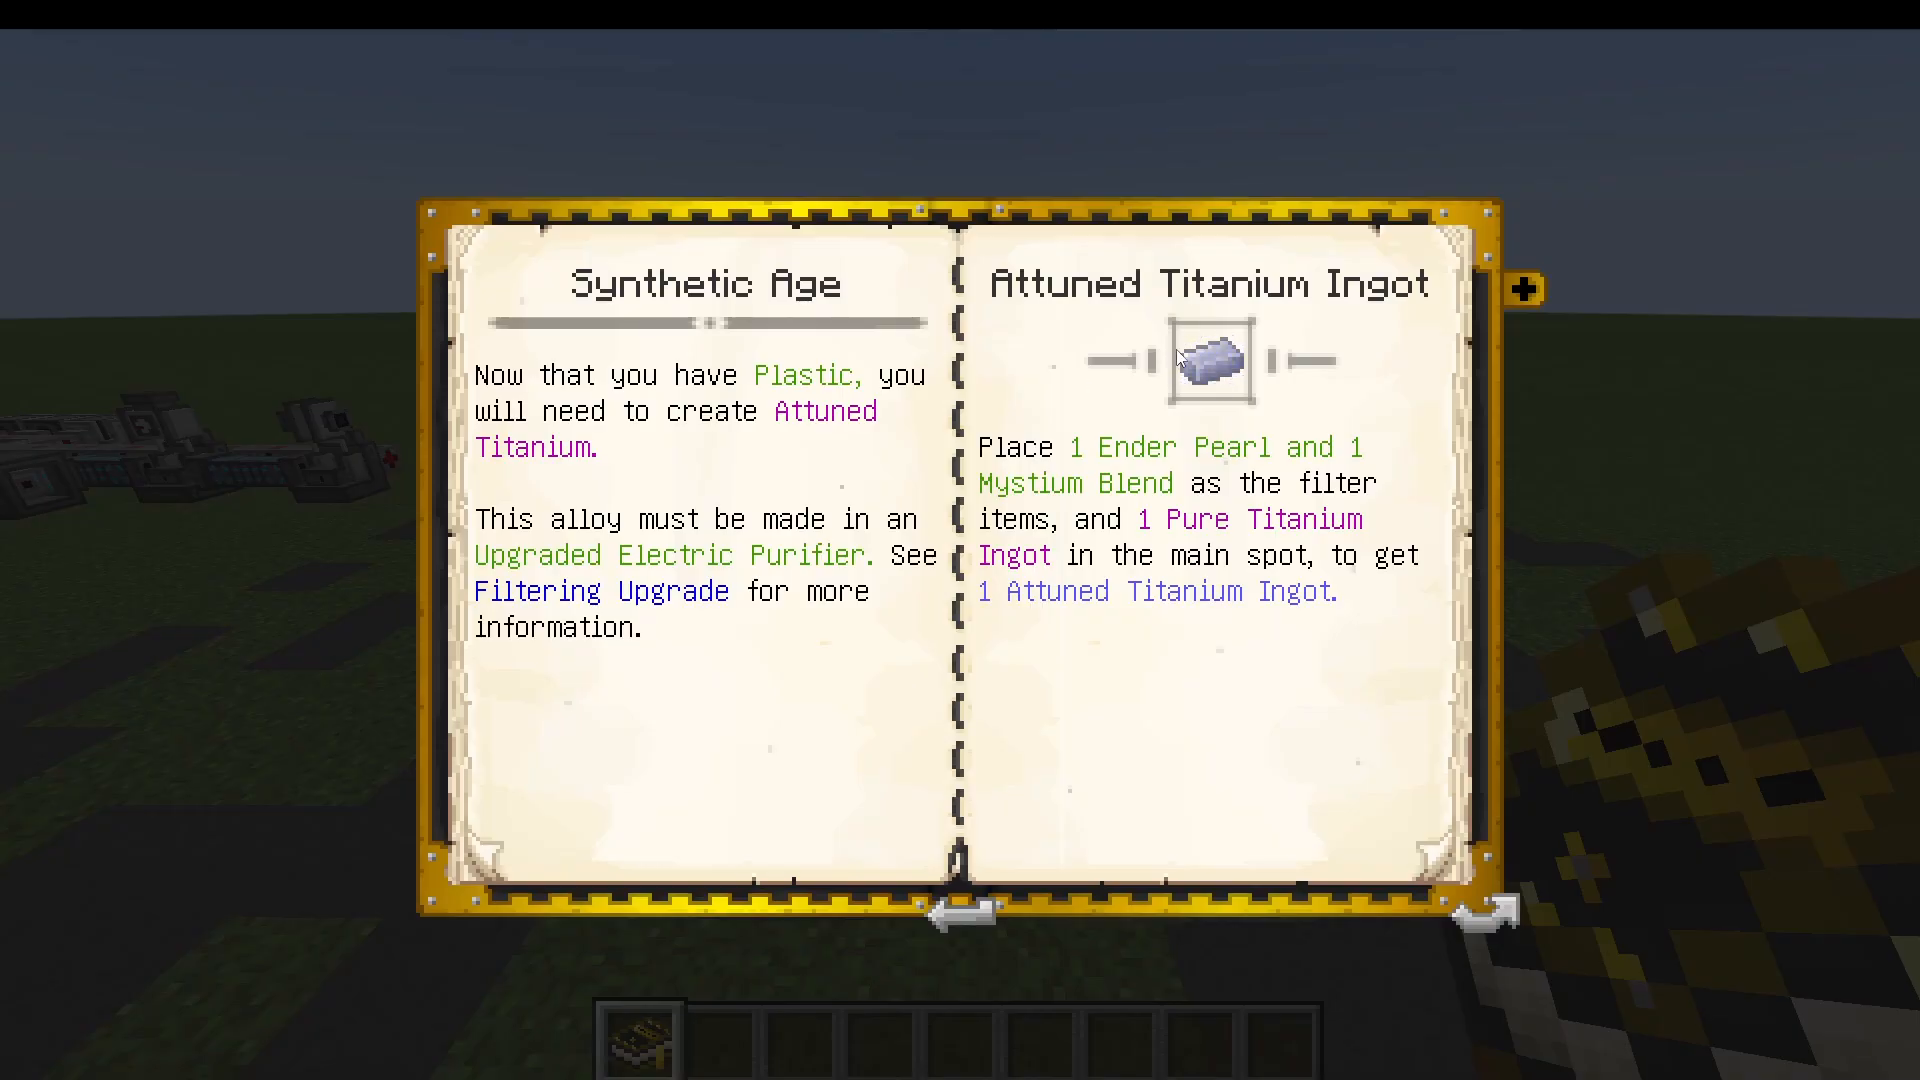
26 entropy reactor blocks (made from pure steel and attuned titanium)
A miniature black hole (complex to create—see below)
Creating a Miniature Black HoleTo create a miniature black hole in a fluid bath:
Create a singularity by surrounding obsidian with end-a-pals
Create never star-shard by grinding never star in the grinder
Fill a fluid bath with condensed void (a rare fluid found in the End using your dowsing rod)
Mix the singularity and never star-shard in the condensed void bath to create the miniature black hole
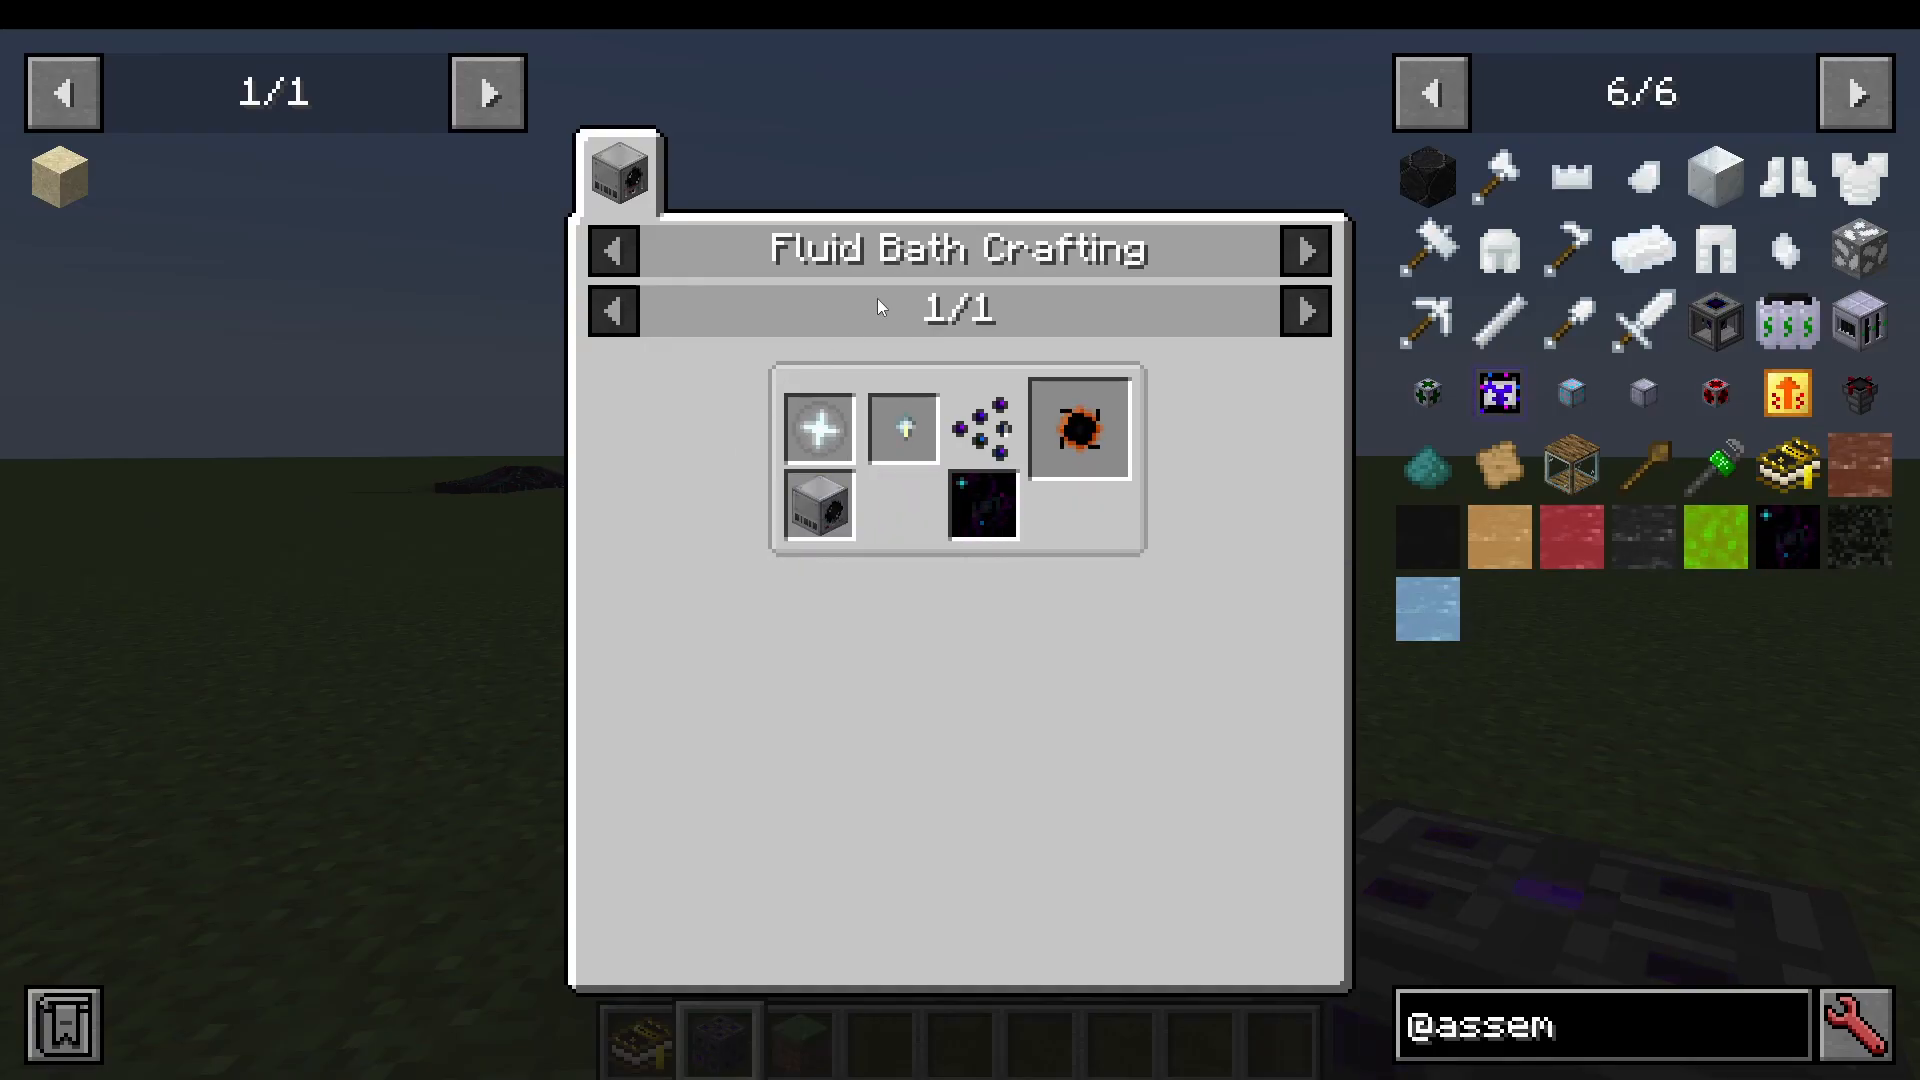
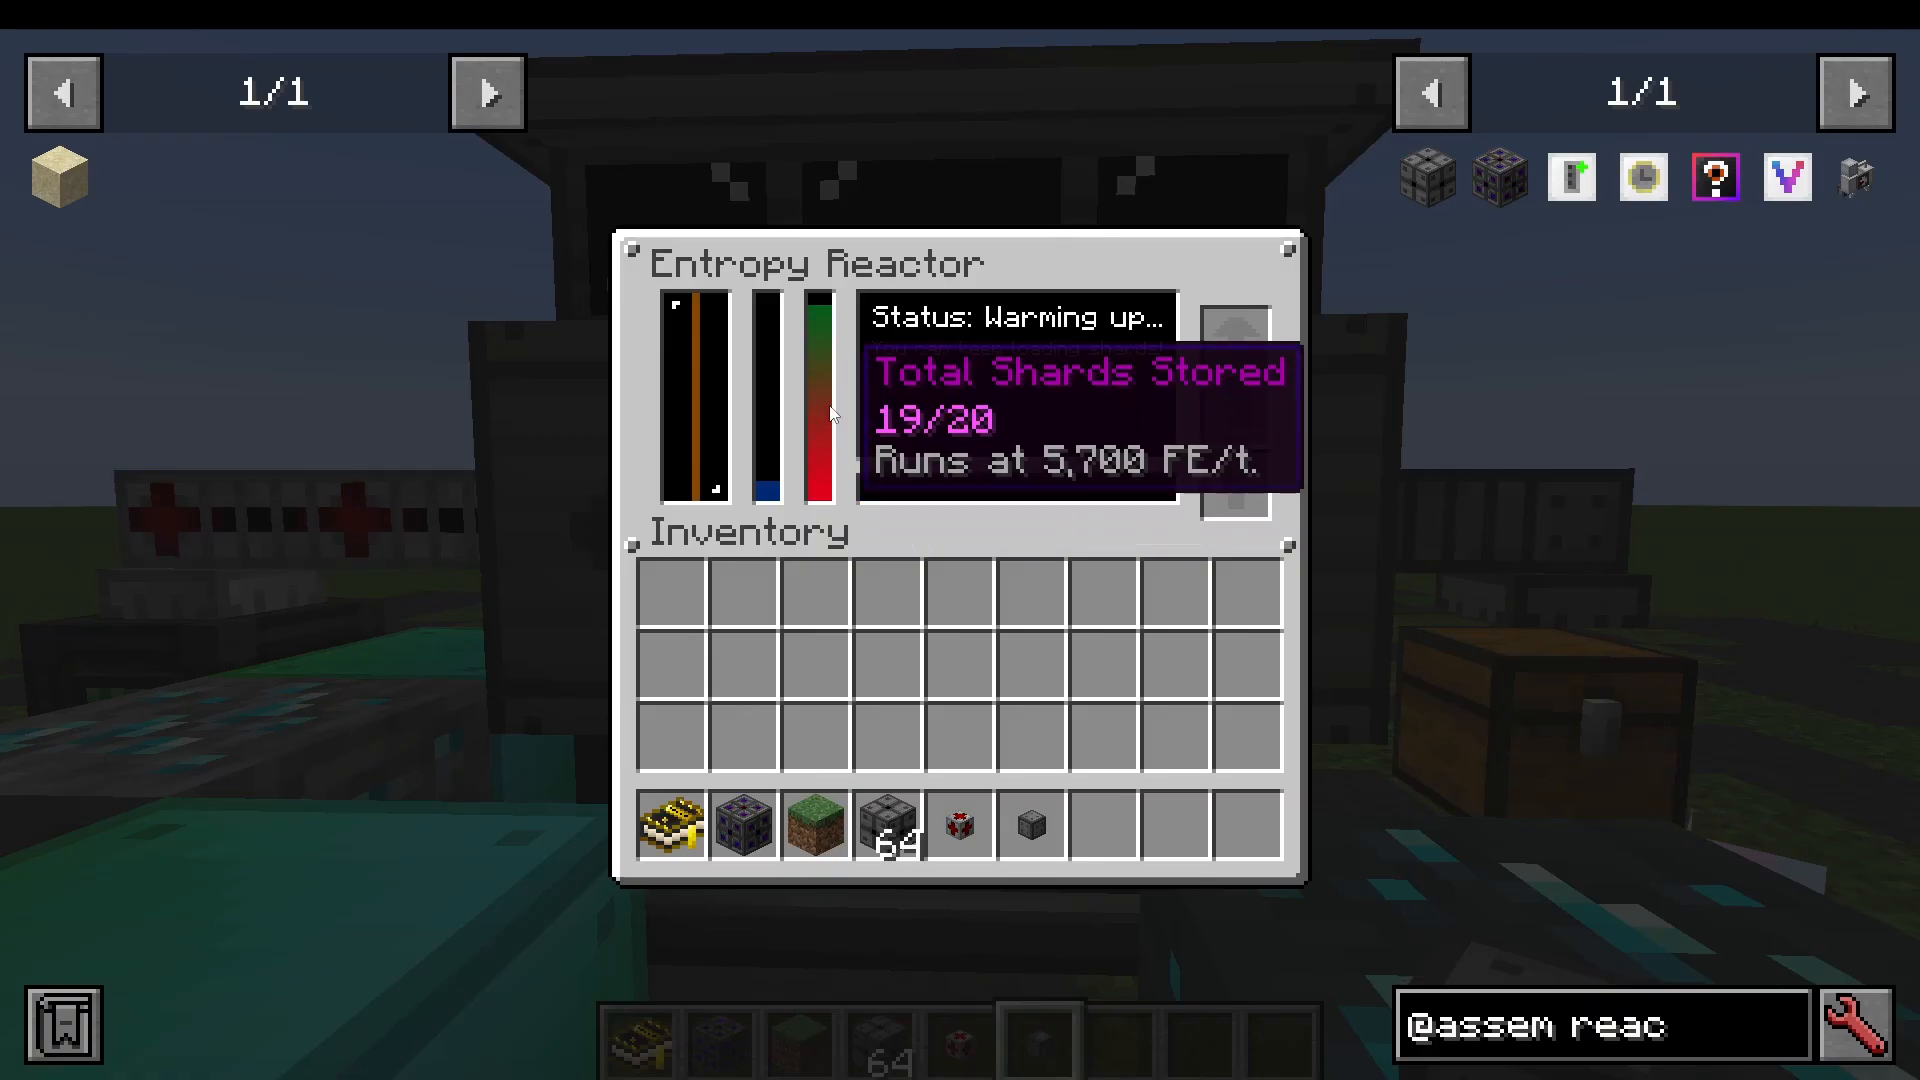
Throw items (any blocks or materials) into condensed void to create corrupted shards
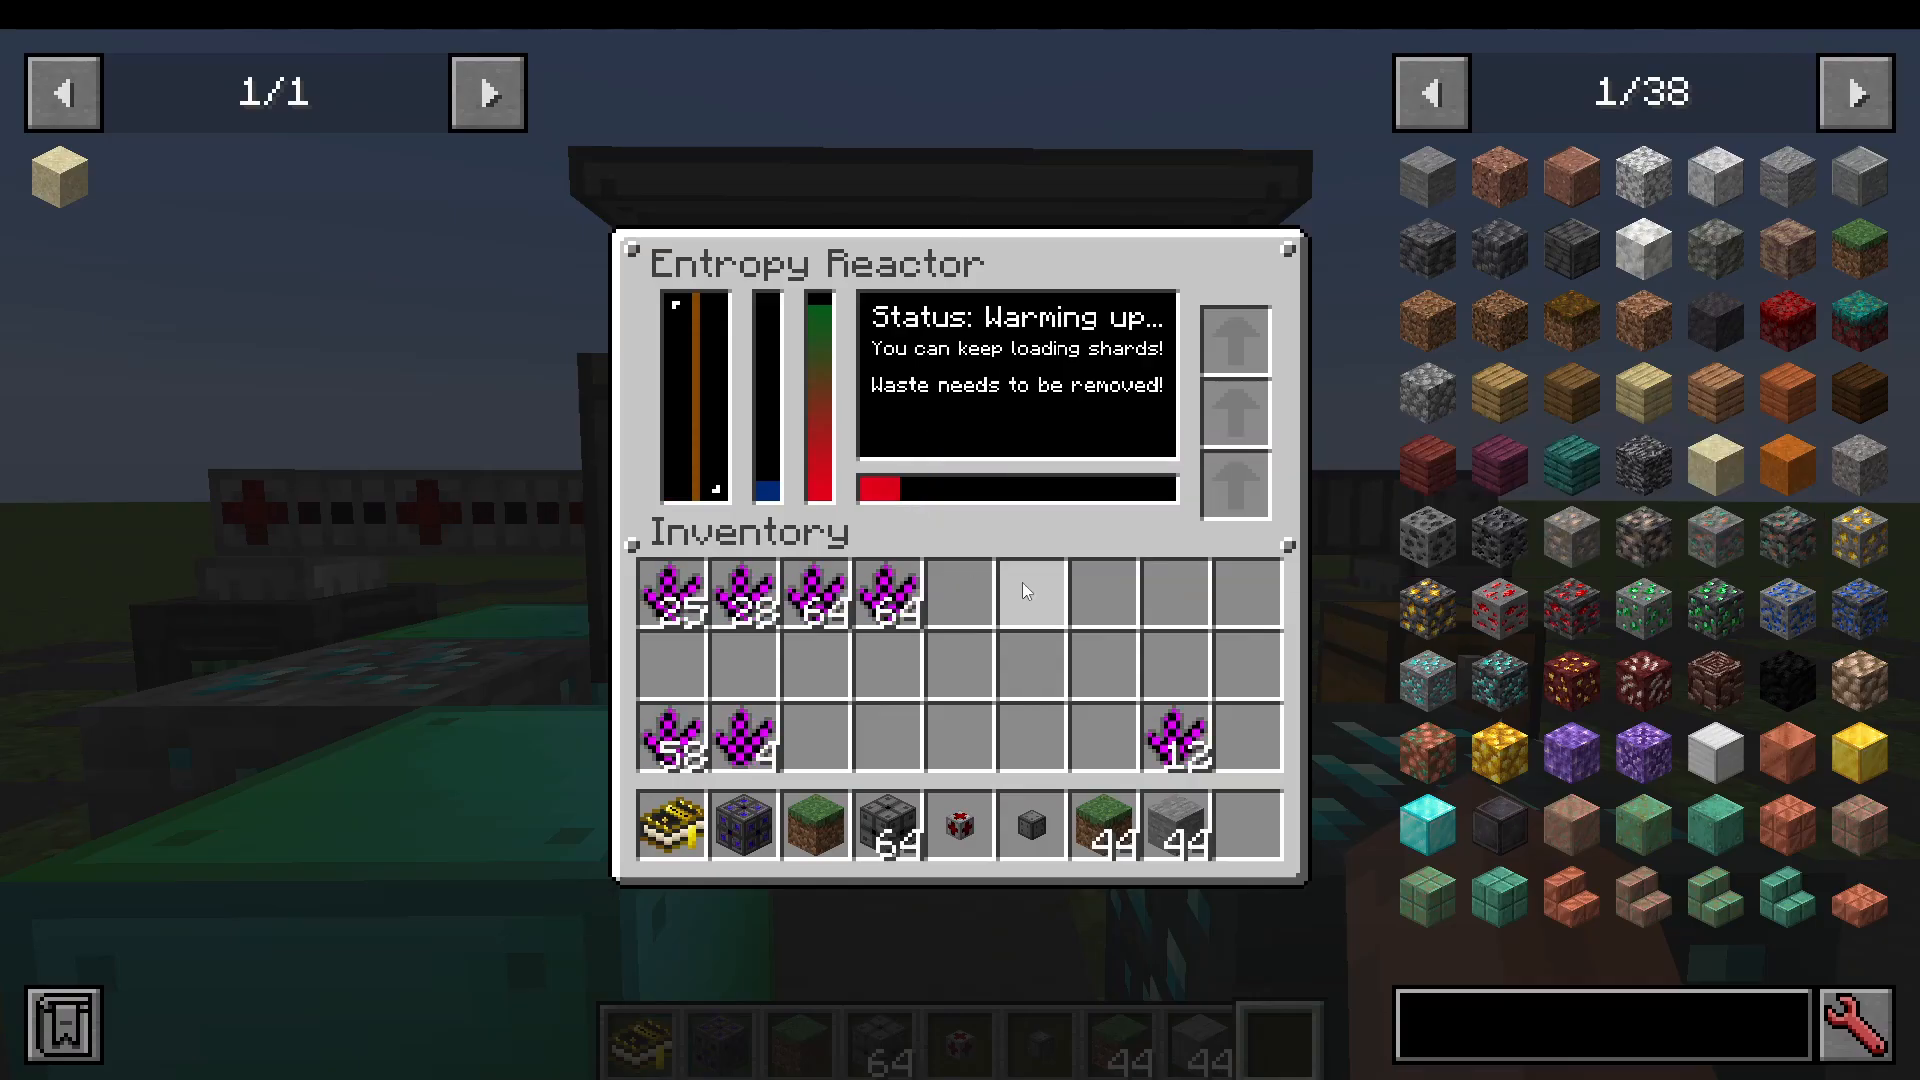
Feed shards into the reactor’s orange input port
The reactor heats for 15 seconds, then combusts all shards
Energy output depends on the number of shards (more shards = more power)
Key Mechanics:
Shard Count: More shards increase power output (e.g., 10 shards = 3000 FE, 20 shards = 6000 FE)
Variety Rating: Different shard types increase the duration of power output. 100% variety (all different materials) extends output to 10 seconds
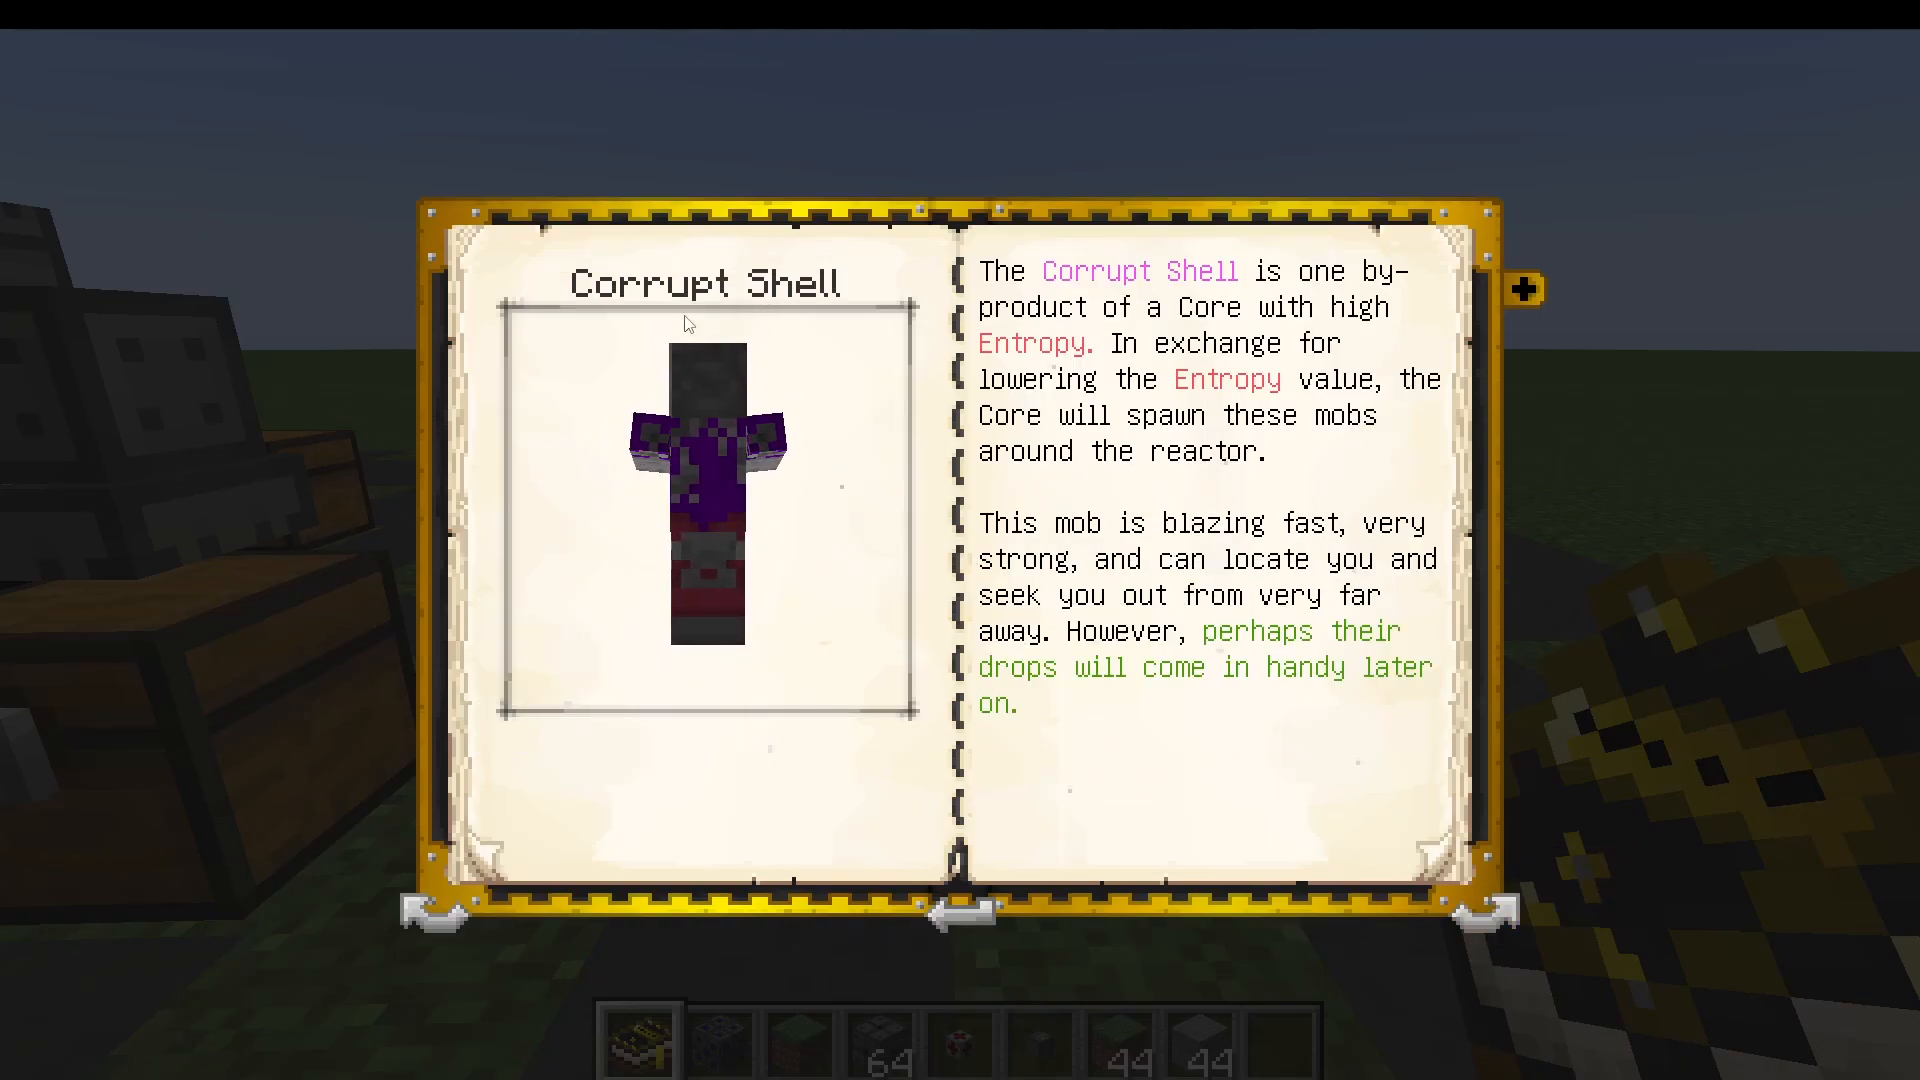
Core Entropy Level: Low variety (identical shards) increases core entropy, which corrupts the world
Mystium blocks → Florovium ore (essential for nova steel)
Diamond ore → Corrupted diamond ore
Small flowers → Prism roses (used for prismatic dust)
Florovium ingots (from corrupted mystium blocks)
Attuned titanium (made in the purifier)
Prismatic dust (made by grinding prism roses)
Nova blend (prismatic dust + mystium blend in a fluid bath with condensed void)
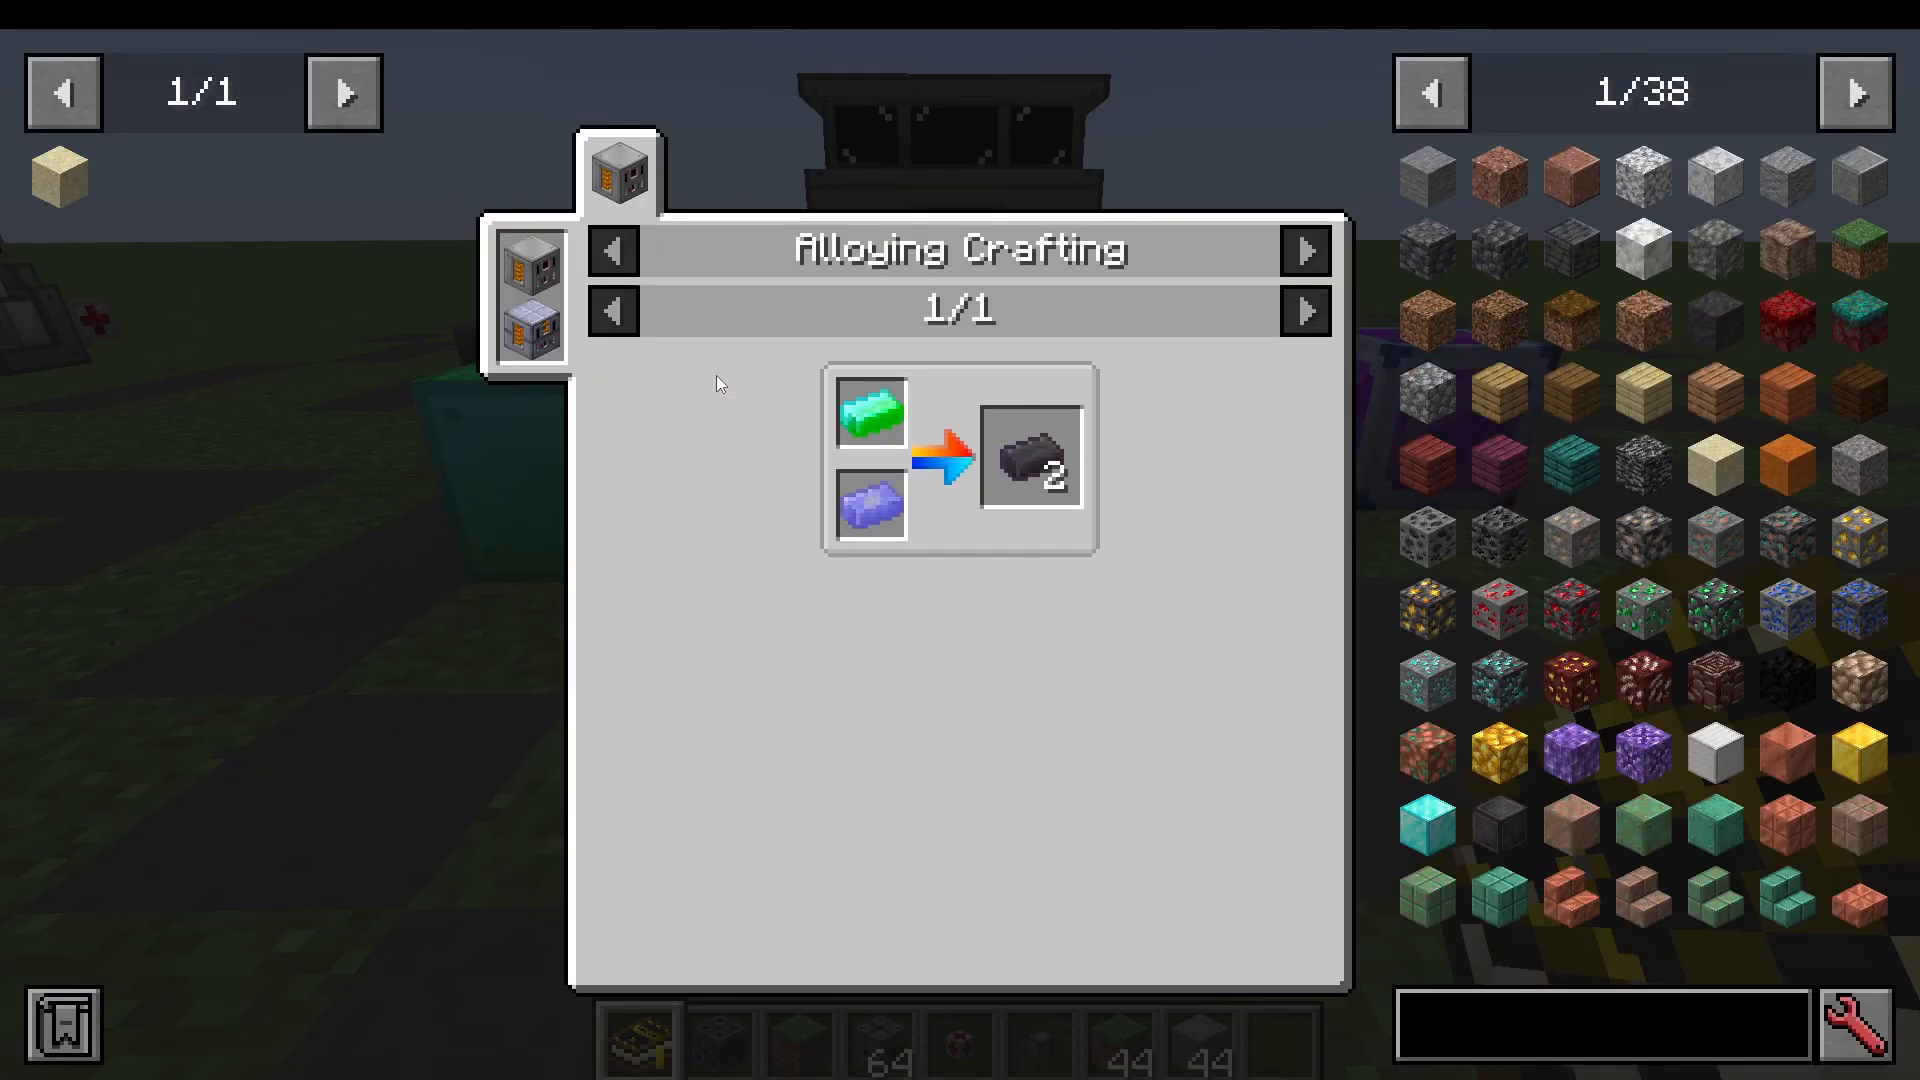
Combine these in the alloy smelter:
Make a raw nova steel compound with florovium ingots and attuned titanium
Combine the raw compound with nova blend in the alloy smelter to create nova steel ingots
Galactic flesh
Reality crystals (use looting for higher drops)
Pickaxe: Mines in a 5×5 pattern
Shovel: Breaks soft blocks up to 5 blocks downward
Sword: Combat tool with mystium efficiency
Axe: Chops entire trees by breaking only the bottom block
Hoe: Creates mystium farmland and accelerates plant growth
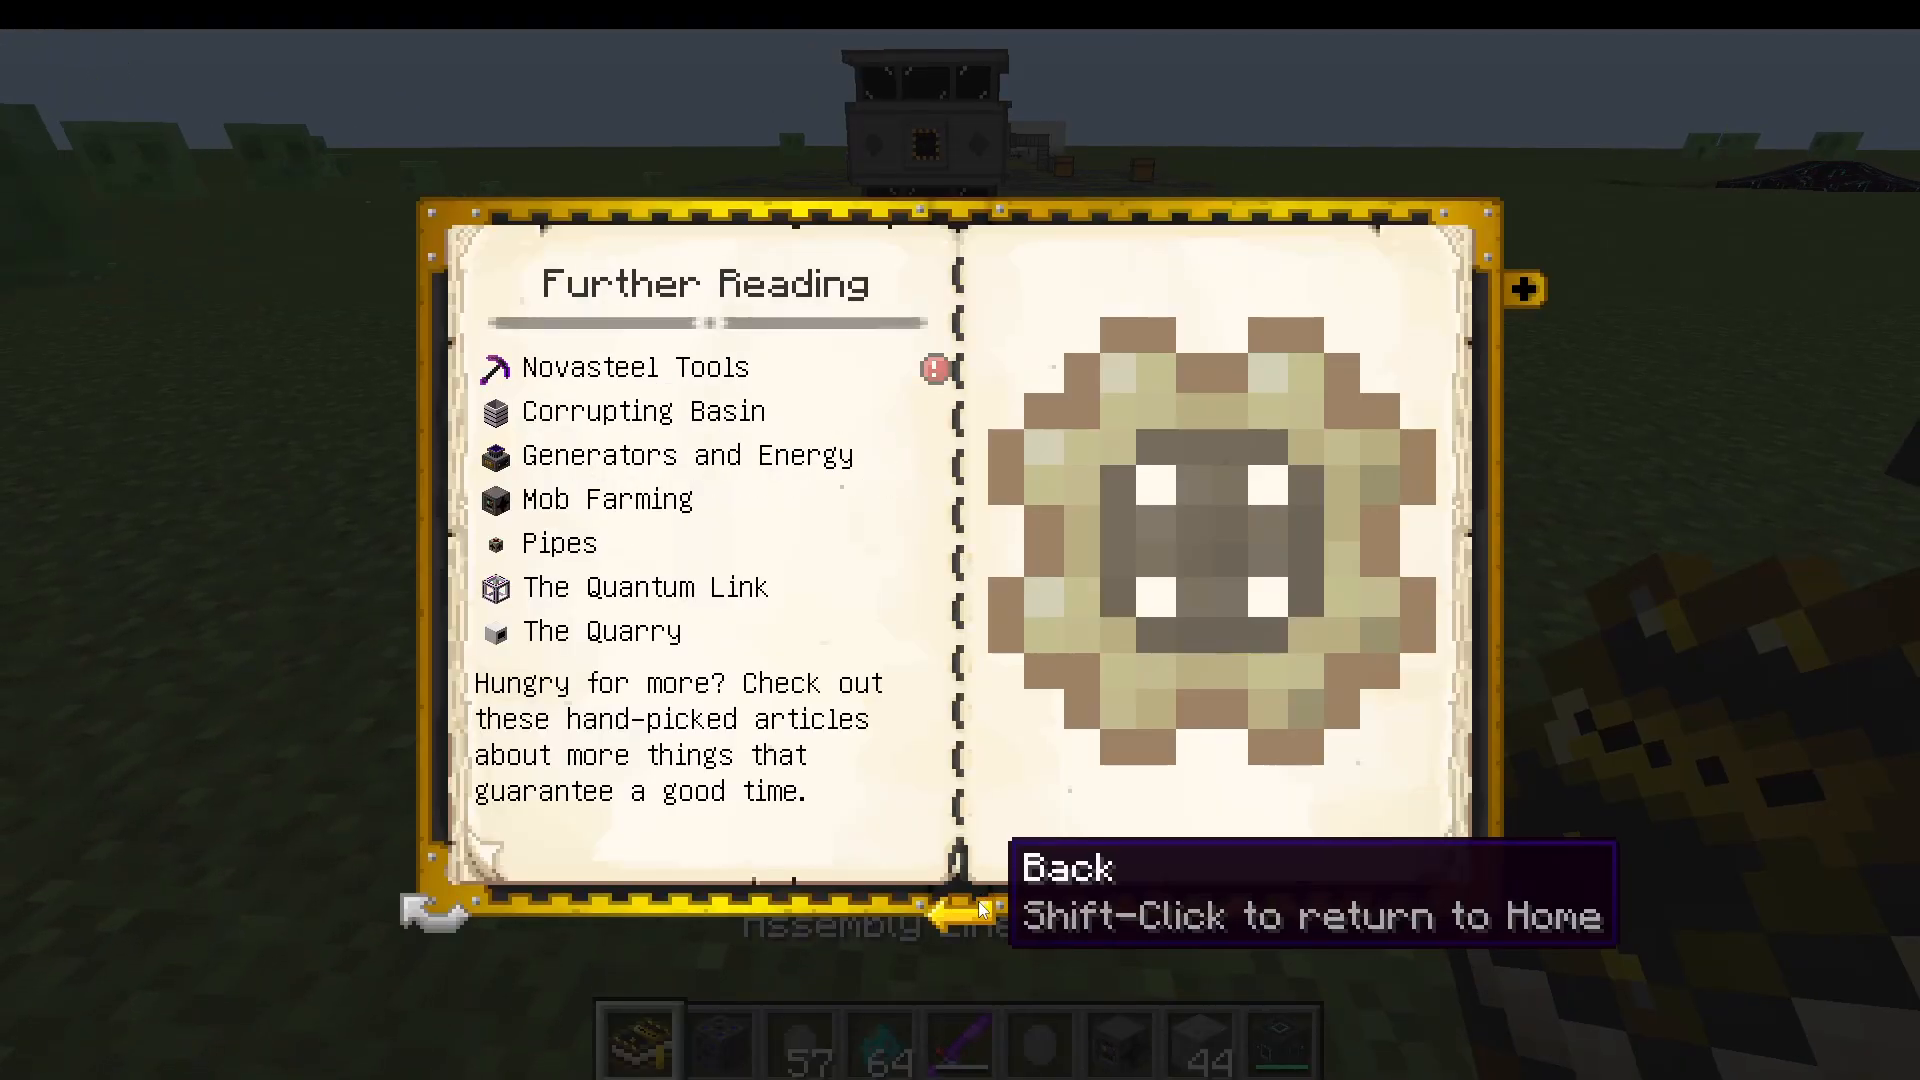
Pickaxe: Mines in a 5×5 pattern (improved from mystium)
Shovel: Mines in a 3×3×5 pattern for advanced terraforming
Hoe: Functions without getting exhausted over time
Sword: 2.5× higher chance to activate mob crystals
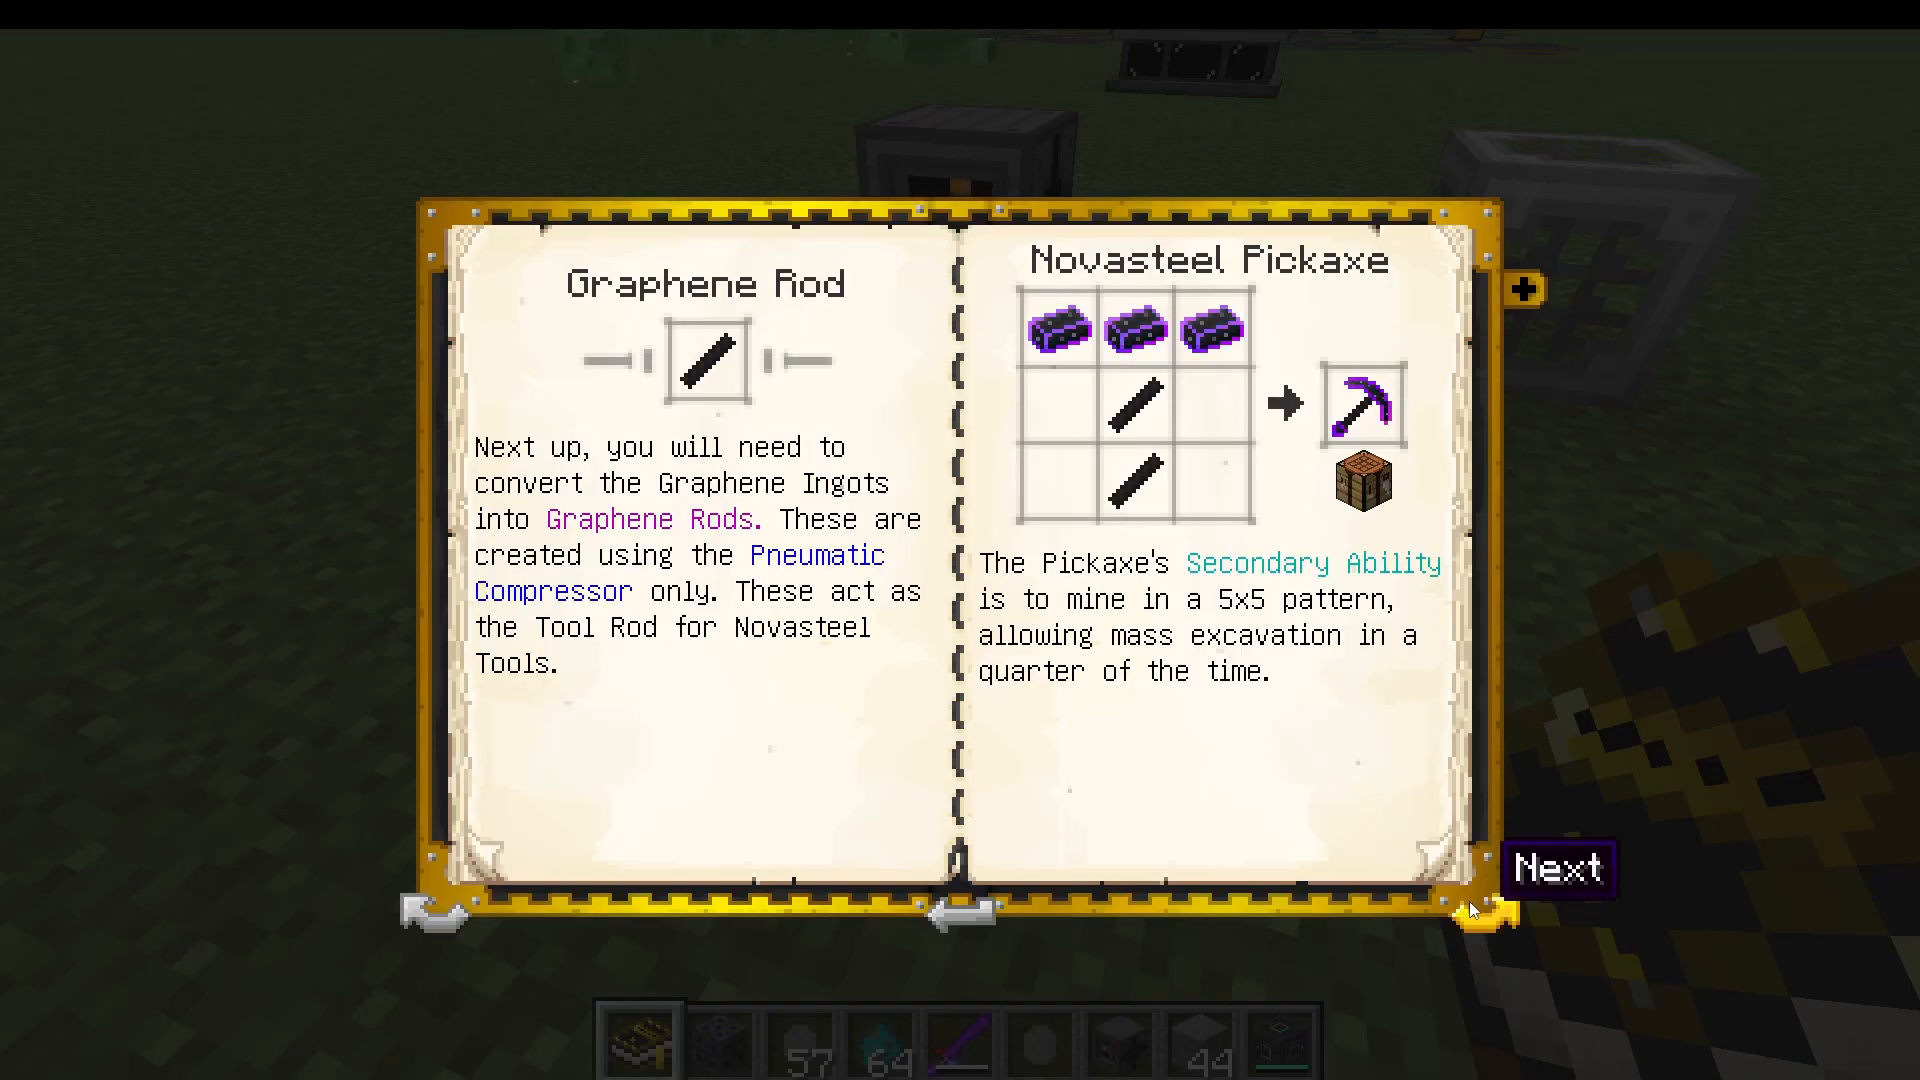
Create an inert mob crystal by mixing gravel, sand, and granite dust
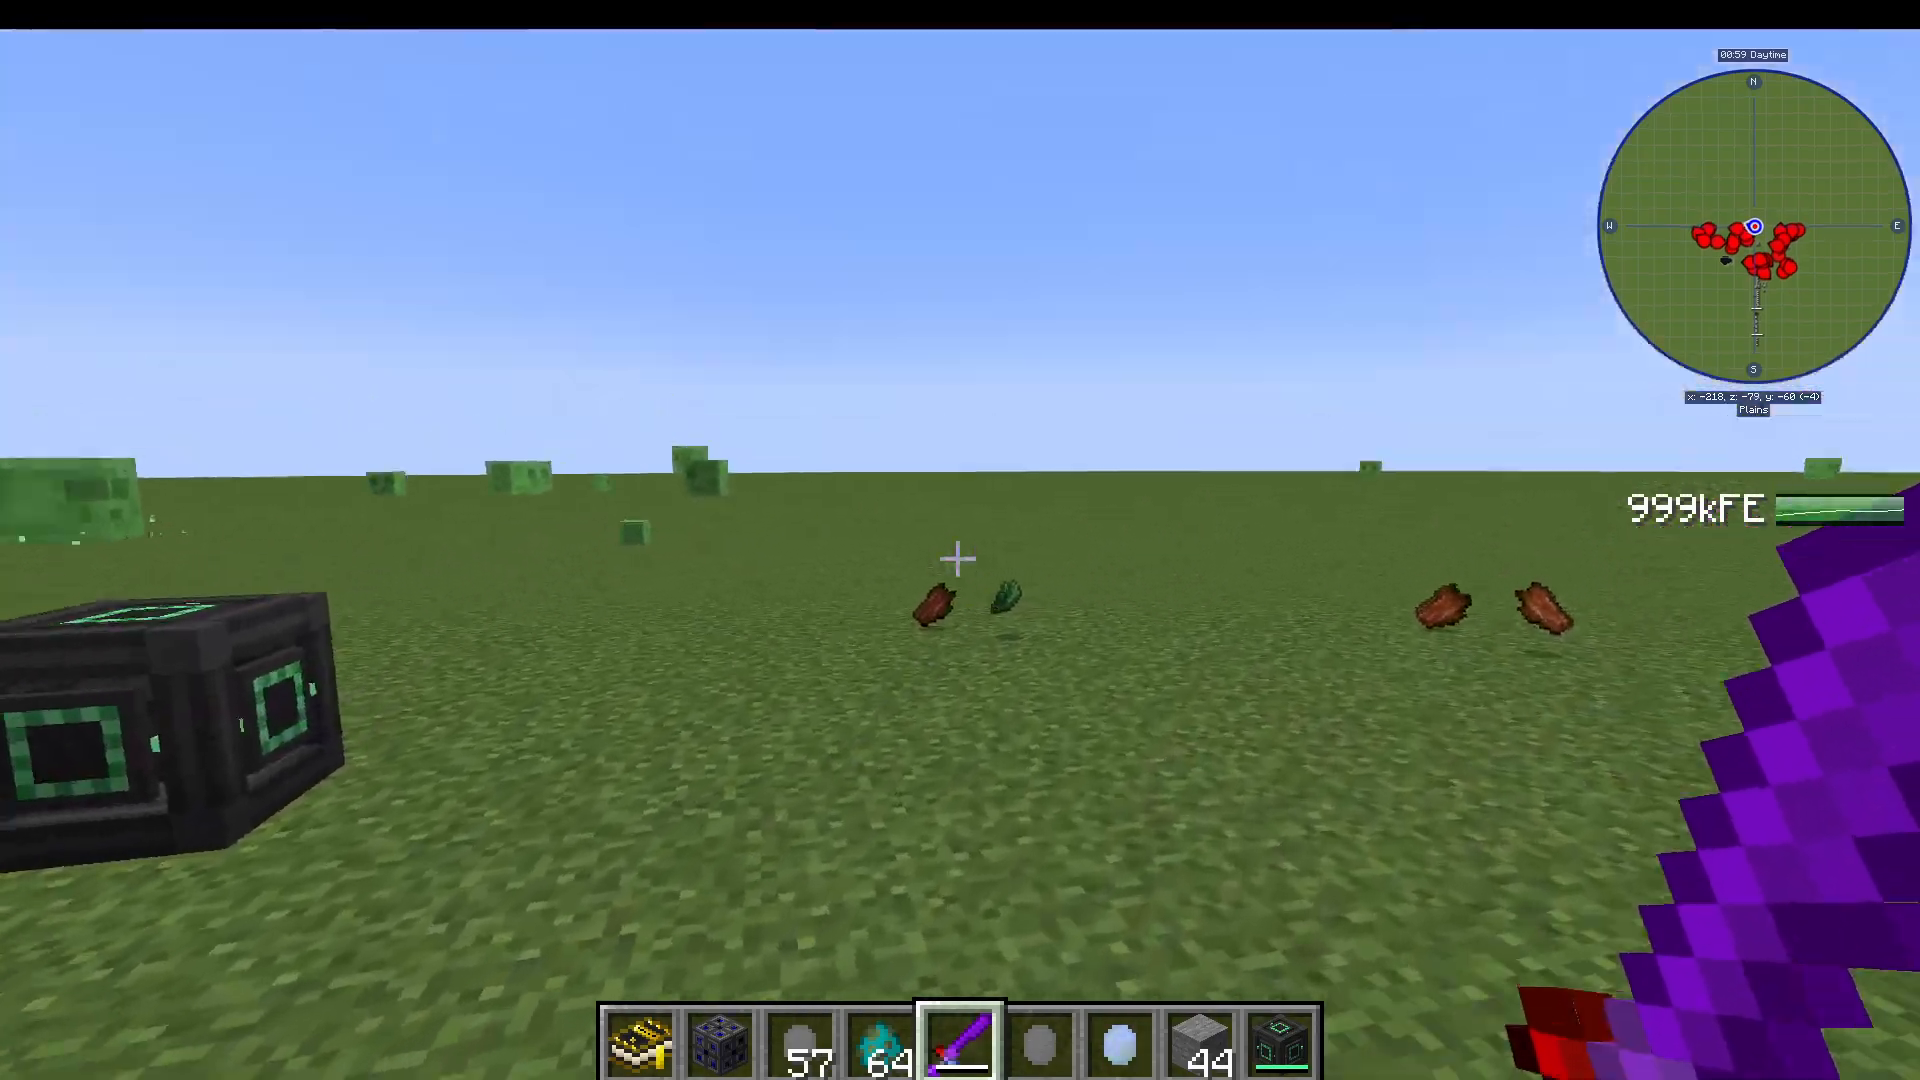
Activate it with a mystium sword’s secondary ability (shift right-click) while killing mobs
Collect the activated mob crystal when a mob drops (approximately 5% chance)
Place the activated crystal in a power spawner and provide energy
The spawner will begin generating the corresponding mob type
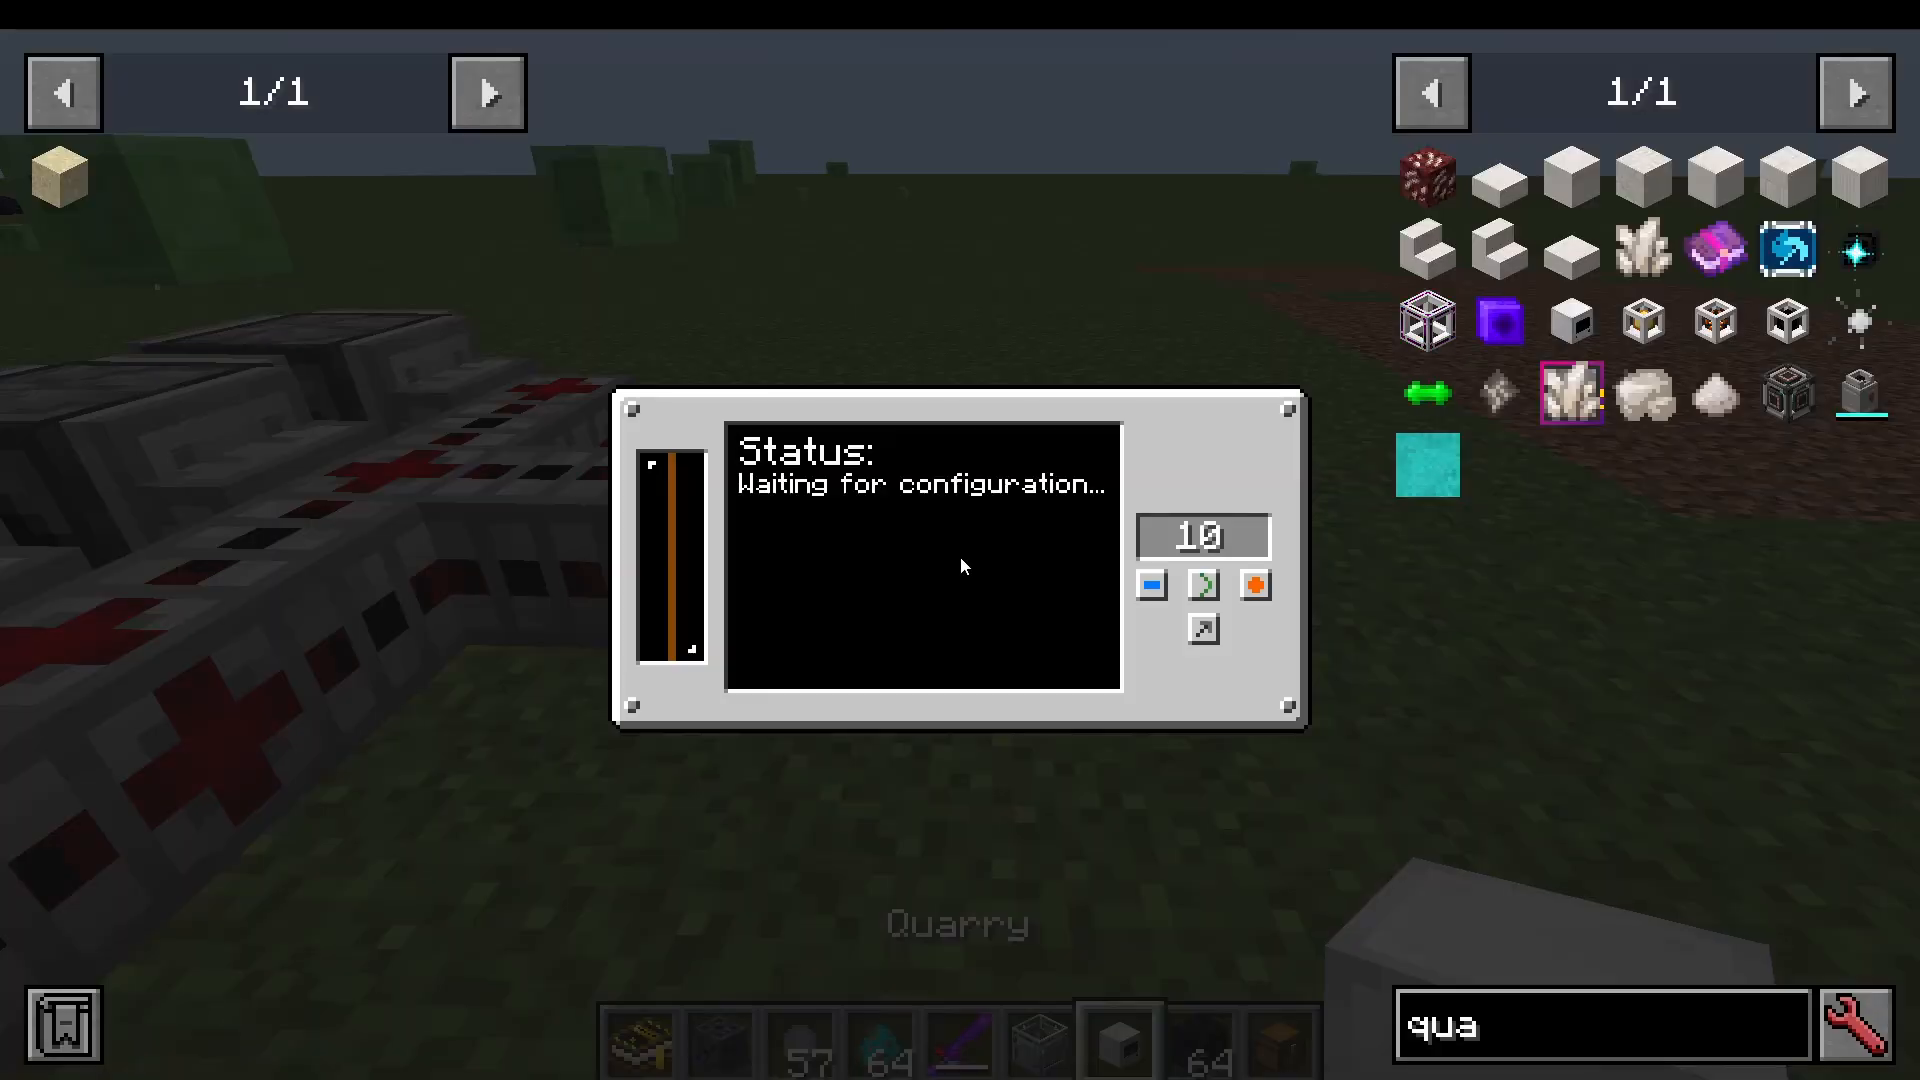
Place the quarry on the ground
Right-click to open the GUI
Set the mining range (how large an area to mine)
Choose mining direction (left or right side of the quarry)
Press initialize to begin
Attach a chest above for output
Upgrades:
Fortune: Increases ore drops
Speed: Increases mining speed
Void: Leaves no block instead of replacing with dirt
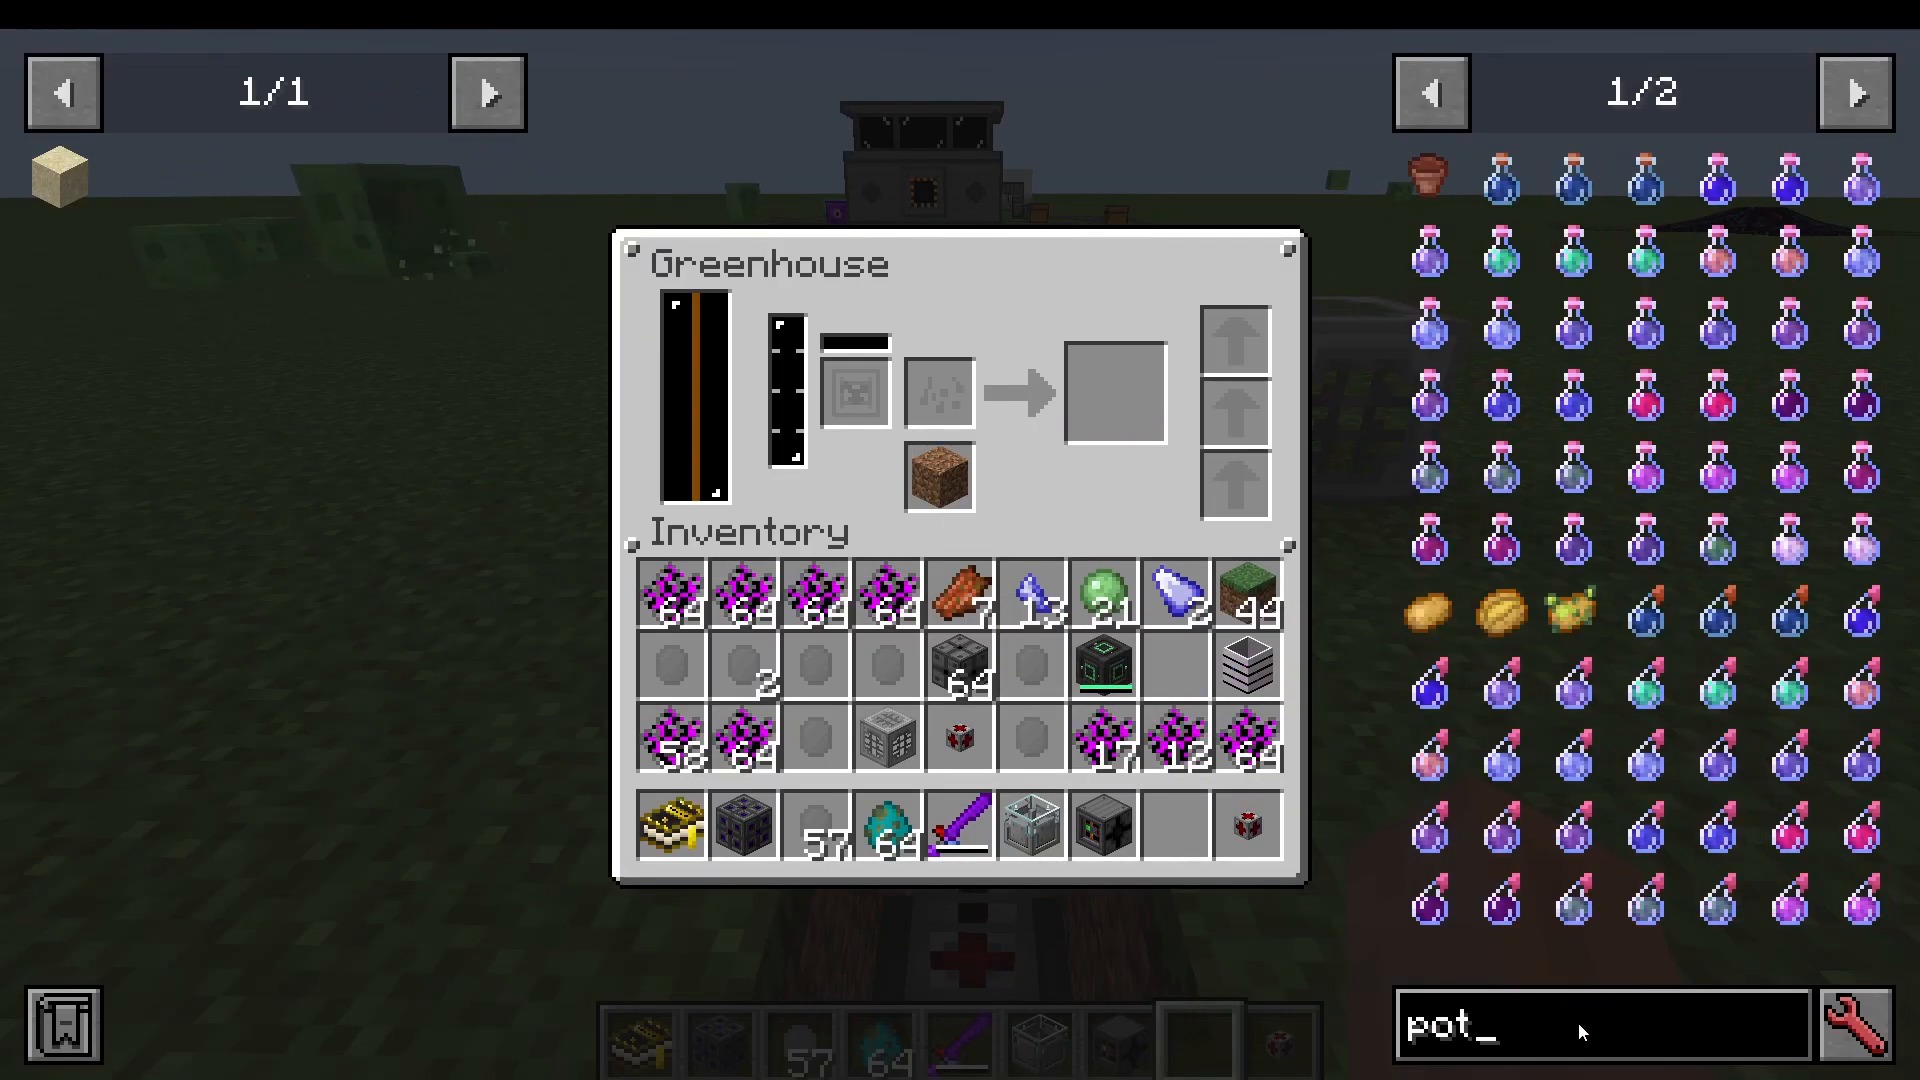
Place the greenhouse
Insert a crop (seed or plant) into the first slot
Add dirt to the dirt slot
Pump in water
Provide power
The greenhouse will automatically grow crops
Use the dimensional upgrade to grow interdimensional crops like chorus fruit.Fertilizer Options:
Fertilizer: Affects a single block
Enhanced Fertilizer: Affects 5×5 area (needs warp dust)
Ultimate Fertilizer: Affects 7×7 area (needs chaos dust)
Chaotic Fertilizer: Affects 10×10 area (needs chaos bark or dust)
Create two quantum link machines
Right-click the first one and set a network number (e.g., “123”)
Set a passcode (e.g., “1234”)
Configure transfer modes: power send/receive, fluid send/receive, item send/receive
Right-click the second quantum link and enter the same network and passcode
Configure the second link with complementary modes (if the first sends items, the second should receive)