







The Ultimate EnderIO Guide
The Ultimate EnderIO Guide for Minecraft
Welcome to the ultimate guide for Ender I.O. in Minecraft. This comprehensive tutorial will take you from the very beginning to advanced gameplay without unnecessary fluff, ensuring you can hit the ground running with everything you need to know about this powerful mod.
Getting Started: Grains of Infinity
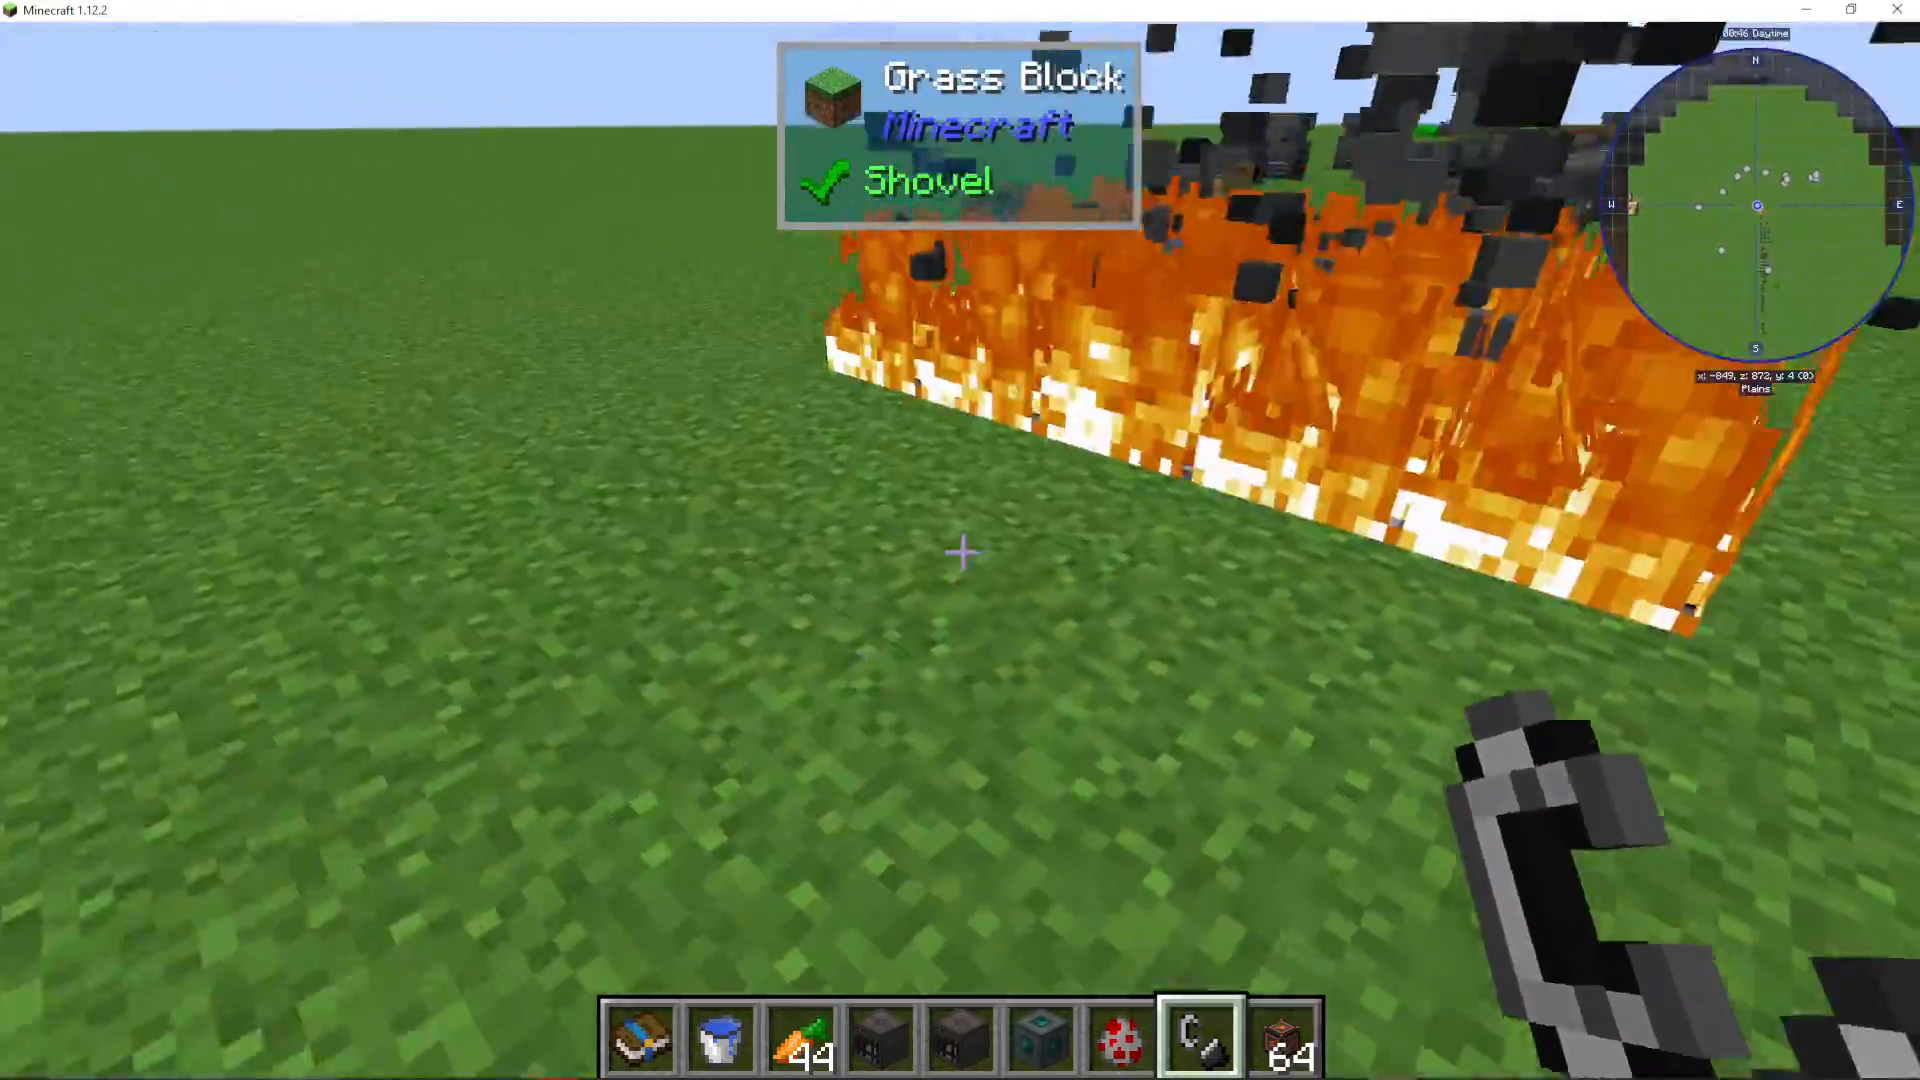
The first essential item you need to craft in Ender I.O. is Grains of Infinity. To obtain these, dig down to Bedrock level and use flint and steel to set the area alight. Work in a large enough area so that as the first flames die out, you’re still lighting new fires in a circular pattern. This allows you to continuously pick up Grains of Infinity as they drop.
When fires burn out on Bedrock, there’s approximately a 30% chance you’ll receive Grains of Infinity. You can automate this process by placing a dispenser with flint and steel to continuously light the Bedrock. You’ll need a substantial stockpile of these grains for all the recipes ahead.
Understanding Capacitors
Capacitors function as the circuit boards for Ender I.O. machines. They’re essential for most machines, though you can skip them if you use simple machine variants (which have reduced functionality).
Capacitor Tiers and Crafting
There are three standard capacitor types in vanilla Ender I.O.:
Basic Capacitor – Crafted with 2 Grains of Infinity, gold nuggets, and copper ingots
Double Layer Capacitor – Requires 2 Basic Capacitors, cold dust, and energetic alloy
Octadic Capacitor – Made from 2 Double Layer Capacitors and vibrant alloy
Additional mods like Ender I.O Energy add more powerful capacitor options at global levels 1, 2, and 3, with level 3 being the most powerful.
Alloy Smelter
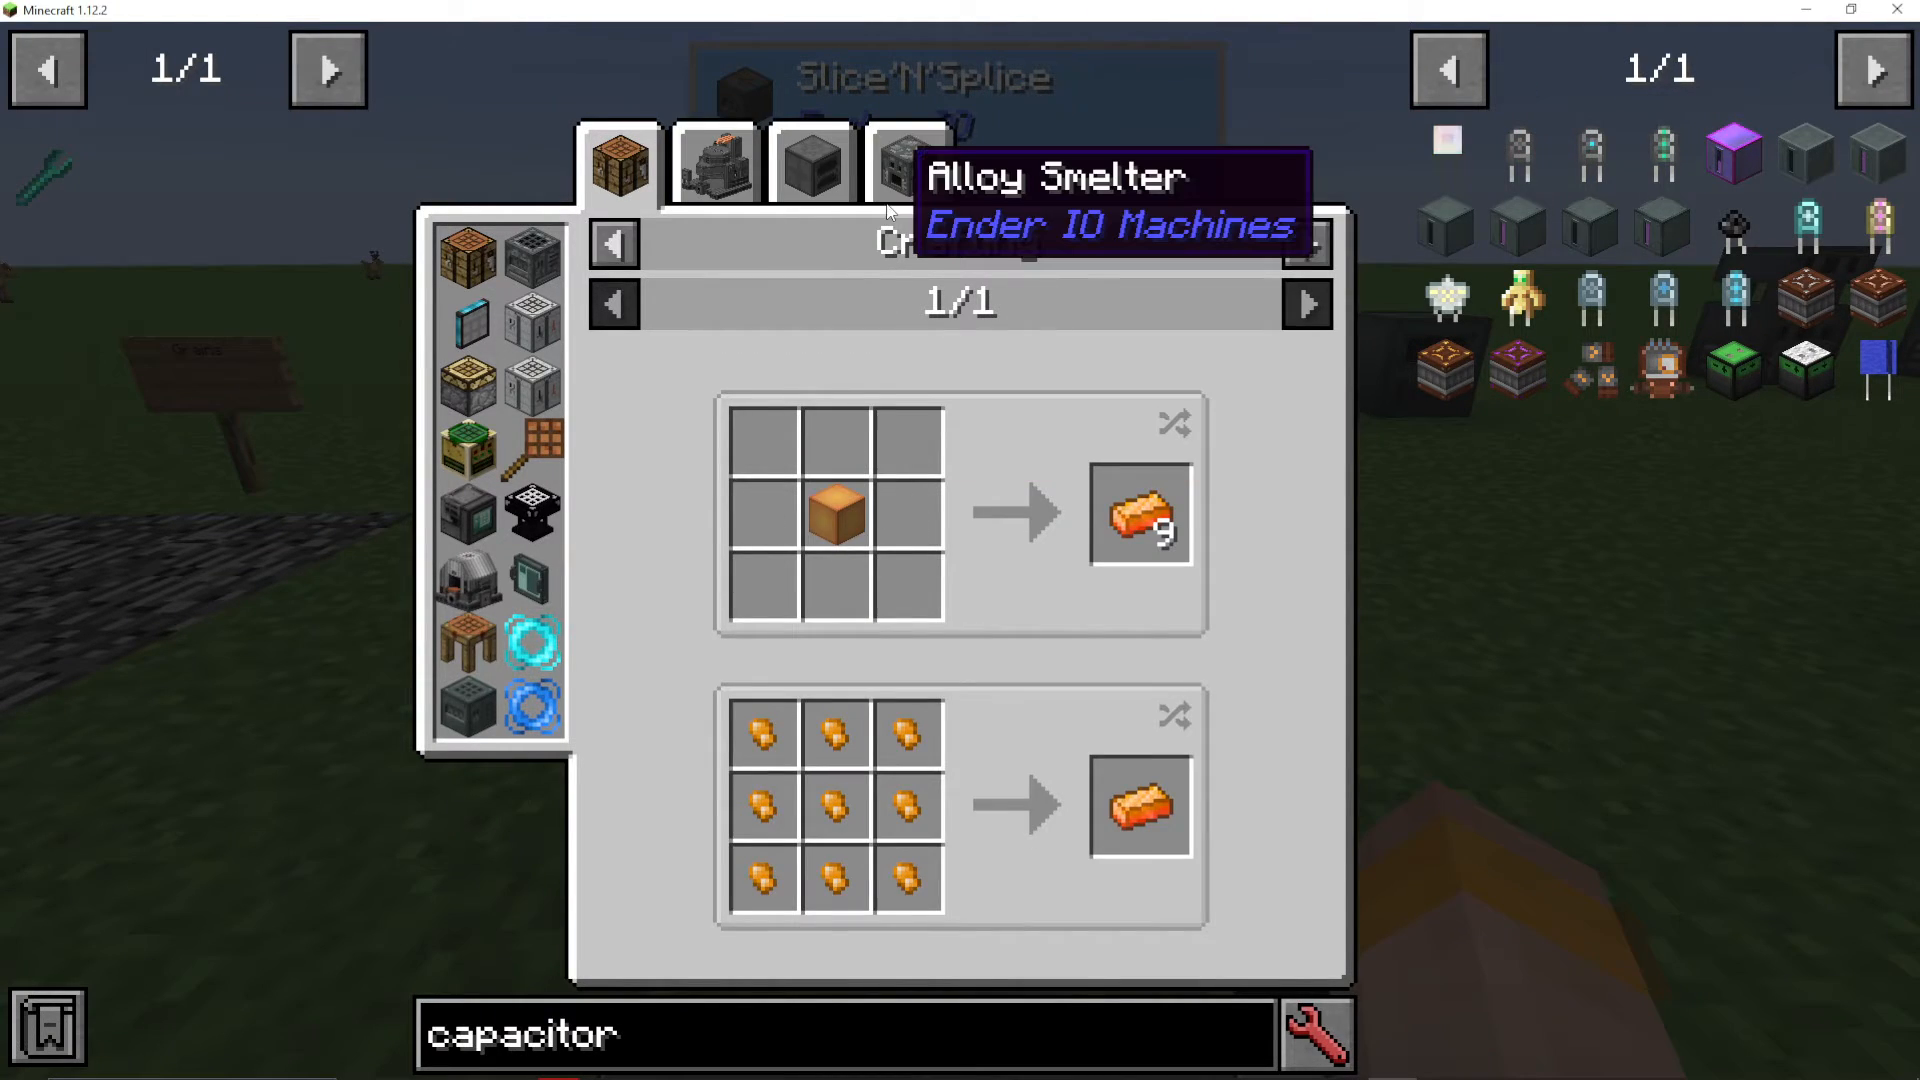
To create the alloys needed for capacitors, you’ll use the Alloy Smelter. This machine creates:
Energetic Alloy
Vibrant Alloy
Other specialized alloys
The Alloy Smelter is your go-to device for all alloy production in Ender I.O.
Core Machines and Their Functions
Simple Stirling Generator
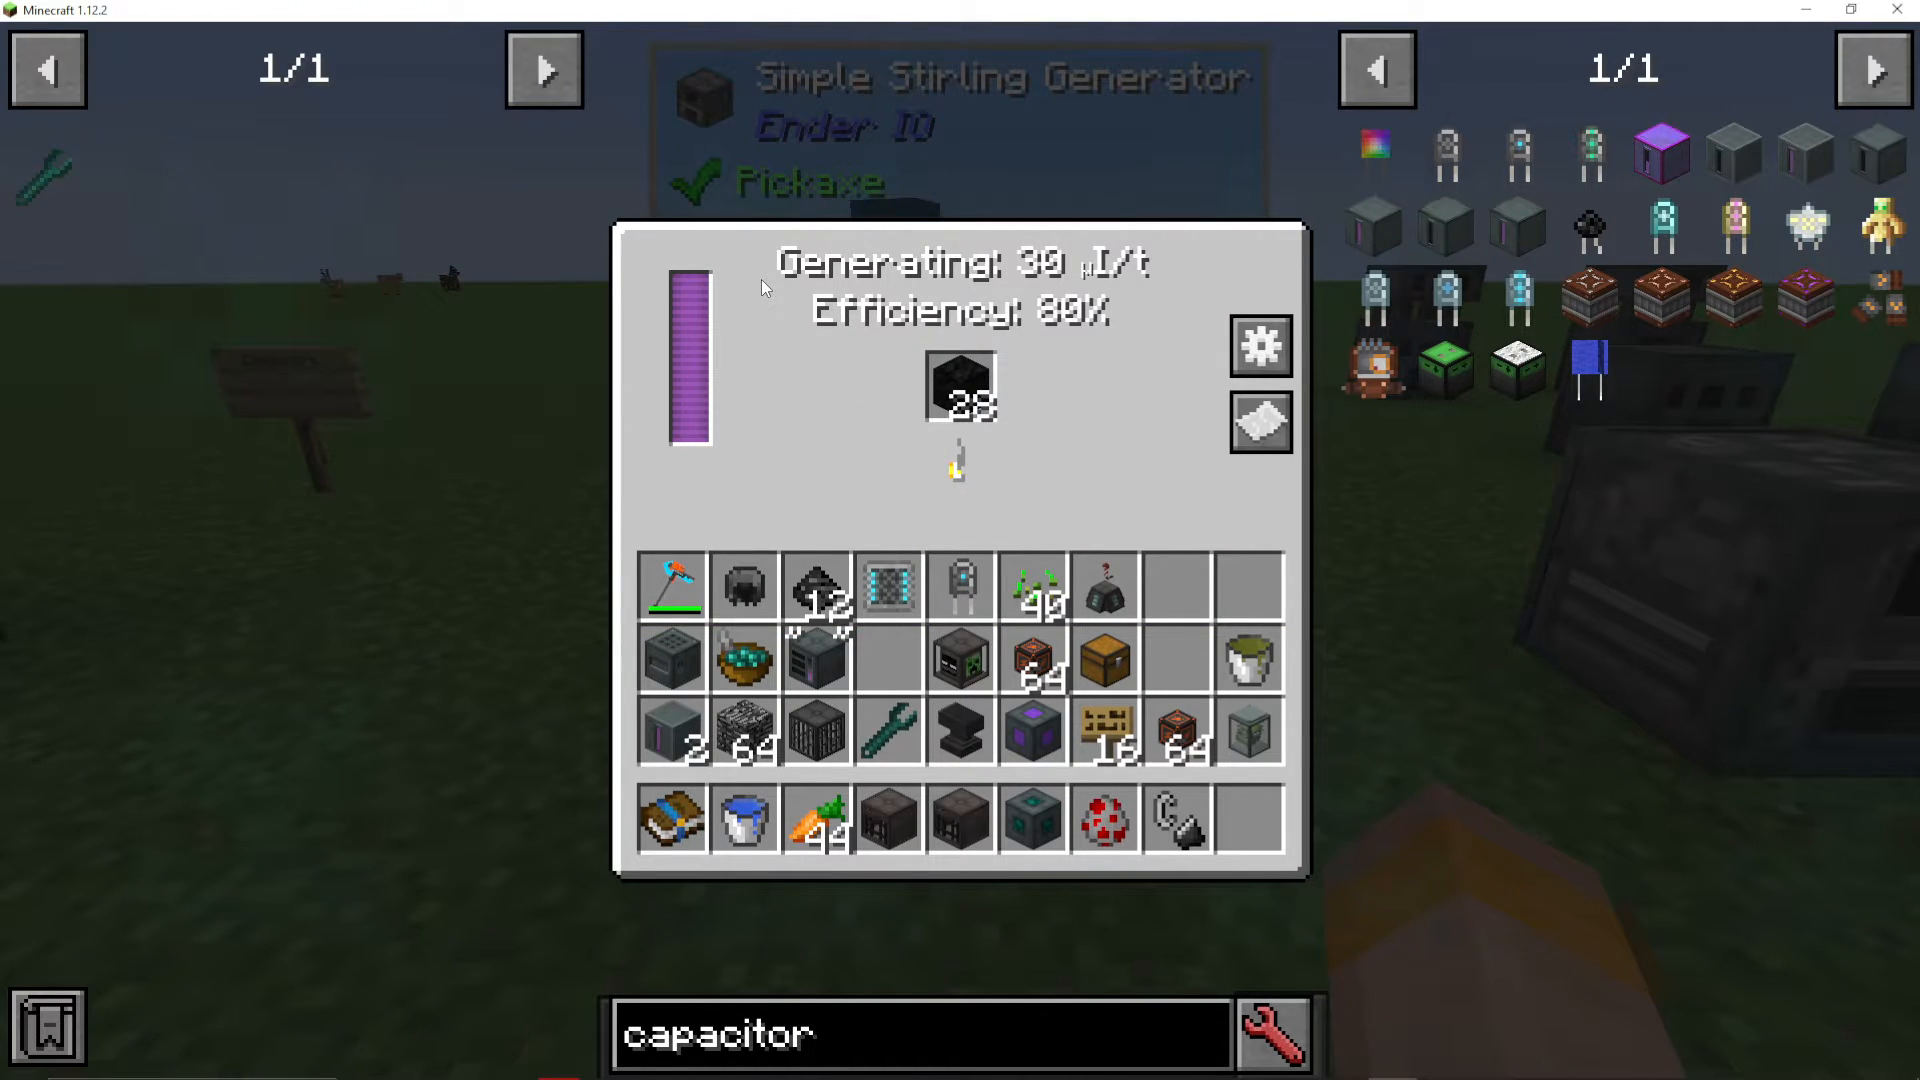
The Simple Stirling Generator is one of your first power generation options. It burns combustible materials like coal to generate energy at 30 energy per tick with 80% efficiency. However, simple machines leak energy (approximately 0.10 per tick) and cannot accept capacitors. Energy output goes to connected machines or storage.
You can configure input and output directions using the Configure IO menu. For example, place a chest on the side and set it to “pull” to automatically feed coal into the generator.
Stirling Generator (Standard)
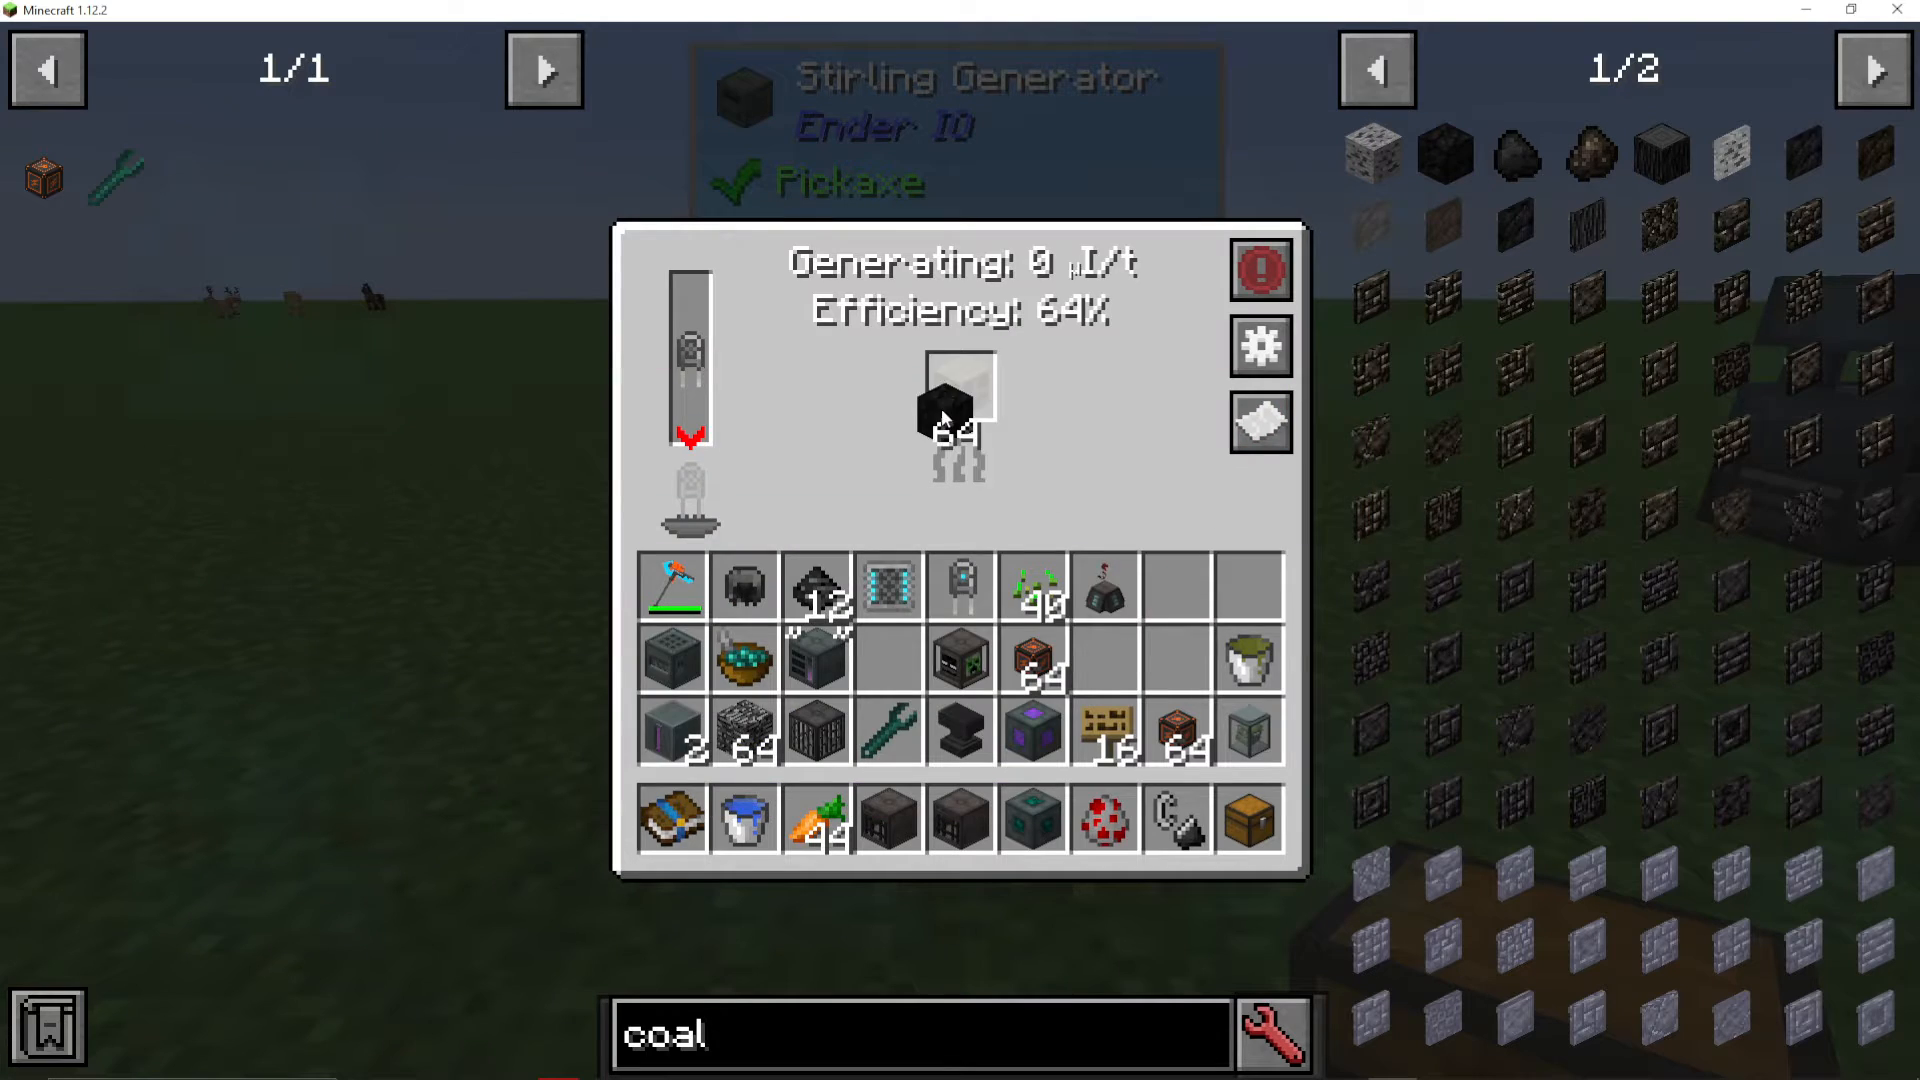
The upgraded Stirling Generator accepts capacitors and features redstone control. With a Basic Capacitor installed, it produces 60 energy per tick at 80% efficiency. Upgrading to an Octadic Capacitor increases output to 120 energy per tick at 120% efficiency—a significant improvement.
Powered Furnace
This energy-powered furnace smelts ores using RF energy instead of fuel. You can place ore in all three slots simultaneously to speed up smelting. Simple versions lack capacitor slots, while standard versions accept capacitors for improved efficiency.
Alloy Smelter
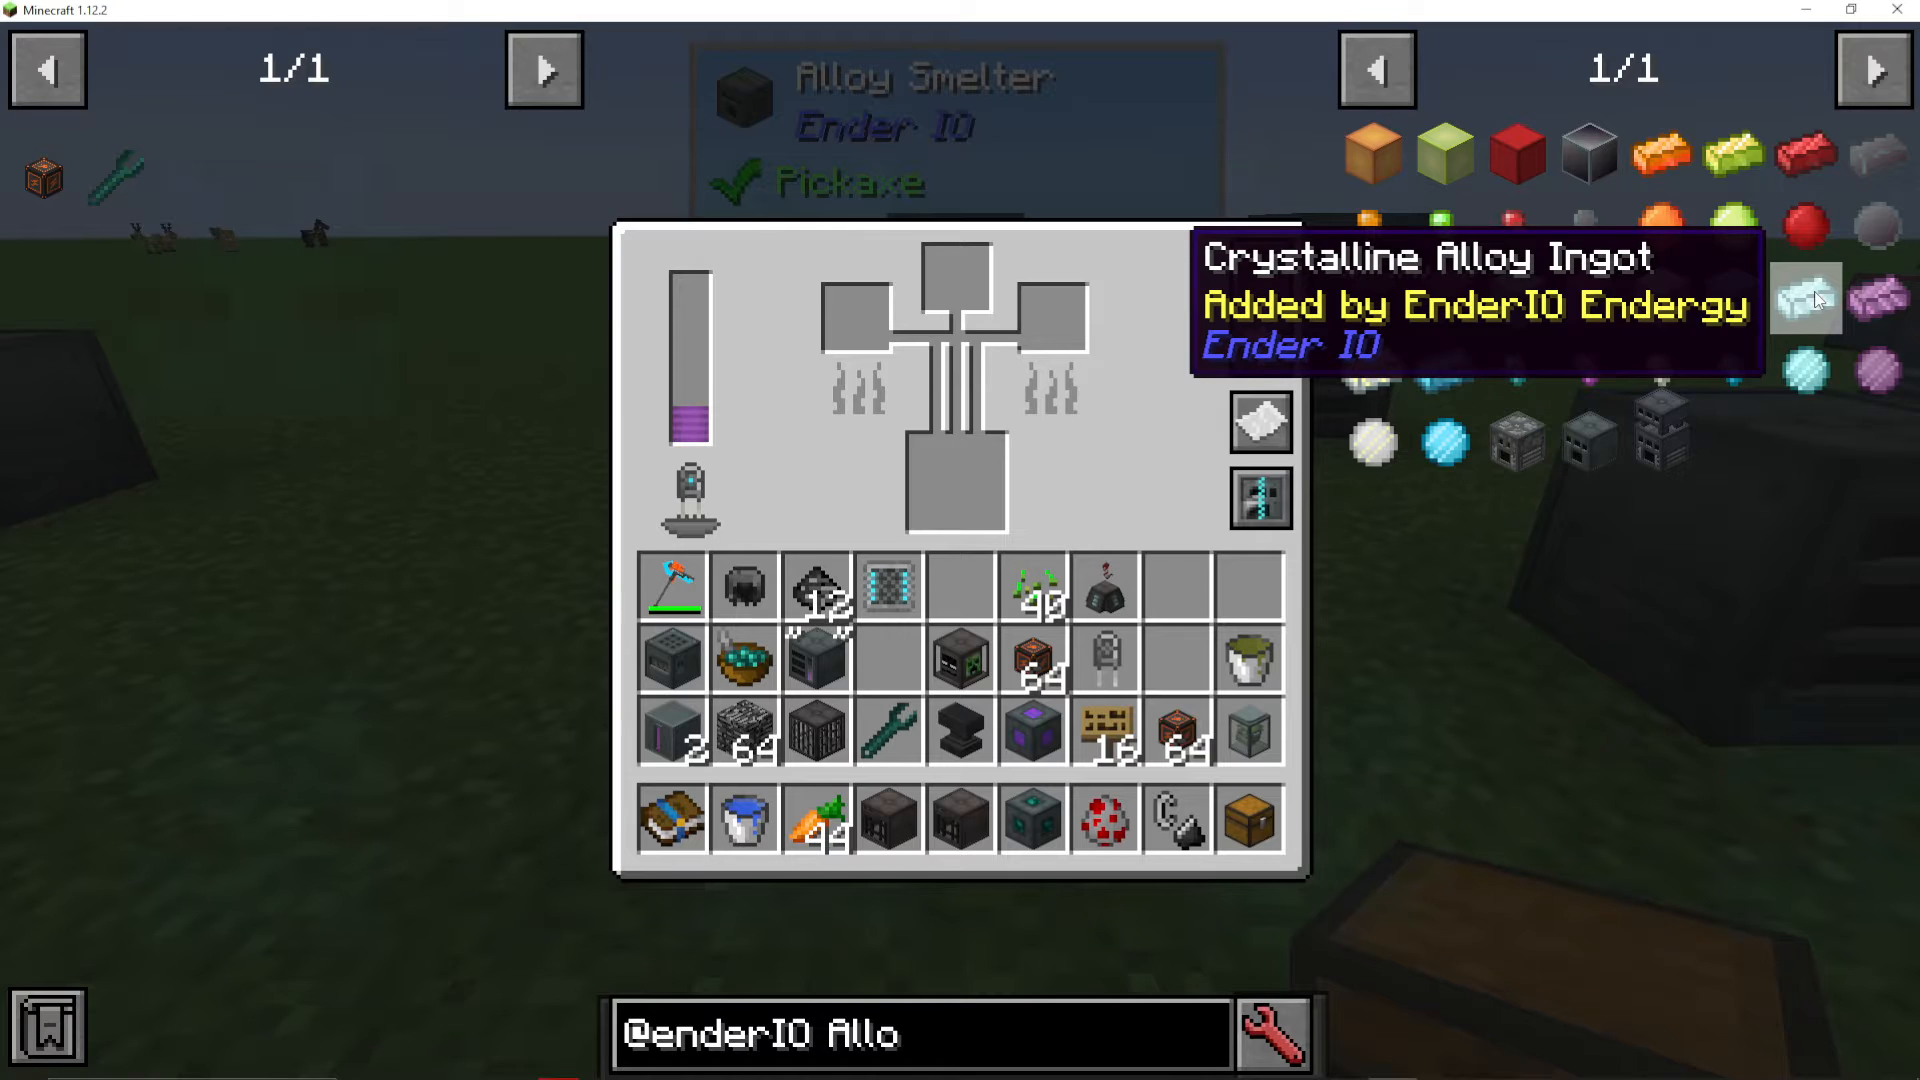
The Alloy Smelter is crucial for producing the various alloys used throughout Ender I.O. Place inputs in the three top slots and receive the output at the top. You can switch between “Smelting Alloys Only” and “Furnace Only” modes. An enhanced version offers superior efficiency.
SAG Mill
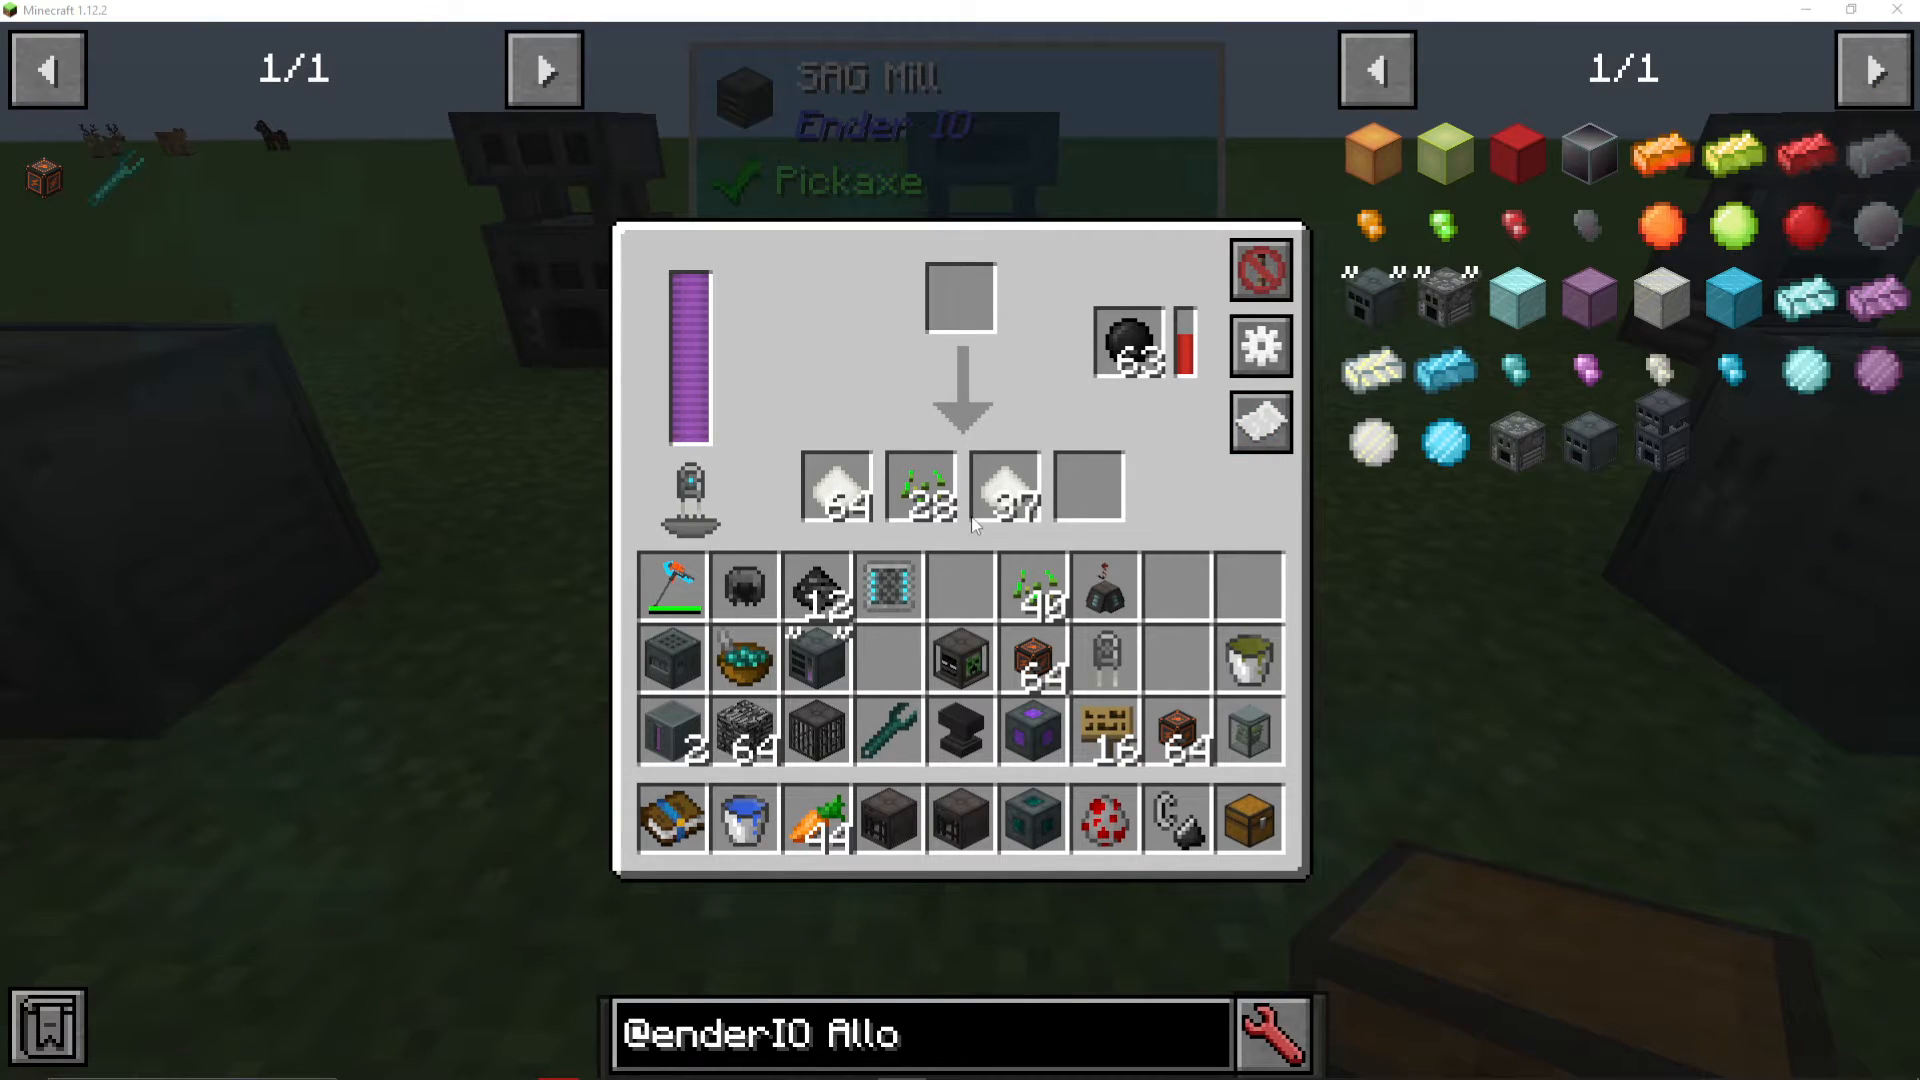
The SAG Mill grinds materials like wheat into flour and seeds. Install a grinding ball to modify output rates, power consumption, and bonus outputs. The simple version lacks both a capacitor slot and grinding ball slot. A Double Layer Capacitor significantly increases grinding speed.
When you view recipes, you’ll see percentage chances for secondary outputs. For example, grinding wheat yields 100% flour and 20% seeds (modified by grinding balls).
Crafter
The Crafter automates recipe crafting. Place your desired recipe in the left slot (showing what will be crafted in the middle), add resources in the right slot, and the machine handles the rest. Configure input and output directions to connect hoppers or chests for full automation.
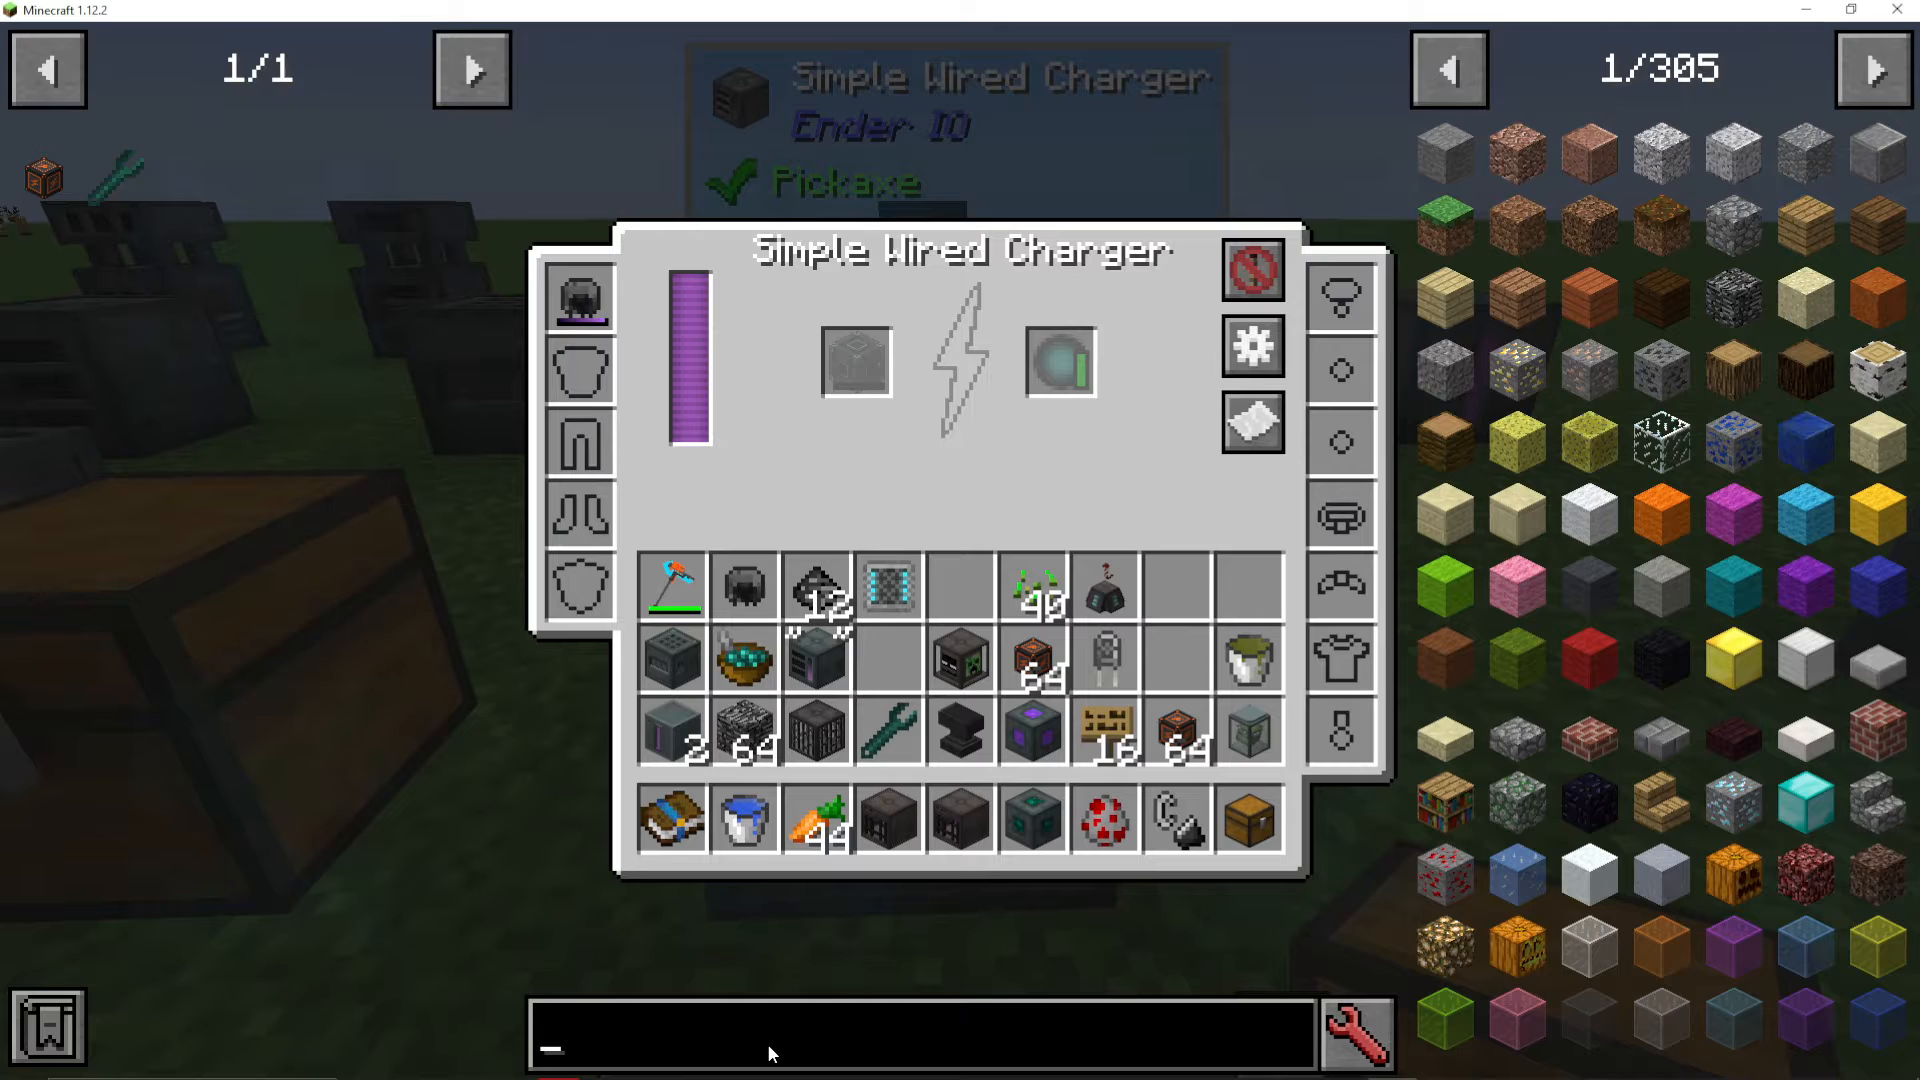
Wired Charger
This machine charges energy-based items like the Atomic Disassembler from Mekanism. Simple versions charge slowly, while standard versions with better capacitors charge significantly faster.
Capacitor Banks
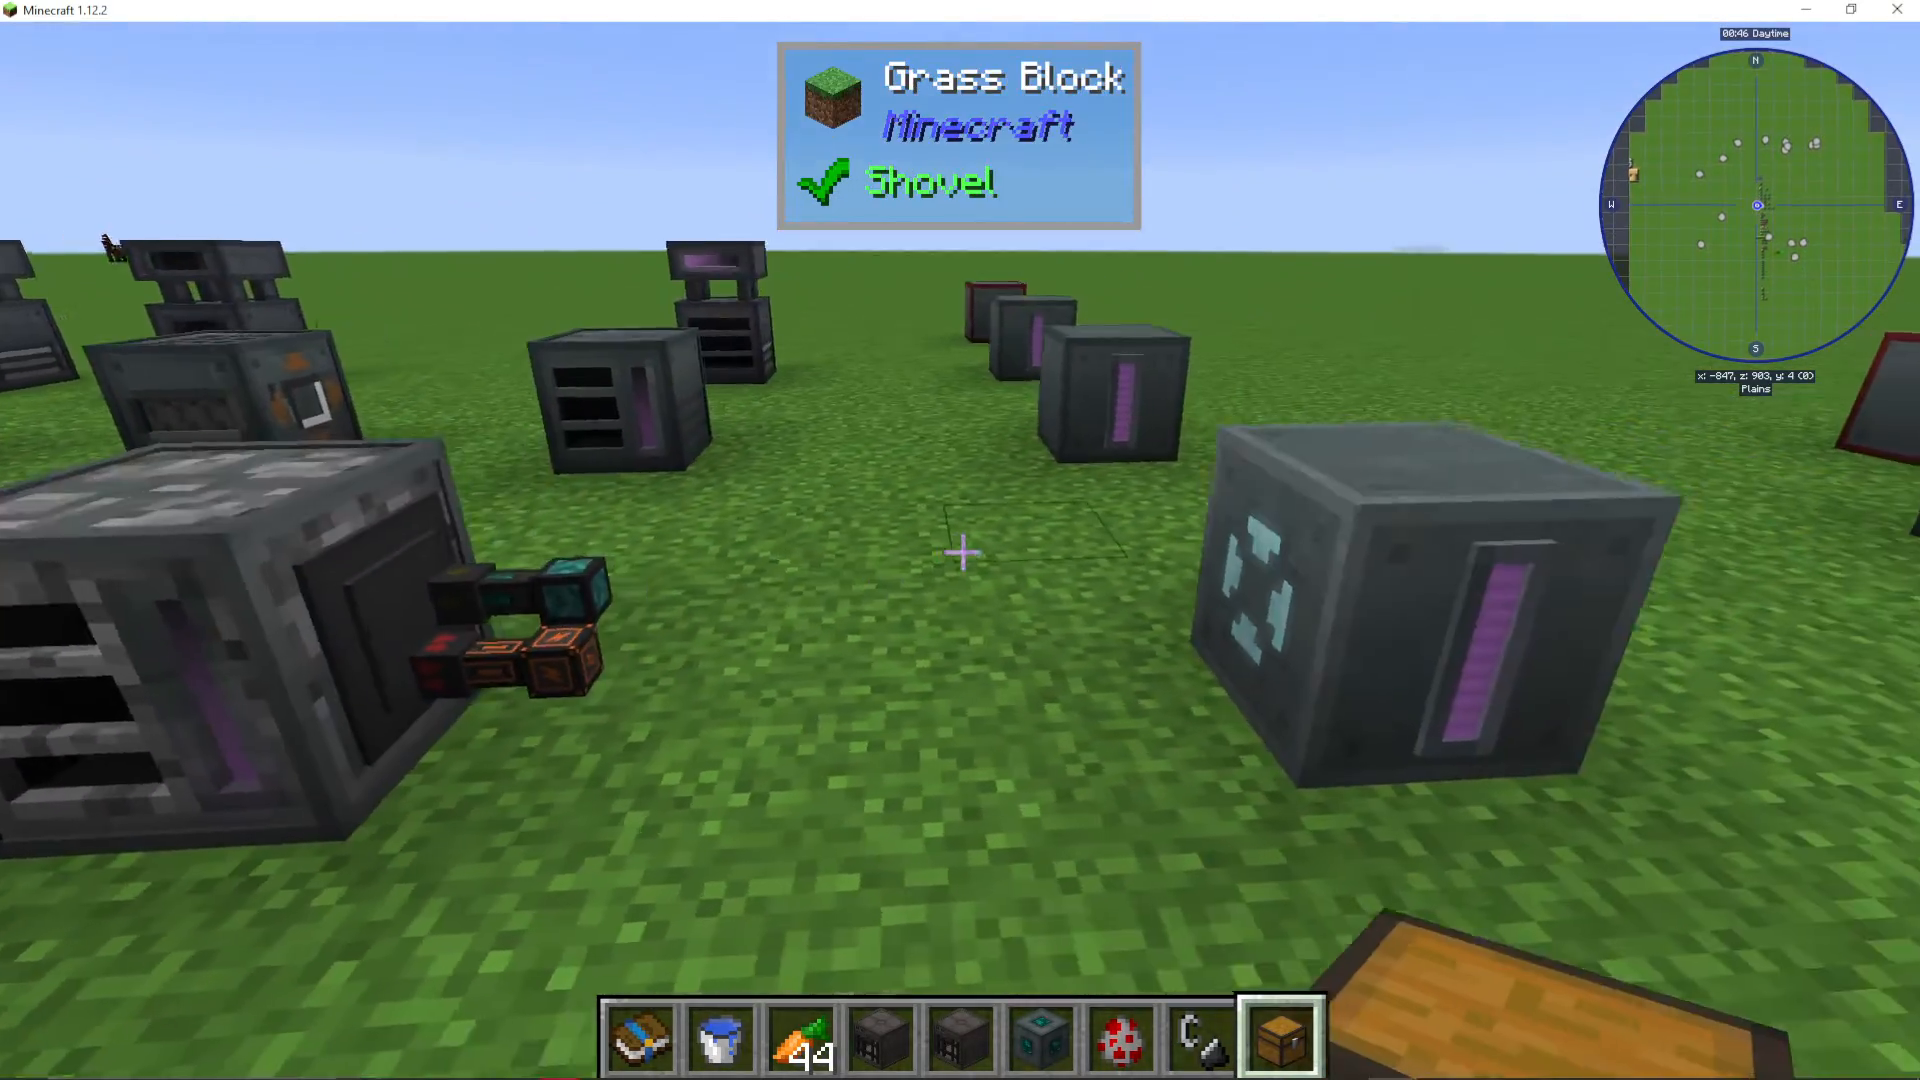
These serve as energy storage with varying capacities:
Basic Capacitor Bank – 1,000 input/output
Standard Capacitor Bank – 5,000 input/output
Vibrant Capacitor Bank – 25,000 input/output
You can set maximum input/output limits and configure redstone behavior (always input, never input, output only, etc.). Multiple banks connect to create larger storage networks—adding more banks increases total network storage proportionally.
Conduits: Power, Items, and Fluids
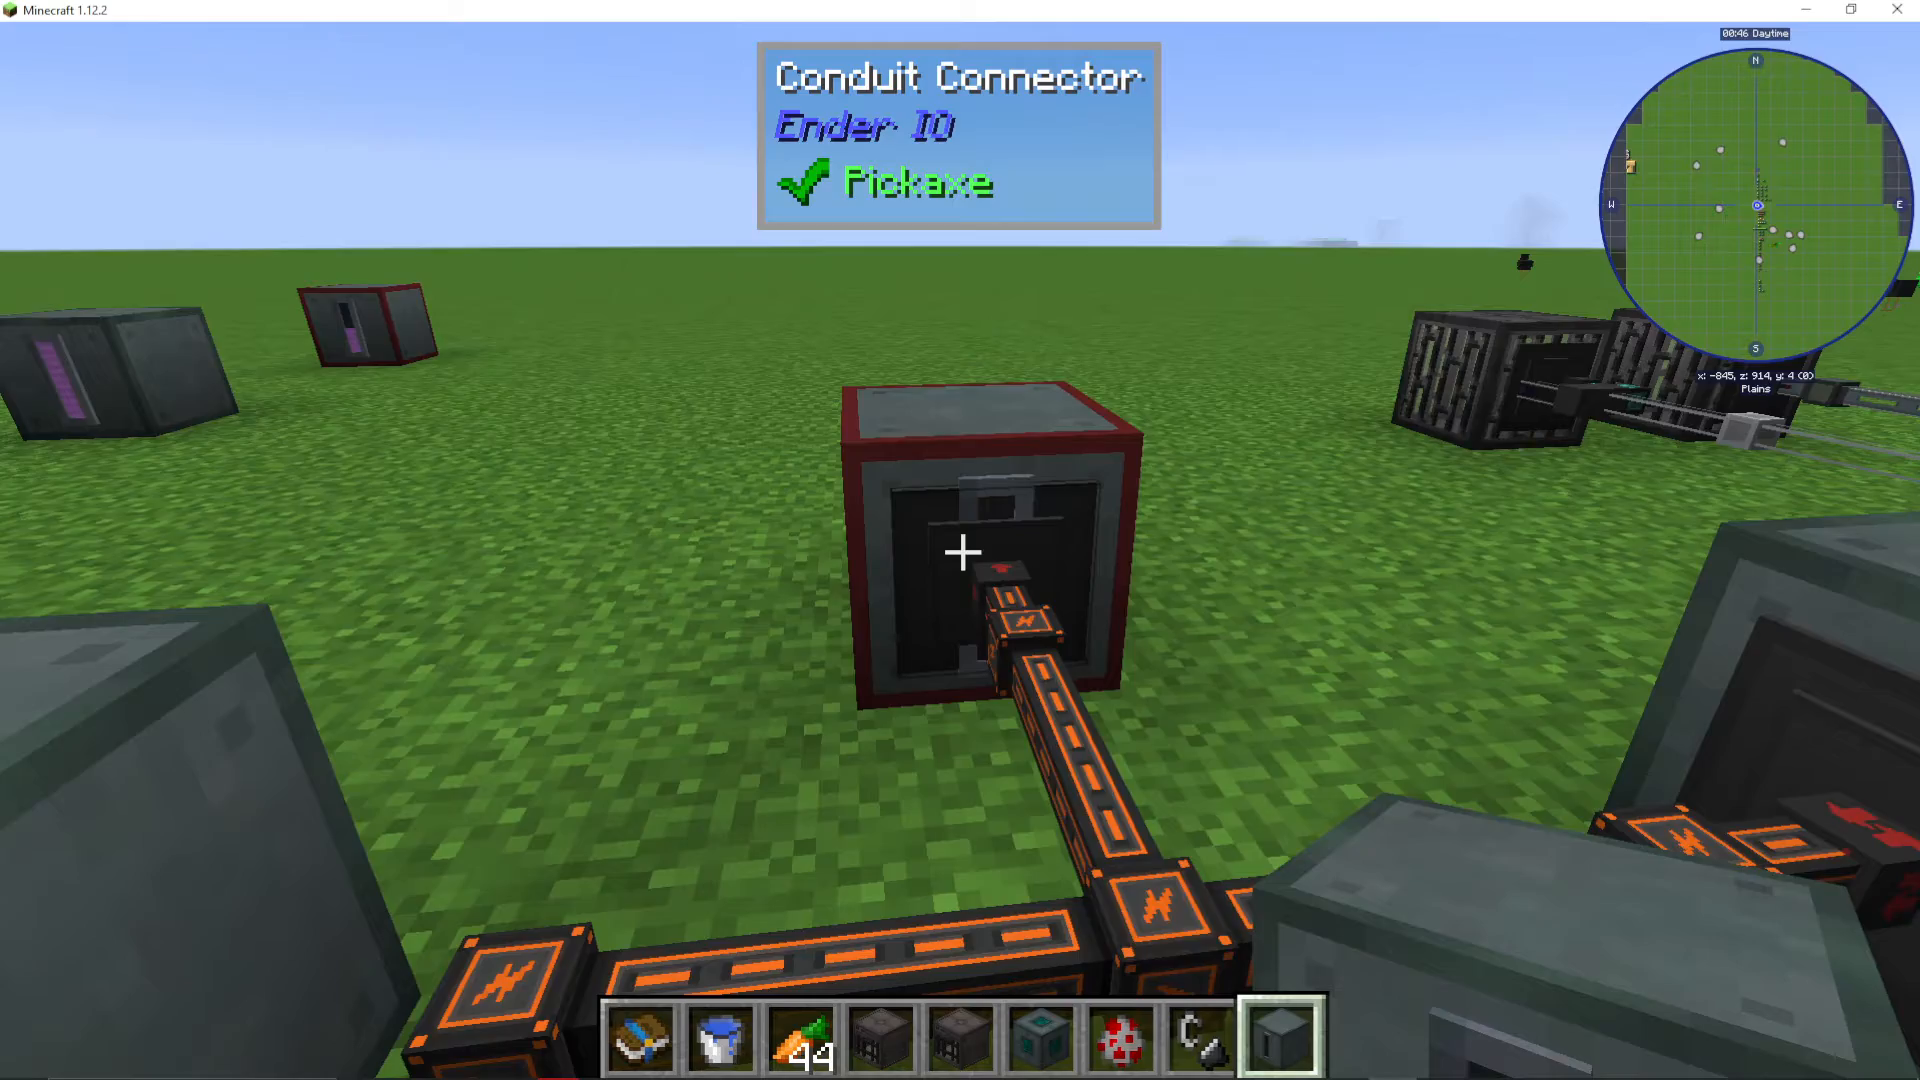
Ender I.O. features multiple conduit types for managing different resources on a single block face—a feature that sets it apart from many other mods.
Energy Conduits
Energy Conduits transfer power between machines and storage. Attach them to machines and open the GUI to set input/output directions and control redstone activation. You can limit maximum input to slow power flow (e.g., 1,000 RF/tick maximum) or allow full capacity (25,000 RF/tick maximum).
Fluid Conduits and Pressurized Fluid Conduits
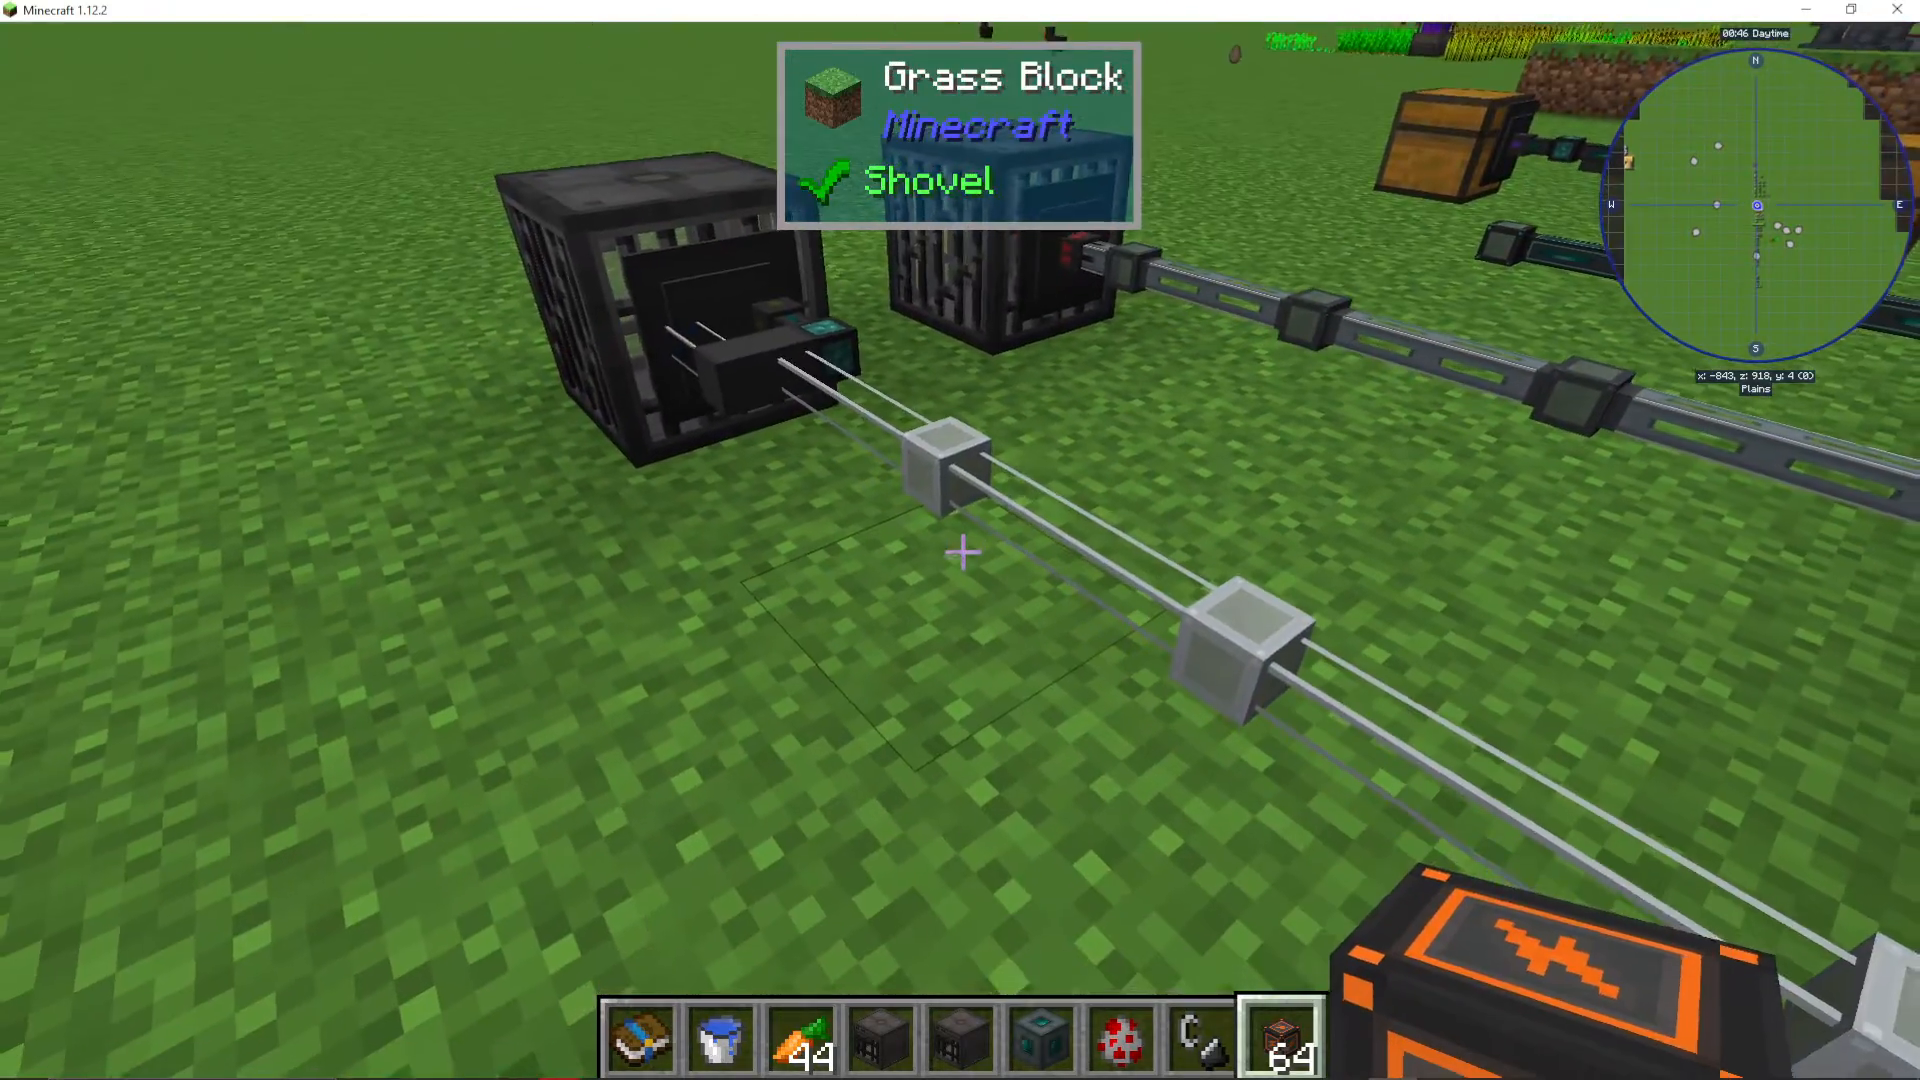
Fluid Conduits transport liquids between tanks and machines. Pressurized Fluid Conduits offer faster transfer speeds. In advanced versions, you can assign colored channels to different fluid streams and add filters to control which fluids flow through specific connections.
A Basic Fluid Filter allows you to whitelist or blacklist specific fluids. With a Function Upgrade, extraction speed increases. Choose between Round Robin (cycles through outputs) or Self-Feed (loops back to input) modes.
Item Conduits
Item Conduits move items between machines and storage. You can place multiple conduit types on the same machine face—energy, fluid, and item conduits coexist without conflict.
Advanced item filters offer sophisticated sorting options:
Metadata Filter – Sorts by item damage/metadata
Sticky Mode – Select items route to specific outputs
Dictionary Filter – Groups items by type (e.g., all “tin” regardless of mod source)
NBT Data Filter – Considers item data beyond basic properties
Existing Item Filter – Routes based on inventory contents
Mod Item Filter – Sorts by item mod origin
Power Filter – Routes based on charge level
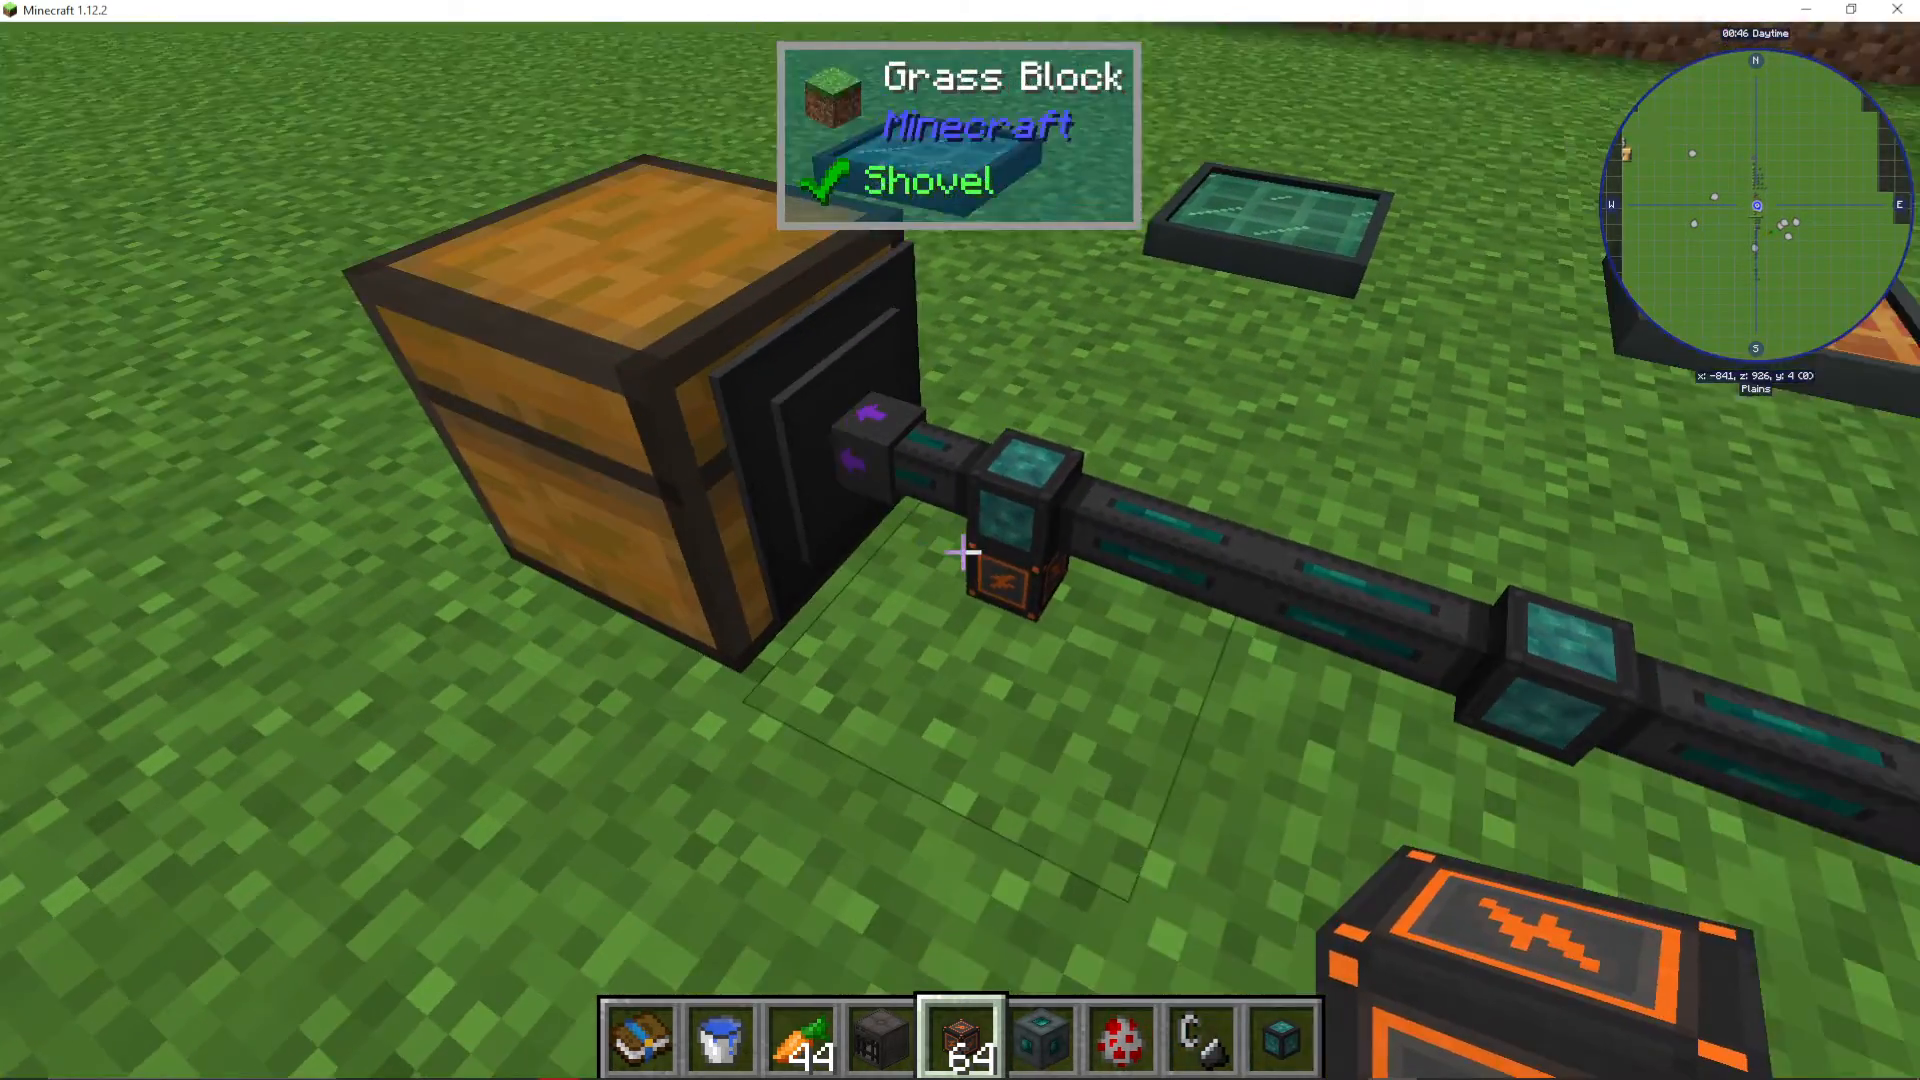
Photovoltaic Cells
Simple, Advanced, and Vibrant Photovoltaic Cells generate power from sunlight. Place them on top of machines or anywhere with sky access. They’re a passive power generation method requiring no fuel or maintenance.
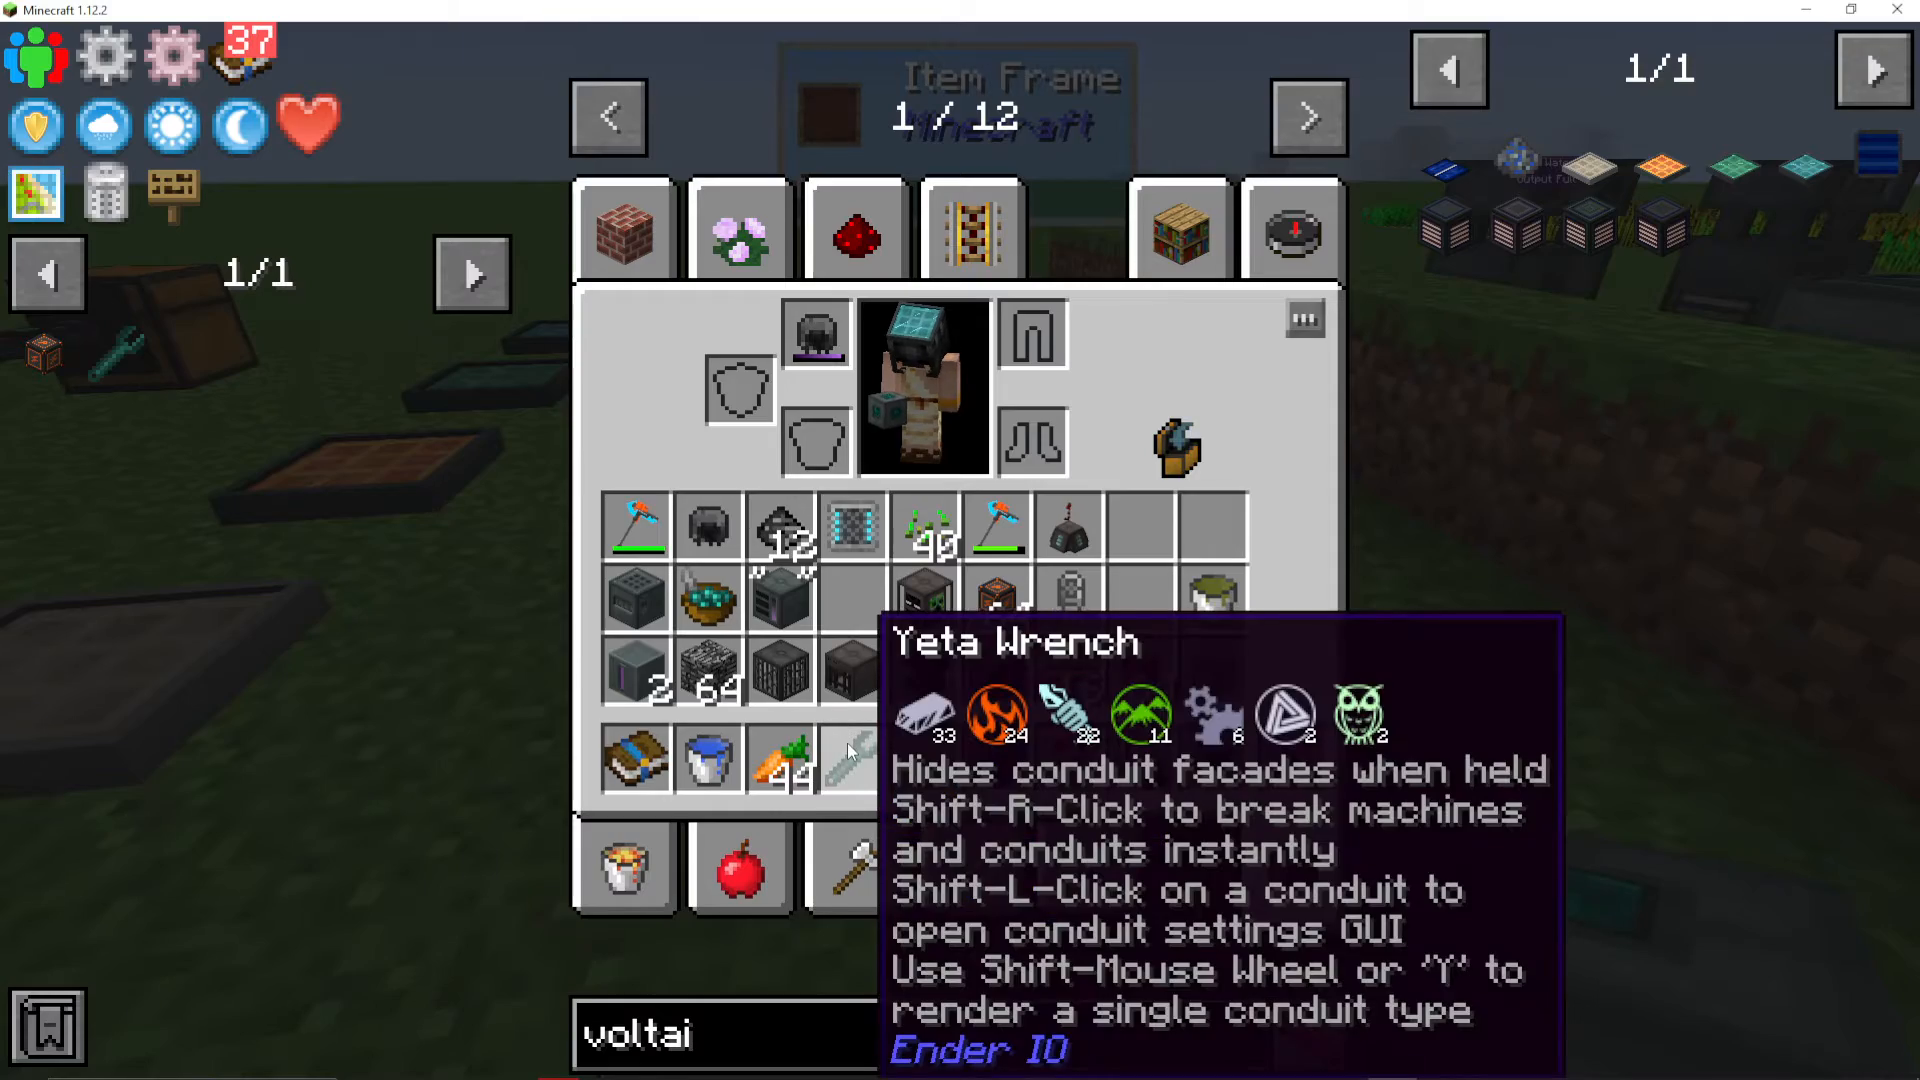
Yeta Wrench
This essential tool manages your conduit network:
Shift + Right Click – Break machines and conduits instantly
Shift + Left Click – Open conduit settings GUI to adjust connections
Shift + Mouse Wheel – Filter view to show only one conduit type (energy, fluid, item, gas, redstone, or all)
When complex networks become visually confusing, use the Yeta Wrench’s filter to isolate and manage specific conduit types.
Advanced Machines
All advanced machines share common features: Show Recipes button, Configure IO menu, redstone control, and capacitor slots. Better capacitors increase range, efficiency, and processing speed.
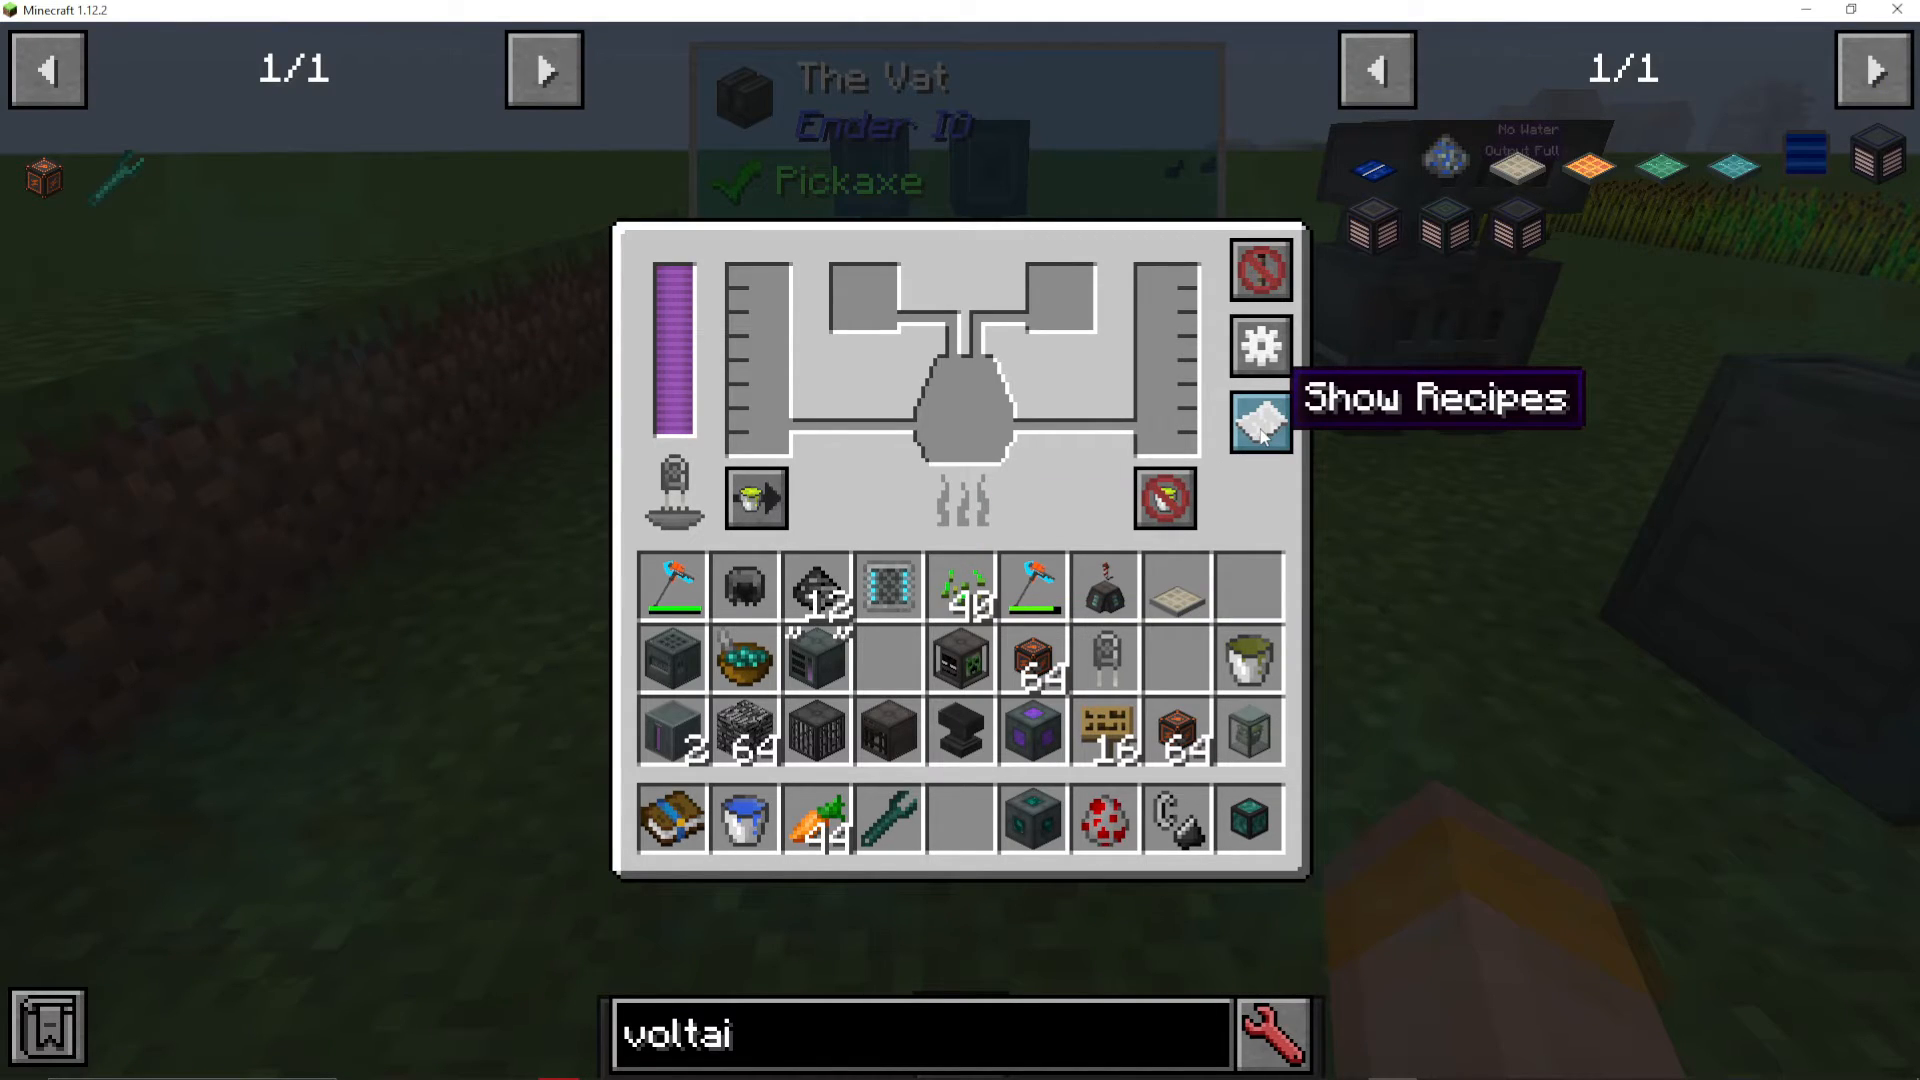
Vat and Enhanced Vat
The Vat processes liquid recipes using two solid input slots and one fluid input tank. A primary use is Nutrient Distillation production from meats, bio-materials, and water—essential for zombie generators.
You can also produce:
Juice of the Void
Vapor of Levity
Hooch (fermented from flour, sugar, etc.)
The Enhanced Vat offers superior efficiency.
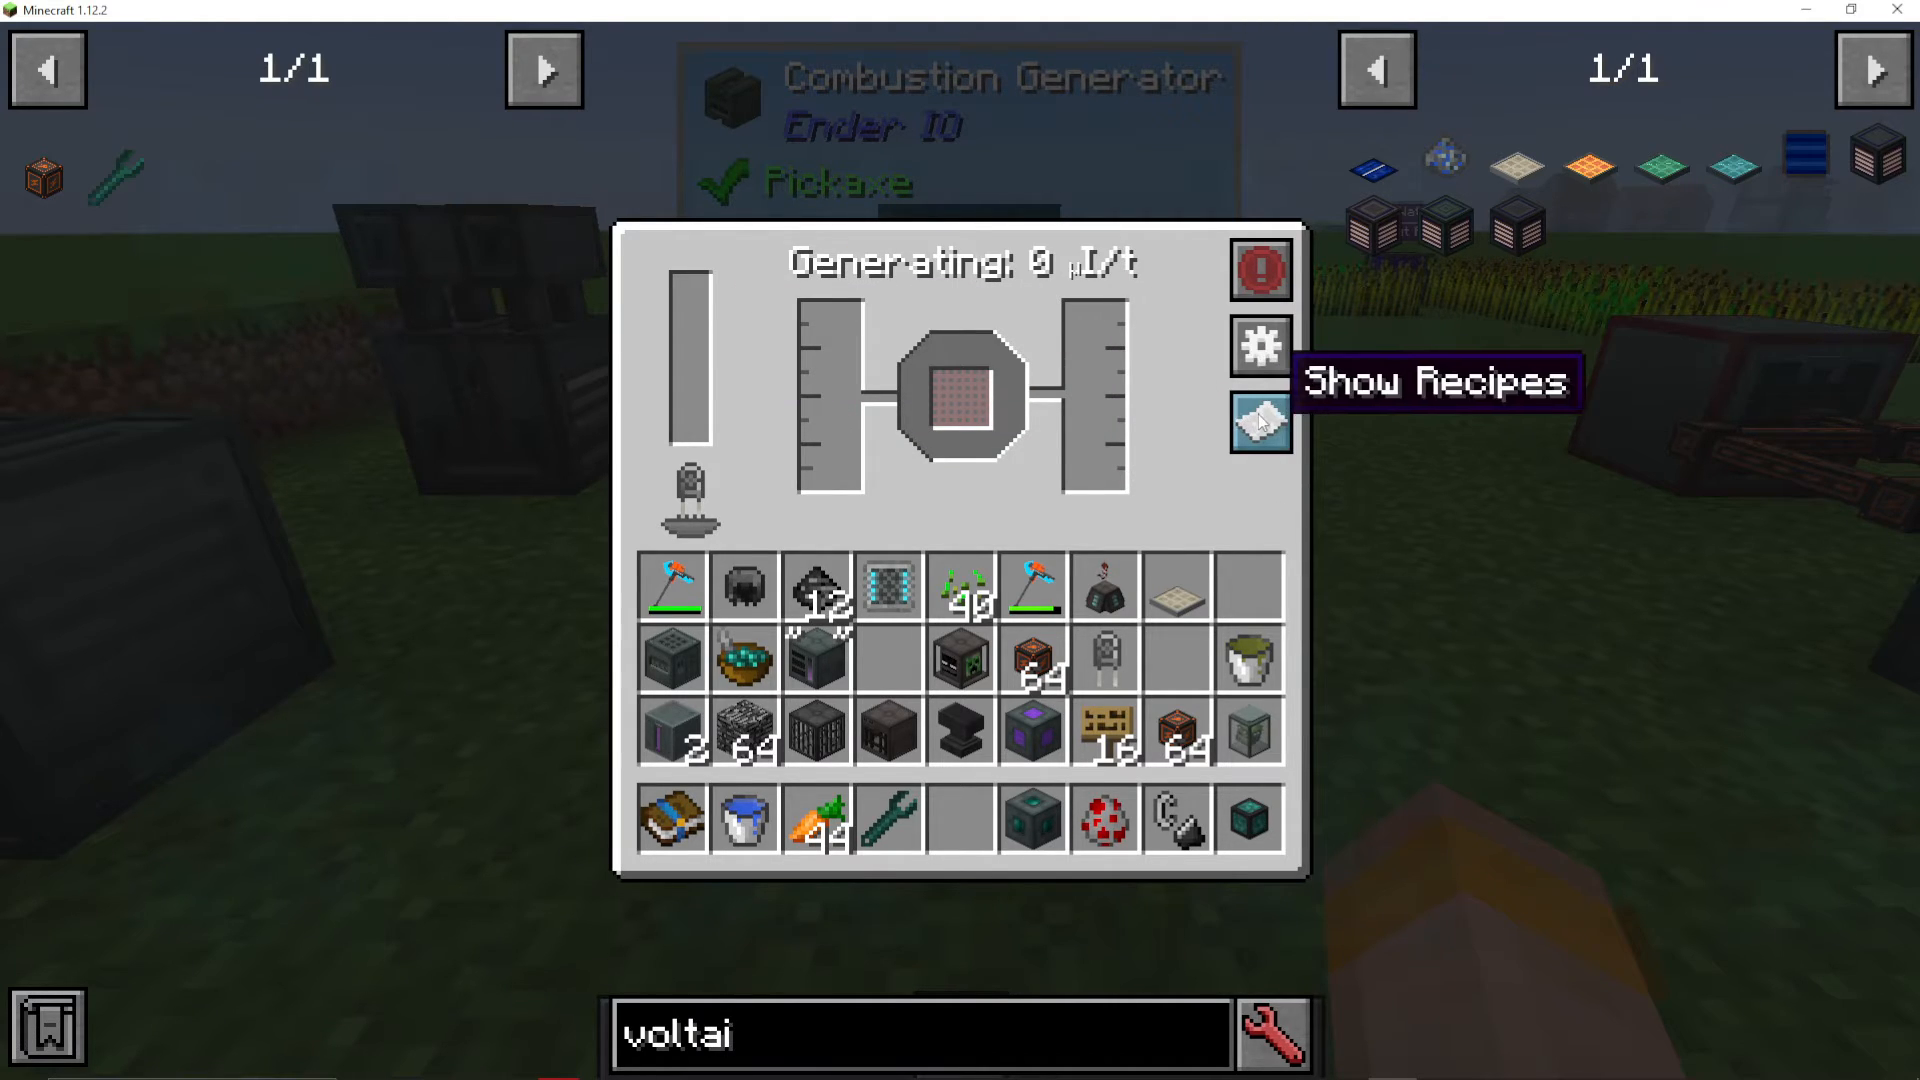
Combustion Generator
This generator uses fuel and coolant to produce power. Recipes vary depending on fuel and coolant combinations. Input fuel on the left, coolant on the right, and energy outputs at the top. Check recipes to see power output for different fuel/coolant pairs.
Power Monitor and Graphical Power Monitor
The Power Monitor displays real-time network statistics:
Conduit buffer storage
Capacitor bank storage and maximum capacity
Network input and output rates
Individual machine buffers
Adding more capacitor banks to the network increases total storage. The Graphical Power Monitor adds a graph showing power flow over time. You can set redstone signals to emit when storage drops below a specific percentage, allowing you to automate power plant shutdowns to conserve resources.
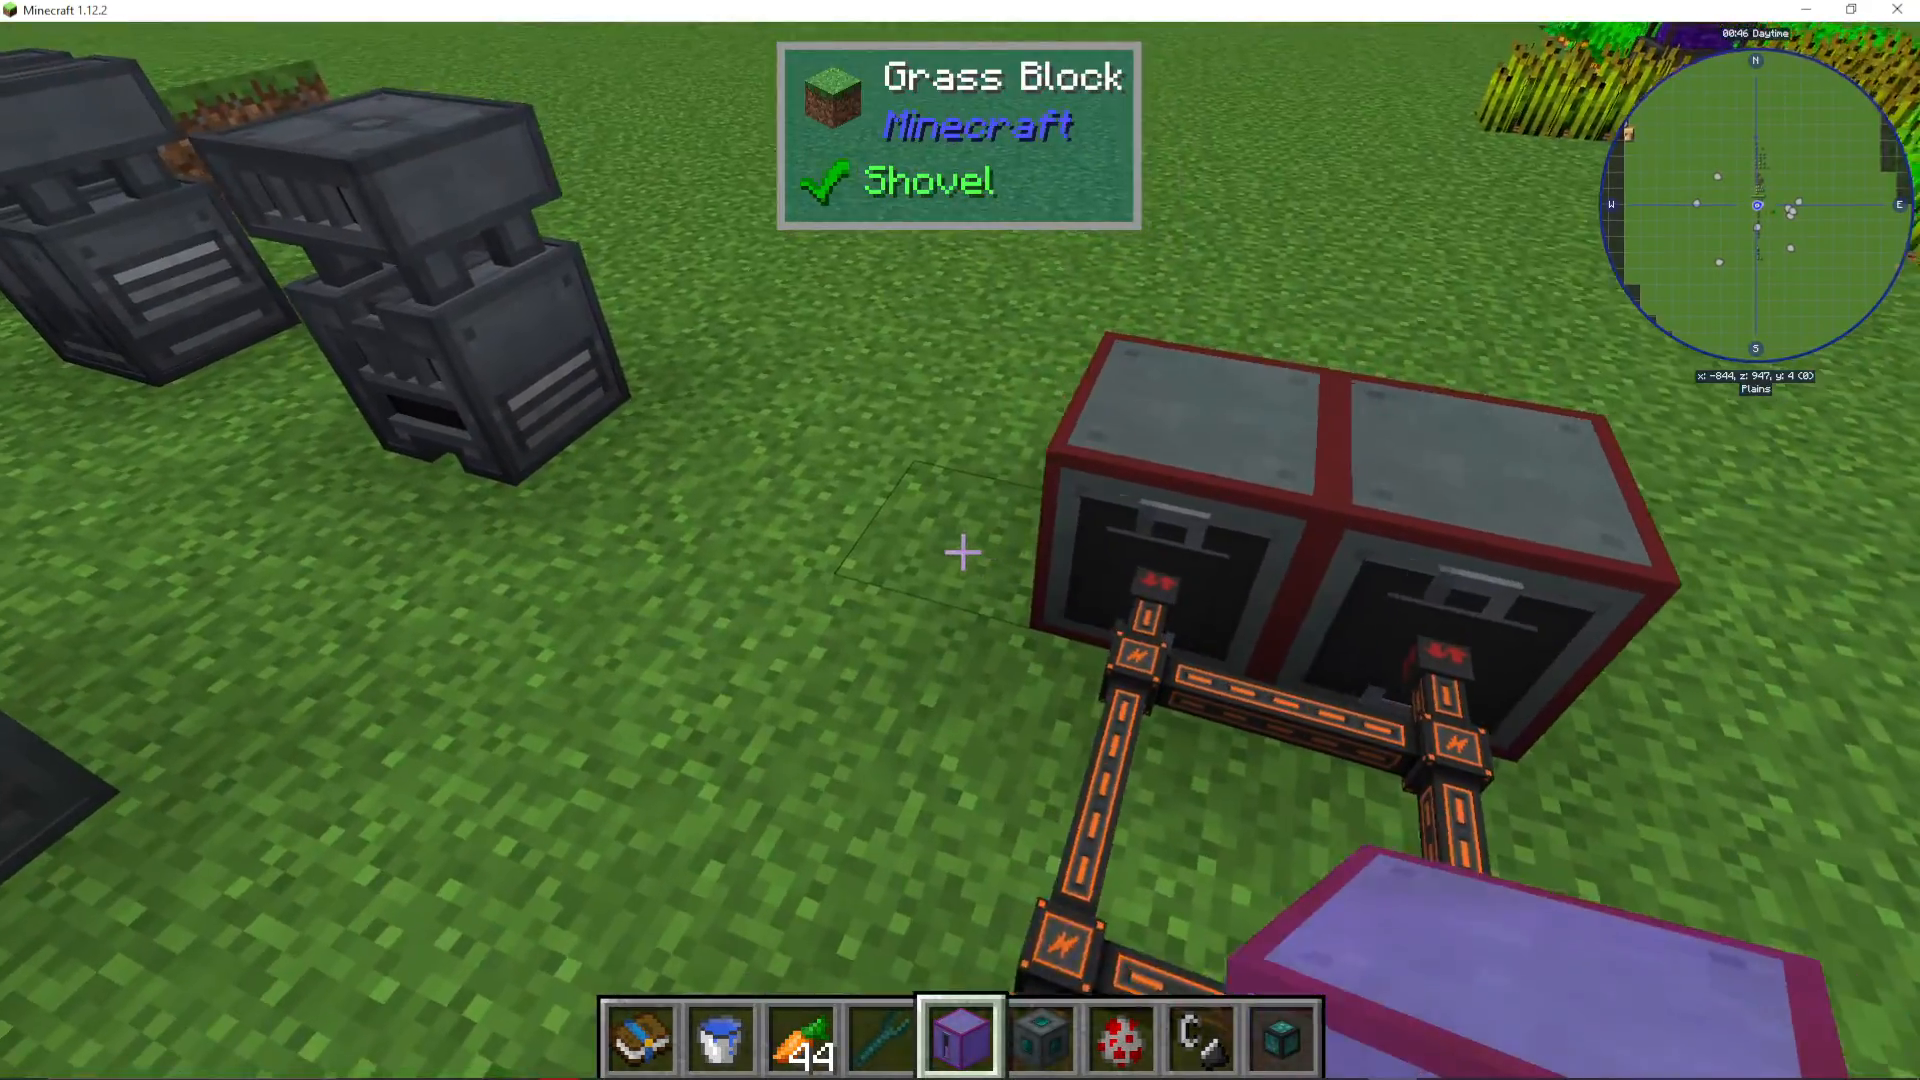
Slice and Splice Machine
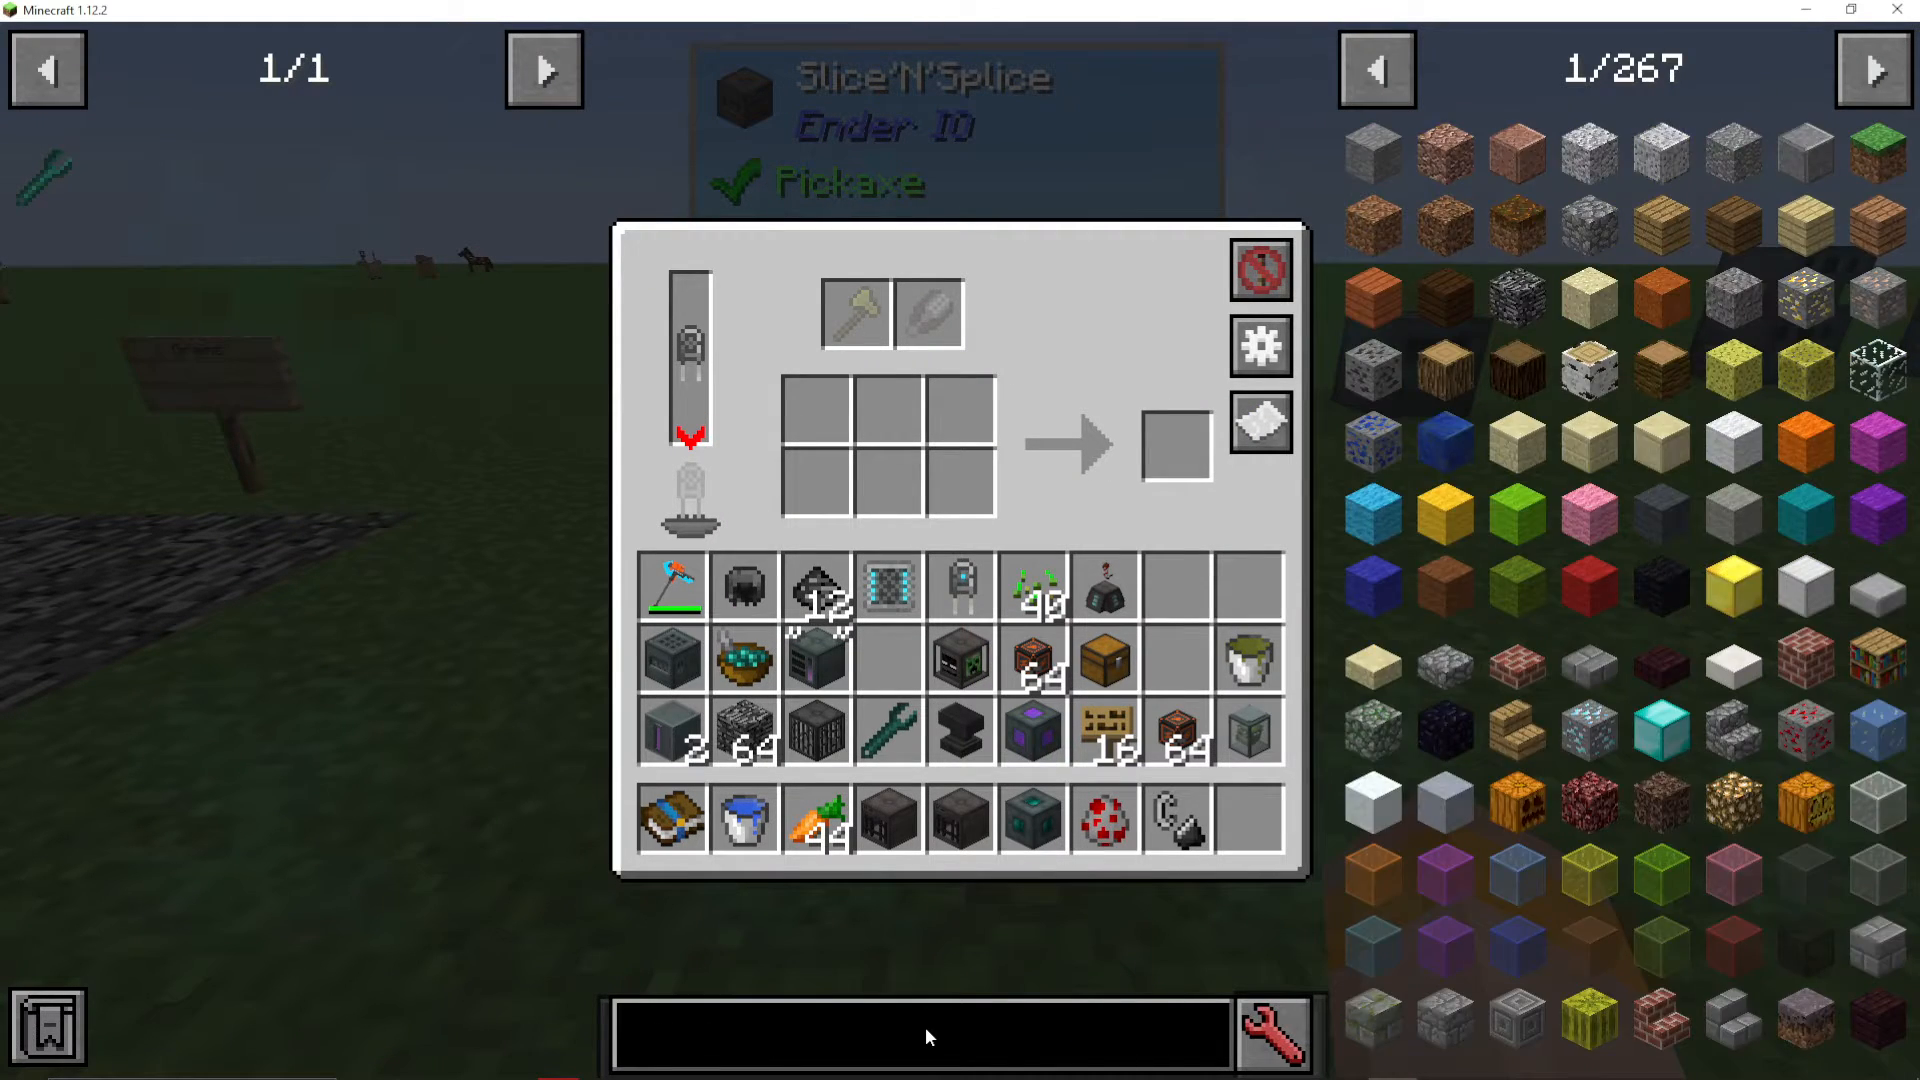
This machine crafts specialized items using six ingredient slots, an axe, and shears. While it appears complex, you simply place ingredients in the designated slots and the machine produces the output.
One notable recipe: Tormented Enderman Head (requires 2 Solarium Ingots, a capacitor, 2 Water Bottles, axe, and shears). This item is used in end-game obelisks.
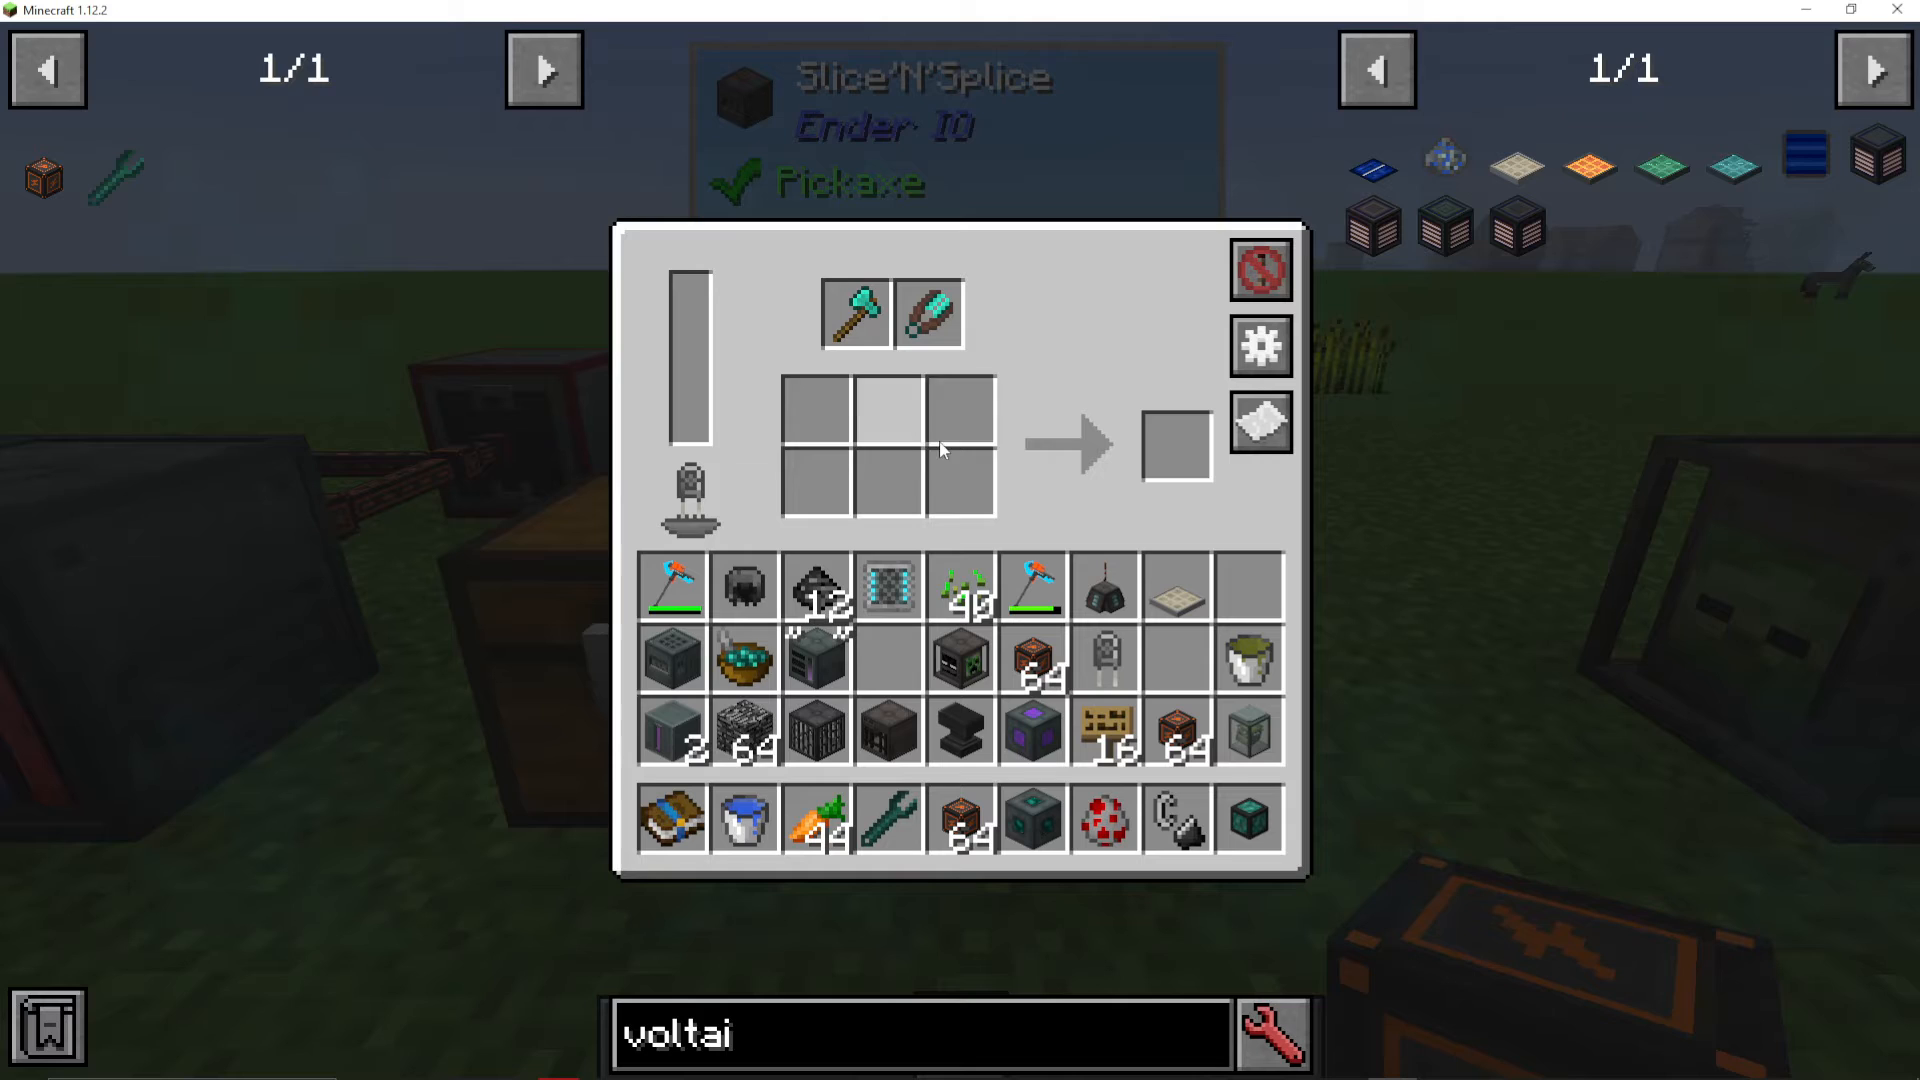
Farming Station
The Farming Station automates crop farming with water input, locked seed slots for specific crops, and output collection. You can lock slots by crop type—for example, lock the northwest slot for carrots to plant only carrots in that direction.
The machine automatically waters crops using the internal tank (refillable via bucket or pipe). Install fertilizers like bone meal in designated slots for faster growth. Add a hoe and shears/tree tap in the upgrade slots. Click “Show Range” to visualize the planting area—upgrading the capacitor increases range significantly.
Pump in seeds and ensure output doesn’t overflow, or the machine will stall.
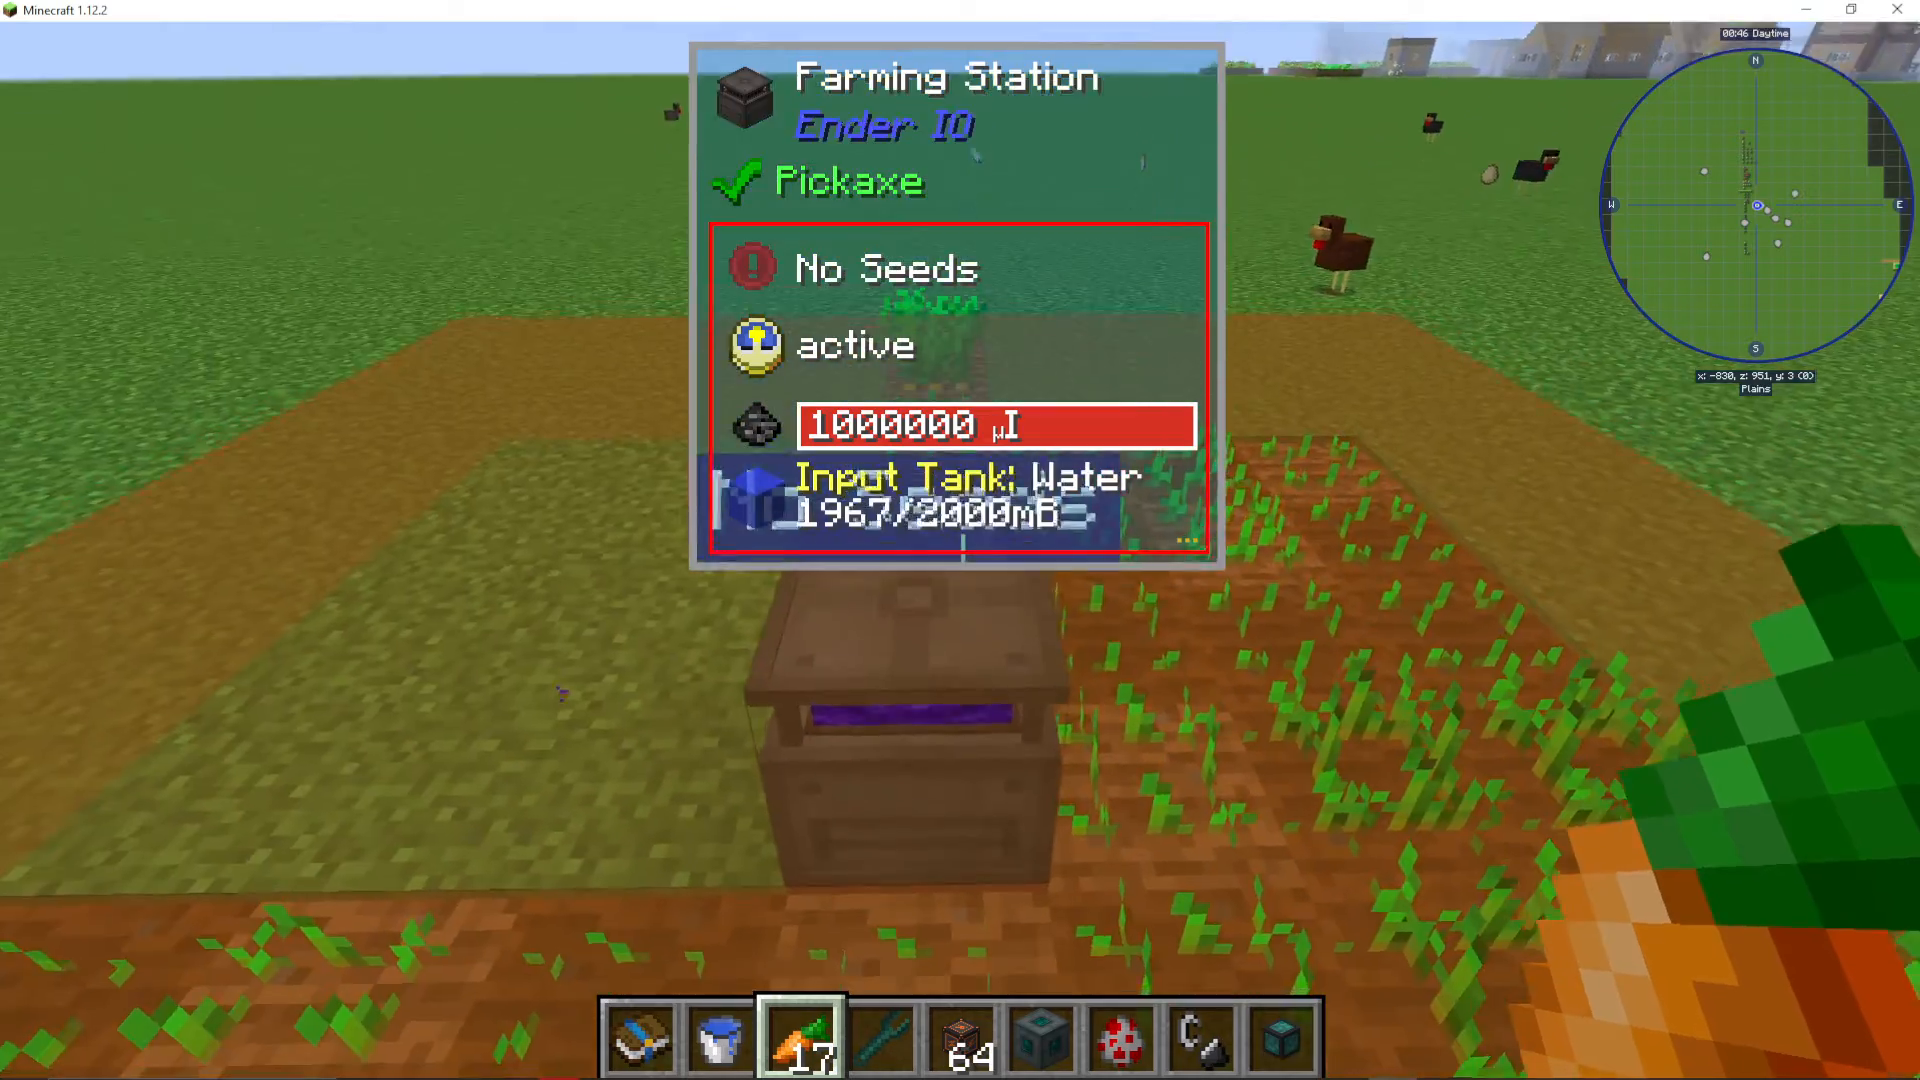
Soul Binder
The Soul Binder converts broken spawners to functional ones using Soul Vials. Create a Soul Vial (made from Solarium and Fused Quartz) and right-click an animal or mob to capture it. Place the filled vial and broken spawner in the Soul Binder, then spend player XP to convert the spawner.
You can also craft:
Enticing Crystals
Endocrystals (from Enderman Soul Vials and Vibrant Crystals)
Solarium Pressure Plates (tuned to specific entities)
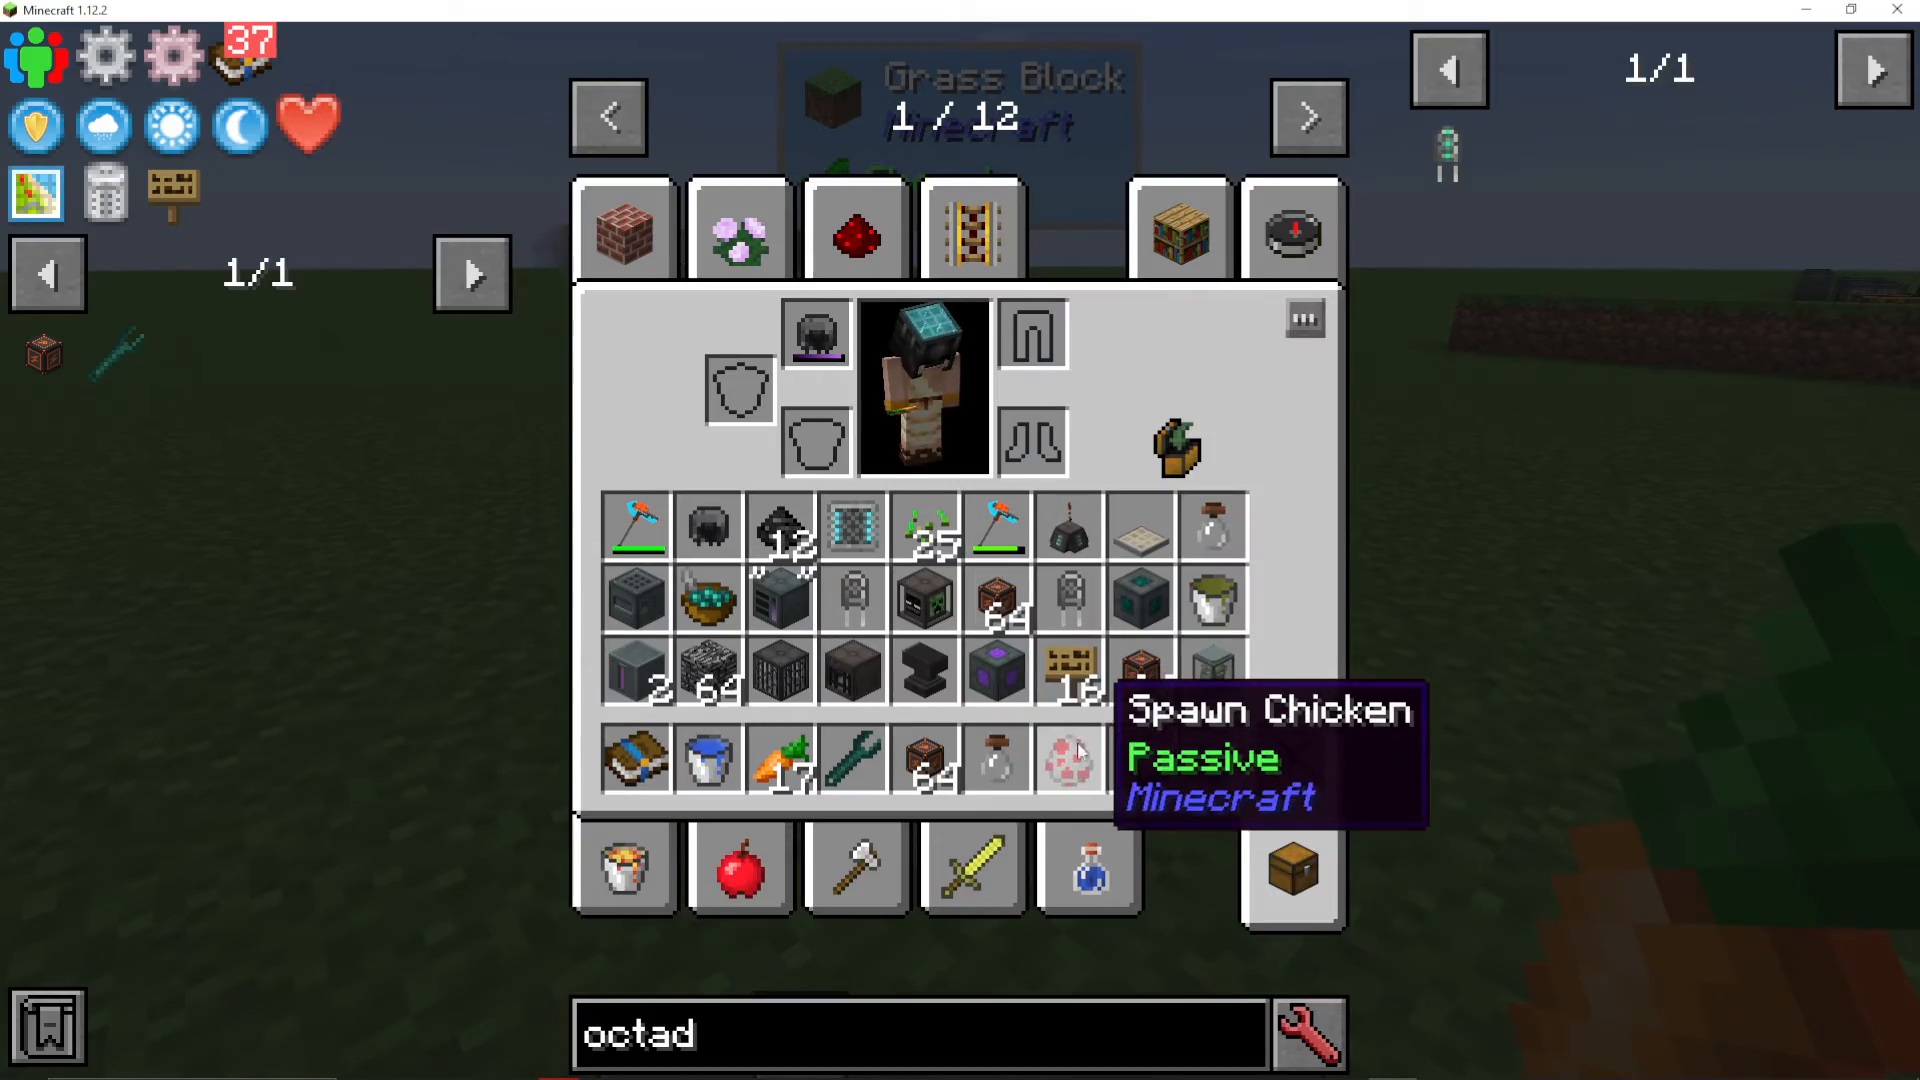
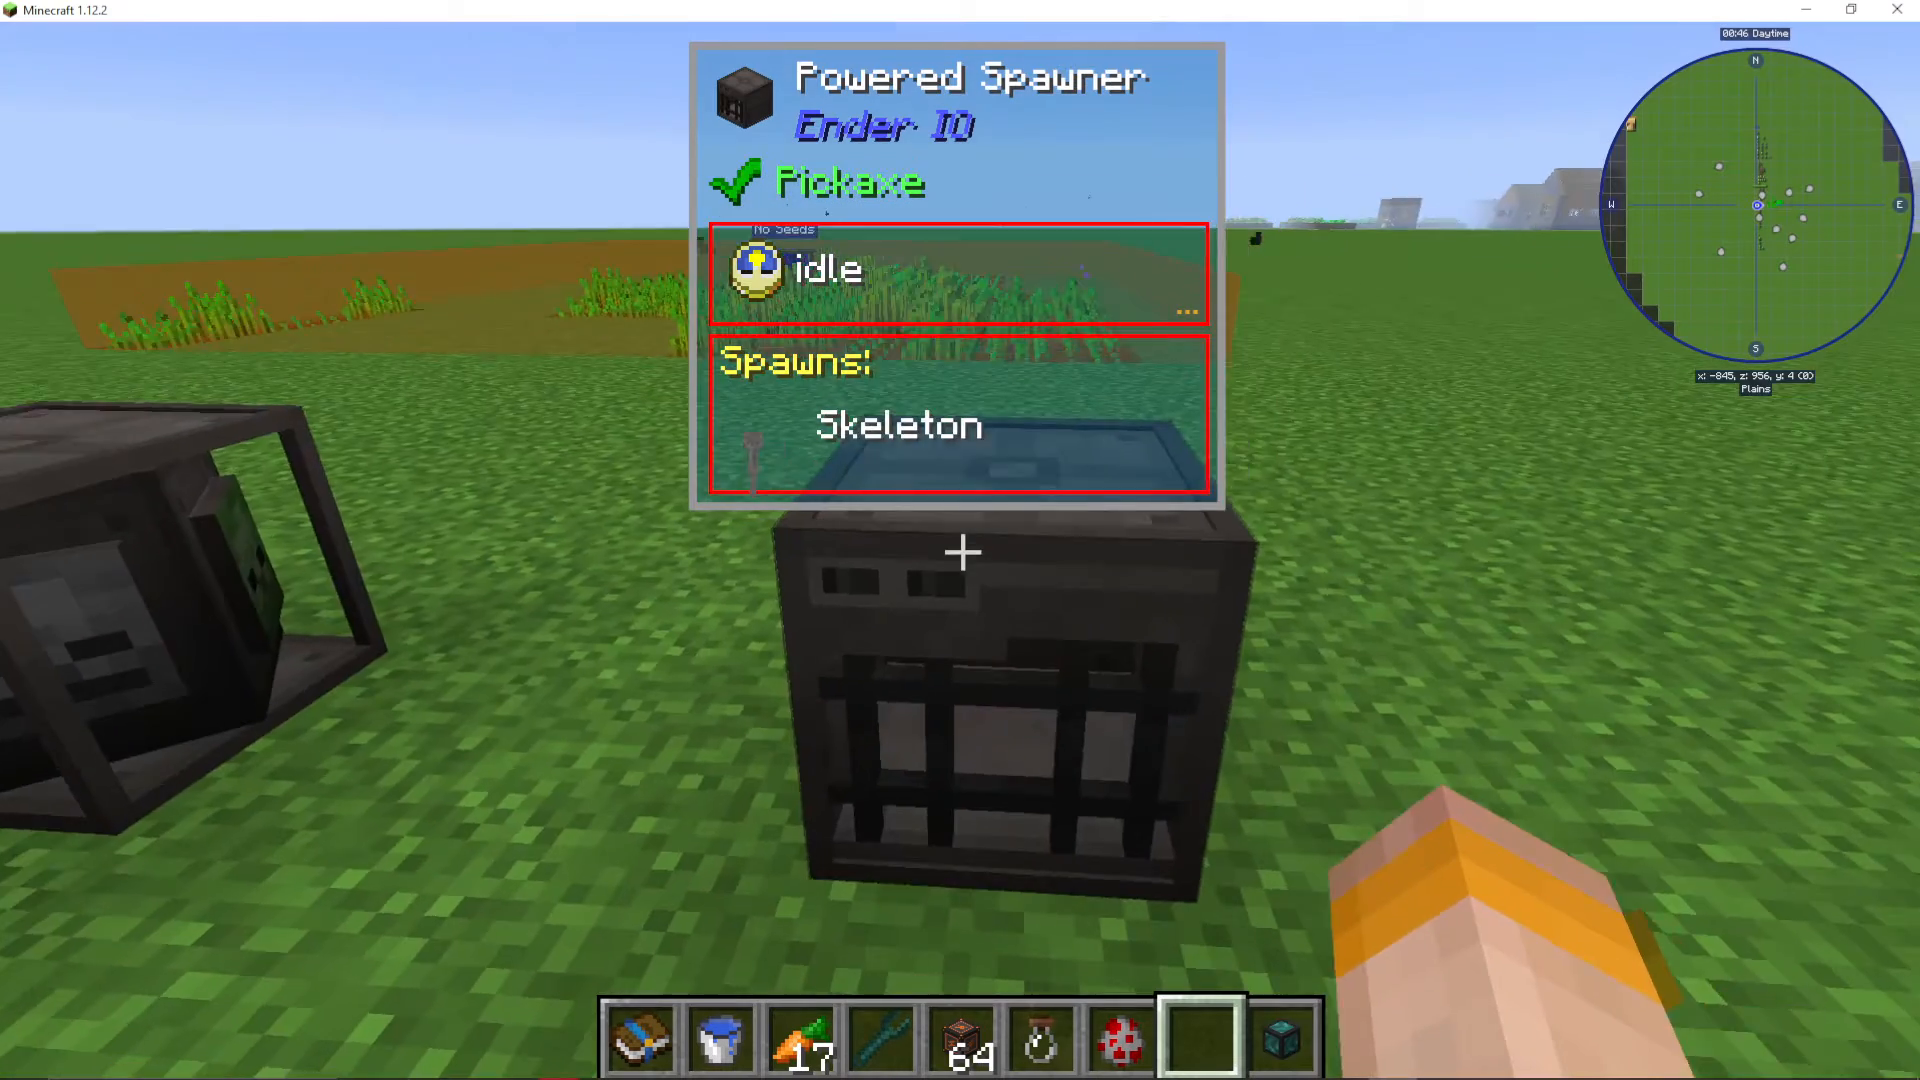
Powered Spawner
Convert broken spawners into active ones using an Anvil. Combine a broken spawner with a Powered Spawner recipe in a Dark Steel Anvil to create a functional spawner. Install a capacitor and the machine spawns mobs in a configurable range.
Alternatively, click the arrow to switch to capture mode. The machine fills empty Soul Vials instead of spawning mobs—allowing you to accumulate Soul Vials for later use with dispensers or direct placement.
Obelisks and End-Game Tools
Aversion Obelisk
Place Soul Vials in this obelisk to prevent those mobs from naturally spawning within its large range. Add multiple vials to block multiple mob types.
Inhibitor Obelisk
Prevents Endermen from teleporting away within its effect radius—useful for Enderman mob farms.
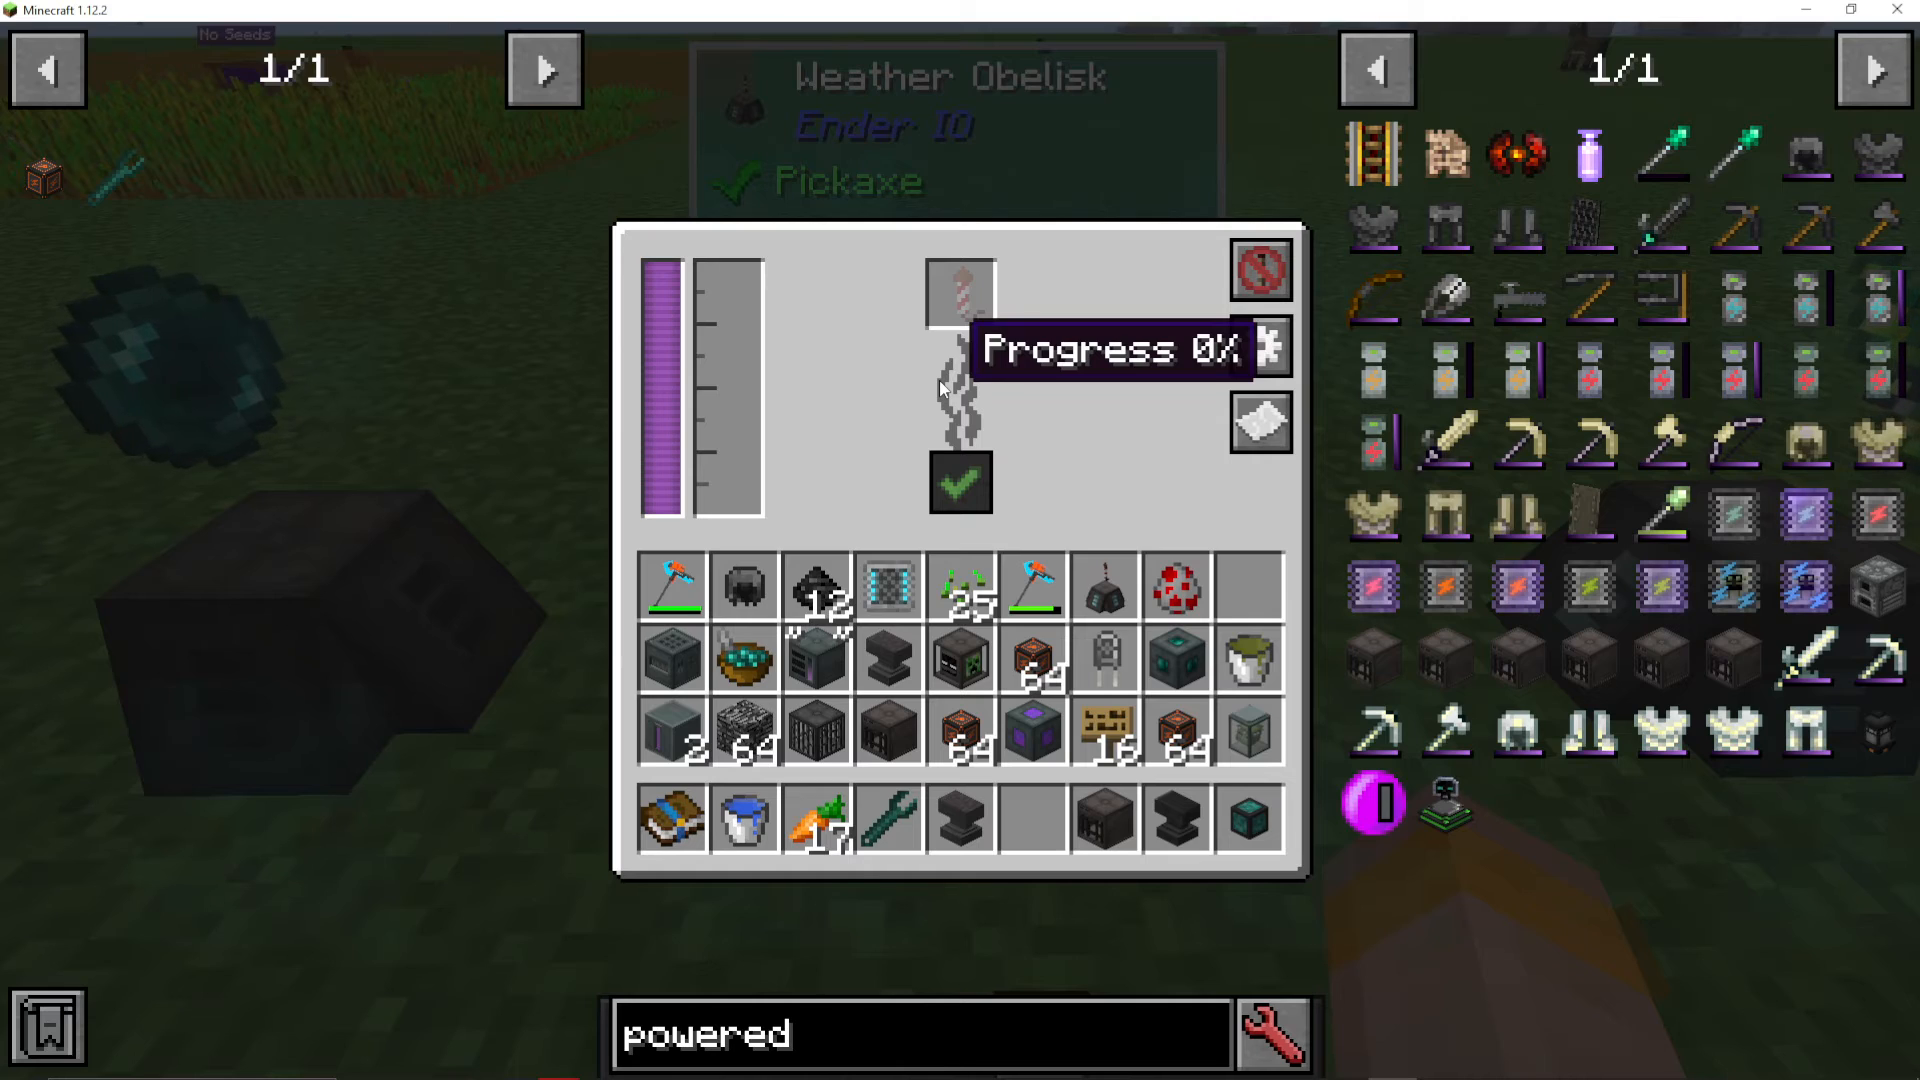
Weather Obelisk
Controls weather by consuming fireworks and catalysts:
Sunny – Requires Liquid Sunshine (glowstone, sunflowers, firewater)
Rain – Requires cloud seed
Thunder – Requires concentrated cloud seed
Due to the complexity of producing catalysts, this obelisk is rarely used except in specific modpacks.
Experience Obelisk
Store up to approximately 5,000 levels of player XP in this obelisk. Transfer XP from yourself into the obelisk and withdraw it later at full value.
Attractor Obelisk
Place a Soul Vial in this obelisk to attract mobs of that type—they’ll gather around it and can’t leave. Useful for mob farm concentration.
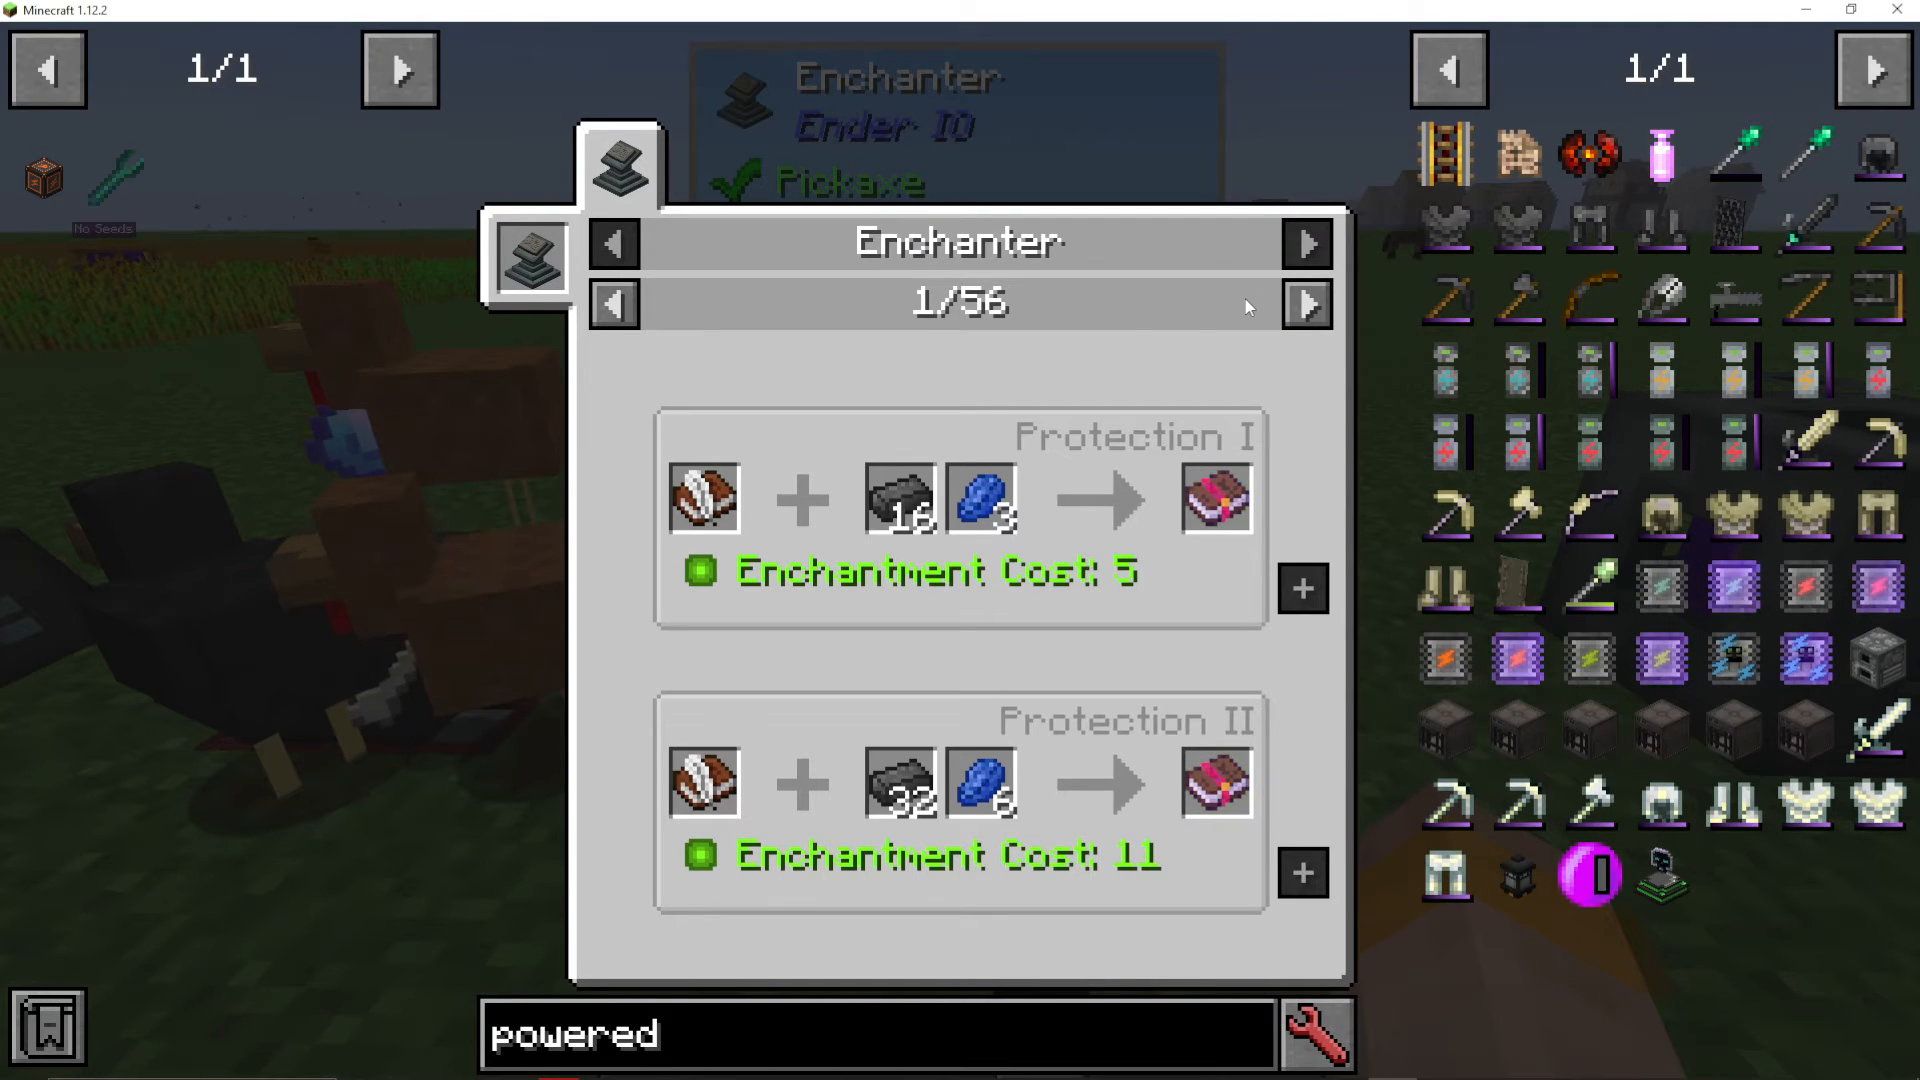
Enchanter
Craft enchanted books with your choice of enchantments by placing a Book and Quill with specific ingredients. Each enchantment has its own recipe, allowing you to obtain exactly the enchantments you need.
Vacuum Chest
This chest automatically pulls nearby items into its inventory. Add an Item Filter to restrict it to specific items, or leave it empty to vacuum everything. Highly useful for collecting drops from mob farms or ore processing.
XP Vacuum
Similar to the Vacuum Chest but collects experience orbs instead of items.
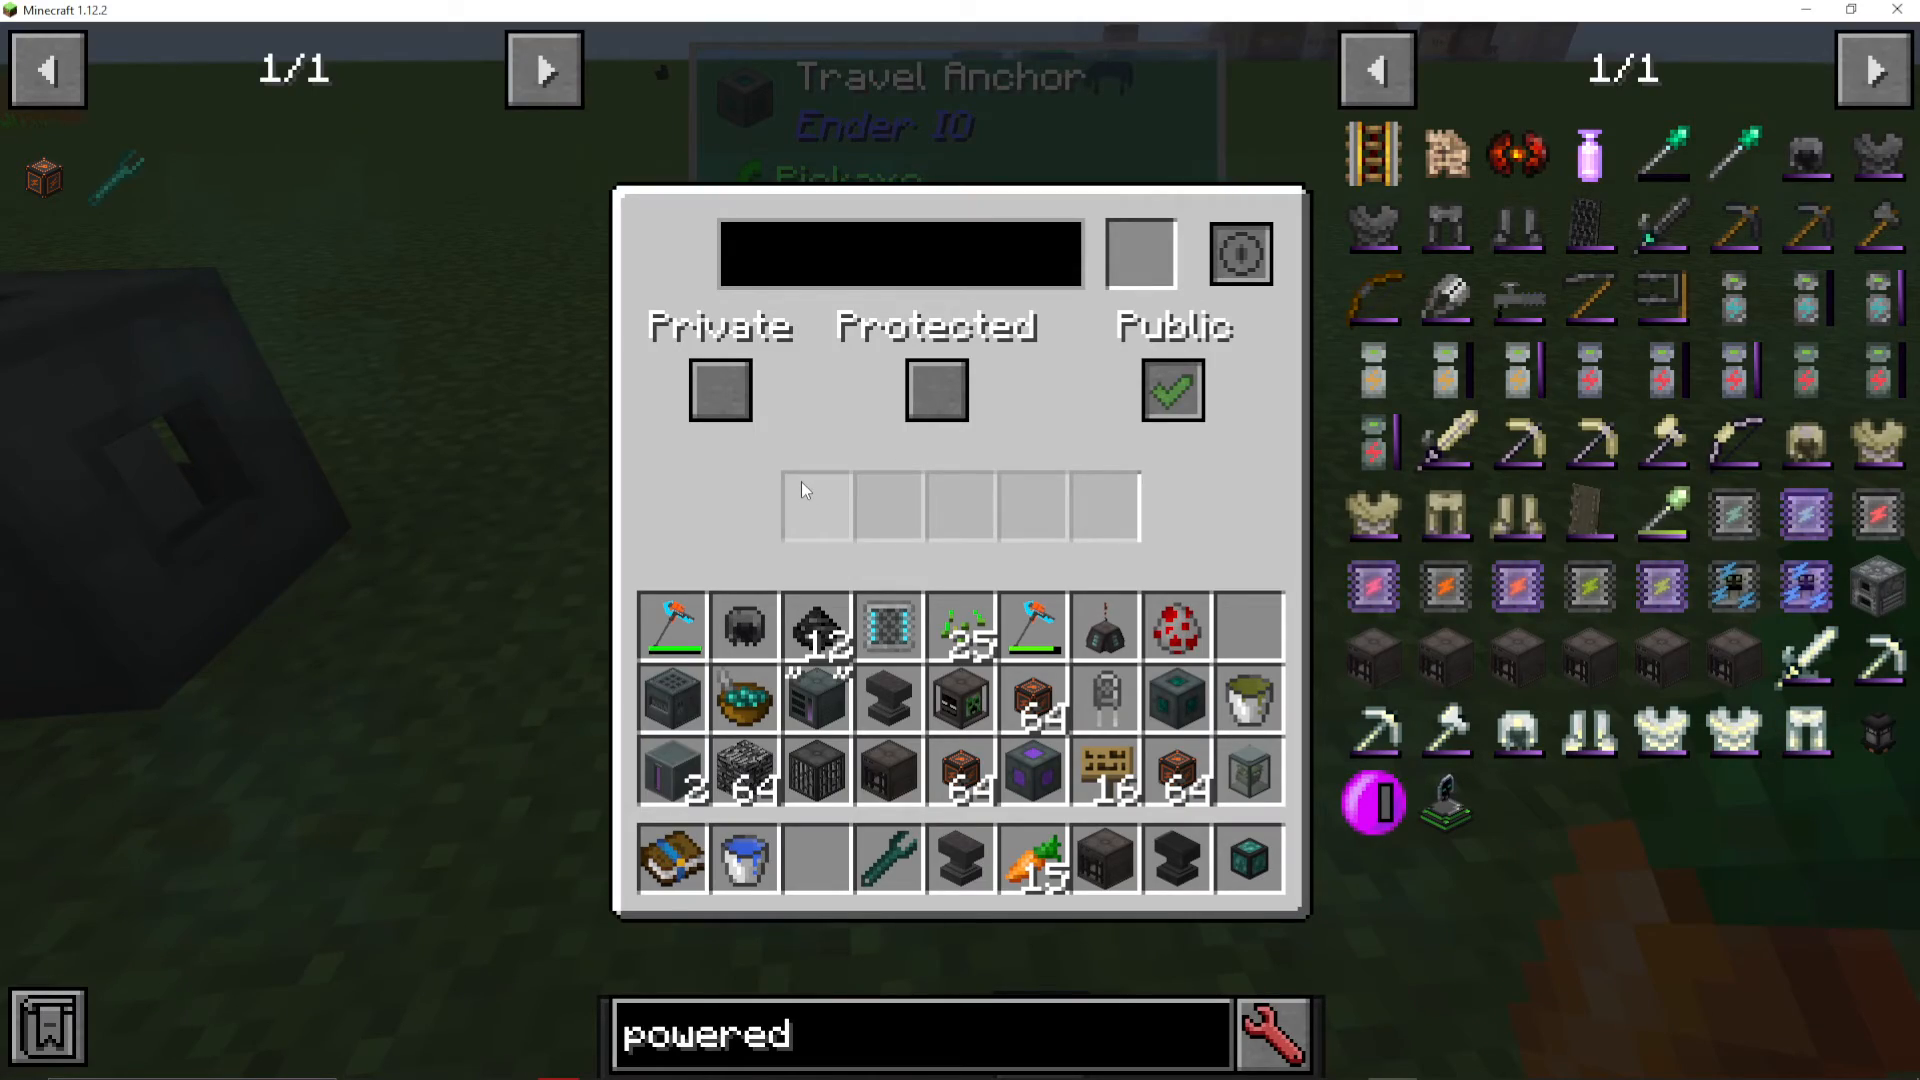
Travel Anchors
Create fast-travel waypoints by naming anchors and standing on them to teleport between anchors. Mark anchors as Private or Public, and assign unique names to distinguish them. You can place anchors at various distances and heights for convenient navigation.
Dark Steel Gear and Upgrades
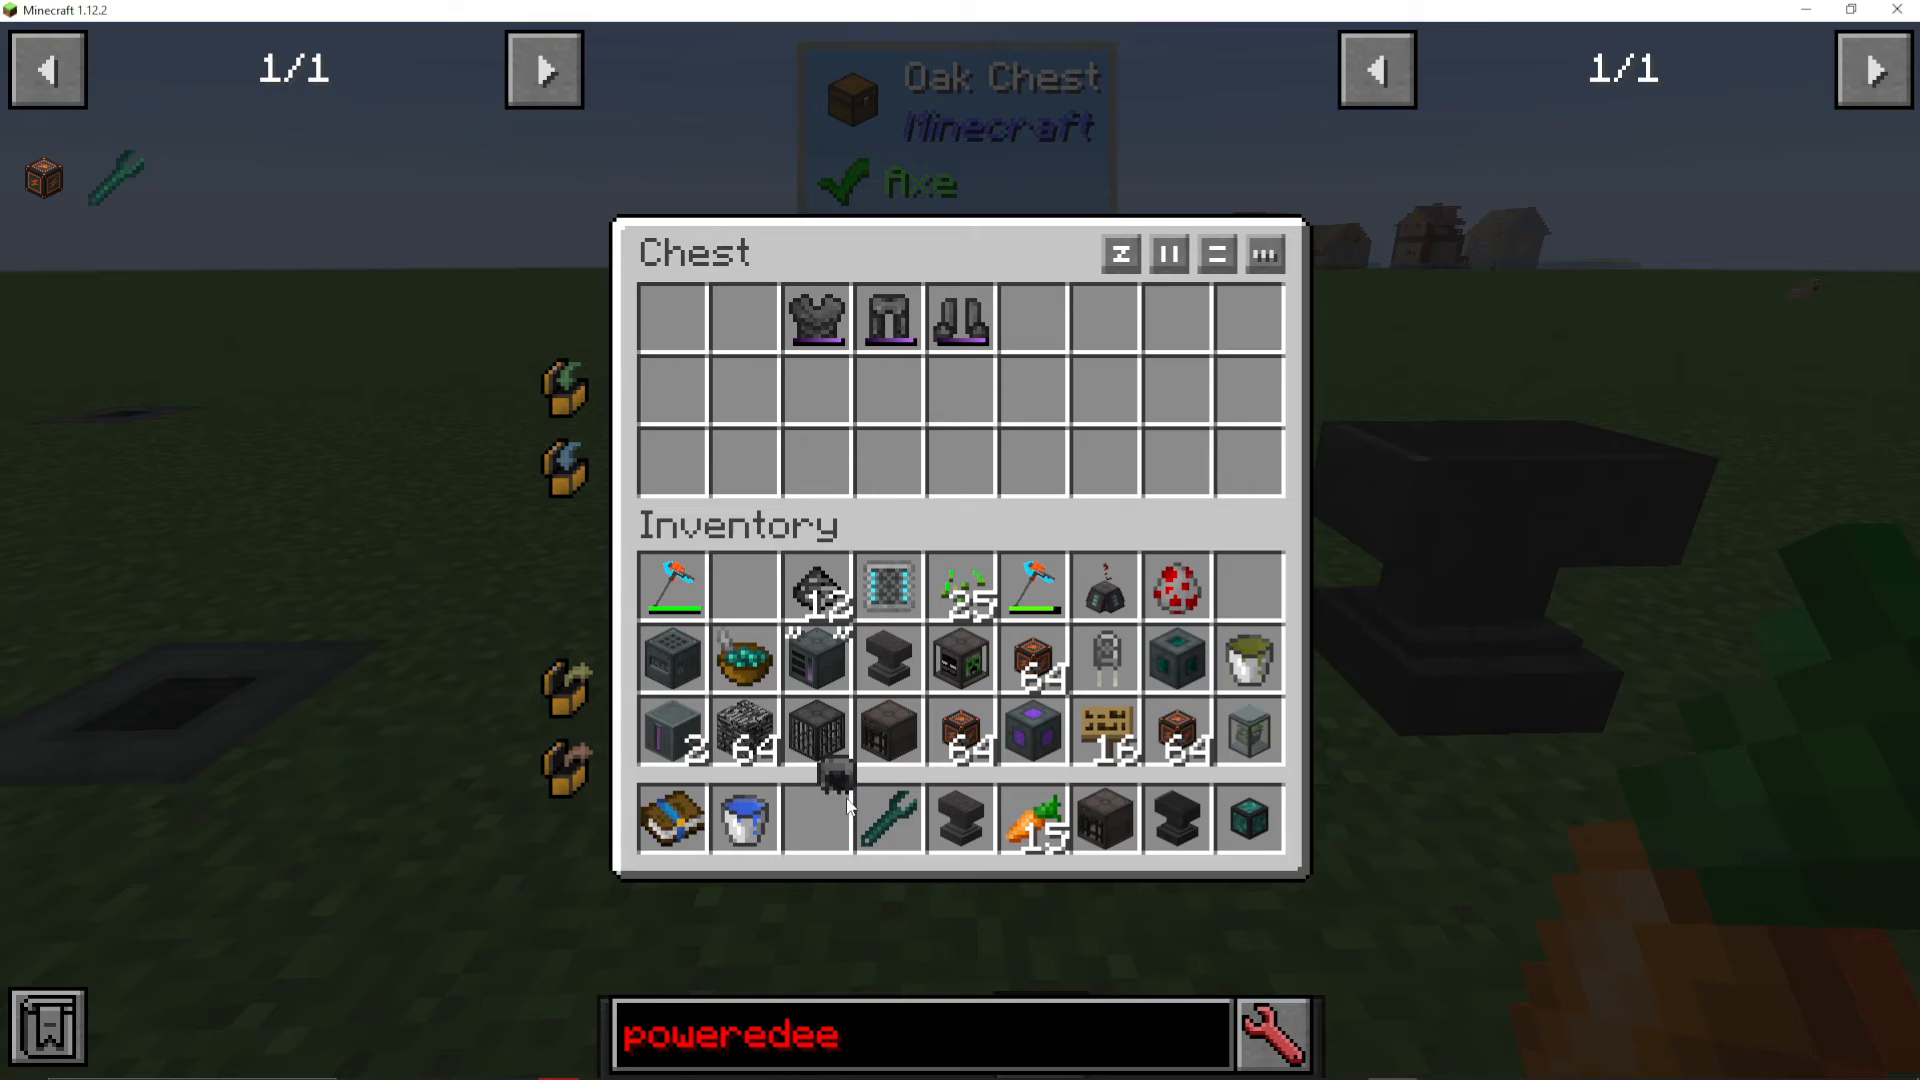
Craft Dark Steel armor and gear, then upgrade it in a Dark Steel Anvil. Each armor piece accepts multiple enhancements:
Helm – Energy storage, solar upgrades, revealing, micro anvil
Chestplate – Glider, grind stone, extra inventory space, pocket anvil
Leggings – Speed enhancements, flippers for swimming
Boots – Step assist, extra jump height
Ender Steel gear provides stronger versions of these upgrades. Each upgrade is crafted individually in the anvil.
Mob Generators
Killer Joe
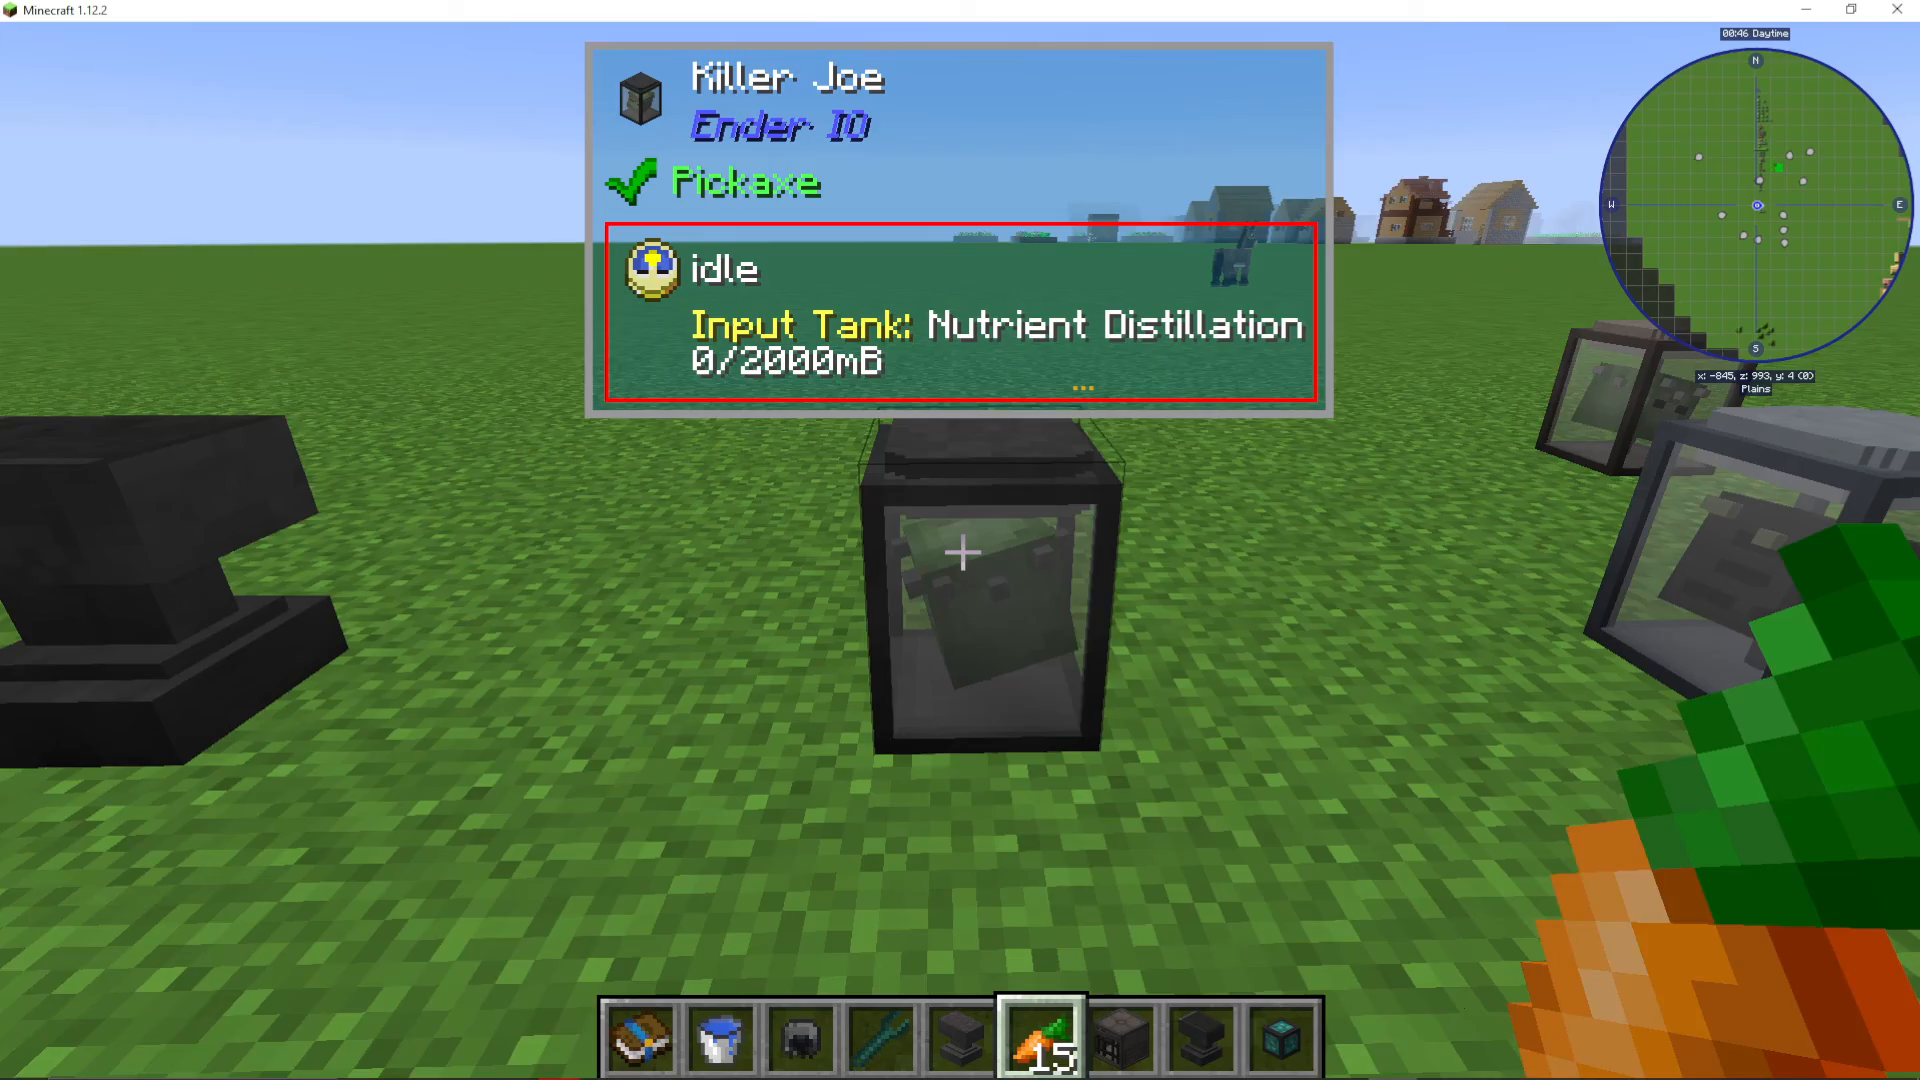
Automatically kills mobs in front of it by consuming Nutrient Distillation. The distillation is placed in a dedicated tank. A useful tool for processing mobs without manual effort.
Ender Generator
Generates power using Juice of the Void (made in the Vat with Nutrient Distillation, Grains of Pellezility, and Grains of the End). Grains of the End come from grinding Ender Crystals in the SAG Mill. Ender Crystals are crafted from Soul Vials of Endermen and Vibrant Crystals.
Zombie Generator and Franken Zombie Generator
These machines produce power directly from Nutrient Distillation. The Franken Zombie Generator is an upgraded version with better efficiency. Simply pipe in Nutrient Distillation to generate energy.
Finding Recipes and Troubleshooting
If you’re unsure how to craft any item or what ingredients a machine needs, use JEI (Just Enough Items) mod. Press “R” while hovering over an item to view its crafting recipe. Work backward through the recipe chain to understand all required components. This applies to all alloys, Grains of the End production, and complex multi-step recipes.
Once you understand the basic machines and resource production, you can replicate any recipe in Ender I.O.
Conclusion
This guide covers the essential and advanced features of Ender I.O., from early-game power generation with the Stirling Generator to end-game mob farms and weather control. Master capacitor selection, conduit routing, and machine configuration to build efficient automated systems. The mod’s flexibility in stacking conduit types on single block faces makes complex networks surprisingly manageable. Start with basic power generation and resource production, gradually work toward advanced machines, and eventually set up specialized farms and generators. With careful planning and the right capacitors, you can create fully automated bases that handle every aspect of your Minecraft journey.
Want to Support?
If you would like to help us continue making these guides – please consider joining our patreon here – https://www.patreon.com/c/JaviHeals
Alternatively – we host a group of MC Servers you can join here – https://discord.gg/zD7Gjt6MHF



