







Silo & Tank Tutorial – Immersive Engineering
Silo & Tank Tutorial – Immersive Engineering
In this guide, we’ll walk you through everything you need to know about using the Item Silo and Fluid Tank from Immersive Engineering. These are essential storage structures that allow you to efficiently store large quantities of items and fluids. Whether you’re just starting out or expanding your base, this tutorial will show you how to build and use both structures effectively.
Building the Item Silo
The Item Silo is an excellent storage solution for keeping large quantities of items organized. To build one, you’ll need the following materials:
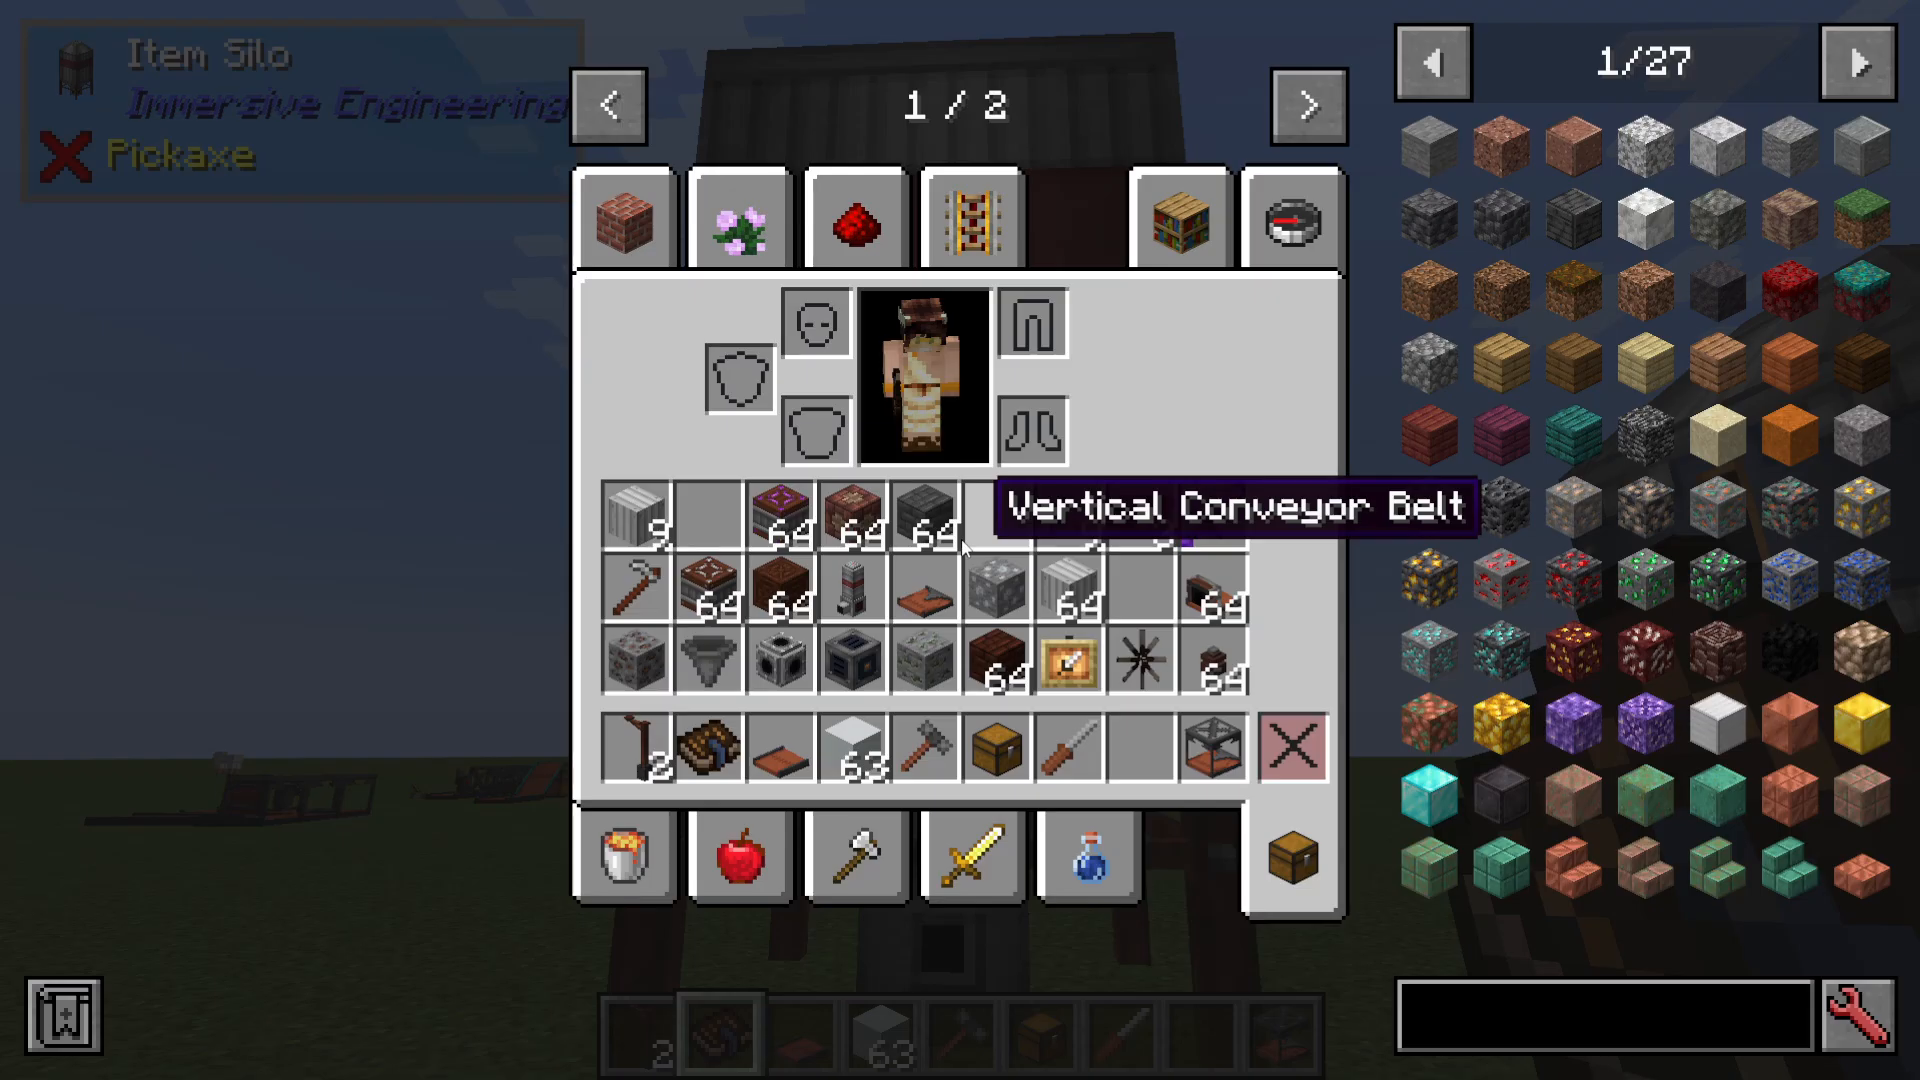
Materials Needed
Treated Wood Fence
Iron Sheet Metal
Engineer’s Hammer
Construction Steps
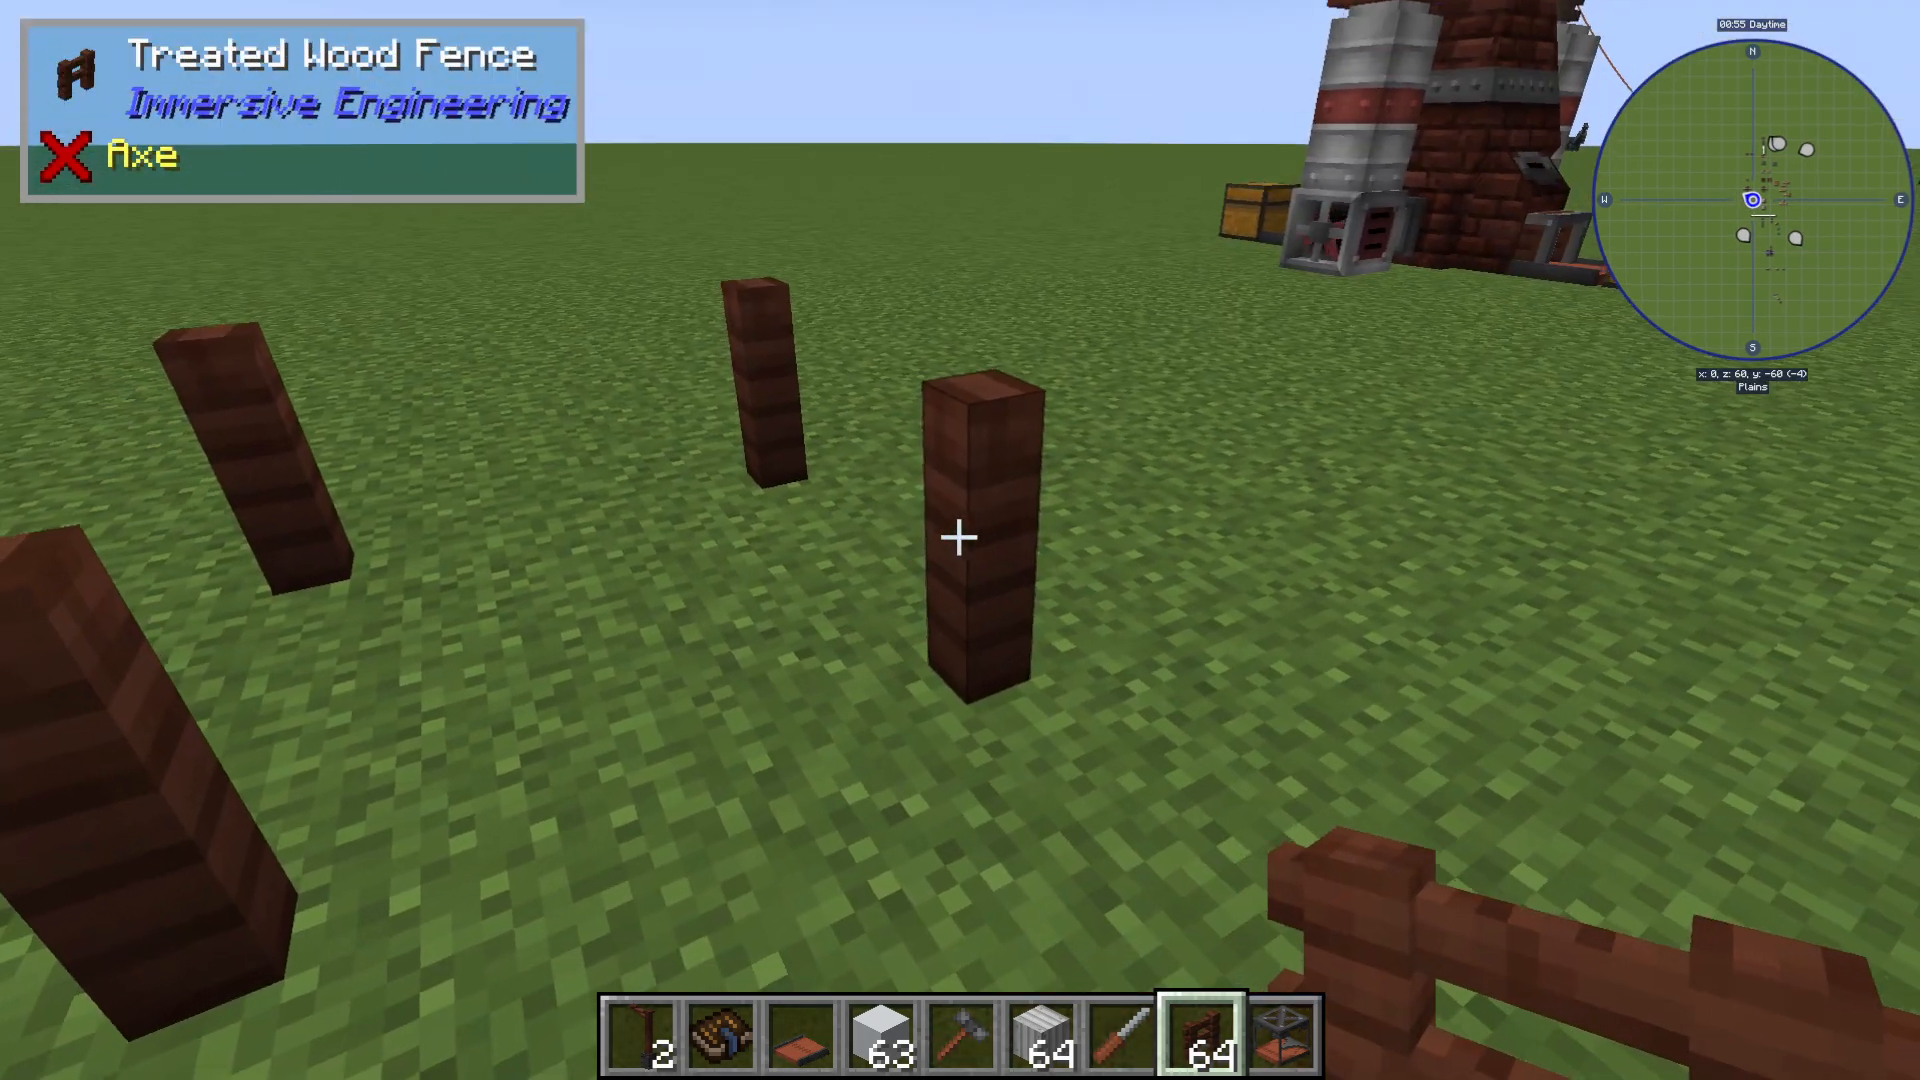
Start by placing treated wood fence in a one-space by one-space pattern on the bottom layer. Next, place iron sheet metal on top of this foundation.
Leave the center empty and build upward. The structure needs to be six blocks high in total. Count from bottom to top: one, two, three, four, five, six. The bottom layer consists of only the corner pieces, with the center left hollow.
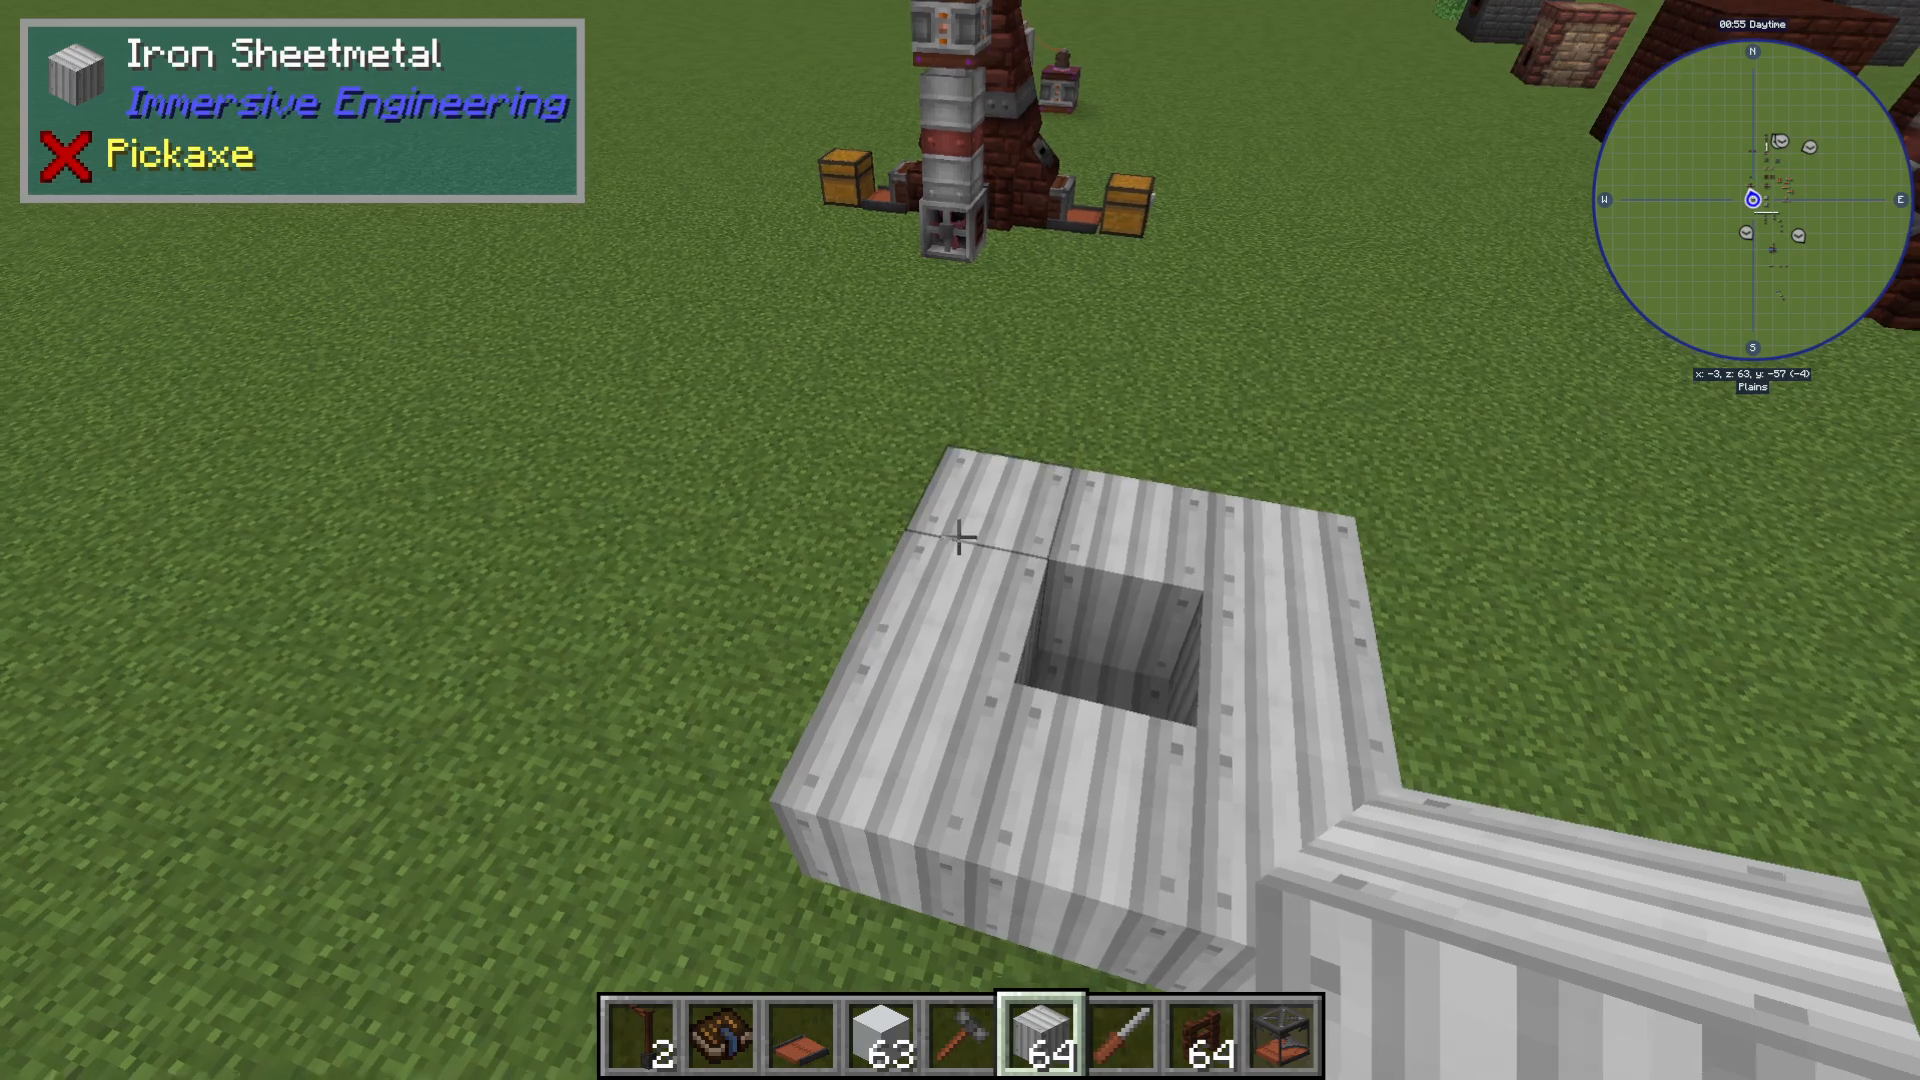
Once you’ve reached the correct height, fill in the top layer completely with iron sheet metal to cap off the structure.
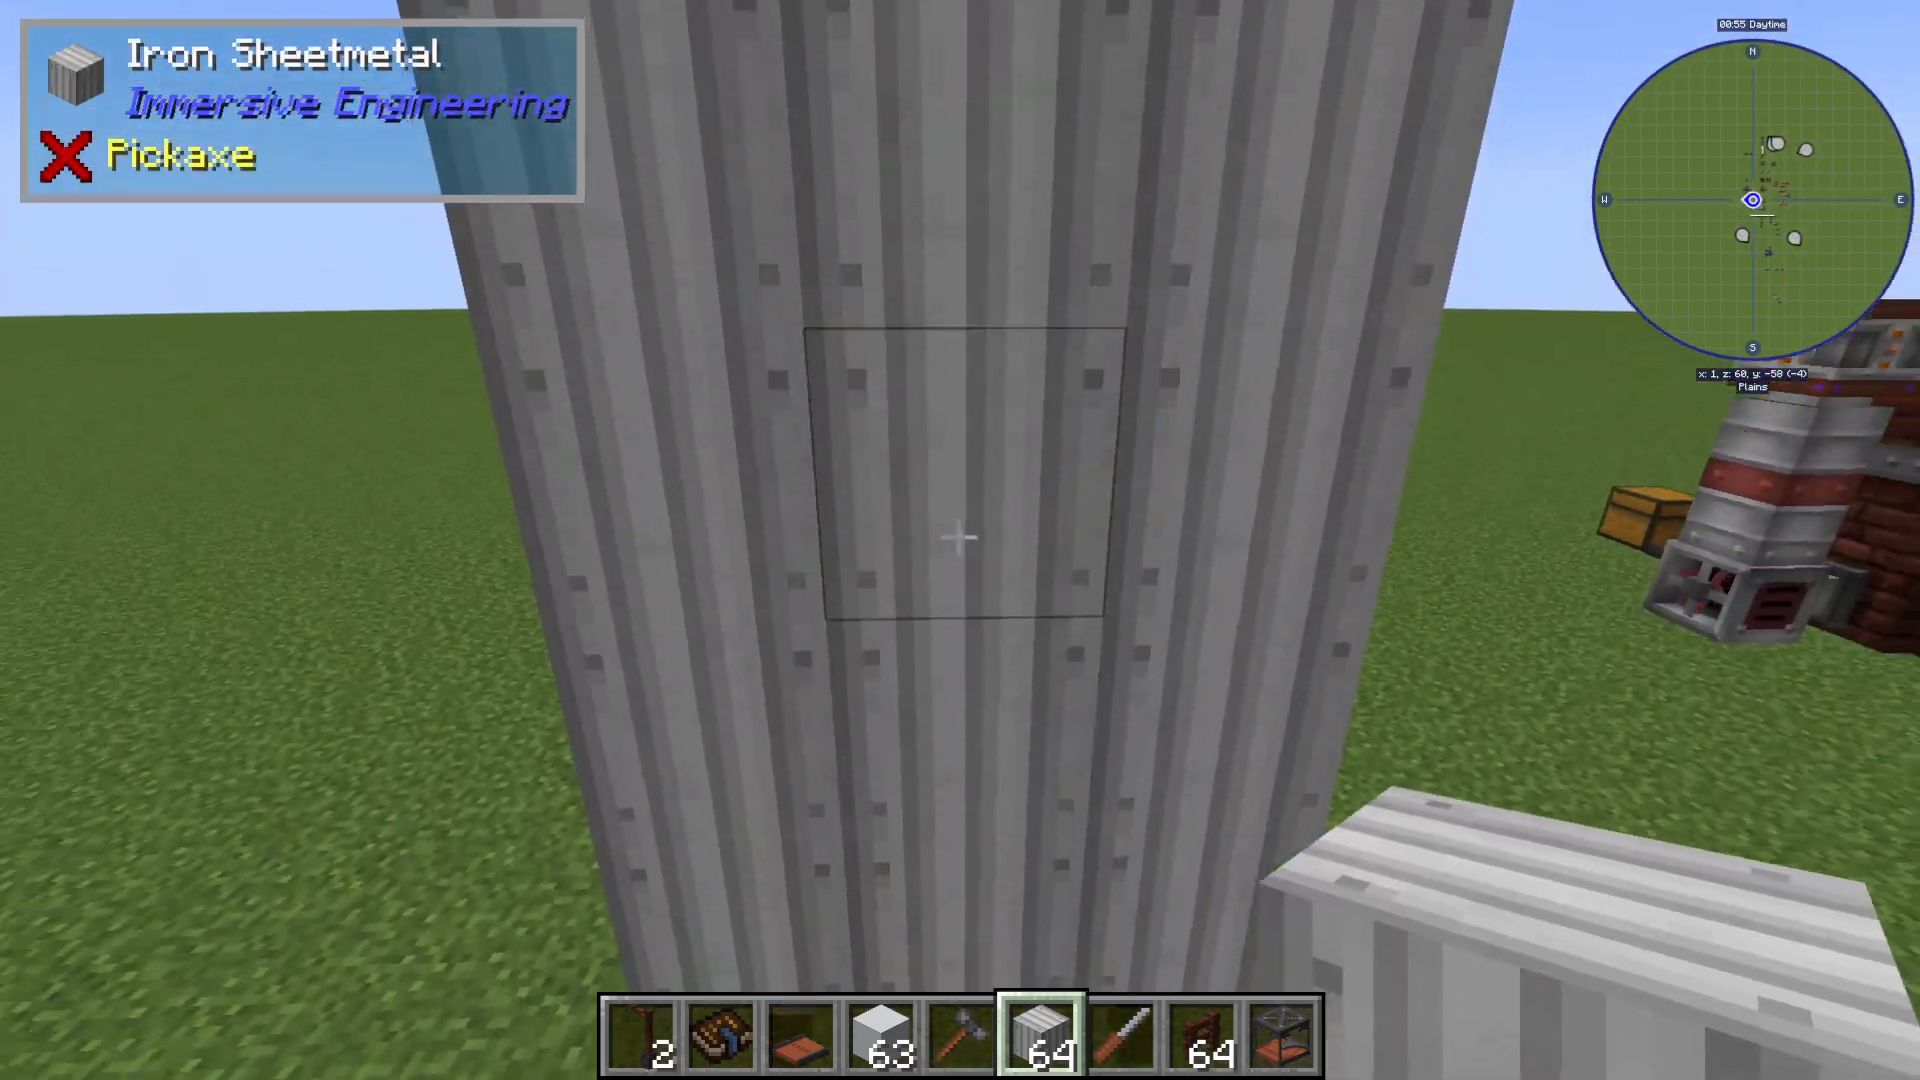
Now take your Engineer’s Hammer and right-click on the second layer from the bottom (the first main section of the structure). This will activate the silo and convert your structure into a functional Item Silo.
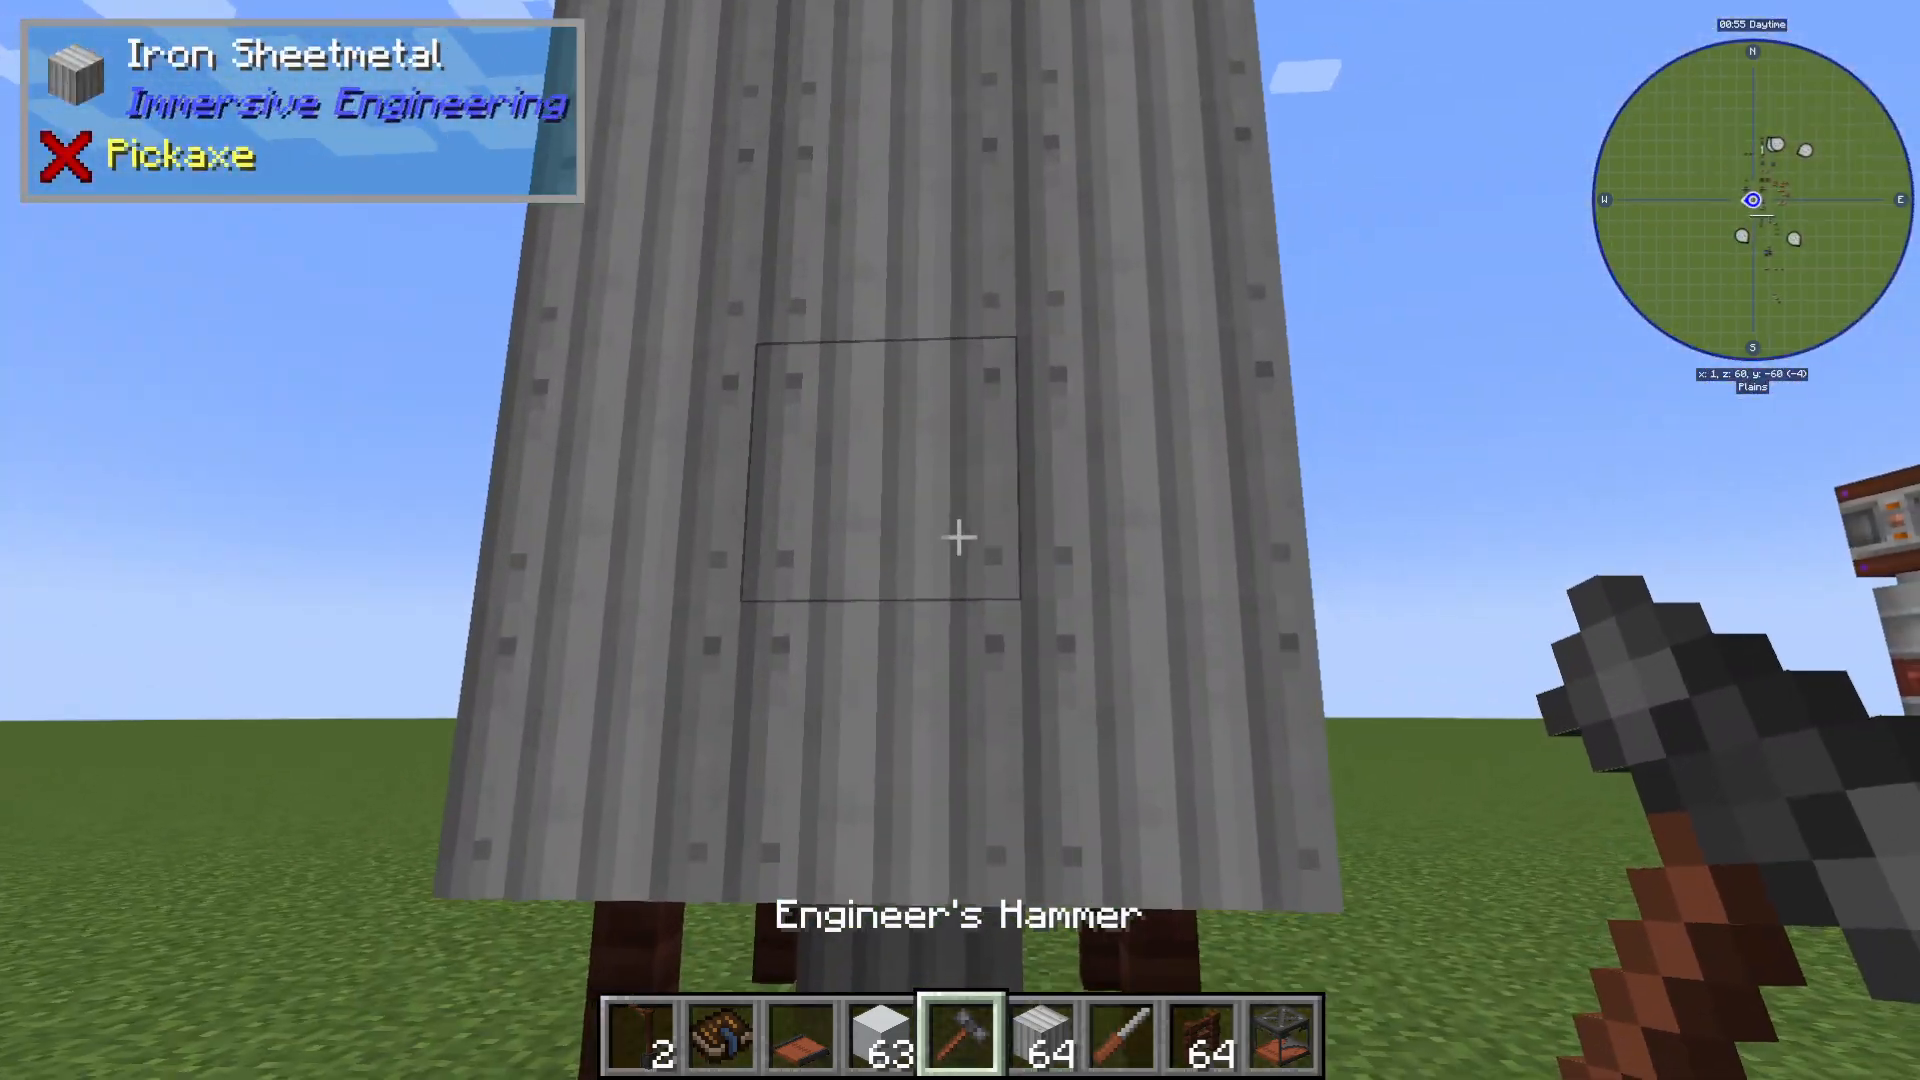
Using the Item Silo
The Item Silo doesn’t have a traditional clickable interface, but it’s straightforward to use. Insert items at the top of the silo, and extract items from the bottom. According to the Engineer’s Manual, the Item Silo can store an impressive 41,472 items of a single type—equivalent to 24 double chests worth of storage.
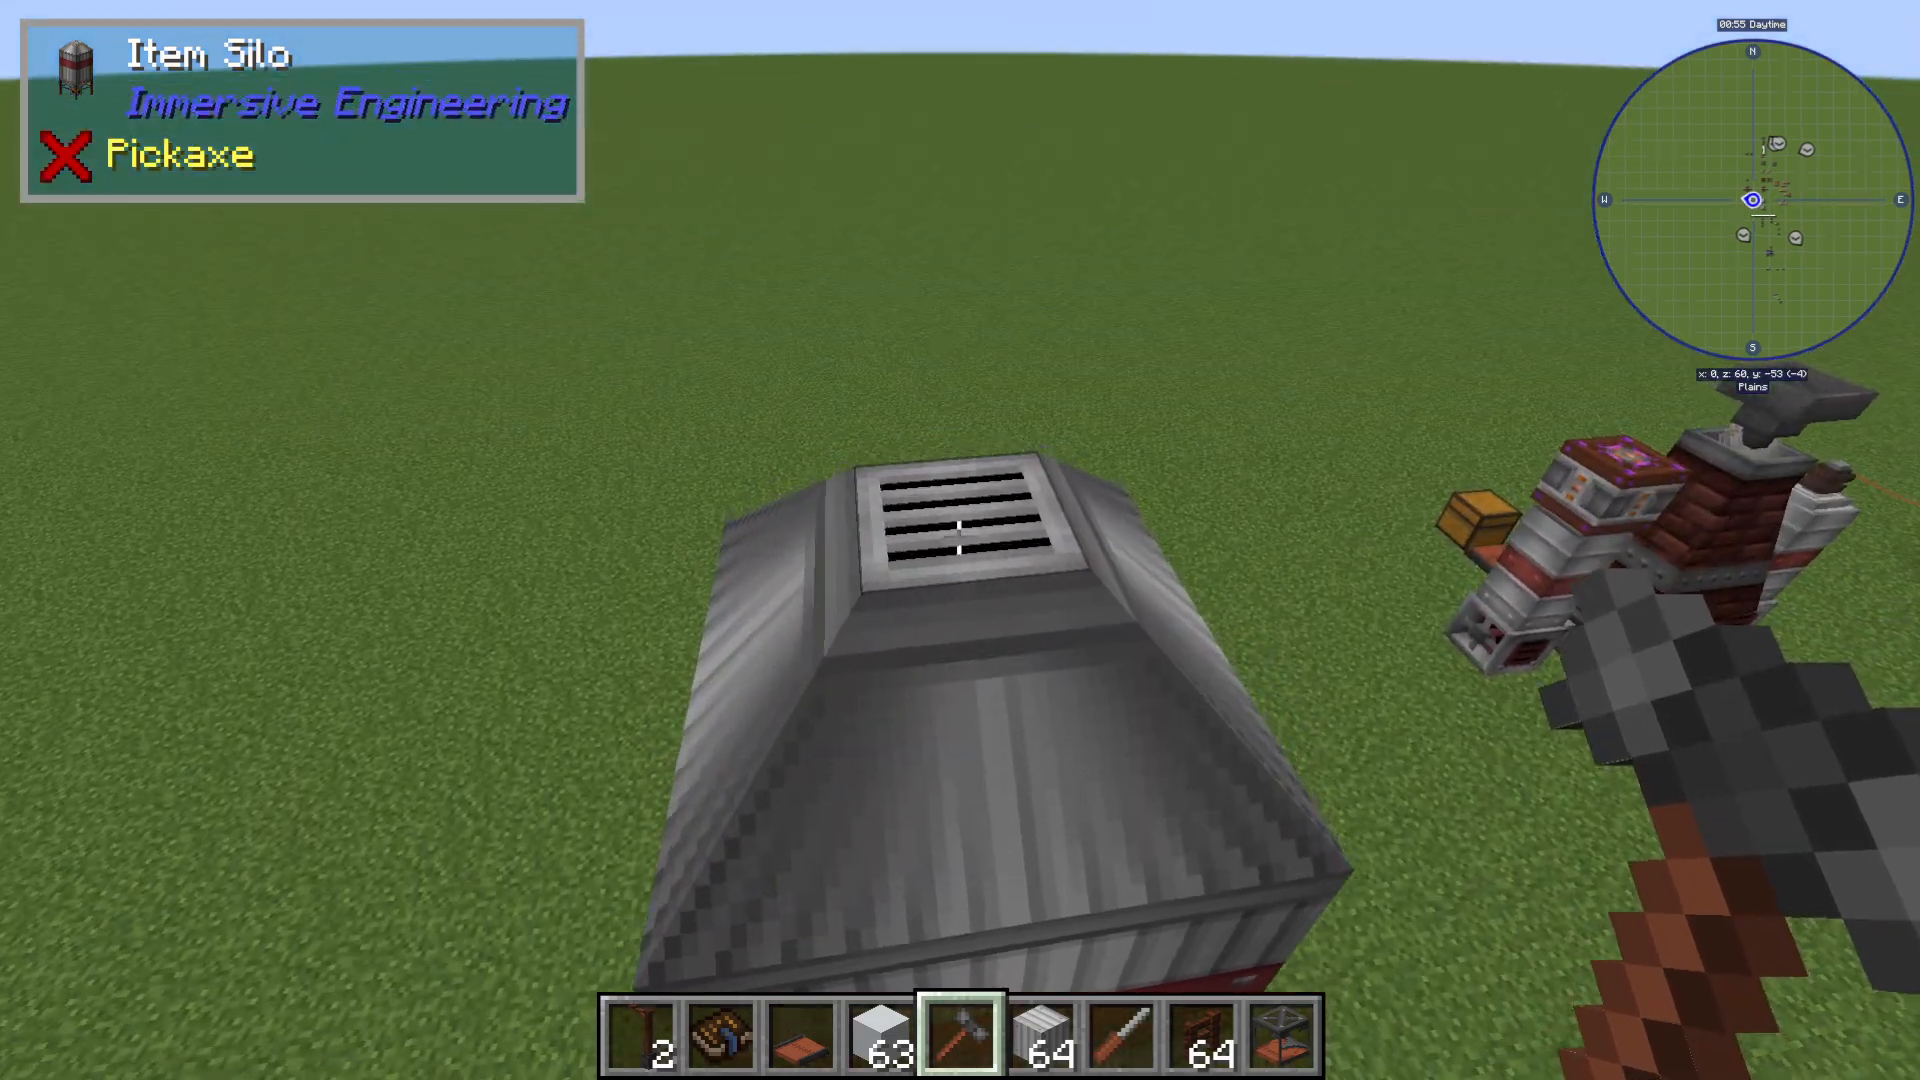
Building the Fluid Tank
The Fluid Tank works on similar principles to the Item Silo, but it’s designed specifically for storing liquids. It’s a slightly more compact structure.
Materials Needed
Treated Wood Fence
Iron Sheet Metal
Engineer’s Hammer
Construction Steps
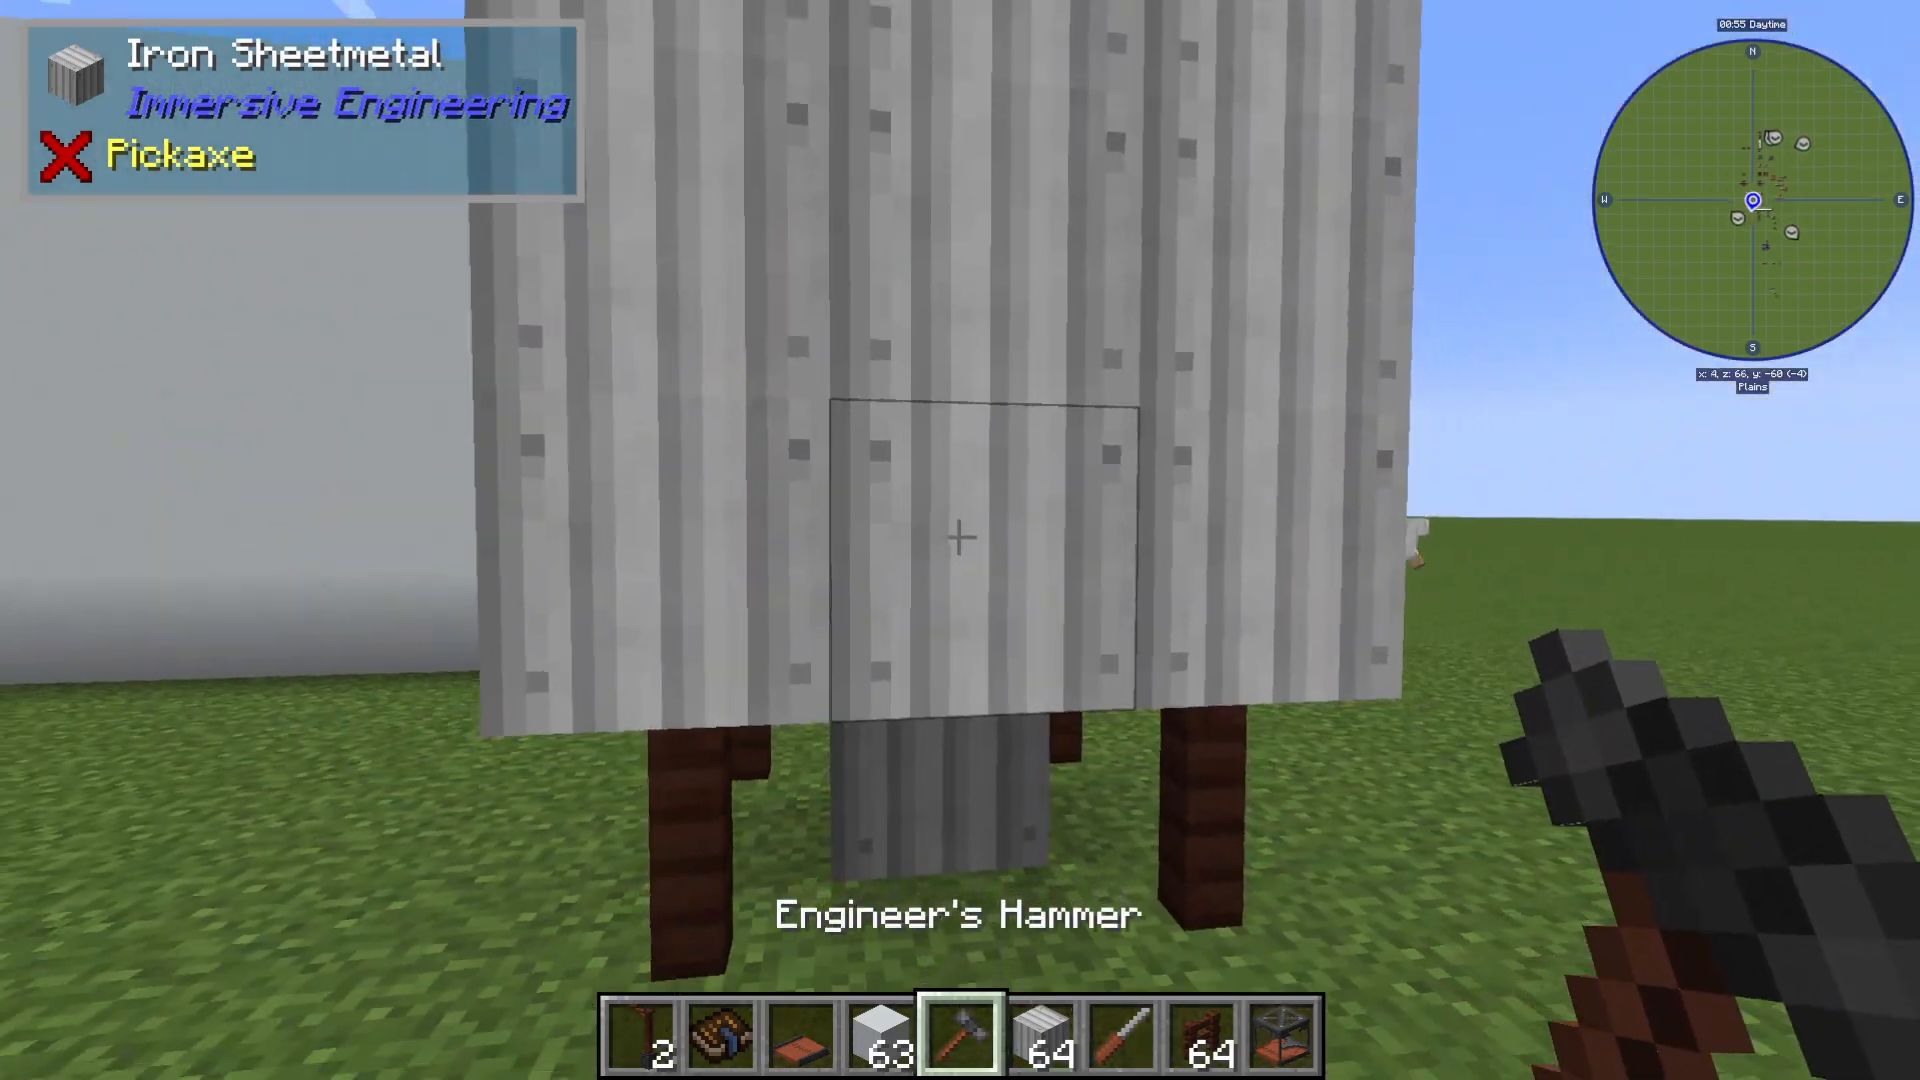
Build the Fluid Tank by placing treated wood fence in a one-space by one-space pattern on the bottom layer, just as you did with the Item Silo. However, this structure only needs to be four blocks high instead of six. Stack the layers as follows: one, two, three, four.
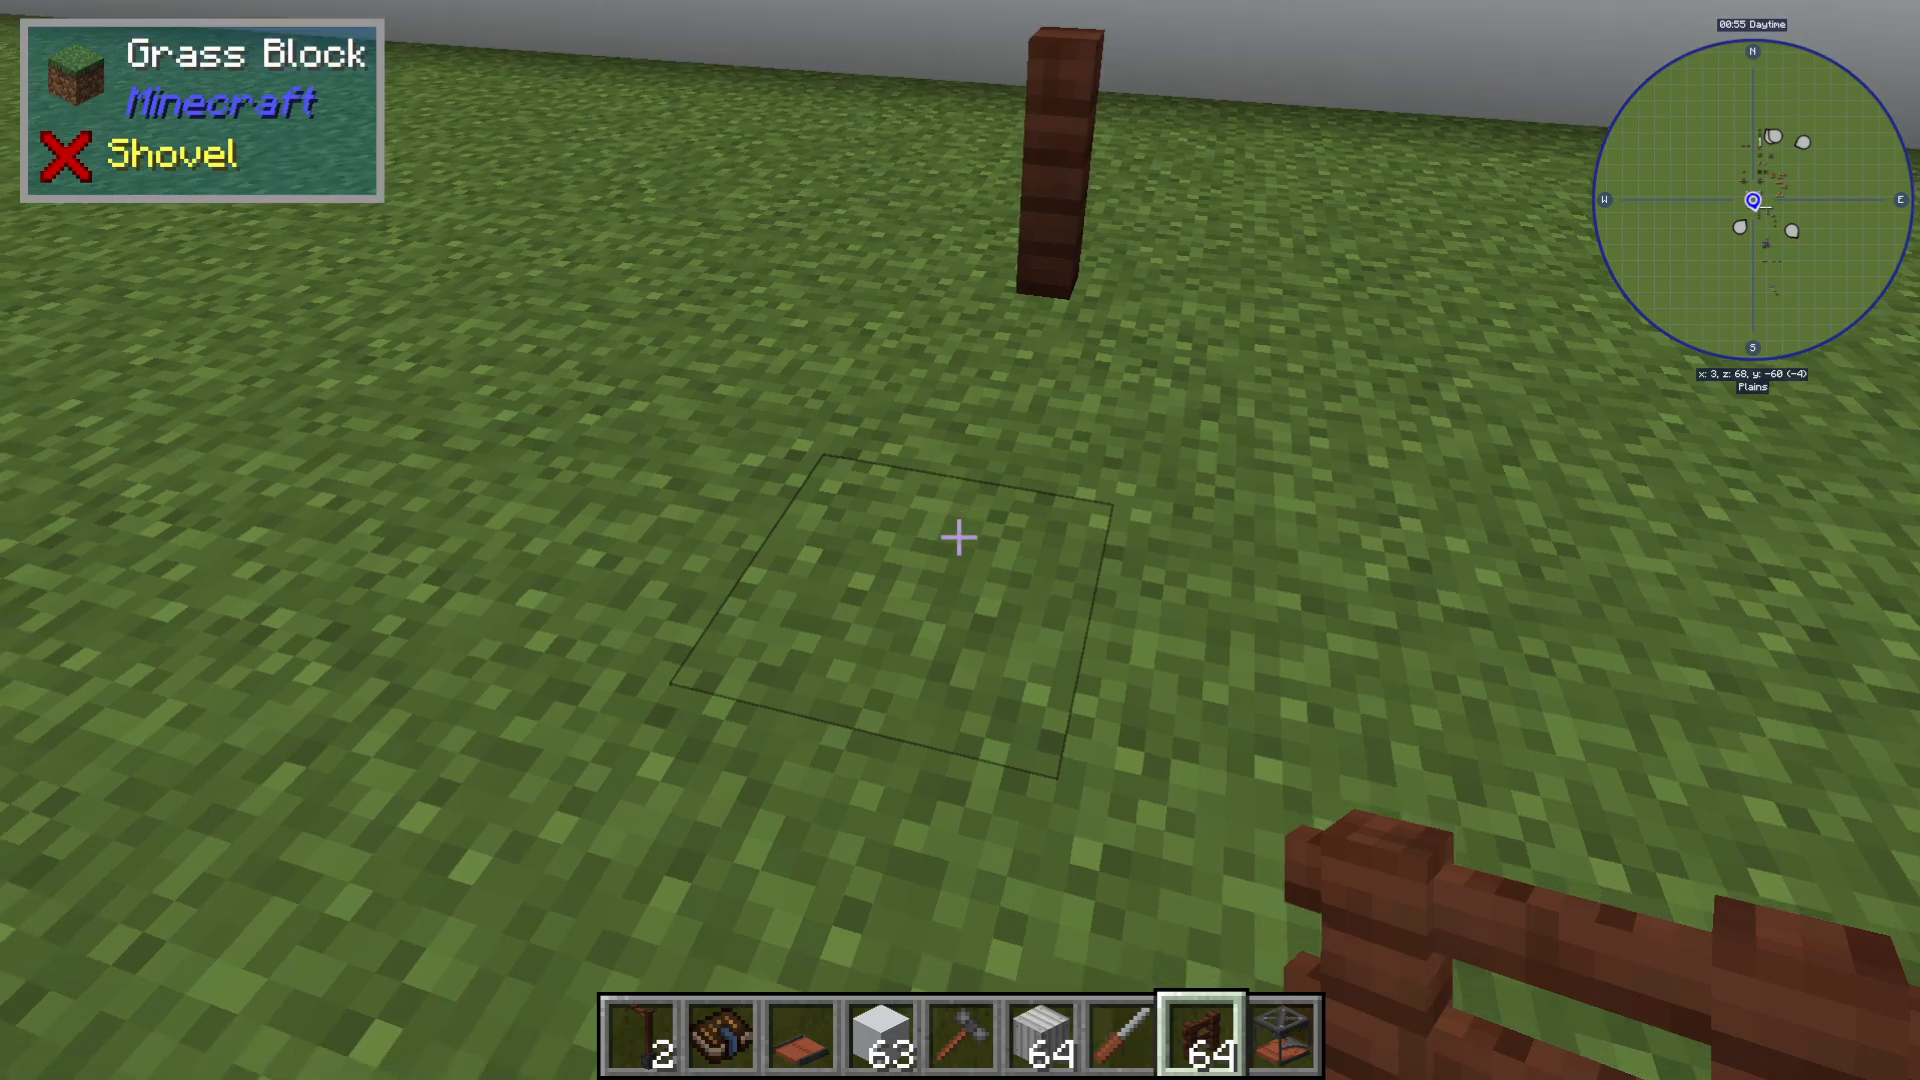
Like the Item Silo, leave the center empty during construction. Once you reach the correct height, complete the top layer and use your Engineer’s Hammer to right-click on the structure and activate it.
Using the Fluid Tank
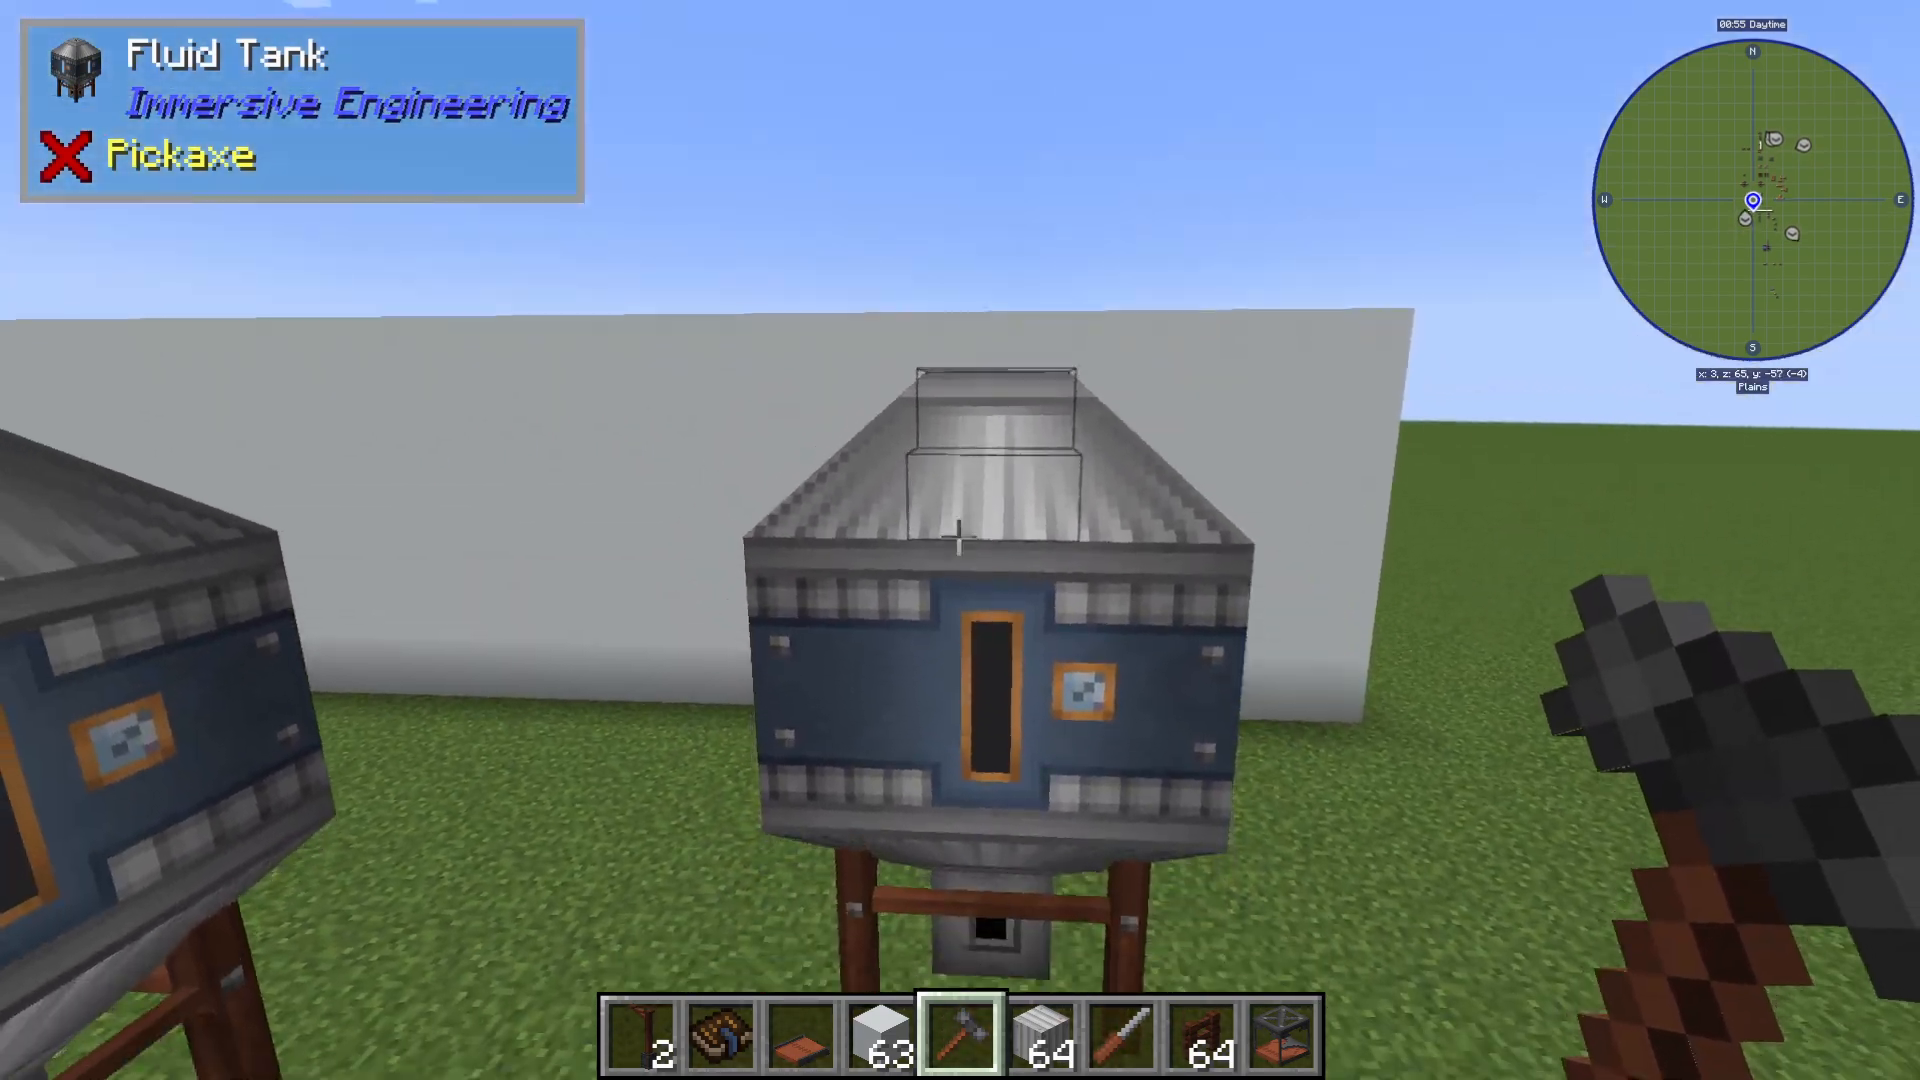
The Fluid Tank has a slightly different configuration than the Item Silo. You can input fluids at both the top and bottom of the tank. However, you can only extract fluids from the bottom—the top is input-only.
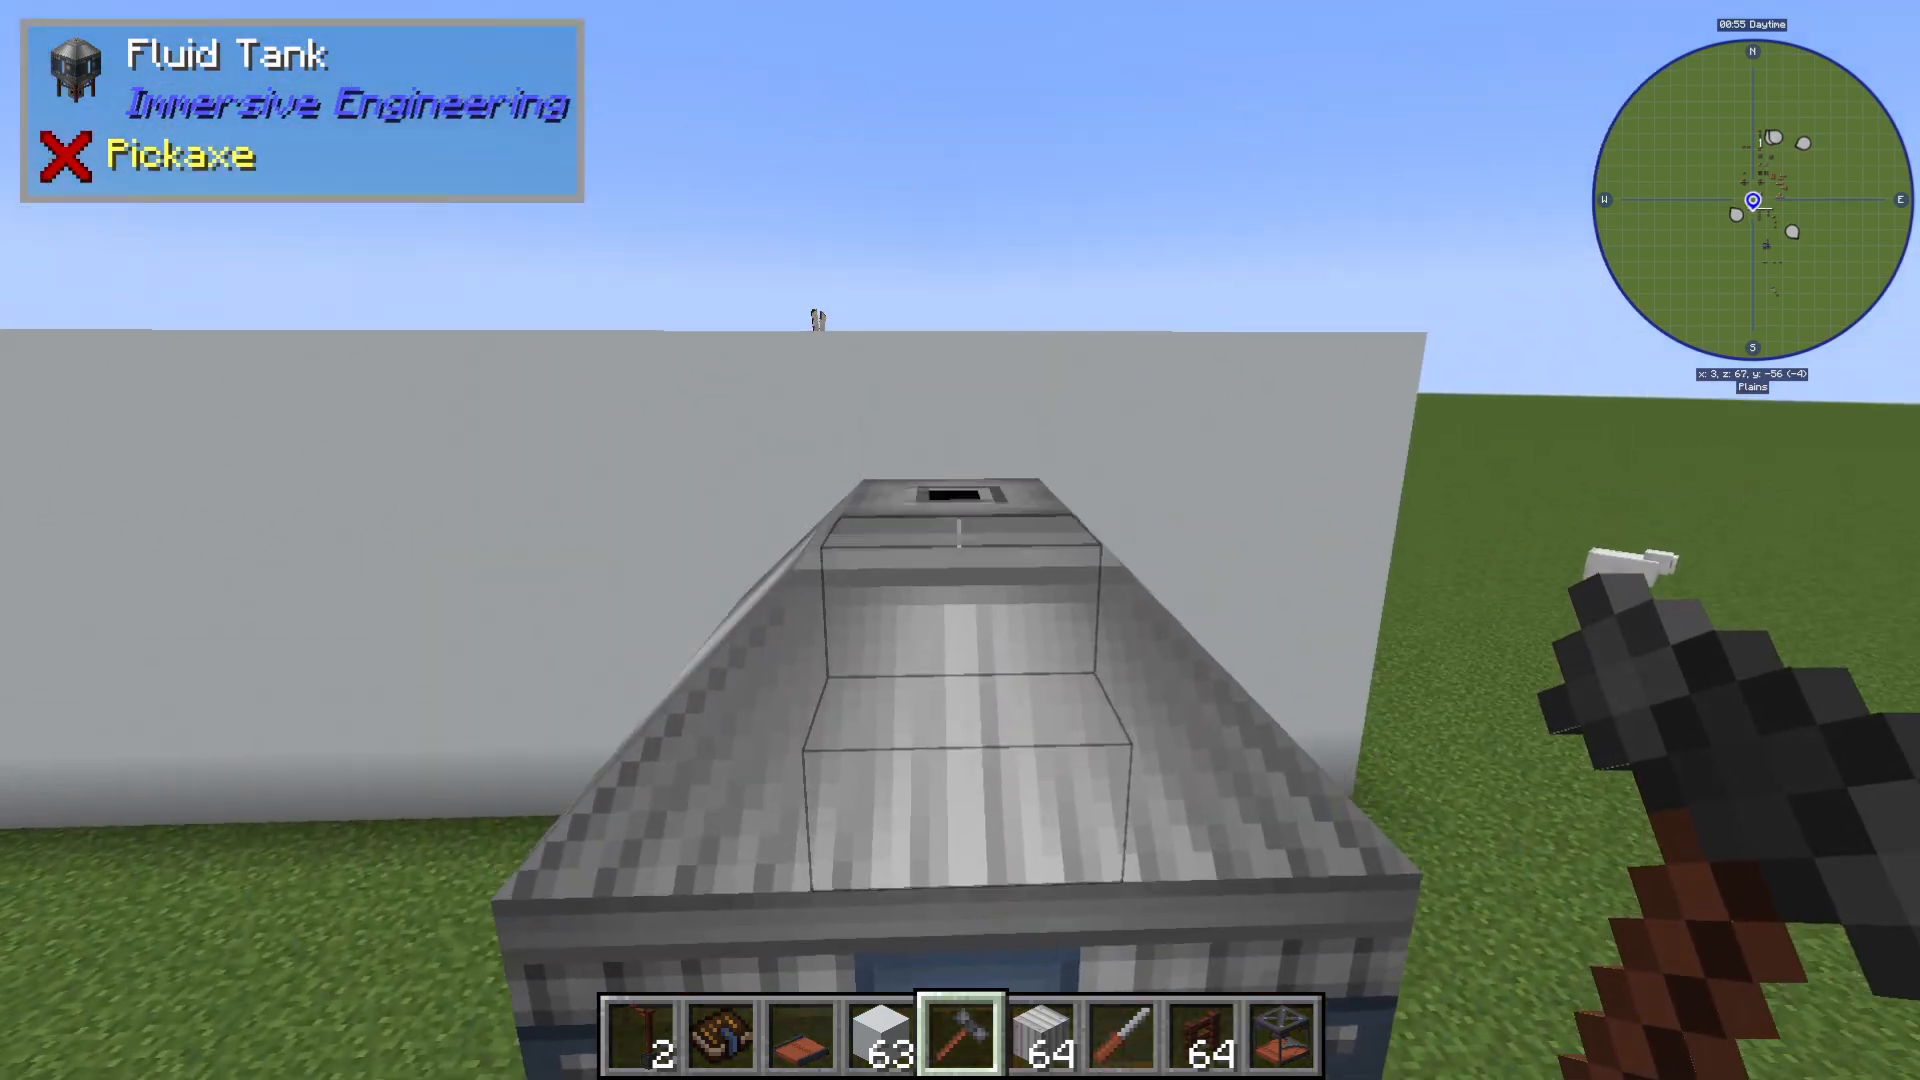
The Fluid Tank stores a maximum of 512 buckets of any fluid type. This makes it perfect for storing lava, water, fuel, or any other liquid your automation systems might require.
Summary
Both the Item Silo and Fluid Tank are straightforward structures that provide massive storage capacity for your Immersive Engineering base. The Item Silo holds up to 41,472 items (24 chests), while the Fluid Tank holds 512 buckets of fluid. With these two storage solutions in place, you’ll be well-equipped to handle large-scale automation and resource management in your world.
For more comprehensive coverage of Immersive Engineering and other Minecraft mods, check out the full playlist available on the channel. We’re covering the entire Immersive Engineering mod from start to finish, and we’ve also created extensive guides for many other popular Minecraft mods.
— Want to Support? —
If you would like to help us continue making these guides – please consider joining our patreon here – https://www.patreon.com/c/JaviHeals
Alternatively – we host a group of MC Servers you can join here – https://discord.gg/zD7Gjt6MHF



