







Precision Mechanism Easy Automation Guide – Create Mod
Precision Mechanism Easy Automation Guide – Create Mod
This guide walks you through setting up a fully automated precision mechanism farm in the Create mod. Precision mechanisms are essential items used throughout Create, particularly with the rotation speed controller. Since precision mechanisms have only an 80% success rate and must cycle through a five-step process, automating their production is invaluable for mid to late-game progression. Follow this tutorial to build an efficient system that handles all five crafting cycles automatically.
Understanding Precision Mechanisms
Precision mechanisms are critical items in Create, especially when used with the rotation speed controller—arguably the most important end-game tool for managing rotational speeds. Unlike single-cycle crafting items, precision mechanisms require you to process them five times in succession. Each cycle has an 80% chance of success and a 20% chance of producing byproducts like crushed raw gold.
The automation process involves stacking a gold sheet with a small cog wheel, a large cog wheel, and an iron nugget, then cycling this combination five times until completion.
Building Your Conveyor Belt Foundation
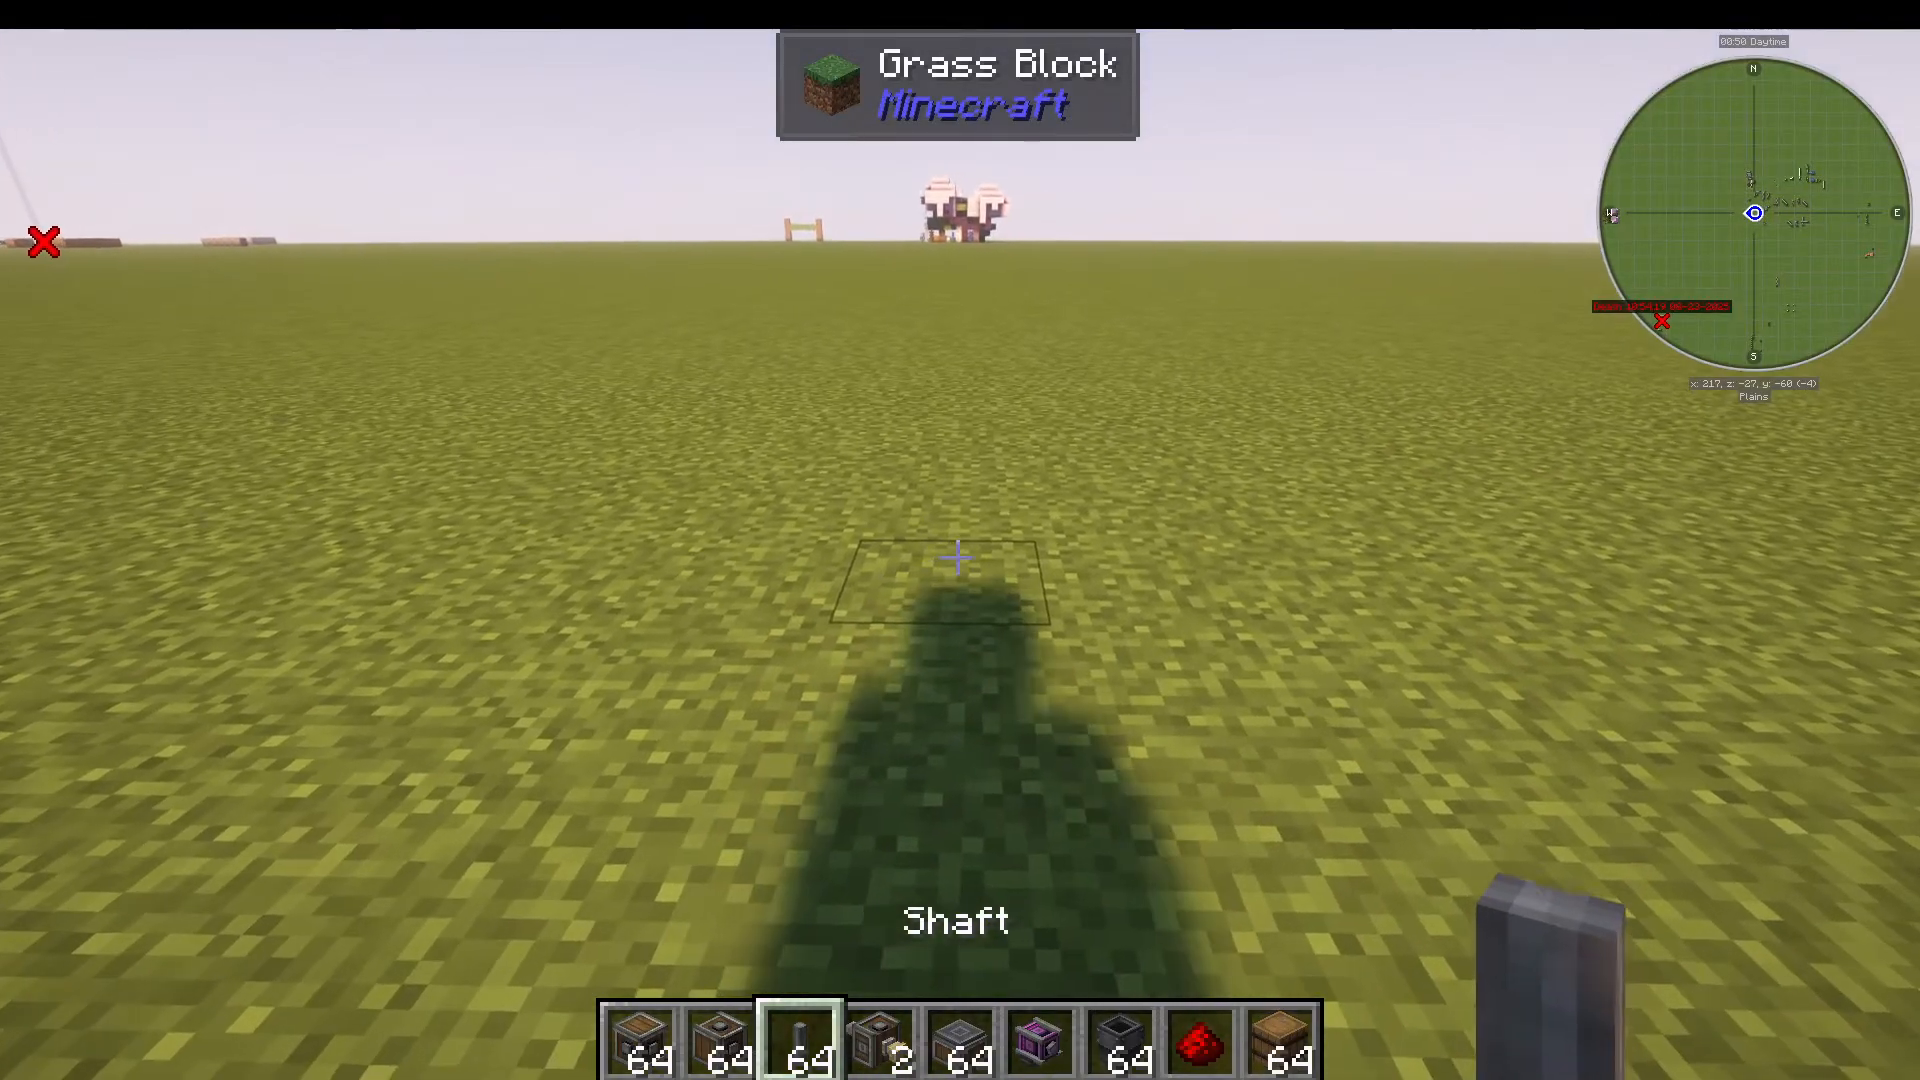
Start by laying down your main conveyor belt system. You’ll need a total of three to four conveyor belt sections arranged in a line. At the end of your conveyor belt, place a chute with a barrel or chest beneath it to catch your finished items.
Setting Up the Chain Drive Mechanism
On the left side of your conveyor belt, place a total of four encased chain drives. Position them as follows:
One encased chain drive facing into the belt
One encased chain drive positioned outside the belt facing upwards
On top of that, place a shaft
Add another encased chain drive facing upwards
Finally, add one more encased chain drive facing into the front
Installing Item Vaults
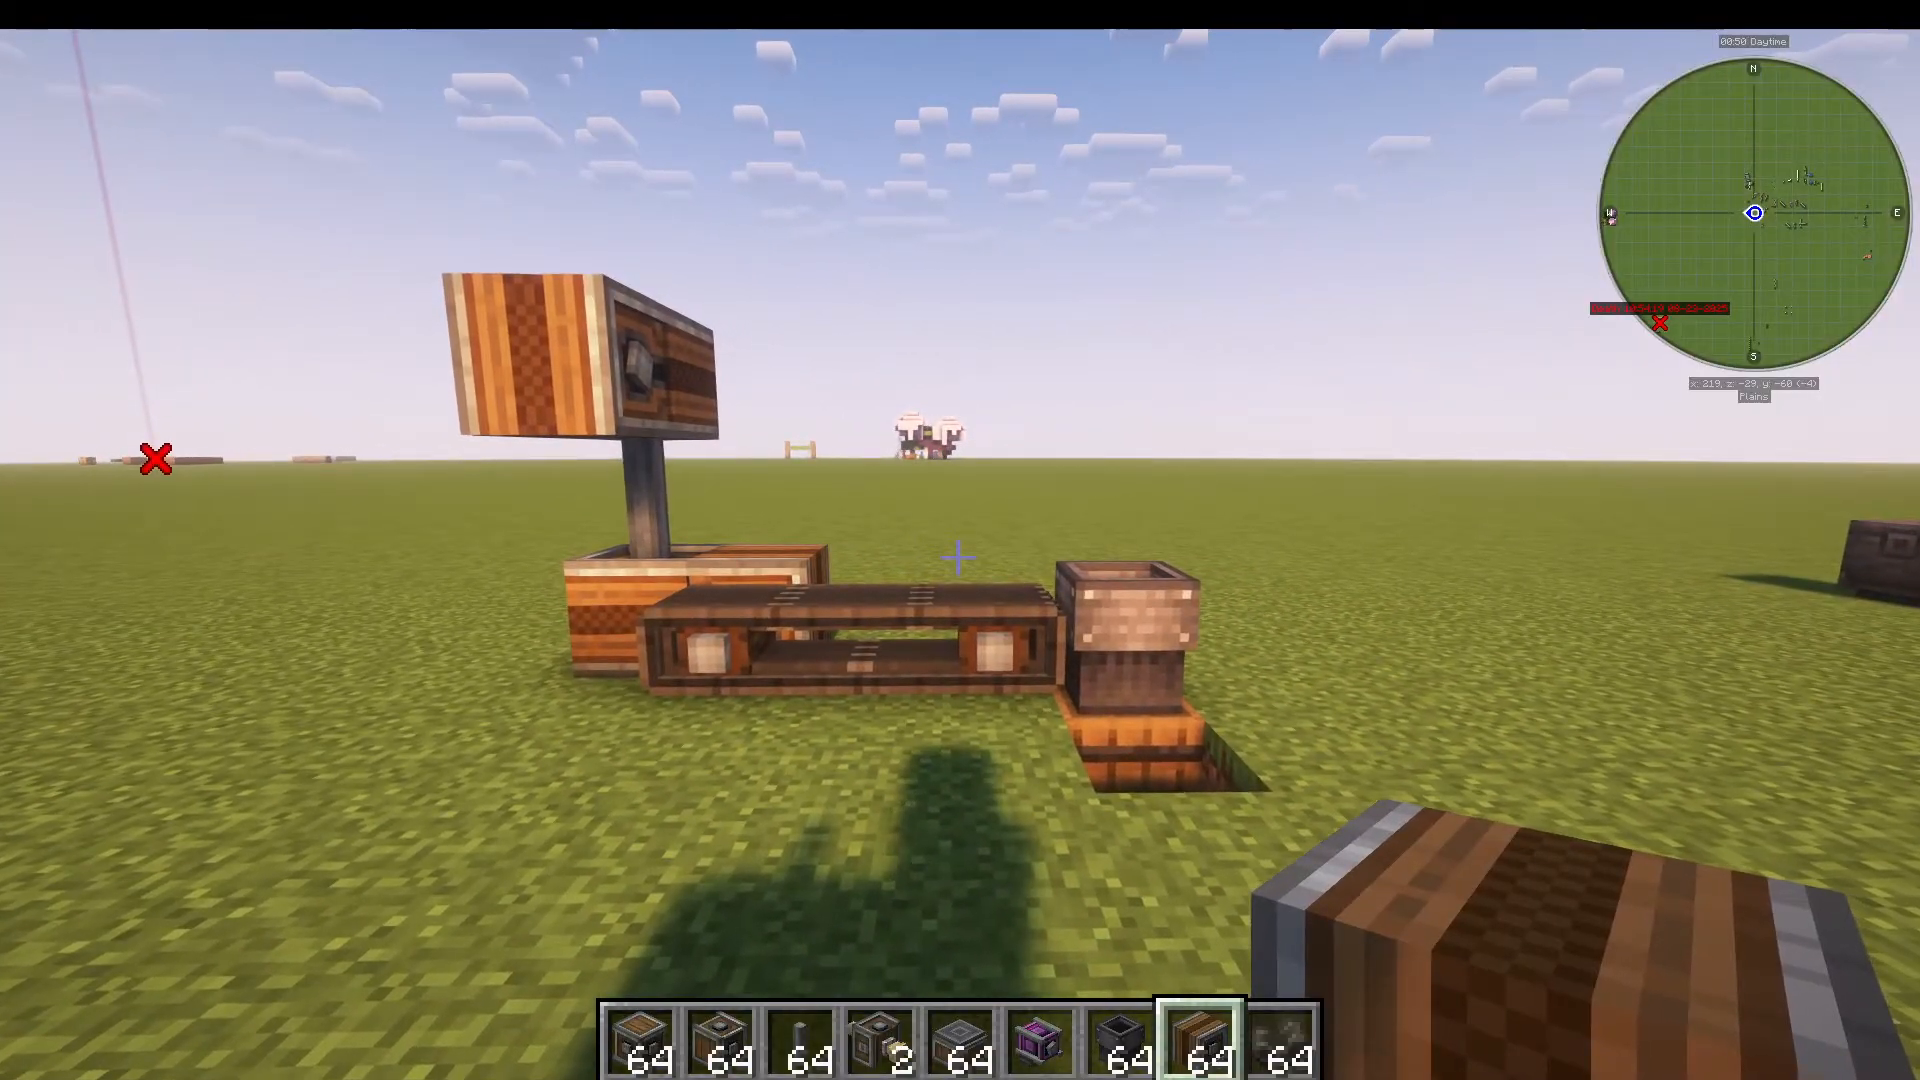
Place three item vaults in a line behind your conveyor belt. Make sure not to shift-click when placing them, as you want them to form one continuous item vault system. Position them on the level above and behind your conveyor.
Item vaults allow you to add and remove items from multiple directions, making them ideal for this automation setup.
Adding the Smart Observer and Dropper
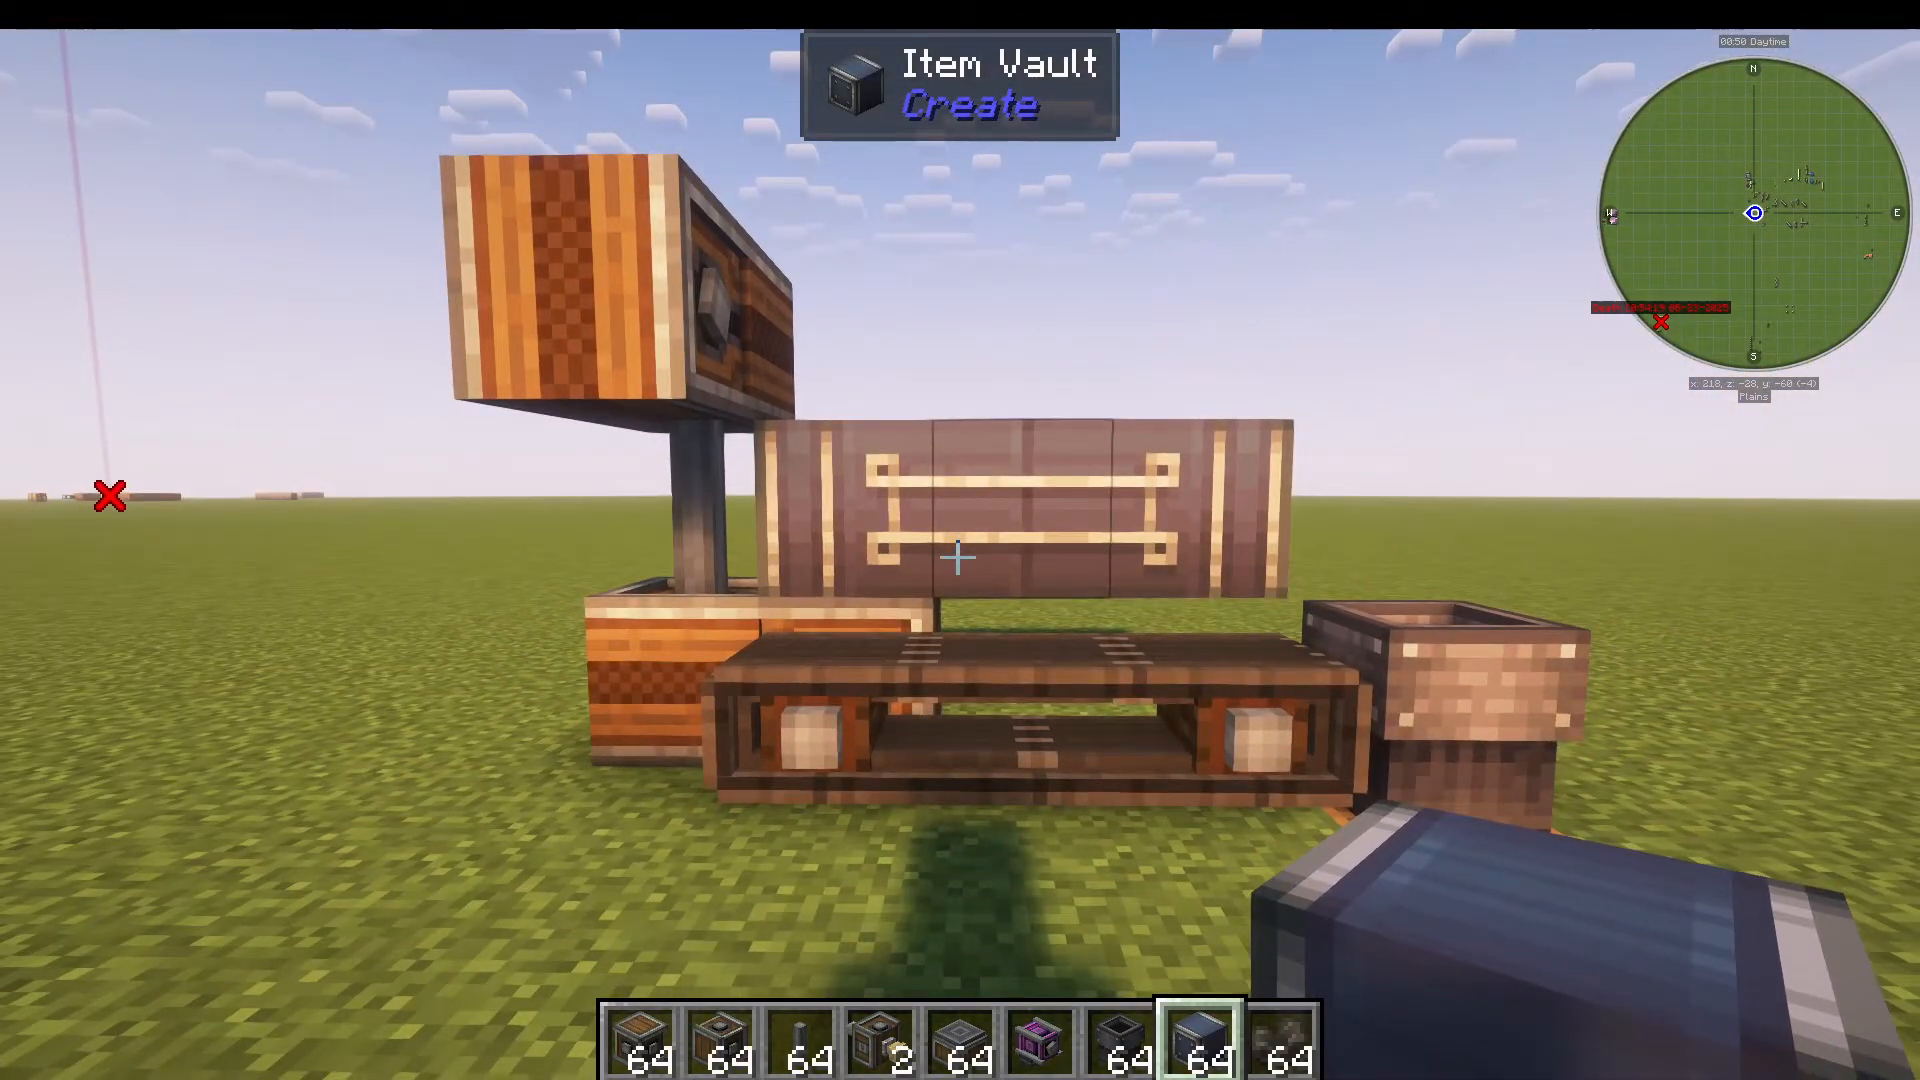
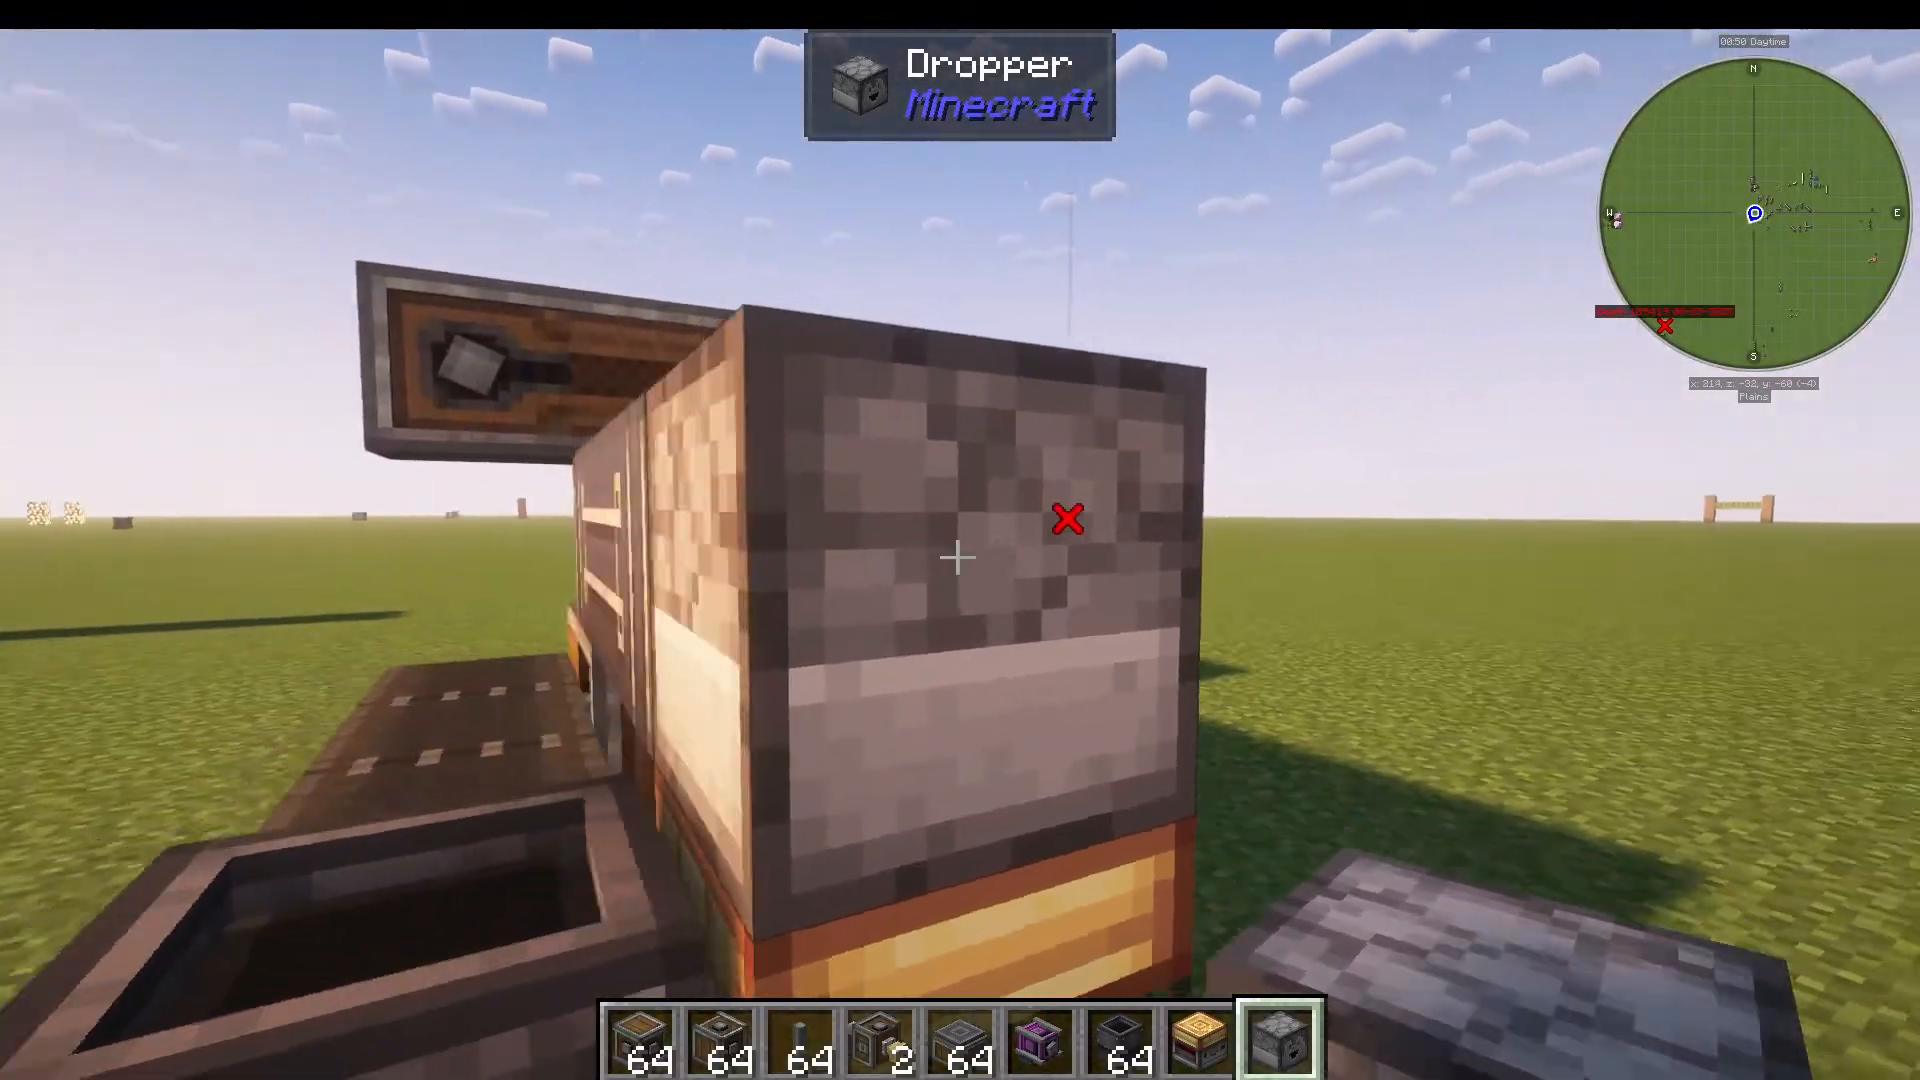
Place a smart observer facing towards your item chute. Above it, shift-click in a dropper facing towards your item vault. This dropper will automatically feed gold sheets into the vault, where they’ll travel onto the conveyor, cycle through, and return to the vault.
Installing Belt Funnels
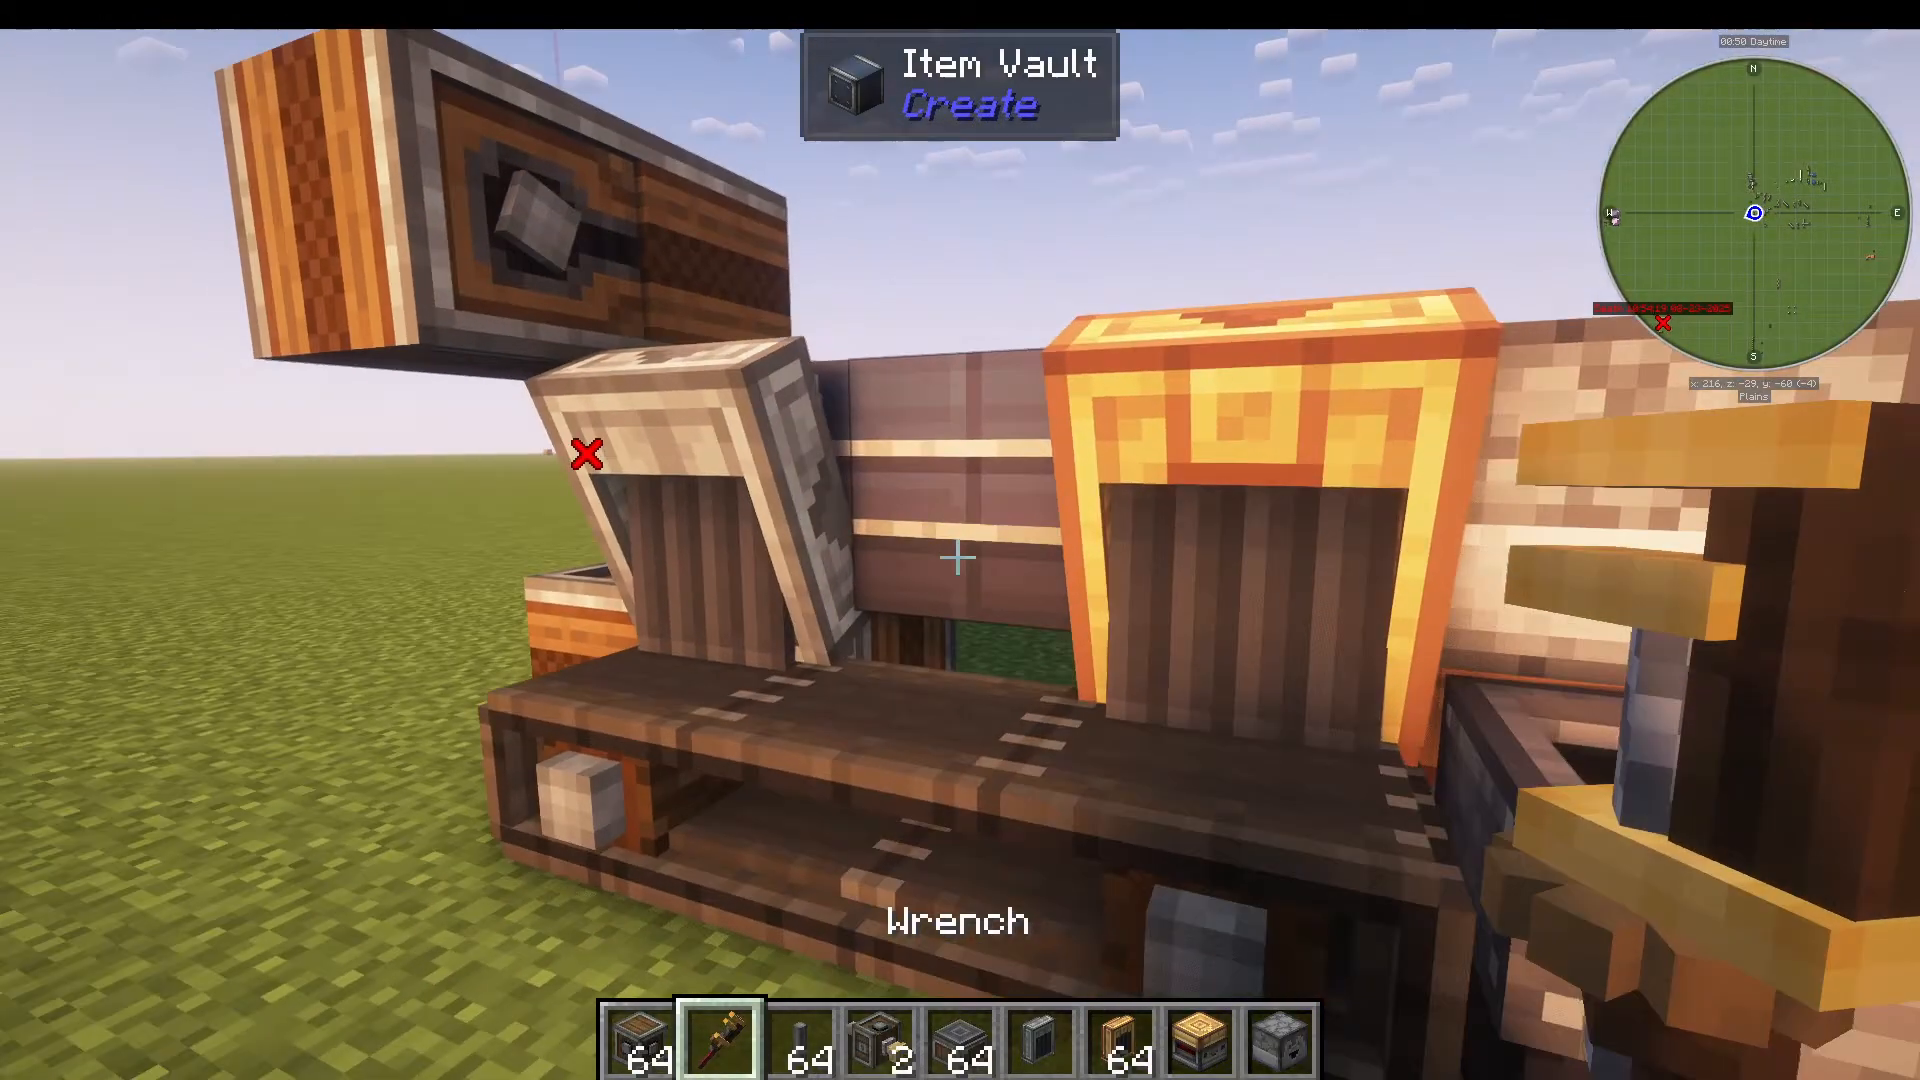
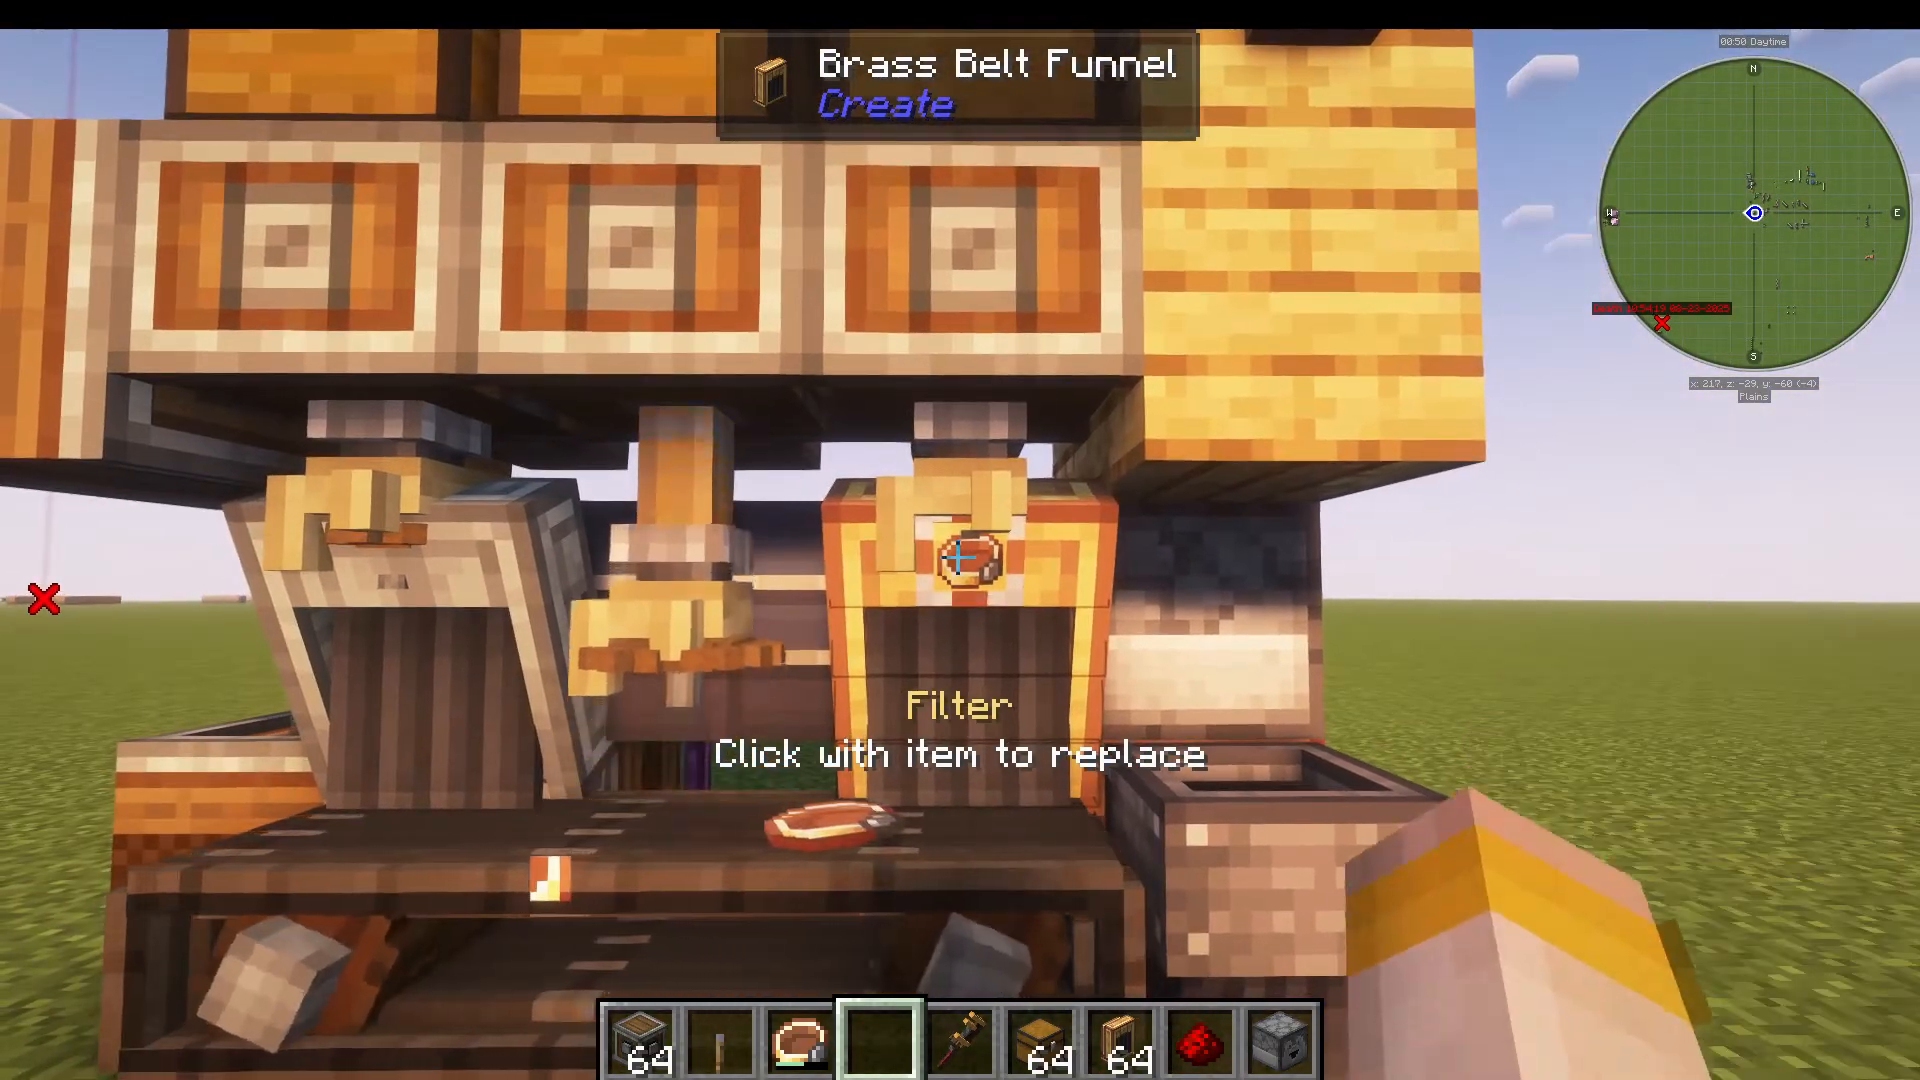
On the right-hand side of your conveyor, place a brass belt funnel. On the left side, place an andesite belt funnel. Use a wrench to ensure the arrow on your brass funnel points into the vault, and the andesite belt funnel’s arrow points outward onto the belt.
Placing Deployers
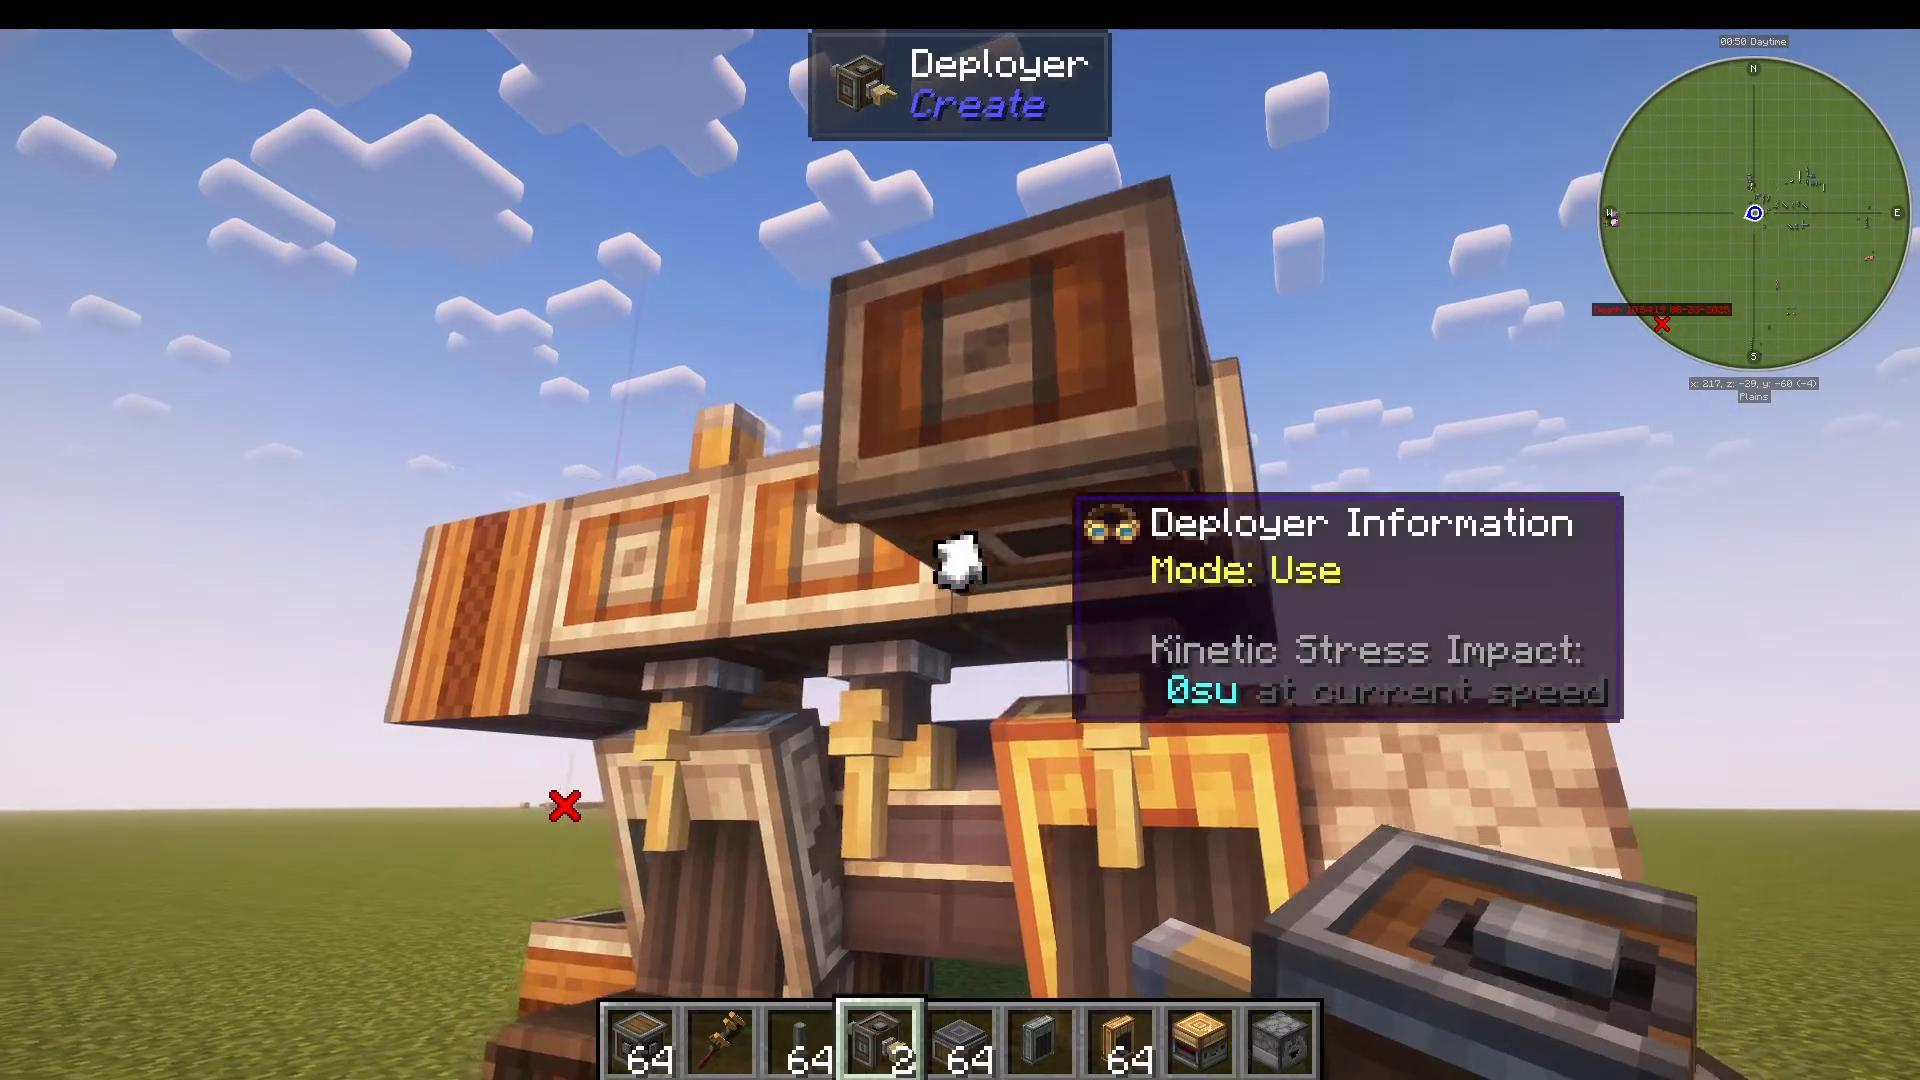
Position three deployers facing downwards. The easiest method is to place an andesite funnel above the location where you want the first deployer, then shift-right-click against the gear shaft below it. You can then right-click on the sides of the deployers to place the additional two.
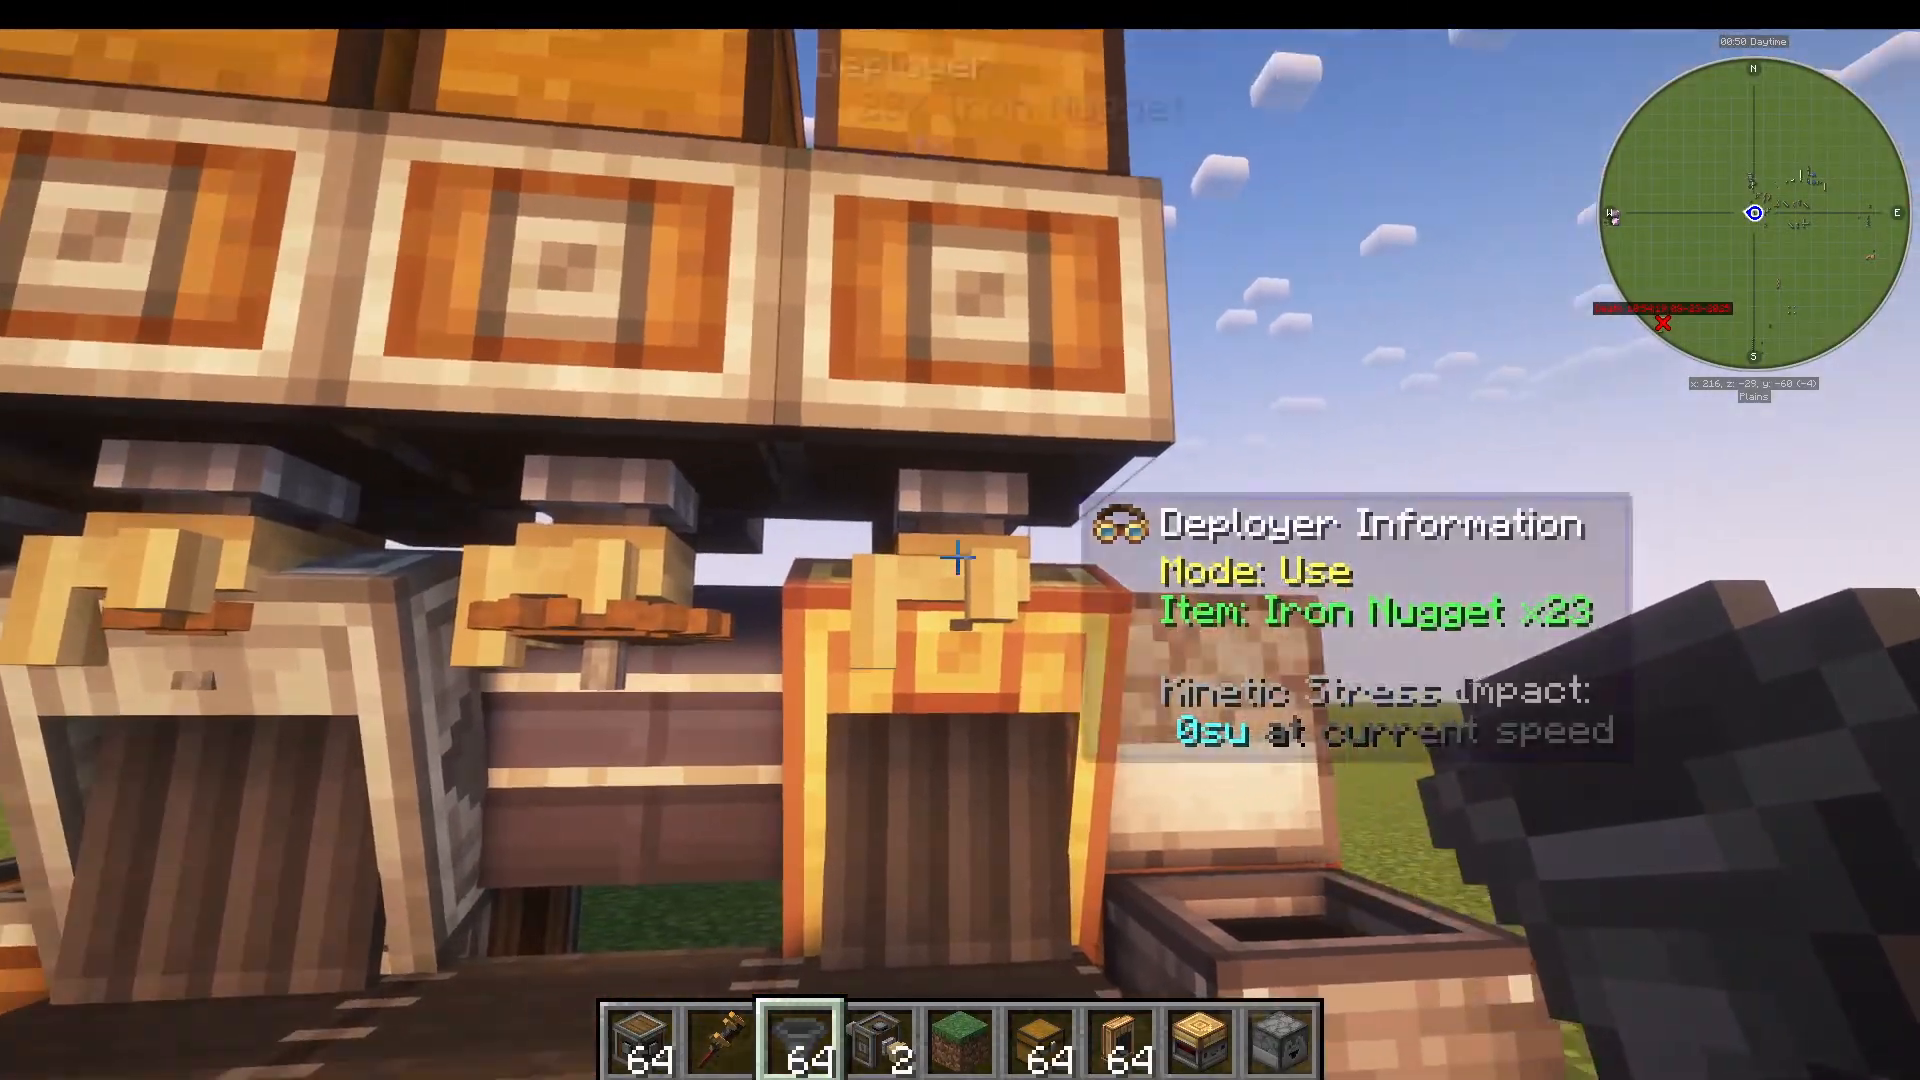
Hold your wrench and make sure all three deployers are set to use mode (not attack mode).
Setting Up Item Storage Chests
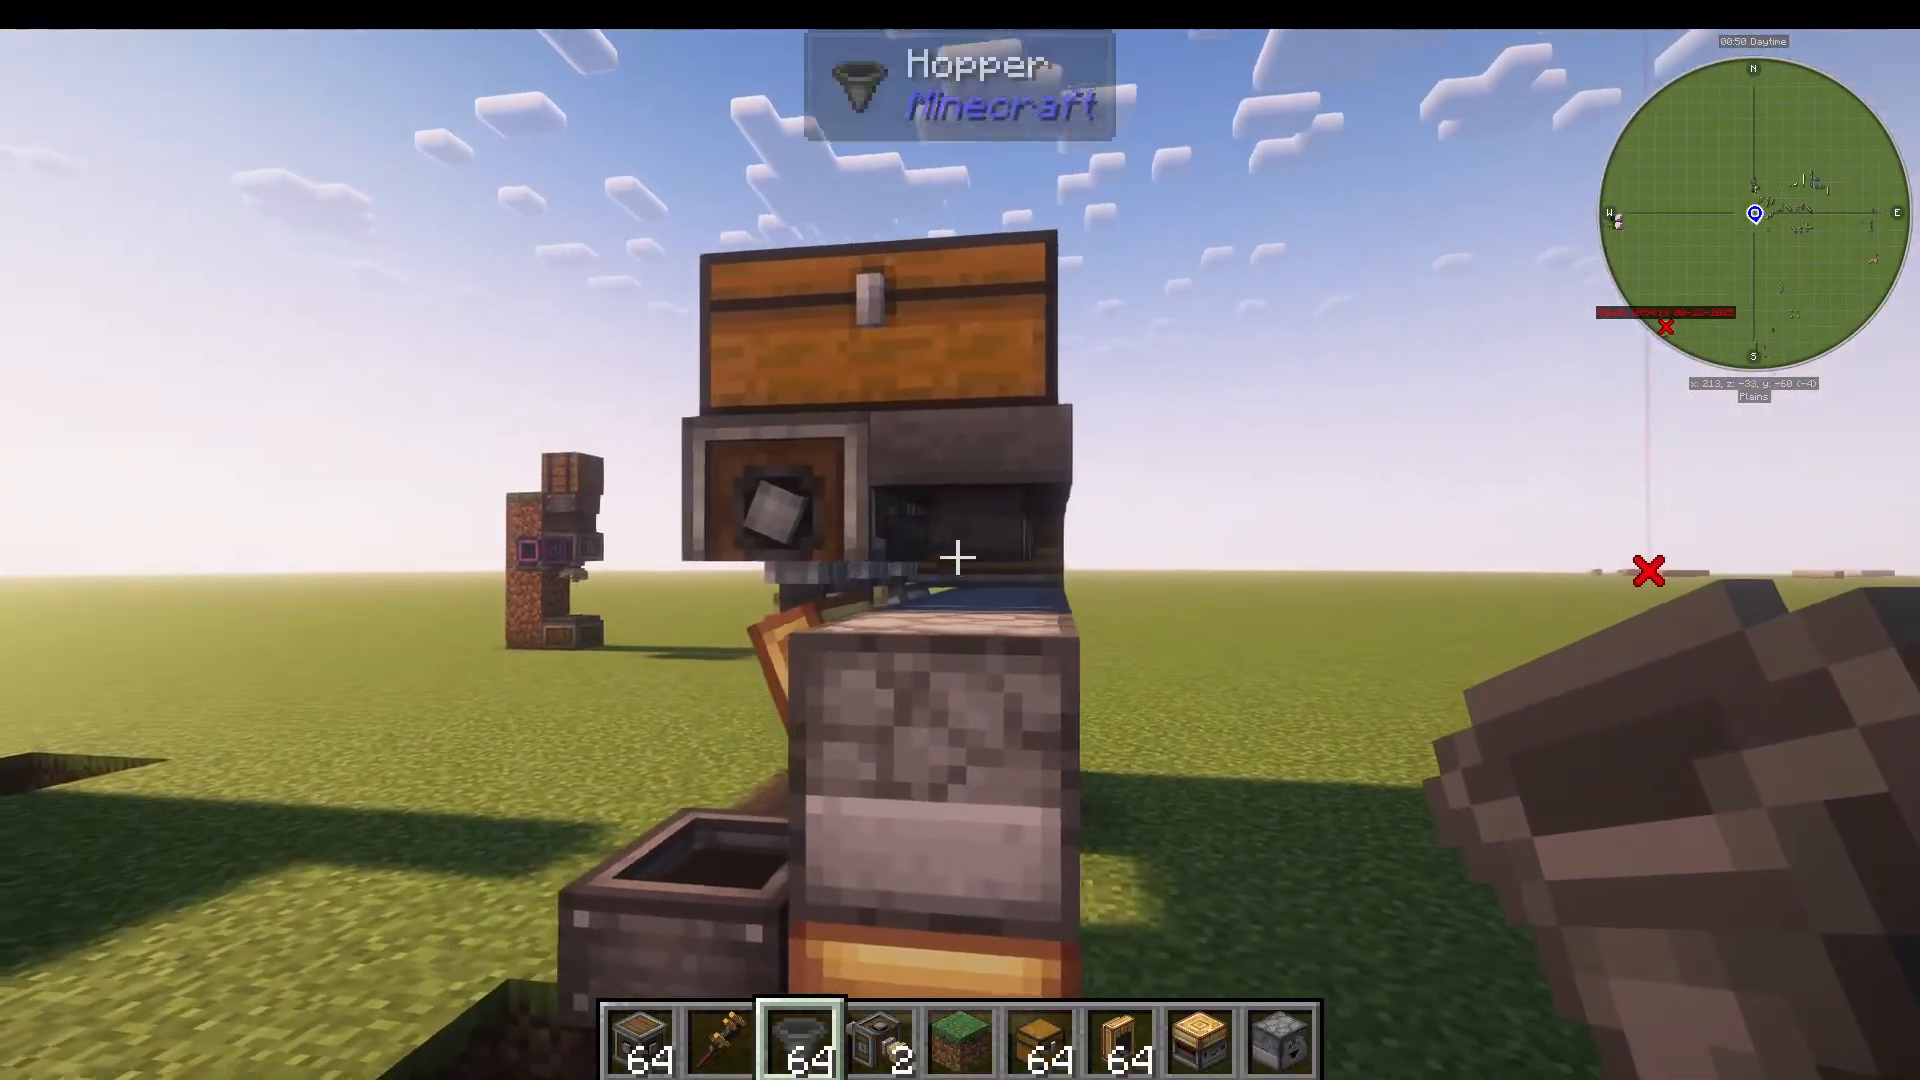
Right-click chests onto each deployer. To ensure you create proper double chests, place grass or another temporary block above your vault first. Once your double chests are positioned correctly, remove the grass and shift-click three hoppers into the deployers.
Verify that your hoppers are connecting to the deployers and not to the item vault.
Filling Your Supply Chests
Now populate your chests with the necessary items:
Left deployer chest: Small cog wheels (as many as you need)
Middle deployer chest: Large cog wheels
Right deployer chest: Iron nuggets
Dropper: Gold sheets
Adding Redstone Control
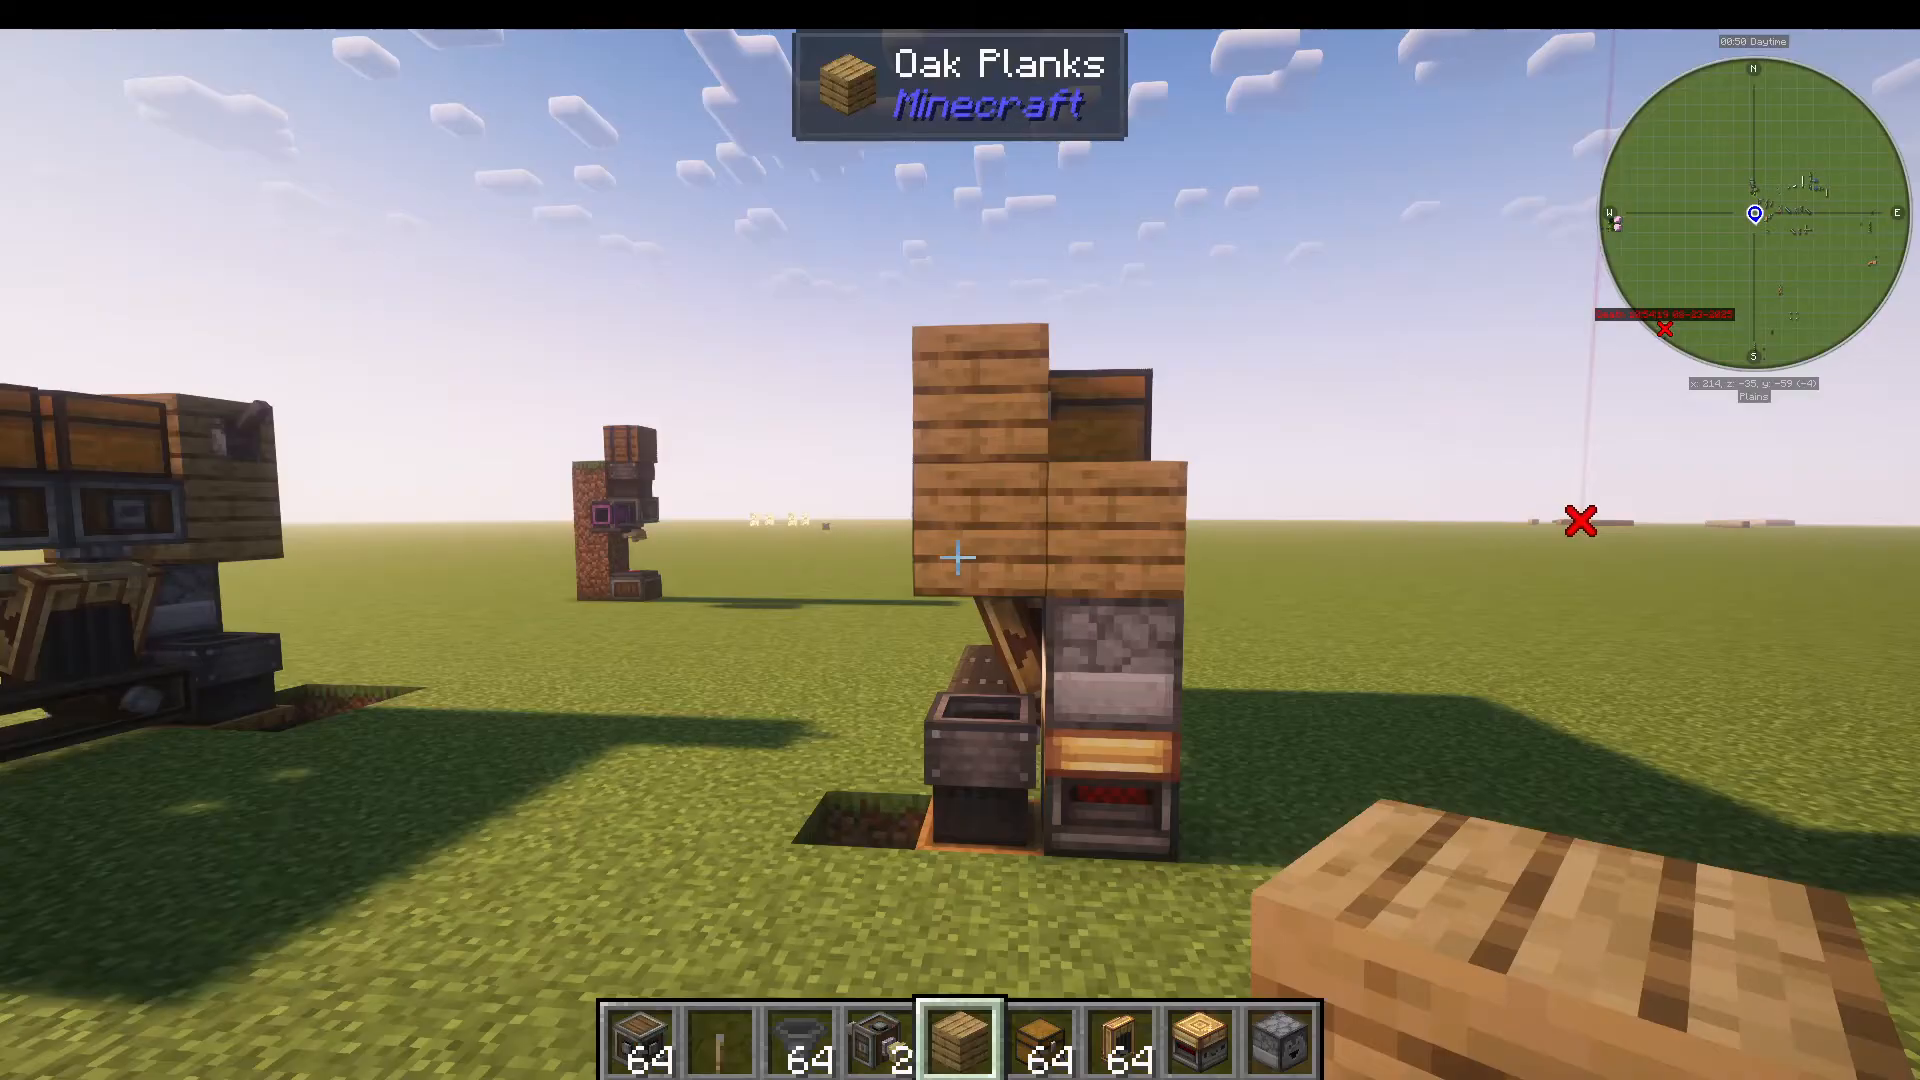
Place oak planks (or any block you prefer) in front of the deployers as supports. Add a lever to the front and place one piece of redstone to create your control system.
Powering Your System
Supply rotational power to the back gear drive. You can use a creative motor for testing, but any power source works—just feed the power into the back encased chain drive. Pull the lever to start the system.
Verifying Directional Setup
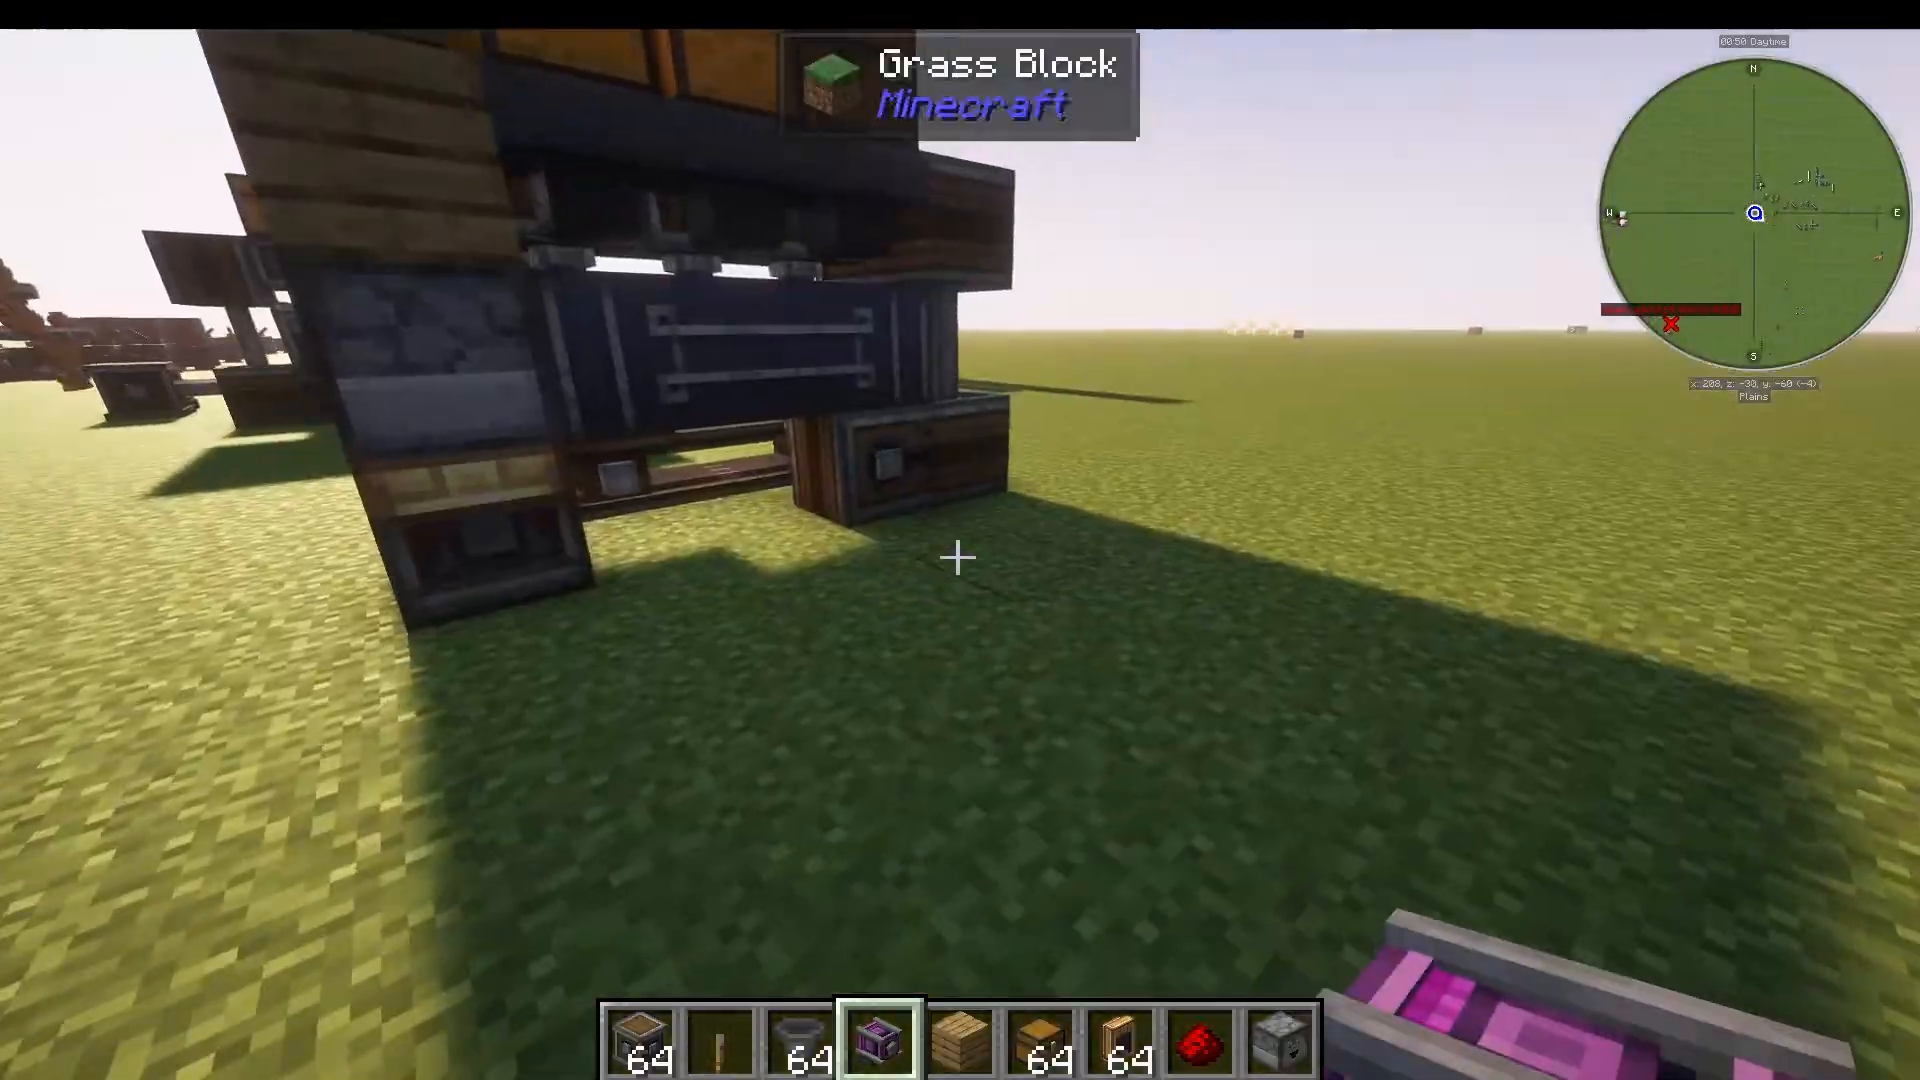
Check that your conveyor belt is moving in the correct direction. If it’s running backwards, reverse your power source. Verify that your encased chain drives are working and your deployers are active.
If your deployers aren’t responding, you may have installed them backwards. Use your wrench to rotate them until they function correctly.
Filtering Incomplete Mechanisms
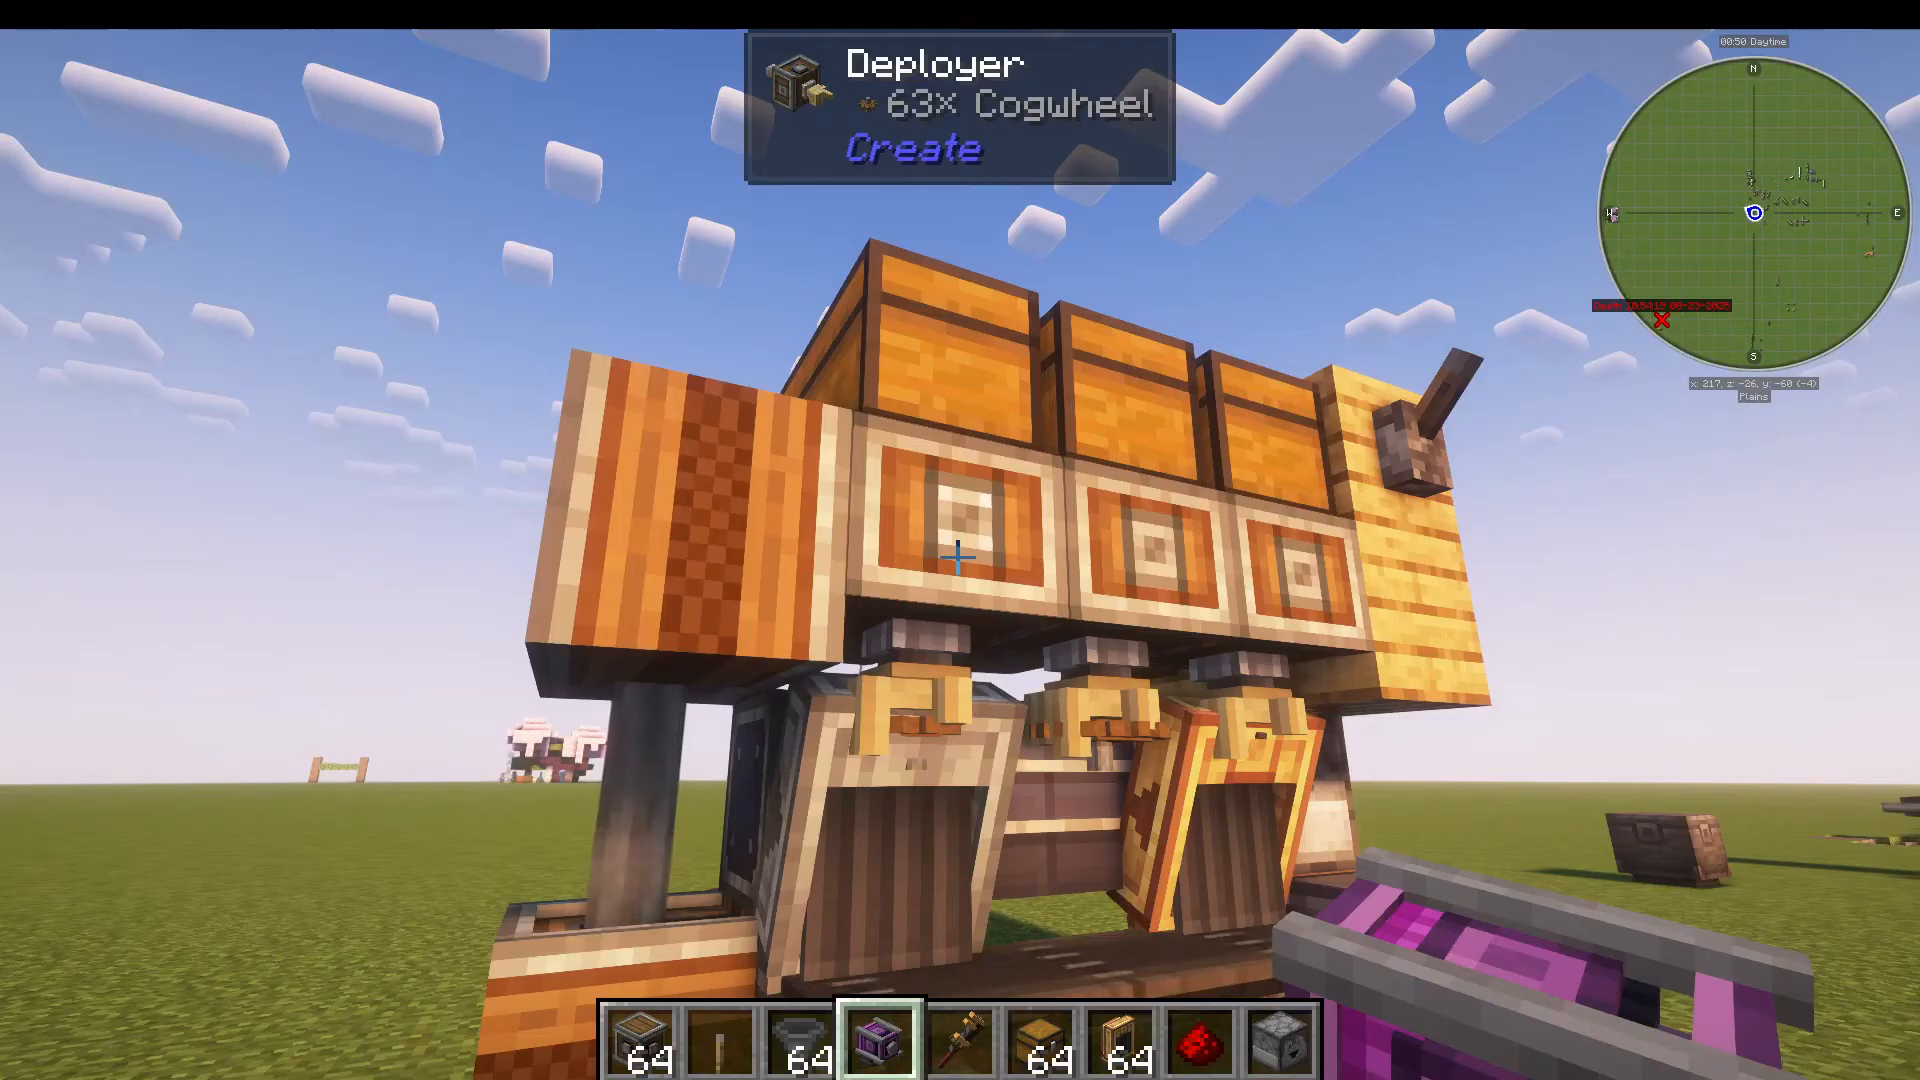
Once you have at least one incomplete precision mechanism, right-click it onto the brass belt funnel. This filters the system so that only incomplete mechanisms return to the vault for additional cycles. Completed mechanisms and any failed byproducts will fall into the chute and down into your barrel.
How the Automation Works
Here’s the complete workflow:
The smart observer detects when a finished mechanism exits through the chute
The observer triggers the dropper to release a new gold sheet into the item vault
The andesite belt funnel pulls the gold sheet from the vault onto the conveyor
The first deployer applies a small cog wheel
The second deployer applies a large cog wheel
The third deployer applies an iron nugget
The brass belt funnel catches the incomplete mechanism and returns it to the vault
This cycle repeats five times until the mechanism is complete
On the fifth cycle, the completed mechanism exits into your barrel
Failed items and byproducts also exit through the chute into your barrel, allowing you to manage waste separately if needed.
Troubleshooting Common Issues
If your system isn’t working, check the following:
Deployers not working: Ensure they’re facing the correct direction and set to use mode, not attack mode
Items not moving correctly: Verify that all funnel arrows point in the correct directions—outward from the vault, inward where needed
Conveyor moving wrong direction: Reverse your rotational power source
System won’t start: Toggle your lever on and off to reset the system
Hoppers connected to vault: Make sure hoppers feed into deployers only, not back into the item vault
Dropper orientation: Verify it faces into the item vault
Smart observer placement: Ensure it faces forward toward the chute
Scaling for Other Recipes
This system works for any Create recipe requiring multiple processing cycles. To adapt it for recipes needing more than five cycles, simply add additional deployers across the conveyor. For items needing fewer cycles, use fewer deployers. The filtering principle remains the same—filter for the incomplete or work-in-progress version of your target item using the appropriate belt funnel.
Summary
You’ve now built a fully automated precision mechanism farm that handles all five processing cycles, success and failure filtering, and continuous production. Stock your supply chests with cog wheels, large cog wheels, and iron nuggets, and let the system run. This setup eliminates the tedious manual cycling previously required and provides you with a reliable stream of precision mechanisms for all your Create projects.
— Want to Support? —
If you would like to help us continue making these guides – please consider joining our patreon here – https://www.patreon.com/c/JaviHeals
Alternatively – we host a group of MC Servers you can join here – https://discord.gg/zD7Gjt6MHF



