







Mekanism Fission Reactor & Turbine Tutorial
Mekanism Fission Reactor & Turbine Tutorial
In this comprehensive guide, we’ll walk you through building a functional Mekanism Fission Reactor and pairing it with a Turbine to generate power safely and efficiently. This is an end-game Mekanism setup that requires careful construction to avoid catastrophic nuclear meltdowns. Whether you’re a beginner or an experienced modder, this tutorial breaks down the process into manageable steps with clear instructions on component placement, coolant loops, and energy generation.
Understanding the Fission Reactor Purpose
The Fission Reactor is a powerful energy generation system in Mekanism that serves a dual purpose: it produces substantial amounts of power while also creating plutonium as a byproduct. This plutonium is essential for crafting a Fusion Reactor, making the Fission Reactor a stepping stone to even more advanced Mekanism technology.
Before you begin, ensure you have fissile fuel ready. If you’re unsure how to create fissile fuel, you’ll need to use the Isotopic Centrifuge—there’s a dedicated tutorial available for that process.
Building the Fission Reactor Structure
Choosing Your Reactor Size
You can construct Fission Reactors in a variety of sizes, from small compact builds to massive installations. For your first attempt, aim for a medium size to avoid wasting resources if something goes wrong. A reactor going into meltdown is a catastrophic loss of resources, so start conservatively.
Reactor Layout and Component Placement
The basic structure of a Fission Reactor consists of:
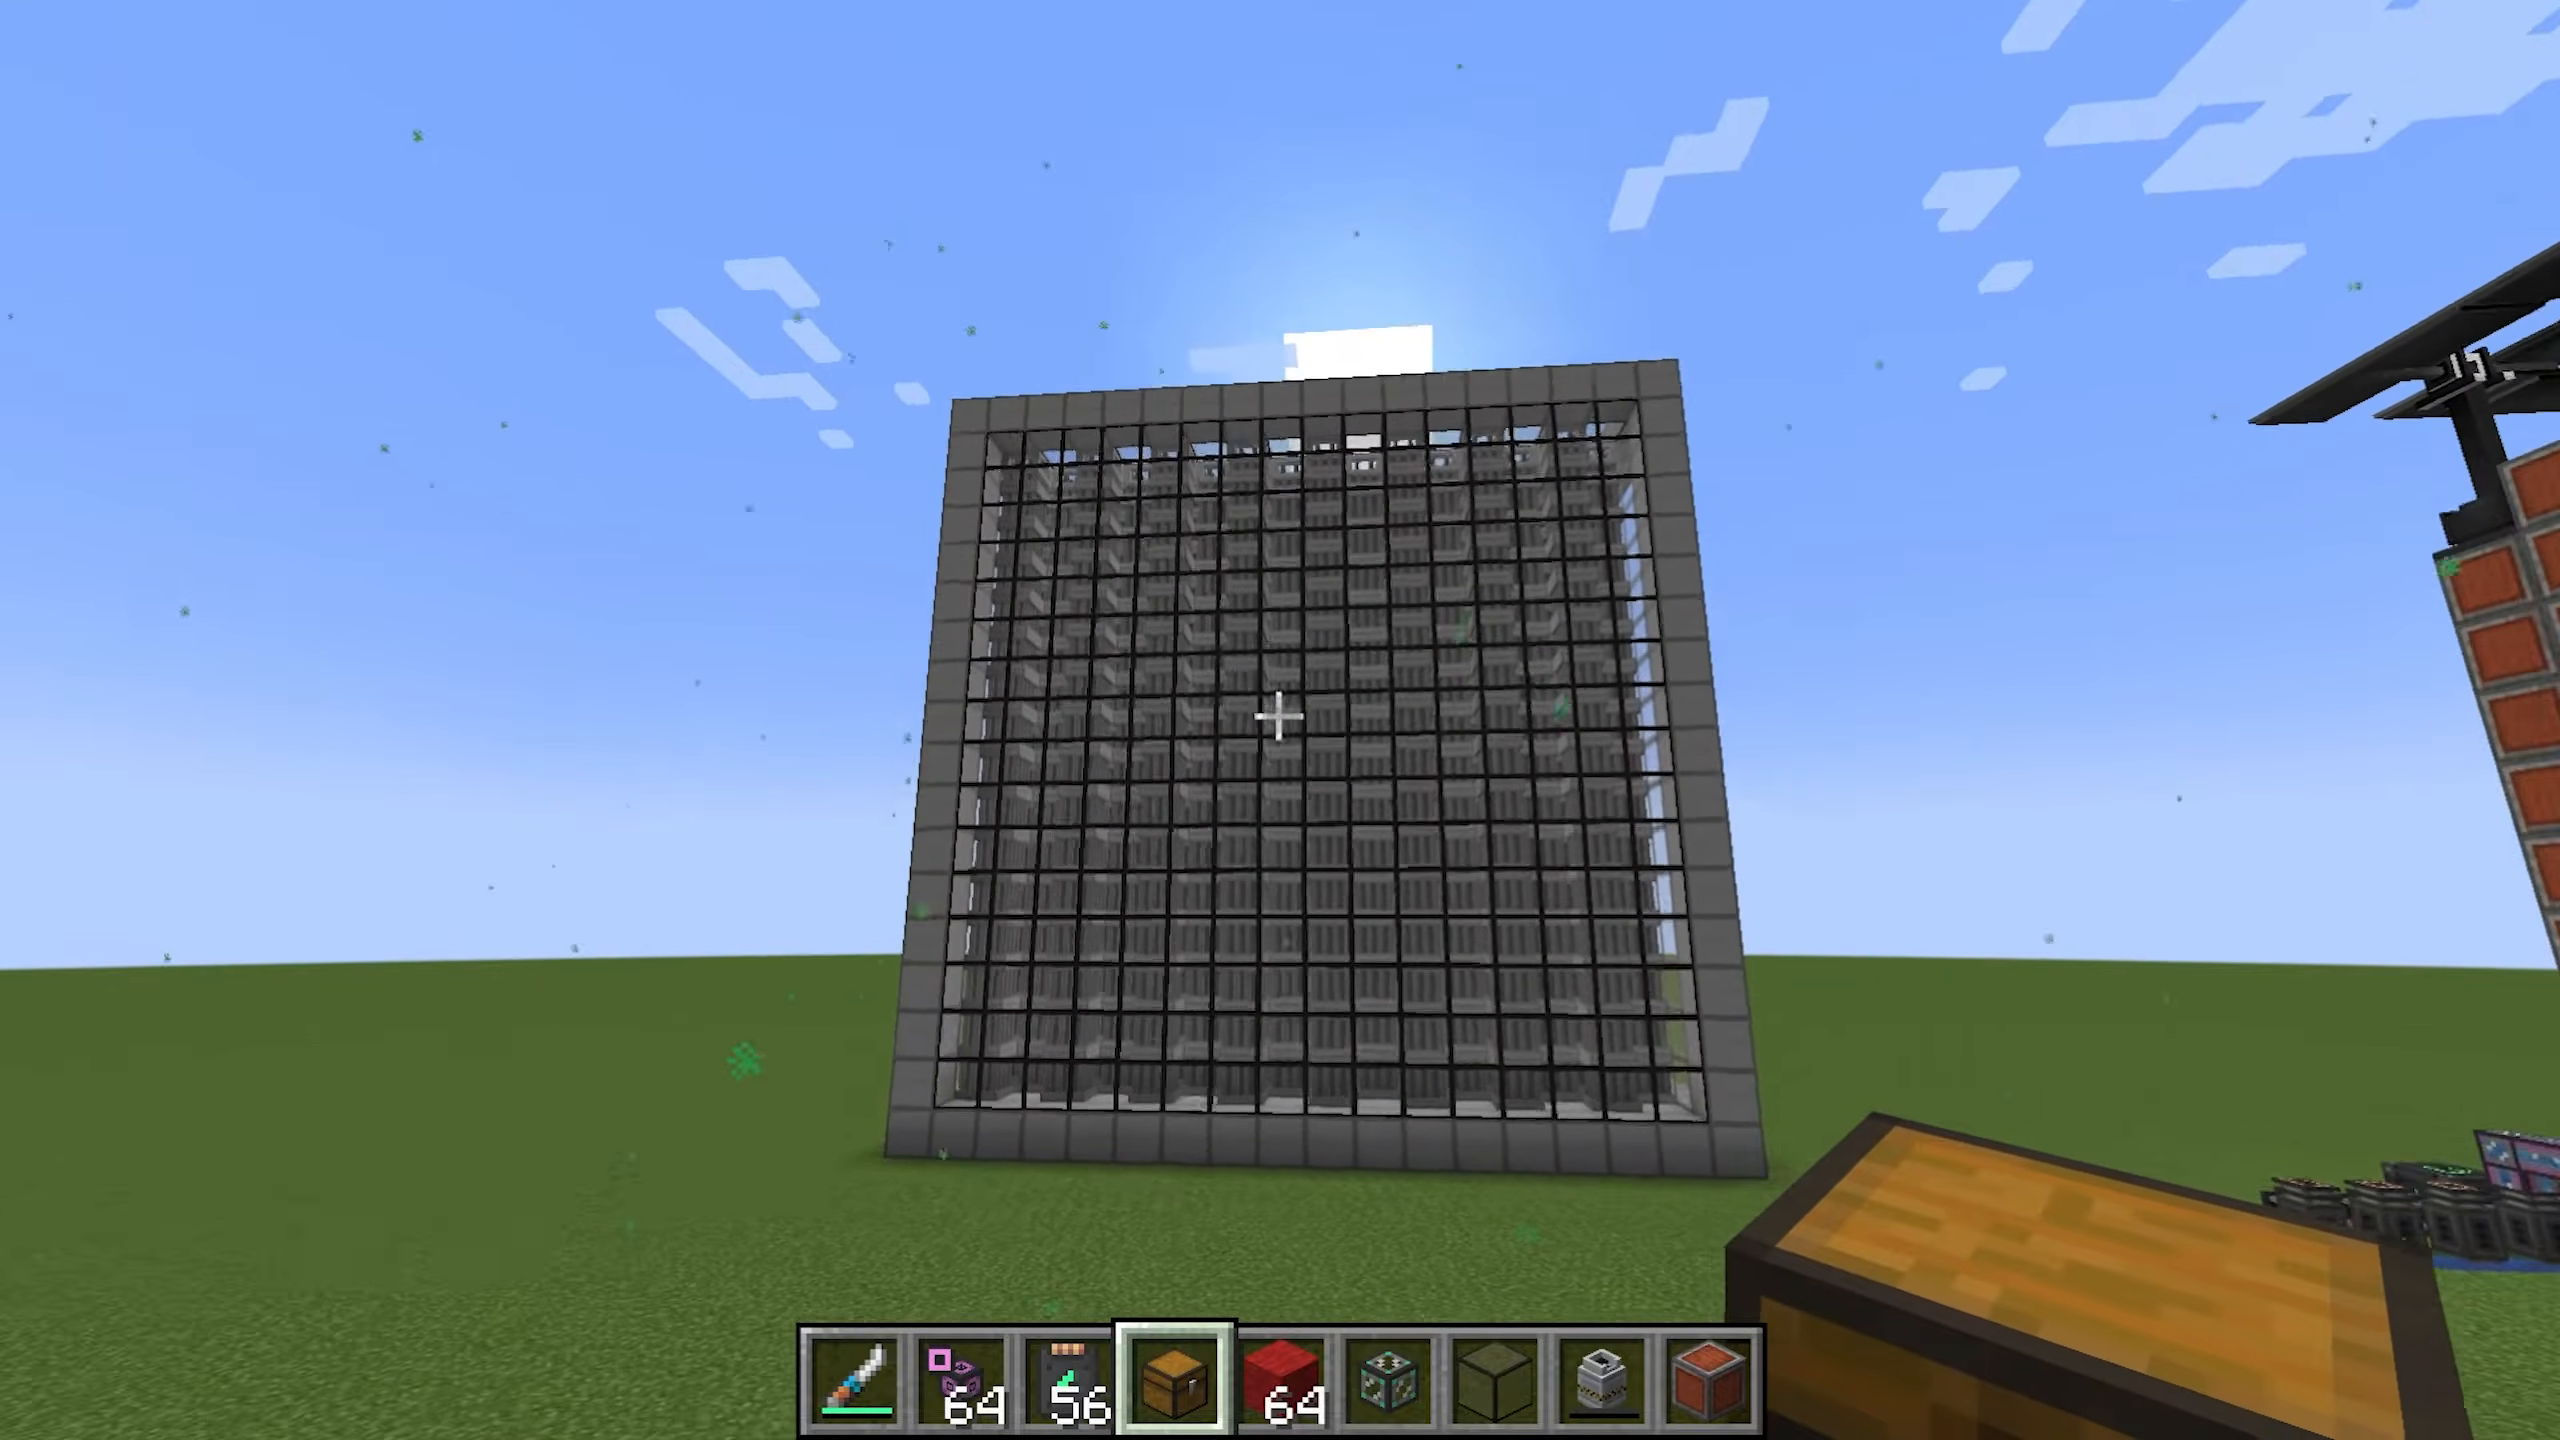
Bottom Row: Entirely made of Fission Reactor Casings
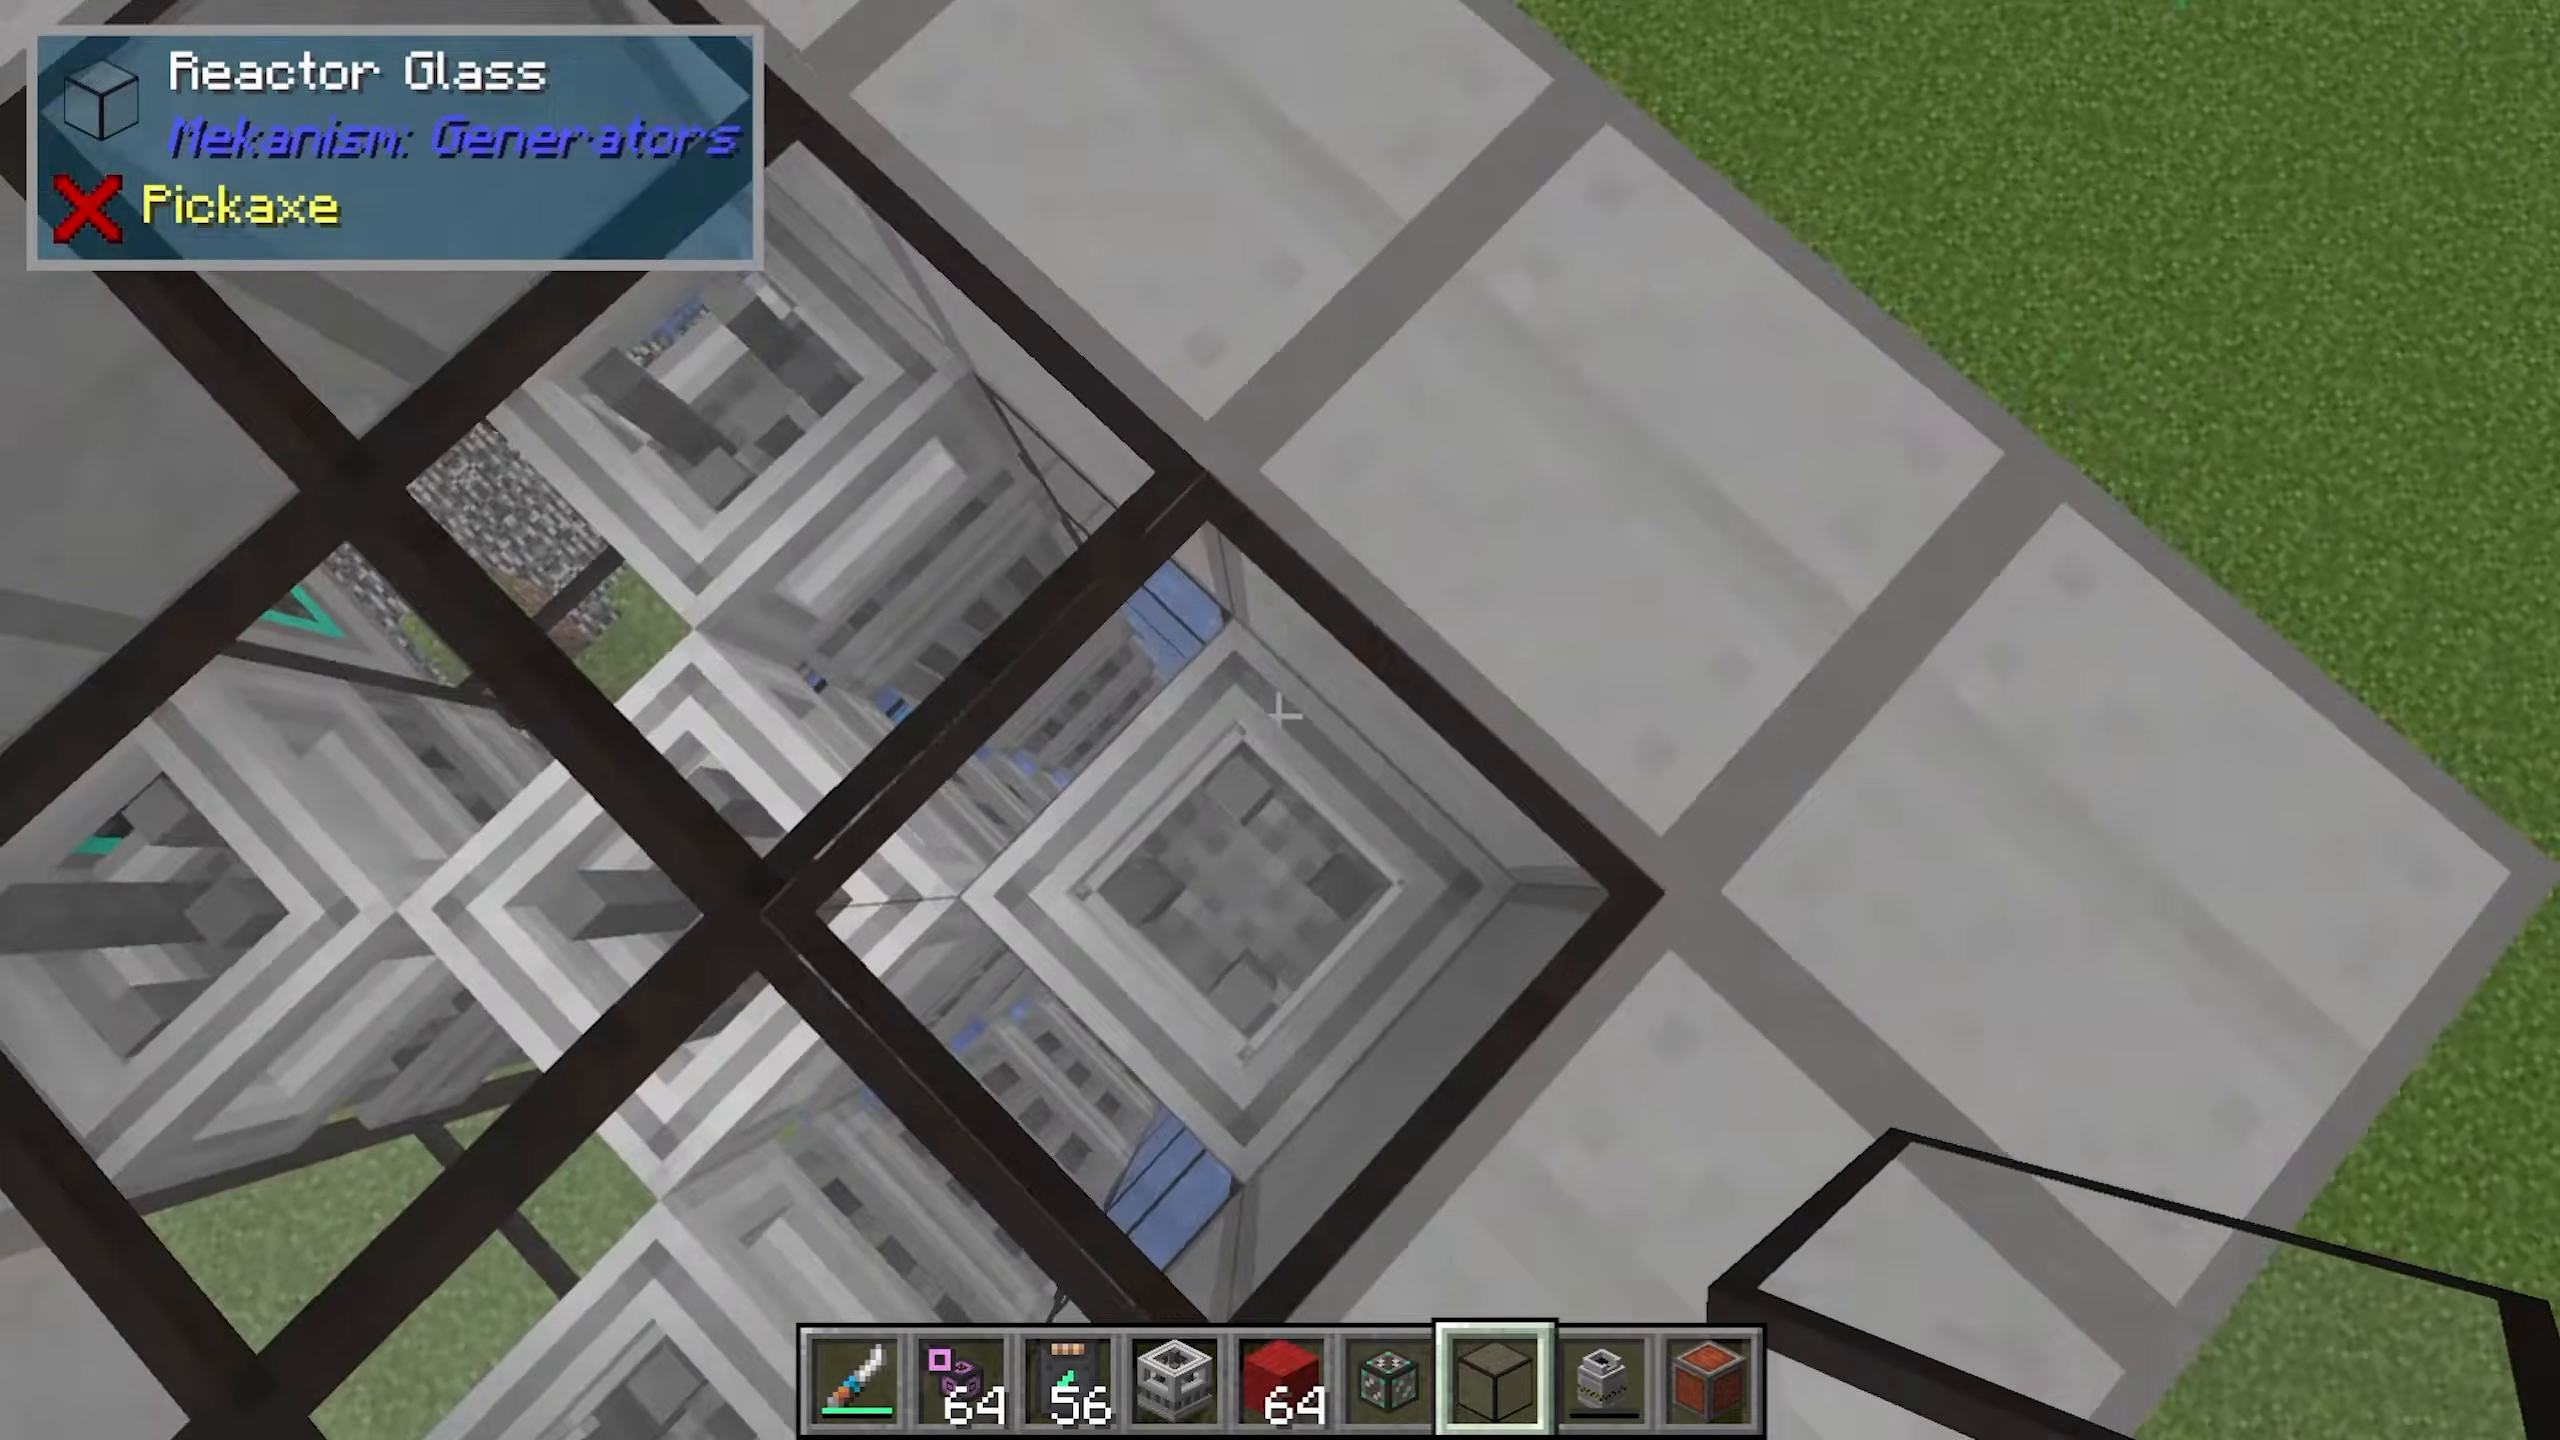
Walls and Interior: Fill with Reactor Glass or additional Fission Reactor Casings
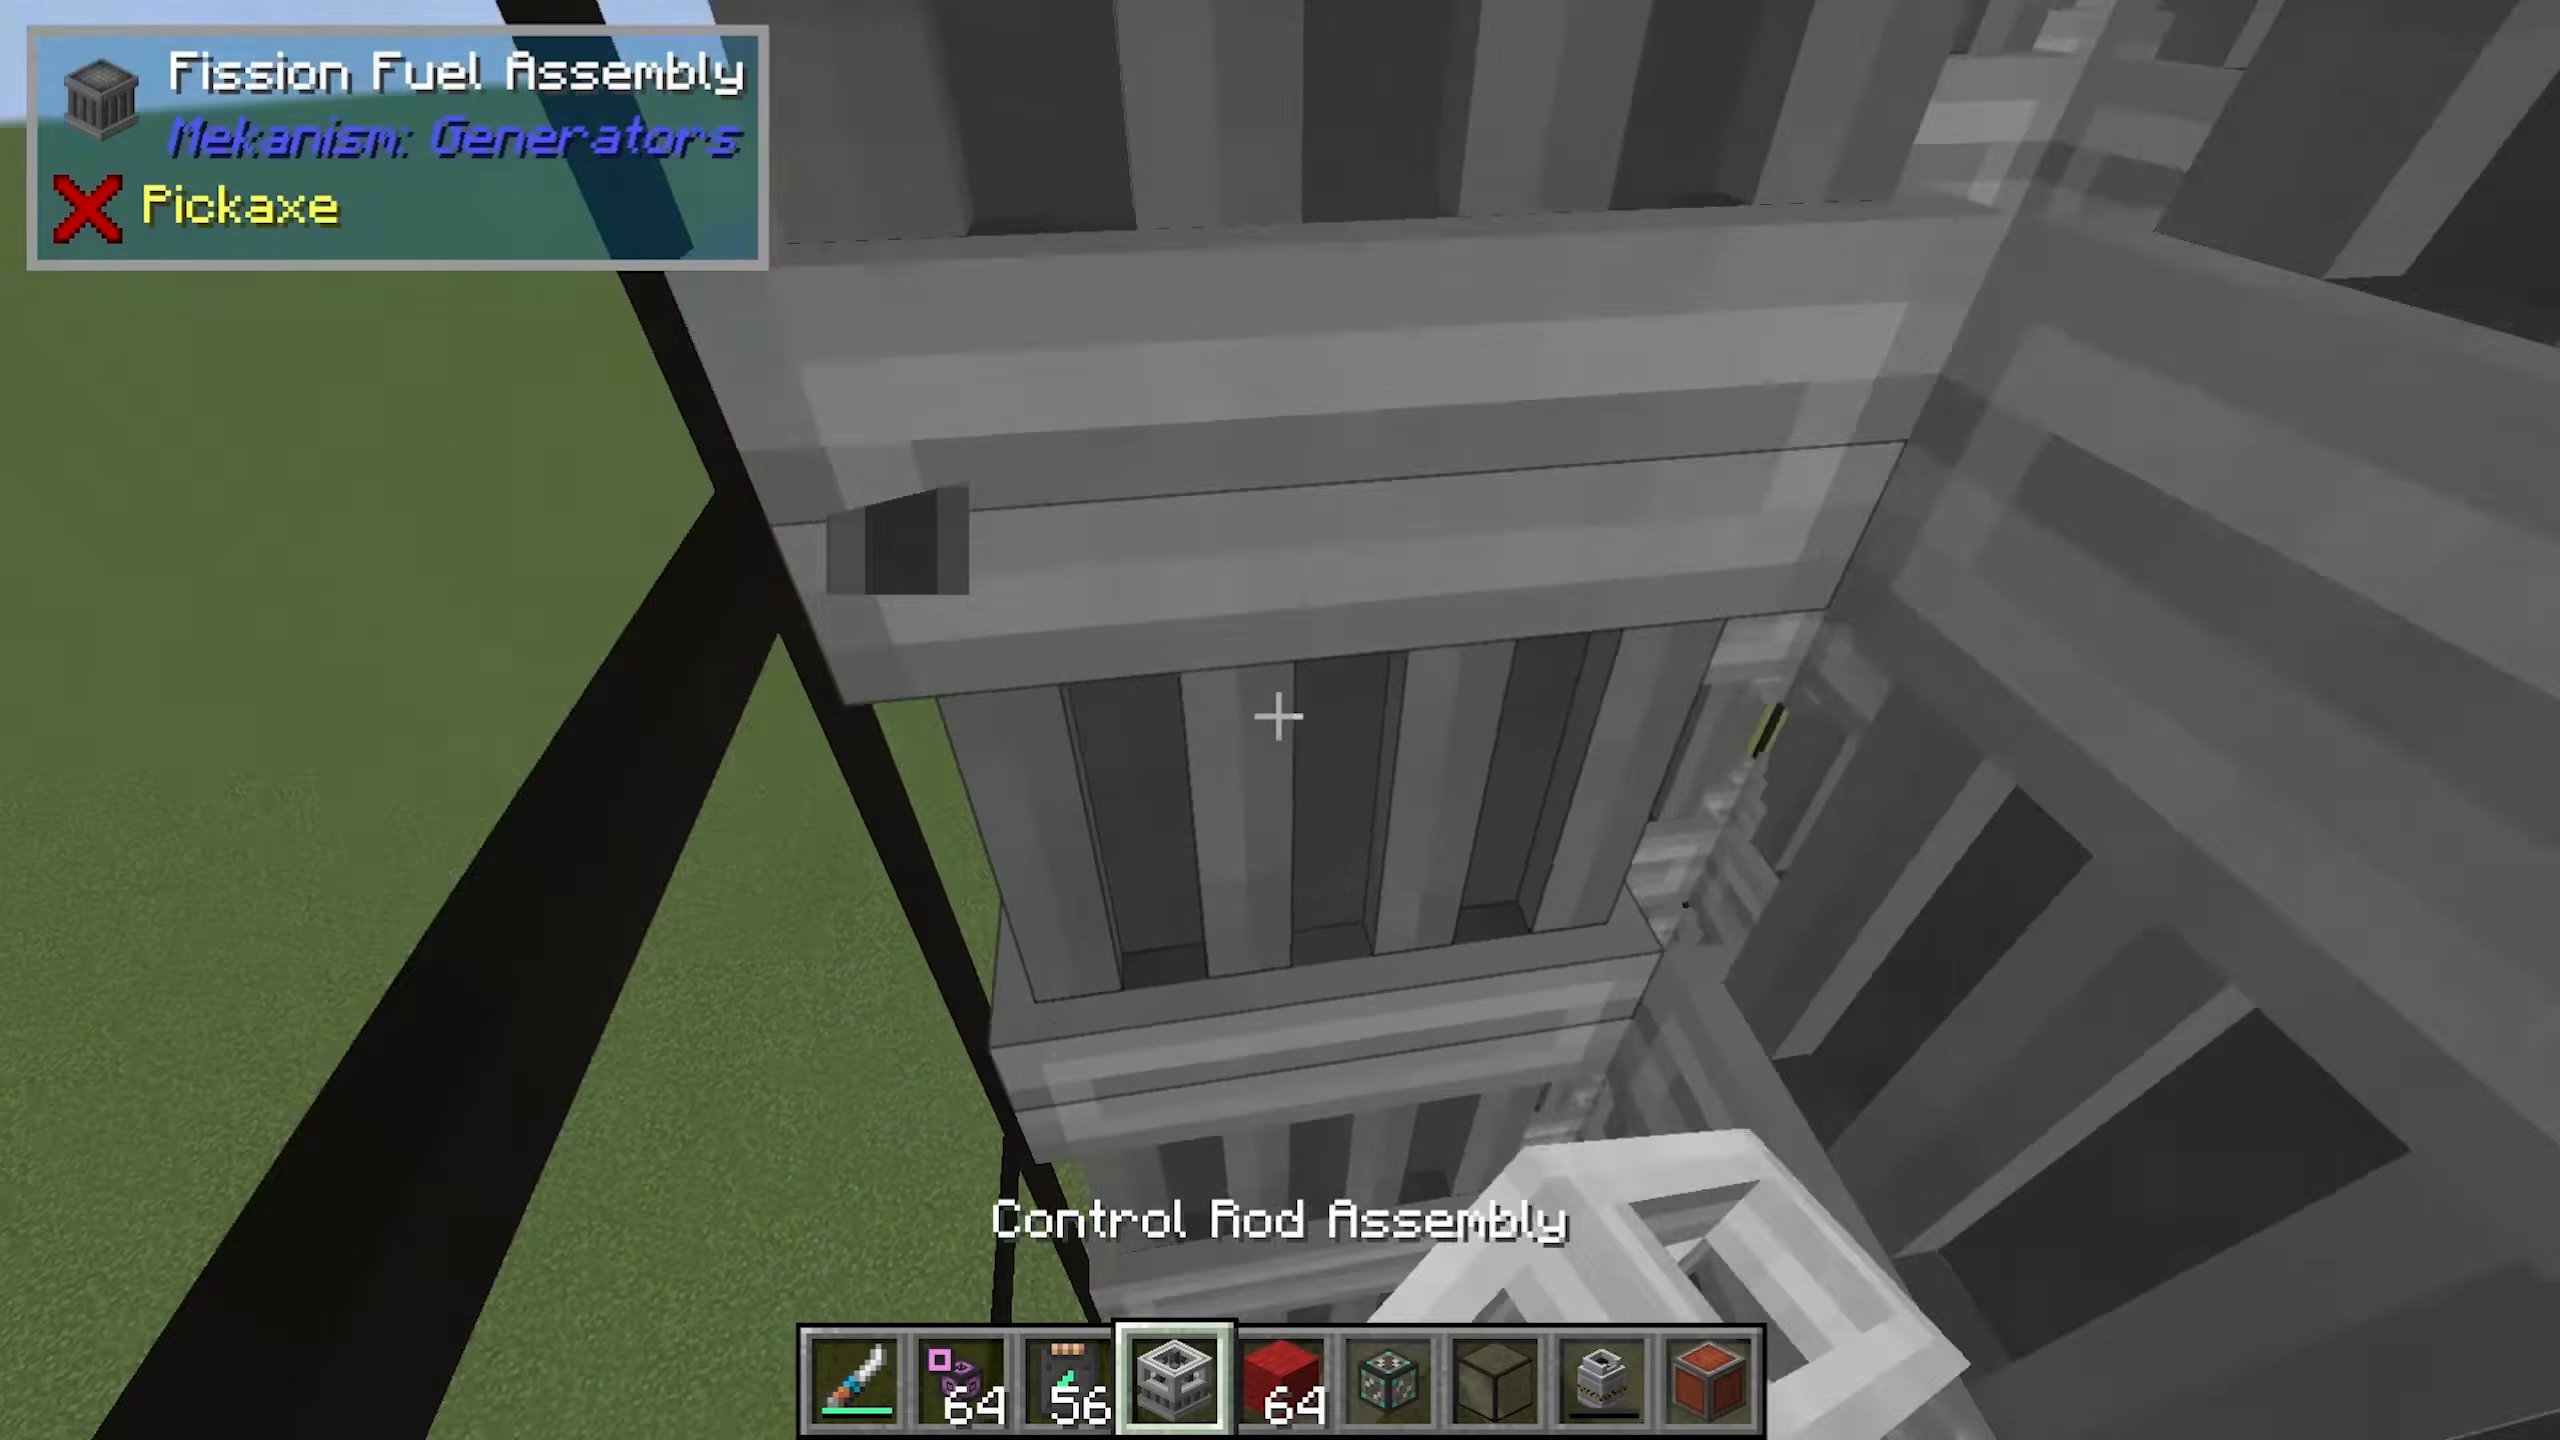
Fuel Assembly Pattern: Arrange Fission Fuel Assemblies in a zigzag formation, stacking them vertically
Control Rod Assembly: Place at the very top of each fuel assembly stack
Roof: Cap the structure with Reactor Glass or Casings
Creating Coolant Gaps
Leave strategic gaps throughout your reactor structure for coolant circulation. Water is the primary coolant recommended for Fission Reactors. You’ll need adequate space for coolant to flow between the fuel assemblies to prevent overheating.
Reactor Ports and Coolant Configuration
Port Setup
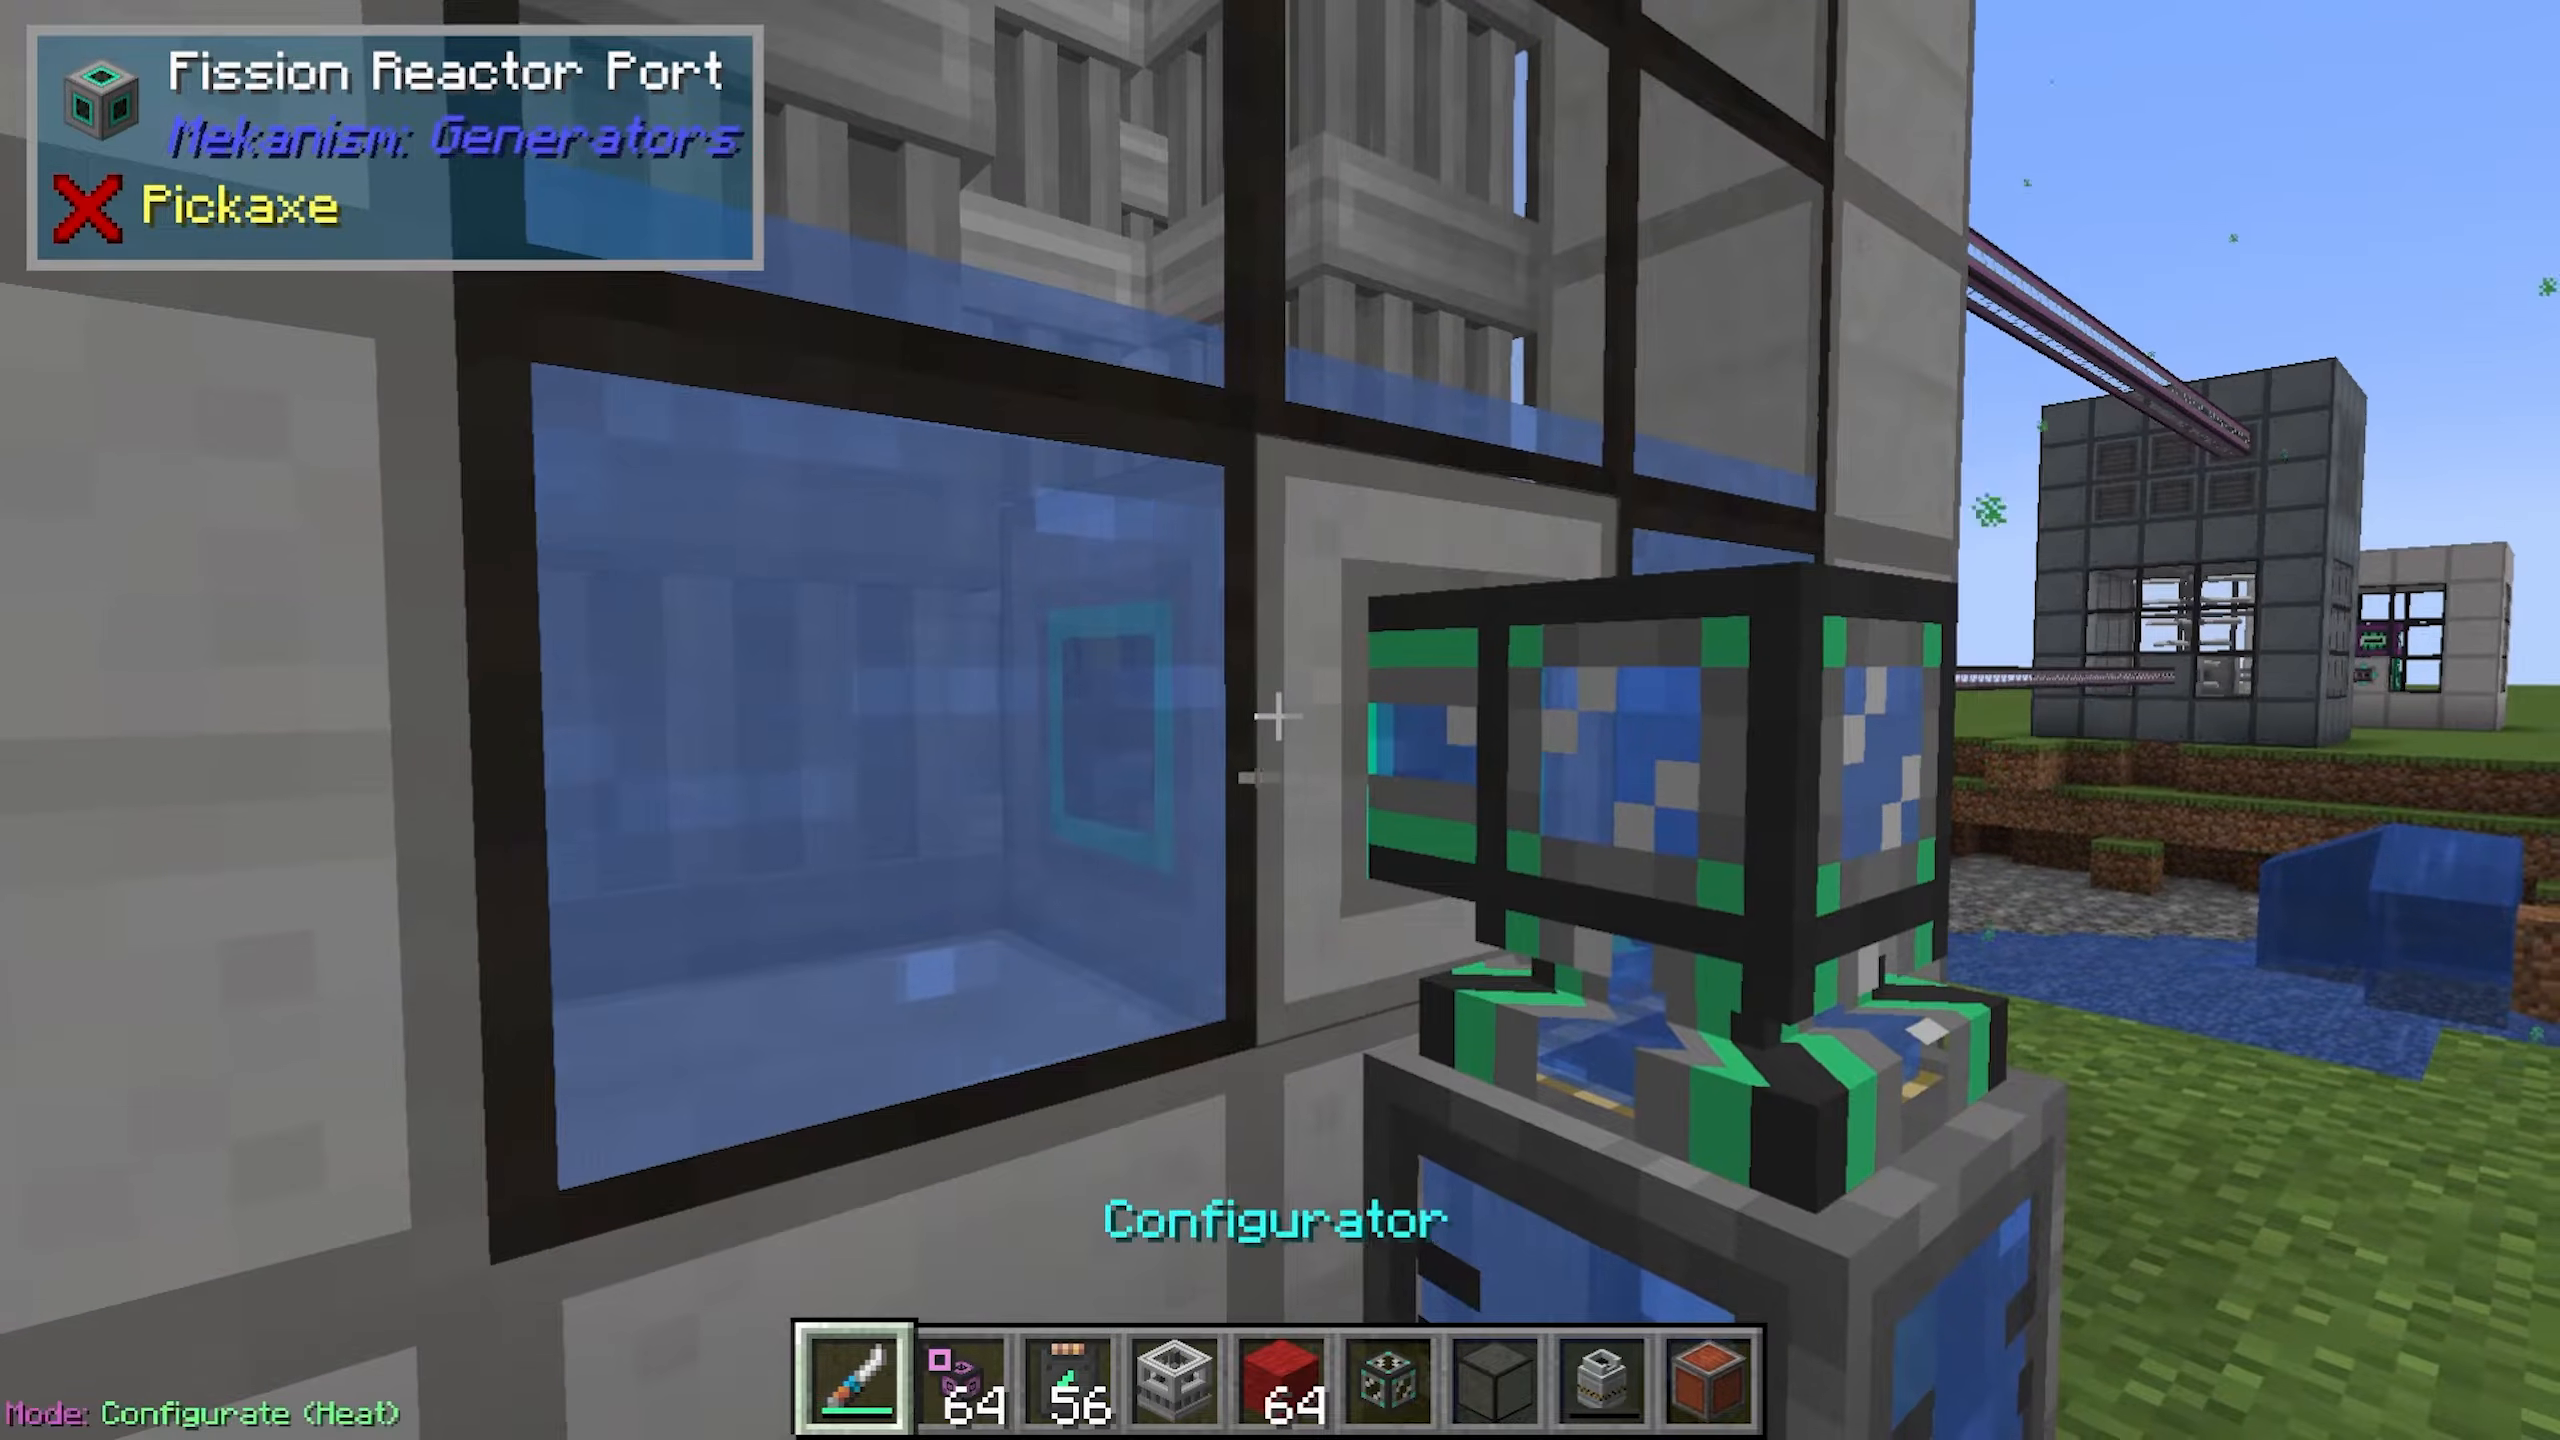
Your Fission Reactor requires multiple Reactor Ports to manage input and output flows. A typical setup uses five ports for the following functions:
Water Input (Coolant): Set to “Input Only” using your Configurator (Shift+Click to change port function)
Waste Output: Set to “Output Waste” for nuclear waste removal
Heated Coolant Output: Set to “Output Coolant” for steam production
Fissile Fuel Input: For feeding fuel into the reactor
Managing Nuclear Waste
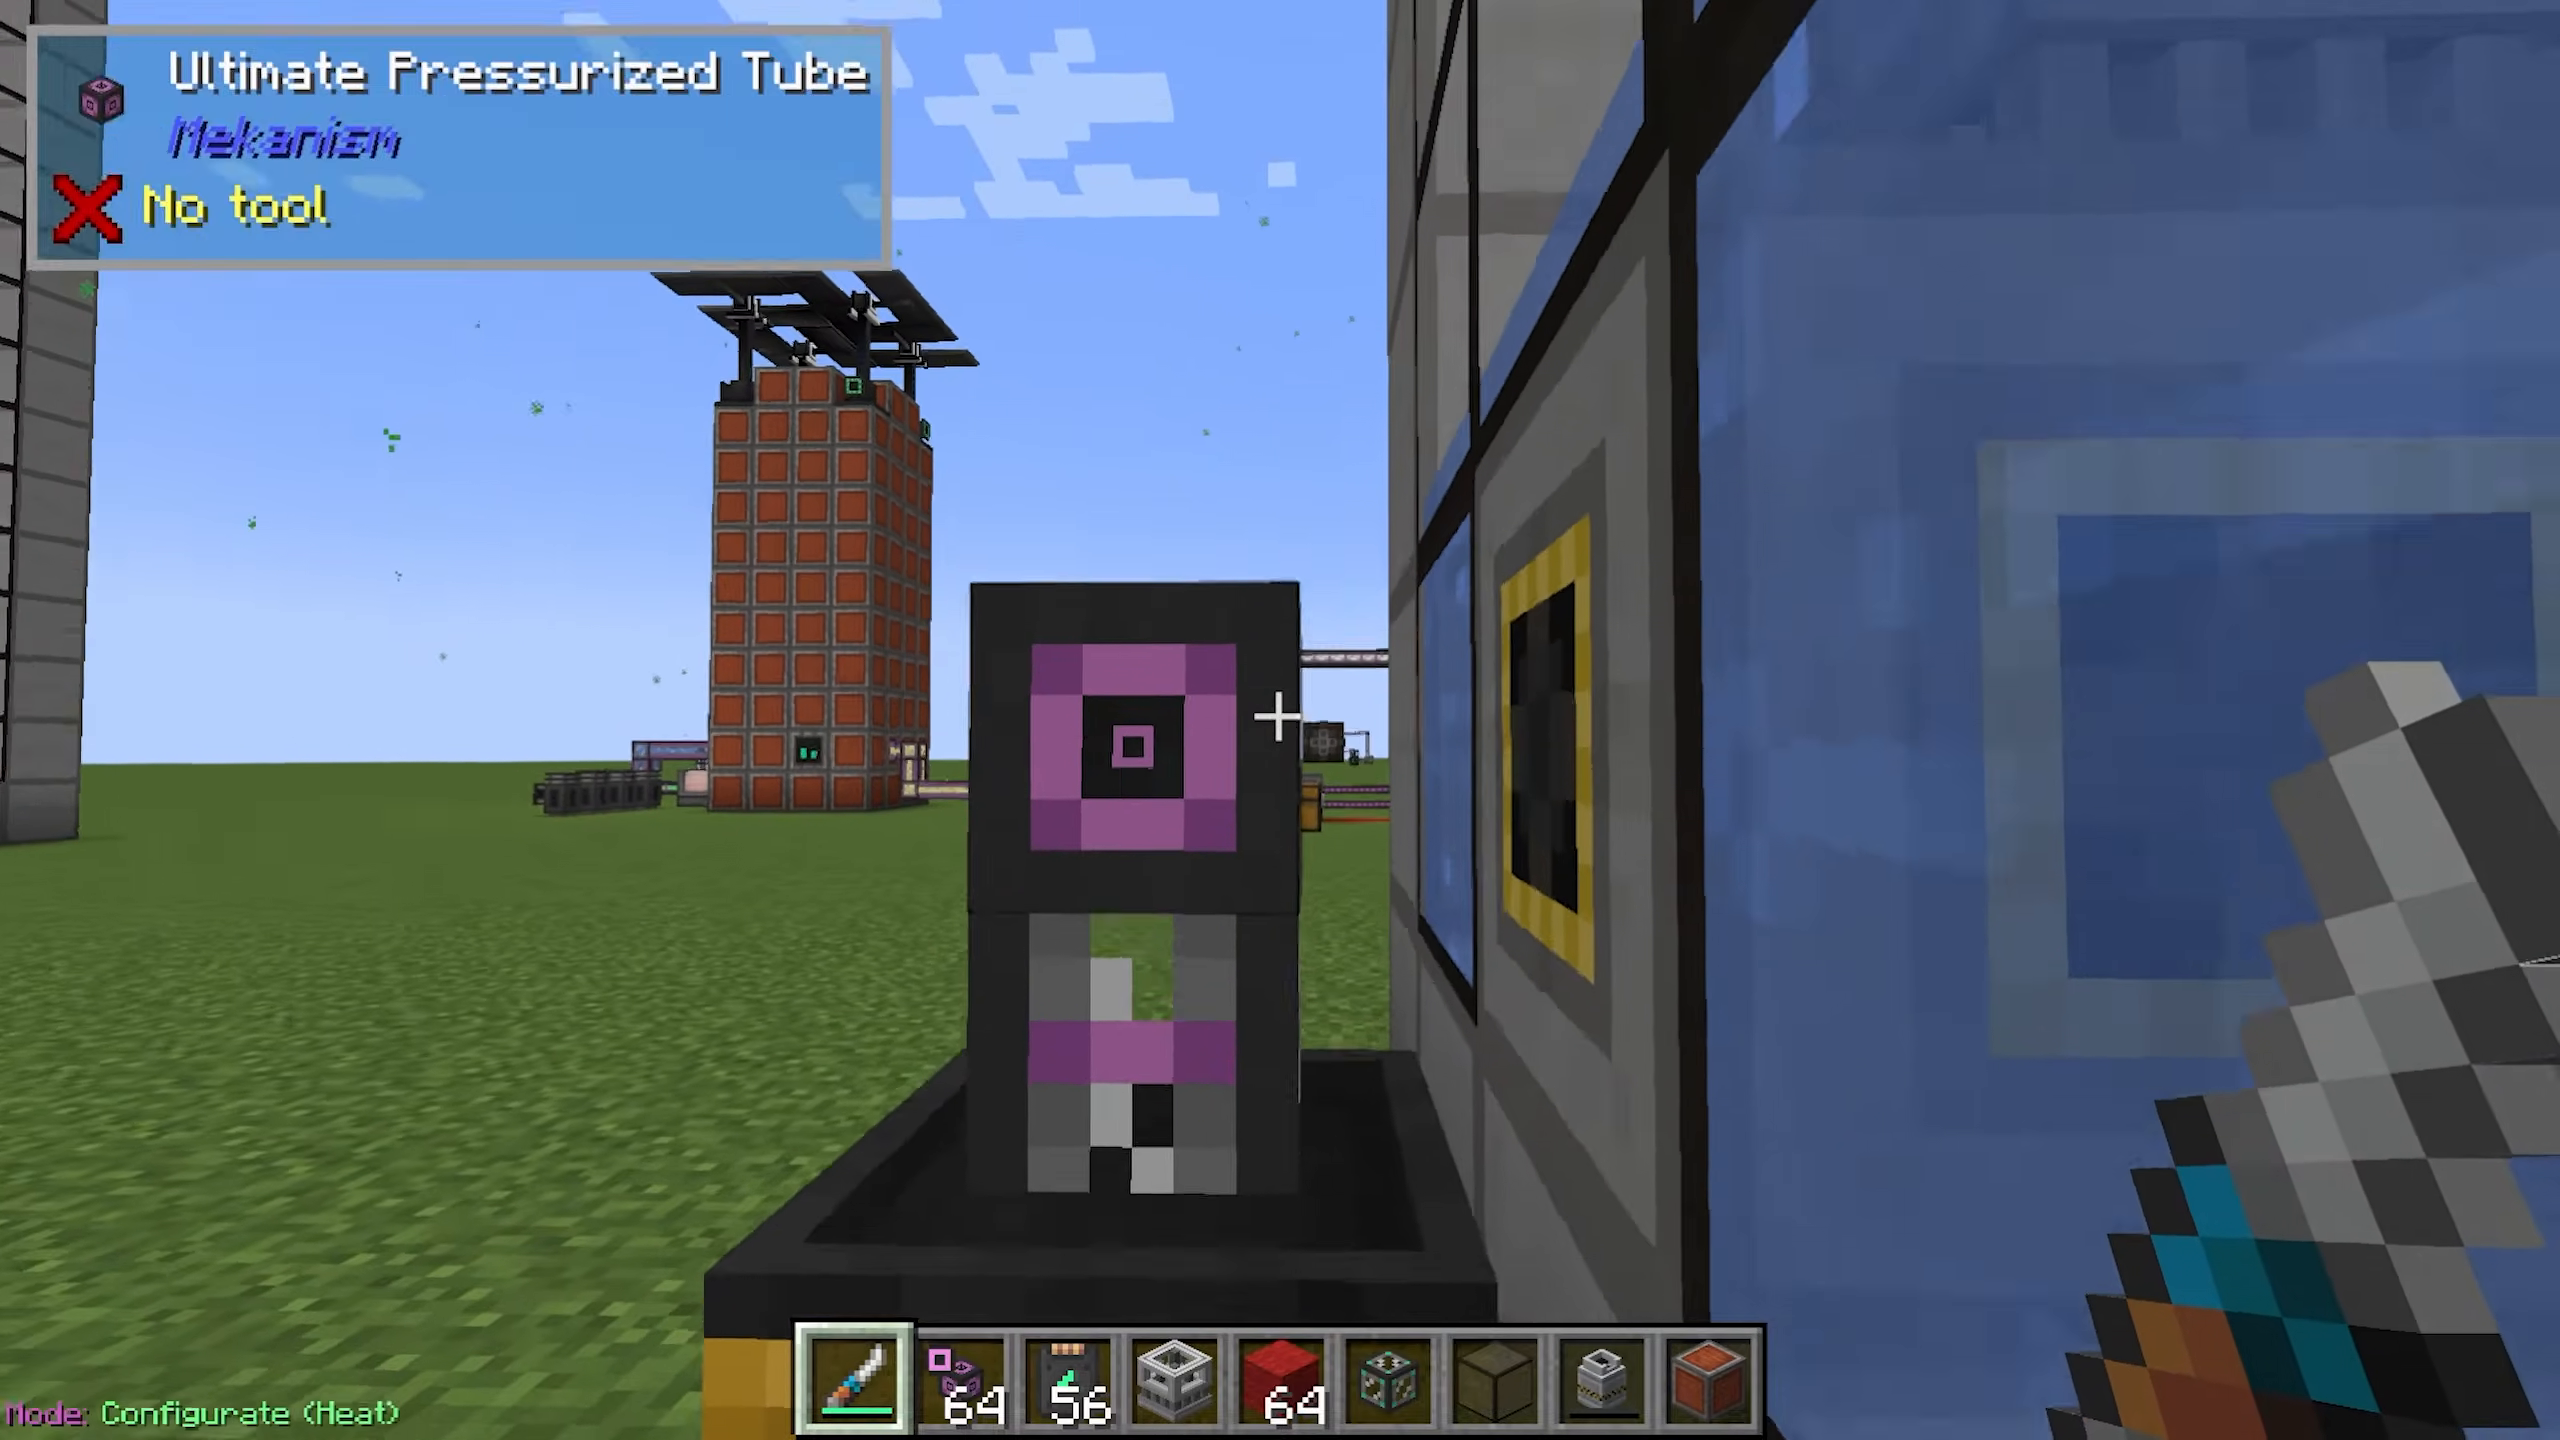
Nuclear waste must be output via pressurized pipes into a Radioactive Waste Barrel. If waste is not properly contained, it will cause pollution in your world (visible as green particles). Failure to manage waste correctly is a primary cause of meltdowns and environmental damage.
Understanding the Coolant Loop and Heating Process
How the System Works
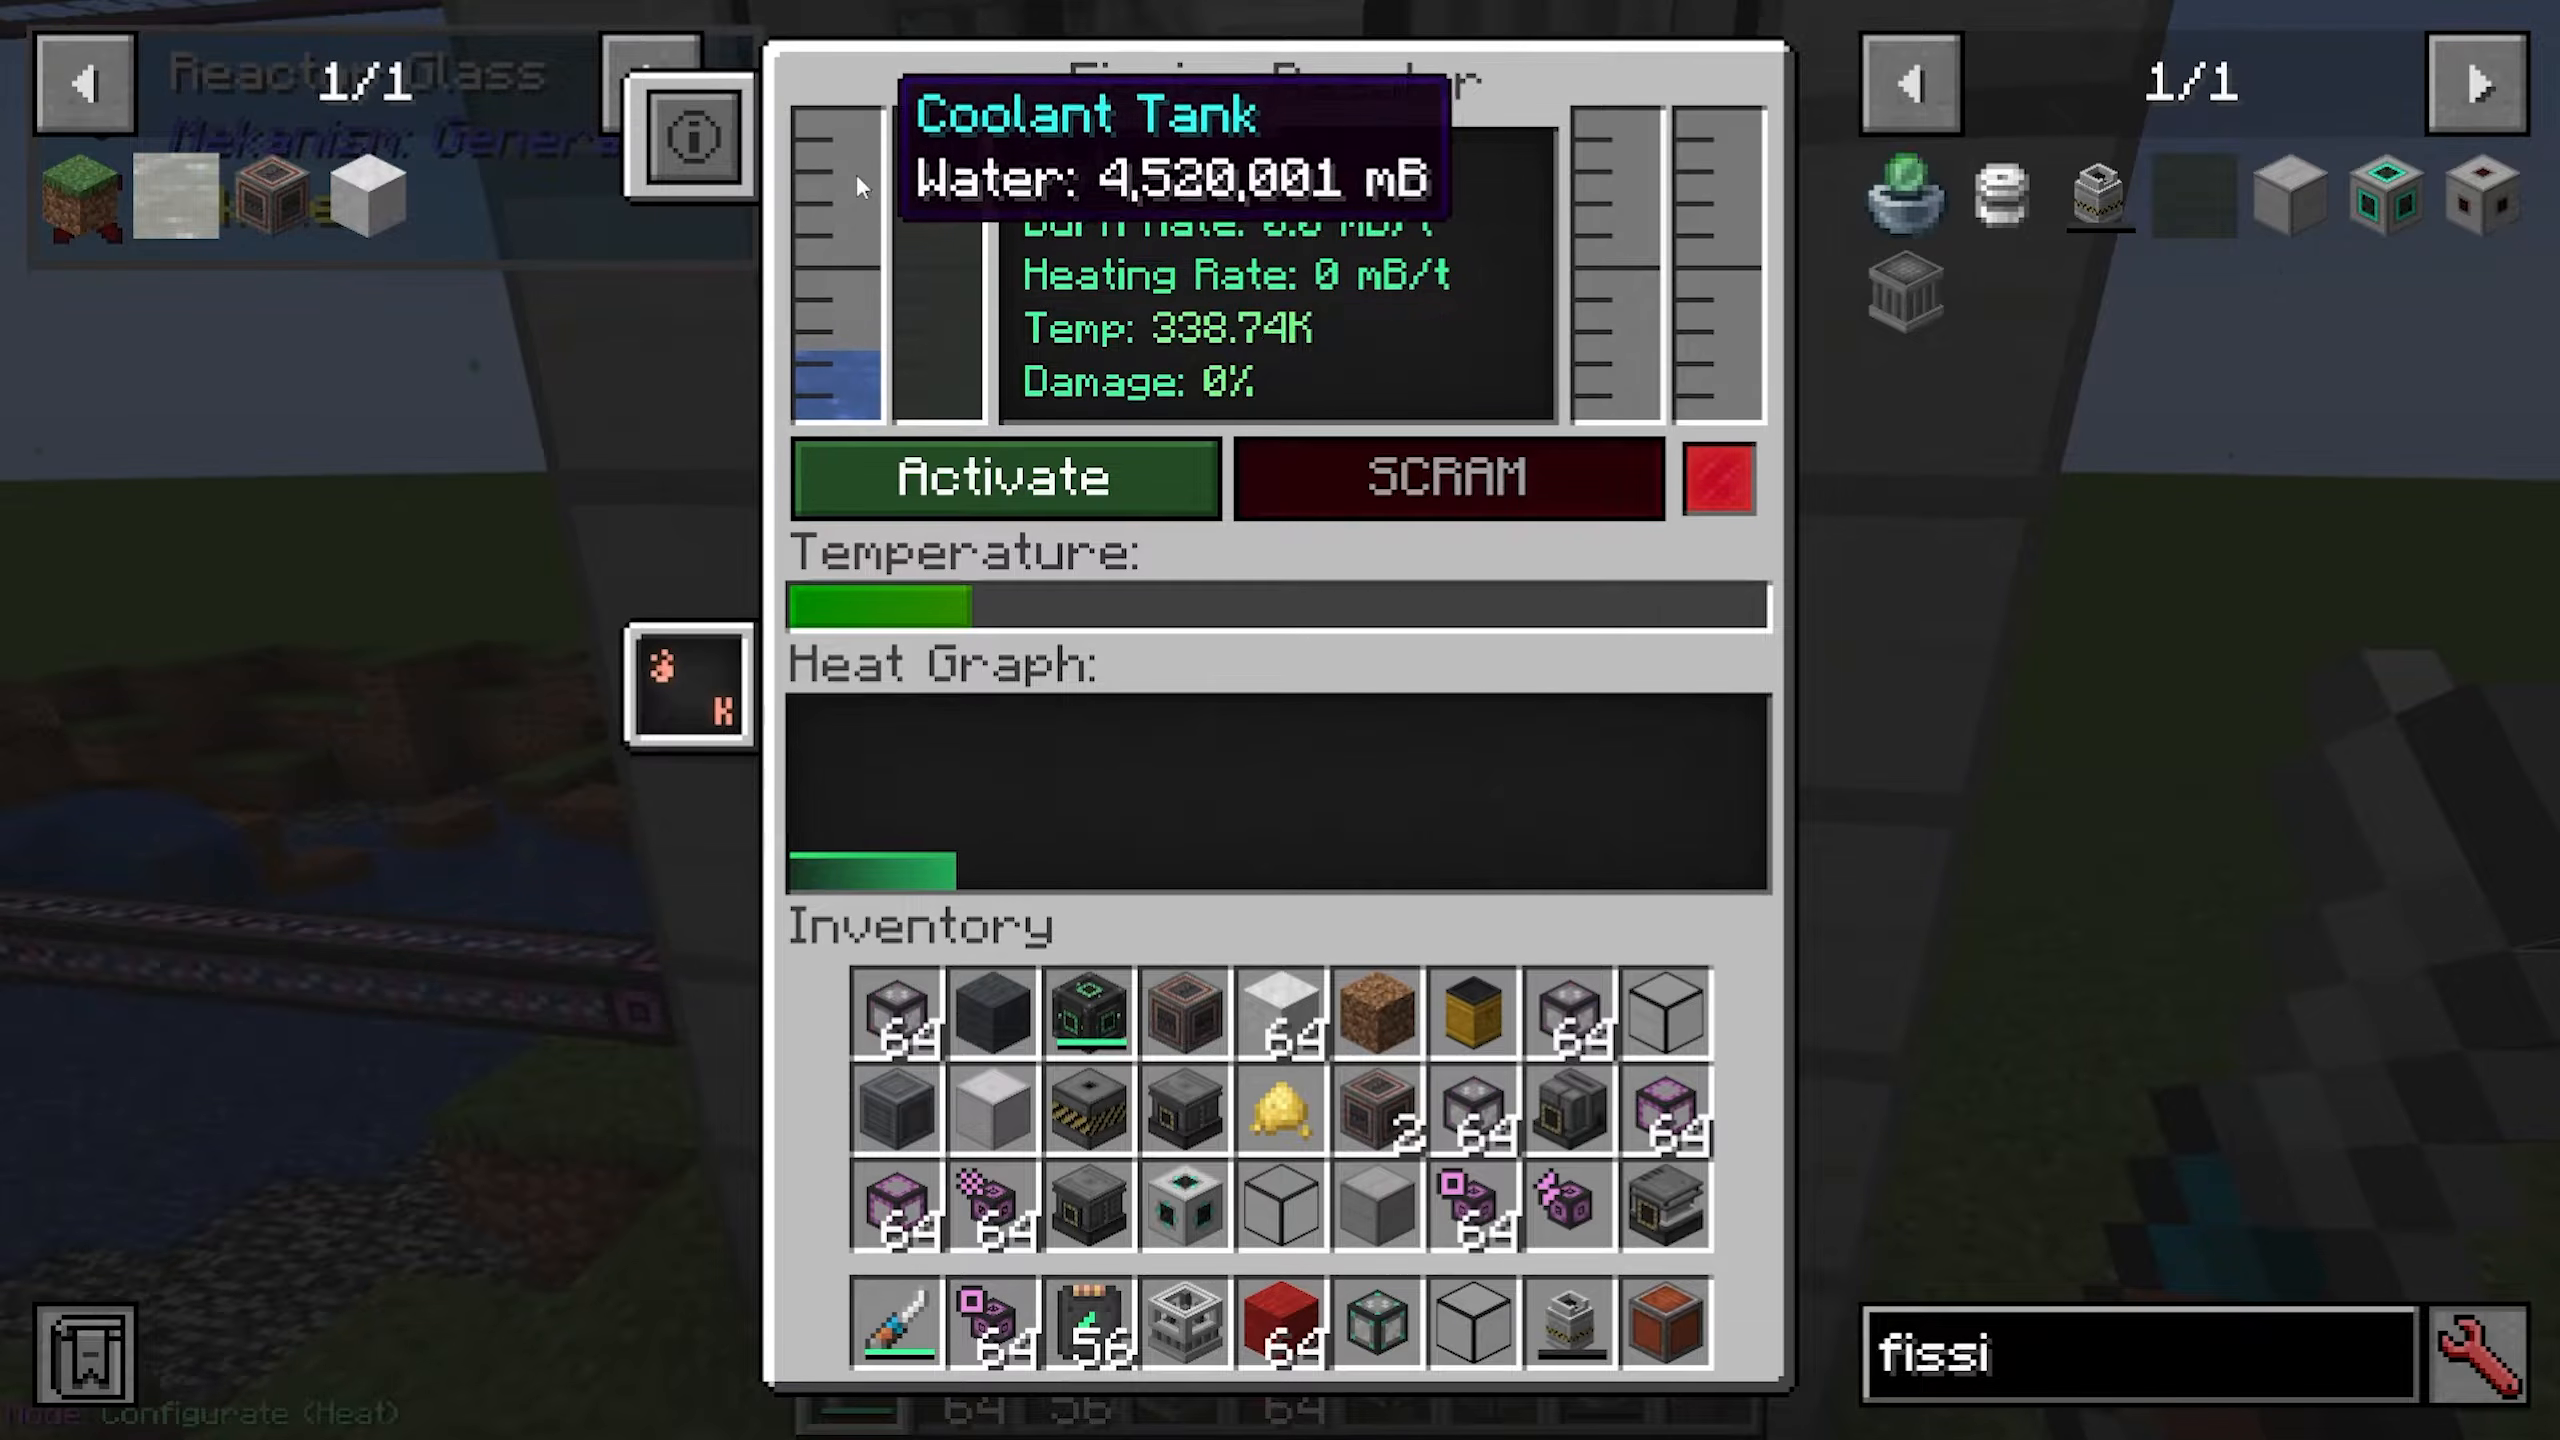
When you power on your Fission Reactor, the following process occurs:
Fissile fuel and water coolant are input into the reactor
The fuel heats the coolant, converting water into steam (heated coolant)
Nuclear waste is produced and must be output immediately
The heated coolant/steam is sent to the Turbine for energy generation
The cooled water returns from the Turbine back to the reactor
Critical Safety Warnings
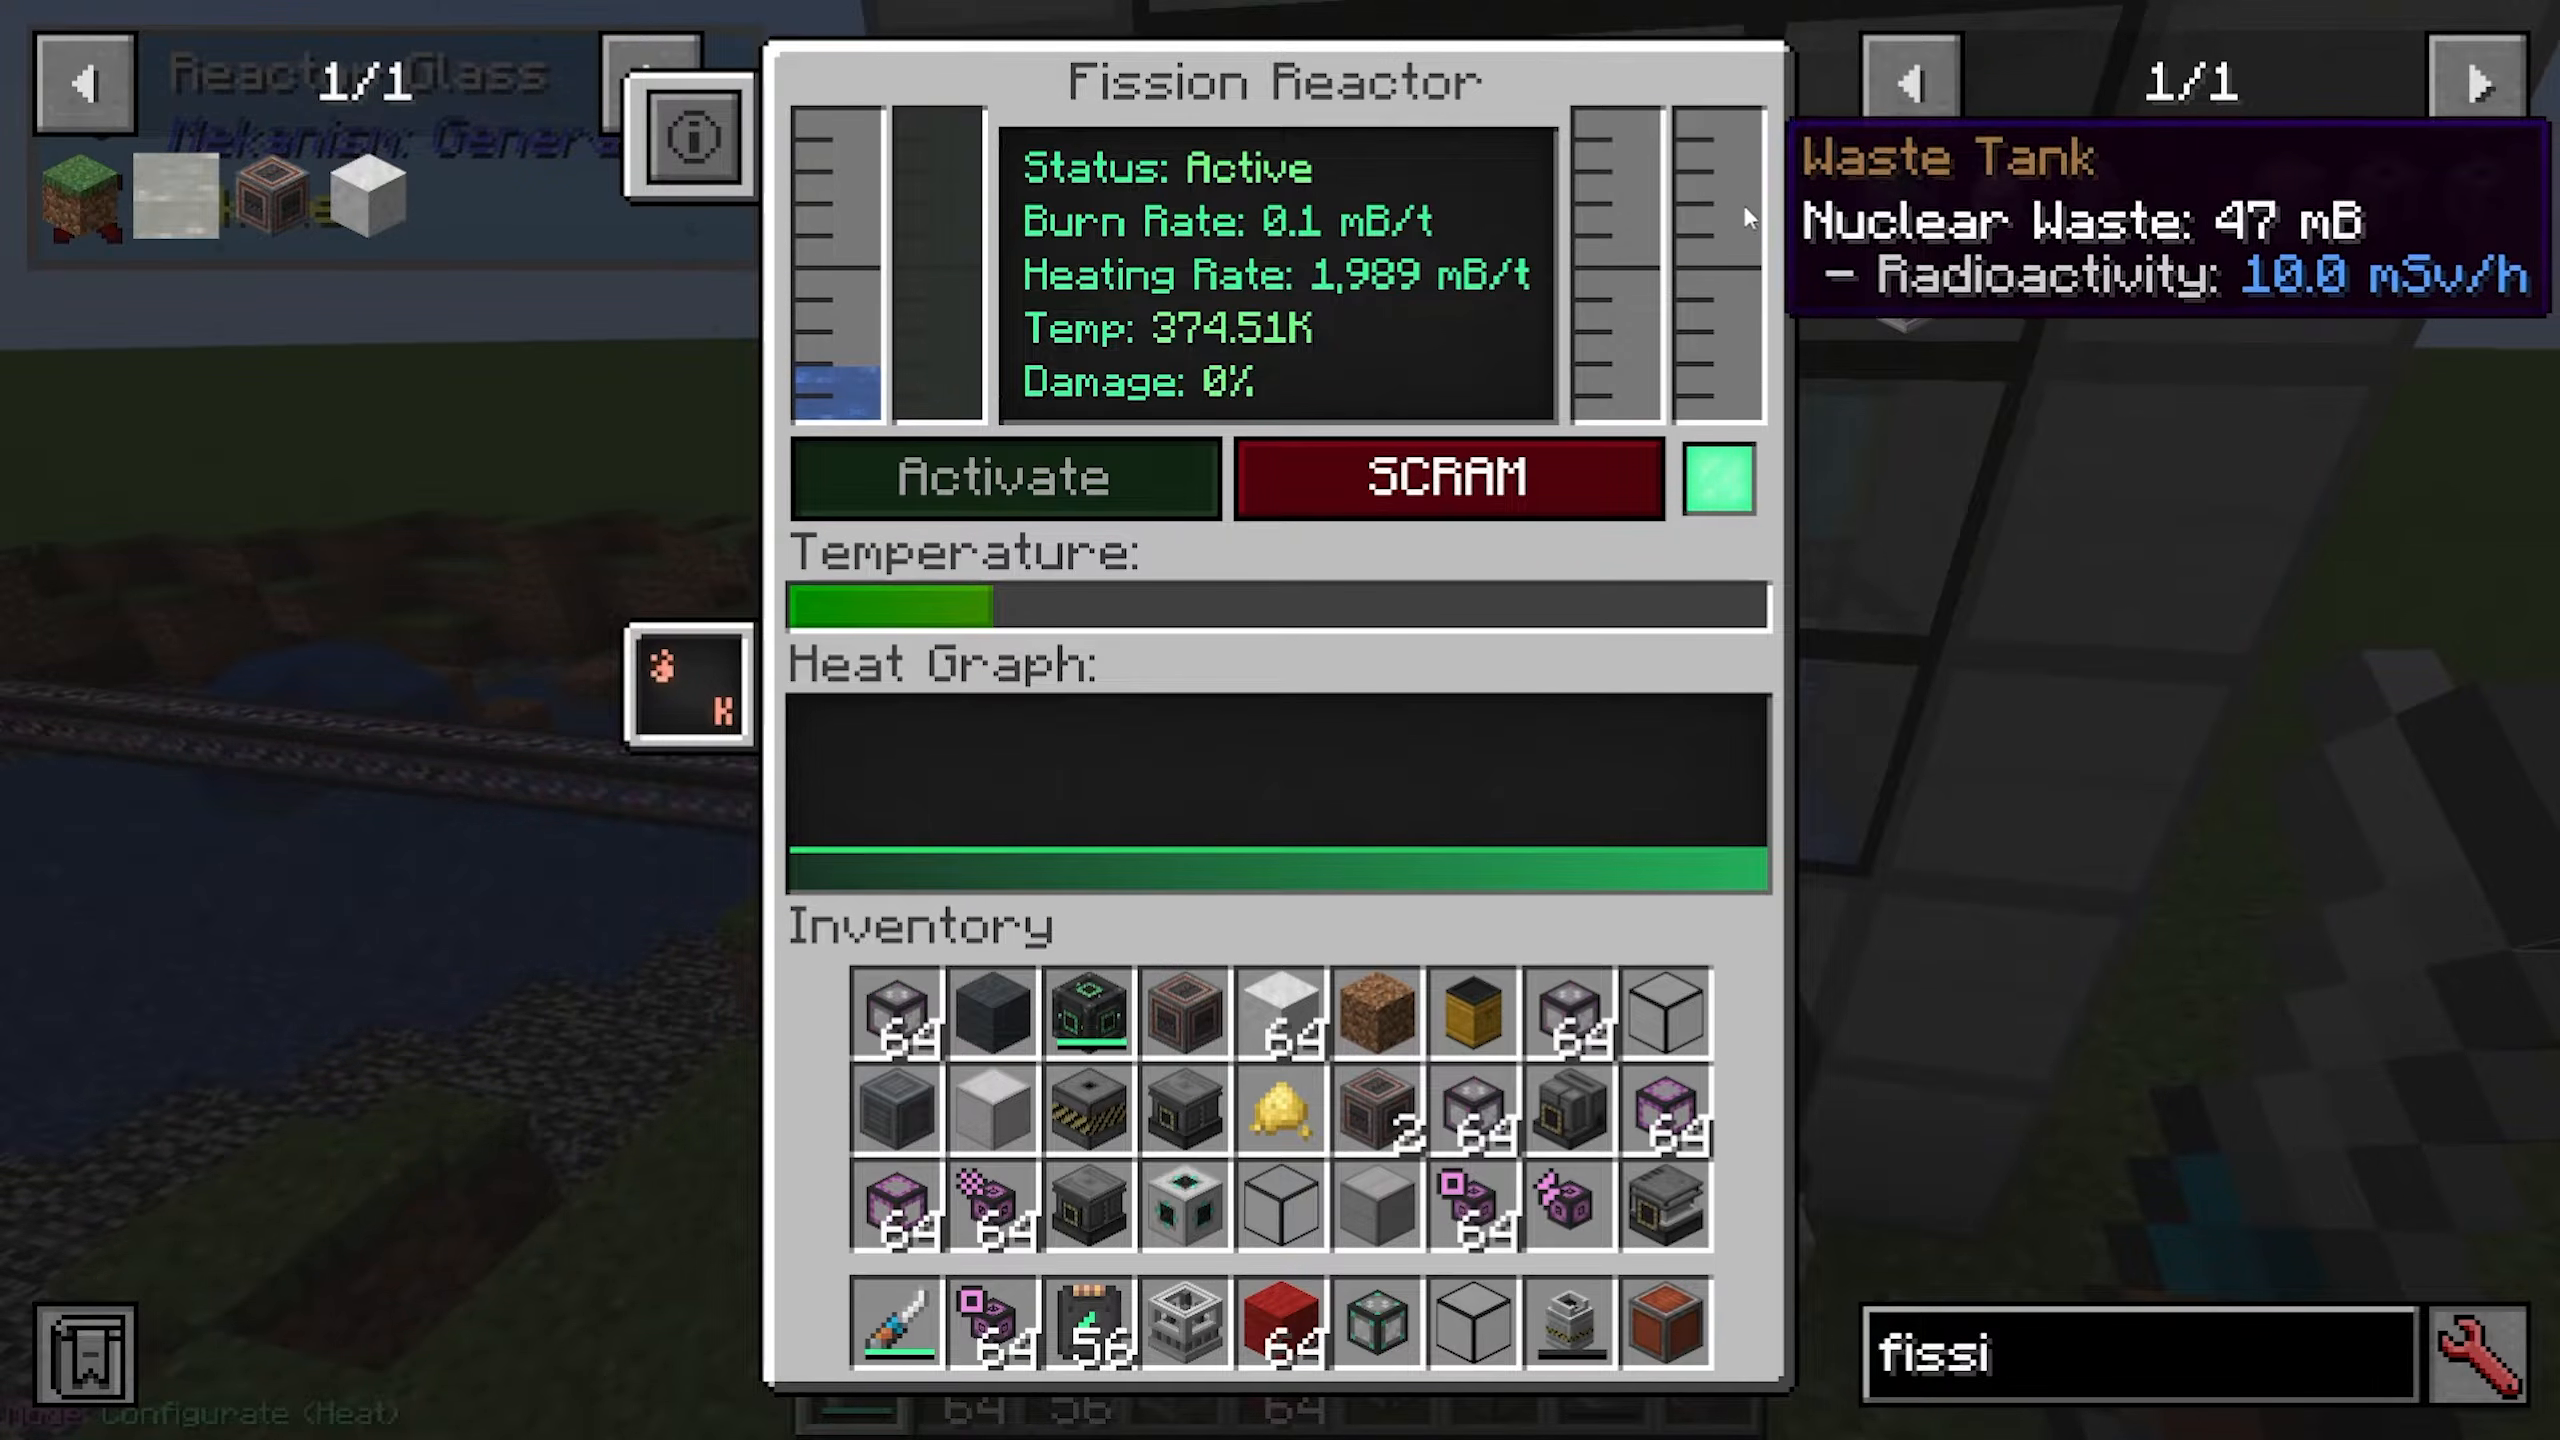
Blockage Prevention: If your steam output or waste output becomes blocked, the reactor will back up and meltdown. Ensure pressurized pipes are clear and unobstructed at all times.
Temperature Management: Monitor your reactor’s temperature closely. Build a sufficiently large Turbine to handle the steam output and provide adequate coolant flow. When in doubt, build a huge turbine paired with a smaller reactor rather than the reverse.
Building the Turbine
Turbine Structure Overview
The Turbine is more complex to construct than the Fission Reactor itself, but the process is straightforward once you understand the component arrangement. A standard build starts with a 5×5 base and can be built as tall as you need for greater efficiency.
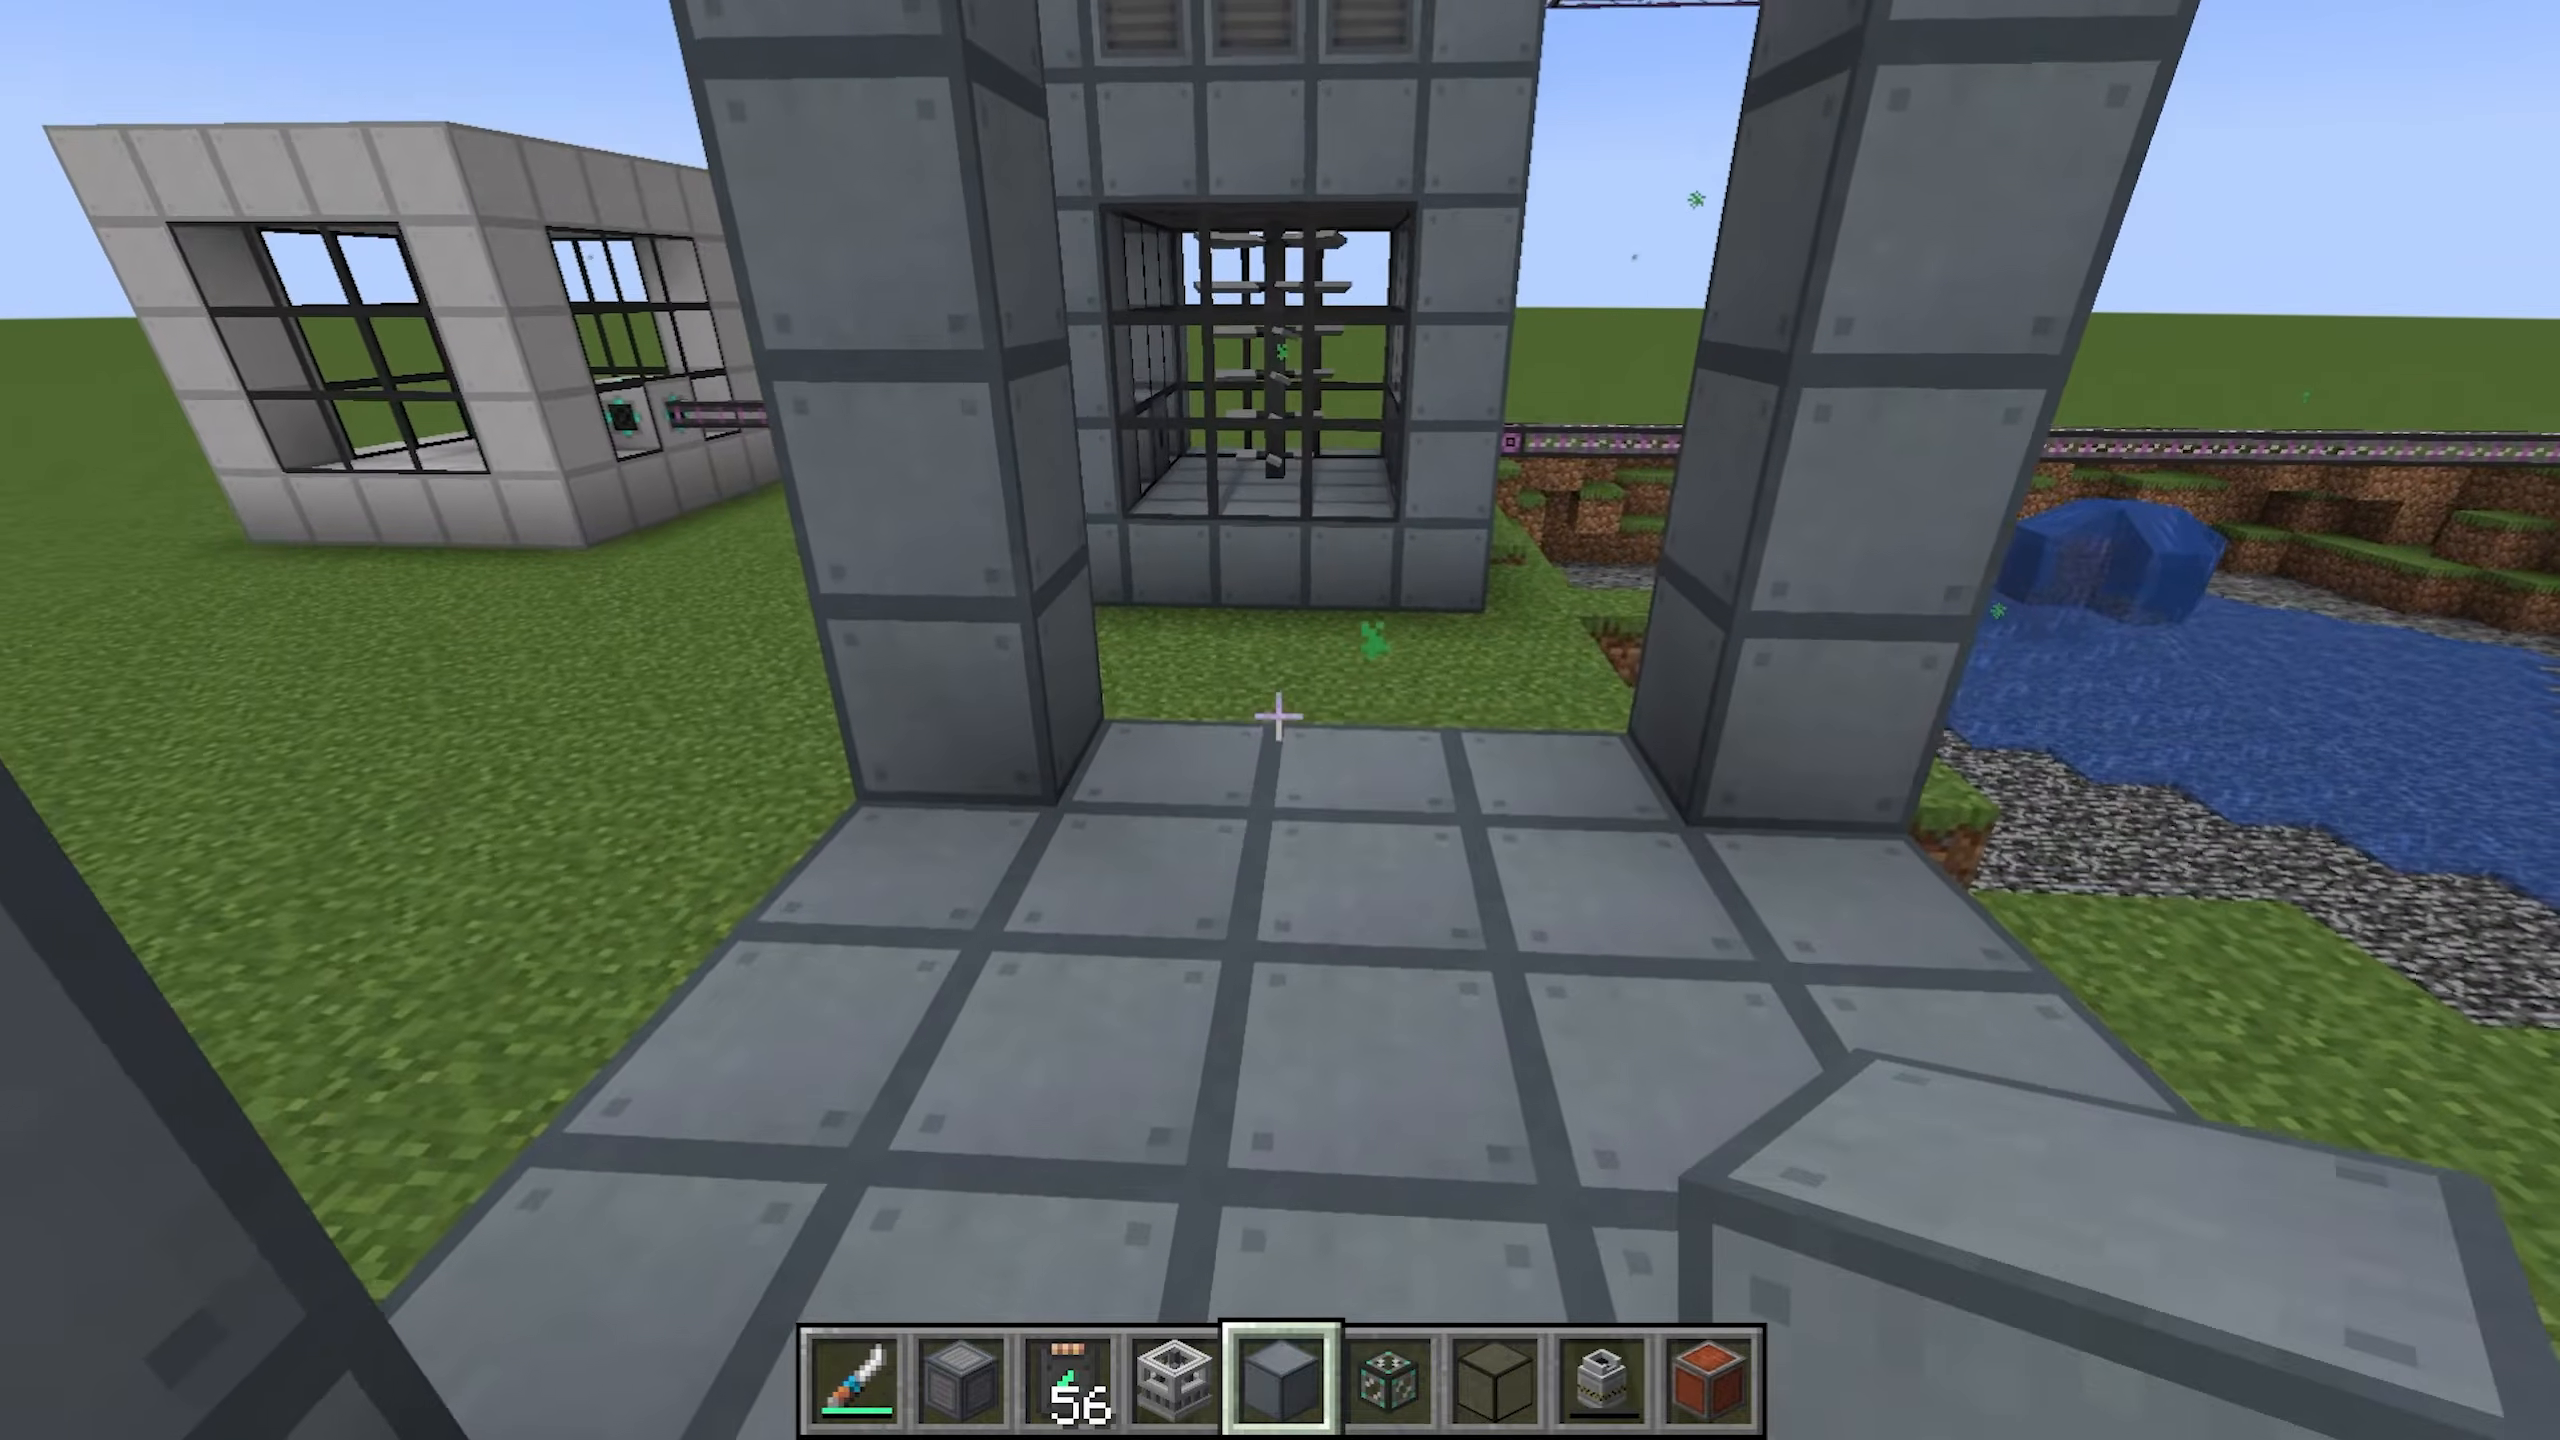
Core Components (From Bottom to Top)
Foundation: Turbine Casings form the base structure and exterior walls of your turbine.
Rotor Assembly: In the center, place a Turbine Rotor. Attach Turbine Blades to the rotor—use two blades per rotor segment. Larger rotors (taller turbines) are more efficient, but a 3-high rotor is sufficient for demonstration purposes.
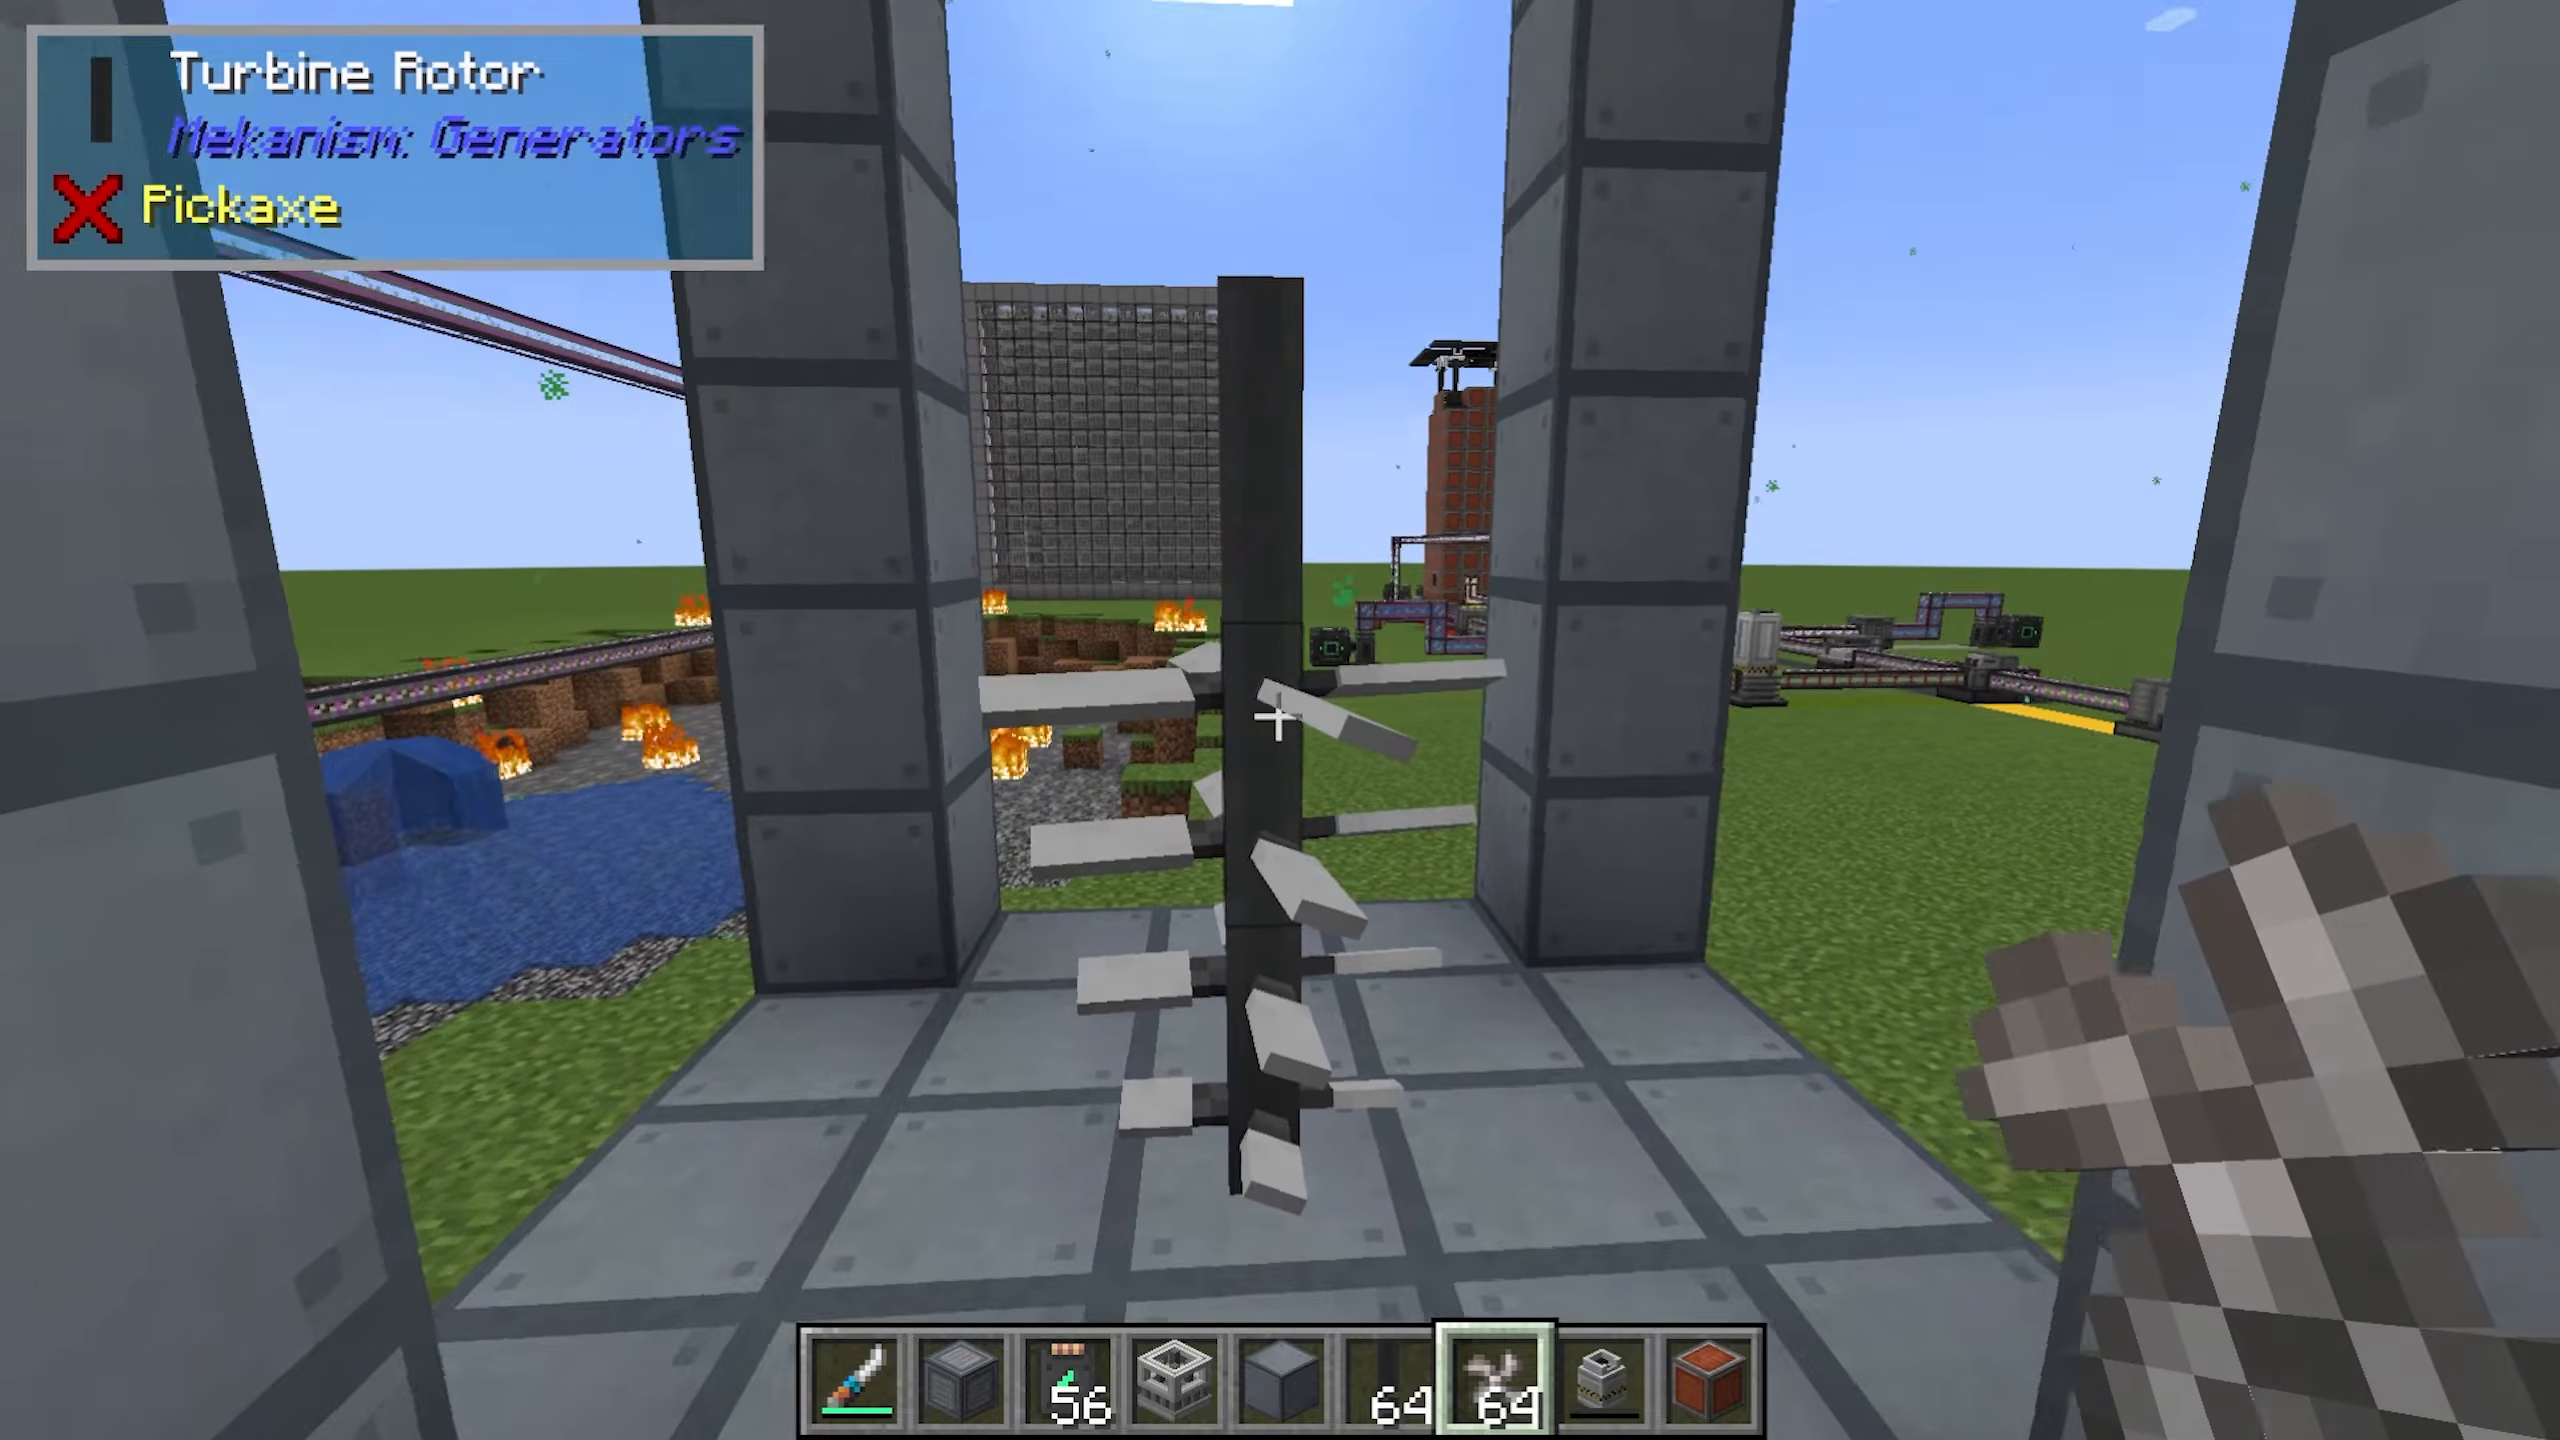
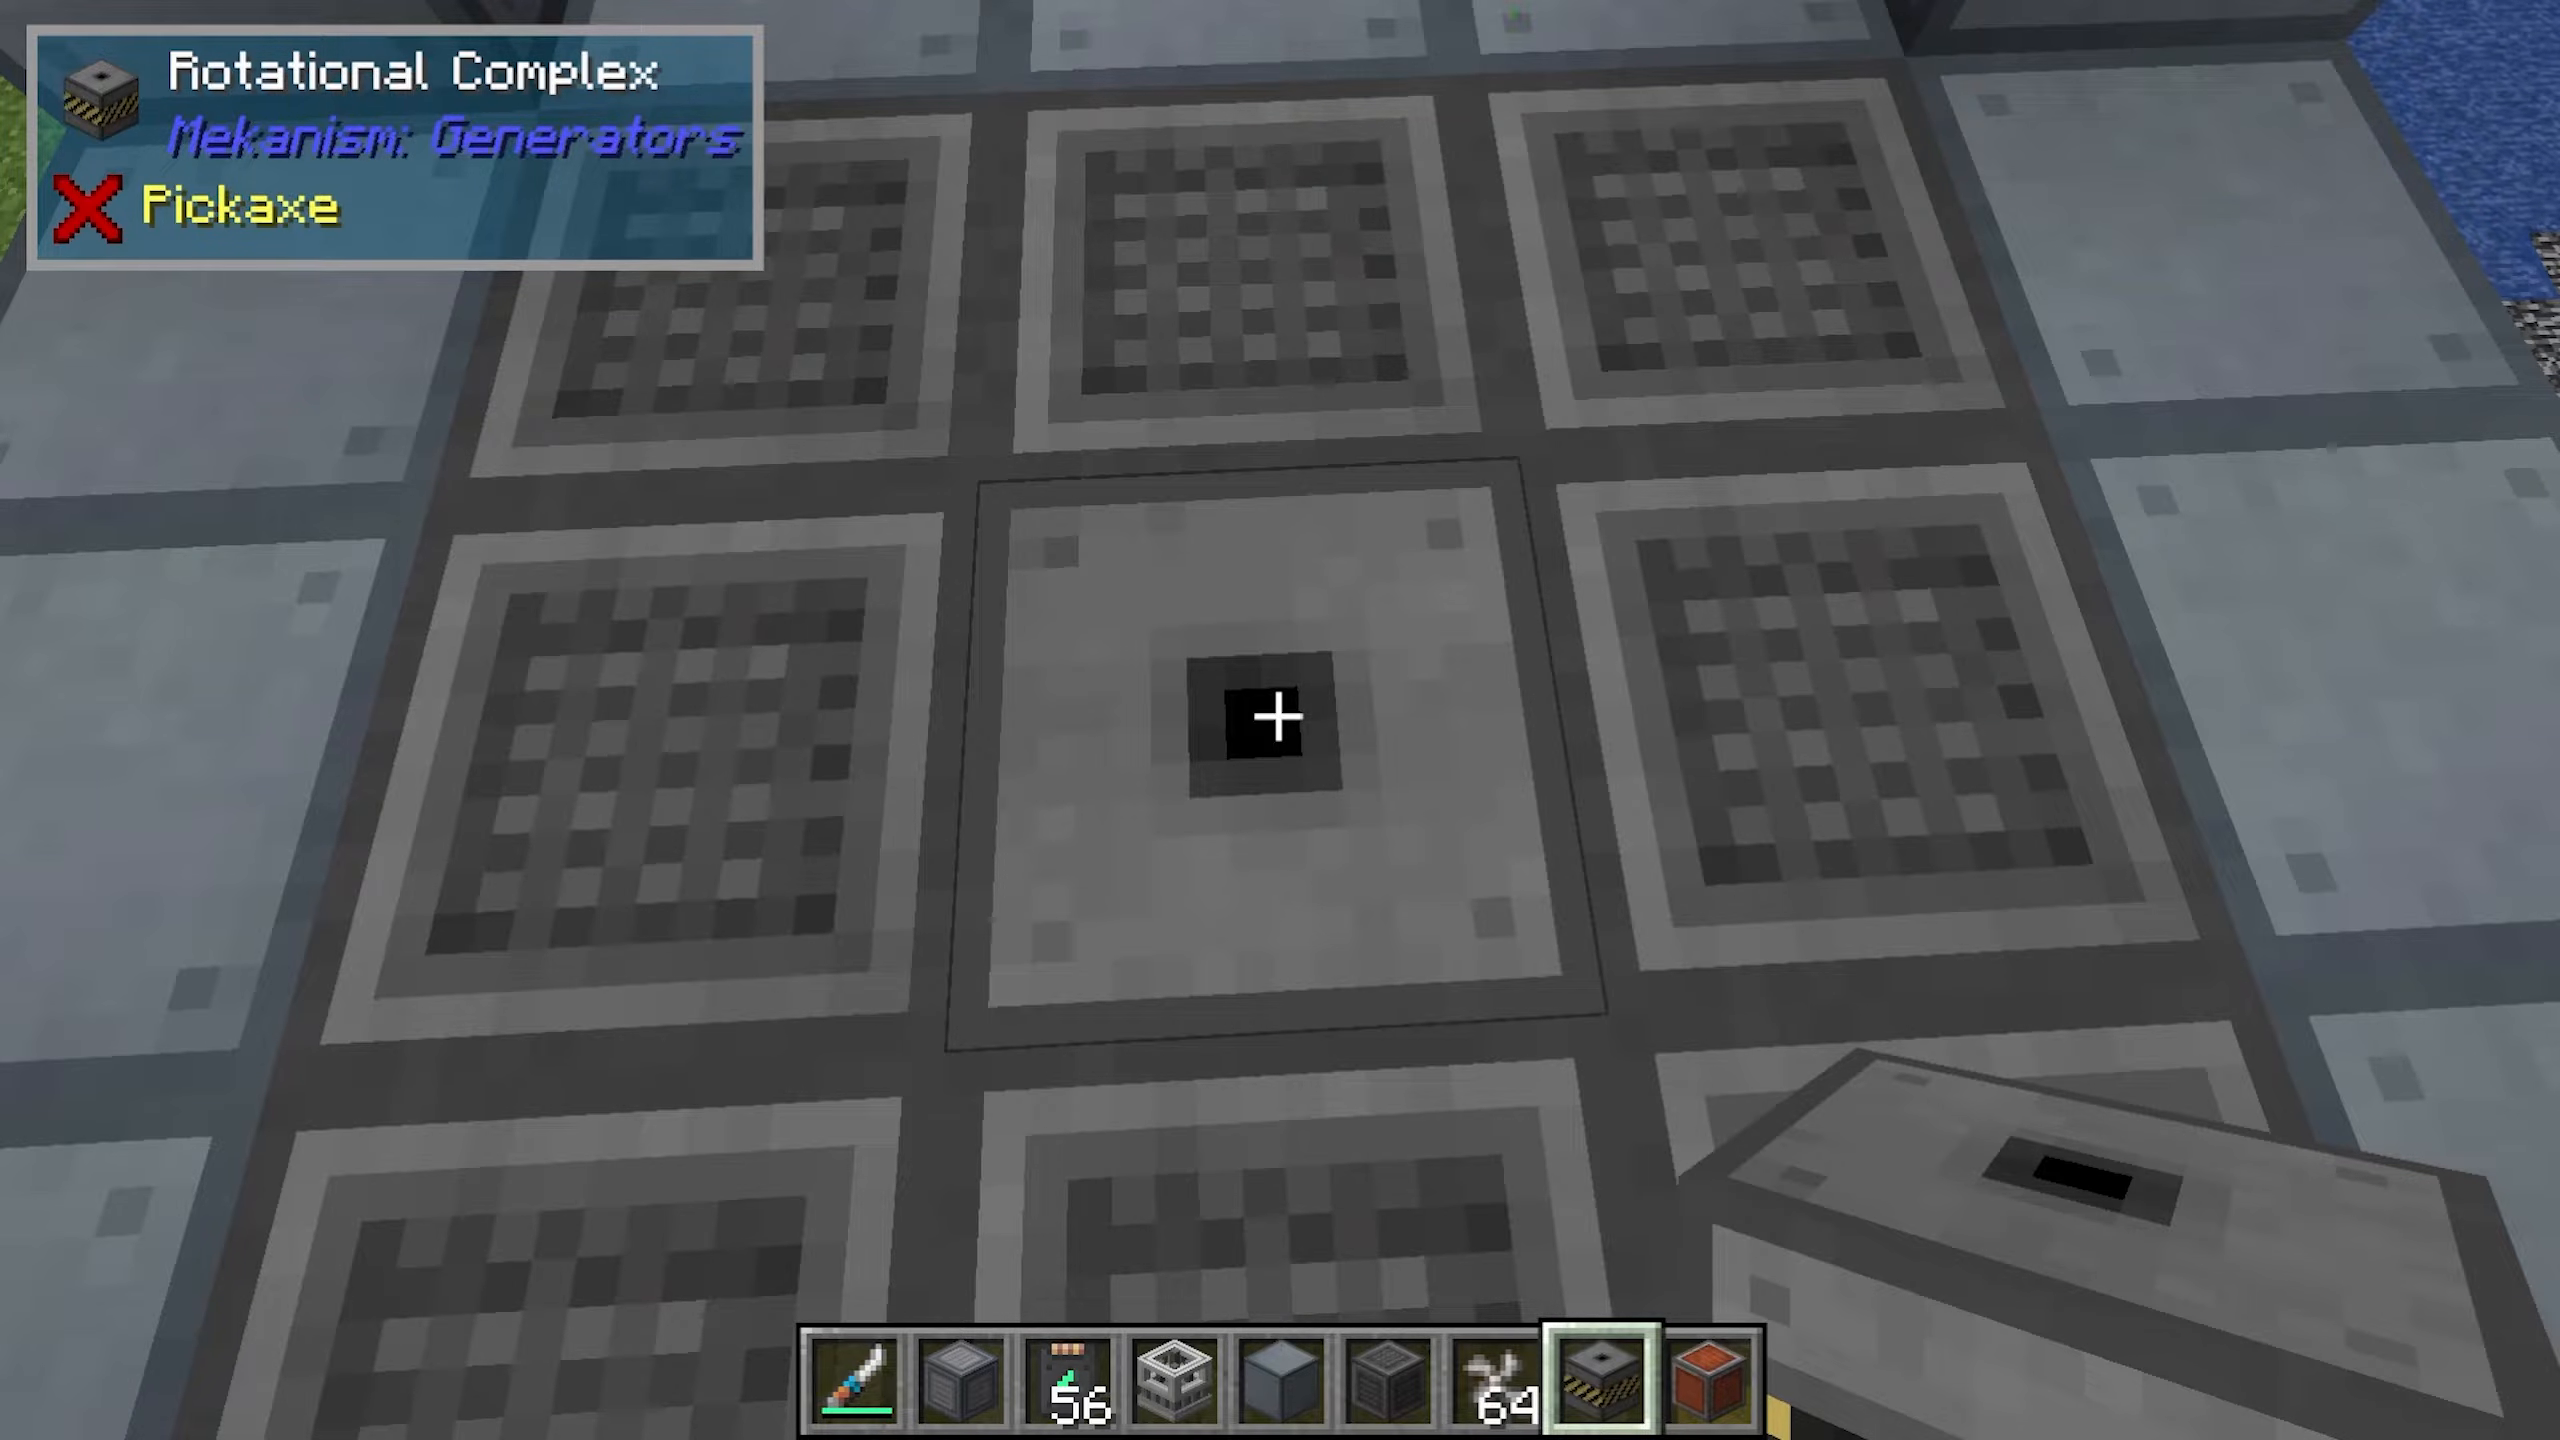
Rotational Complex: Position a Rotational Complex directly on top of the rotor assembly.
Pressure Dispensers: Surround the Rotational Complex and rotor with Pressure Dispensers. These help manage steam distribution through the turbine.
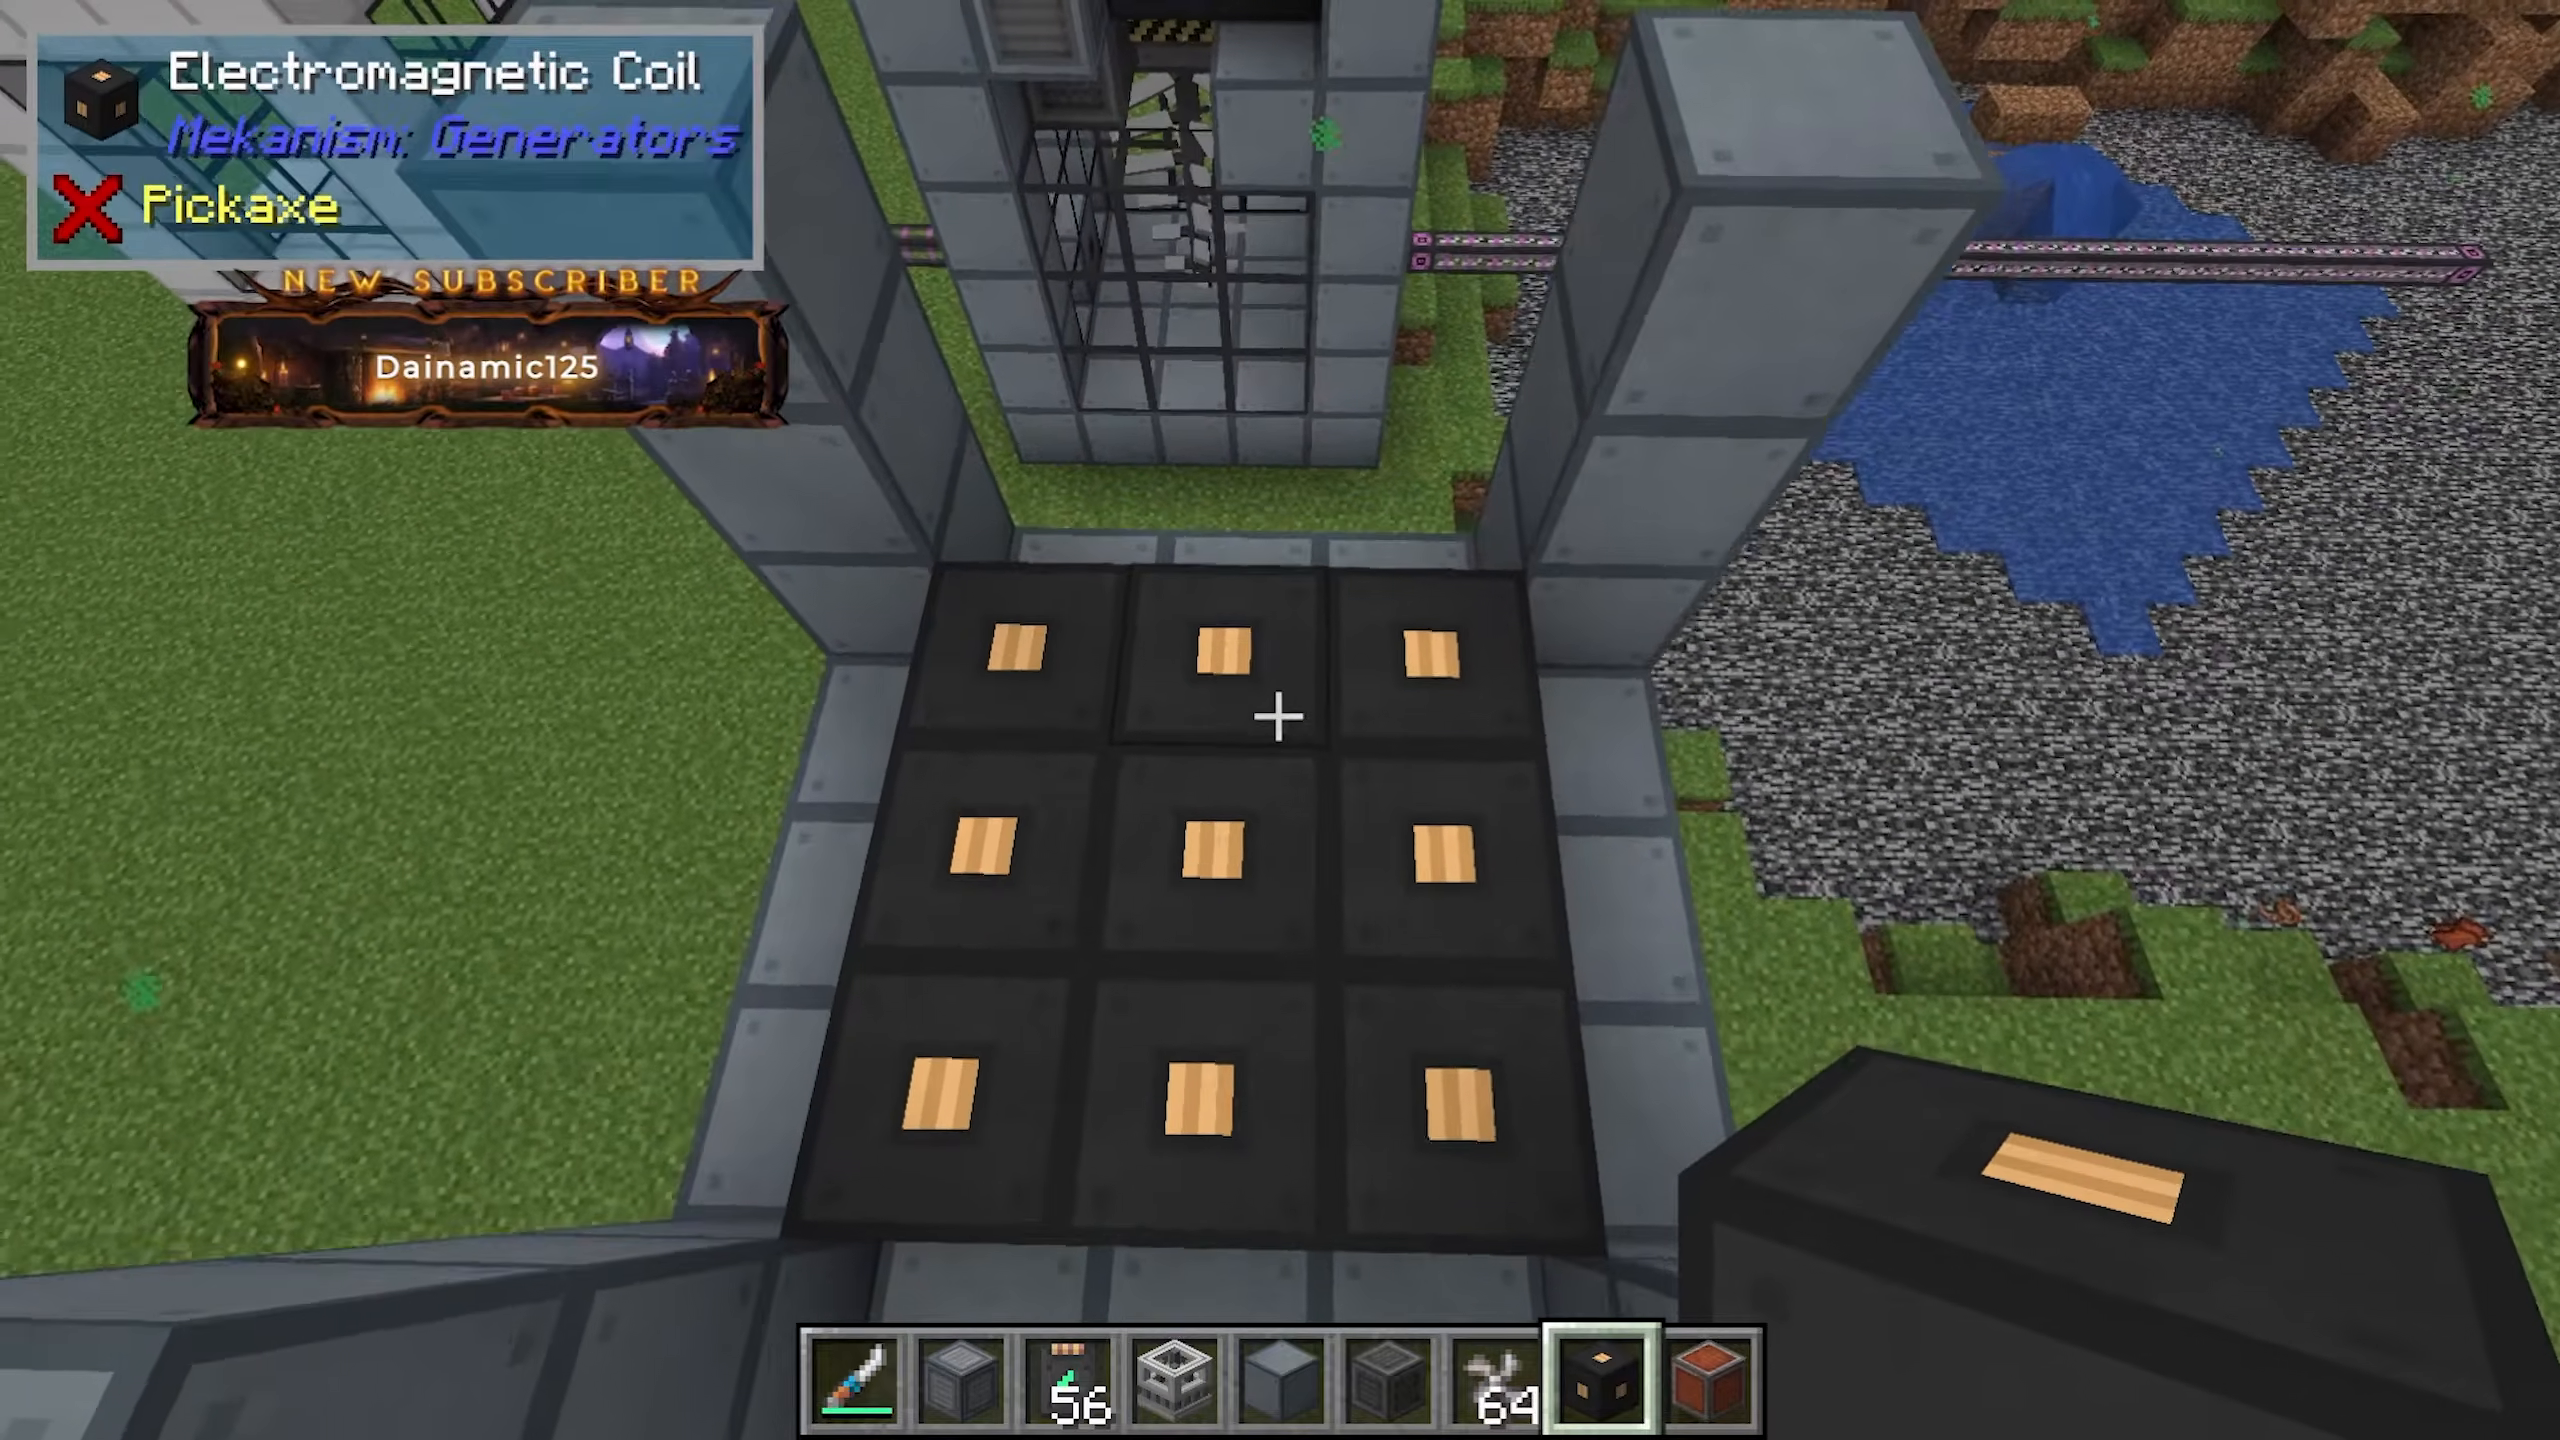
Electromagnetic Coils: Place Electromagnetic Coils on top of the Pressure Dispensers and Rotational Complex. These generate the electrical energy as the turbine spins.
Turbine Vents: Install Turbine Vents above the Electromagnetic Coils to allow steam to escape and cooled water to exit. The more vents you include, the better your turbine can despise (vent) its output. These vents also serve as water output ports.
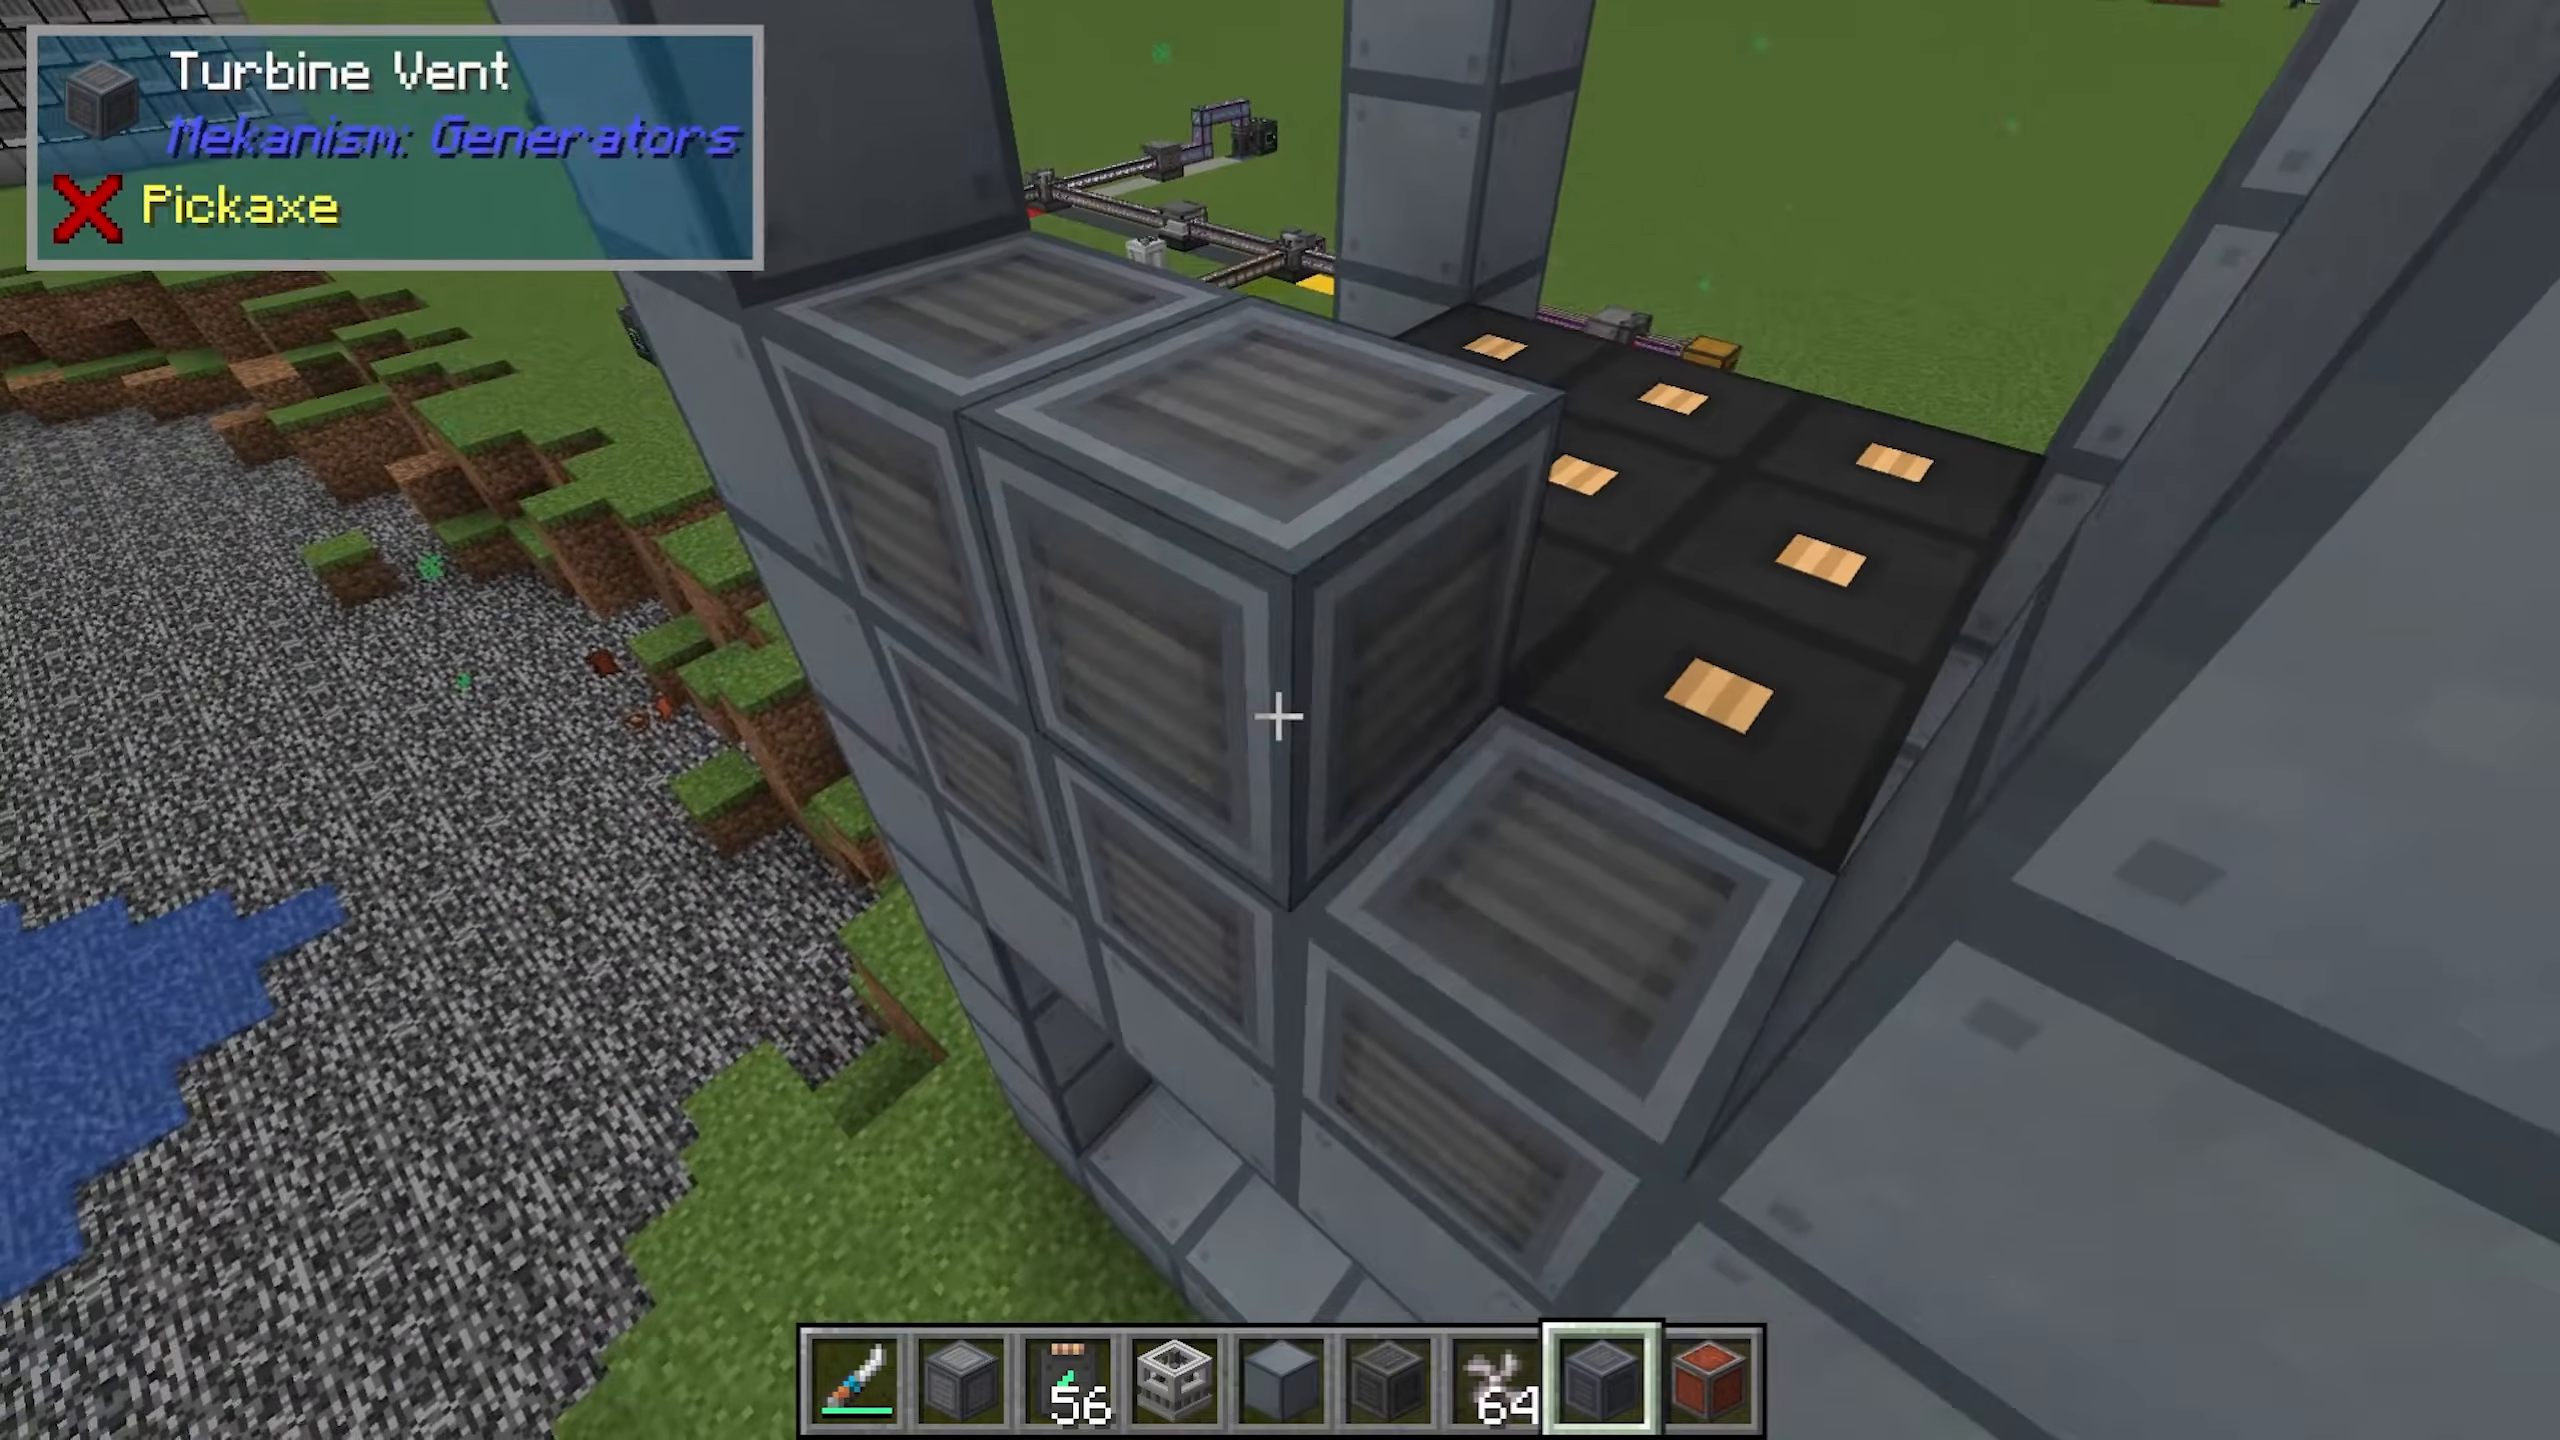
Casing Cap: Close the turbine with Turbine Casings on top. You can fill interior spaces with Structural Glass (not Reactor Glass) for visual clarity.
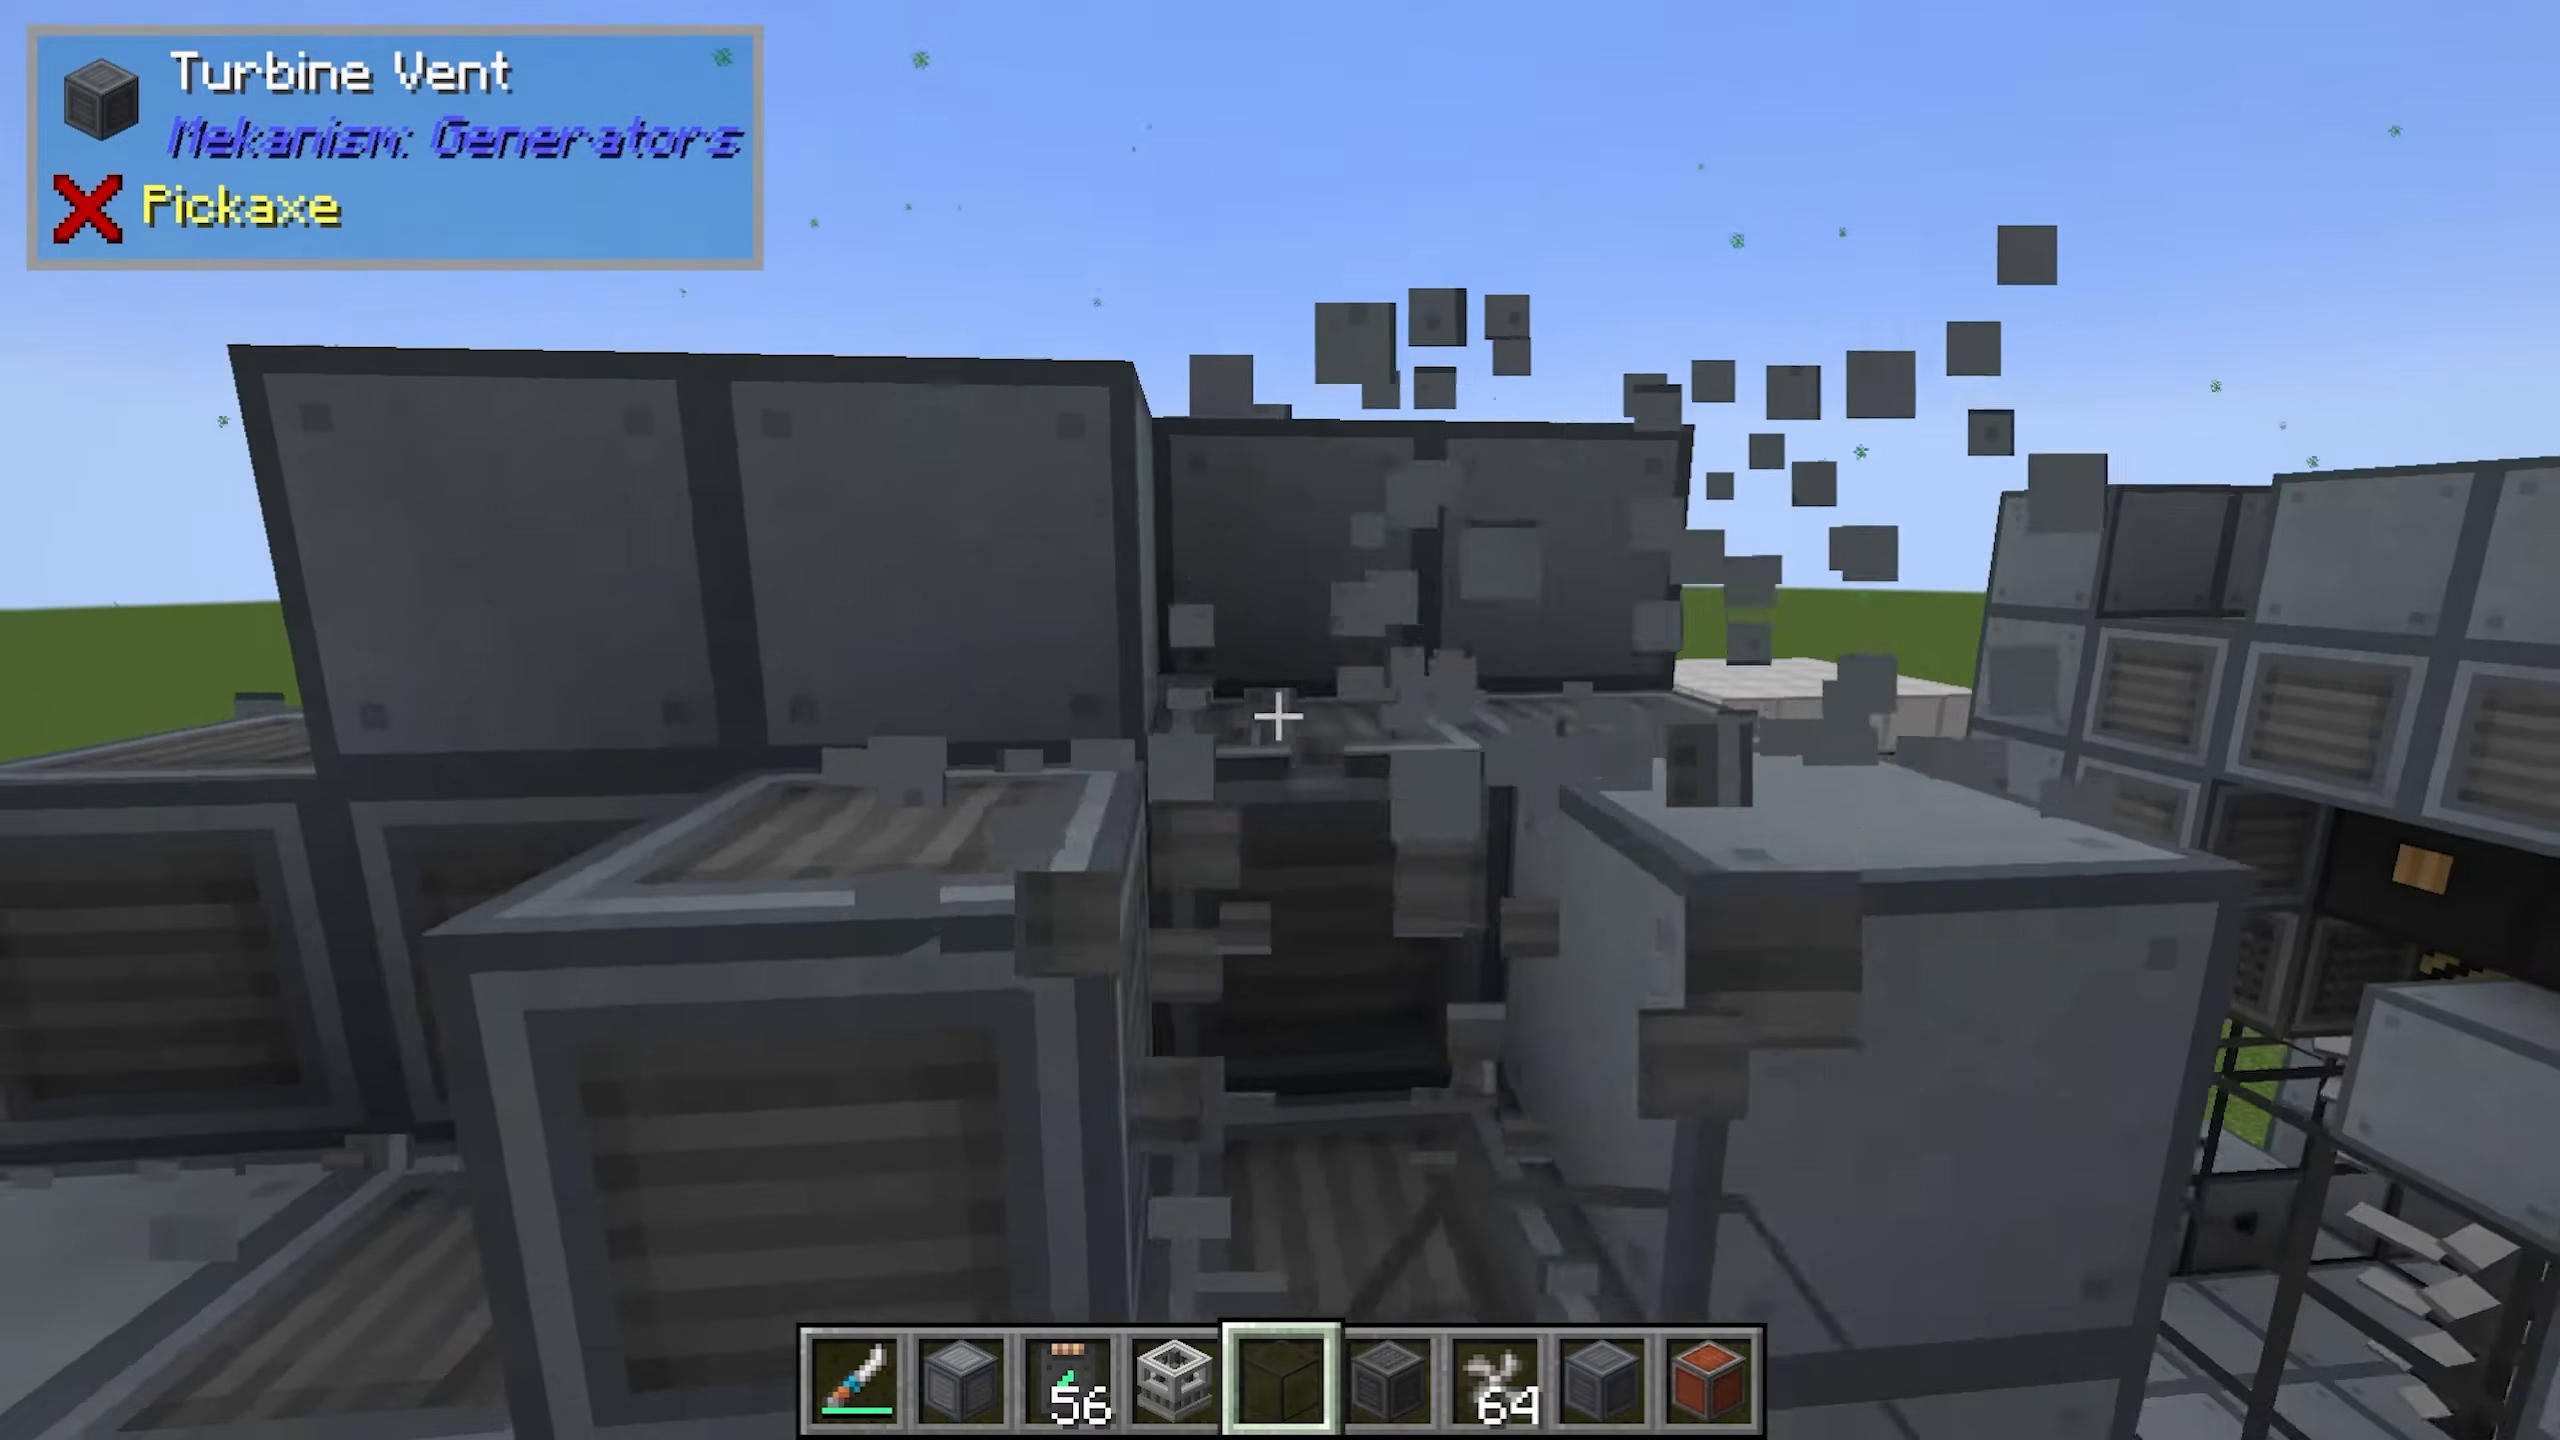
Turbine Input and Output Configuration
Port Placement
Your Turbine requires two Turbine Valves:
Input Valve: Receives heated coolant (steam) from your Fission Reactor via pressurized pipes
Output Valve: Connected via Universal Cables to output the generated electrical energy
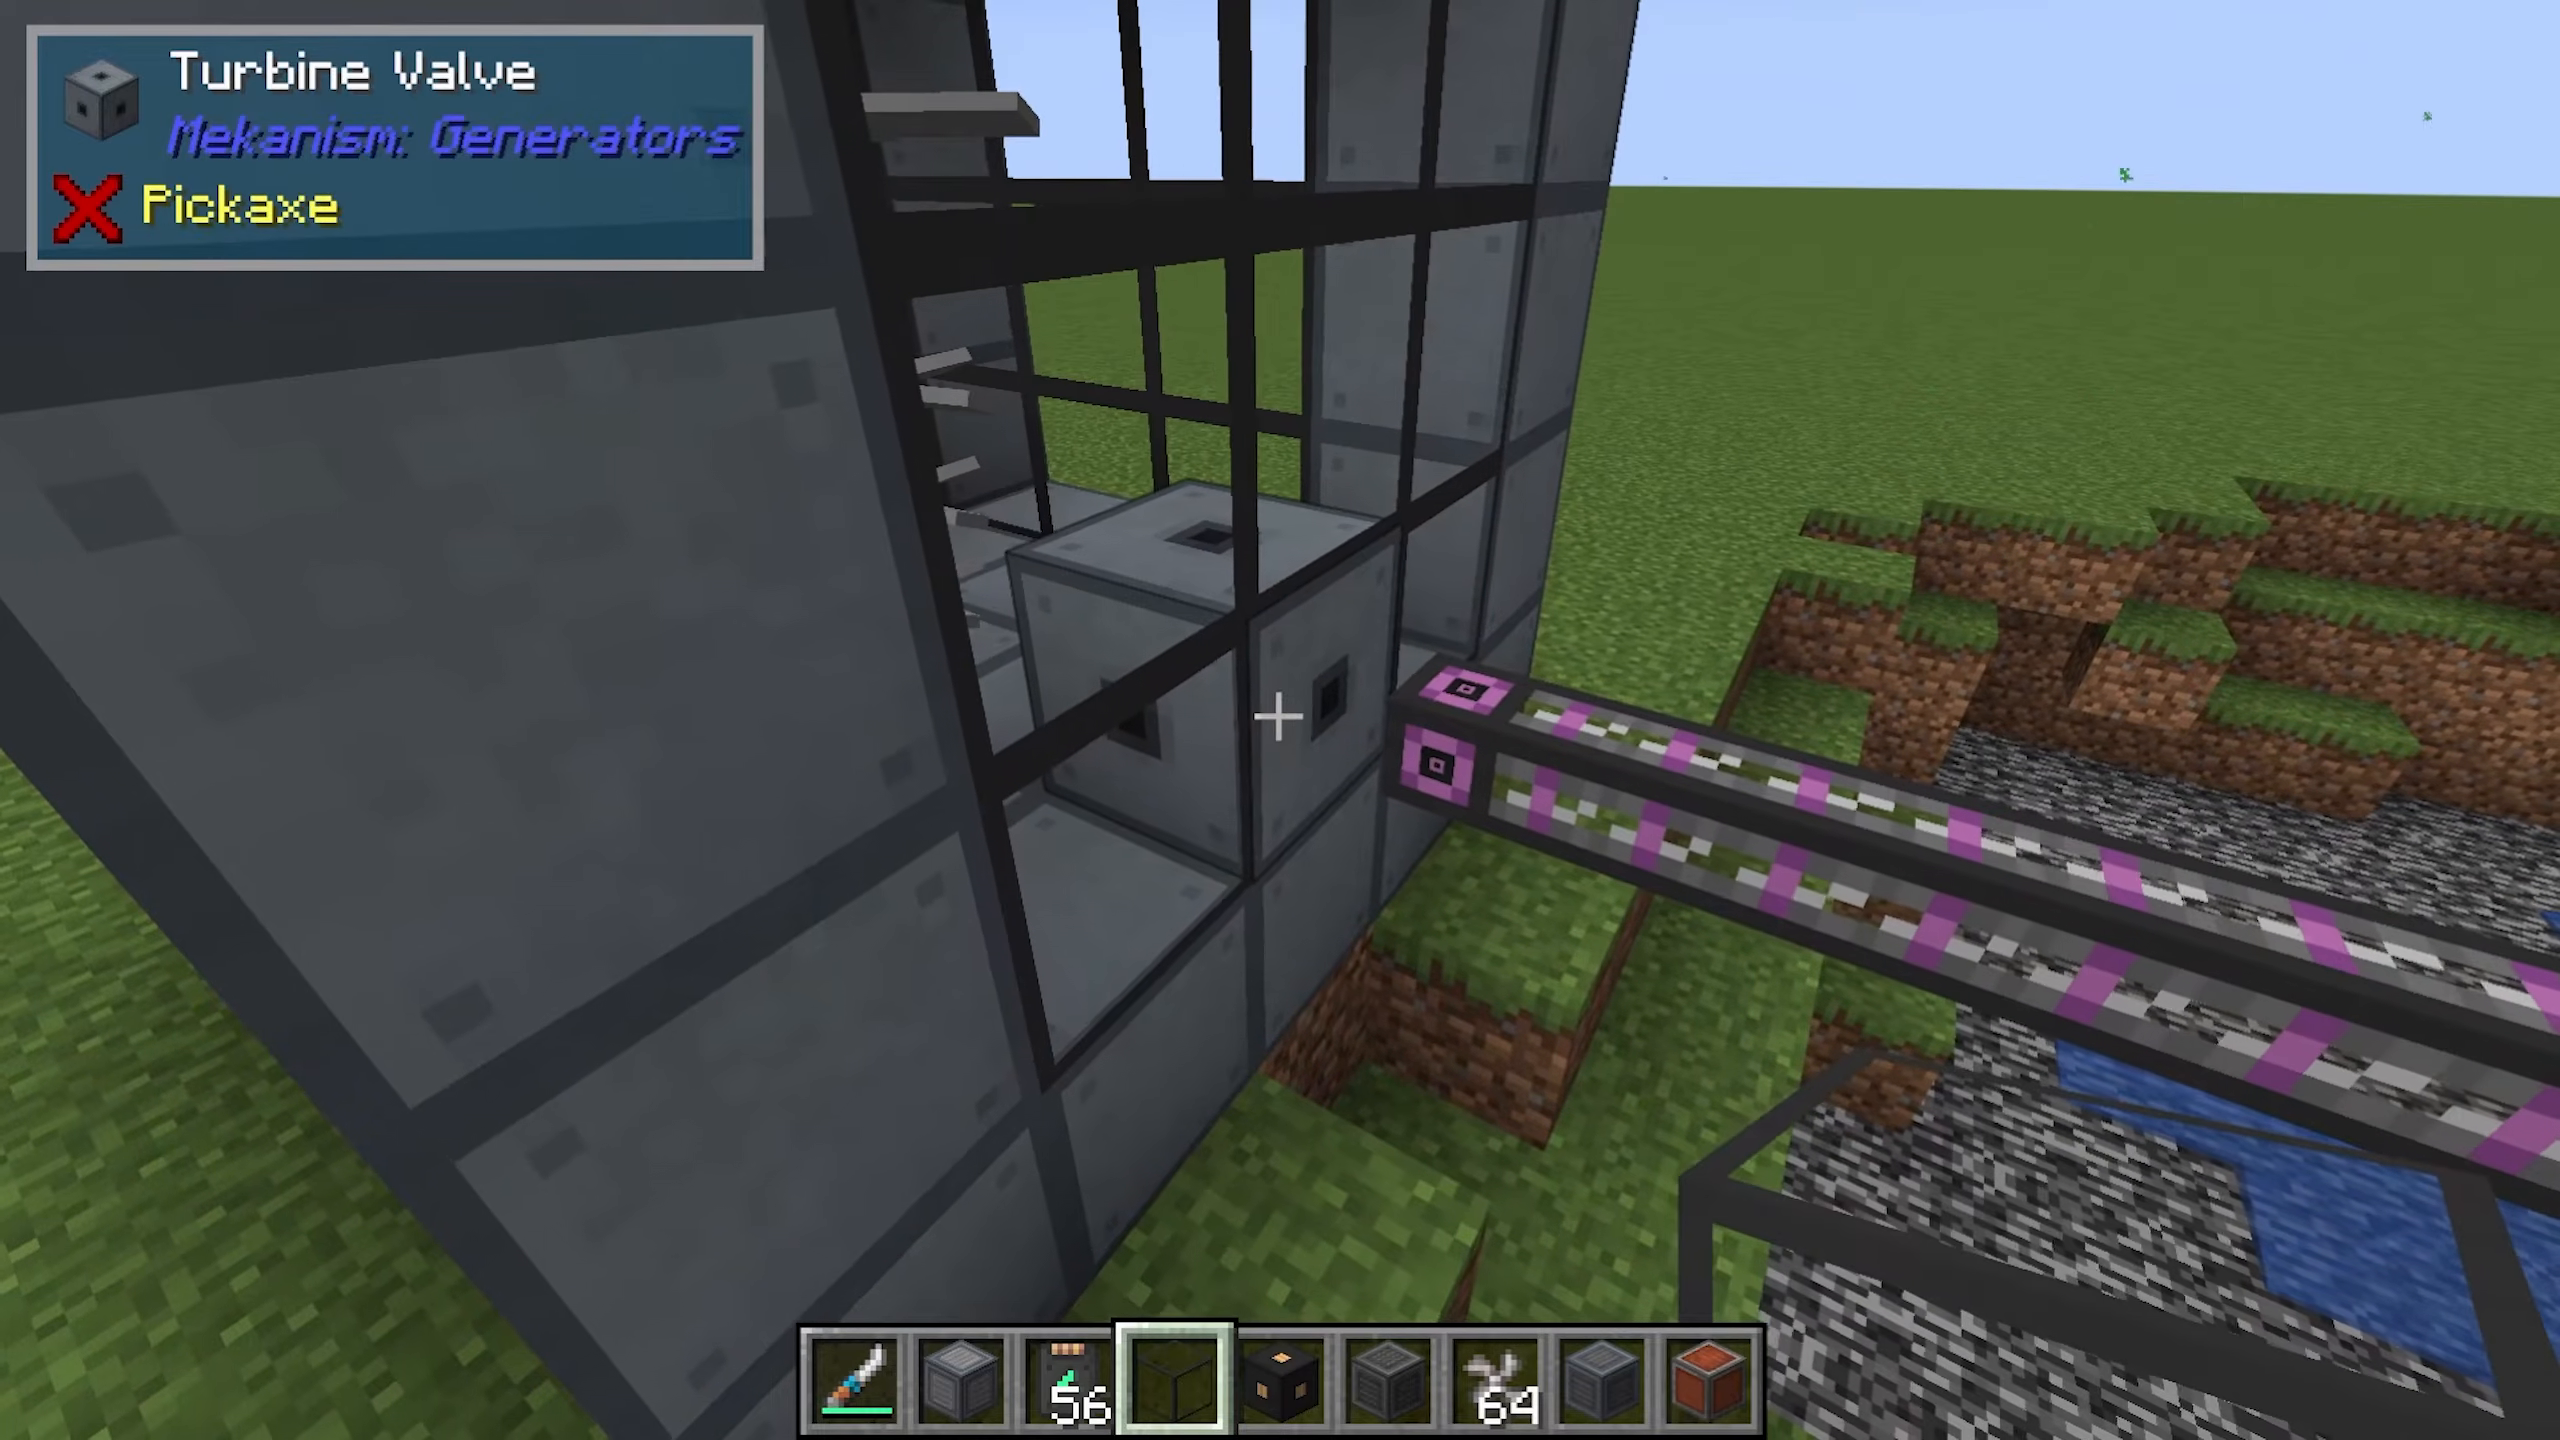
Energy Storage and Meltdown Prevention
The Turbine’s electrical output should feed into an Induction Matrix or other power storage system. This is critical: if your energy storage becomes full and power output backs up, it causes steam to back up in the Turbine, which backs up into the Fission Reactor, triggering a meltdown. Always ensure you have adequate energy storage capacity and never let your system become blocked.
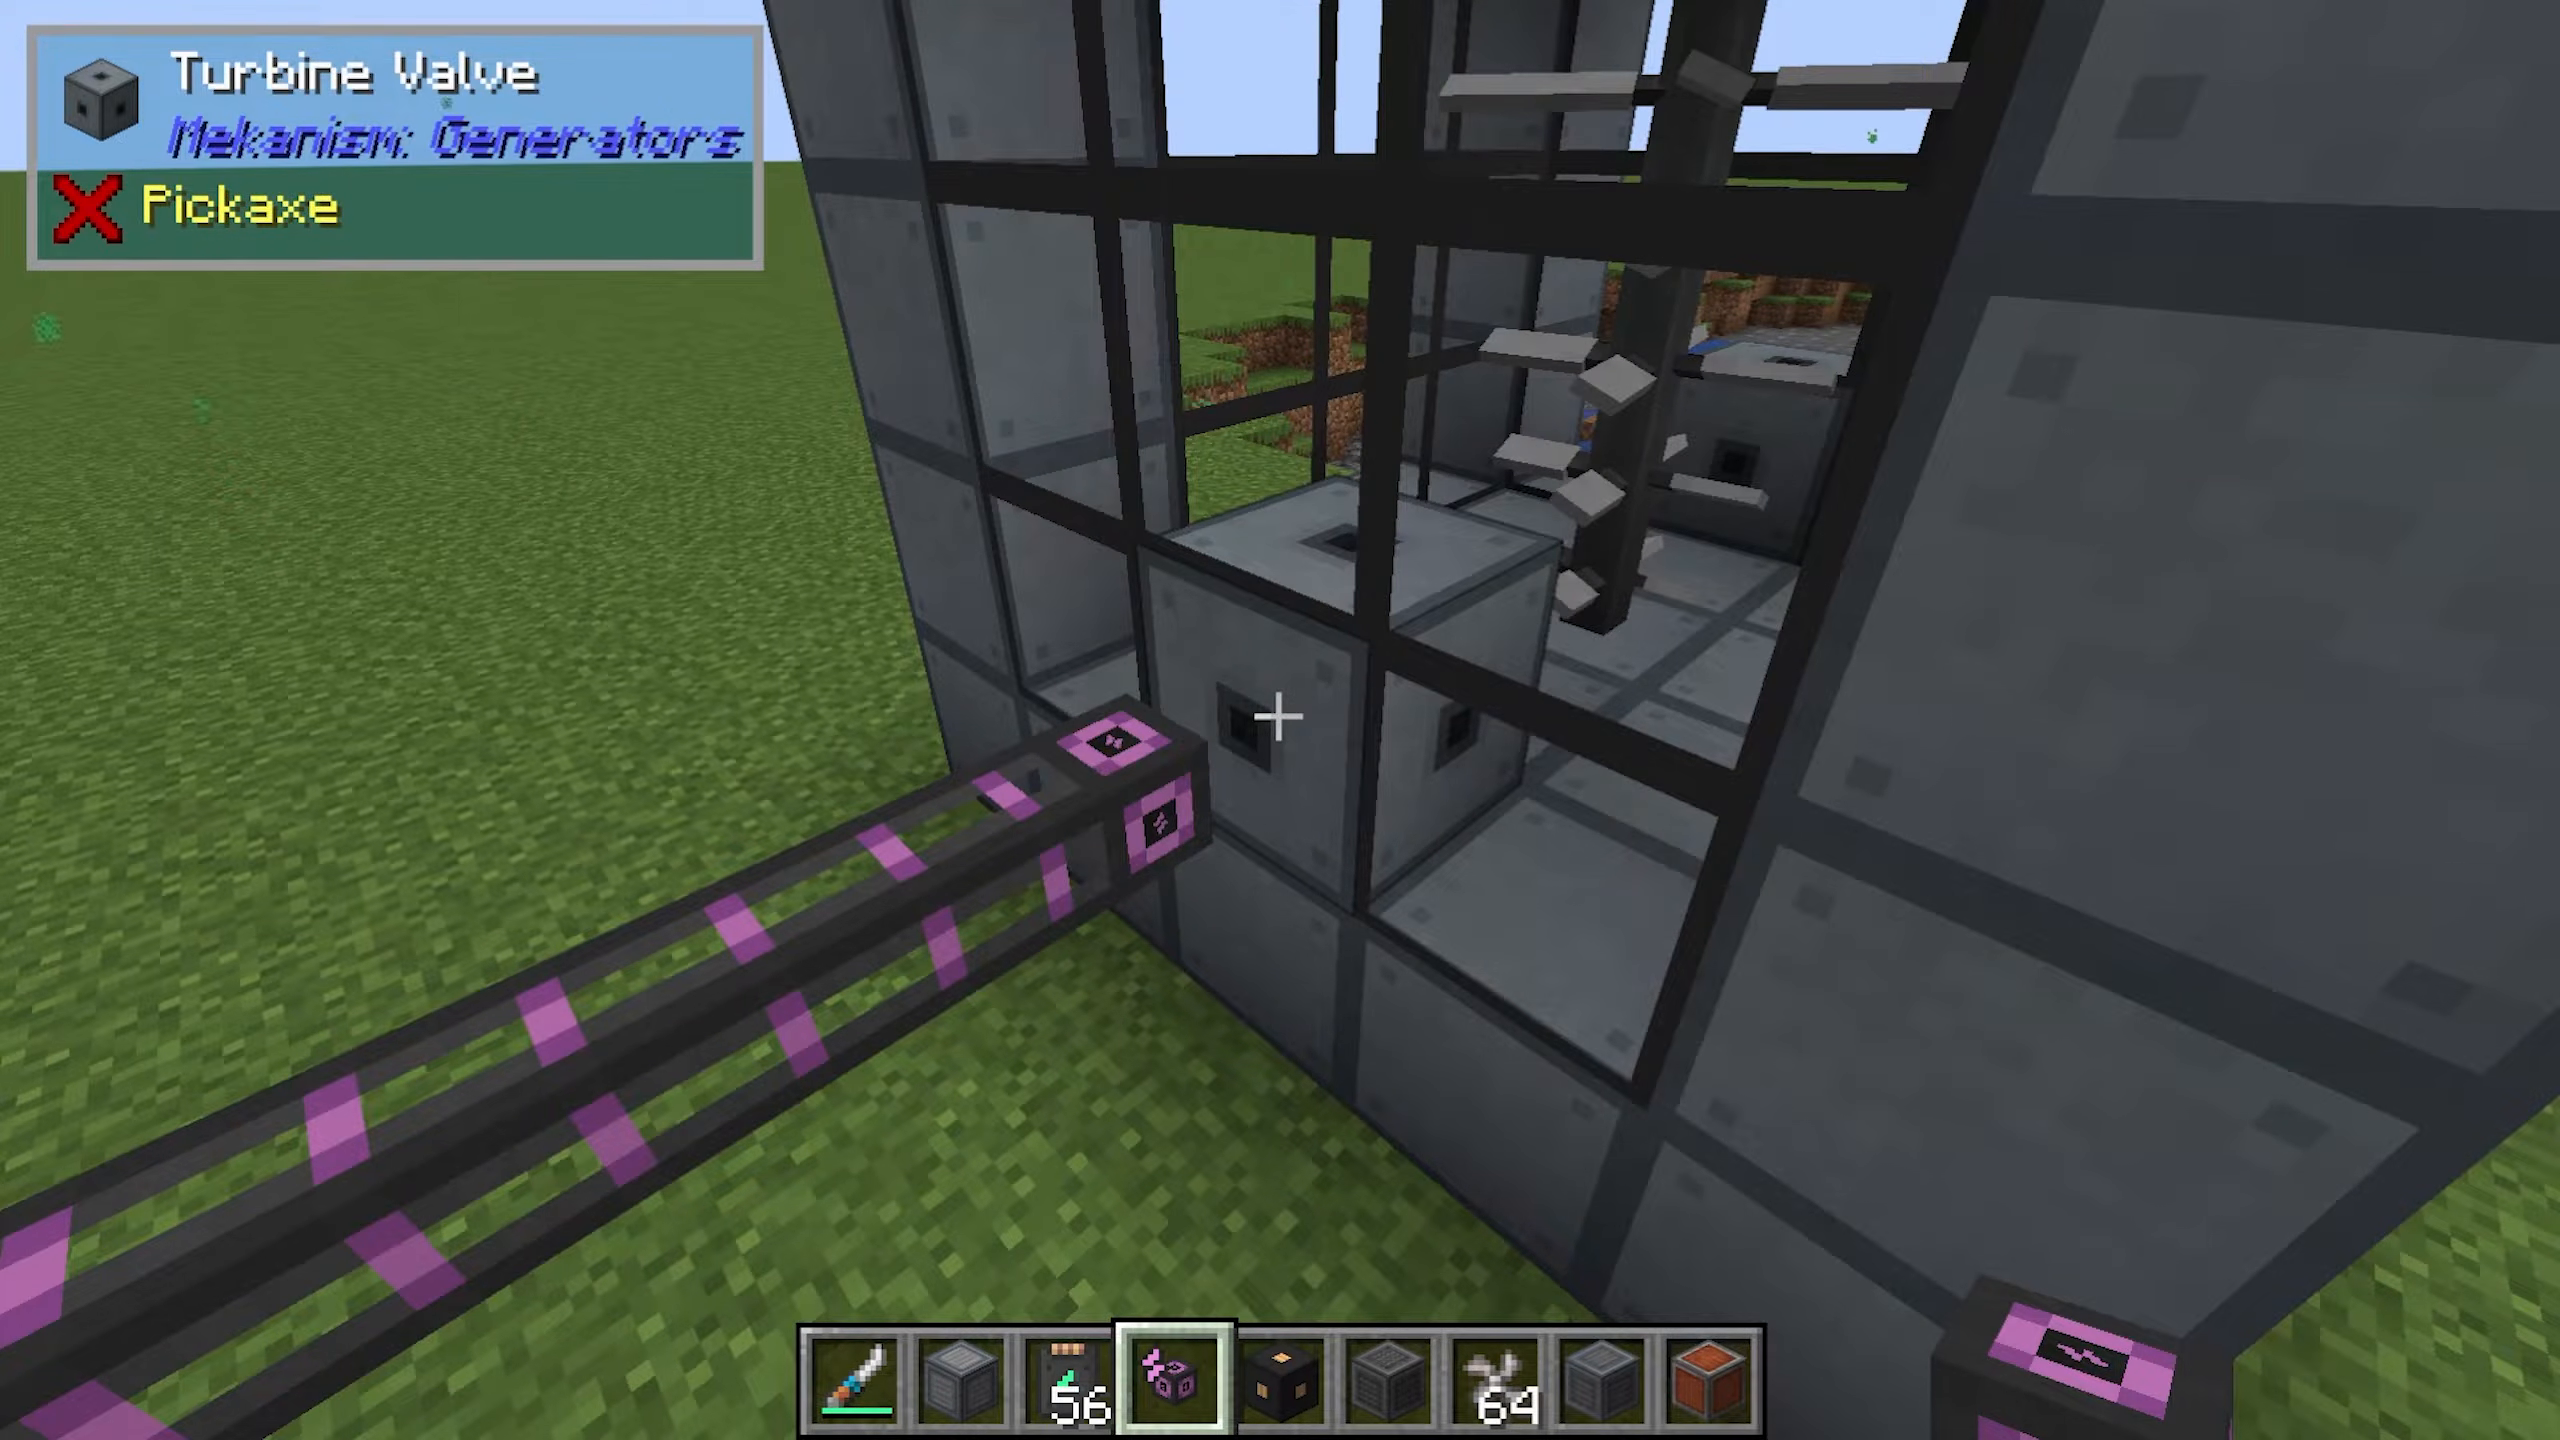
The steam output from your Turbine becomes cooled water, which can be cycled back into your Fission Reactor as coolant, completing the loop. You can also input fresh water as a secondary coolant source if needed.
Next Steps: Progression to Fusion Reactors
The Fission Reactor setup you’ve just learned is primarily a stepping stone to more advanced Mekanism technology. Once you’ve generated enough plutonium from your Fission Reactor, you can craft a Fusion Reactor, which offers several advantages:
Cleaner operation with no nuclear waste production
More efficient energy generation
Less risk of catastrophic failures
Note: You will need plutonium from your Fission Reactor (derived from the nuclear waste in a Radioactive Waste Barrel) to power your Fusion Reactor, making this setup an essential intermediate stage in Mekanism progression.
Summary
Building a Fission Reactor and Turbine in Mekanism is complex but manageable with proper planning:
Construct your reactor with proper casing, fuel assemblies, and control rods in a logical pattern
Manage five ports: water input, waste output, heated coolant output, coolant return, and fuel input
Always route nuclear waste to a Radioactive Waste Barrel to prevent pollution
Build your Turbine tall enough to handle the steam output and prevent backups
Connect turbine output to adequate energy storage to avoid meltdowns
Use this system as a launching point for Fusion Reactor construction
With these guidelines, you can safely and efficiently harness nuclear power in Mekanism. For more detailed tutorials on related topics like the Isotopic Centrifuge, Induction Matrix, and Fusion Reactors, check out the complete Mekanism playlist in the video description.
— Want to Support? —
If you would like to help us continue making these guides – please consider joining our patreon here – https://www.patreon.com/c/JaviHeals
Alternatively – we host a group of MC Servers you can join here – https://discord.gg/zD7Gjt6MHF



