







Gregtech CEu Complete Low Voltage Age Tutorial
Gregtech CEu Complete Low Voltage Age Tutorial
Welcome to the Low Voltage Age in Gregtech CEu! This comprehensive guide will walk you through everything you need to know to get started with low voltage machinery, power generation, and automation. By the end of this tutorial, you’ll understand how to build your first machines, manage power distribution, and work toward reaching Medium Voltage—the next tier in your Gregtech progression.
Getting Started with Low Voltage
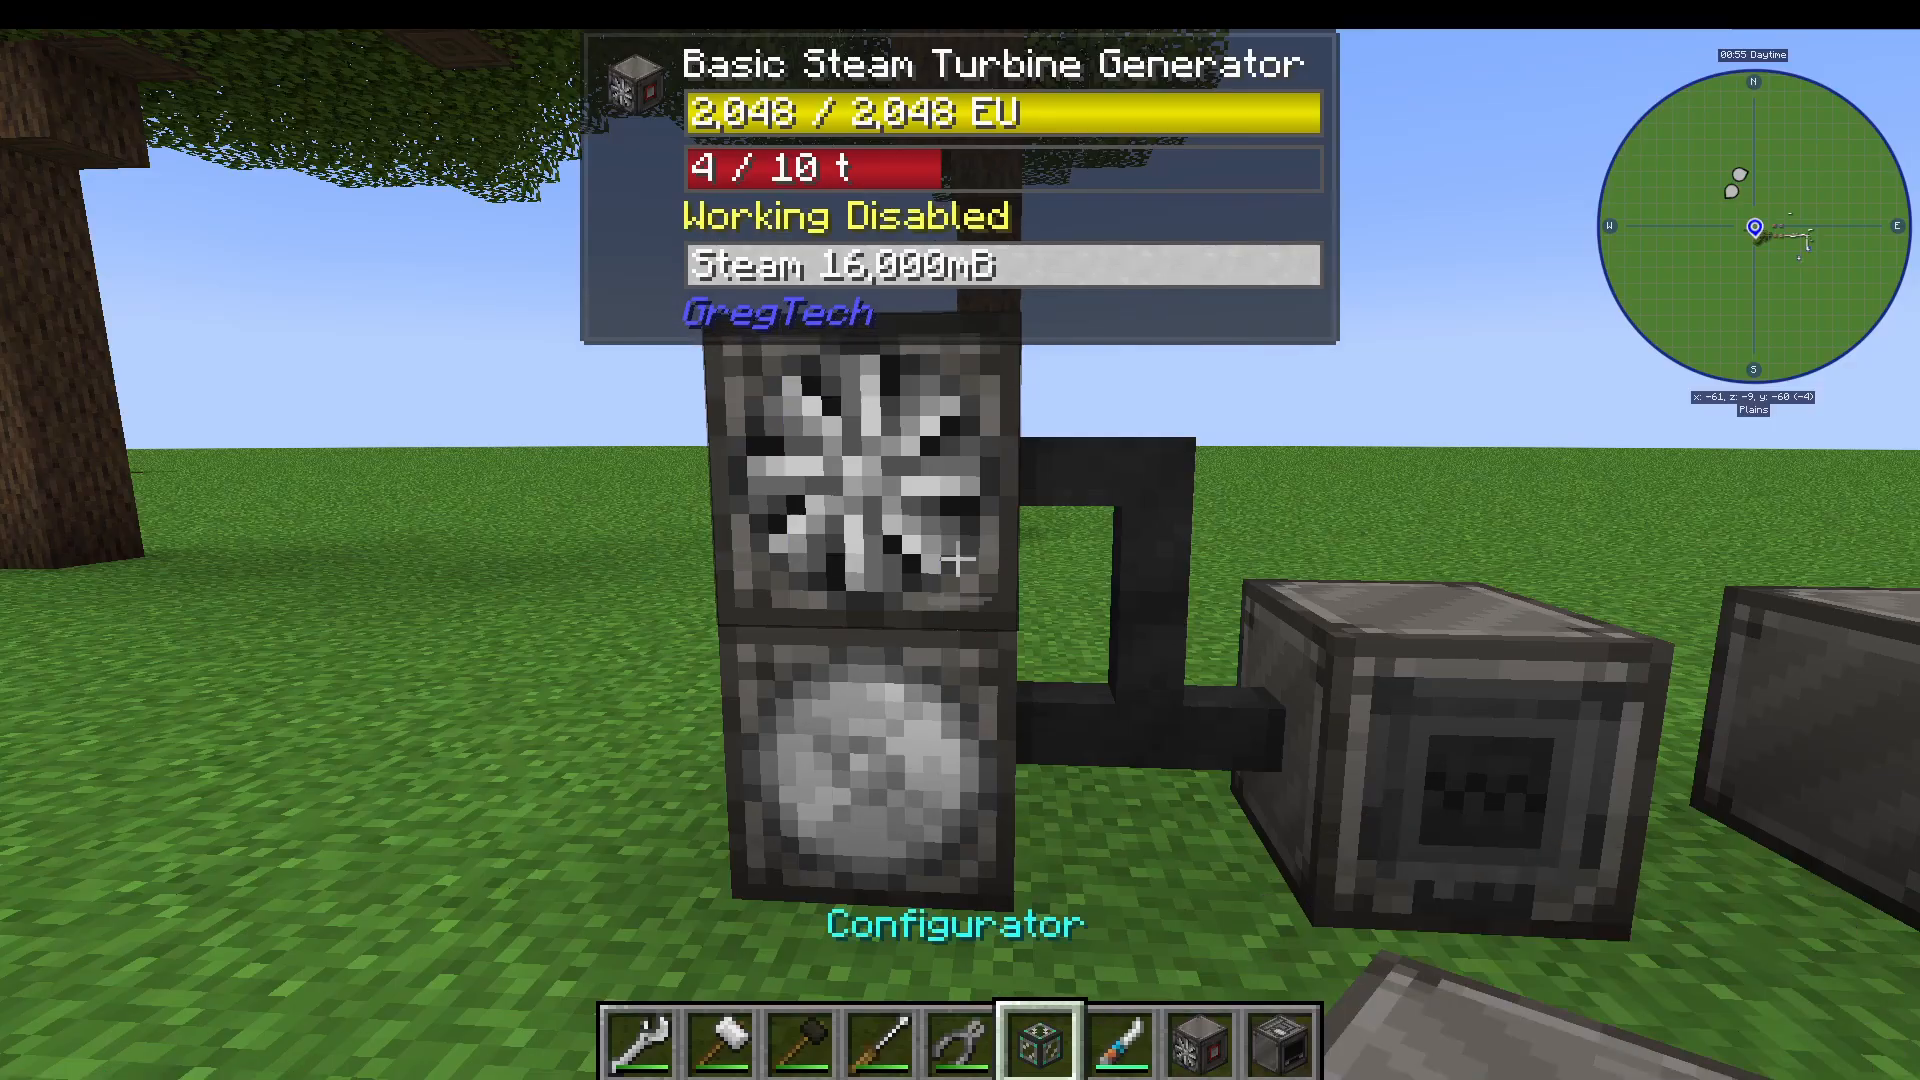
Now that you’re ready to enter the Low Voltage age, the first machine you’ll want to create is a Basic Steam Turbine. This machine converts steam into electrical energy, serving as your primary power source for all low voltage machinery.
Alongside your steam turbine, you’ll need to set up a proper power distribution system using cables. The recommended starting cable is the Tin Cable, which has the following specifications:
Maximum Voltage: 32 (LV)
Maximum Amperage: 1
Loss per Meter per Amperage: 1 EU volt
This means that over each block distance, your cables will lose 1 volt. For example, if you’re transmitting 32 volts, it will gradually decrease as: 32, 31, 30, 29, and so on. This voltage loss is a critical factor to consider when planning your power distribution networks.
Understanding Cable Specifications
When examining different cable types, you’ll notice that 2x Tin Cables (made with 2x tin wire) feature:
Maximum Voltage: 32 (still LV)
Maximum Amperage: 2
The amperage represents how many “packets” of voltage can be sent through the cable simultaneously. Think of it this way:
One steam turbine running = 1 amperage
Two steam turbines running = 2 amperage
You can calculate total system amperage by counting how many power-generating machines are connected to your network.
Voltage is far more critical than amperage. If you attempt to push a voltage higher than 32 into low voltage machines, they will explode and your cables will burn out. Always match your voltage tier to your equipment:
Low Voltage (LV): 32 voltage, max 4 amperage on premium cables
Medium Voltage (MV): 128 voltage
High Voltage (HV): 512 voltage
Operating Your Steam Turbine
To control your steam turbine, you can click the power button on the machine face to toggle it on and off. Alternatively, you can use a Rubber Soft Mallet to change the machine’s state.
When your turbine shows “insufficient outputs,” it means there’s nowhere for the generated energy to go. Check the machine’s UI to verify:
Current voltage output
Energy capacity
Input/output configuration
The red socket on your machine indicates where energy outputs. Steam can be input from any available side.
Essential Low Voltage Machines
As you progress through the Low Voltage age, you’ll want to upgrade from your basic steam machinery to specialized processing equipment. Here are the key machines you should prioritize:
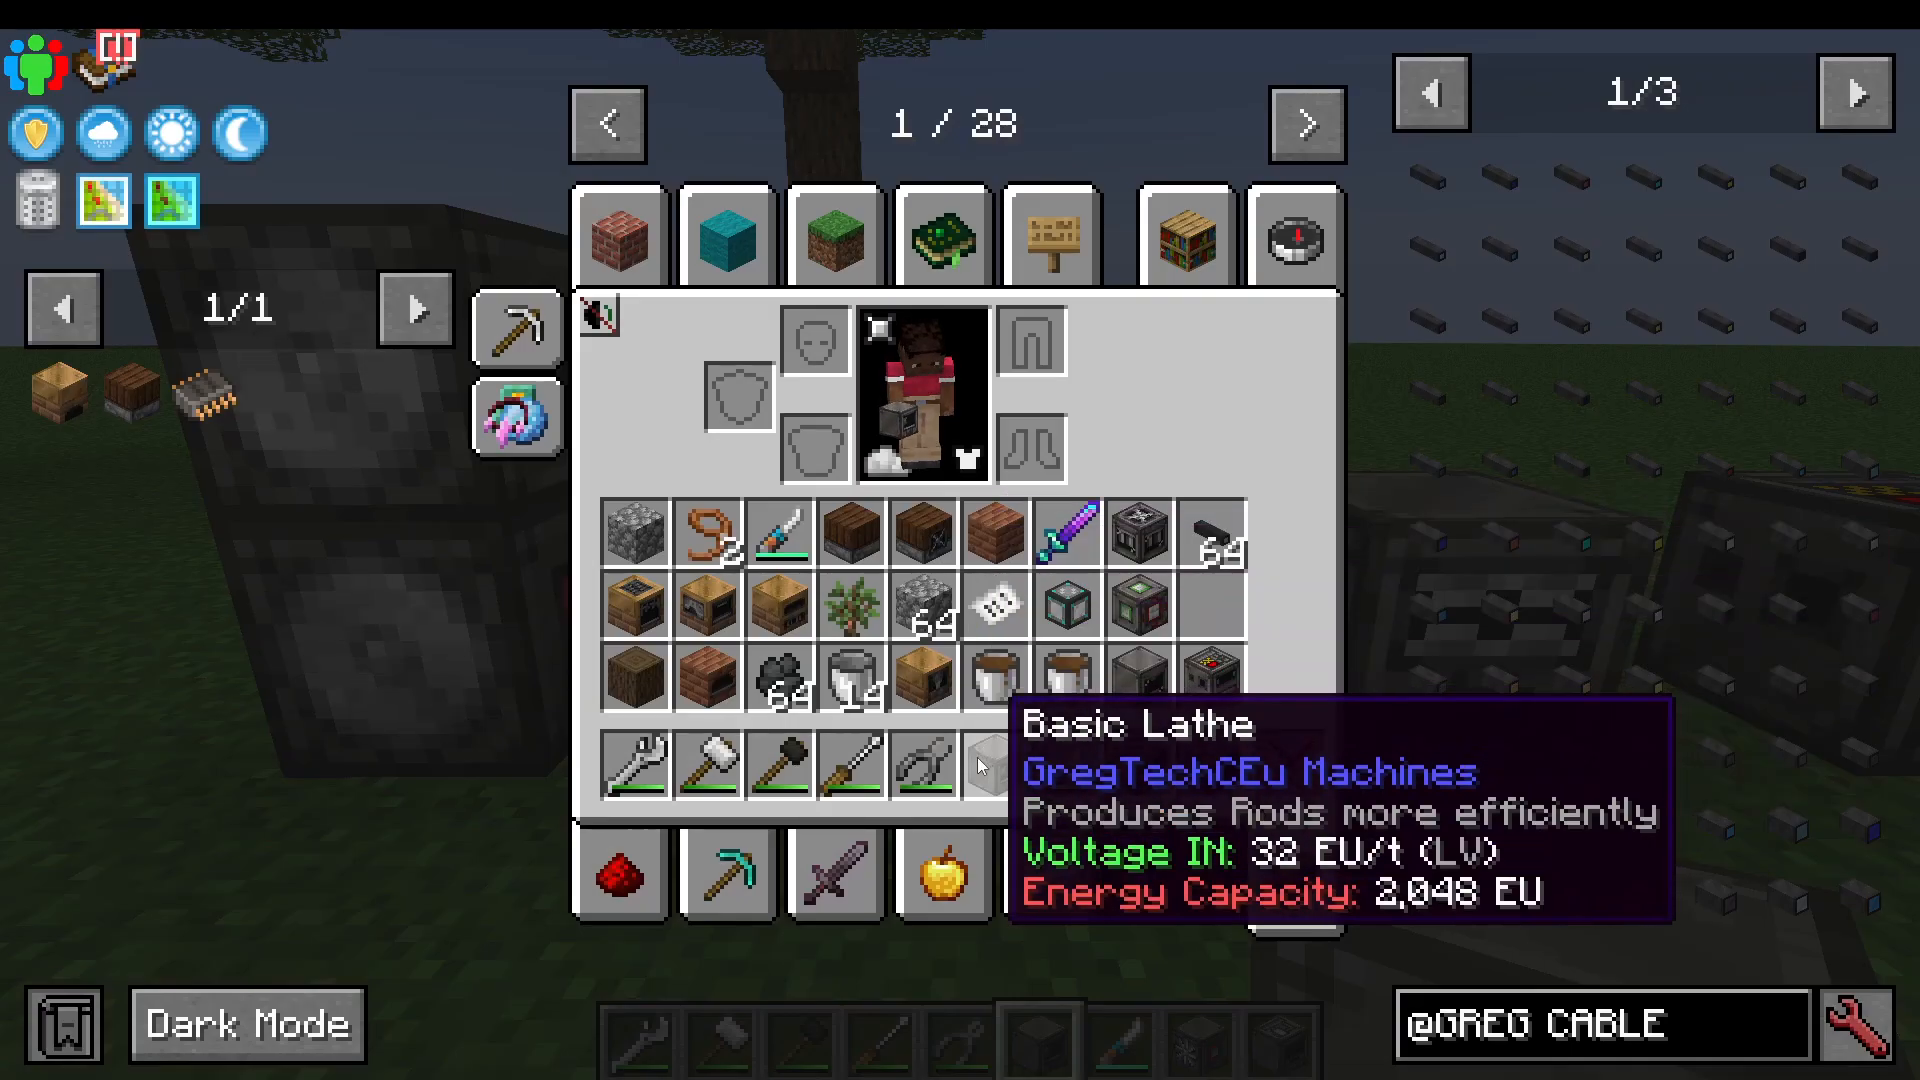
Basic Lathe (LV)
The Basic Lathe allows you to craft items much more efficiently. For example:
Standard recipe: 2 ingots → 2 rods
Lathe recipe: 1 ingot → 2 rods
Machine specifications:
Voltage Tier: Low Voltage (32)
Power Consumption: 16 EU per tick (varies by recipe)
Basic Bender (LV)
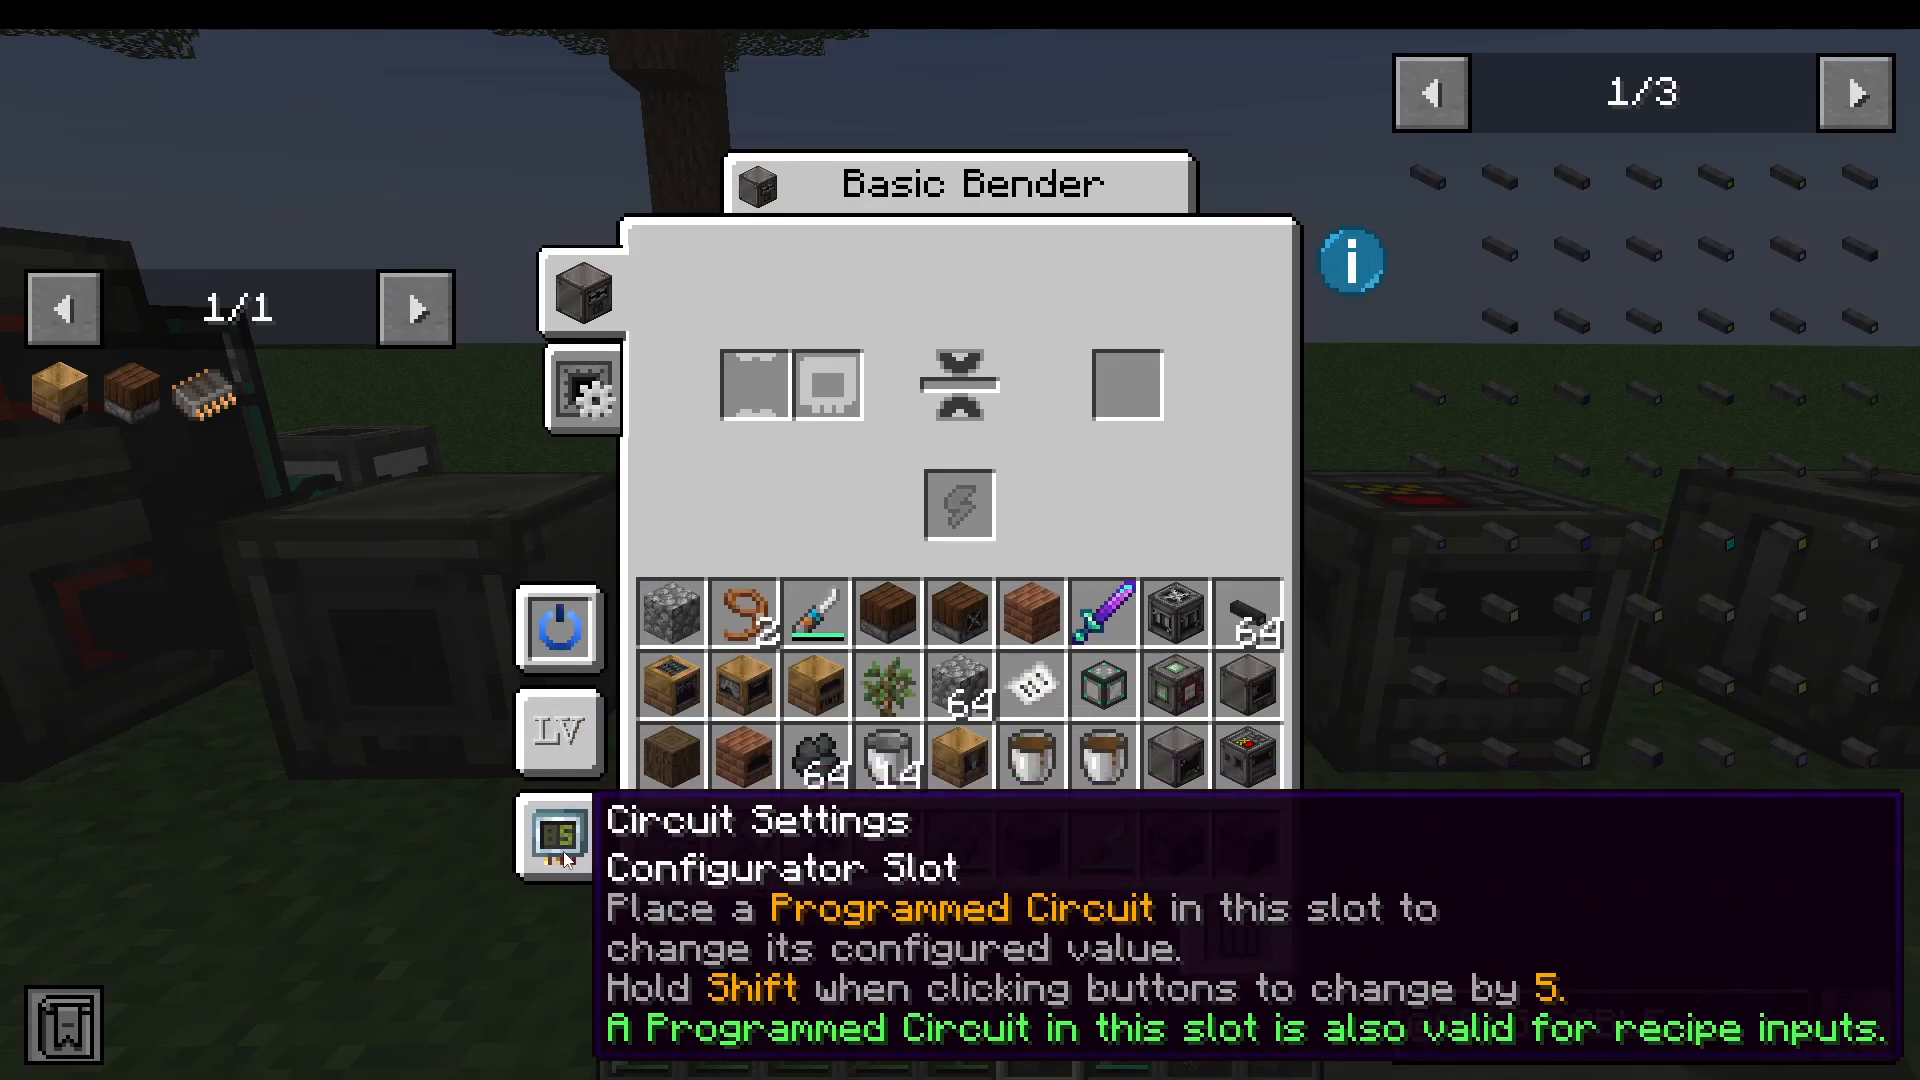
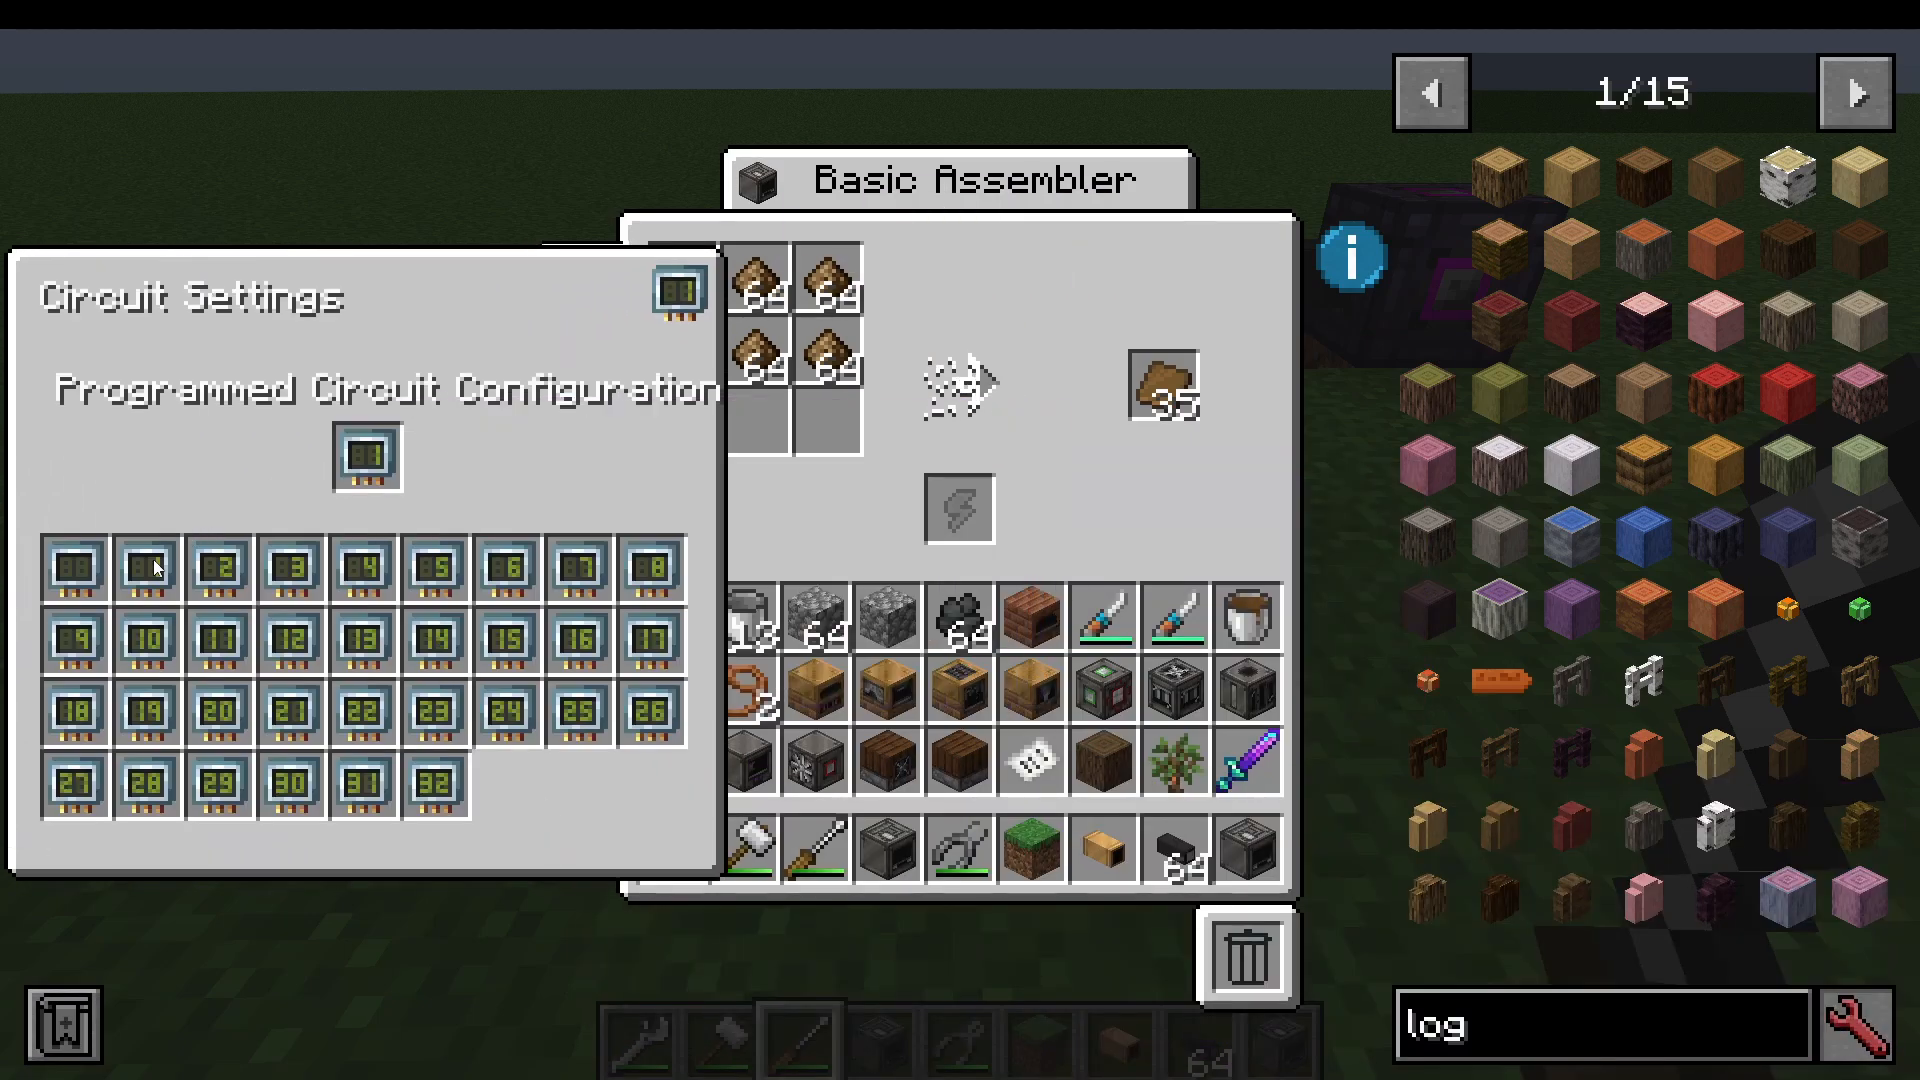
The Basic Bender shapes materials into different forms. When using this machine, you must configure it with a Programmed Circuit matching your recipe requirements.
For example:
Cobalt ingot → cobalt plate requires circuit configuration: 1
Two HSLA steel plates → double HSLA steel plate requires circuit configuration: 2
To set the circuit configuration in your machine:
Open the machine’s GUI
Click on the circuit settings
Press the number key corresponding to your recipe (1, 2, etc.)
You don’t actually need to insert a programmed circuit into the machine—simply setting the configuration is sufficient. However, to avoid constantly changing settings, I recommend crafting multiple circuits (one for each configuration number you use regularly) so you can automate large batches without manual intervention.
Wire Mill (LV)
The Wire Mill simplifies wire creation from ingots. Set the programmed circuit to configuration 1, input your ingot (tin, silver, etc.), and the machine produces wire automatically.
Basic Extractor (LV)
An upgrade from your steam extractor, the Basic Extractor allows you to process additional materials. While it’s marked as “Ultra Low Voltage,” it can also handle Low Voltage recipes.
Fluid Solidifier (LV)
This machine solidifies fluids into items using molds. You’ll have already obtained the necessary molds in earlier progression stages.
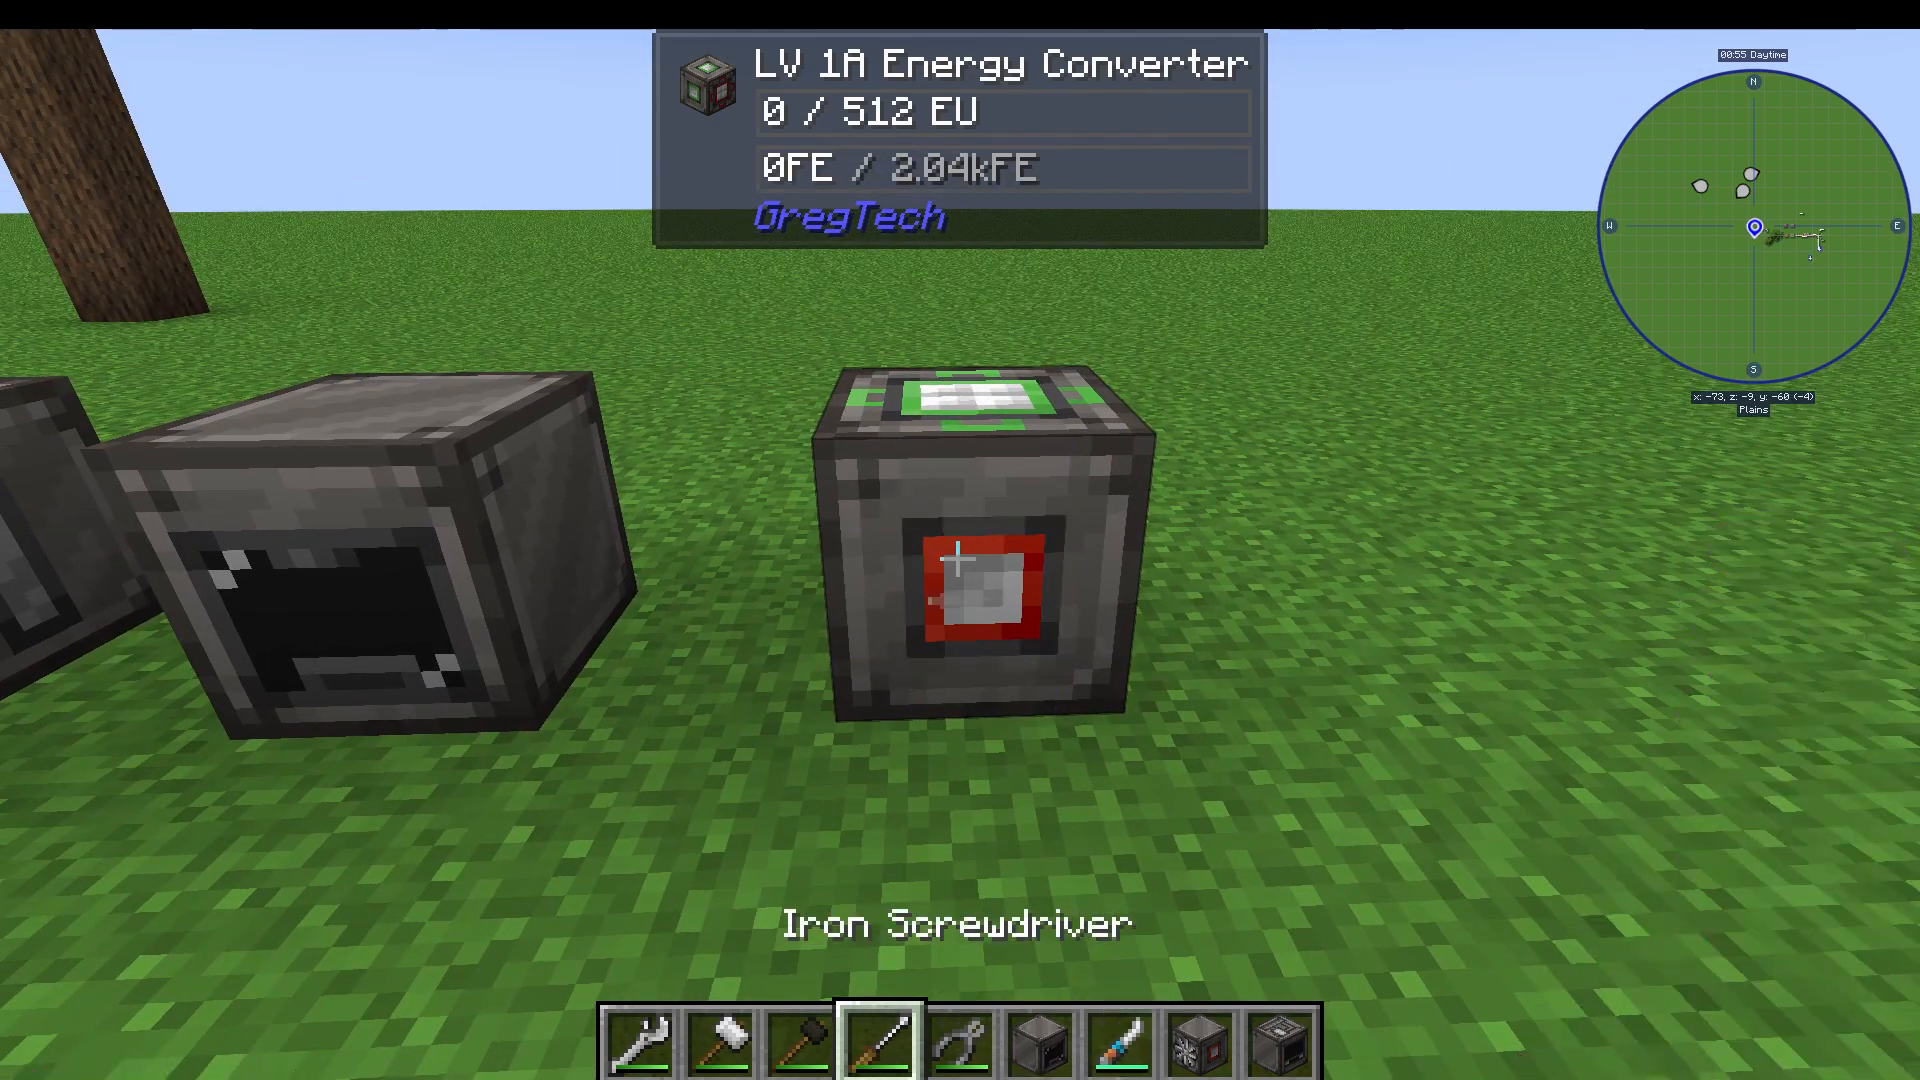
LV Energy Converter
If you’re generating power from other mods, the LV Energy Converter bridges the gap between different power systems.
Configuration options:
Mode 1: Input 32 EU (Low Voltage) → Output 128 RF energy
Mode 2: Input 4 EU (nano units) → Output Low Voltage
To change modes, use a Soft Mallet to right-click the converter. Pipe external mod power into the green input slots, and your converted Low Voltage power outputs from the red socket.
Building Your Machine Network
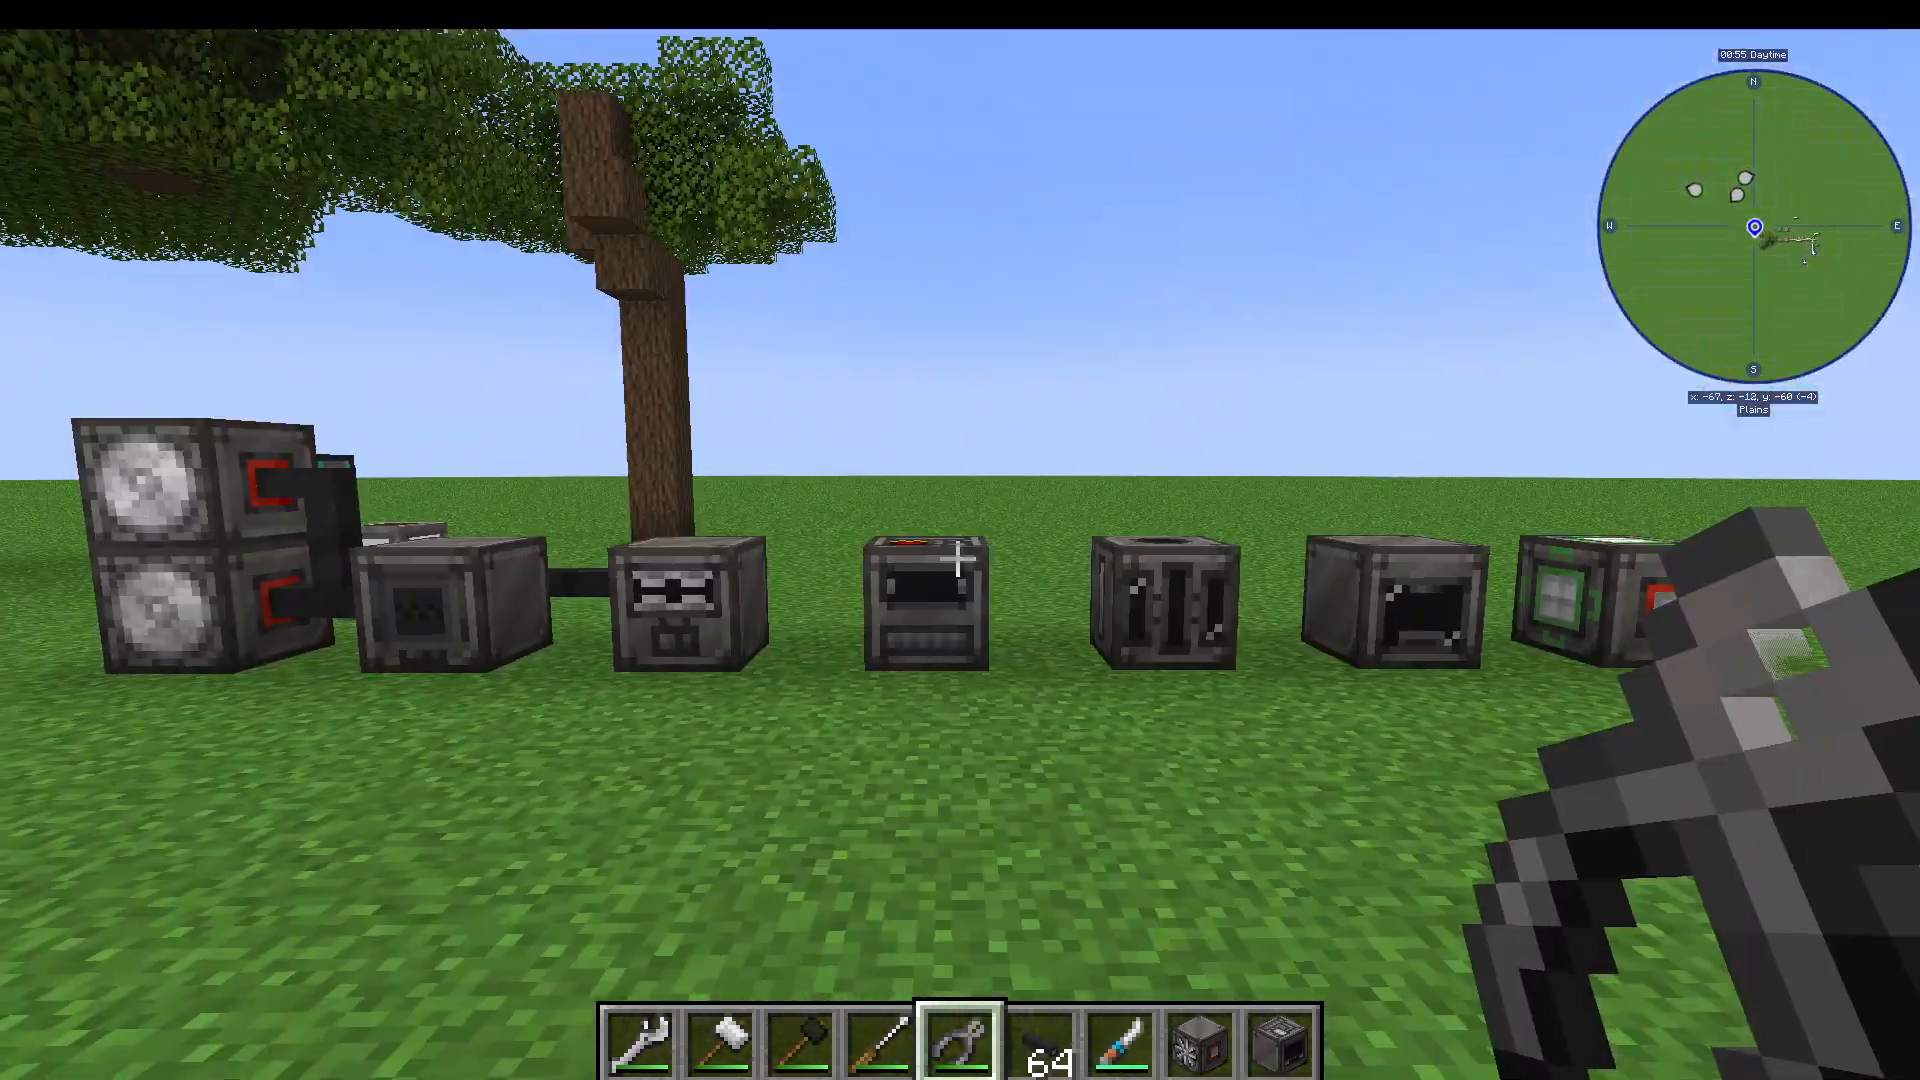
Connect your machines using Wire Cutters with the appropriate cable type. As you add machines to your network, monitor the amperage:
Check your cables’ current amperage versus maximum capacity
Never exceed the maximum amperage or your cable insulation will burn away
If voltage is exceeded, your machines will explode
You’ll notice EU power accumulating in your machines, powering them for whatever tasks you need.
The Road to Medium Voltage
Your primary goal now is to craft a Good Electronic Circuit. This component is essential for accessing Medium Voltage machinery and significantly boosters your automation capabilities.
Creating a Good Electronic Circuit requires:
3x Basic Electronic Circuits (made in earlier tiers)
Diodes
Phenolic Printed Circuit Boards
Steel plates
The most challenging component to create is the Diode, which requires an extensive processing chain. Let’s break down the key materials:
Phenolic Printed Circuit Boards
These are the simplest Good Circuit components to produce.
First, create Silver Wire in your Wire Mill:
Configuration: 1
Input: 1x silver ingot
Output: 2x silver wire
Next, use a Basic Assembler to create phenolic circuit boards:
Configuration: 1 (required)
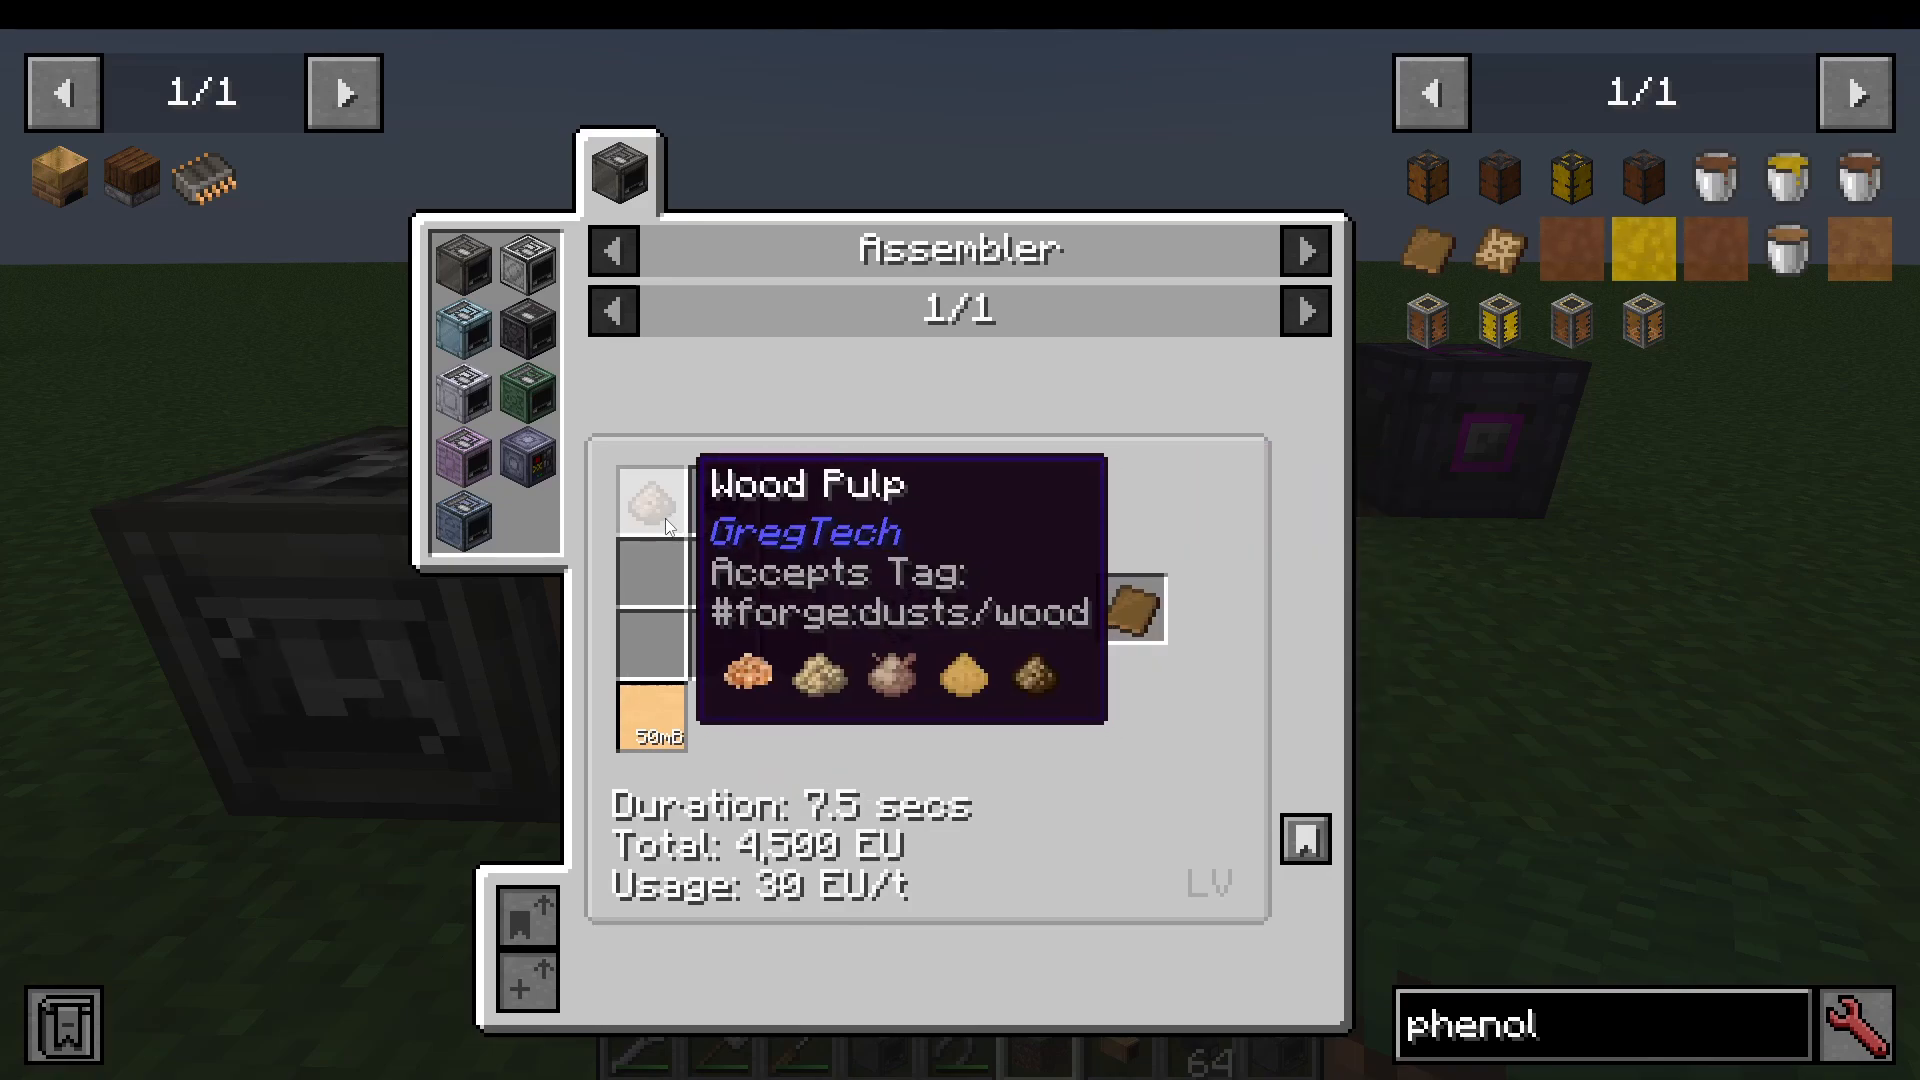
Inputs: wood pulp, silver wire
Additional input: glue (piped in as a fluid)
Output: phenolic printed circuit boards
Setting Up Wood Pulp Production
To create wood pulp for your circuit boards:
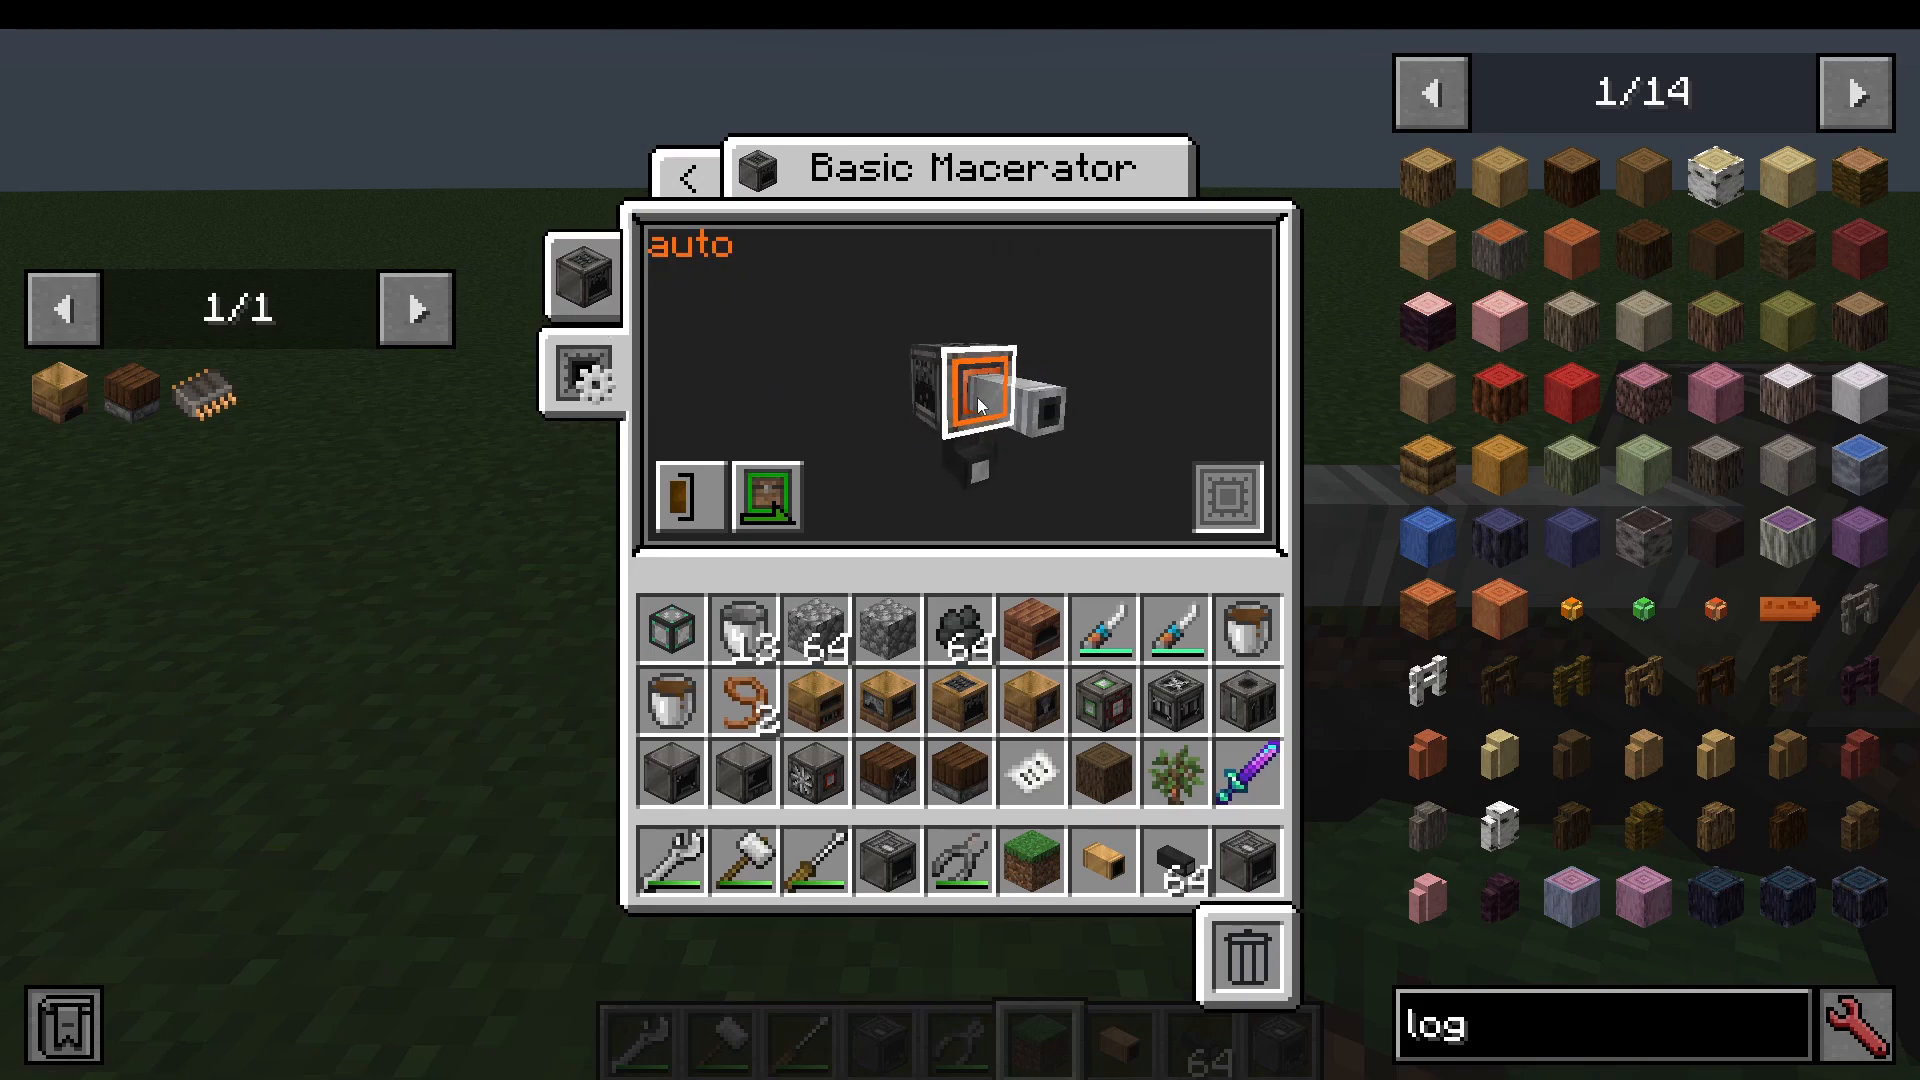
Use a Basic Massorator to process oak logs into wood pulp
Configure the massorator for auto-export on the side where your item pipe connects
Route the wood pulp into your basic assembler via a small tin item pipe
Producing Glue
Create glue using a Basic Centrifuge:
Input sticky resin from rubber trees
The centrifuge outputs liquid glue and raw rubber pulp
Ensure you’re routing the liquid output to your assembler via a fluid pipe
Click the machine side and enable the “auto output” button specifically for liquid output
Once both wood pulp and glue are feeding into your assembler with the circuit set to configuration 1, phenolic printed circuit boards will begin production automatically.
If production doesn’t start, verify that your programmed circuit is set to 1—this is a requirement for the recipe.
Oxygen Production Chain
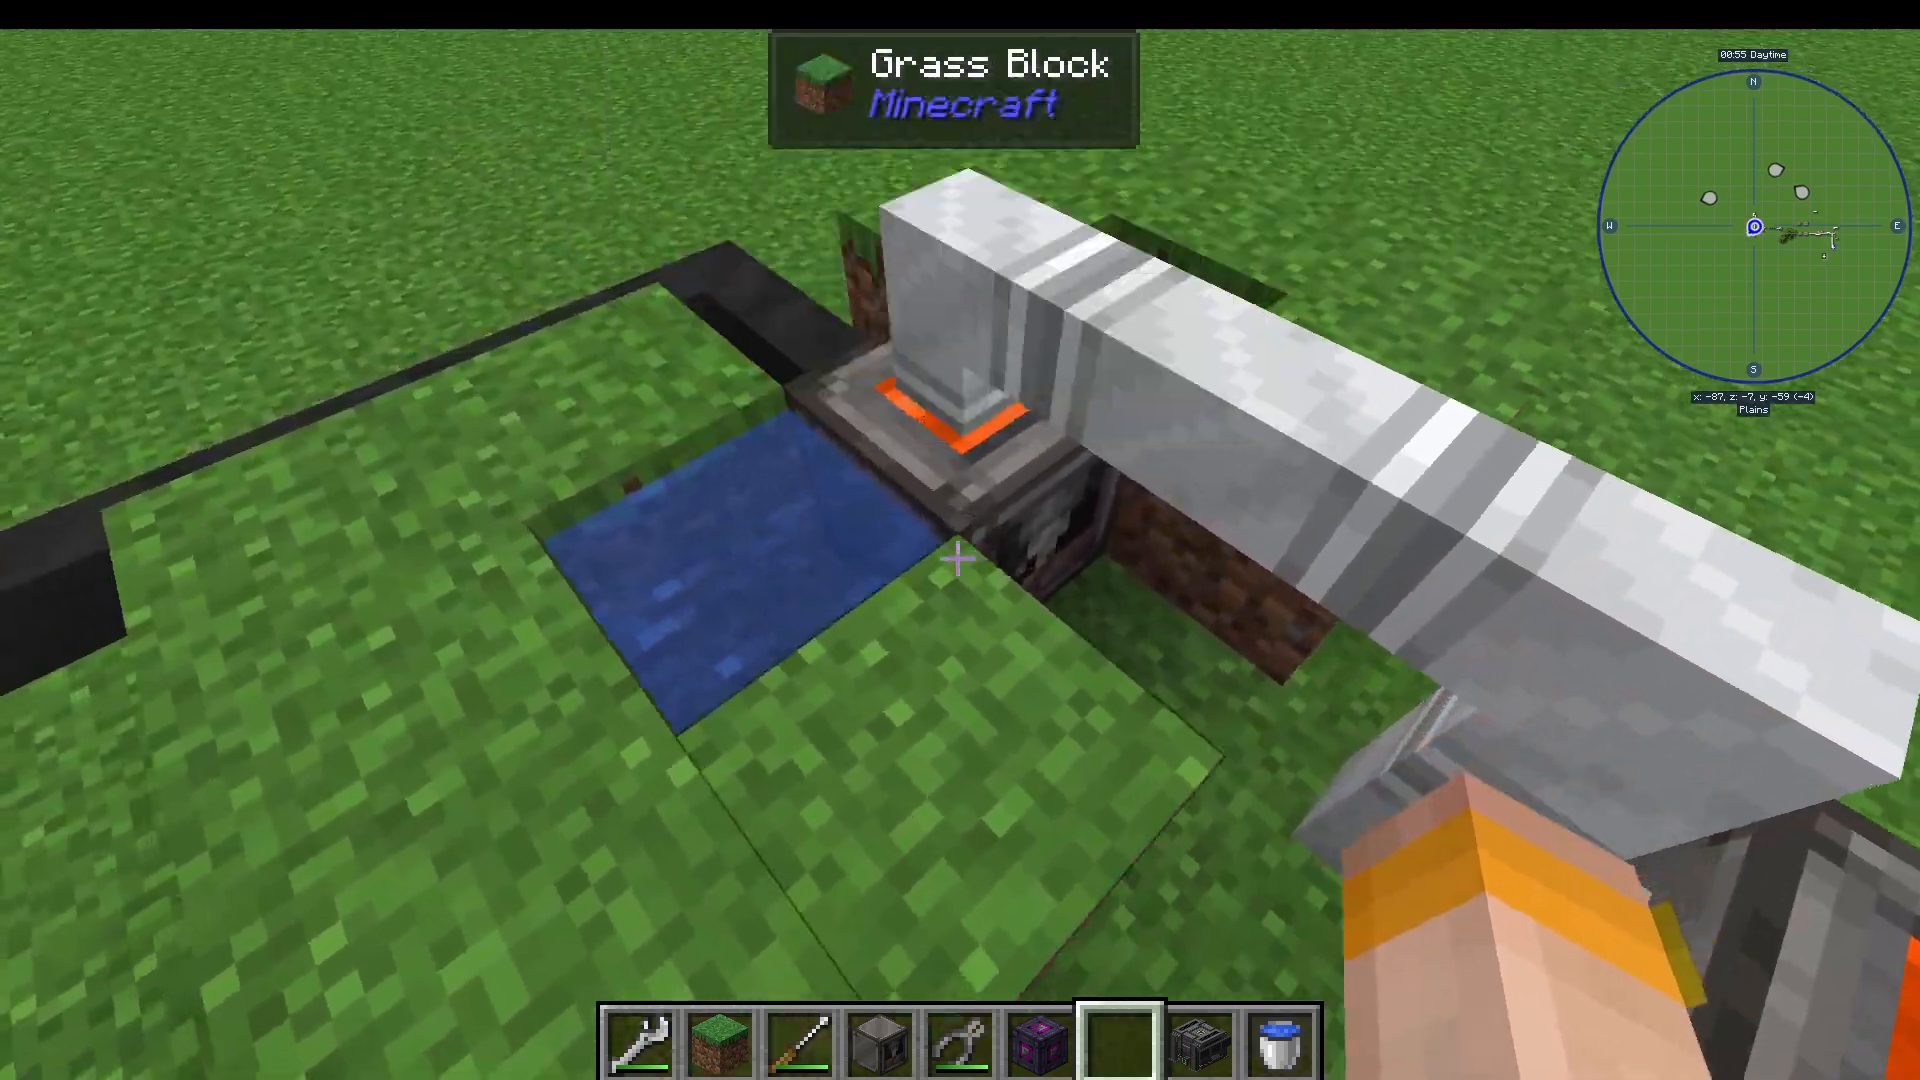
To progress further toward diodes and Medium Voltage, you’ll need oxygen. Here’s a fully automated oxygen production setup:
Processing Chain:
Basic Rock Crusher: Converts cobblestone into cobblestone (self-sustaining if water and lava are supplied)
First Four Chamber: Crushes cobblestone into gravel
Second Four Chamber: Converts gravel into sand
Electric Furnace: Smelts sand into glass
Basic Massorator: Grinds glass into glass dust
Basic Centrifuge: Processes glass dust into silicon dioxide
Basic Electrolyzer: Electrolyzes silicon dioxide into silicon dust and oxygen gas
Ensure all machines are set to auto-export on the appropriate sides, and route each output to the next machine in the chain using item and fluid pipes as needed.
The Electronic Blast Furnace (EBF)
The Electronic Blast Furnace is a multiblock machine that replaces your primitive furnace setup. It’s a significant upgrade that enables you to process materials required for diode creation.
Key Innovation: You can run Medium Voltage recipes in Low Voltage by using two LV energy hatches, each providing 2 amperage, which together function as 1 amperage of Medium Voltage power.
EBF Basic Requirements
Electronic Blast Furnace block (the main machine)
Heat-proof In-Var Machine Casings (exterior)
2x LV Energy Hatches (power input)
1x Ultra Low Voltage Input Hatch (for liquids)
1x Ultra Low Voltage Input Bus (for items)
1x LV Output Bus (for items)
1x Ultra Low Voltage Output Hatch (for liquid waste products)
1x Maintenance Hatch
1x Muffler Hatch
Cuprite-Nickel Coil Blocks (for heat resistance)
Creating In-Var Machine Casings
In-Var is made from nickel and wrought iron, both available through your alloy smelter. Casings are then crafted from these ingots.
Creating Cuprite-Nickel Coil Blocks
In your Basic Assembler:
Inputs: bronze foil, cuprite-nickel wire
Liquid input: liquid tin alloy (created by extracting tin ingots in a Basic Extractor)
Output: cuprite-nickel coil blocks
Cuprite-nickel ingots are produced in your alloy smelter with nickel and copper.
EBF Assembly and Operation
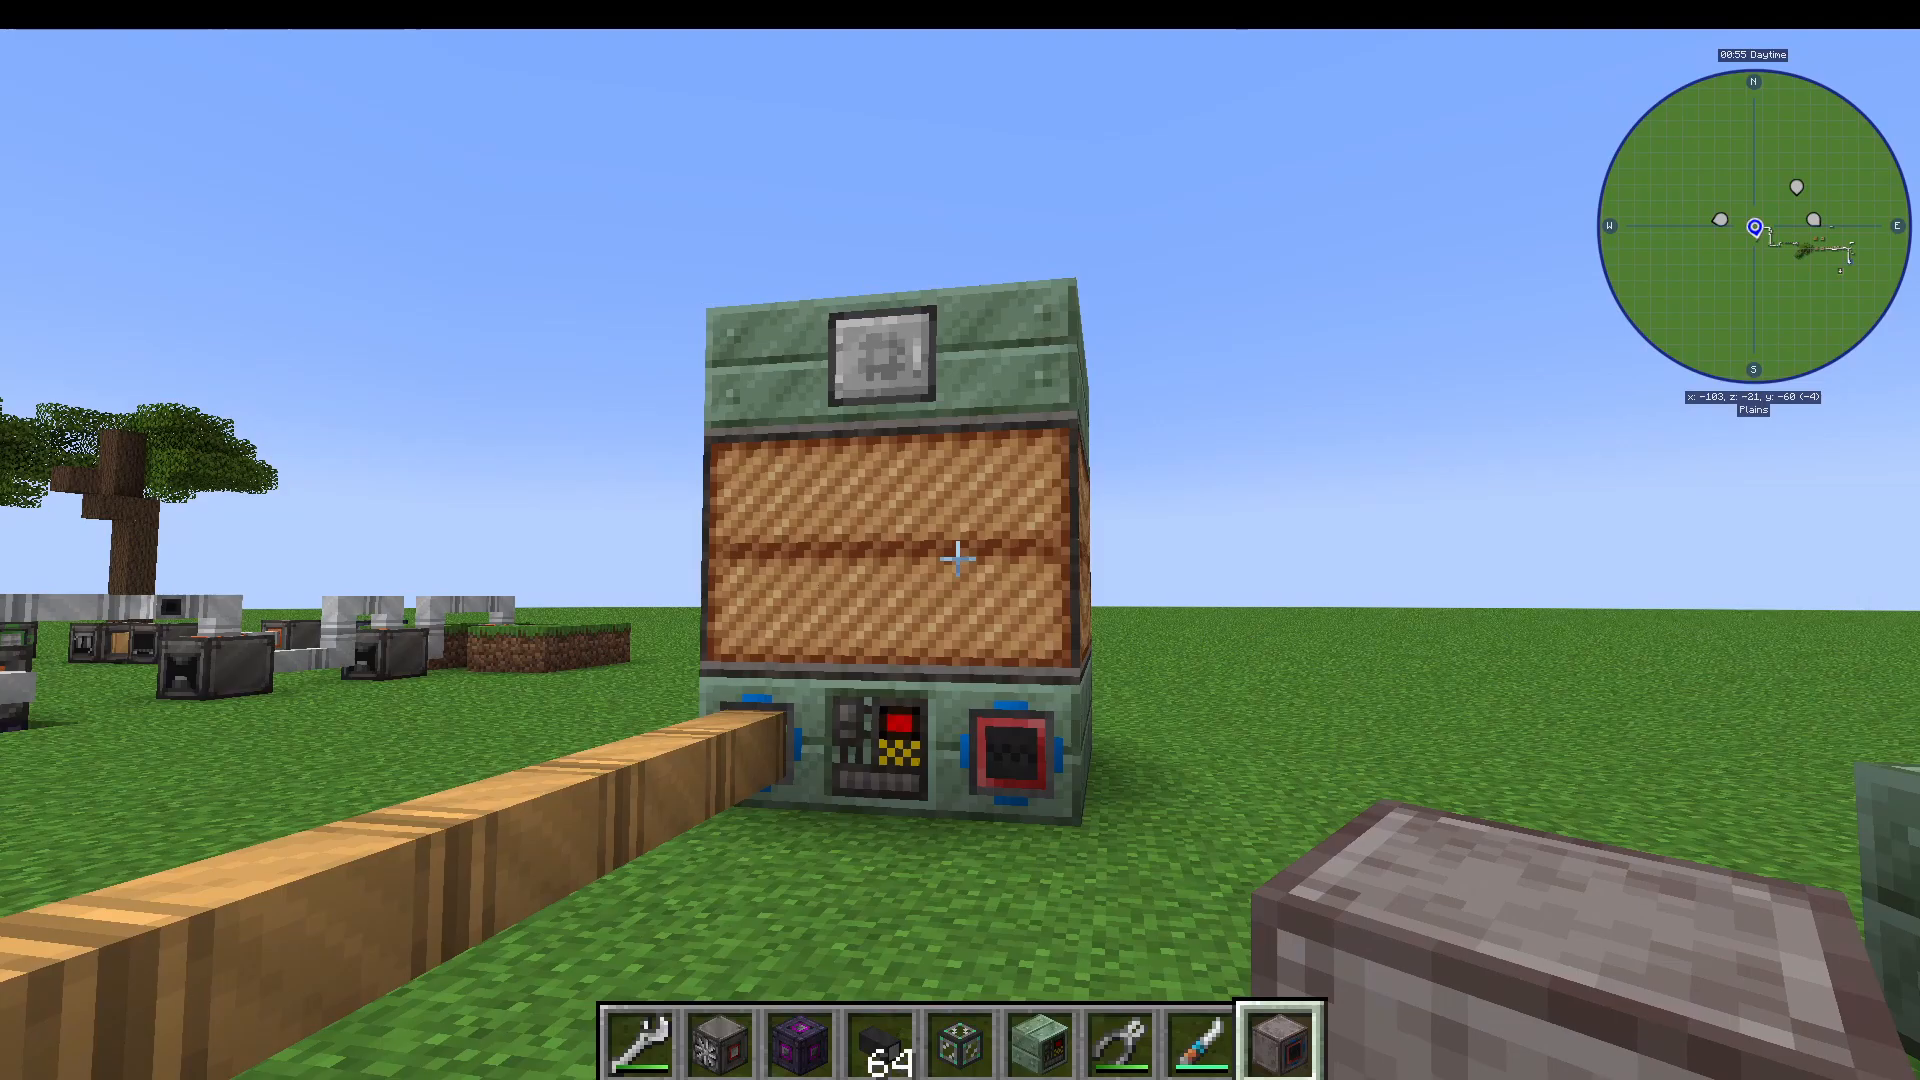
When properly assembled, the cuprite-nickel coil blocks will turn green, confirming your setup is correct. You’ll also see:
Heat capacity indicator (aim for 1800 with this configuration)
Lights activating on the coil blocks when powered
Pollution output from the muffler hatch
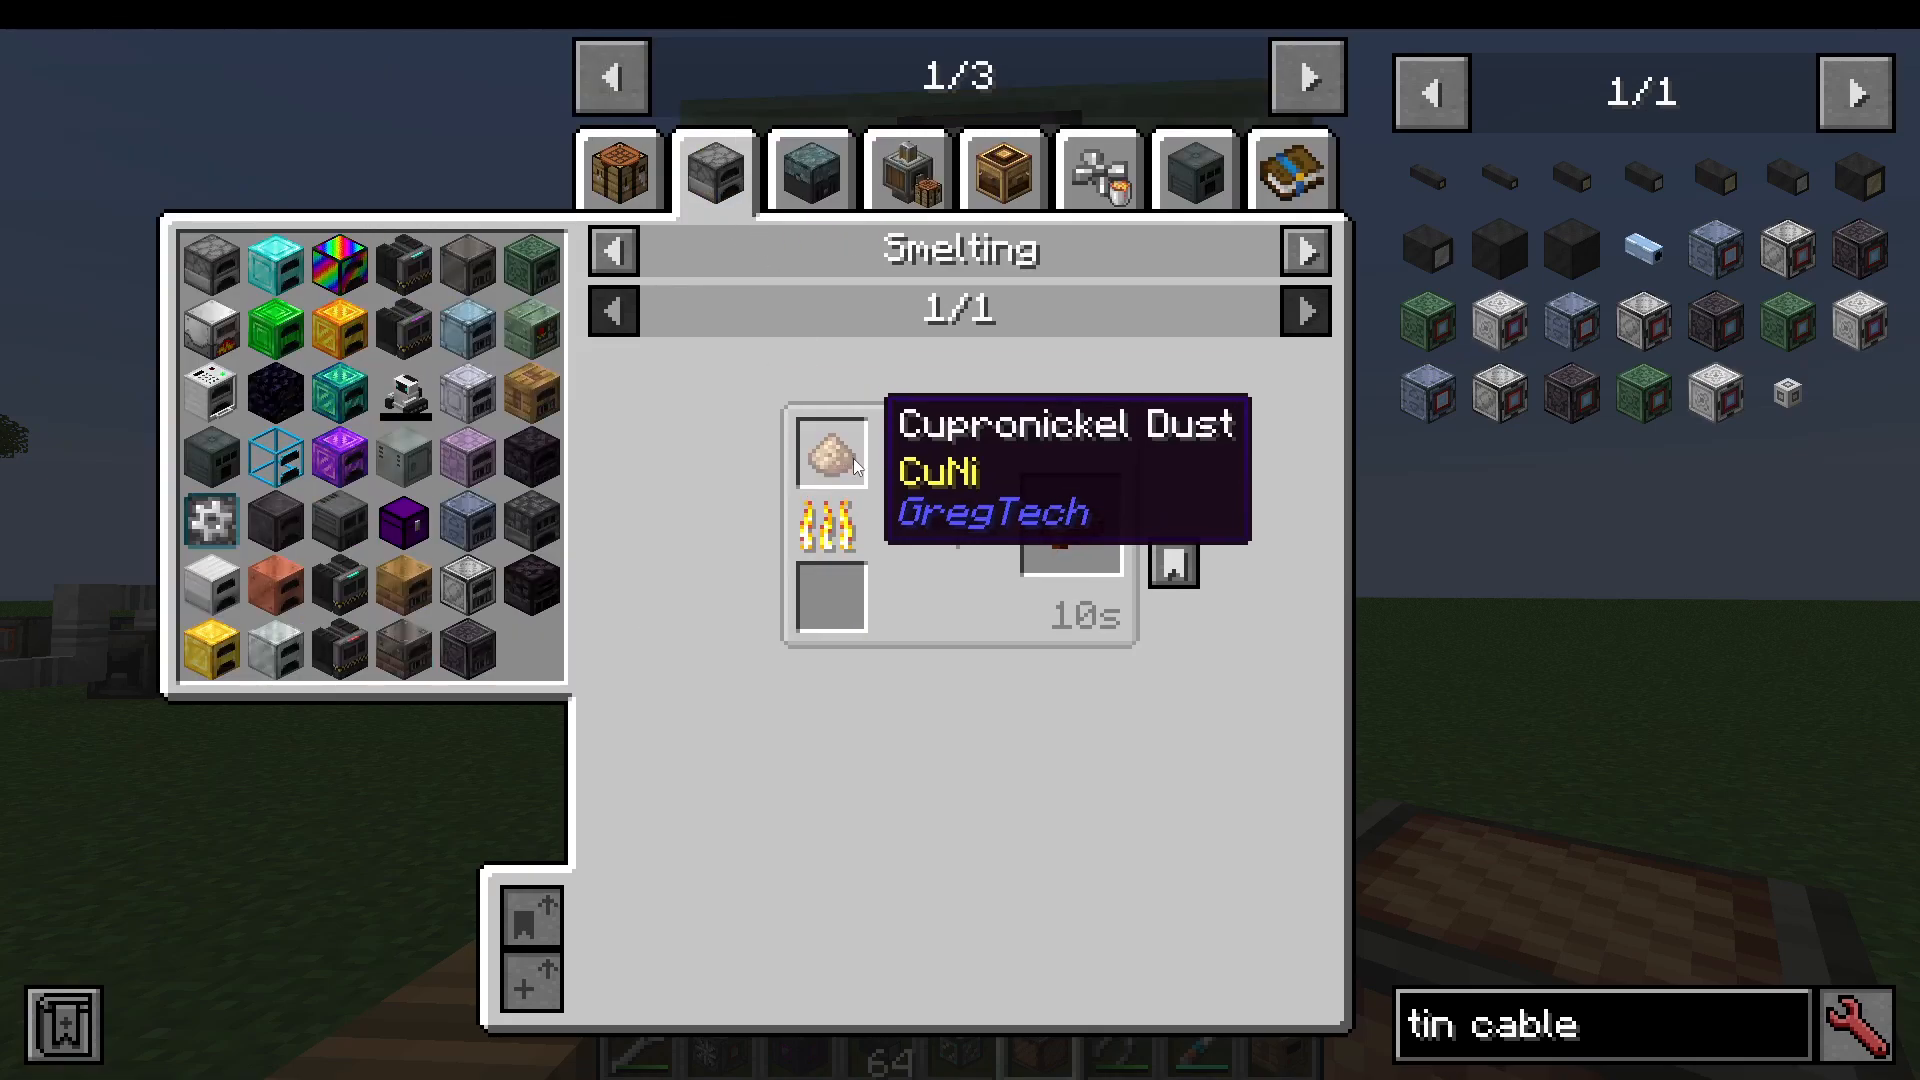
The EBF will heat up automatically when powered. To check recipes and multiblock requirements:
Press U on the EBF item in JEI
Select “Recipes” to see available recipes
Select “Multiblock Info” to see the structure layer-by-layer
Understanding Hatch Capacity
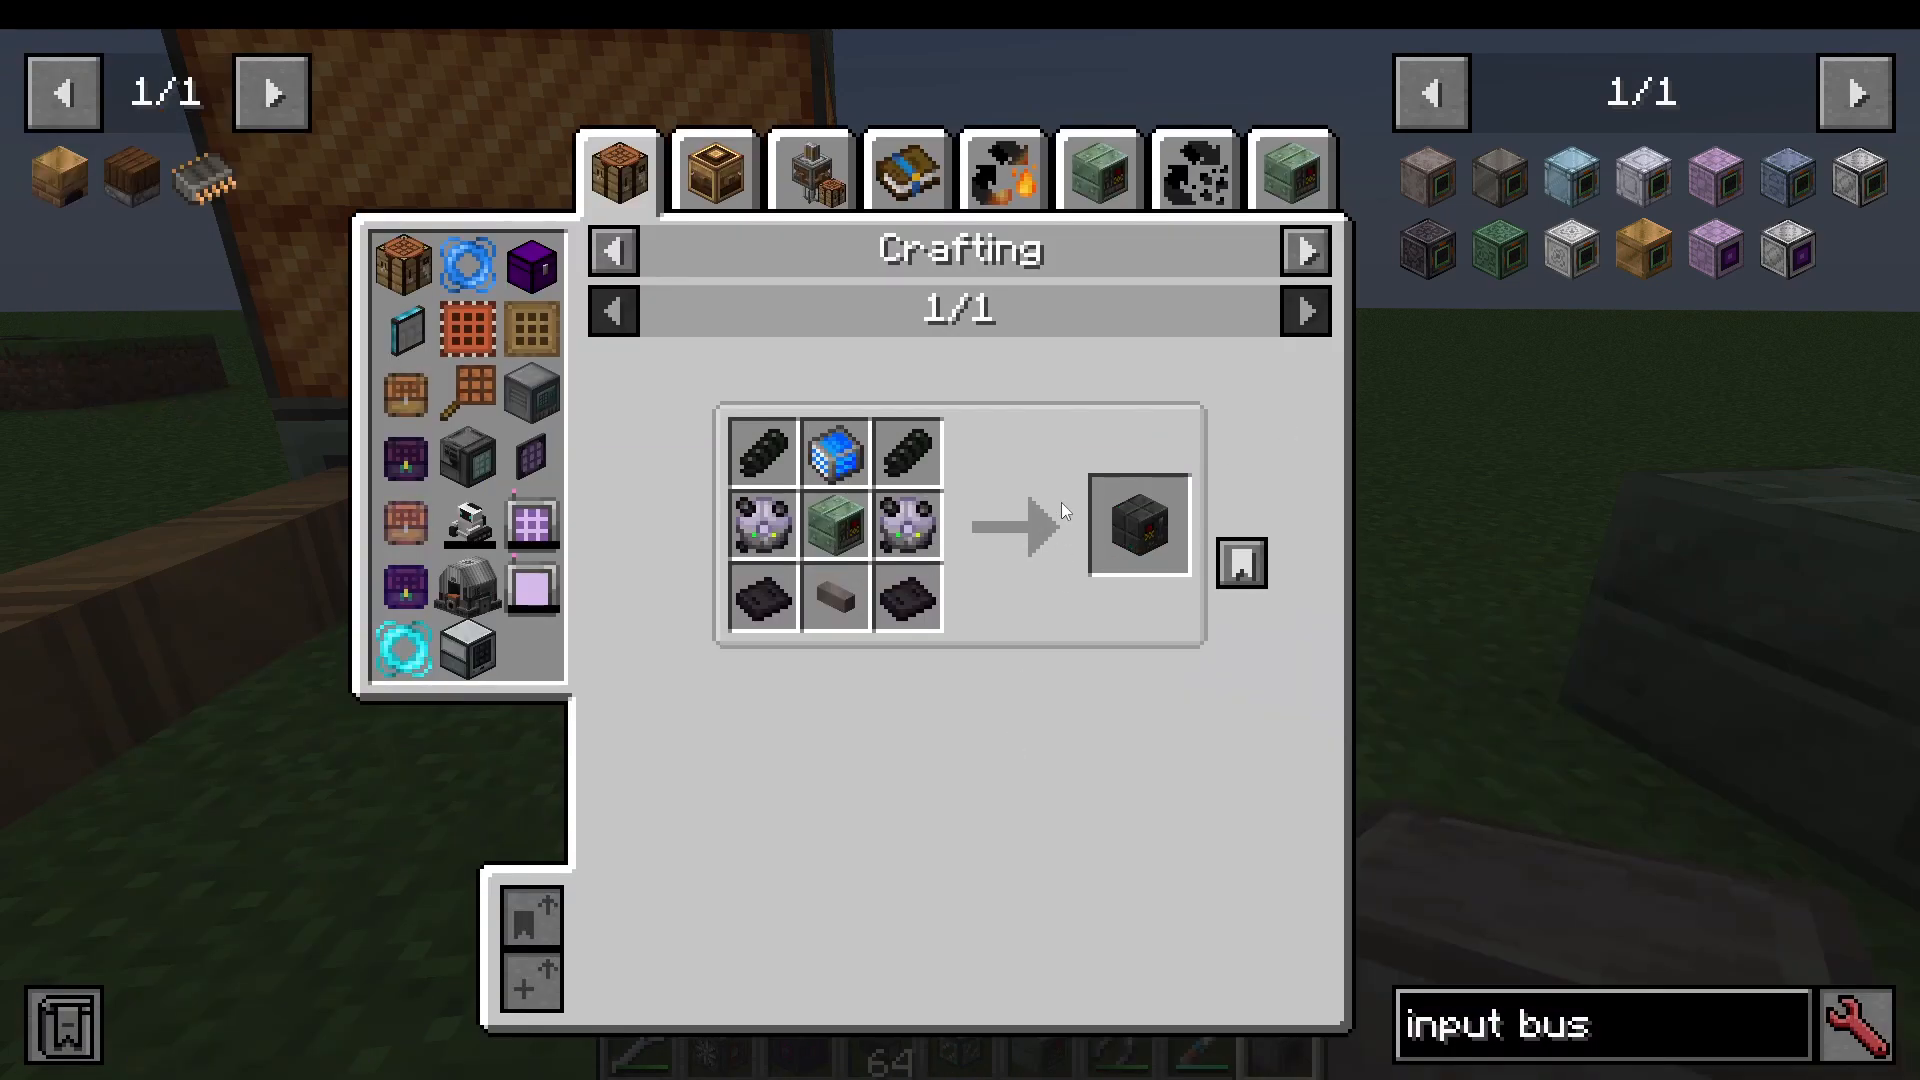
Different machine tiers have different hatch capacities:
Ultra Low Voltage: 1 item slot / 8 millibuckets fluid
Low Voltage: 4 item slots / 16 millibuckets fluid
Medium Voltage: 9 item slots / 32 millibuckets fluid
Match your hatch tiers to your recipe requirements. If a recipe outputs 2 items, you need at least a 4-slot output bus (LV minimum).
First EBF Recipe: Arsenic Trioxide
Your first major EBF recipe should be arsenic trioxide production:
Inputs: cobaltite dust, oxygen gas
Outputs: cobalt oxide, arsenic trioxide, sulfur dioxide
Coil requirement: Cuprite-Nickel or better
The Complex Path to Diodes
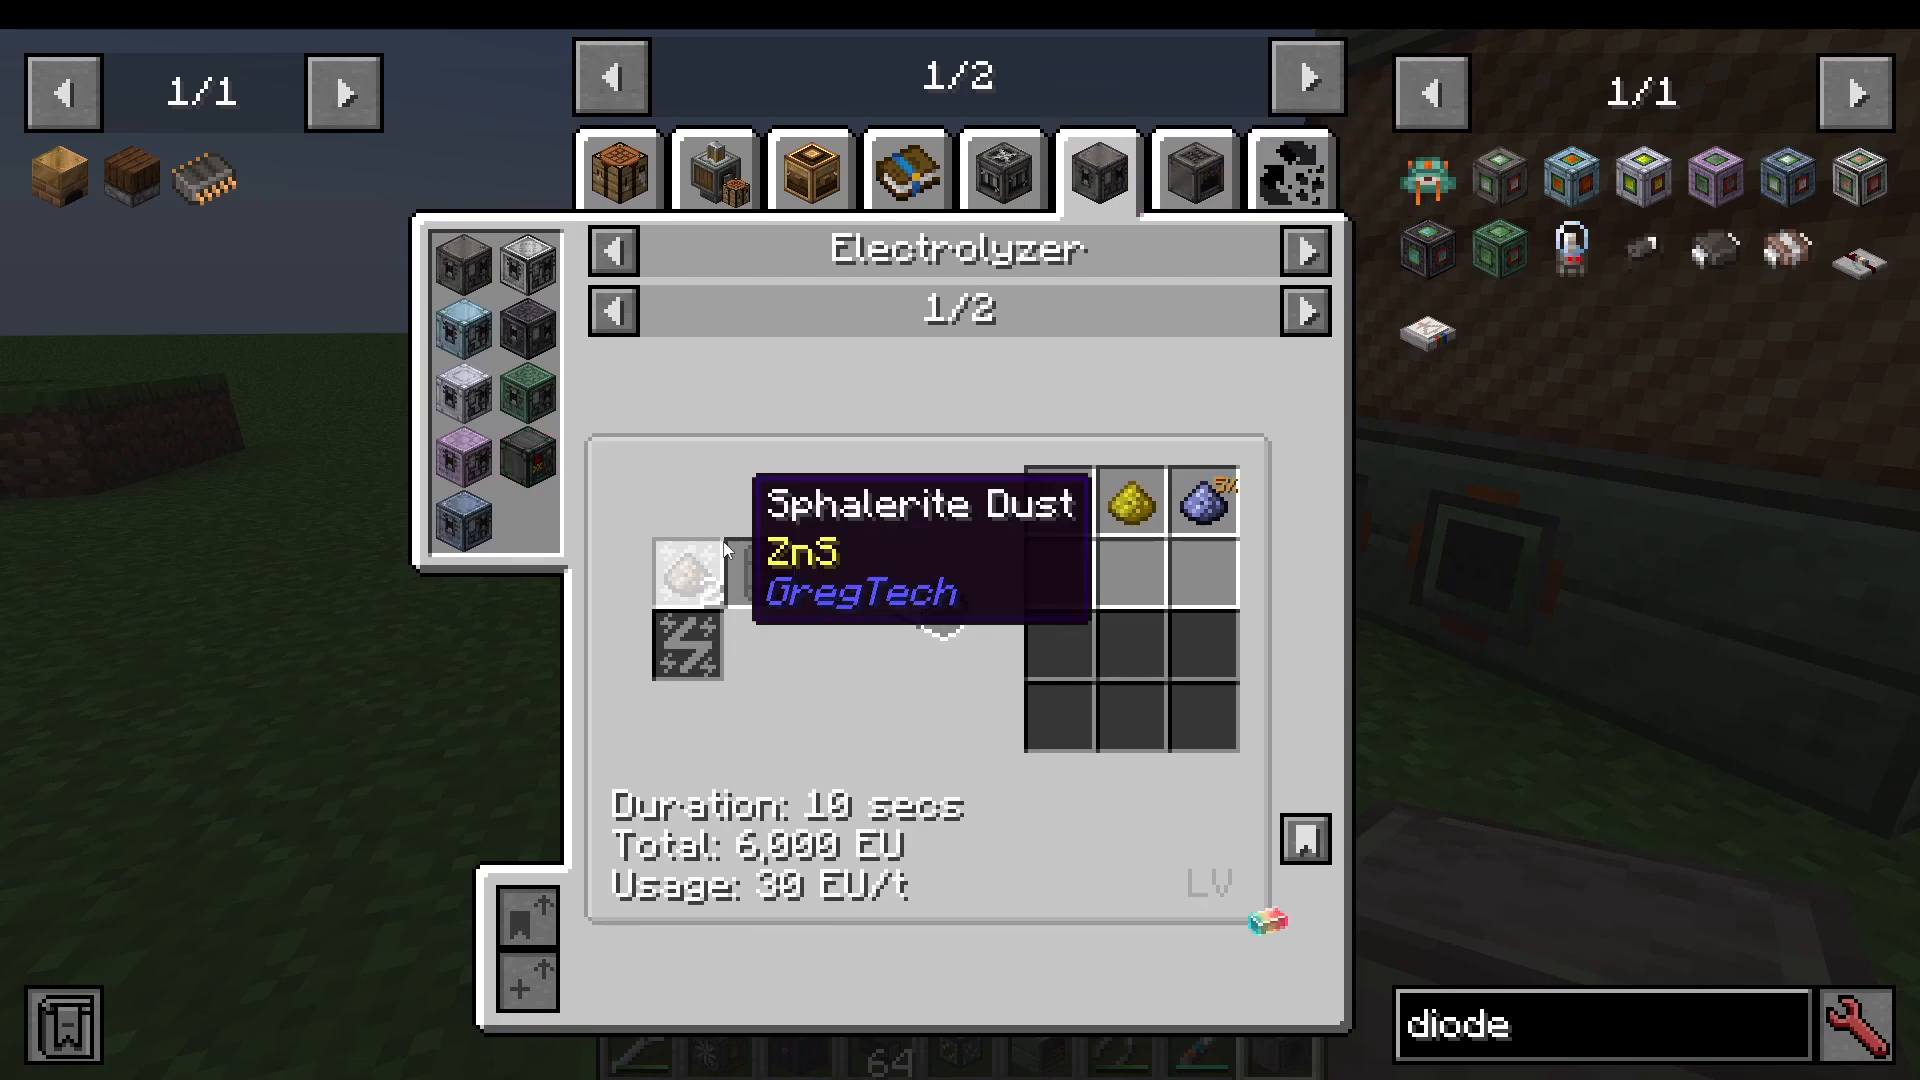
Creating diodes is the most complex recipe chain in Low Voltage. Rather than showing every step manually, I’ll teach you to read the recipe flow chart and work backward from your goal.
Diode Recipe (Final Step)
In your Basic Assembler:
Input: small pile of gallium arsenide dust
Input: fine copper wire
Fluid input: liquid glass
Output: diode
Creating Each Component
Liquid Glass: Extract glass ingots in a Basic Extractor—very simple.
Fine Copper Wire: Use your Wire Mill with a programmed circuit set to 3 and a copper ingot input.
Small Pile of Gallium Arsenide Dust: This is the complex part. Create it in a Basic Mixer by combining:
Gallium dust
Arsenic dust
Sourcing Gallium Dust
This requires a multi-step process:
Mine borksite ore and smelt it into borksite dust
Massorat the borksite dust into crushed borksite ore
Chemical Bath the crushed borksite ore with sodium persulfate to get purified borksite ore and a 70% chance for gallium dust
To create sodium persulfate:
Mine salt ore
In a Chemical Reactor, combine salt with sulfuric acid (set circuit to 1) to create sodium bisulfate dust
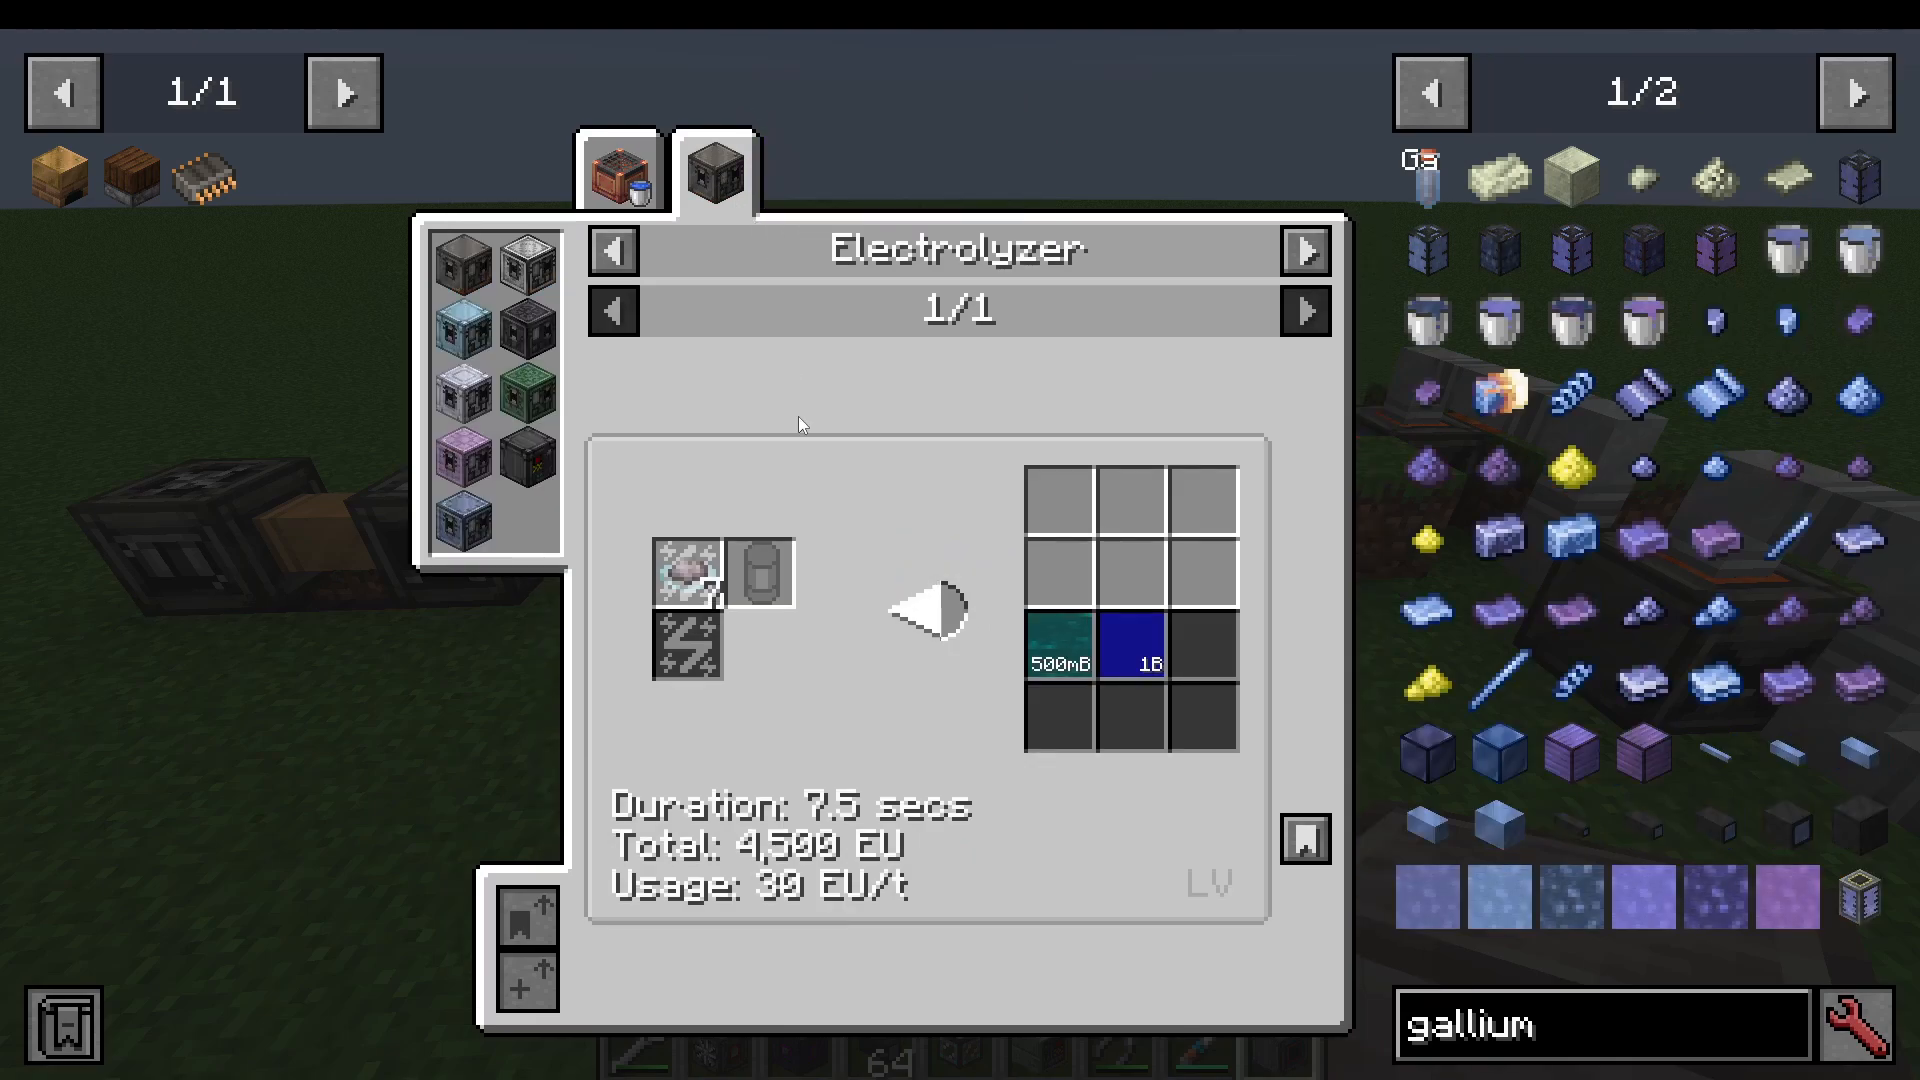
Electrolyze the sodium bisulfate dust to get sodium persulfate
To create sulfuric acid:
EBF with sphalerite and oxygen: Produces sulfur dioxide and zincite dust
Chemical Reactor with sulfur dioxide and oxygen: Produces sulfur trioxide
Chemical Reactor with sulfur trioxide and water: Produces sulfuric acid
Sourcing Arsenic Dust
Arsenic dust is much simpler:
Electrolyze cobaltite dust in an Electrolyzer to get cobalt dust, arsenic dust, and sulfur dust
To get cobaltite dust:
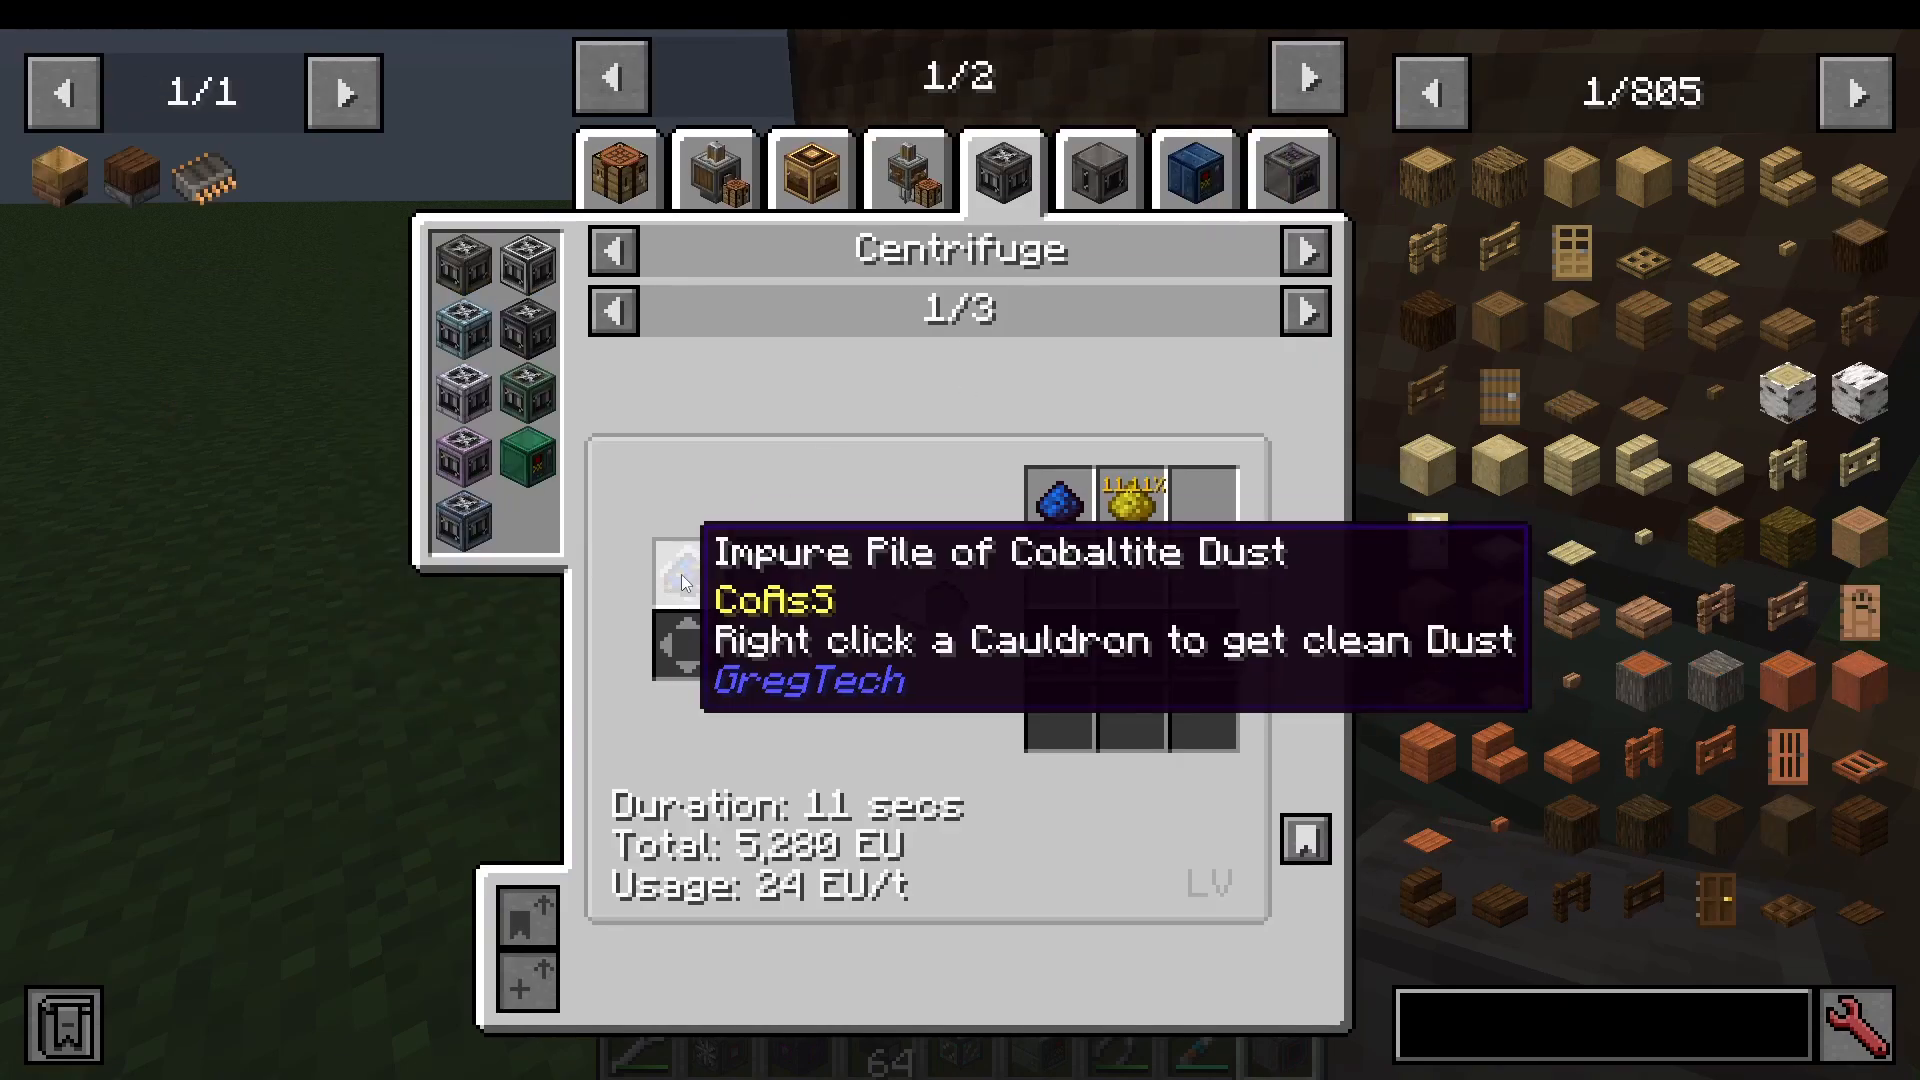
Crush cobaltite ore into impure cobaltite piles using a rock hammer
Centrifuge the impure cobaltite piles into pure cobaltite dust
Feed this into your EBF with oxygen to produce additional materials
Working Backward to Master the Chain
The key to understanding Gregtech’s complex recipes is working backward from your goal:
Identify your end product (diode)
Look up its recipe
For each ingredient, ask: “How do I make this?”
If you can’t make it with your current resources, look up that ingredient’s recipe
Continue until you reach materials you can mine or obtain easily
Once you’ve mapped the chain, execute it forward from the simplest steps
This approach prevents overwhelming yourself with the full complexity while ensuring you understand each step’s purpose.
Creating Good Electronic Circuits
Once you’ve successfully produced diodes, creating a Good Electronic Circuit is straightforward:
In your Basic Assembler (or better):
3x Diodes
3x Basic Electronic Circuits (made previously)
2x Phenolic Printed Circuit Boards
2x Copper Wire
Liquid tin (piped in)
Alternatively, use a Basic Circuit Assembler for simpler automation, which handles the process with preset configurations.
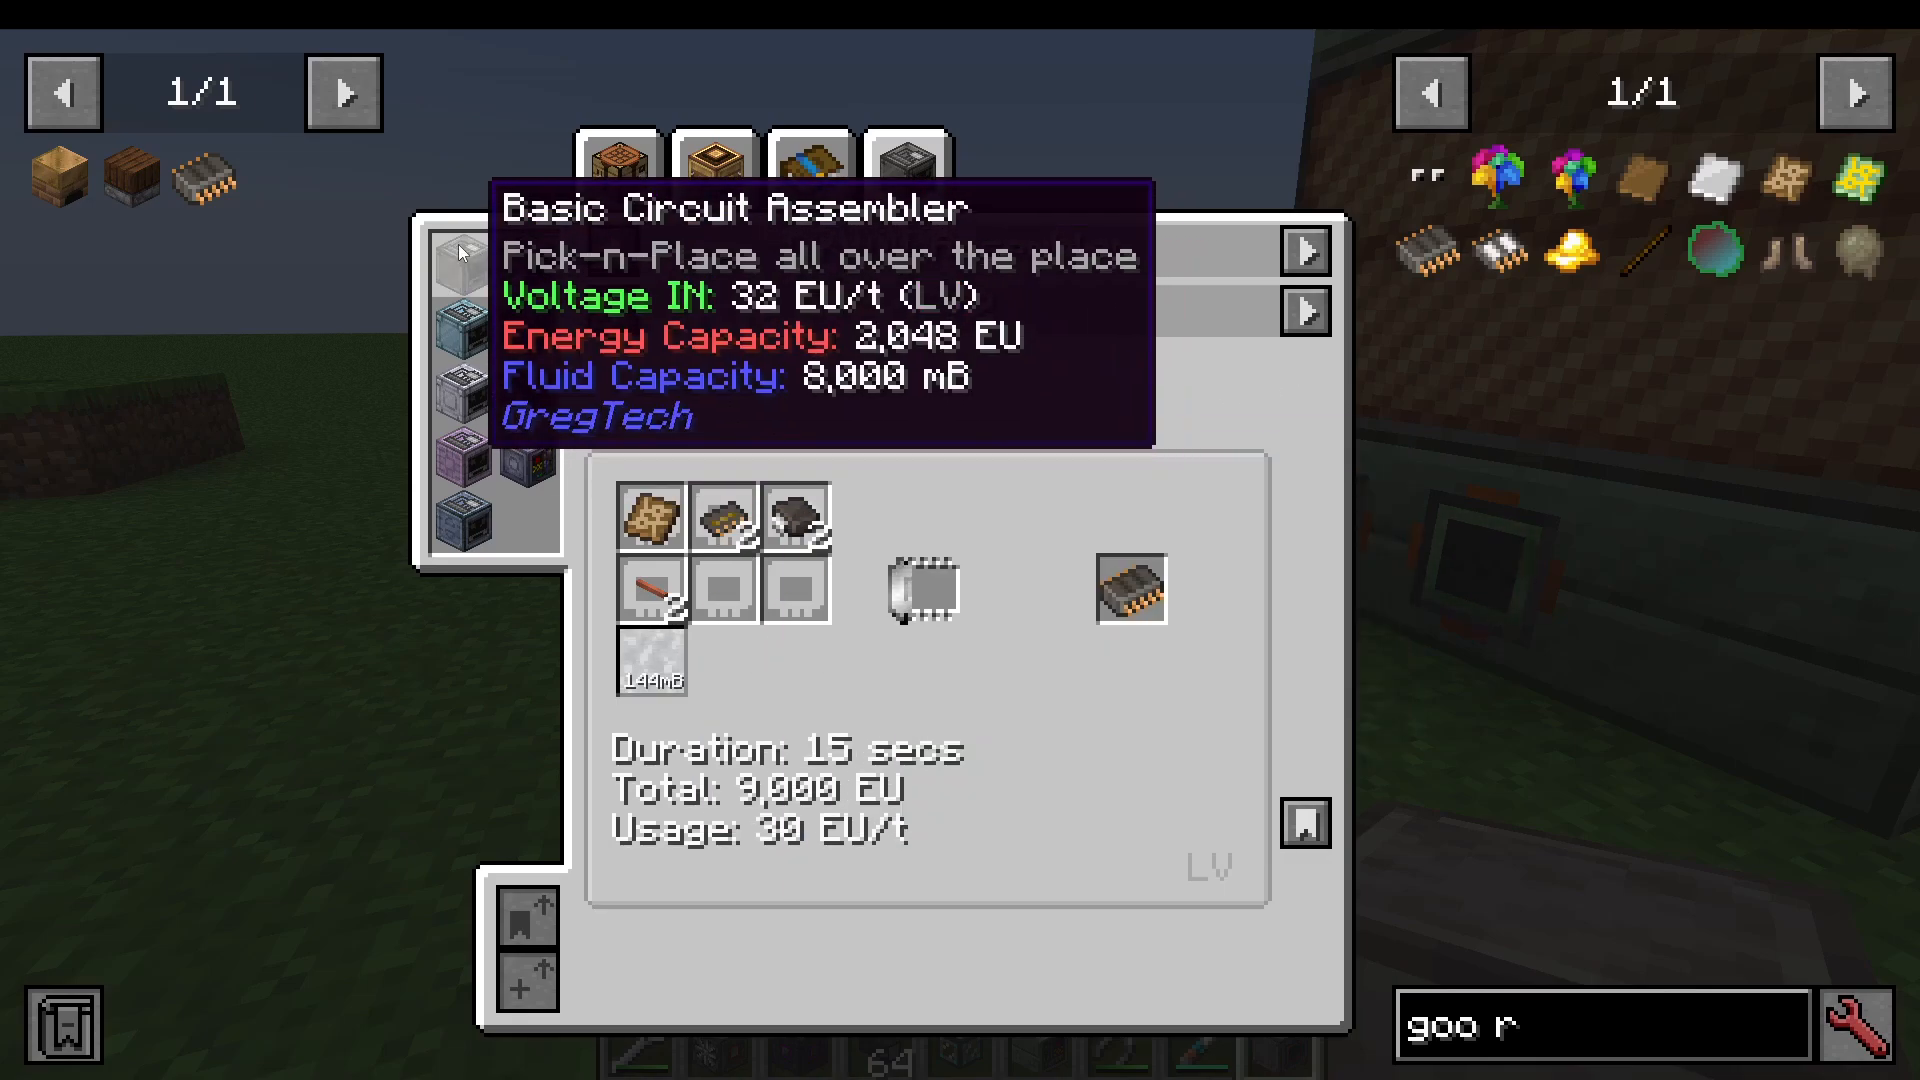
Congratulations! You’ve now reached Medium Voltage and unlocked a new tier of machinery and possibilities.
Summary
You’ve successfully progressed through the Low Voltage Age of Gregtech CEu! You now understand:
Building and managing steam turbines for power generation
Selecting and configuring appropriate cables for your network
Operating essential LV machines (Lathe, Bender, Wire Mill, Extractor, etc.)
Designing automated production chains for complex materials
Assembling and operating the Electronic Blast Furnace multiblock
Working backward from recipes to plan intricate production chains
Creating Good Electronic Circuits to advance to Medium Voltage
The complexity of Gregtech rewards patience and methodical planning. Always remember: break large recipes into smaller steps, automate when possible, and work backward from your goal. Good luck on your journey through Medium Voltage and beyond!
— Want to Support? —
If you would like to help us continue making these guides – please consider joining our patreon here – https://www.patreon.com/c/JaviHeals
Alternatively – we host a group of MC Servers you can join here – https://discord.gg/zD7Gjt6MHF



