







Complete Beginners Guide to Immersive Engineering
Complete Beginners Guide to Immersive Engineering
Welcome to the most up-to-date beginner’s guide to Immersive Engineering for modern versions of Minecraft. This guide will also apply to older versions. Whether you’re just starting out or looking to refresh your knowledge, this guide covers everything you need to know to get started with this powerful mod, from basic ore collection to automated logistics systems.
Finding Ores and Basic Tools
When you start playing with Immersive Engineering, you’ll be searching for ores buried in the ground. The mod adds several new ores to the game:
Lead
Bauxite
Nickel
Silver
Uranium
You’ll find these ores at similar heights to where you’d normally find diamond ore—generally higher than standard diamond spawn levels.
The first crafting recipe you can make is the Engineer’s Manual, which requires just a book and a lever. While the manual contains all the information you need about Immersive Engineering, you won’t strictly need it with this guide.
Your first actual crafting projects should be the Engineer’s Hammer and the Engineer’s Wire Cutters. The hammer is essential for completing multiblock structures and for converting ingots into plates—a material used extensively in Immersive Engineering recipes. The wire cutters are used to cut plates into wires, which serve as the primary means of transporting electricity throughout your machines.
Another early task is crushing your ores into grit. For example, you can combine silver grit and gold grit to create electrum grit, which you can then smelt into electrum ingots. This is how you create alloys in Immersive Engineering.
Creating Treated Wood
Treated wood is one of the first materials you’ll need to craft in quantity. Before making it, you should become familiar with two basic storage blocks: wooden storage crates and wooden barrels. These allow you to input items from the top using hoppers or other methods. The Engineer’s Screwdriver is another useful tool that lets you rotate machines.
An important feature of wooden storage crates is that when you break them, the contents remain inside, making them excellent for inventory management—especially in adventure maps where you can carry multiple crates filled with different items.
To make treated wood planks, you’ll need to process wood through a Coke Oven. To build a coke oven, arrange coke bricks in the following pattern:
One-two-three
One-two-three
One-two-three
Two-three-two-three-two-three
Fill all these positions with coke bricks (made simply from clay bricks and sand). Then, use your Engineer’s Hammer to right-click the center block, creating a distinctive hole. This completes the multiblock structure.
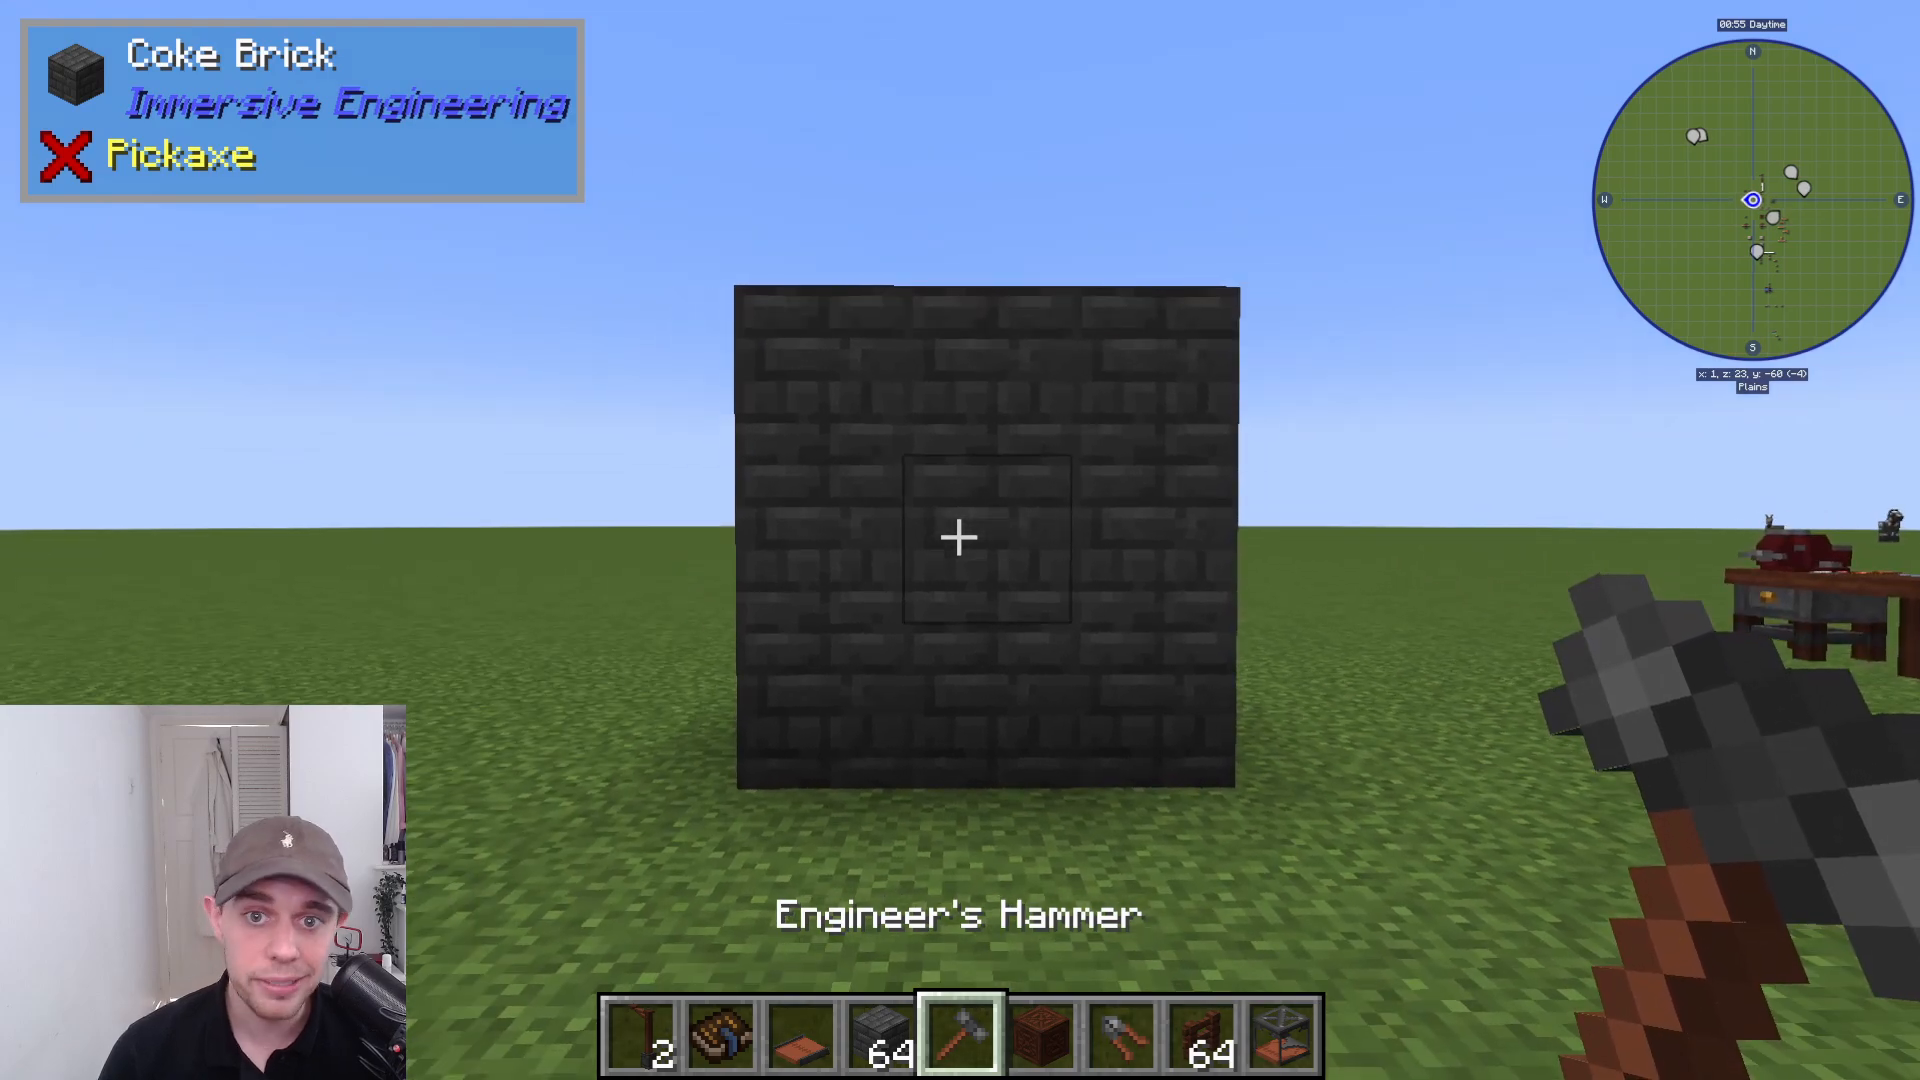
Right-click the coke oven to open its inventory. You’ll notice blue icons indicating input and orange icons indicating output. Place coal into the input slot. While processing is slow (around 8-10%), you can speed things up by building multiple coke ovens.
The coke oven produces two outputs: coal coke (usable as fuel) and creosote oil (a byproduct). Collect the creosote oil in a bucket by placing a bucket in the top slot. To make treated wood planks, surround a bucket of creosote with wooden planks in a crafting grid. These treated wood planks have numerous applications throughout Immersive Engineering.
Industrial Hemp and Other Early Crops
Growing industrial hemp is another early-game activity. Once fully grown, hemp can be processed into:
Rope coils and string
Tough fabric (used for insulating wires in power transmission)
These applications will be covered in more detail in intermediate guides.
The Alloy Kiln
If you find manually hammering ingots into plates tedious, the Alloy Kiln offers automation. This multiblock uses blocks of coal as a heat source and can process metals directly into alloys. Build it using this pattern:
One-two-one-two
One-two-one-two
Hit any part with your Engineer’s Hammer to complete the structure.
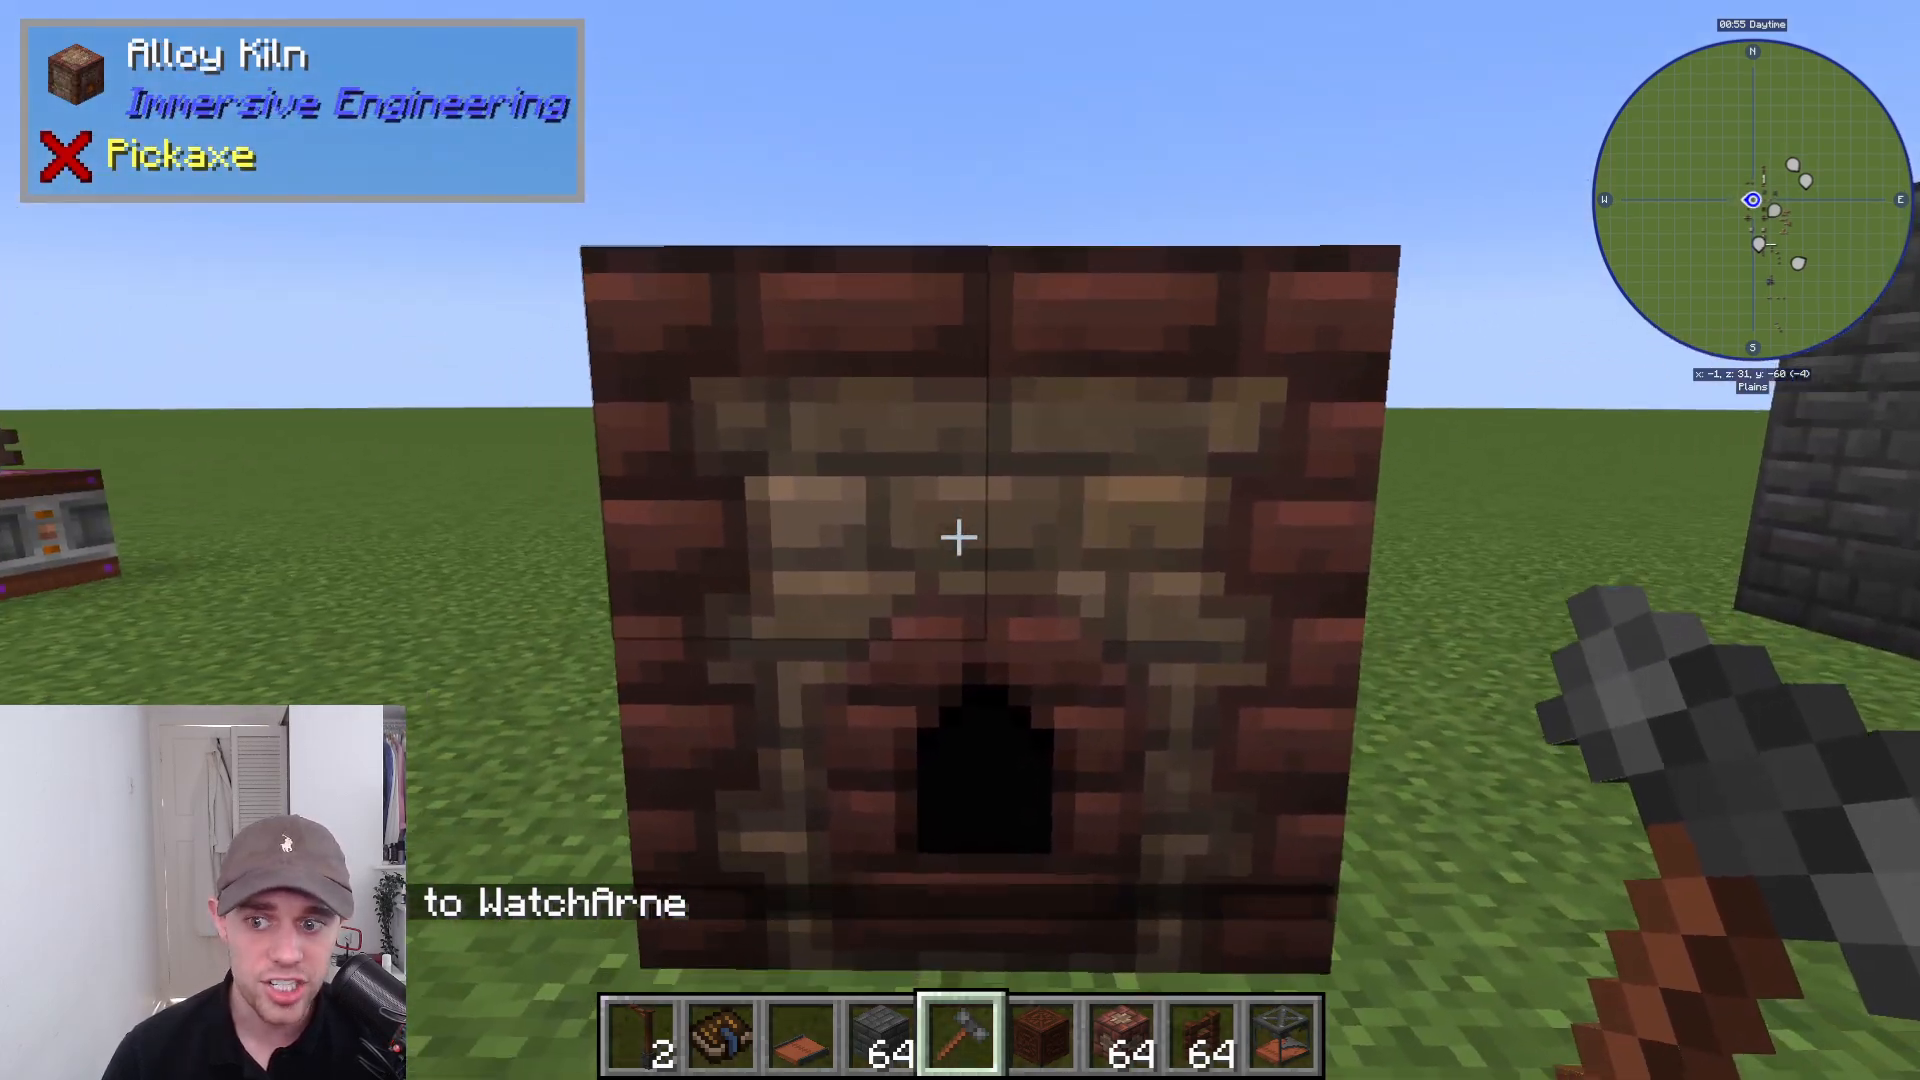
The Alloy Kiln can create:
Insulating glass
Constantan ingots (from nickel and copper)
Electrum ingots (from silver and gold)
Note that you must use ingots, not raw ores, in the Alloy Kiln.
Steel Production: The Crude and Improved Blast Furnaces
Steel is a crucial material in Immersive Engineering, and you’ll make it using the Crude Blast Furnace. Build this multiblock using blast bricks (made from nether bricks and magma blocks) in the same pattern as the alloy kiln:
One-two-three
One-two-three
One-two-three
Two-three-two-three-two-three
Right-click the center block with your Engineer’s Hammer to complete it.
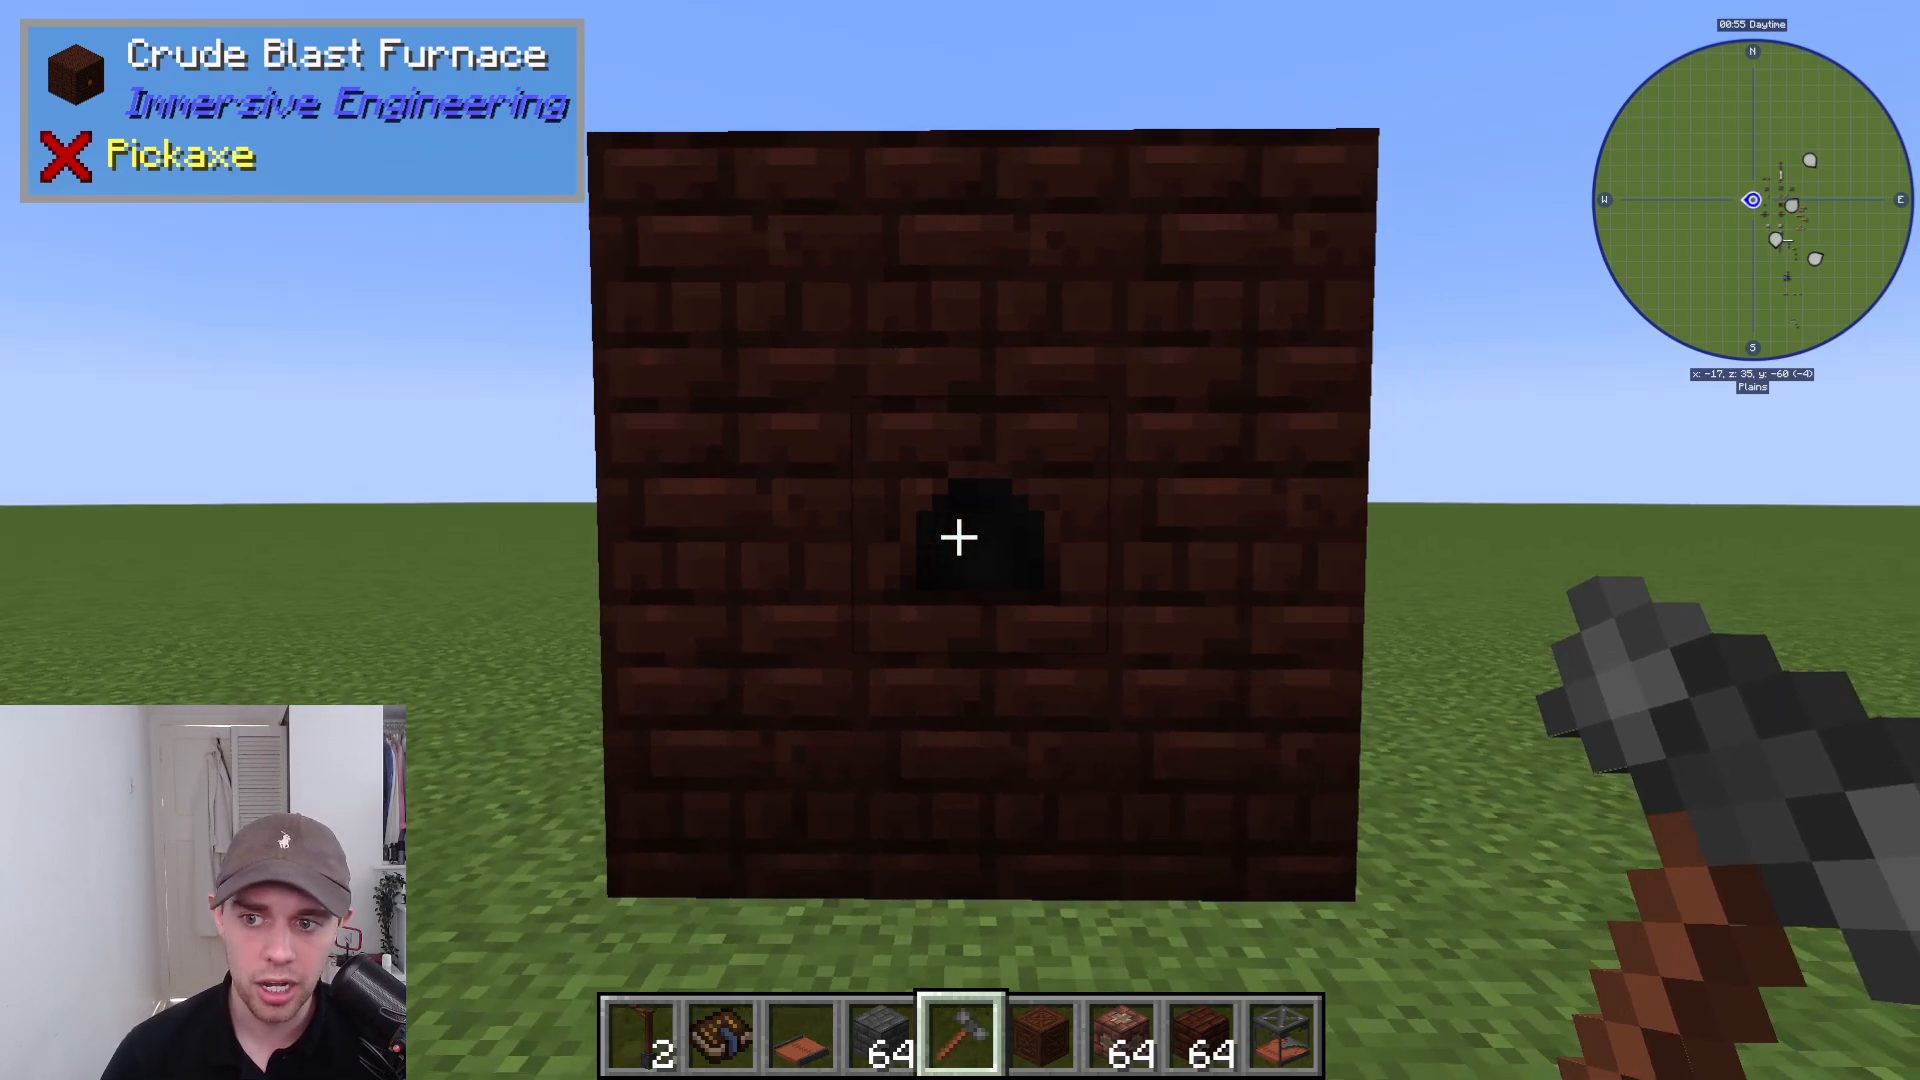
To produce steel: Place coal coke in the bottom slot and iron ingots in the top slot. The furnace will slowly convert these into steel ingots. This process cannot be automated with the crude version, but it’s a necessary first step.
Once you’ve produced your first batch of steel (at least 27 ingots), upgrade to the Improved Blast Furnace. First, hammer your steel ingots into steel plates. Then, deconstruct your crude blast furnace and combine your blast bricks with steel plates to create reinforced blast bricks.
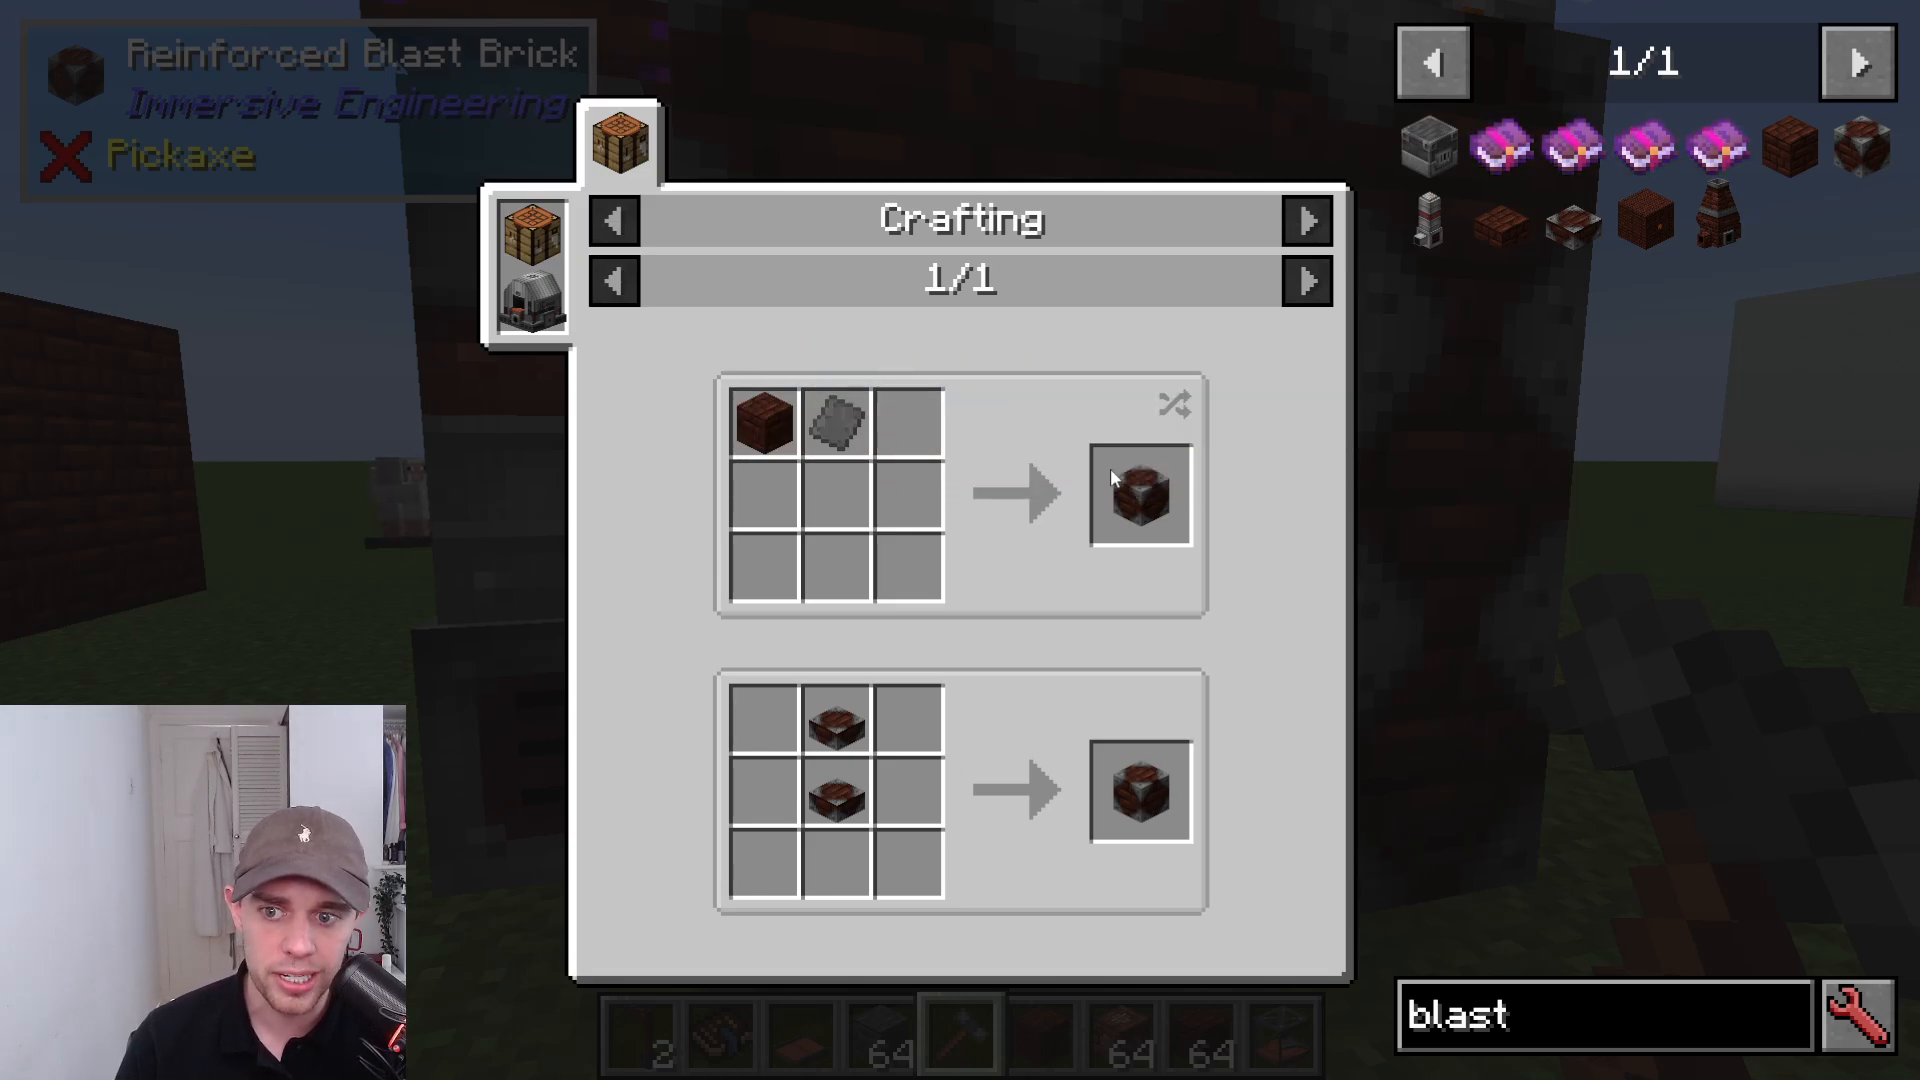
Build the improved blast furnace using the same 3x3x3 pattern with reinforced blast bricks. You can further enhance it with Blast Furnace Pre-Heaters, which speed up the smelting process. These are made from:
Iron sheet metal (iron plates)
An external heater
Copper wire coils
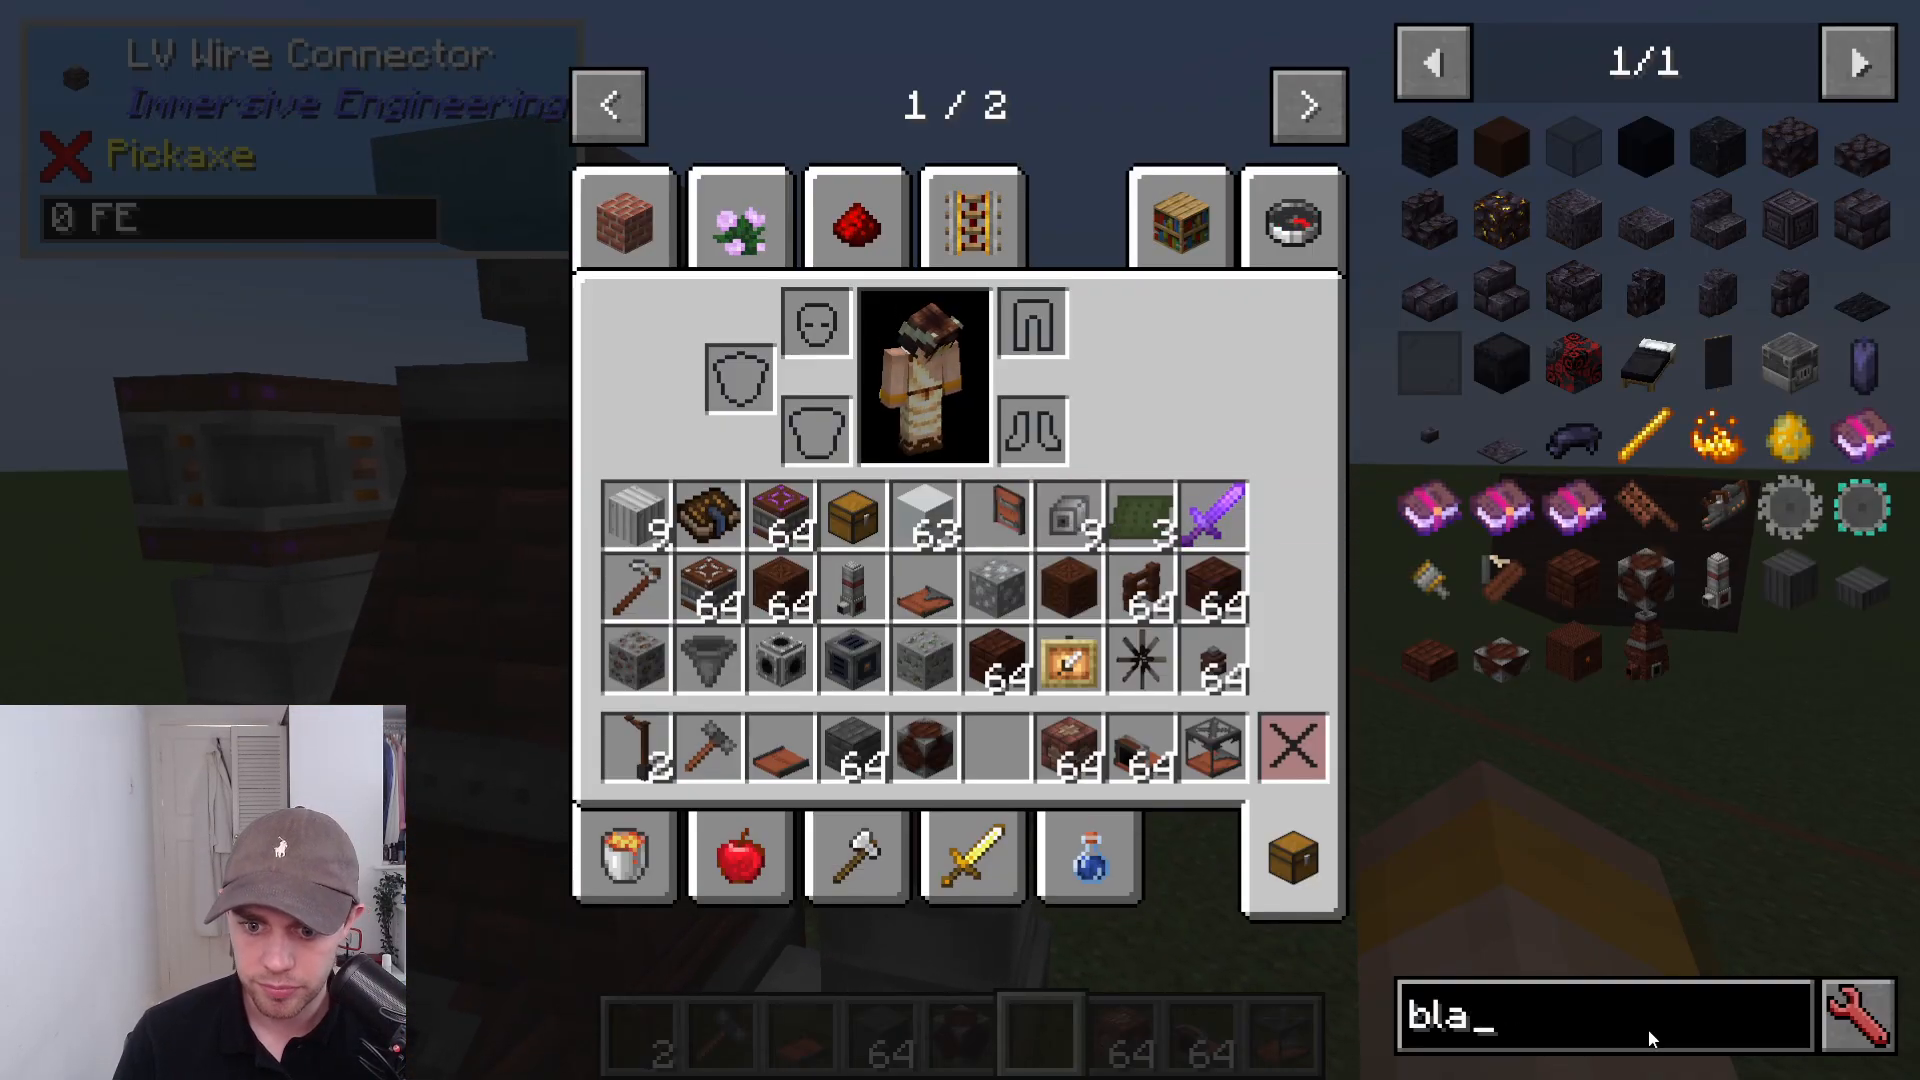
To power the pre-heaters, use an LV Wire Connector connected to your power source with an LV Wire Coil. Right-click between connectors to establish power transmission.
When the pre-heaters are powered, you’ll see a fan animation and smoke coming from the top. Use hoppers to input coal coke and iron into the top. Steel ingots will output from the front, and slag (a useful byproduct) will output from the back. Use extracting conveyor belts to automate material movement.
Understanding Slag
Slag is a byproduct of the blast furnace. You can:
Convert it into fertilizer
Cook it into slag glass (required for high-voltage wire relays)
Conveyor Belts and Transportation
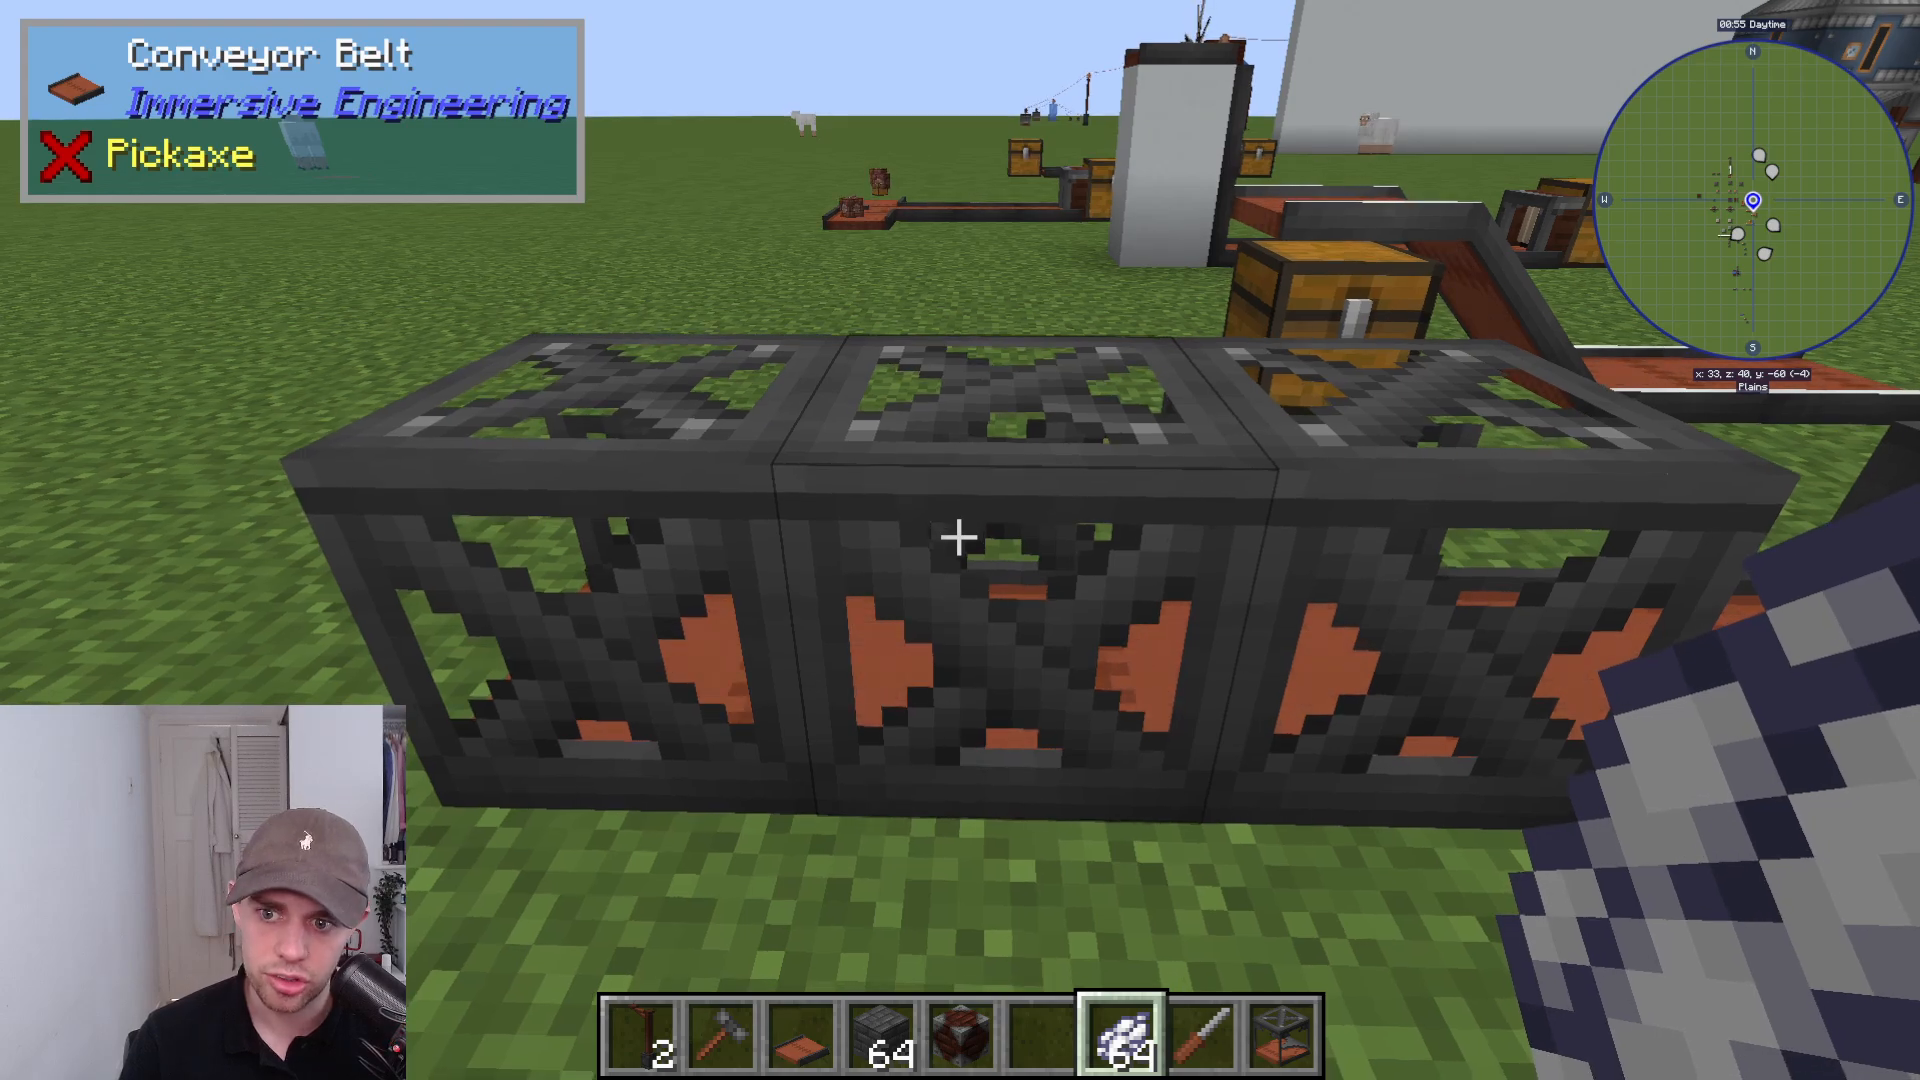
Immersive Engineering offers several conveyor belt types for moving items around your factory:
Basic Conveyor Belt
The standard belt that moves items in one direction. When placed, right-click to choose the direction of movement.
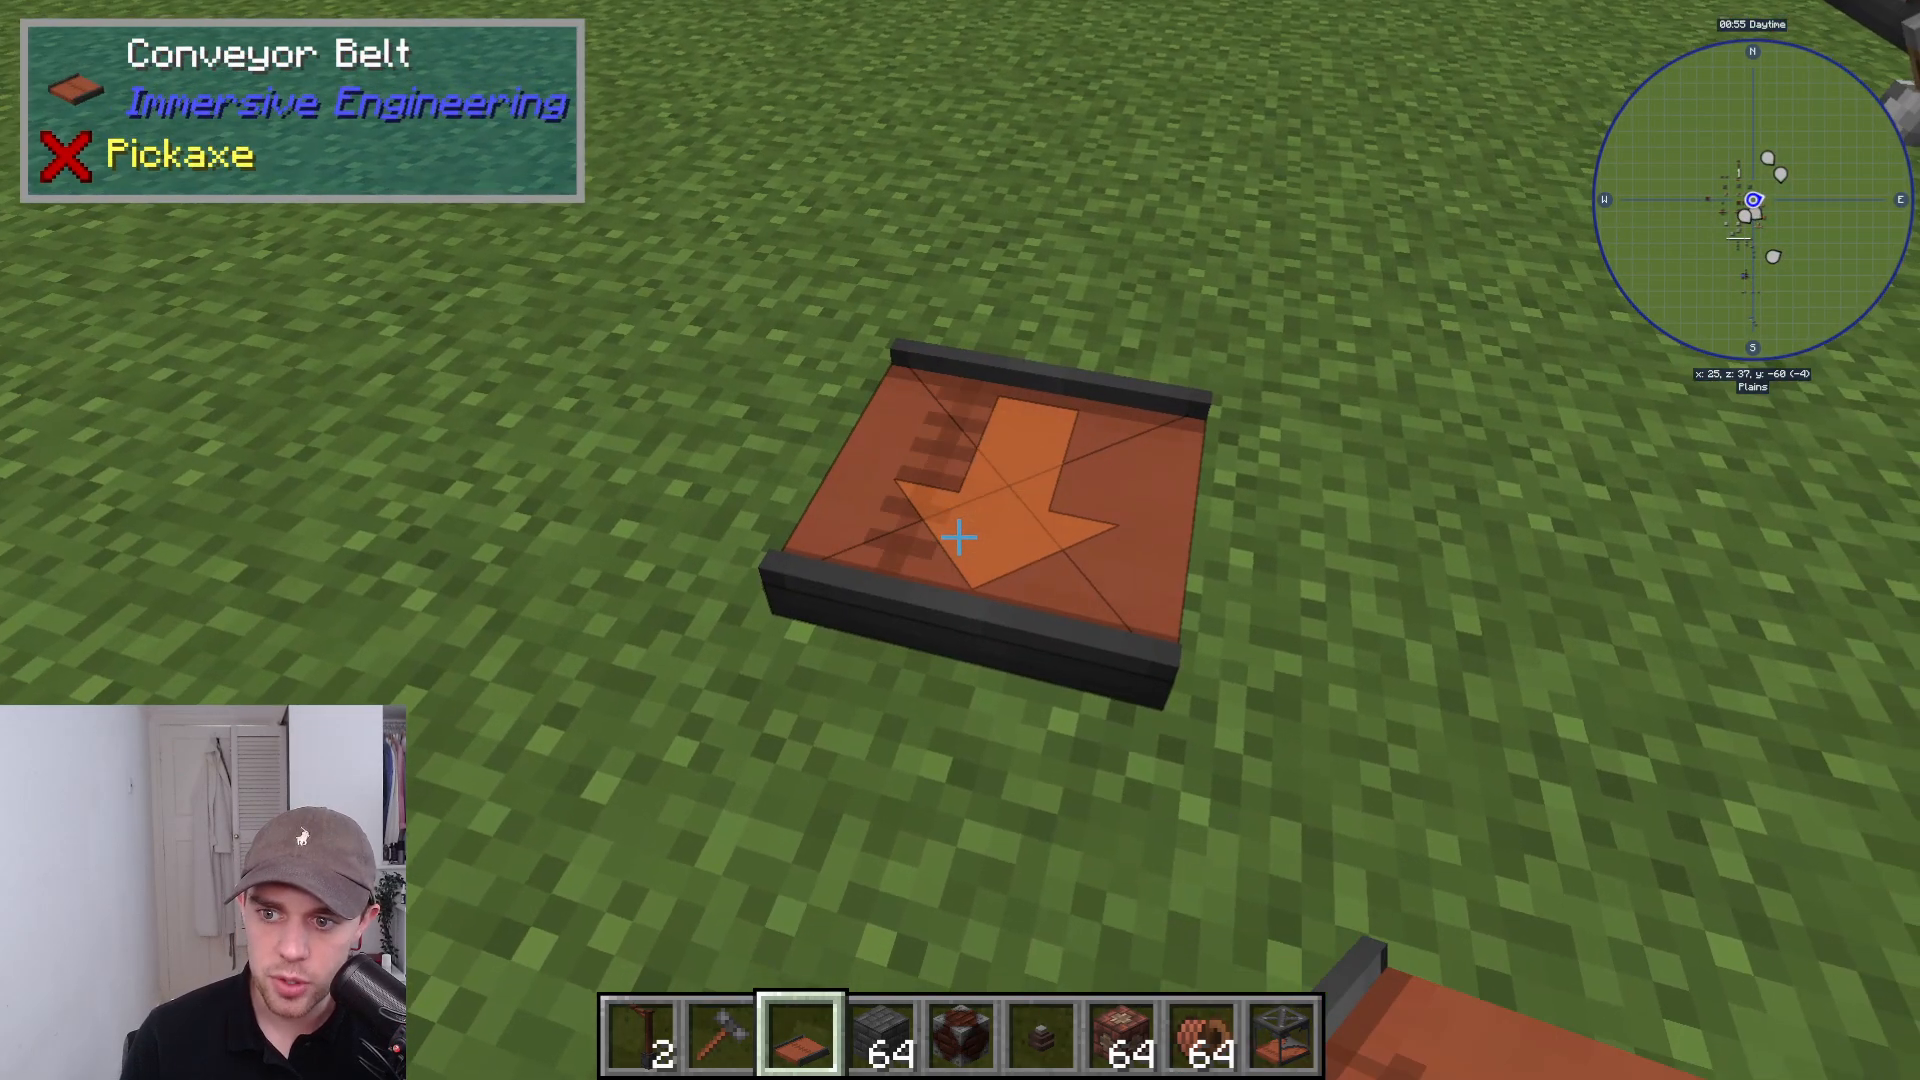
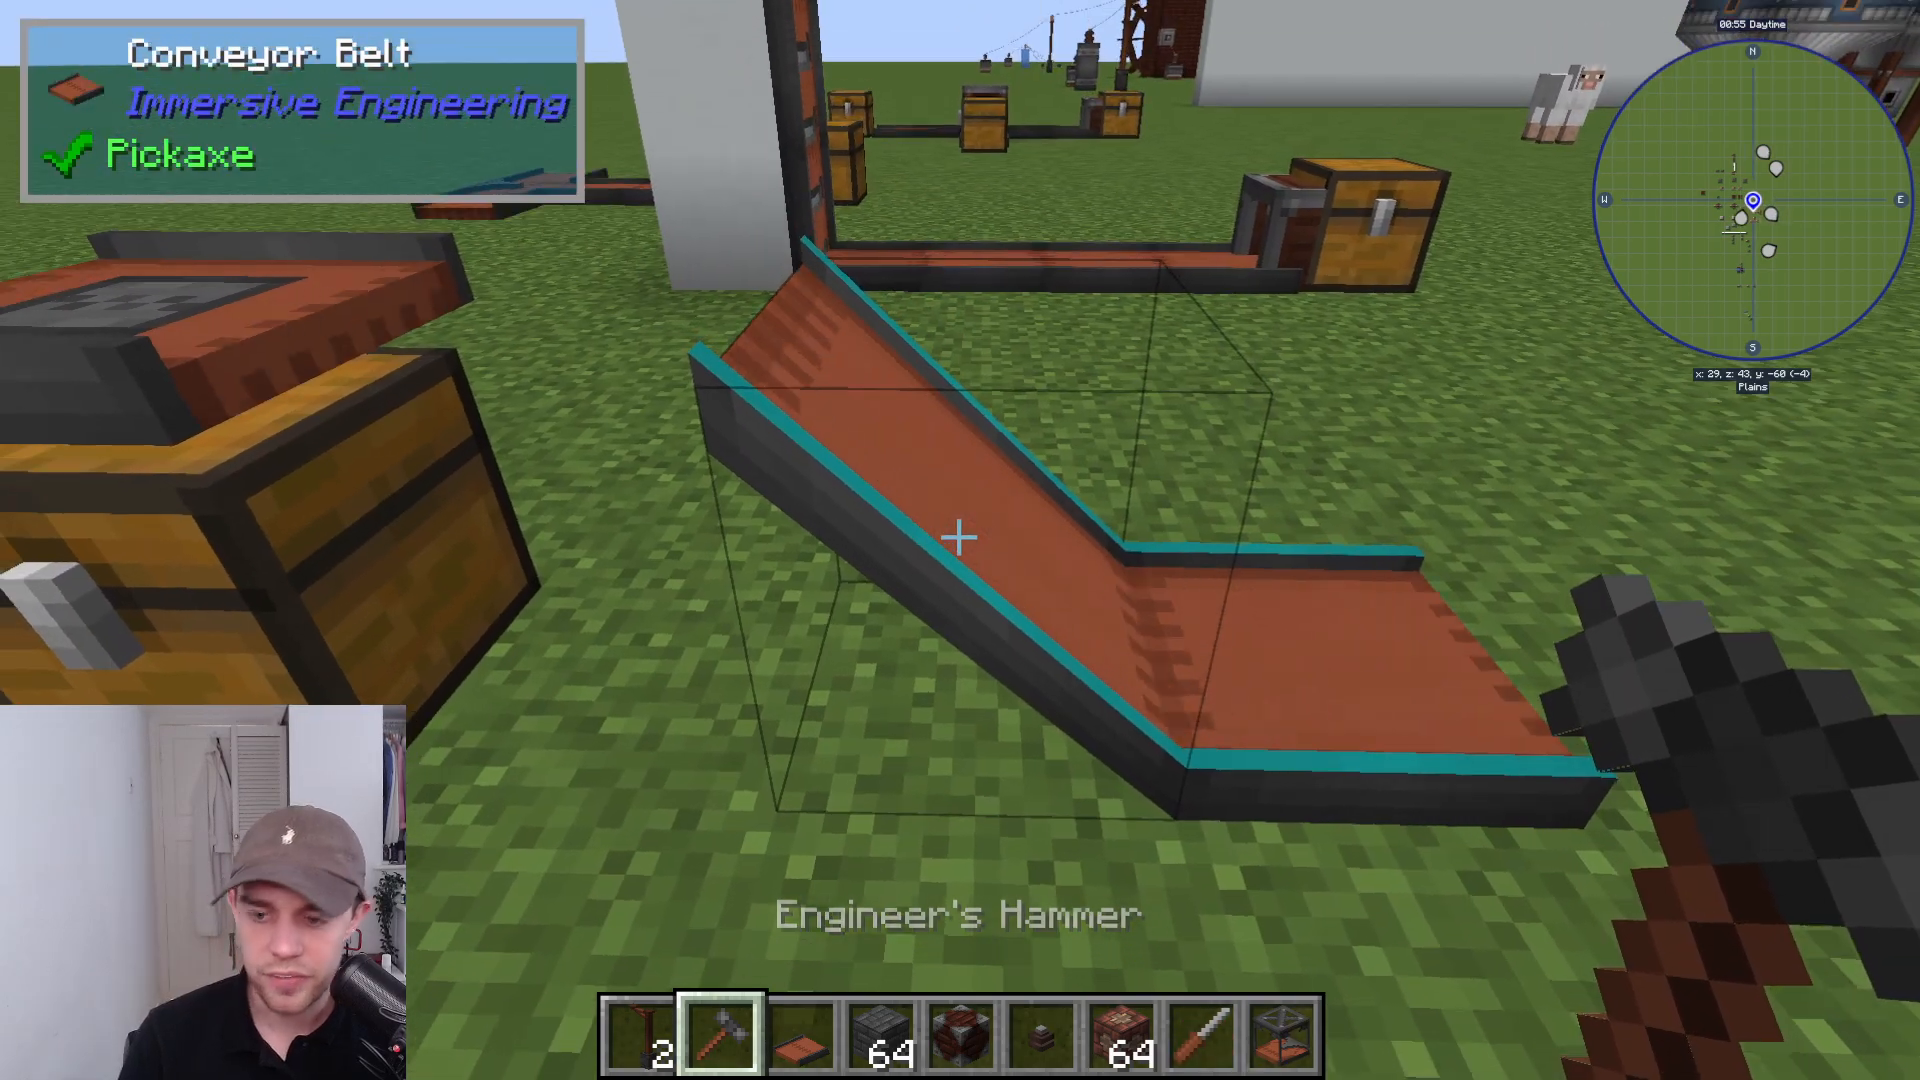
Vertical Conveyor Belt
Use your Engineer’s Hammer and shift-click to change a regular conveyor belt into an inclined version that moves items upward.
Dropping Conveyor Belt
Features a hatch that causes items to drop to a conveyor belt below. This is useful for changing elevation without ramps.
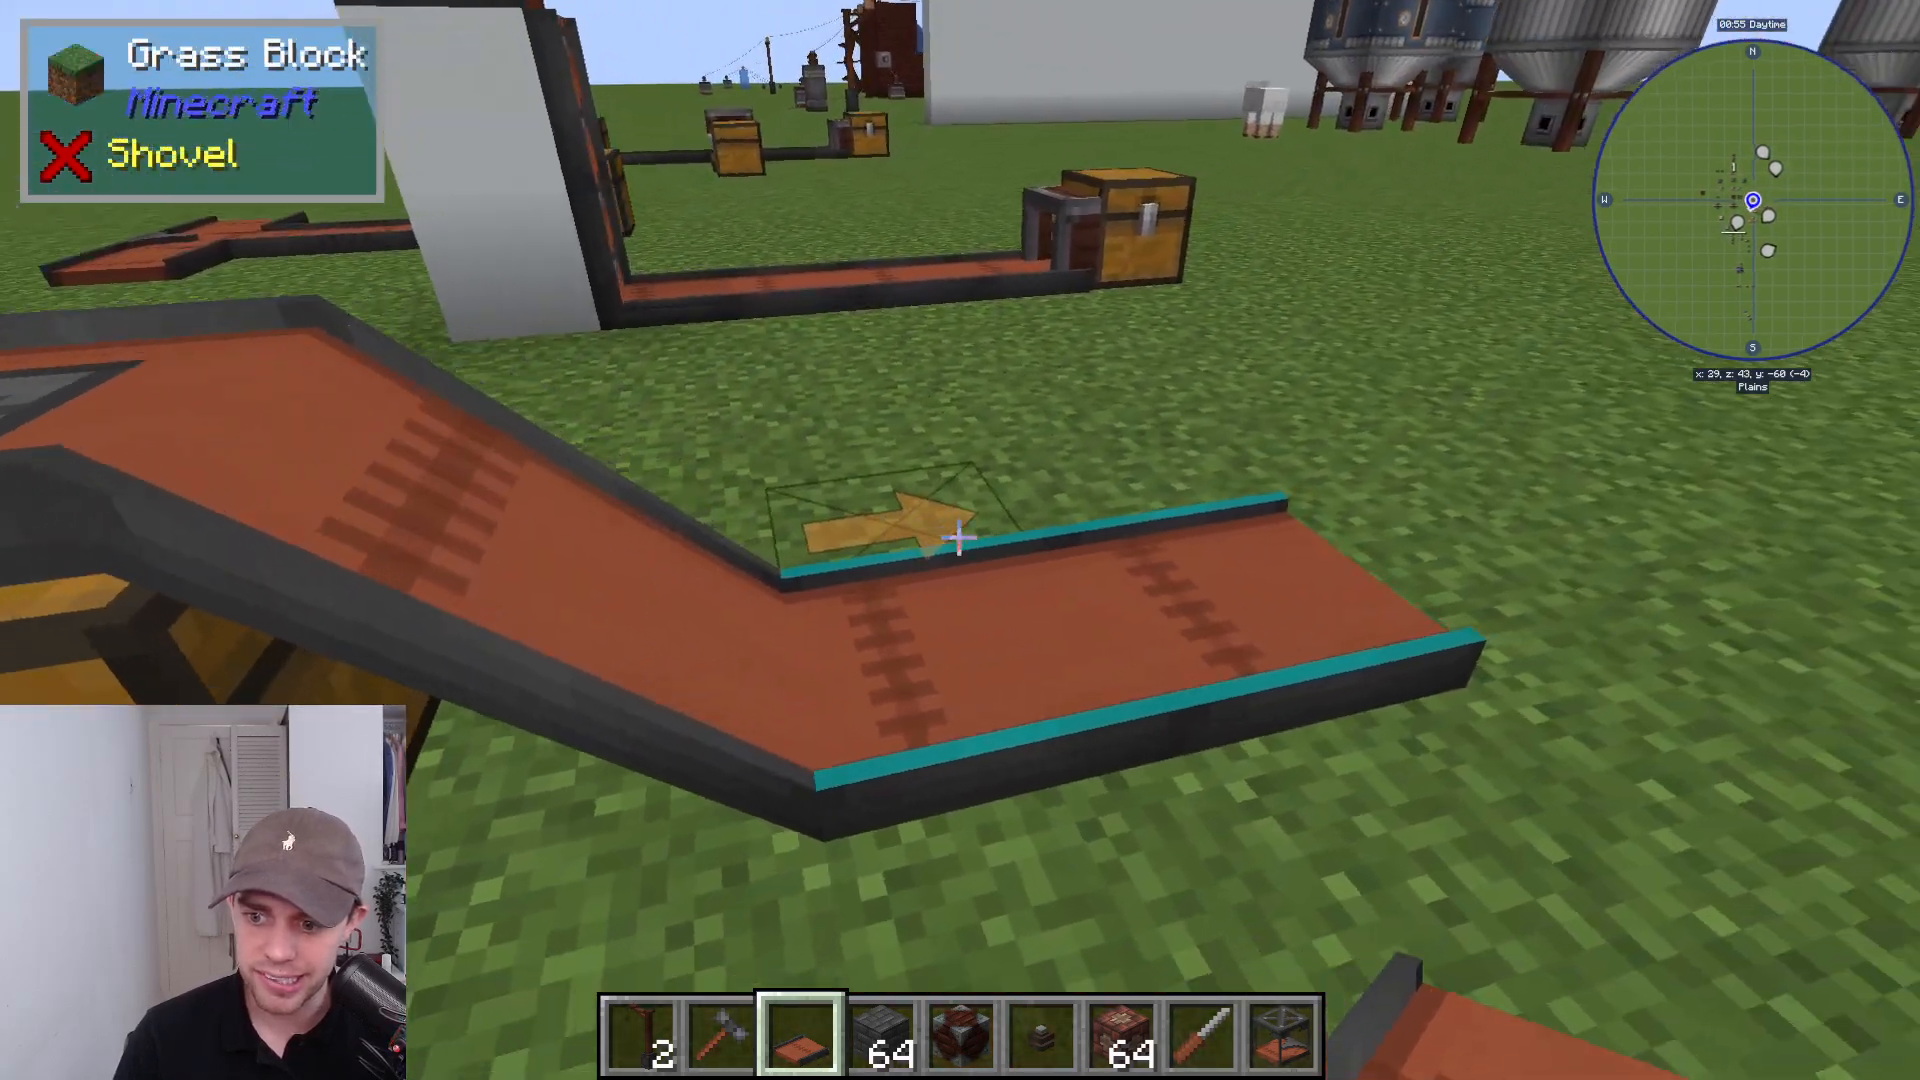
Splitting Conveyor Belt
Automatically distributes items: one goes left, the next goes right, and so on. Perfect for sorting items into multiple destinations.
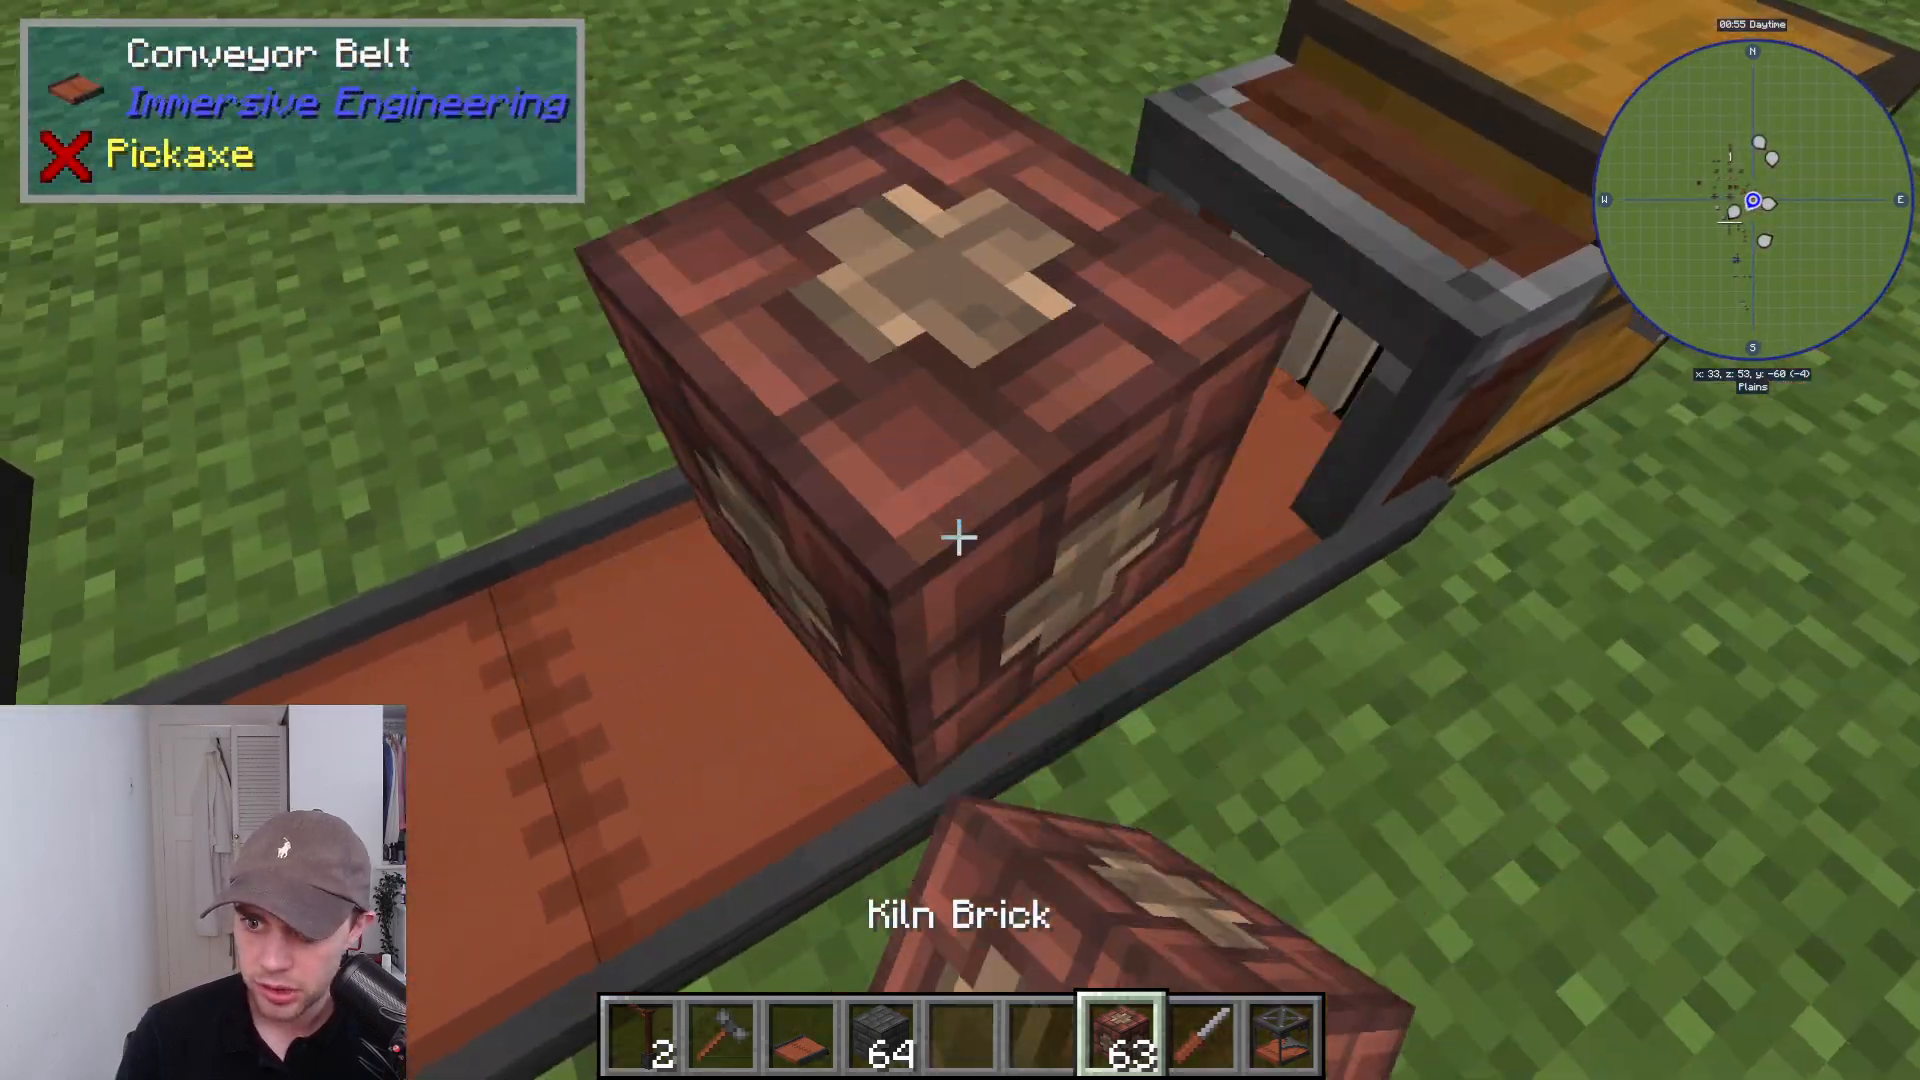
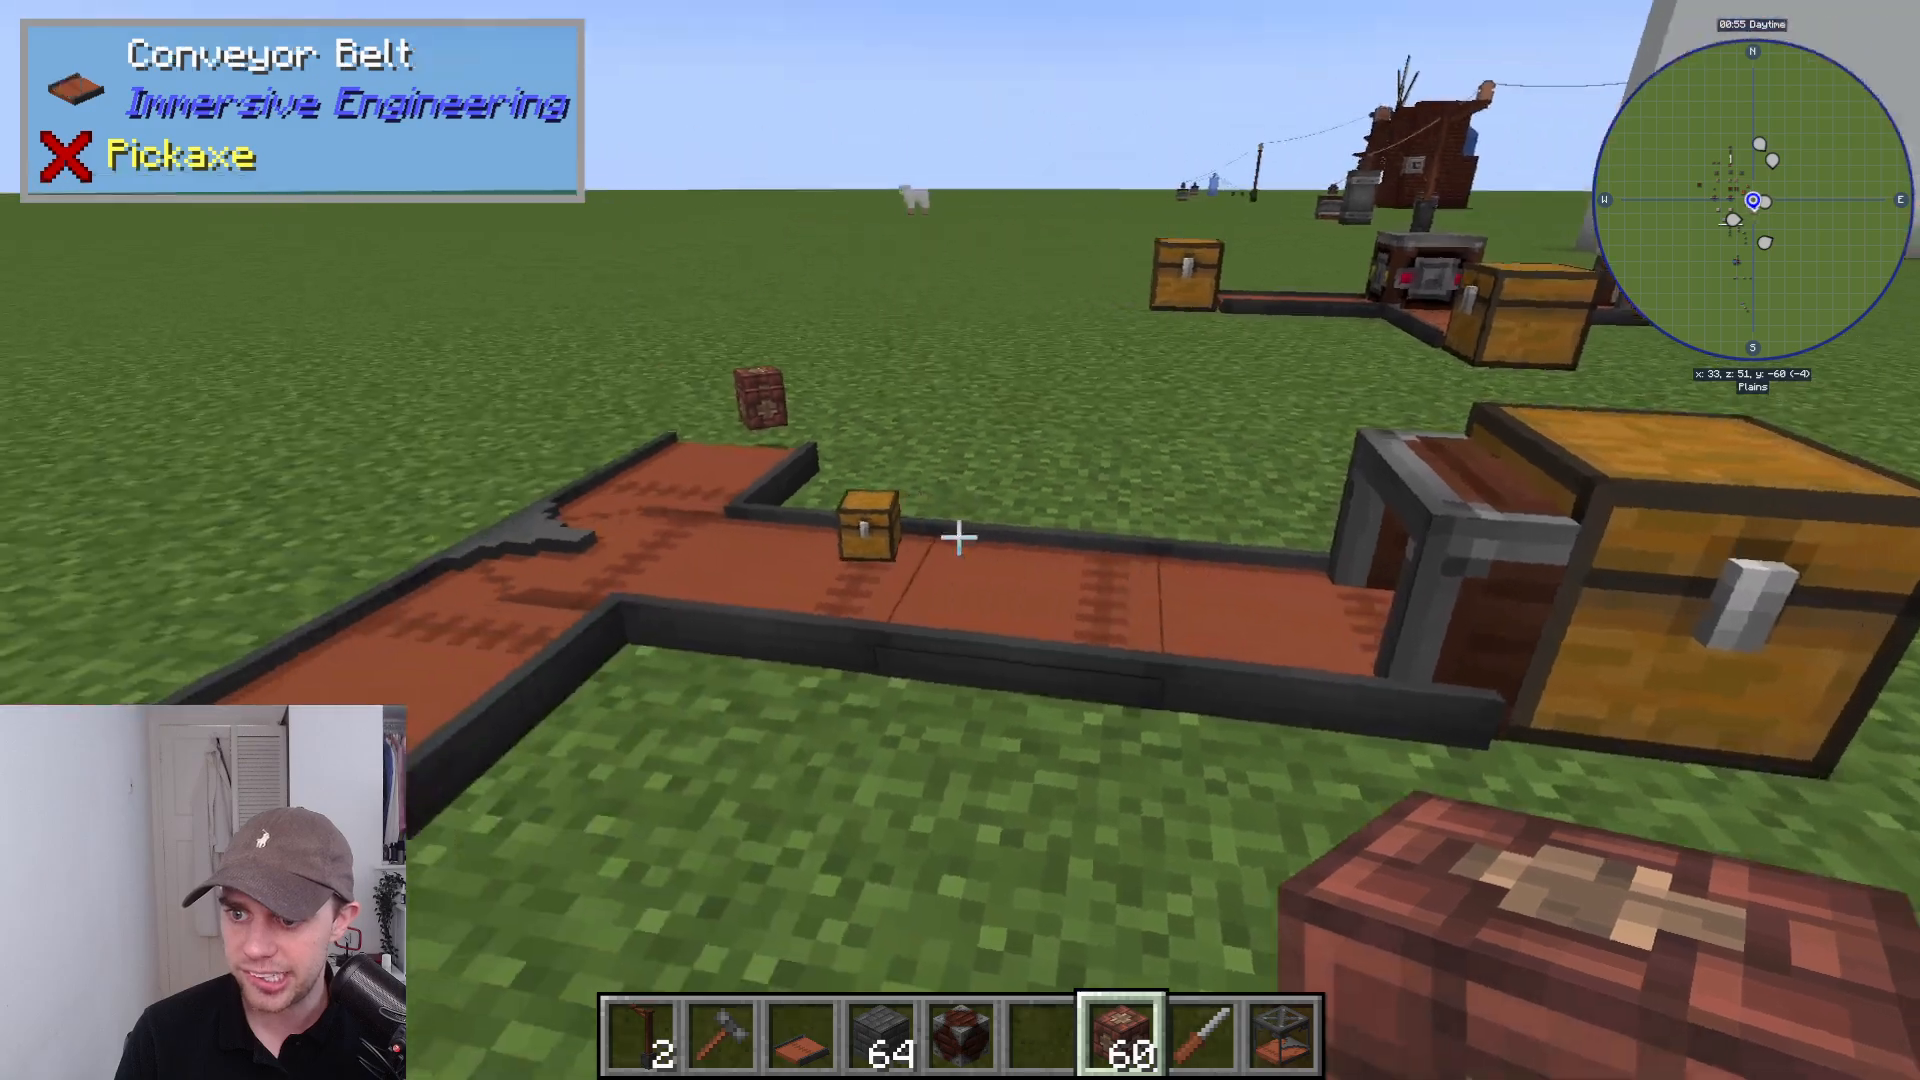
Extracting Conveyor Belt
Automatically extracts items from chests or other containers placed beside it.
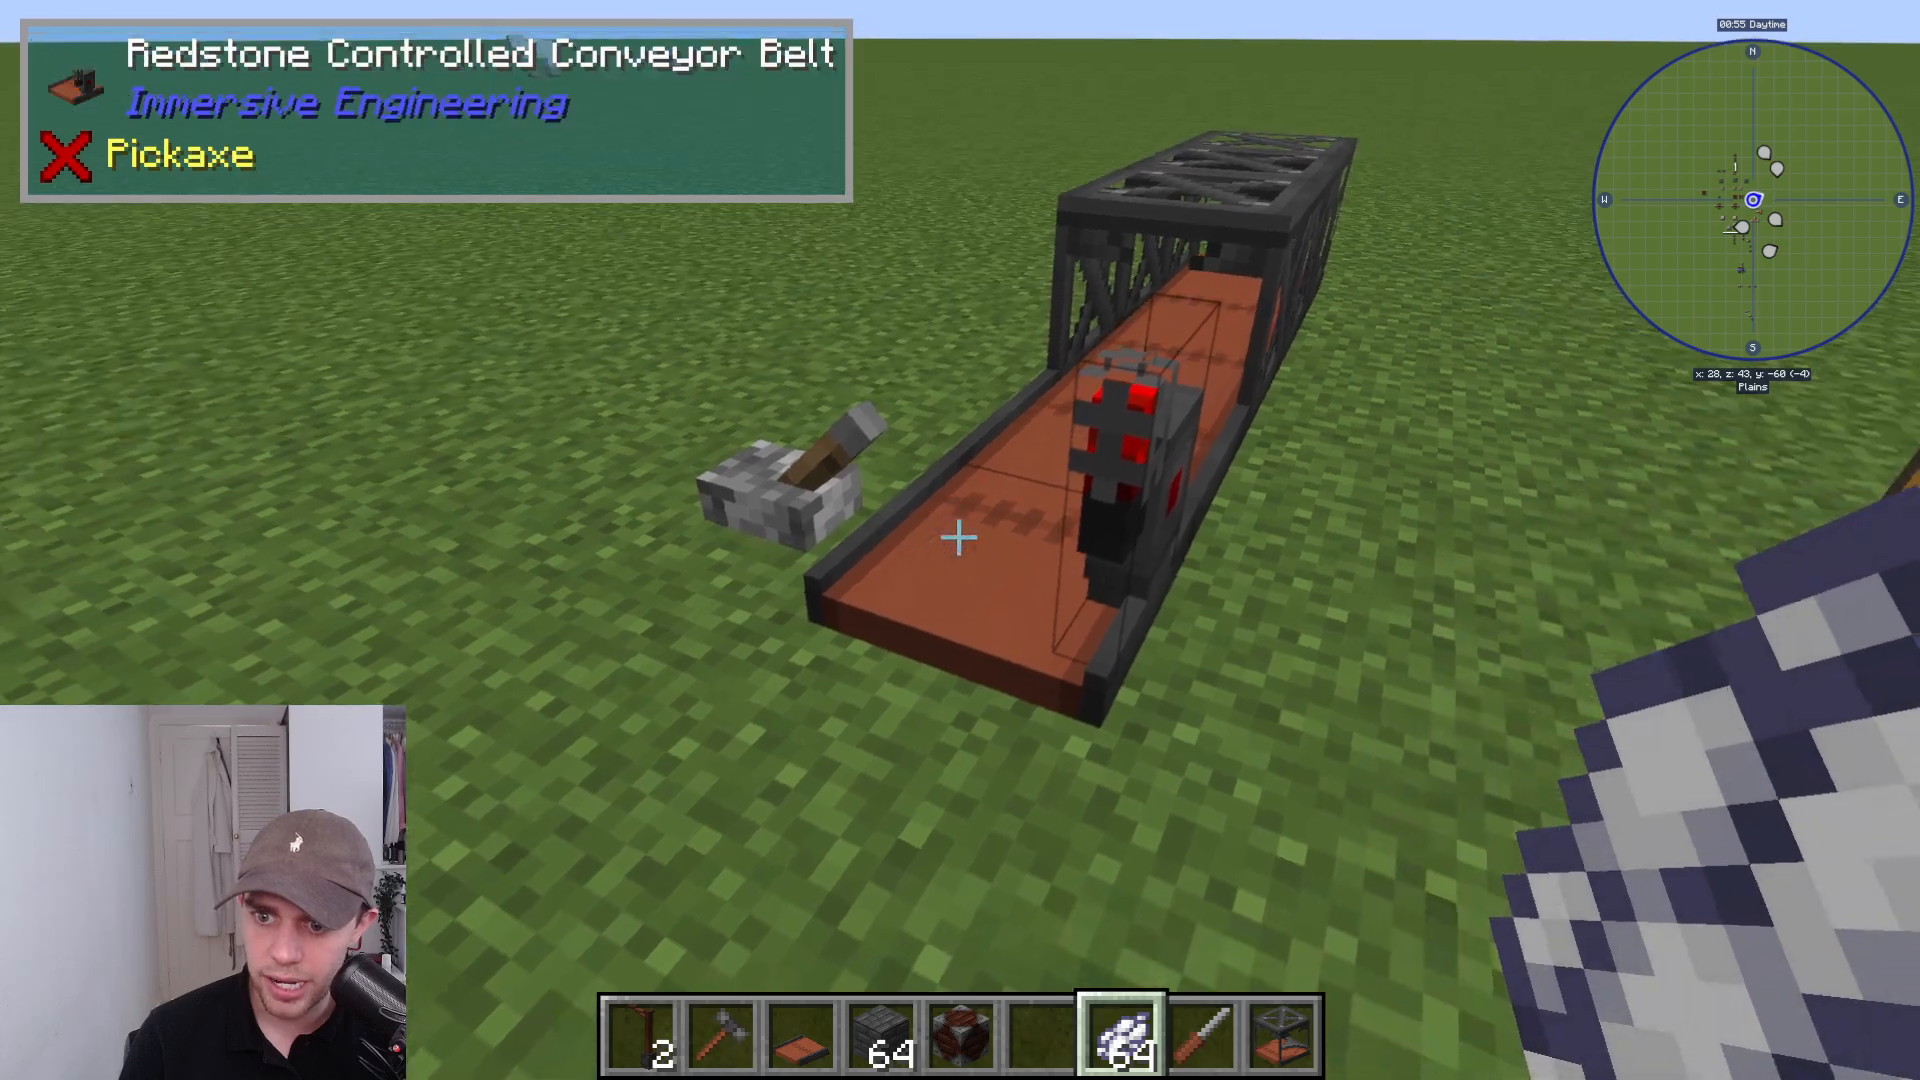
Redstone-Controlled Conveyor Belt
Can be stopped and started using redstone signals, allowing for precise control over production flow.
Customization
All conveyor belts can be customized with dyes to help visualize your production lines. Additionally, covered versions of all conveyor belts are available—these have a roof that prevents items and entities from falling onto them, making navigation easier.
Item Routers and Filtering
The Item Router is a simple but powerful filtering device. Items enter from one side and can be routed to different outputs based on filters you set.
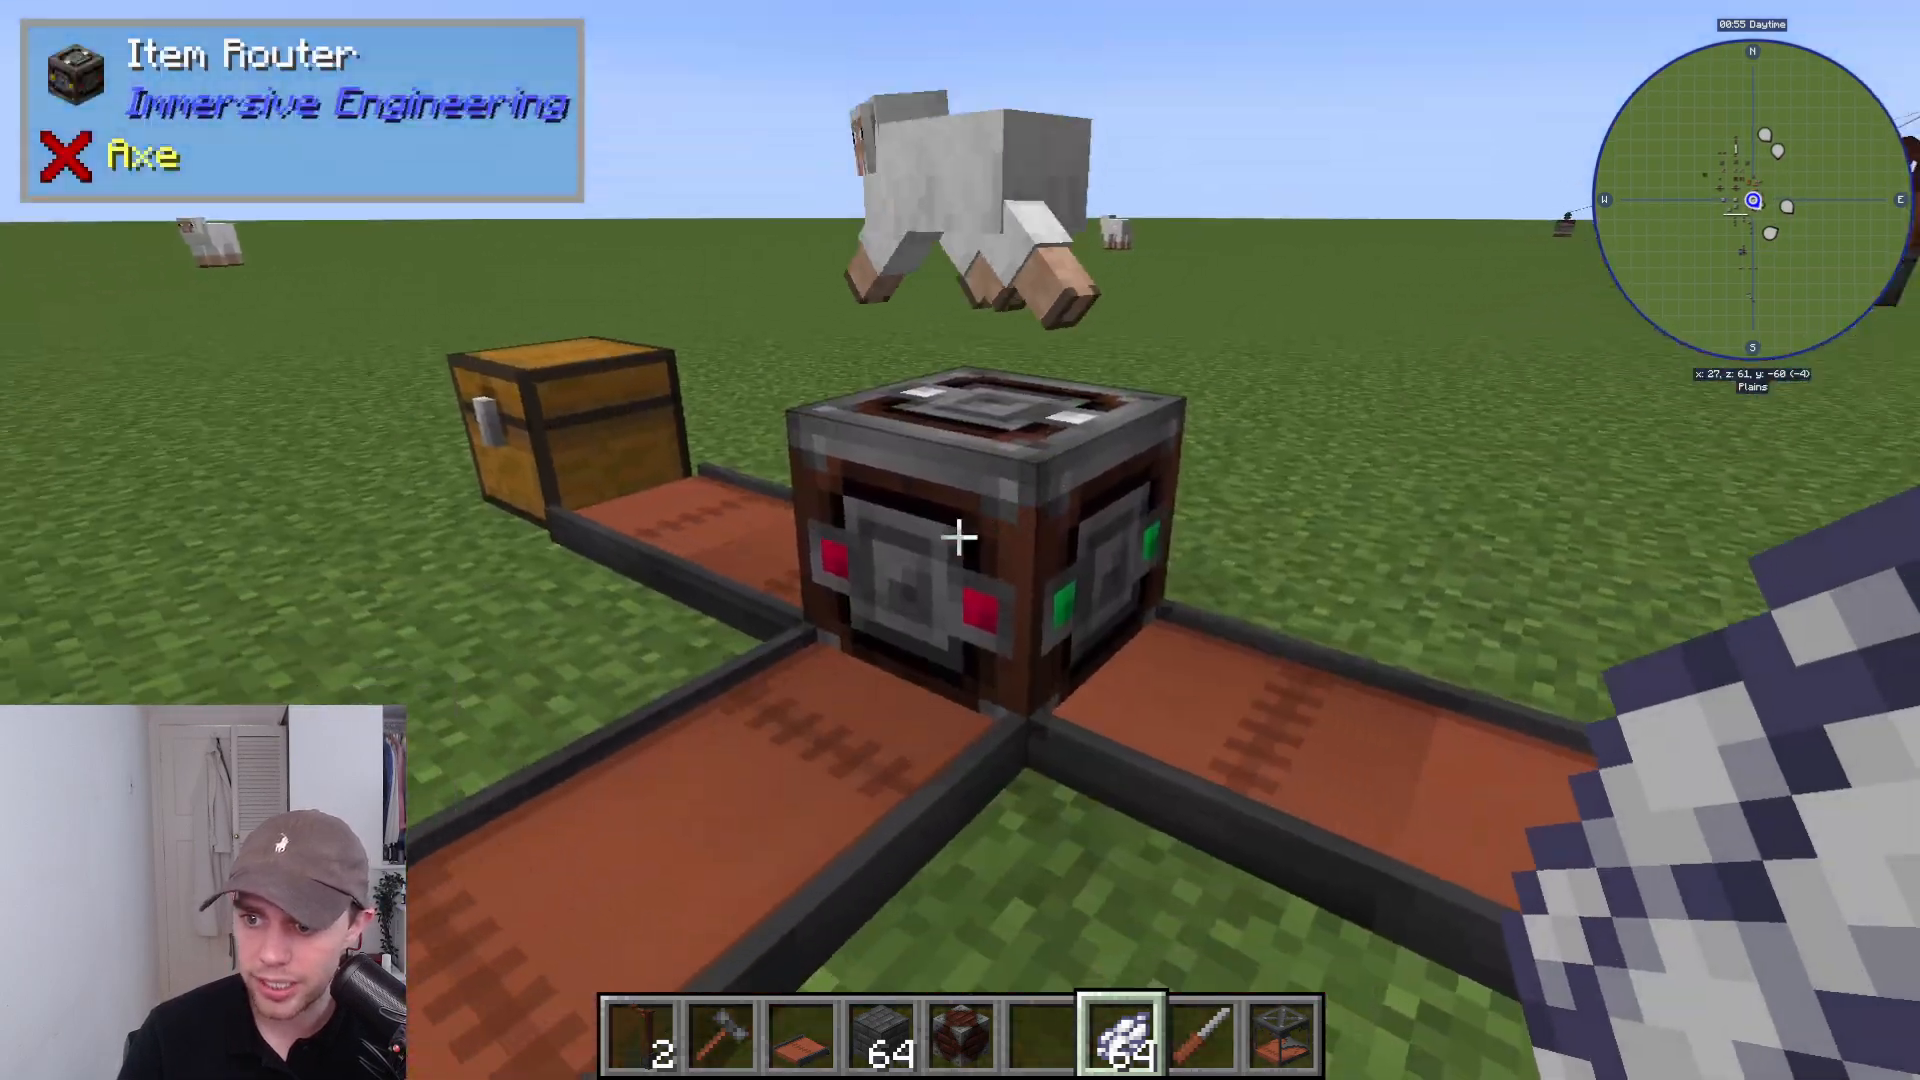
To filter items, use dyes to mark which items go to which direction. For example, if you apply white dye to the north side and then place white dye in the router, it will route all white dye north while other items exit from other sides.
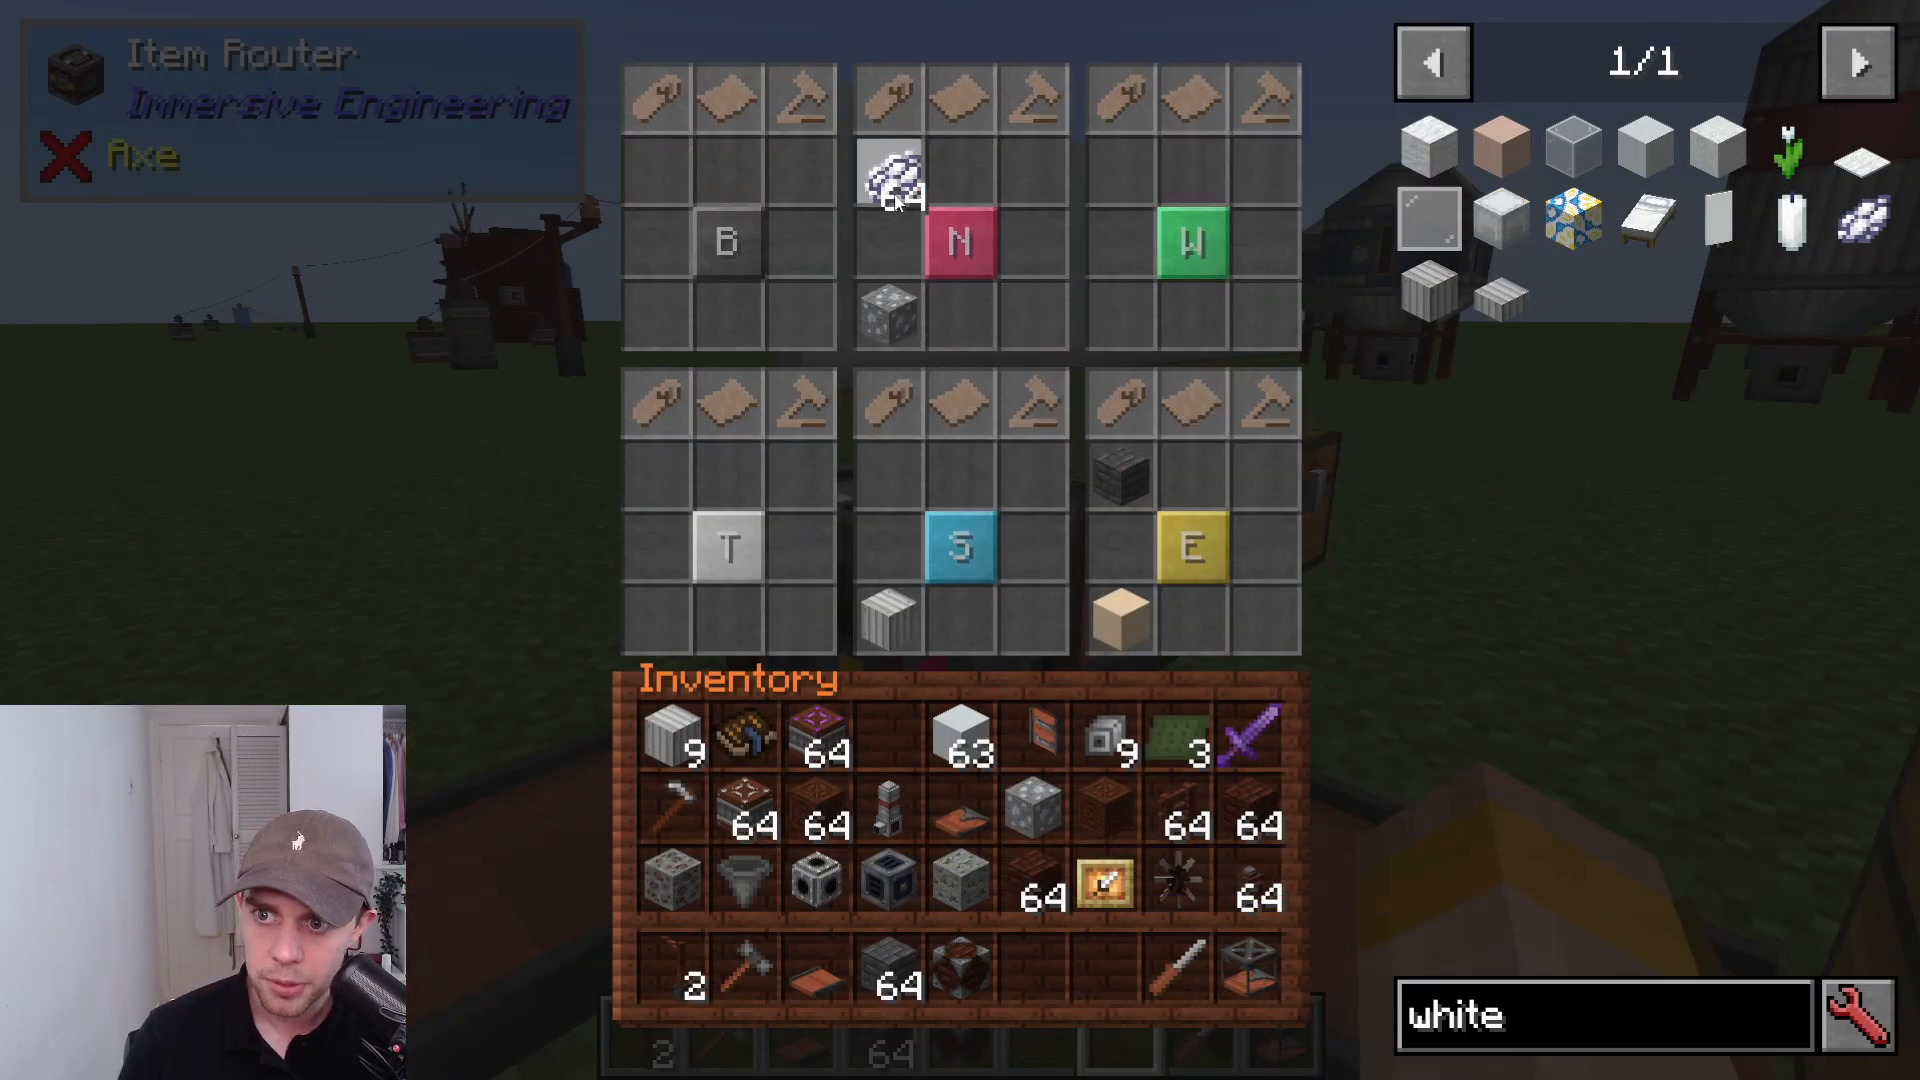
You can filter items by:
Color (using dyes)
NBT data
Damage values
Tags (like “forge:ores” to catch all ore types)
This makes item routers excellent for creating simple, flexible sorting systems.
Storage Solutions: Item Silos and Fluid Tanks
For large-scale storage, Immersive Engineering provides two structures: Item Silos and Fluid Tanks.
Item Silos
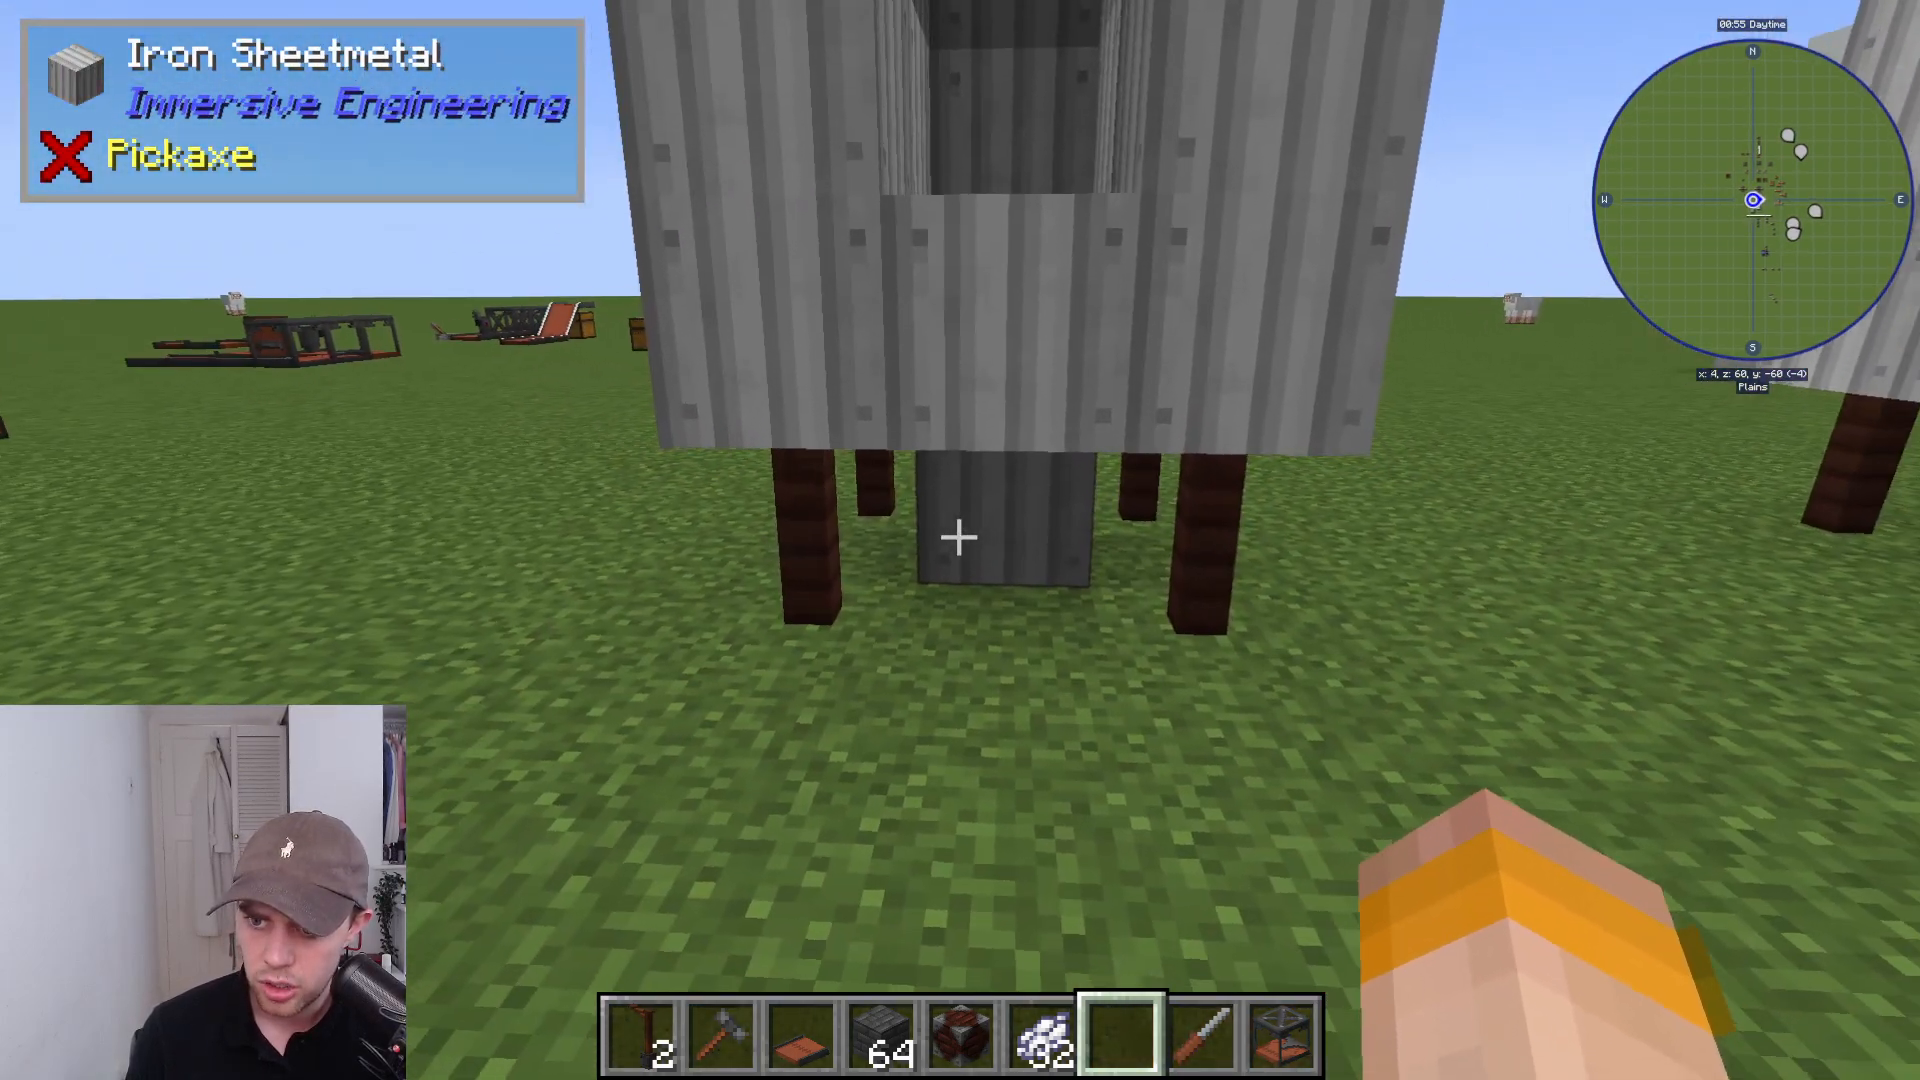
Item silos can store vast quantities of a single item type—equivalent to roughly 64 chests. Items input from the top and output from the bottom.
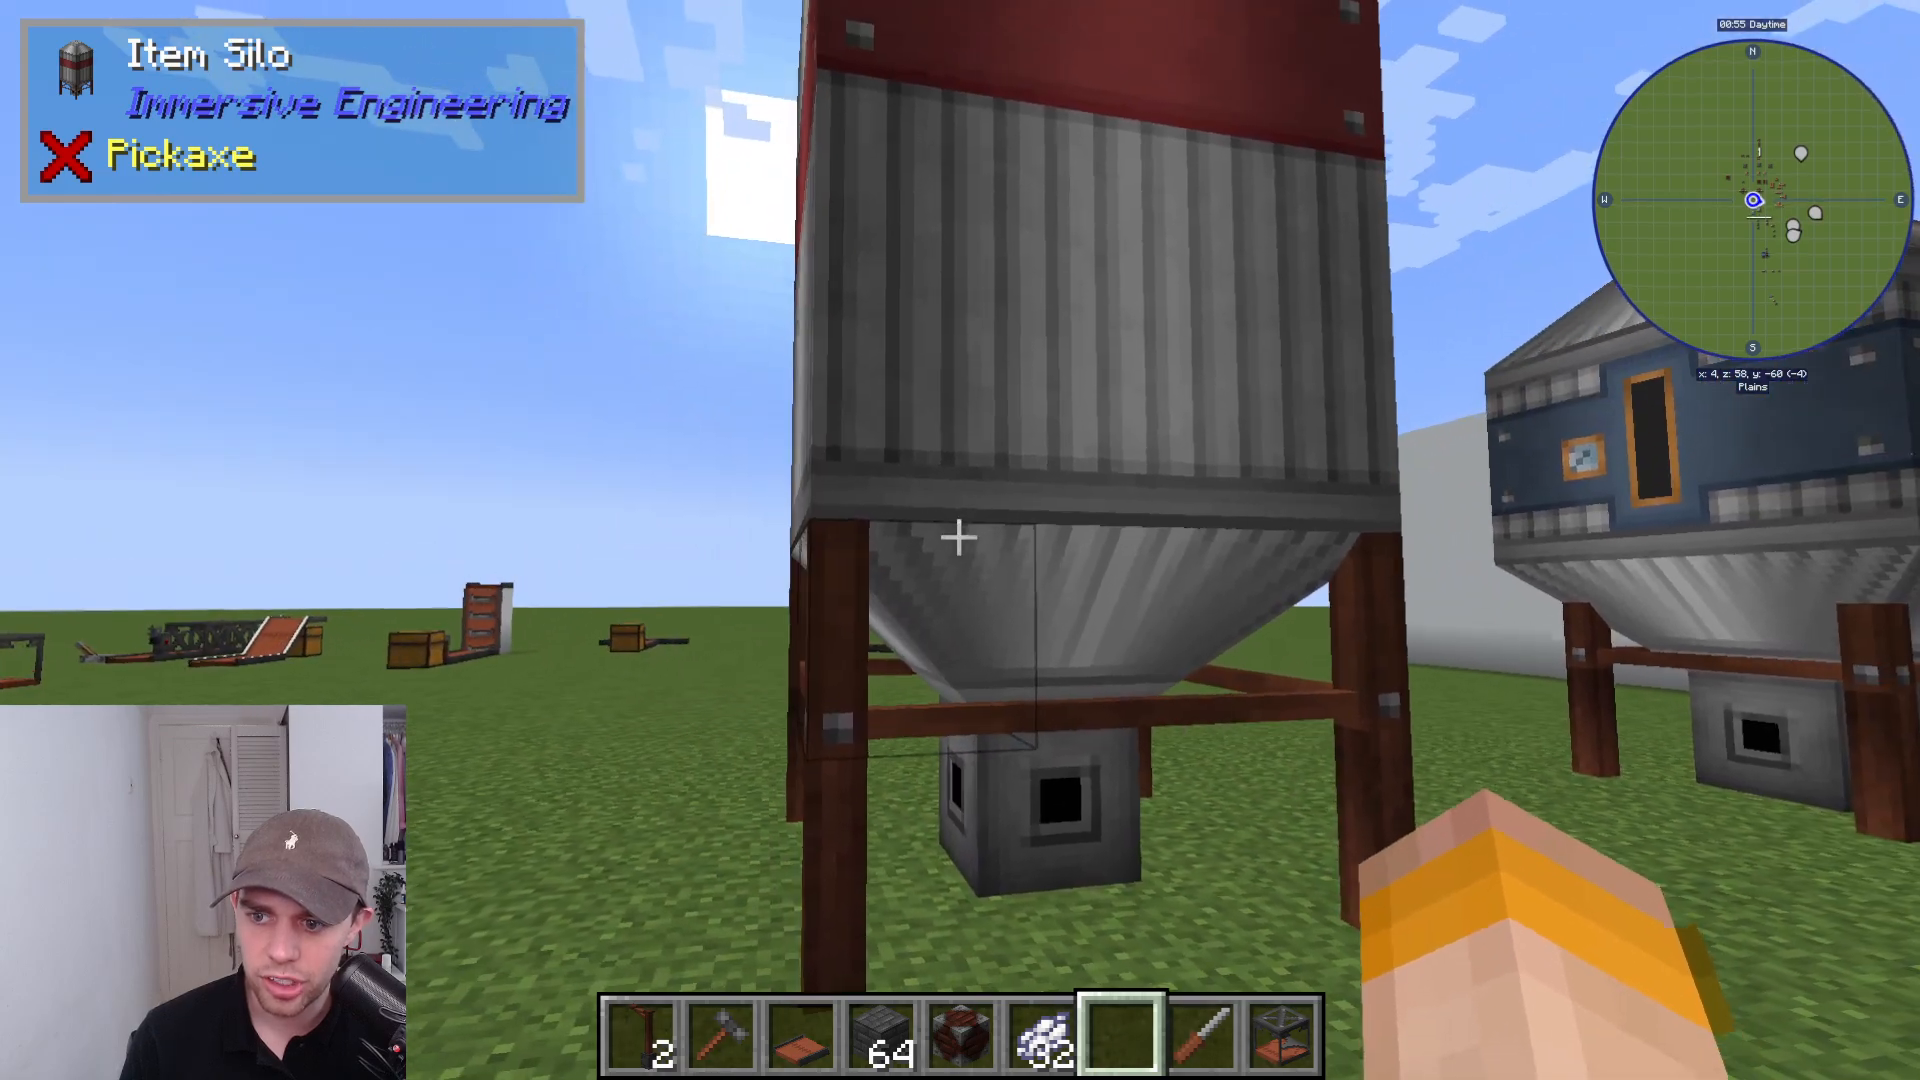
To build an item silo, arrange six blocks in a square pattern, leaving the interior hollow (except for ground level). The exact pattern is:
One block on the bottom (ground level)
Hollow interior
Roof block
Fluid Tanks
Fluid tanks store liquids and are made from treated wood fences. Build them using:
Four treated wood fences arranged in a square
One block on the bottom
A completely hollow interior
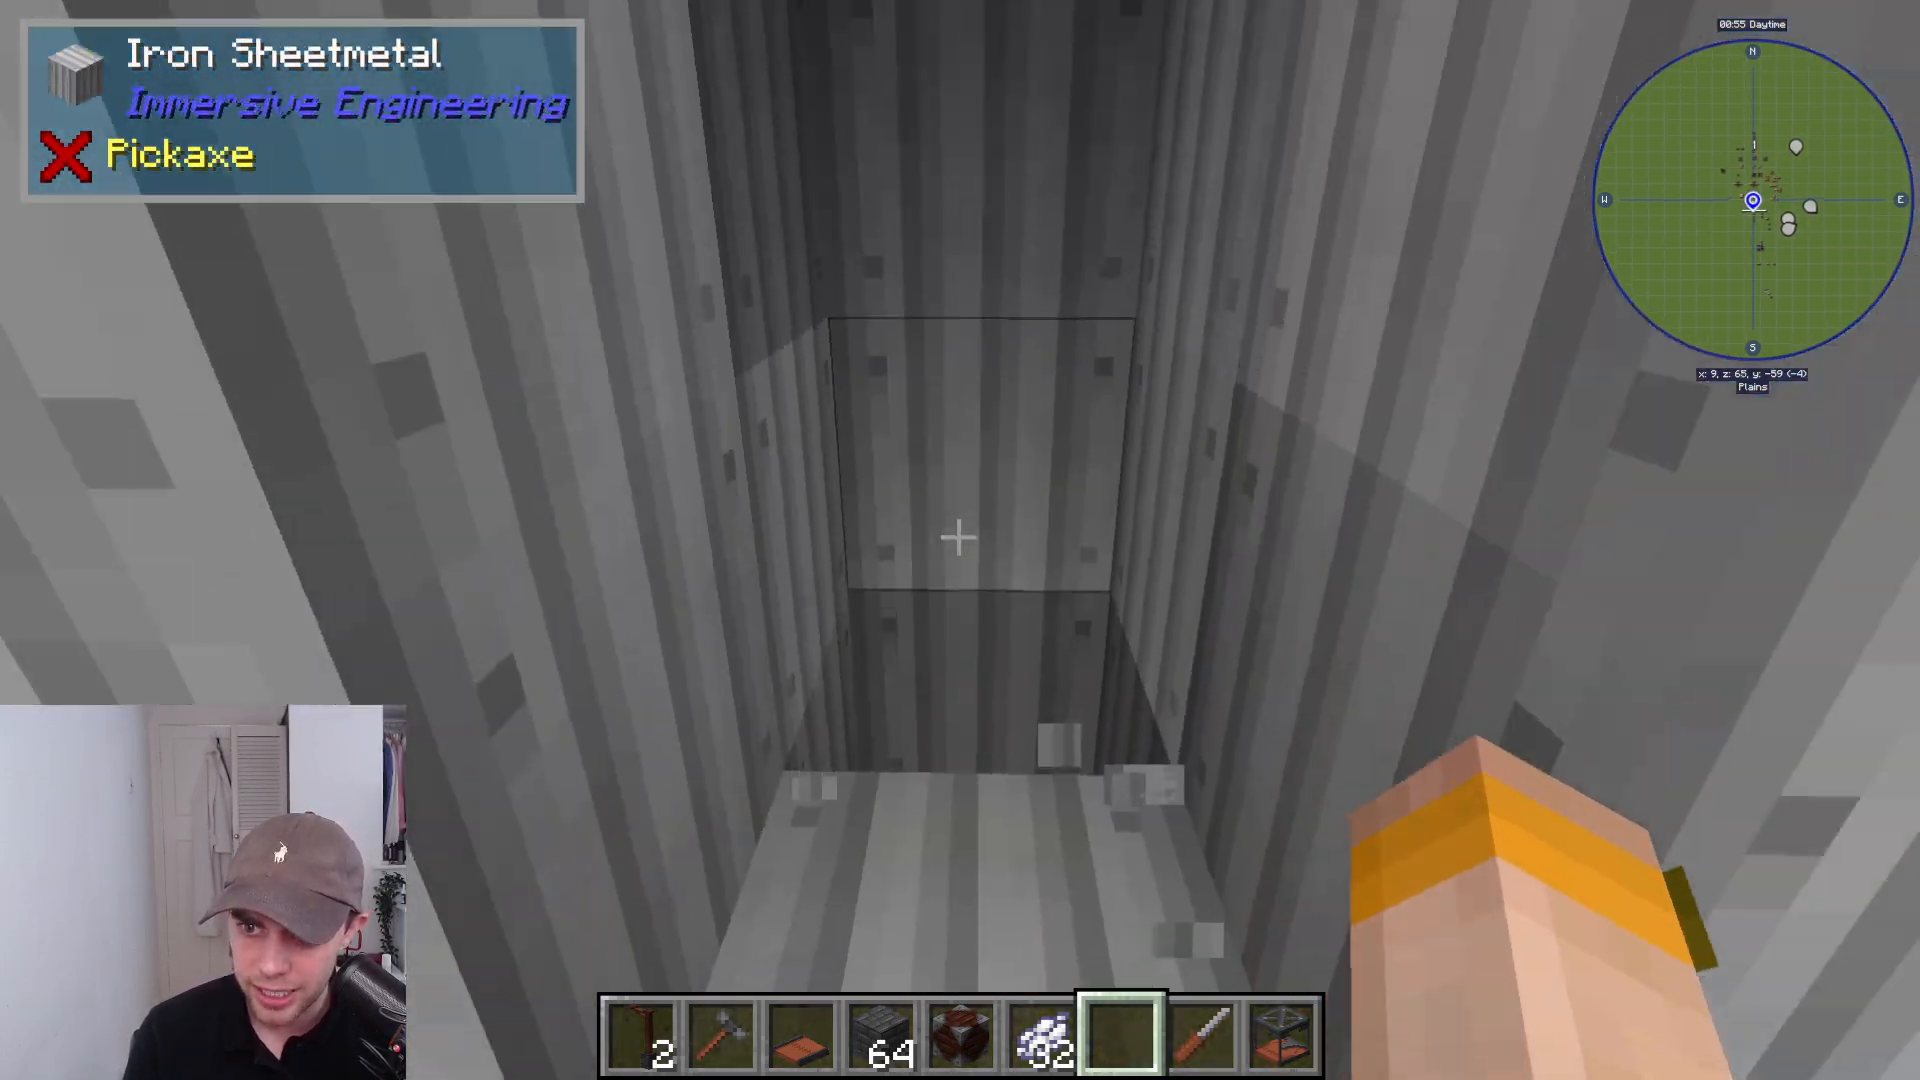
Fluids input from the top and output from the bottom.
The Engineer’s Workbench and Blueprints
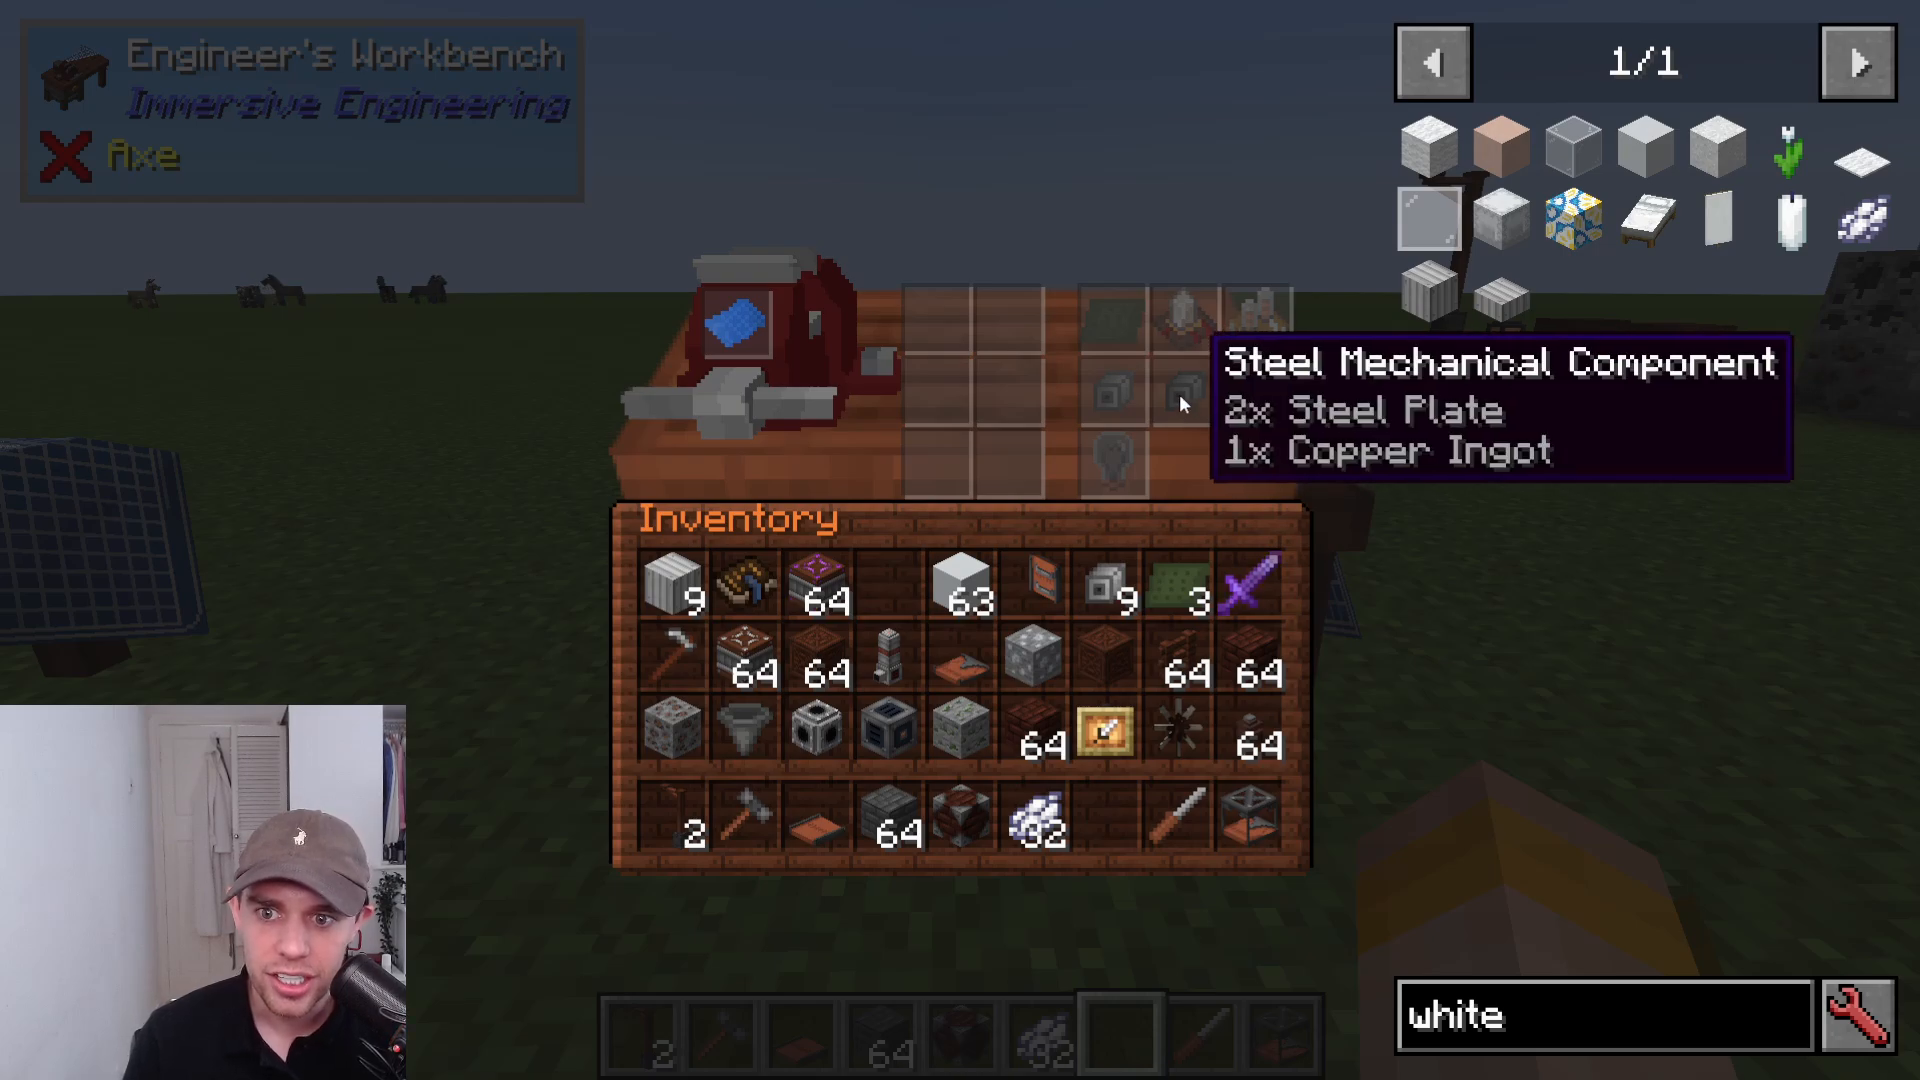
The Engineer’s Workbench is crucial for crafting many advanced Immersive Engineering components. It uses special blueprints that define which recipes are available.
Blueprint Types
Different blueprints unlock different recipes. For example:
Components Blueprint (made with iron, aluminum, copper, blue diorite, and paper)
Common Projectiles Blueprint (made with gunpowder, an empty casing, blue diorite, and paper)
Some blueprints, like the Arc Furnace Electrodes blueprint, cannot be crafted and can only be found in dungeon chests or obtained through trading.
Using Blueprints
Insert a blueprint into the left slot of the workbench. The recipes tied to that blueprint will appear on the right. Each recipe shows required ingredients. Place the ingredients into the workbench slots, and when you have all materials, the recipe will unlock for crafting.
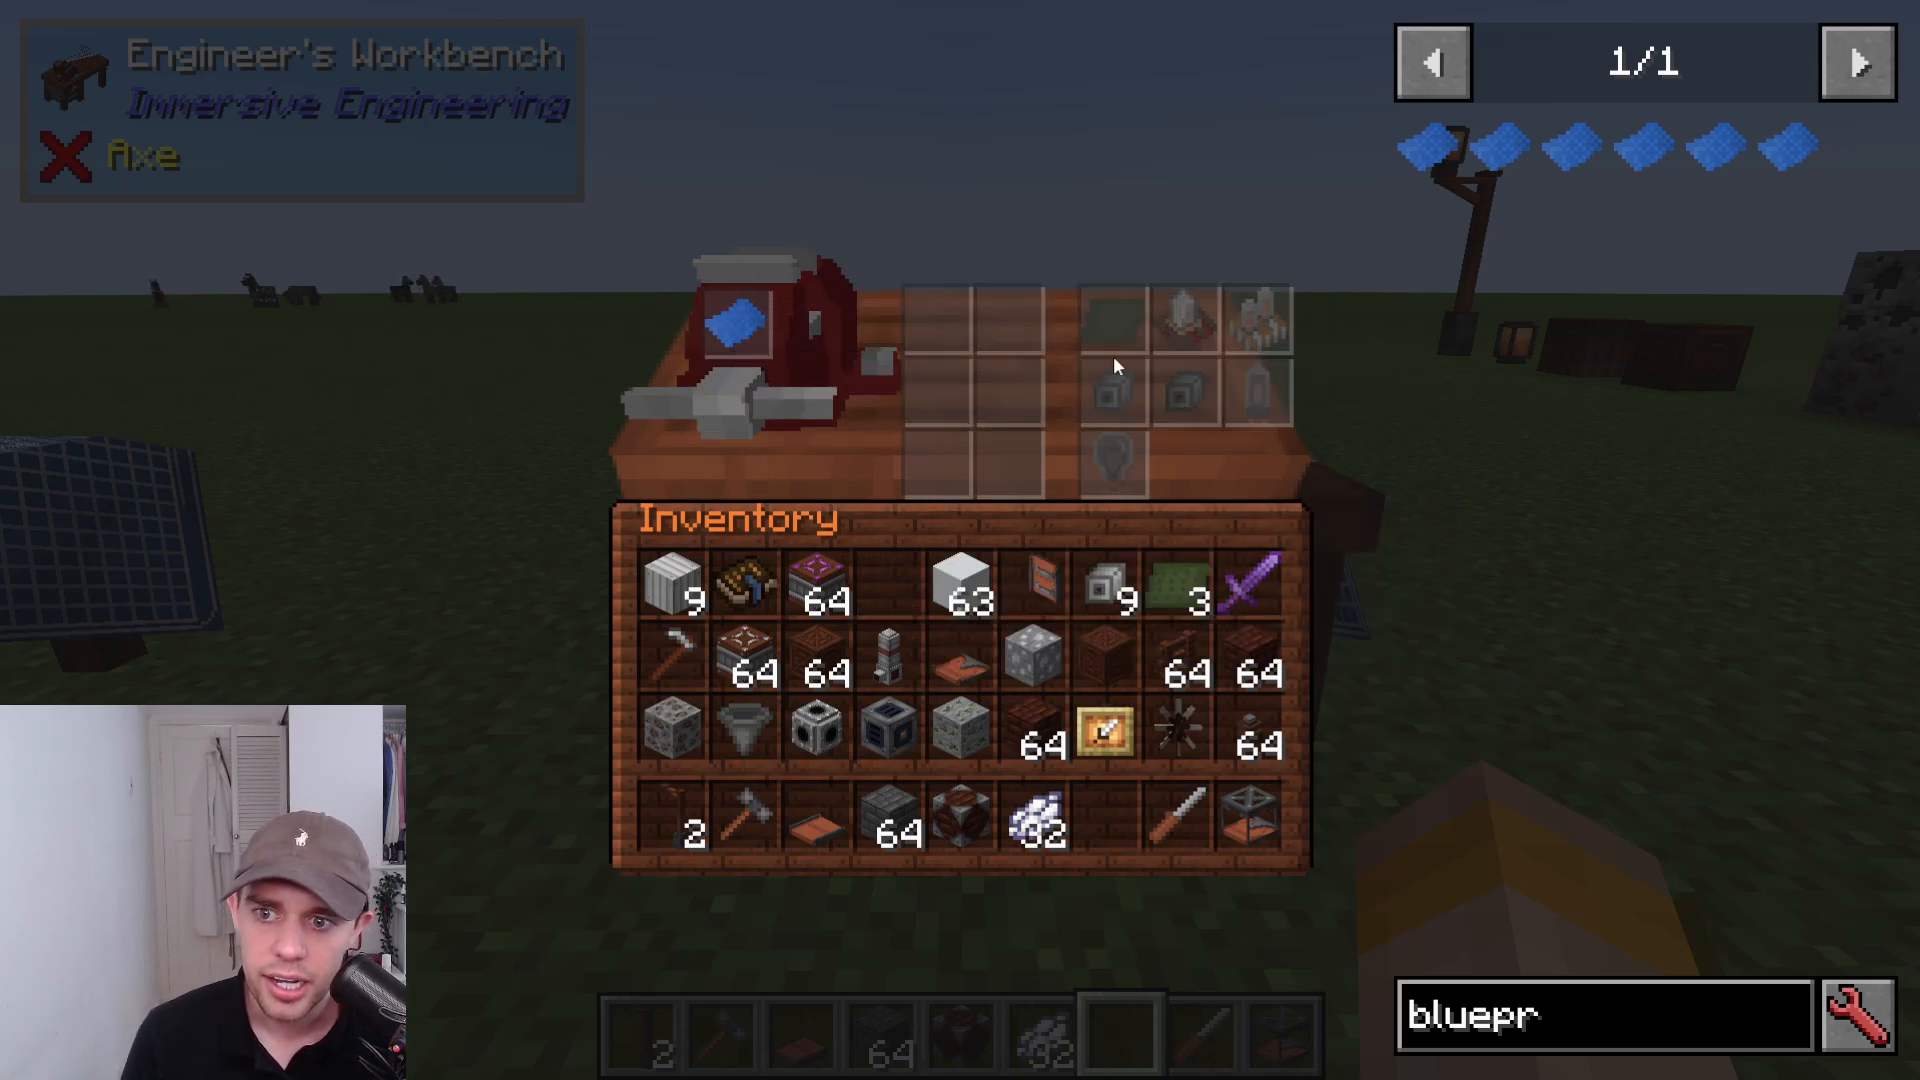
For example, the Iron Mechanical Components recipe requires iron plates and copper ingots. Once you provide both, you can pull out mechanical components. The workbench has six slots, so you can prepare multiple recipes at once by gathering various component materials.
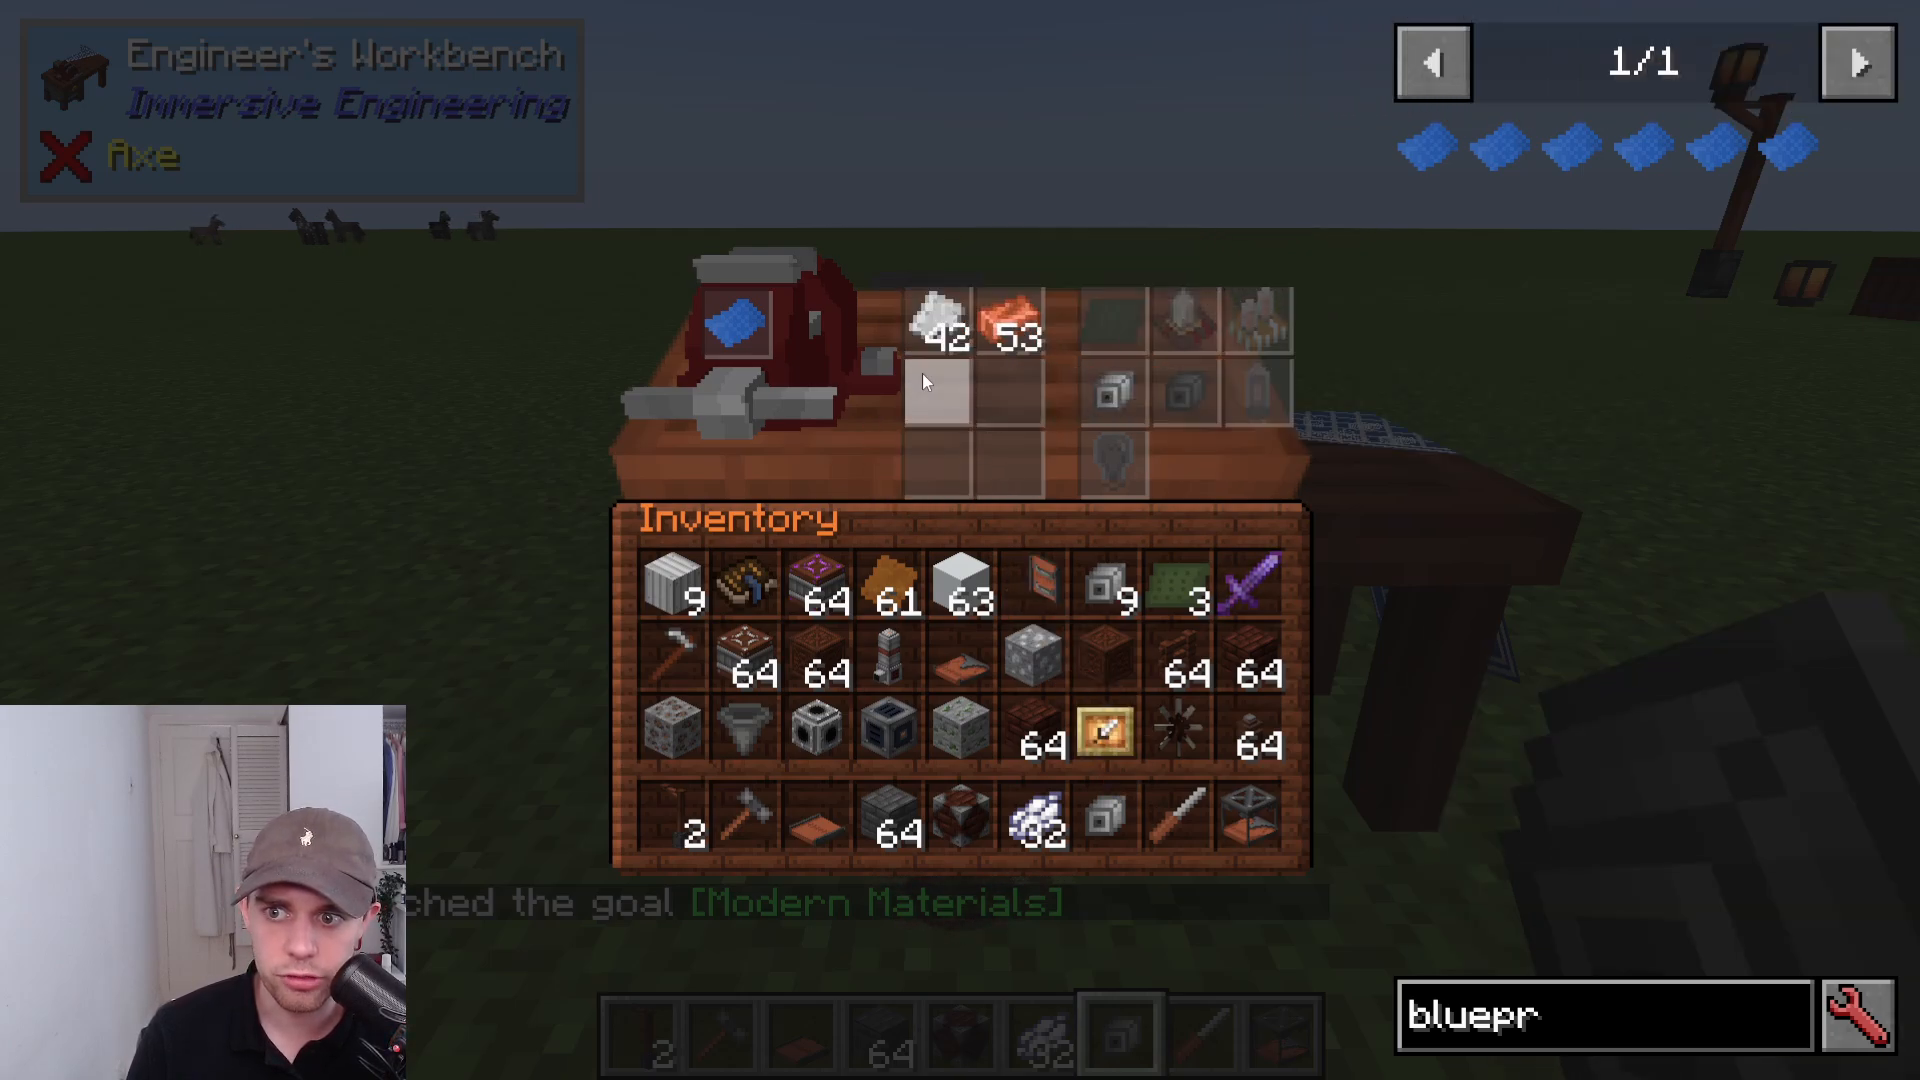
Hovering over locked recipes shows what materials they need. For instance, vacuum tubes require glass, nickel plates, copper wires, and redstone dust.
Decorative and Utility Blocks
Beyond machines and conveyors, Immersive Engineering adds several decorative and utility blocks:
Lanterns
Made from glowstone and other materials, these provide attractive lighting.
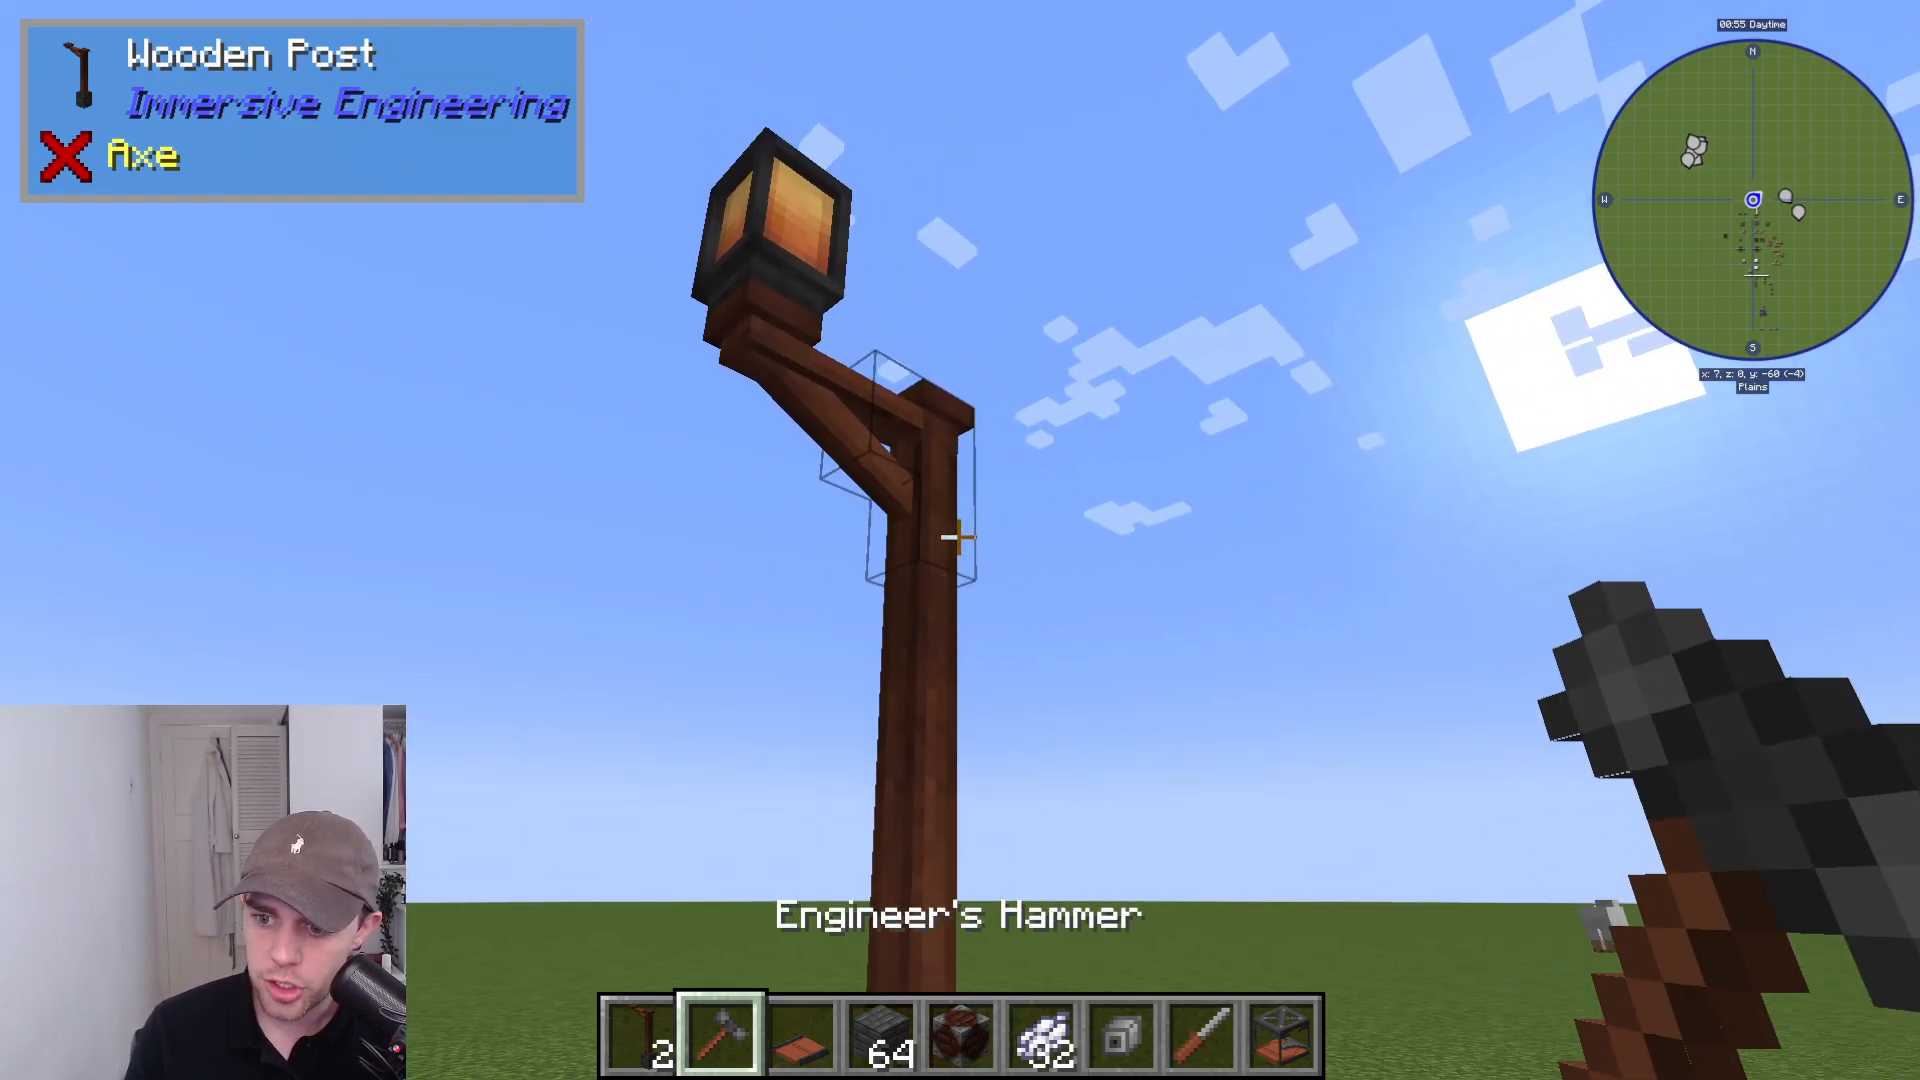
Posts
Use your Engineer’s Hammer to right-click these blocks and choose which side the post extends from. You can then place lanterns or wires on top of posts to create attractive support structures and cable routes.
Summary and Next Steps
You now have the foundational knowledge to get started with Immersive Engineering. We’ve covered:
Finding and identifying mod ores
Crafting basic tools (hammer and wire cutters)
Processing ores into grit and alloys
Making treated wood via the coke oven
Building and using the crude and improved blast furnaces for steel production
Creating complete conveyor belt networks
Filtering items with routers
Building large-scale storage with silos and tanks
Using the engineer’s workbench with blueprints
Decorating and organizing your base
This guide covers the essentials, but Immersive Engineering has much more to offer. For deeper knowledge, check out the intermediate guide, which covers power generation, basic wiring, accumulators, the water wheel, the windmill, renewable power sources like the lightning rod, biodiesel production, advanced tools, and simple machines like the metal press and crusher. An expert guide will follow, covering the most complex systems.
— Want to Support? —
If you would like to help us continue making these guides – please consider joining our patreon here – https://www.patreon.com/c/JaviHeals
Alternatively – we host a group of MC Servers you can join here – https://discord.gg/zD7Gjt6MHF



