Complete Items Tutorial – Embers Rekindled
Embers Rekindled Items Tutorial: Bins, Pipes, Extractors & Vacuums Explained
If you’ve already learned how to handle fluids in Embers Rekindled, you’ll be pleased to know that manipulating items works in a very similar way. In this guide, we’ll walk you through the core item transport components — including the Bin, Item Extractor, Item Pipes, Item Dropper, Item Dial, and Item Vacuum — so you can start automating item movement in your world right away.
Getting Started: The Bin
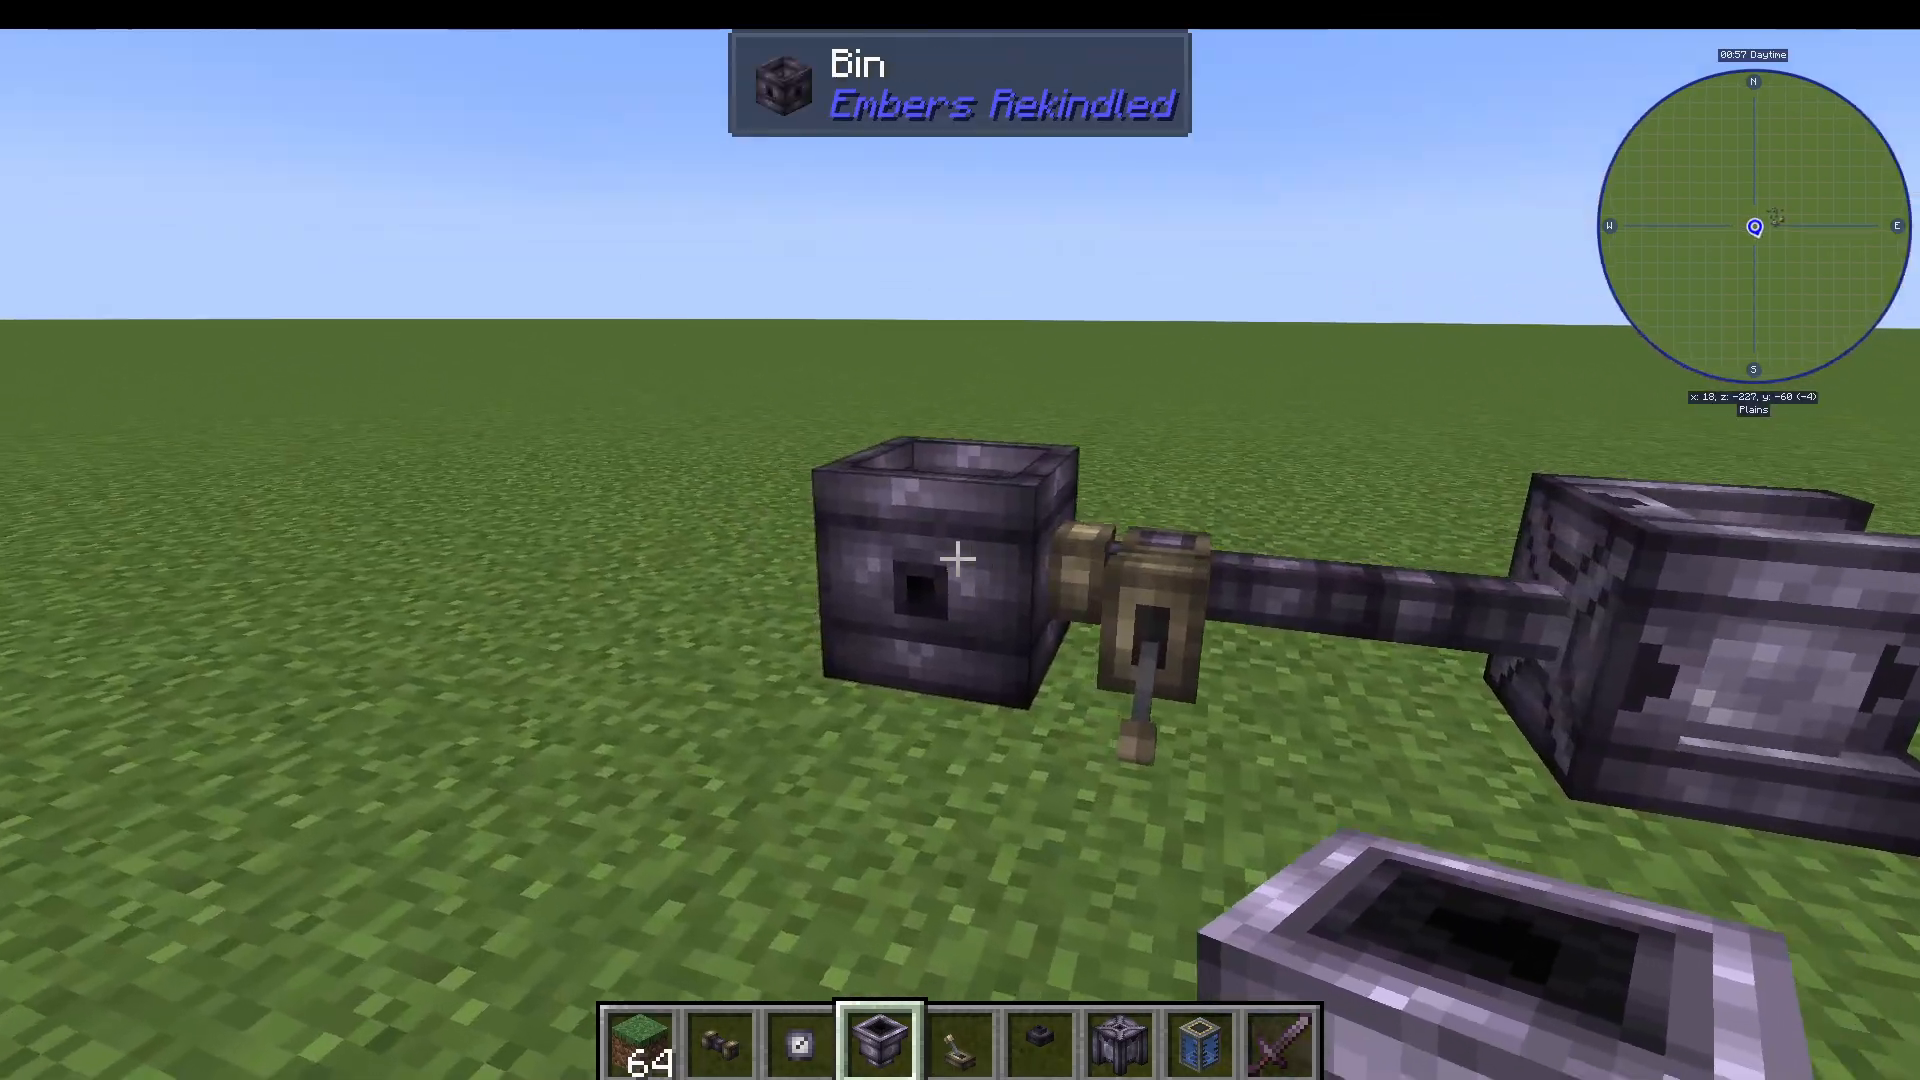
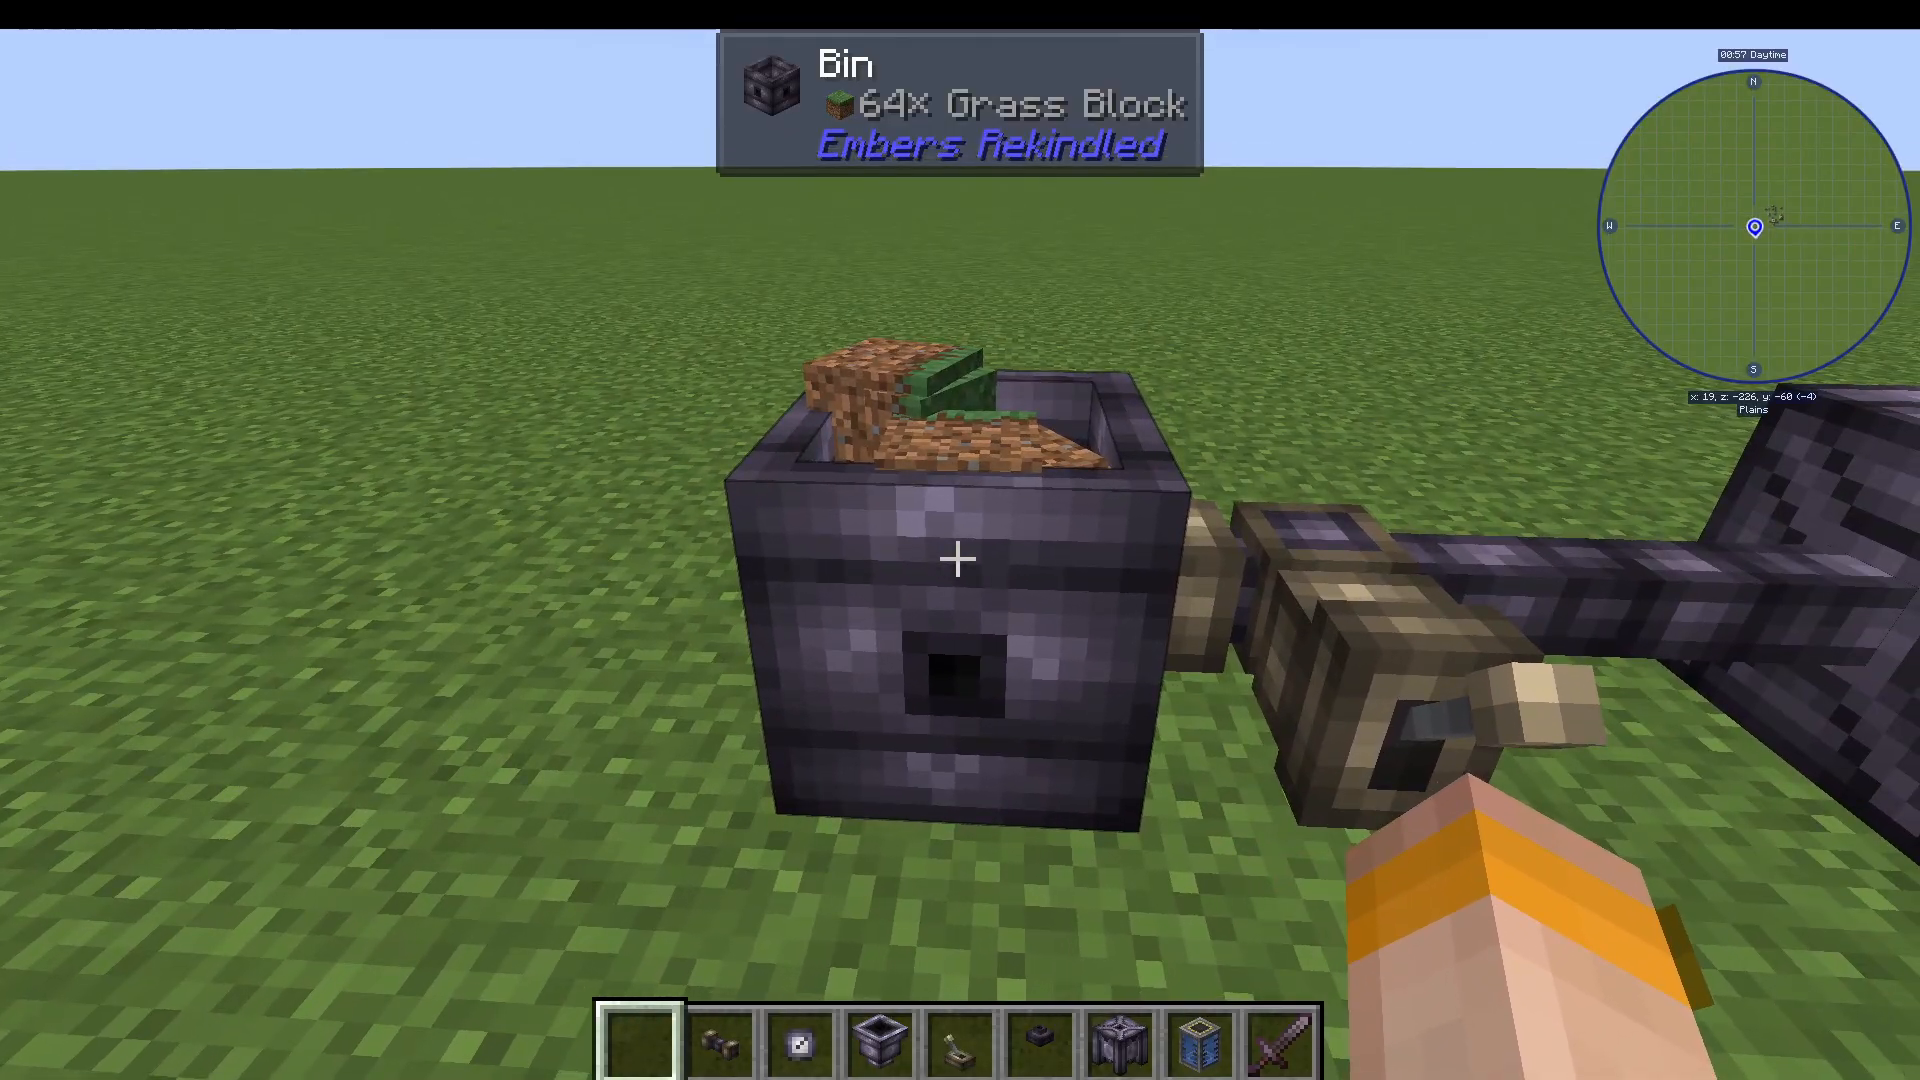
The first component you need to understand is the Bin. The Bin acts as a storage container for items. To load it up, simply right-click it with a stack of items — for example, 64 Grass Blocks. This gives you a stored supply of items to work with and pipe around your setup.
Extracting Items with the Item Extractor
Once your Bin is loaded, attach an Item Extractor to it and connect it to your network using Item Pipes. Add a Lever to the Item Extractor to give it a redstone signal. When the Lever is switched on, the Item Extractor will begin pulling items out of the Bin and sending them through the pipes.
Filtering Items with Item Pipes
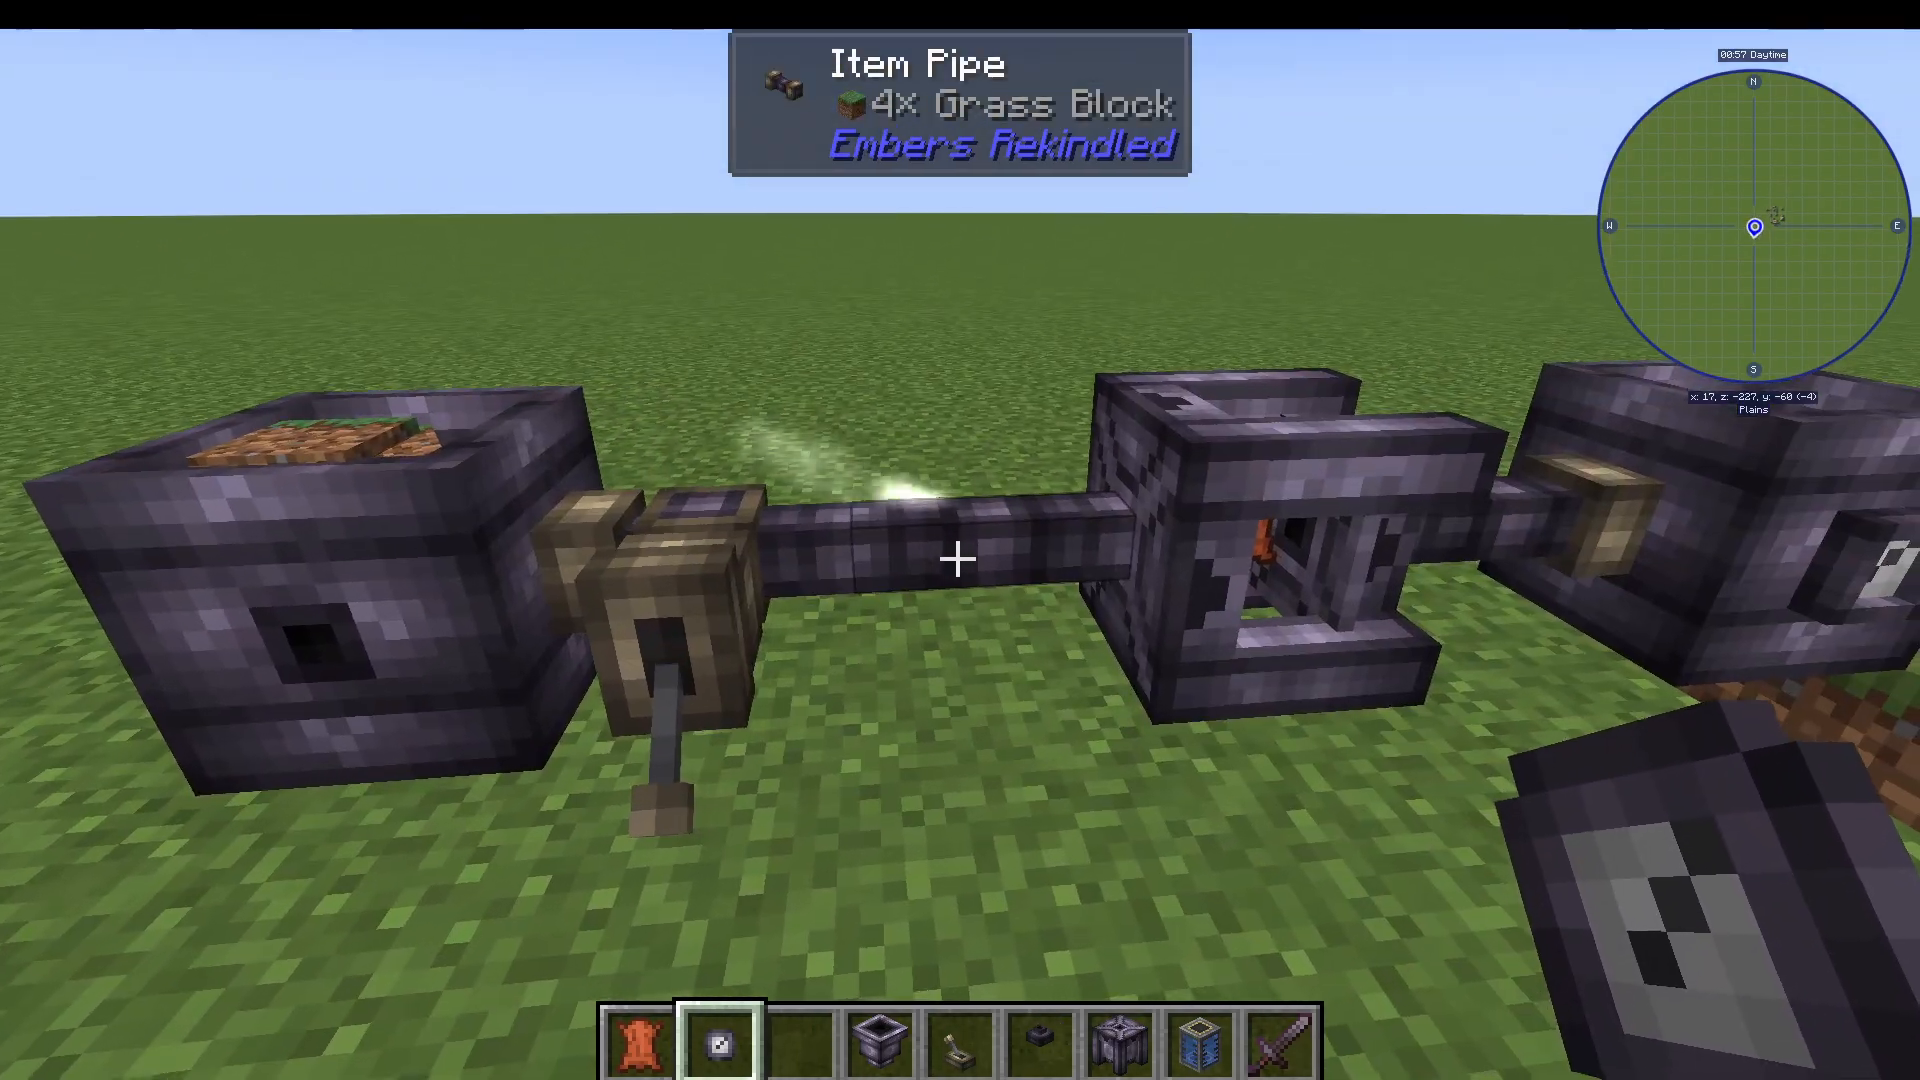
Item Pipes support item filtering, which lets you control exactly what travels through them. To set a filter, right-click the pipe with the item you want it to accept. For example, right-clicking the pipe with a Lever means that pipe will only accept Levers — everything else will be blocked. This is useful when you need to route specific items to specific destinations.
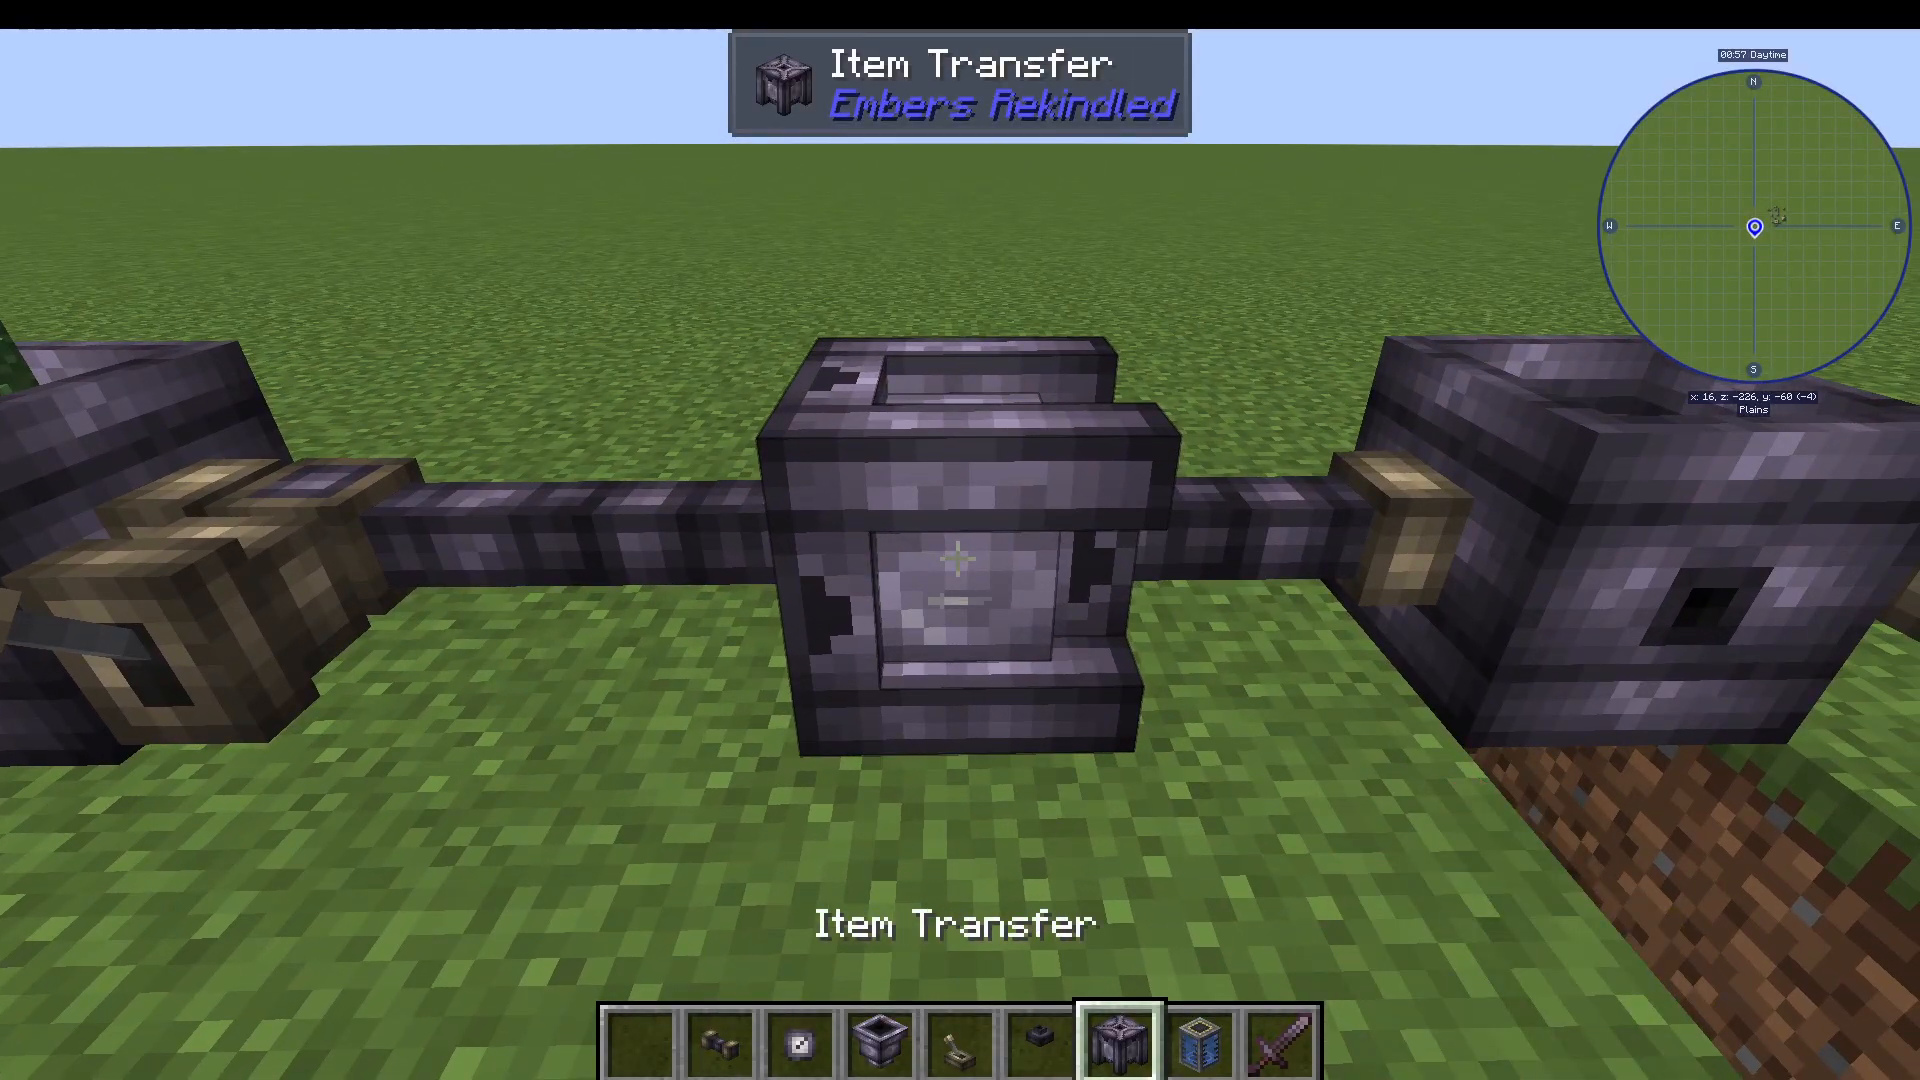
To remove a filter from a pipe, simply right-click it and clear the filter. Once cleared, all items will be free to flow through and will travel on to the next available Bin or destination in the pipeline.
Monitoring Storage with the Item Dial
Want to keep track of how many items are sitting in your Bin? Attach an Item Dial to the Bin. The Item Dial displays the current item count stored inside, giving you a quick visual readout without having to open the Bin itself. For example, with 64 Grass Blocks stored, the dial will clearly show that quantity.
Dropping Items into the World with the Item Dropper
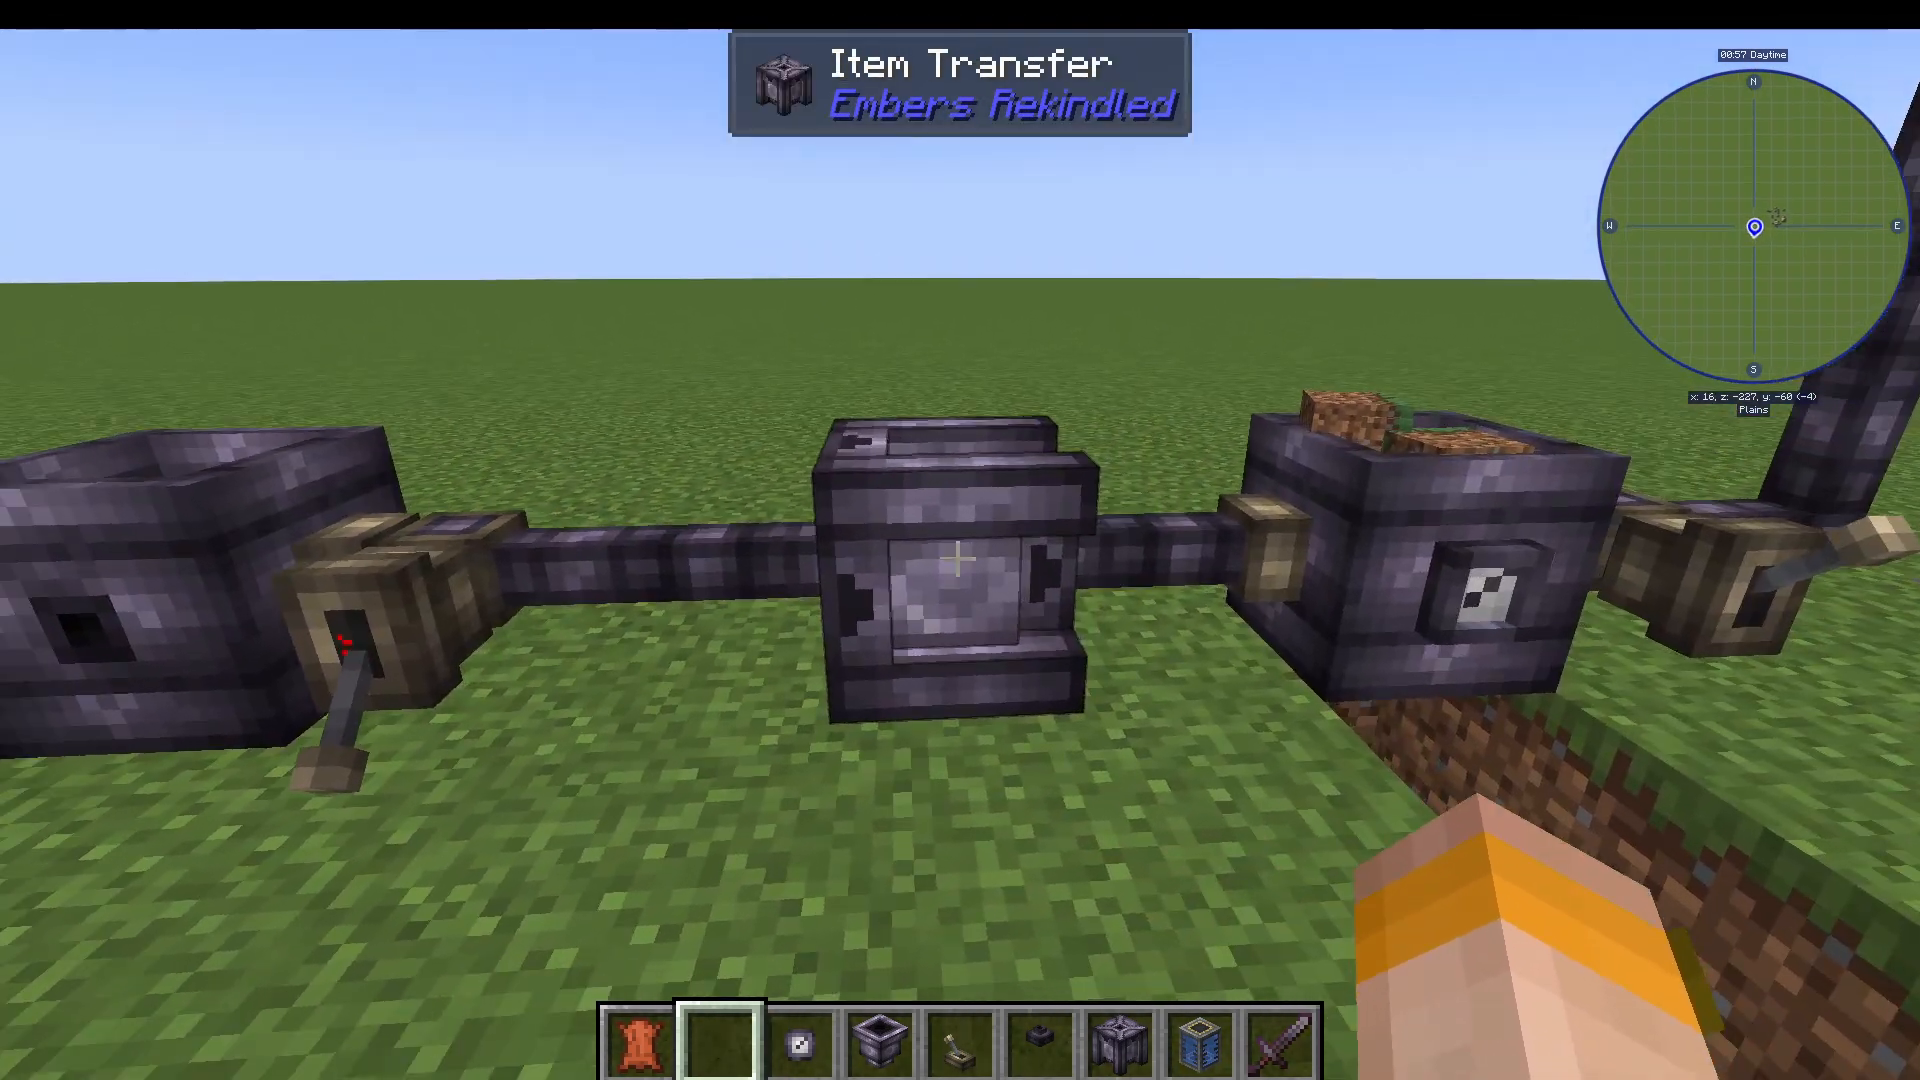
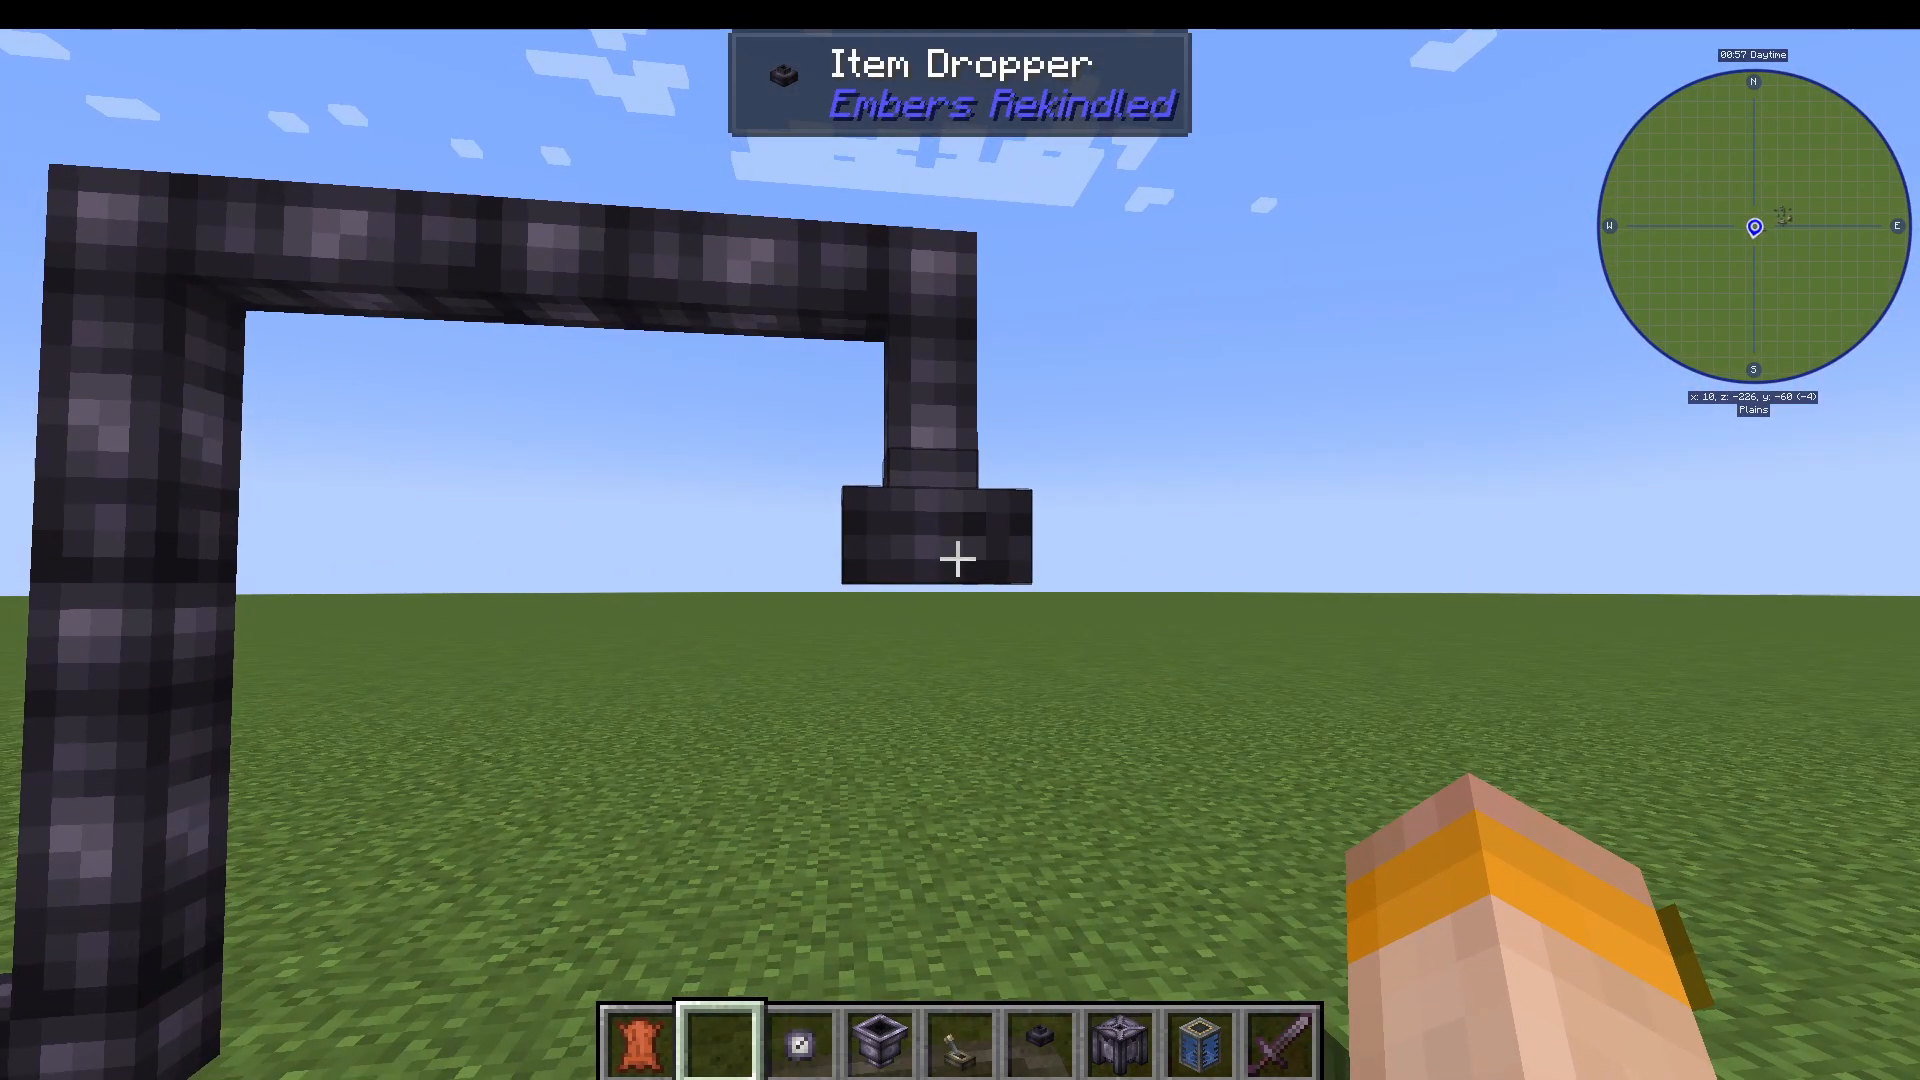
If you need to physically eject items into the world, connect another Item Extractor and pipe it into an Item Dropper. When the Lever is flipped to activate the extractor, the Item Dropper will dump all items out into the surrounding area. This is handy for feeding items into hoppers, crafting setups, or simply offloading stock.
Collecting Loose Items with the Item Vacuum
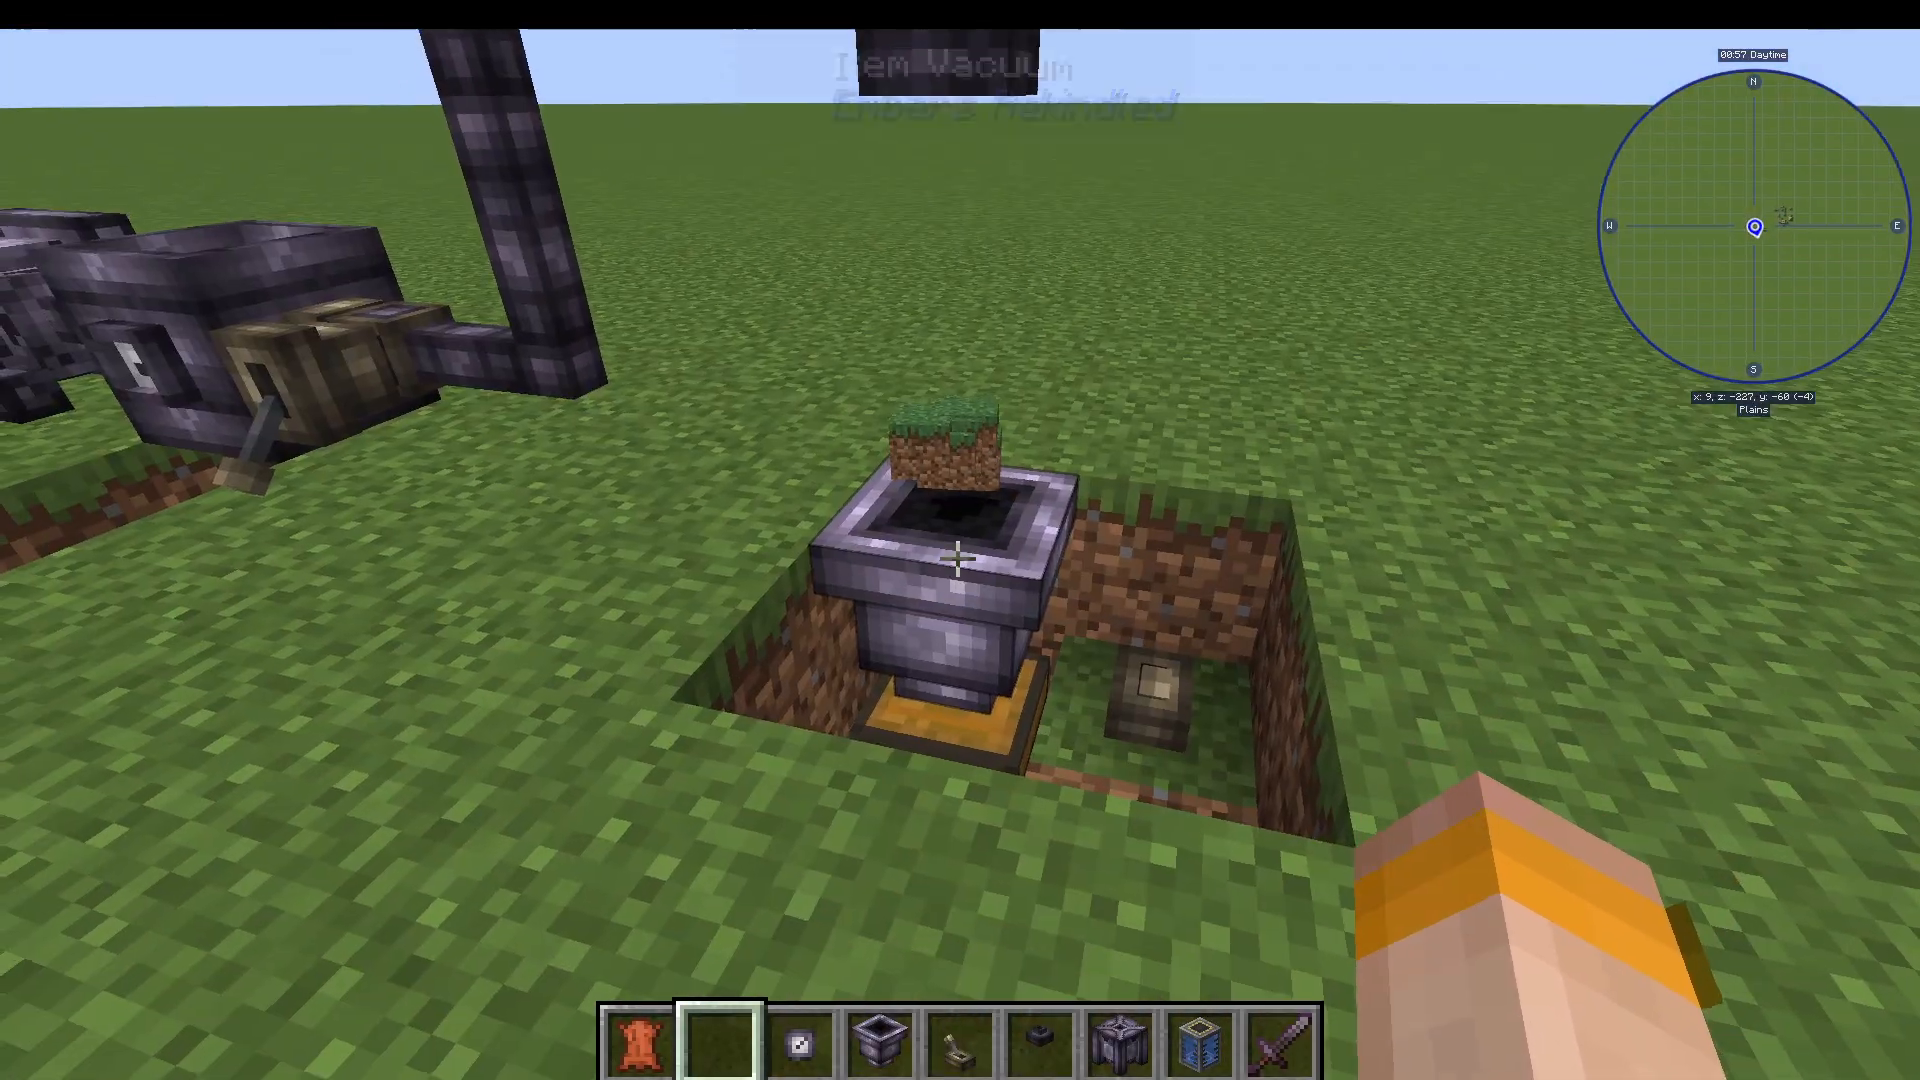
To pick up items that have been dropped into the world, use the Item Vacuum. Place it near the dropped items and give it a redstone signal. The Item Vacuum will suck up everything in range — including any loose items on the ground — and funnel them into a connected Chest or storage container below it.
Summary
Manipulating items in Embers Rekindled is straightforward once you understand the key components. Here’s a quick recap of everything covered:
Bin — Stores items; right-click to load.
Item Extractor — Pulls items out of a Bin when given a redstone signal.
Item Pipes — Transports items between components; supports item filtering.
Item Dial — Displays the current item count inside a connected Bin.
Item Dropper — Drops items physically into the world.
Item Vacuum — Sucks up loose items from the ground and sends them to storage.
With these tools, you can build clean, automated item transport networks in Embers Rekindled — perfect for feeding machines, sorting resources, or managing your storage system efficiently.
Want to Support?
If you would like to help us continue making these guides – please consider joining our Patreon here – https://www.patreon.com/c/JaviHeals
Alternatively – we host a group of MC Servers you can join here – https://discord.gg/zD7Gjt6MHF