Ars Nouveau Complete Beginner Guide
Ars Nouveau Complete Beginner Guide for Minecraft
Ars Nouveau is one of the most exciting magic mods available for Minecraft, and while it can look overwhelming at first glance, it is absolutely approachable for beginners. This guide was filmed on Minecraft 1.21, but since Ars Nouveau doesn’t change drastically between versions, it applies to virtually any version of the game. We’ll walk you through world generation, crafting your first spell book, building and casting spells, generating Source, using the Enchanting Apparatus, upgrading your gear, and starting your first automations with Star Bunkels — all in beginner-friendly steps.
Getting Started: The Worn Notebook
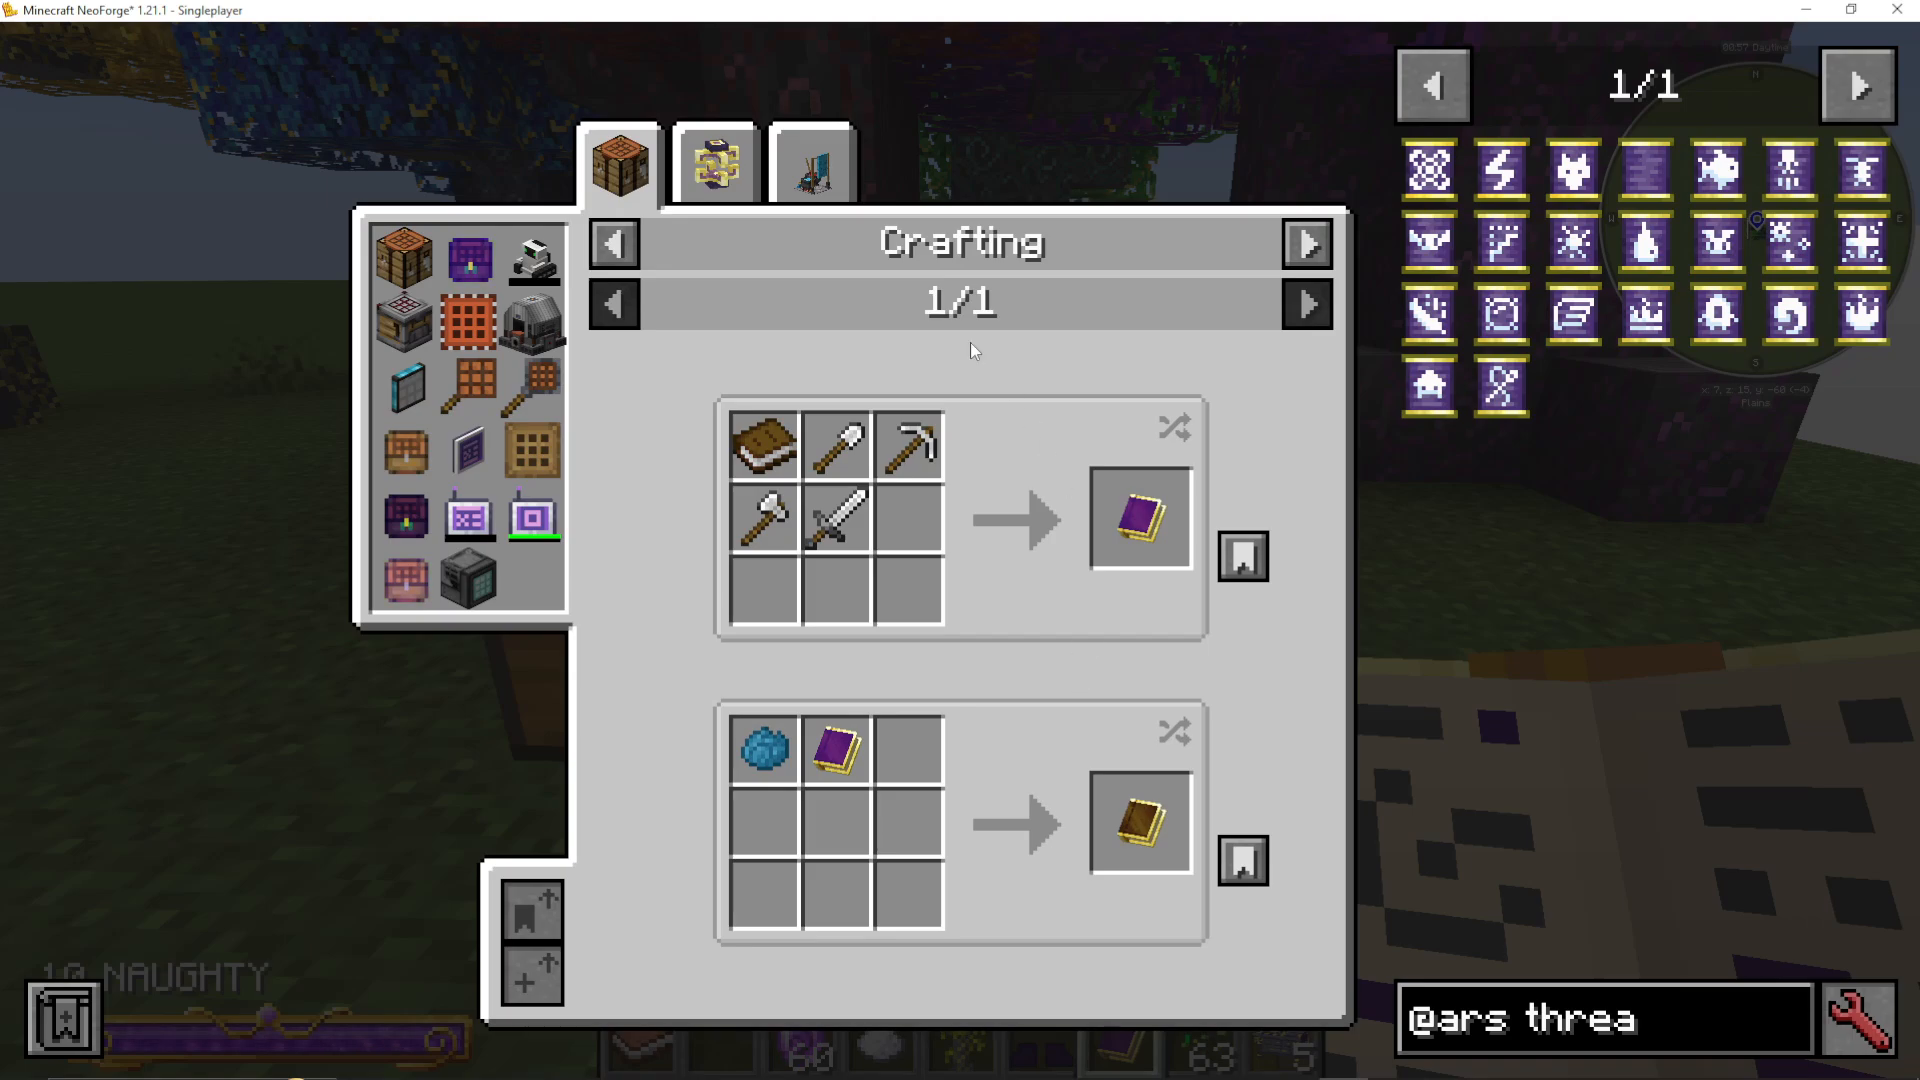
The very first item you need is the Worn Notebook. Craft it by combining a piece of Lapis Lazuli with a Book in a crafting table. This notebook is your in-game instruction manual for Ars Nouveau. It does contain a Getting Started chapter, but many players find it overwhelming early on — so let’s skip straight to the practical stuff.
World Generation: What to Look For
Arcwood Trees
As you explore the world, keep an eye out for Arcwood Trees. They come in five colour varieties — purple, red, yellow, blue, and green — and have a small chance of spawning in any biome. Rarely, you may stumble upon an entire Arcwood Forest biome, which is filled with magical creatures, naturally spawning lights, and Arcwood Trees.
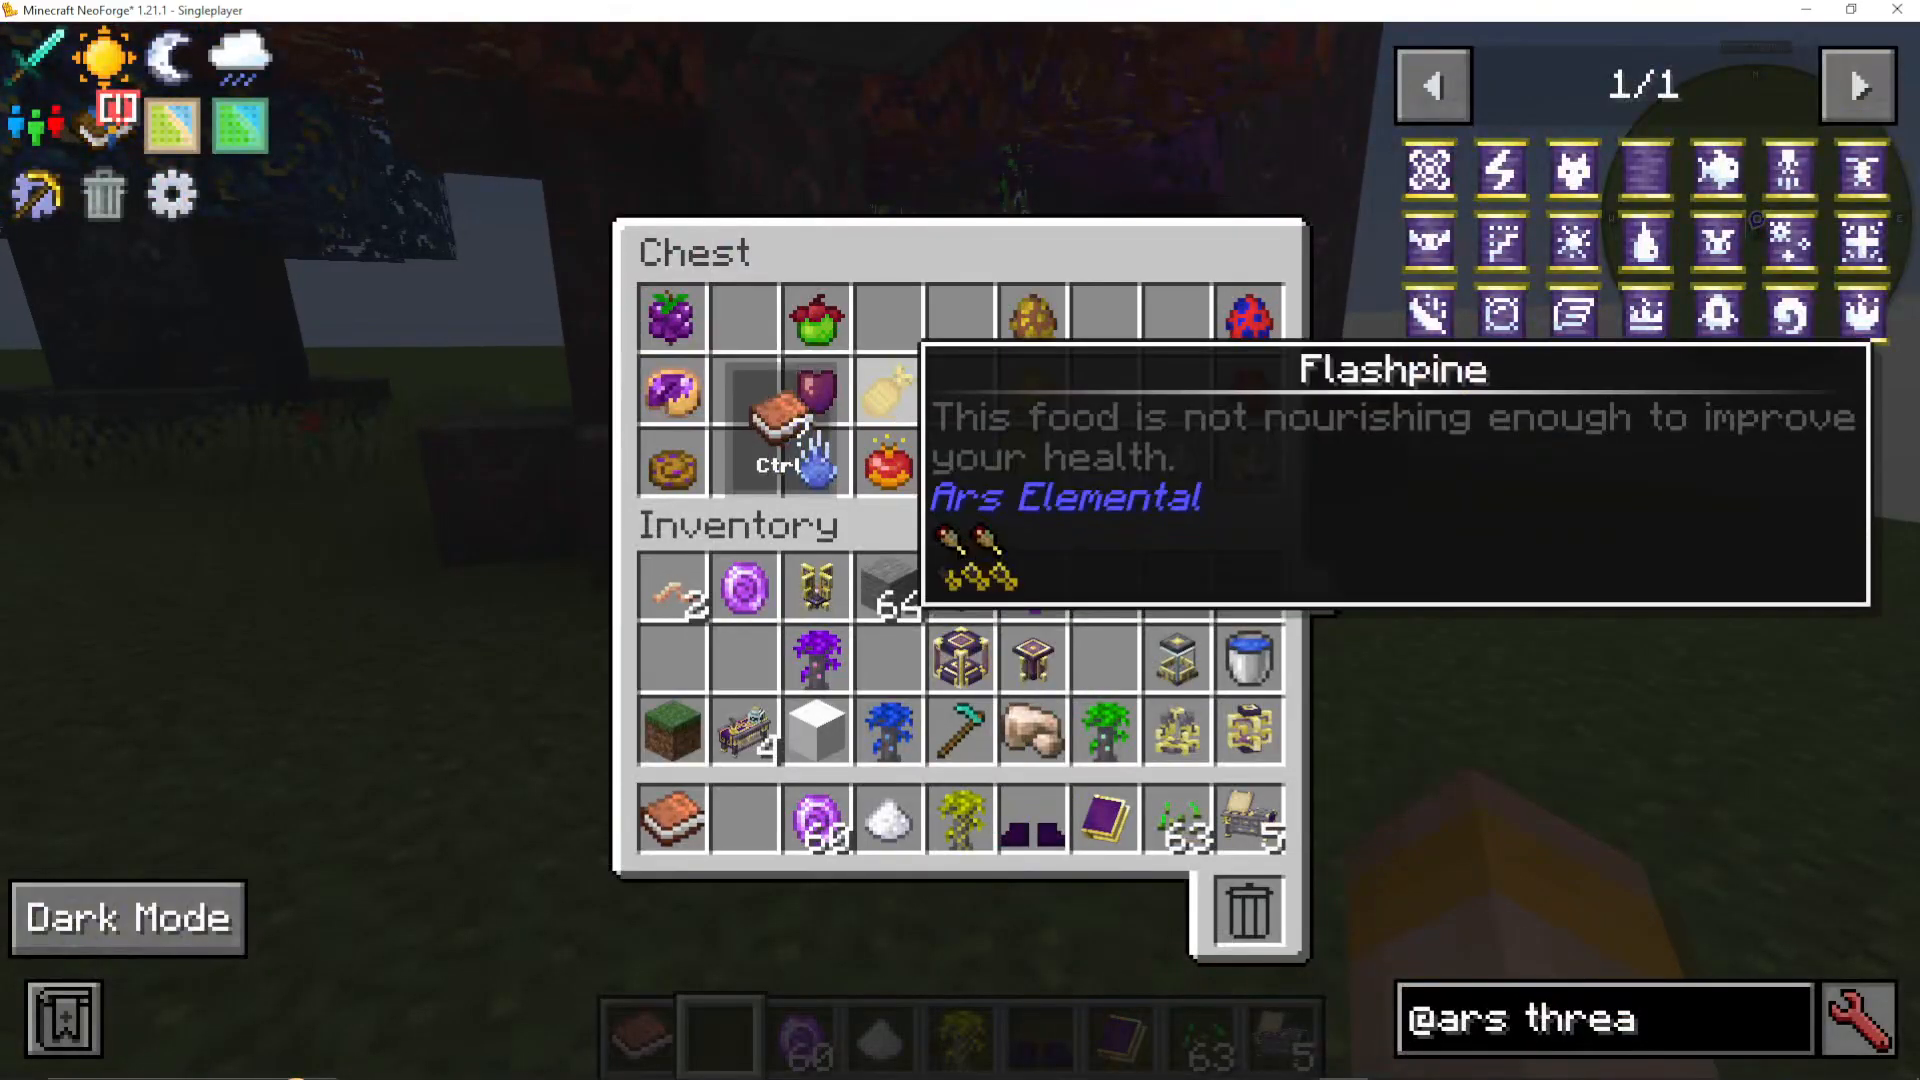
Each tree type produces unique fruit that can be brewed into powerful potions:
Bombagranate — brewed into a Potion of Blasting, causing the target to explode. Make it into a splash potion, otherwise you’ll catch the explosion yourself.
Mendoseen — brewed into a Potion of Recovery, increasing the amount of healing received.
Frostaya (or Frostaya) — brewed into a Potion of Freezing.
Bastion Fruit — brewed into a Potion of Defense.
When you find these trees, cut them down, collect the saplings, and set up a tree farm. The potions these fruits produce are extremely powerful and well worth the early investment.
Source Berry Bushes
You may also find Source Berry Bushes growing in the wild, specifically in Taiga and Arcwood Forest biomes. Source Berries are a key resource — they can be used to craft a Potion of Mana Regeneration, and Mana is the primary resource you’ll use to cast spells once you have your spell book.
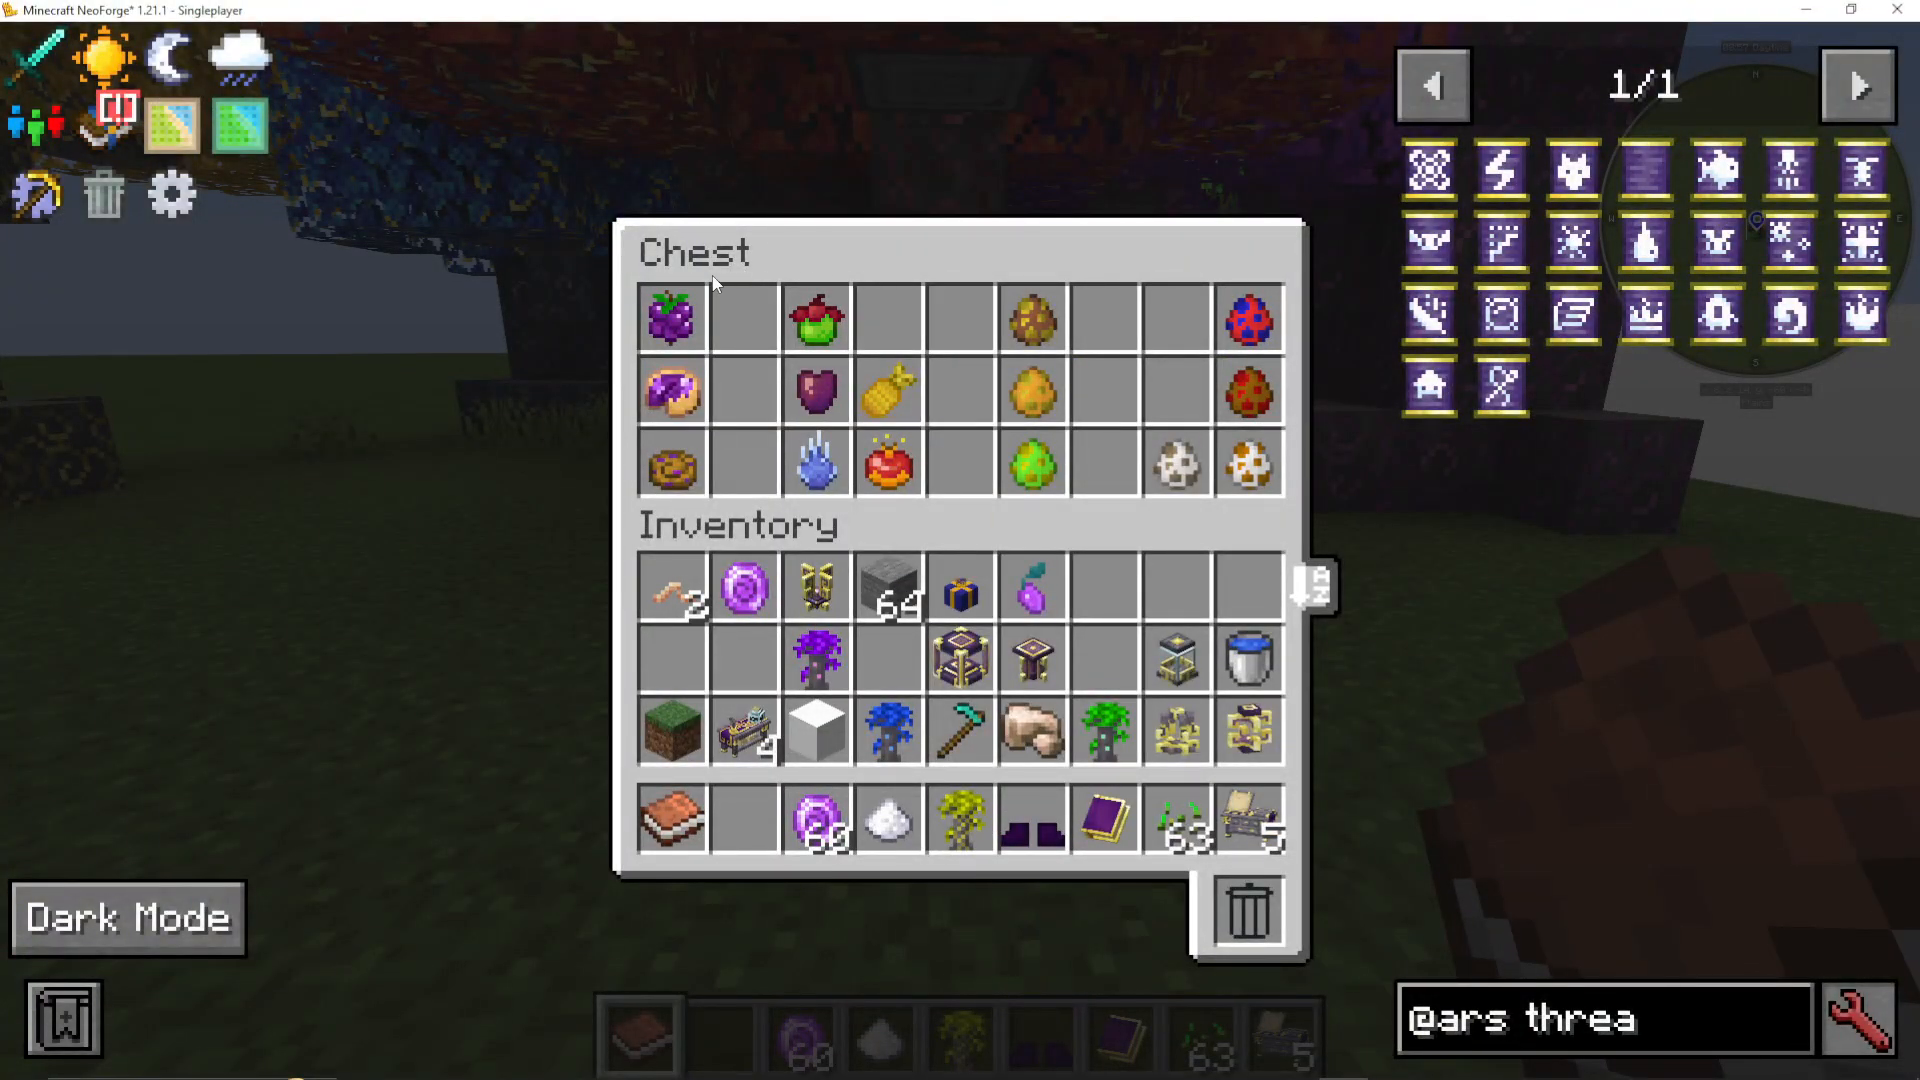
Source Berries can also be turned into food:
Eaten on their own as a basic food source.
Crafted into a Source Berry Pie using a Magebloom (covered later), Sugar, an Egg, and three Source Berries — a solid early-game food option.
Crafted into a Source Berry Roll using Wheat and Source Berries.
Crafting Your First Spell Book
The Novice Spell Book is your gateway into casting spells. To craft it, place the following items in a crafting table:
Iron Shovel
Iron Pickaxe
Iron Sword
Iron Axe
Book
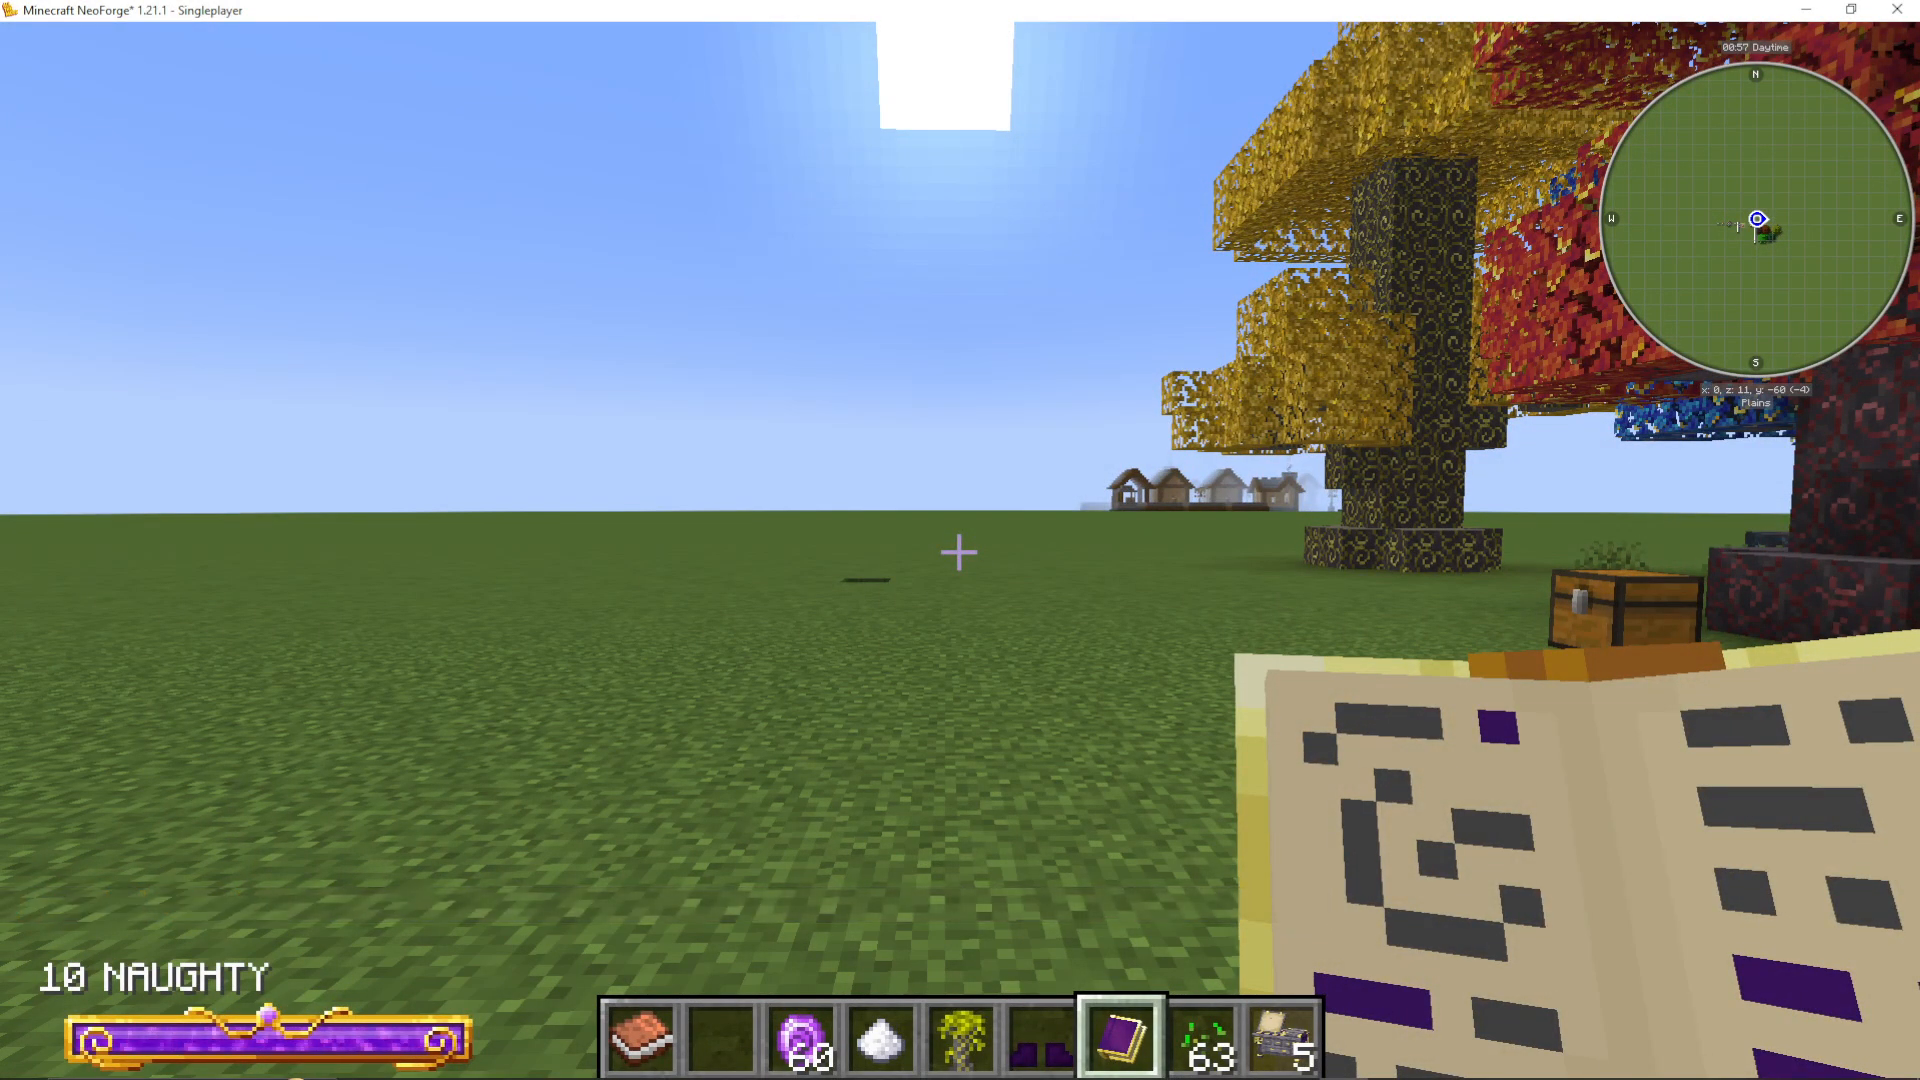
Once you hold the Novice Spell Book in your hand, a Mana Bar will appear in the bottom-left corner of your screen. It only shows while the spell book is in your hand — swap away and it disappears.
Using Your Spell Book
Opening the Spell Book Interface
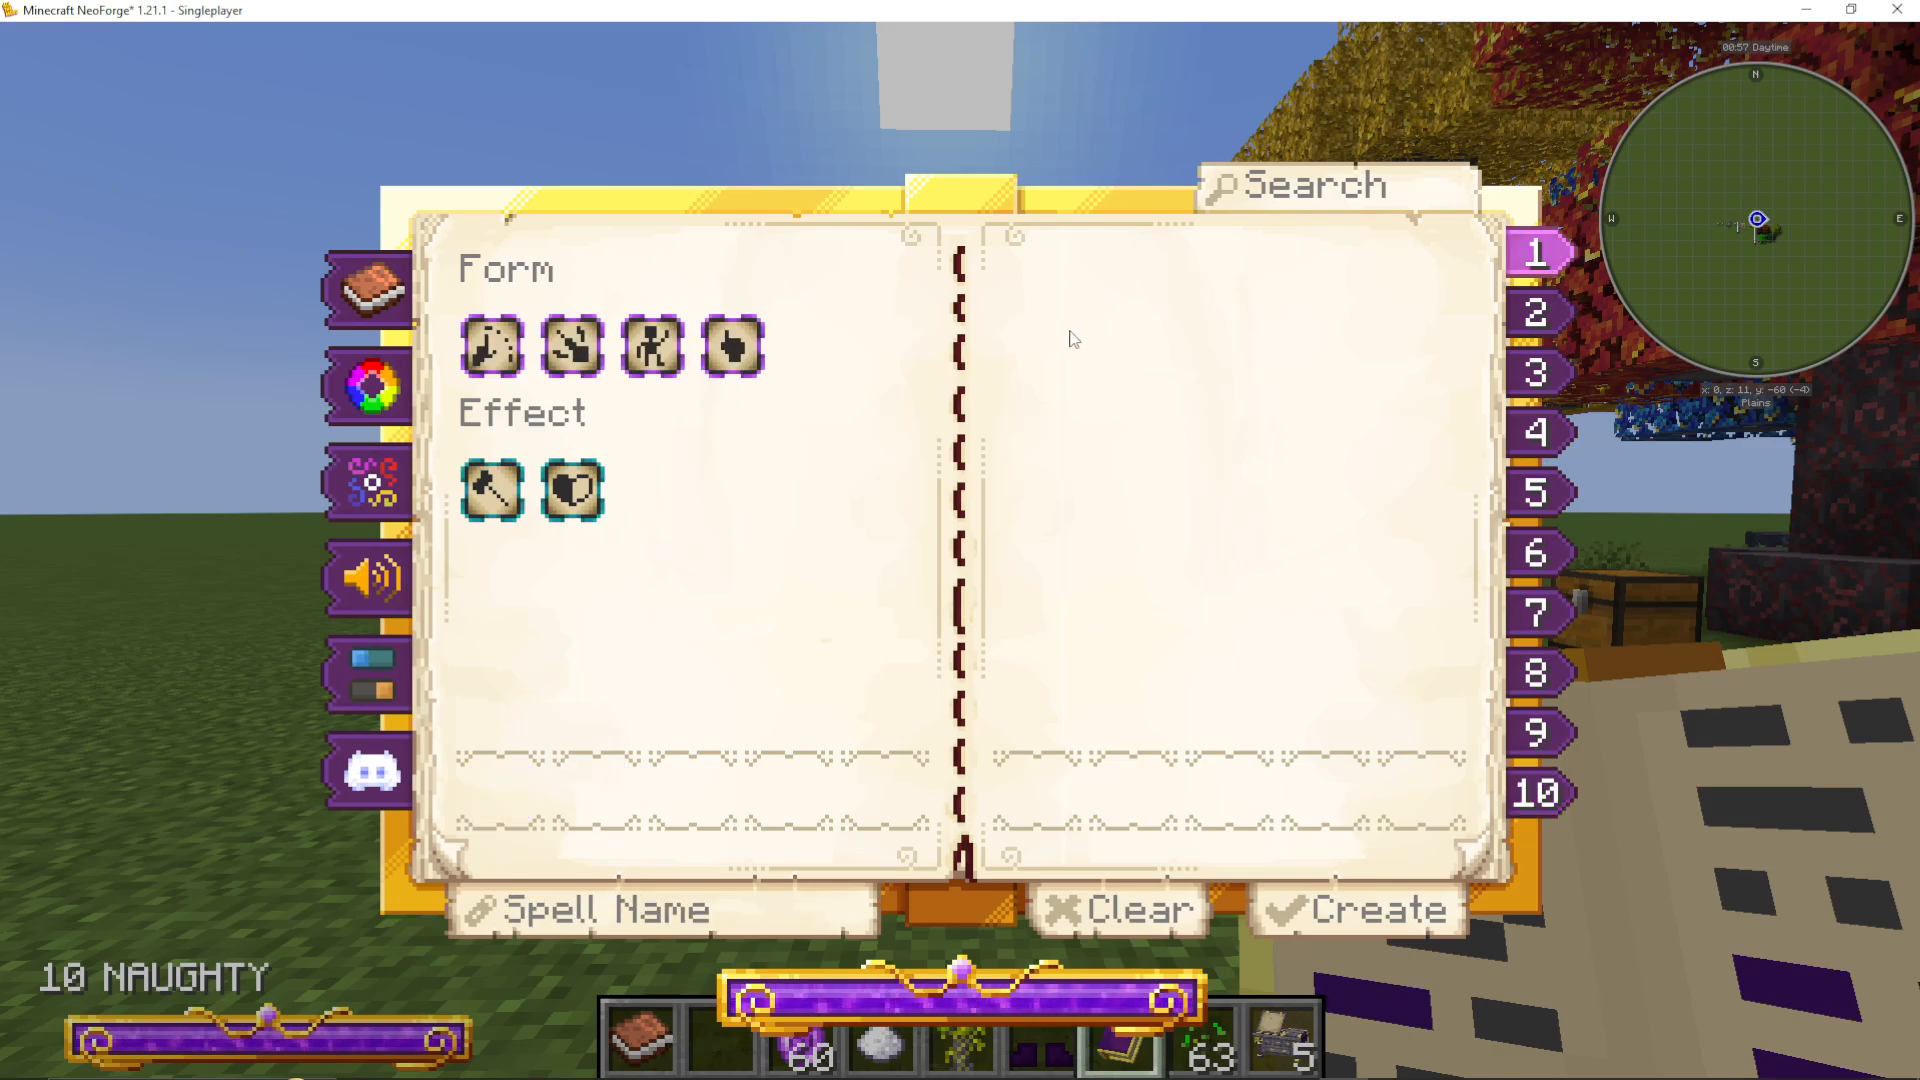
To open your spell book interface, press C (C for Charlie) on your keyboard by default. If there’s a conflict, check your key bindings. Inside, you’ll see your spell slots — you can hold up to 10 spells at a time in the Novice Spell Book.
Navigating the Spell Book Menu
Here’s a quick overview of the menu options inside the spell book:
Documentation — links back to the Worn Notebook.
Color Picker — lets you choose the colour of your spell projectiles.
Familiars — not covered in this beginner guide; a dedicated video will cover this separately.
Sounds — adjust the volume of spell sounds.
Settings — toggle Dynamic Lights on or off (turning it off can help with lag).
Rewards/Discord — links to the official Ars Nouveau Discord.
Default Unlocked Glyphs
When you first receive the Novice Spell Book, you’ll have a few glyphs unlocked by default. Glyphs come in tiers — Tier 1, Tier 2, and Tier 3. By default you will have these Forms and Effects available:
Projectile — fires the spell as a projectile.
Self — applies the spell directly to yourself.
Touch — applies the spell to the block or entity you are targeting.
Harm — damages a target.
Break — breaks blocks of average hardness; can be amplified to increase harvest level.
Creating Your First Spell
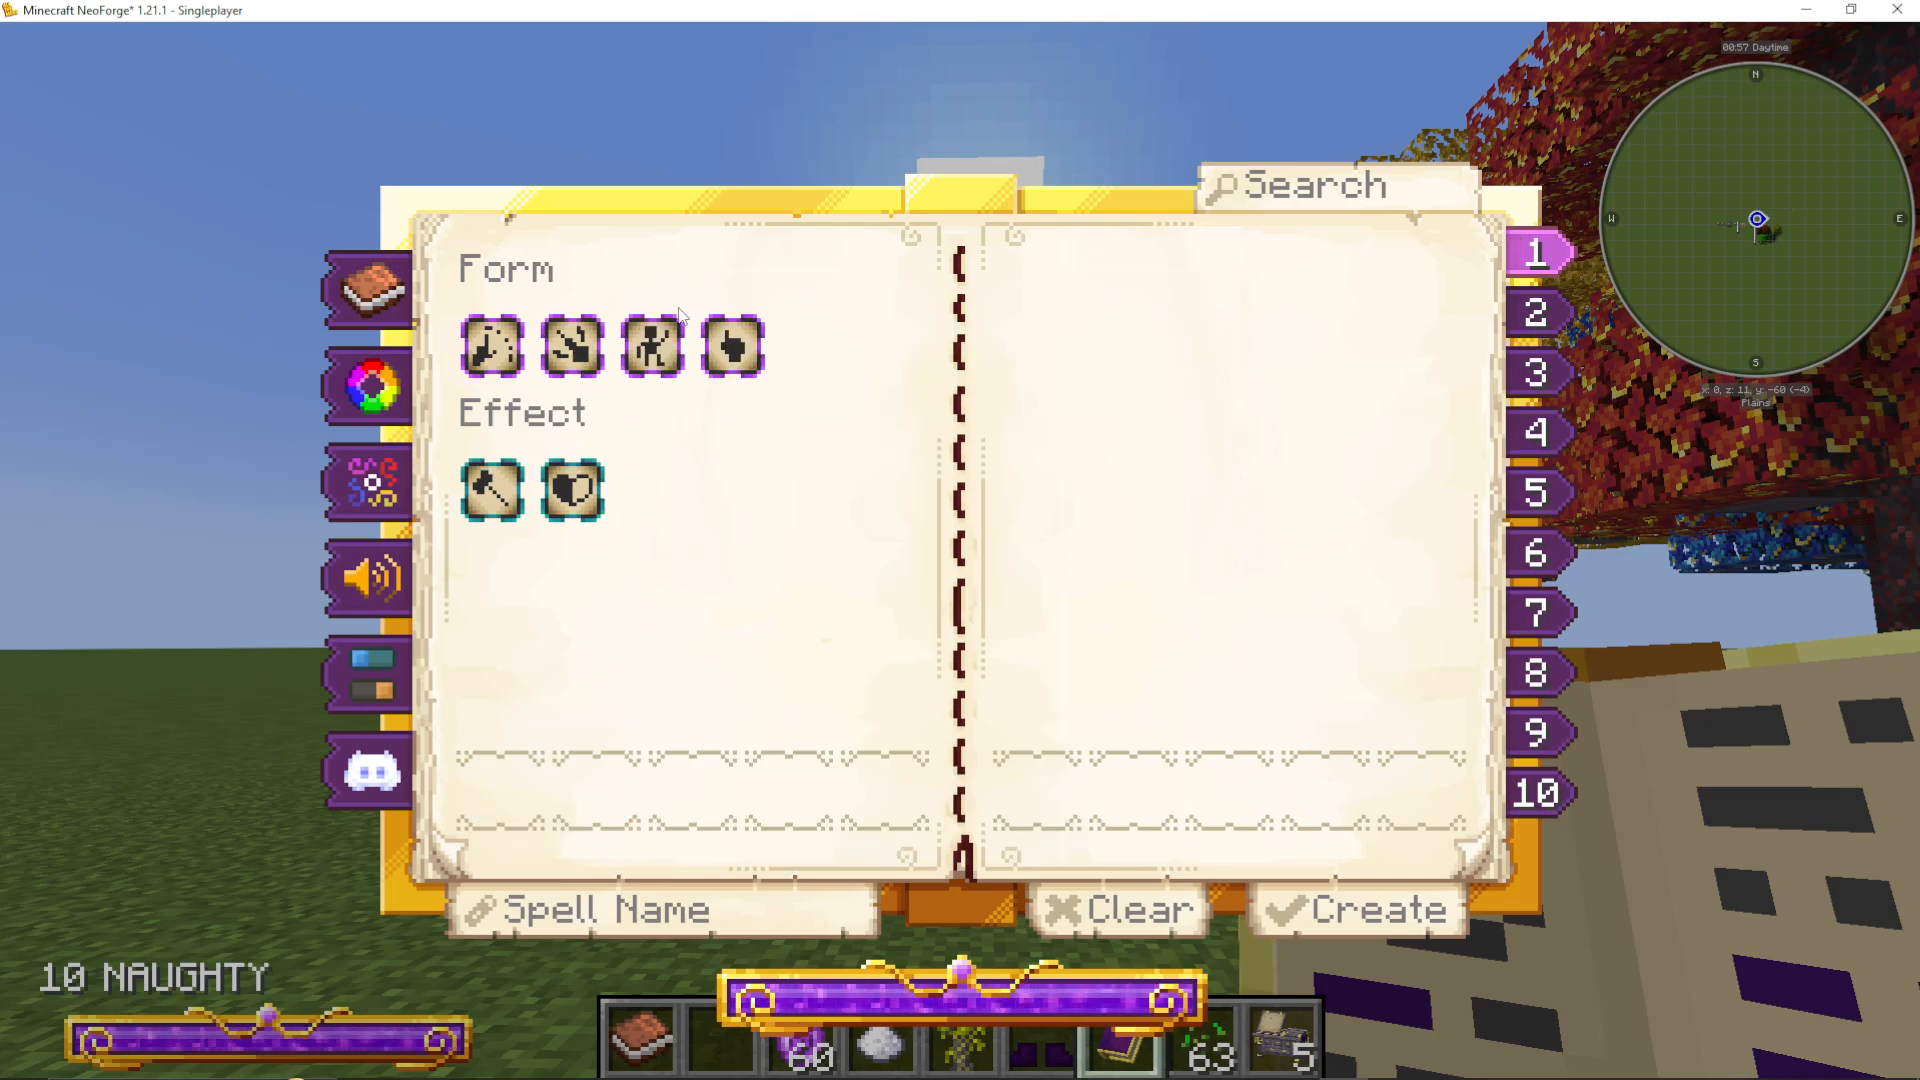
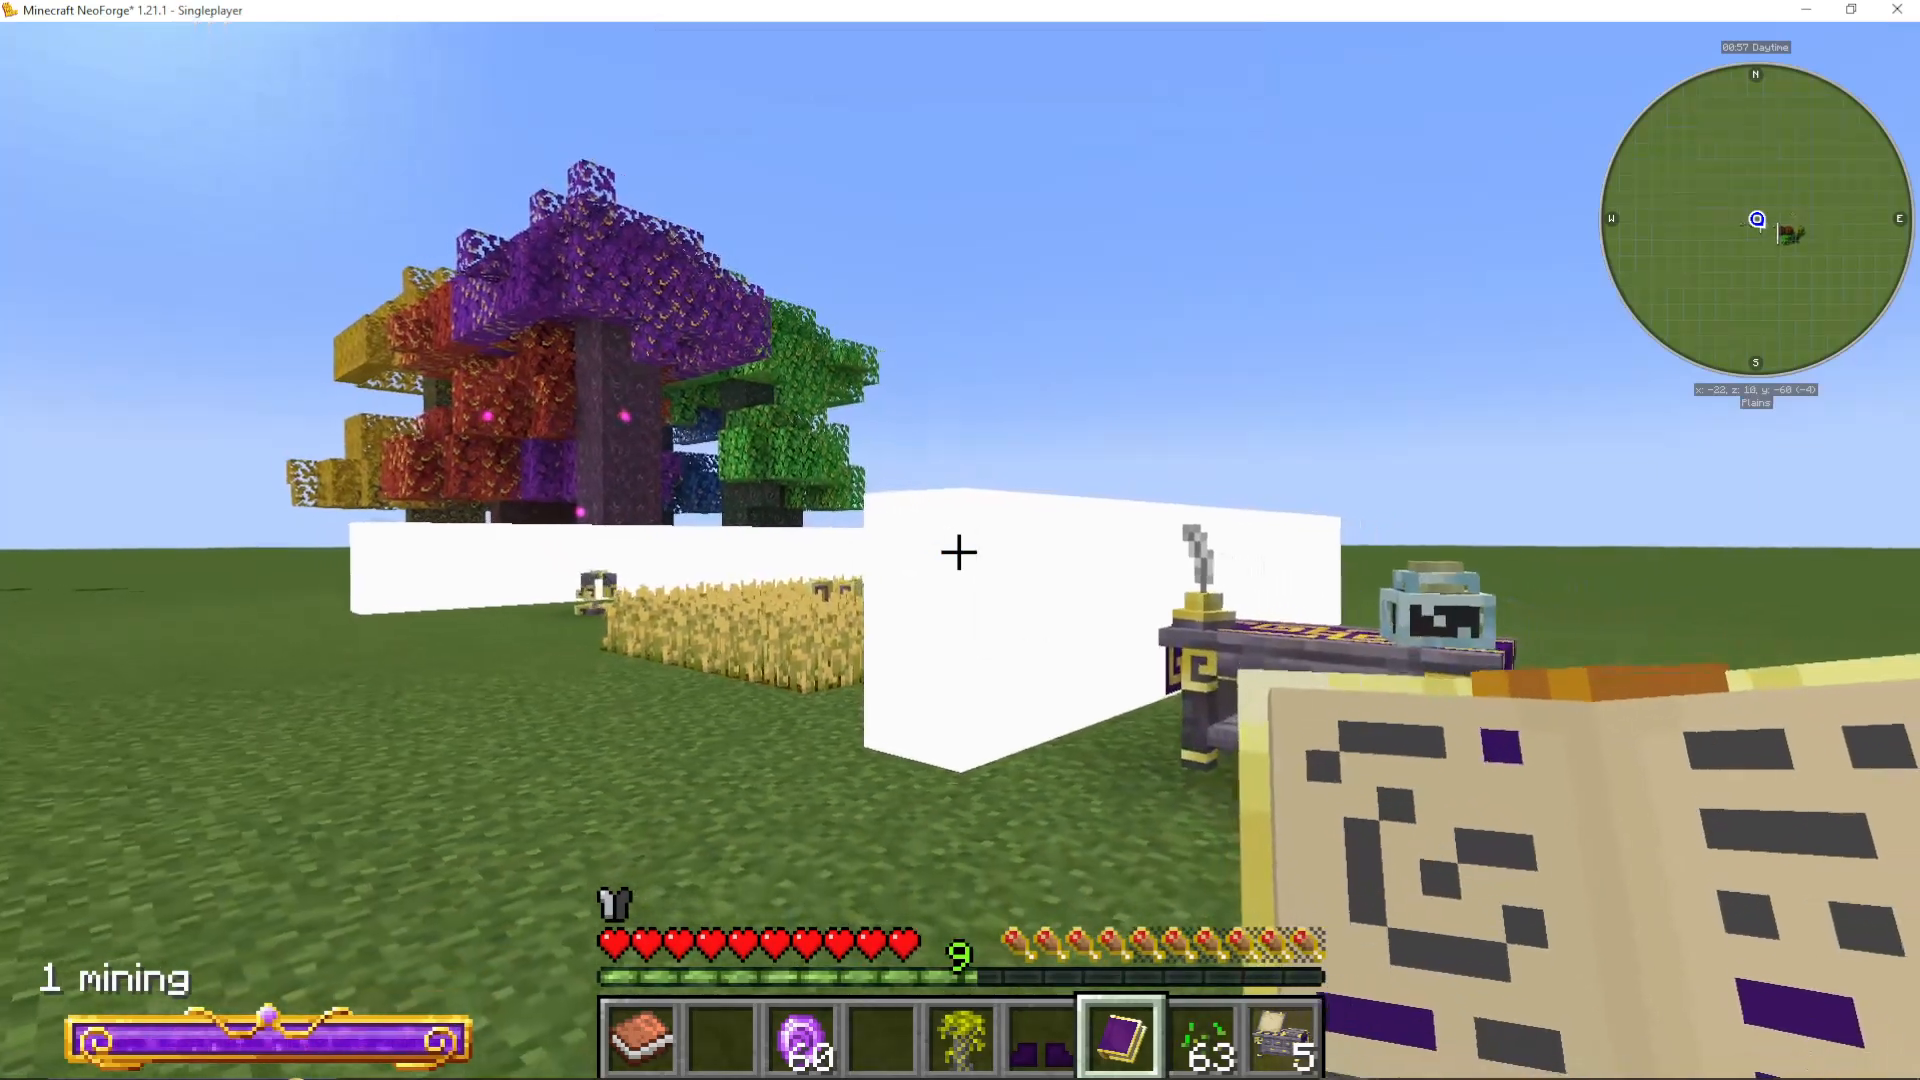
Let’s build a basic mining spell. Inside the spell book interface, navigate to spell slot Number 1. Left-click to add Projectile as the Form, then add Break as the Effect. You’ll see both glyphs appear in the spell chain at the bottom of the screen. Click on the Spell Name field, type Mining, and click Create to save the spell.
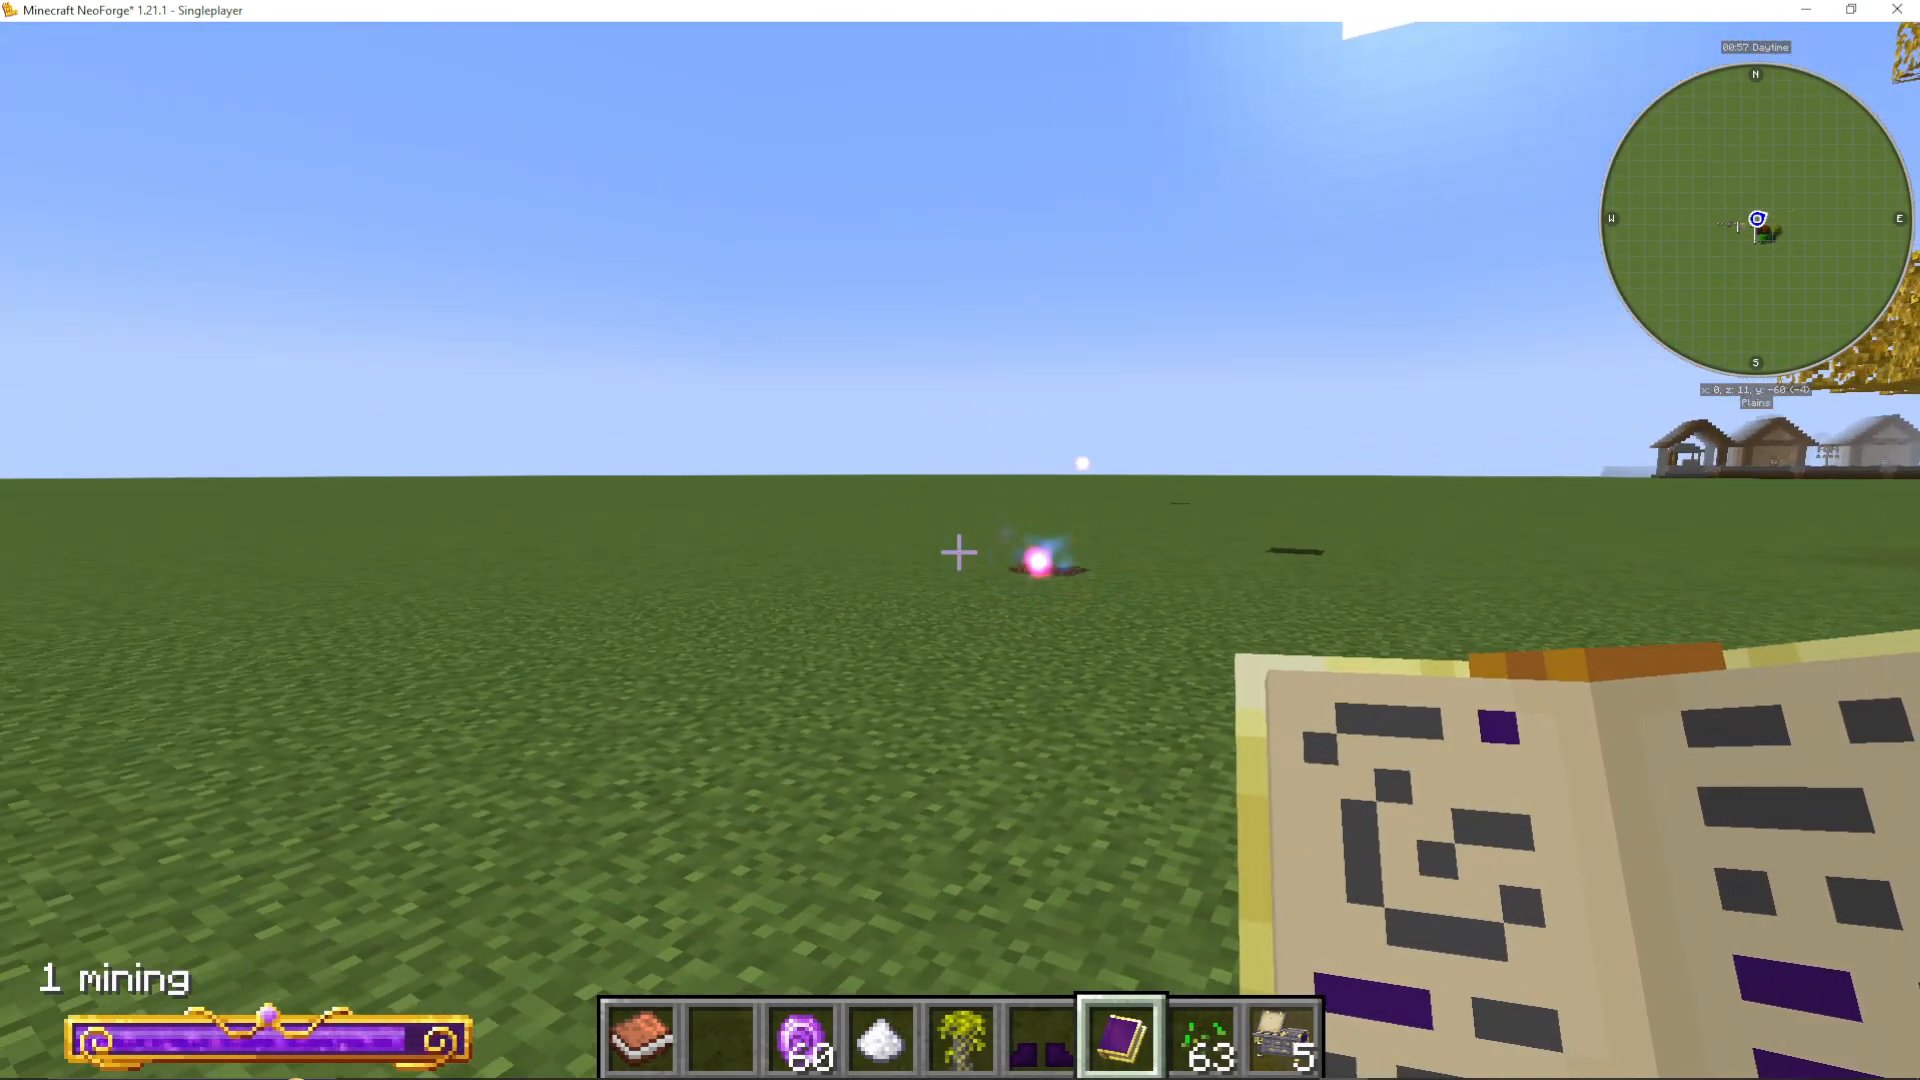
Exit the spell book, hold it in your hand, and right-click to fire the spell. You’ll see it breaking dirt and stone blocks while your Mana drains and regenerates in the bottom-left corner. By default, the Break spell can mine up to Iron-tier blocks.
Navigating Between Spells
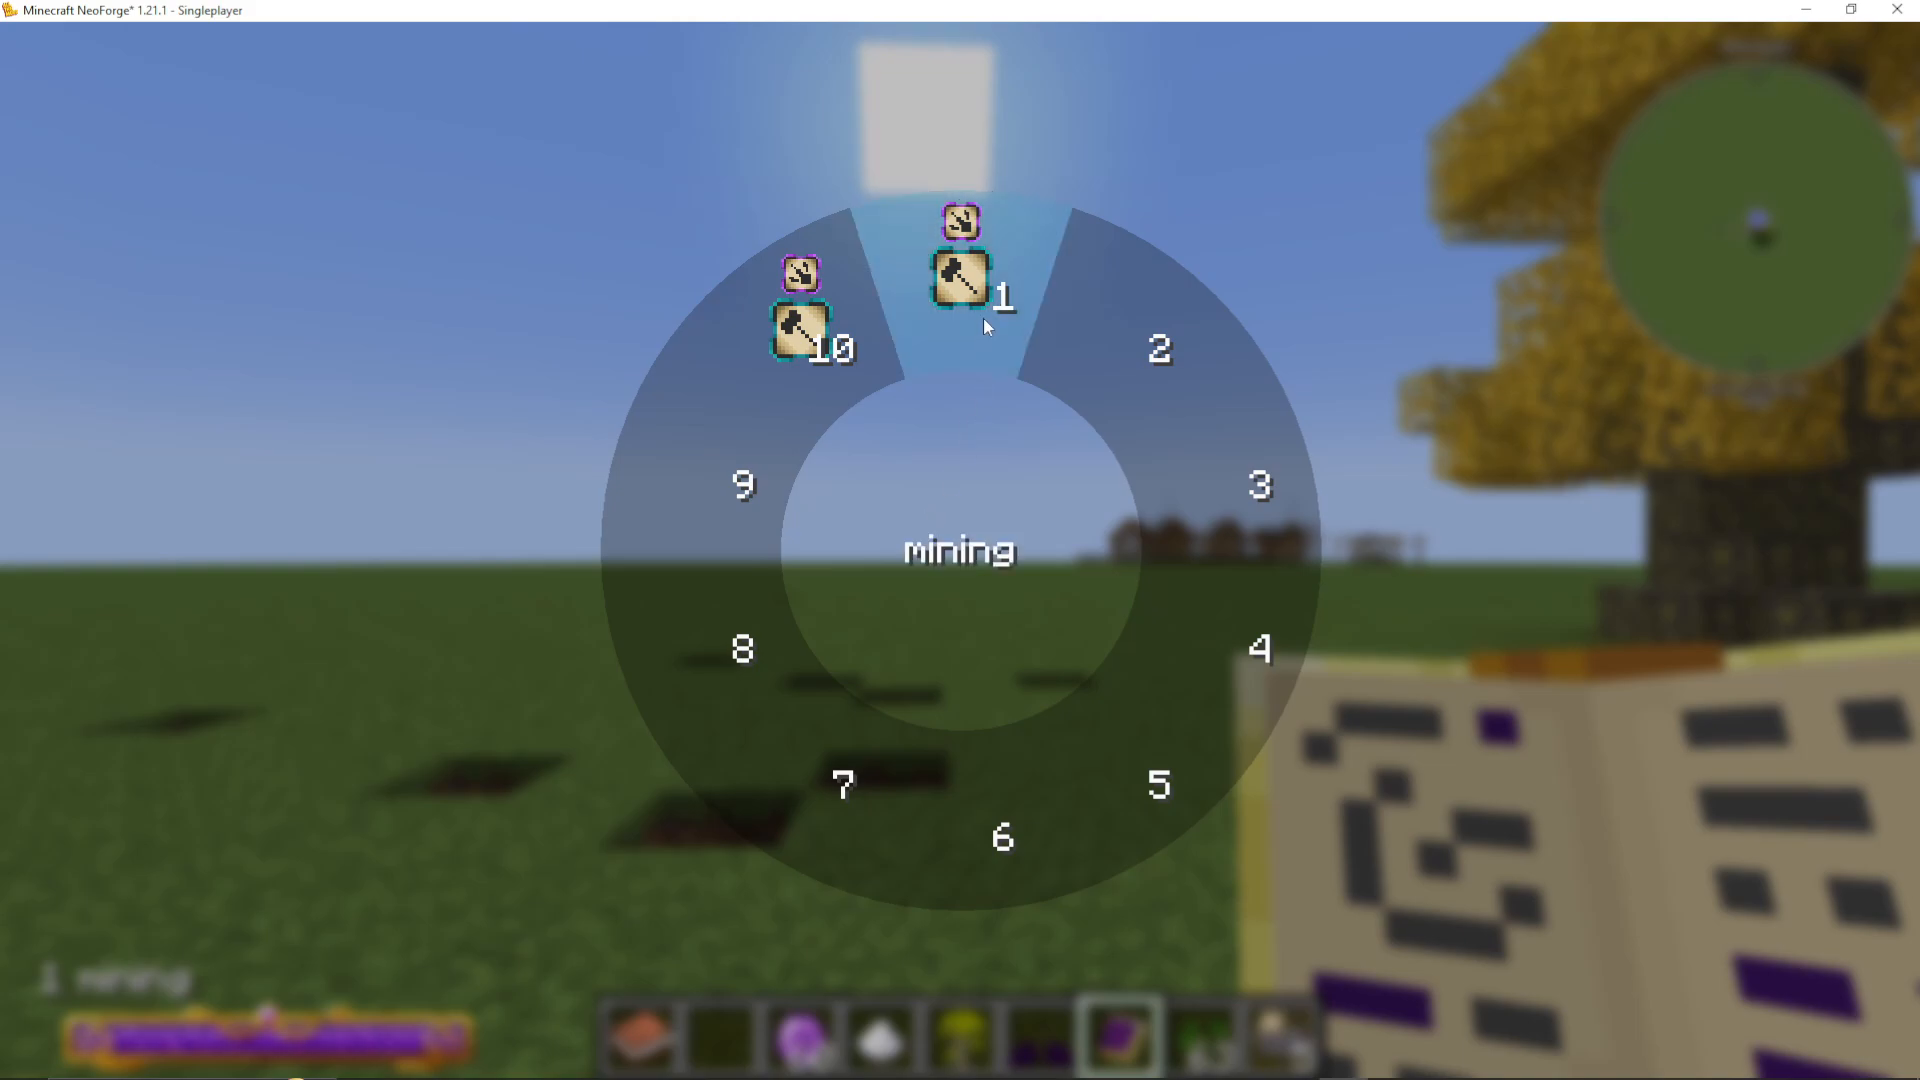
You have several controls for managing your active spells during gameplay:
X and Z — cycle through your spell slots.
V — opens a radial wheel where you can quickly select any spell.
C — opens the full spell book interface.
Amplifying Spells: The Scribes Table
By default, the Break spell cannot mine Obsidian. To push it further, you need to upgrade it using the Amplify glyph — and to unlock that, you’ll need a Scribes Table.
Crafting the Scribes Table
The Scribes Table is crafted using Arcwood (any colour), some Slabs, and a few Gold Nuggets. Once placed, right-click it while holding your spell book to open the full glyph library, organised by Tier 1, 2, and 3.
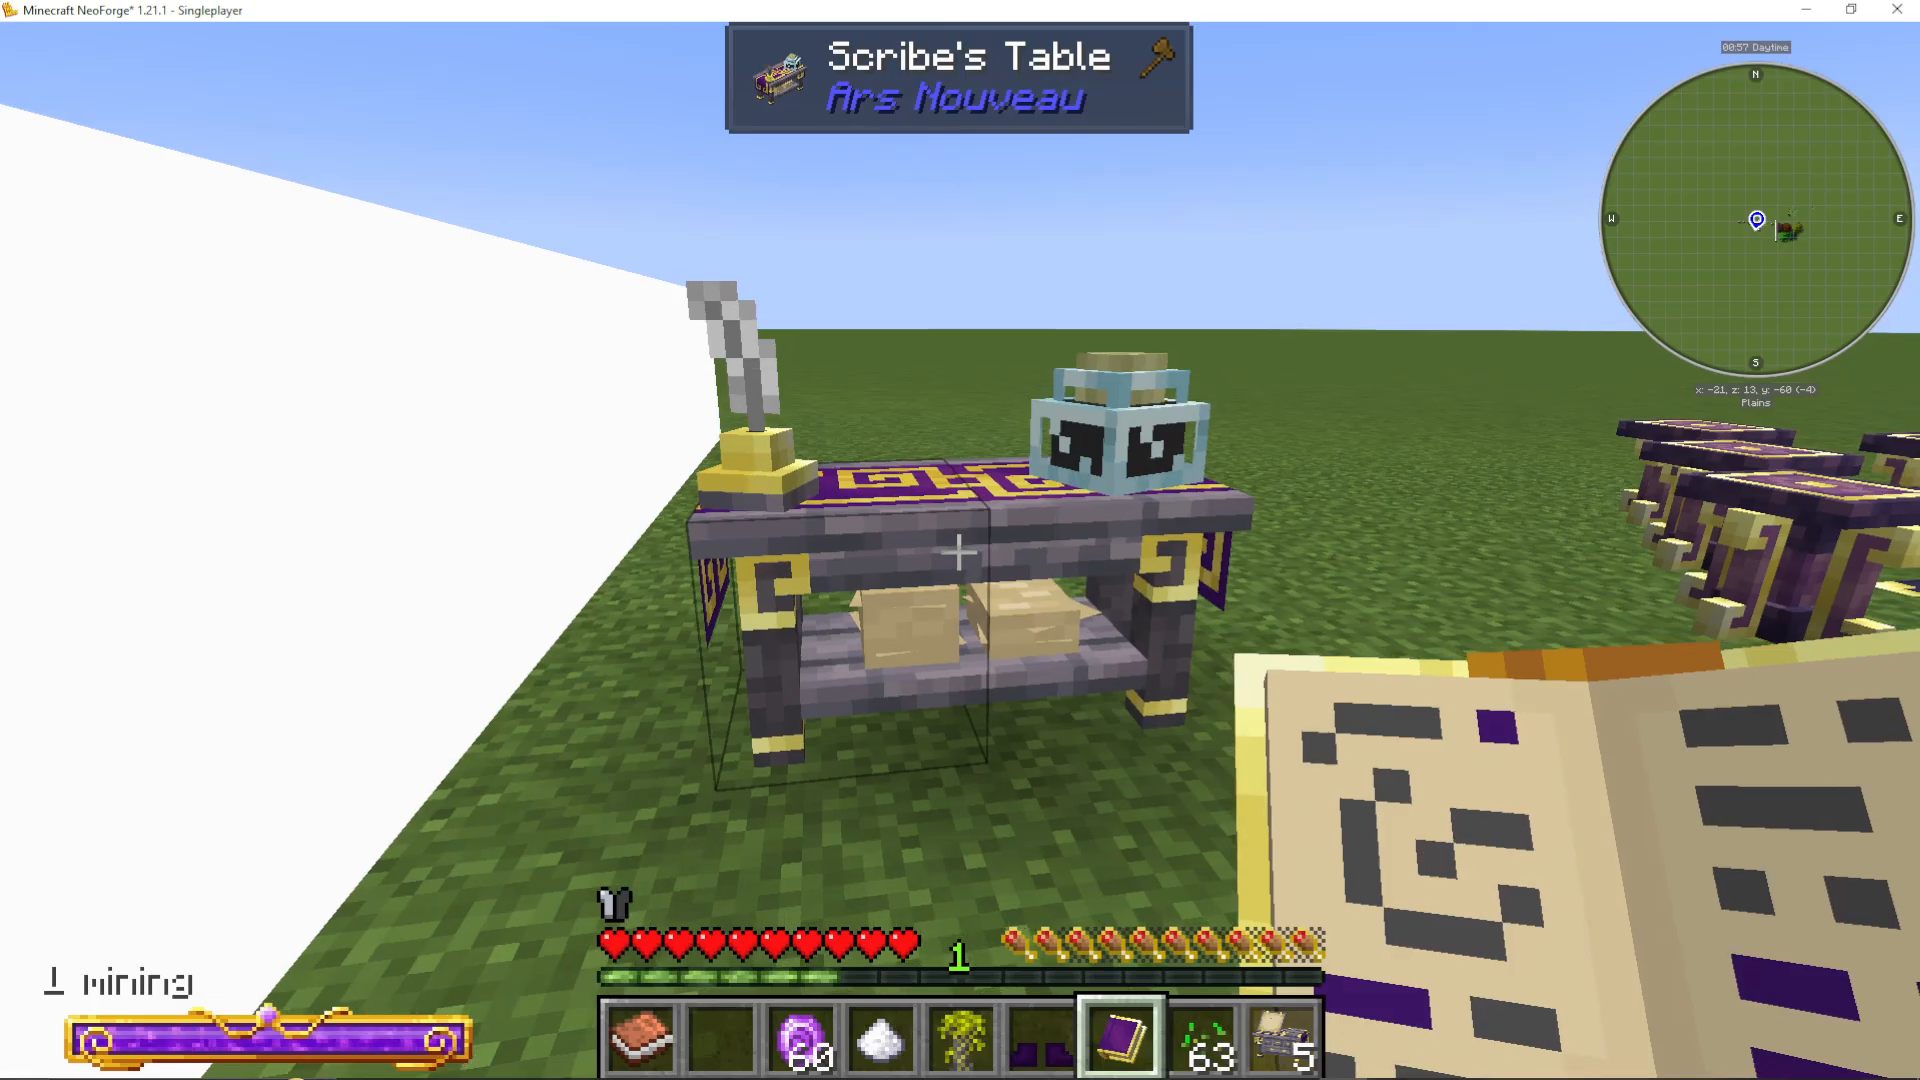
Unlocking the Amplify Glyph
In the Scribes Table, look for the yellow glyph called Amplify under Tier 1. Hover over it with Left Shift held to read its description: “Additively increases the power of most spell effects, can increase the harvest level of Break, and increases the damage of spells.”
To unlock Amplify, you need 3 Experience Levels. Once you have them, click Amplify and then click Select. The table will ask you to place items on it — in this case, a Diamond Pickaxe. Right-click the table with the Diamond Pickaxe and watch as it automatically writes the scroll. The Glyph of Amplify will pop out — pick it up and right-click it to permanently unlock it.
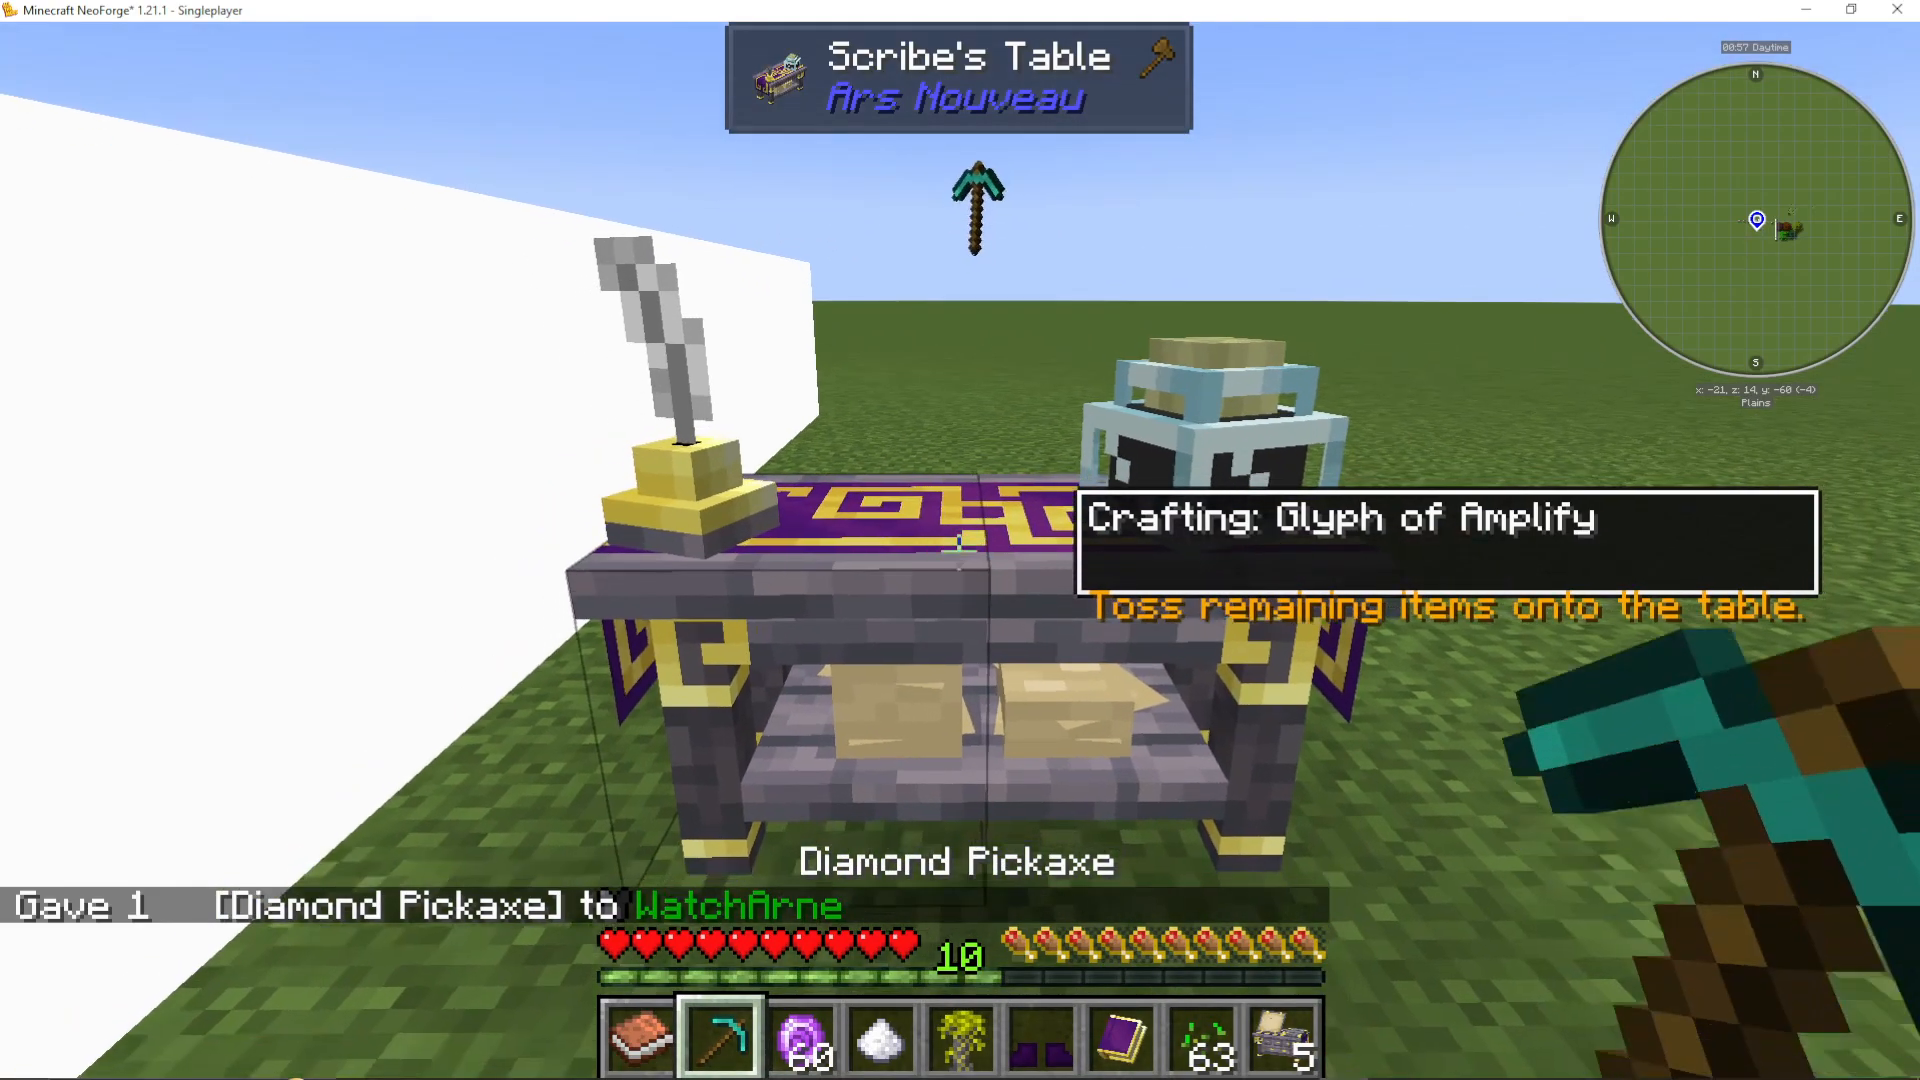
Adding Amplify to Your Spell
Open your spell book and edit your Mining spell. Click Amplify to add it after the Break effect. Notice your Mana cost increasing as you add more amplifiers. Add two Amplify glyphs and click Create to save. Now test it on Obsidian — it should break it successfully.
Keep in mind: the game will tell you when you’ve reached the amplify limit for a specific effect. For example, it will display a message like “Conjure Magelight is already augmented to the limit by Amplify.”
Other Useful Tier 1 Glyphs
While you’re in the Scribes Table, here are some other Tier 1 glyphs worth knowing about:
Underfoot — targets the spell on the block directly beneath the player.
Randomize — randomizes the behaviour of some glyphs.
Sensitive — causes Forms to target blocks they normally cannot.
Craft — opens the crafting menu anywhere, acting as a mobile crafting station.
Conjure Magelight — creates a permanent light source on a block; can be amplified up to Glowstone brightness or dampened for a lower light level. Requires a Lantern and a Torch to unlock.
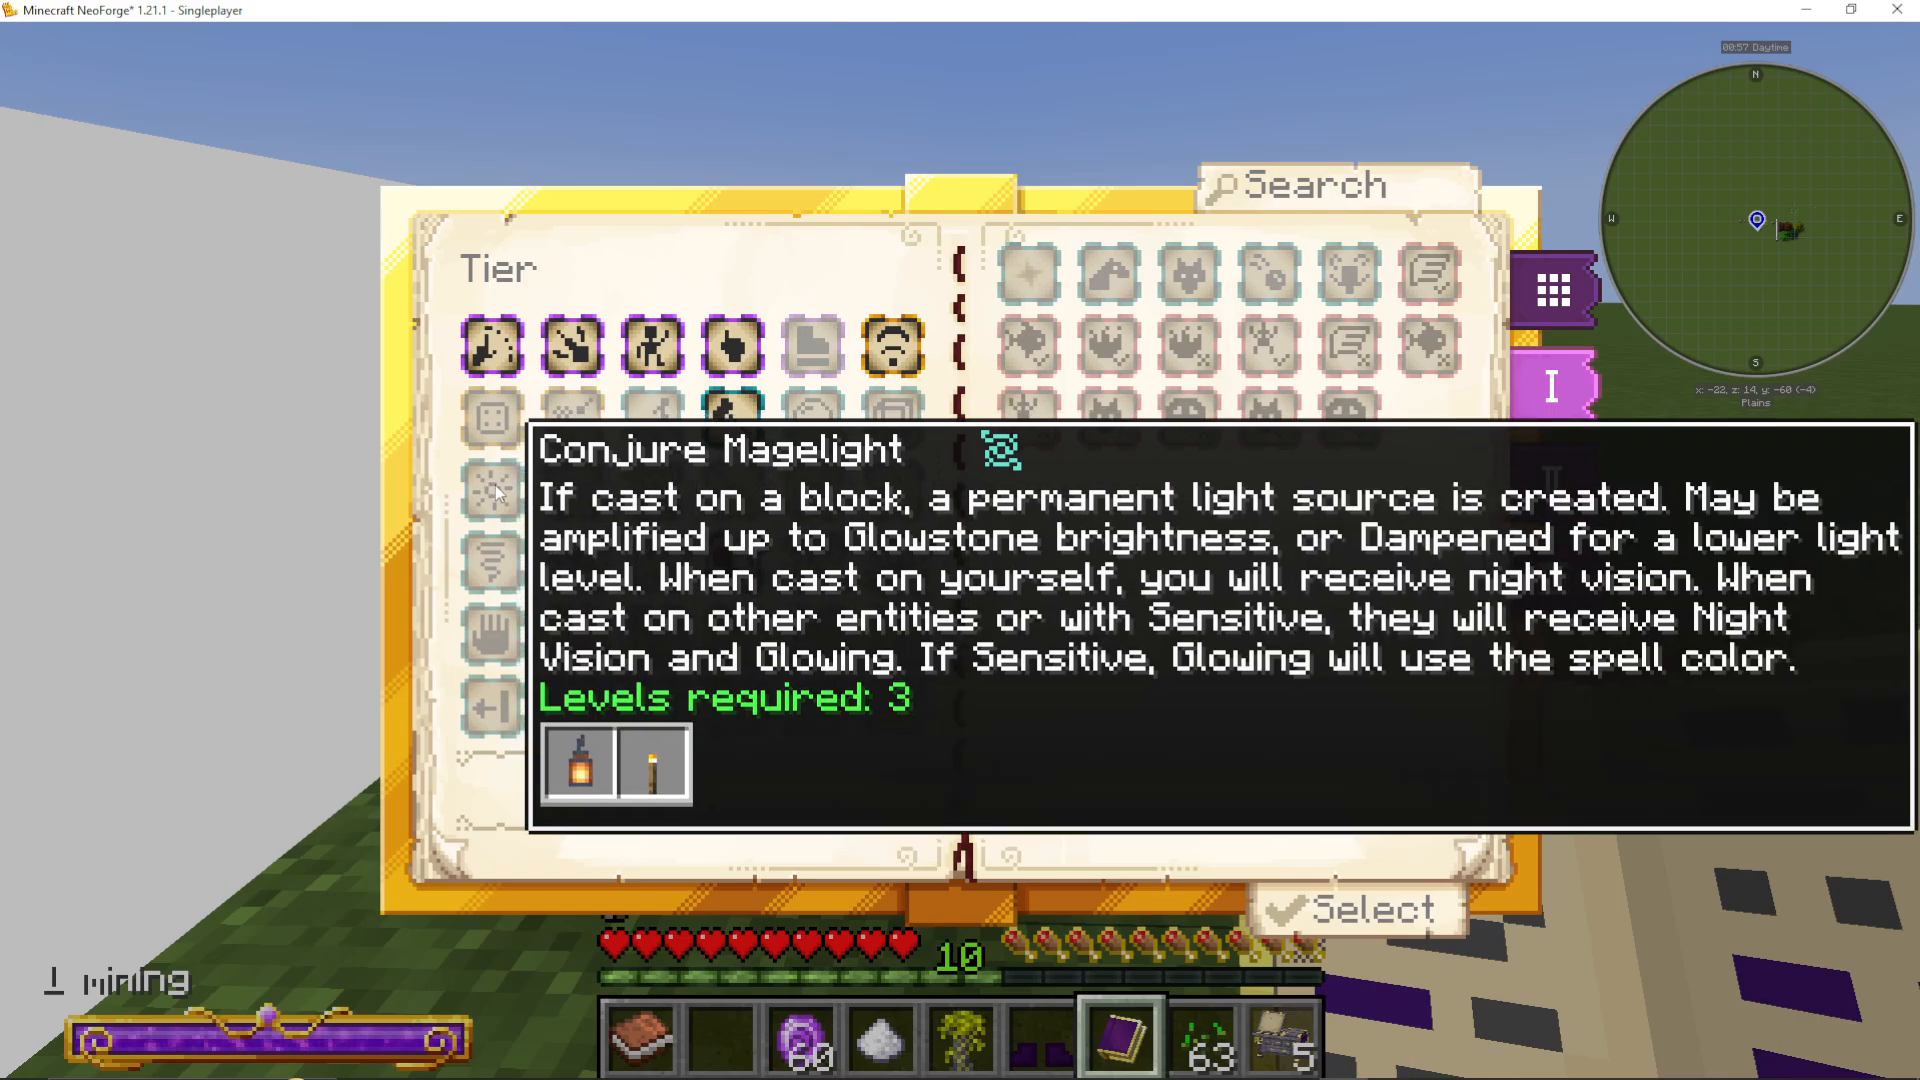
You can combine multiple effects in a single spell. For example, pairing Projectile with both Break and Conjure Magelight will break any block you hit and simultaneously place a Magelight there — perfect for lighting up caves on the fly.
Generating Source
Source is the second major resource in Ars Nouveau, alongside Mana. It powers crafting recipes in the Imbument Chamber and Enchanting Apparatus. Here’s how to start generating it.
The Imbument Chamber
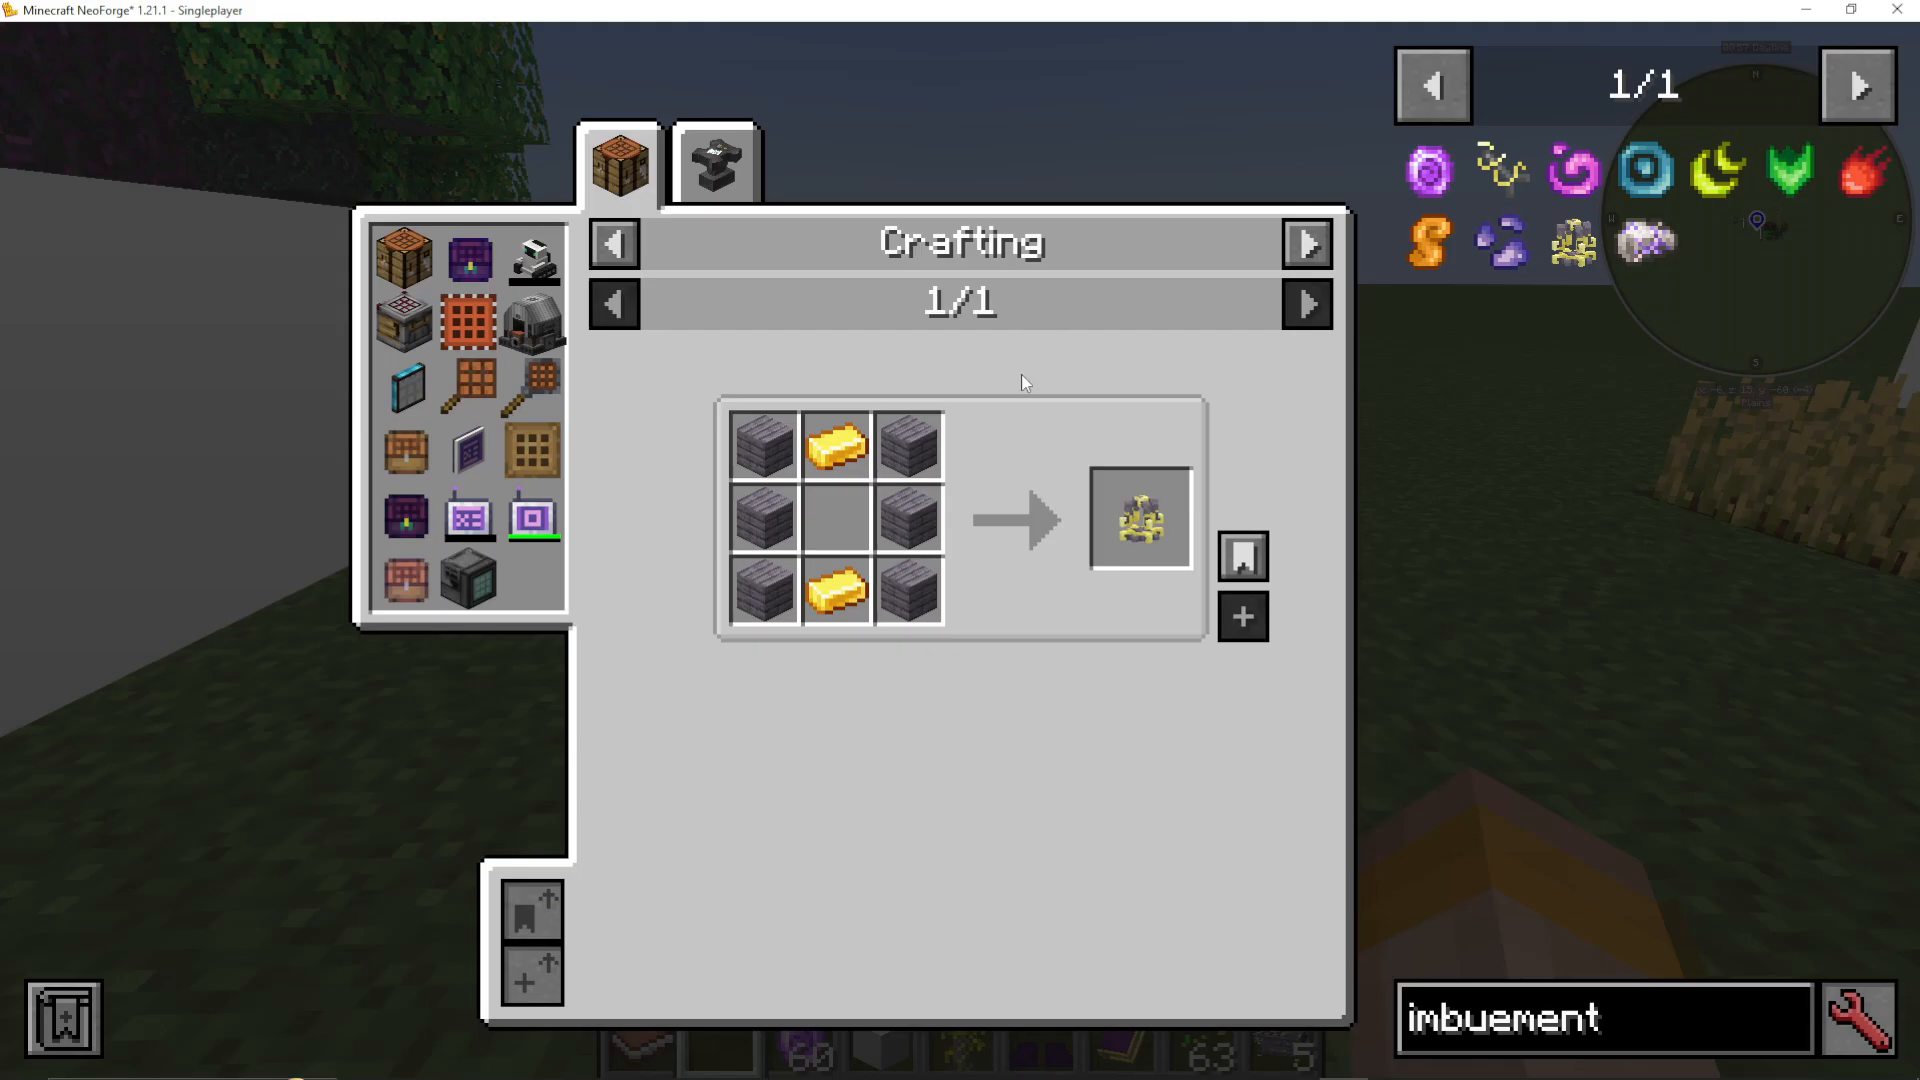
The Imbument Chamber is a simple block that draws Source from the air around it to craft items. Place it on the ground and right-click it with a crafting ingredient — for example, a piece of Lapis Lazuli — and it will slowly convert it into a Source Gem, consuming 500 Source in the process. You can monitor crafting progress as a percentage displayed on the block.
Source Jars
A Source Jar stores Source and feeds it to nearby crafting blocks like the Imbument Chamber. It’s crafted using Glass and Wood — a very easy early-game recipe. Place jars near your crafting stations so they can draw from them automatically.
Source Links
Source Links are the primary way to generate Source and fill your Source Jars passively. Here is a breakdown of every Source Link in Ars Nouveau:
Agronomic Source Link
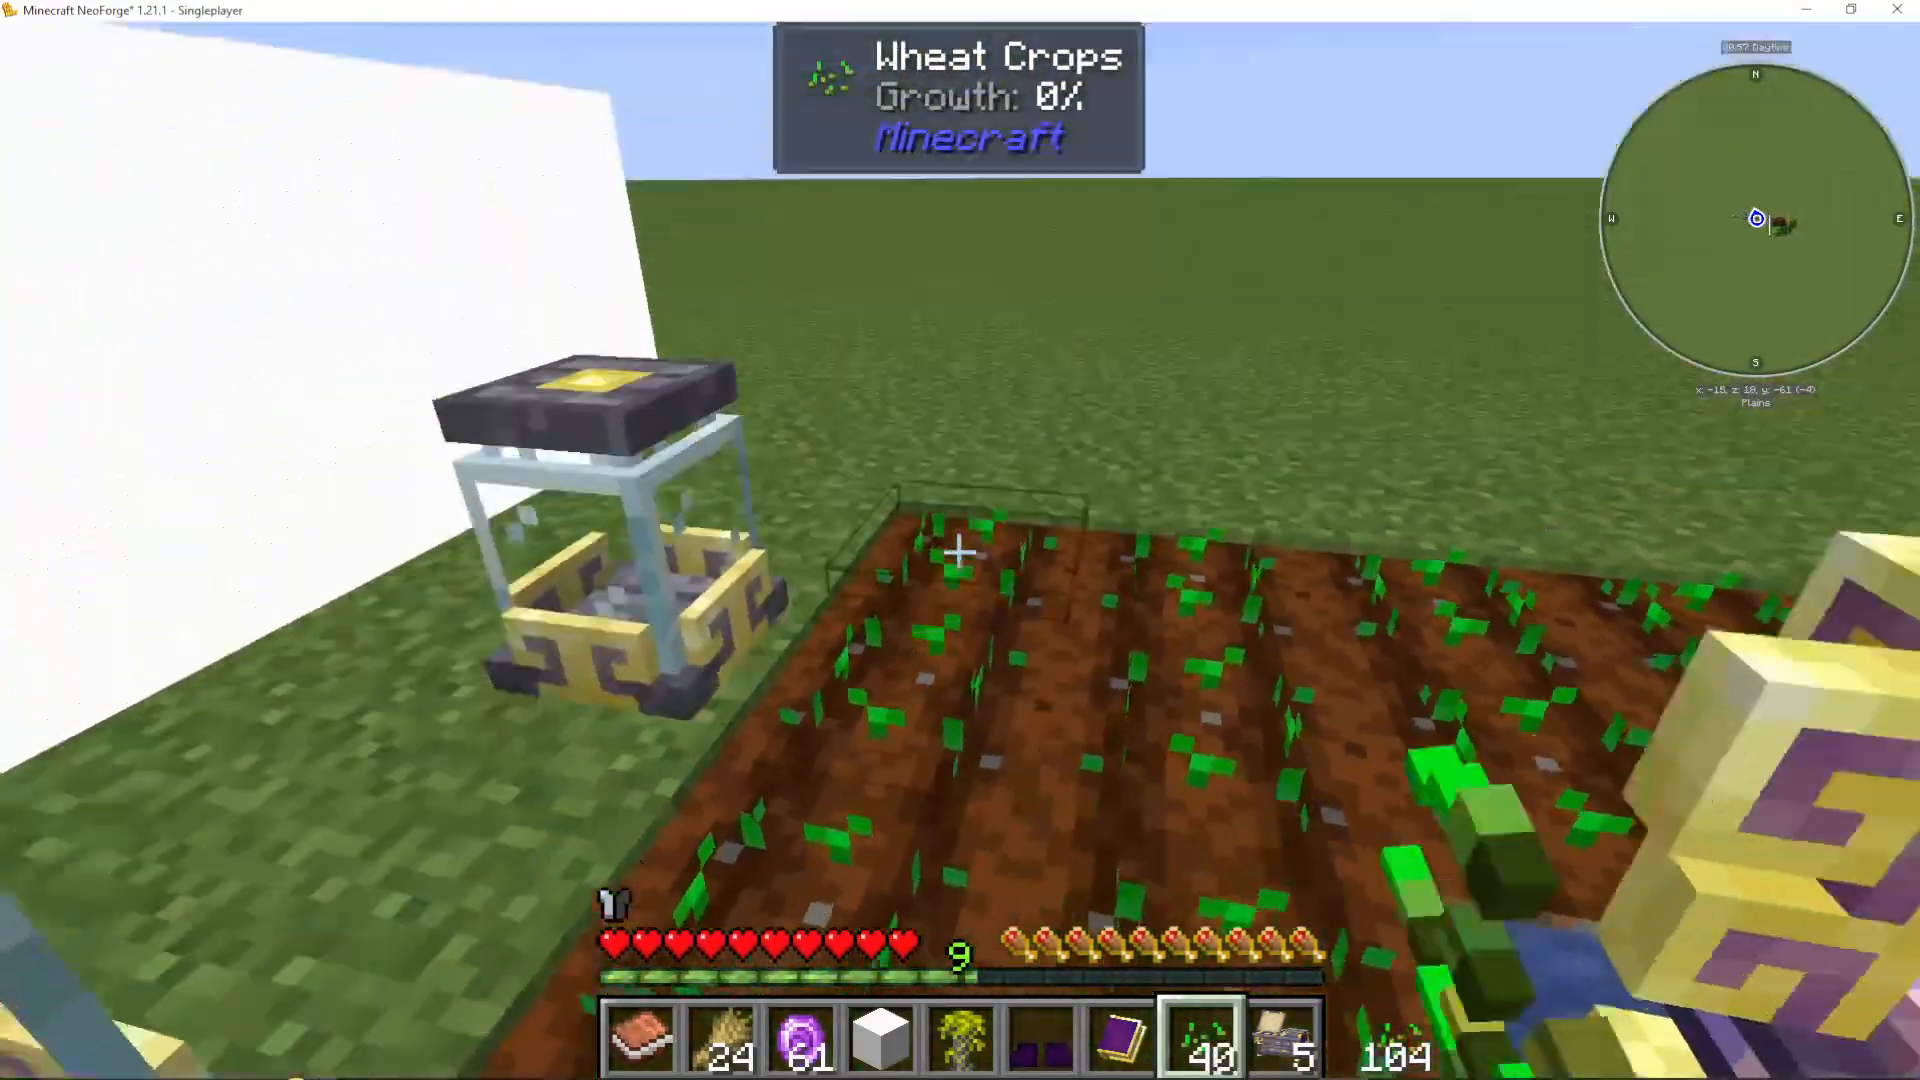
Crafted using two Source Gems. This link generates Source whenever there is a natural growth tick on nearby crops or trees — not from Bone Meal, only natural growth. The Source it generates is automatically pushed into a nearby Source Jar. This is the best early-game Source generator. A four-by-five wheat area can fill a jar to roughly 32% relatively quickly.
Volcanic Source Link
Generates Source by consuming burnable items. Regular logs produce a standard amount of Source; Arcwood Logs produce a bonus amount; and Blazing Arcwood generates the most. As a byproduct, it also produces heat, which can spawn Lava Lilies and convert nearby Stone into Lava. It automatically pulls burnable items from surrounding Pedestals and outputs Source to nearby Source Jars, starting with the closest.
Vitalic Source Link
Generates a moderate amount of Source from nearby mob deaths and animal breeding. It also passively generates Source from nearby baby animals and accelerates their growth — making it an excellent addition next to a mob farm.
Alchemical Source Link
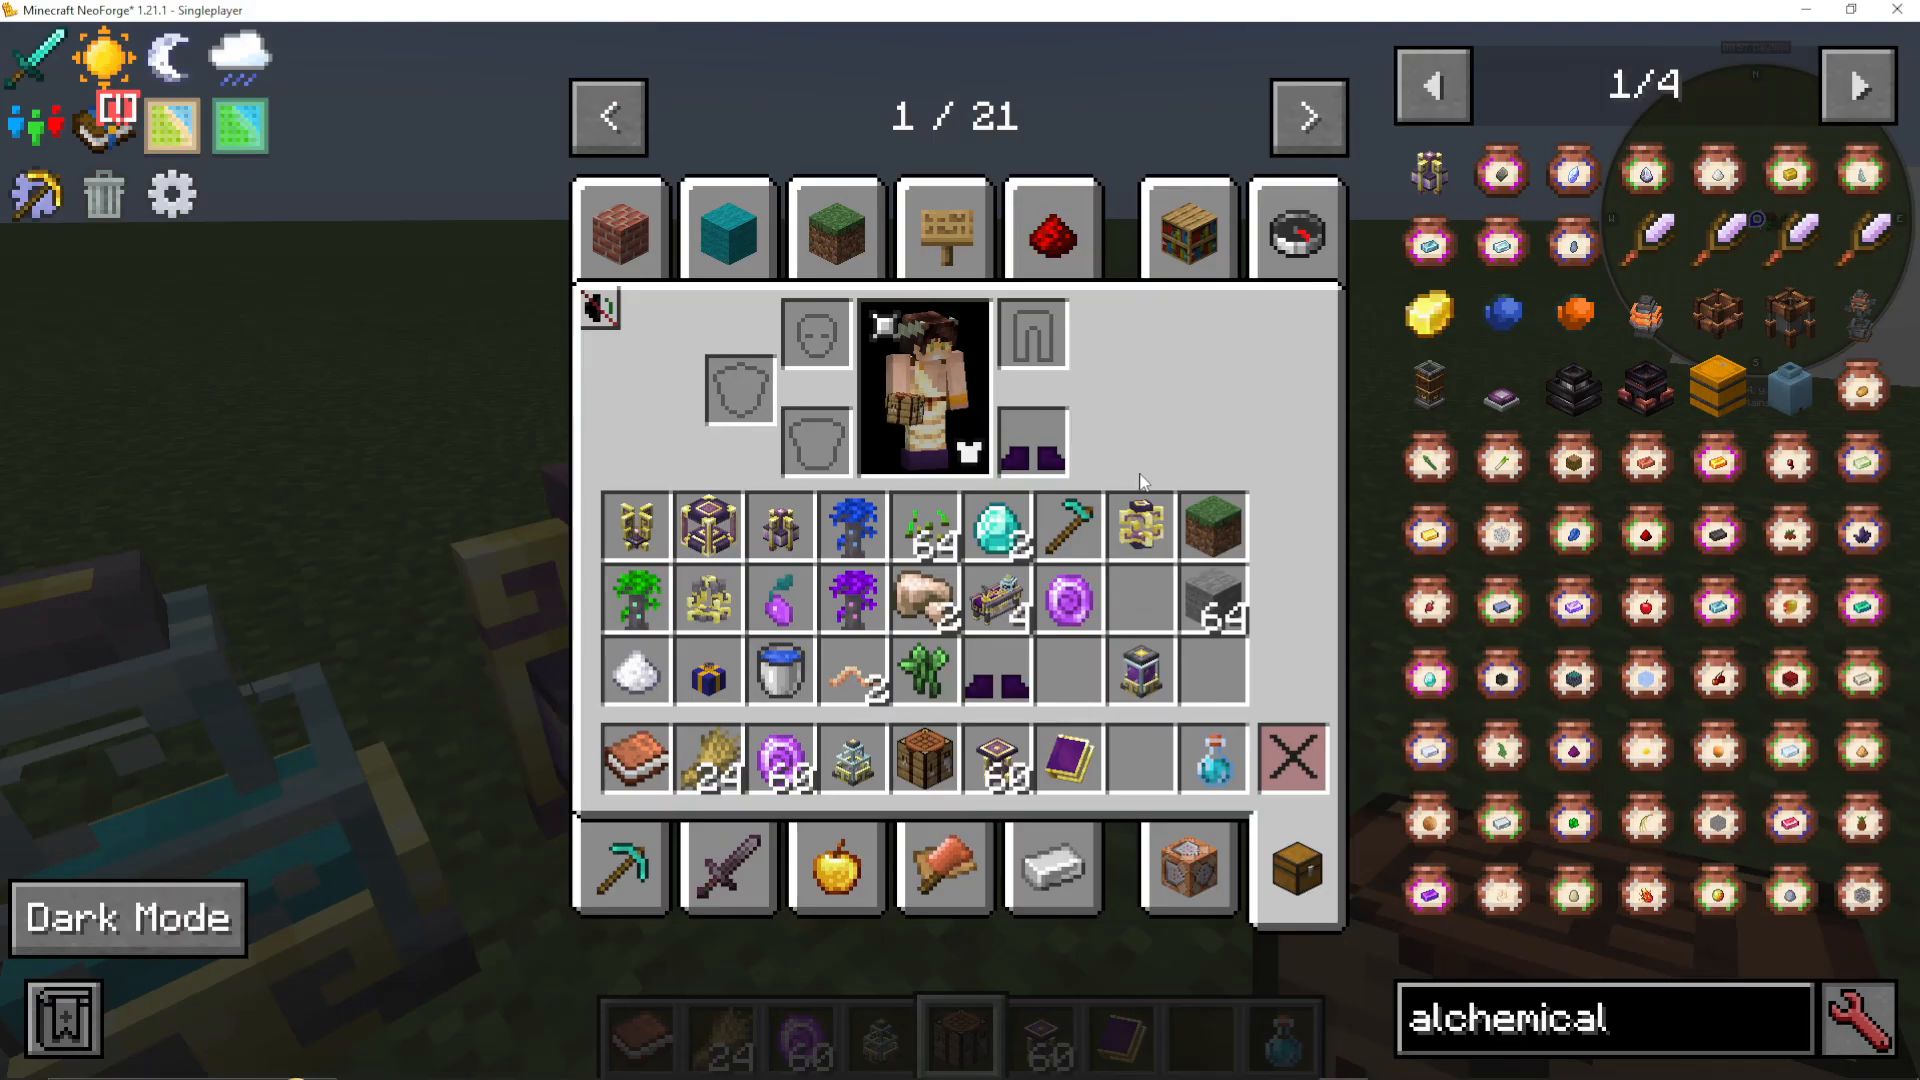
Generates Source by consuming potions from adjacent Potion Jars. The amount of Source varies per potion and scales with the complexity of the potion. To use this, you will first need to craft Potion Jars, which require Apothecary Essence (made in the Imbument Chamber using 2000 Source).
Mycelial Source Link
Generates a moderate amount of Source from nearby food items, generating more for more nutritious food. Notably, Source Berries are worth far more than mundane foods. As a side effect, it converts nearby Grass or Dirt in a three-by-three area below it into Mycelium and grows Mushrooms in empty spaces. It also pulls items from nearby Pedestals.
The Enchanting Apparatus
The Enchanting Apparatus is your advanced crafting station in Ars Nouveau — think of it as the upgraded version of the Imbument Chamber, used for more powerful recipes. Setting it up requires three components:
Craft an Arcane Core using Source Stone and Source Gems, and place it on the ground.
Place the Enchanting Apparatus directly on top of the Arcane Core.
Surround it with up to eight Pedestals — place them at the corners and sides, one block out from the apparatus.
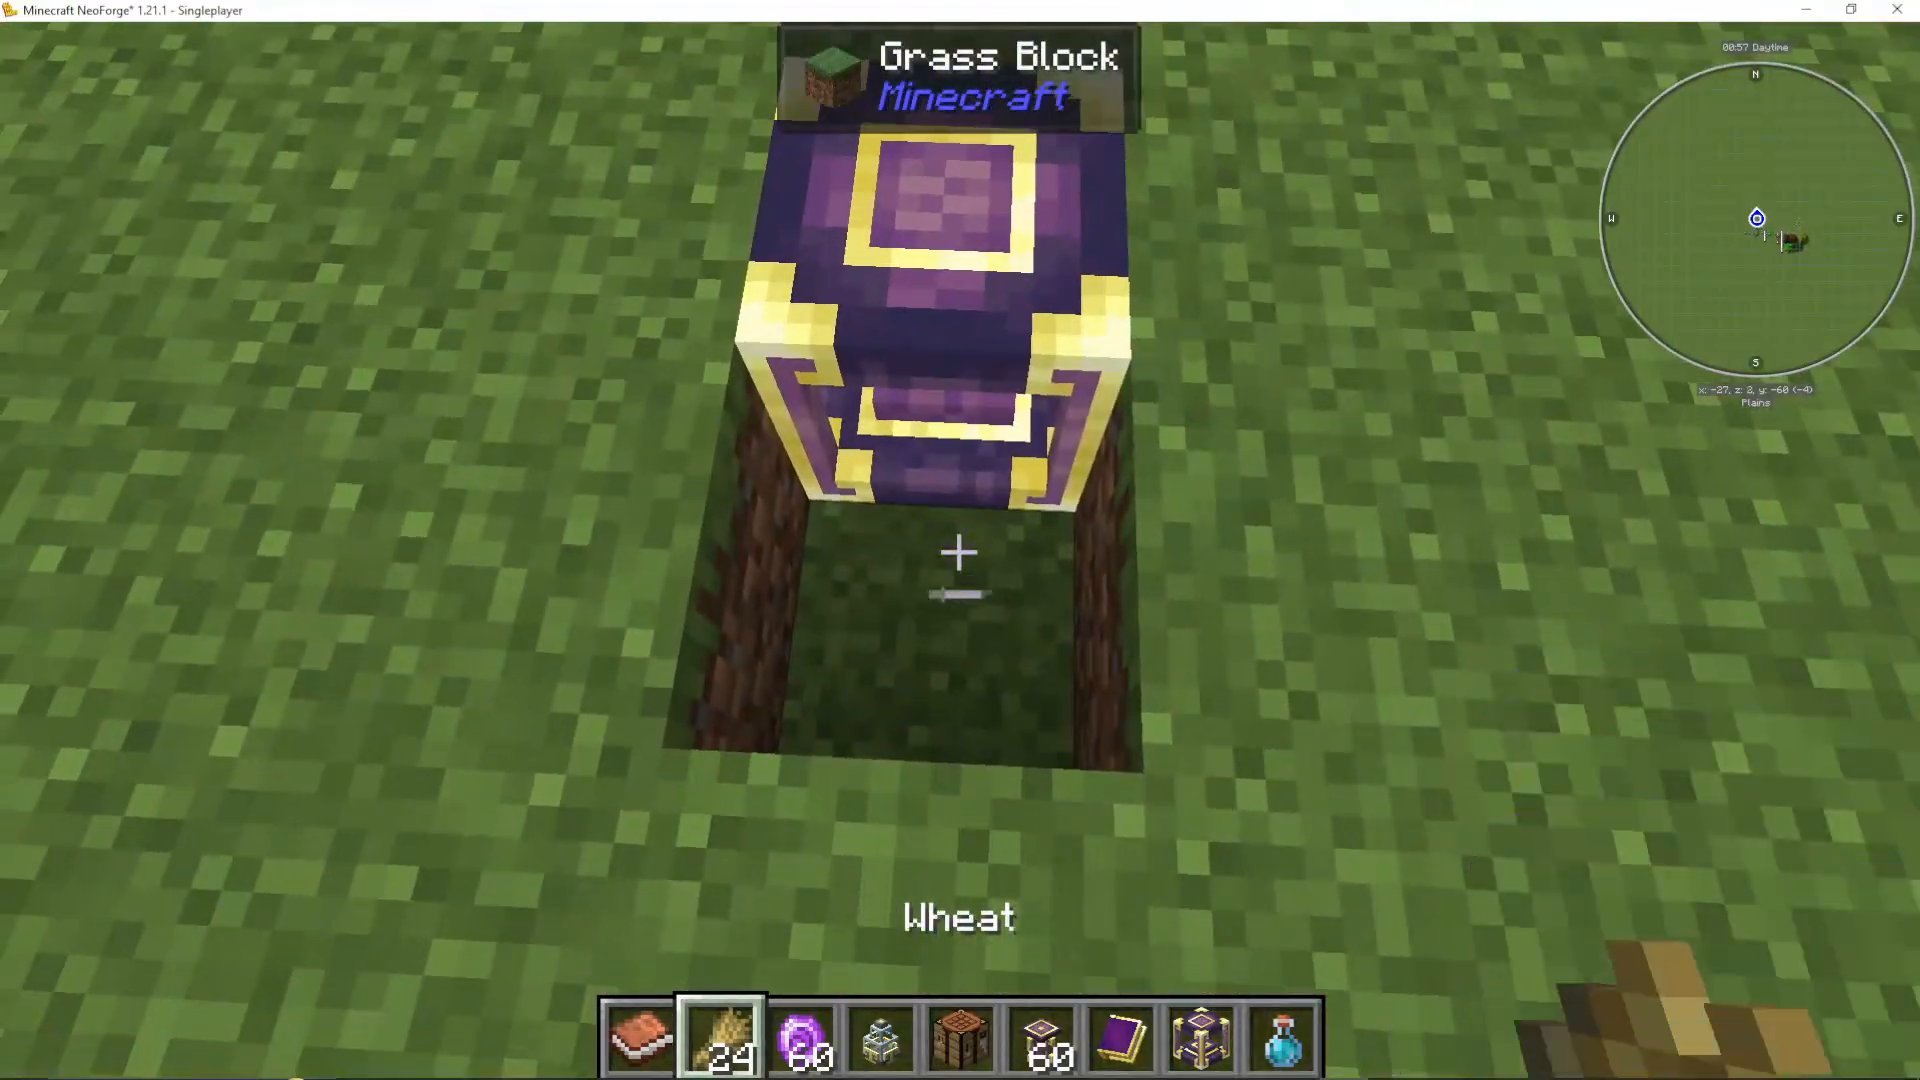
To craft something, place the catalyst item in the centre of the Enchanting Apparatus, place the required ingredient items on surrounding Pedestals, and make sure a Source Jar with sufficient Source is nearby. The apparatus will draw Source automatically to complete the craft.
First Craft: Magebloom Seeds
The first thing you should craft in the Enchanting Apparatus is a Magebloom Seed. Place a regular Seed in the centre and four Source Gems on the surrounding Pedestals.
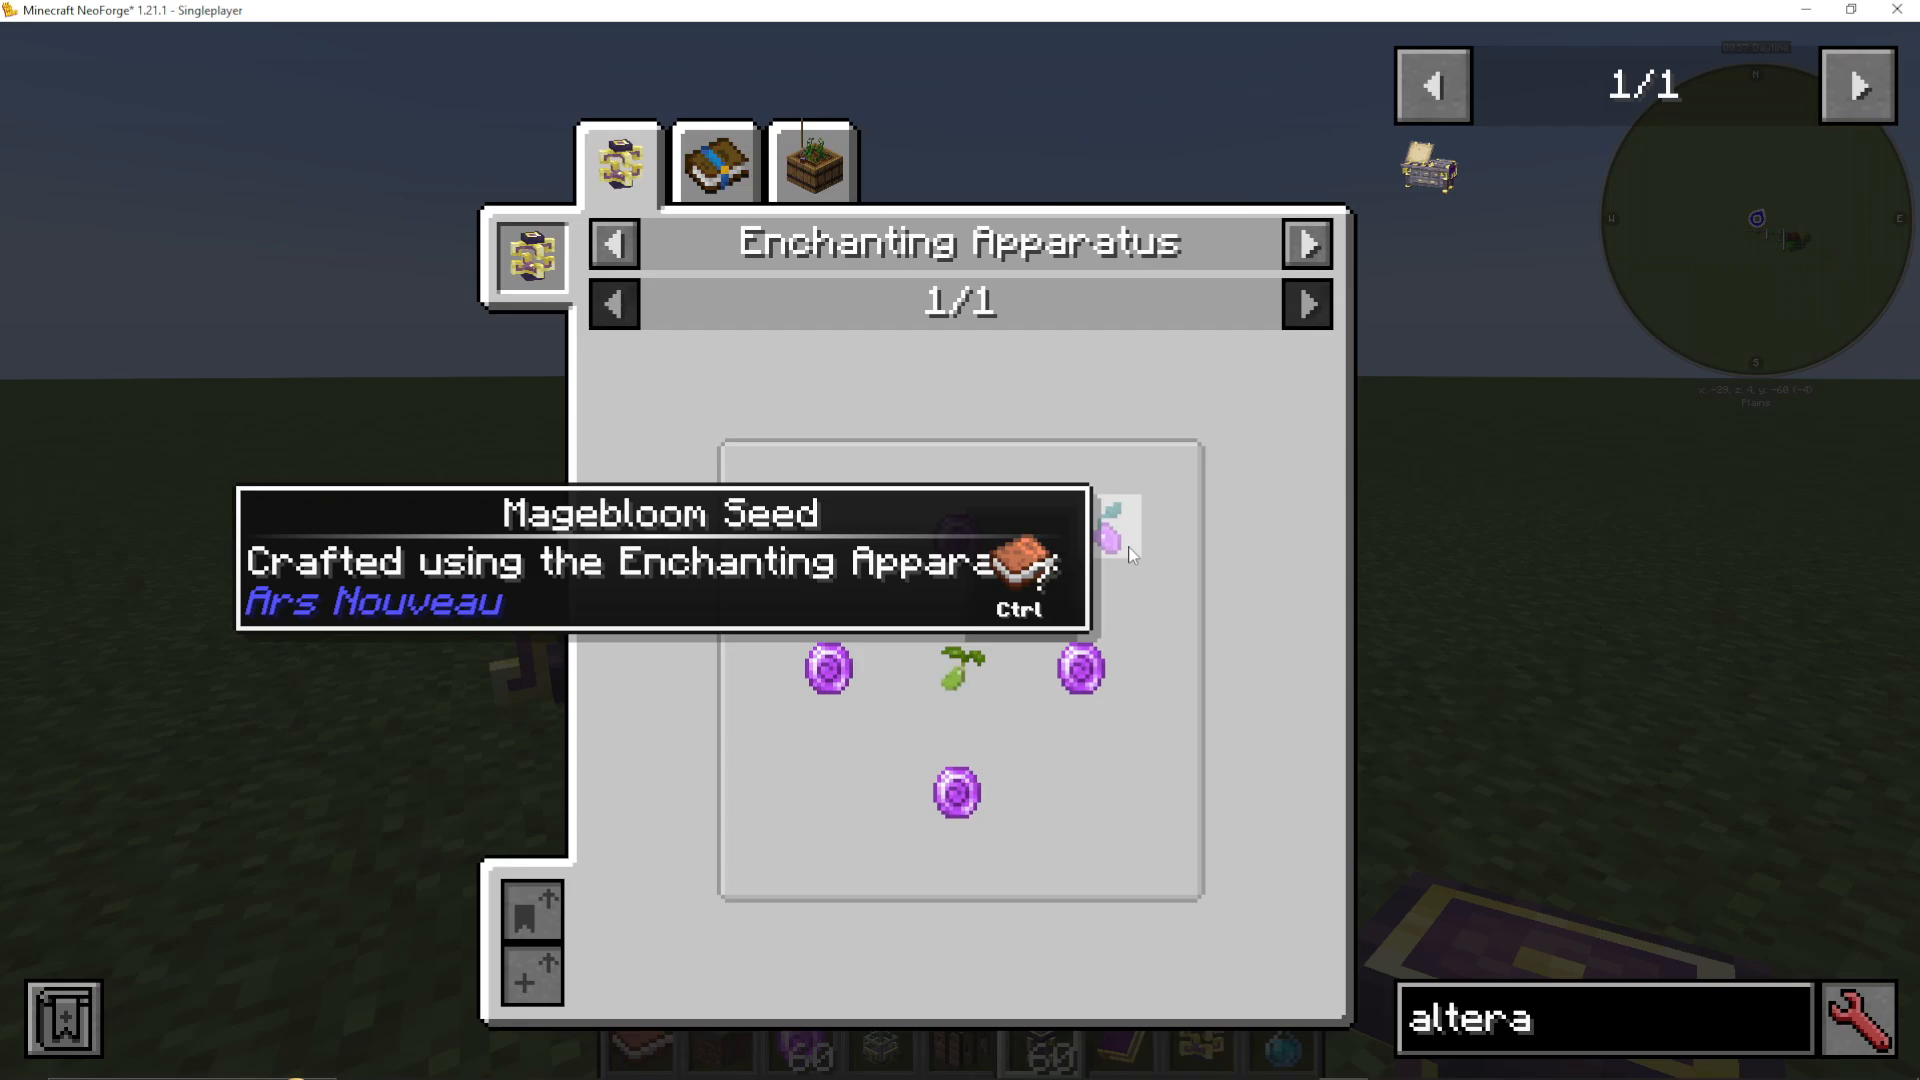
Once crafted, plant your Magebloom Seeds on farmland. Magebloom is critical because:
When grown, it provides significantly more Source to a nearby Agronomic Source Link than mundane crops like wheat.
Fully grown plants yield Magebloom Fiber, which is used in crafting gear and other important items.
Magebloom can be brewed into a Potion of Spell Damage, increasing your spell damage output.
Upgrading Your Mana Pool
Before diving into gear, here’s an important tip: every glyph you unlock increases your maximum Mana. The more spells you unlock in the Scribes Table, the larger your Mana bar becomes. Make it a priority to unlock as many glyphs as possible early on. Gear upgrades also increase Mana, which we’ll cover next.
Crafting and Upgrading Sorcerer’s Gear
The Alteration Table
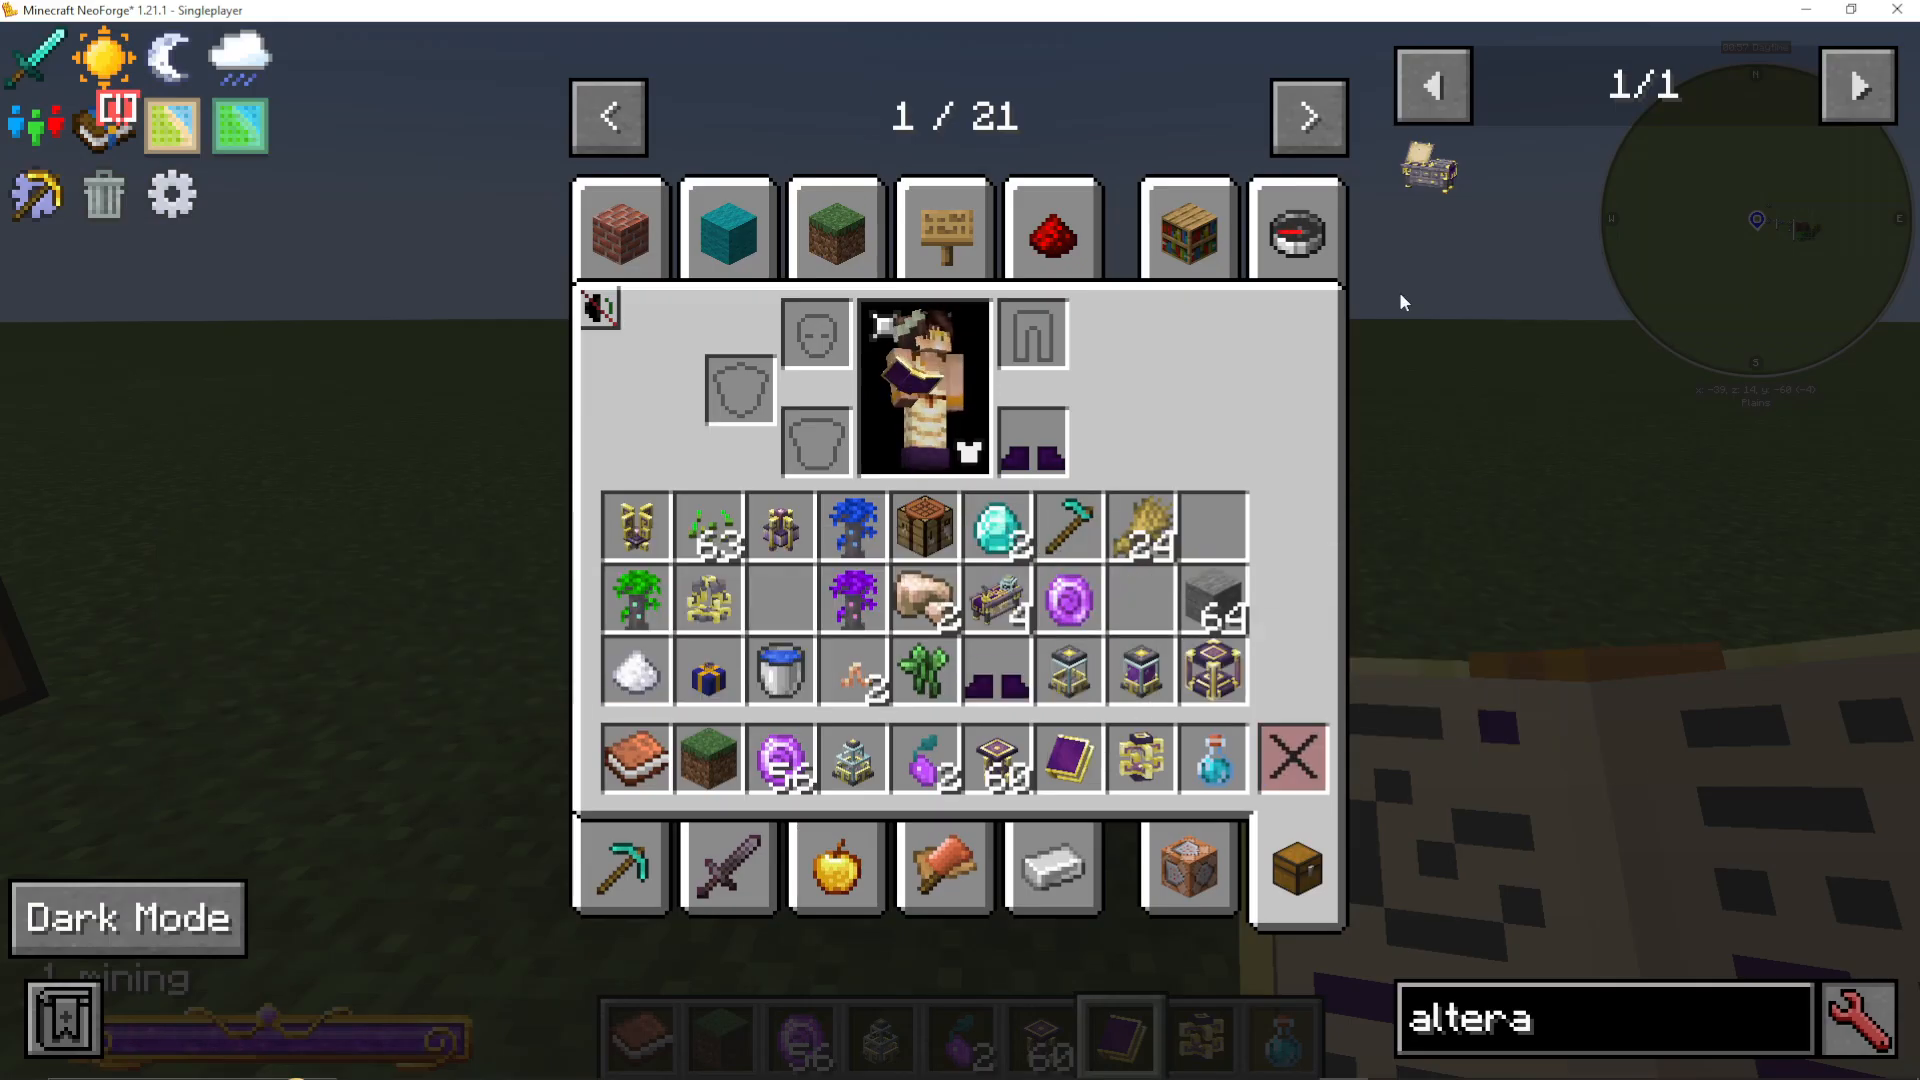
To modify magical armour, you need an Alteration Table. Craft it by surrounding a Scribes Table (the one you made for your spells) with four Magebloom in a crafting recipe.
Crafting Sorcerer’s Armour
All four pieces of magical armour are crafted in the Enchanting Apparatus using four Magebloom Fiber and the corresponding Gold armour piece in the centre. For example:
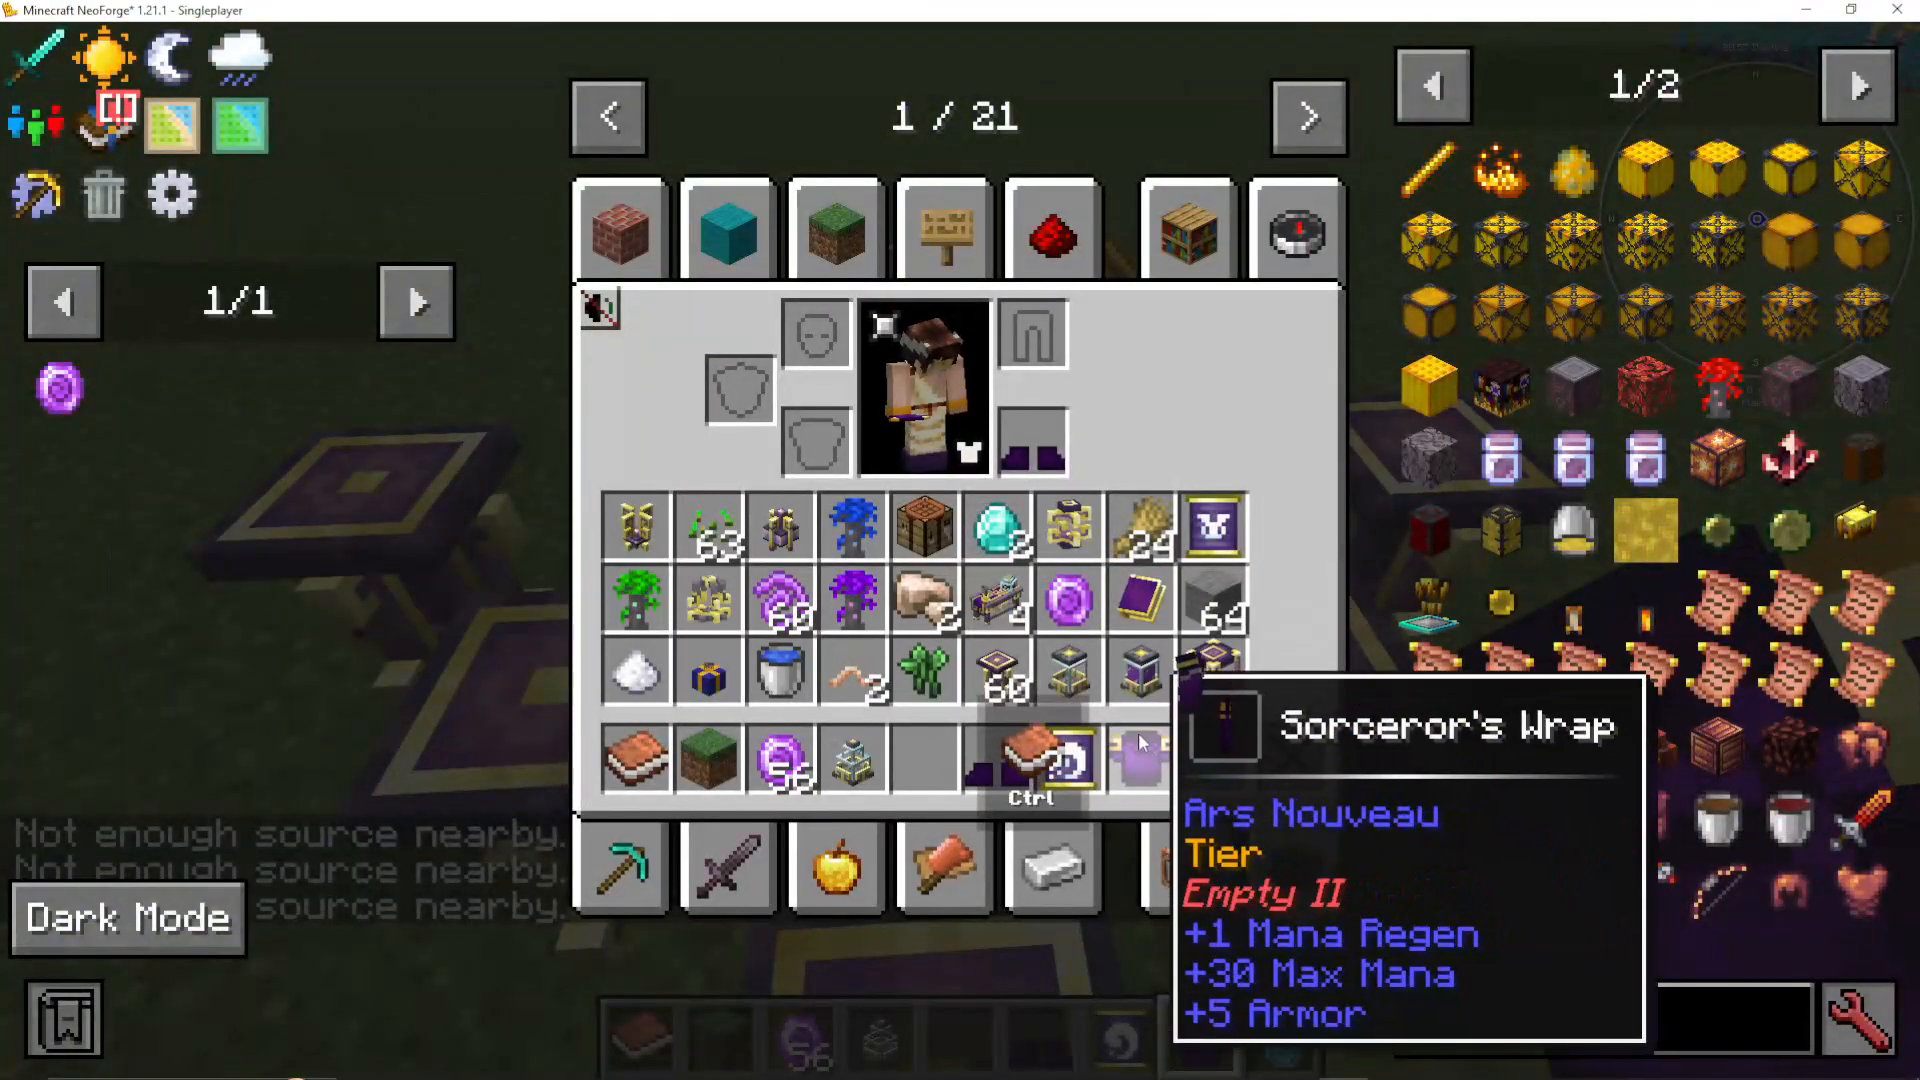
Four Magebloom Fiber + Gold Boots = Sorcerer’s Foot Pads (Tier 1: +1 Mana Regen, +30 Mana, +1 Armour)
Four Magebloom Fiber + Gold Chestplate = Sorcerer’s Wrap
Repeat the same pattern for Leggings and Helmet.
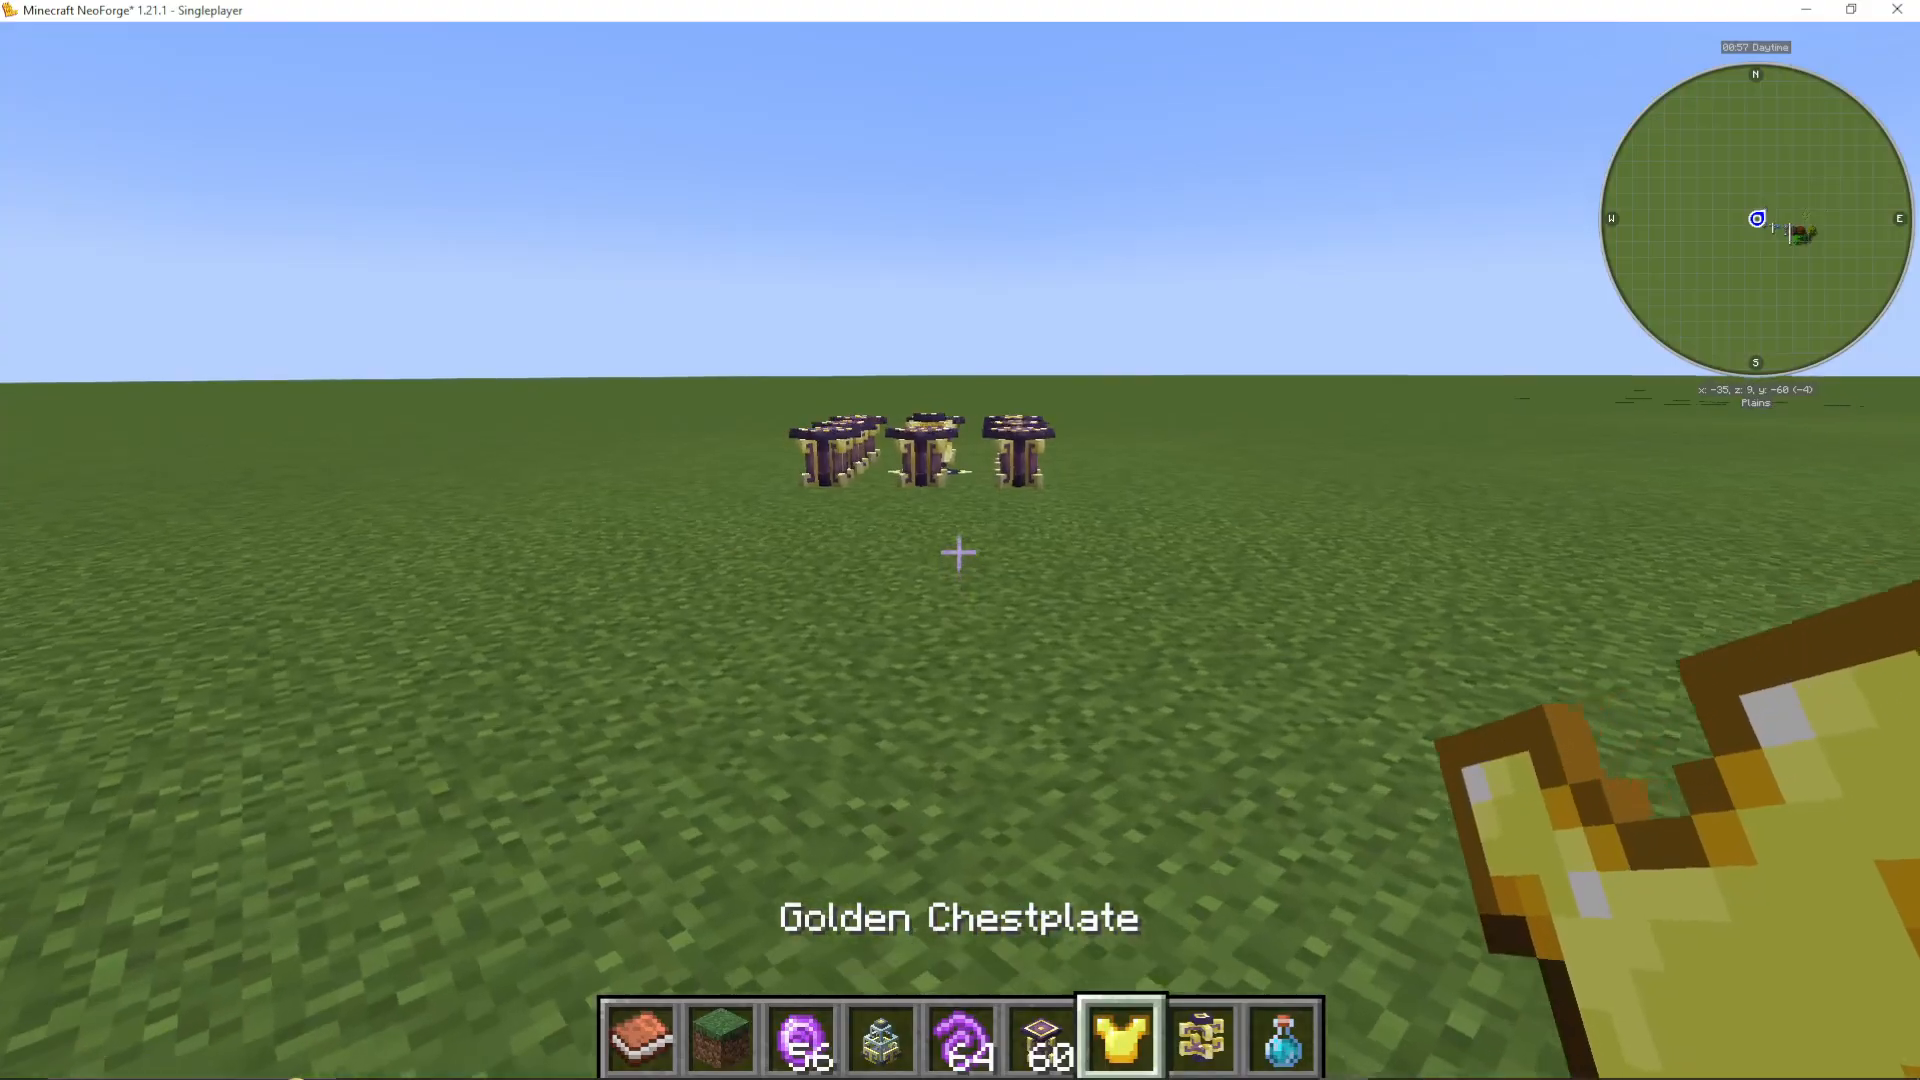
There are several armour set types in Ars Nouveau, each with different strengths:
Sorcerer’s Set — enhances spells and Mana.
Arcanist’s Set — a versatile magic-focused set.
Battle Mage’s Set — provides +8 Armour, best for combat-oriented playstyles.
Pyromancer’s Set — absorbs fire damage and converts it into Mana.
Abjurer’s Set — absorbs air-related damage.
Aqua and Geomancer Sets — for water and earth damage absorption, respectively.
Understanding Threads
Each piece of magical armour has Thread slots that can hold upgrades called Threads. The number and tier of available slots depends on the tier of the armour piece:
Tier 1 Helmet — one Tier 1 Thread slot.
Tier 2 Helmet — one Tier 1 and one Tier 2 Thread slot.
Tier 3 Helmet — one Tier 1, one Tier 2, and one Tier 3 Thread slot.
Tier 1 Chestplate — one Tier 2 Thread slot.
Tier 2 Chestplate — one Tier 1 and one Tier 2 Thread slot.
Tier 3 Chestplate — two Tier 2 and one Tier 3 Thread slot.
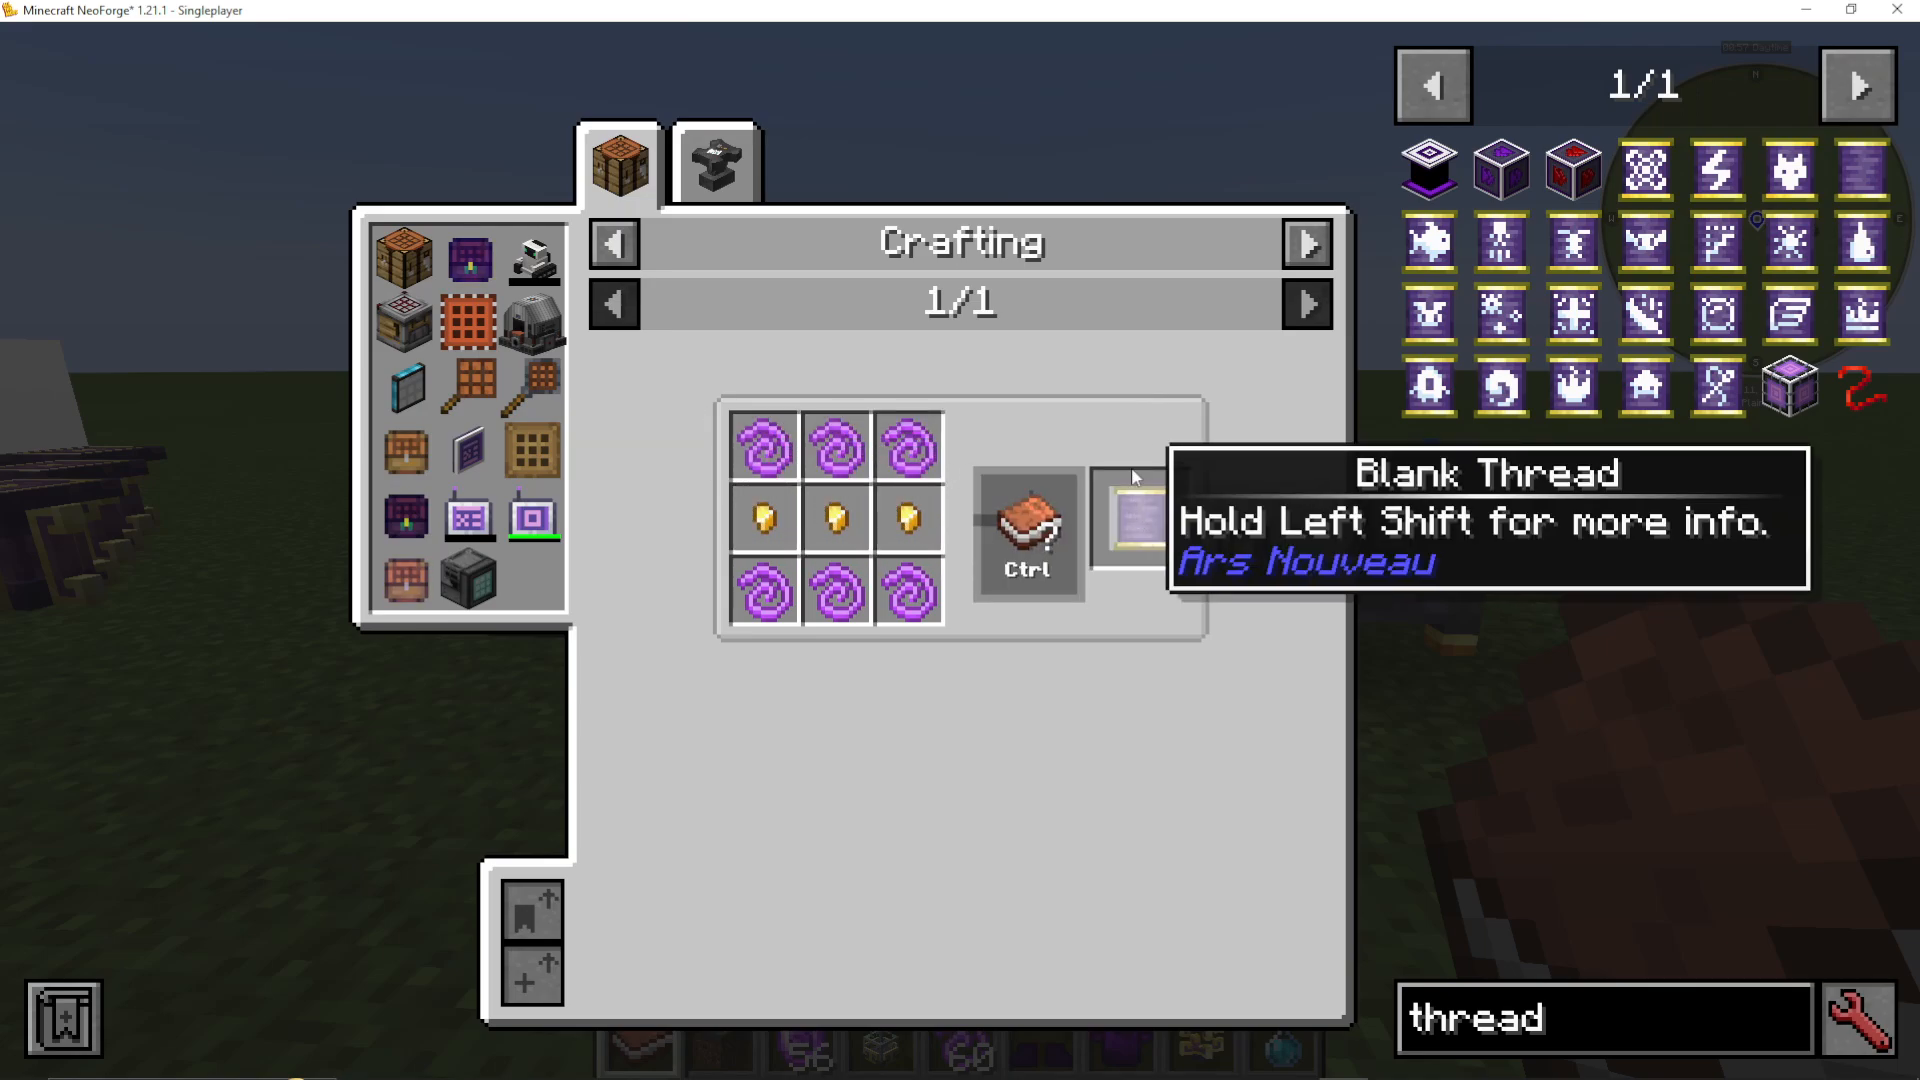
A great early-game Thread to craft is the Thread of Magic Capacity, which requires three Magebloom and three Source Berries in the Enchanting Apparatus with a Blank Thread in the centre. It increases maximum Mana by 10% per thread.
To craft a Blank Thread, use Magebloom Fiber with Gold Nuggets.
Applying Threads to Armour
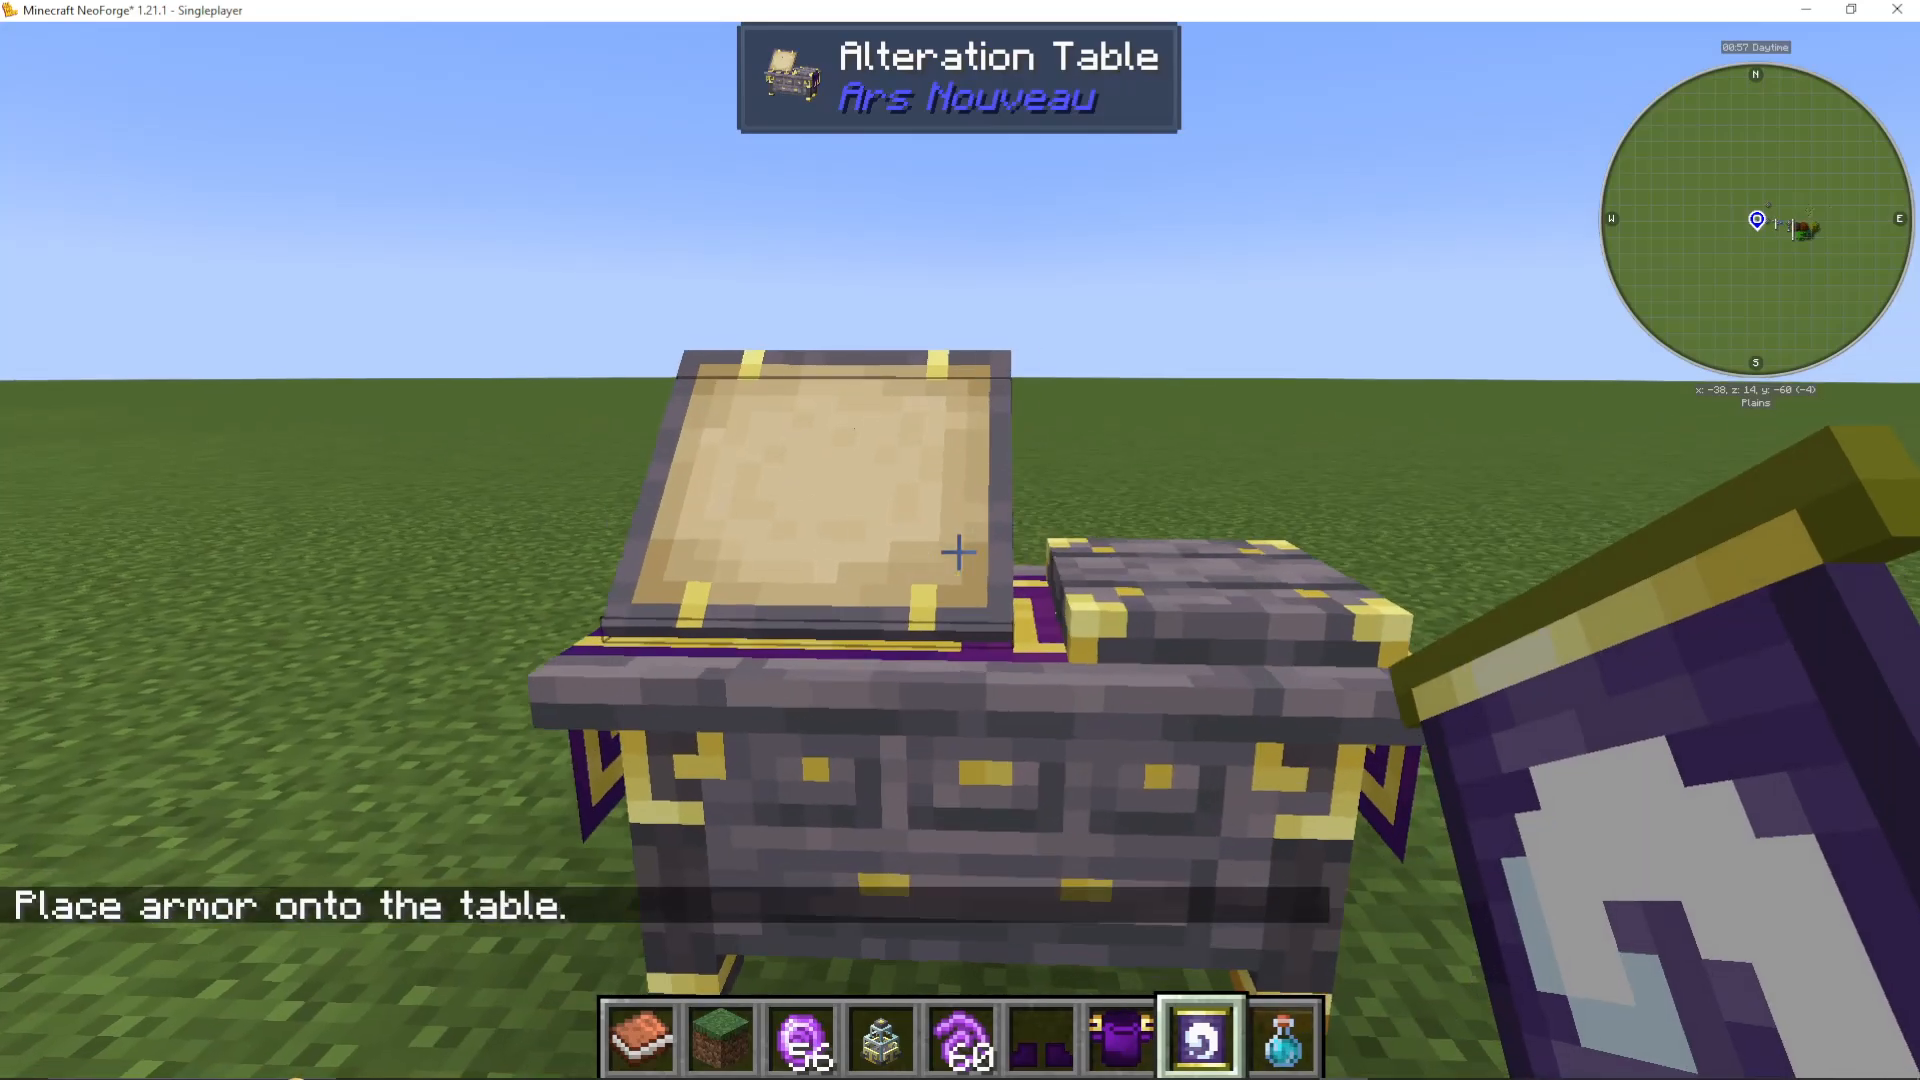
To apply a Thread to a piece of armour, place the armour piece on the Alteration Table, then right-click the table with the Thread. Right-click the armour piece on the table to apply it. The armour piece will update to show the new bonus — for example, the Sorcerer’s Wrap with a Thread of Magic Capacity will display “+20% Max Mana.”
Upgrading Armour Tiers
To upgrade a piece of magical armour from Tier 1 to Tier 2, place it in the Enchanting Apparatus with two Blaze Rods on surrounding Pedestals. This requires 2,500 Source nearby. To upgrade from Tier 2 to Tier 3, use a Chorus Fruit and two Ender Pearls, requiring 5,000 Source.
Starting Automation: Star Bunkels
Once you’ve got Source generation and gear sorted, it’s time to start automating tasks using Star Bunkels — the adorable magical creatures of Ars Nouveau.
Finding and Taming a Star Bunkel
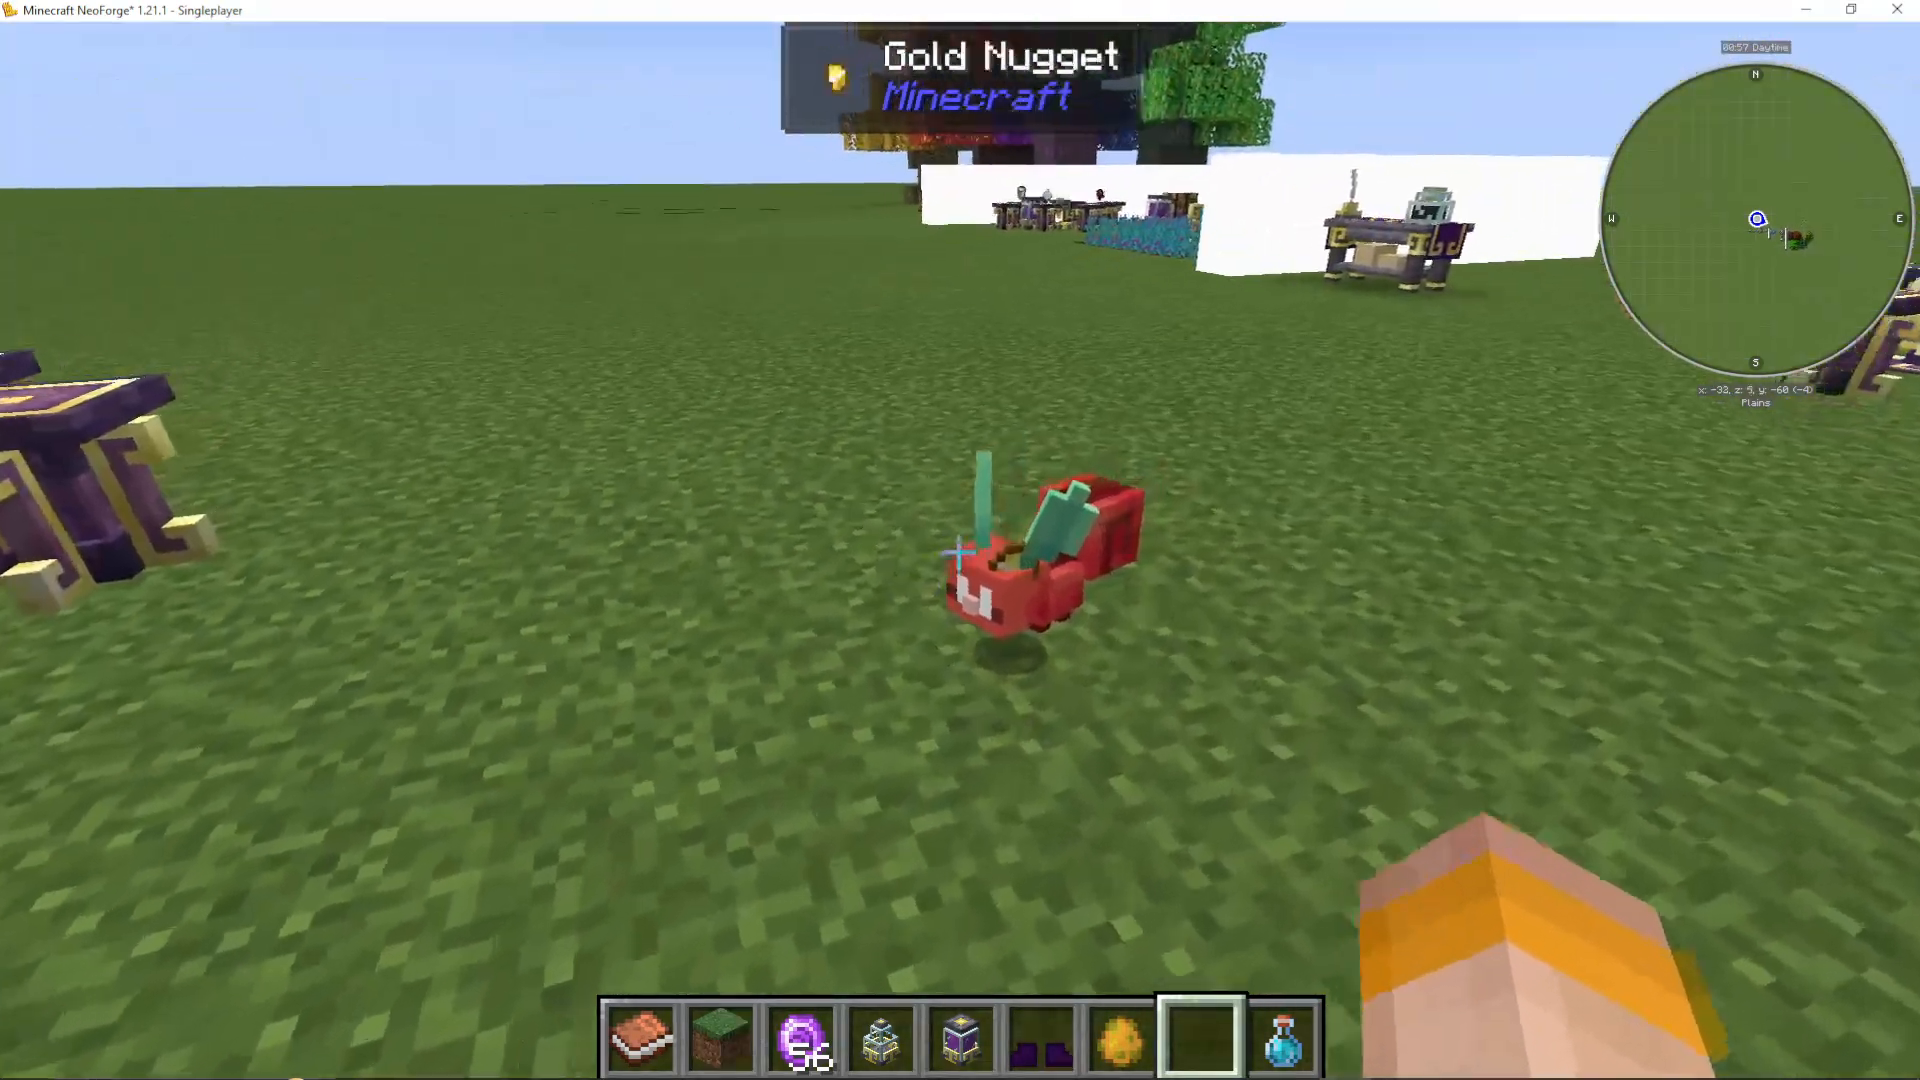
Star Bunkels naturally spawn in wooded areas. They are shy and will run away from you — unless you’re holding a Gold Nugget. Hold a Gold Nugget and drop it near a wild Star Bunkel. It will run over, pick it up, and transform into a Star Bunkel Token that goes into your inventory.
Summoning a Star Bunkel
To summon your own Star Bunkel, you need two items:
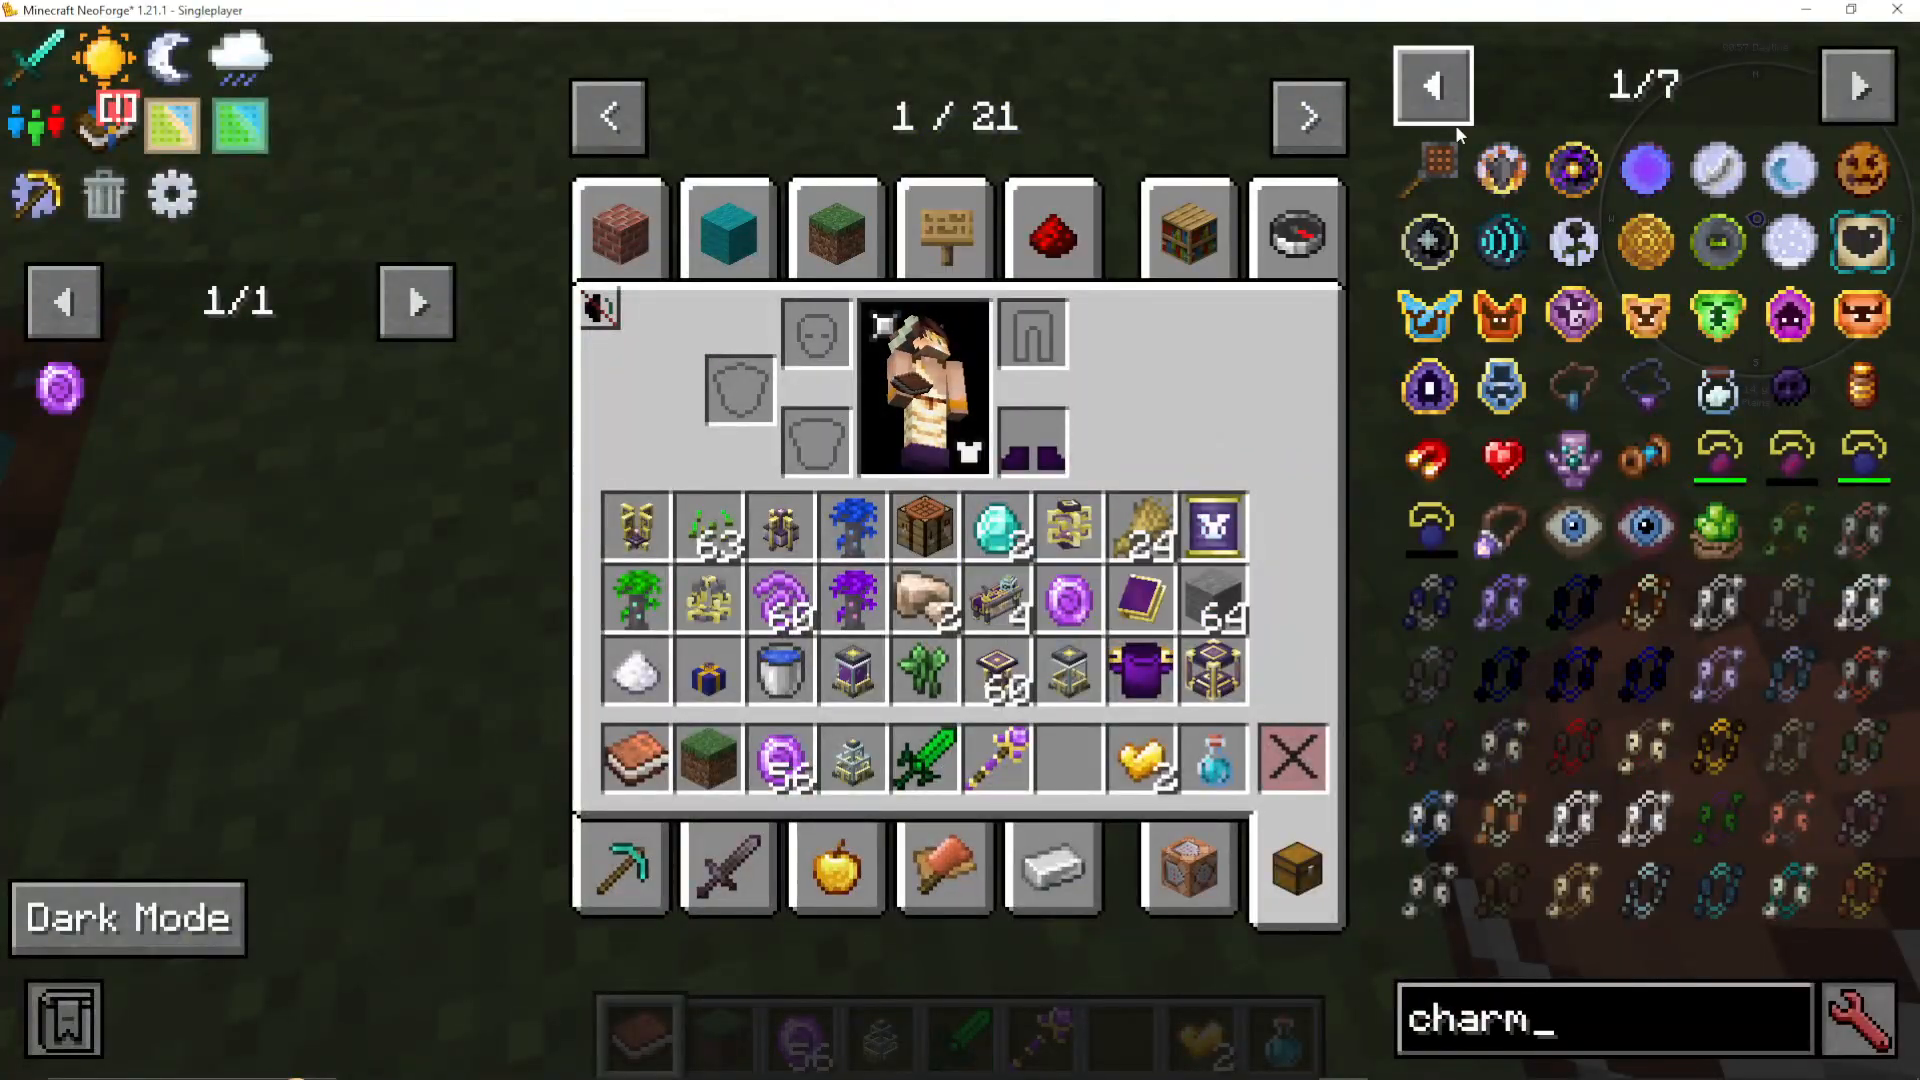
Star Bunkel Charm — crafted in the Enchanting Apparatus using a Star Bunkel Token and four Gold Nuggets.
Dominion Wand — crafted in the Enchanting Apparatus using a Stick, two Source Gems, and a Gold Ingot.
Right-click on the ground with the Star Bunkel Charm to summon your Star Bunkel.
Assigning Tasks with the Dominion Wand
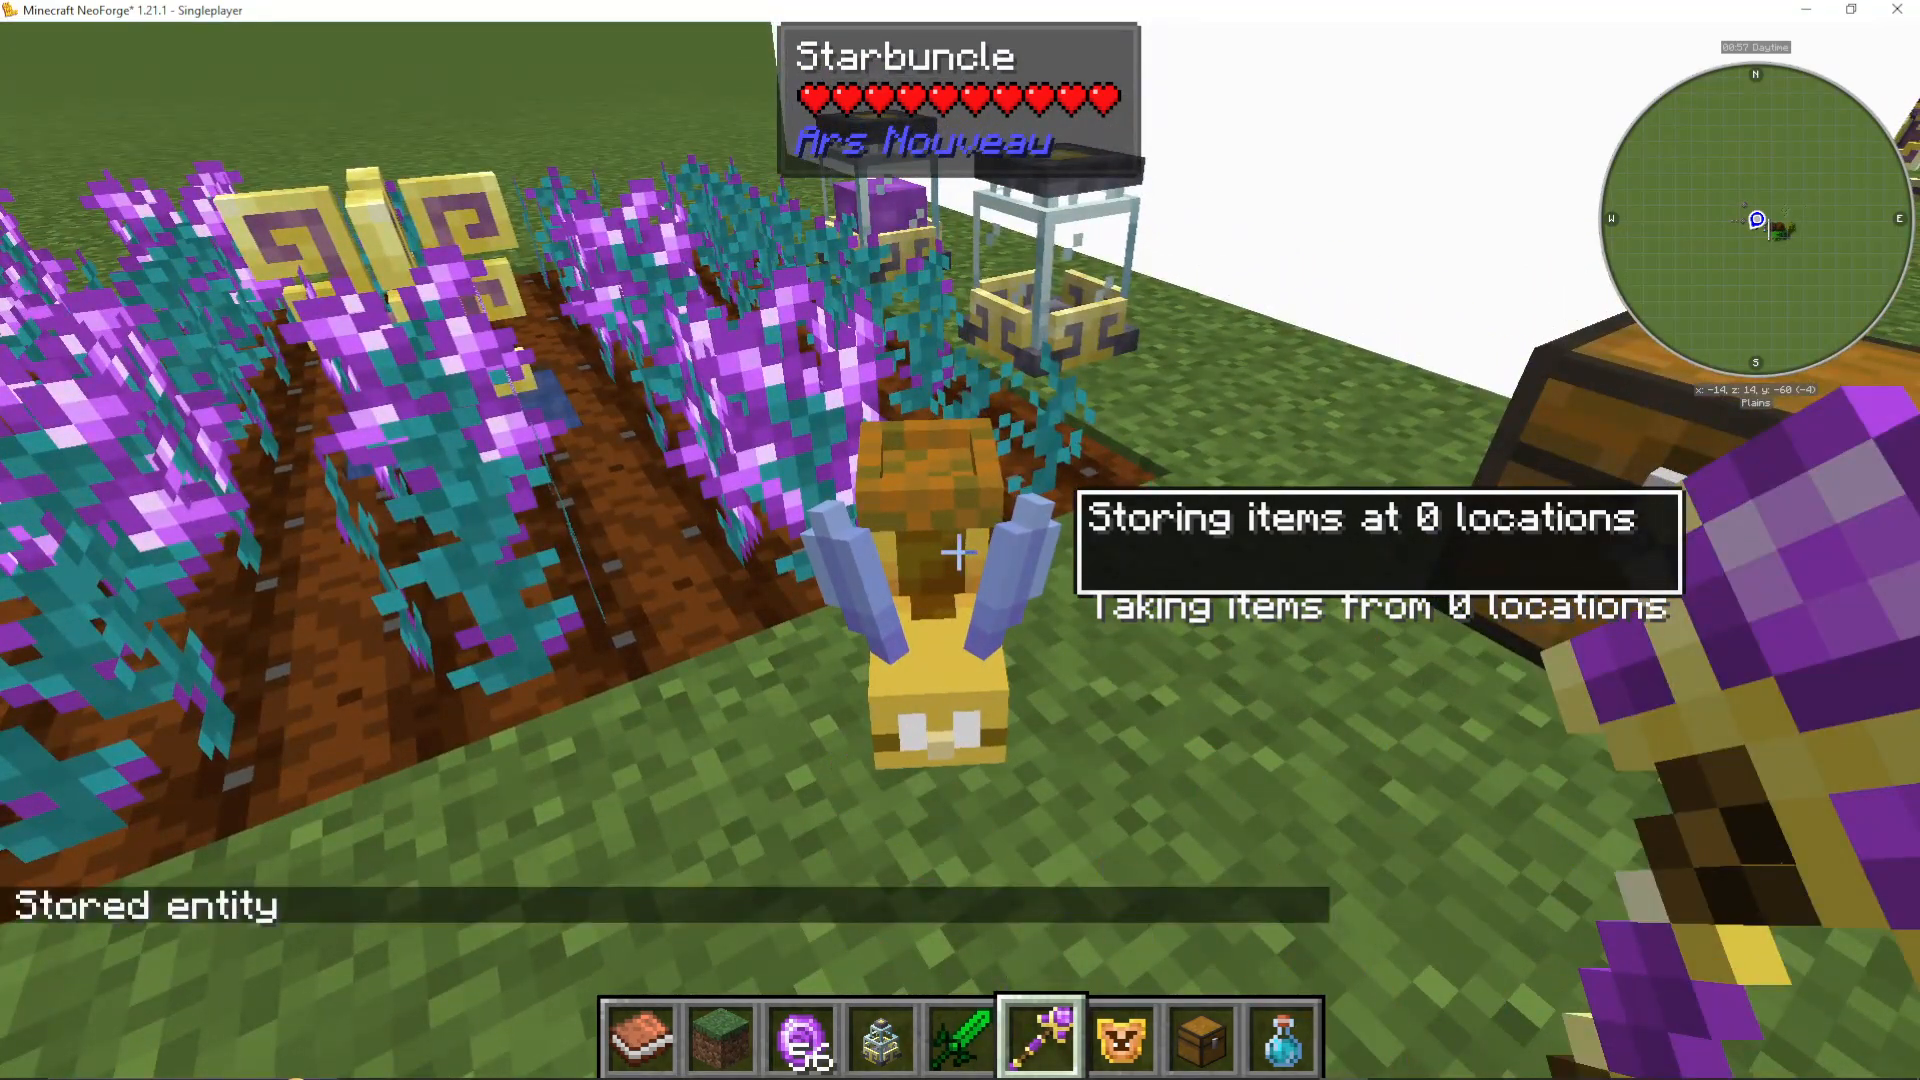
Use the Dominion Wand to give your Star Bunkel instructions:
To set a storage destination: Right-click the Star Bunkel with the Dominion Wand to store the entity, then Shift + Right-click a Chest. The Star Bunkel will now deposit items into that chest.
To filter what it picks up: Place an Item Frame on a chest with the desired item inside. The Star Bunkel will only pick up items matching that filter.
To clear tasks: Shift + Right-click the Star Bunkel with the Dominion Wand.
To set a home (bed): Craft a Magebloom Bed (using Magebloom Fiber) and Shift + Right-click it after right-clicking the Star Bunkel. The Star Bunkel will return to its bed when it has no active tasks, keeping it out of the way.
Automating Potions with the Wixie Hat
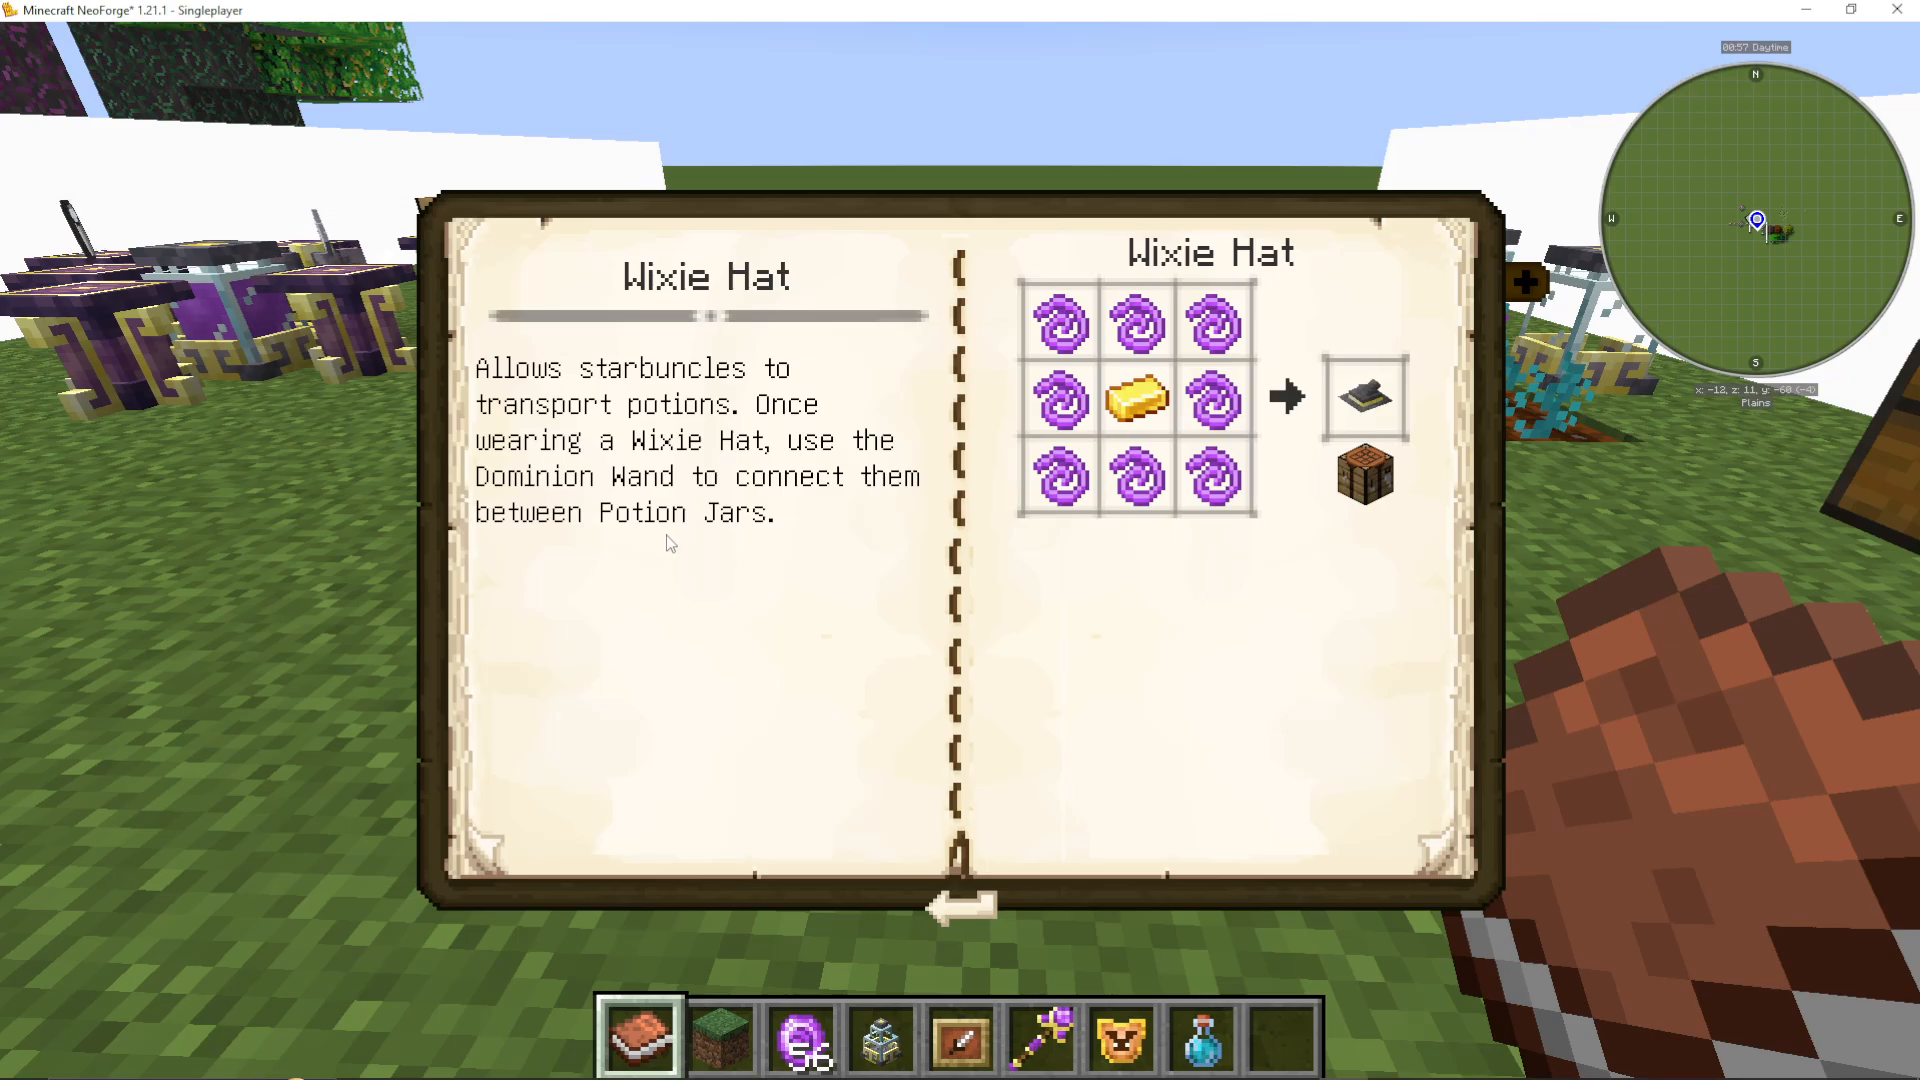
Craft a Wixie Hat (using Magebloom Fiber) and place it on a Star Bunkel. This allows it to transport potions between Potion Jars. Use the Dominion Wand to connect it between Potion Jars — a great way to automate the Alchemical Source Link and keep your Source generation running passively.
Summary and Next Steps
That covers everything you need to get started with Ars Nouveau. Here’s a quick recap of the journey:
Explore for Arcwood Trees and Source Berry Bushes in world generation.
Craft your Worn Notebook and Novice Spell Book.
Build spells using the Scribes Table and amplify them with glyphs.
Set up an Imbument Chamber and Source Links to generate Source passively.
Use the Enchanting Apparatus for advanced crafting, starting with Magebloom Seeds.
Craft and upgrade Sorcerer’s Armour using the Alteration Table and Threads.
Automate tasks using Star Bunkels and the Dominion Wand.
Remember: unlocking as many glyphs as possible early on is one of the best things you can do — each one increases your Mana pool. Experiment freely with combining Forms and Effects in your spells; the possibilities are nearly endless. More advanced topics — including Familiars and full mod mastery — will be covered in dedicated follow-up guides.
Want to Support?
If you would like to help us continue making these guides – please consider joining our patreon here – https://www.patreon.com/c/JaviHeals
Alternatively – we host a group of MC Servers you can join here – https://discord.gg/zD7Gjt6MHF