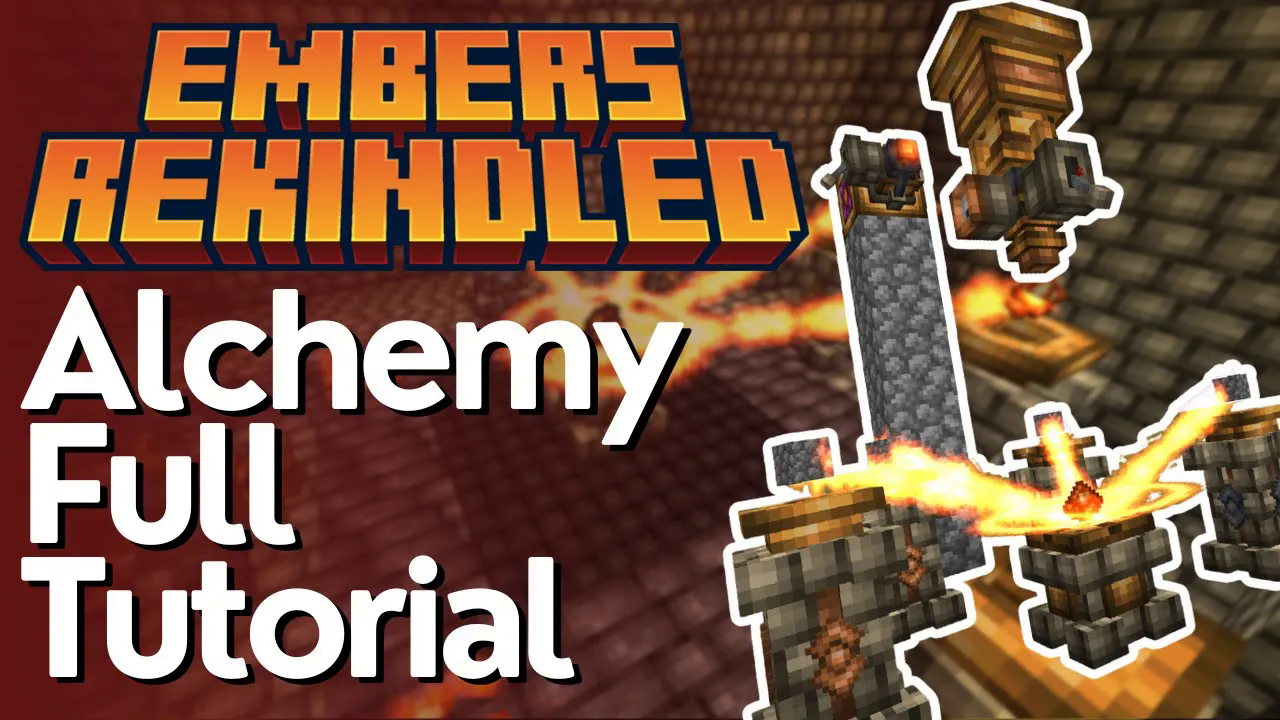
Alchemy Tutorial – Embers Rekindled
Embers Rekindled Alchemy Tutorial – A Complete Beginner’s Guide
Alchemy in Embers Rekindled is one of the mod’s most unique — and admittedly frustrating — systems. Built around trial and error, it requires patience, logic, and a solid understanding of the setup before you start. This guide walks you through everything: the required blocks, how the crafting process works, how to decode failed attempts, and how to use process of elimination to crack the correct recipe every time.
Setting Up Your Alchemy Station
To perform alchemy, you need two key components: an Exchange Tablet placed in the center, and a surrounding array of Alchemy Pedestals. The number of pedestals required varies by recipe — some recipes need four, while others may need more. Set them up in a ring around the Exchange Tablet so that each pedestal is within range.
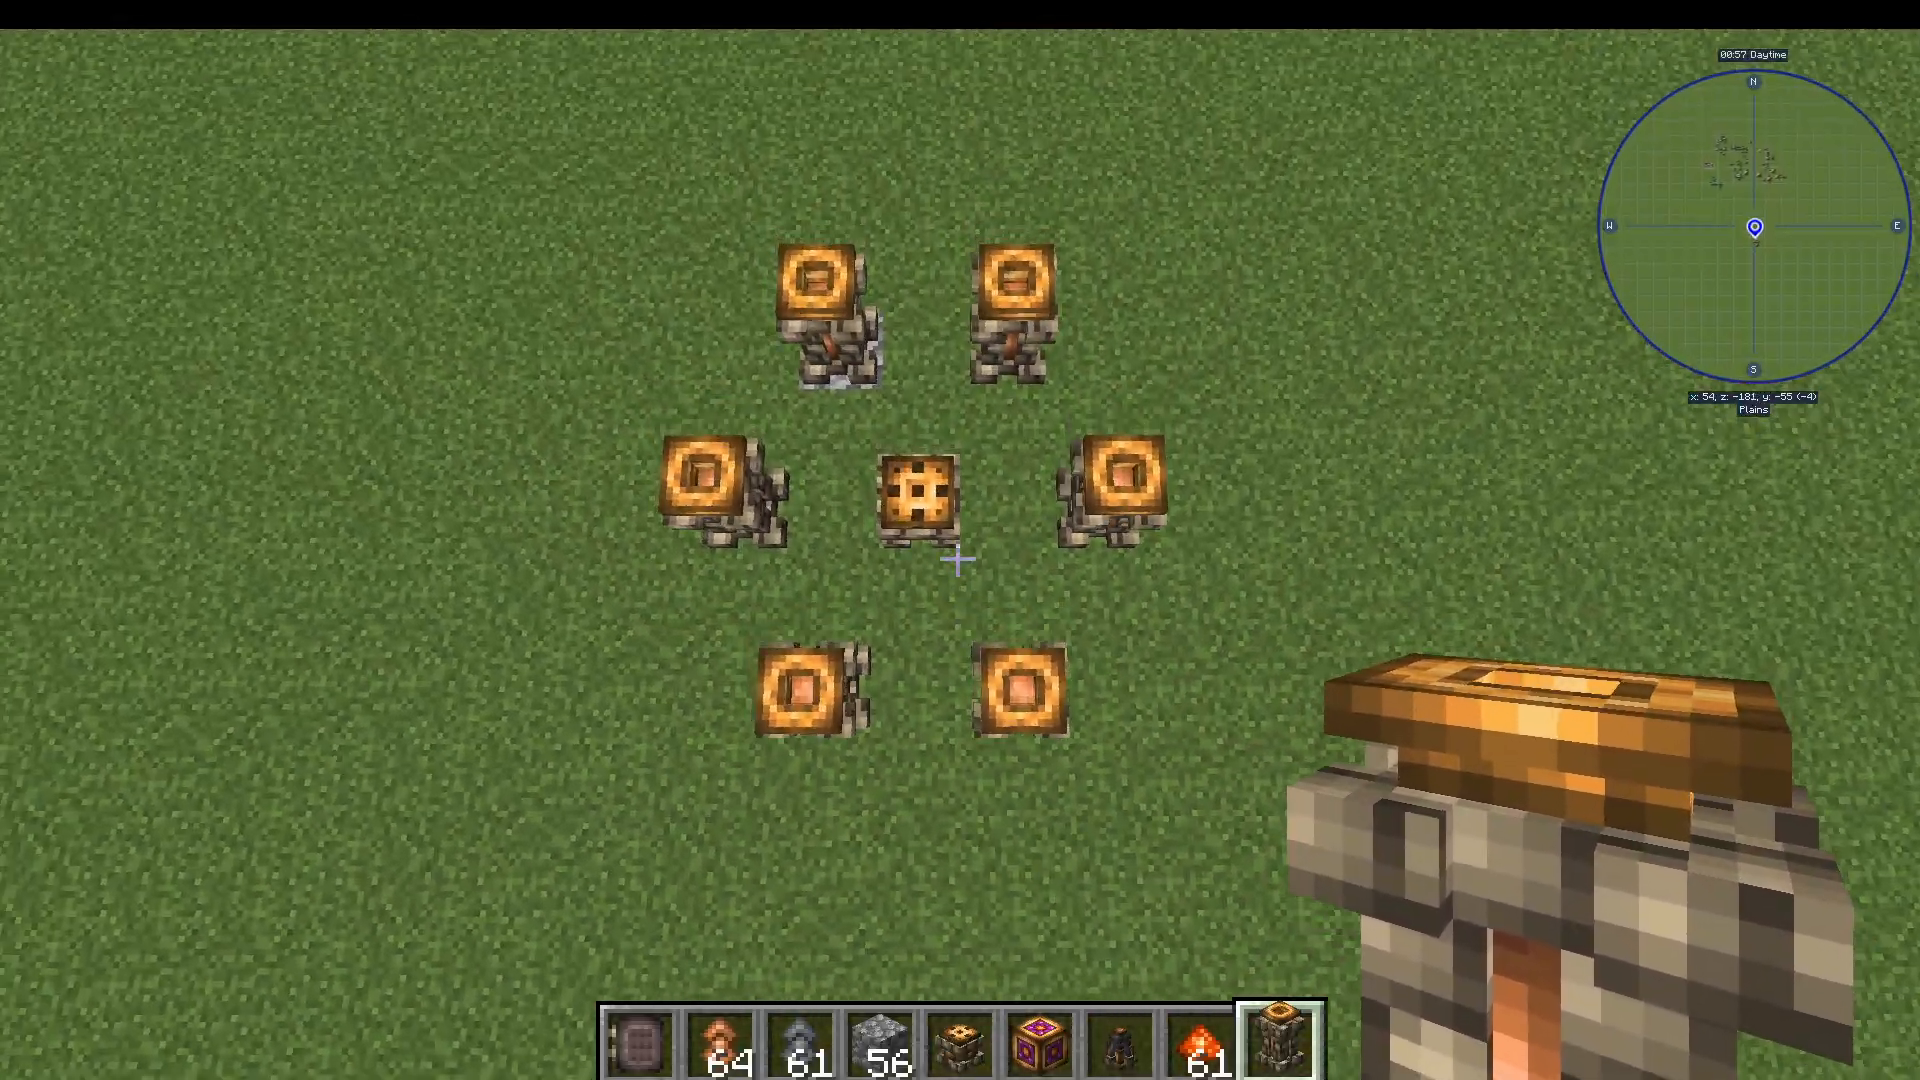
To browse available recipes, click on the Exchange Tablet and press U. This will display what items can be placed on the surrounding pedestals to produce a result, along with any special ingredients needed in the center.
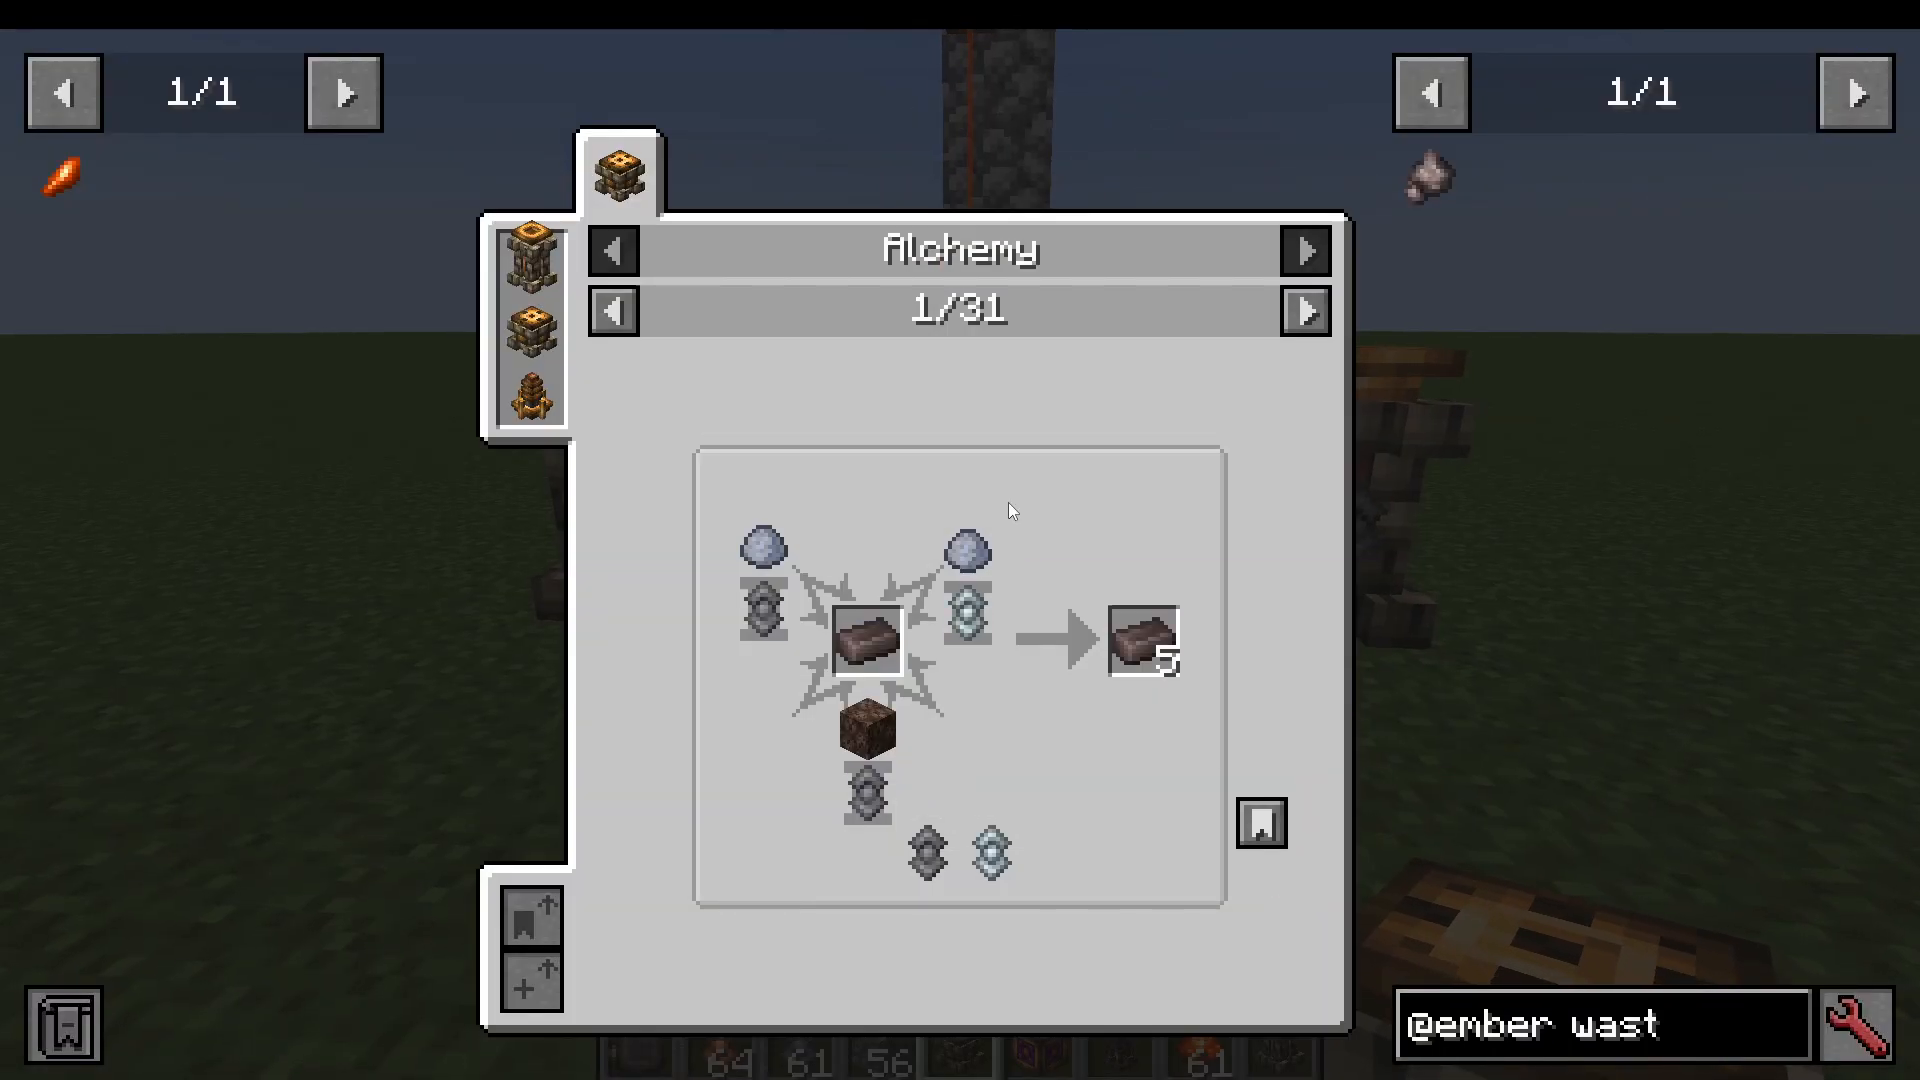
Example Recipe: Crafting Netherrack
For this tutorial, we’ll use Netherrack as the example output. To craft four Netherrack, place four Cobblestone on the surrounding pedestals and one Ember Grit on the Exchange Tablet in the center.
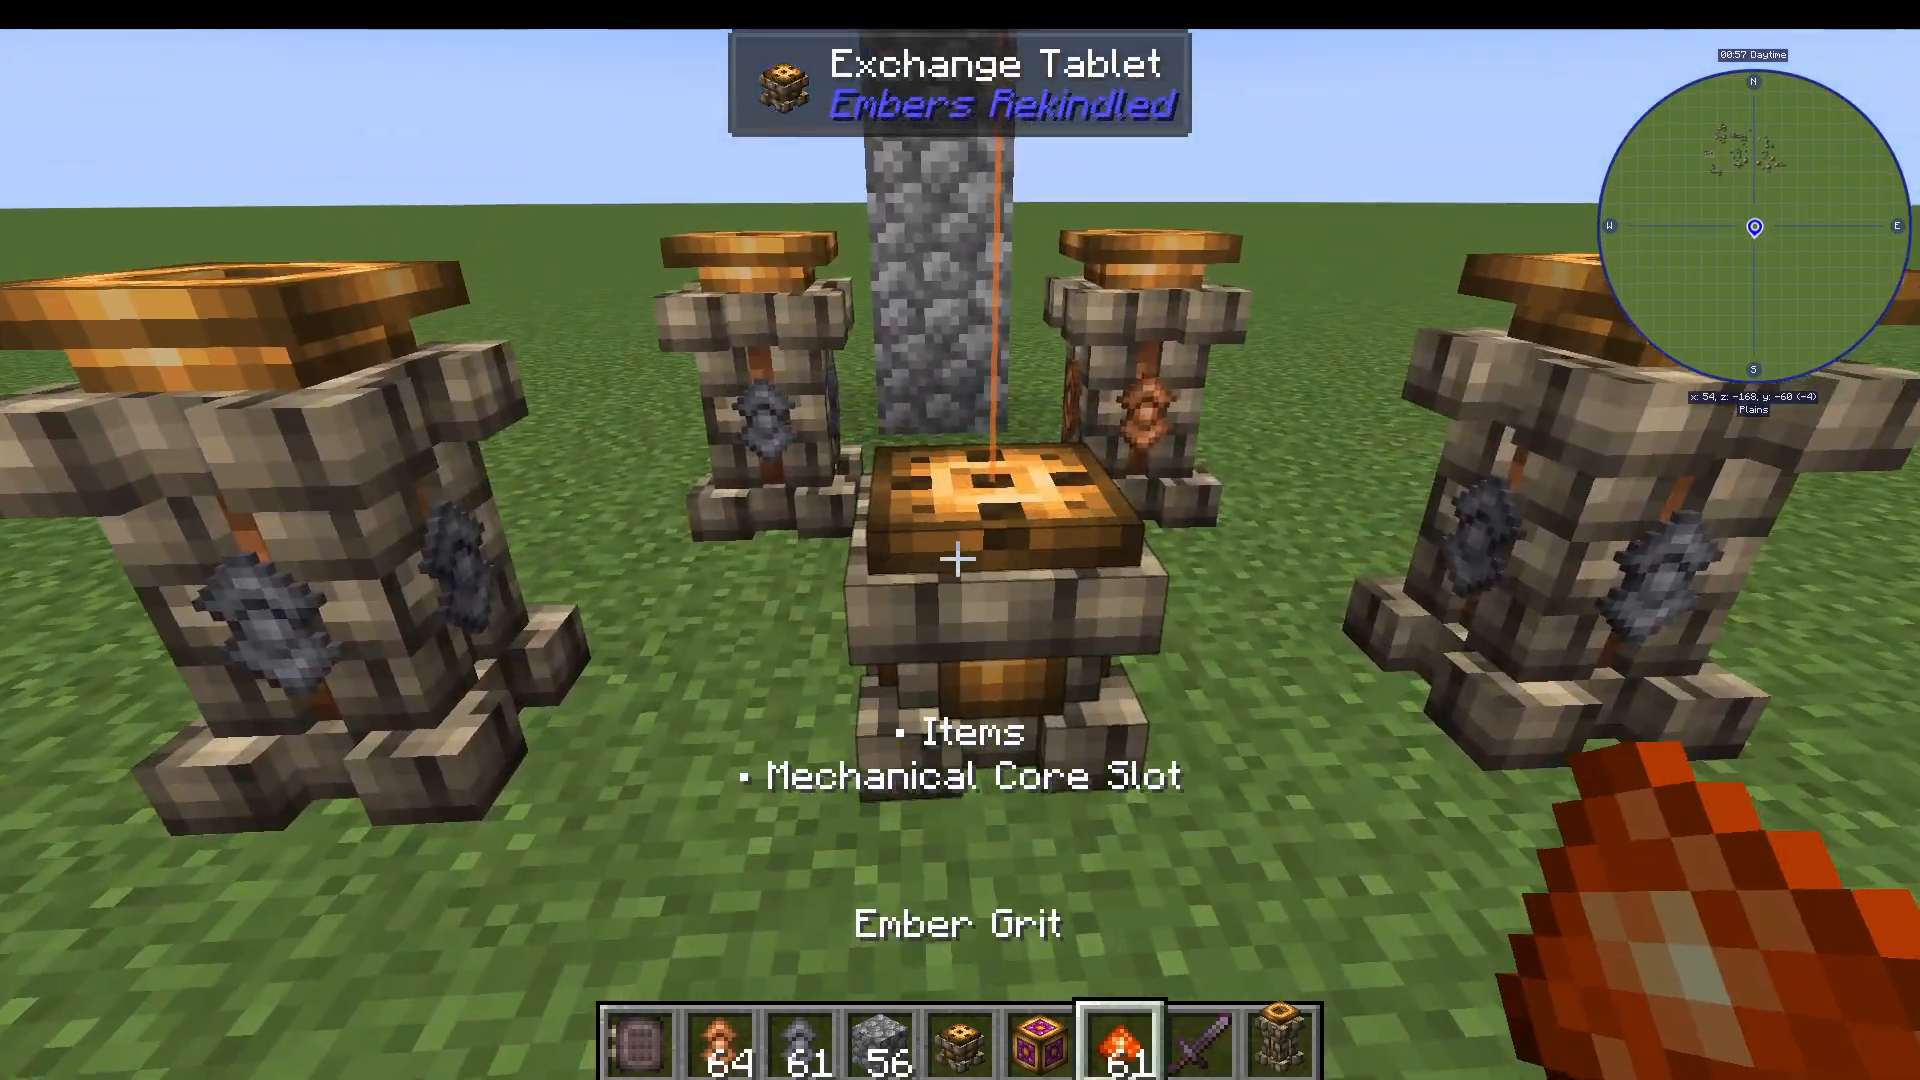
Understanding Aspectas
When you look at the Netherrack recipe, you’ll notice small icons underneath the recipe display — specifically Iron Aspectas and Copper Aspectas. These are required as part of the alchemy configuration and are crafted by baking an Ingot Stamp with an Embershard:
Copper Aspectas — use molten copper
Iron Aspectas — use molten iron
At this stage of the mod, you should already be familiar with using stamps. If not, refer to the stamping guide before continuing.
A Critical Warning: Don’t Trust the Recipe Display
The recipe viewer shows the Aspectas cycling — appearing to show two Iron and two Copper alternating. It’s easy to assume you simply need two of each. This is incorrect, and it’s the most common mistake players make. The actual ratio is determined through trial and error, not by reading the display literally.
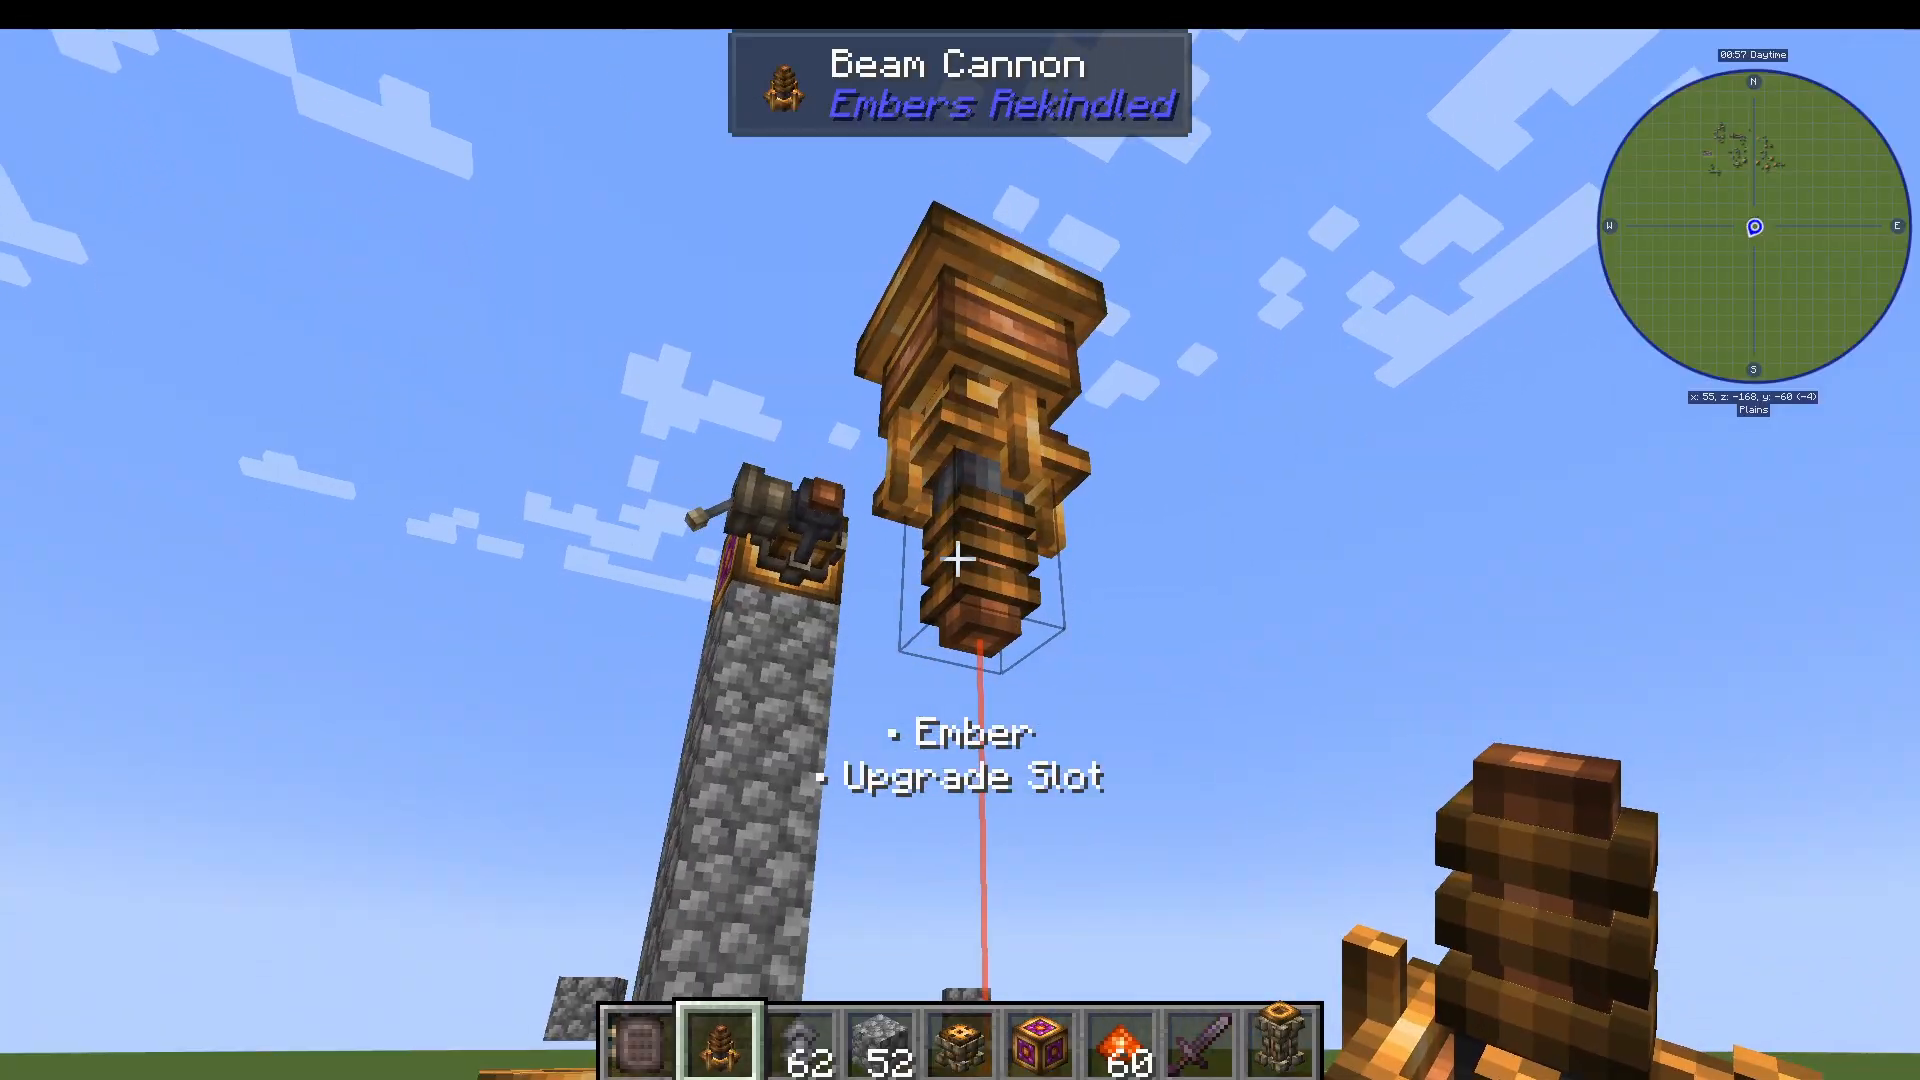
Powering the Alchemy Process with a Beam Cannon
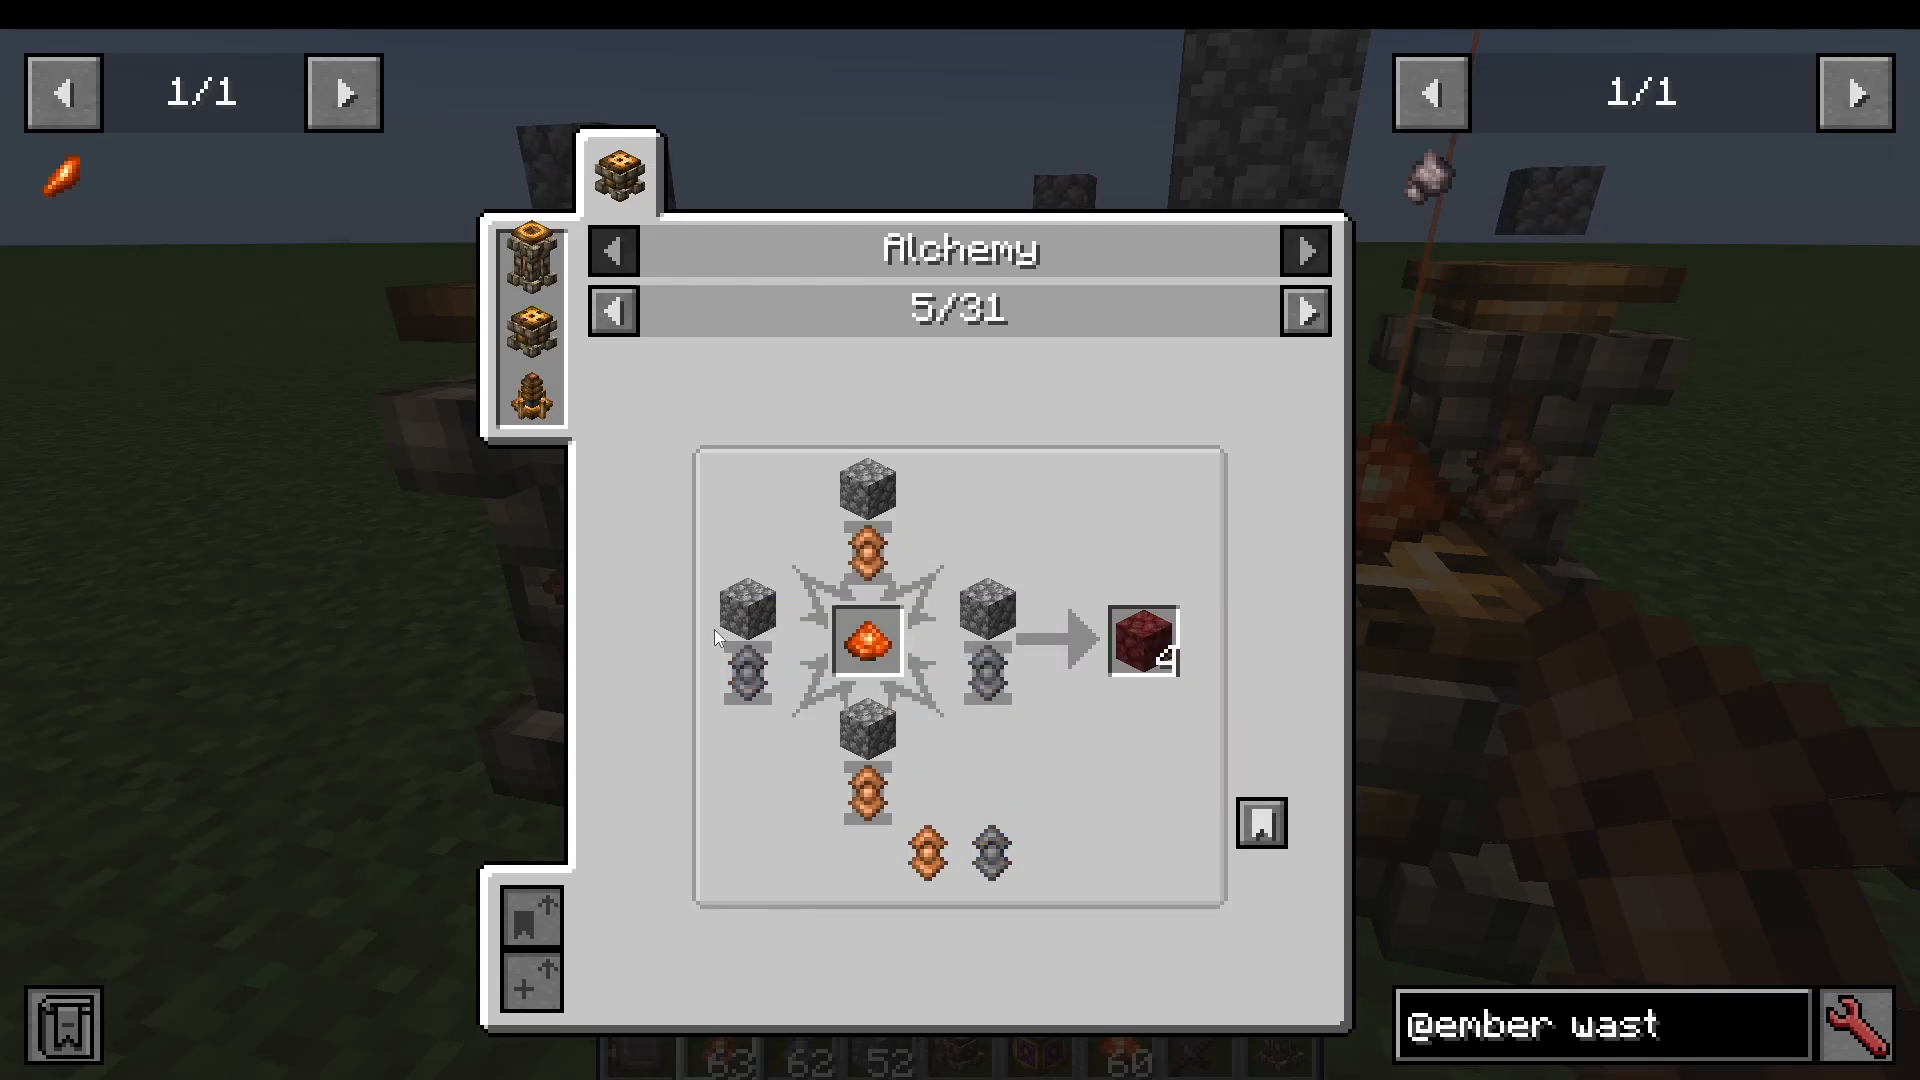
Once your pedestals are loaded and your center ingredient is placed, you need to fire a Beam Cannon into the Exchange Tablet to trigger the alchemy process. Here’s how to set it up:
Place an Ember Funnel adjacent to the Exchange Tablet.
Aim a Beam Cannon directly into the Ember Funnel.
Connect an Ember Ejector and another Ember Funnel to supply Ember to the cannon.
You need approximately 2,000 Ember loaded into the Beam Cannon. Once charged, flip a lever connected to the cannon to fire it and begin the alchemy process. The process takes around 10 seconds to complete.
Reading Alchemical Waste
If your Aspecta configuration is wrong, the process will fail and produce Alchemical Waste instead of your intended item. Don’t panic — this waste is actually a clue. Right-click the Alchemical Waste and check your chat window. It will tell you how many of your Aspectas were placed correctly.
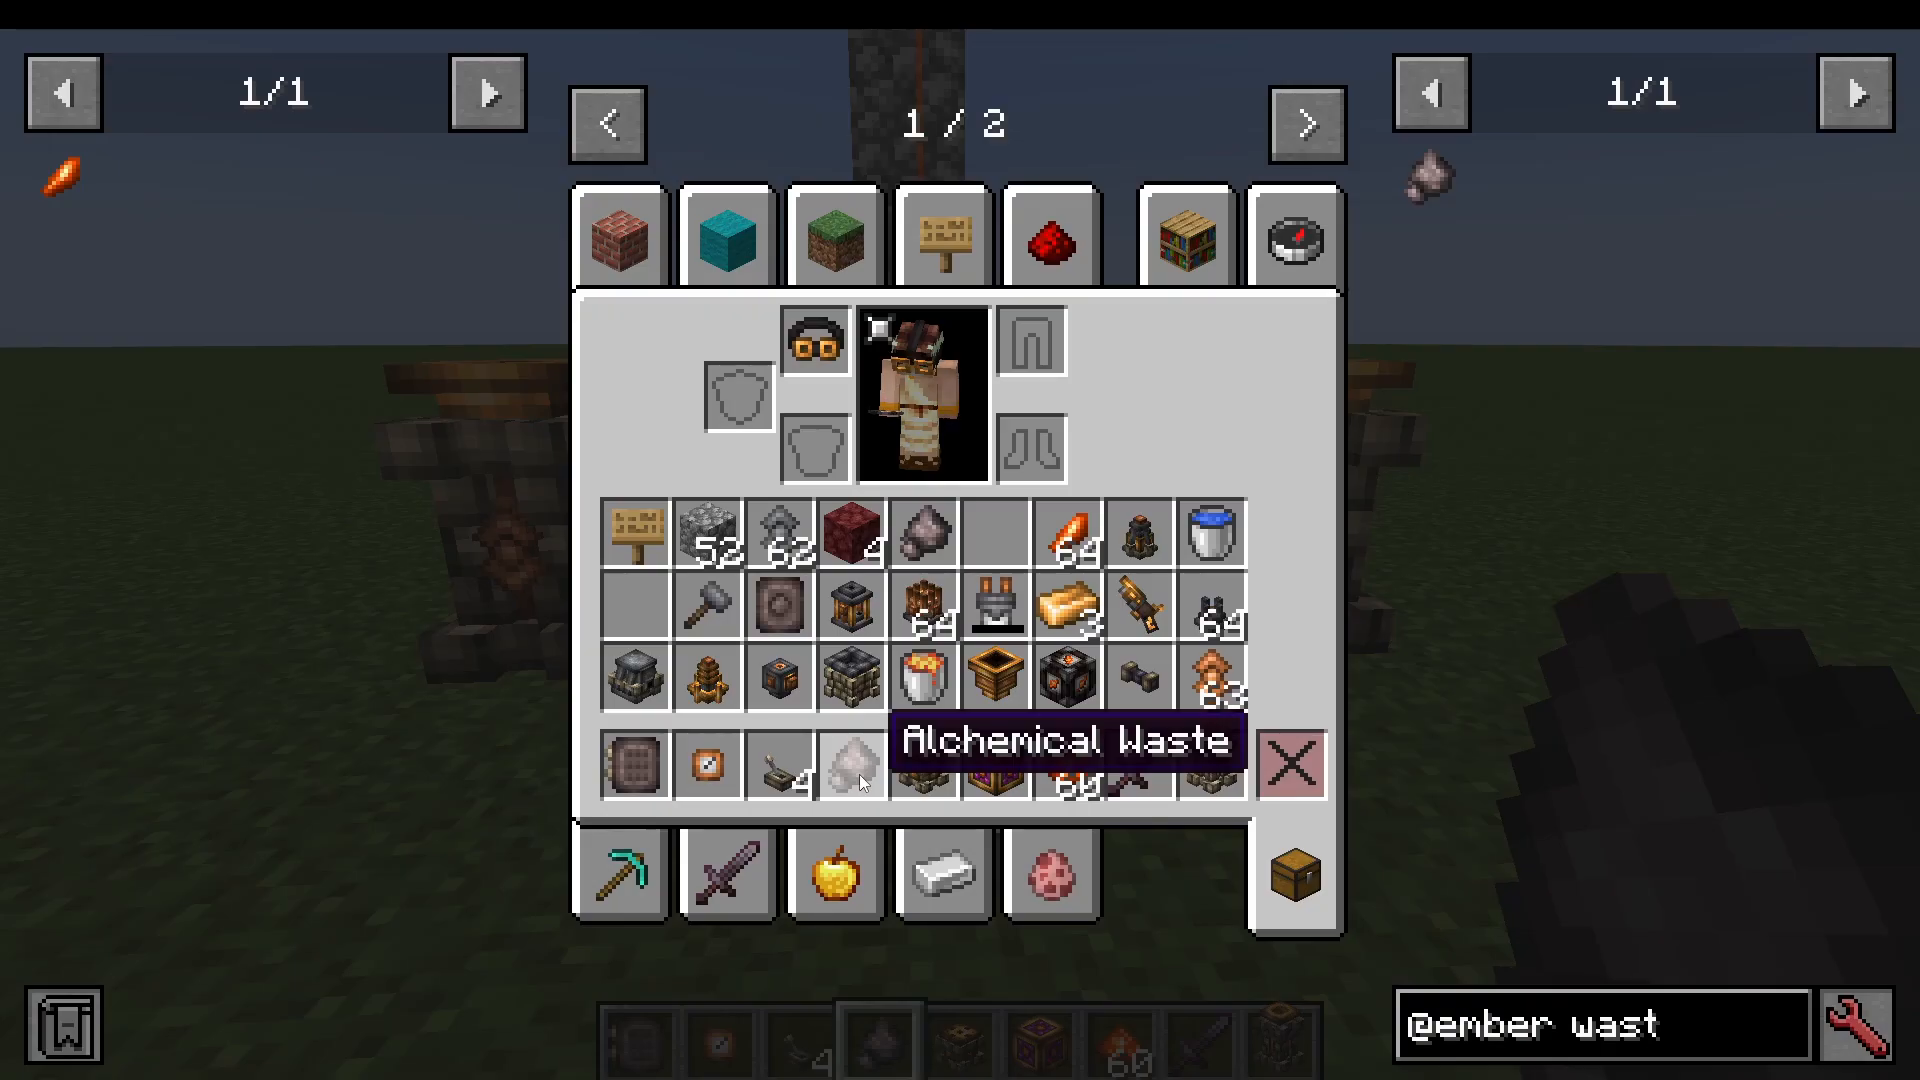
For example, a message saying “you notice three glowing spots in the waste” means three out of four Aspectas were correct. Only one needs to be changed.
Using the Codebreaking Slate
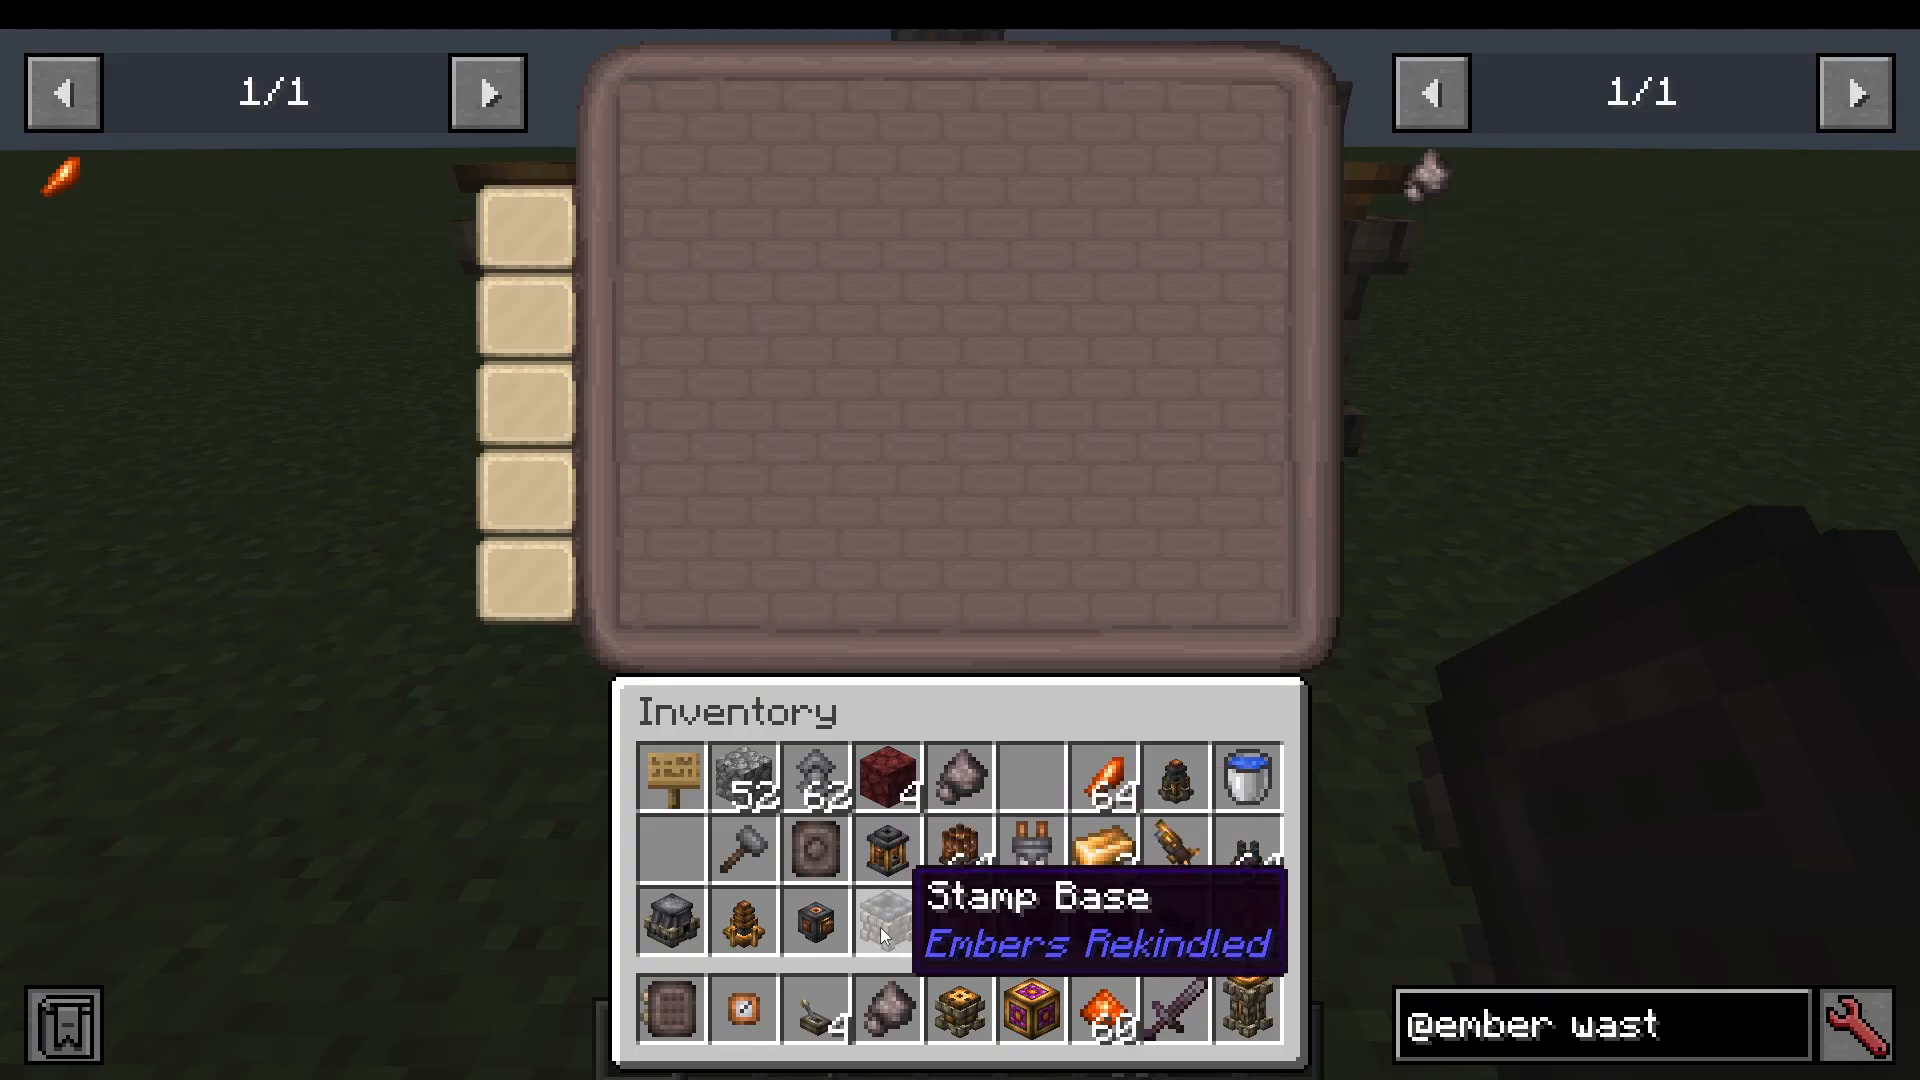
For a more detailed breakdown of which positions are correct or wrong, you can insert Alchemical Waste into a Codebreaking Slate. This tool displays each pedestal position and marks which ones are right and which are wrong — making the process of elimination significantly easier.
Important note: The Codebreaking Slate itself requires alchemy to craft. Until you have one, you’ll need to do early trial and error manually using Archaic Bricks and a Camonite Plate with Ember Grit. Fortunately, early recipes only have a small number of variable positions, so this won’t take long.
Process of Elimination – How to Solve the Recipe
The core skill in alchemy is using the feedback from your Alchemical Waste to logically narrow down the correct combination. Here’s how to approach it step by step:
Step 1 – Establish a Baseline
Start with your best guess based on the recipe display. Fire the cannon and note how many positions the waste says are correct.
Step 2 – Make One Change at a Time
Change only one Aspecta at a time — for example, swap one Iron Aspecta for a Copper Aspecta. Fire again and compare the result.
If the number of correct positions increased, you made the right change.
If it decreased or stayed the same, revert that change and try the opposite.
Step 3 – Use Logic to Confirm
For instance, if three positions were correct with one configuration, and you swap one Iron for Copper and it drops to two correct — you know that swap was wrong. The only other option is to go in the other direction: remove a Copper instead. If that brings you to four correct, you’ve solved it.
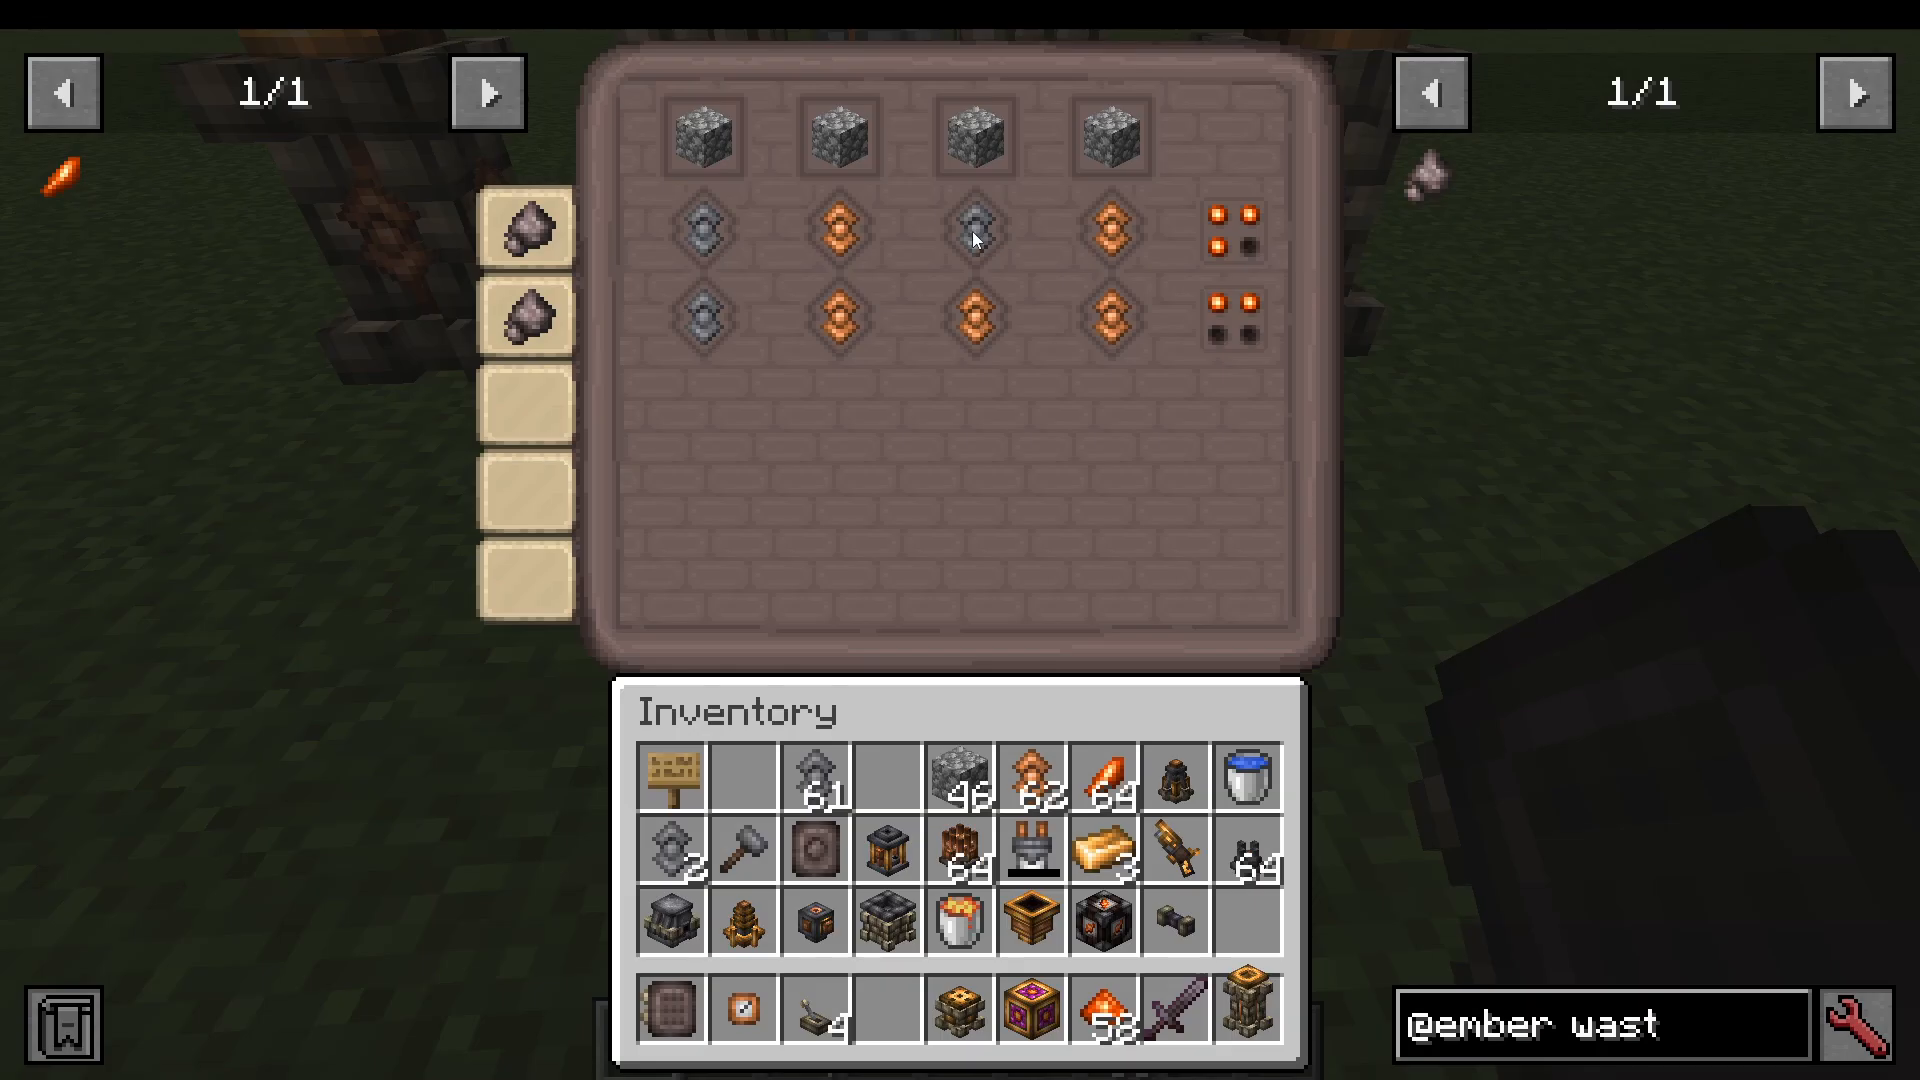
Remember: the arrangement of Aspectas on the pedestals does not matter — only the total count of each type does. So don’t worry about which specific pedestal holds which Aspecta; focus purely on how many Iron versus Copper (or other types) you’re using in total.
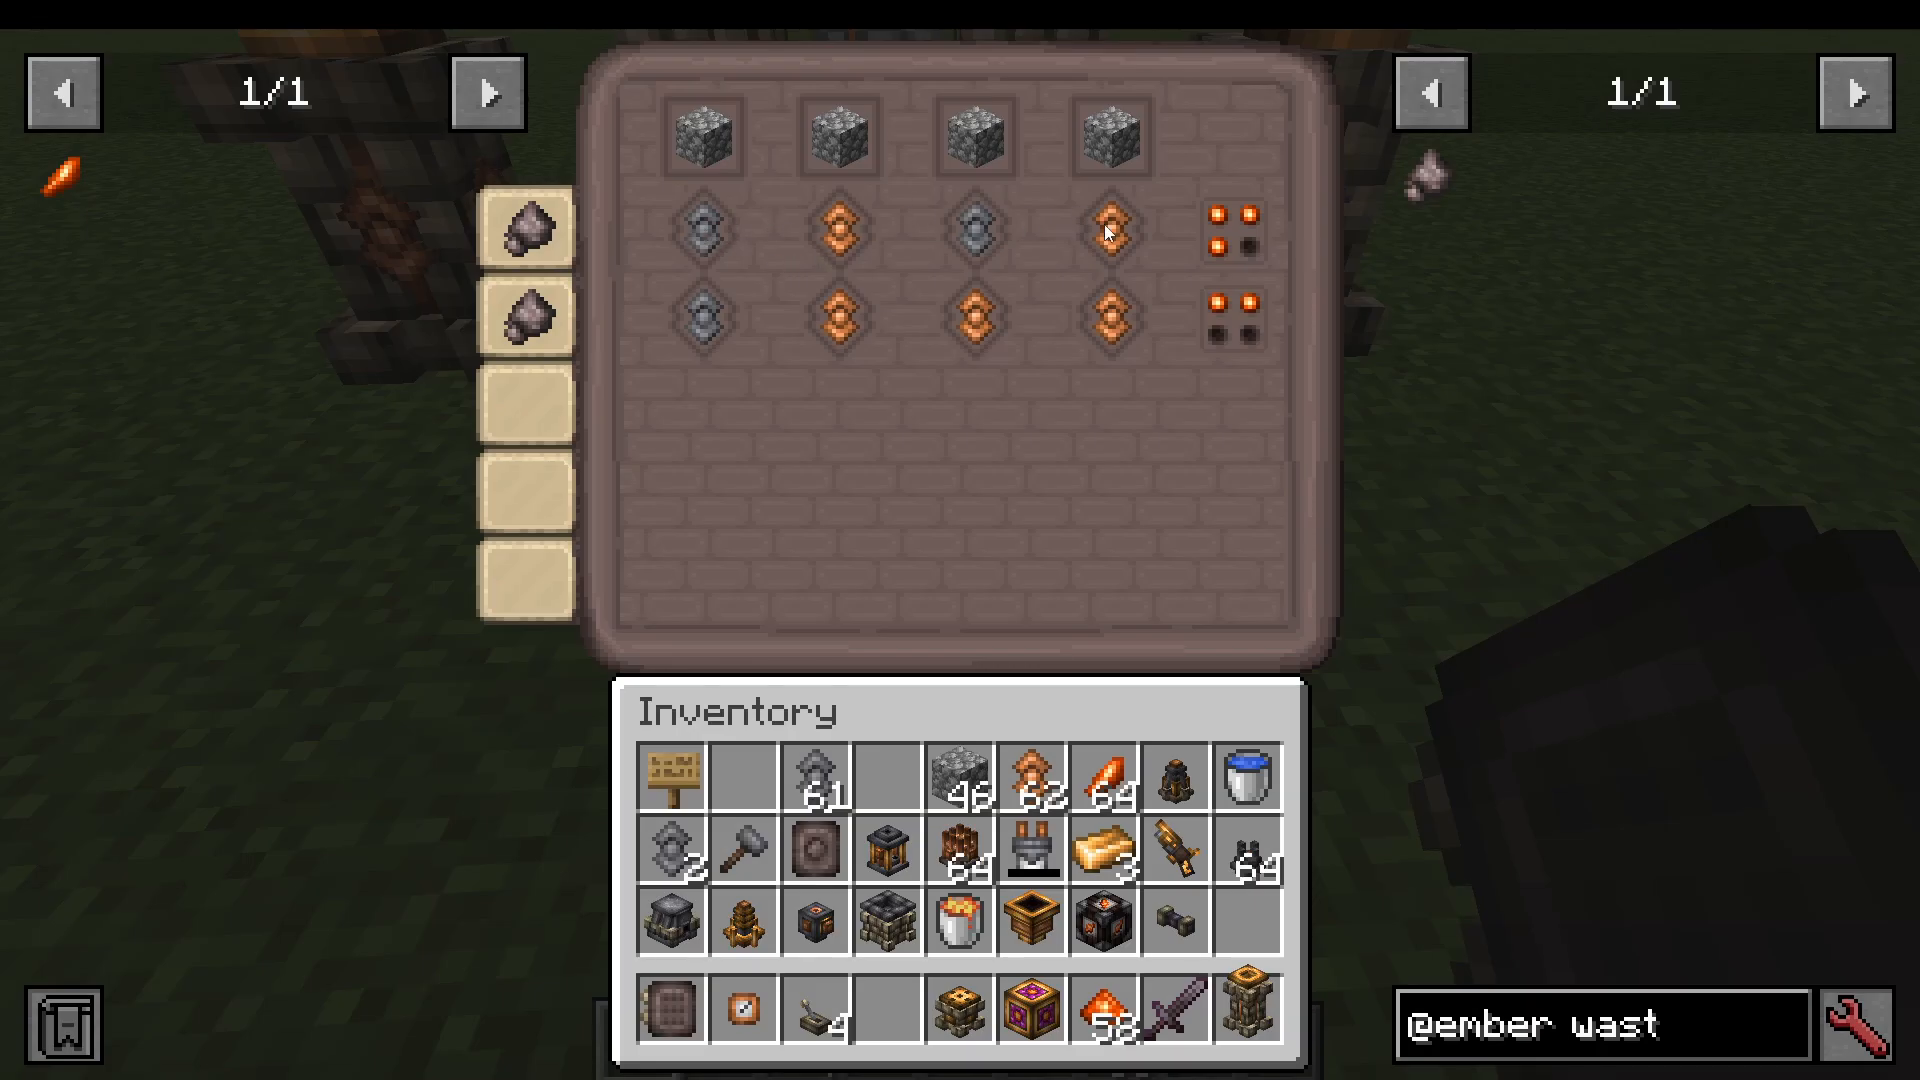
Confirmed Example: Netherrack Recipe
Despite the recipe display suggesting two Iron and two Copper Aspectas, the actual correct combination for Netherrack is three Iron Aspectas and one Copper Aspecta. This is exactly the kind of mismatch that catches players off guard — always verify through testing rather than trusting the display.
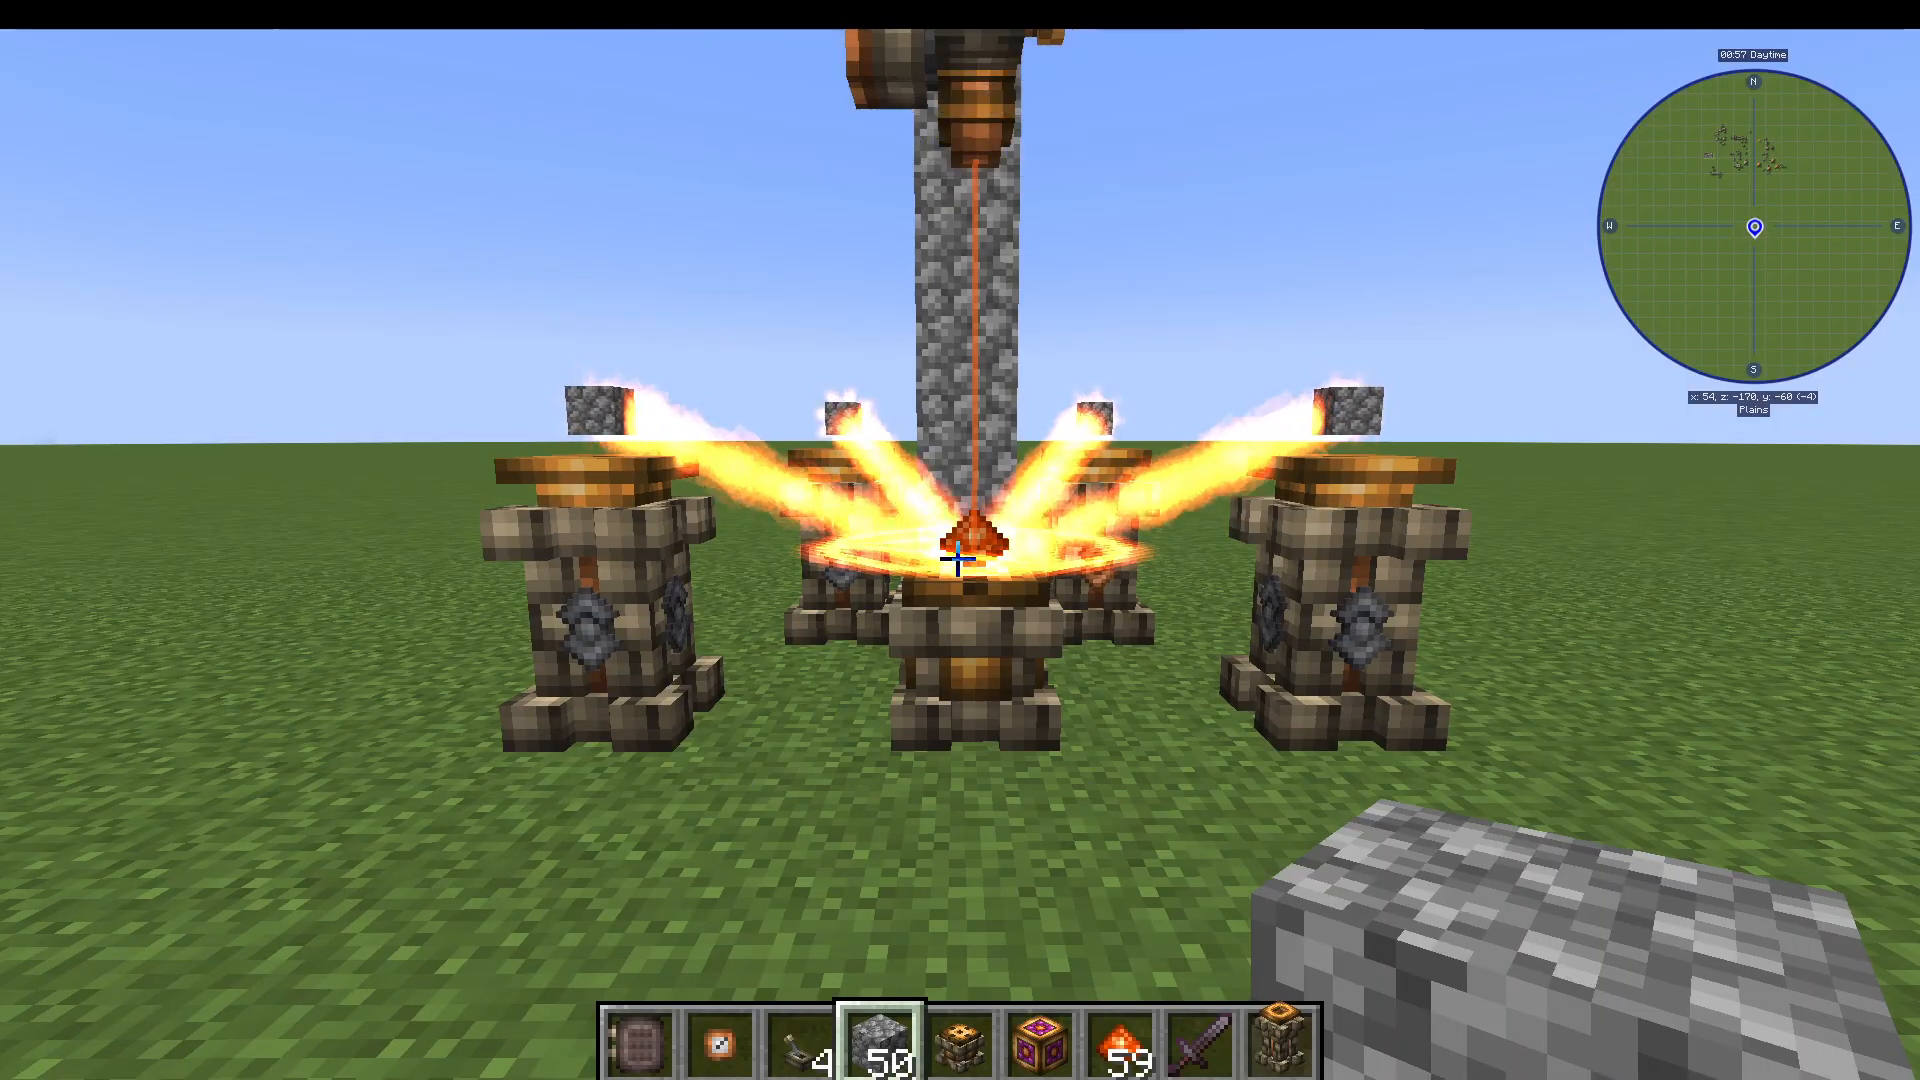
More Complex Alchemy Recipes
As you progress through Embers Rekindled, alchemy recipes become significantly more complex. Some recipes — such as converting ash and fabric into Shifting Scales (used for augmenting gear) — involve five or more Aspecta slots, with three different Aspecta types in play. These will require more iterations to solve, but the same process of elimination logic applies.
Some examples of increased complexity:
Recipes with five or six variable Aspecta slots
Recipes involving Lead or Dawnstone Aspectas in addition to Copper and Iron
Recipes like the Flame Barrier that use three different Aspecta types across four slots
For simpler three-slot recipes, your starting options are limited — try two of one type and one of another first. If that fails, swap to the opposite ratio. In the worst case, you may need to test all-of-one-type combinations, but you’ll rarely need more than three or four attempts.
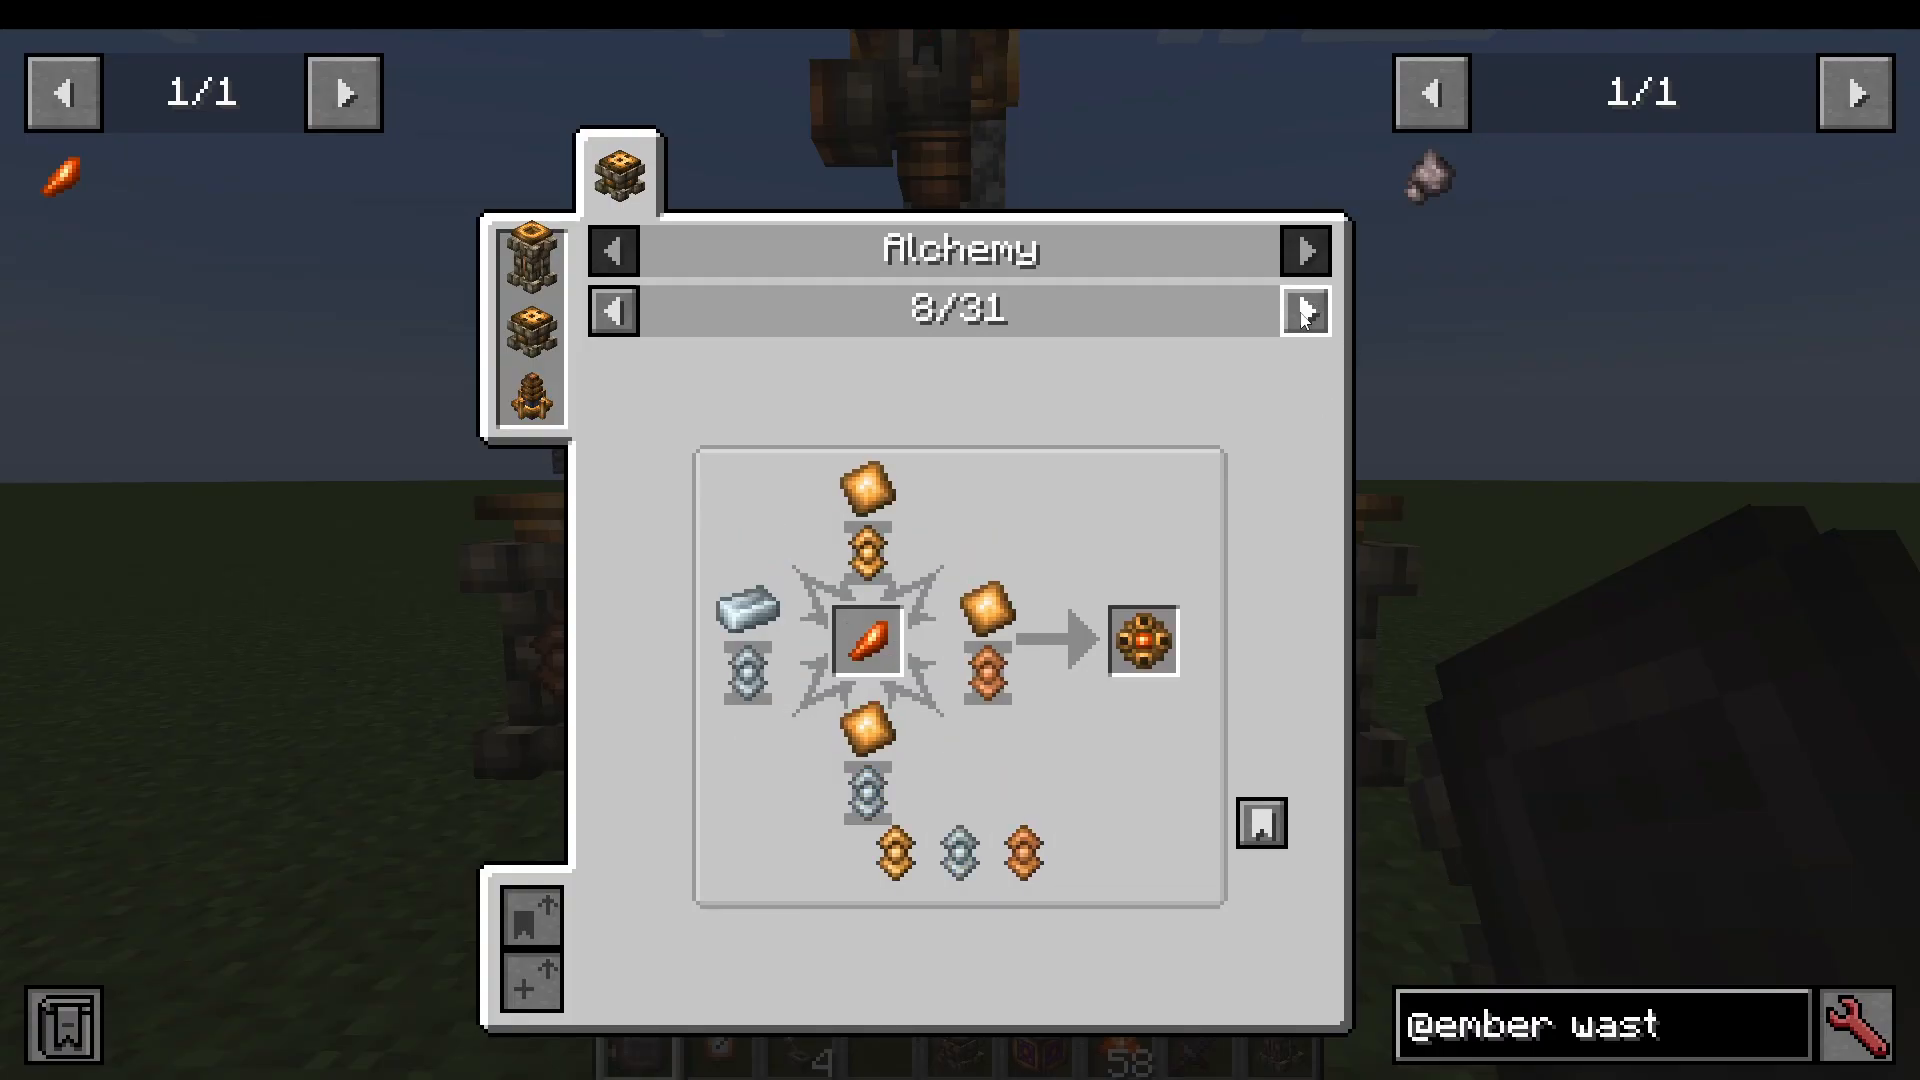
Summary and Tips
Alchemy in Embers Rekindled is a system that rewards patience and logical thinking over brute force. Here are the key takeaways to keep in mind:
Don’t trust the recipe display for Aspecta counts — always verify through testing.
Always change one variable at a time when troubleshooting failed recipes.
Right-click Alchemical Waste to get feedback from the chat, and use a Codebreaking Slate for detailed positional feedback.
Focus on the total number of each Aspecta type, not their position on specific pedestals.
Prioritize crafting a Codebreaking Slate early — it dramatically speeds up the trial-and-error process.
Load at least 2,000 Ember into your Beam Cannon before firing.
Alchemy isn’t the most intuitive system, but once you understand how the feedback loop works, it becomes a manageable puzzle rather than a frustrating roadblock. Good luck with your recipes!
Want to Support?
If you would like to help us continue making these guides – please consider joining our patreon here – https://www.patreon.com/c/JaviHeals
Alternatively – we host a group of MC Servers you can join here – https://discord.gg/zD7Gjt6MHF