Tom’s Simple Storage Mod Tutorial
Tom’s Simple Storage Mod: Complete Beginner’s Guide
If you want a powerful but approachable storage solution in Minecraft — without diving into the complexity of Applied Energistics or Logistics Pipes — Tom’s Simple Storage mod is exactly what you need. This guide walks you through everything: building your first network, connecting inventories over distance, filtering items, and even hiding your cables for a clean build. Let’s get started.
What Is Tom’s Simple Storage Mod?
Tom’s Simple Storage mod lets you link multiple chests and inventories into a single unified network that you can access from one terminal. It’s designed to be straightforward — no complicated controllers or channels to manage. Whether you have two chests or twenty, this mod keeps things manageable.
Building Your First Storage Network
The Inventory Connector
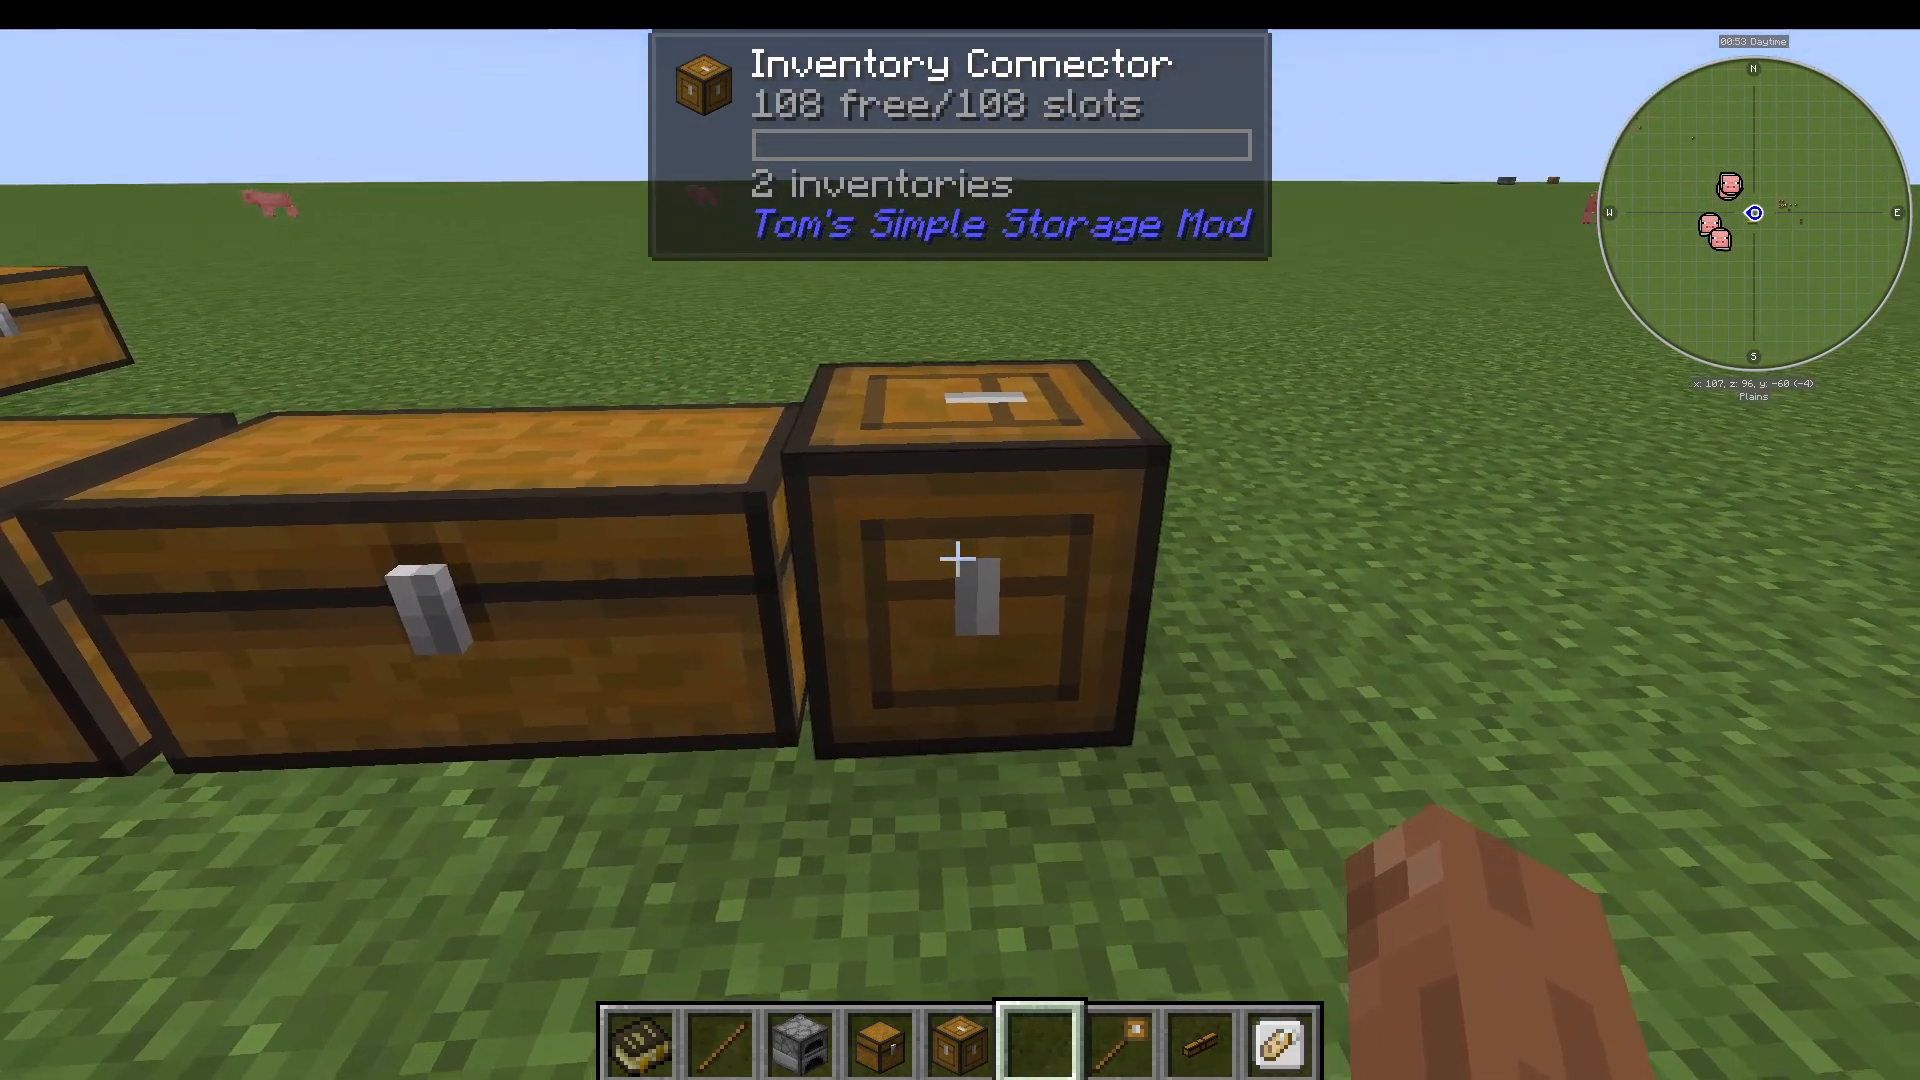
Every network must have exactly one Inventory Connector. This is the heart of your storage network. Place it on the ground adjacent to your chests and it will automatically detect connected inventories. For example, two chests placed side by side and touching will both be recognised — giving you a combined view showing something like “2 inventories, 108 slots free.” If the chests are not touching, only the directly adjacent chest is detected, dropping you down to “1 inventory, 54 slots free.”
Storage Terminal vs. Crafting Terminal
Once your connector is in place, you need a way to interact with the network. You have two terminal options:
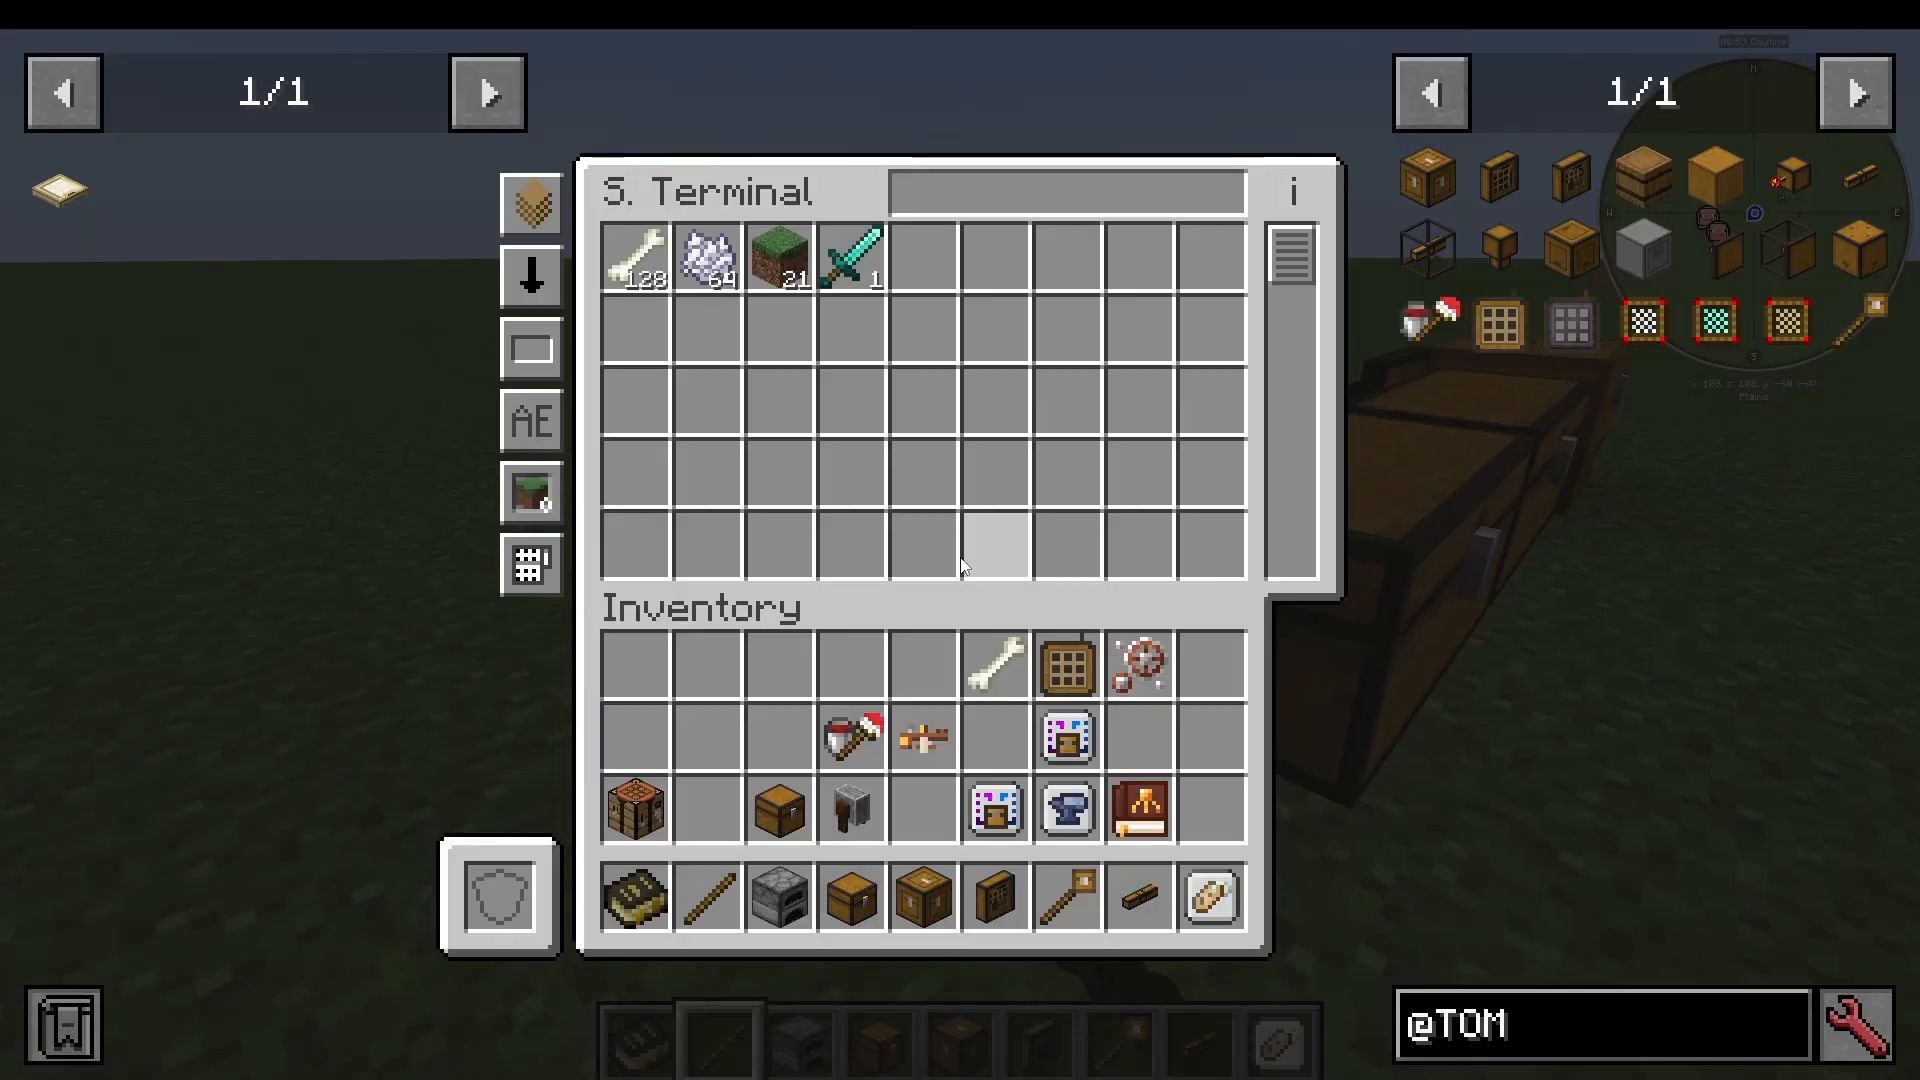
Storage Terminal — Lets you view and retrieve items stored across all connected inventories.
Crafting Terminal — Does everything the storage terminal does, but also lets you craft items using ingredients pulled directly from the network. Simply right-click the terminal to open it and place your crafting recipe — ingredients are pulled from the network automatically.
Connecting Inventories Over Distance
Inventory Trim
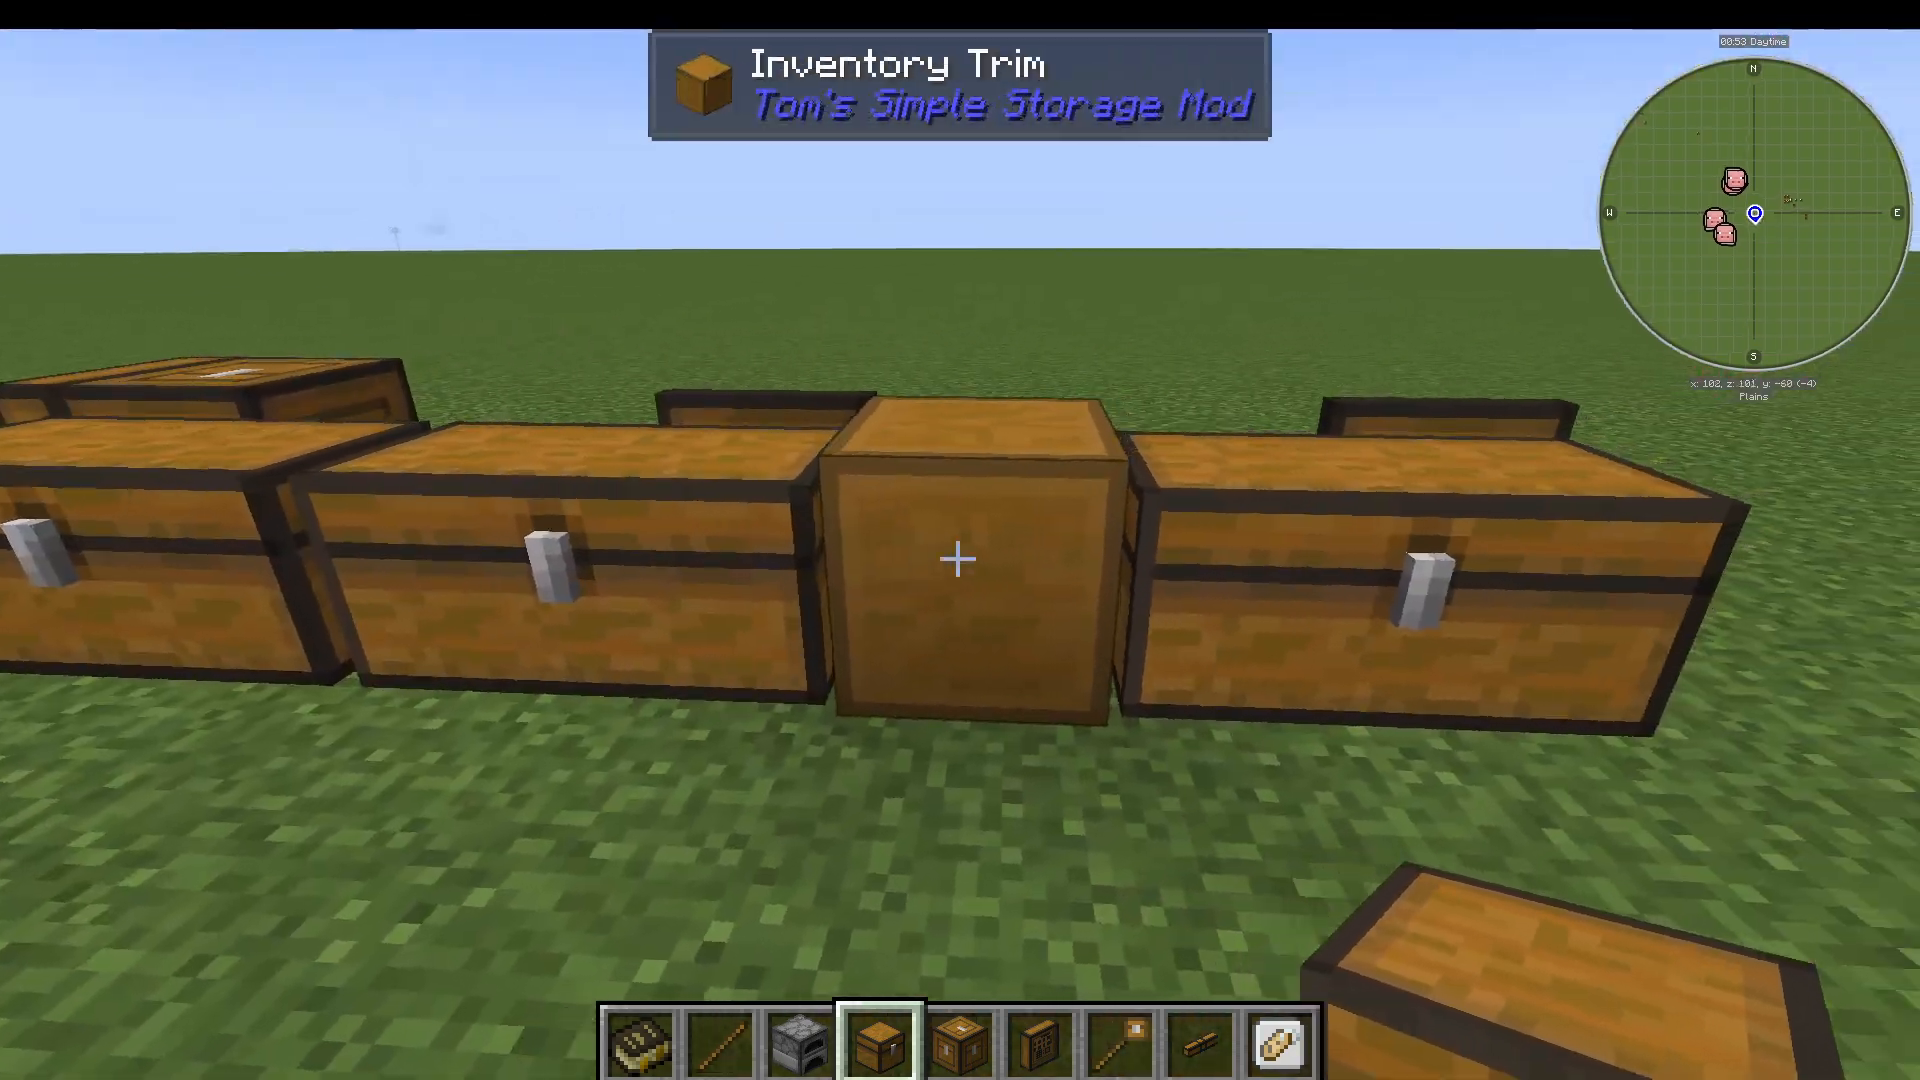
If two inventories are not touching but are close together, you can bridge the gap using an Inventory Trim. Place it between the two inventories and it acts as a connector, linking both sides of the network together.
Inventory Cables and Cable Connectors
For longer distances, use Inventory Cables to run a line between your connector and a remote chest. At the end of the cable run, place an Inventory Cable Connector and shift-click it onto the chest you want to include. That chest is now part of your network. If you break any section of the cable, the remote chest is immediately disconnected and its contents disappear from the terminal view.
Filtering Items With the Inventory Configurator Wand
Setting Up an Item Filter
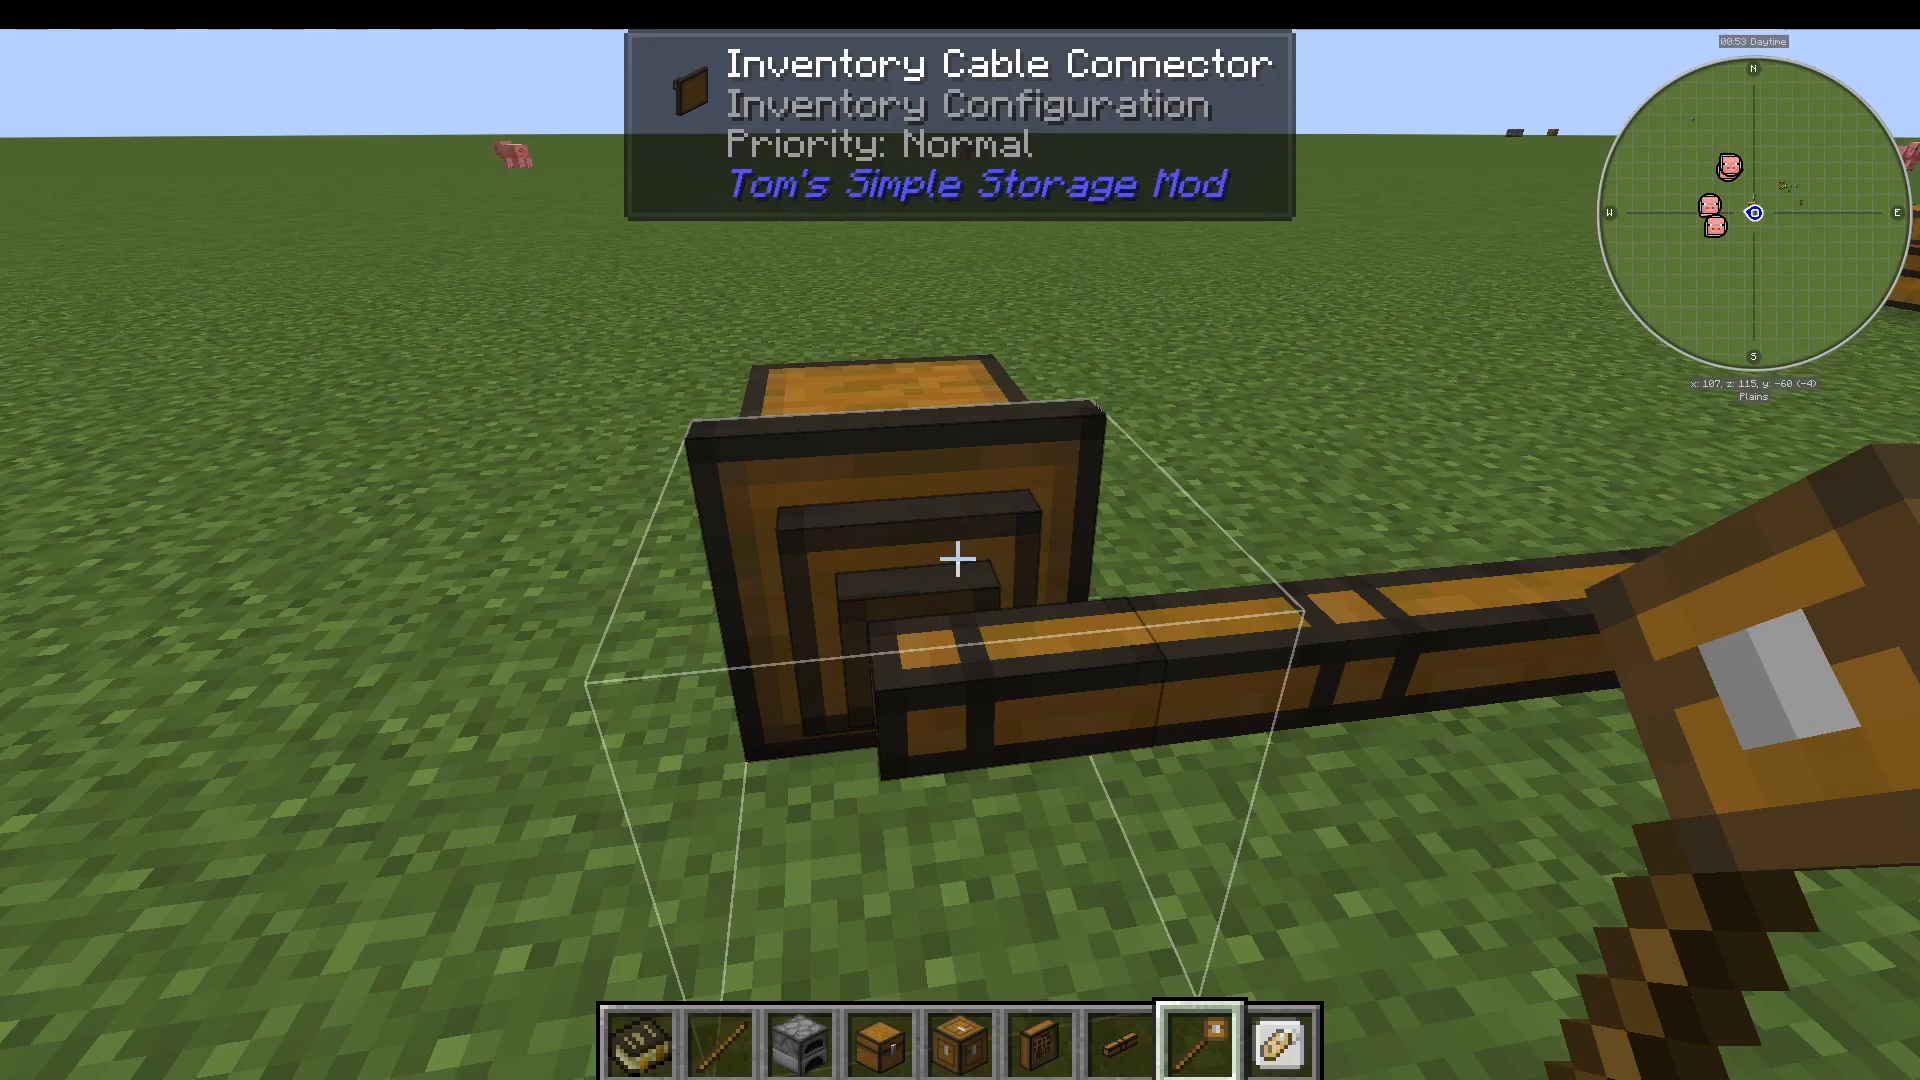
To control which items go into which chest, craft an Inventory Configurator Wand. Right-click on a cable connector or access point with the wand to bring up configuration options. From here you can insert an Item Filter directly into that access point. When the filter is applied, hovering over the access point will display its status — for example, “priority: normal, item filter: active.”
Configuring the Item Filter
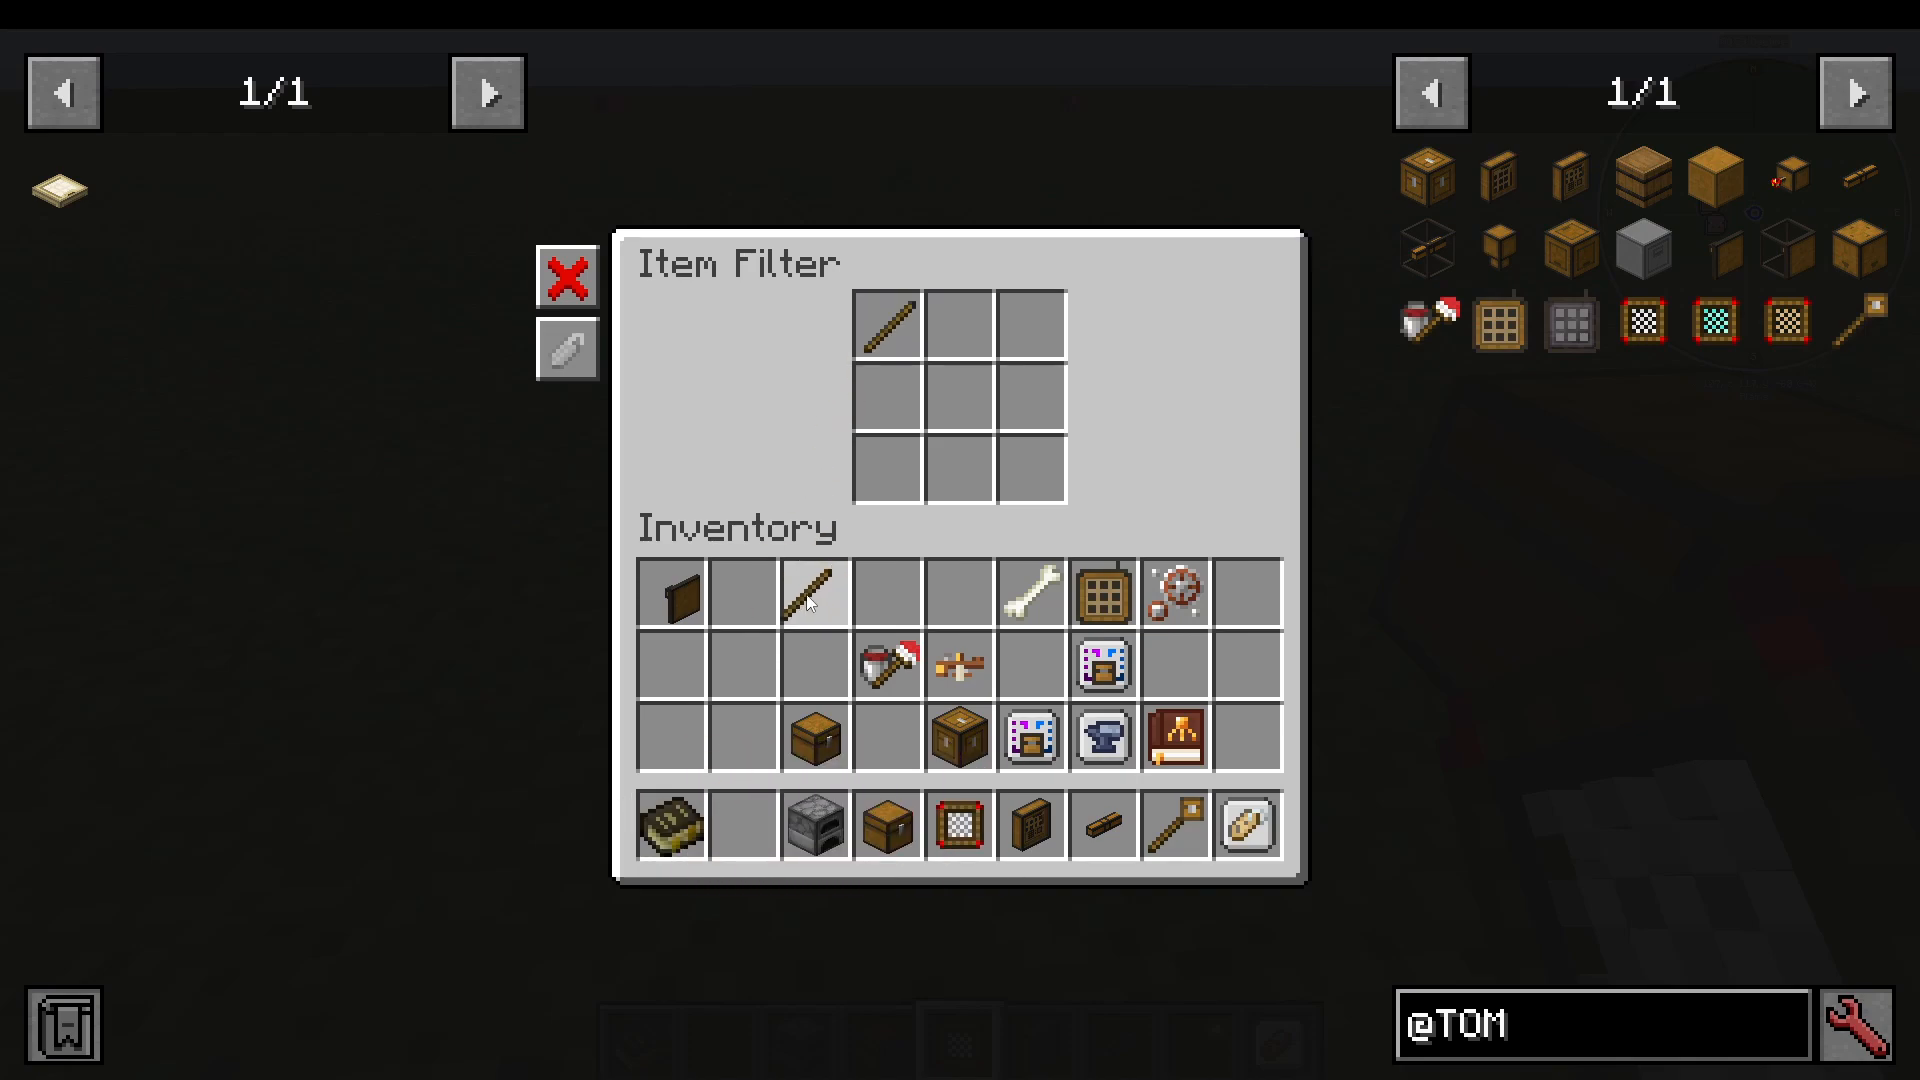
Right-click the Item Filter on its own to open its settings. Type in the item you want to filter — for example, sticks — and set the mode to either Allow (whitelist) or Reject (blacklist). Setting it to “Allow” means only sticks will be routed into that chest.
Using Priority Settings
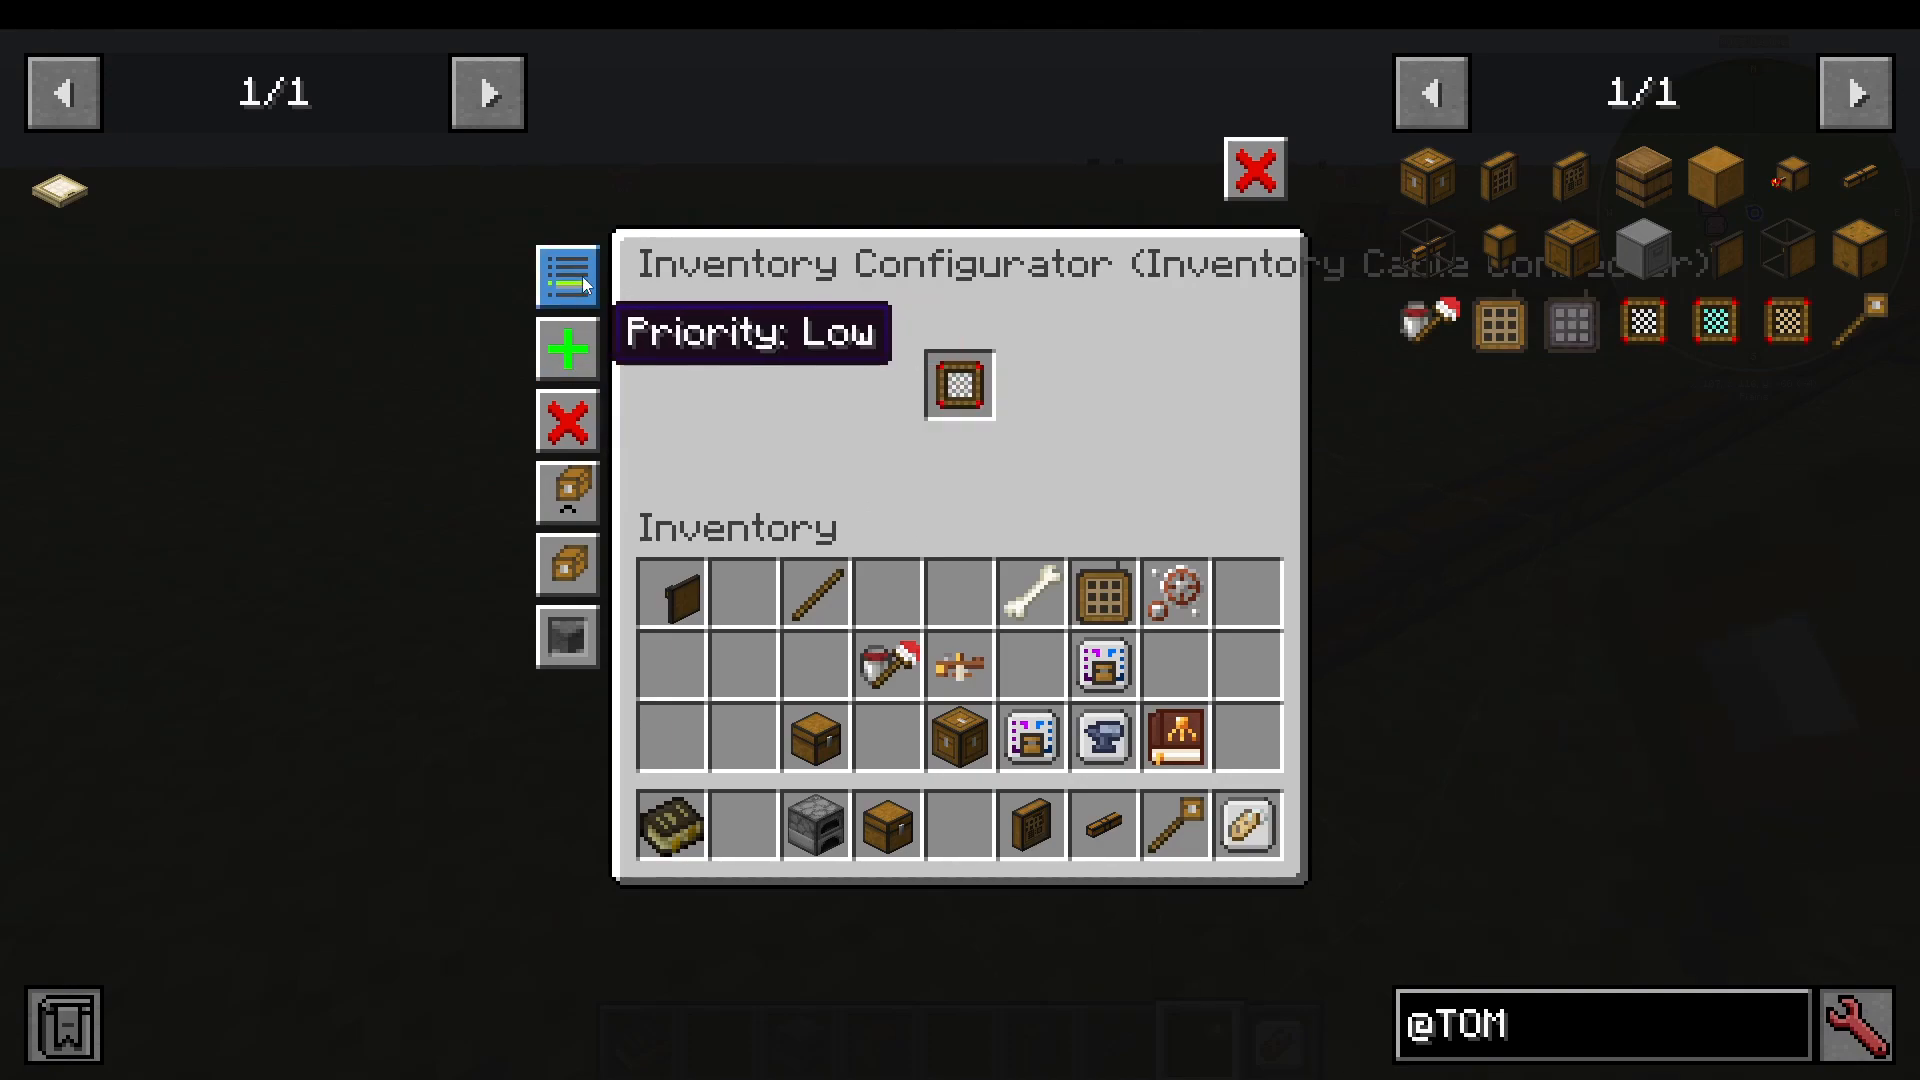
You can assign priorities to your filters. If two chests both have a filter allowing sticks, the network will always fill the highest priority chest first. Only when that chest is full will items overflow into the lower priority chest. This gives you precise control over how your storage is organised.
Additional Filter Options
The configurator wand also lets you set several other useful options on any access point:
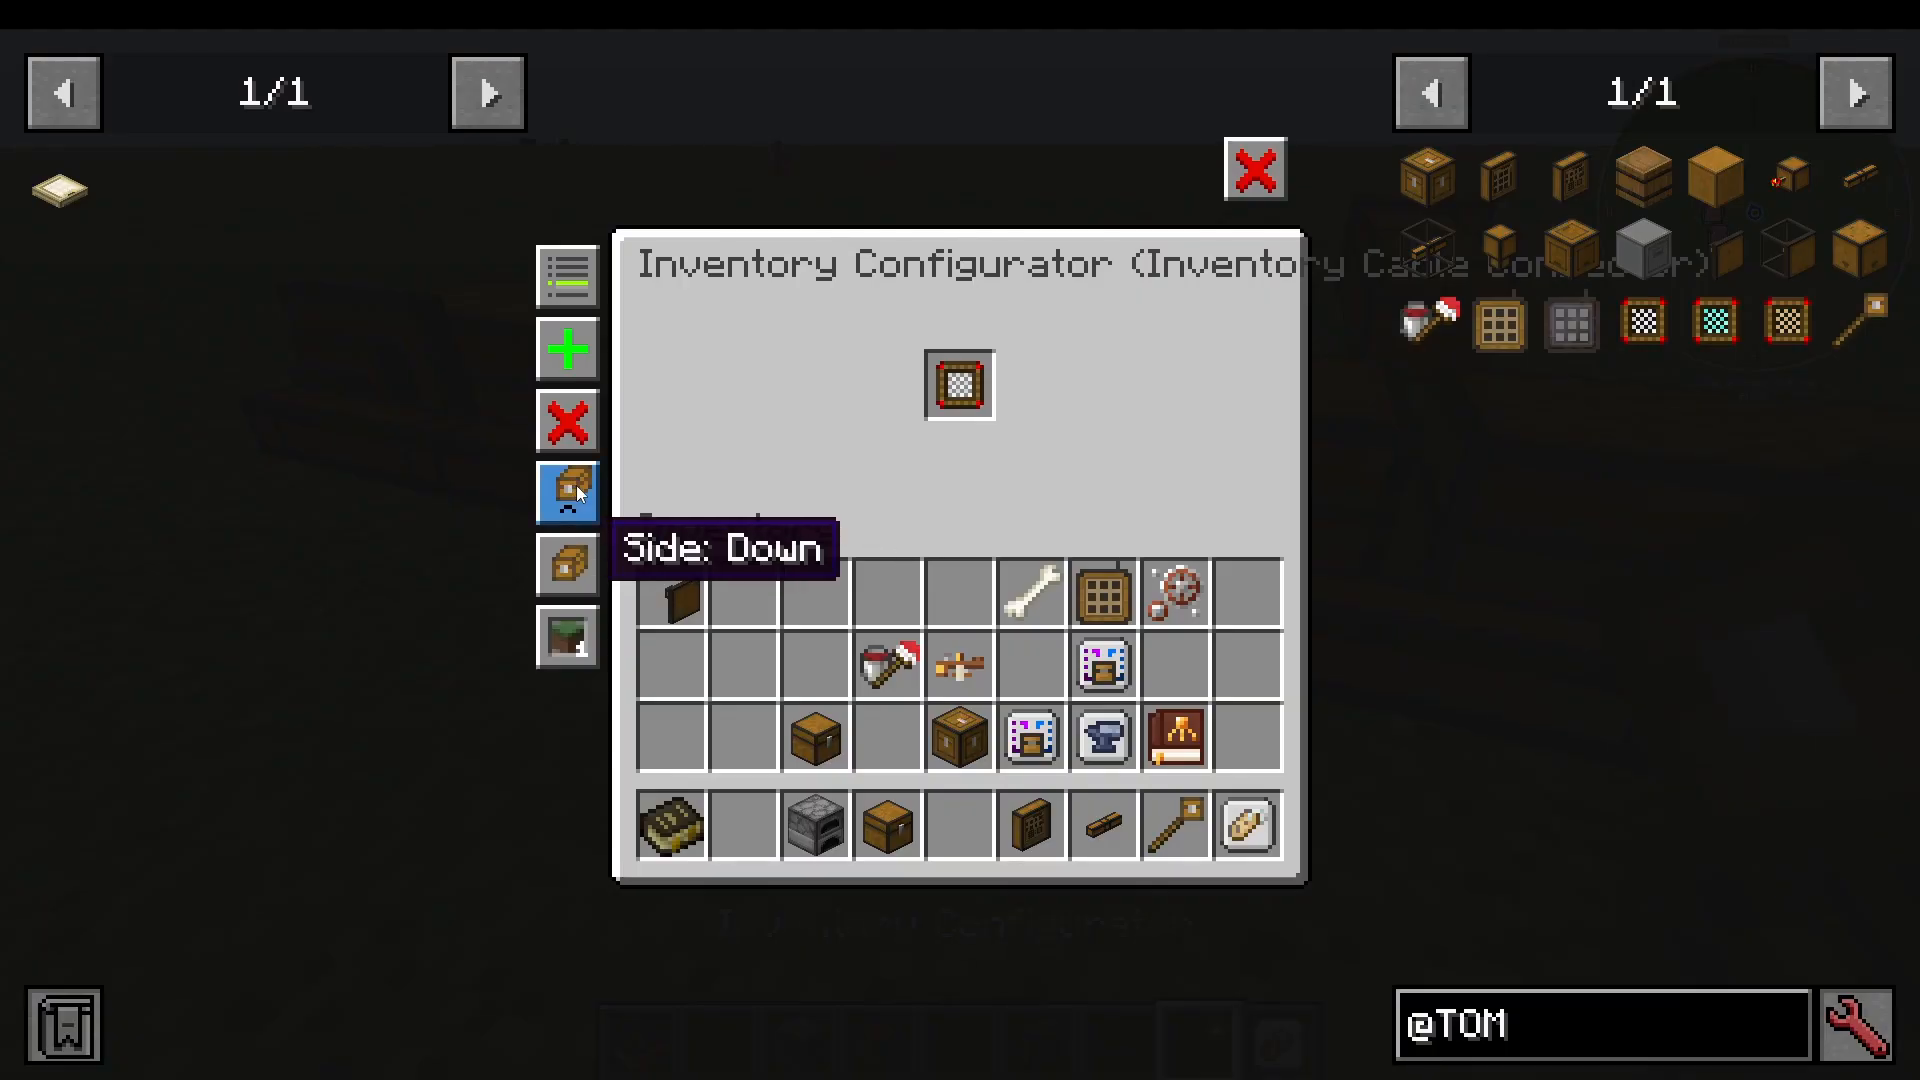
Interaction Side — Choose which side of an inventory to interact with. This is especially useful for furnaces, where fuel enters from the bottom and items to smelt enter from the top.
Keep Last Item — Toggle whether the network should always keep at least one of a given item in the slot, preventing it from being fully emptied.
Other Useful Items in Tom’s Simple Storage Mod
Polymorphic Item Filter
The Polymorphic Item Filter only allows items to be inserted into a chest if that item type already exists in that inventory. It’s a smart way to keep like items together without manually specifying every item type.
Tag Item Filter
The Tag Item Filter works using Forge tags — for example, forge:ores/iron. Instead of filtering by a specific item, you filter by an entire category of items that share a tag. Useful for sorting all ores, all logs, or any other tagged group into a dedicated chest.
Basic Inventory Hopper
The Basic Inventory Hopper allows you to import or export items to and from your network automatically. Right-click an item while holding the hopper to set a filter for what it should move. To clear the filter, shift-right-click with an empty hand.
Filing Cabinet
The Filing Cabinet is designed for storing many variants of the same item — think bees from Forestry, seeds with different stats, or genetics from Productive Bees. In a normal chest, each variant takes up its own slot, which wastes enormous amounts of space. A filing cabinet consolidates all those variants efficiently into a single block.
Open Crate
The Open Crate converts the block directly in front of it into an accessible inventory, integrating it into your network.
Level Emitter
The Level Emitter monitors your network’s inventory contents and emits a redstone signal based on what it finds. Use it to trigger automated systems when a storage threshold is met or exceeded.
Hiding Your Cables With Framed Cables and the Paint Kit
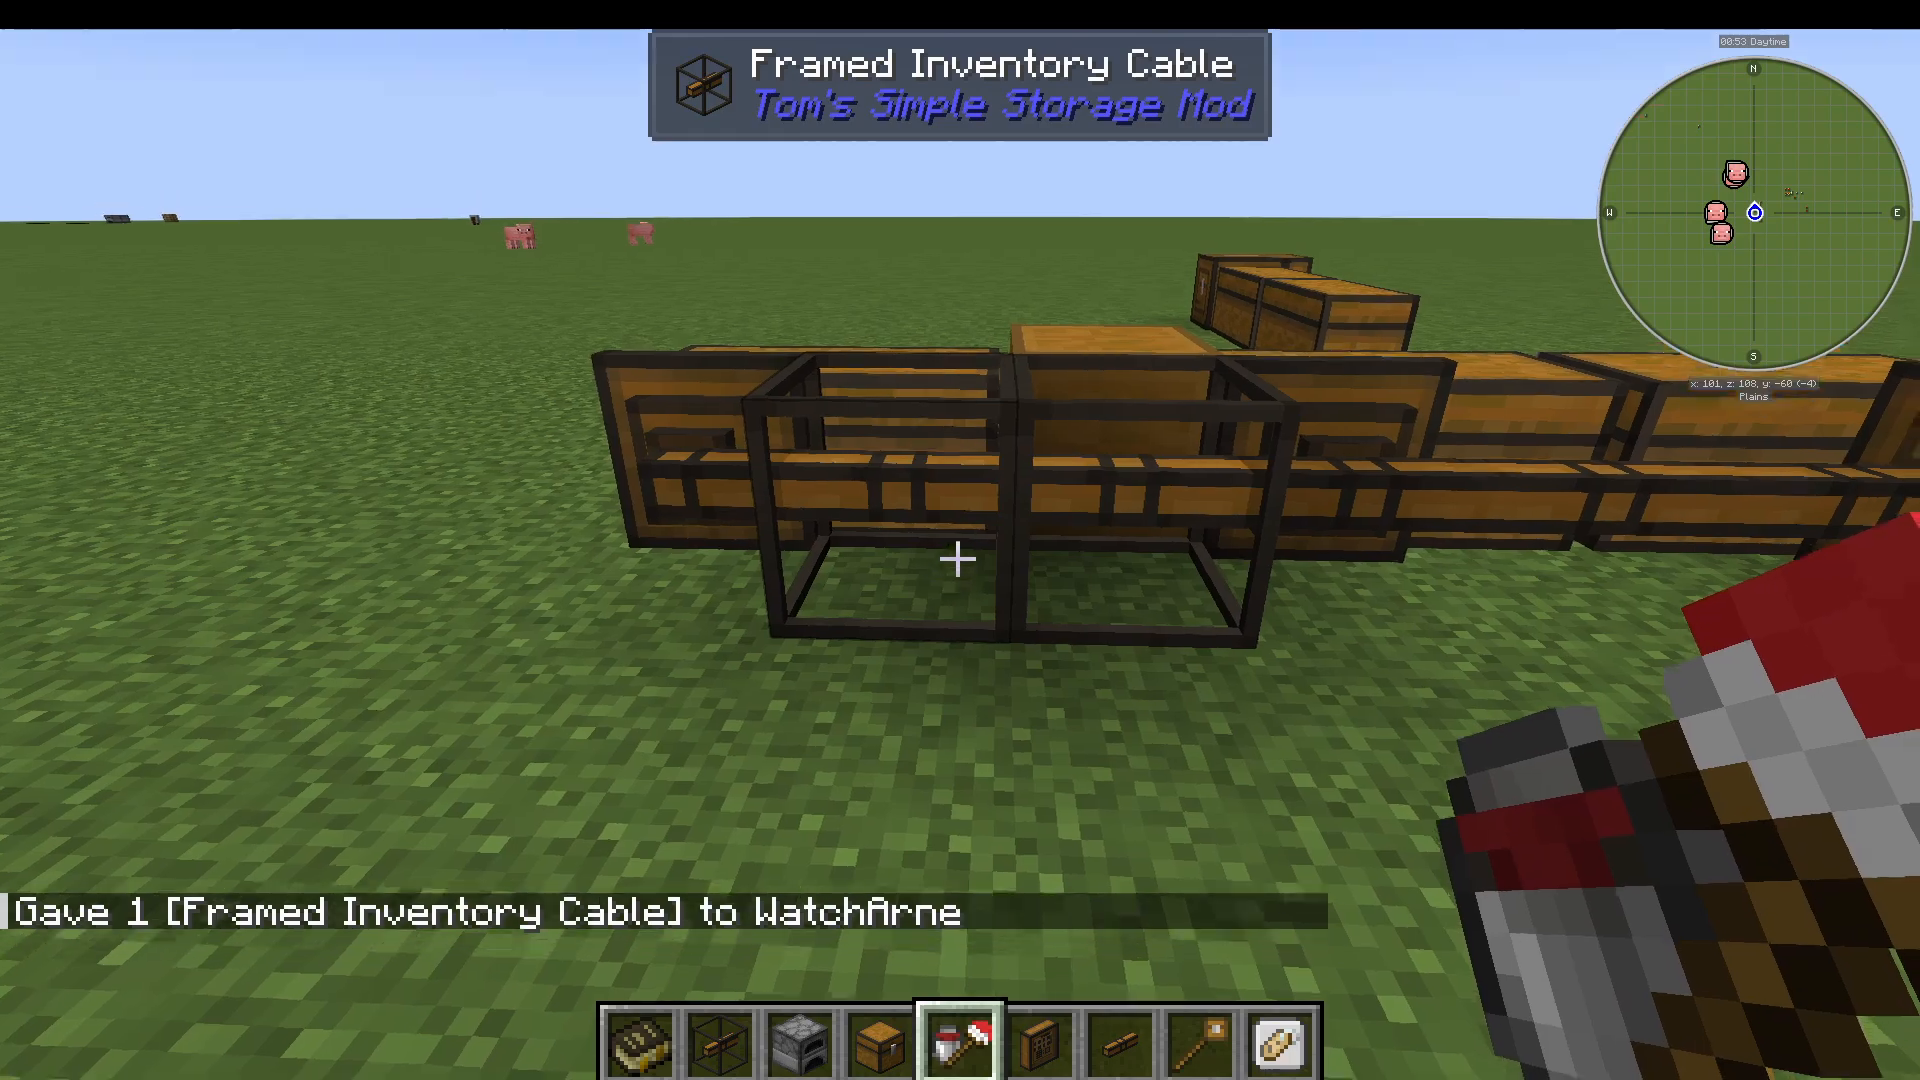
One of the best quality-of-life features in Tom’s Simple Storage mod is the ability to disguise your network cables. Using the Paint Kit and Framed Inventory Cables (along with Framed Inventory Cable Connectors), you can texture your cables to match any full block in the world.
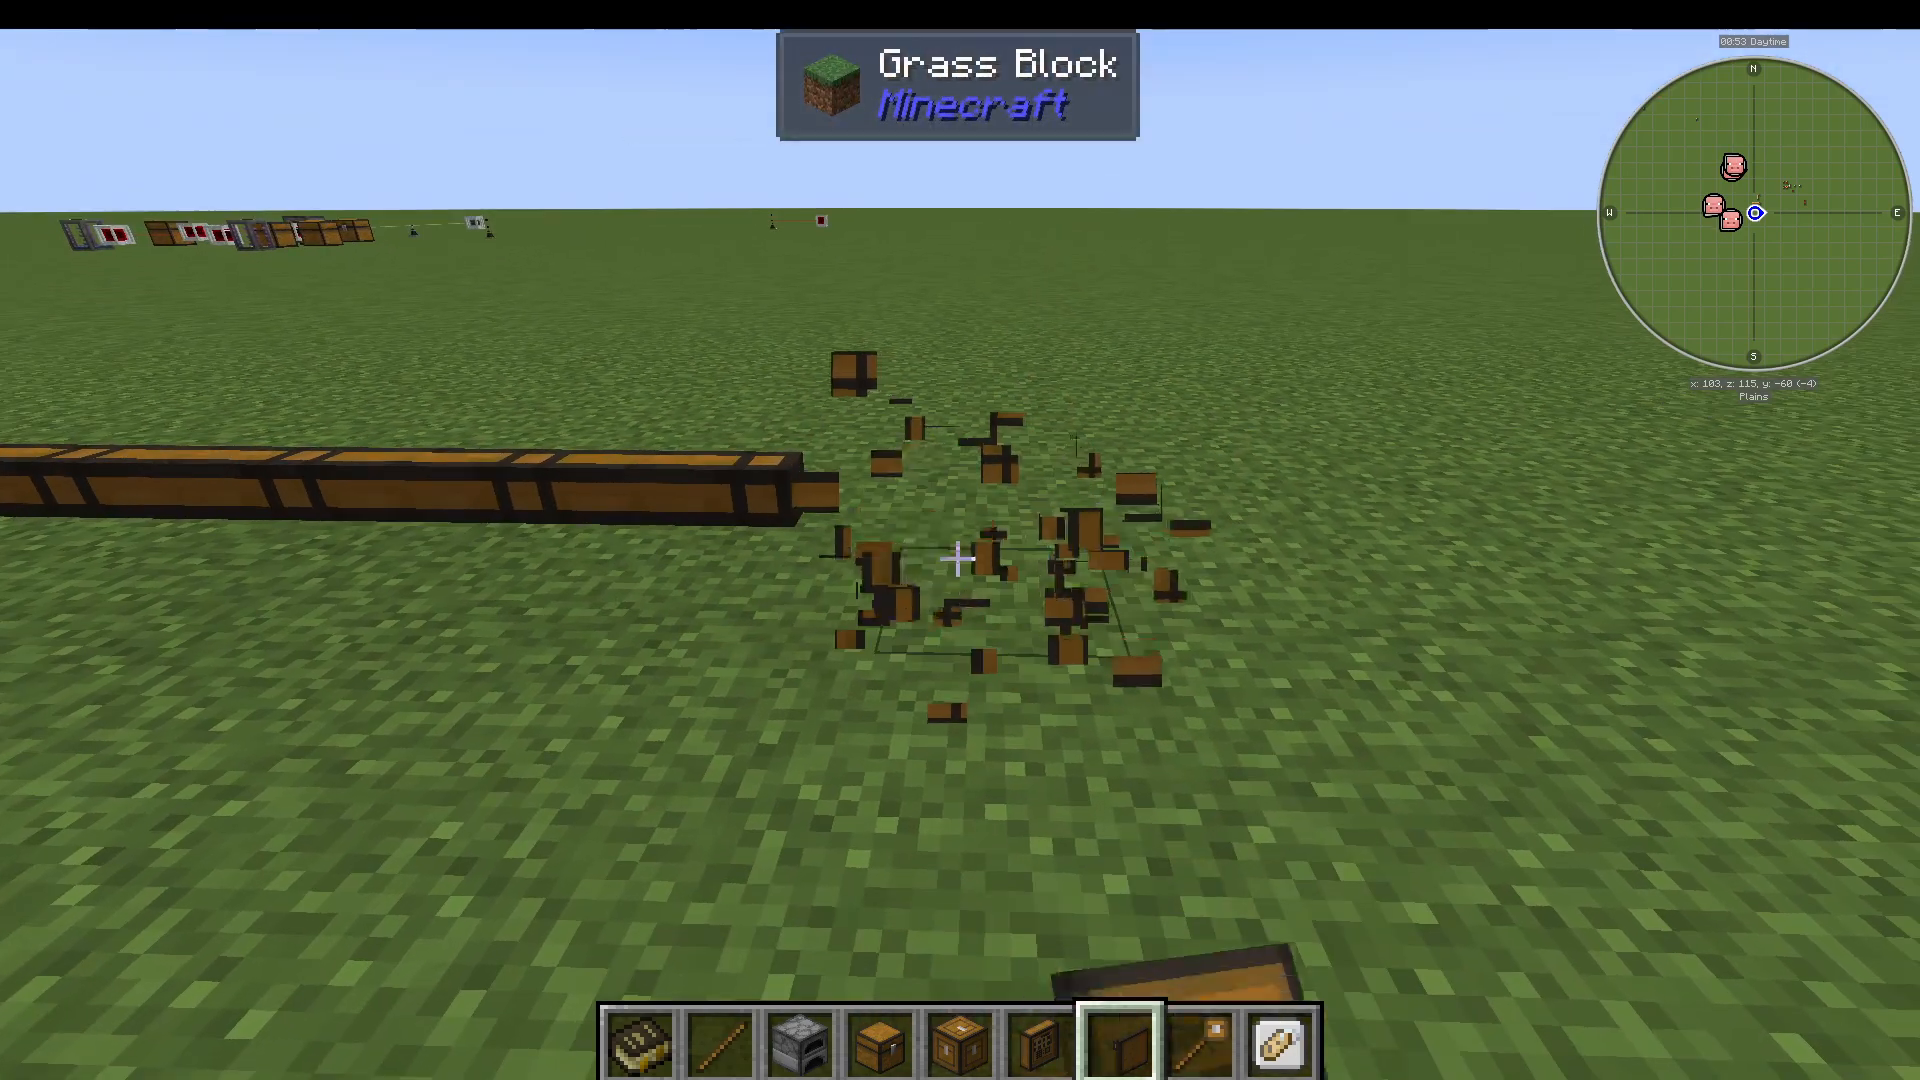
To paint a cable: shift-right-click the Paint Kit onto the block whose texture you want to copy — for example, a grass block — then right-click the framed cable with the loaded paint kit. The cable will immediately take on the appearance of grass. You can walk on painted cables just like a normal block, making them completely invisible in your build. The same painting technique works on Inventory Trims, keeping your entire network hidden and your builds looking clean.
Using the Storage Terminal: Search and Sort Options
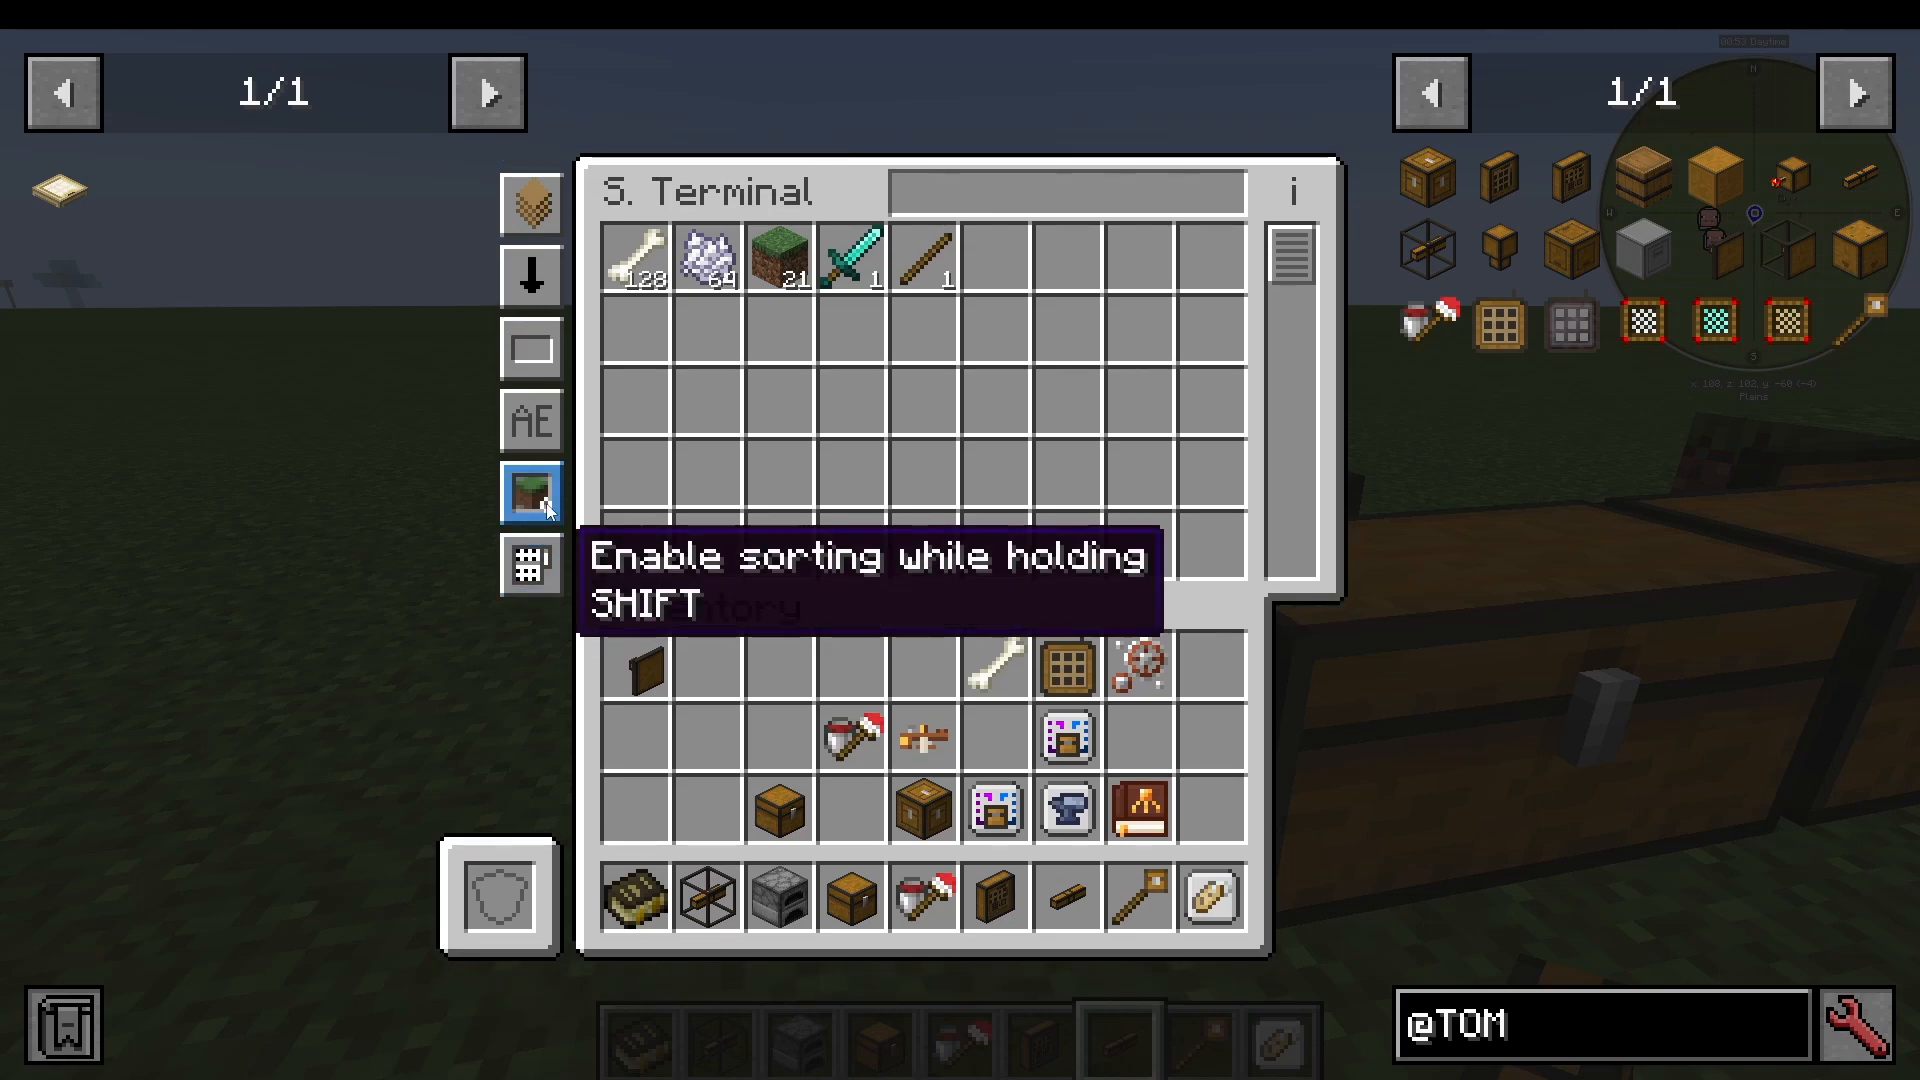
The Storage Terminal offers several settings to customise your experience:
Terminal Size — Resize the terminal window to your preference.
Sorting — Hold Shift to enable sorting. Sort by item name, total quantity, or the mod the item comes from.
Control Scheme — Choose between Refined Storage controls, Vanilla controls, or Applied Energistics / Logistics Pipes controls if you use those mods.
Search Mode — Standard search or auto-select search bar on open.
Simply type an item name — like “stick” — into the search bar to filter the terminal view instantly. Click any item to pull it from the network, and shift-click to deposit items back in. The network will place deposited items into the first available inventory, or into a chest with a matching filter if one exists.
Summary
Tom’s Simple Storage mod delivers exactly what it promises: a no-fuss, beginner-friendly storage network for Minecraft. Here’s a quick recap of what you’ve learned:
Every network needs one Inventory Connector.
Use Storage or Crafting Terminals to interact with the network.
Bridge gaps with Inventory Trims and run long distances with Inventory Cables and Cable Connectors.
Use the Inventory Configurator Wand with Item Filters to route items into specific chests by priority.
Specialty blocks like the Filing Cabinet, Polymorphic Filter, Tag Filter, and Level Emitter add powerful automation options.
Framed Cables and the Paint Kit let you hide your network seamlessly inside your build.
Whether you’re sorting a starter base or organising a mid-game storage room, Tom’s Simple Storage mod gives you everything you need — simply.
“`