The Ultimate Guide to Tinkers Construct MC 1.12.2
Tinkers Construct 1.12.2 – The Ultimate Beginner’s Guide
Tinkers Construct is one of Minecraft’s most powerful tool-crafting mods, giving you full control over every component of your weapons and mining tools. This guide covers everything you need to know specifically for version 1.12.2 — from crafting your very first stencil table all the way through to the smeltery, alloys, modifiers, and the hidden extras the mod throws in. If you are playing 1.16 or above, note that the mod has been completely overhauled and a separate guide is available for that version.
Getting Started: The Essential Workstations
The very first things you need to build are the core Tinkers Construct workstations:
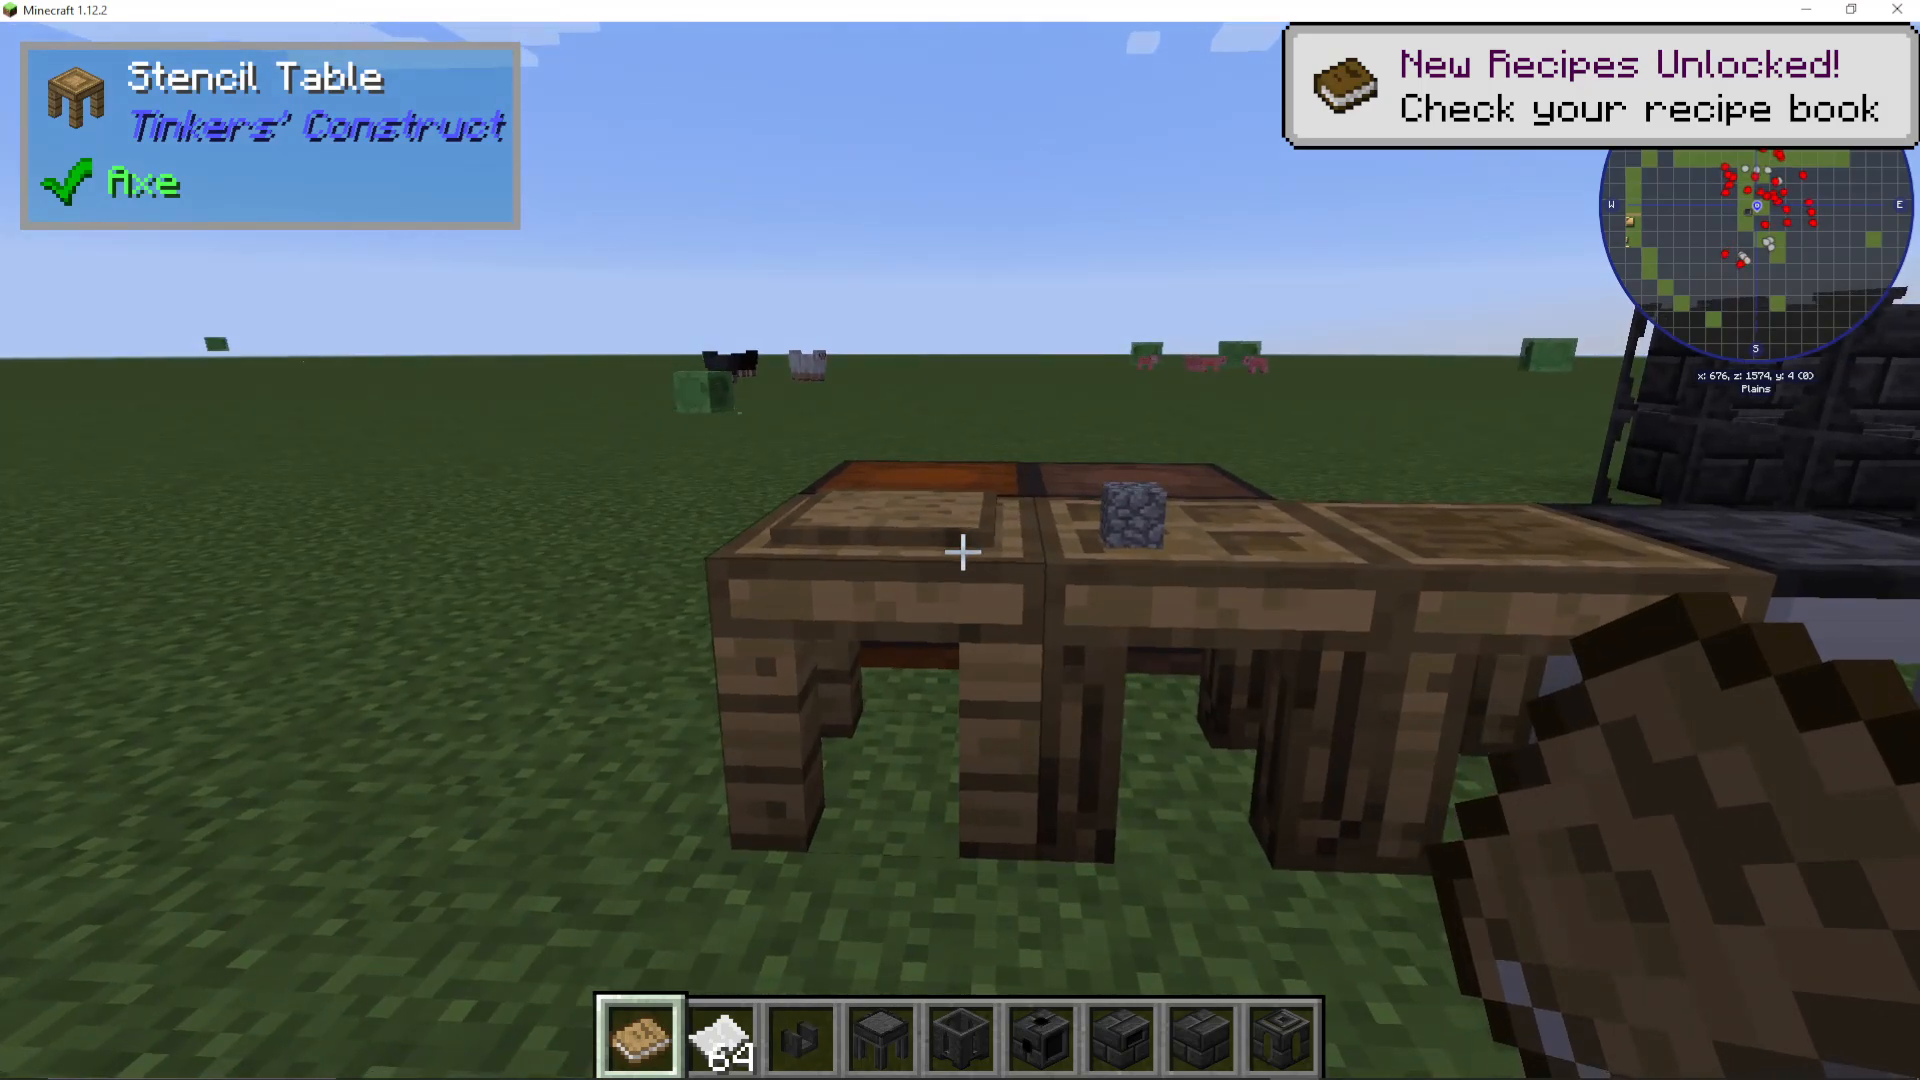
Stencil Table – where you create tool-part patterns from blank patterns.
Part Builder – where you physically craft tool parts using those patterns and raw materials.
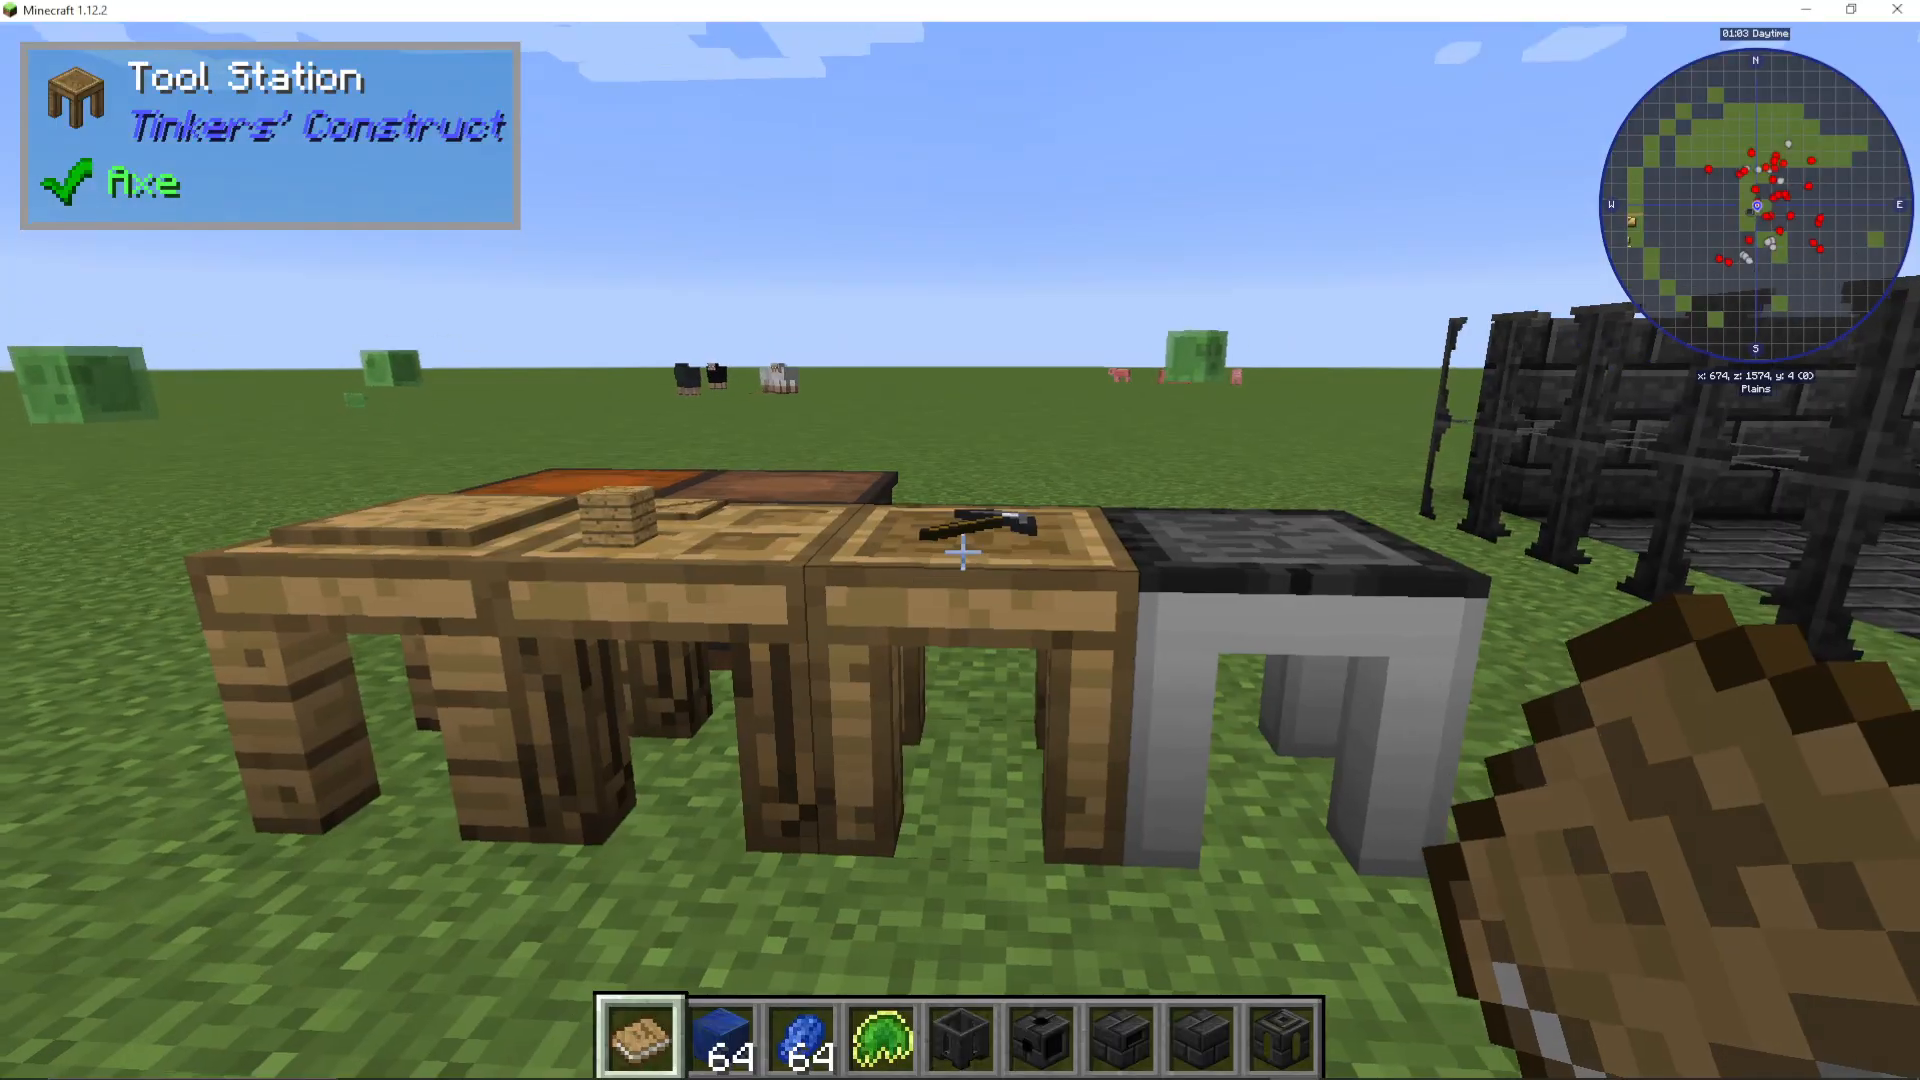
Tool Station – where you assemble the finished parts into a complete tool.
Pattern Chest / Part Chest (optional) – for organised storage of your patterns and parts.
All of these workstations share a similar crafting recipe: a combination of wooden planks, oak logs, and blank patterns. A blank pattern itself is simply crafted from two sticks and two planks. You will go through a lot of blank patterns, so keep a good stock on hand.
Using the Stencil Table and Part Builder
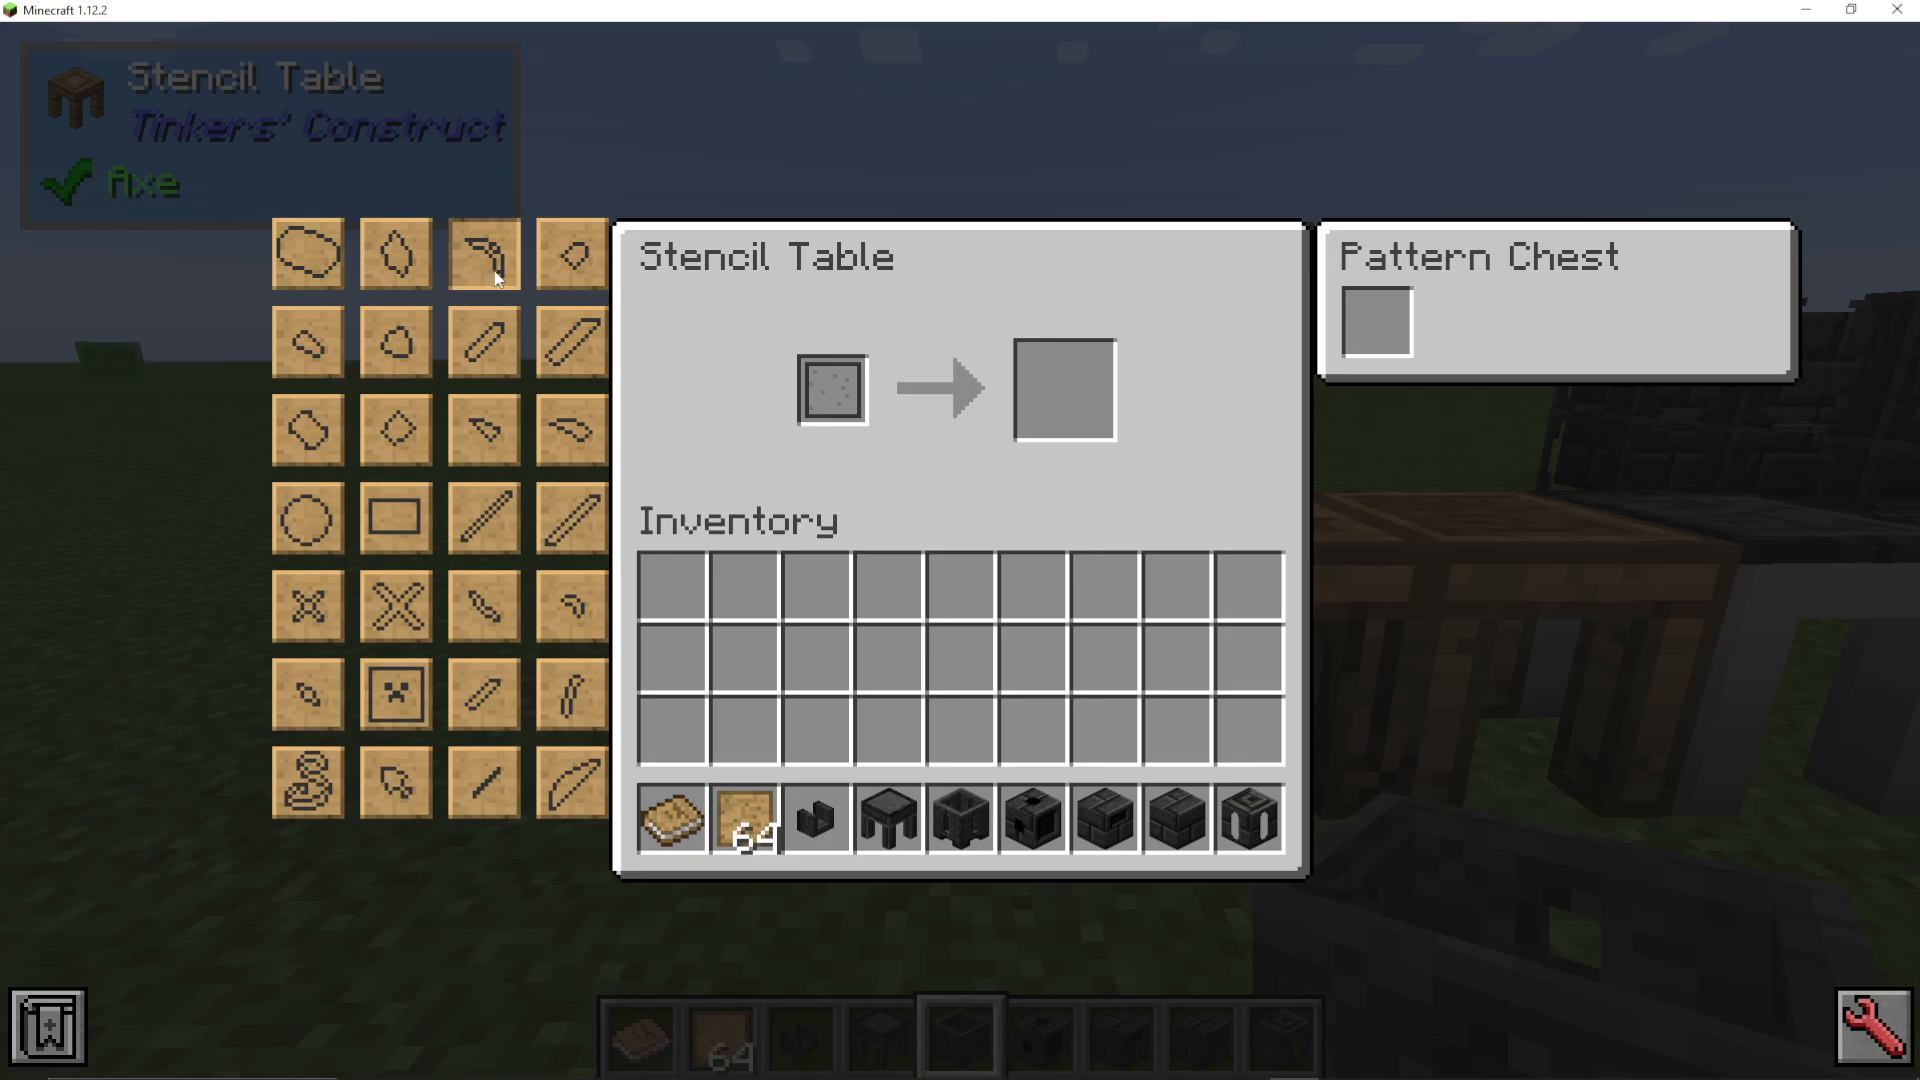
Open the Stencil Table and insert blank patterns. On the left-hand side you will see icons representing every available tool part. To make a pickaxe, for example, you need three parts: a pickaxe head, a binding, and a tool rod. Click each icon in turn, insert your blank patterns, and take out the corresponding patterned piece.
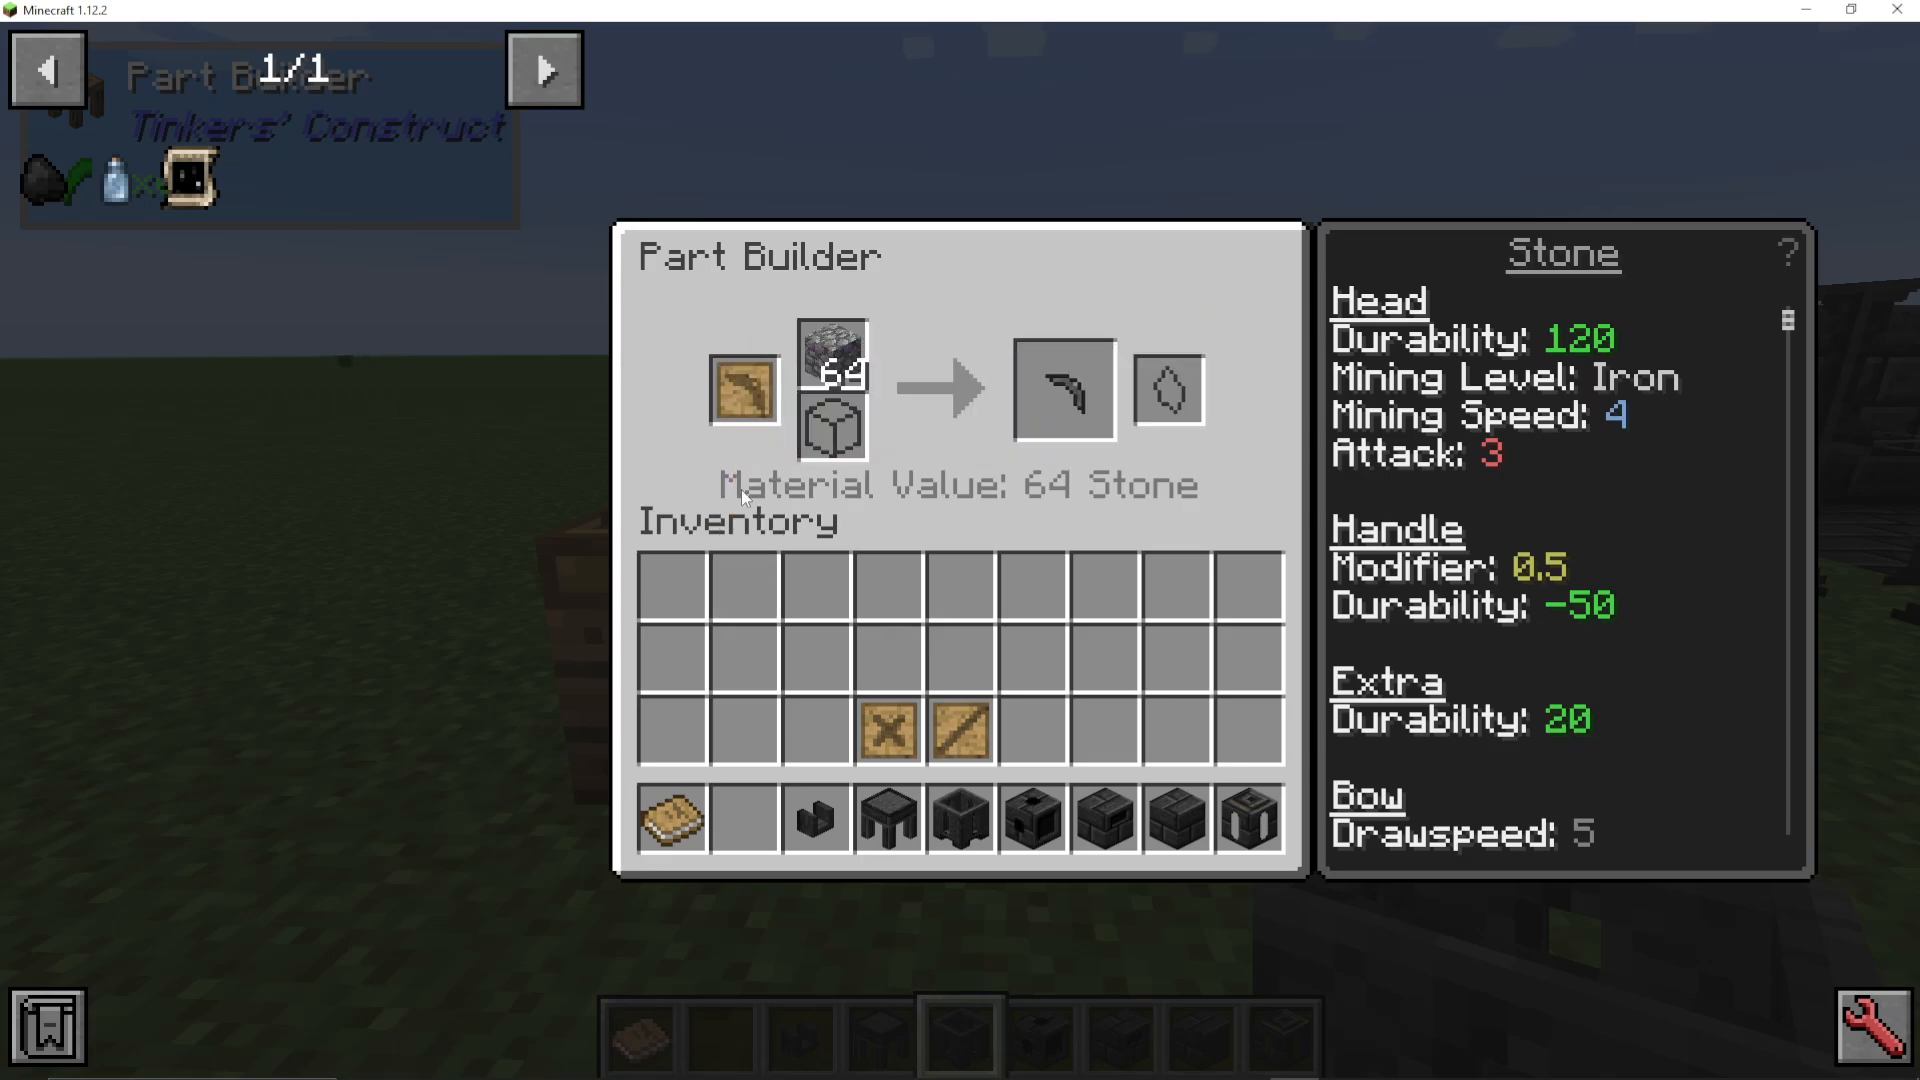
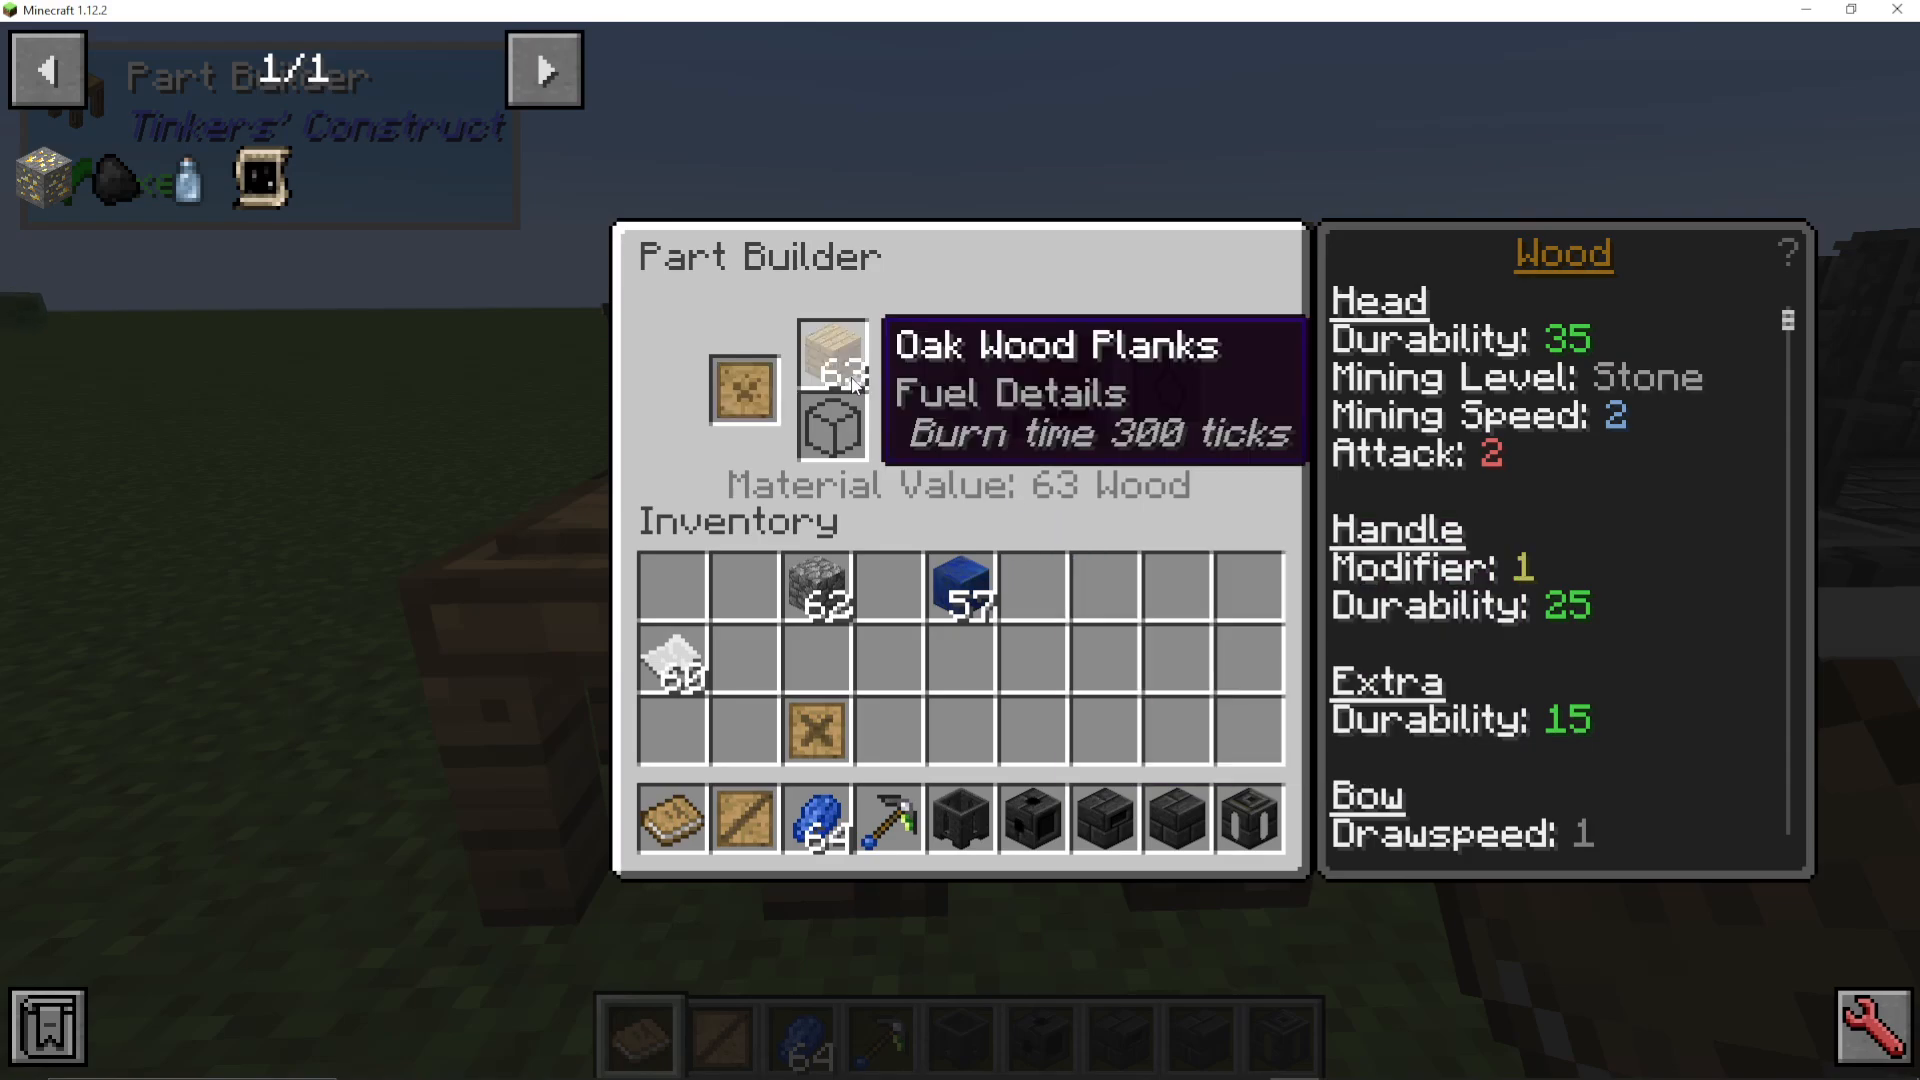
Once you have your patterns, head over to the Part Builder. Place your chosen raw material — cobblestone, for instance — in the right-hand material slot, and insert the relevant pattern into the stencil slot. The Part Builder will produce the finished part, such as a stone pickaxe head. The interface also displays that part’s stats at a glance: durability, mining level, mining speed, and attack value. If the raw material is only partially consumed (for example, half a stone), you may receive a leftover shard back.
Assembling Your Tool at the Tool Station
Open the Tool Station and click the icon for the tool you want — in this case, a pickaxe. The station shows you exactly which components are required. Shift-click or drag your crafted parts into the slots and the finished tool will appear. You can also name your tool directly inside the Tool Station before pulling it out.
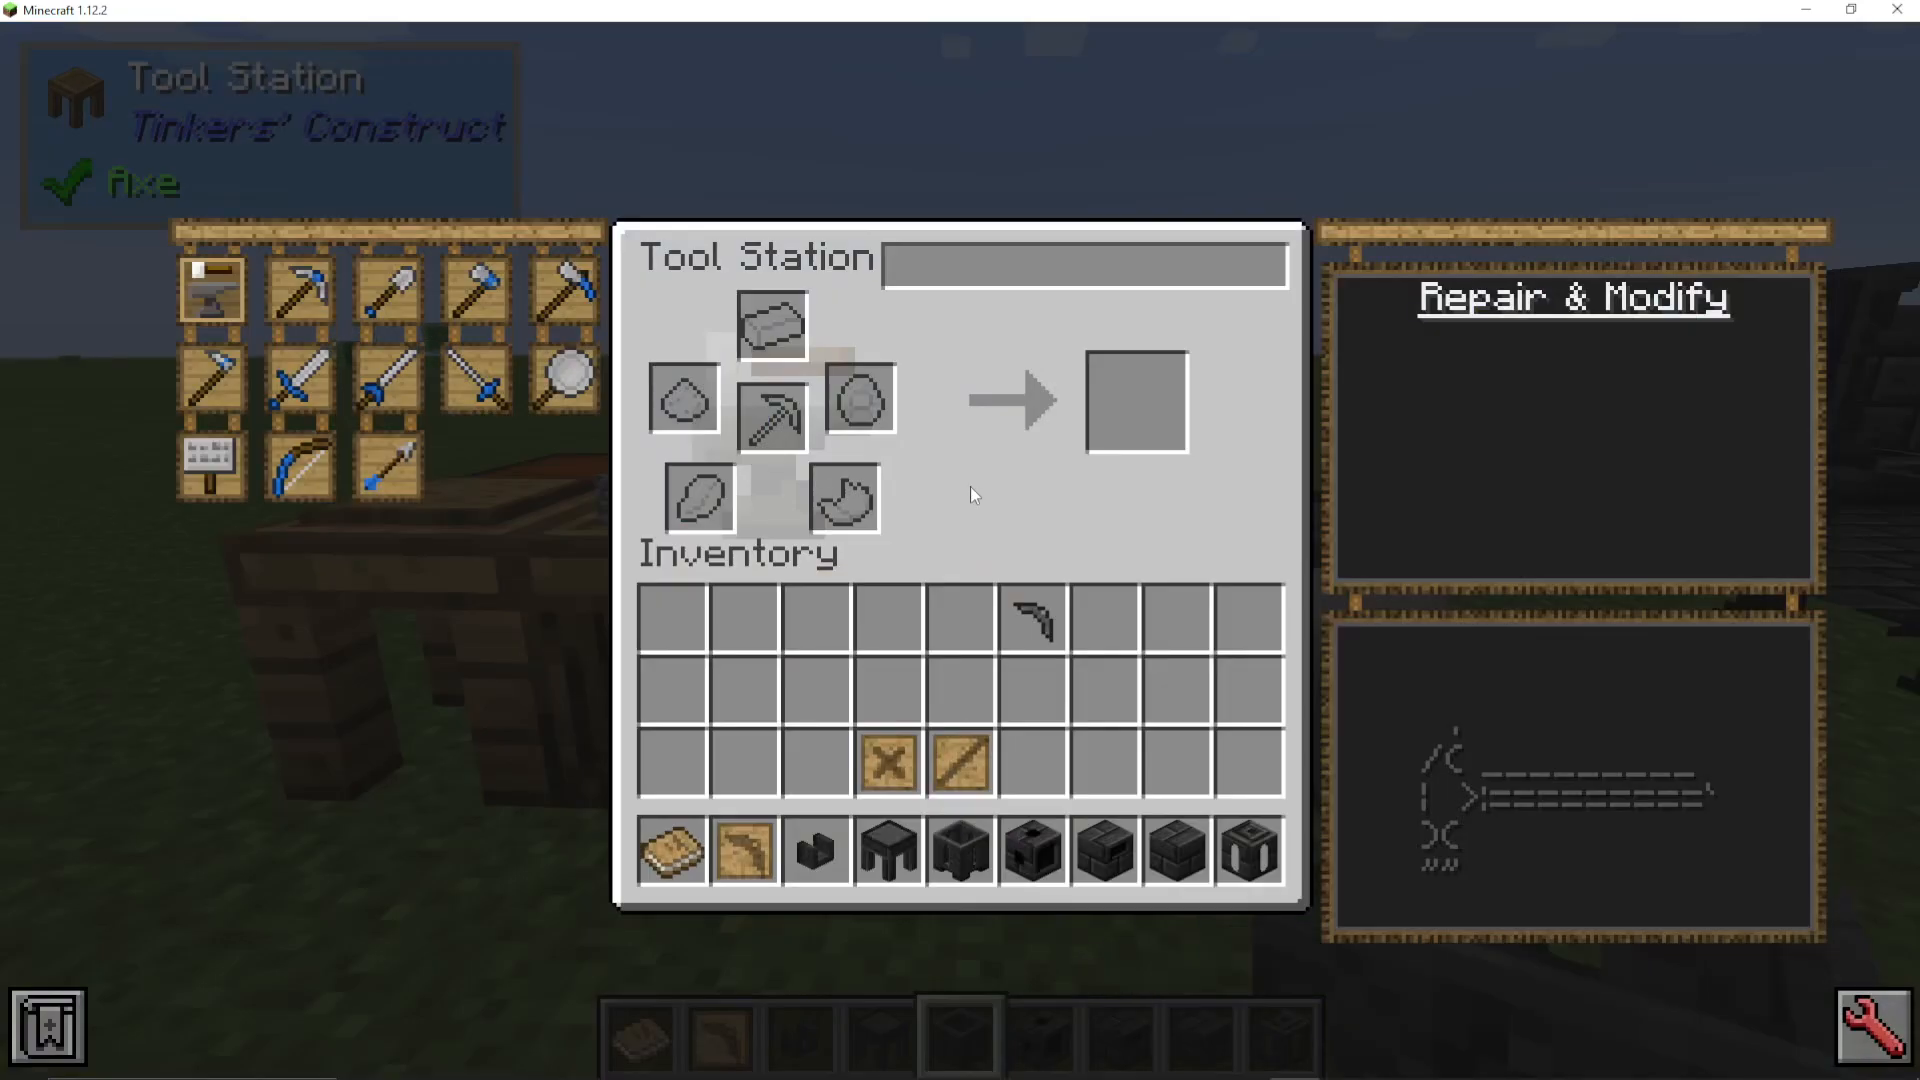
Choosing the Right Materials: Materials and You Book
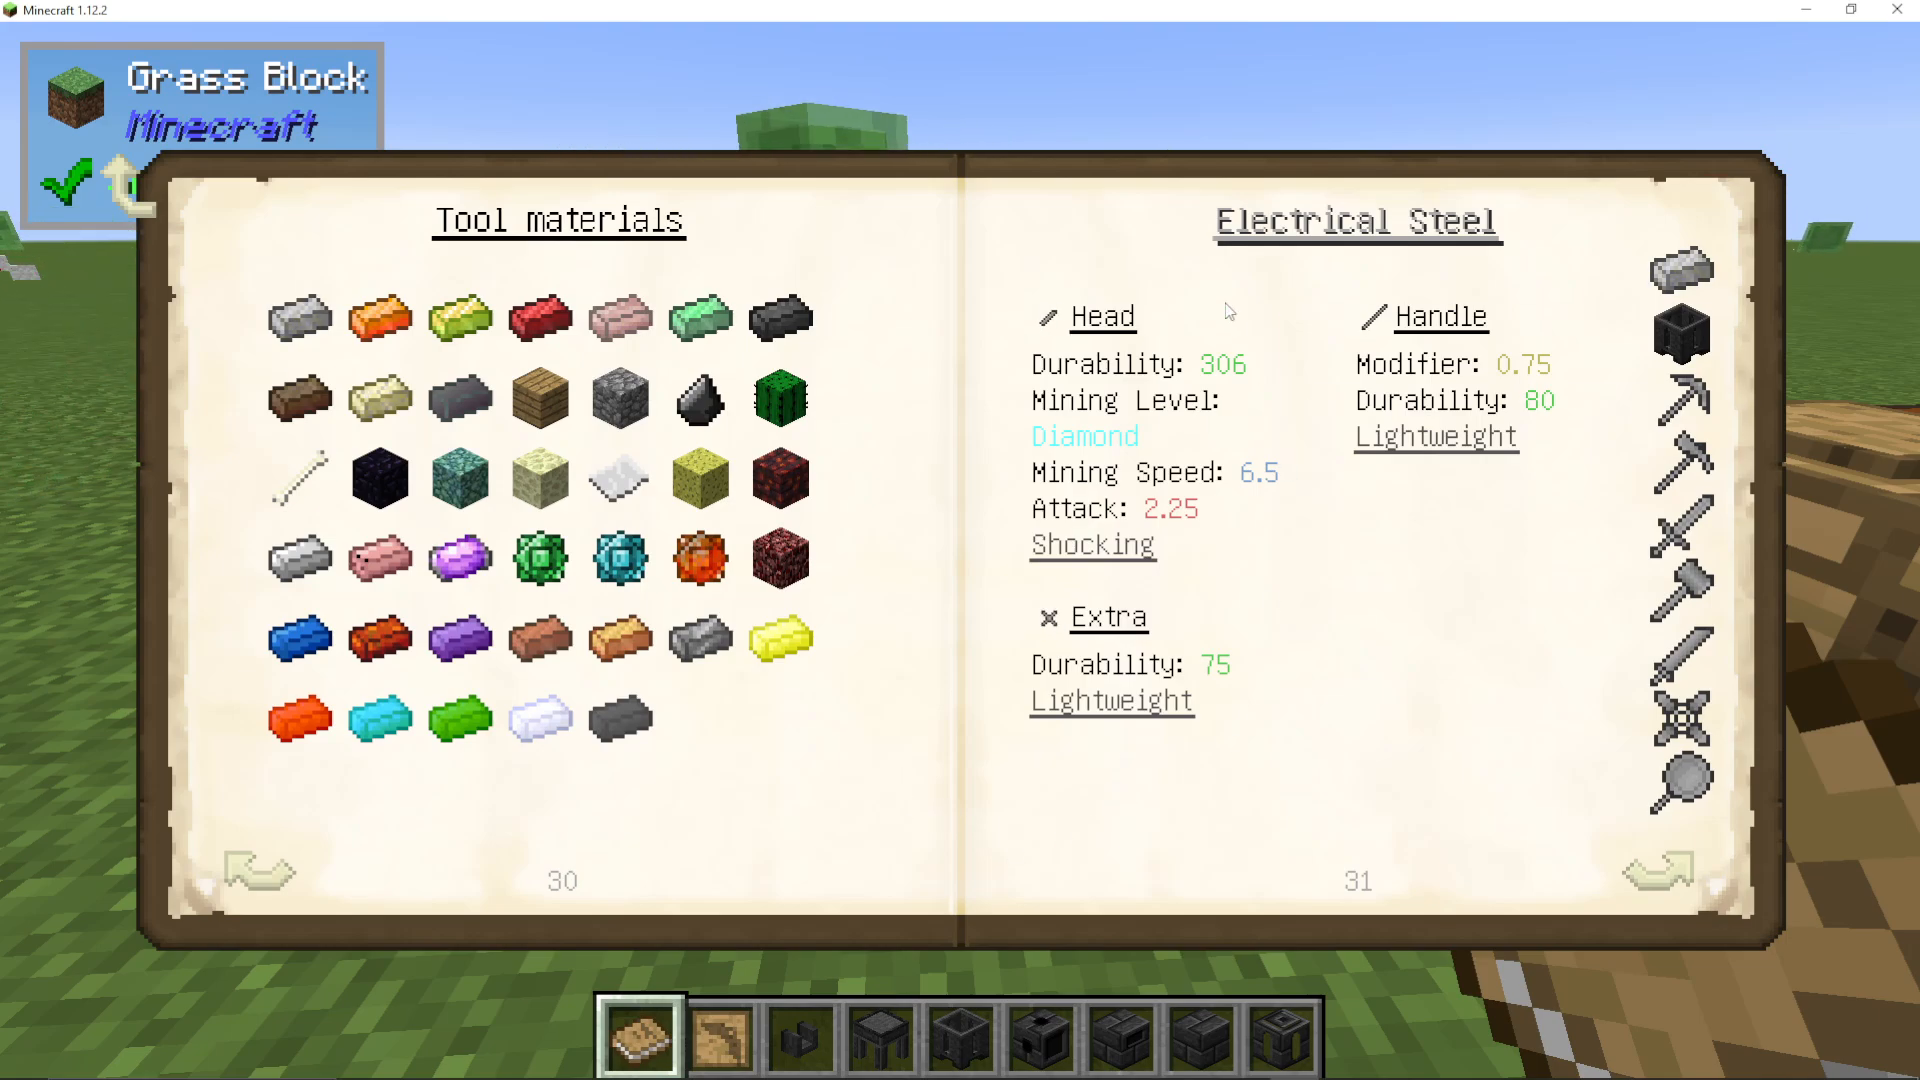
Knowing which materials to use for each part is where Tinkers Construct gets really deep. Craft the Materials and You book (a regular book combined with a blank pattern) and open it to browse every available material and its stats. The key things to look for in each material entry are:
Durability – base hit-points of that part.
Mining level – what ores the tool can harvest.
Mining speed – how fast it breaks blocks.
Handle modifier – a multiplier applied to the tool’s total durability.
Traits / Attributes – passive bonuses or penalties granted by the material.
Notable Material Highlights
Stone (head): Base durability of 120, can mine iron, but carries the Cheapskate trait — your tool has reduced durability. Stone on the binding or handle gives Cheap, which increases durability gained when repairing. Not ideal, but very accessible early on.
Paper (binding): Grants the Writable trait, giving your tool an extra modifier slot. This is extremely valuable — it is almost always worth using a paper binding so you can apply more upgrades later.
Manyullyn (head): Outstanding mining speed of 7, high attack damage, and 820 durability, making it the best-in-slot head for both pickaxes and weapons. However, it cannot be made in the Part Builder — you need the Smeltery (covered below).
Ardite (head): Slightly higher durability than Manyullyn but noticeably slower mining speed. Manyullyn is the better overall choice for the head slot.
Obsidian (handle): Has a handle modifier of 0.9, meaning it actively reduces the tool’s total durability. Avoid it as a handle material.
Bone (head / binding / sword blade): Grants the Fractured trait on the head and Splintering on a sword blade, both of which increase damage. Bone is a strong early-game sword material and easy to obtain.
Wood (tool rod): Provides the Renewable trait — the tool slowly regenerates durability on its own. A great default choice for the tool rod slot when you are just starting out.
Adding Modifiers to Your Tool
Inside the Tool Station there is a small anvil icon — click it and place your tool inside to access the modifier interface. You will see how many modifier slots the tool currently has (paper binding gives you an extra one). Here are the most important modifiers and how to apply them:
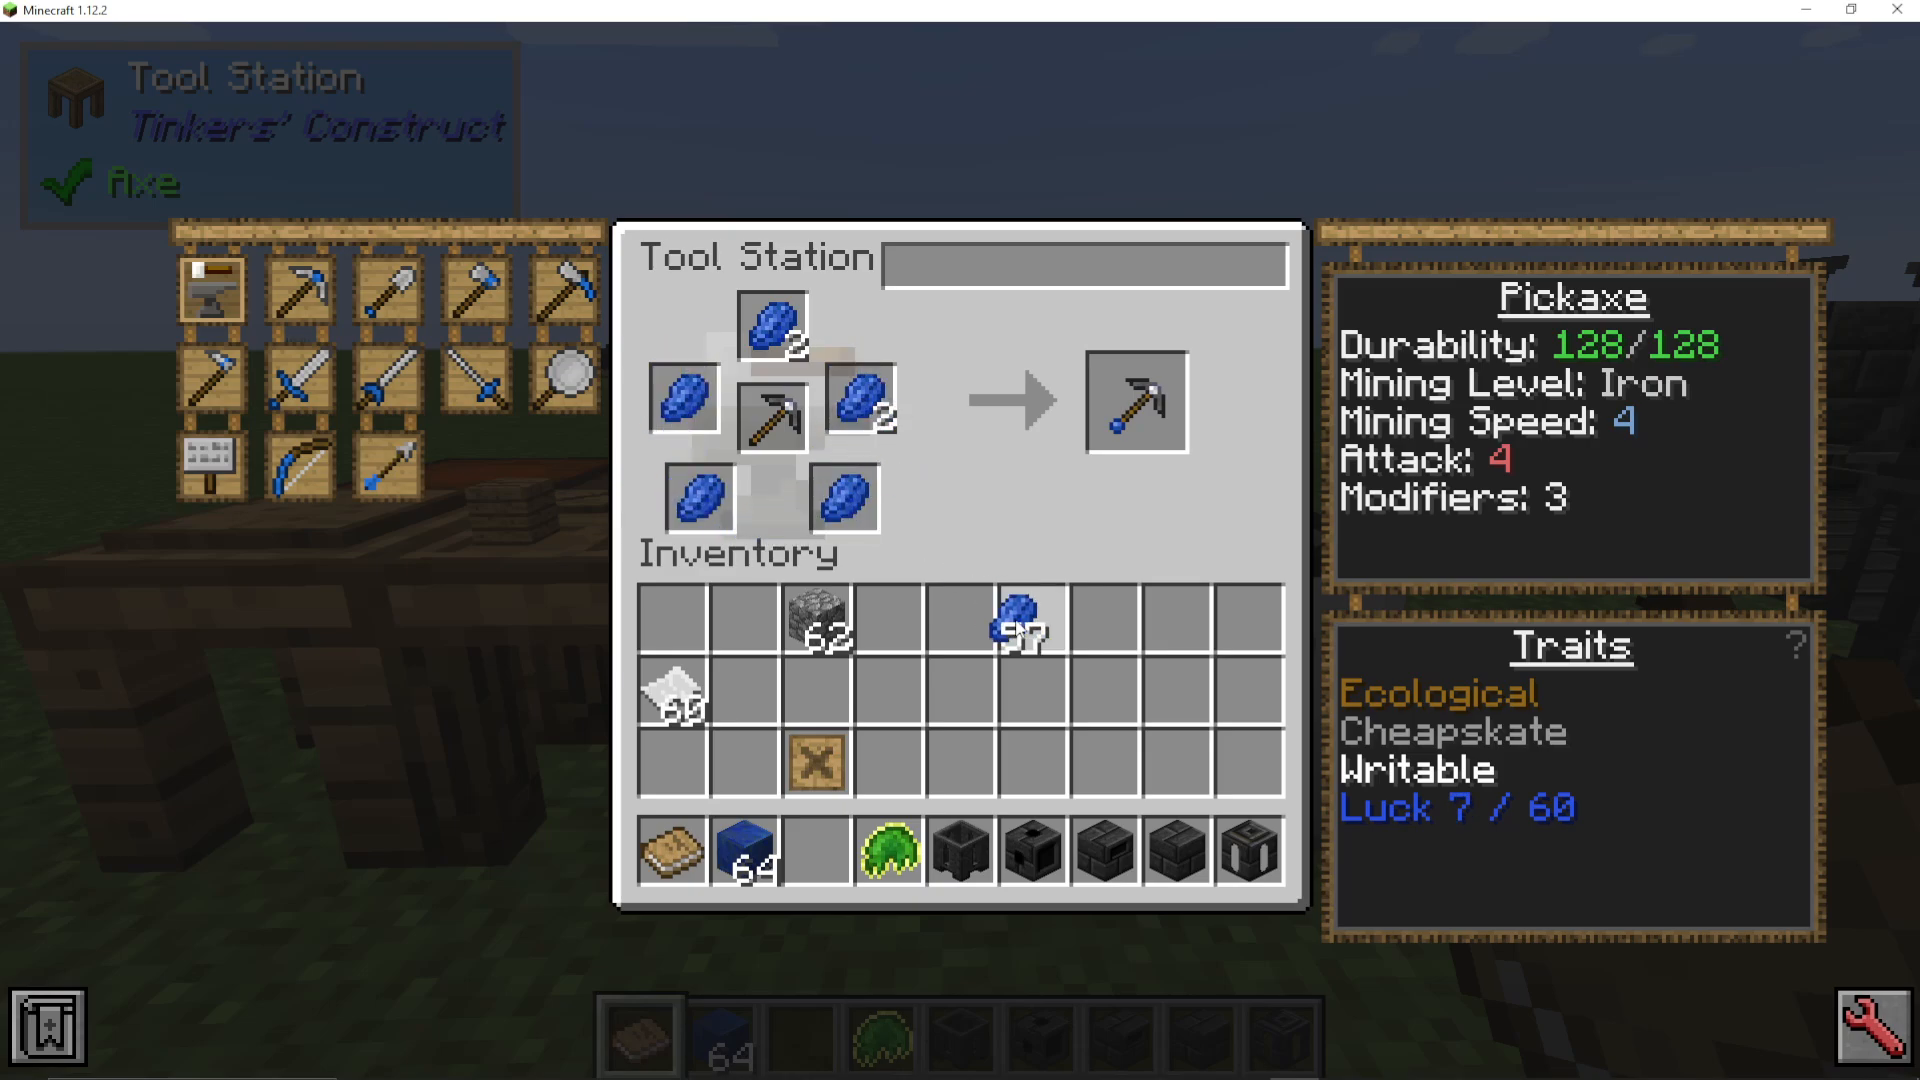
Luck (Fortune) – Lapis Lazuli
Adding lapis lazuli grants the Luck modifier, which functions as Fortune. Each lapis counts as one point out of 60 per tier. To save time, use lapis blocks (worth 9 points each). Reaching 60 points maxes out Luck I; going beyond 60 begins Luck II at the cost of an additional modifier slot, with the new cap at 180.
Mending Moss
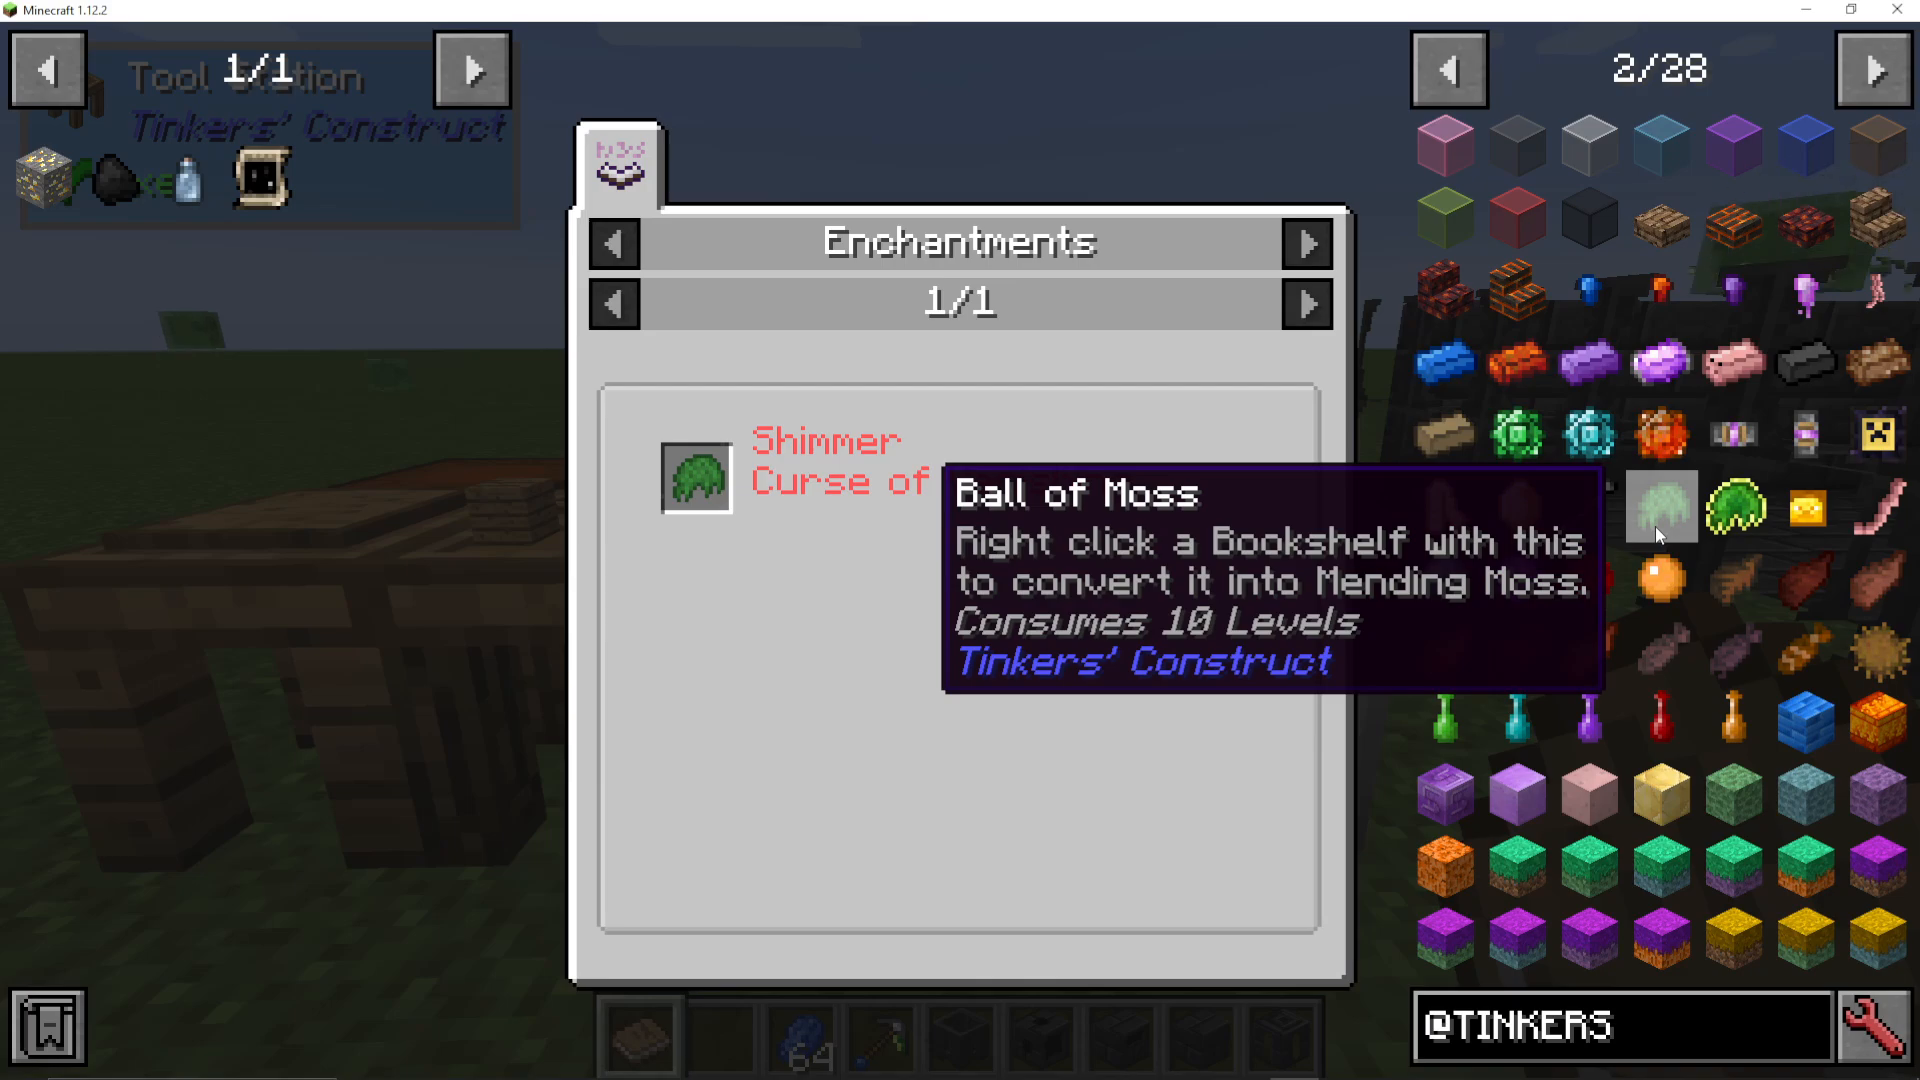
Mending Moss causes the tool to absorb any experience you would normally collect and uses it to repair its own durability automatically — you will not gain the XP yourself, but your tool will never need manual repairs. In many mod packs this is a creative-only item, but you can alternatively craft a Ball of Moss and right-click a bookshelf to convert it into Mending Moss.
Full Modifier Reference
Redstone – Haste (increased mining/attack speed).
Lapis Lazuli – Luck / Fortune.
Quartz – Sharpness (ideal for swords).
Diamond – Increased durability.
Emerald – Increased durability.
Flint – Fortified; raises the tool’s mining level.
Silky Jewel – Silk Touch.
Obsidian Plate – Reinforced; each level adds a chance not to consume durability. At level 5 the tool never loses durability.
Beheading modifier – Allows you to behead enemies.
Consecrated Soil – Smite; extra damage against undead.
Fermented Spider’s Eye – Arthropod; extra damage against spiders.
Blaze Powder – Fiery; sets targets on fire.
Necrotic Bone (from Withers) – Necrotic / Leech; heals you on hit.
Piston – Knockback.
Nether Star – Soulbound; you keep the tool on death.
Height modifier – Expands the area of effect vertically and horizontally (Expandable Vertical / Horizontal).
TNT – Blasting; AOE harvest ability.
Glowing modifier – Places a light source.
Shulking modifier – Each level increases levitation duration on hit.
Webbed modifier – Slows enemies.
Fins modifier – Makes projectiles ignore water.
Embossment – Adds the trait of another part material (e.g., an Ardite pickaxe head embossment adds the Stonebound trait to any tool).
Block of Diamond / Block of Gold – Grants an additional modifier slot.
Dark Steel Upgrade (Ender IO) – Mod-specific upgrade demonstrating how well Tinkers Construct integrates with other mods.
Upgrading to the Tool Forge
The Tool Forge is an upgraded version of the Tool Station and unlocks a second tier of tools with larger, more powerful recipes. Notable additions include:
Hammer – Mines a 3×3 area (great for stone and ores).
Excavator – Mines a 3×3 area optimised for dirt and gravel.
Lumber Axe – Fells entire trees in one go.
Cleaver – A massive melee weapon with huge damage output.
These large tools require more expensive components. A tough tool rod costs 3 units of material and a large plate or excavator head costs 8, making them significantly more resource-intensive than standard tools. In this particular mod pack the Tool Forge requires Electrical Steel blocks from Ender IO rather than the standard iron blocks — always check your pack’s recipe. Essentially, the Tool Forge is built by surrounding a Tool Station with the required blocks.
Building and Using the Smeltery
Crafting Seared Bricks
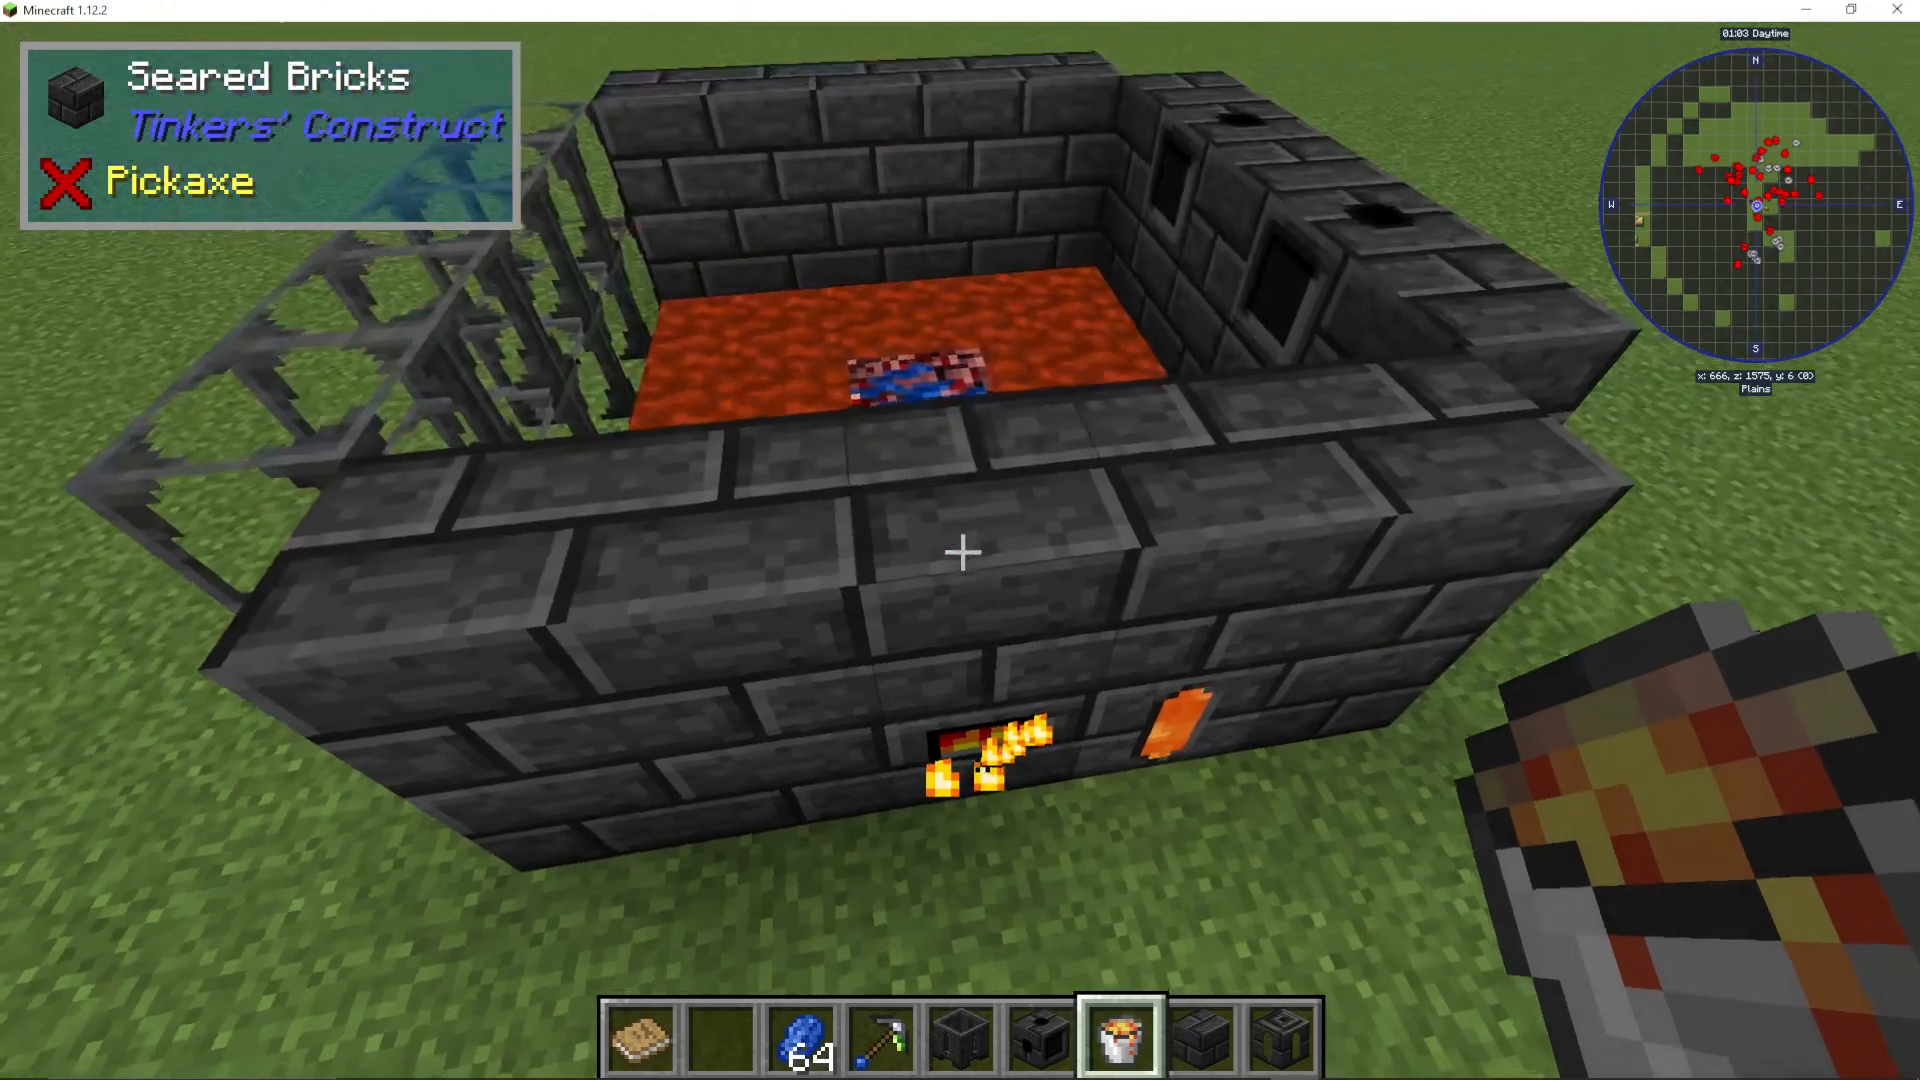
The Smeltery is your gateway to high-tier materials like Manyullyn and Ardite that cannot be processed in the Part Builder. To build one you first need Seared Bricks. Craft Grout from equal parts gravel, sand, and clay, then smelt the Grout in a furnace to produce Seared Bricks. Smelt a large quantity — you will need plenty for the walls, floor, and additional components.
Smeltery Components
Seared Bricks – The main structural block for walls and floor.
Smeltery Controller – The block you interact with to access the Smeltery’s interface.
Seared Tank – Stores the lava that fuels the Smeltery.
Smeltery Drain – Allows molten metal to be extracted.
Faucet – Sits on top of the drain; right-click to pour molten metal.
Casting Basin – Receives poured metal and produces solid blocks.
Casting Table – Like the basin but used to cast individual ingots and tool parts.
Seared Window / Seared Glass (optional) – Lets you see inside the Smeltery.
Constructing the Smeltery
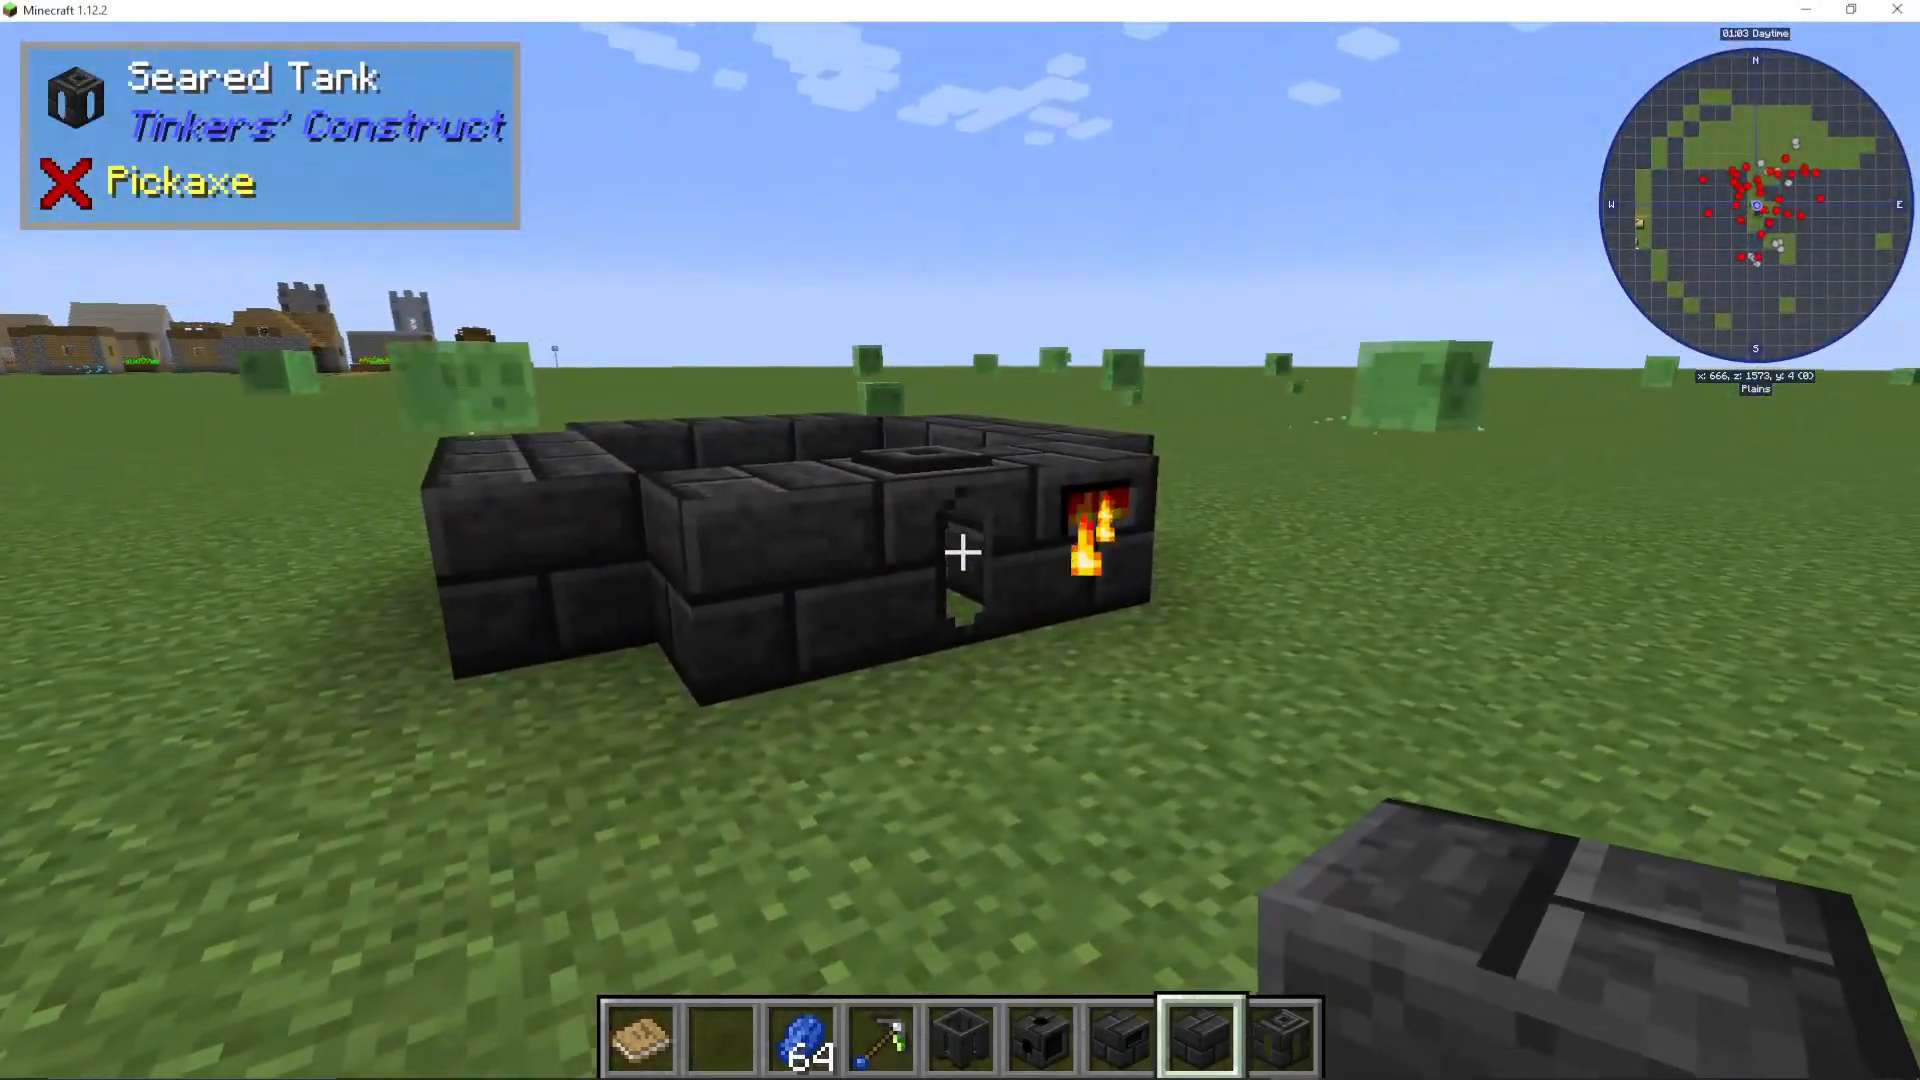
The Smeltery can be built at any size you like — a 3×3 footprint is a practical starting point. Build the walls from Seared Bricks, add a full floor beneath, and place the Smeltery Controller on one of the walls. Corners are not required. Once the structure is valid the Controller will light up, indicating the Smeltery is active. The bigger you build it, the more ore you can smelt at once.
Fuelling and Smelting
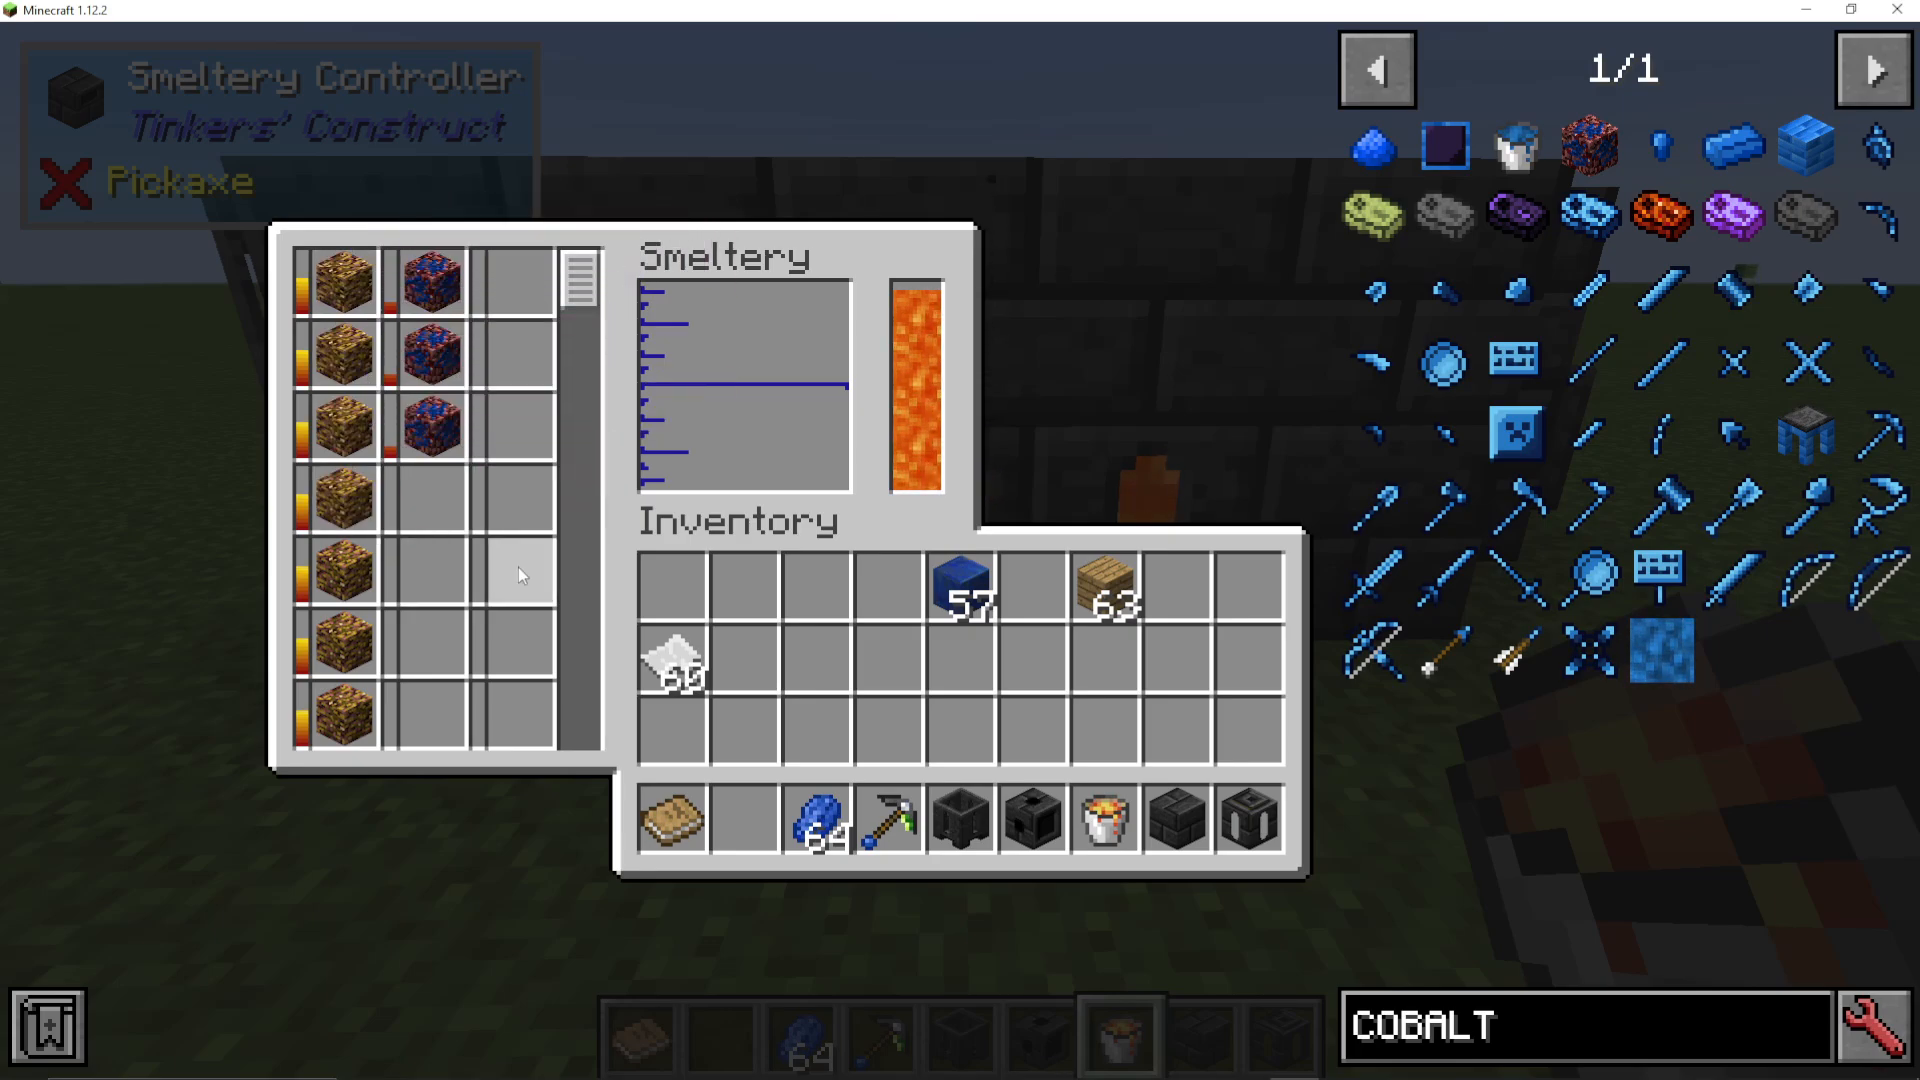
Right-click the Seared Tank with a lava bucket to fill it, or pipe lava in from another mod. Then place your ores — such as Ardite — into the Smeltery Controller’s input. The ores will gradually heat up and convert into molten liquid metal. Once fully melted, you can see the volume displayed in the Controller (e.g., one block and five ingots of molten Ardite).
Making Alloys
One of the Smeltery’s most powerful features is automatic alloy creation. When two compatible molten metals are present at the same time, the Smeltery will automatically combine them into an alloy. For example, Ardite + Cobalt = Manyullyn. Simply add both ores and the Smeltery handles the rest. Any leftover material that was not consumed in the alloy process remains in its original molten form.
Extracting Molten Metal with the Faucet
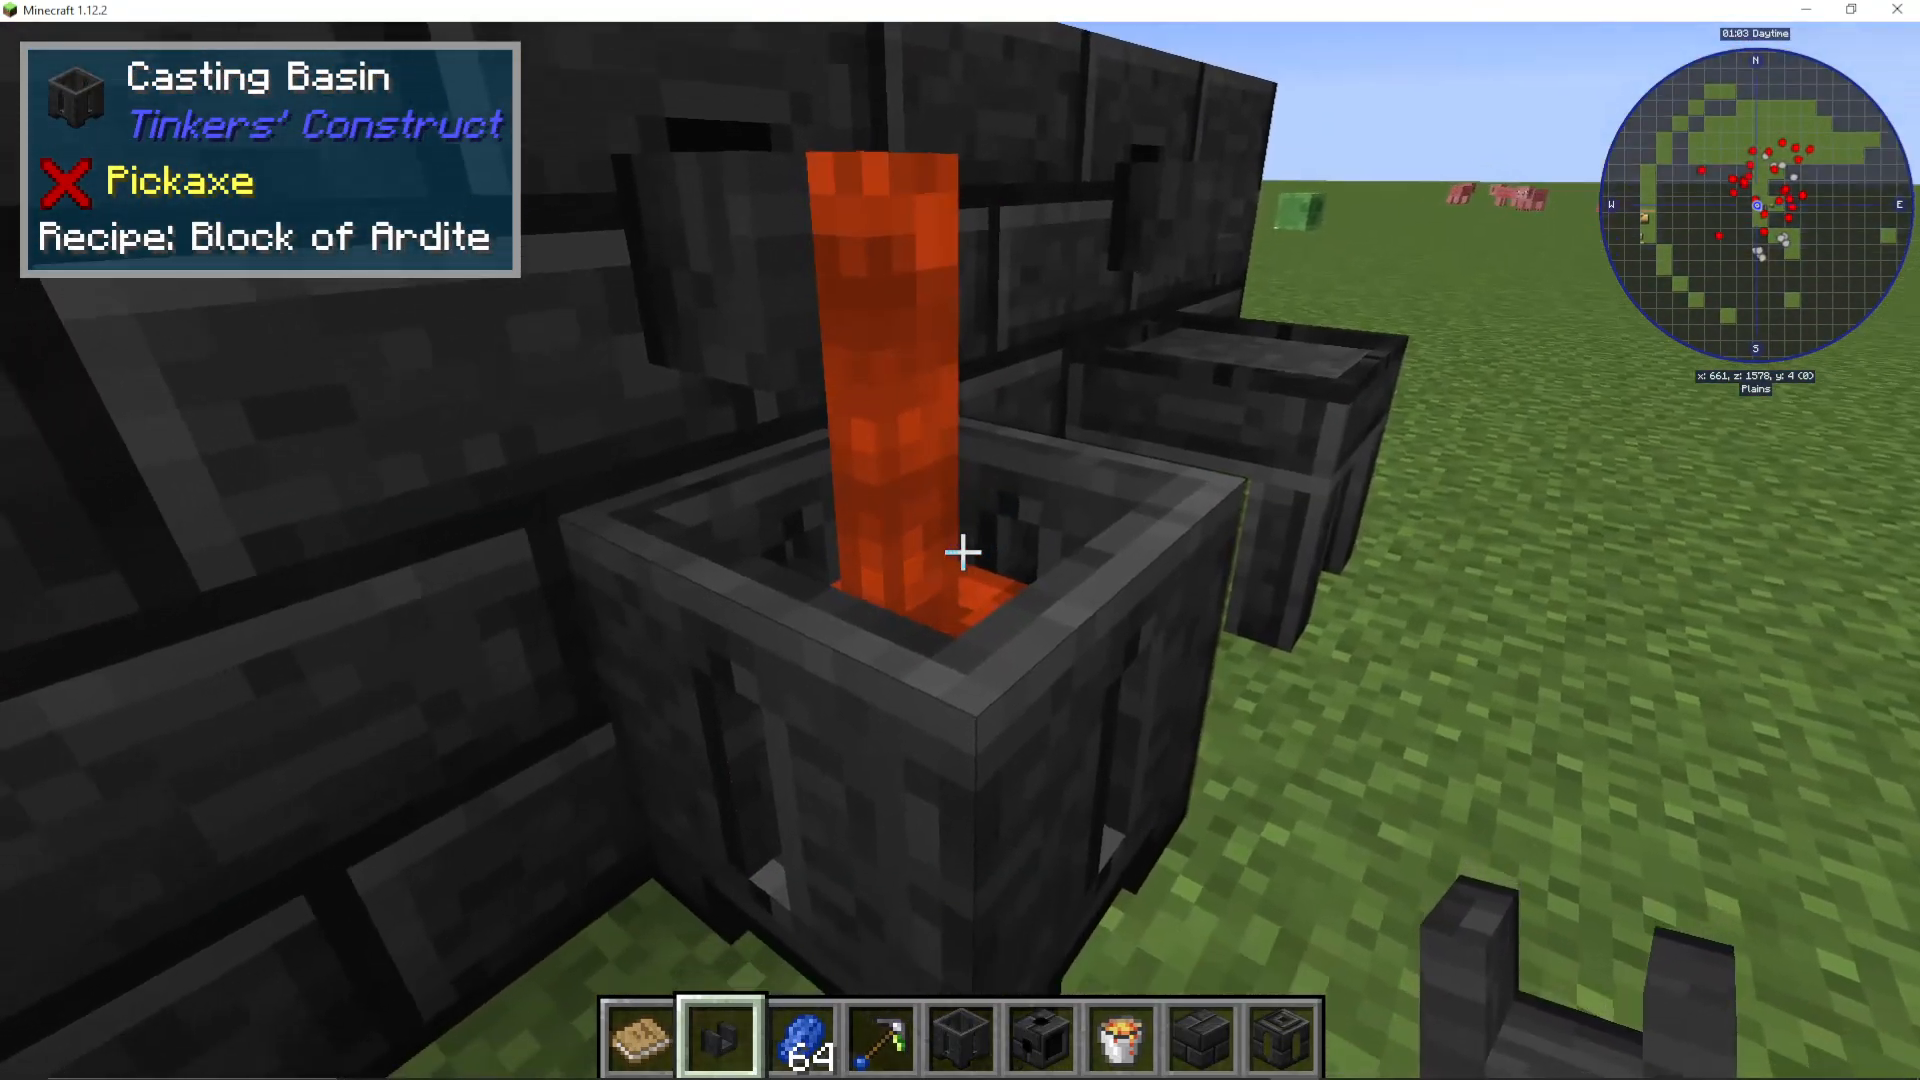
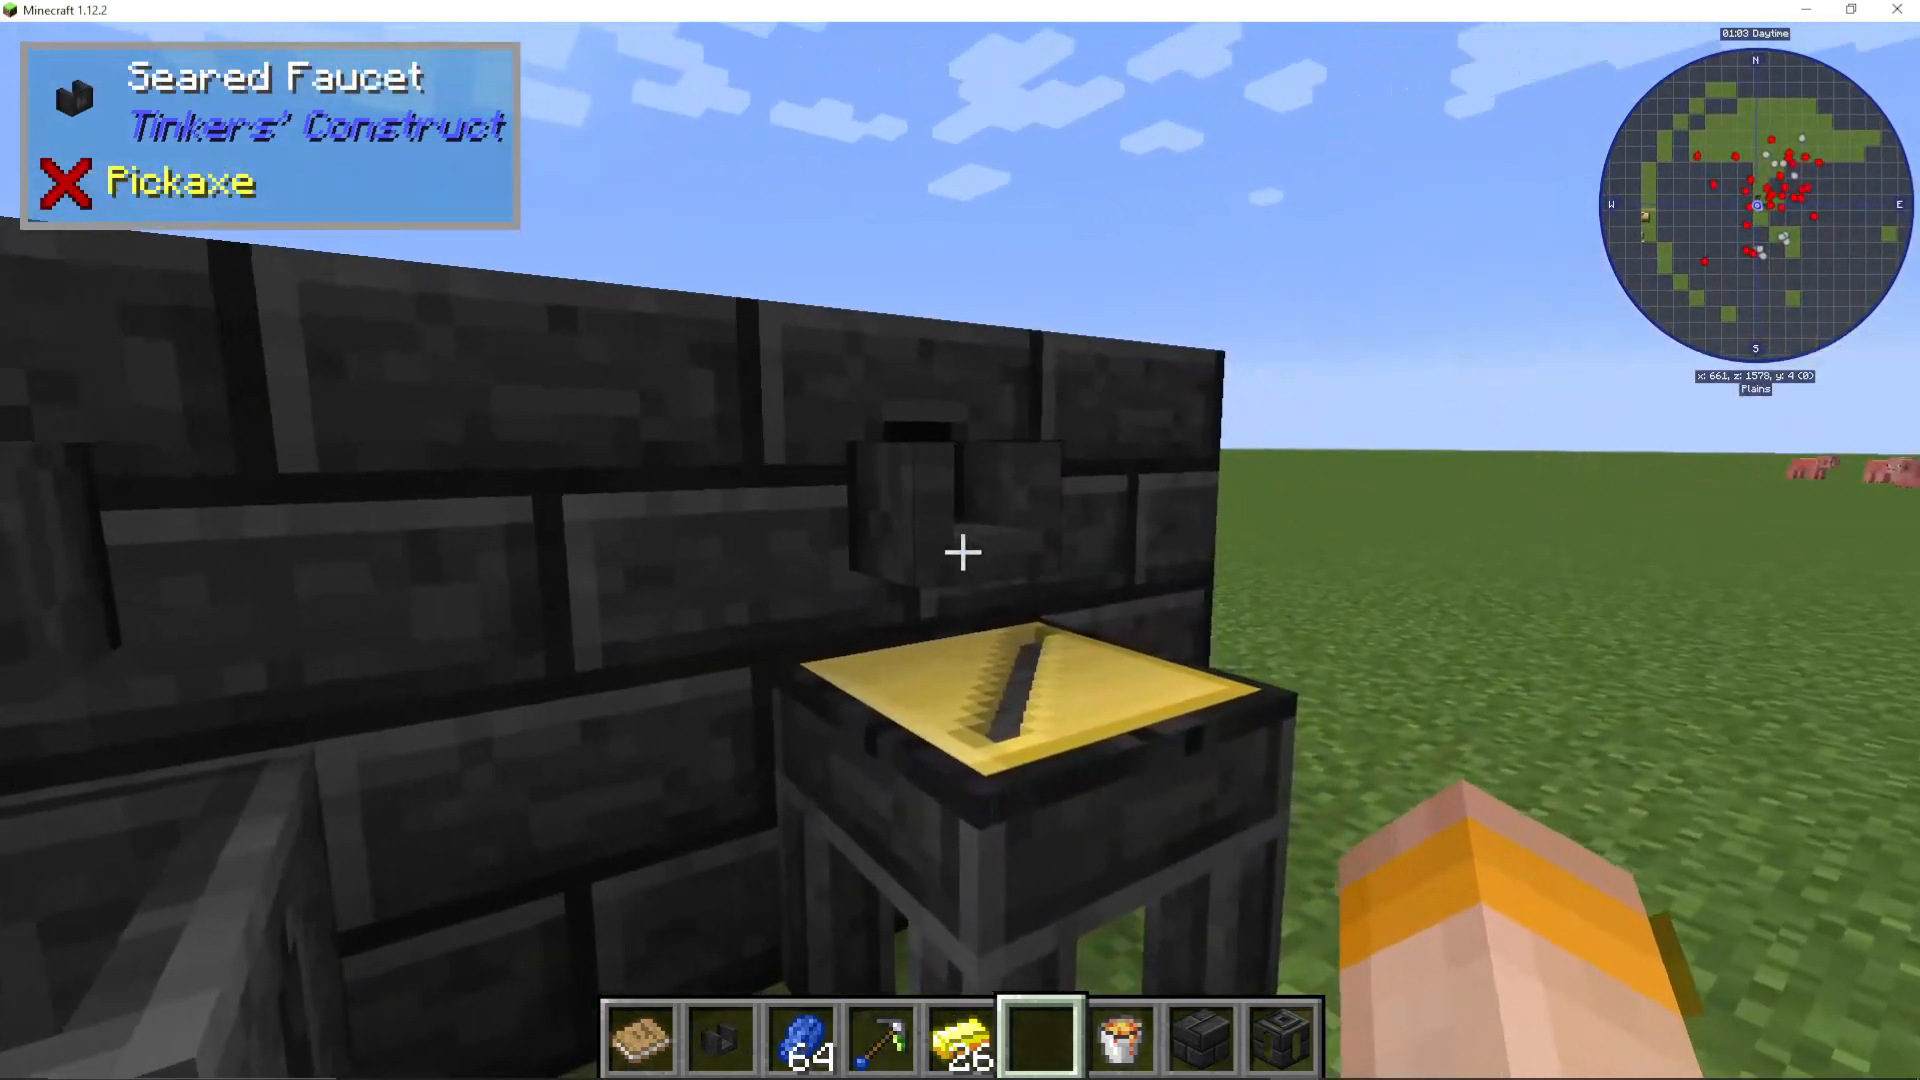
Attach a Smeltery Drain to the wall of your Smeltery and place a Faucet on top of it. Position a Casting Basin or Casting Table beneath the Faucet. Right-click the Faucet to pour molten metal out. The Casting Basin produces full solid blocks; the Casting Table is used for ingots and tool parts. If the One Probe or WAILA add-on is installed, you will see a cooling percentage — once it reaches 100% the metal solidifies and can be picked up with a right-click.
Creating and Using Casts
To cast a specific tool part shape (such as a tool rod) from a high-temperature metal like Manyullyn, you first need a cast of that shape. Here is the process:
Craft the desired tool part (e.g., a tool rod) from any basic material in the Part Builder.
Place that tool part on the Casting Table.
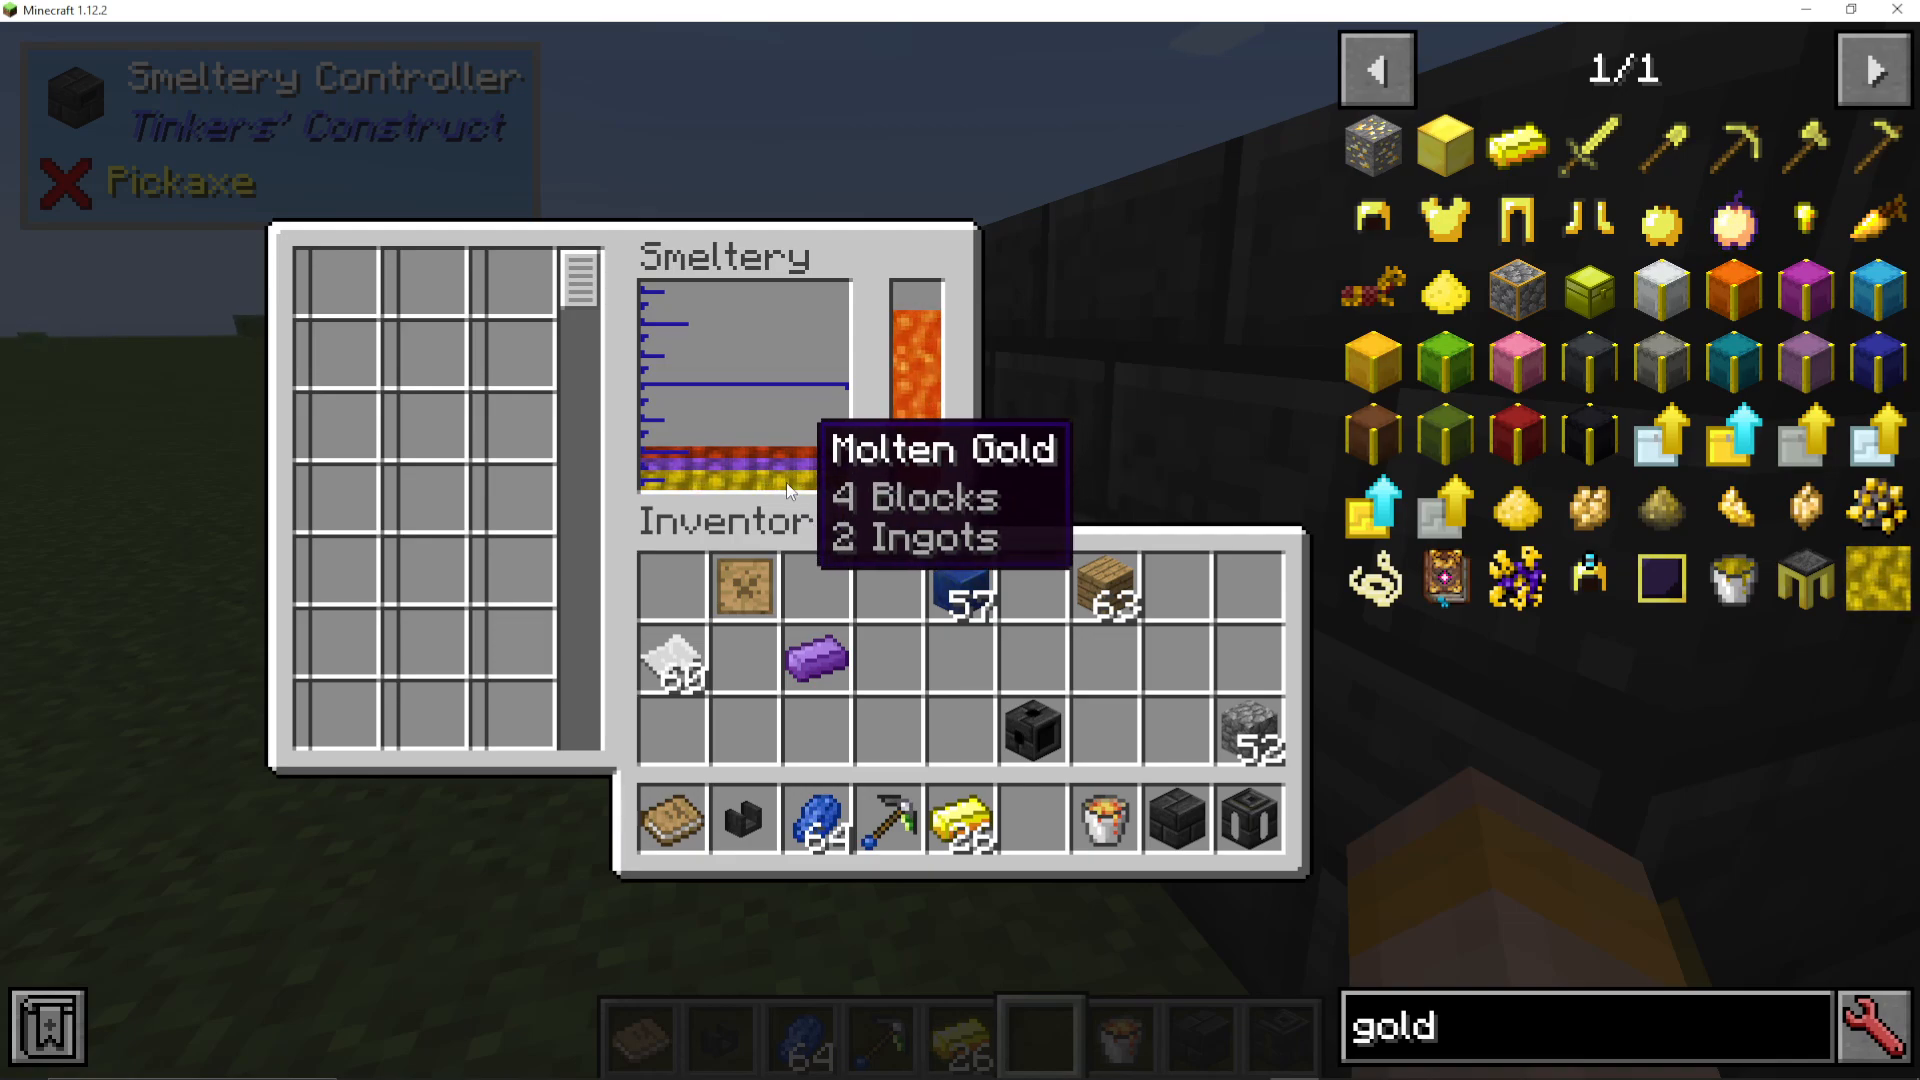
Melt down gold in the Smeltery. Gold has a low melting point and heats up quickly.
In the Smeltery Controller’s output list, click to bring molten gold to the bottom so it pours first.
Right-click the Faucet to pour molten gold over the tool part on the Casting Table.
Wait for it to cool to 100%. The original part is consumed and you are left with a reusable gold cast of that shape.
With your gold cast in place, you can now produce that tool part from any molten metal — including Manyullyn. Simply place the gold cast on the Casting Table, bring molten Manyullyn to the bottom of the output list, and pour. You will receive a Manyullyn tool rod (or whichever part you cast). Gold casts are permanent and reusable. As a cheaper early-game alternative, you can use clay casts, but these are single-use only.
Sharpening Kits
Sharpening kits allow you to upgrade a tool’s mining level without remaking it. For example, applying a Manyullyn Sharpening Kit to any tool will raise its mining level to Cobalt tier — the highest available — regardless of what the tool head was originally made from. This is a great way to extend the usefulness of early-game tools.
Bonus Features and Extras in Tinkers Construct 1.12.2
Beyond tools, Tinkers Construct 1.12.2 adds a surprisingly wide range of additional content:
World and Utility Items
Slime Islands – Floating sky islands that are an easy source of different slime types.
Blue, Purple, and Magma Slime Saplings – Found on slime islands; grow into trees that drop slime balls for a renewable supply.
Ardite and Cobalt Ores – Found exclusively in the Nether; required for Manyullyn alloy.
Drying Rack – Right-click rotten flesh (or raw beef, chicken, bacon, mutton, rabbit, or fish) onto the rack to produce Monster Jerky or dried versions of each meat — safe to eat without negative effects.
Punji Sticks – Defensive traps that damage enemies walking over them.
Item Rack – A decorative wall mount; right-click to hang any item on it.
Clear Item Frames – Invisible frames for displaying items on walls without the frame itself showing.
Wooden Hopper – A cheaper alternative to the vanilla iron hopper.
Stone Ladder – Crafted from stone rods.
Stone Torches – An alternative torch option.
Wooden Rails and Wooden Trapdoors – Cheaper early-game alternatives.
Minecart with Hopper – Can insert items into the block directly below it.
Globs – Throwable items that create a light source on impact, ideal for lighting up caves.
EFLN – An explosive used in mining.
Piggyback Pack – Right-click a mob to pick it up and carry it.
Creative Modifier – Available in some mod packs; grants an additional modifier slot.
Food Items
Bacon – Obtained from pigs.
Monster Jerky – Dried rotten flesh from the drying rack; safe to consume.
Dried Noodles / Mom’s Spaghetti – Cook dried noodles to produce Mom’s Spaghetti.
Slime Sling and Slime Boots
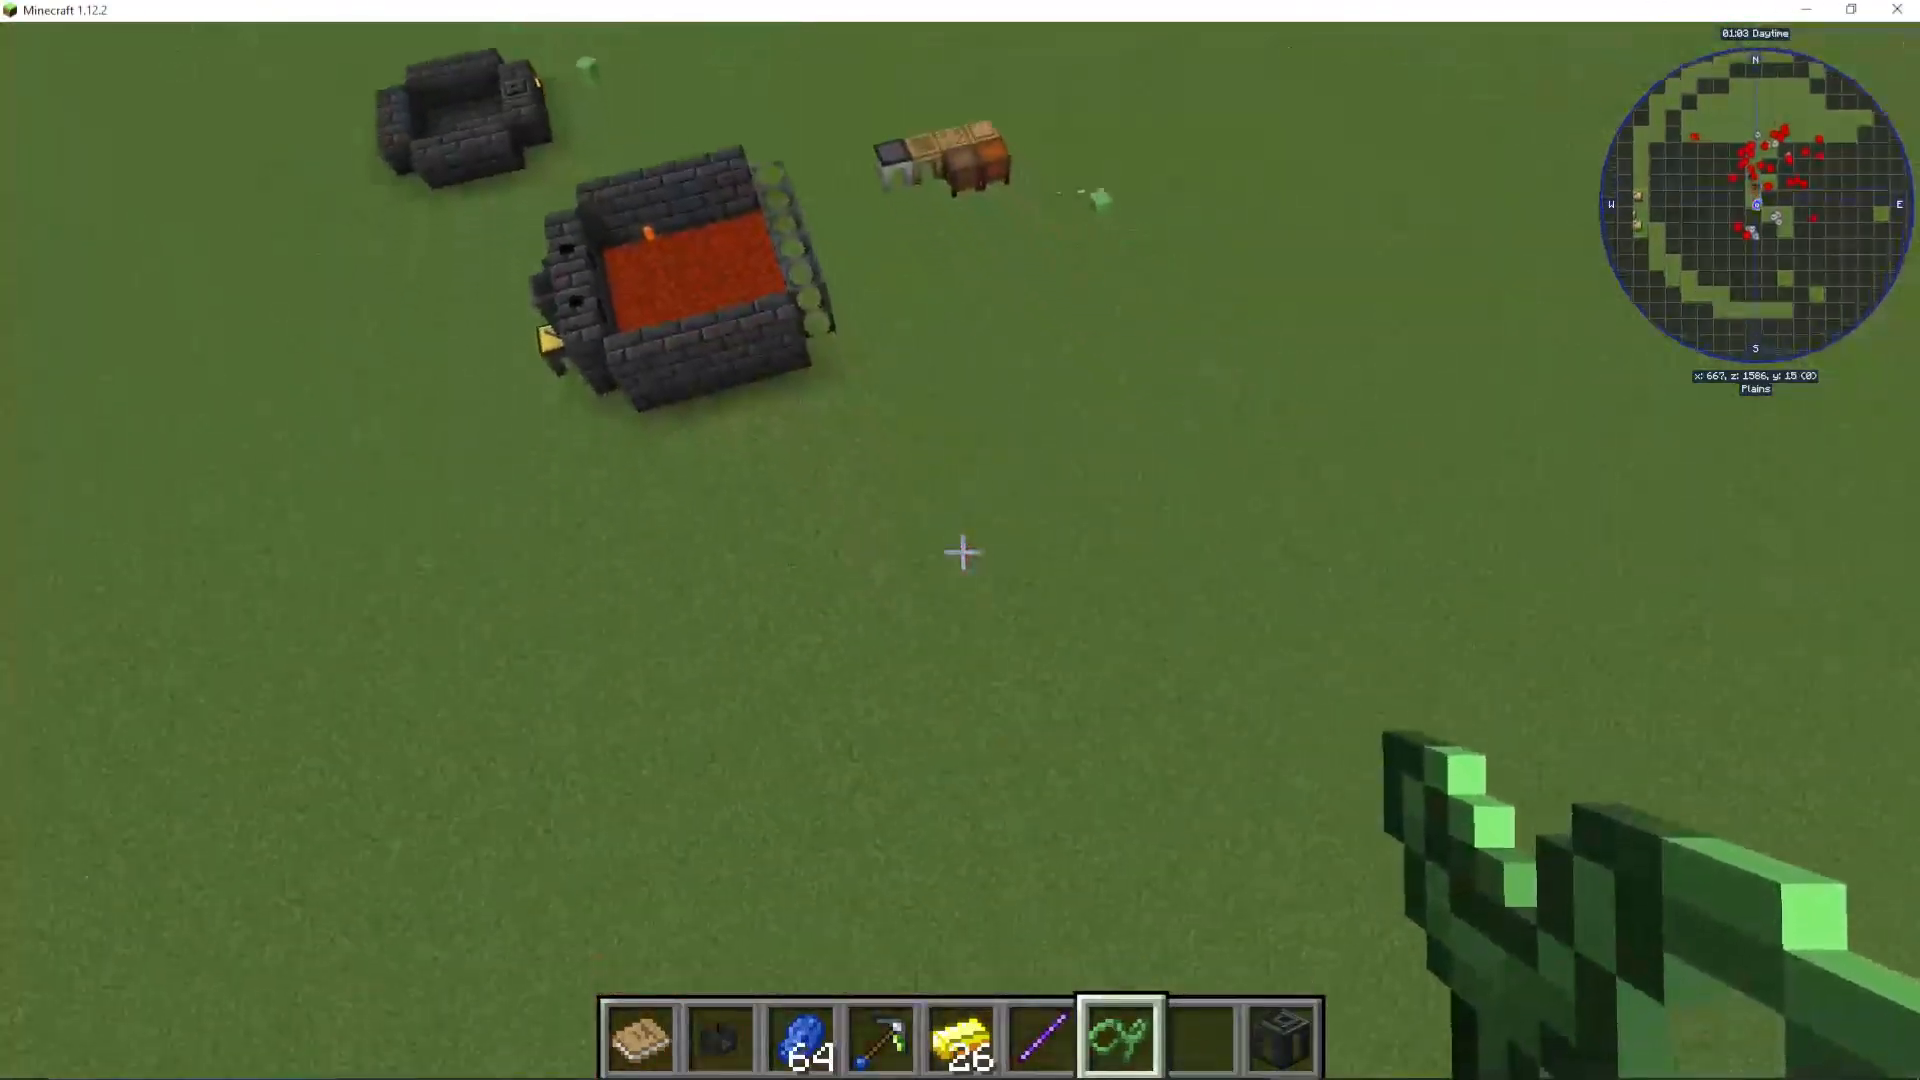
The Slime Sling is a mobility tool — hold right-click to wind it up, then release to launch yourself across the map. It is one of the fastest and most fun early-game travel methods available in mod packs. Always pair it with Slime Boots, which negate fall damage and let you bounce safely on landing.
Summary and Final Tips
Tinkers Construct in Minecraft 1.12.2 is a deep but very rewarding mod once you understand its systems. Here is a quick recap of the key points to take away:
Start with the Stencil Table, Part Builder, and Tool Station.
Always use a Paper binding on your tools for the extra modifier slot.
Use the Materials and You book to compare material stats before committing.
Target Manyullyn as your end-game head material — smelt Ardite and Cobalt in the Smeltery together to produce it automatically.
Build the Smeltery as soon as possible and use gold casts (not clay) for reusable part moulds.
Stack lapis blocks for Luck, add Mending Moss for self-repair, and use five Obsidian Plates (Reinforced V) for an unbreakable tool.
Upgrade to the Tool Forge to unlock AOE tools like the Hammer and Excavator.
Don’t overlook the bonus content — the Slime Sling, Drying Rack, and Sharpening Kits all provide genuine quality-of-life improvements.
Whether you are brand new to Tinkers Construct or just jumping into a 1.12.2 mod pack, this guide should give you everything you need to build powerful, customised tools from the very first day of your world. Good luck, and happy mining!
“`