Tempad Complete Tutorial
Tempad Mod Complete Tutorial – The Ultimate Minecraft Teleportation Guide
The Tempad mod adds a fully featured personal teleportation system to Minecraft, inspired by the iconic device from the Loki series. Whether you want to set up fast-travel points around your world or teleport directly to other players, this mod has you covered. In this complete guide, you’ll learn everything from crafting your first cronon cell all the way through to unlocking the advanced steel-tier items and the Tempad workstation.
Tier 1 – Iron Items: Getting Started with Teleportation
The Tempad mod is split into two distinct tiers. The first tier uses iron to craft all of its items, while the second tier upgrades to time steel. Think of them as Tier 1 and Tier 2. Before you can teleport anywhere, you need to understand how the mod is powered.

Powering the System – Cronon Cells and the Cronon Generator
The entire teleportation system runs on Cronon energy. You will need two key items to get started:
Cronon Cell – Stores Cronon energy for later use.
Cronon Generator – Slowly generates Cronon passively over time.
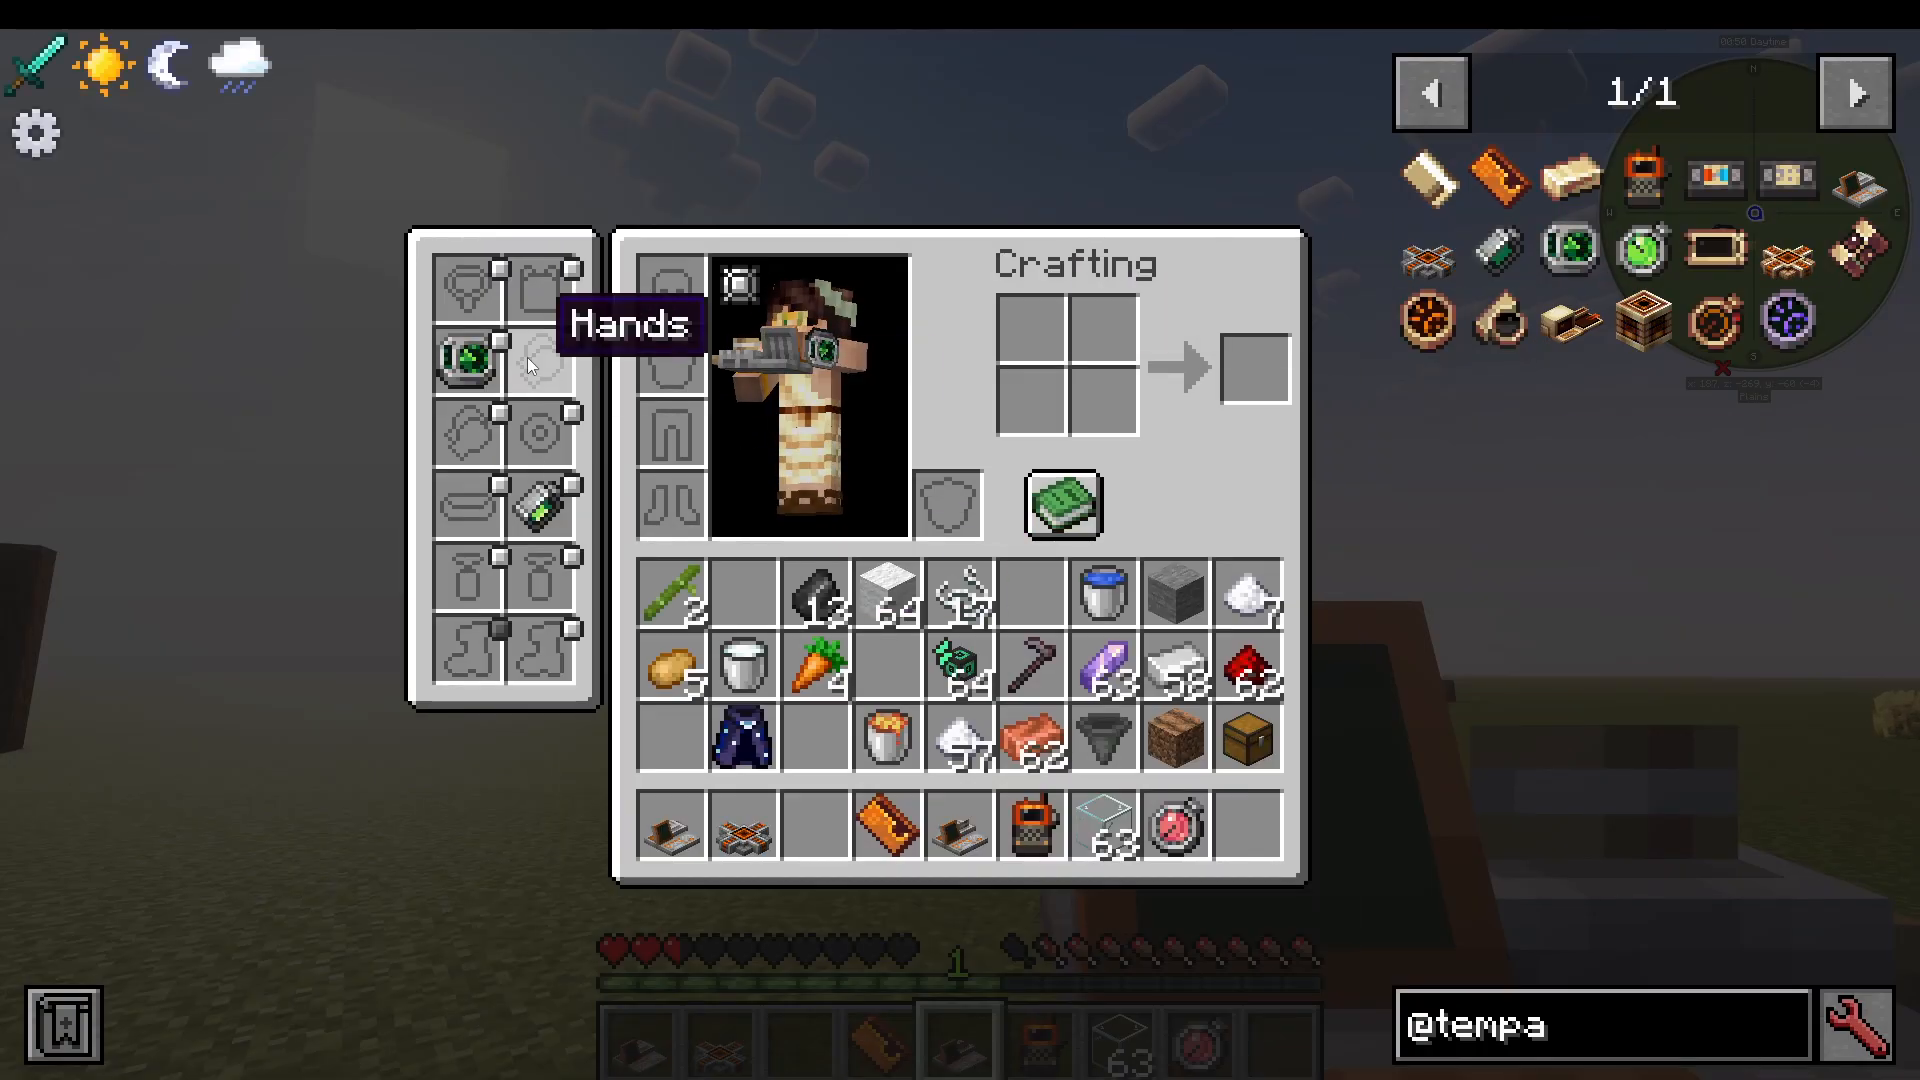
Both the Cronon Generator and the Cronon Cell can be carried in your regular inventory, or placed in your dedicated bracelet slot or charm slot for hands-free passive generation.
Setting Up Teleport Destinations
With your power system in place, the next step is defining where you want to teleport. You have two main options for marking a destination:
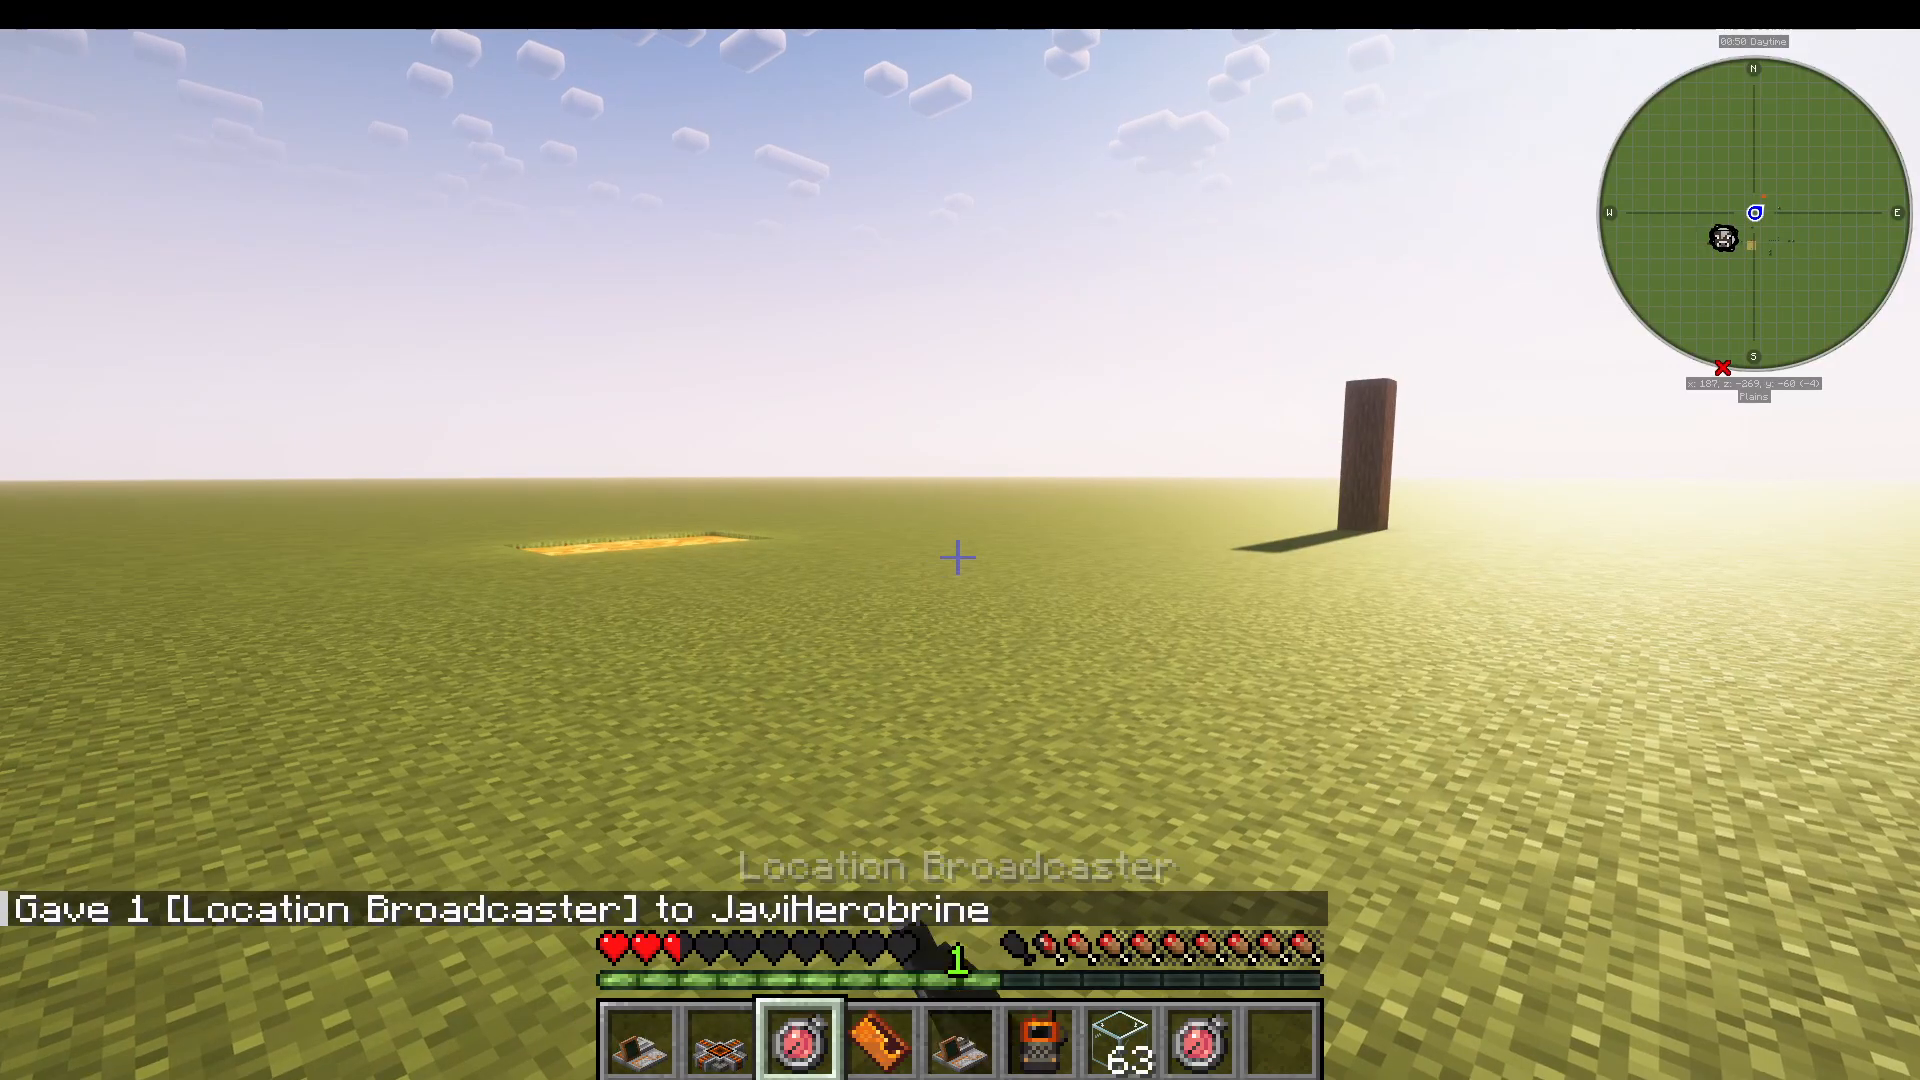
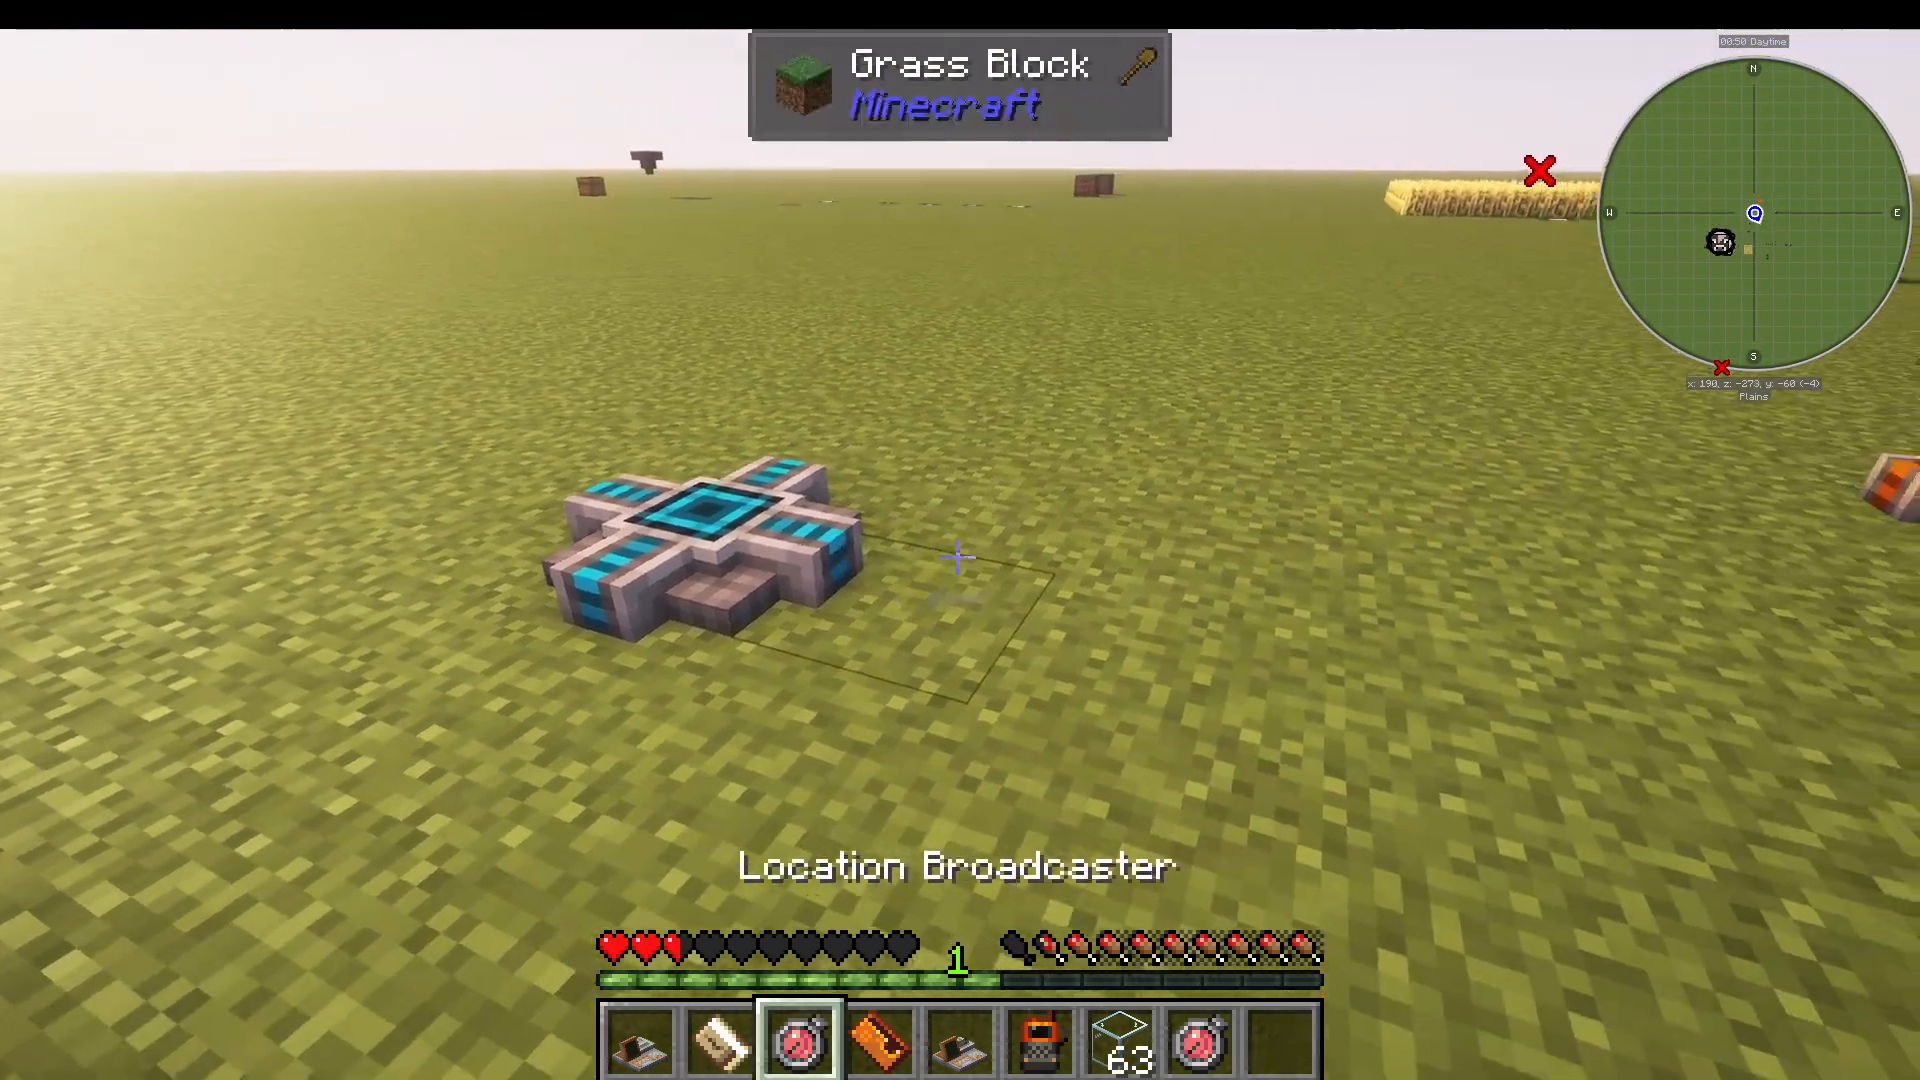
Location Broadcaster – Right-click this item to activate it. Your toolbar icon will turn red, signalling that your current position is now a live, available teleport destination that other players can target.
Time Door Marker – Place this block in the world to permanently mark that spot as a teleport destination.
Creating and Storing Location Cards
Once your destinations are marked, you need a Location Card for each one. You can collect as many Location Cards as you need — one per destination. To organise them, craft a Card Wallet. You can add cards to the wallet by simply clicking or shift-clicking them in.
Important: A Location Card will not store any destination data until you right-click your Time Door Marker with it first. After doing that, the card will be registered with that marker’s location and name.
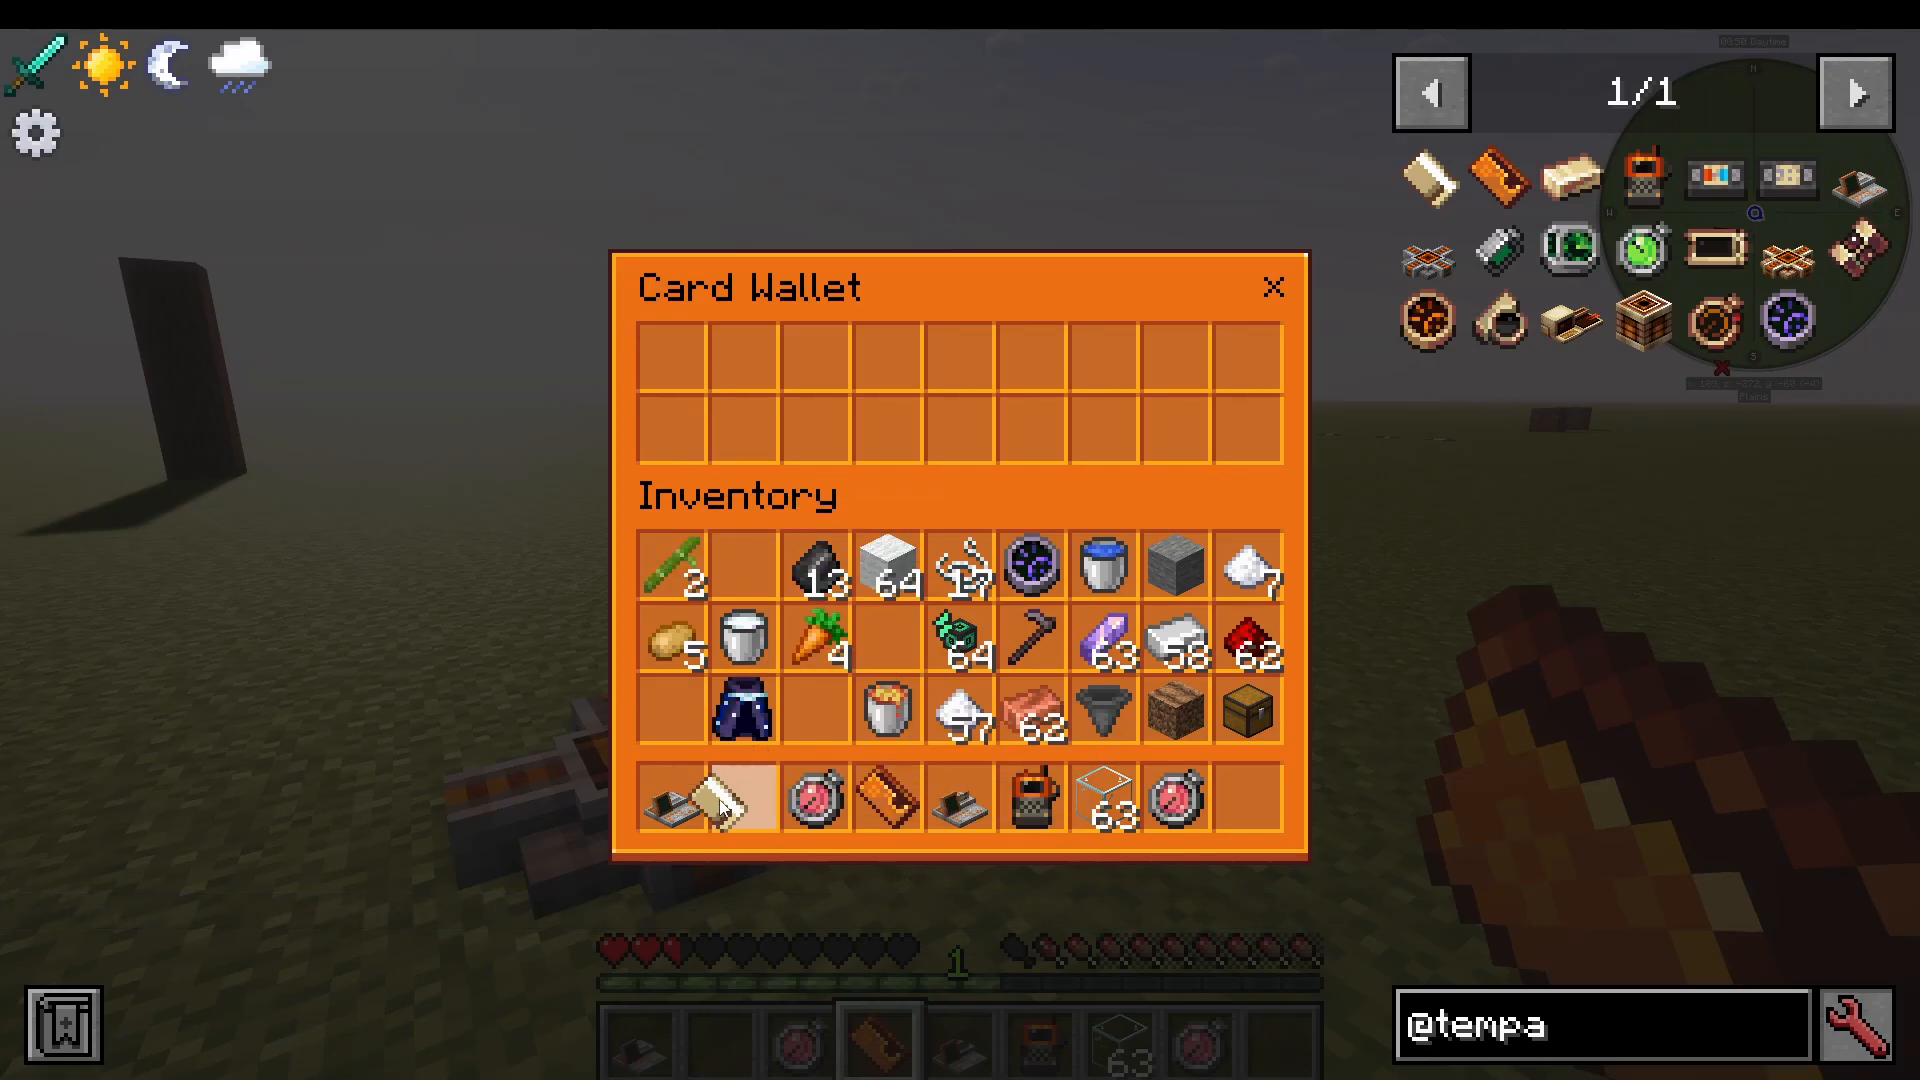
Once a card is registered, right-click your Card Wallet to open it and drop the card inside for safe storage. You can pull the card back out at any time when you need it.
Customising Your Time Door Marker
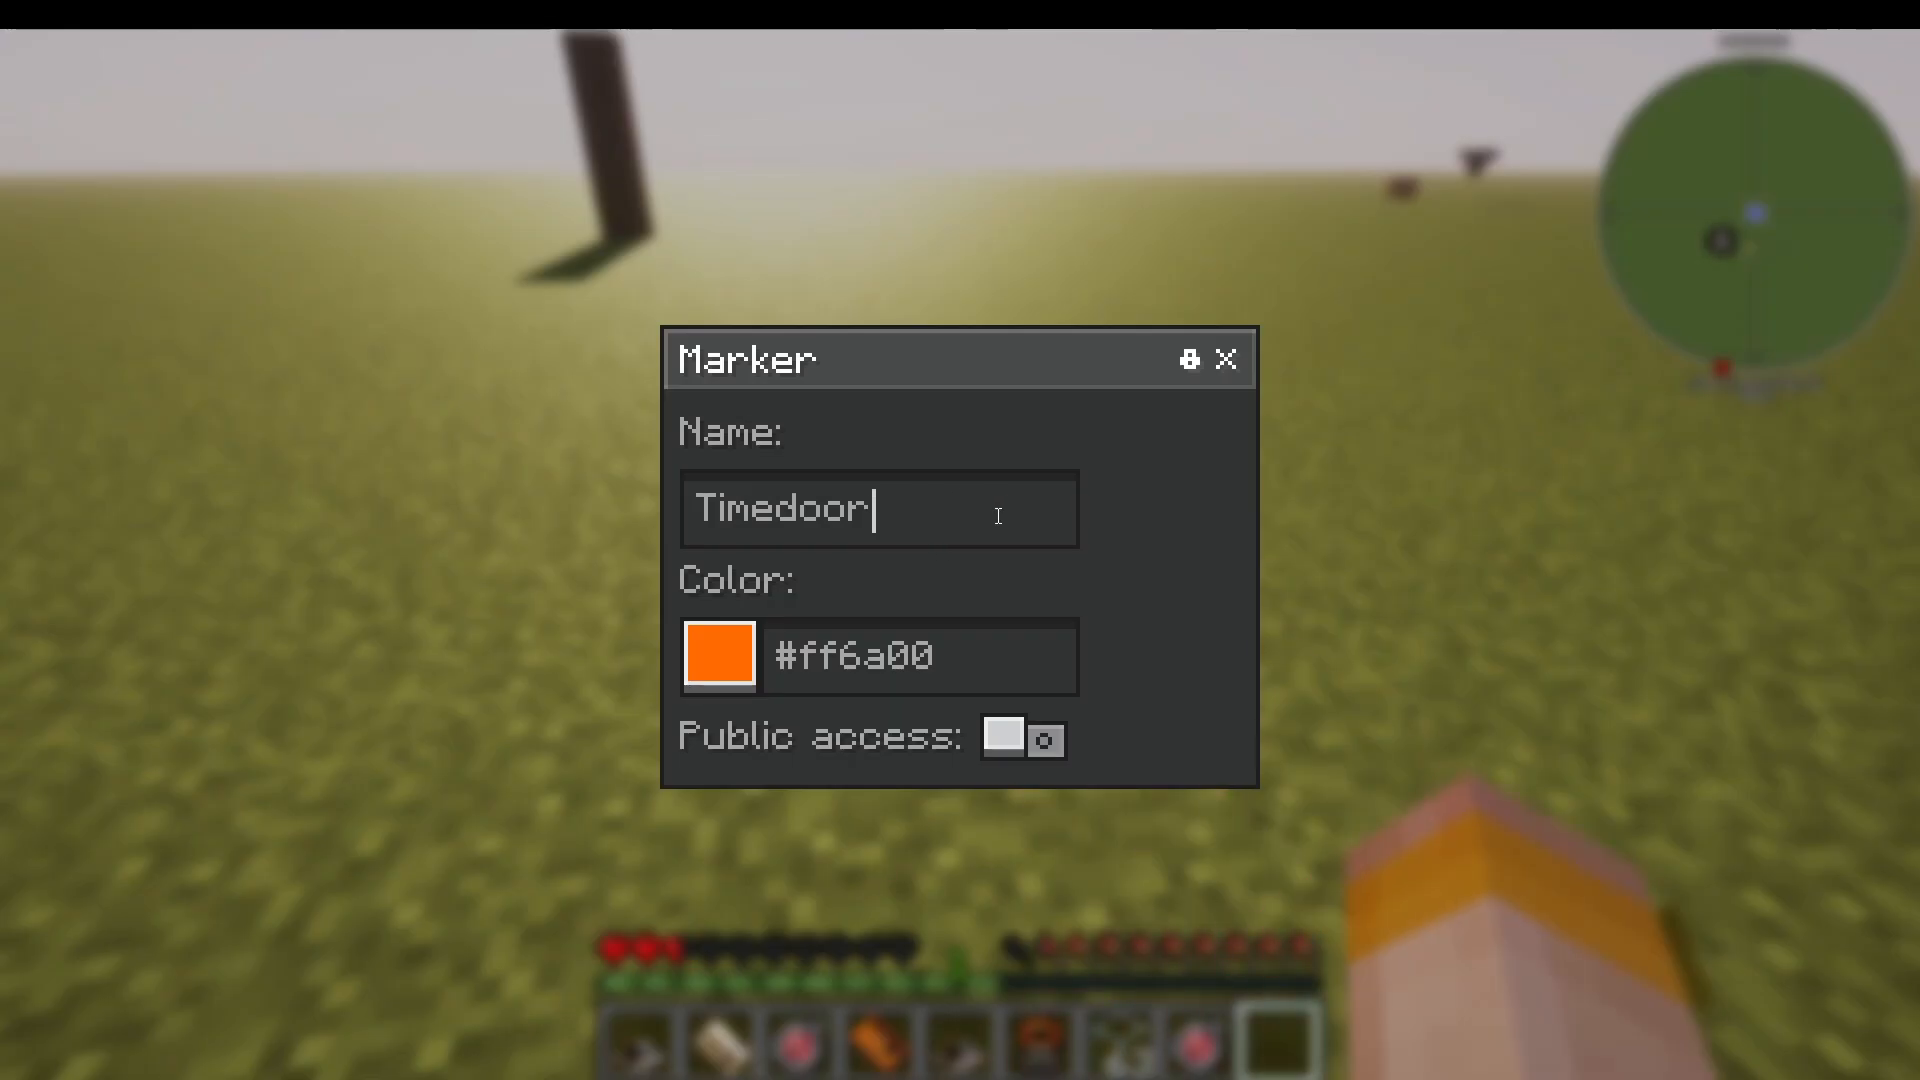
Right-clicking a placed Time Door Marker opens a settings menu where you can:
Rename the marker.
Change its colour.
Toggle public or private access.
Lock or unlock the marker’s settings.
Using the Time Door Projector to Open a Portal
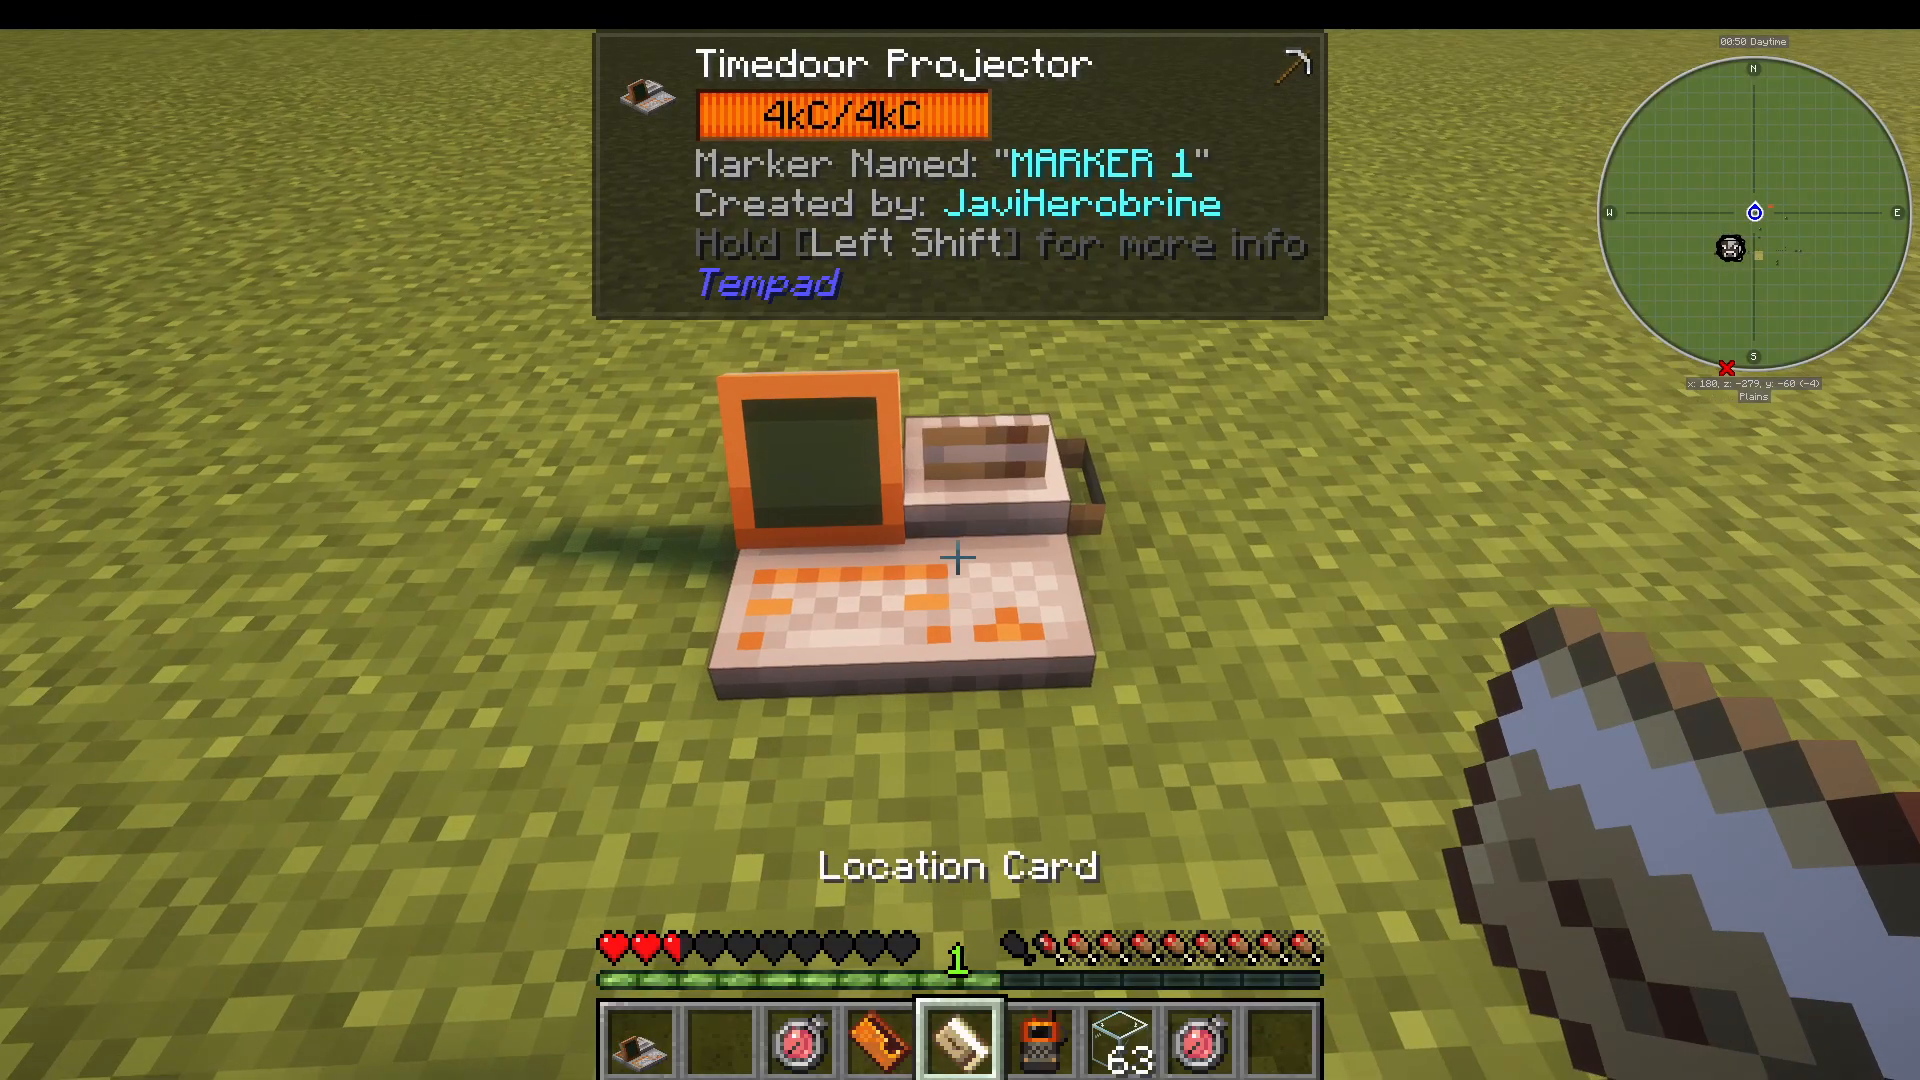
The Time Door Projector is the handheld device that physically opens a portal to your chosen destination. Here is how to use it step by step:
Hold the Time Door Projector and shift right-click on the ground to place it.
Right-click your desired Location Card into the projector’s card slot.
Right-click the projector to open the portal.
Walk through the portal to arrive at your Time Door Marker location.
If you accidentally insert the wrong Location Card, simply place the projector down, right-click to remove the card, insert the correct card, and open the portal again.
That covers all of the Tier 1 iron items. The system is straightforward once you follow the steps in order: power → mark destination → register card → project portal → teleport.
Tier 2 – Time Steel Items: Advanced Teleportation Tools
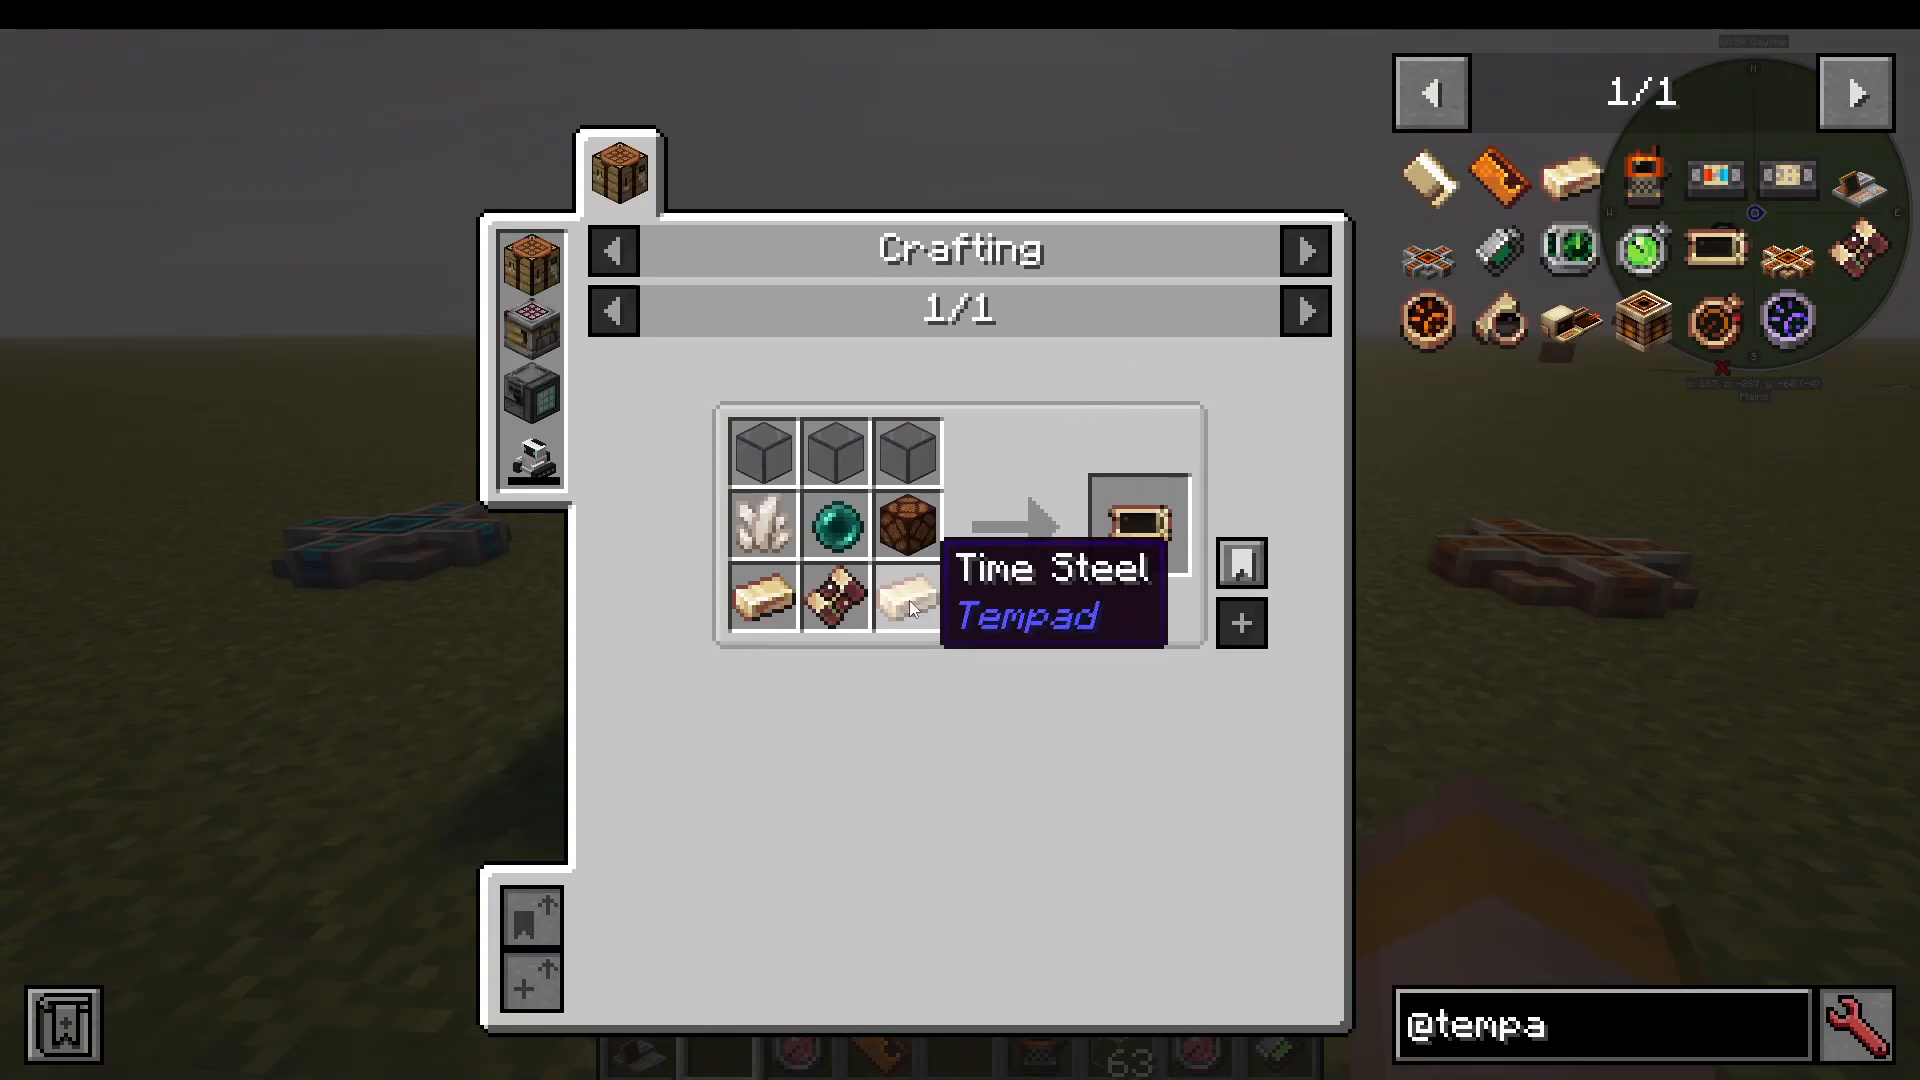
The second tier of the Tempad mod requires Time Steel, which itself requires Netherite, making these items considerably more expensive. In return, you get more powerful and flexible tools for managing your teleportation network.
Upgraded Location Cards
You can craft Location Cards using Time Steel to receive 16 cards at once. However, given the Netherite cost involved, it is generally more efficient to stick with the iron crafting method unless you specifically need a large batch quickly.
The Metronome – Passive Cronon Generation Block
The Metronome is a placeable block that passively generates Cronon energy. After placing it, you will see it displays a charge level starting at 0 out of 2,000. To charge it up:
Hold a Cronon Cell and right-click or shift right-click the Metronome to begin boosting it.
Wait for it to reach full charge — it will display a “boosting” status while charging.
Once fully charged, the Metronome will passively generate Cronon automatically.
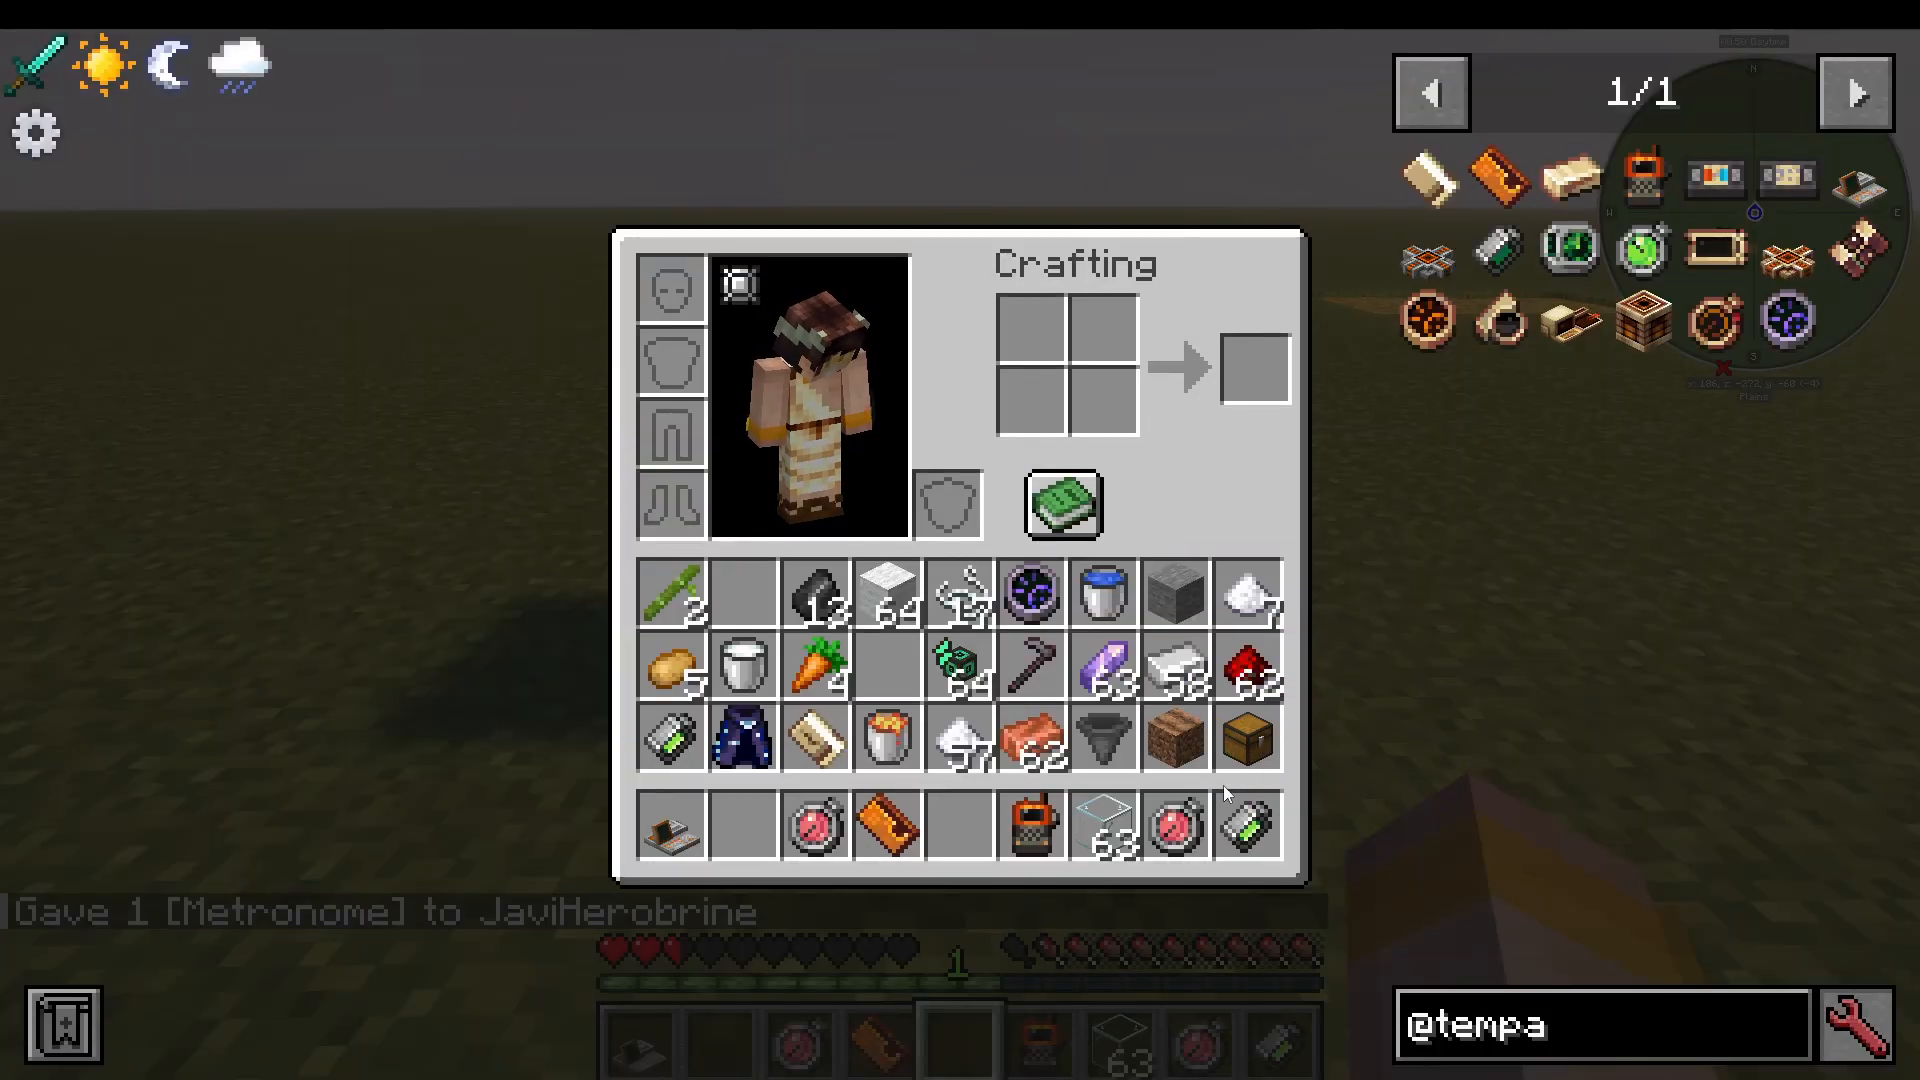
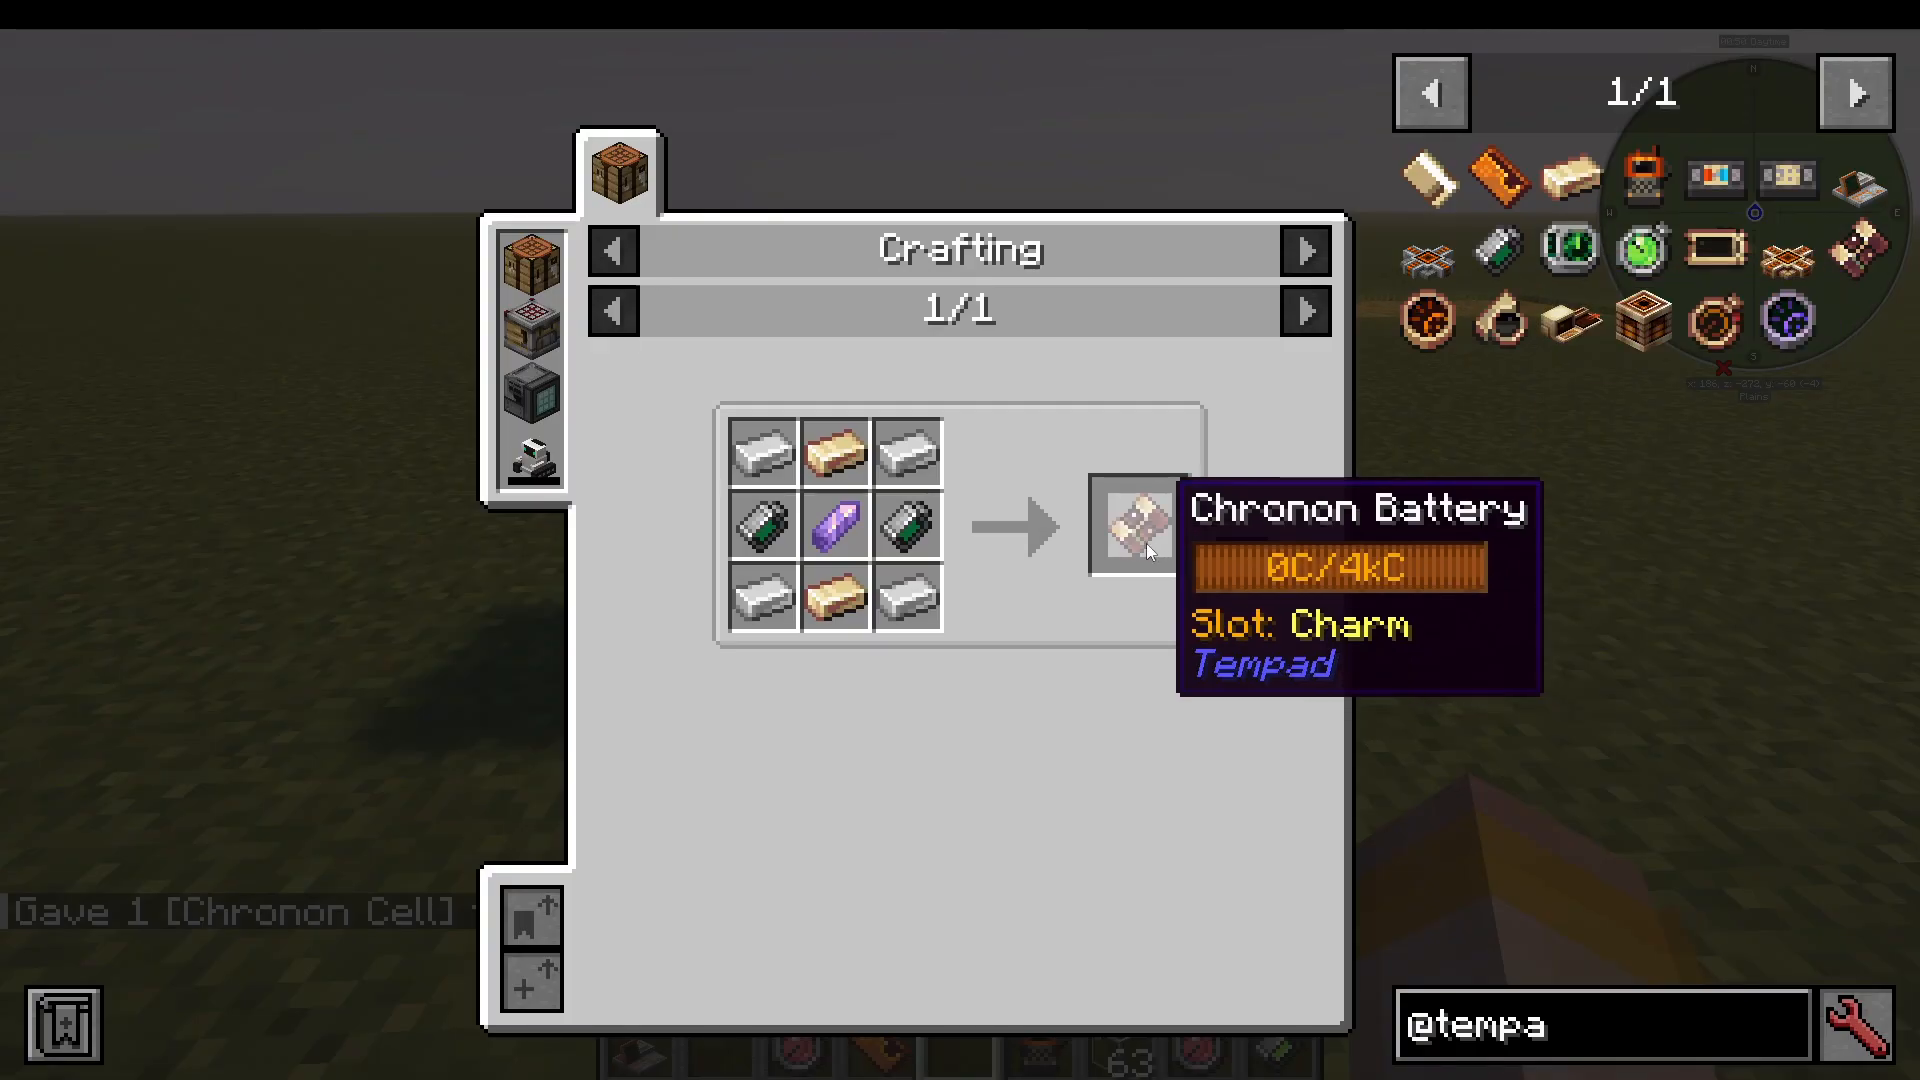
You can also use a Cronon Battery with the Metronome. The Cronon Battery holds double the capacity of a standard Cronon Cell, making it an upgraded storage option. Place the battery into the Metronome to either:
Draw energy from the Metronome to fill the battery, or
Feed energy into the Metronome from the battery.
Like the Cronon Cell and Generator, the Cronon Battery can also be held in your charm slot for passive carry-on storage.
The Cronometer – Upgraded Cronon Generator
The Cronometer is a more efficient version of the Cronon Generator. It generates Cronon passively at a higher rate, making it a straightforward upgrade once you have access to Time Steel.
The Time Twister – Return to Death Points
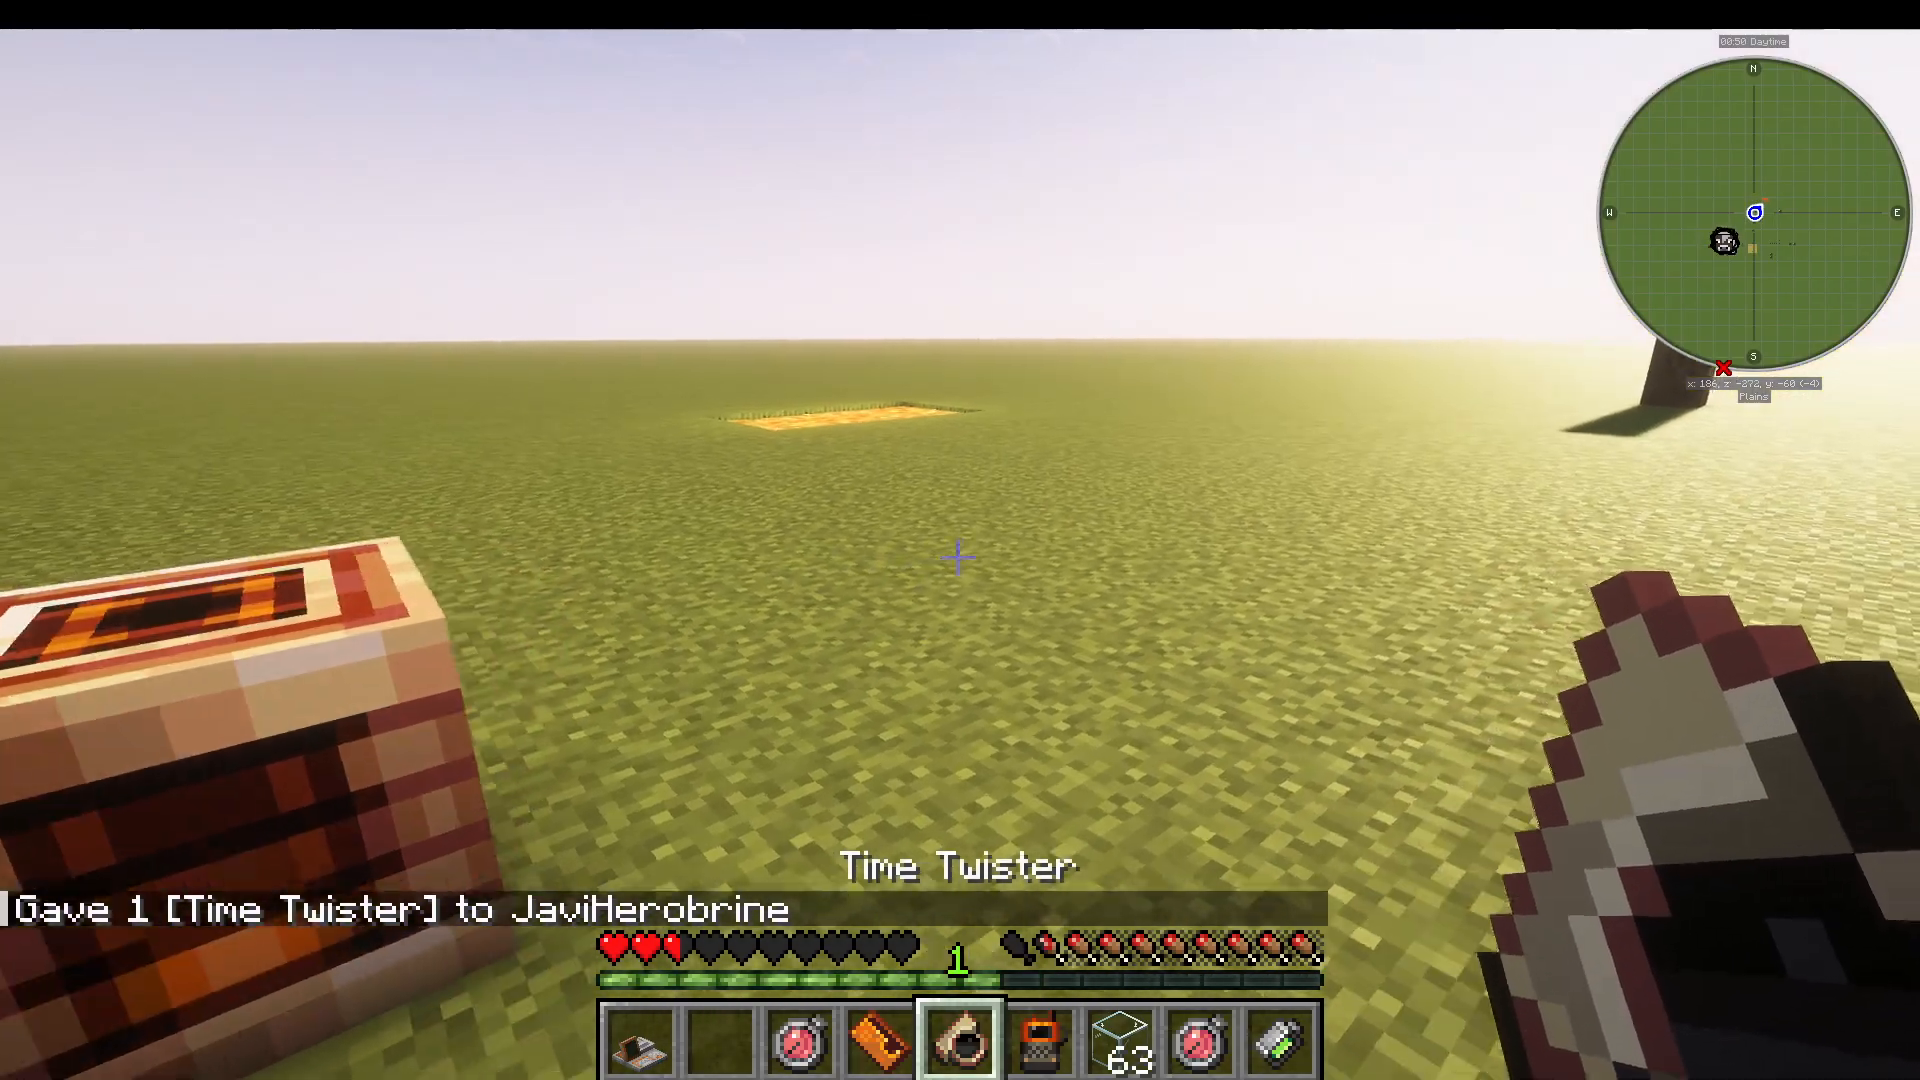
The Time Twister offers a unique take on the classic “teleport to death point” mechanic. Rather than simply jumping to your last death location, the Time Twister frames it as turning back time — returning you to specific points in time where you previously died. When you die, those moments are recorded, and you can select which death point to return to from a list. It is a flavourful and immersive alternative to standard death-point mods.
The Cronomark – Upgraded Time Door Marker
The Cronomark functions similarly to the standard Time Door Marker but adds extra configuration options, including the ability to set the portal entry angle and more granular access control over who can use the destination.
The Screening Device – Advanced Location Broadcaster
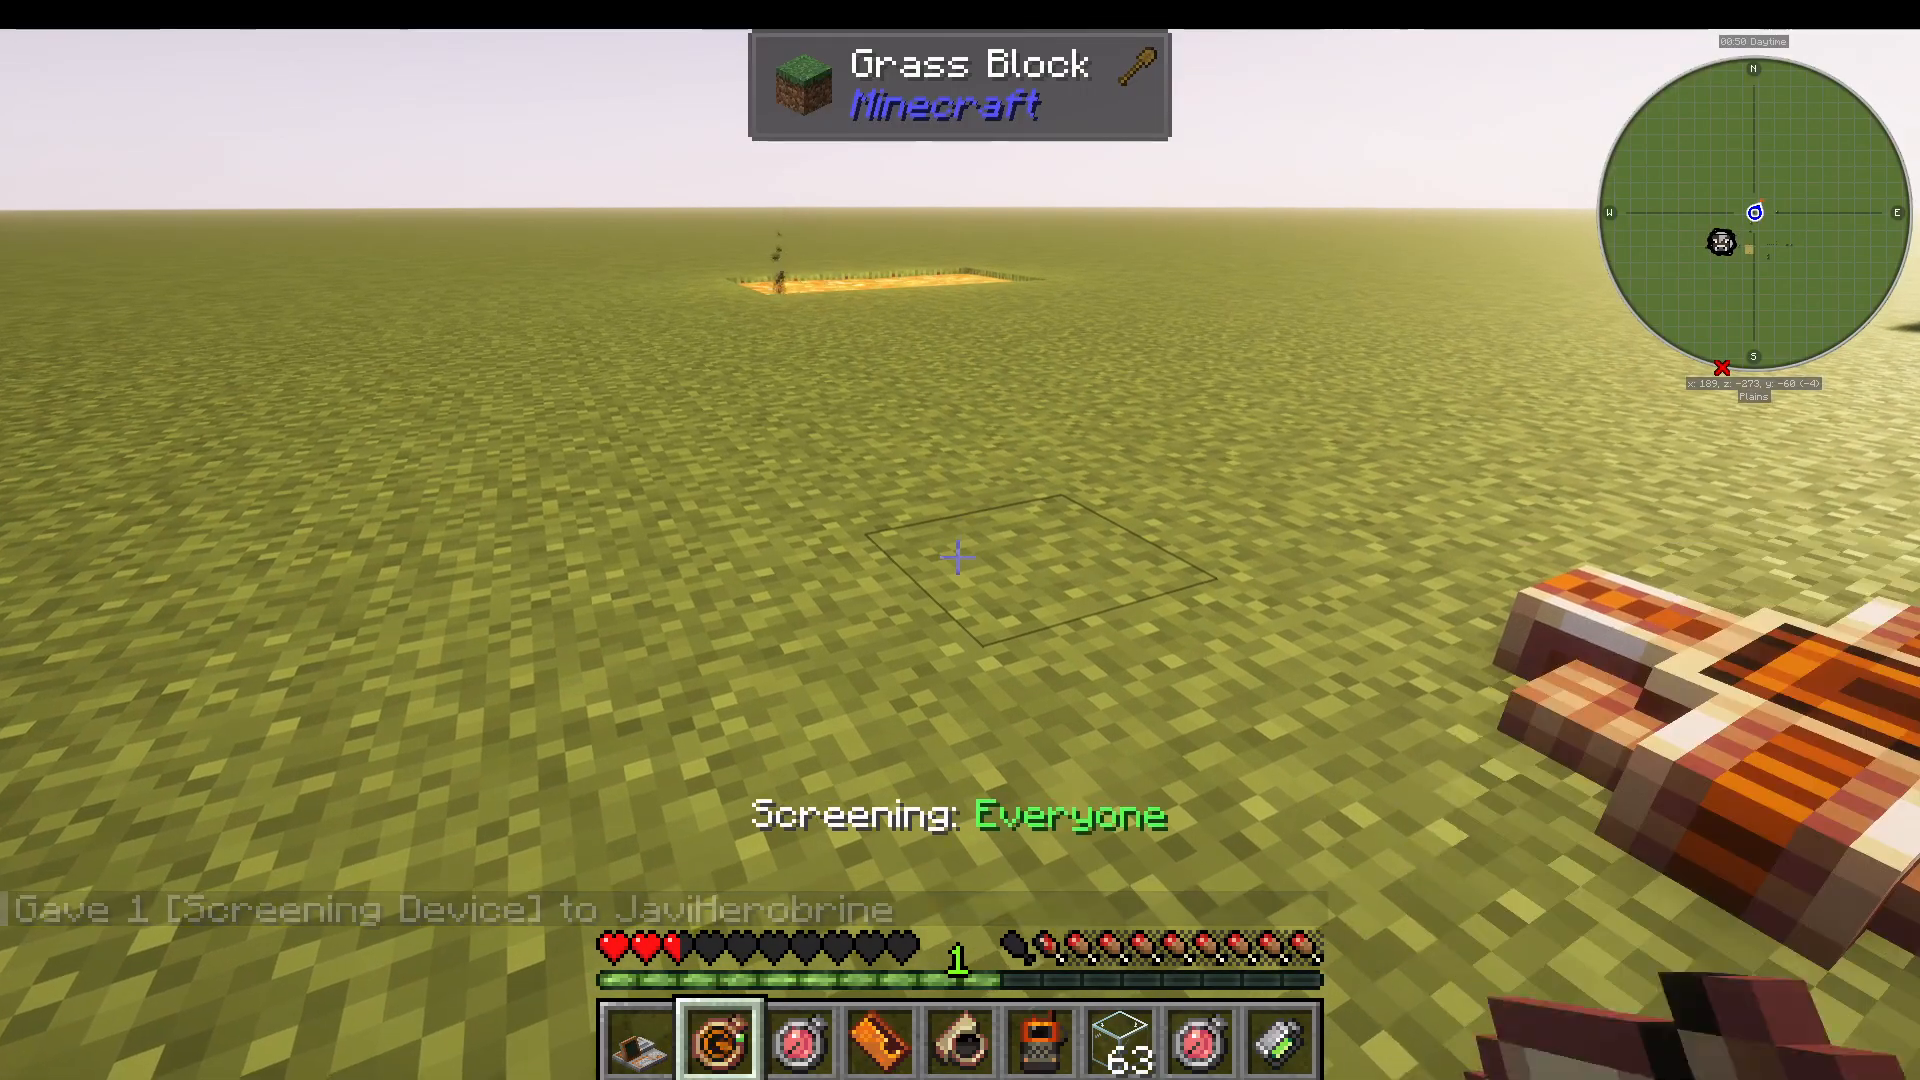
The Screening Device is the Tier 2 upgrade to the Location Broadcaster. It broadcasts your location as a teleport destination, but with advanced filtering capabilities. Specifically, it integrates with compatible team and guild frameworks — such as FTB Teams — allowing you to restrict teleportation access to only your team members. Without a compatible teams mod installed, the filtering options will not be available, but the basic broadcasting function still works.
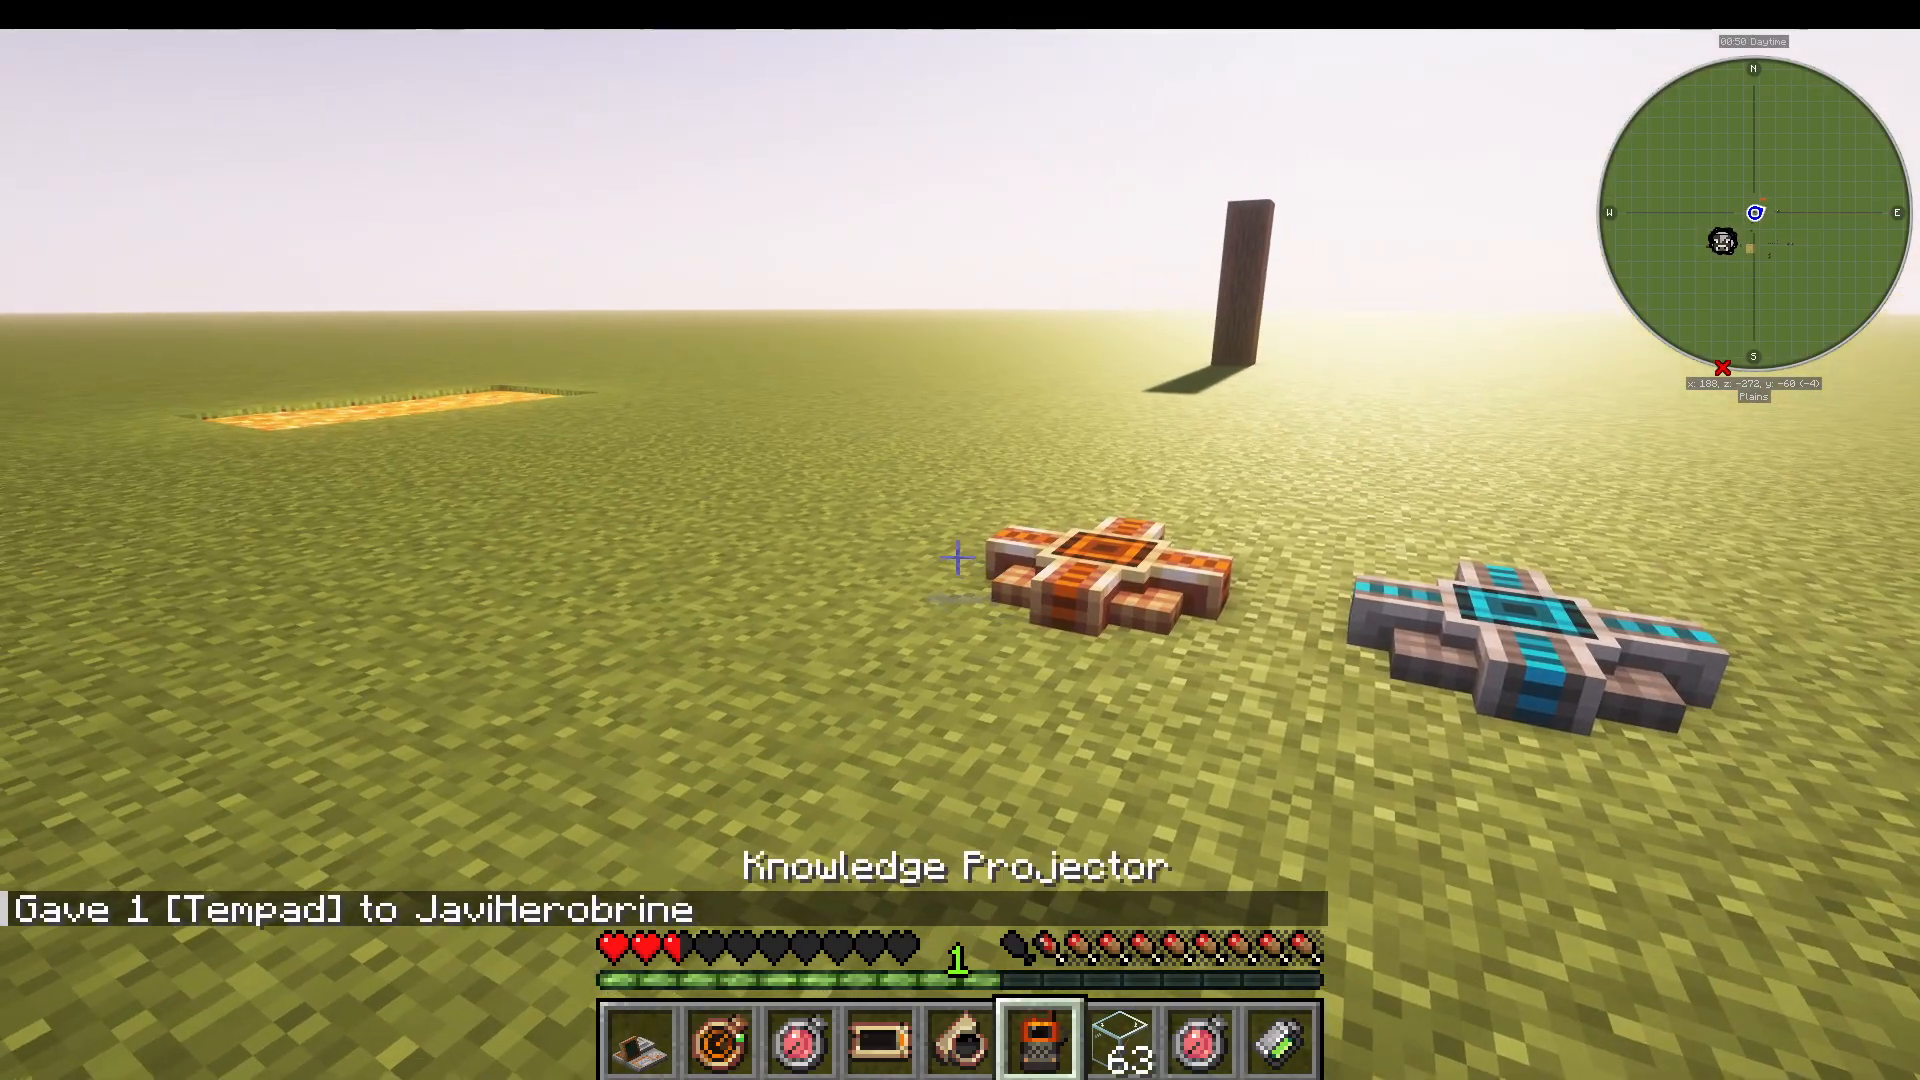
The Tempad – Portable Teleportation Device
The Tempad itself is the star item of the mod. Right-clicking while holding it opens an interface listing all of your saved locations. Select any destination and the Tempad will open a time door directly in front of you — no need to place a projector block. Key features of the Tempad interface include:
View all saved teleport locations in one place.
Add a new location by clicking New Location — this saves your current standing position.
Sort locations by dimension.
Access teleport settings and configurations.
The Workstation – Fixed Tempad with Upgrade Slots
The Workstation acts as a stationary version of the Tempad. To use it, right-click your Tempad onto the Workstation to link them. From inside the Workstation interface you can:
Teleport to any saved location.
Adjust the portal entry angle for each destination.
Access and modify settings for your teleport network.
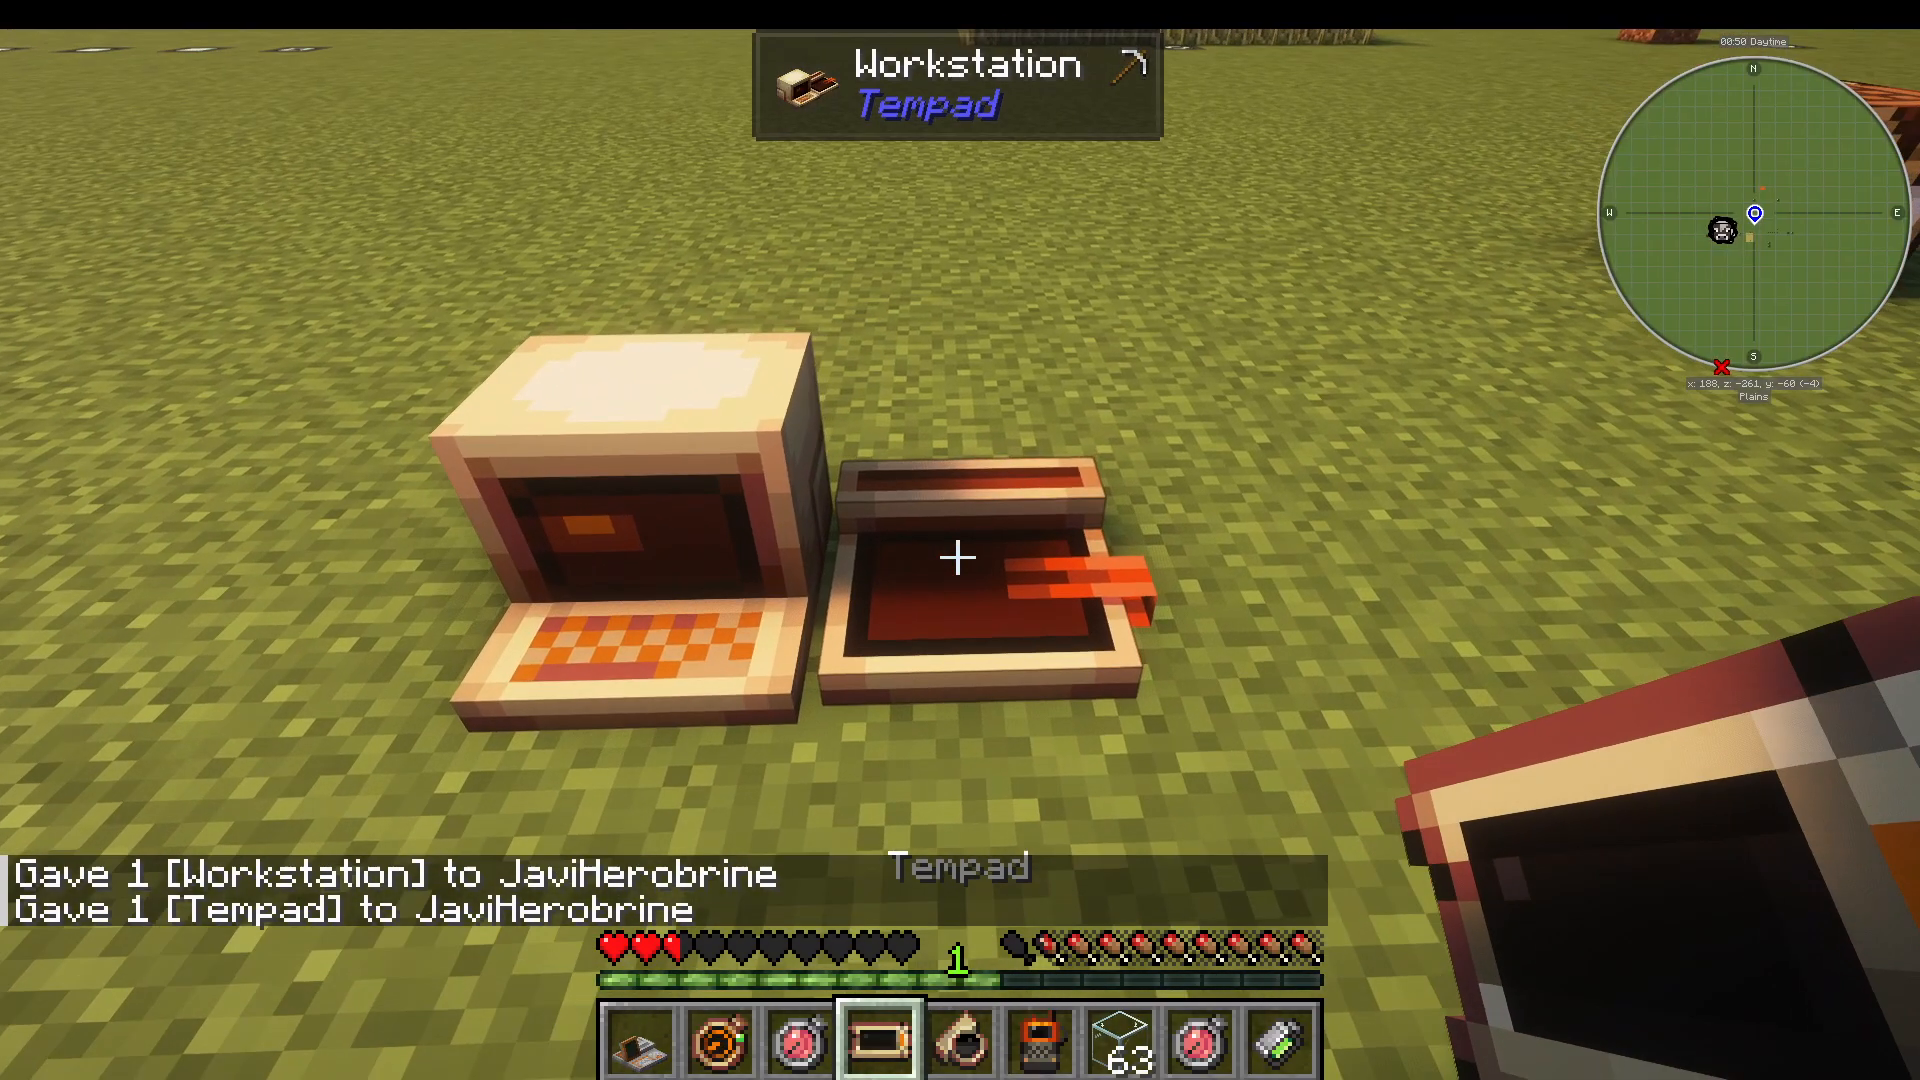
The Workstation also supports two disk upgrades that expand its functionality:
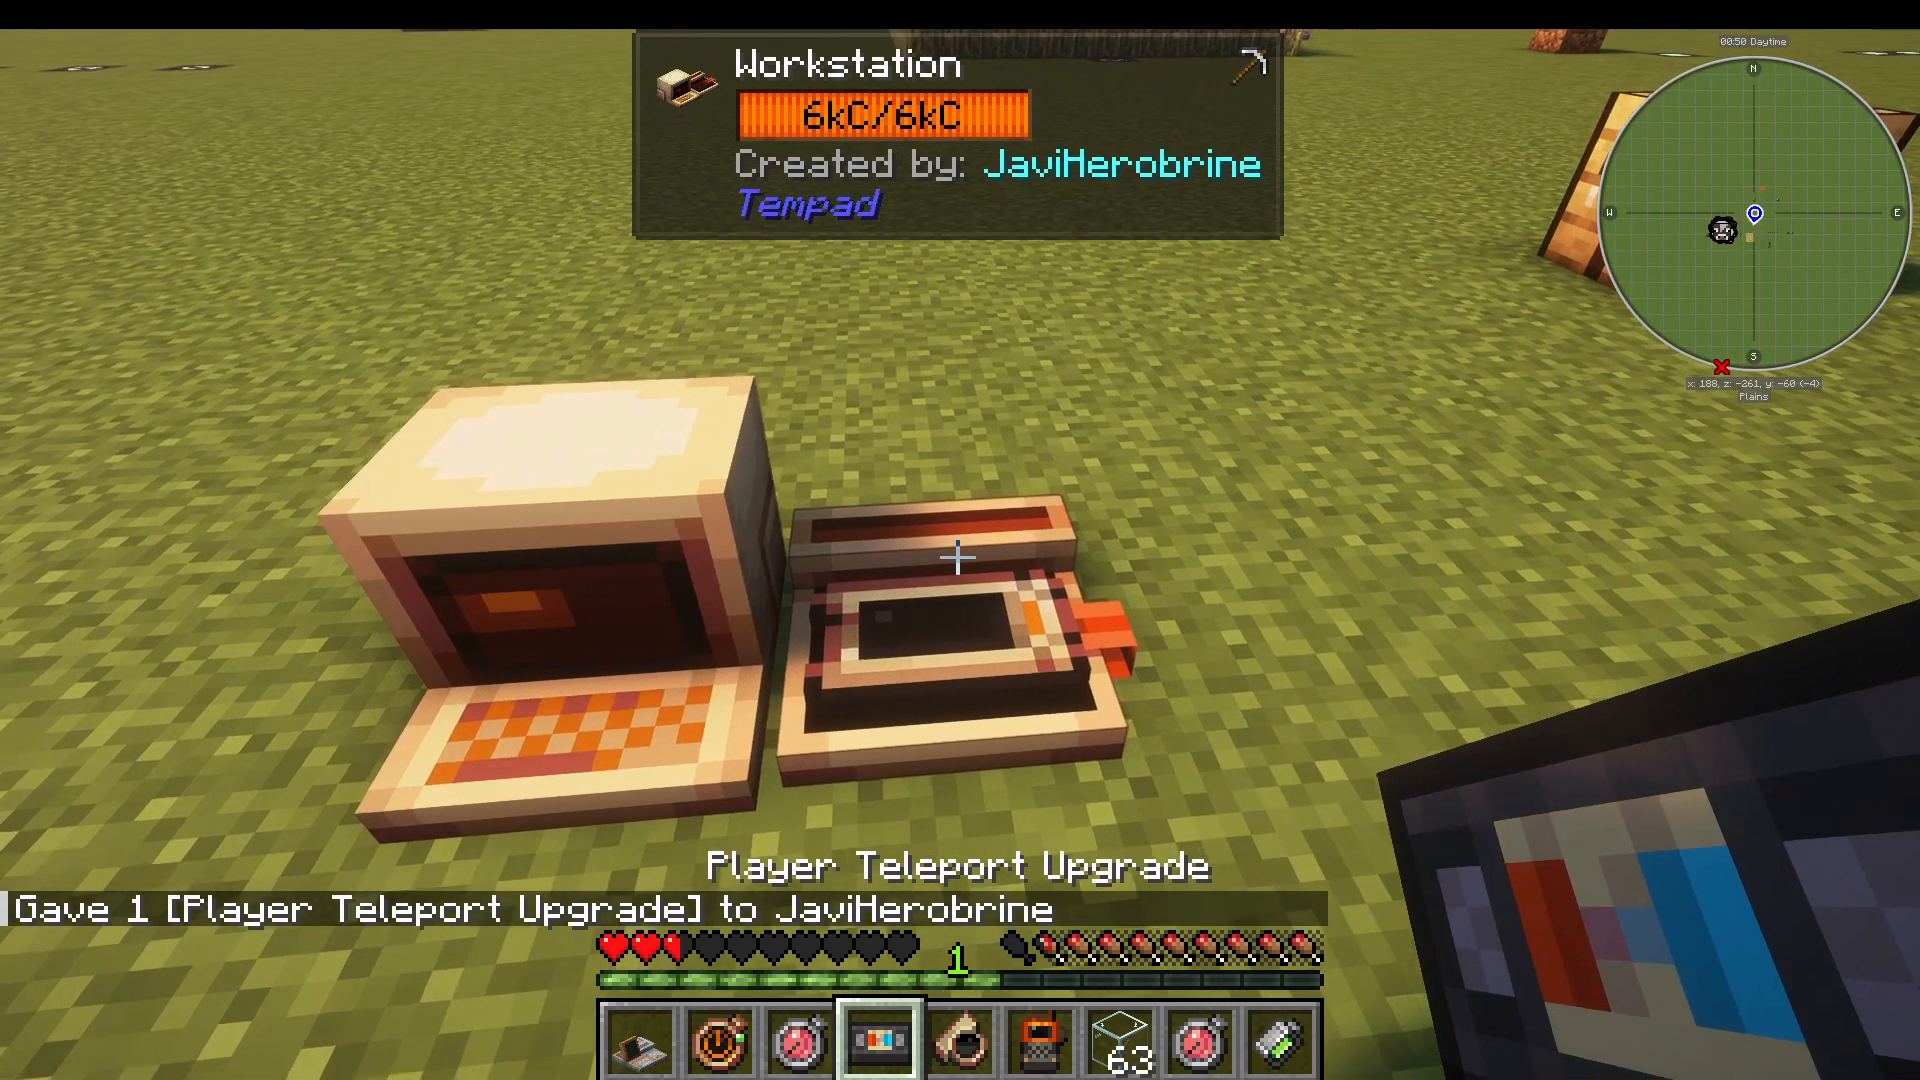
Player Teleport Upgrade
Insert the Player Teleport Upgrade disk into the Workstation’s disk slot. Once fully installed, you can teleport directly to other players from the Workstation interface, in addition to your saved locations.
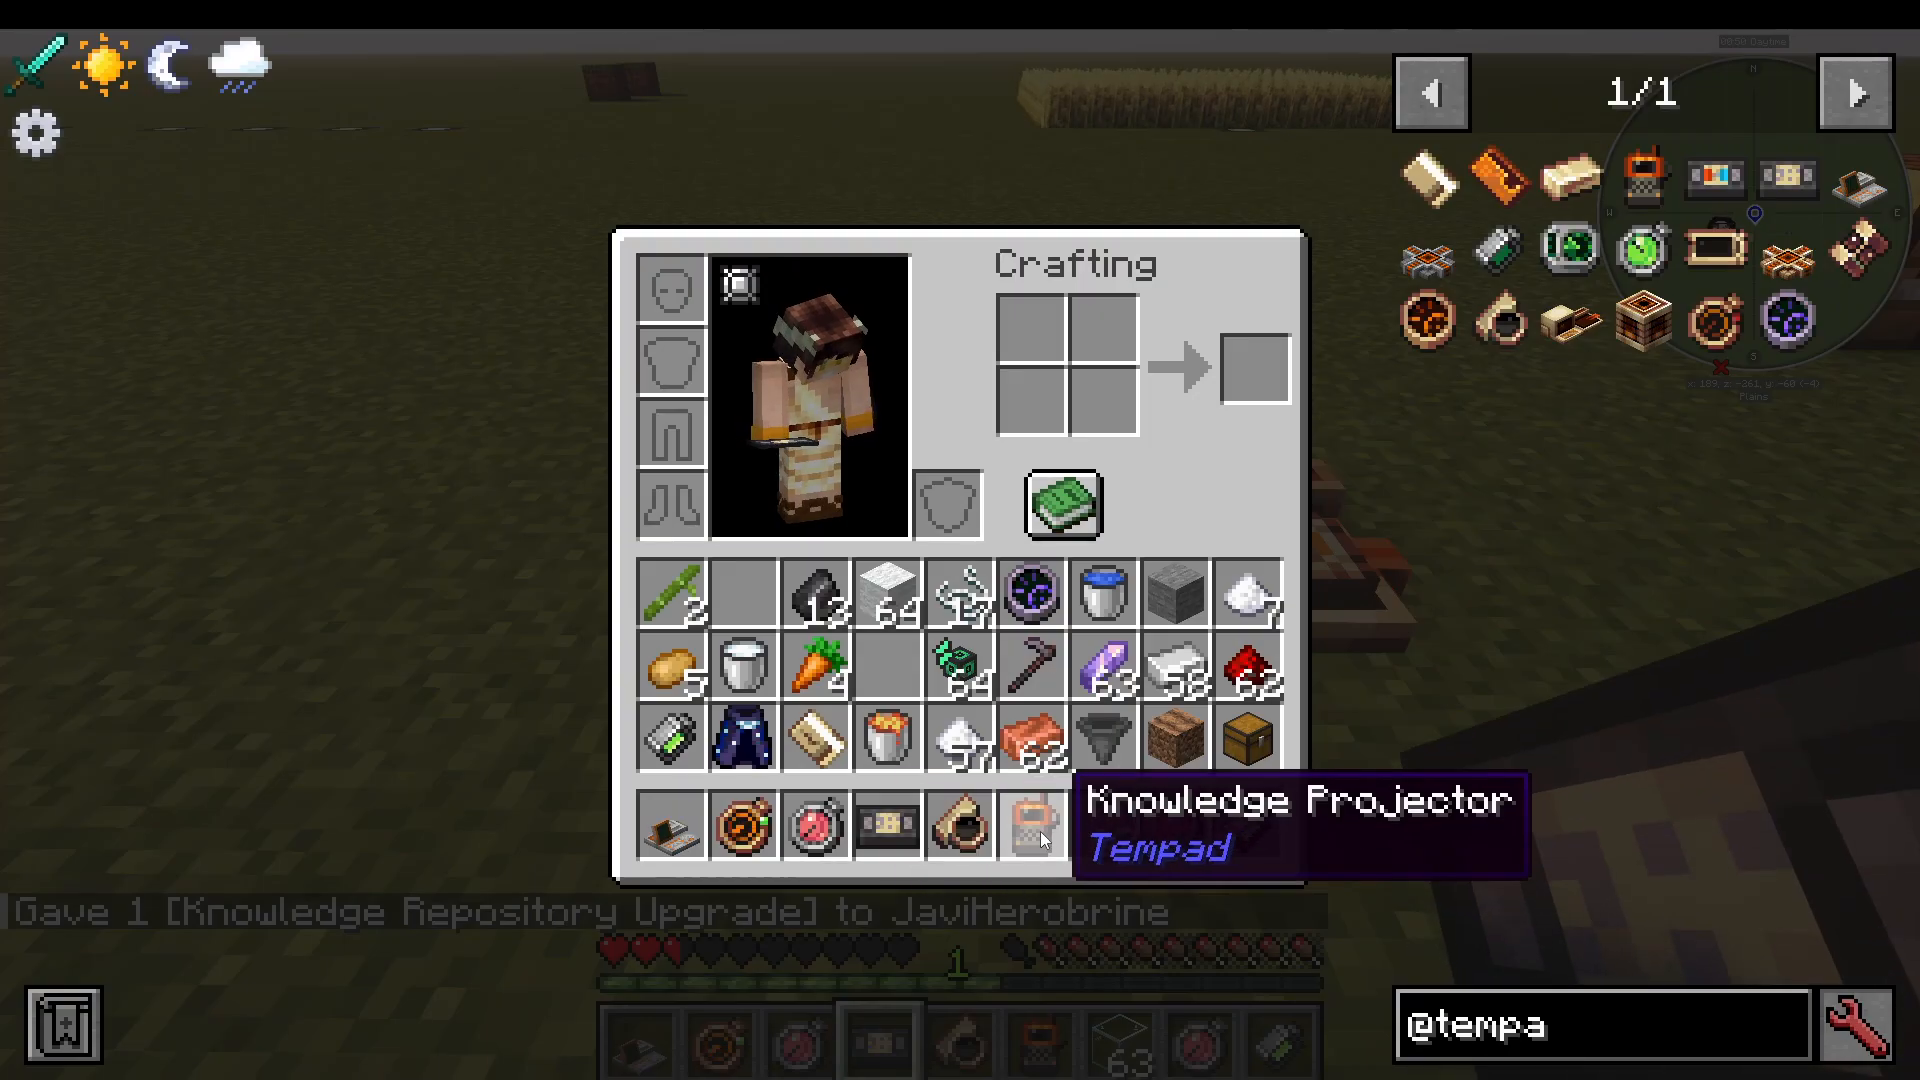
Knowledge Repository Upgrade
Insert the Knowledge Repository Upgrade disk into the Workstation. Once installed, right-clicking the Workstation grants access to an in-game wiki for the Tempad mod. This is an excellent reference for looking up item descriptions, crafting details, and feature explanations — including the full description of the Screening Device and how team framework filtering works — all without leaving the game.
Creative Chronometer – Infinite Cronon for Creative Mode
The final item in the mod is the Creative Chronometer. As the name implies, this is a creative-mode tool that passively generates unlimited Cronon energy, allowing you to test and use all of the mod’s teleportation features without worrying about power management.
Summary – Mastering the Tempad Mod
The Tempad mod delivers one of the most polished and immersive teleportation systems available for Minecraft. Here is a quick recap of the full progression:
Craft a Cronon Cell and Cronon Generator to establish your power supply.
Place a Time Door Marker or activate a Location Broadcaster to define destinations.
Register a Location Card to each destination and store cards in a Card Wallet.
Use a Time Door Projector with the correct Location Card to open portals.
Upgrade to Time Steel to unlock the Metronome, Cronometer, Time Twister, Cronomark, Screening Device, and the Tempad itself.
Build a Workstation and install the Player Teleport and Knowledge Repository upgrades for a fully featured teleport hub.
Whether you are setting up a solo fast-travel network or building a shared teleportation system for a multiplayer server, the Tempad mod gives you the tools to do it with style. Good luck, and happy teleporting!
“`