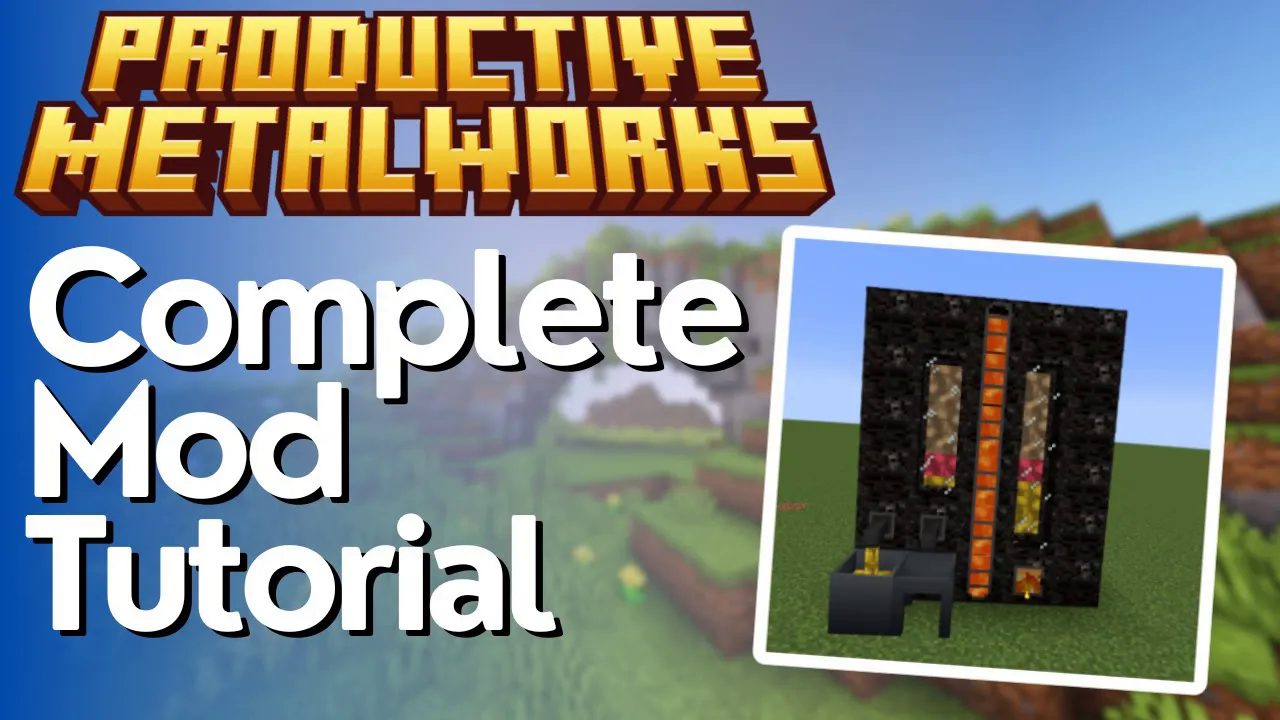
Productive Metalworks Mod Tutorial
Productive Metalworks Mod Tutorial: Build a High-Speed Foundry in Minecraft
The Productive Metalworks mod is a modern take on the foundry-style ore processing made popular by Tinkers’ Construct. It lets you smelt and cast massive quantities of ores incredibly fast, all within a fully customizable multiblock structure. In this tutorial, you’ll learn how to build a 5x5x5 foundry from scratch, fill it with lava, produce molten steel, cast ingots, and automate the entire output process.
Materials You’ll Need
Before you start building, gather the following components. Each one plays a specific role in making the foundry function correctly:
Liquid Heating Coils — the heat source at the core of the foundry
Fire Bricks — the structural walls of the multiblock
Foundry Tanks — one for lava input, one for molten metal output
Foundry Controller — provides access to the foundry’s UI
Drains — allow molten metal to flow out
Foundry Taps — attach to drains to control liquid metal flow
Casting Basin and Casting Table — used to shape molten metal into usable items
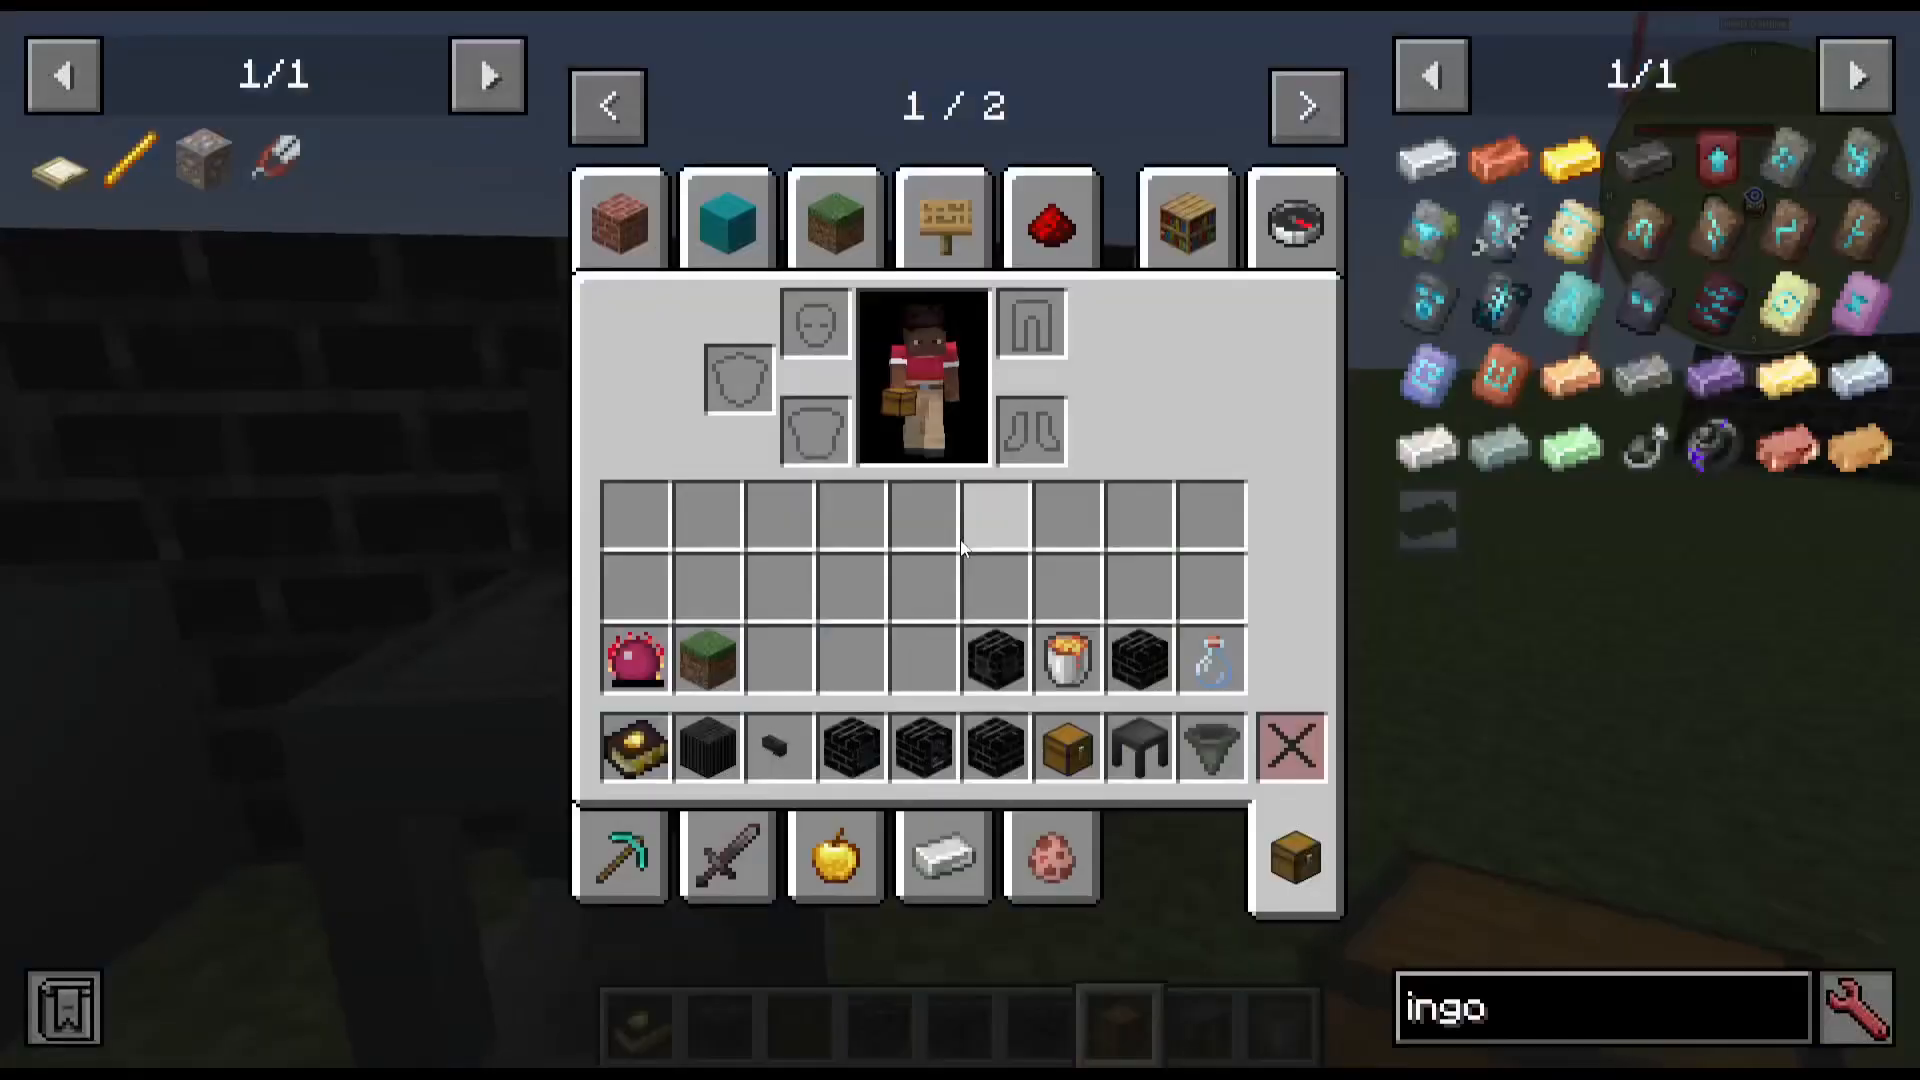
You’ll also want a few extra items on hand once the foundry is built, such as ingot casts, hoppers, chests, and optionally pipes from other mods for fluid automation.
Building the 5x5x5 Foundry
Step 1: Lay the Foundation
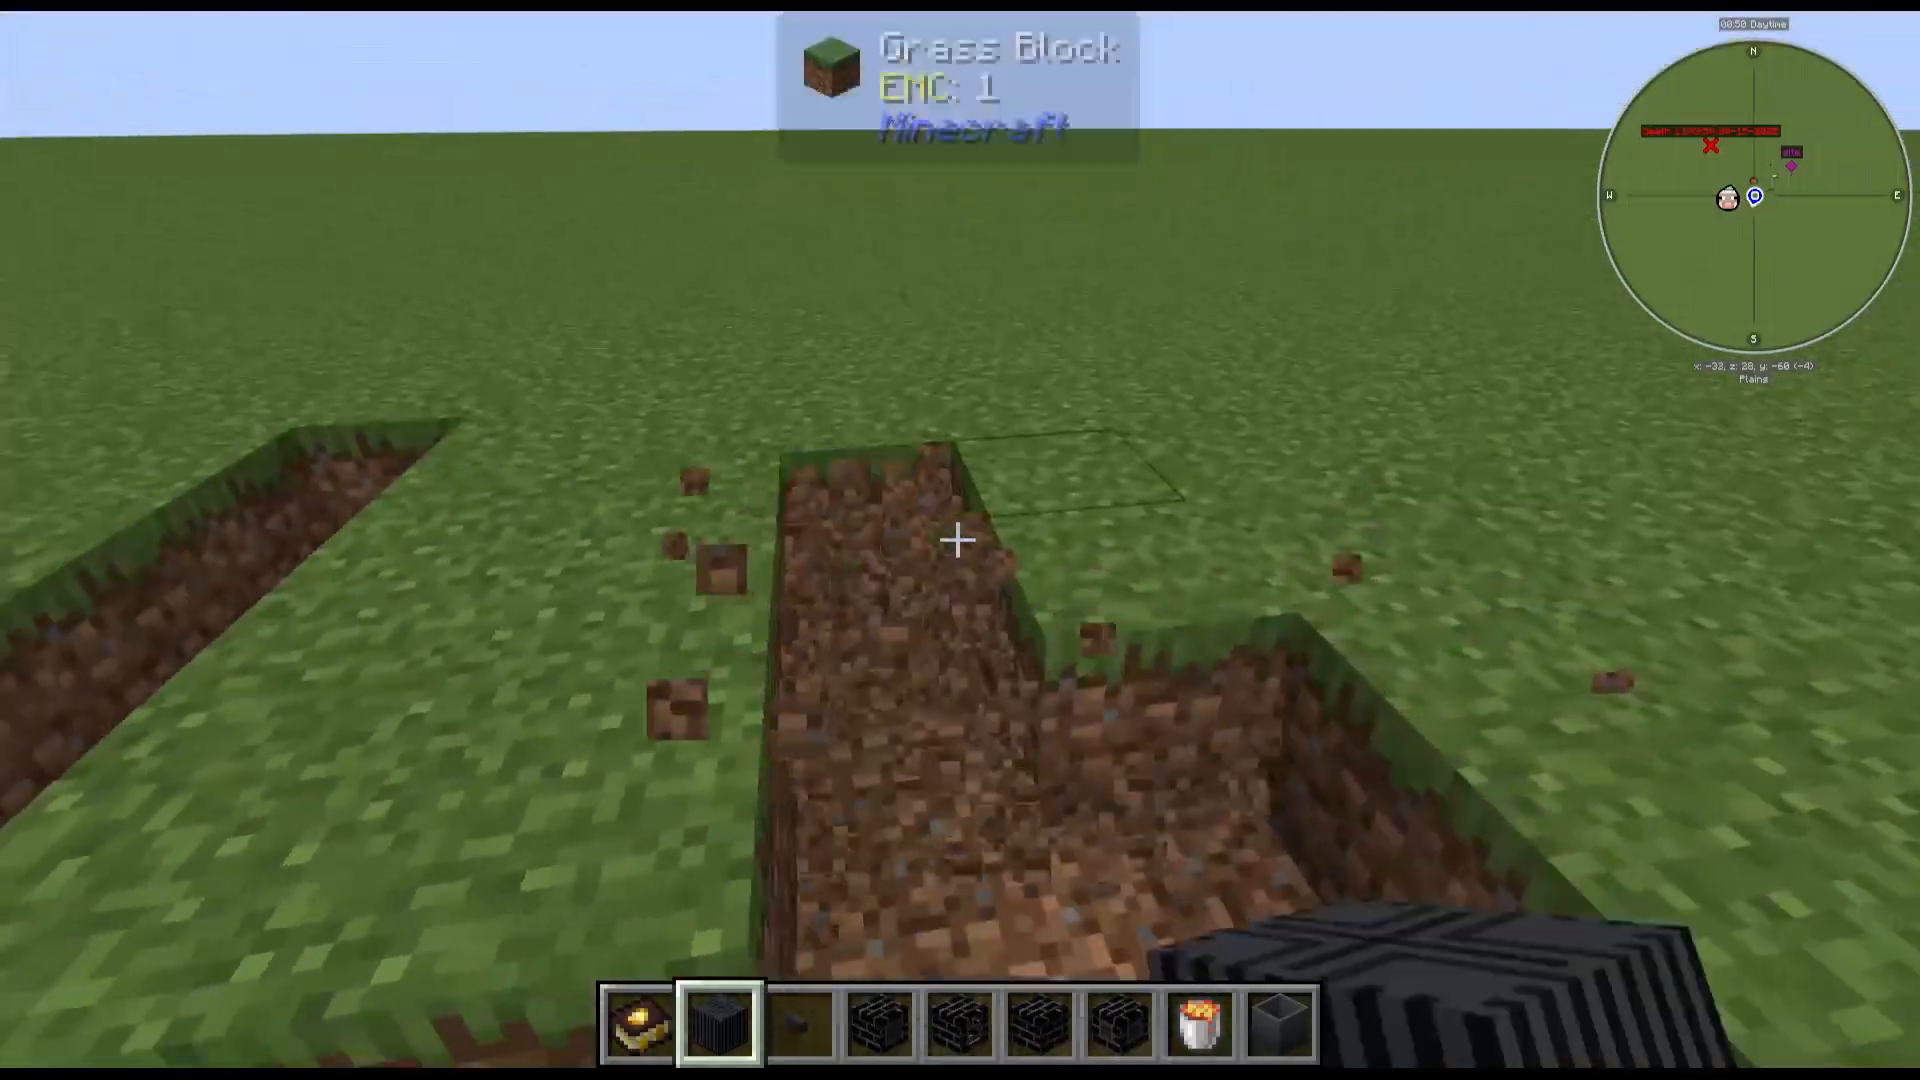
Start by laying out a 5×5 base on the ground. Count out five blocks in one direction, then five in the other to form your square footprint. In the very center of this base, place your Liquid Heating Coils. These coils are what will generate the heat needed to process your ores.
Step 2: Build the Walls with Fire Bricks
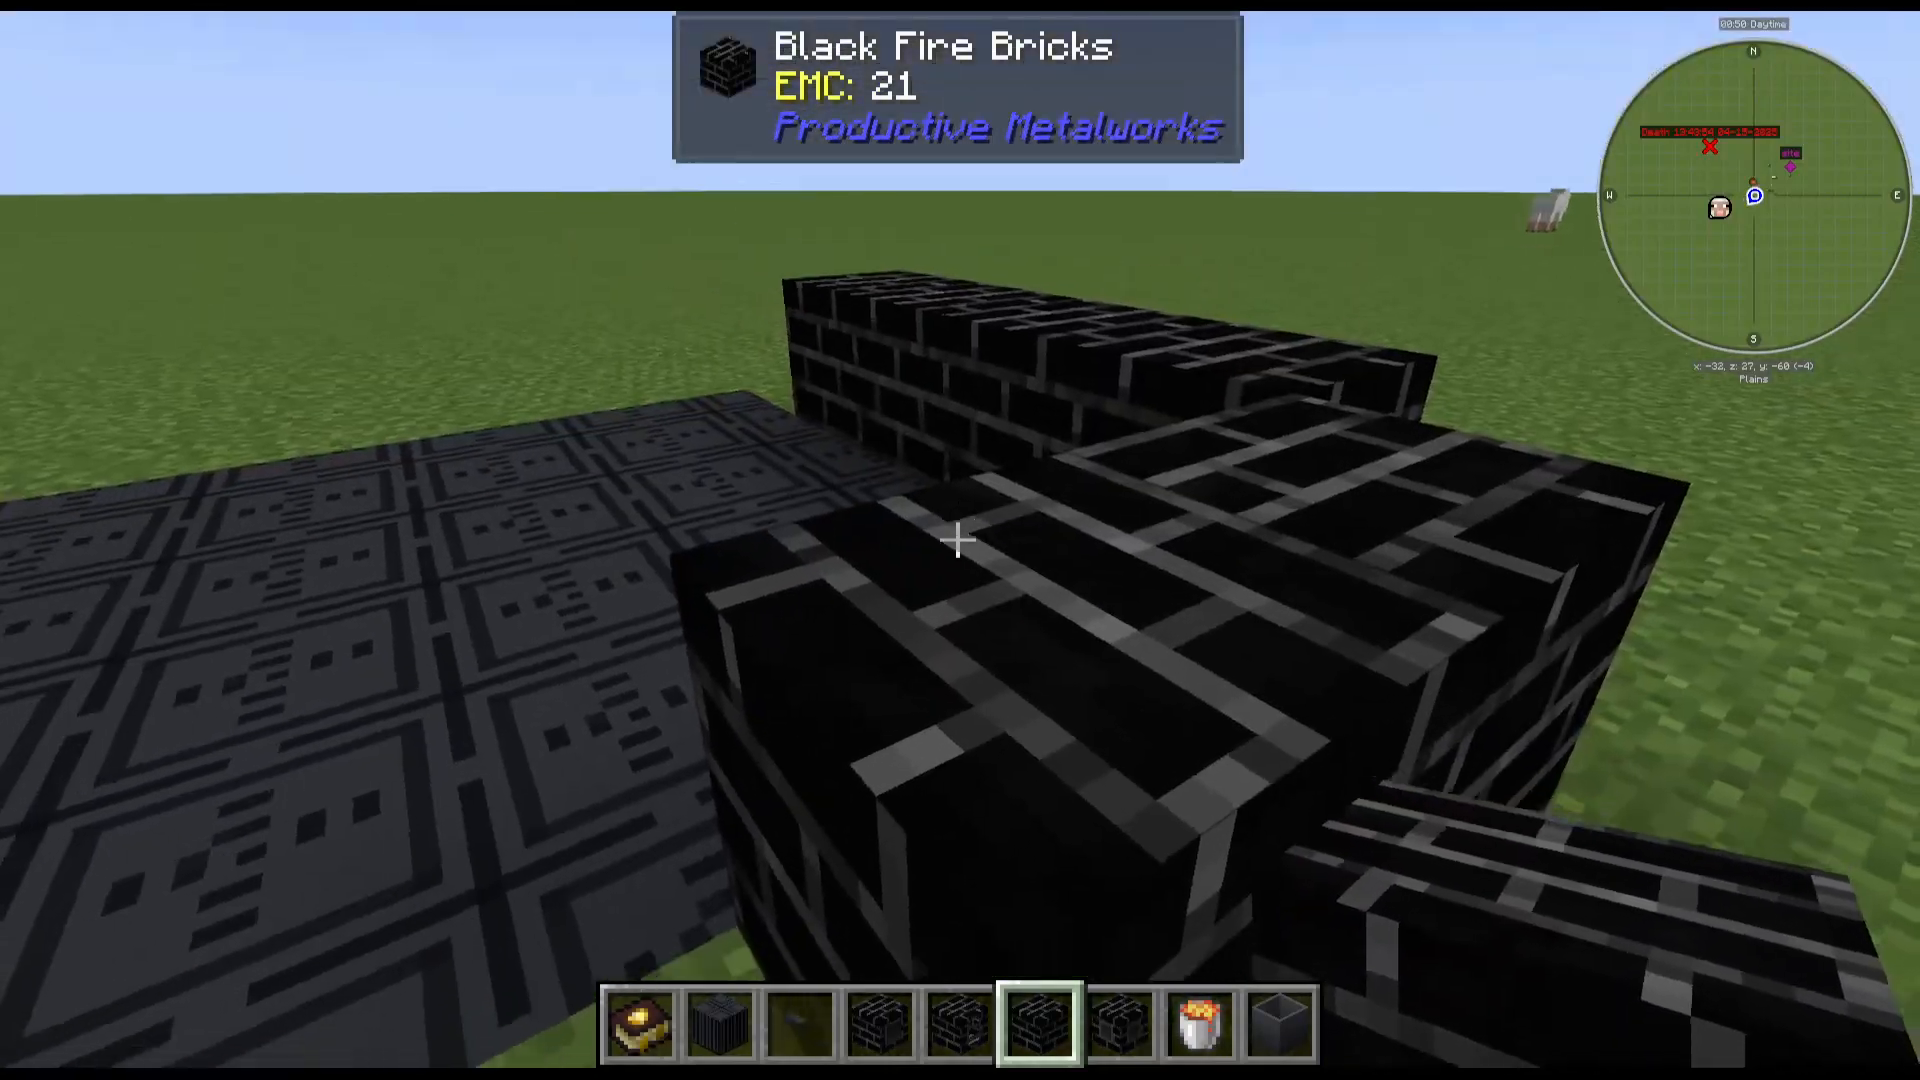
Surround the heating coils with Fire Bricks to form the walls of the foundry. Fire Bricks are dyeable and can be placed in any orientation, giving you flexibility with the look of your build. Corner blocks are completely optional — they’re purely cosmetic. You can also build the walls as tall as you like; a taller foundry can process more ore at once. For this tutorial, we’re keeping it at five blocks high.
Step 3: Place the Controller and Tanks
On one face of the foundry wall, place the Foundry Controller. This block is your main interface — right-clicking it opens the foundry’s UI where you manage inputs and outputs. Next, place two Foundry Tanks into the structure: one will hold your lava (the heat source) and the other will hold your liquid molten metals as they are smelted.
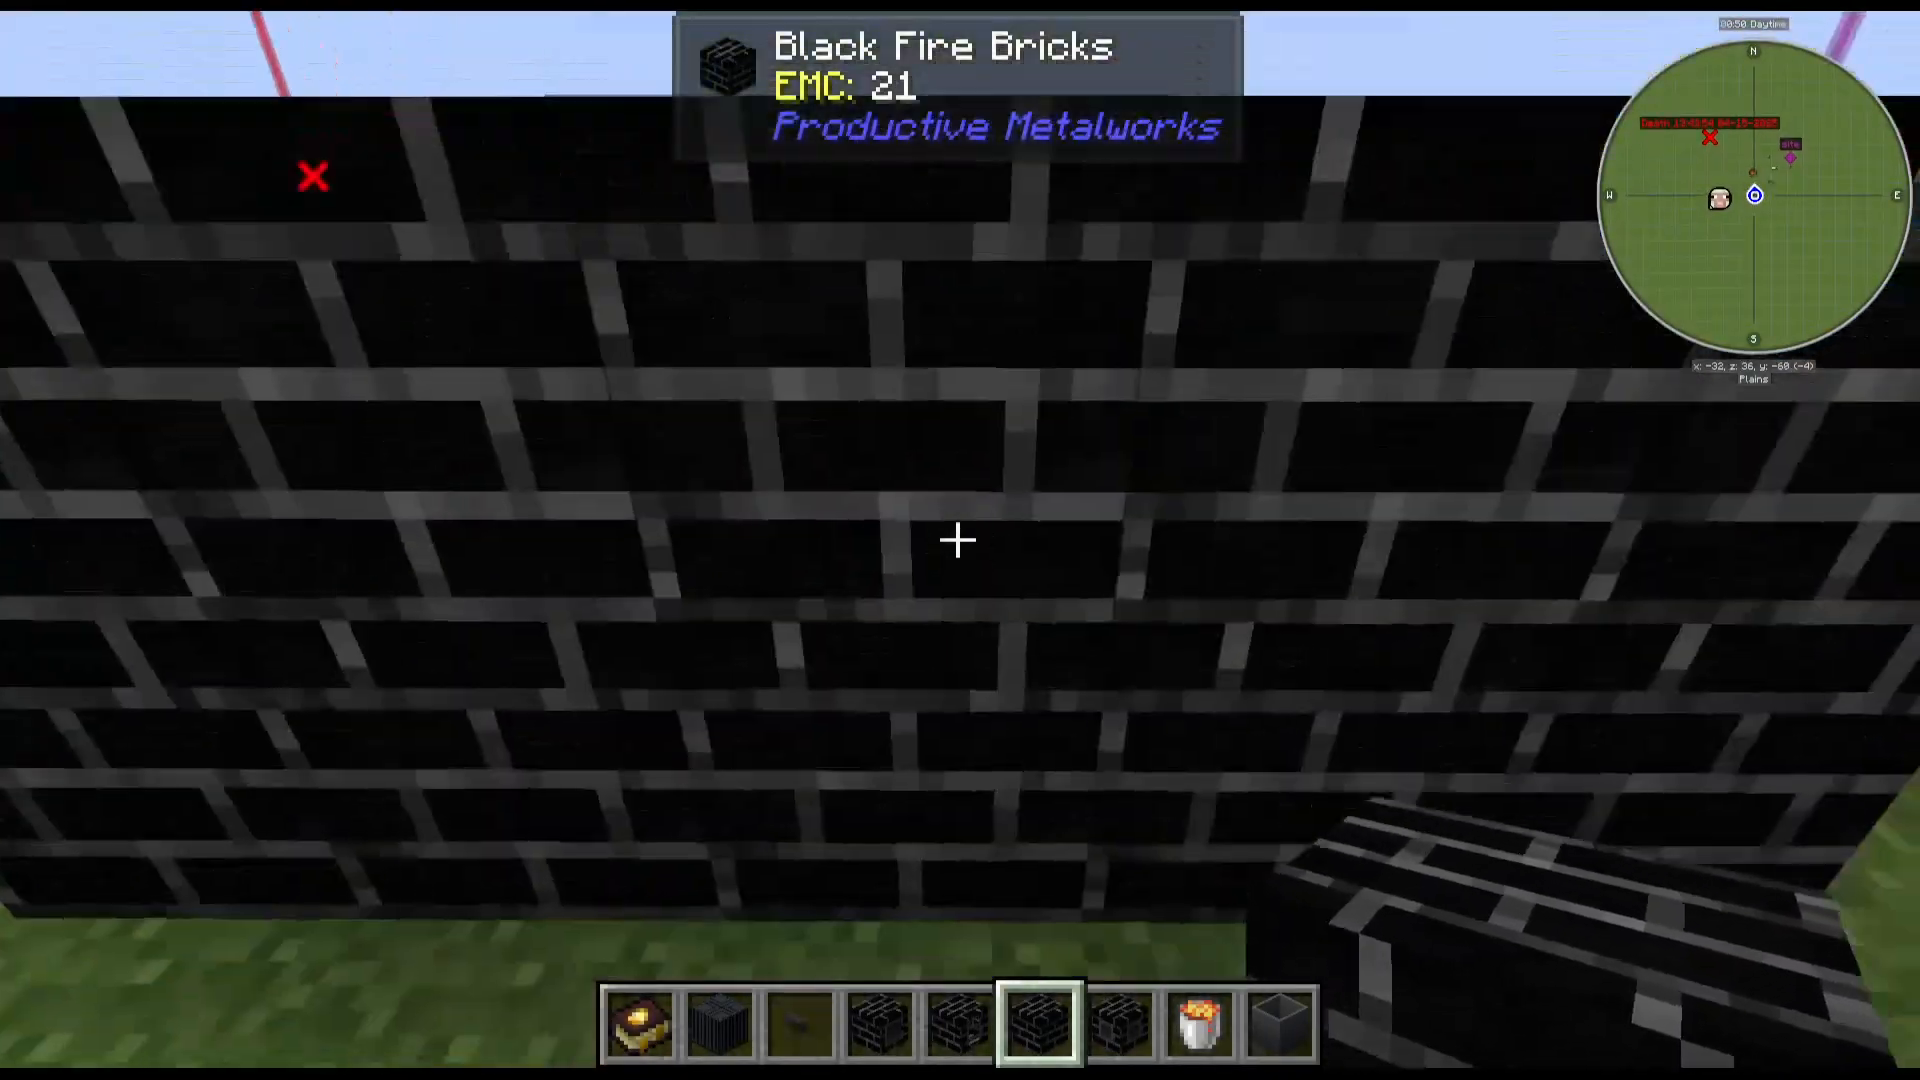
Step 4: Verify the Foundry Is Active
Once the controller is placed correctly, you’ll know the multiblock structure is valid because the Liquid Heating Coils will visually change to show they are active and ready. This is your confirmation that the build is complete and functional.
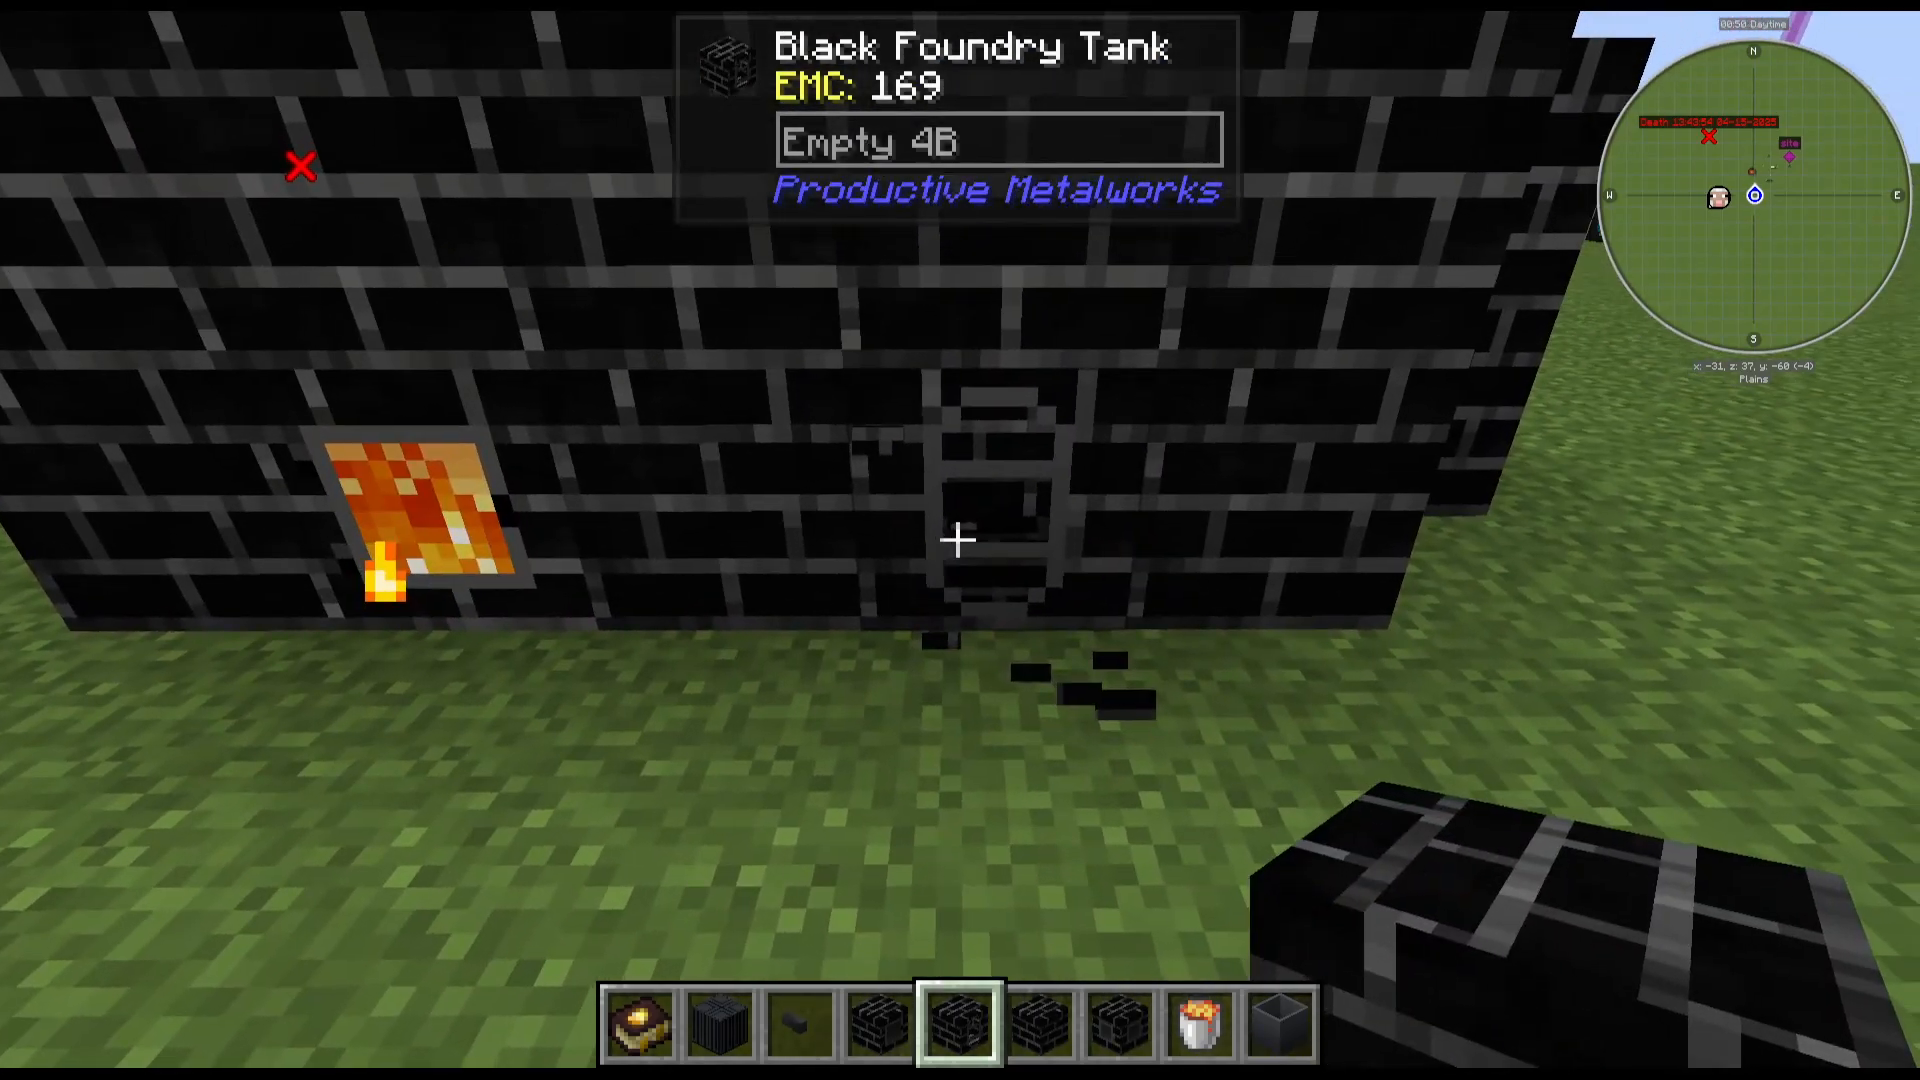
Filling the Foundry with Lava
To heat the foundry, you need to fill the lava tank with lava. You can do this manually using buckets, or pipe lava in automatically using fluid pipes from compatible mods such as Mekanism or Create. Once lava is present, the foundry is ready to begin smelting.
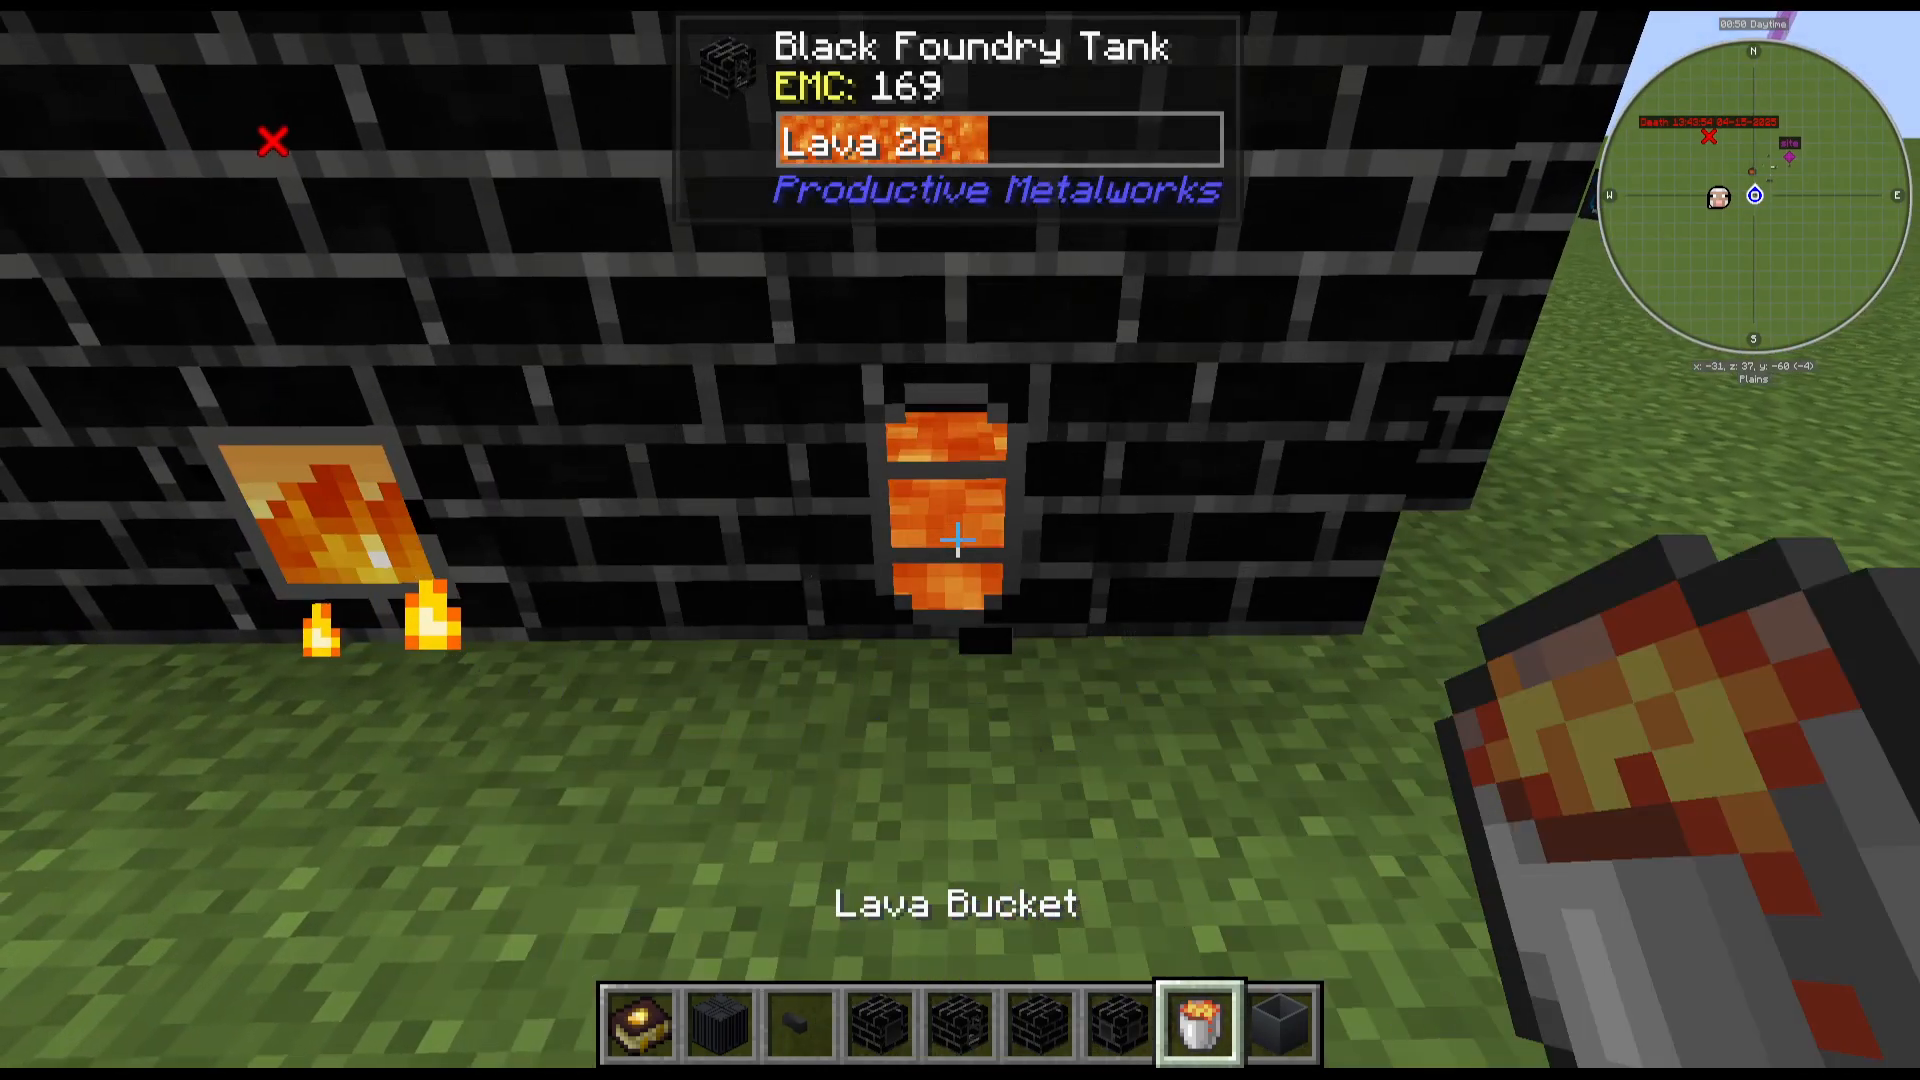
Setting Up Drains and Taps for Output
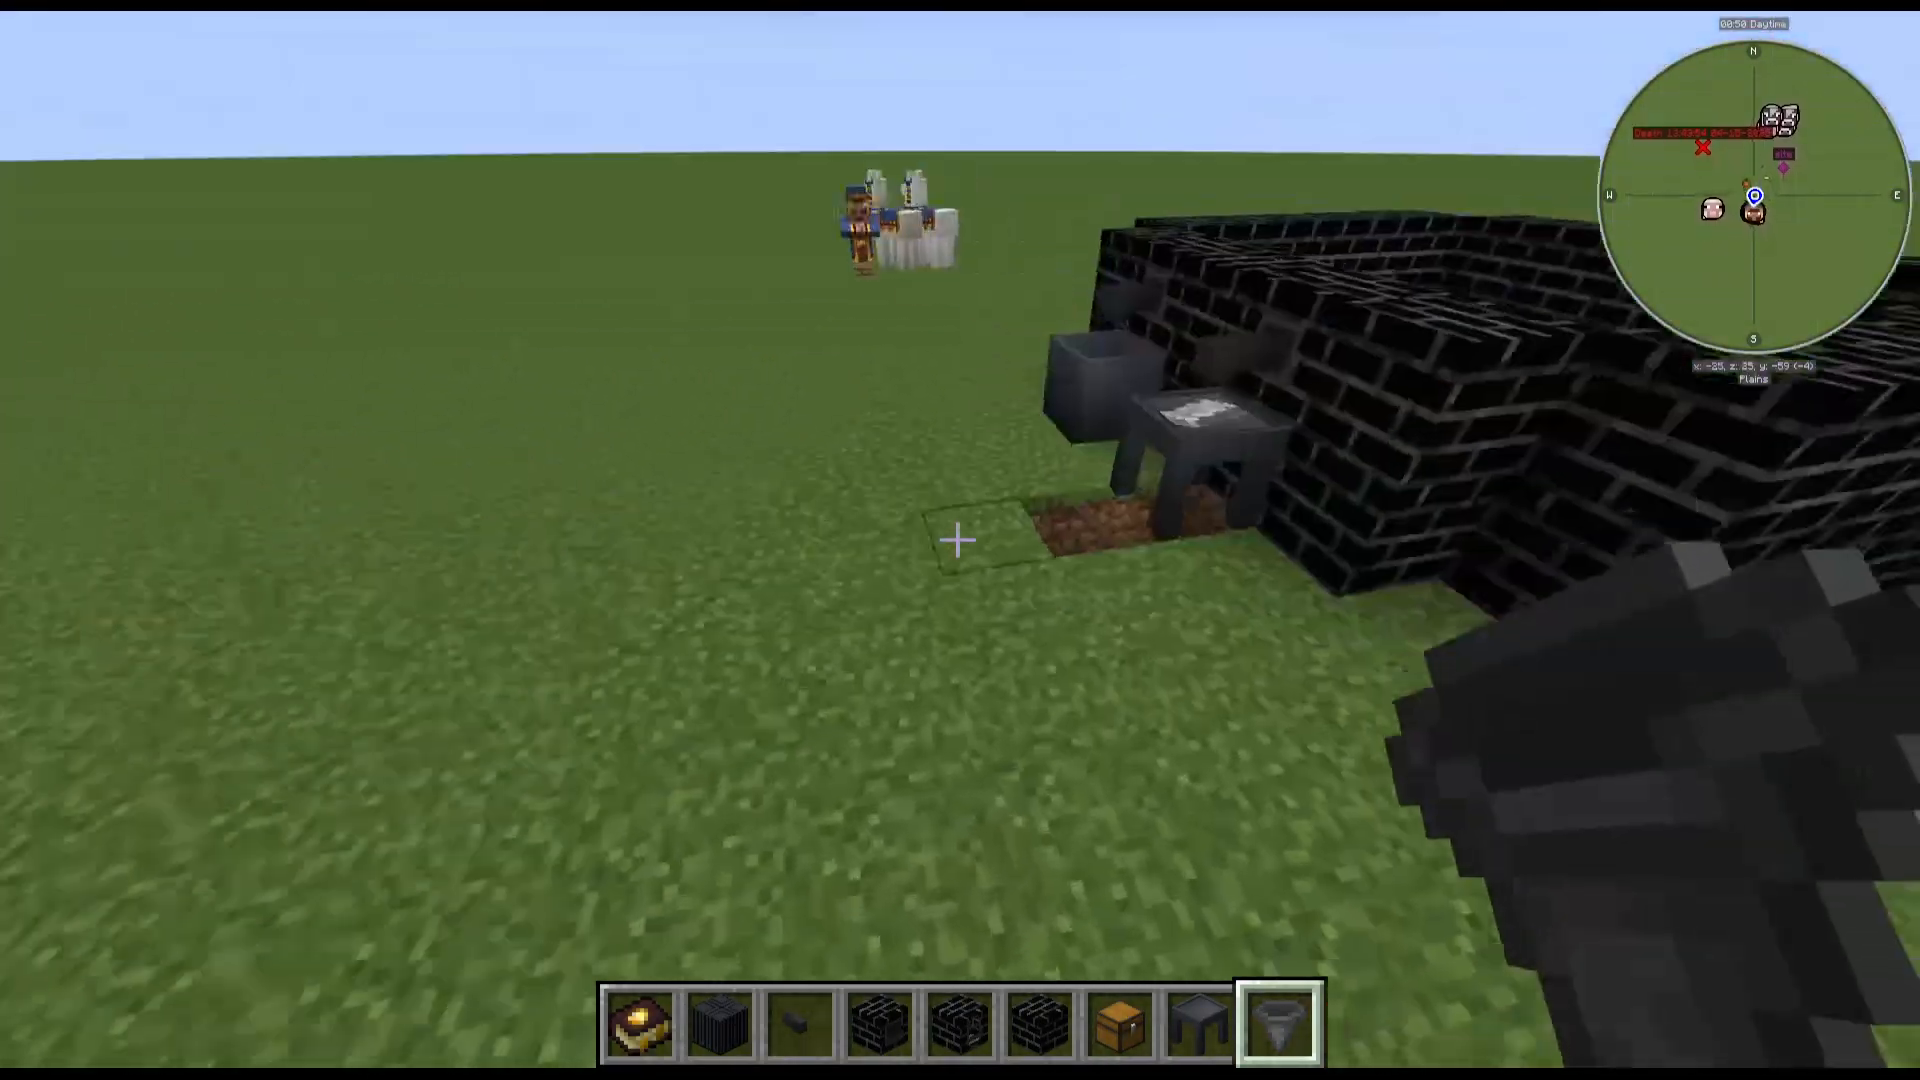
On the opposite side of the foundry from the controller, place your Drains into the wall. Drains are the exit points for your liquid molten metal. Attach a Foundry Tap to each drain — without the tap, you cannot extract the molten metal from the foundry.
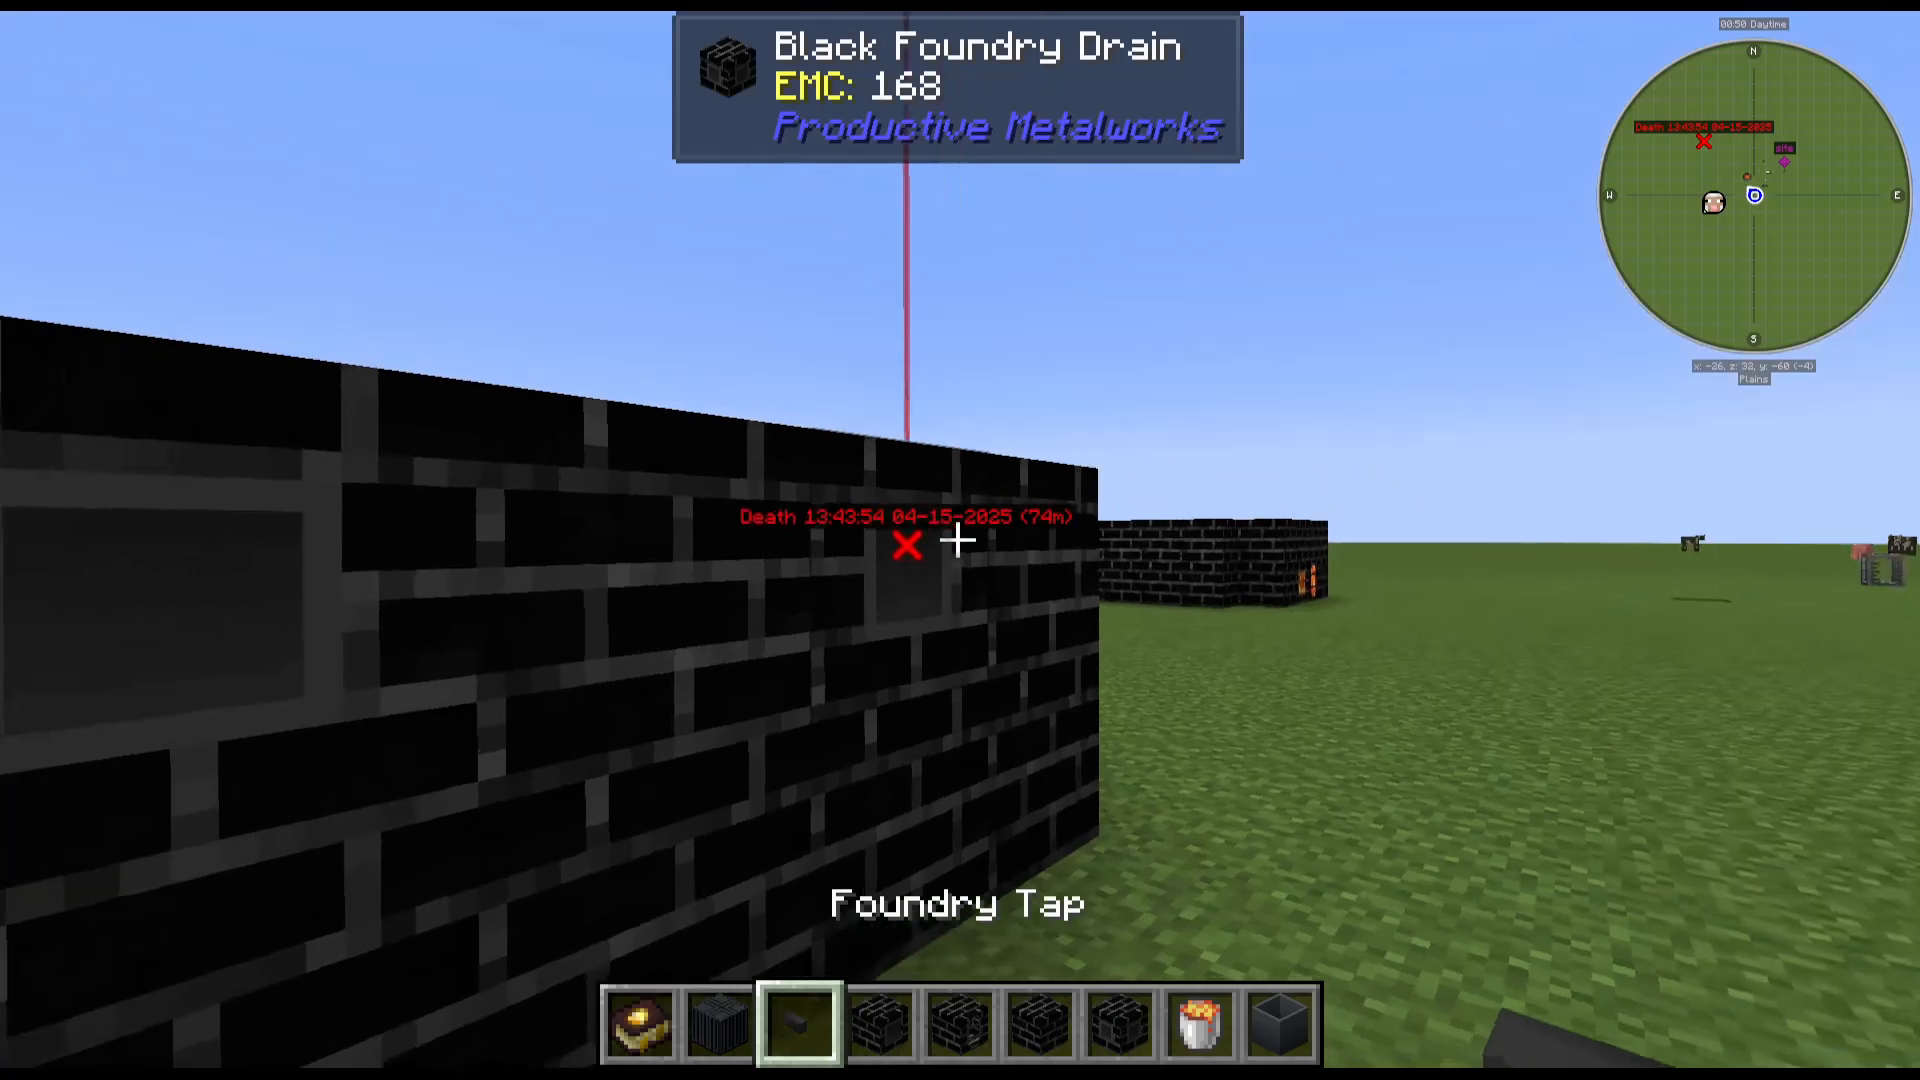
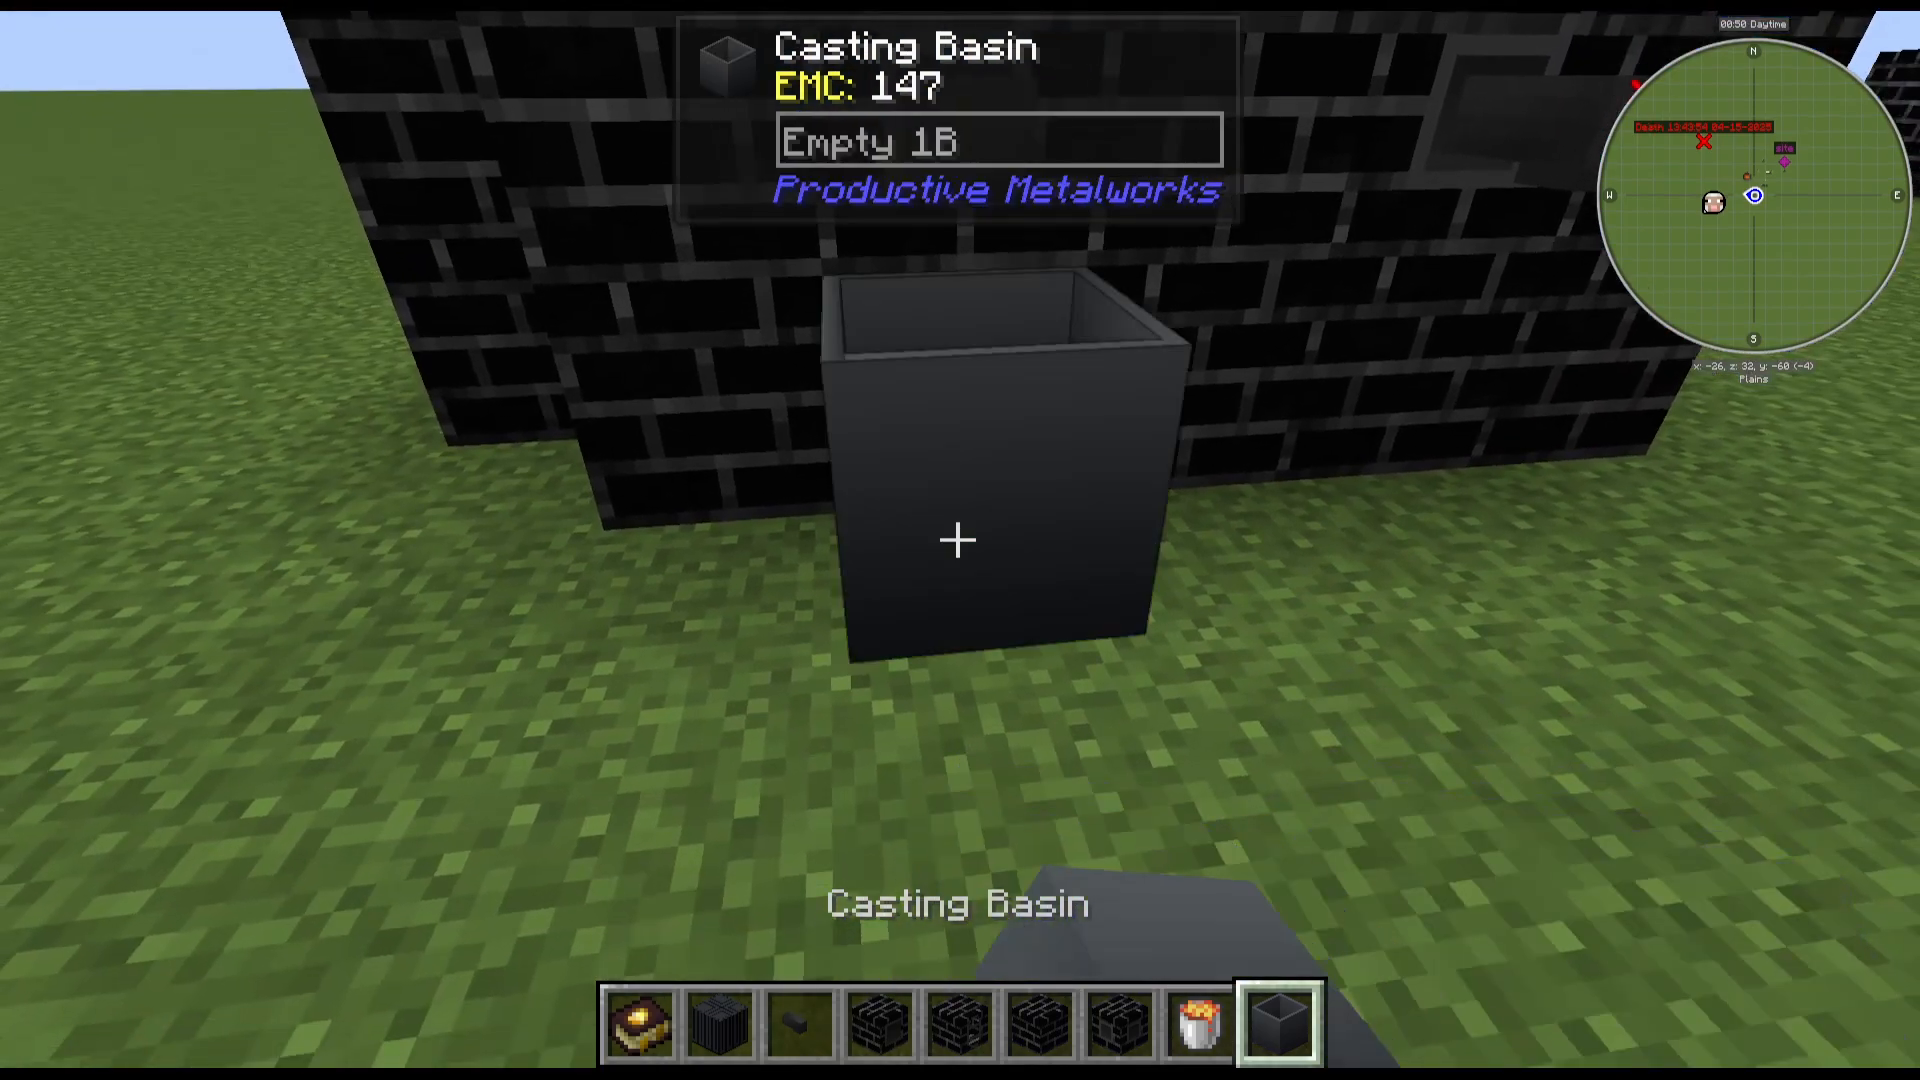
Below the taps, place a Casting Basin and a Casting Table. The Casting Basin produces metal blocks, while the Casting Table is used for smaller casts such as ingots, nuggets, gems, gears, rods, and plates.
Smelting Molten Steel
How Molten Steel Works
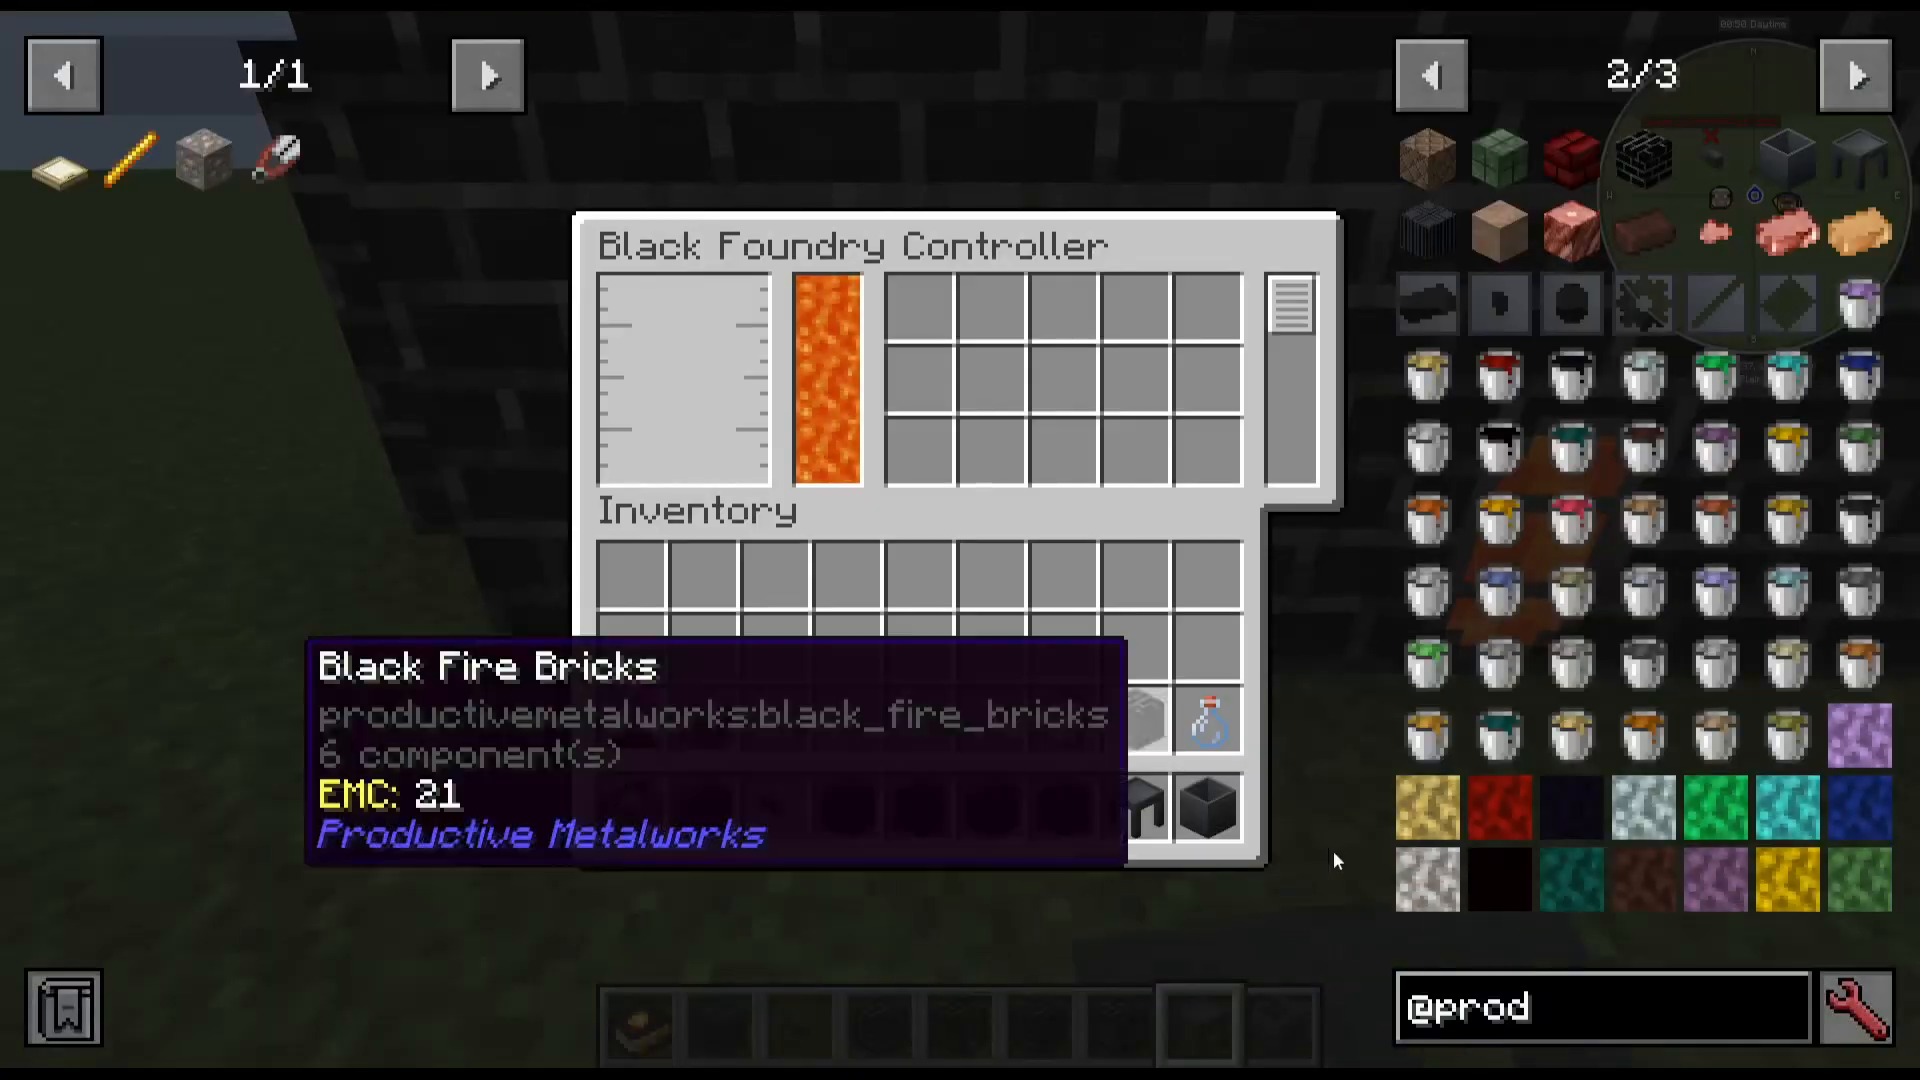
Molten steel is produced inside the foundry by combining coal (which acts as carbon) with iron. Both materials are added directly through the Foundry Controller’s UI. As the foundry heats them, you will see molten iron and molten steel begin to accumulate on the left side of the interface.
Adding Materials via the Controller
Open the Foundry Controller and insert coal first, followed by iron ore or iron ingots. You’ll see the materials begin to heat and convert into molten metals. To control which metal comes out of the taps first, simply left-click a metal in the UI to move it to the bottom of the list — whatever is at the bottom is dispensed first.
Creating Casts and Casting Ingots
Making an Ingot Cast
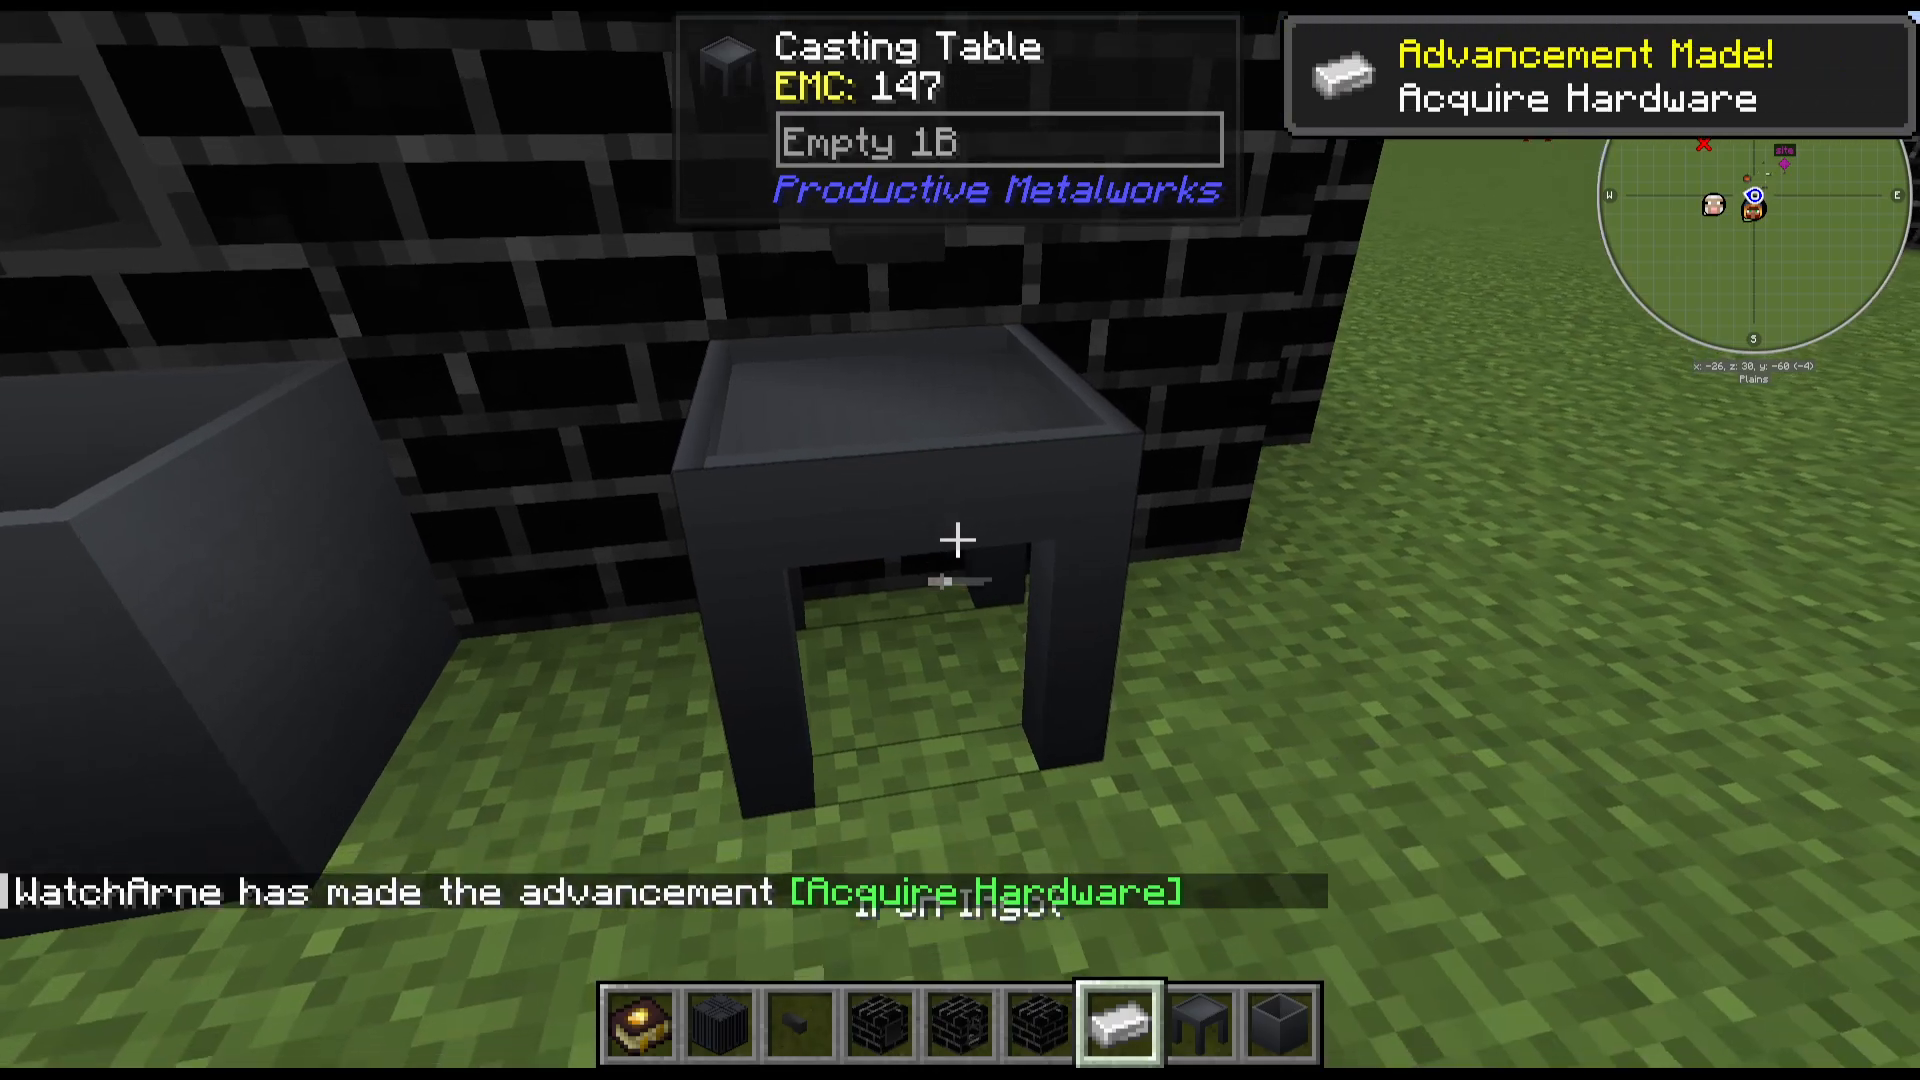
To create a reusable ingot cast, place a regular iron ingot onto the Casting Table. Then click the Foundry Tap above it to pour molten steel over the ingot. The ingot acts as a mold — the molten steel fills in around it. Once cooled, you’ll have a finished ingot cast that you can use repeatedly to produce steel ingots.
Casting More Ingots
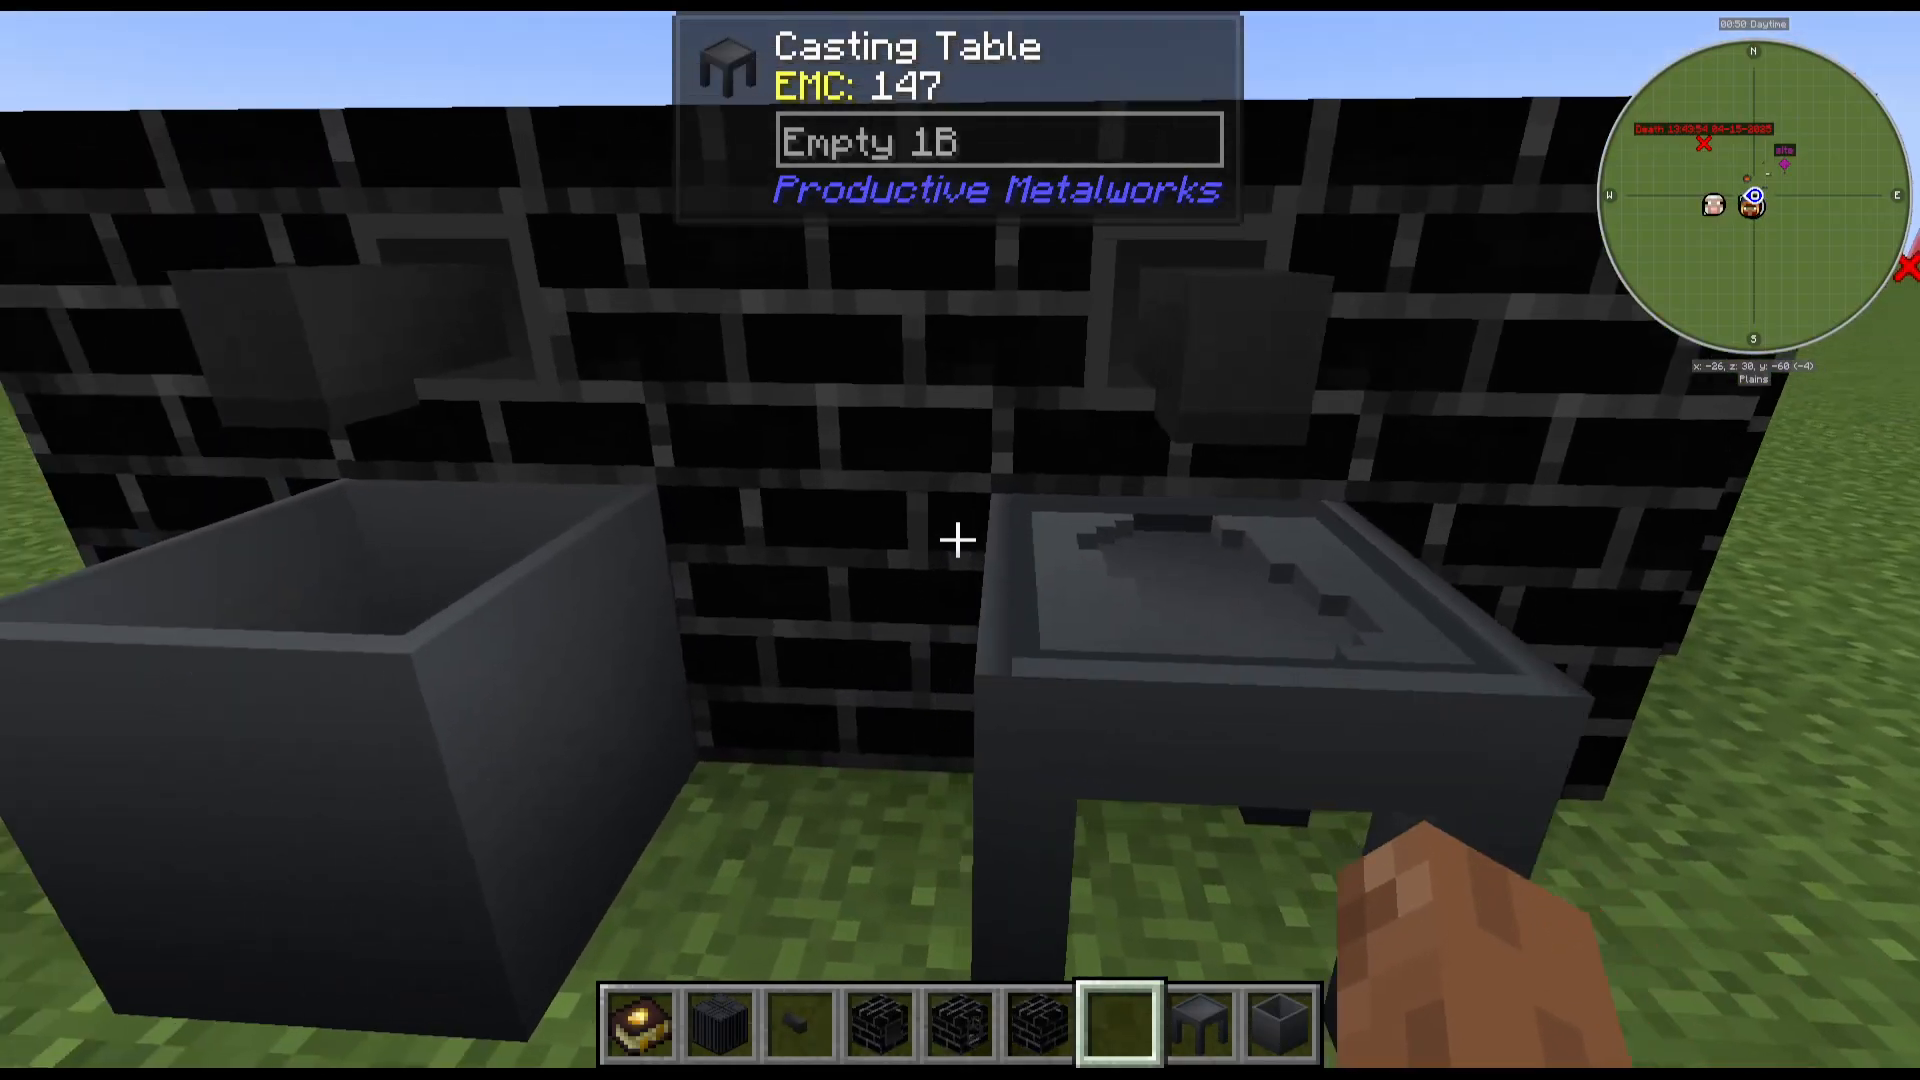
With your ingot cast ready, activate the tap over the Casting Table to begin filling the cast with molten steel. Each fill produces one steel ingot. You can repeat this process manually, or automate it entirely — covered in the next section.
Automating the Output
Using a Hopper and Chest
To automate ingot collection, place a hopper directly underneath the Casting Table, and connect a chest to the hopper. As each ingot is cast and cooled, it will drop into the hopper and be deposited into the chest automatically. You can also route the output through pipes from other mods if you want to integrate this into a larger automation system.
Using a Lever or Redstone Pulse
You can attach a lever to the Foundry Tap to control the flow of molten metal. Note that the tap may require a redstone pulse rather than a constant signal to trigger the flow properly. Experiment with pulse-generating components like buttons or comparator circuits if a lever alone does not work.
Using the Casting Basin for Blocks
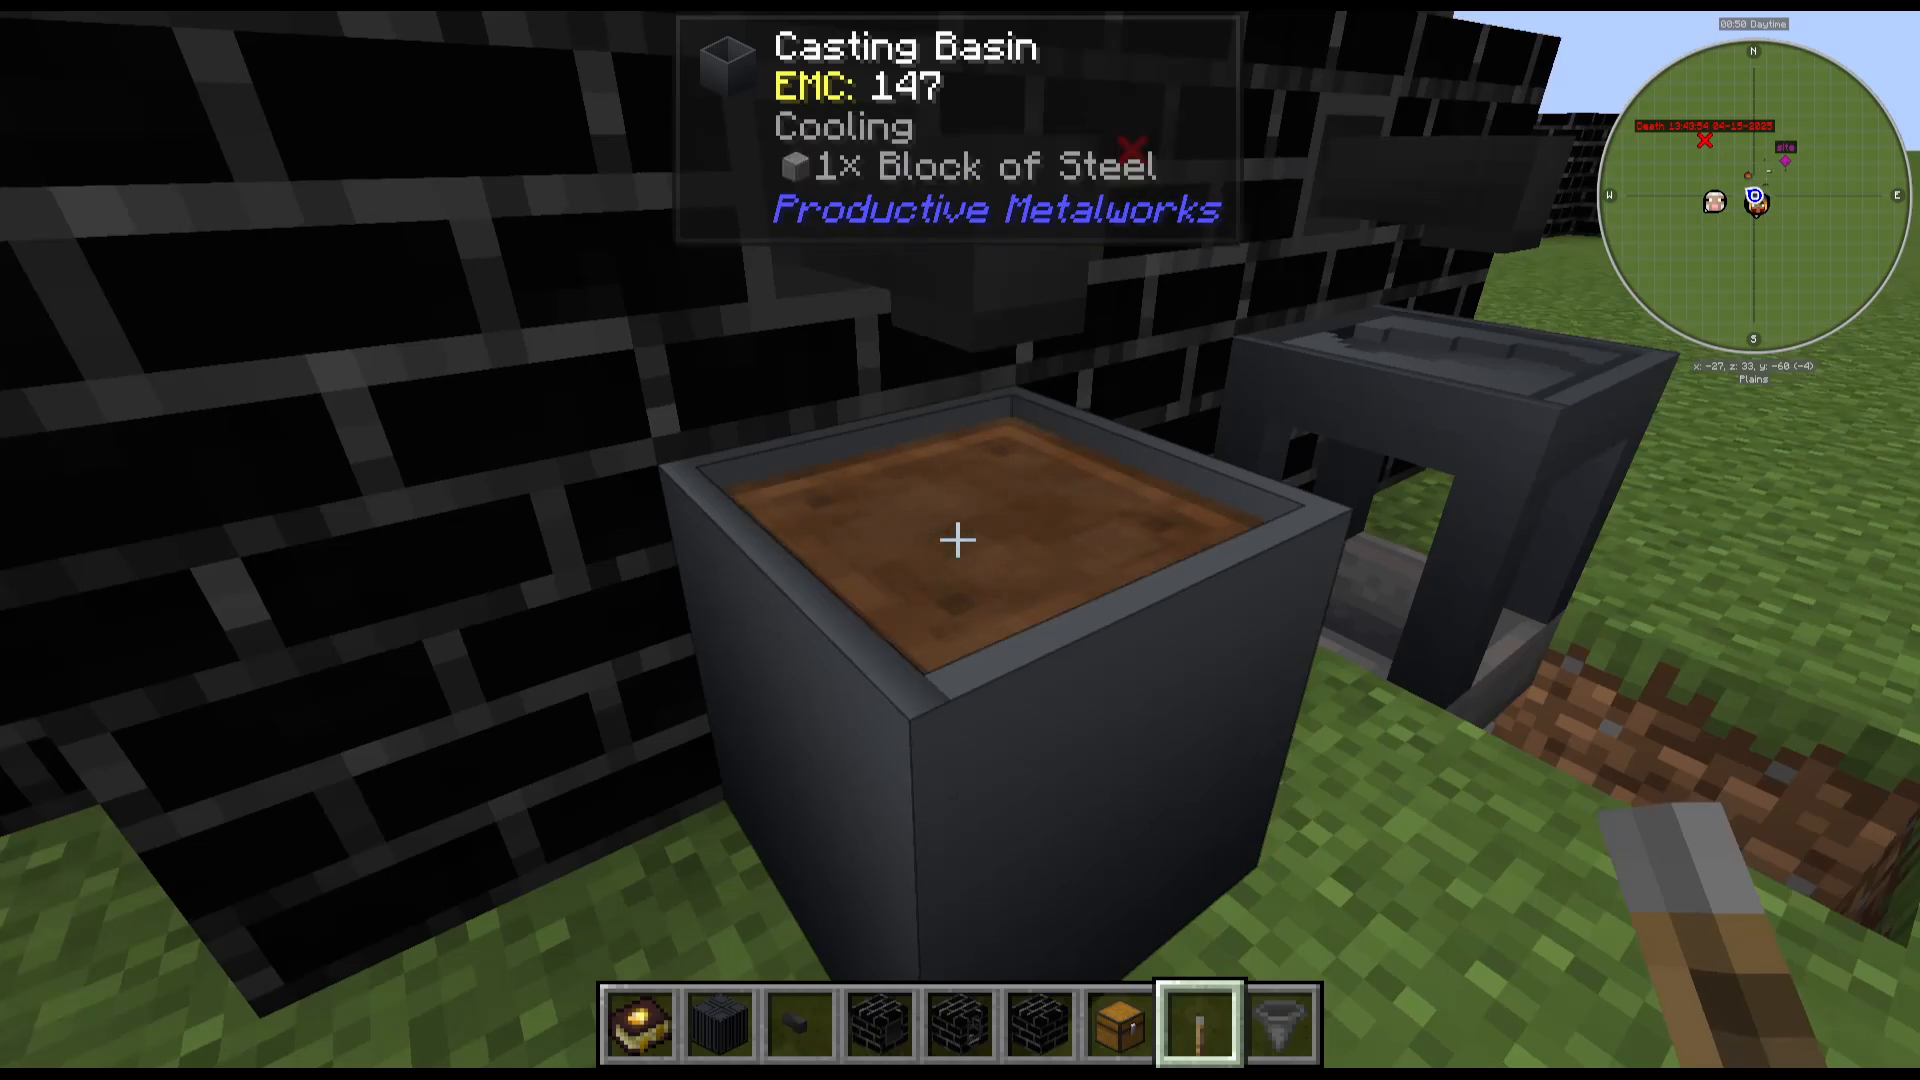
The Casting Basin functions differently from the Casting Table — instead of individual ingots, it fills up completely and produces a full block of the metal, such as a block of steel. It takes a few seconds to cool. Once cooled, right-click the basin to collect your metal block. You can also toss the block back into the foundry to remelt it back into liquid metal at any time.
Optional: Foundry Windows
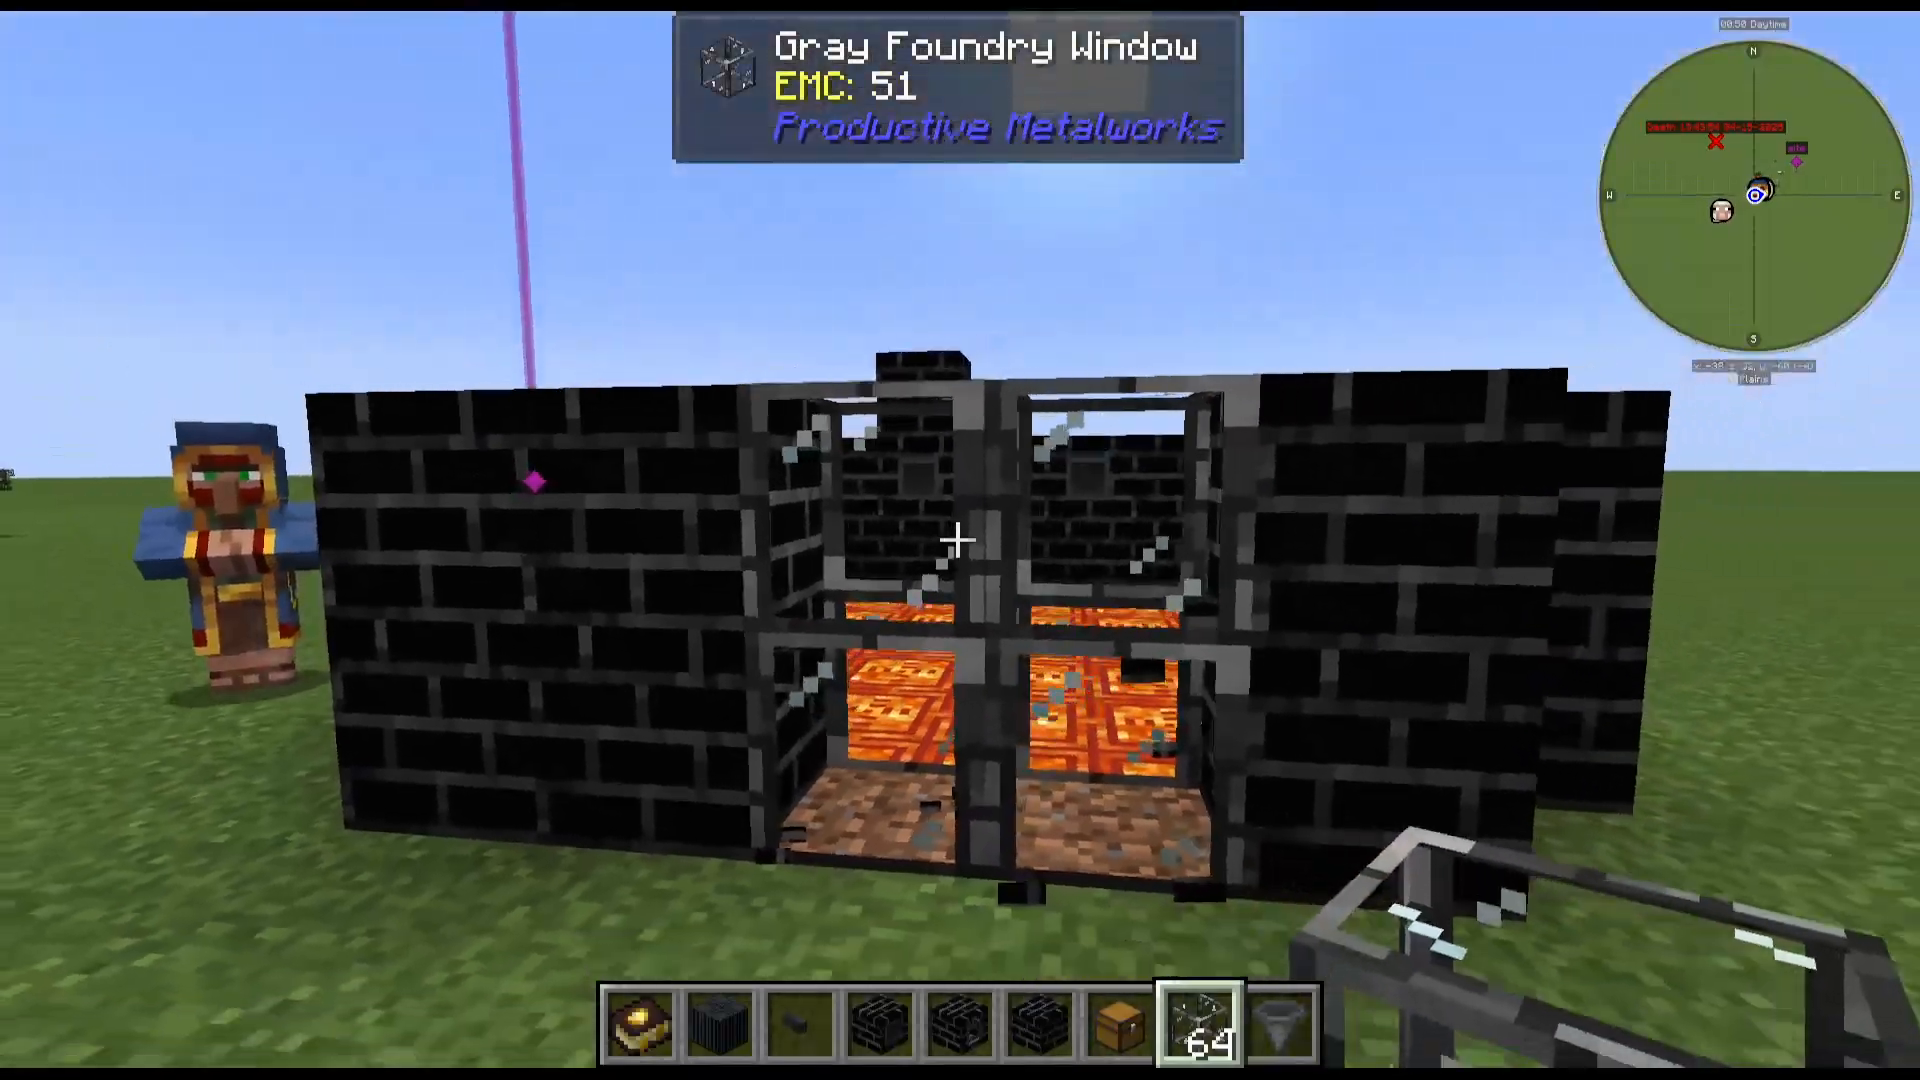
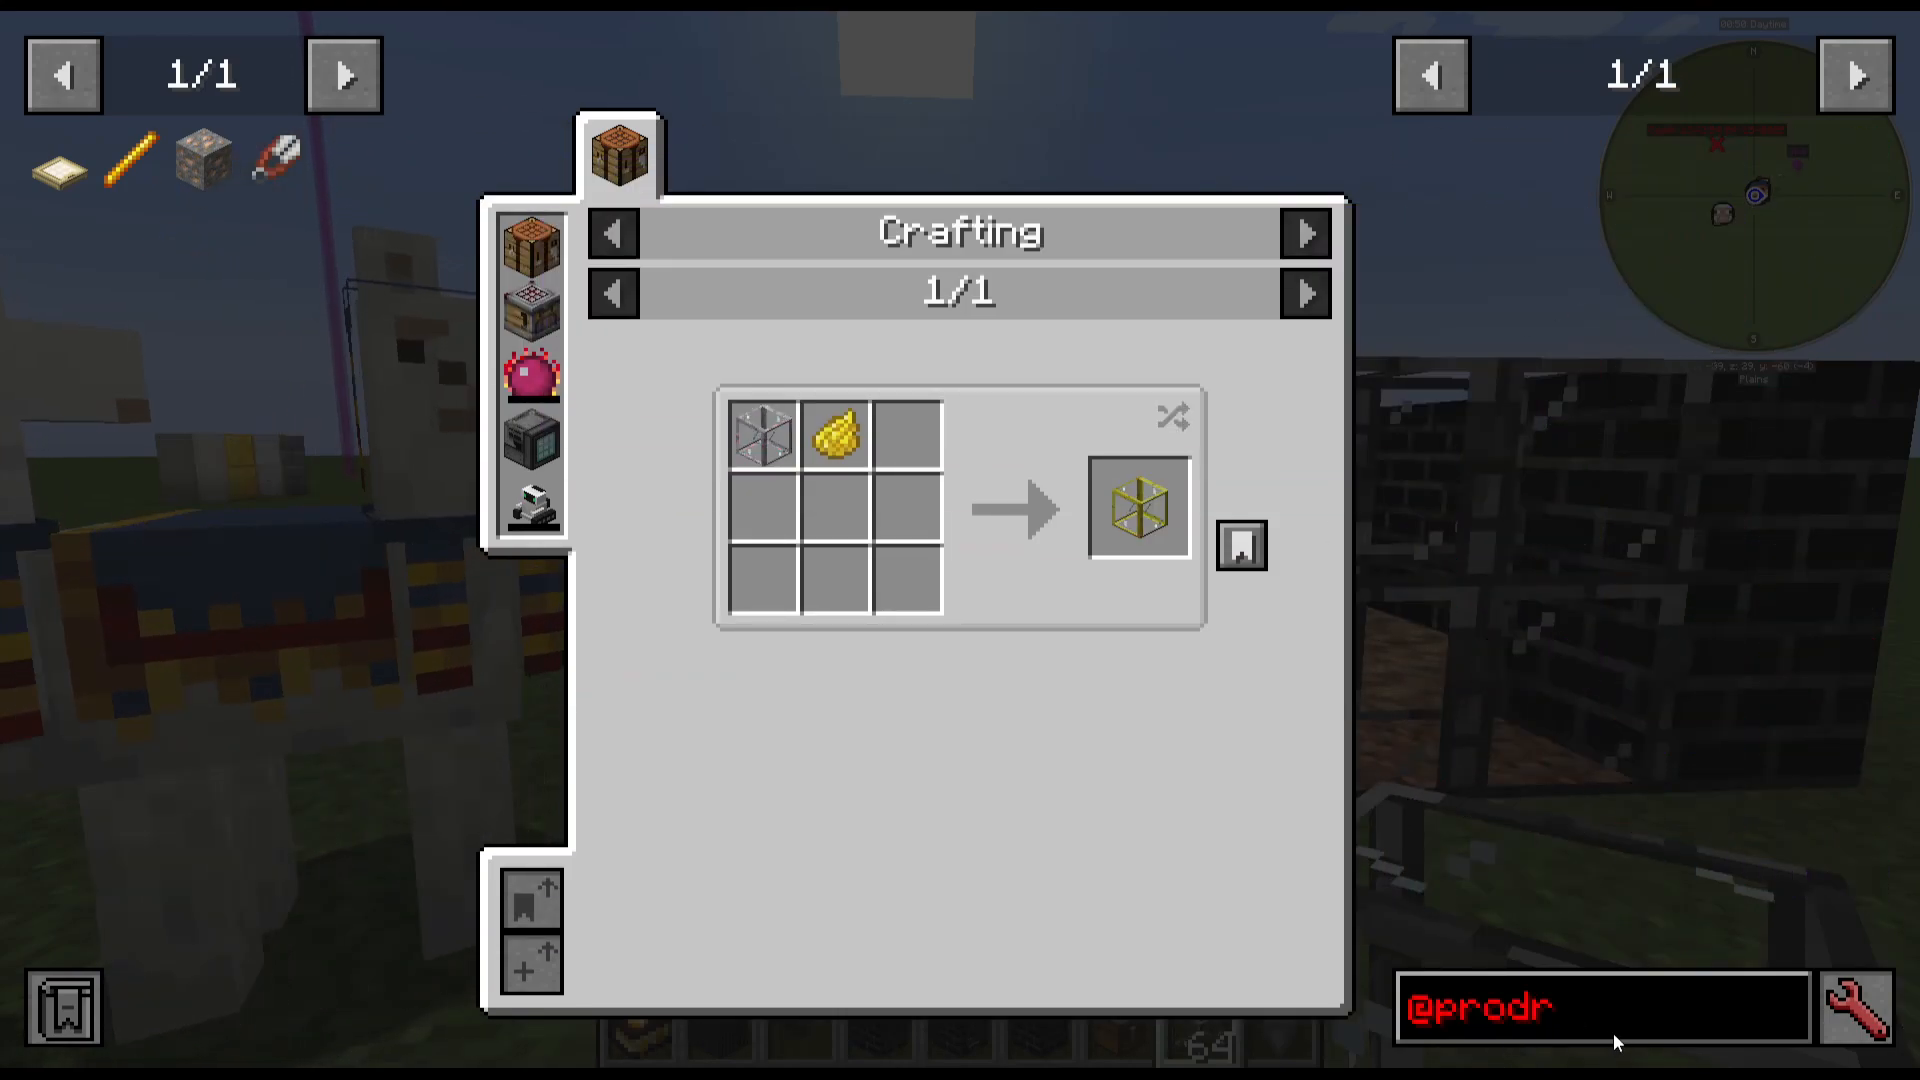
If you want to see inside your foundry without breaking the structure, you can replace any of the Fire Brick wall blocks with Foundry Windows. These windows are also dyeable, so you can color-code your foundry or simply give it a more polished look. They function identically to bricks as far as the multiblock structure is concerned.
Crafting Fire Bricks and Fire Clay
To craft Fire Bricks — the base material for the controller, walls, and most other foundry components — you first need to make Fire Clay. Fire Clay is crafted simply by combining sand and clay in your crafting grid. Smelt the Fire Clay to produce Fire Bricks, which you can then use to craft all of the core foundry blocks.
Summary
The Productive Metalworks mod offers a powerful and scalable way to process ores in Minecraft. By building a multiblock foundry from Fire Bricks, Liquid Heating Coils, a Controller, Tanks, Drains, and Taps, you can smelt massive quantities of ore into molten metals and cast them into ingots, blocks, plates, rods, and more. With a hopper, chest, and a bit of redstone, the entire output process can be fully automated. Start small with a 5x5x5 build and scale up as your needs grow.
“`