




The Ultimate Beginners Guide to Prominence 2
The Ultimate Beginners Guide to Prominence 2
Welcome to your comprehensive introduction to Prominence 2: Hasterian Era. This modpack can feel overwhelming at first, but this guide will walk you through everything you need to know to get started, understand the progression system, and defeat your first boss. By the end of this guide, you’ll have a solid grasp of how the modpack works and be well on your way to success.
Understanding Progression and Pack Goals
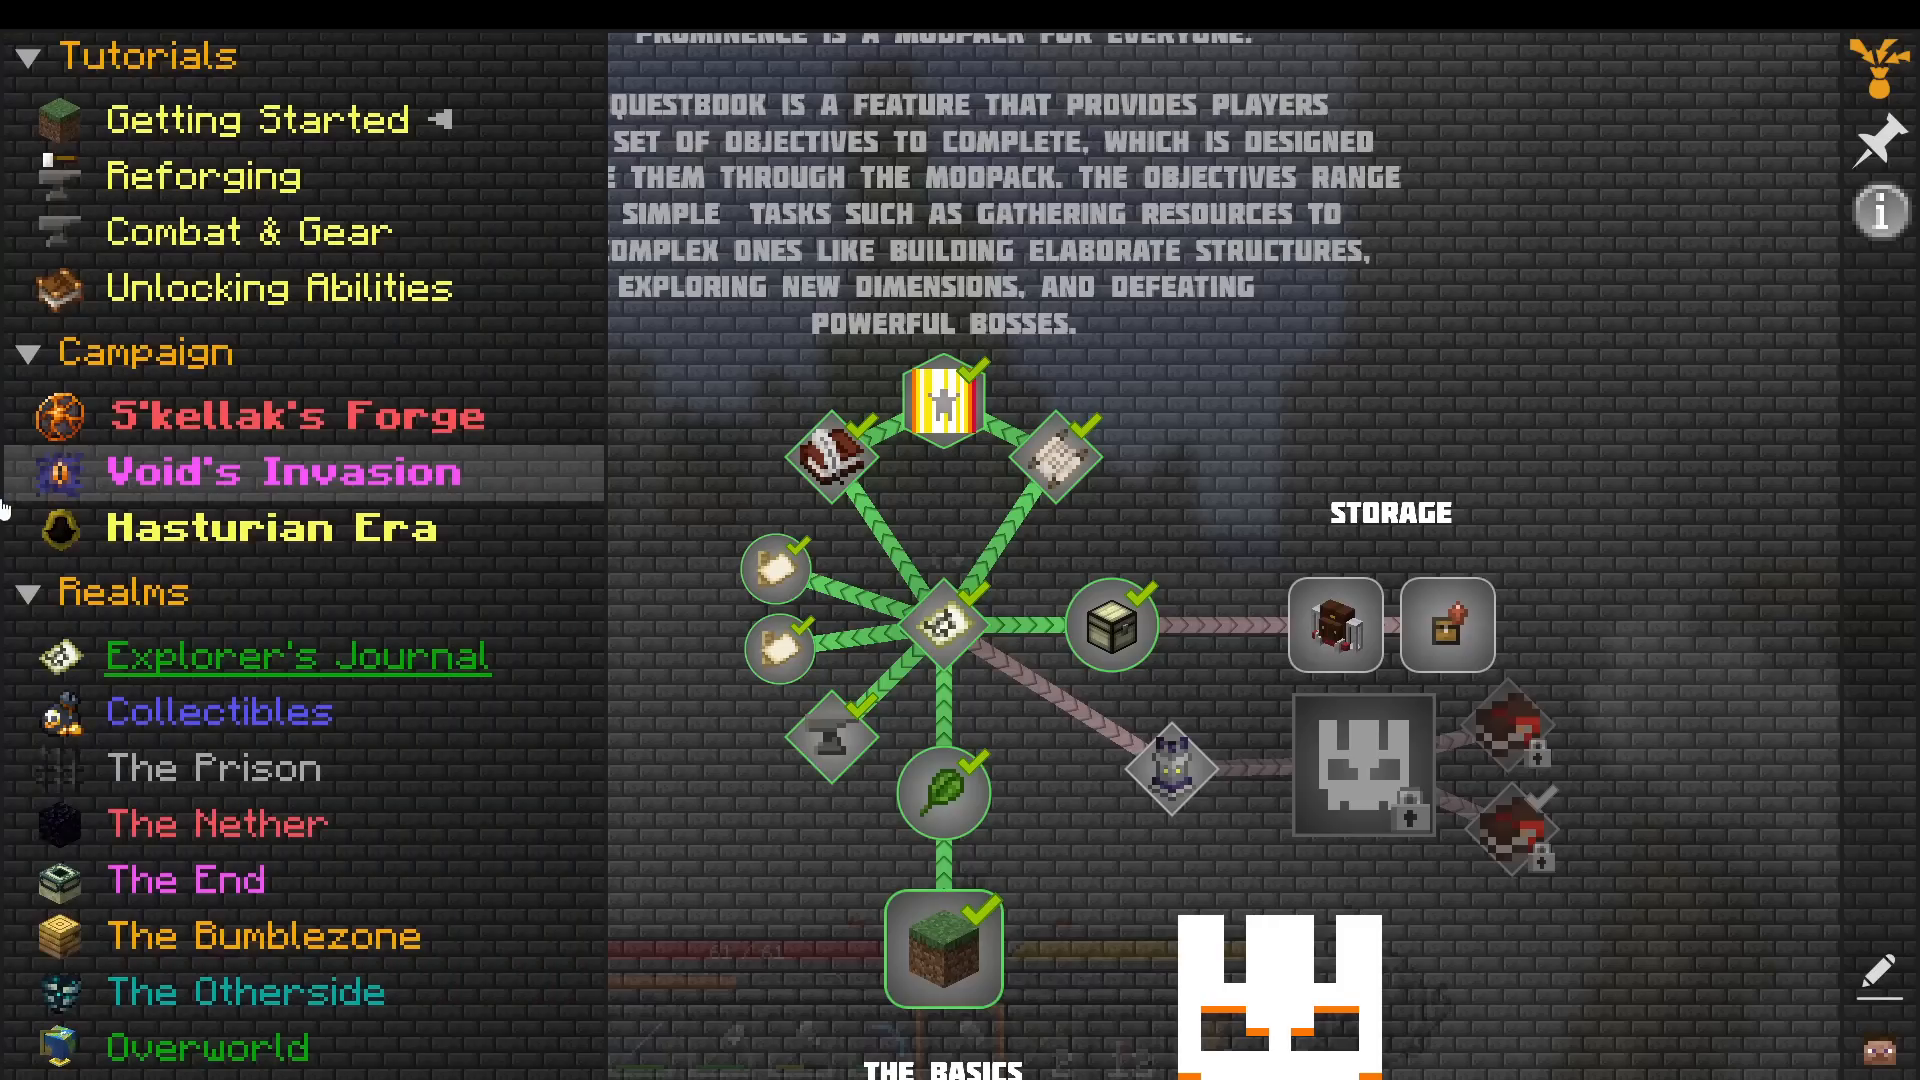
The core of Prominence 2’s progression revolves around defeating increasingly difficult bosses and eldritch horrors. Your main progression comes from the quest book you receive when you first log in. Open the Voids Invasion section and work through the chapters by clicking on them and confirming your understanding with the tick button to unlock the next chapter.
Unlike traditional Minecraft experience levels, this modpack uses a unique leveling system with a talent tree. Your main goals are to defeat bosses in this order: the Nightlitch, the Decay King, and eventually the Eldritch Eye, with more powerful bosses waiting beyond that. This guide will take you through everything needed to defeat your first boss.
Getting Started: Initial Setup
Adjusting Texture Packs
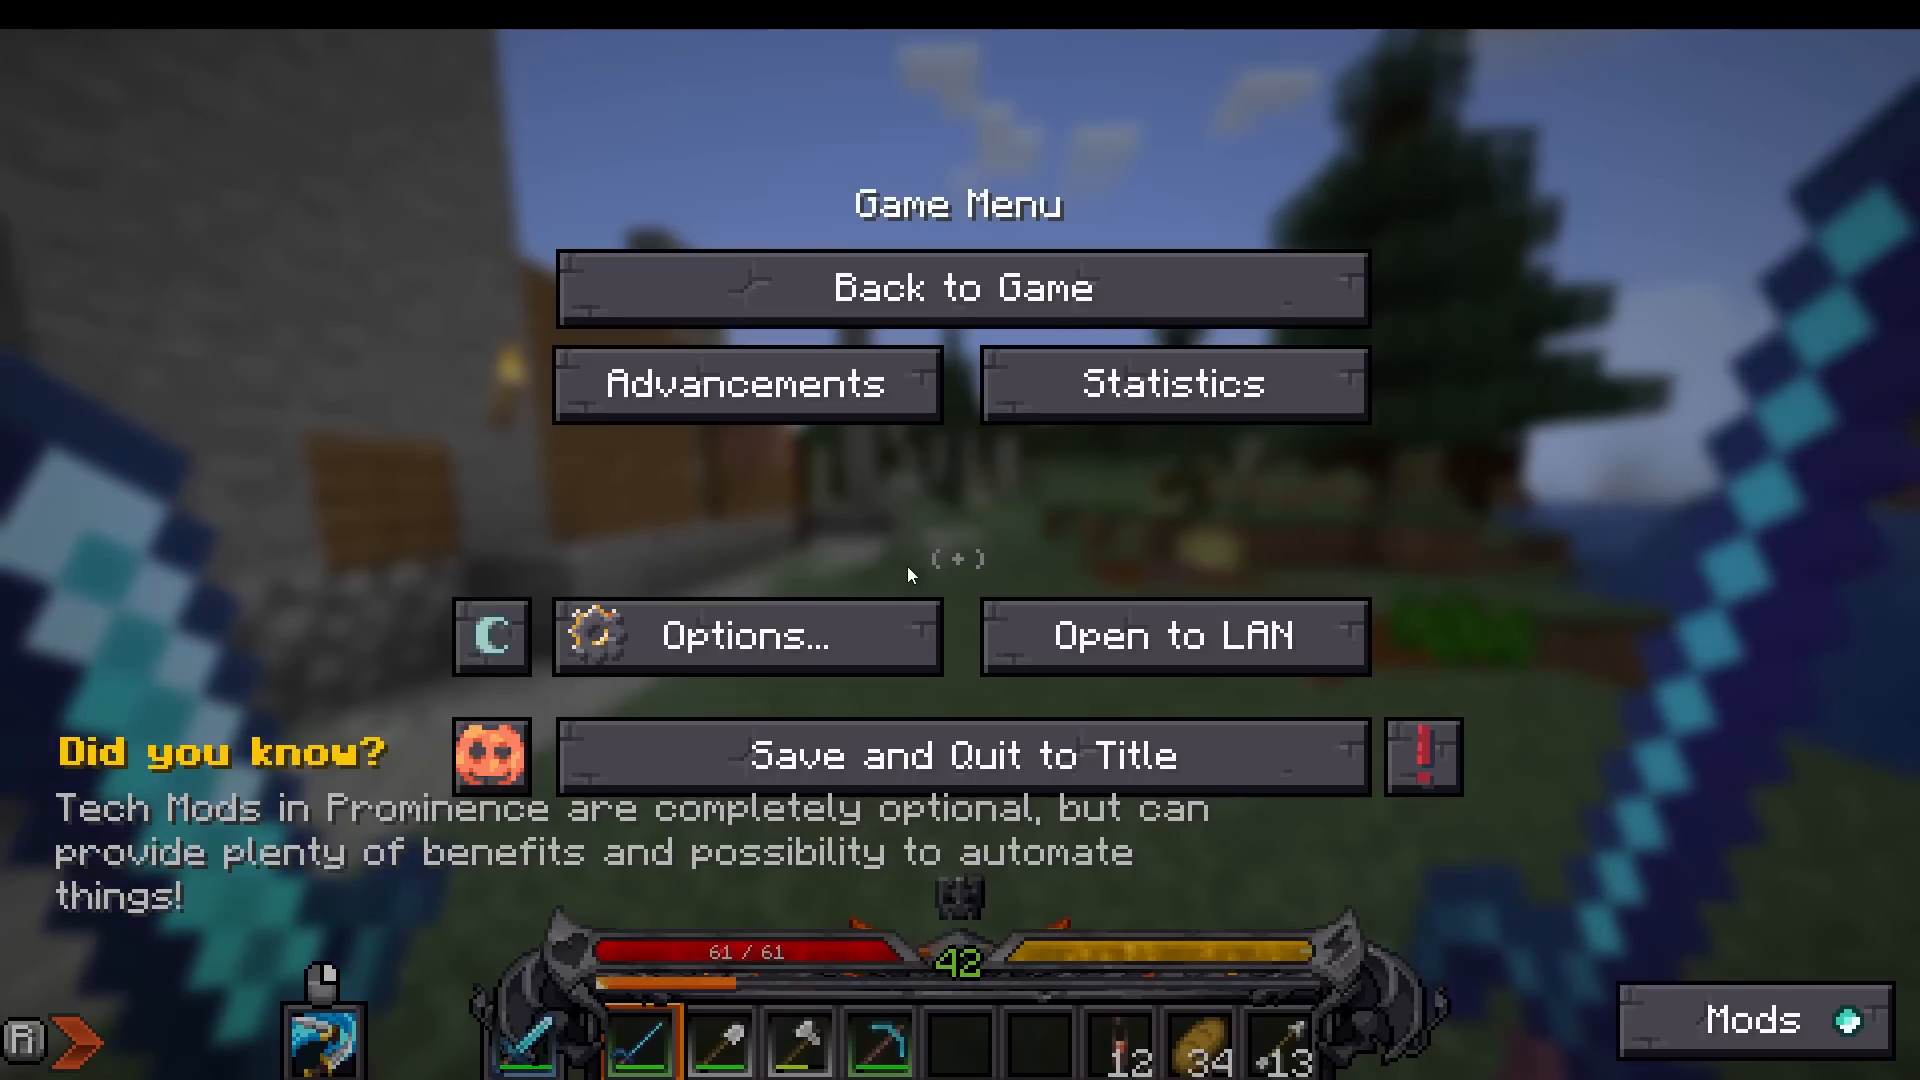
When you first log in, you’ll notice fantasy textures that may make it hard to identify basic items. To switch to a more vanilla-like appearance, go to your options and access the resource packs section. Turn off all resource packs marked with “action” next to them by selecting them and clicking the arrow to move them to the unselected side. This will give you a cleaner, more familiar visual experience while keeping essential modpack textures intact.
Claiming Land with the Map
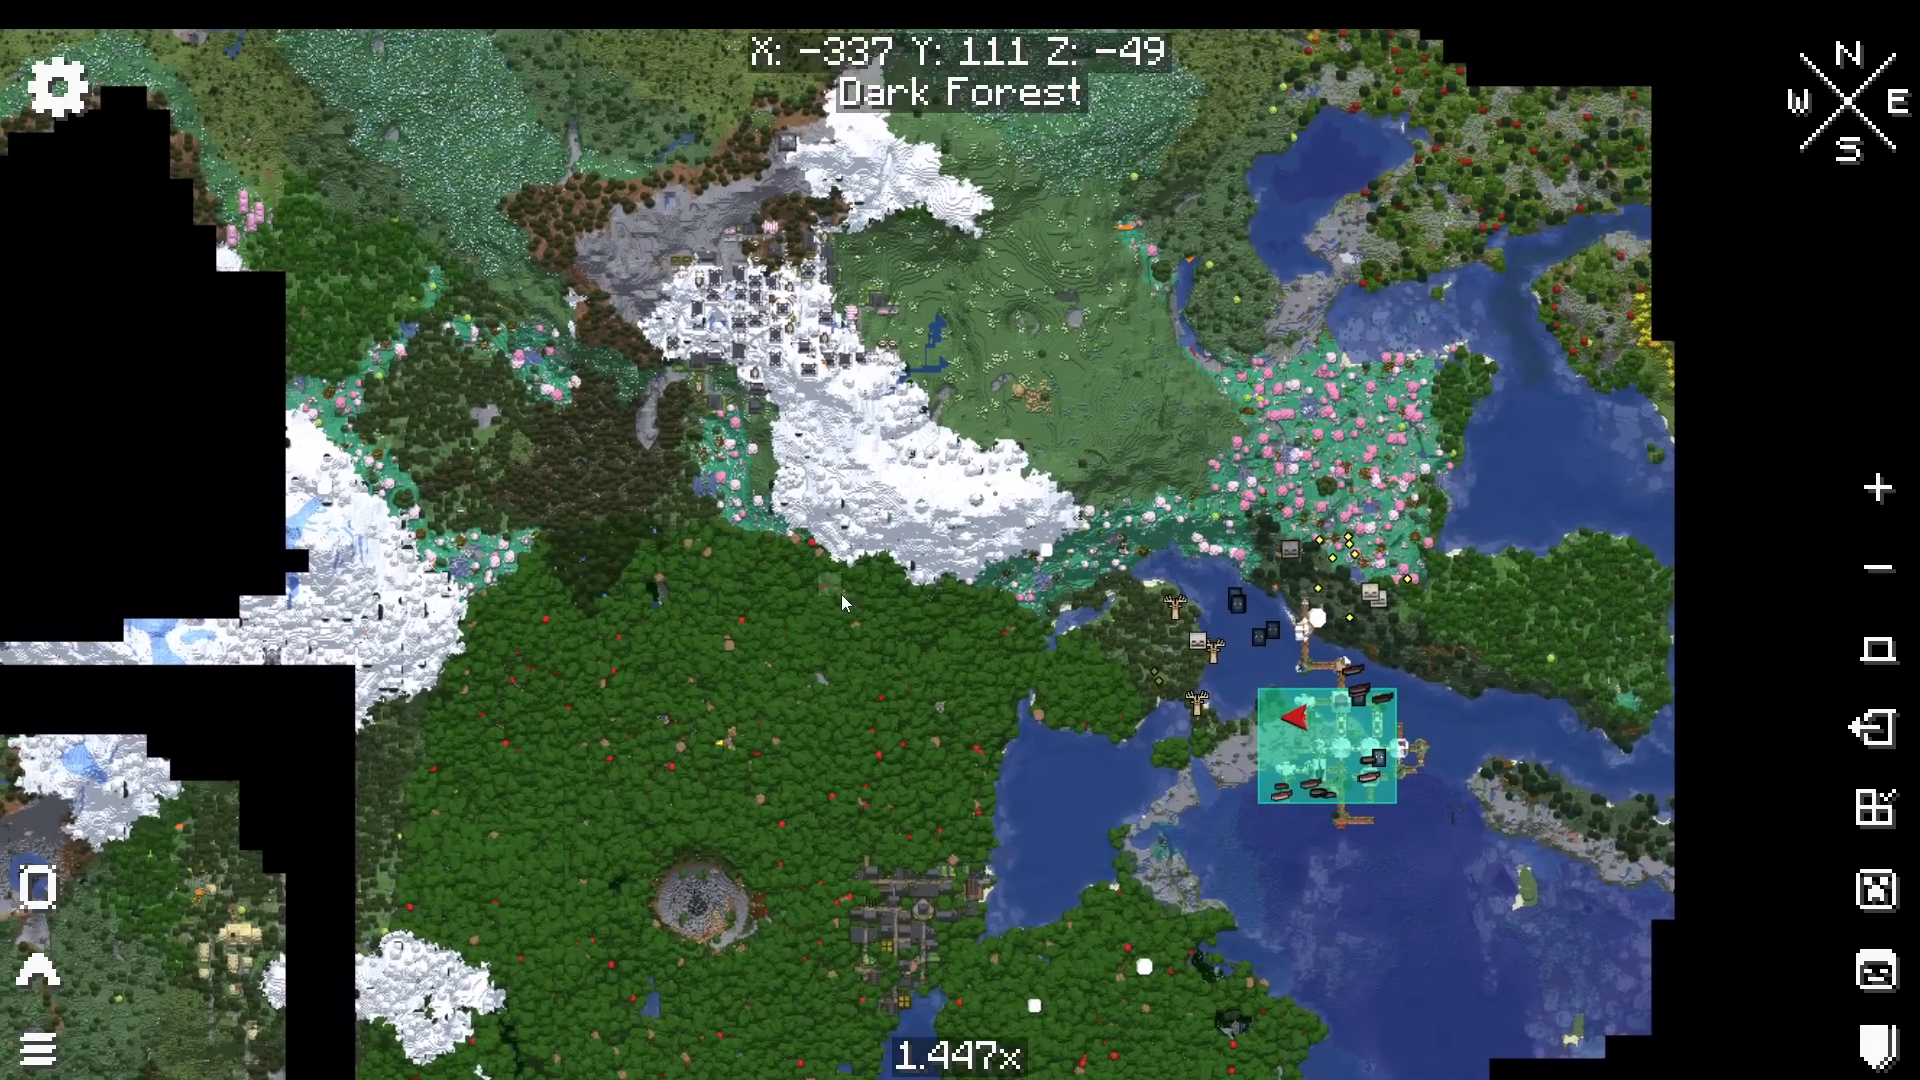
Press M to open your map. You can claim territory by right-clicking and dragging to select an area. You can only claim land nearby where you’re standing, so you won’t be able to claim distant areas. Once you’ve selected an area within your range, click “claim selected” to secure it. Claiming land prevents creepers from exploding and destroying your structures, which is essential for early-game survival.
If you’re playing on a server, you can also create parties using the command /oppack-parties create. To invite players, use /oppack-parties member invite [player name]. Player versus player combat can be toggled with /oppack pbp. Note that both players need PvP enabled to damage each other.
Cutting Down Your First Tree
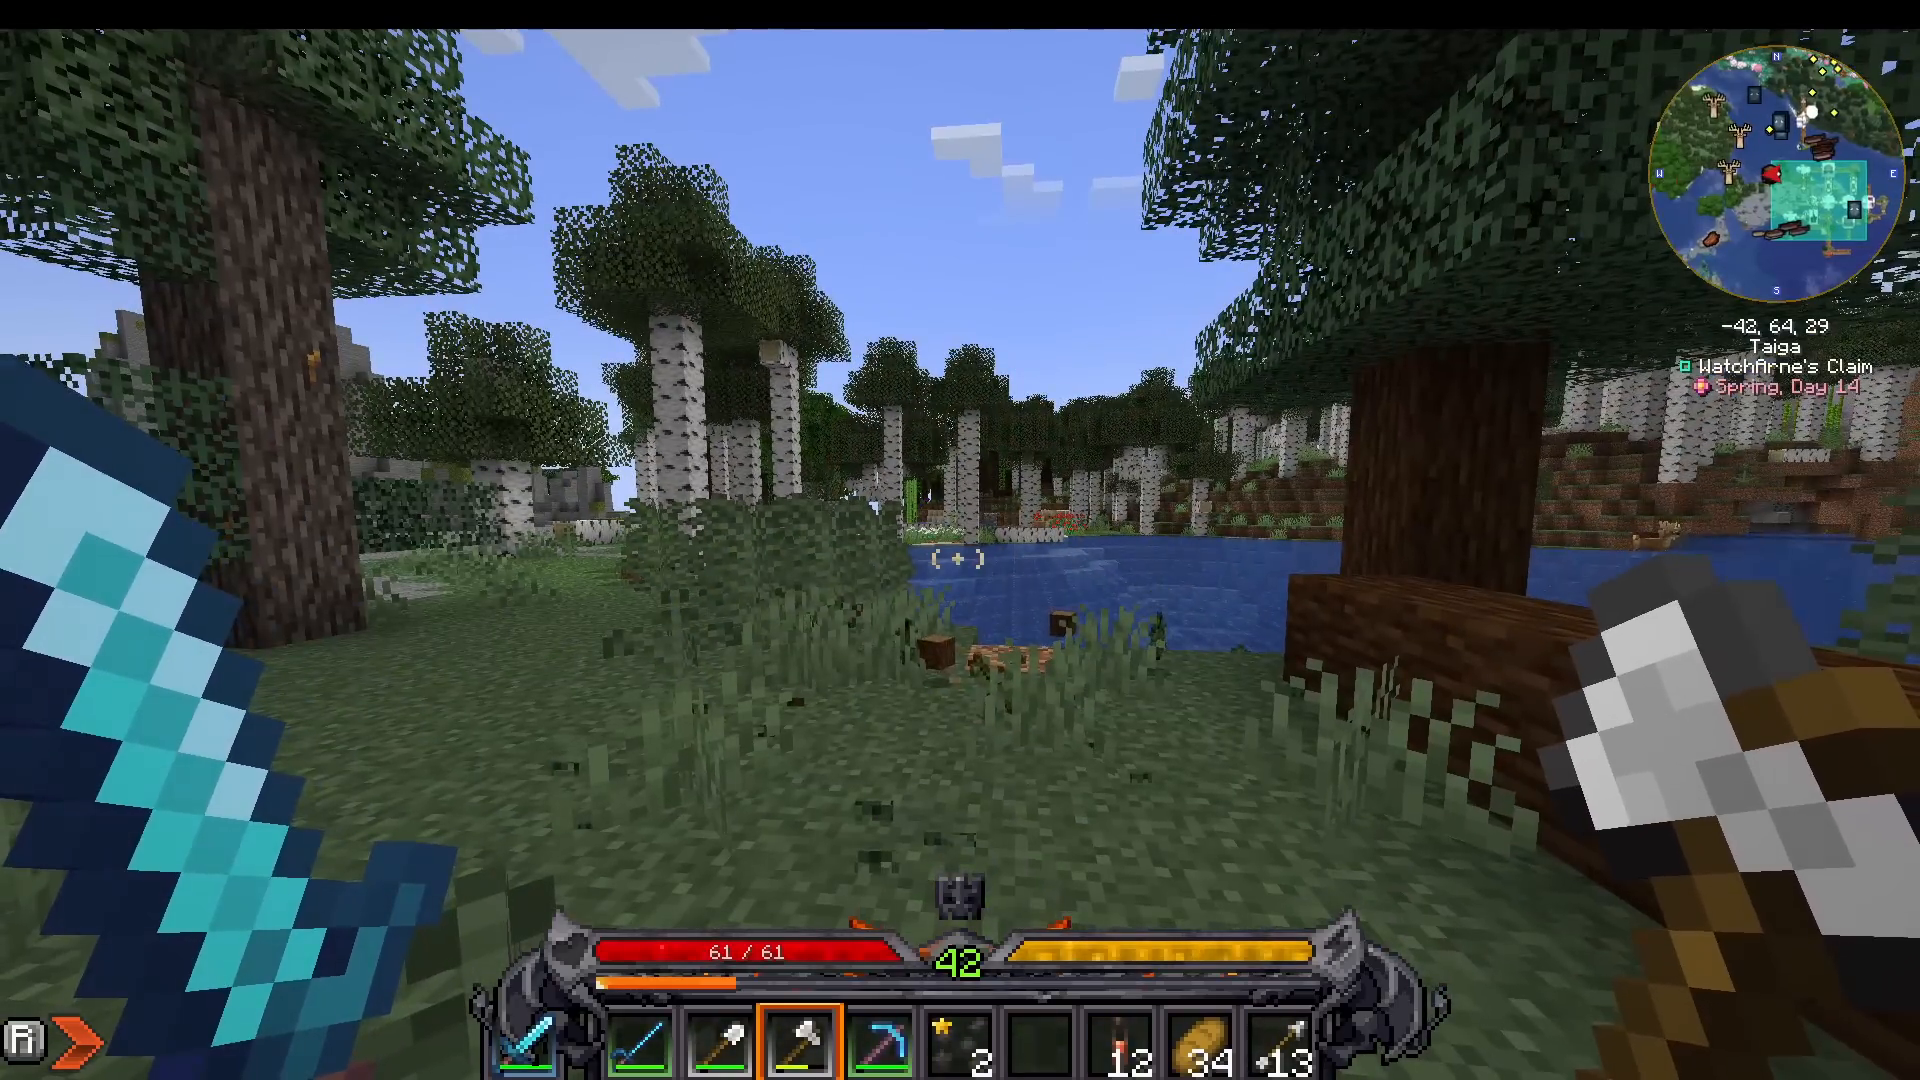
Start by cutting down a tree, just like in vanilla Minecraft. However, you’ll notice something different: the top-left corner of your screen shows a counter (for example, “spruce logs 0 out of 5 chops”). You must chop the tree the required number of times before the entire tree falls. Smaller trees require fewer chops and are less mentally taxing than massive trees that might need 20 chops.
Building Your First Shelter
Create a simple shelter to protect yourself from mobs at night. Then focus on gathering coal and doing some basic mining for copper and other materials. Unlike mods like RLCraft or GregTech, Prominence 2 keeps standard vanilla recipes, so crafting basic tools and armor works as you’d expect.
Sleeping Bags and Beds
Find sheep and gather wool to craft a sleeping bag (requires 3 wool). Sleeping bags let you skip the night without resetting your spawn point, which is invaluable when exploring. You can still have a bed at your home base for respawning, giving you the best of both worlds.
Early Game Exploration and Mining
Crafting a Hammer
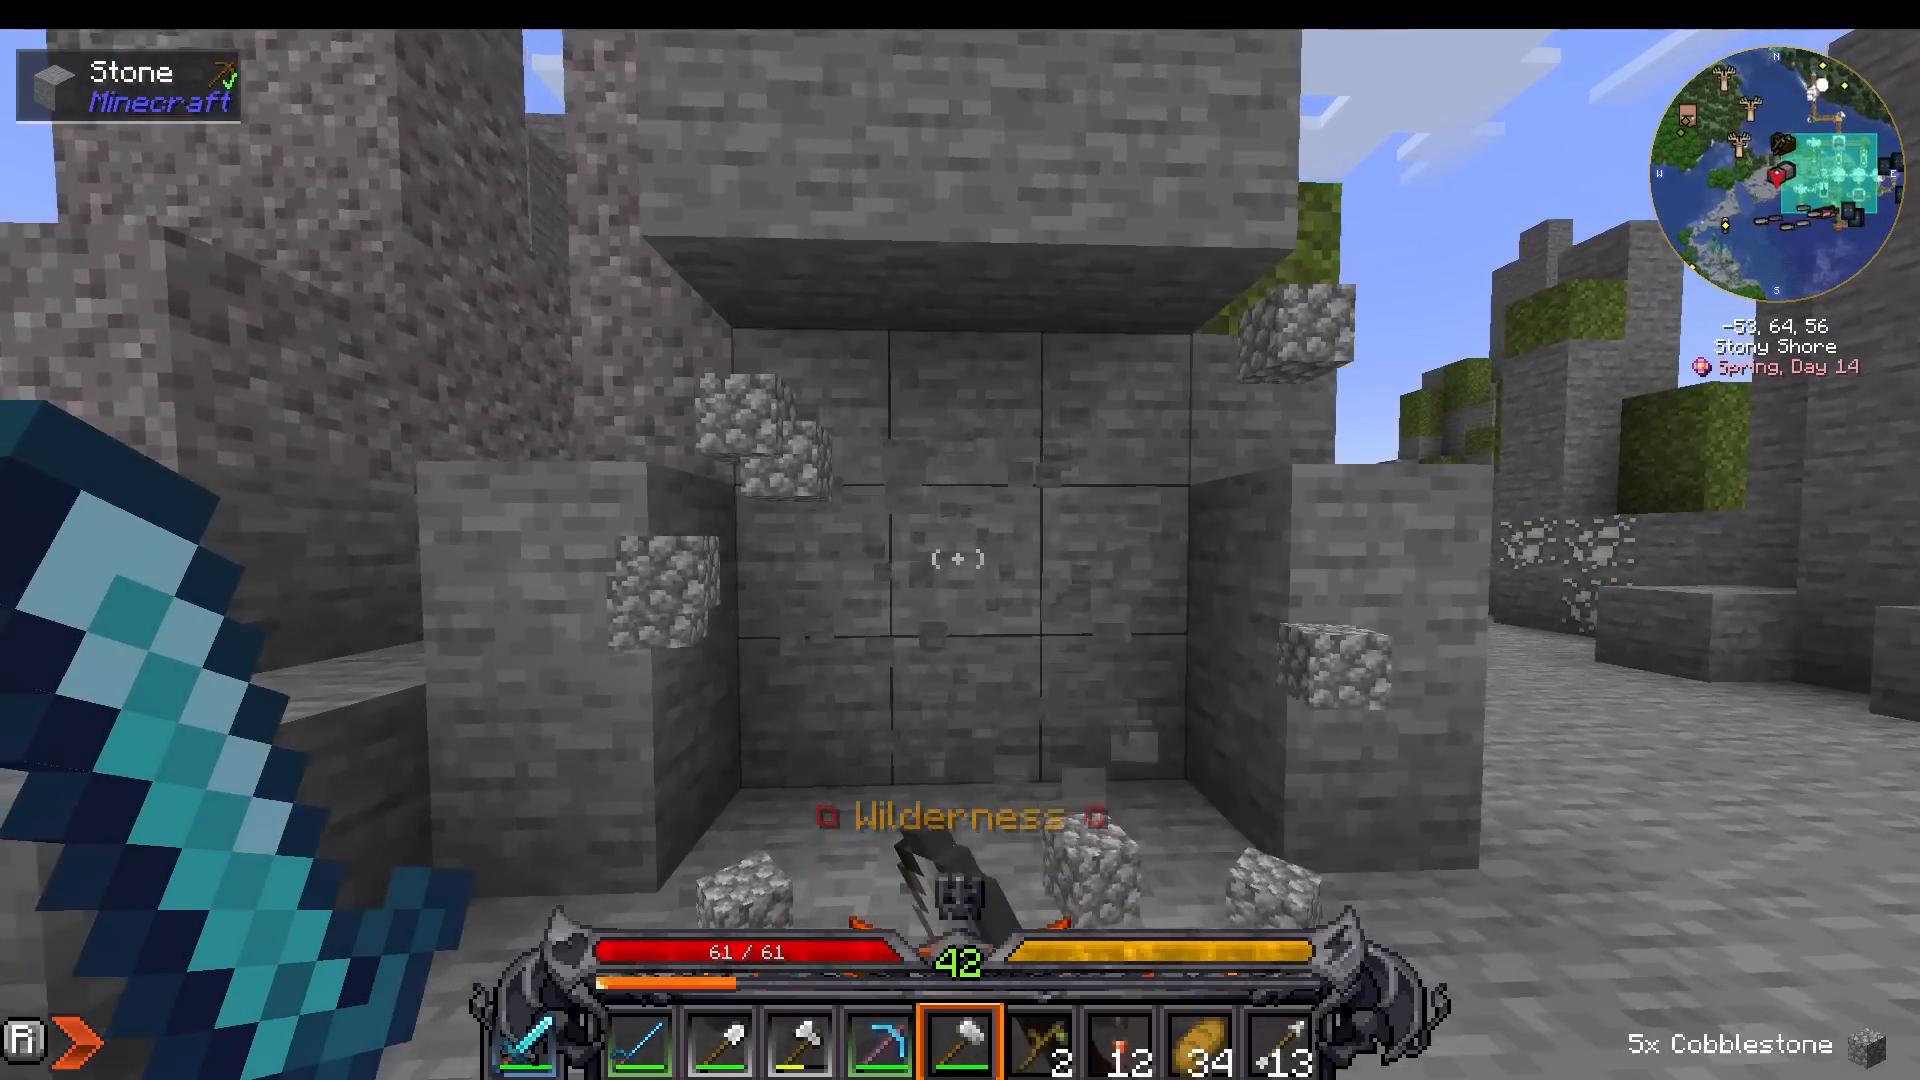
Once you start mining, craft an iron hammer (not the “iron Smith hammer”). The regular iron hammer requires only 3 iron ingots and mines in a 3×3 area, making mining significantly faster than a pickaxe. It’s no more expensive than a stone pickaxe, so it’s a worthwhile early upgrade.
Skip Iron Armor—Get Free Steel Instead
Don’t bother crafting iron armor. Instead, open your quest book and navigate to Realms > Overworld. Find the “Space Station Mission” quest and tick it to receive free steel blocks. Convert these blocks to steel ingots at a crafting table and use them to craft steel tools and armor. This gives you excellent starter gear before you’d even have made wooden tools.
Finding Villages
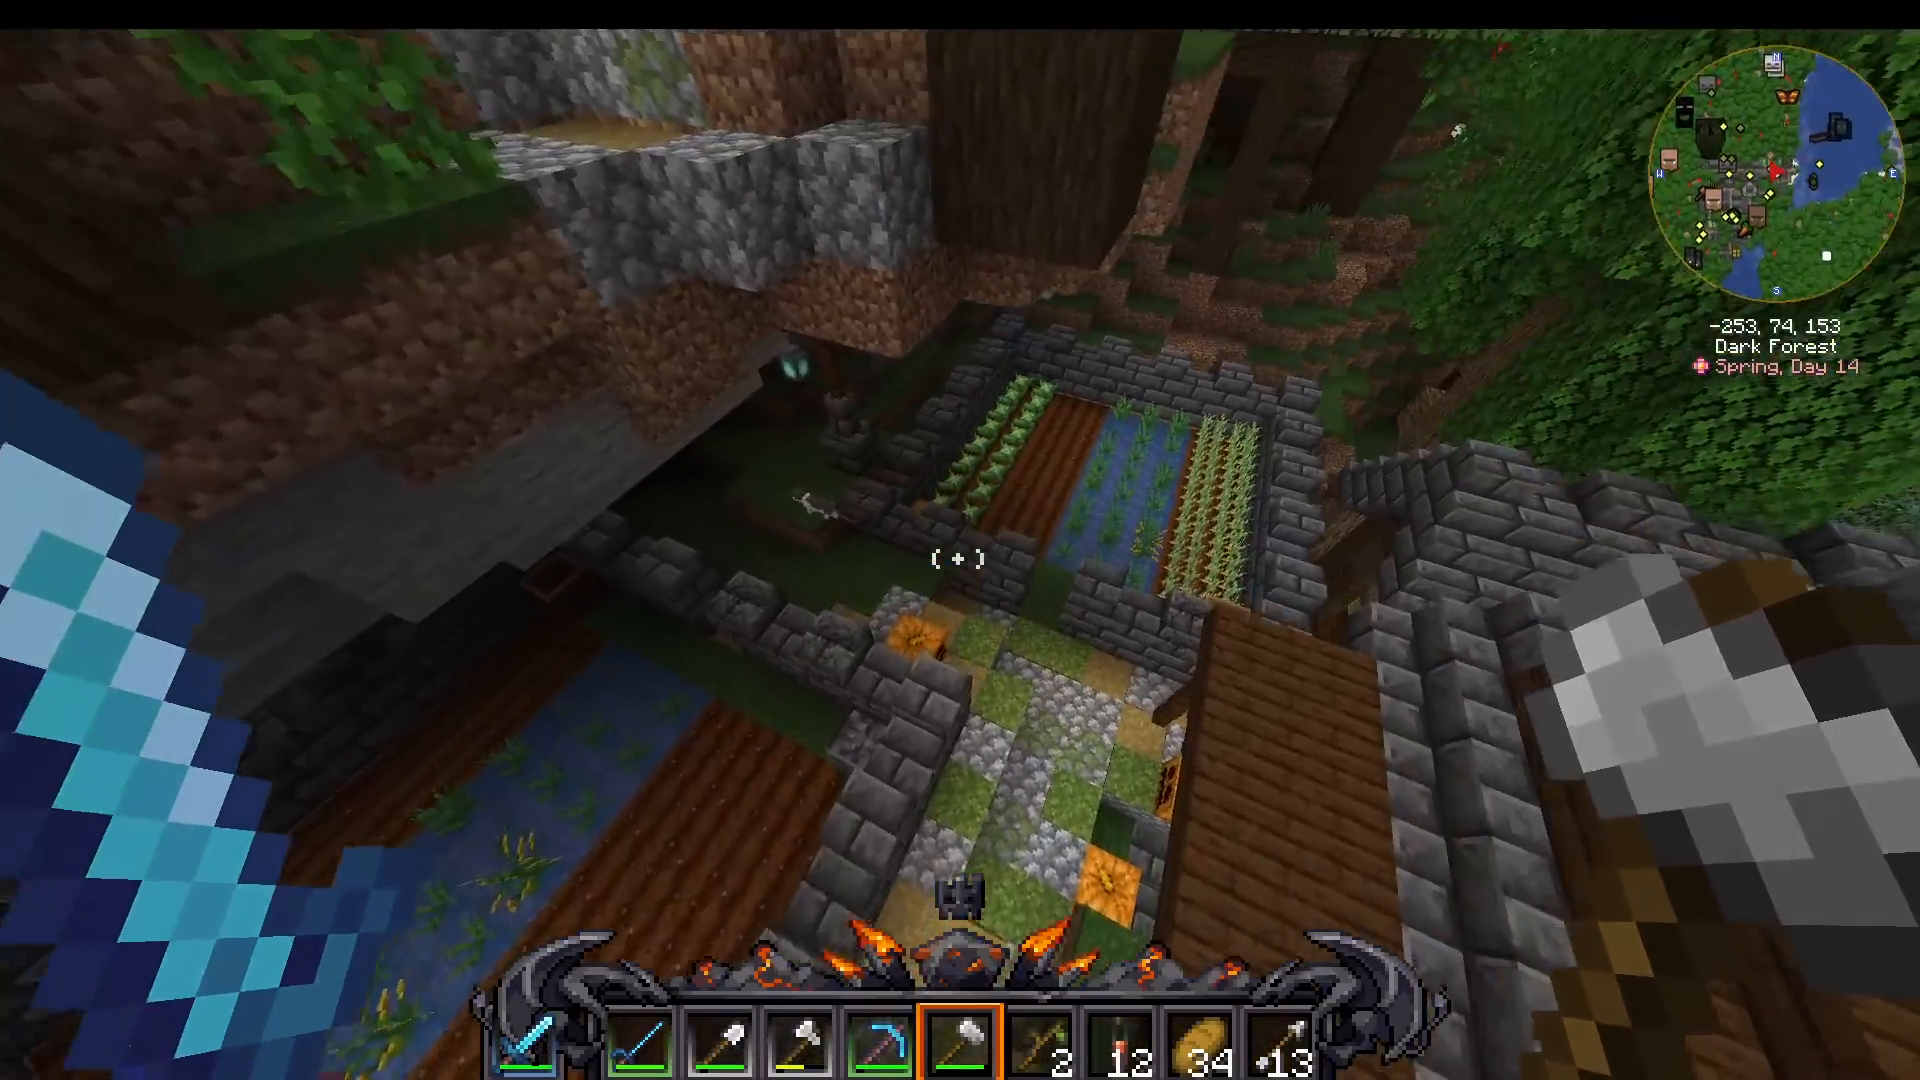
Search for villages—they’re treasure troves of resources. Villages contain vast amounts of food in their fields and chests. You’ll also find useful tools, equipment, and valuable items like waste stones. Looted chests (which turn grey once opened) are particularly rewarding.
Waste Stones for Easy Teleportation
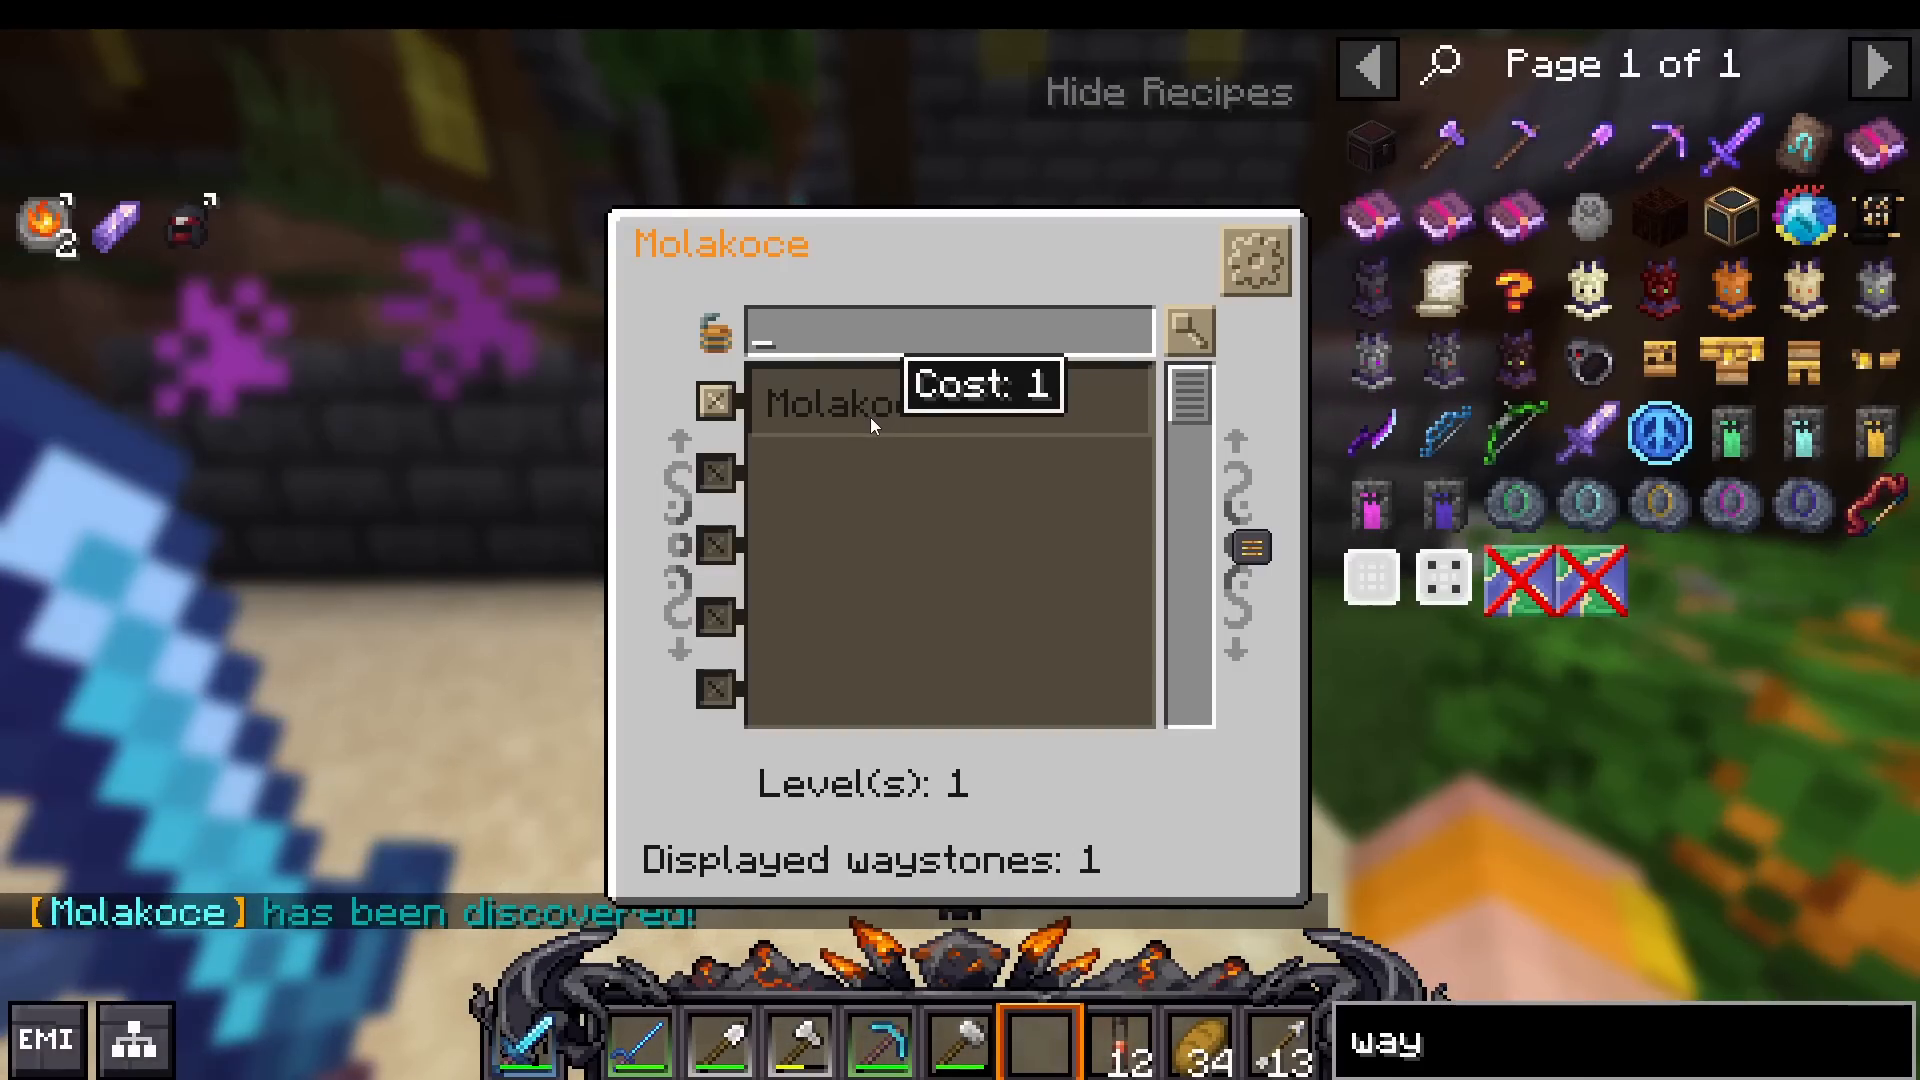
Waste stones found in villages are your easiest method of teleportation. Right-click a waste stone to open an interface showing other waste stones you’ve discovered. Click another to teleport to it, costing you experience points (like enchanting levels) for the travel. These can be broken and moved, or crafted later in the game.
Crafting a Glider
Make a glider using a glider right wing and glider left wing. Climb to a high point and jump while using the glider to glide down safely. This helps tremendously with early exploration and navigation through the world.
Talents, Leveling, and Gearing Up
Opening the Talent Tree
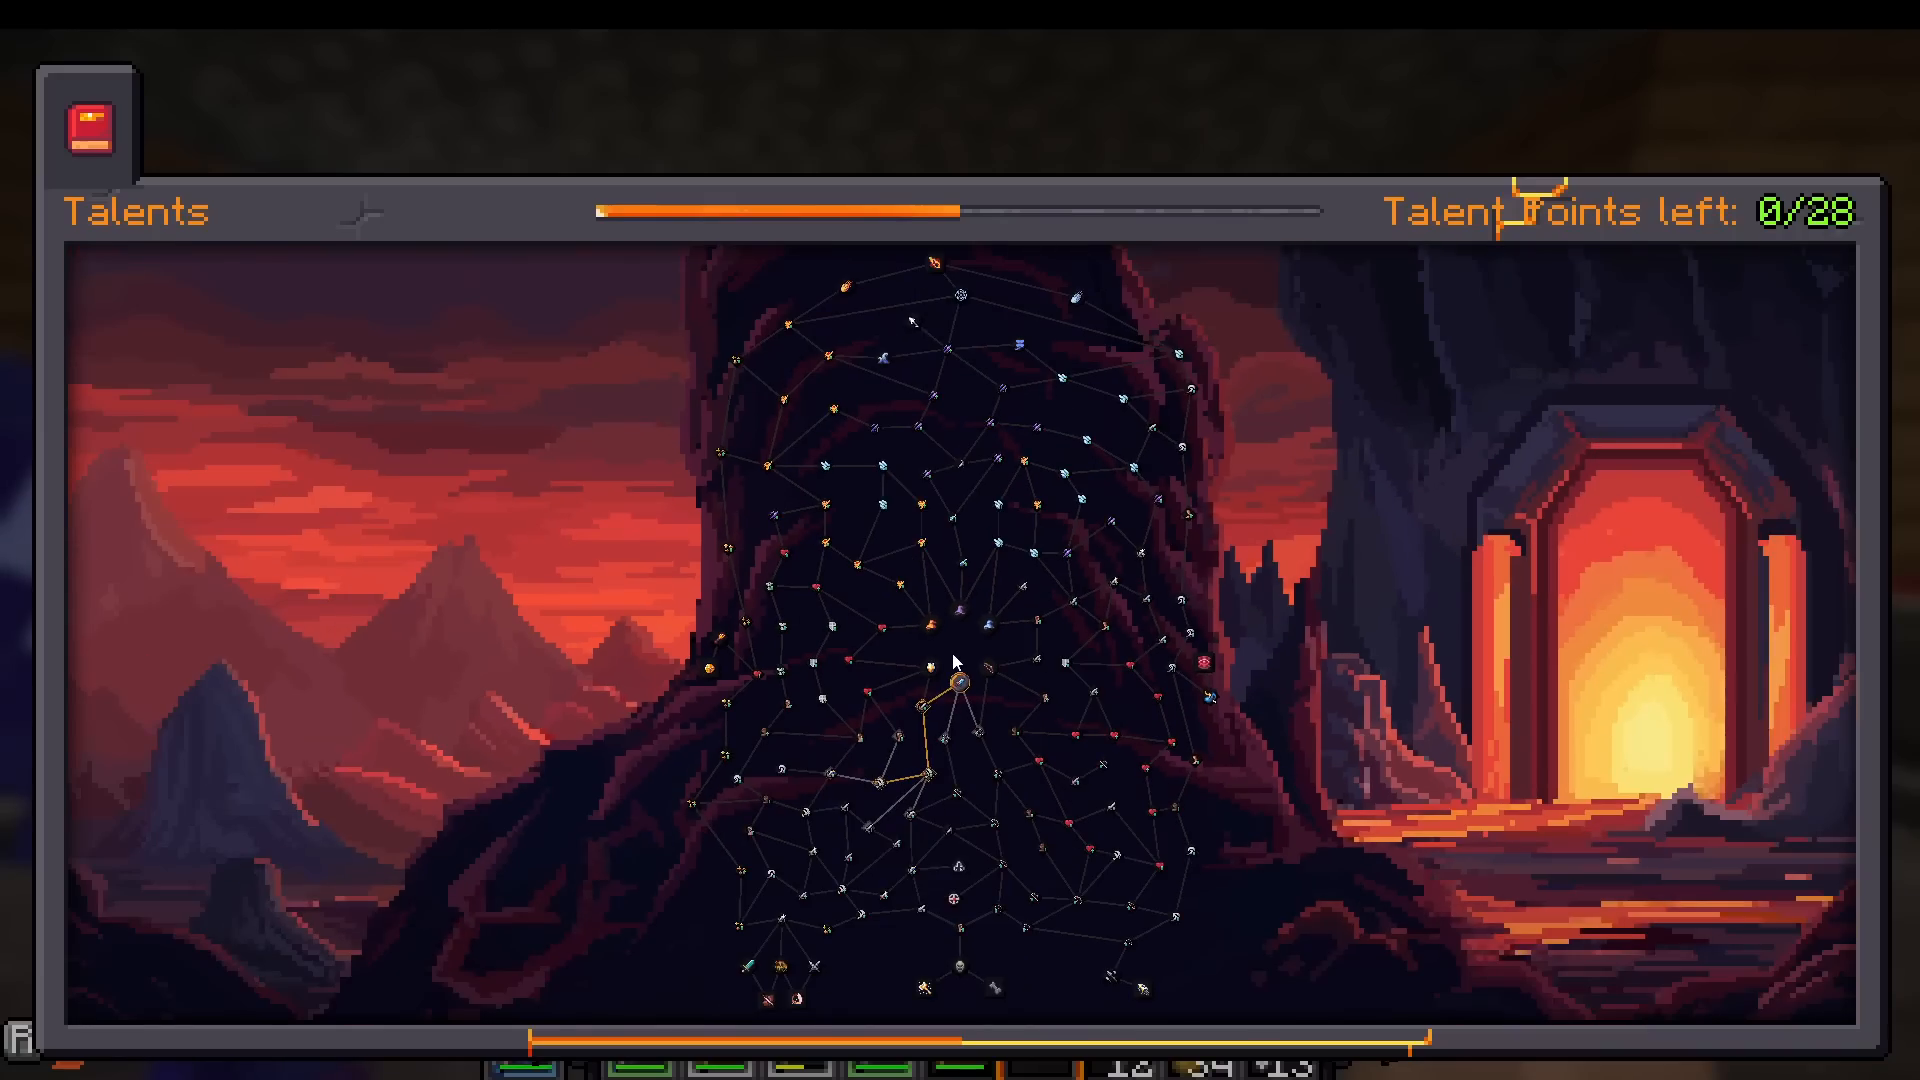
Press N to open your talents and leveling interface. You can scroll with your mouse wheel to view all available talents. When you start, you have no talents, but you’ll receive your first talent at level 3, and then at every two levels afterward (levels 5, 7, 9, 11, etc.).
Understanding Level Progression
Levels 1-10 are unlocked by default. Levels 11-50 unlock only after defeating the Nightlitch (the first boss of the Voids Invasion campaign). Levels 51-65 unlock when you start the Hasterian Era campaign. Level 65 is the maximum level. You cannot progress past level 10 until you defeat your first boss.
Choosing Your Class
Prominence 2 features multiple character classes and builds similar to games like Diablo or Path of Exile:
Pyrotechnic: Fire Mage
Arcane Mage: Utility and control
Frost Mage: Ice-based magic
Ranger: Ranged physical damage with bows
Rogue: Fast melee attacks and physical damage
Protector: Tank with high health and armor
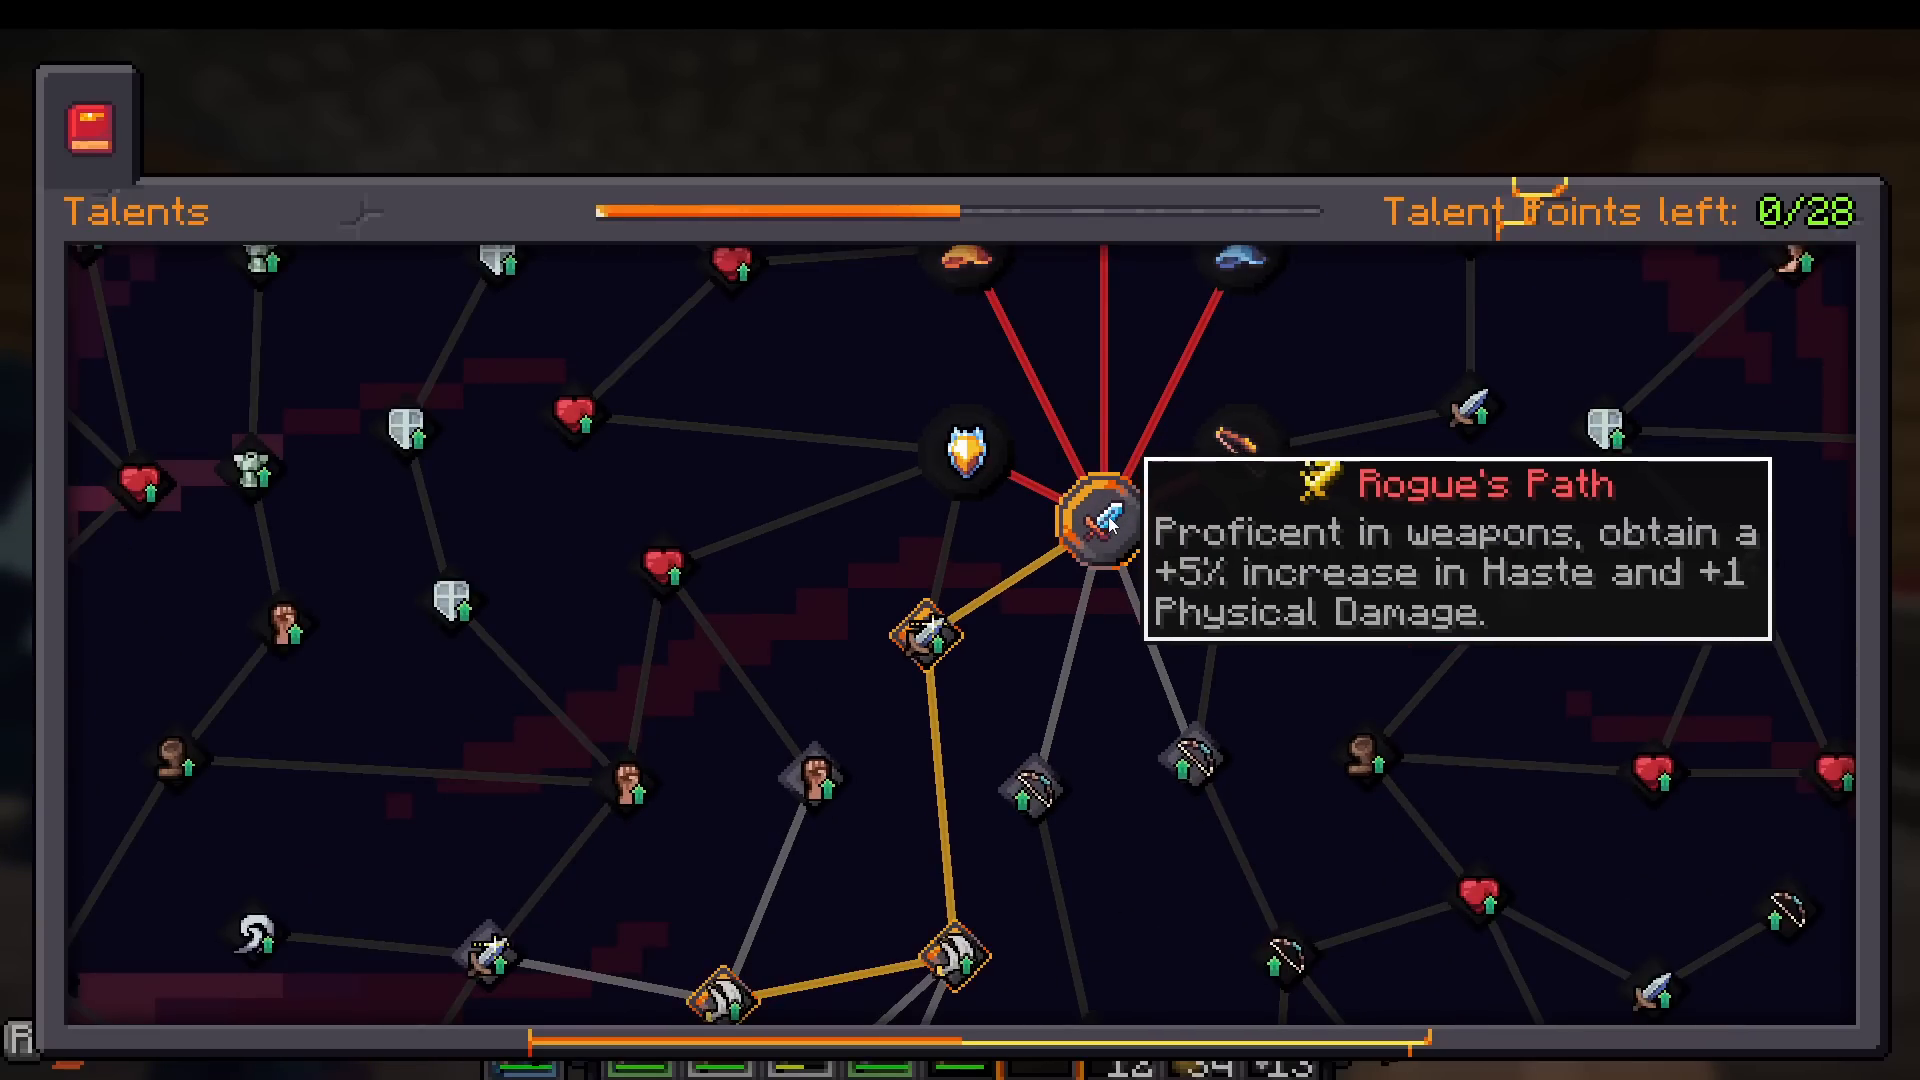
Each class provides different stat bonuses. For example, choosing Rogue gives you +5% haste and +1% physical damage, making you proficient with weapons. At each talent level, you can further specialize by selecting stat increases that match your playstyle.
Resetting Your Build
If you’re unsure about your chosen build, don’t worry. Complete the “progression talents” quest in your quest book to receive a Knowledge Scroll. Knowledge Scrolls (crafted from 4 sticks, 1 ink sack, and 1 paper) reset all your spent talent points, letting you experiment freely.
Combat, Stats, and Gear
Understanding Core Stats
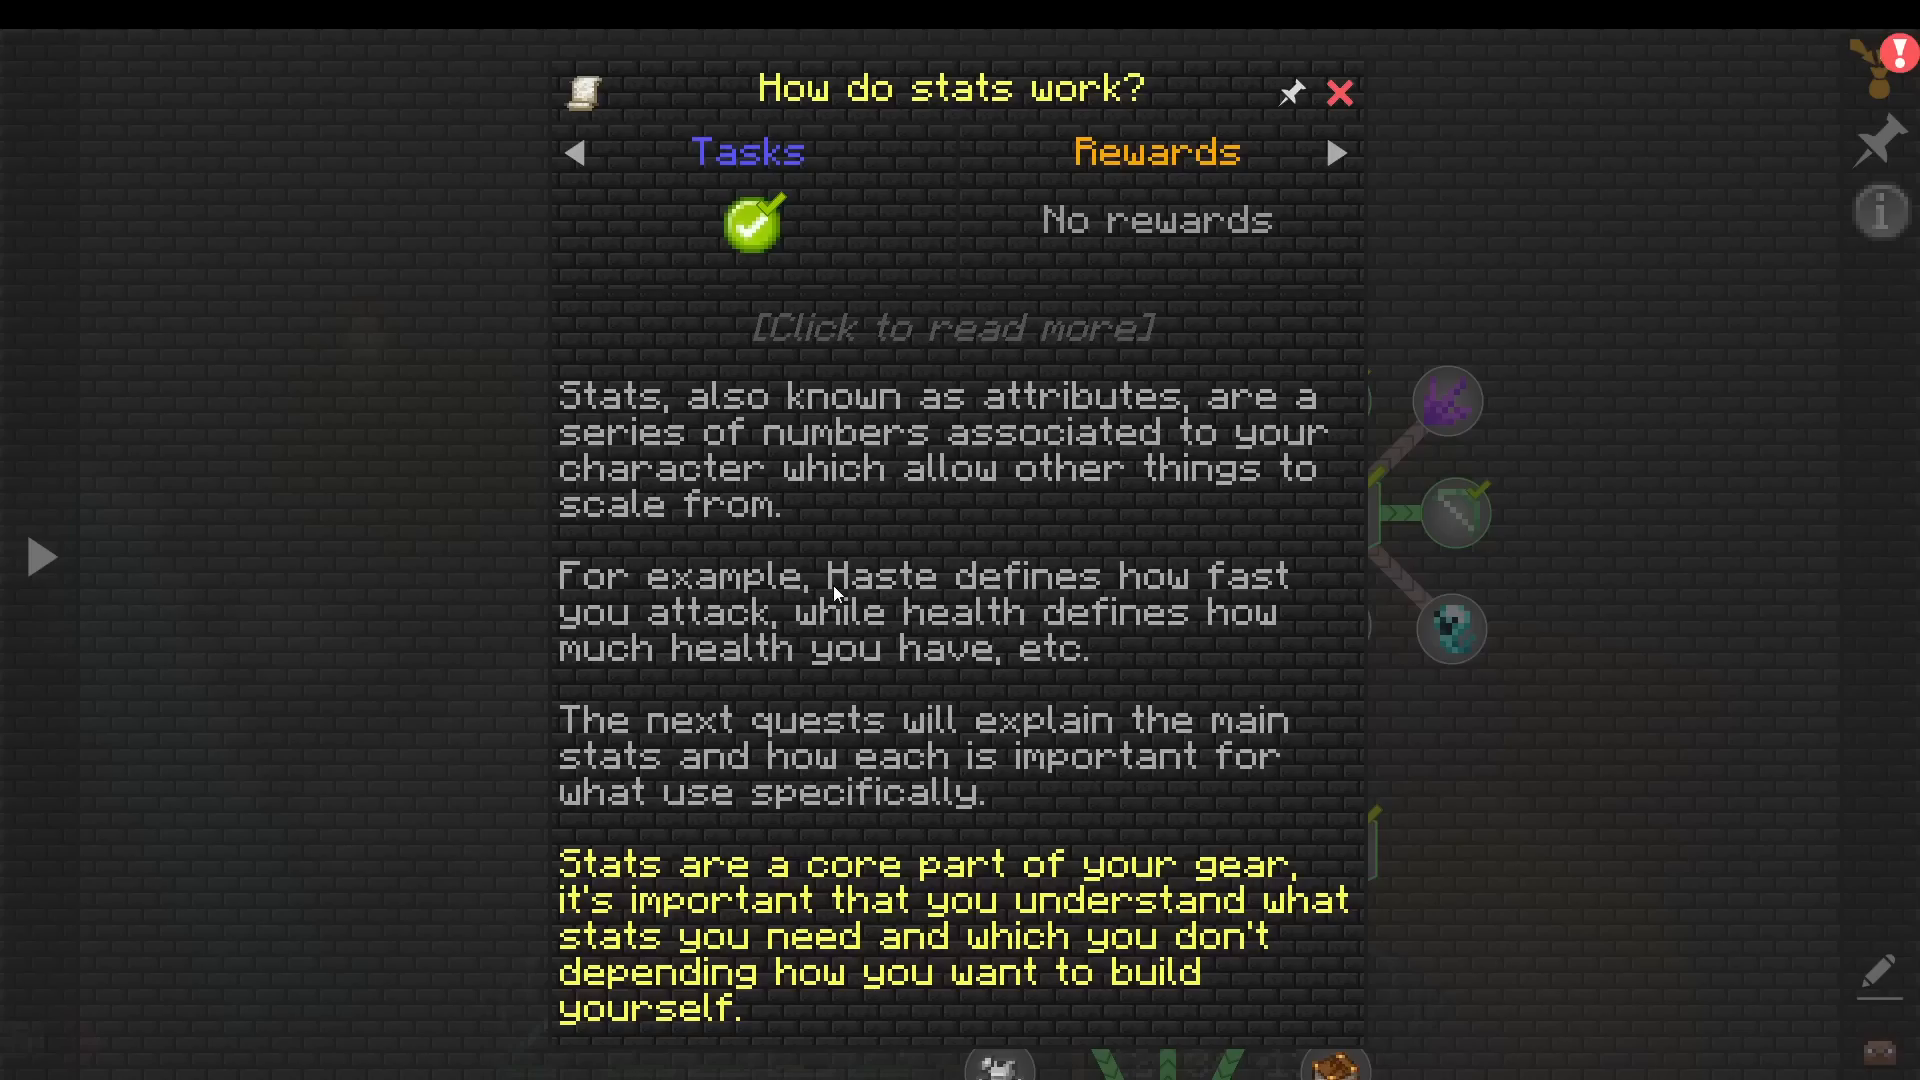
Open your quest book and navigate to Tutorials > Combat and Gear to learn about the stat system. Here are the essential stats:
Physical Stats:
Haste: Increases attack speed and weapon switch speed. Essential for fast-attacking builds like rogues.
Health: Maximum health pool.
Stamina: Reduces passive hunger/energy drain.
Movement Speed: How fast you move.
Armor & Armor Toughness: Armor reduces physical damage; toughness is the anti-one-shot stat.
Physical Damage: Raw melee damage output.
Elemental & Magic Stats:
Arcane, Frost, Fire, Lightning: Different elemental damage types for spells and magic weapons.
Spell Critical & Spell Critical Damage: Crit chance and damage for spells.
Spell Haste: Cast speed for spells.
Astral Power: Hybrid stat covering arcane, fire, and frost.
Hybrid & Support Stats:
Holy Power: Used by priests and support characters.
Lethality & Magic Penetration: Ignore a percentage of the enemy’s armor or magic protection.
Luck: Increases the chance of good outcomes (better gear rarity when reforging, better loot from chests).
Getting Your First Gear Set
Your quest book provides recommended gear for each build under the “combat and gear” section. Follow these recommendations to acquire gear suited to your class. Each completed tier of gear has recommendations for the next tier to gradually upgrade your equipment.
Reforging Gear
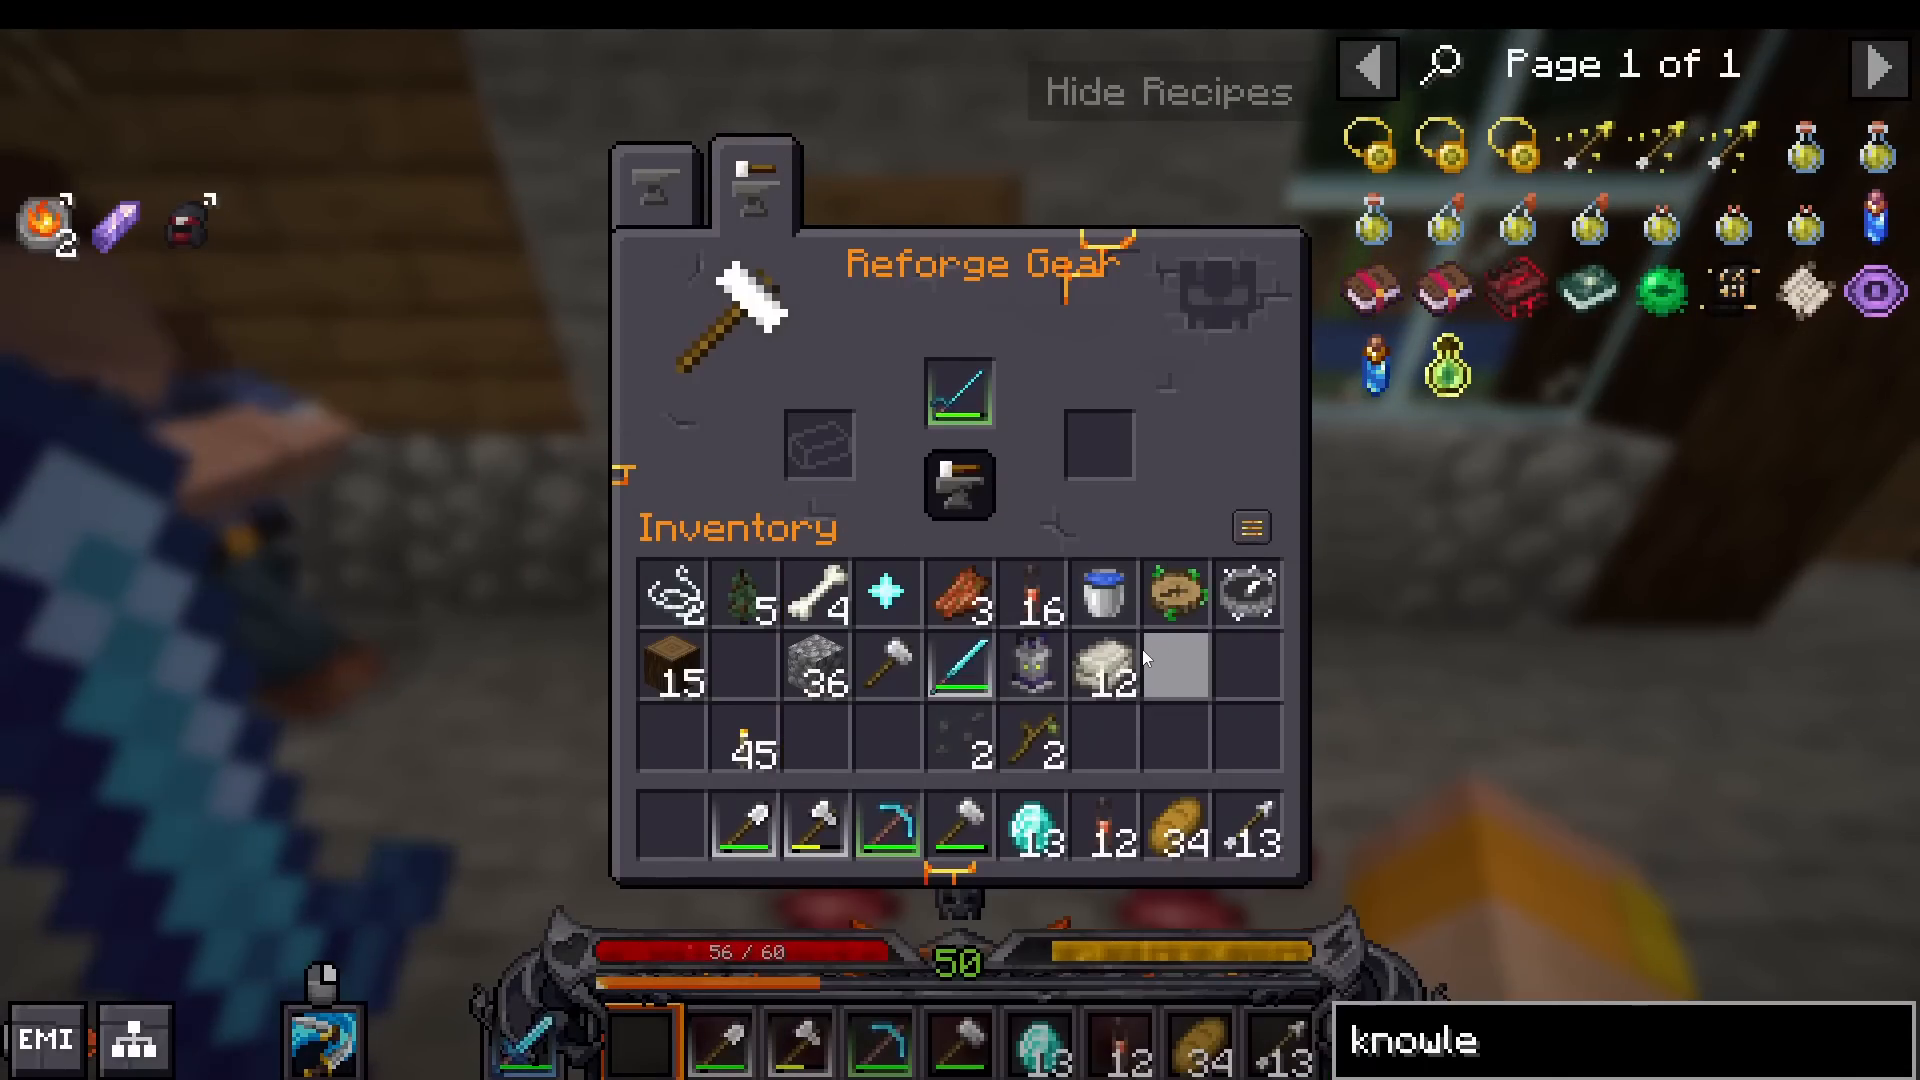
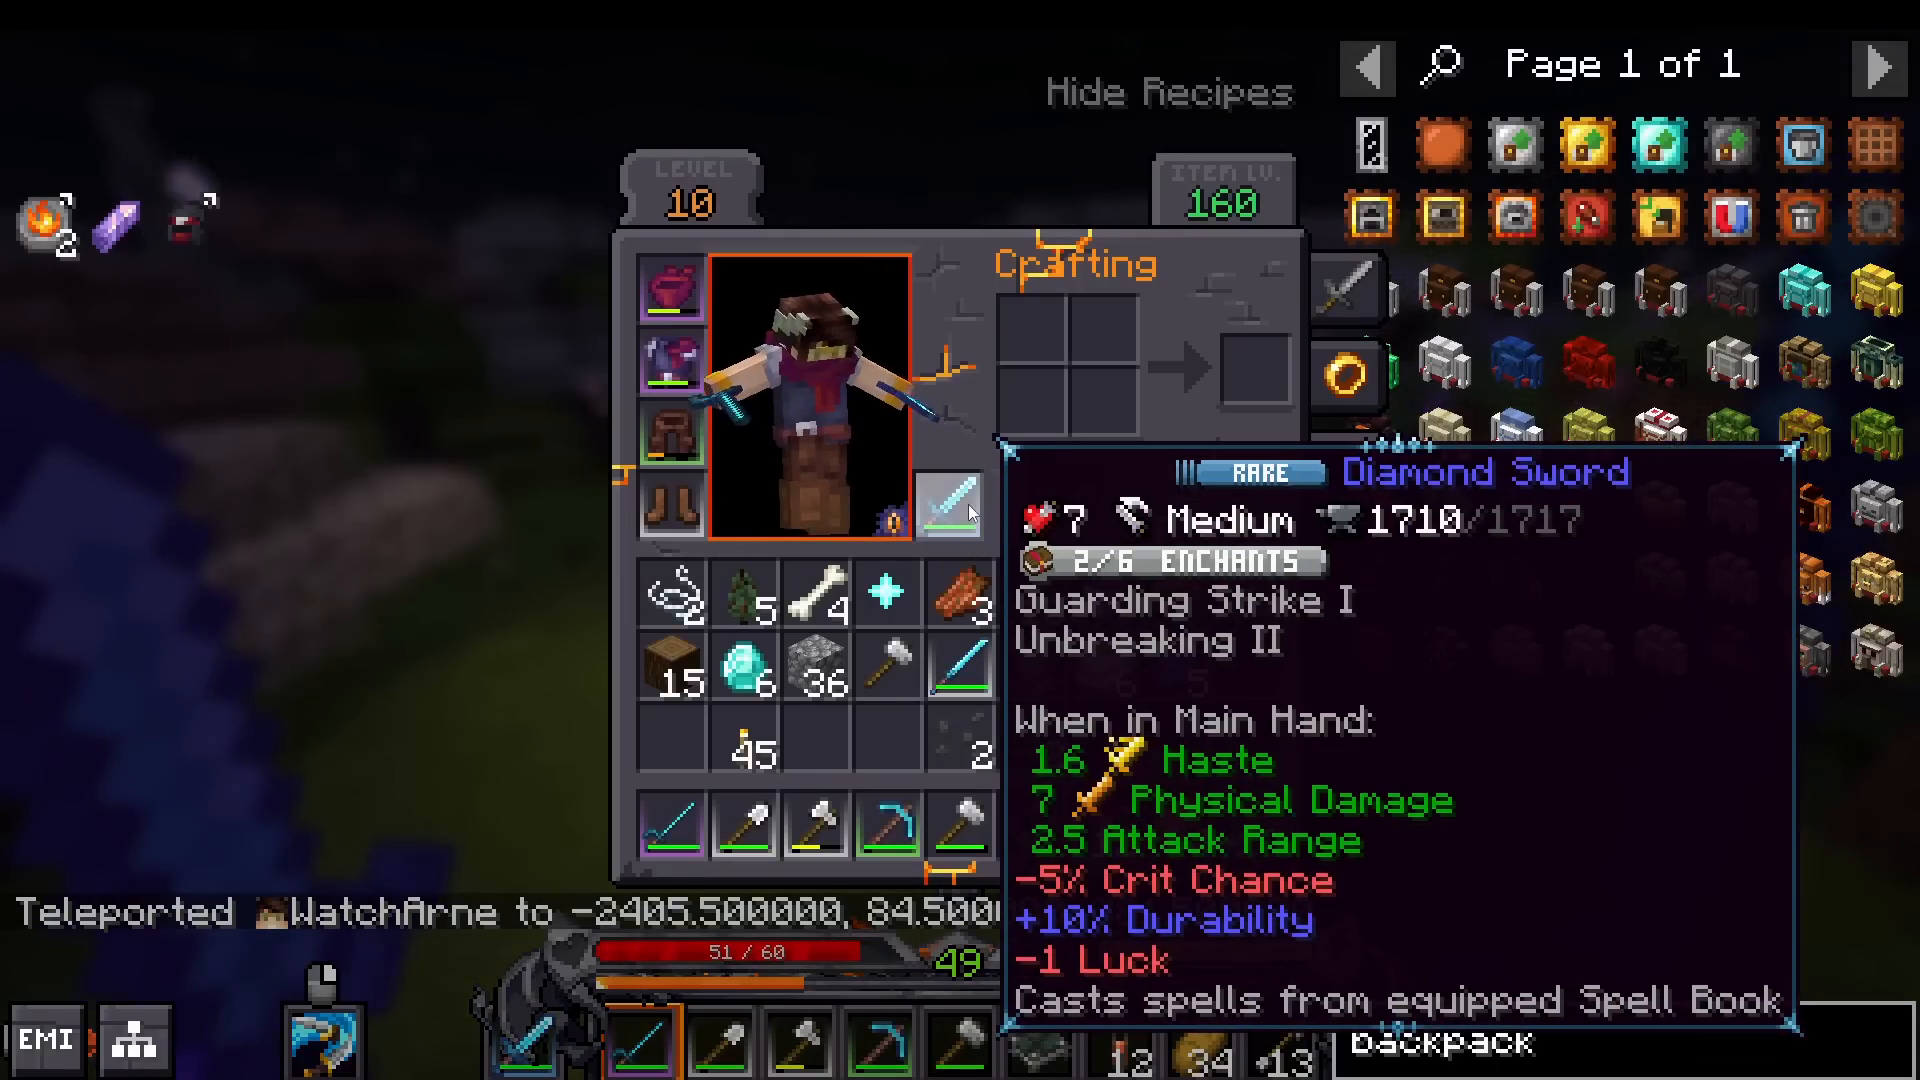
Gear in Prominence 2 comes in different rarities: common, uncommon, rare, epic, legendary, and mythic. You can improve gear quality through reforging at an anvil. Open the anvil and select the “reforge gear” tab.
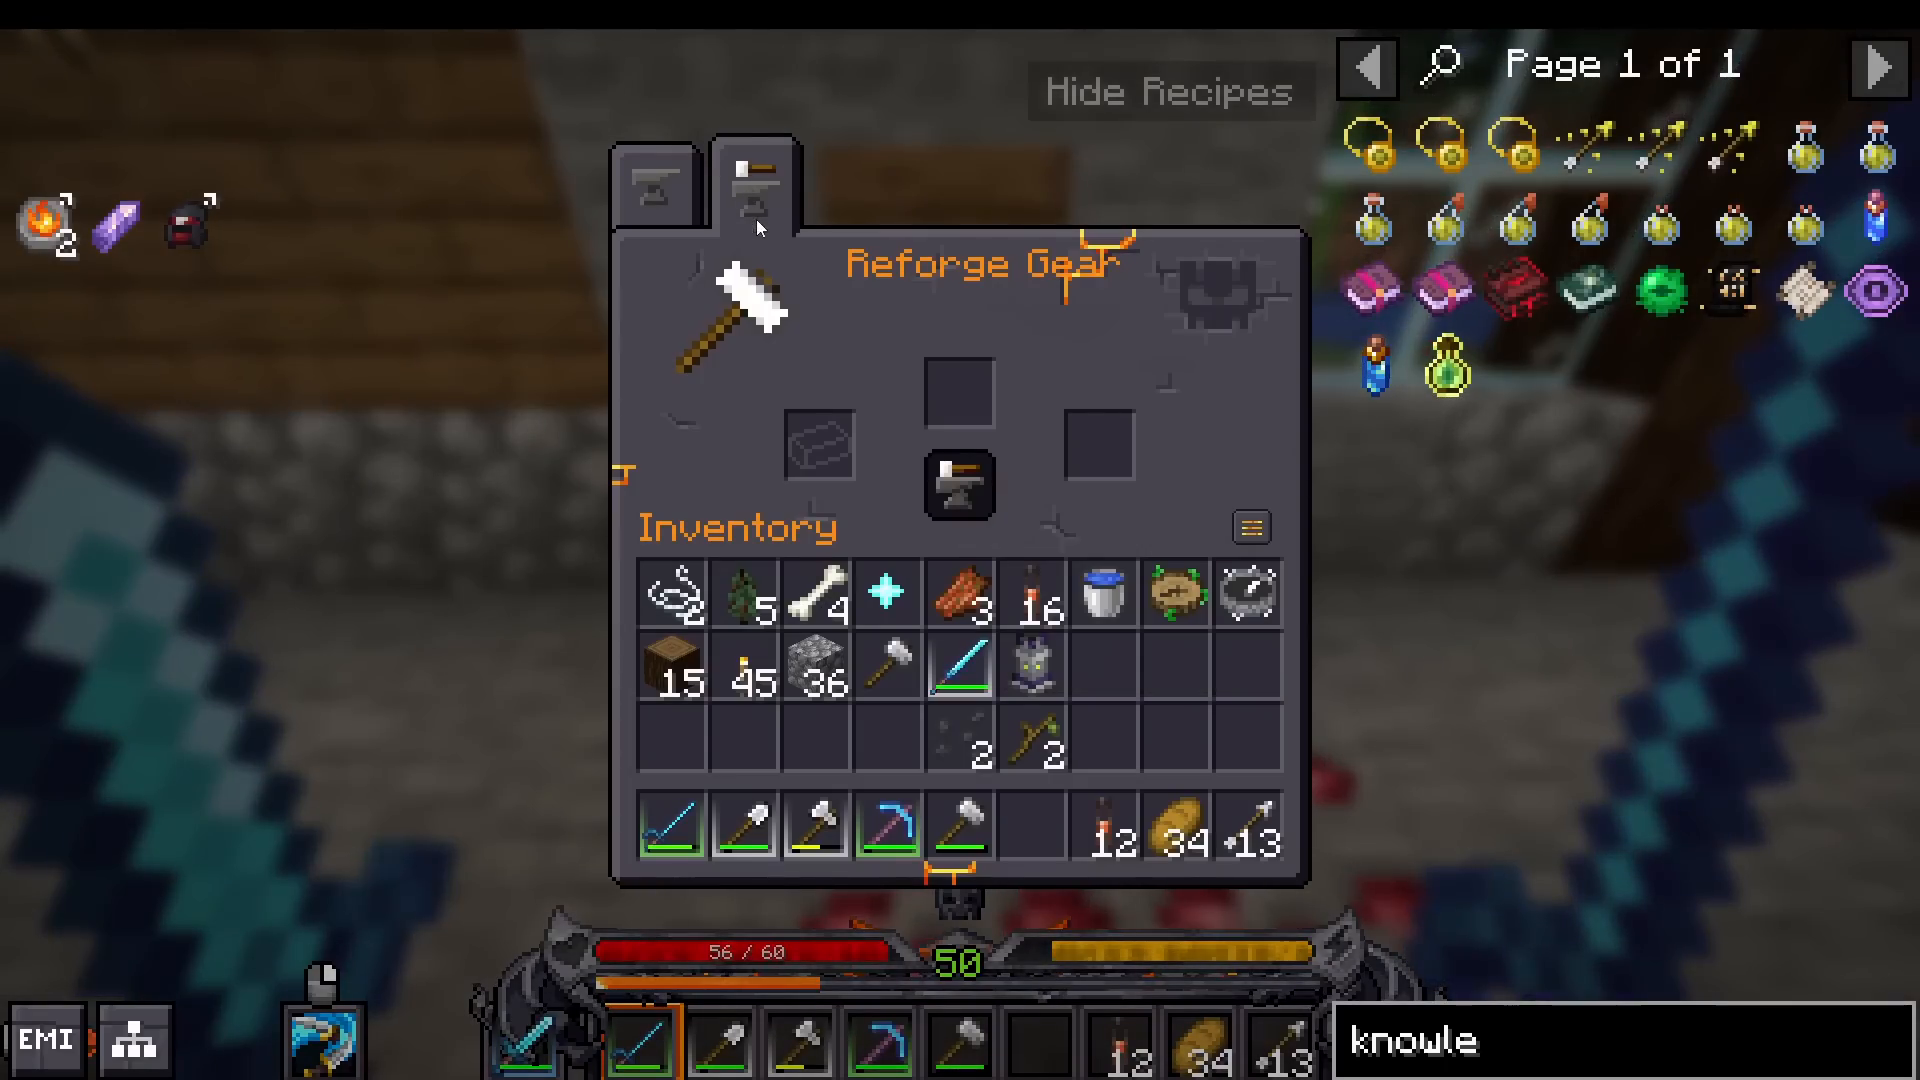
To reforge gear, you need:
The item you want to reforge (weapon or armor)
The material matching the item (diamonds for diamond gear, etc.)
A reforging material based on the desired rarity tier
Reforging Materials:
Limestone Chunks: Can make common, uncommon, rare, or epic gear. Obtained by stone-cutting limestone blocks (4 chunks per block) or mining diorite blocks (1 chunk per block).
Pie Right: Can make uncommon, rare, epic, or legendary gear. Found in the Nether or crafted from 4 Pie Right dust.
Galena Ore: Can make rare, epic, legendary, or mythic gear. Found in the End or obtained through crafting.
The item must have full durability before reforging. Each reforge costs one of the corresponding material and one of the matching item material. Your luck stat increases the chance of getting higher rarities, so luck is an important stat often overlooked by beginners.
Enchanting Your Gear
You can enchant gear using a standard enchanting table (works like vanilla Minecraft). However, for early-game simplicity, focus on finding enchanted items in loot chests rather than creating complex enchanting setups. Apotheosis (the enchanting mod in this pack) has many advanced features covered in a separate tutorial on the channel.
Extracting Enchantments
If you find weapons or armor with useful enchantments you want to transfer, craft a Tome of Scrapping (costs an anvil—expensive early on). This extracts half the enchantments from an item but destroys it. The upgraded version extracts all enchantments but is even more resource-intensive.
Storage Solutions
Chest Upgrades
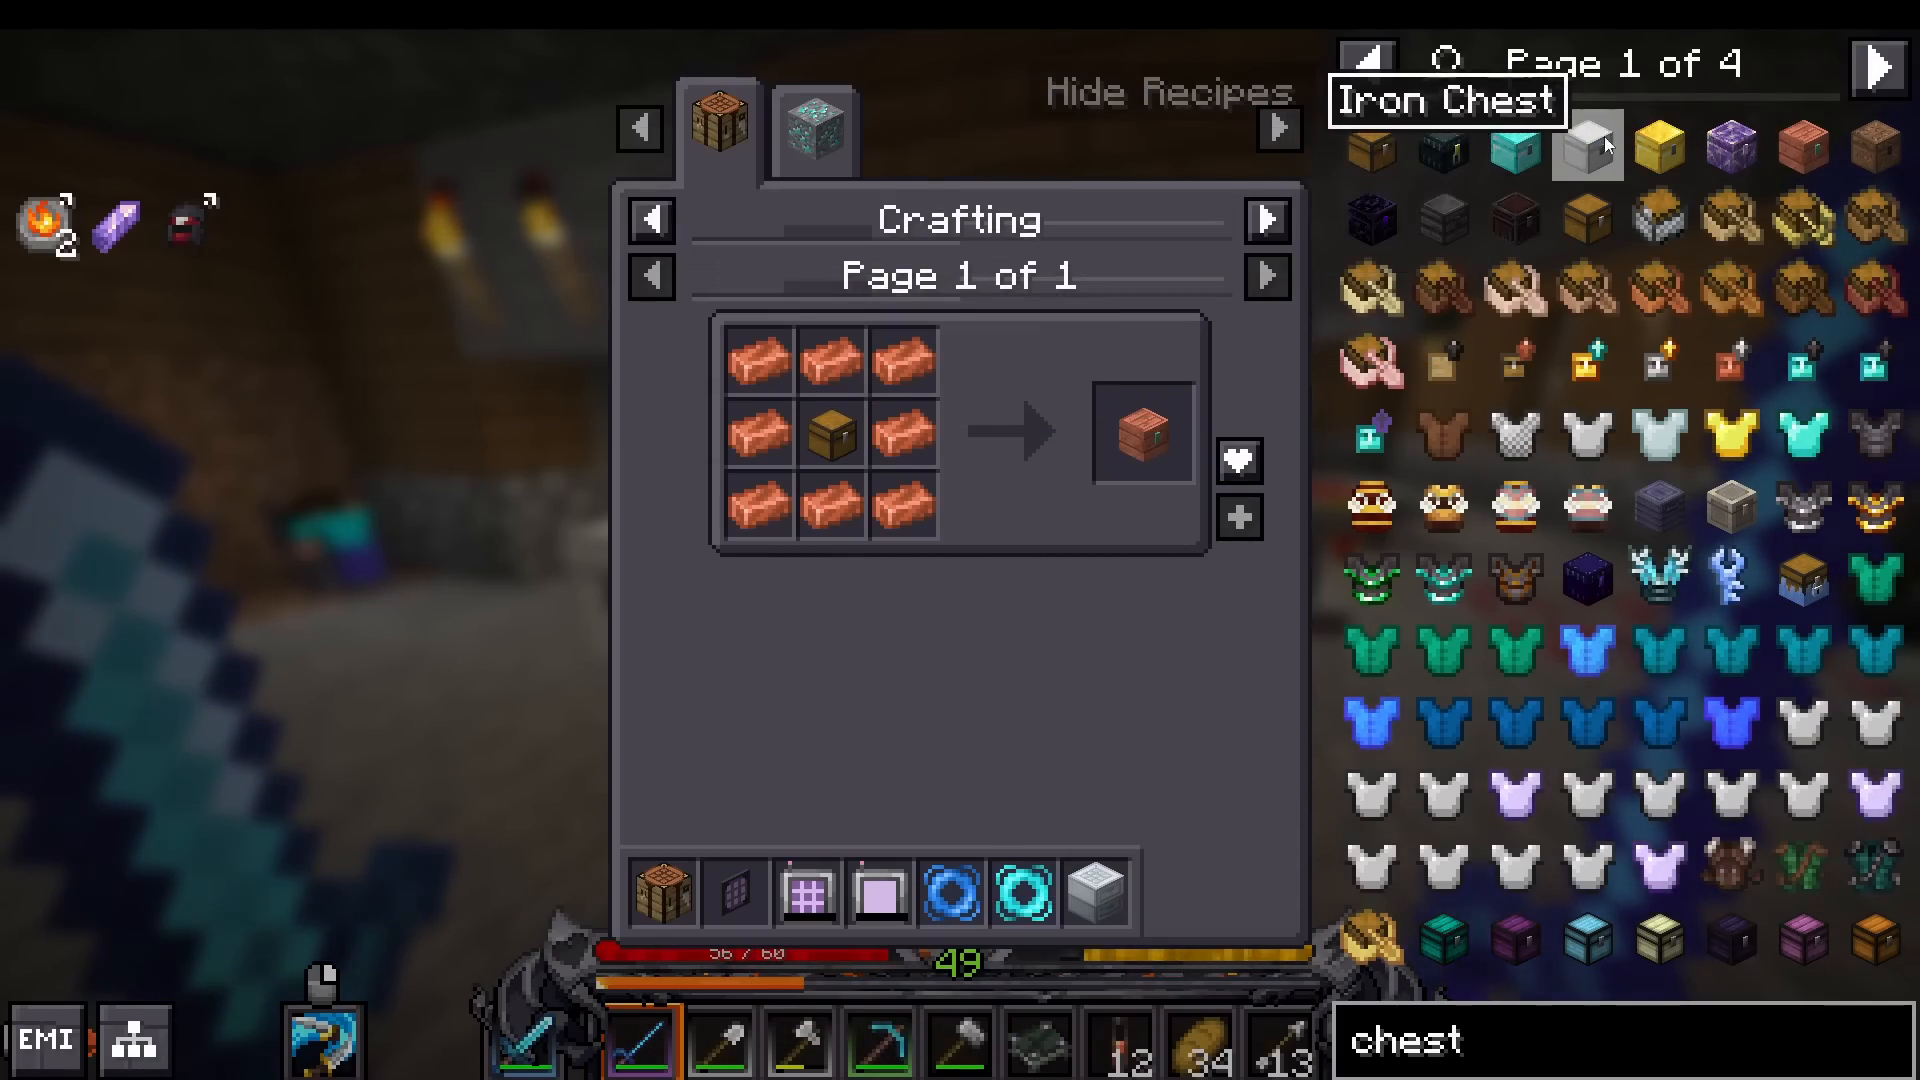
Expand your storage by upgrading chests using materials like copper, iron, gold, and diamond. Surround a chest with copper and craft a copper chest to get an extra storage row. Upgrade progressively: copper > iron > gold > diamond. Each upgrade significantly increases storage capacity. Use chest upgrades to level up existing chests without breaking them.
Backpacks for Early Game
Craft a Traveller’s Backpack early on using a sleeping bag, levers, string, and a chest. This portable storage is essential when exploring, as you’ll need space for loot. Backpacks can be upgraded, but basic ones are sufficient for early-game exploration.
Spell Binding and Abilities
Creating Your Spell Book
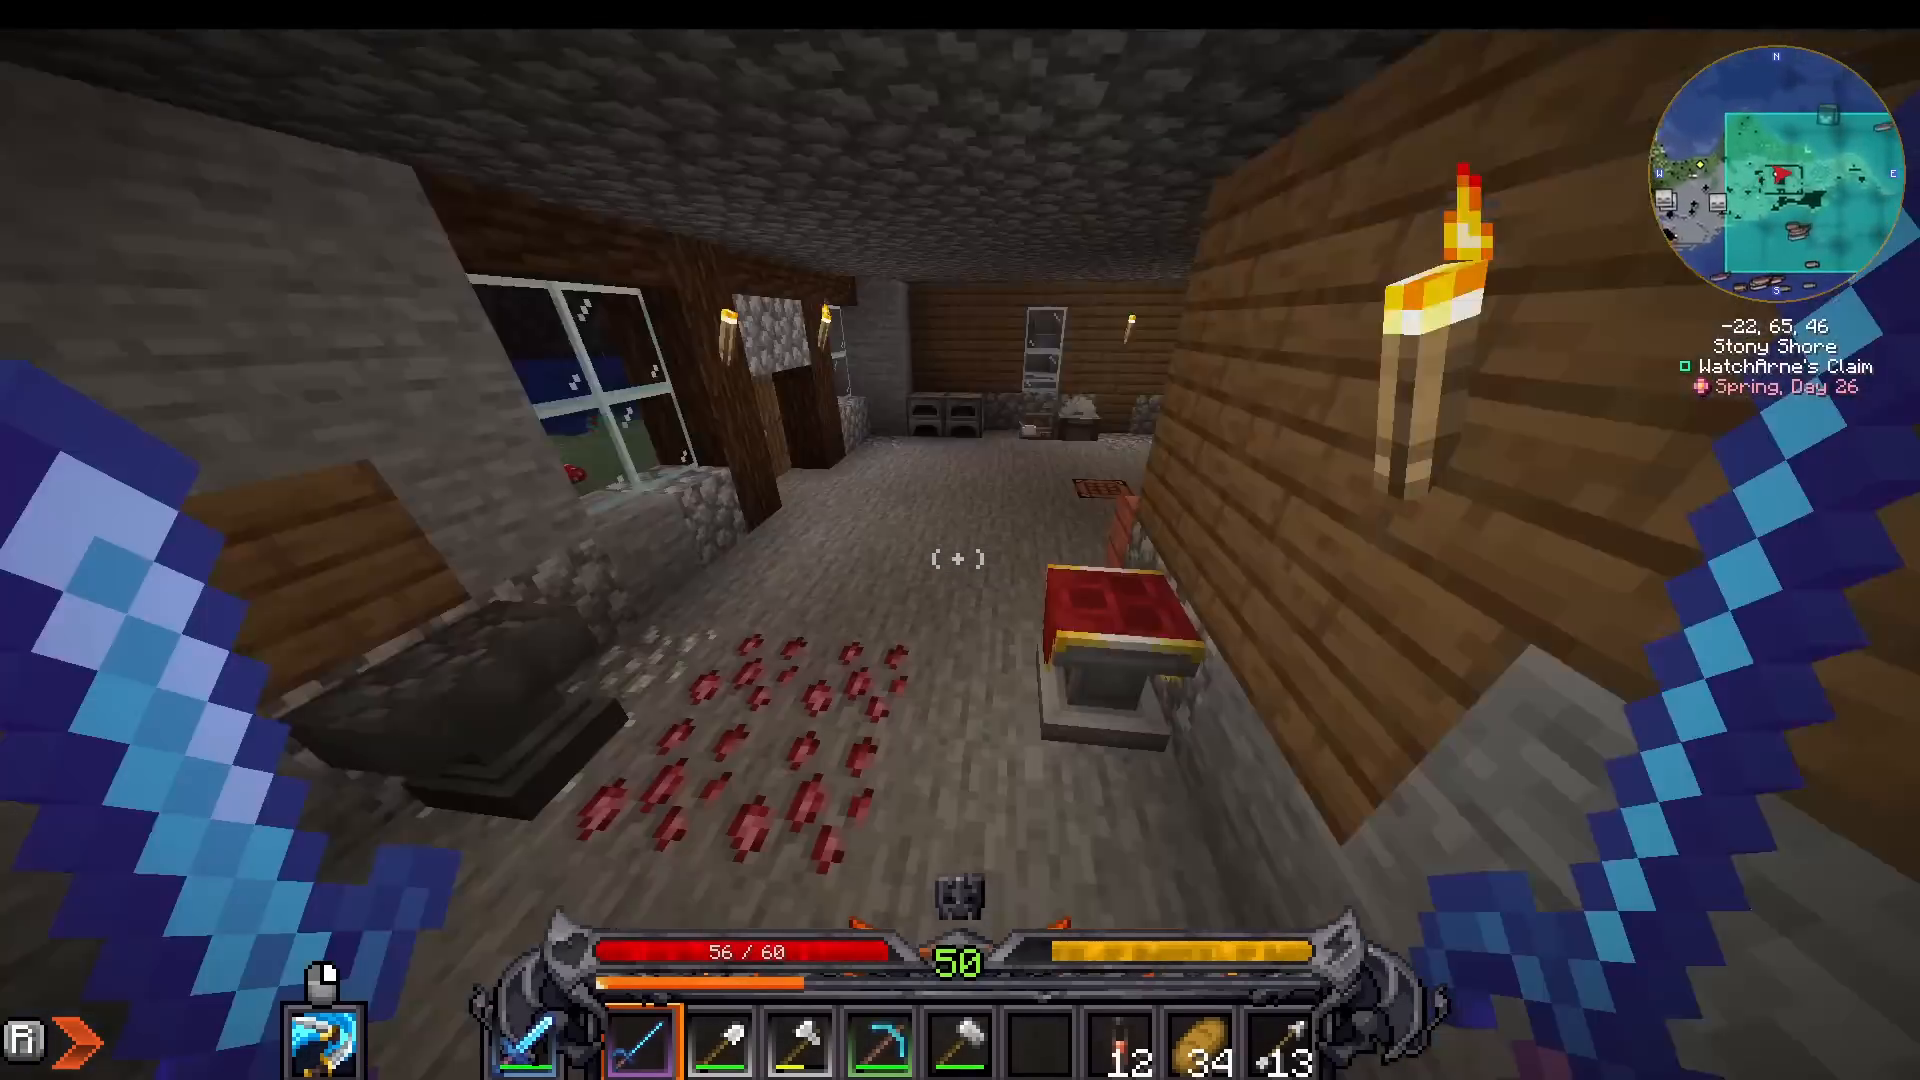
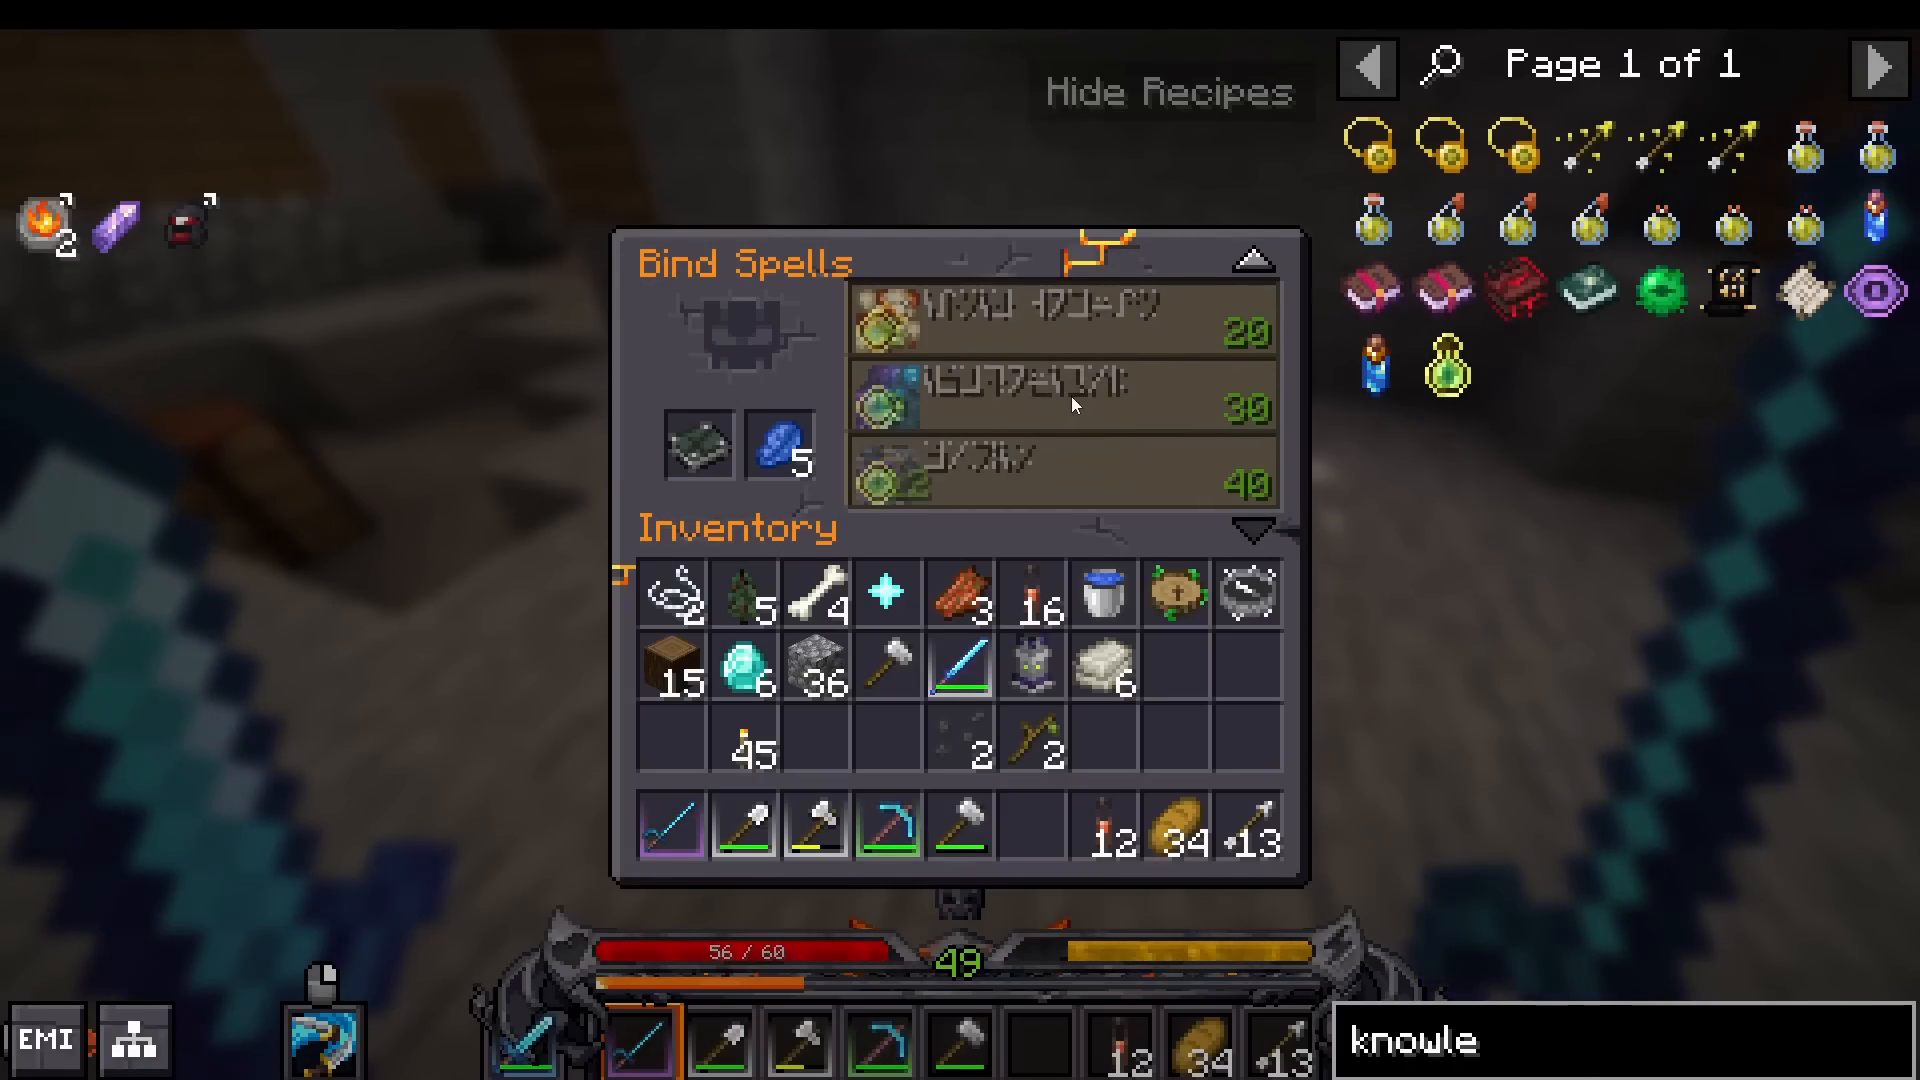
Build a Spell Binding Table surrounded by bookshelves (just like an enchanting table). In the table’s interface, choose from various spell books: Archery, Holy, Rogue, Warrior, Arcane, Fire, Frost, and more. Select your desired book—for example, the Rogue Handbook for a rogue build.
Learning Abilities
Once you’ve created your spell book, interact with it to view learnable abilities. You gain access to different ability tiers by surrounding the Spell Binding Table with more bookshelves. Abilities unlock at specific levels (e.g., level 20, 30, 40). Click on an ability to learn it for a cost of lapis lazuli and enchantment levels.
Equipping Your Spell Book
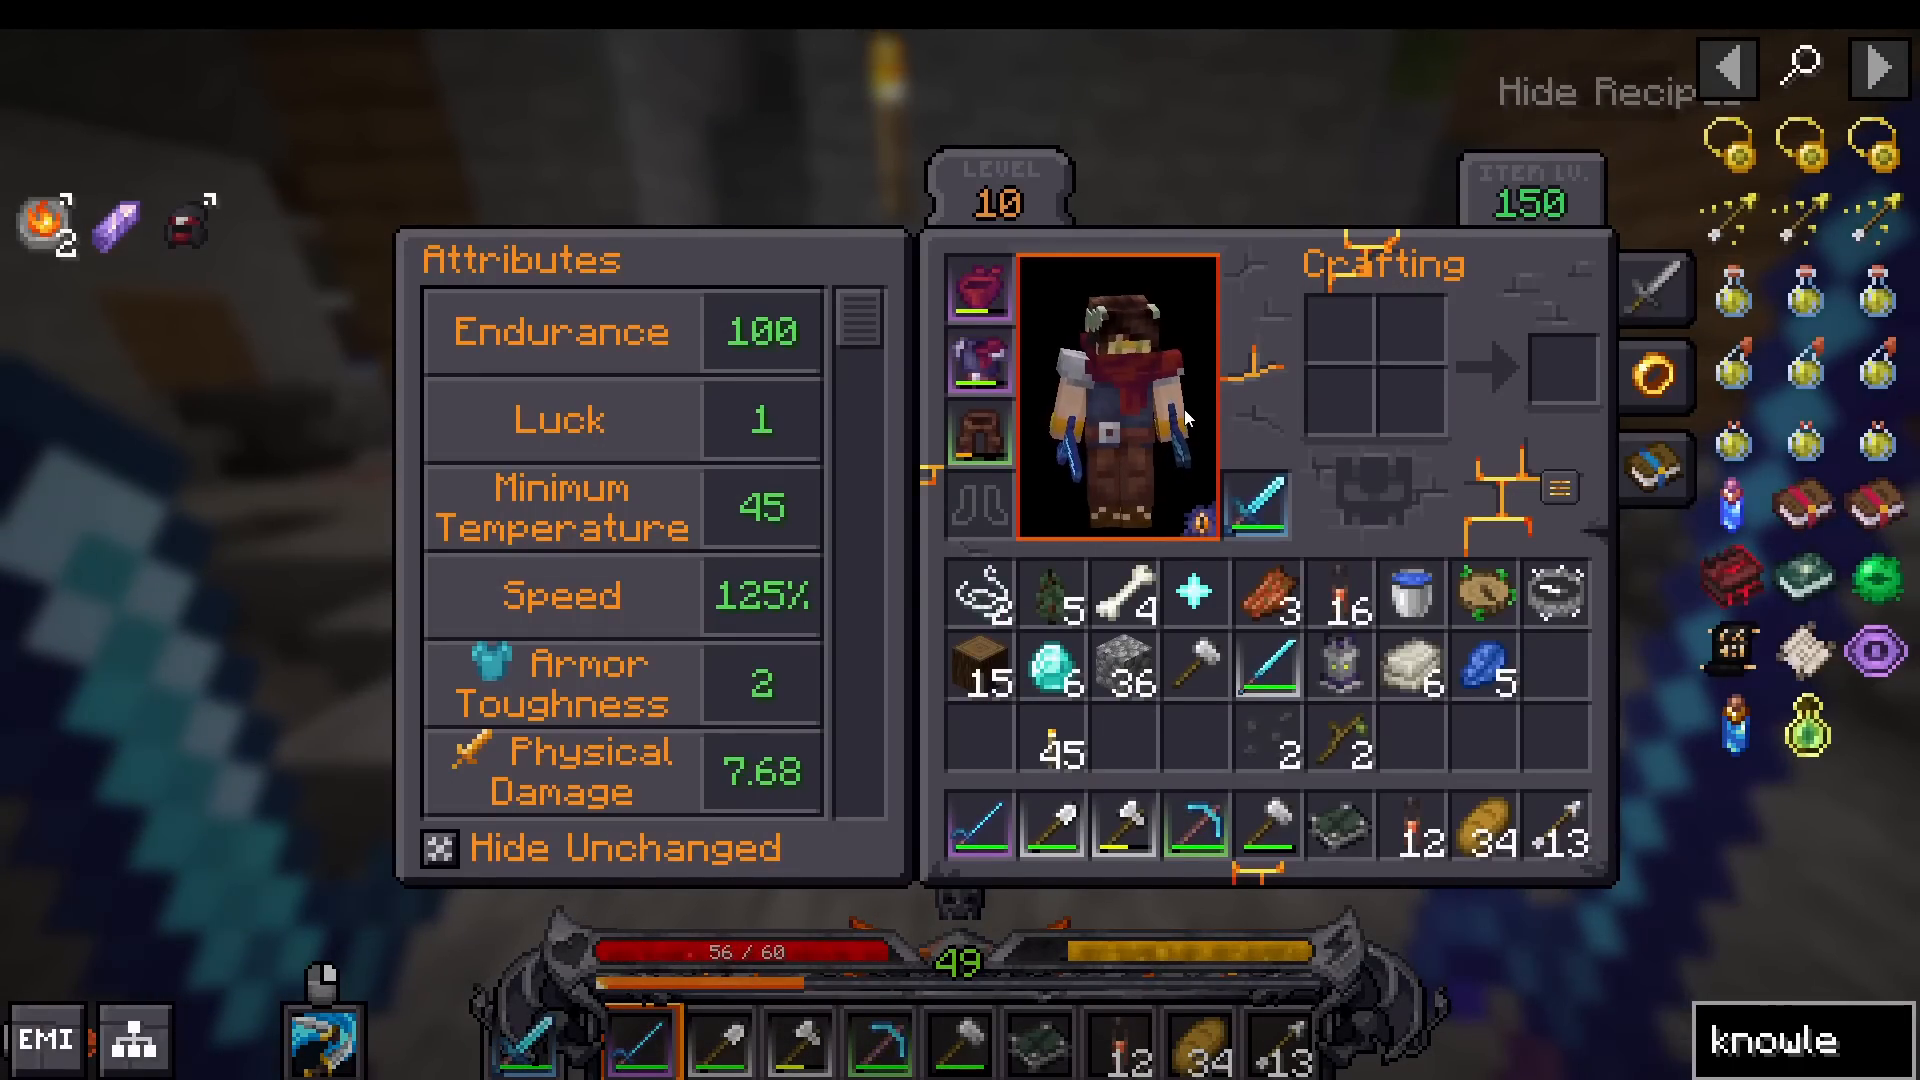
Your gear has a book slot for equipping your learned spell book. Once equipped, your abilities appear on your action bar as right-clickable buttons. For example, the Rogue ability “Slice and Dice” increases damage with each fast attack, stacking up to 10 times—perfect for fast-attacking rogues.
You can swap spell books for different situations. If you’re a rogue but face a ranged boss, you could equip an Archery book and ranged gear temporarily. This flexibility is especially useful early on.
Mine Cells: Early Game Dungeon Delving
Finding Mine Cells
To gear up quickly before your first boss, explore Mine Cells. These are specialized dungeons scattered across the world. Look for structures with portal-like openings labeled as prisoners quarters or similar names. You can find them by exploring and checking your map.
Preparing for Mine Cells
Equip rogue gear (if available) for the movement speed bonus, which helps you explore faster. Bring iron weapons for basic defense—they’re sufficient for early Mine Cells. You don’t need top-tier gear to clear these dungeons.
Mine Cell Layout and Enemies
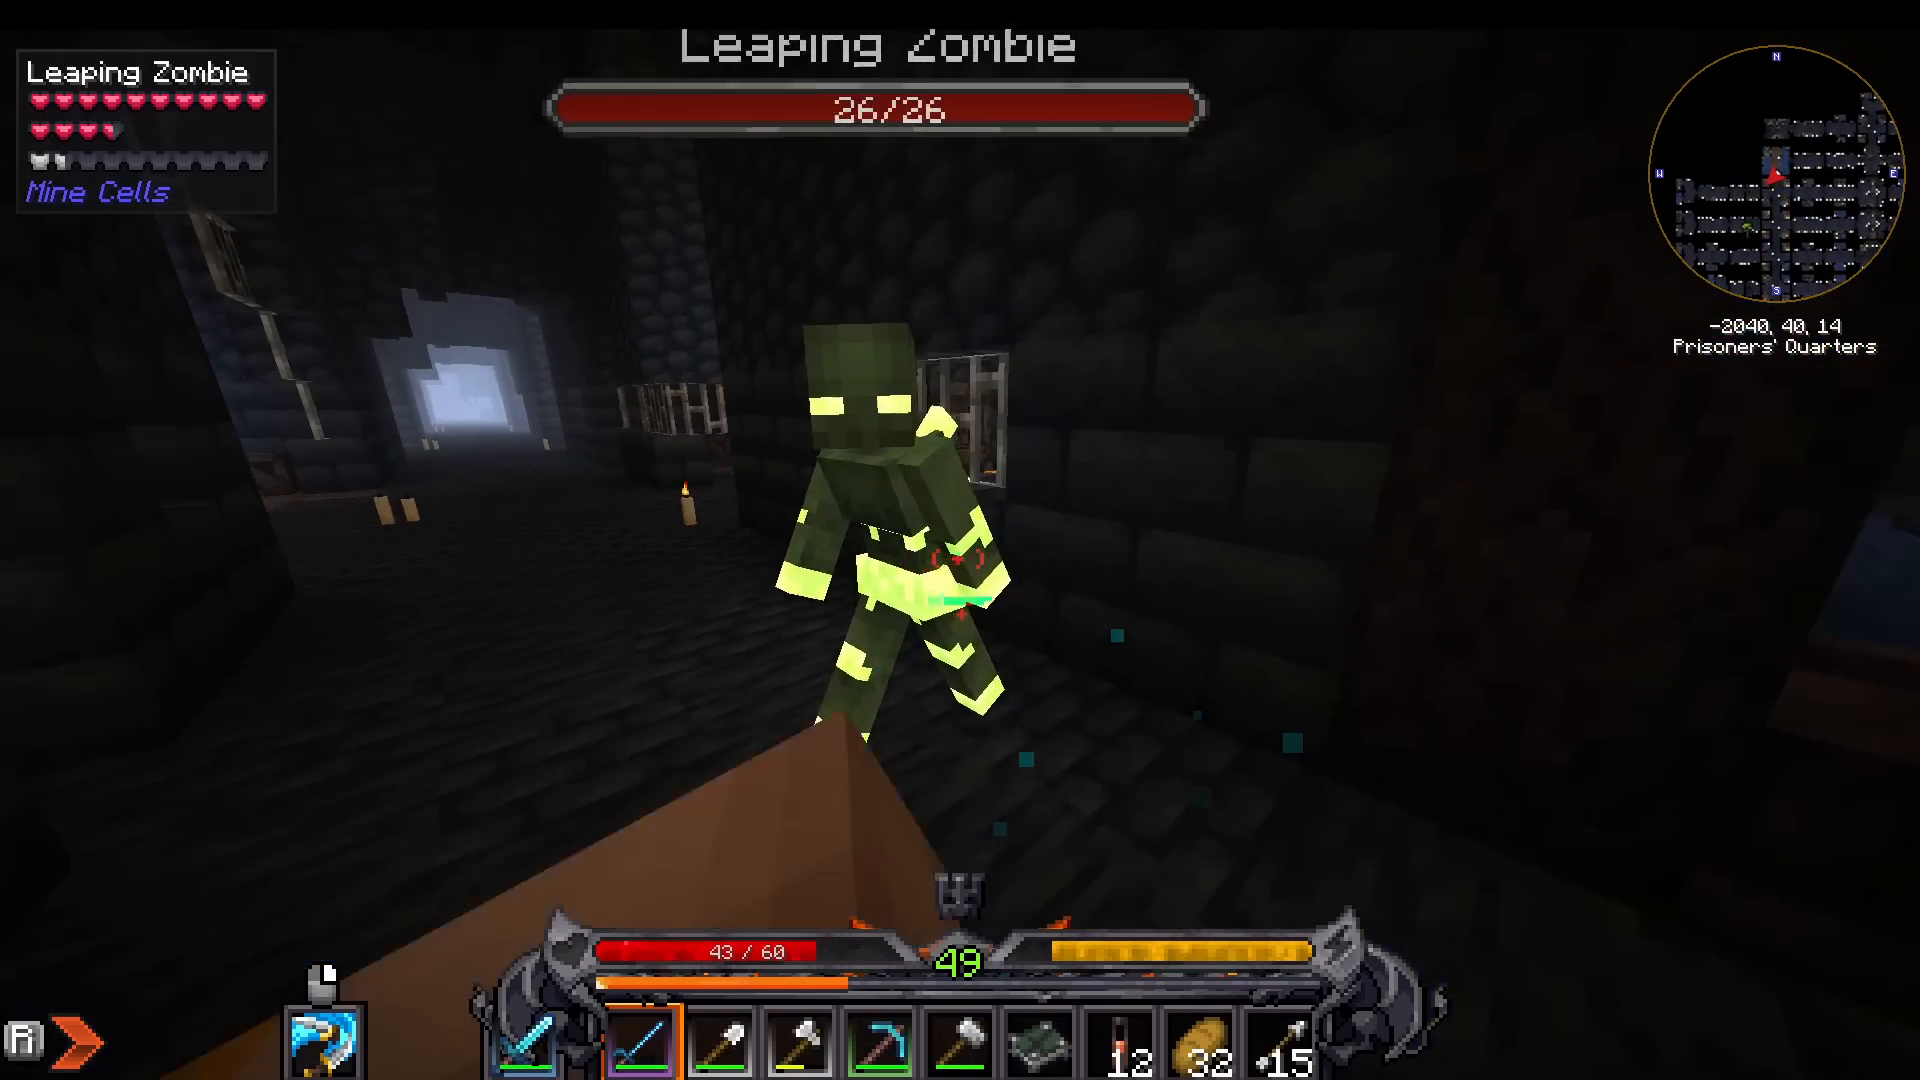
Mine Cells are interconnected labyrinths, but they’re not maze-like—you’ll navigate them fairly easily. Enemies include:
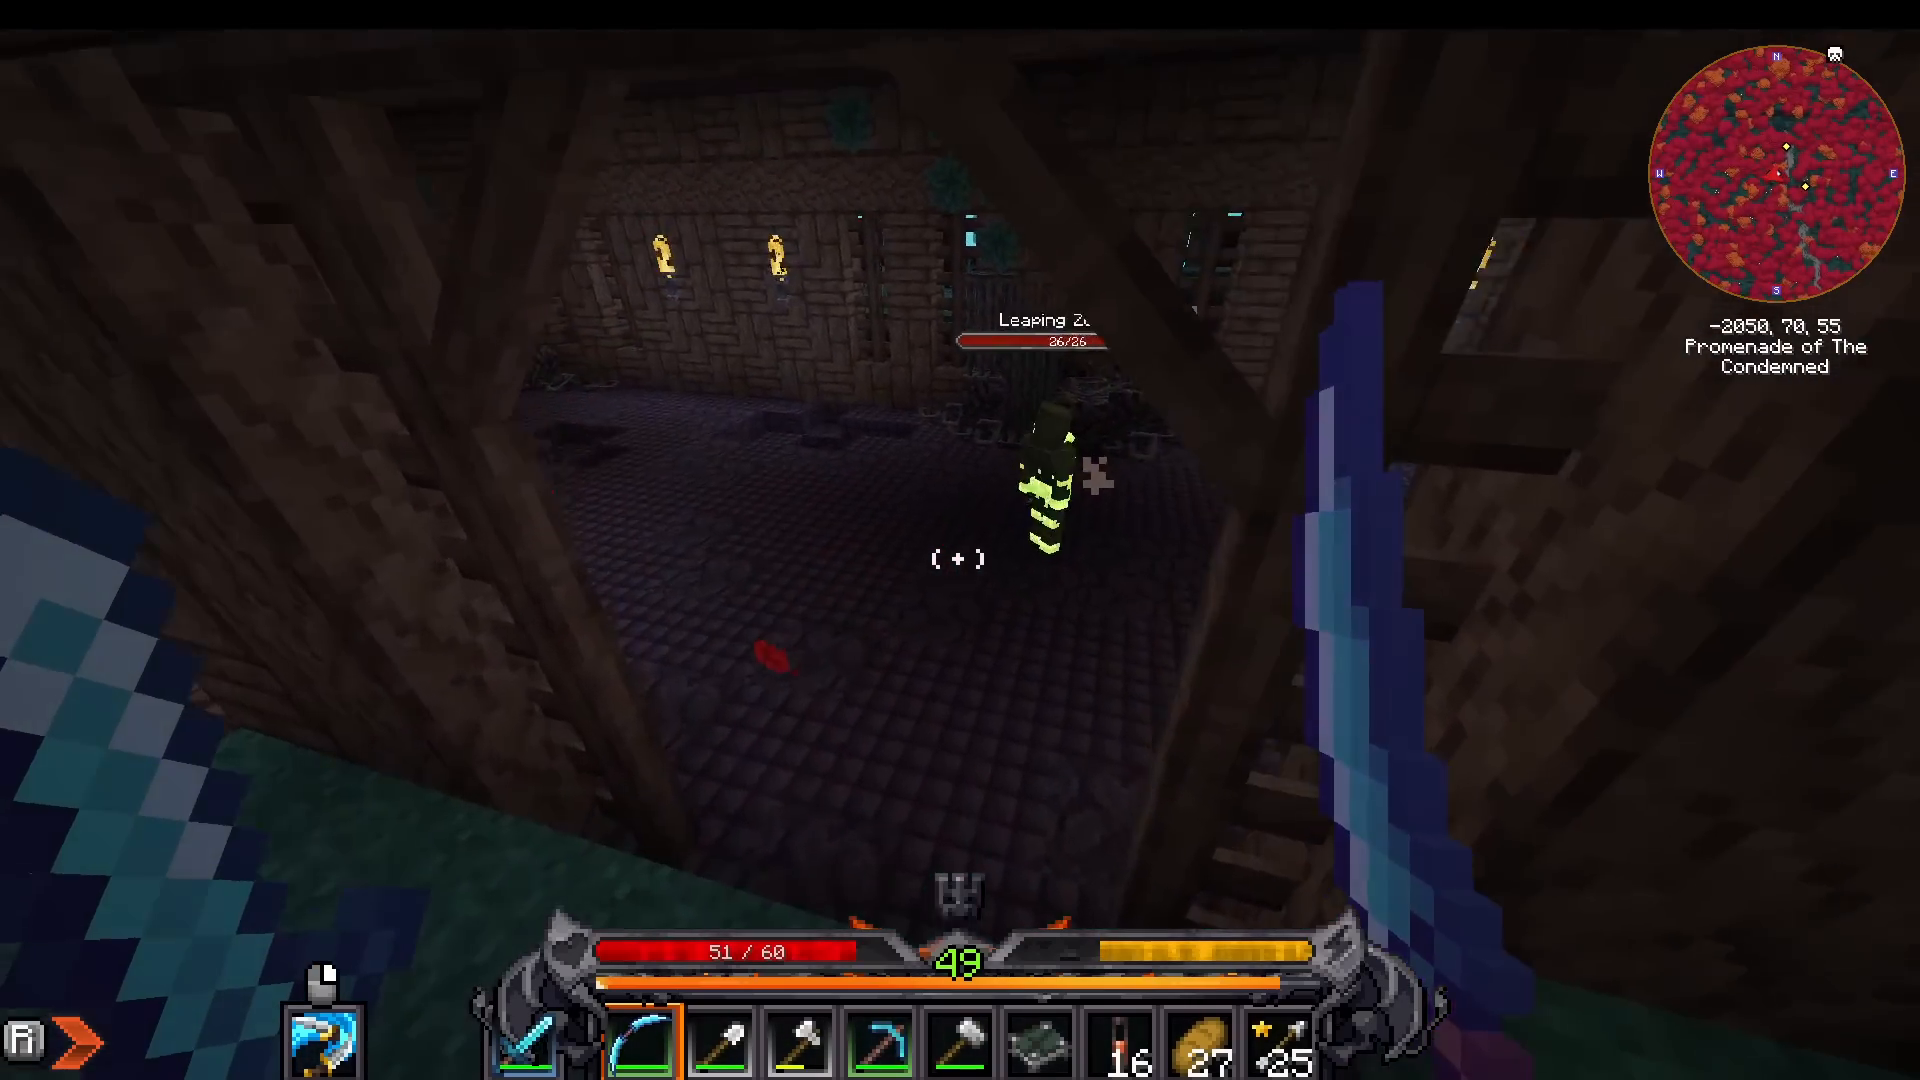
Leaping Zombies: Jump at you but are easy to kill.
Shield Bearers: Charge with shields. Move behind them to attack. Press R to roll and dodge.
Undead Archers: Basic ranged enemies.
Grenadiers: Throw explosive grenades. Watch for the blast.
Mutated Bats: Fast but weak fliers.
Loot every chest you find. Common drops include iron ingots, emeralds, gold, diamonds, and enchanted weapons like electric whips or multi-knock bows. Health flasks (restoring 10% max health and granting regeneration) are plentiful and valuable.
Navigating Two-Floor Mine Cells
Mine Cells have two floors. Jump down passages to reach the second floor (marked by more enemies waiting at the bottom). Continue exploring until you find a special room containing an Unbreakable Cellcrafter and a portal.
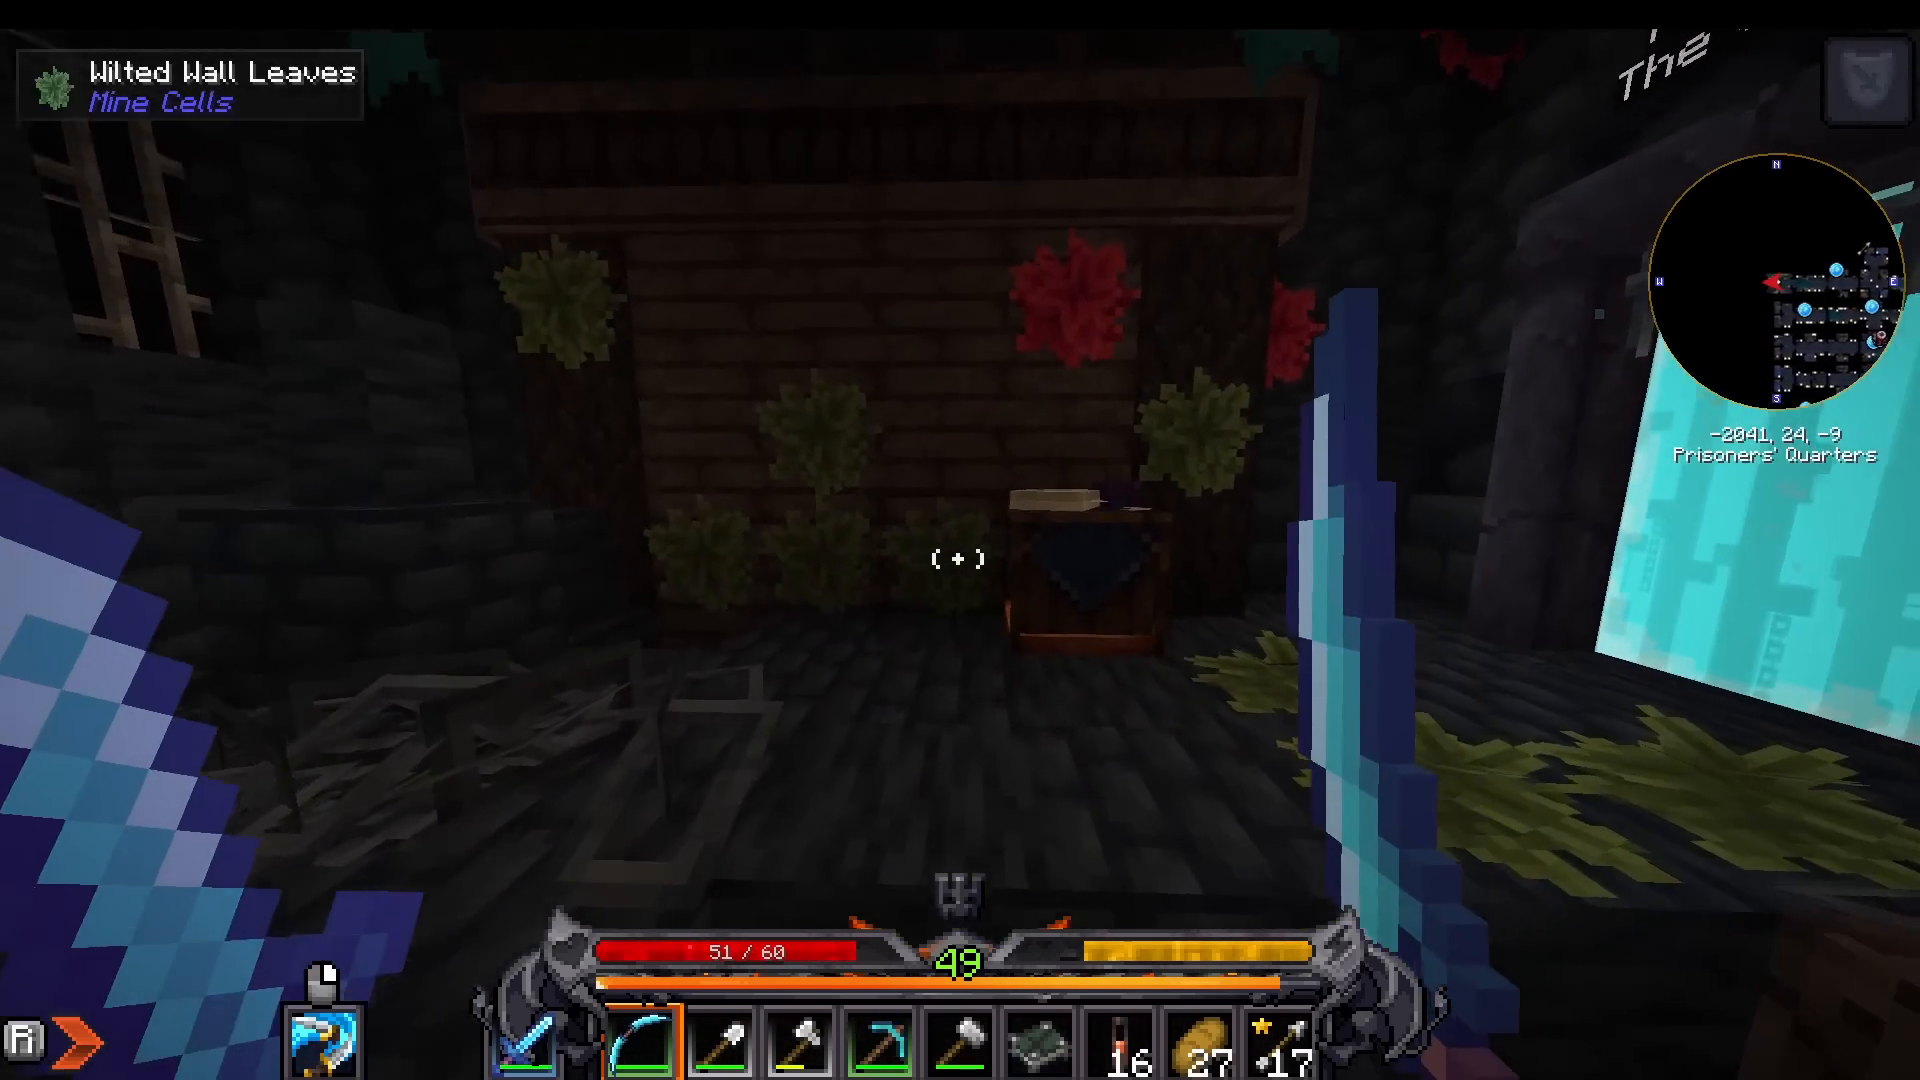
The Unbreakable Cellcrafter
This crafting station lets you create core weapons and items using materials found in the dungeon. However, you’ll likely find most weapons as loot drops, so crafting here is optional. Take what you need and move on.
The Promenade of the Condemned
The portal leads to the Promenade of the Condemned, an open-world area with more buildings, chests, and mobs. Explore this dimension for additional loot, then use the return portal to exit when done. There’s no requirement to fully clear it.
Preparing for Your First Boss: The Nightlitch
What You Should Have by Level 10
Before attempting your first boss, ensure you have:
A full set of appropriate gear (rogue, ranger, mage, warrior, or protector gear—reforged to at least rare quality)
Decent weapons with some enchantments
A spell book with useful abilities
Several health flasks for healing during combat
Level 10 character (the level cap before defeating the Nightlitch)
Gathering Soul Stars
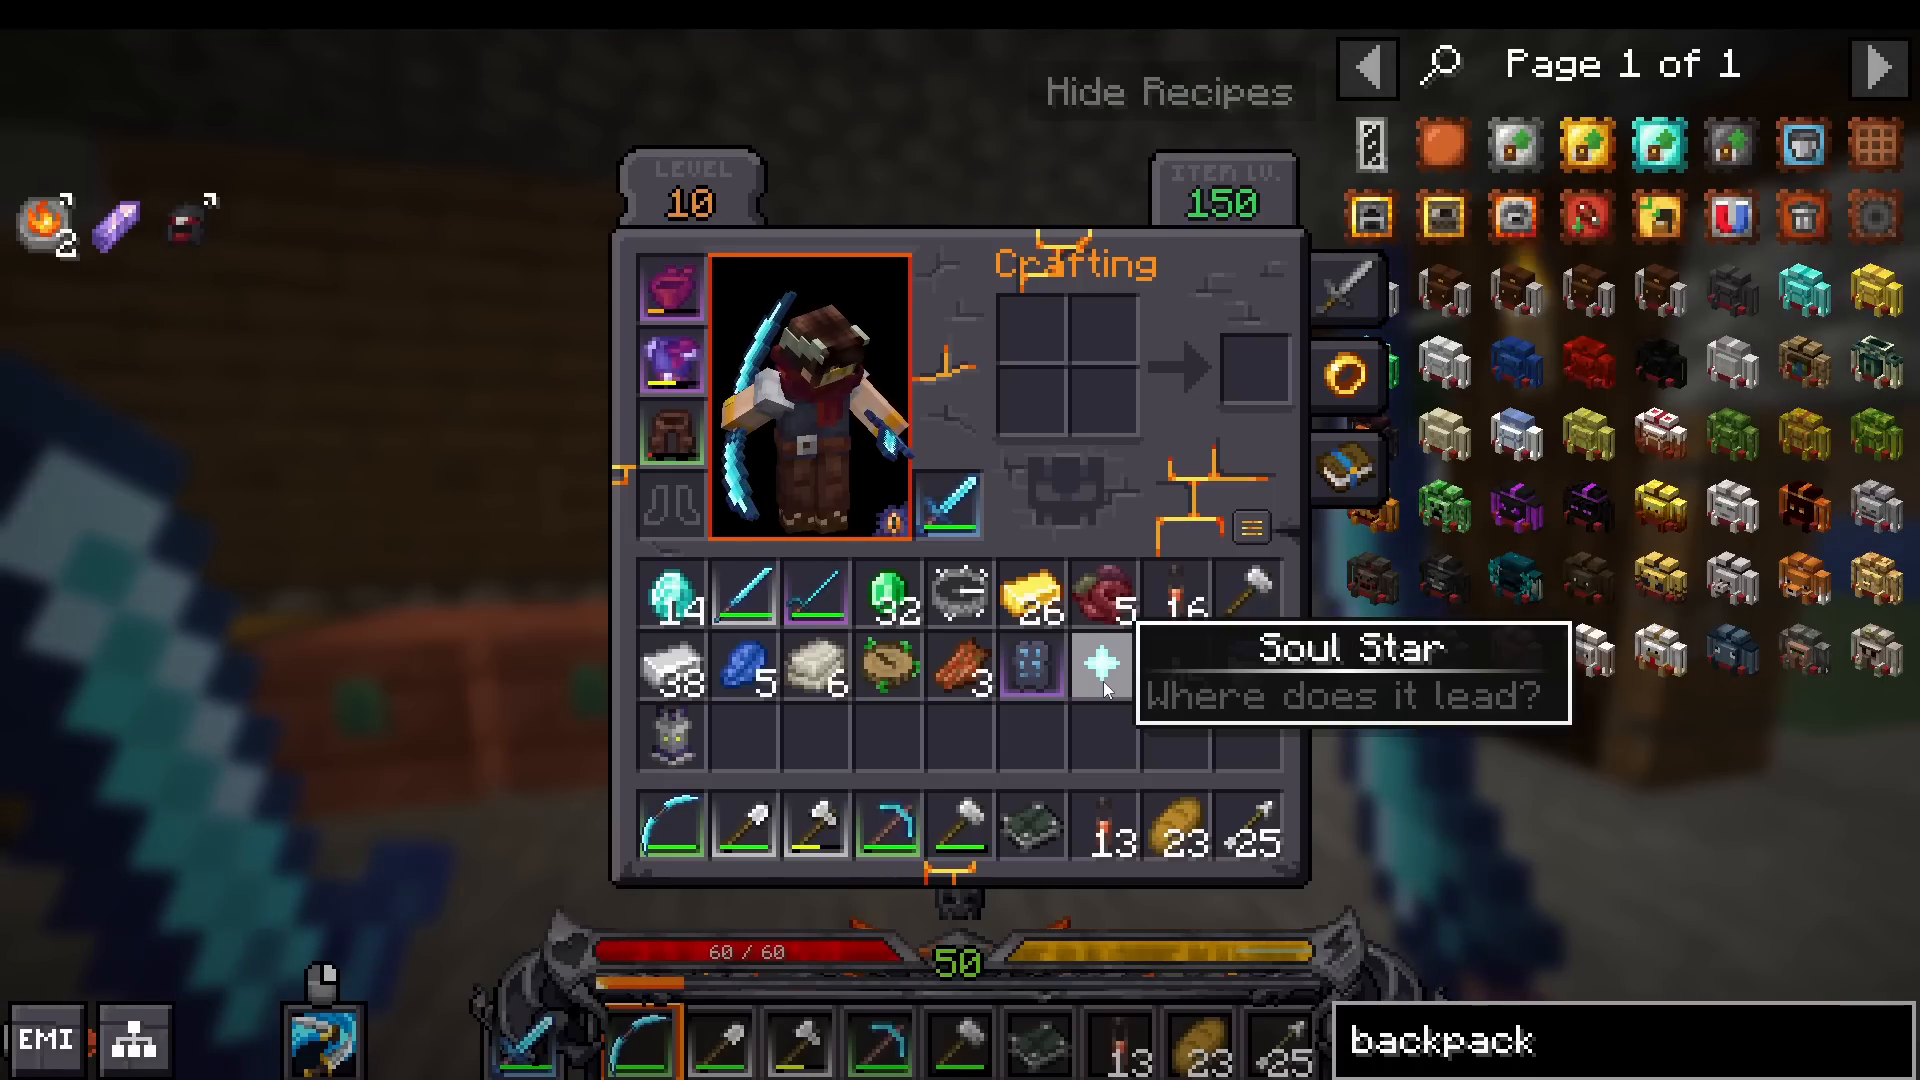
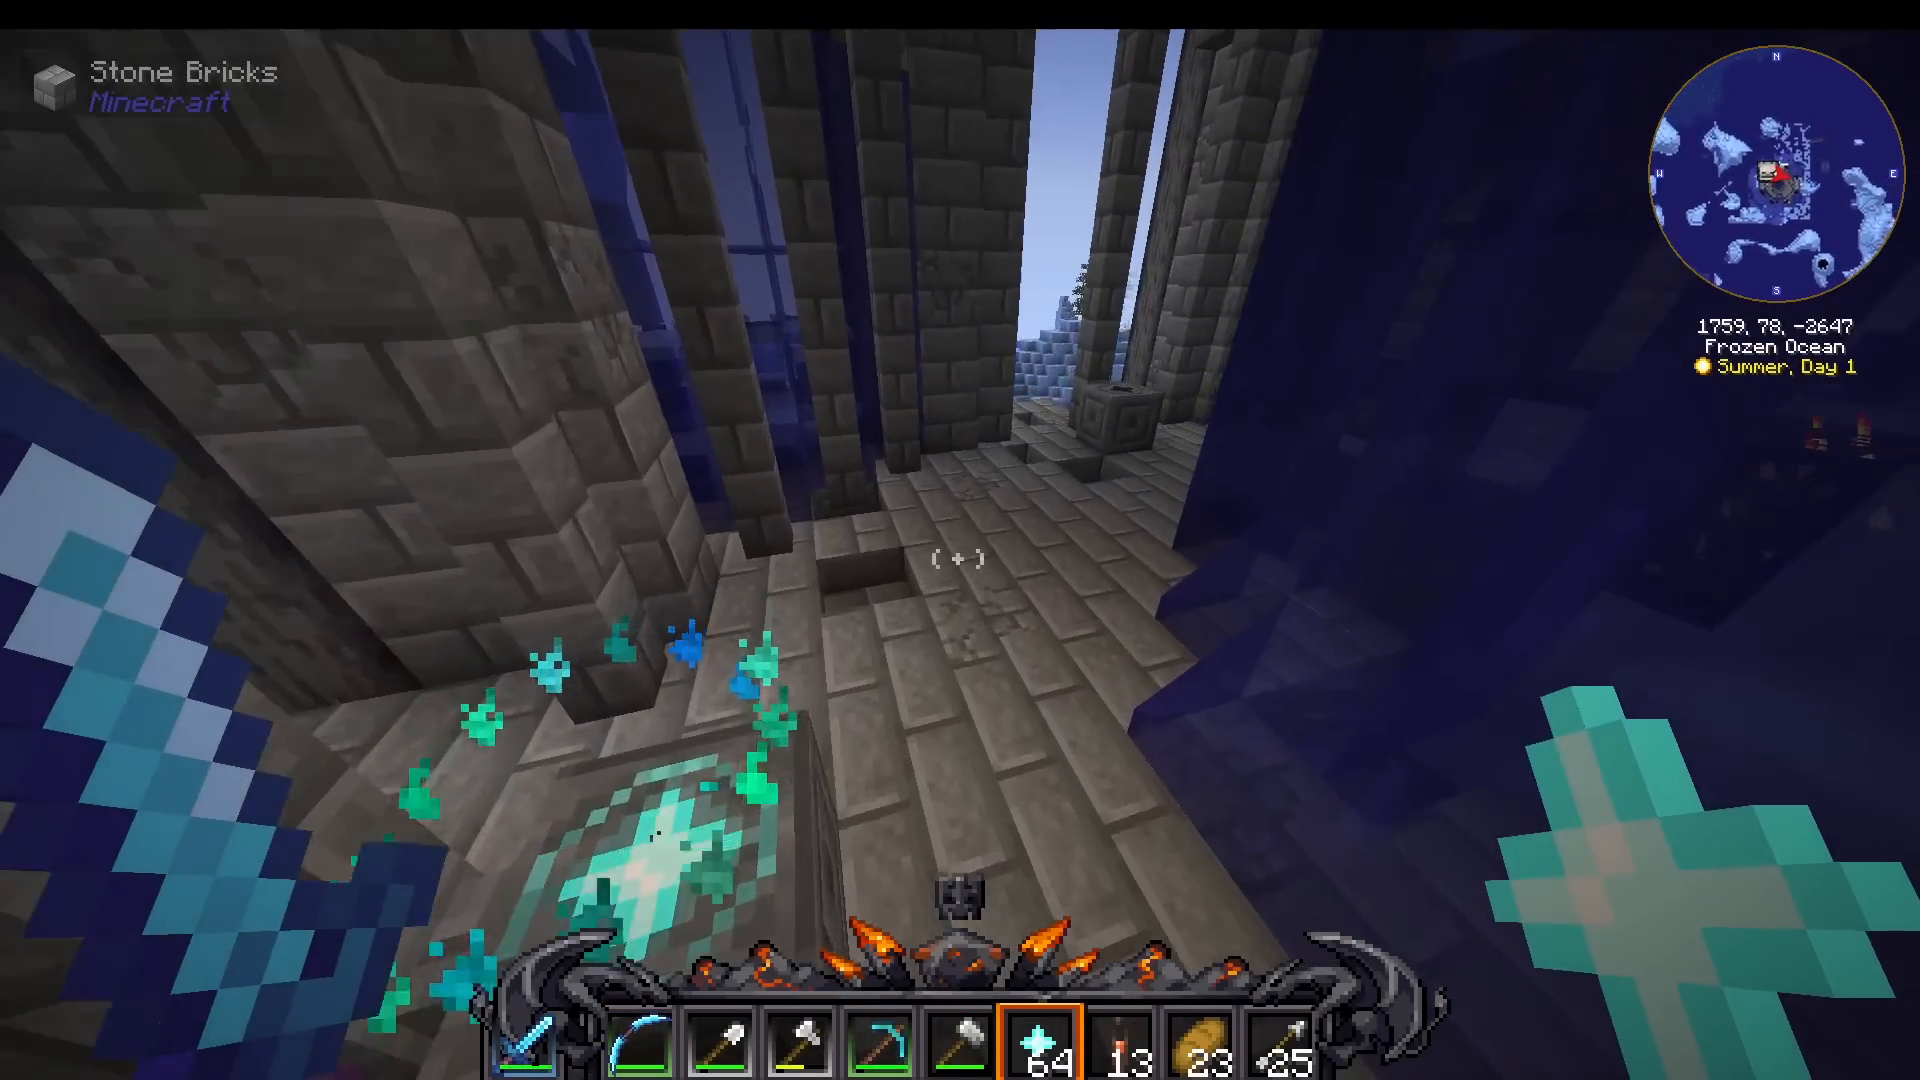
To fight the Nightlitch, you need four soul stars. These drop from undead mobs (zombies, skeletons) at a very low rate—approximately 2-3% per kill. Kill undead mobs until you have four soul stars. This may take some time, so be patient.
Using Soul Stars to Find the Lich Tower
Soul stars work like ender pearls. When thrown, they fly in a direction, and you follow them. Keep throwing and following them until they lead you to the Lich Tower—a tall structure that serves as the Nightlitch’s lair.
Entering the Lich Tower and Fighting the Nightlitch
Navigate the tower until you find four altars. Place your four soul stars into these altars, and the Nightlitch will spawn. This is a ranged boss that flies around, making archery your best weapon. Use bows and arrows to attack from a distance. The Nightlitch makes it nighttime during the fight, but this shouldn’t hinder your ability to fight effectively.
Conclusion
Congratulations! By following this guide, you’ve learned the core mechanics of Prominence 2, including the talent and leveling system, gear reforging and enchanting, early-game exploration, and dungeon delving. Once you defeat the Nightlitch, you’ll unlock levels 11-50 and truly understand how the modpack works. From there, you’re well-positioned to tackle harder bosses, explore new dimensions, and develop more specialized builds. Check out the build guides and boss guides on the channel for deeper strategies on specific playstyles and encounters. Welcome to Prominence 2—your adventure awaits!
Want to Support?
If you would like to help us continue making these guides – please consider joining our patreon here – https://www.patreon.com/c/JaviHeals
Alternatively – we host a group of MC Servers you can join here – https://discord.gg/zD7Gjt6MHF