







The Ultimate Guide to Nautec
The Ultimate Guide to Nautech Mod
Welcome to the ultimate guide to Nautech, an incredible ocean-exploration mod created in just three weeks for the Mod Jam Carsforge event. This comprehensive tutorial will walk you through everything Nautech has to offer, from basic diving equipment to advanced augmentation systems. Whether you’re looking to harness laser power, create advanced tools, or implant cybernetic augmentations into your character, this guide has you covered.
Getting Started with Nautech
The Nautech mod is entirely ocean-focused, with most activities centered around underwater exploration. When you first spawn, you should receive a Nautech guide in your inventory (unless your mod pack has disabled this feature in the config). Your first step is to head to the ocean and begin your underwater adventure.
Creating Your First Diving Suit
Before venturing into the deep ocean, you’ll want to craft a diving suit to improve visibility and gain additional benefits underwater. The diving suit consists of four pieces:
Diving Helmet: Made from copper and glass. Improves underwater visibility and provides knockback resistance.
Diving Chest Plate: Made from copper and brown polymer.
Diving Leggings: Made from brown polymer.
Diving Boots: Made from brown polymer.
Brown polymer is crafted using dried kelp and brown dye. Brown dye is made from cocoa beans, while dried kelp is created by smelting vanilla Minecraft kelp in a furnace.
Essential Items to Bring
When preparing for your first deep sea exploration, gather the following items:
Kelp (for powering equipment)
Hoppers
Heart of the Sea (obtained from buried treasure)
Complete diving suit
Pressurized air bottles (for oxygen management)
Creating Pressurized Air Bottles
Pressurized air bottles are essential for maintaining oxygen while underwater. To create them, right-click a glass bottle on a bubble column to fill it with pressurized air. You can then drink the pressurized air while wearing the diving chest plate to increase your oxygen level. This is a critical mechanic for extended underwater exploration.
Finding Deep Sea Ruins and Aquatic Catalysts
Your main objective underwater is to locate deep sea ruins structures. These ruins are characterized by dark prismarine blocks and feature an aquatic catalyst block labeled “status inactive.” Mine this catalyst, as you’ll need it for powering advanced equipment.
Locating the Crystal Geode
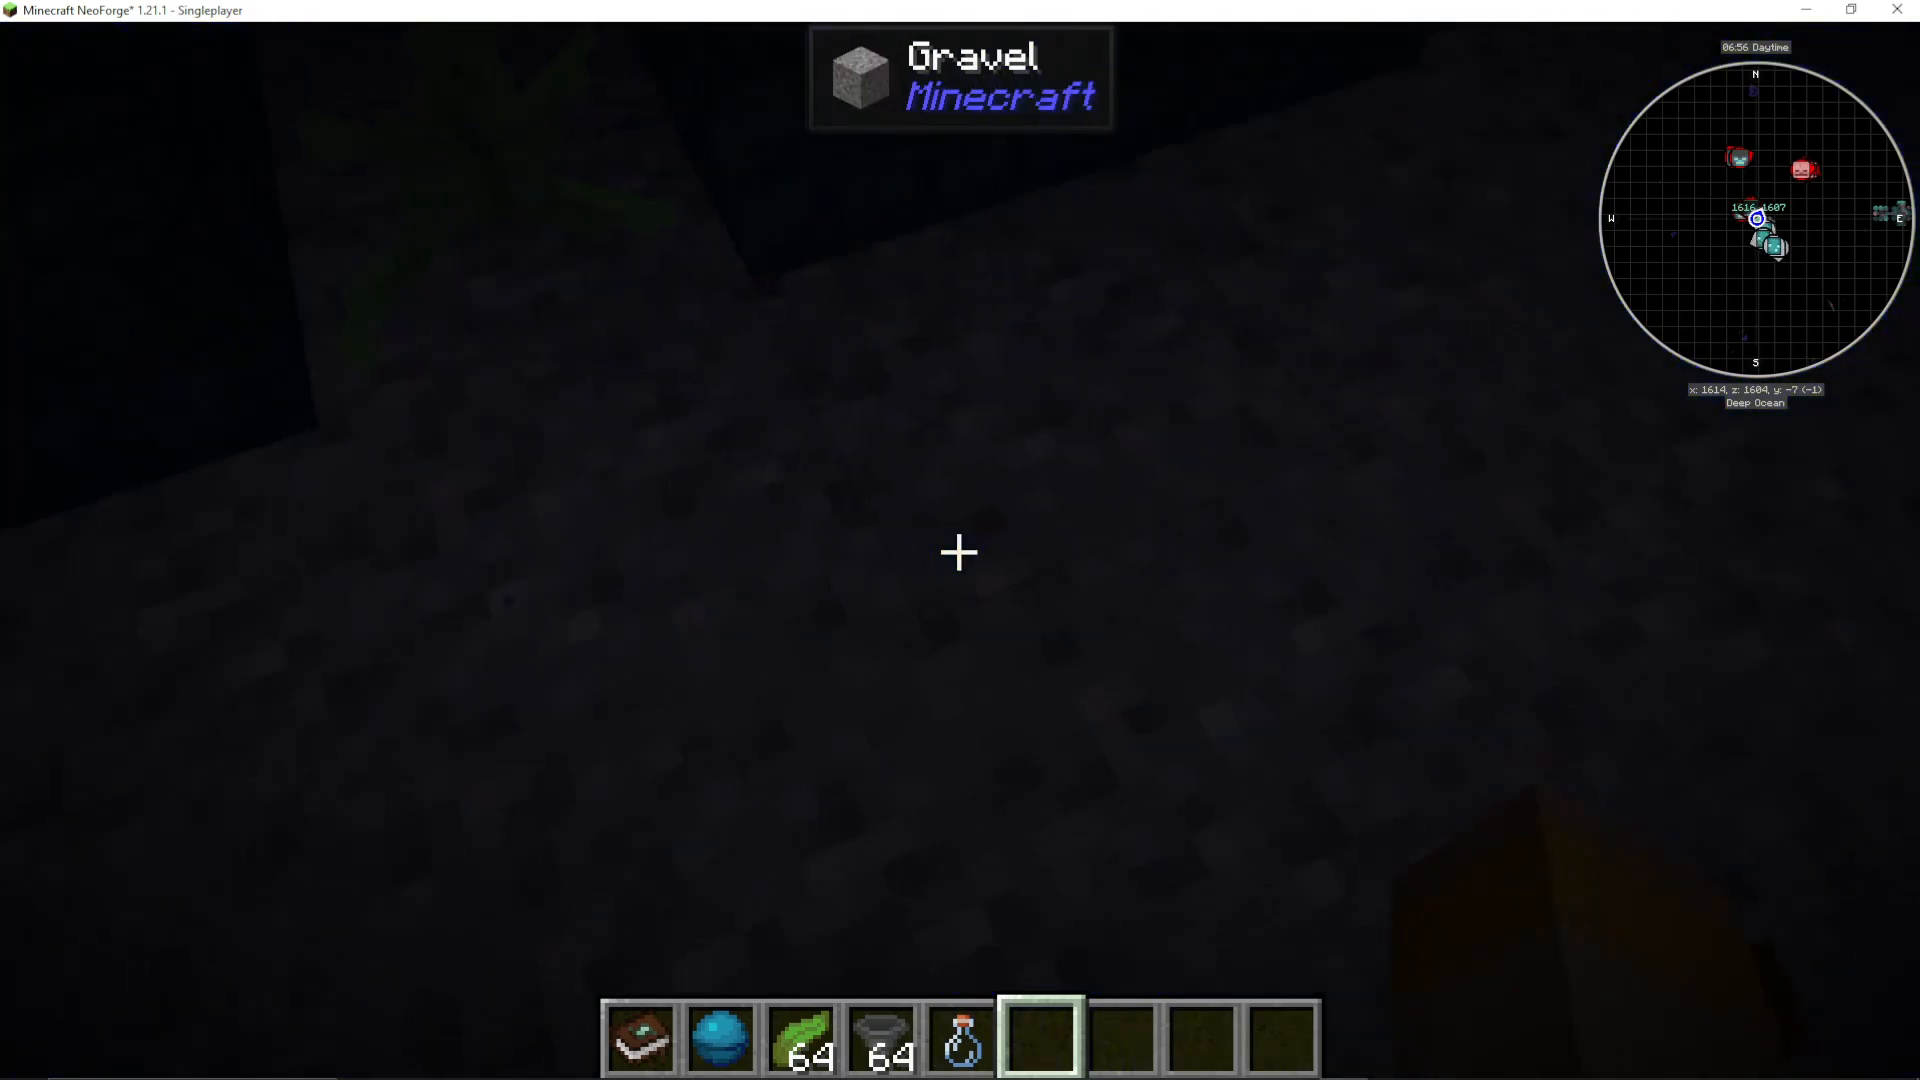
Beneath the dark prismarine ruins, you’ll find a cave or geode structure containing a large crystal. This crystal is crucial for the mod’s progression system. Do not break this crystal, as it will shatter and cannot be recovered at this stage of the game. The crystal can be recovered later through other means.
Mining Equipment and Crowbars
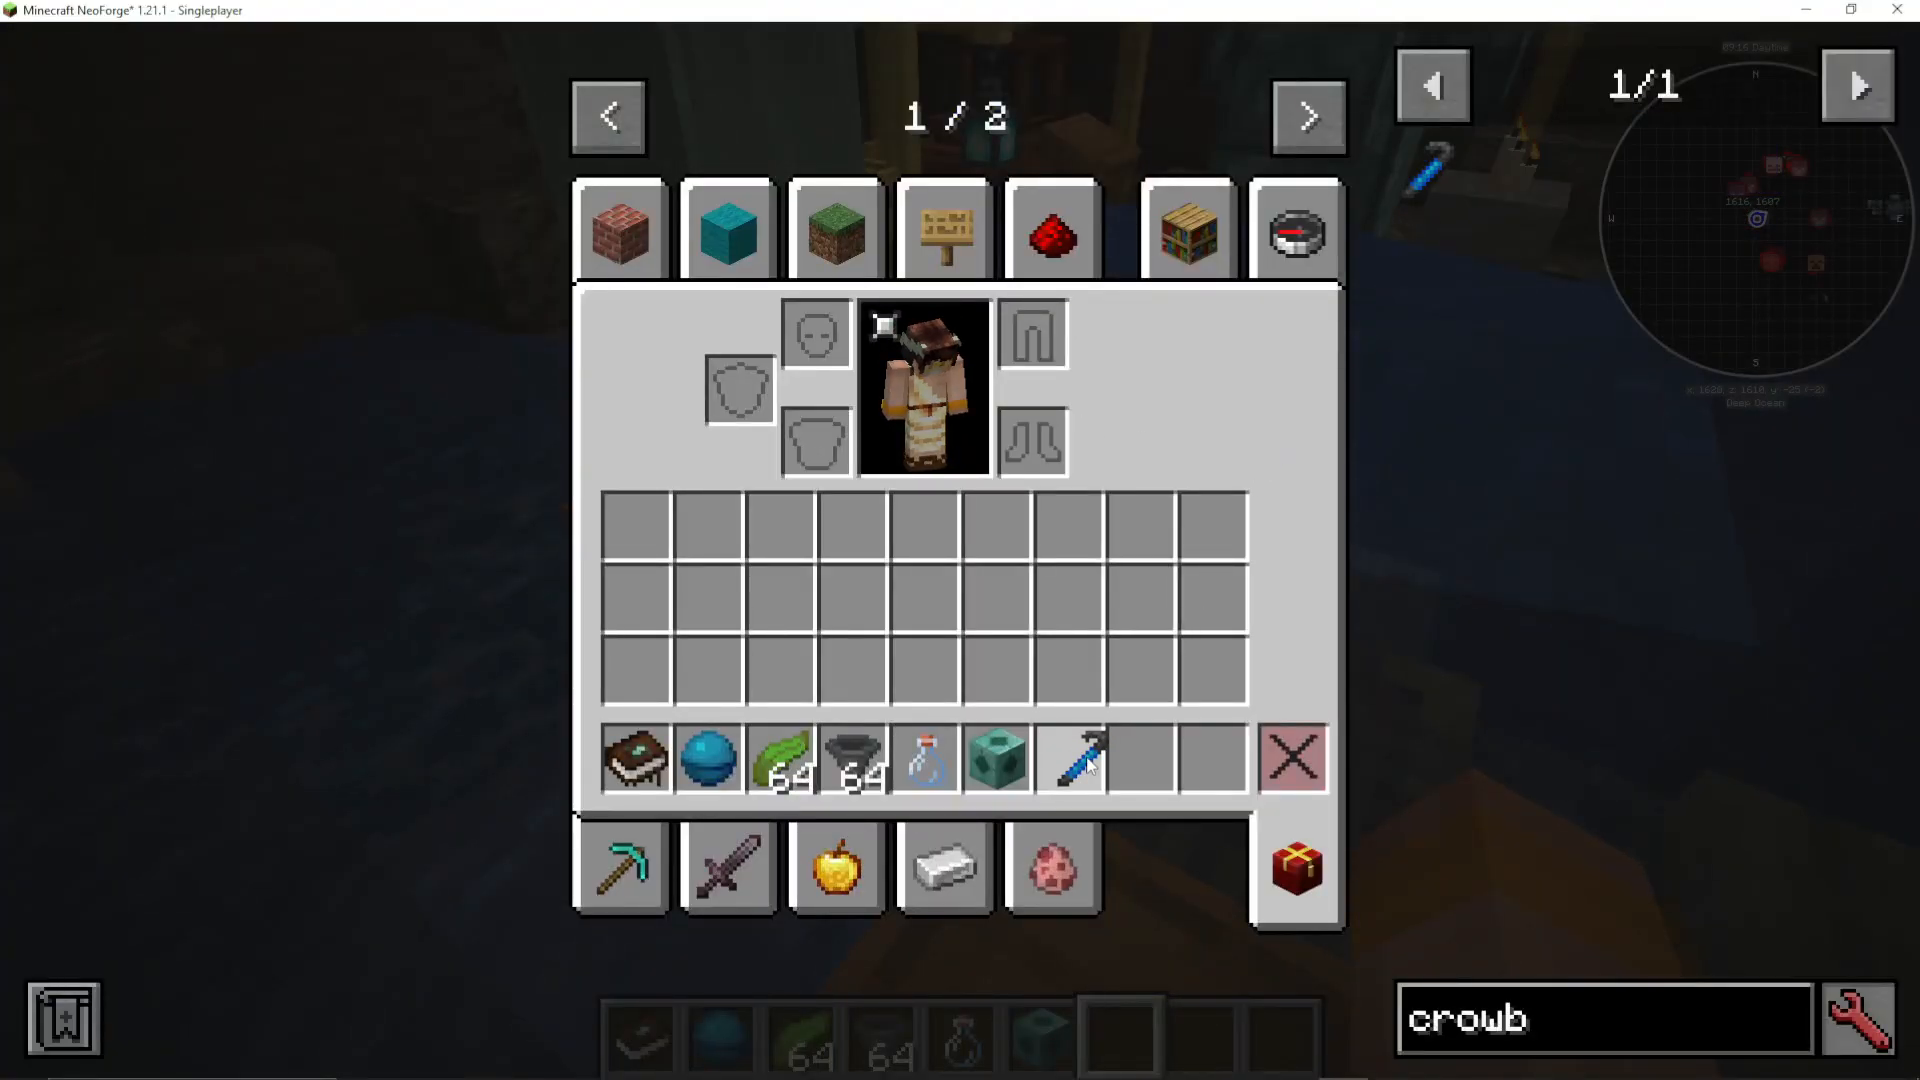
Before fully exploring the ruins, craft a crowbar using blue dye and cast iron rods. Cast iron ingots are made by blasting regular iron ingots in a blast furnace. The crowbar is essential for opening rusty crates found throughout the deep sea ruins.
Looting Underwater Crates
Use your crowbar to open regular crates and barrels found in the ruins. These containers may contain:
Brown polymer
Aquamarine steel compounds
Prismarine shards
Pressurized air bottles
Cast iron ingots
Sea pickles
Rusty gears
However, you’ll also encounter rusty crates that cannot be opened with a crowbar alone. These require a special treatment process.
Removing Rust with Etching Acid
Creating an Etching Acid Bucket
To remove rust from items and crates, you’ll need etching acid. The easiest initial method is to craft an etching acid bucket using these materials:
Poisonous potato
Gunpowder
Bone meal
Water bucket
Pufferfish
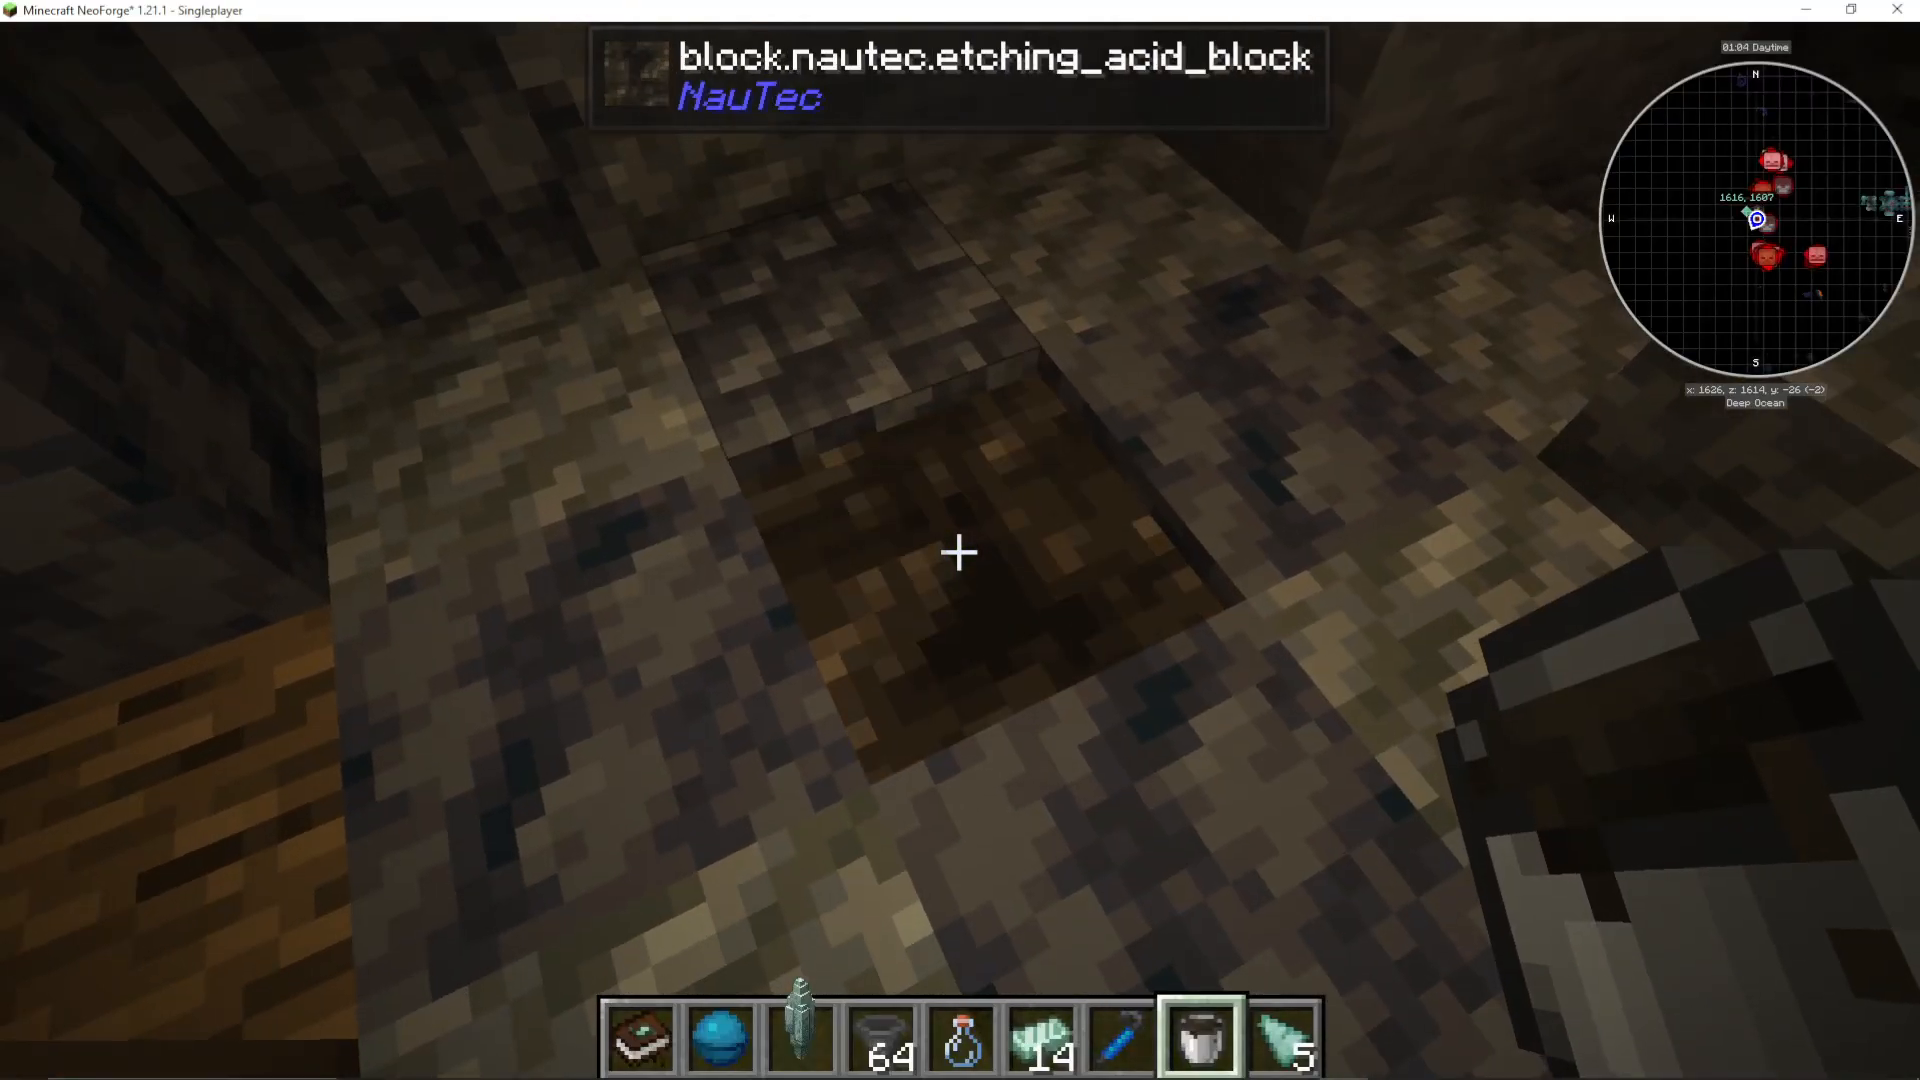
Place these items in the crafting grid to create an etching acid bucket. Once created, pour the acid onto the ground (which admittedly looks quite disgusting) and throw rusty items into it to remove the rust.
Recovering Rusty Components
Items submerged in etching acid will be cleaned after approximately 8 seconds. This process transforms:
Rusty gears → Gears
Rusty crates → Normal crates (which can then be opened with a crowbar)
Burnt coils → Purified components
Ancient valves → Valves
Broken whisks → Whisks (with cast iron nuggets)
Powering Equipment with the Aquatic Catalyst
Setting Up Your Laser System
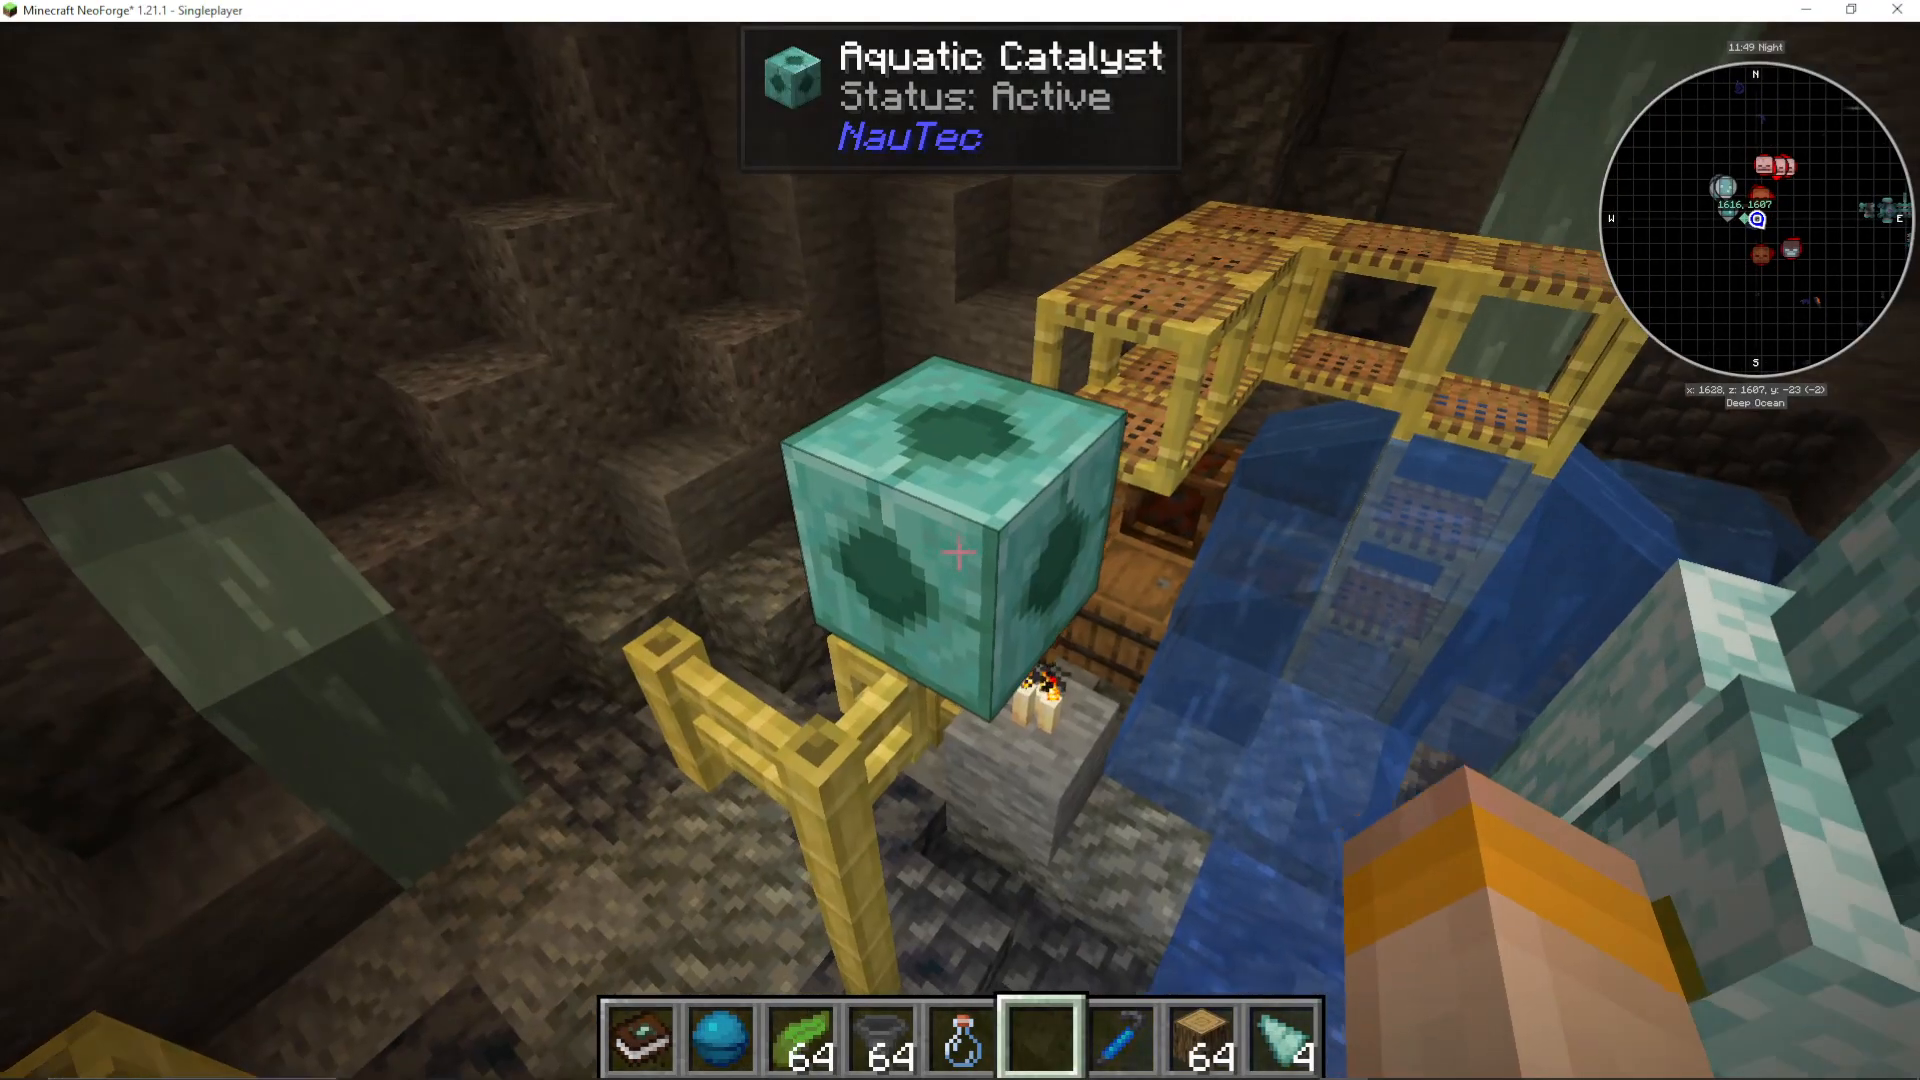
The aquatic catalyst is the heart of Nautech’s power system. To activate it and harness laser power:
Position your aquatic catalyst on top of the crystal geode, aligned with the crystal’s upper face
Right-click the back of the catalyst with a heart of the sea
Place a hopper on top of the catalyst
Fill the hopper with kelp to power the system
Important: The catalyst must be positioned at the exact height shown in the tutorial. Placing it too low will prevent the laser from functioning. The developer has indicated this restriction may be changed in future updates to allow placement at any height.
Laser Power Output
Once activated, the catalyst will display “remaining duration” information and show it’s “active.” A laser beam will emerge from the crystal. The catalyst consumes approximately one kelp every five seconds and produces 7 power units. You can stack multiple catalysts to increase power output for more demanding tasks.
Transforming Materials with Lasers
Creating Aquamarine Steel Ingots
Aquamarine steel compounds can be found in underwater crates or crafted using raw iron and prismarine crystals (1 raw iron + 1 prismarine crystal = 2 aquamarine steel compounds). To upgrade these compounds into ingots:
Throw aquamarine steel compounds into the laser beam
Watch as smoke particles indicate the transformation
Collect the resulting aquamarine steel ingots
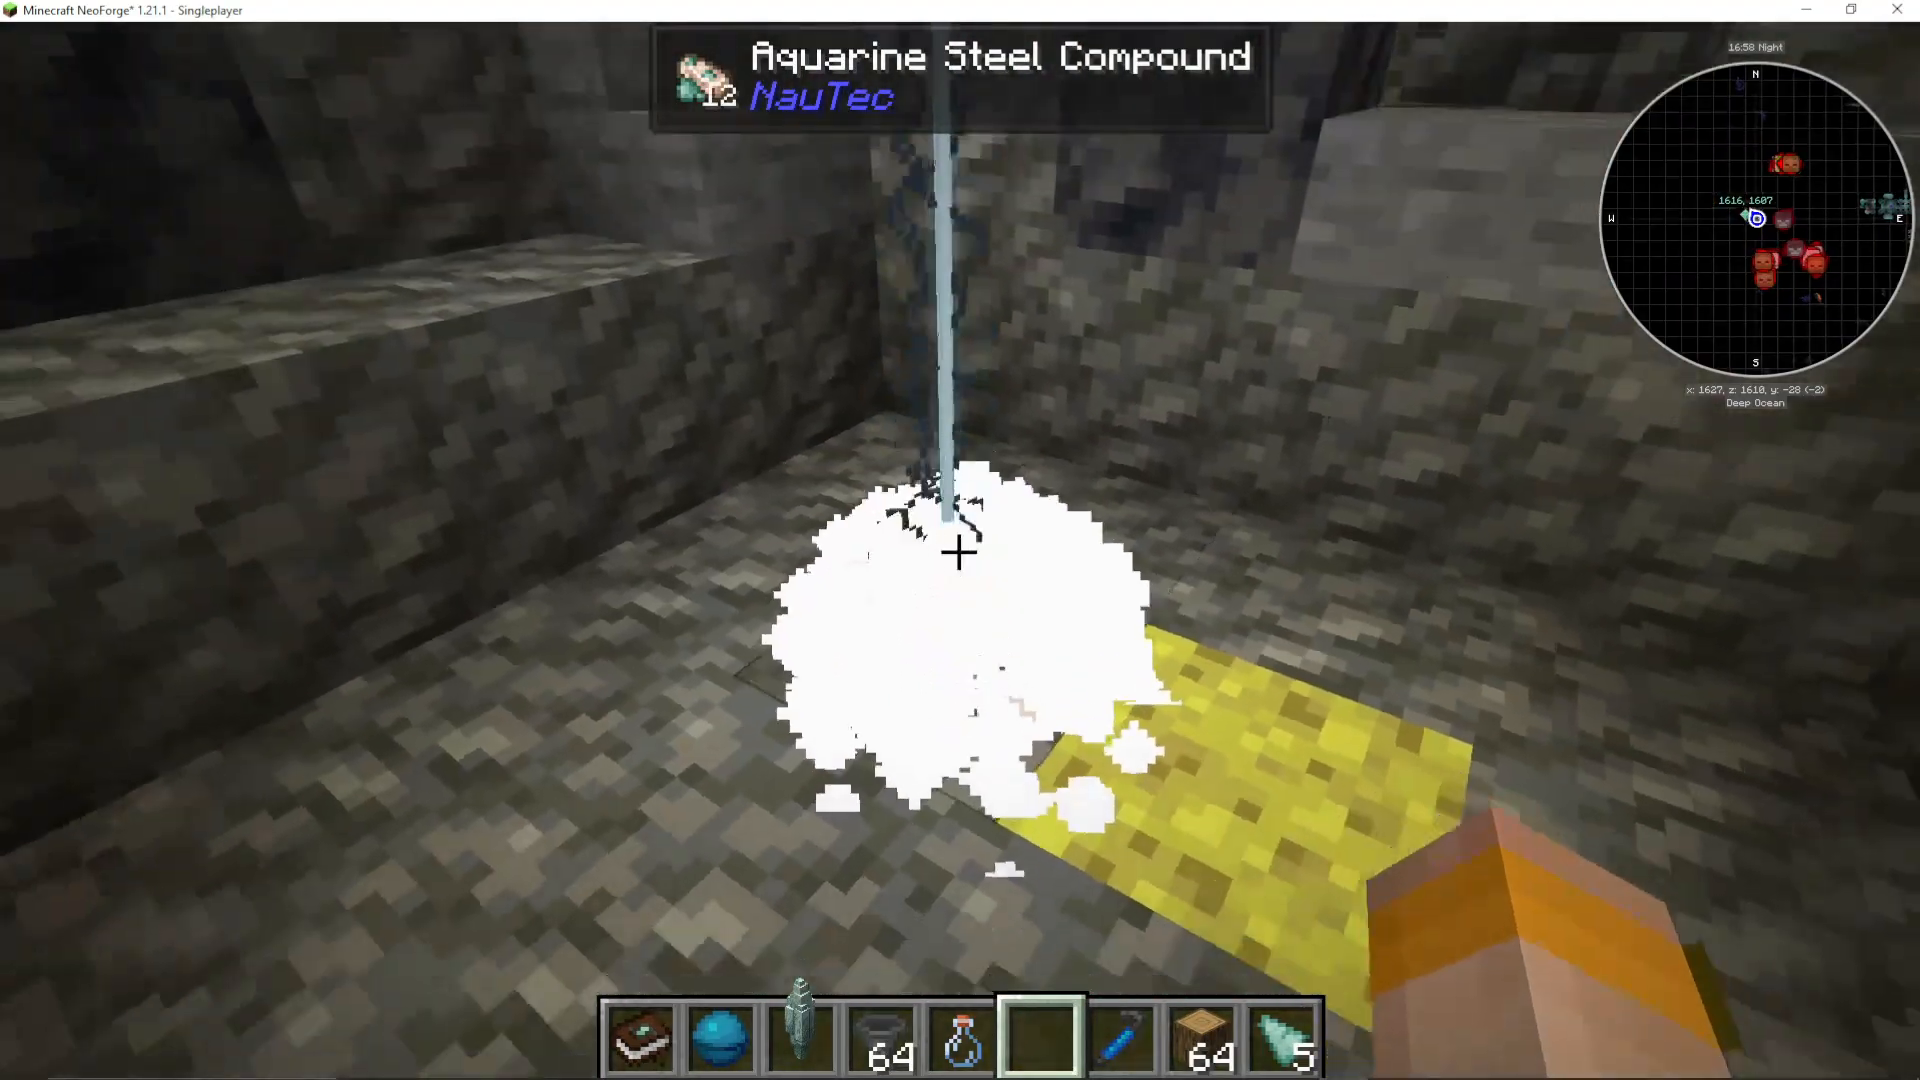
This laser transformation is the key to progressing through Nautech’s technology tree.
Essential Tools and Equipment
The Prism Monocle
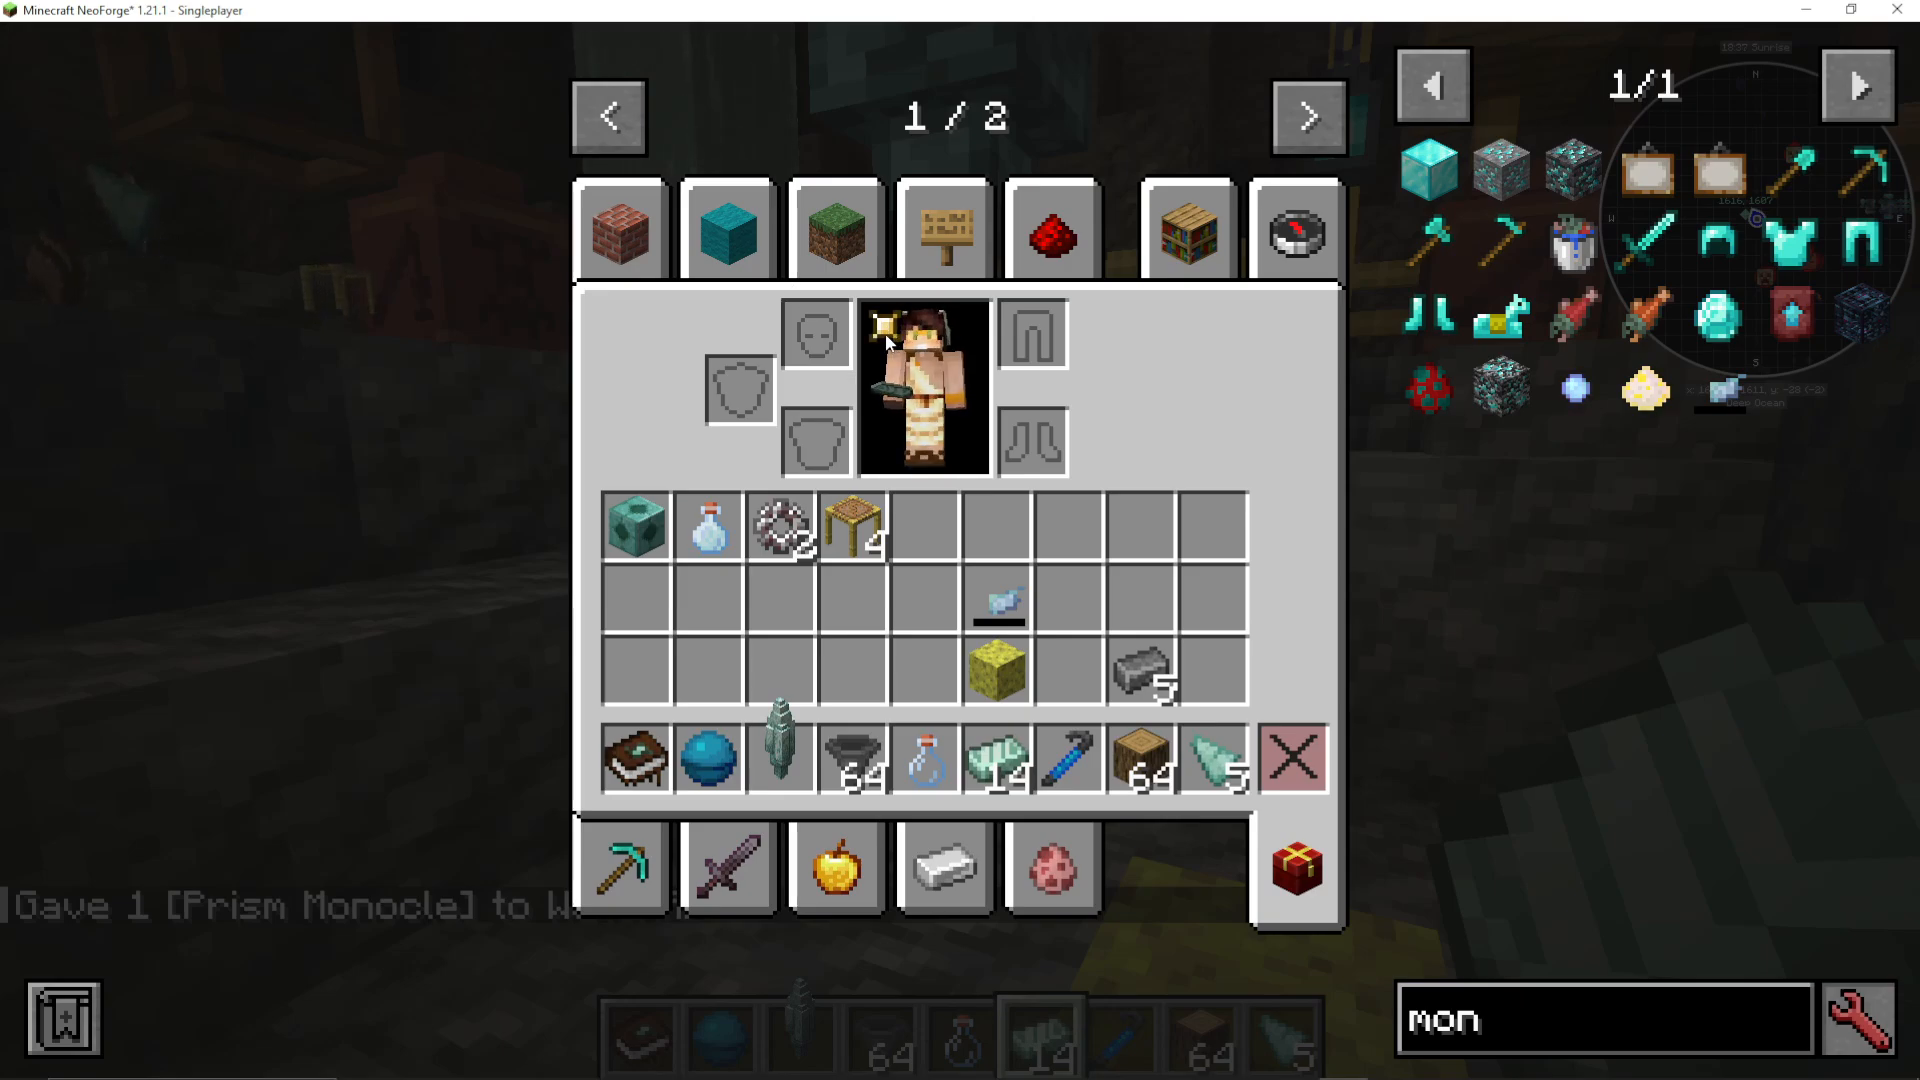
Craft a prism monocle using one prismarine crystal and four aquamarine steel ingots. This monocle reveals information about Nautech blocks and systems when you look at them. It can be equipped in either your monocle slot or head slot in your inventory. The monocle accepts a battery in a dedicated battery slot, which will passively charge your weapons and armor.
The Aquamarine Steel Wrench
This essential tool is crafted from two aquamarine steel ingots and is required to configure and activate various Nautech machines and multiblocks.
The Mixer: Creating Advanced Liquids
Crafting the Mixer
The mixer is a crucial machine for creating the liquids needed to unlock tool abilities. You’ll need:
Polished prismarine
Aquamarine steel ingot
Whisk (made from cast iron nuggets and a broken whisk)
Gear (recovered from rusty gears via etching acid)
These ancient machine components are found in underwater crates and dropped by underwater mobs like drowned and guardians.
Powering the Mixer
Place the mixer under your laser beam. The mixer requires 10 power to function. If you only have 7 power from a single catalyst, you’ll need to set up a second catalyst or increase your laser power output through other means.
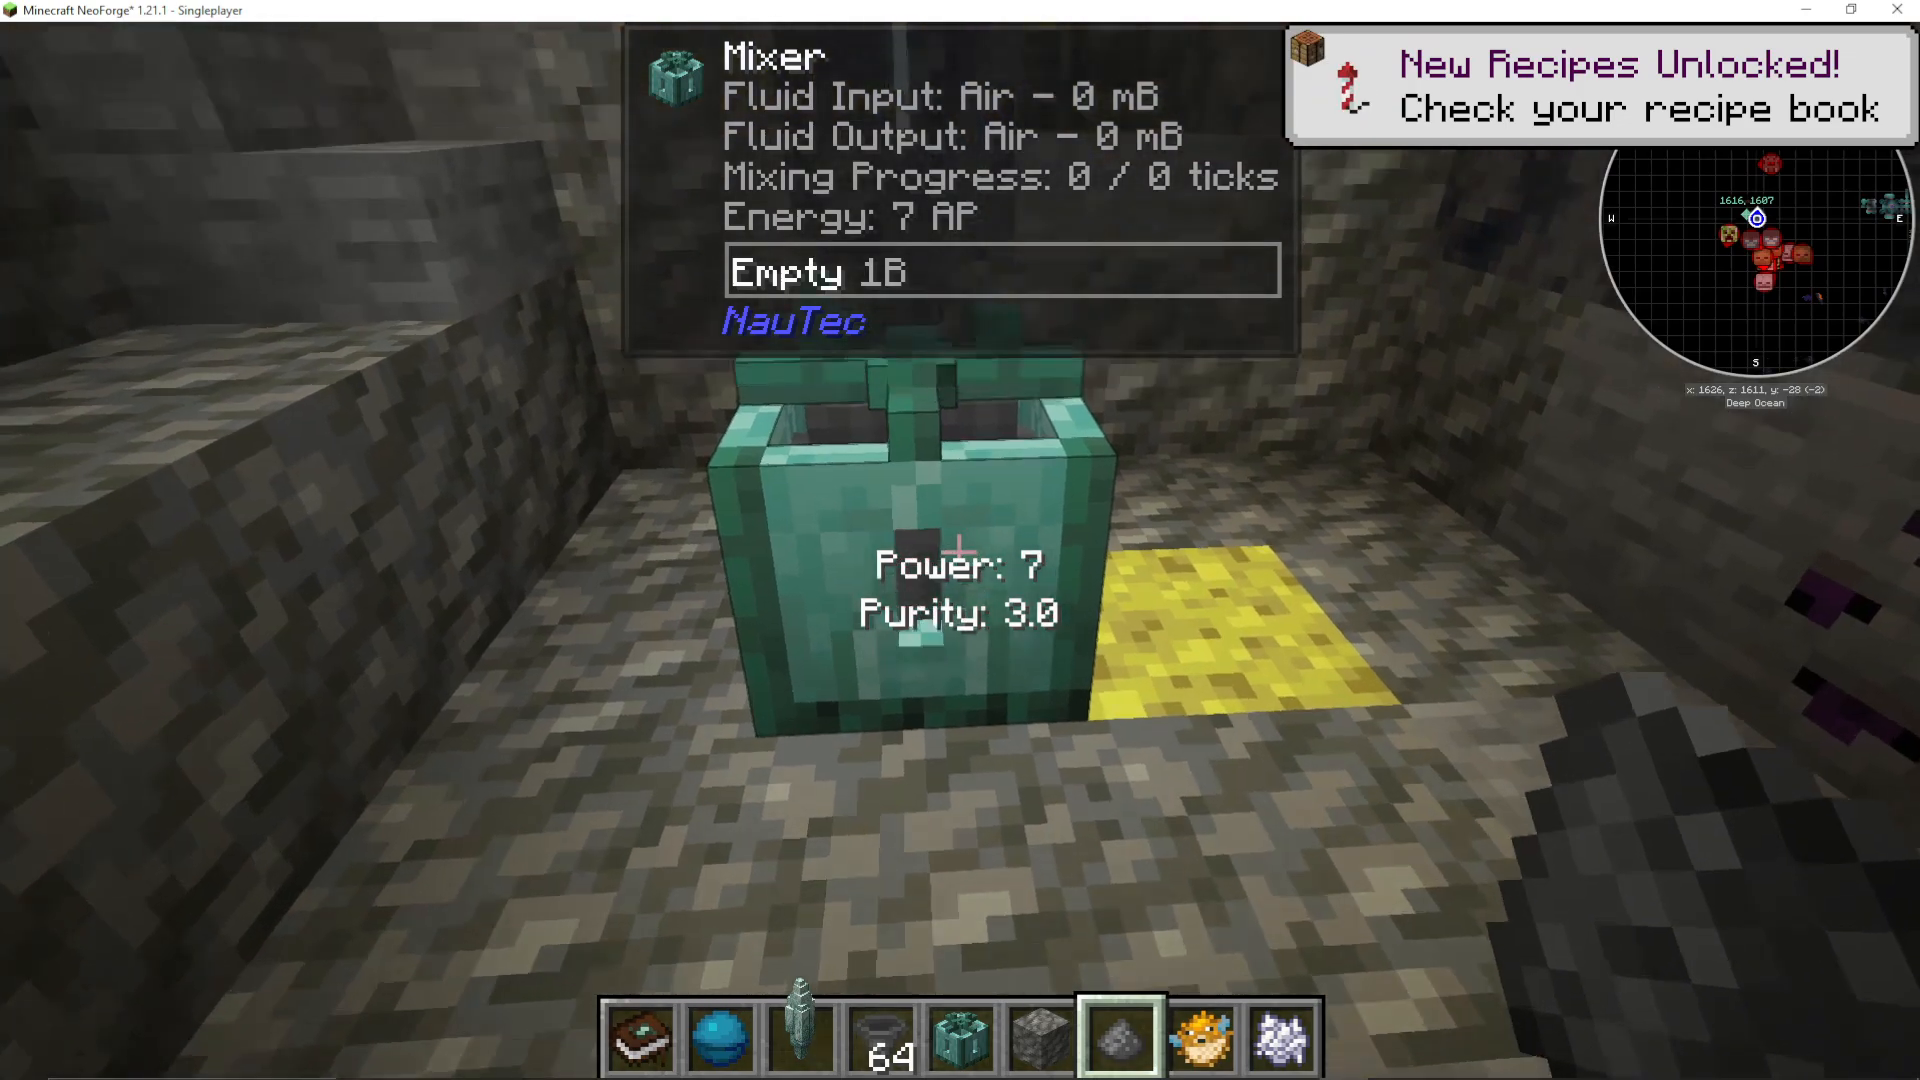
Crafting Etching Acid in the Mixer
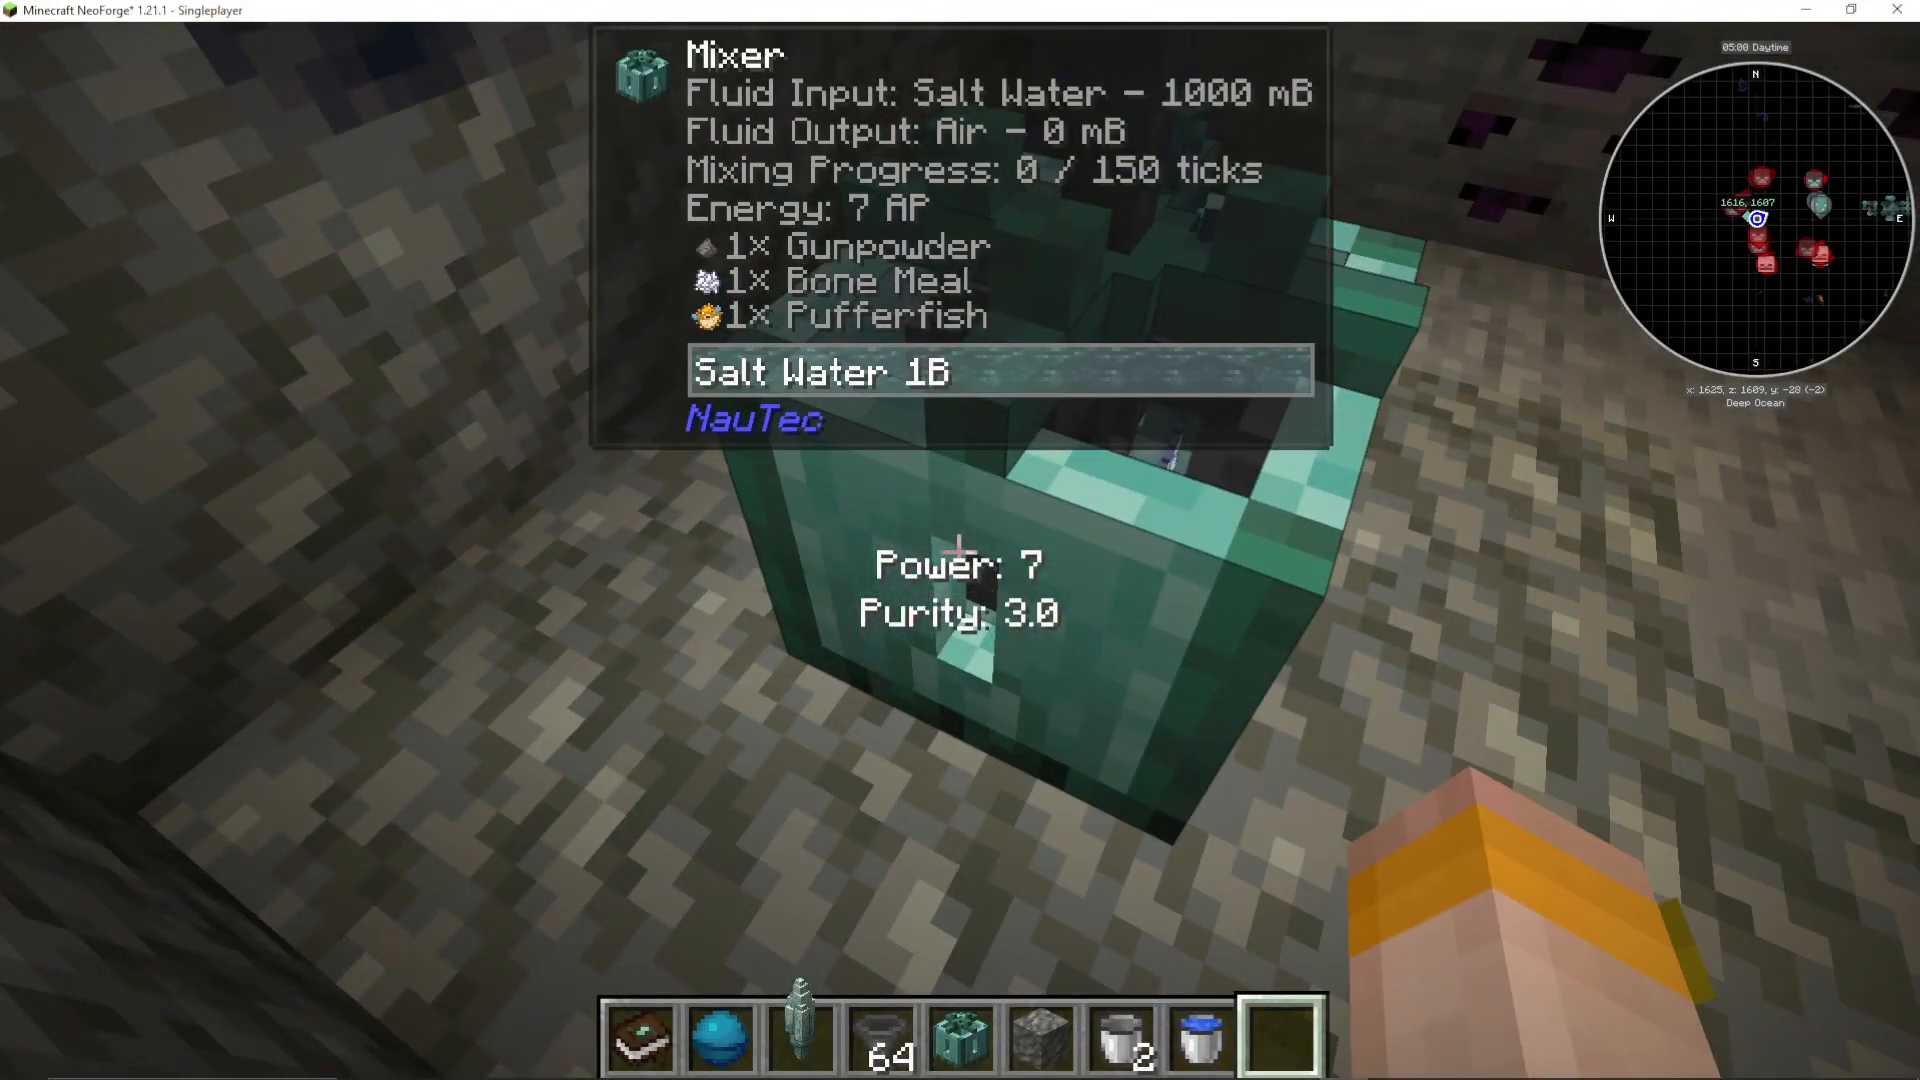
The mixer is more efficient than manual crafting for etching acid. Instead of requiring a poisonous potato, salt water, gunpowder, bone meal, and pufferfish, you can place individual ingredients on each side of the mixer:
Gunpowder (right-click on one side)
Pufferfish (right-click on another side)
Bone meal (right-click on third side)
Salt water (right-click on final side)
Salt water is obtained by filling a bucket with water in an ocean biome. The mixer will produce etching acid without requiring the poisonous potato ingredient, making it more efficient.
Creating Electrolyte Algae Serum
The mixer can also create electrolyte algae serum using:
Dried kelp
Slimeballs
Prismarine crystals
Seagrass
Salt water
This serum is essential for activating tool abilities, which we’ll cover in the next section.
Aquamarine Steel Tools and Weapons
Crafting Tools
Using aquamarine steel ingots and laser channeling coils (purified burnt coils), you can craft an impressive array of tools:
Aquamarine Steel Sword: Deals 70% more damage and spawns lightning at targets once ability is unlocked
Aquamarine Steel Axe: Chops down entire trees with ability enabled
Aquamarine Steel Hoe: Tills a 3×3 area of farmland
Aquamarine Steel Pickaxe: Mines in a 3×3 area
Aquamarine Steel Shovel: Digs in a 3×3 area
Purifying Burnt Coils
Burnt coils must be purified under the laser to create laser channeling coils. Throw burnt coils into the laser beam to purify them into functional components.
Activating Tool Abilities
Once crafted, your tools begin as basic versions without abilities. To unlock their special powers:
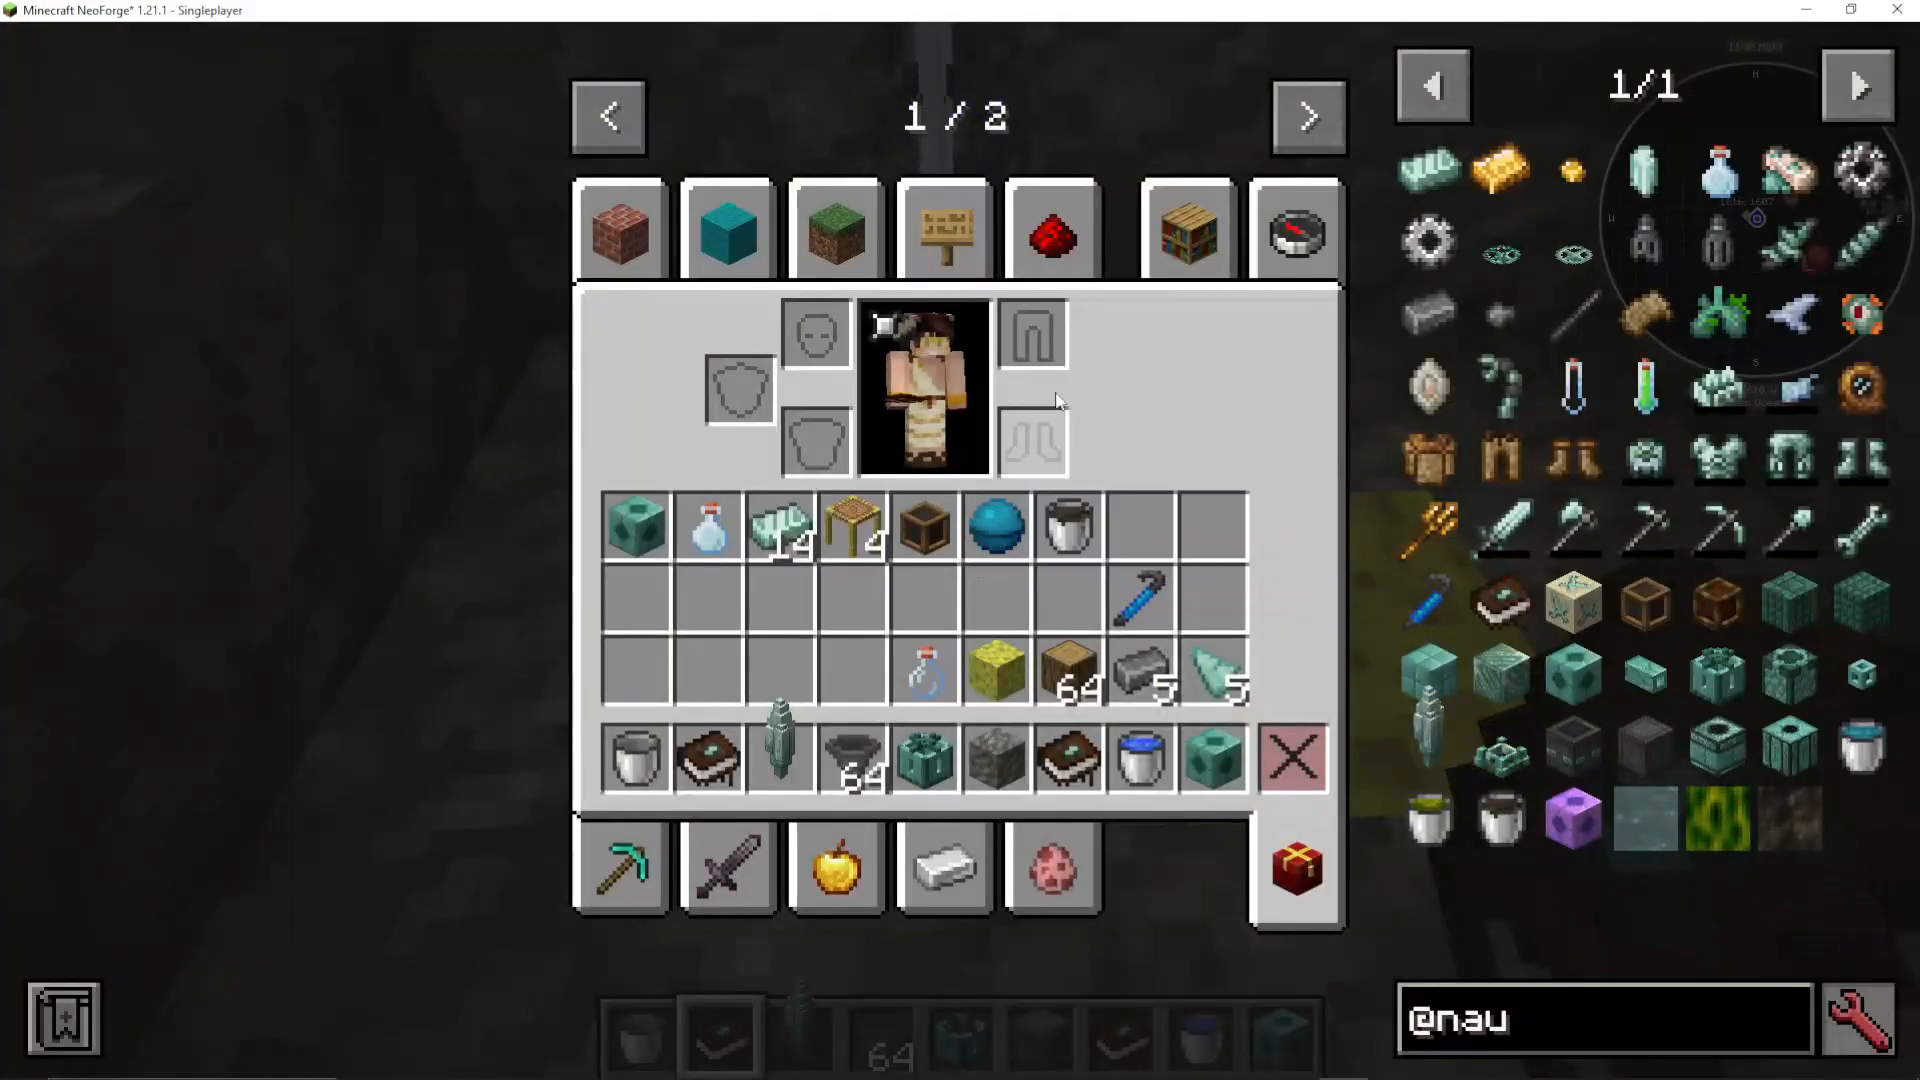
Create a bucket of electrolyte algae serum
Throw your tool into the serum
Wait for the algae to disappear (indicating the process is complete)
Retrieve your tool, which now has its ability unlocked
The tool will display “Ability: shift + right-click to enable/disable” in its description.
Creating the Charger
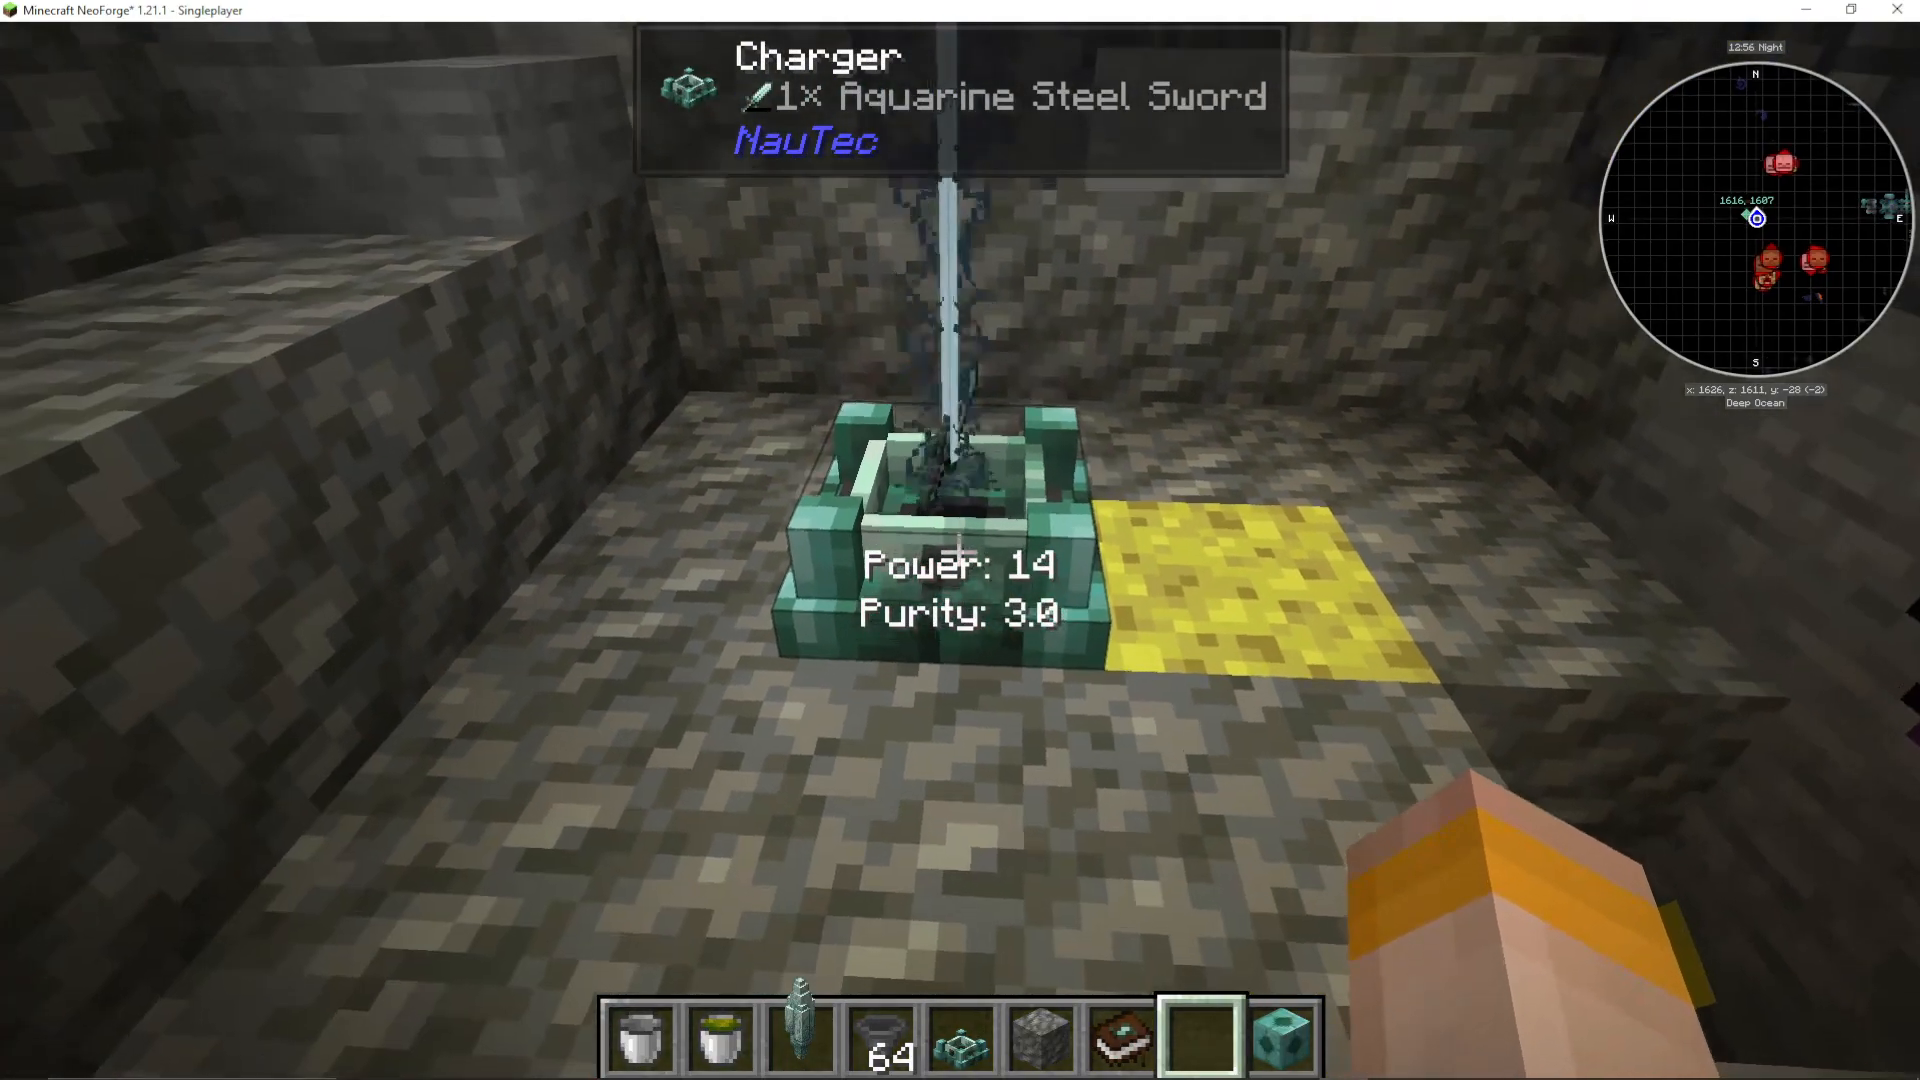
Tools need to be charged to use their abilities. Create a charger using:
Laser channeling coil
Aquamarine steel ingots
Other necessary components
Place the charger under your laser beam and right-click your tool into it. The tool will charge in approximately 5-10 seconds, as indicated by the dissipation of smoke particles around the charger.
Using Powered Tools
Once fully charged, hold the tool in your hand and press shift + right-click to toggle its ability on or off. You’ll see the tool’s icon change and a notification confirming “ability enabled/disabled.” To recharge a tool, simply place it back in the charger with the crystal providing power.
Harvesting Prismarine Crystal Shards
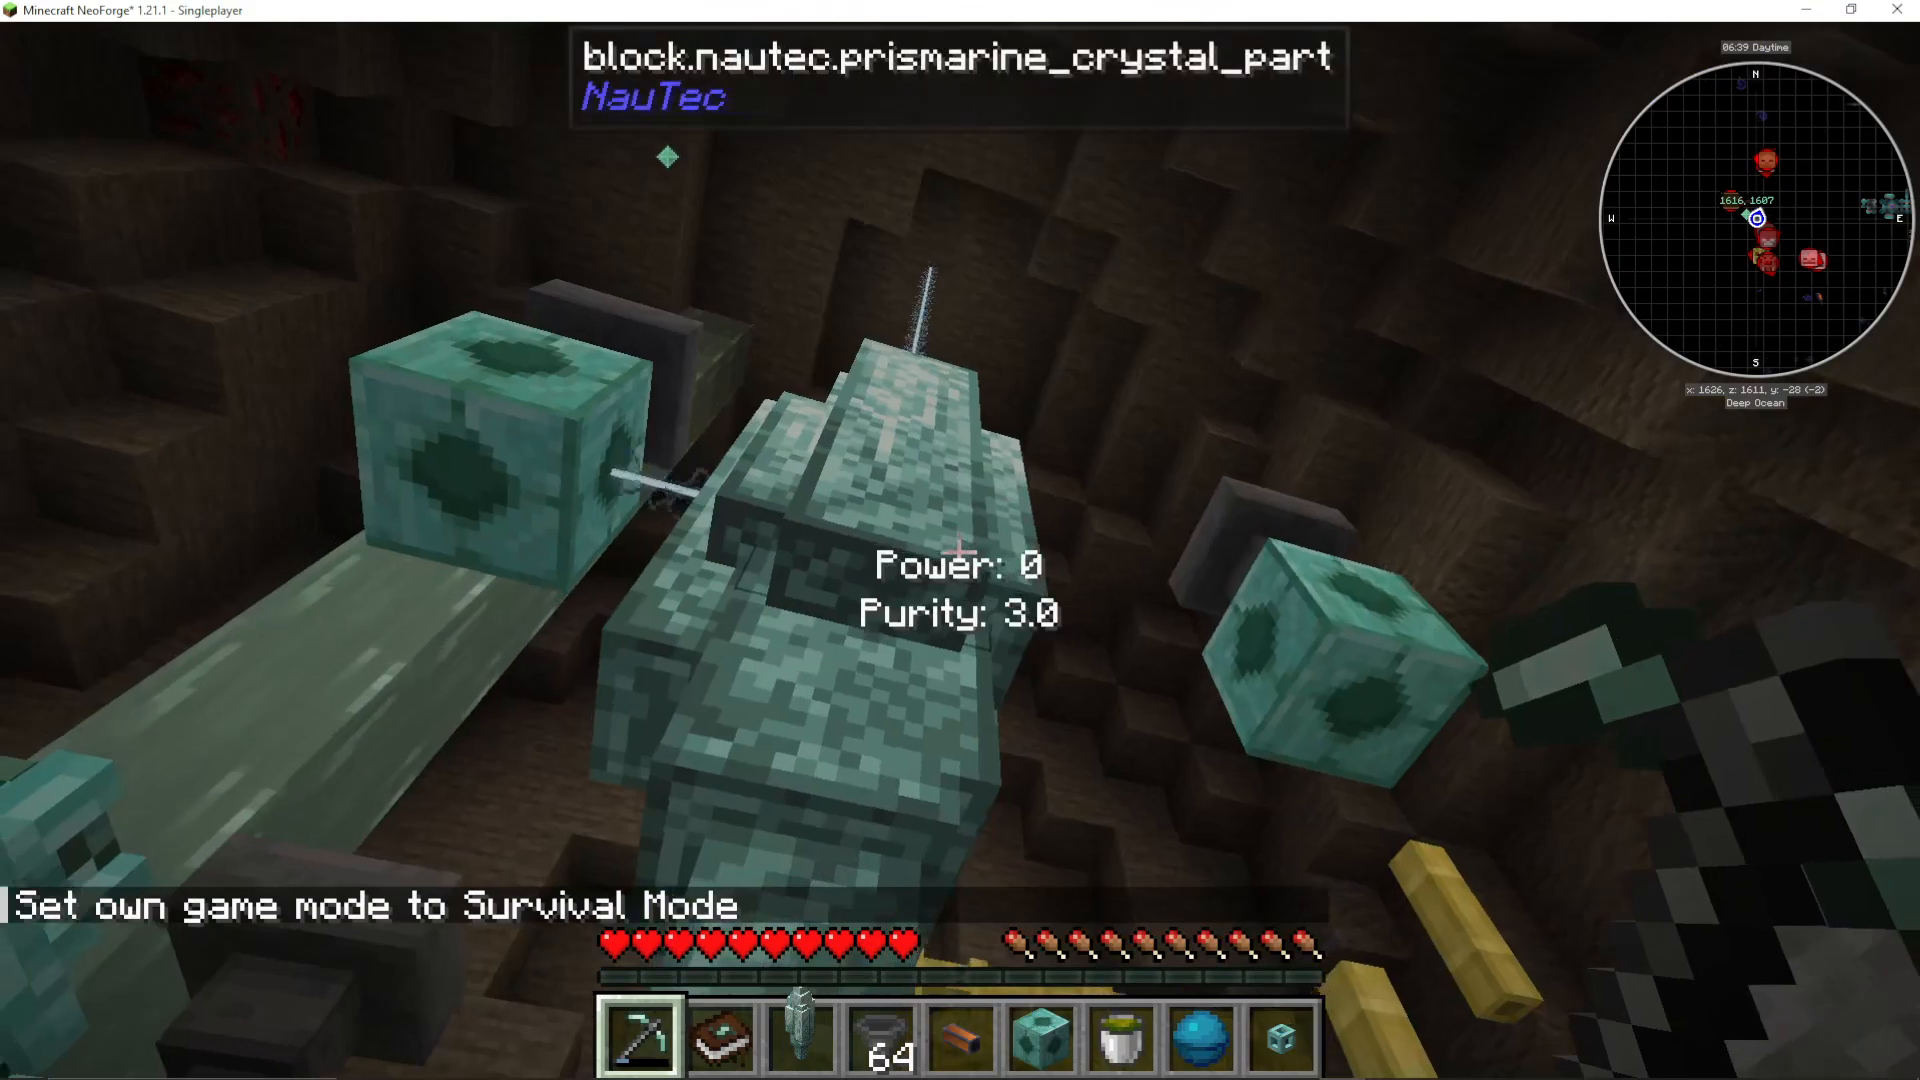
Prismarine crystal shards are a powerful crafting material required for advanced equipment. To obtain them, you must use an aquamarine steel pickaxe with its ability enabled and at least 100 power remaining.
Craft and activate an aquamarine steel pickaxe
Charge it in the charger until it has more than 100 power
Ensure the ability is enabled (shift + right-click)
Mine the central crystal with your pickaxe
Warning: If the pickaxe has less than 100 power or the ability is not enabled, you will destroy the crystal without recovering the shards. A single crystal can yield approximately six prismarine crystal shards.
Uses for Prismarine Crystal Shards
Crystal shards enable crafting of:
Long-distance lasers (transmit beams up to 64 blocks away)
Aquamarine steel armor (chest plate, helmet, etc.)
Prismatic batteries
Prismatic batteries can be charged in the charger and placed in your monocle’s battery slot to passively charge your weapons and armor.
Advanced Power Distribution: Laser Junctions and Relays
Extending Laser Range with Relays
Prismarine laser relays allow you to extend the range of your laser beams. By default, lasers travel approximately 16 blocks. Each relay extends this range significantly. When placing relays, ensure the arrow on the block points in the direction you want the laser to travel.
Splitting Power with Laser Junctions
Laser junctions enable you to split a single laser beam into multiple directions. A junction is crafted with:
Heart of the sea
Prismarine laser relays
Configure the junction using your aquamarine steel wrench:
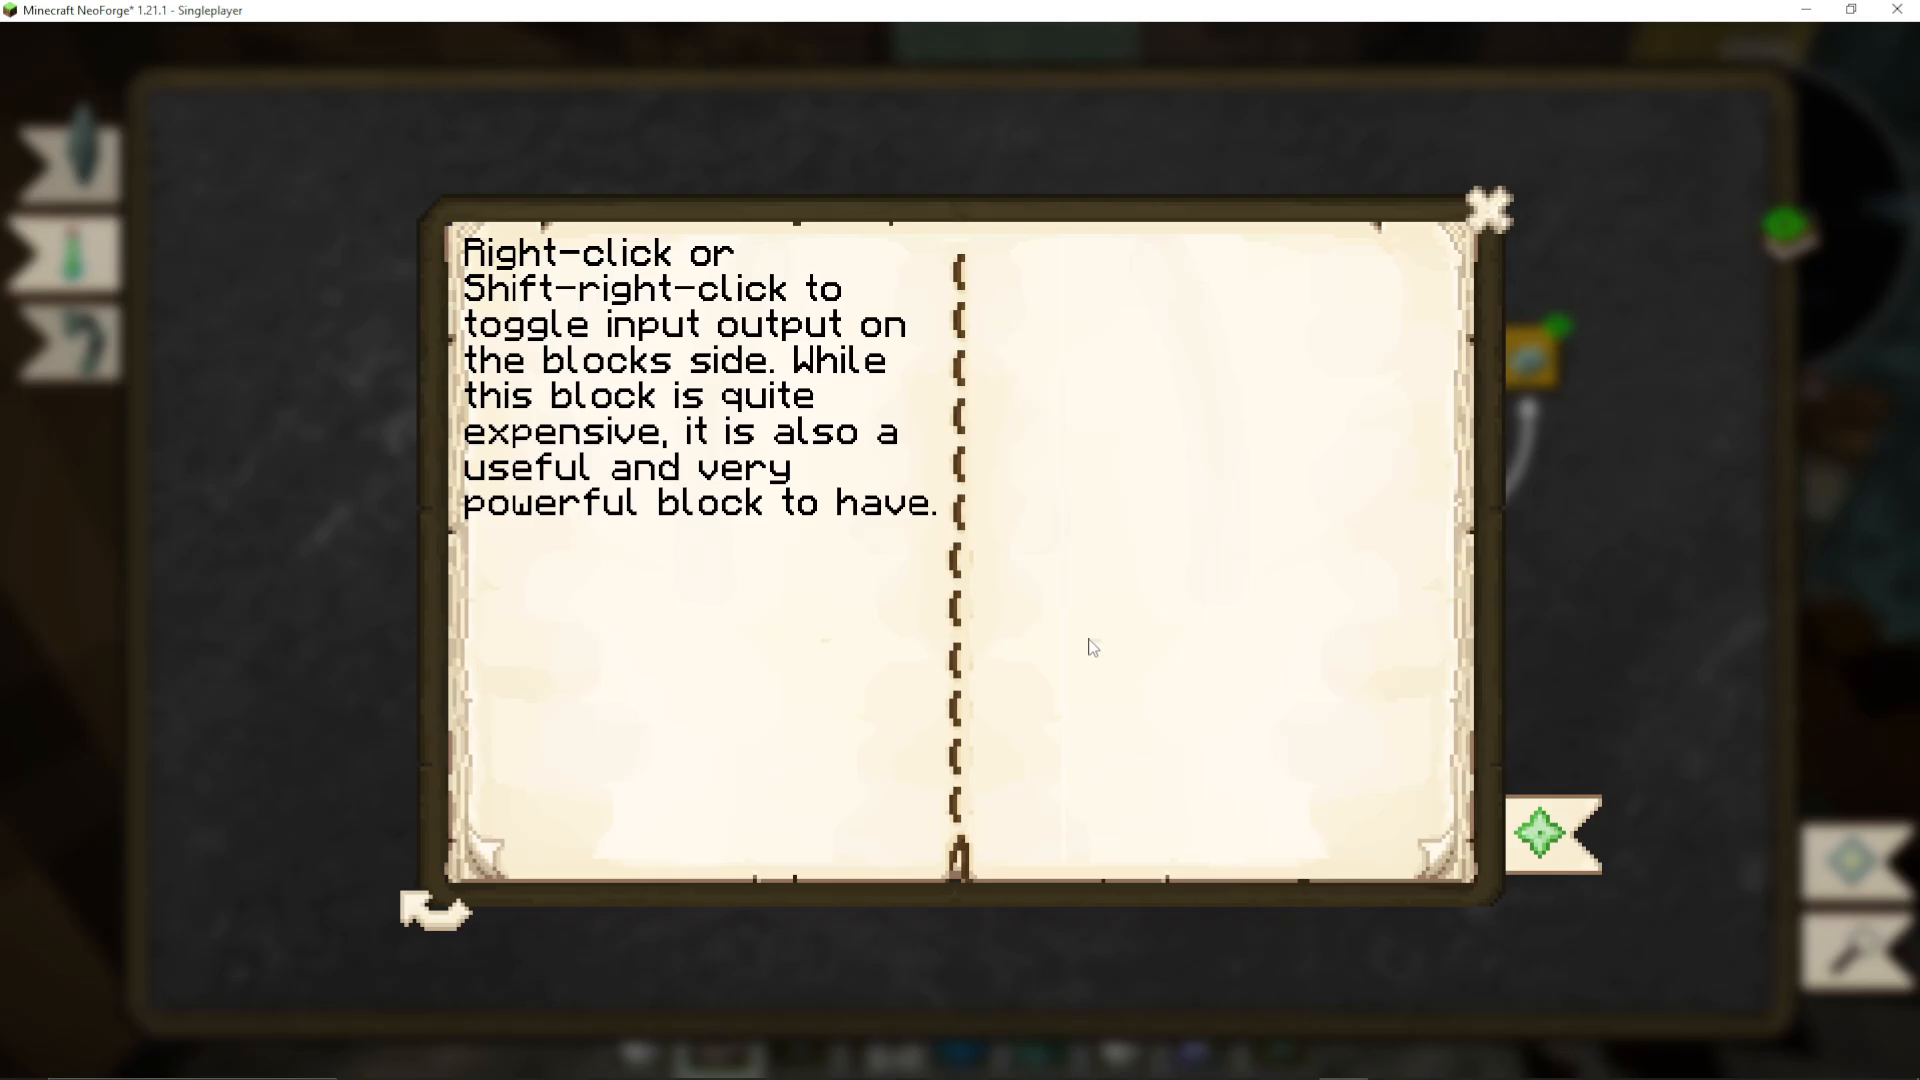
Right-click sides to designate them as inputs
Shift + right-click sides to designate them as outputs
This allows you to combine multiple catalysts’ power (each producing 7 power) into machines requiring higher power thresholds.
Automating Salt Water Production
Building the Deep Sea Drain
The deep sea drain automates salt water collection. It requires:
Eight deep sea drain walls (made from cast iron)
One deep sea drain center (made with aquamarine steel ingots and a valve)
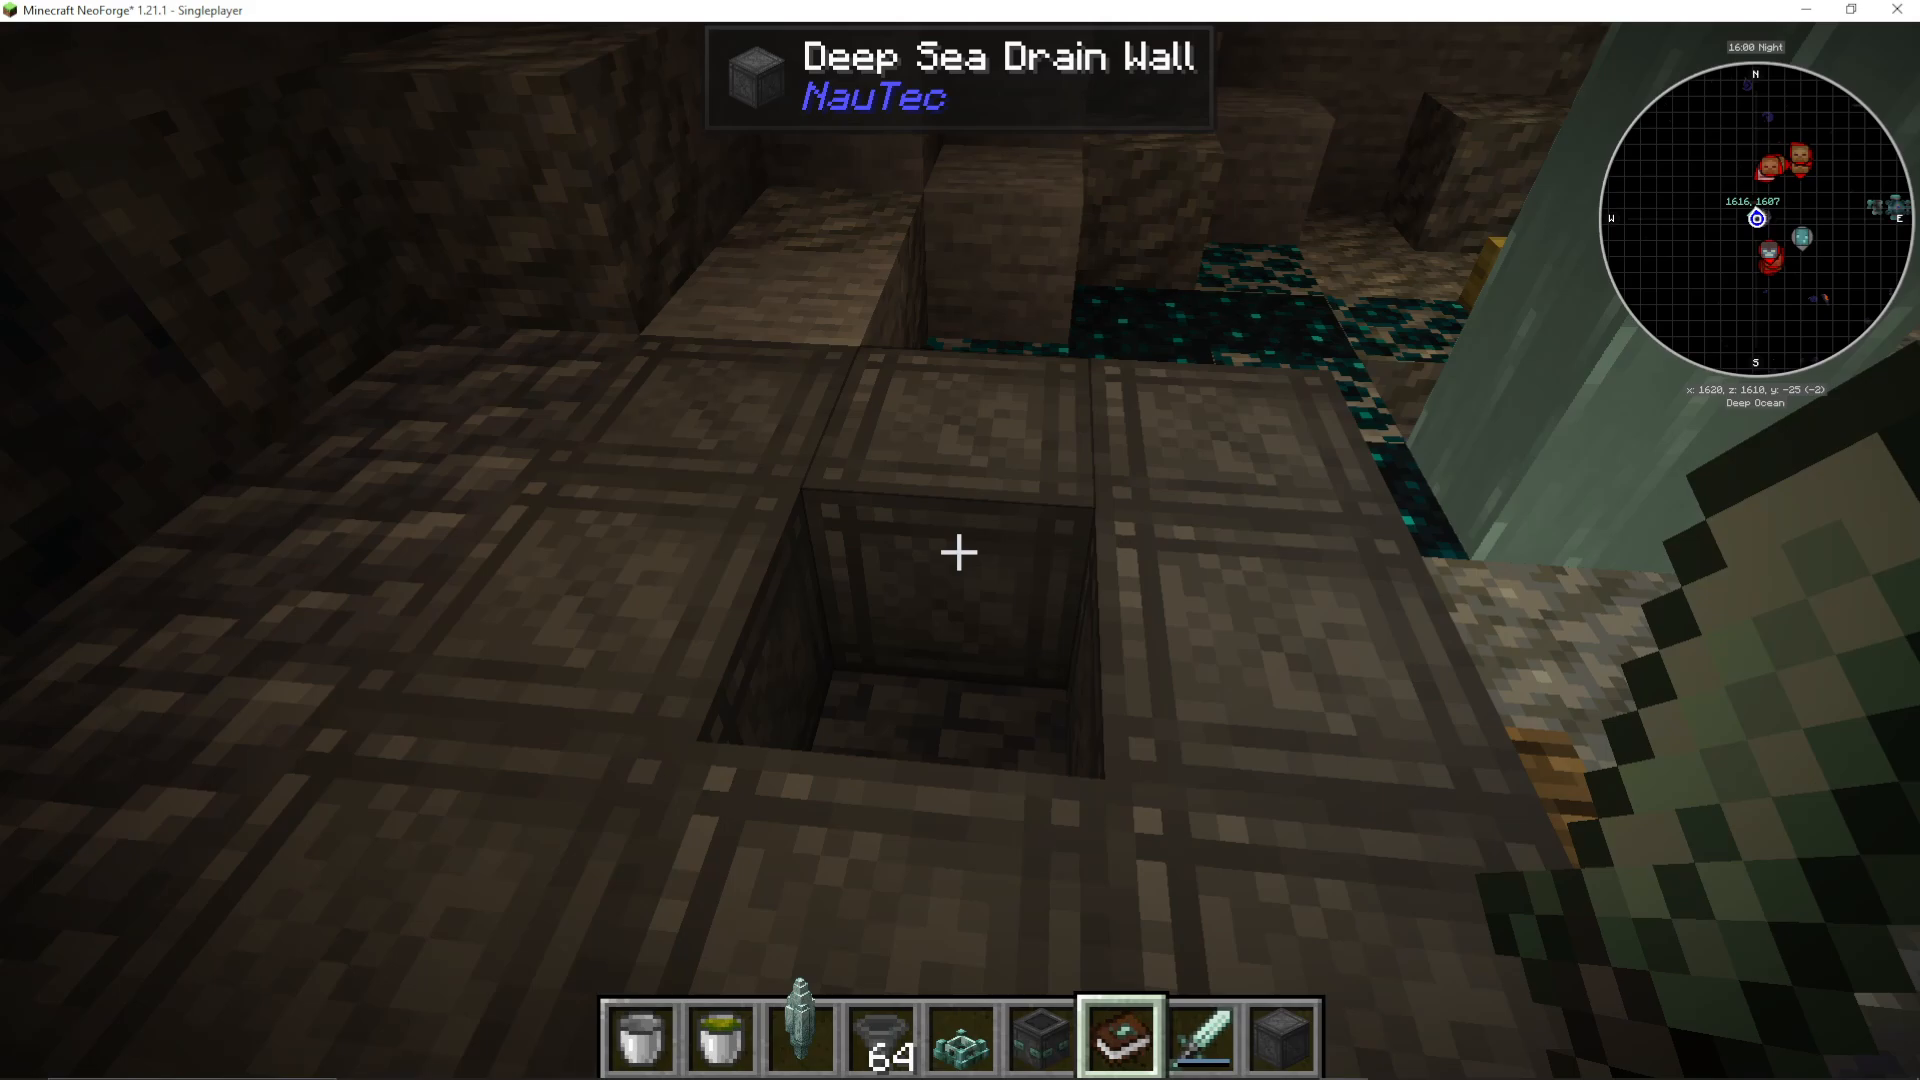
Arrange the walls in a 3×3 pattern with the drain in the center.
Powering the Deep Sea Drain
The drain requires 20 power to function. Activate it by:
Right-clicking the center with an aquamarine steel wrench
Right-clicking with the wrench to select which side receives power input
Connecting your laser junctions and relays to that input side
Critical Requirement: The drain only functions in ocean biomes. It must have water above every block in its 3×3 footprint. Shift + right-click the center with your wrench to open or close the drain’s collection lid.
Collecting Salt Water
Once powered and operational, the drain will continuously produce salt water. You can collect it by:
Right-clicking a bucket into the drain to manually collect buckets
Attaching fluid pipes (from mods like Create or Applied Energistics) to the bottom to automate collection into tanks
Body Augmentation with the Augmentation Station
Building the Multiblock Structure
The augmentation station is a powerful multiblock that allows you to implant cybernetic augmentations into your character. To construct it:
Place an augmentation station block in the center
Surround it with polished prismarine in all four cardinal directions
Place aquamarine steel blocks in the four diagonal positions
Add four augmentation station extensions (the recipe yields 2, so craft twice)
Right-click the center block with an aquamarine steel wrench to complete the multiblock
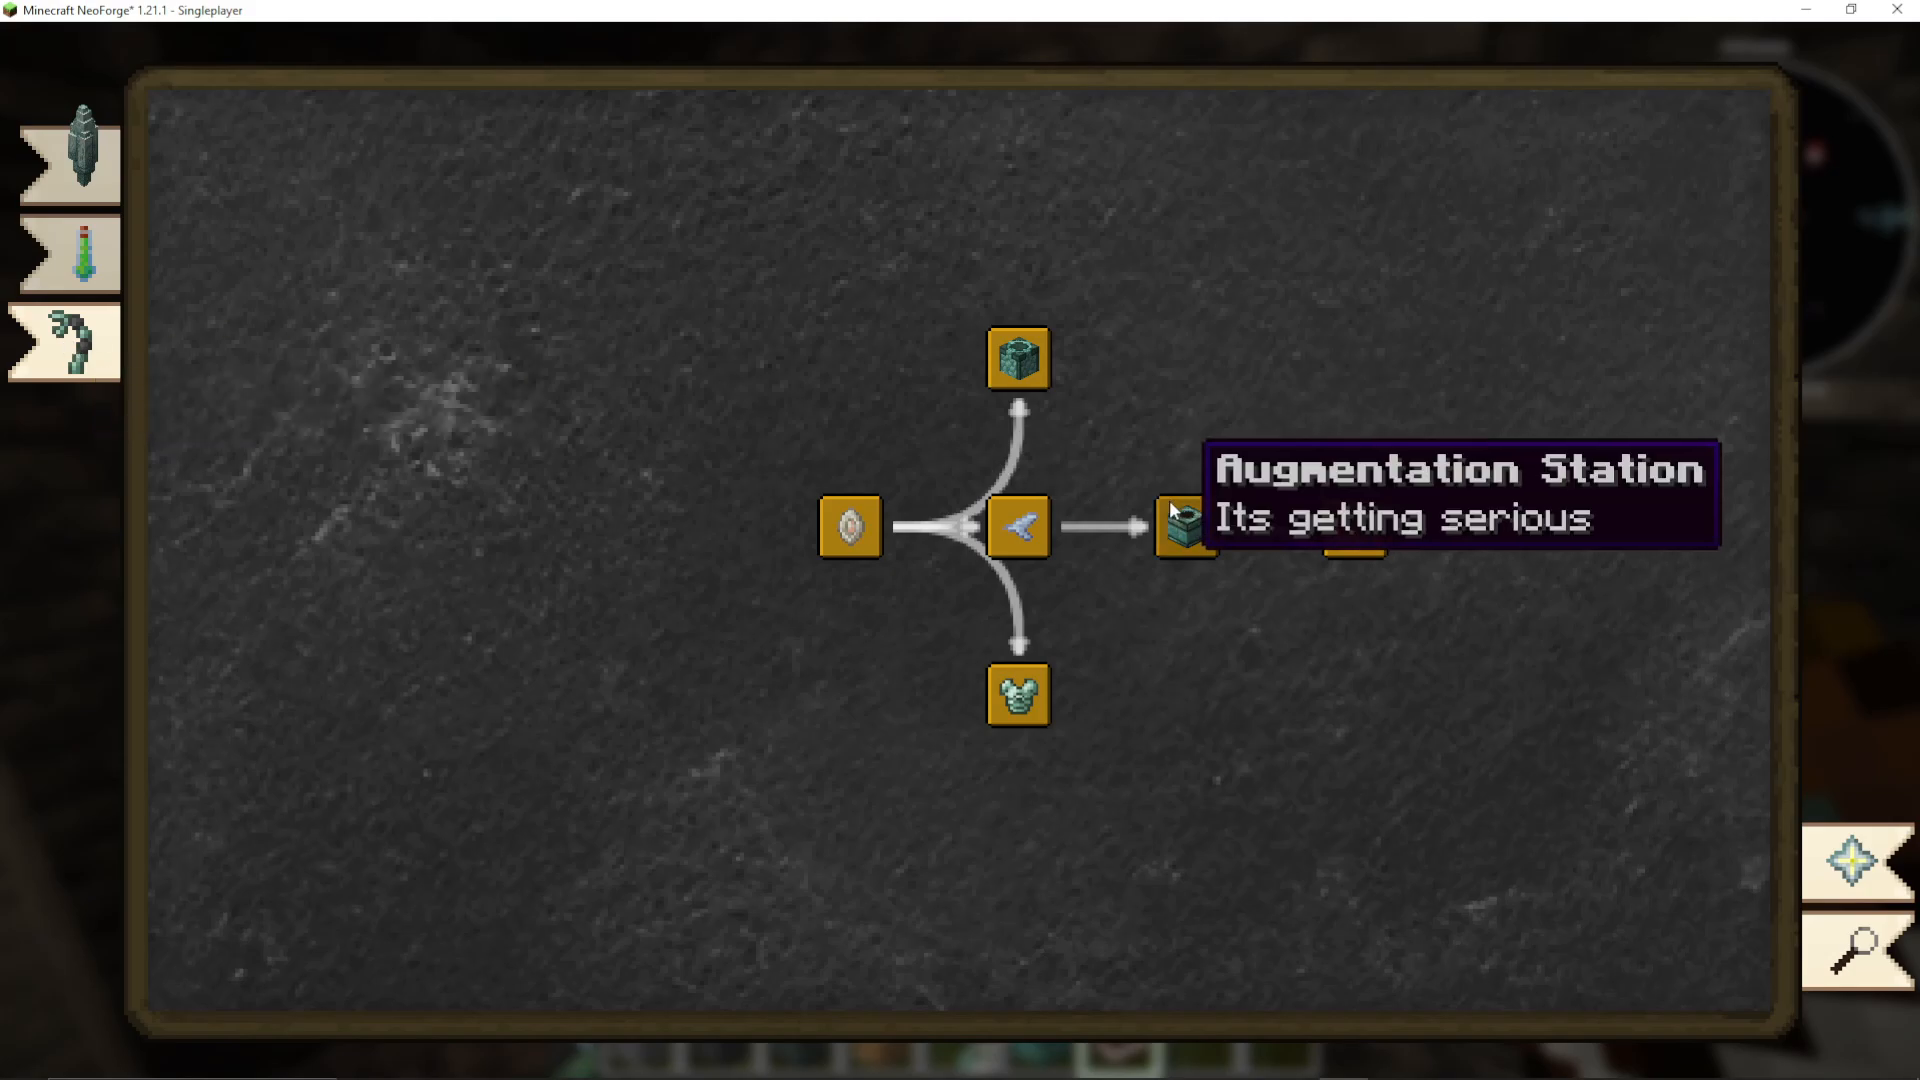
You can consult your Nautech guide by right-clicking and checking the monocle slot to see the exact multiblock structure layout.
Installing Robotic Claws
Before augmenting yourself, right-click each extension with an aquamarine steel wrench. You’ll then need to craft and place a claw robotic arm (made from aquamarine steel ingots and cast iron rods) into each extension you plan to use. The claw will literally appear on the multiblock structure as a visual indicator.
Available Augmentations
Four different augmentations can be implanted:
Guardian Eye: Shoot lasers at entities within a 15-block radius. Obtained as a rare drop from guardians. Requires a dedicated keybind.
Dolphin Fin: Grants Dolphin Grace effect while swimming, allowing efficient underwater exploration. Rare drop from dolphins.
Drowned Lungs: Allows you to breathe both underwater and on the surface. Rare drop from drowned mobs.
Eldritch Heart: Increases health regeneration while underwater. Required for building the augmentation station itself. Rare drop from elder guardians.
Applying Augmentations
To implant an augmentation:
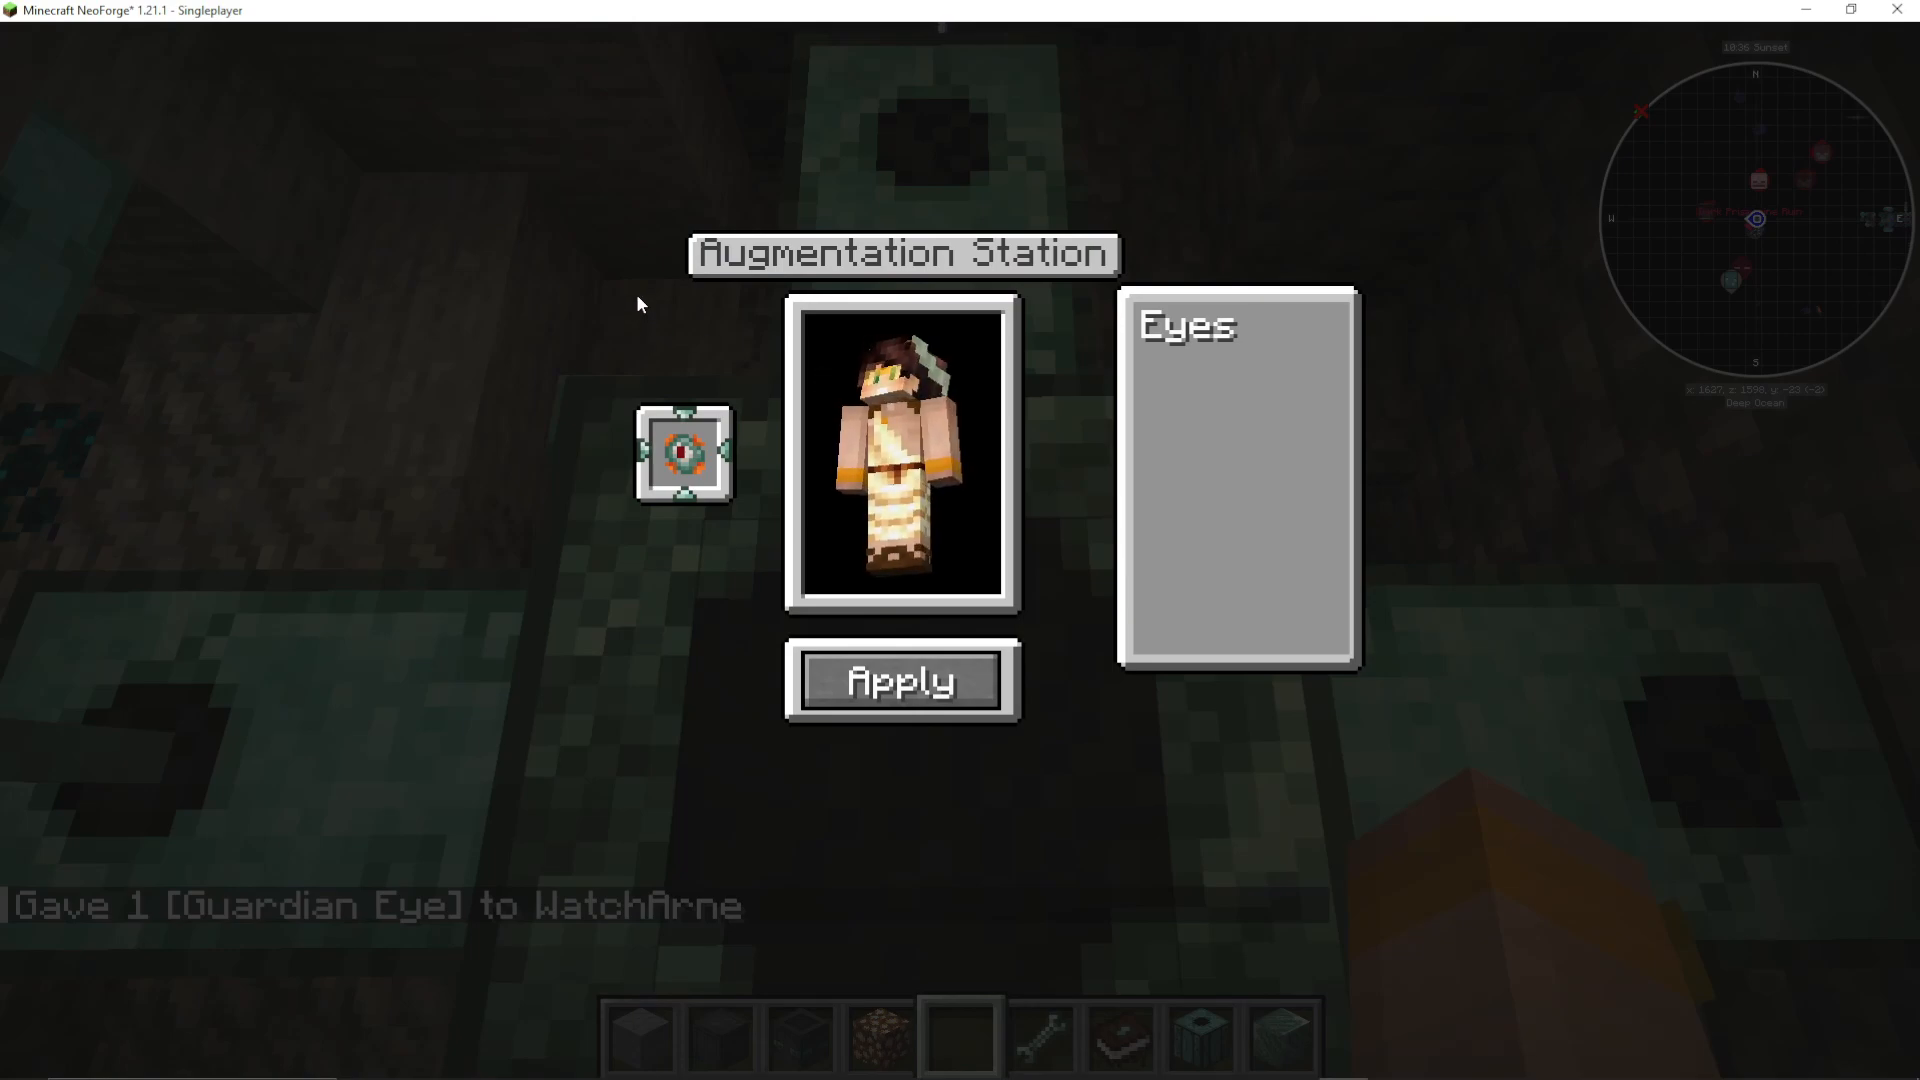
Place your desired augment item (e.g., Guardian Eye) into the augmentation extension’s bottom slot
Walk on top of the augmentation station
A UI will appear showing available augmentation options
Click the augmentation name and press “Apply”
Watch as the robotic claw descends and implants the augmentation into your character
Note: Install augmentations one at a time. Installing multiple simultaneously may cause issues.
Viewing Your Augmentations
Once augmented, you can press the B key to open a UI showing all implanted augmentations on your body (head, eyes, body, etc.). This confirms which augmentations are active and allows you to track your cybernetic enhancements.
Power Requirements
The augmentation station requires 25 power to operate. Connect your laser system using junctions and relays to provide this power to a single extension side (only the side with the augment and claw that you’re using needs power).
Future Content and Updates
At the time of this guide, Neptune’s Trident is mentioned in the mod but has no obtainable recipe or implementation. The developer has indicated that significant updates are planned for Nautech. If you’re reading this guide months after its publication and discover new features or items, the mod may have been updated beyond what’s covered here. As of the filming of this tutorial, Nautech is available for Minecraft version 1.21.1.
Conclusion
Nautech is a spectacular mod created in an impressively short development time, bringing a fresh approach to ocean exploration and technological progression in Minecraft. From crafting your first diving suit to implanting cybernetic augmentations, the mod offers a unique progression path centered around laser power and underwater discovery. The attention to detail, creative mechanics, and beautiful aesthetics make Nautech a must-try for players interested in tech mods and ocean-based content. With major updates promised by the developer, this mod will only continue to grow and improve.
Want to Support?
If you would like to help us continue making these guides – please consider joining our patreon here – https://www.patreon.com/c/JaviHeals
Alternatively – we host a group of MC Servers you can join here – https://discord.gg/zD7Gjt6MHF



