







The Ultimate Guide to Extreme Reactors
The Ultimate Guide to Extreme Reactors
Welcome to the ultimate guide for the Extreme Reactors mod! This comprehensive tutorial will walk you through absolutely everything you need to know to master this mod—from building your first basic reactor to creating powerful actively-cooled systems and upgrading to the most advanced fuel types. Whether you’re playing standalone or in a modpack, this guide will help you generate massive amounts of energy efficiently.
Important Modpack Considerations
Before you begin, it’s important to understand that some modpacks may alter how Extreme Reactors works:
Ore Changes: Many modpacks convert Yellorium ore into Uranium to consolidate nuclear mods. When smelted, Yellorium ingots may become Uranium ingots—they are interchangeable.
Cooling Materials: Default Extreme Reactors uses water for active cooling, but some modpacks offer alternatives. For example, PneumaticCraft offers Cryo Fluid, and All the Mods includes Refrigerium. The best coolant for your setup depends on your modpack.
Reactor Tiers: Basic reactors are limited to 5×5×5, while Reinforced components allow much larger reactors (up to 48×48×32 in some cases). Some modpacks enable Gargantuan reactors with even greater sizes.
This tutorial works for all modpacks and standalone installations, but be aware these variations may apply to your specific setup.
Building Your First Basic Reactor
Required Materials
To build your first reactor, you’ll need to gather the following materials:
Yellorium Ore: Found in all dimensions. Smelt it in a furnace to get Yellorium Ingots (or Uranium Ingots in some modpacks).
Graphite Bars: Made by smelting coal. This is the simplest component to prepare.
Reactor Casing: The basic building block for your reactor structure. A basic reactor can be a maximum of 5×5×5.
Reactor Glass: Optional, but useful for viewing the inside of your reactor.
Note: There are also Angesite ore (found in the End) and Benitoite ore (found in the Nether), but you won’t need these for your first reactor.
Choosing Your Reactor Size
While you can make your basic reactor any size up to 5×5×5, it’s recommended to build the full 5×5×5 size. This doesn’t require significantly more Yellorium than smaller variants, and it gives you more internal space to work with. You can always control fuel consumption with control rods, so the extra capacity is worth it.
Building the Structure
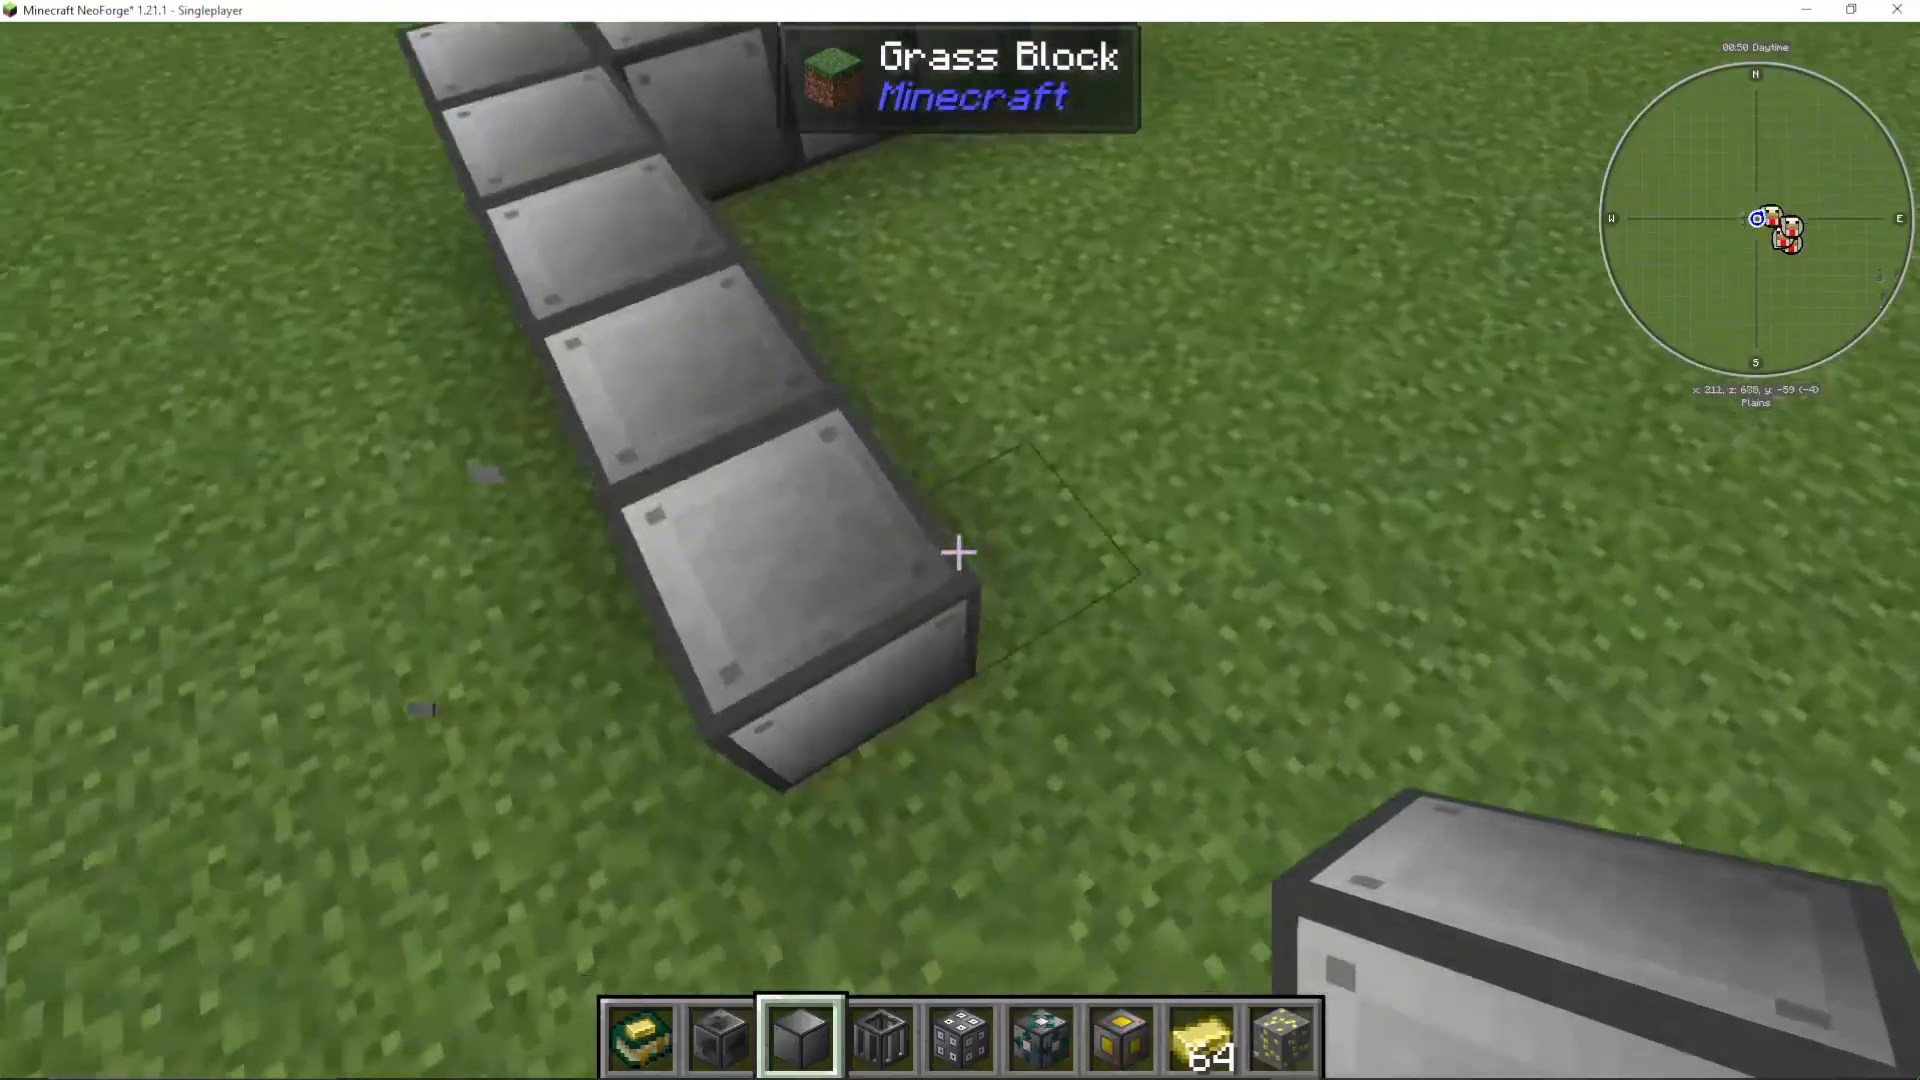
Start by laying out your reactor frame using Reactor Casing blocks. You can use Reactor Glass for one or more walls if you want to see inside the reactor. This will form the basic outer shell of your 5×5×5 structure.
Installing Essential Components
Inside your reactor structure, you’ll need to install several key components:
Reactor Controller (Basic): This is how you access and control your reactor. Place it on one of the outer walls.
Reactor Solid Access Ports (x2): These ports handle fuel input and waste output. The first port operates in inlet mode (green) for inserting Yellorium ingots. The second port can be switched to outlet mode (also green) to extract waste. You can pipe in fuel using Logistical Pipes, Applied Energistics, or similar mods.
Reactor Active Forge Energy Power Tap: This is where power cables connect to store and extract the energy your reactor generates.
Reactor Fuel Rods (Basic): Place multiple fuel rods inside your reactor. In a 5×5×5, you might place 5 in one layer and 2 in another, for example.
Reactor Control Rods: These go on top of the fuel rods (on the roof of the fuel rod section) and allow you to regulate fuel consumption.
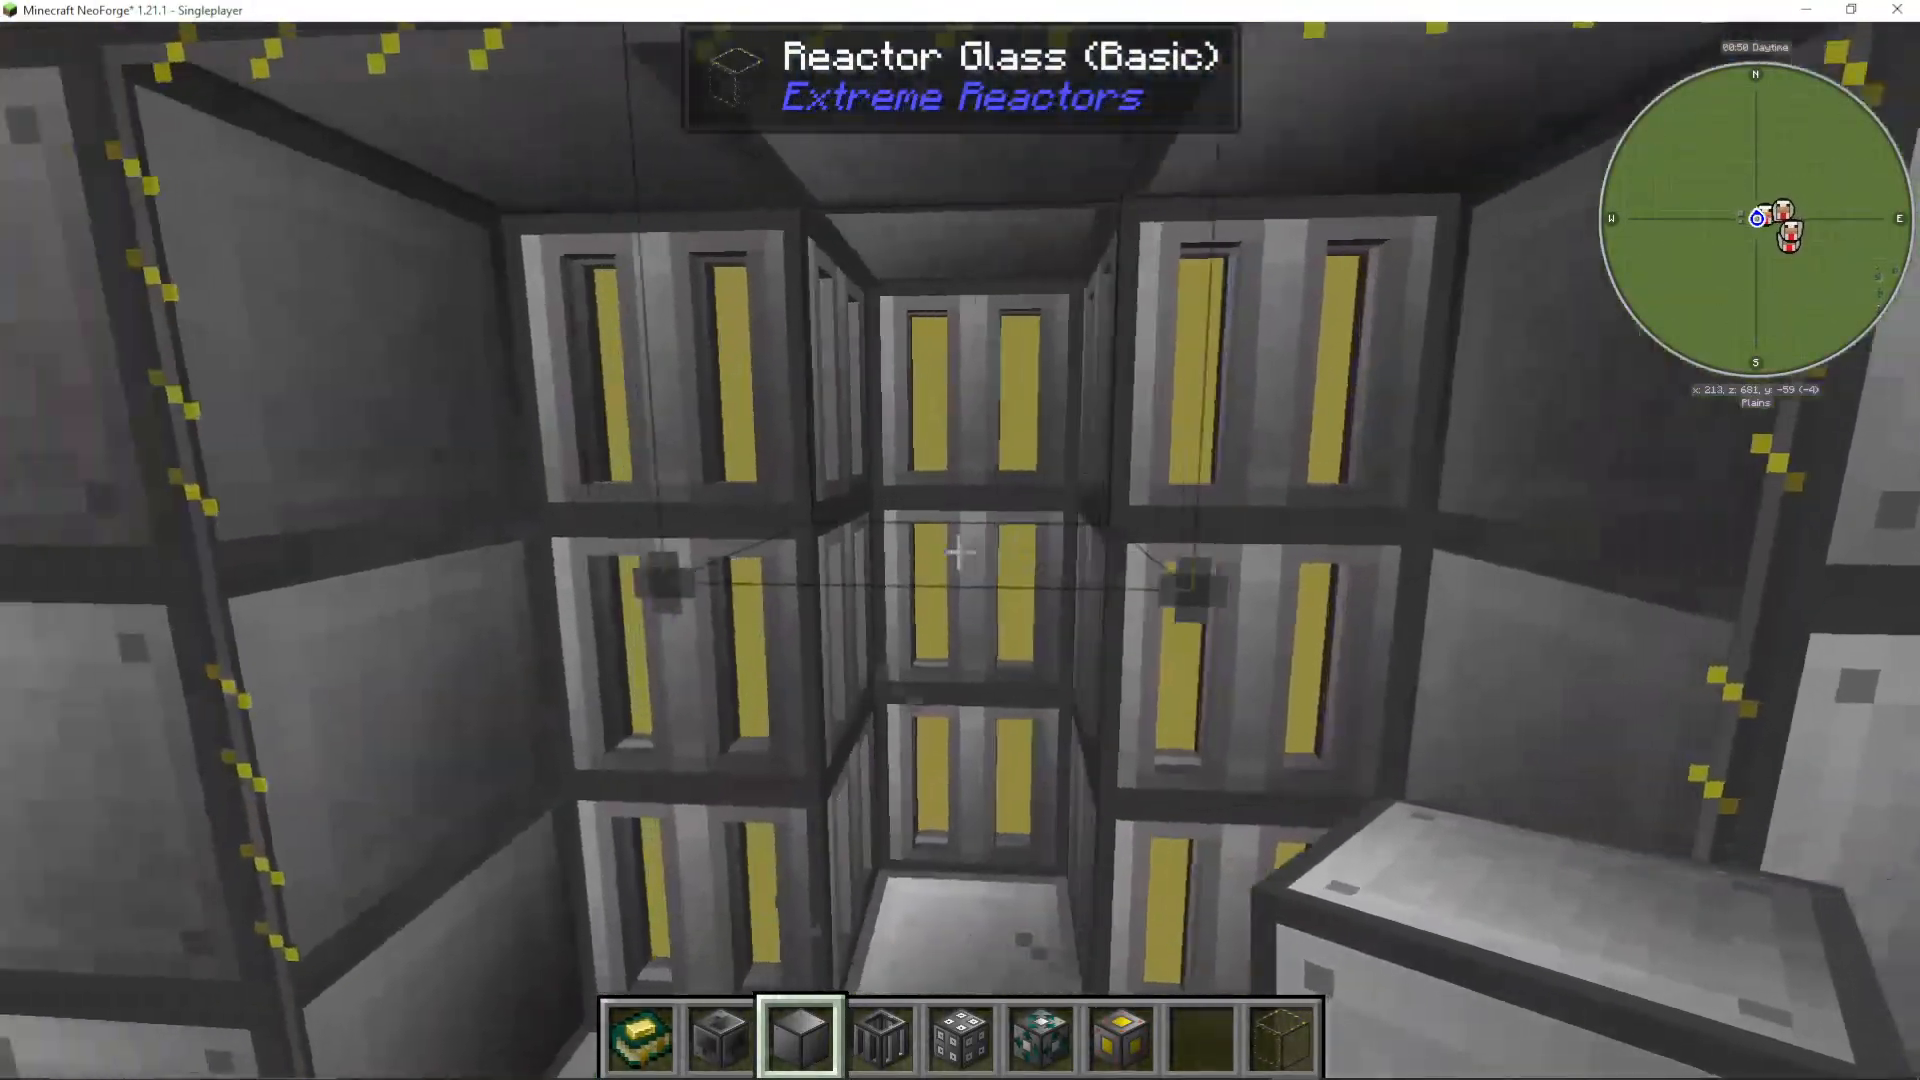
Once properly assembled, the structure will form a multiblock. You’ll see the fuel rods fill with Yellorium automatically. Each fuel rod has a maximum capacity of 15 buckets (60 buckets total in this example), which is quite substantial depending on your Yellorium supply.
Understanding Reactor Status
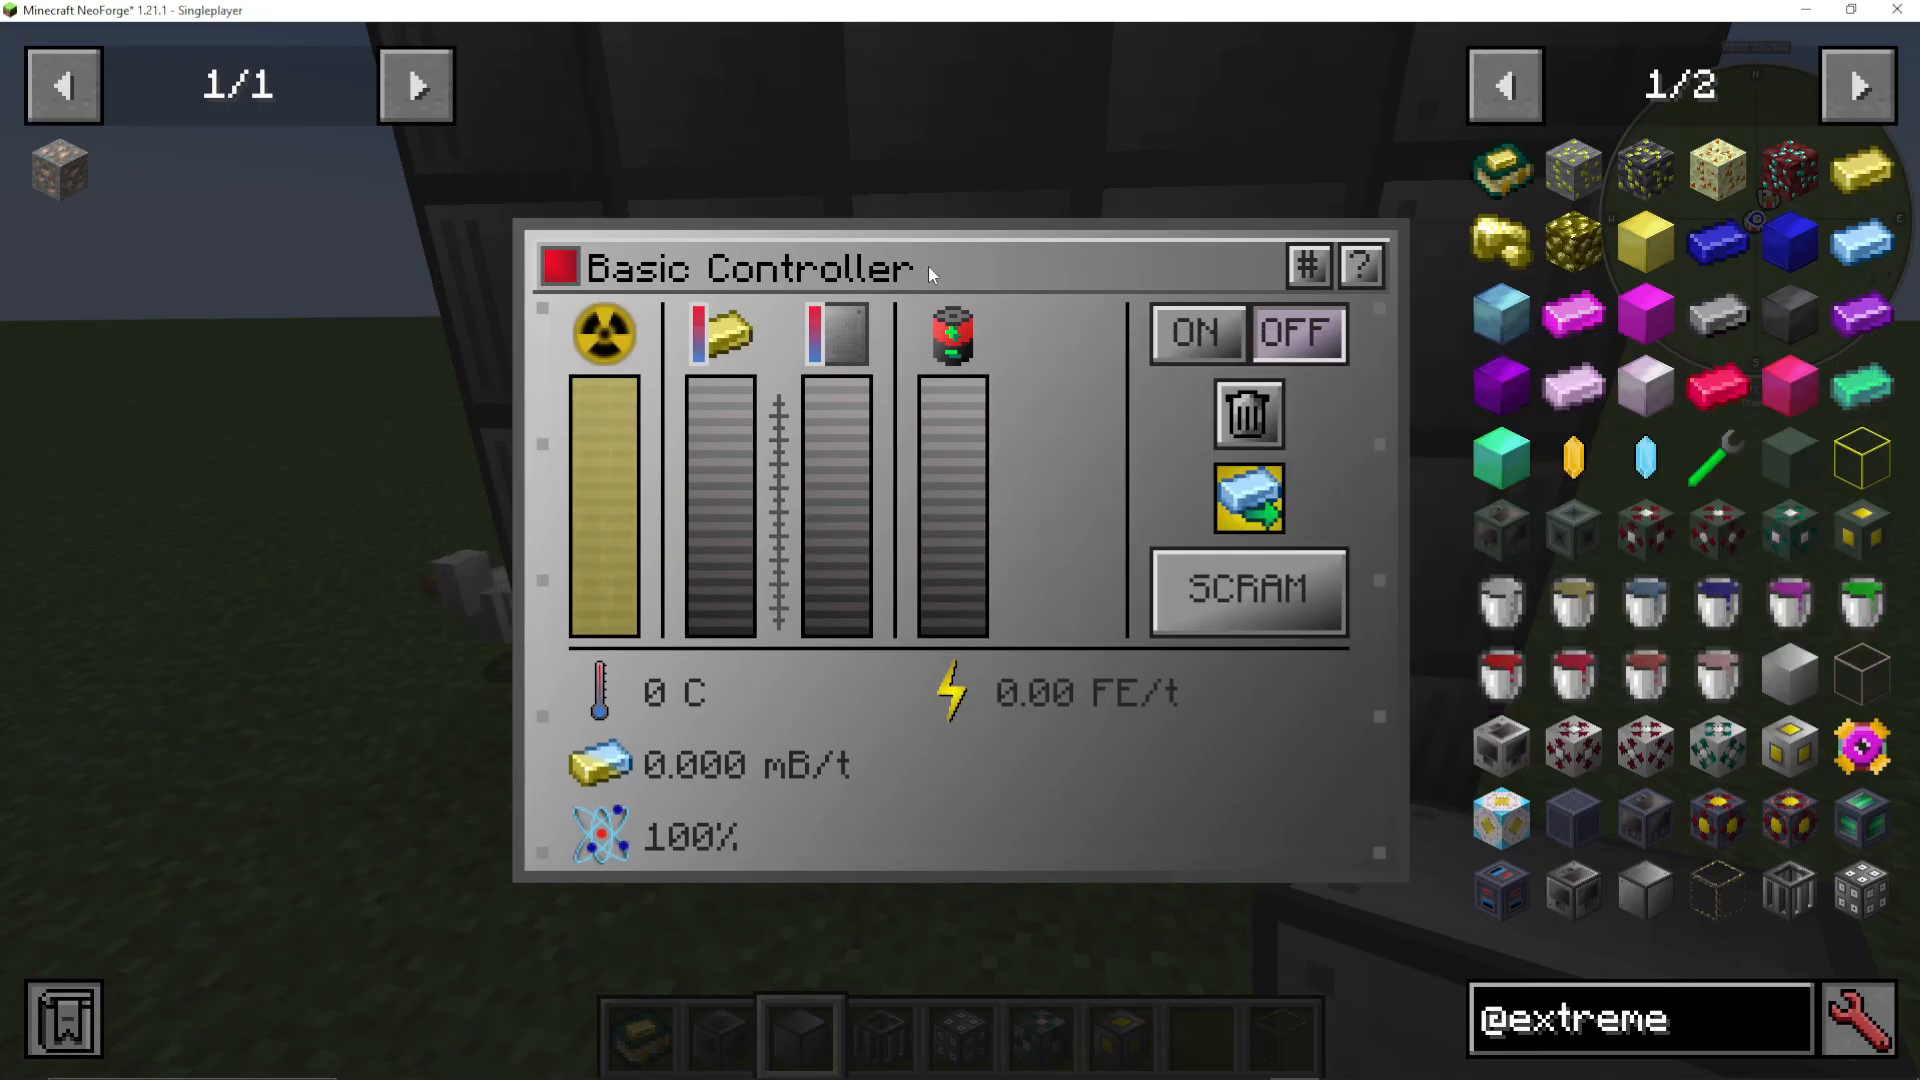
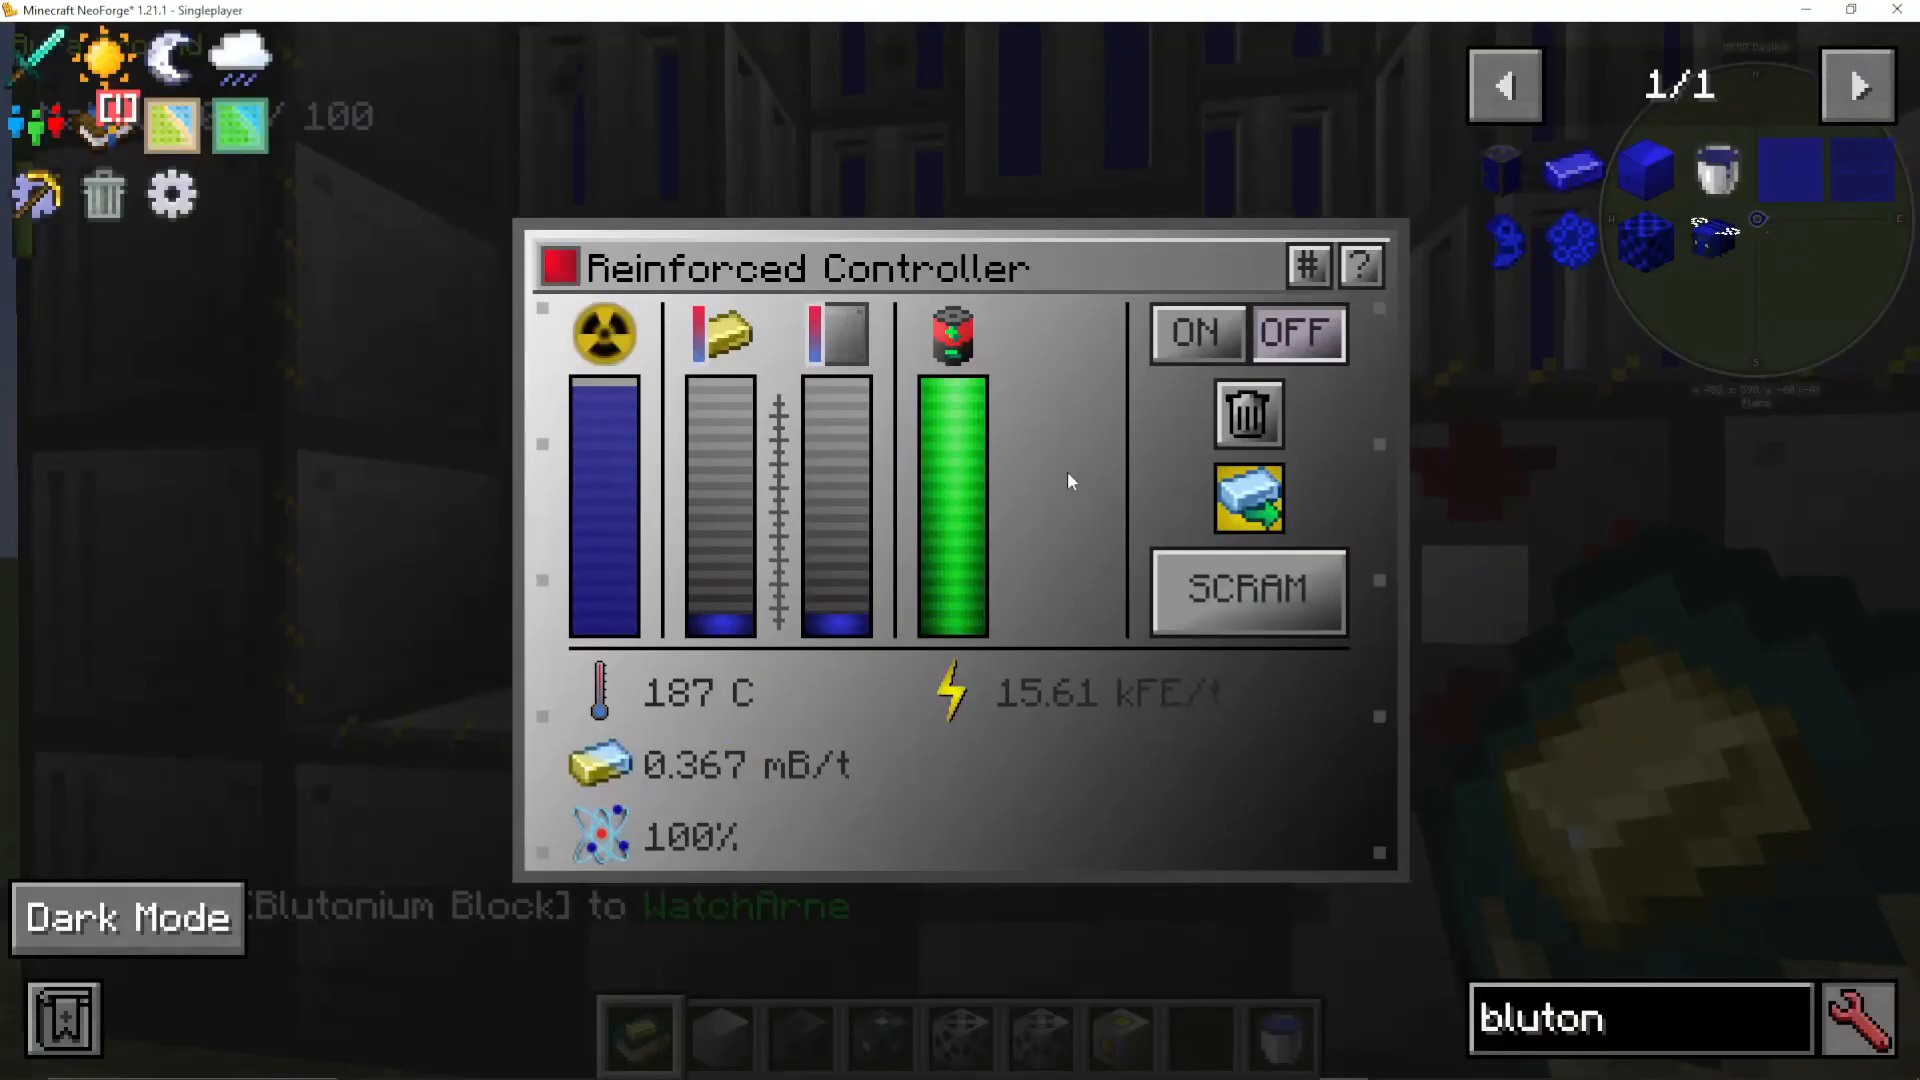
When you open the Reactor Controller, you’ll see several key indicators:
Fuel Status: Shows current fuel level and depletion. Aim for 100% fuel with no depletion.
Core Heat: The temperature of the reactor’s fuel rods. Higher core heat increases fuel burn rate. Keep this lower to conserve fuel.
Casing Heat: The temperature of the reactor’s casing. Higher casing heat increases energy output. In a passively-cooled reactor, you want hot casing but cool core.
Internal Energy Buffer: Shows how much energy your reactor has stored. If full, newly generated energy is lost.
Fuel Burn Rate: Displayed as millibuckets per tick. Higher burn rates consume fuel faster.
Fuel Reactivity: Shows radiation levels. Higher radiation reduces fuel burn-up, extending fuel life.
Controlling Fuel Consumption with Control Rods
You don’t have to run your reactor at full capacity. Control rods allow precise regulation of fuel consumption. Each control rod has a percentage setting (0–100%):
0%: Control rod is fully retracted. Maximum fuel usage.
100%: Control rod is fully inserted. Minimum fuel usage (reactor effectively off).
Middle values: Partial insertion provides proportional control.
To adjust a single control rod: press the control key to increase by 10%, or hold shift and press control to jump to 100%. To change all control rods at once, use the “Change All” button. This flexibility means even a 5×5×5 reactor can be throttled to match your power needs.
📸 [ASSISTANT: TAKE SCREENSHOT AT SCREENSHOT AT TIMESTAMP 10:27]
Reactor Efficiency and Design Principles
Your reactor’s design affects its efficiency:
Width: A wider reactor is more efficient due to increased cooling surface area (especially important for active cooling). More width = better efficiency per fuel rod.
Height: A taller reactor allows longer fuel rods, increasing both power output and fuel consumption. More height = more fuel rods and higher power, but faster burn rate.
In the example provided (5×5×5 with the configuration shown), the reactor generates approximately 3,400 Forge Energy per tick with passive cooling using Yellorium fuel.
Understanding Reactor Waste and Cyanite
As your reactor burns fuel, it produces waste in the form of Cyanite. This waste exits through the outlet-mode Solid Access Port and represents the spent nuclear material. While it’s tempting to discard it, Cyanite is actually valuable—it’s the starting material for creating more advanced fuels and materials through the Reprocessor.
Building the Reprocessor
Reprocessor Overview
The Reprocessor is a multiblock machine that converts waste products into new, more powerful fuels. It reprocesses Cyanite into Plutonium, giving your used fuel a second life cycle and significantly increasing energy output.
Required Materials
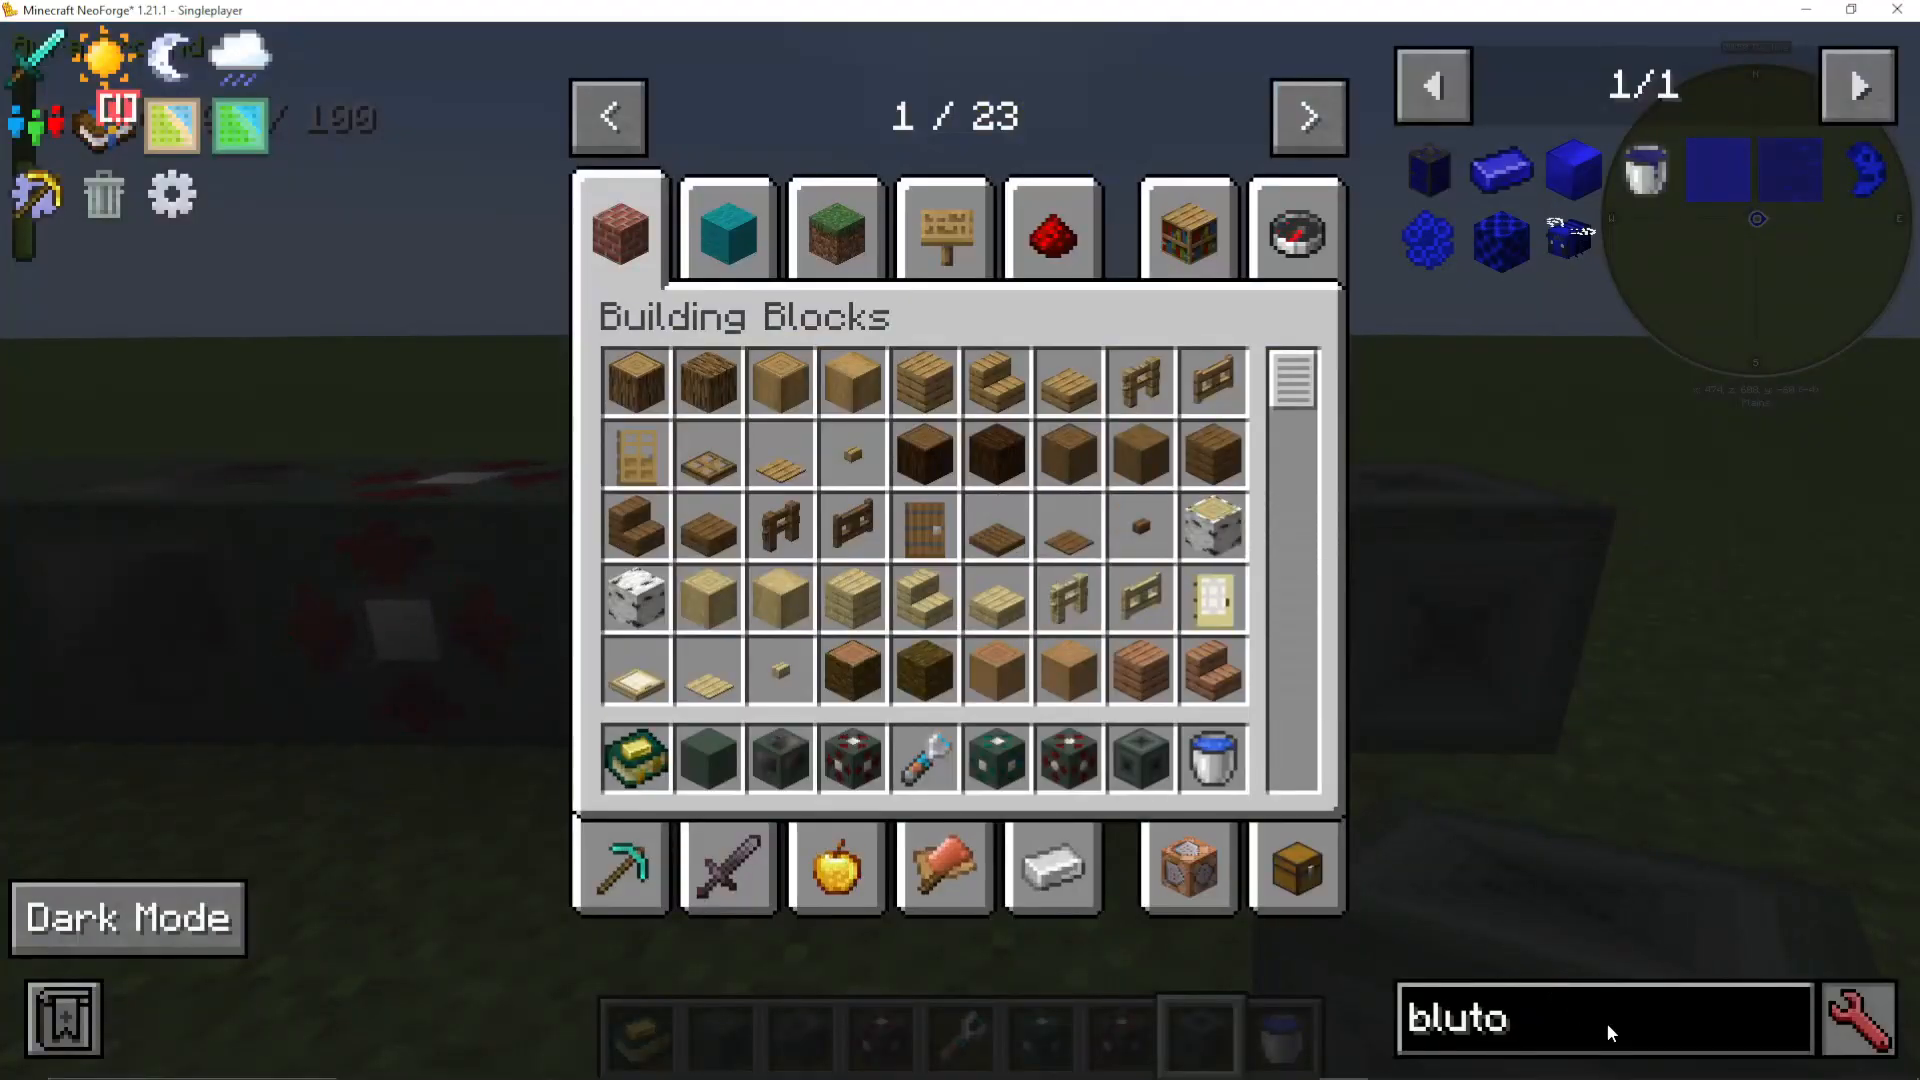
To build a Reprocessor, you’ll need:
Reprocessor Casing (many blocks)
Reprocessor Controller (x1)
Reprocessor Power Port (x1)
Reprocessor Waste Injector (x1)
Reprocessor Output Port (x1)
Reprocessor Fluid Injector (x1)
Reprocessor Collector (x1)
Reprocessor Glass or additional Casing (for the center frame)
Building the Structure
The Reprocessor has a specific layout:
Outer Frame: 3×3 and 7 blocks tall. This forms the basic structure.
Center Frame (3×3×7): The inner working area where components are placed.
Controller: Can go anywhere on the inner frame (not on the outer frame edges). This is your access point.
Power Port: Anywhere on the inner frame. Usually connected to your reactor’s output.
Fluid Injector: Anywhere on the inner frame. For Cyanite reprocessing, inject water.
Output Port: Anywhere on the inner frame. Outputs the reprocessed material (e.g., Plutonium).
Waste Injector: Must go on the top center of the inner frame. This is where you input waste (Cyanite).
Collector: Must go on the bottom center of the inner frame. Collects processed material.
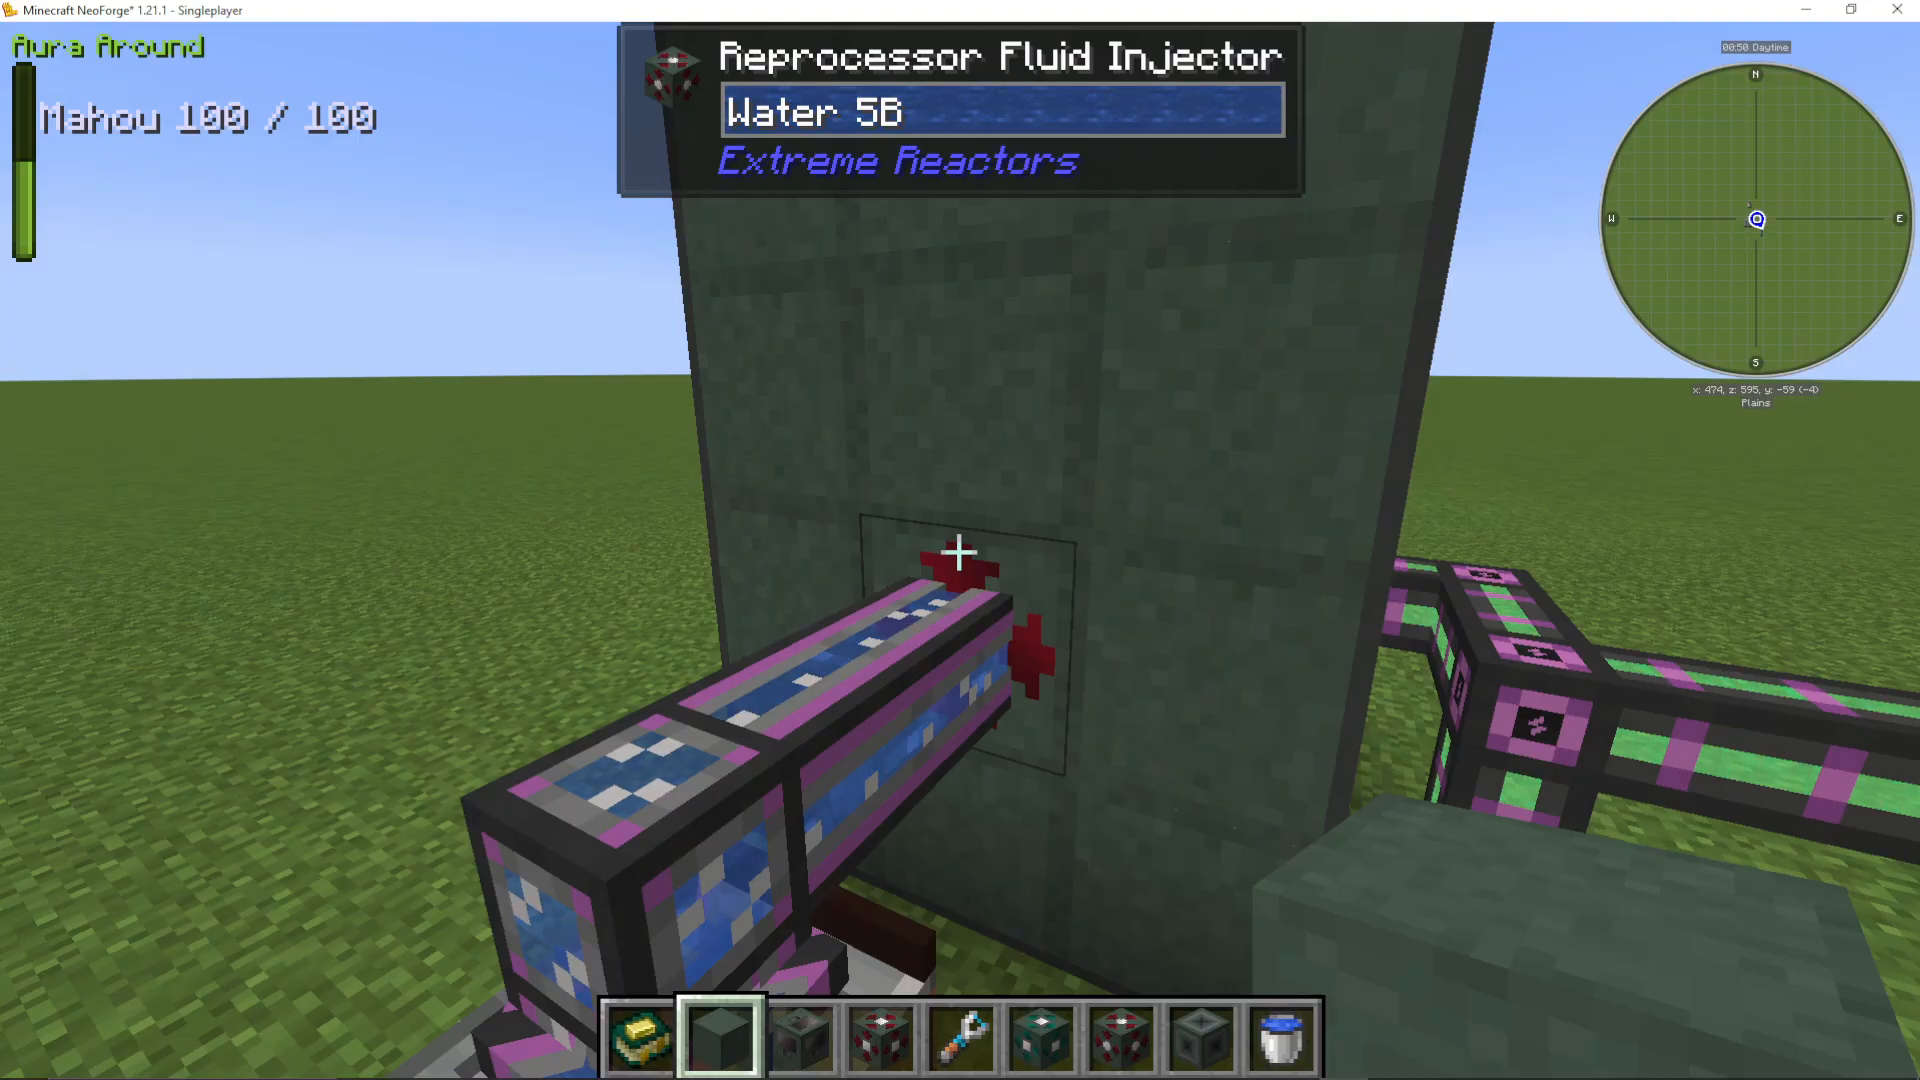
Operating the Reprocessor
Once assembled, open the Reprocessor Controller. You’ll see:
Power status
Fluid tank level (water in this case)
Processing status
You can void fluids to start fresh or turn the machine on to begin reprocessing. Feed Cyanite into the Waste Injector and water into the Fluid Injector. The output is Plutonium, a more powerful fuel.
Reprocessor Reaction Chain
The Reprocessor can handle multiple reaction chains. By accessing the controller with JEI (Just Enough Items), you can view all available recipes:
Cyanite + Water → Plutonium (primary reaction for beginners)
Benitoite + Cyanite Liquid → (advanced reactions)
Plutonium + Cyanite Liquid → Ludicrite (later-game fuel)
Ludicrite + Magnetite Liquid → Radiculite (even more advanced)
These chains become more complex as you progress, but they all start with converting Cyanite into something more powerful.
Upgrading to Plutonium Fuel
Plutonium Power Output Comparison
Once you’ve reprocessed Cyanite into Plutonium, you can use it as a reactor fuel. The power difference is significant:
Yellorium: ~167,000 Forge Energy per tick (at full capacity)
Plutonium: ~227,000 Forge Energy per tick
This represents a ~60,000 RF/tick increase—a substantial boost that makes reprocessing worthwhile. Plutonium also produces Magnetite as waste, which becomes important for later fuel chains.
Creating Verdirium with the Fluidizer
Fluidizer Overview
The Fluidizer is a machine that converts solids into fluids or mixes solids and fluids to create new materials. It’s essential for creating Verdirium, the third major fuel type.
Fluidizer Structure
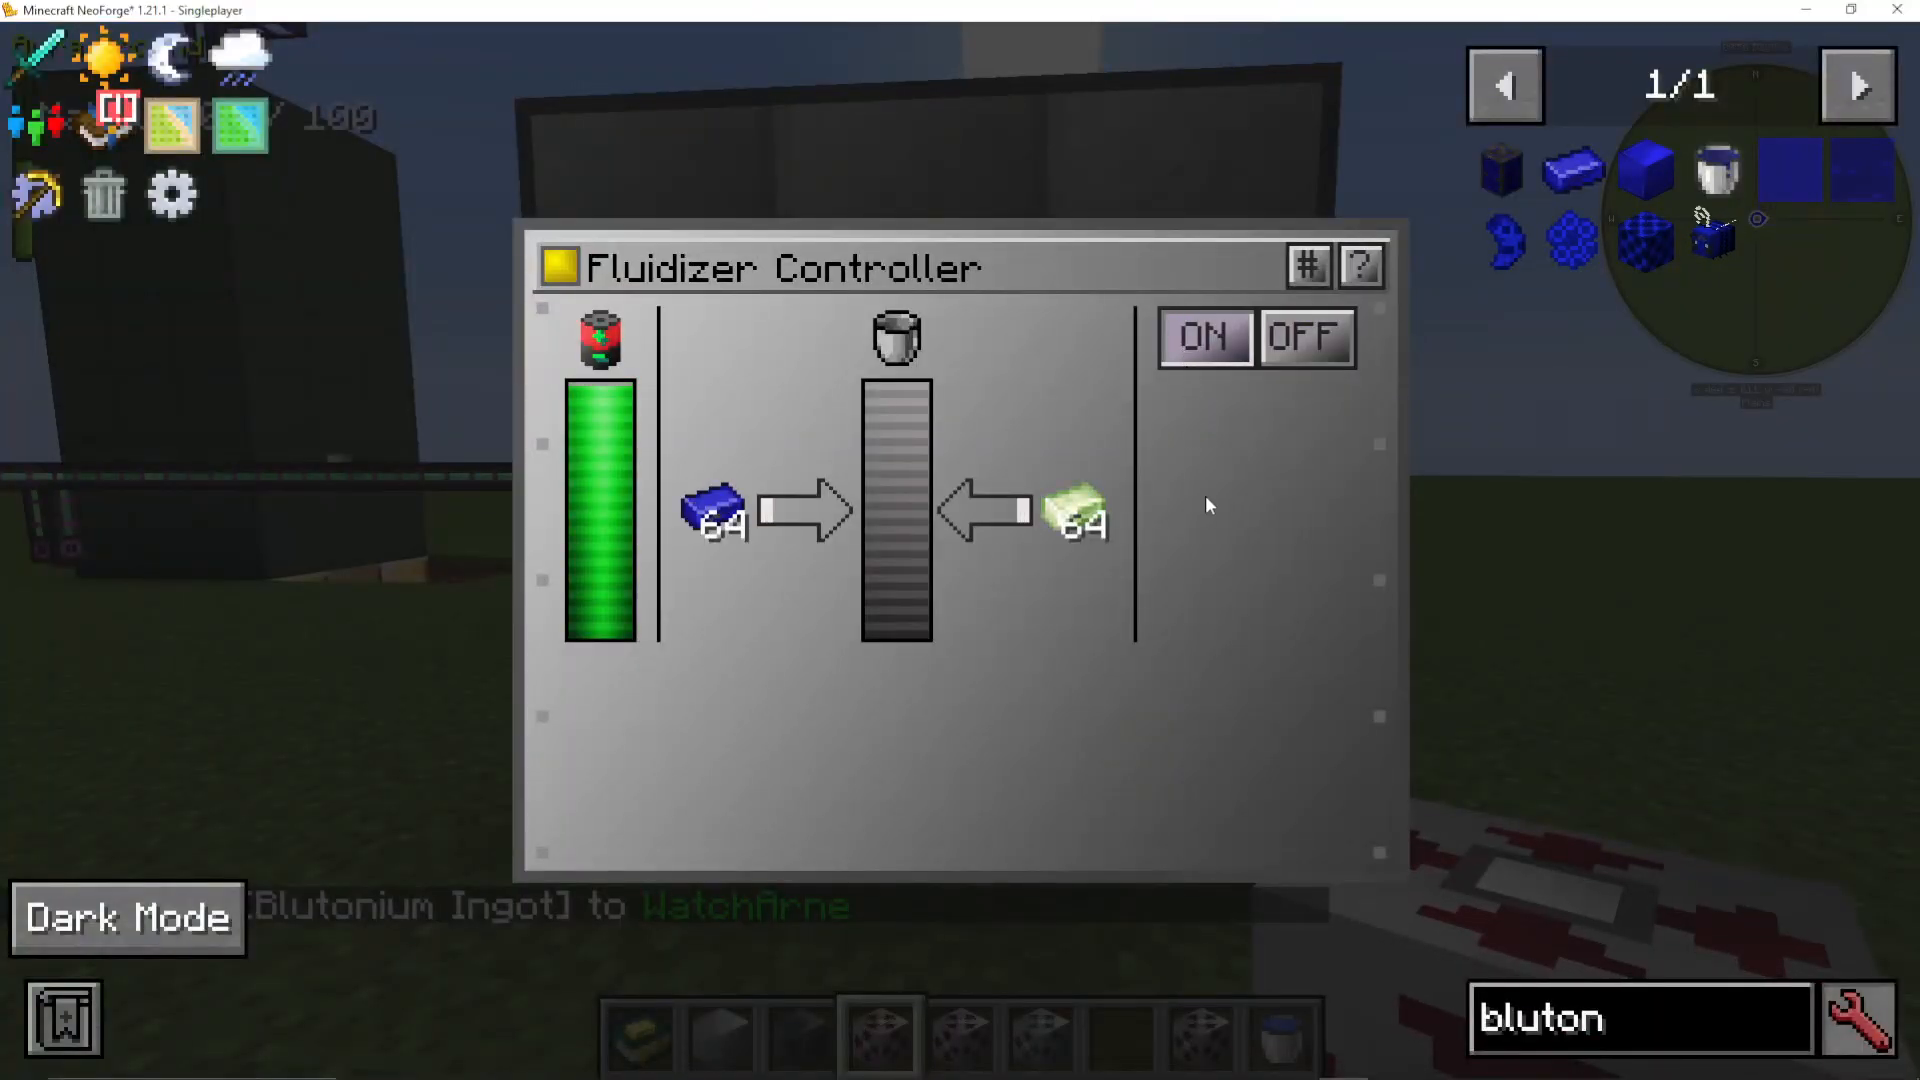
A basic Fluidizer is 3×3 and requires:
Fluidizer Controller (x1)
Fluidizer Solid Injector (x1 or x2, depending on recipe)
Fluidizer Fluid Injector (x1 or x2, depending on recipe)
Fluidizer Power Port (x1)
Fluidizer Output Port (x1)
Fluidizer Casing (x many)
Creating Verdirium
For this guide, we’ll create Verdirium using a solid-to-solid-to-fluid reaction:
Input 1: Yellorium blocks (or Uranium, depending on your modpack)
Input 2: Plutonium blocks
Output: Liquid Verdirium
To input items, you must shift-click them from your inventory into the solid injectors. Once both inputs are present and the machine is powered, it will begin processing.
Active Cooling and Reactors
Passive vs. Active Cooling
Your first reactor was passively cooled—heat from the core naturally transfers to the casing without external coolant. Active cooling introduces a coolant (typically water) to extract heat and convert it into steam, which drives a turbine. This unlocks massive power increases.
Converting to Active Cooling
To convert your reactor to active cooling, add two new components:
Reactor Active Forge Fluid Port (Input): Supplies coolant (water) into the reactor.
Reactor Active Forge Fluid Port (Output): Outputs steam generated by the cooling process.
Additionally, if you’re using a fluid fuel like Verdirium:
Reactor Fuel Injection Port: Injects fluid fuel (e.g., Liquid Verdirium) into the reactor.
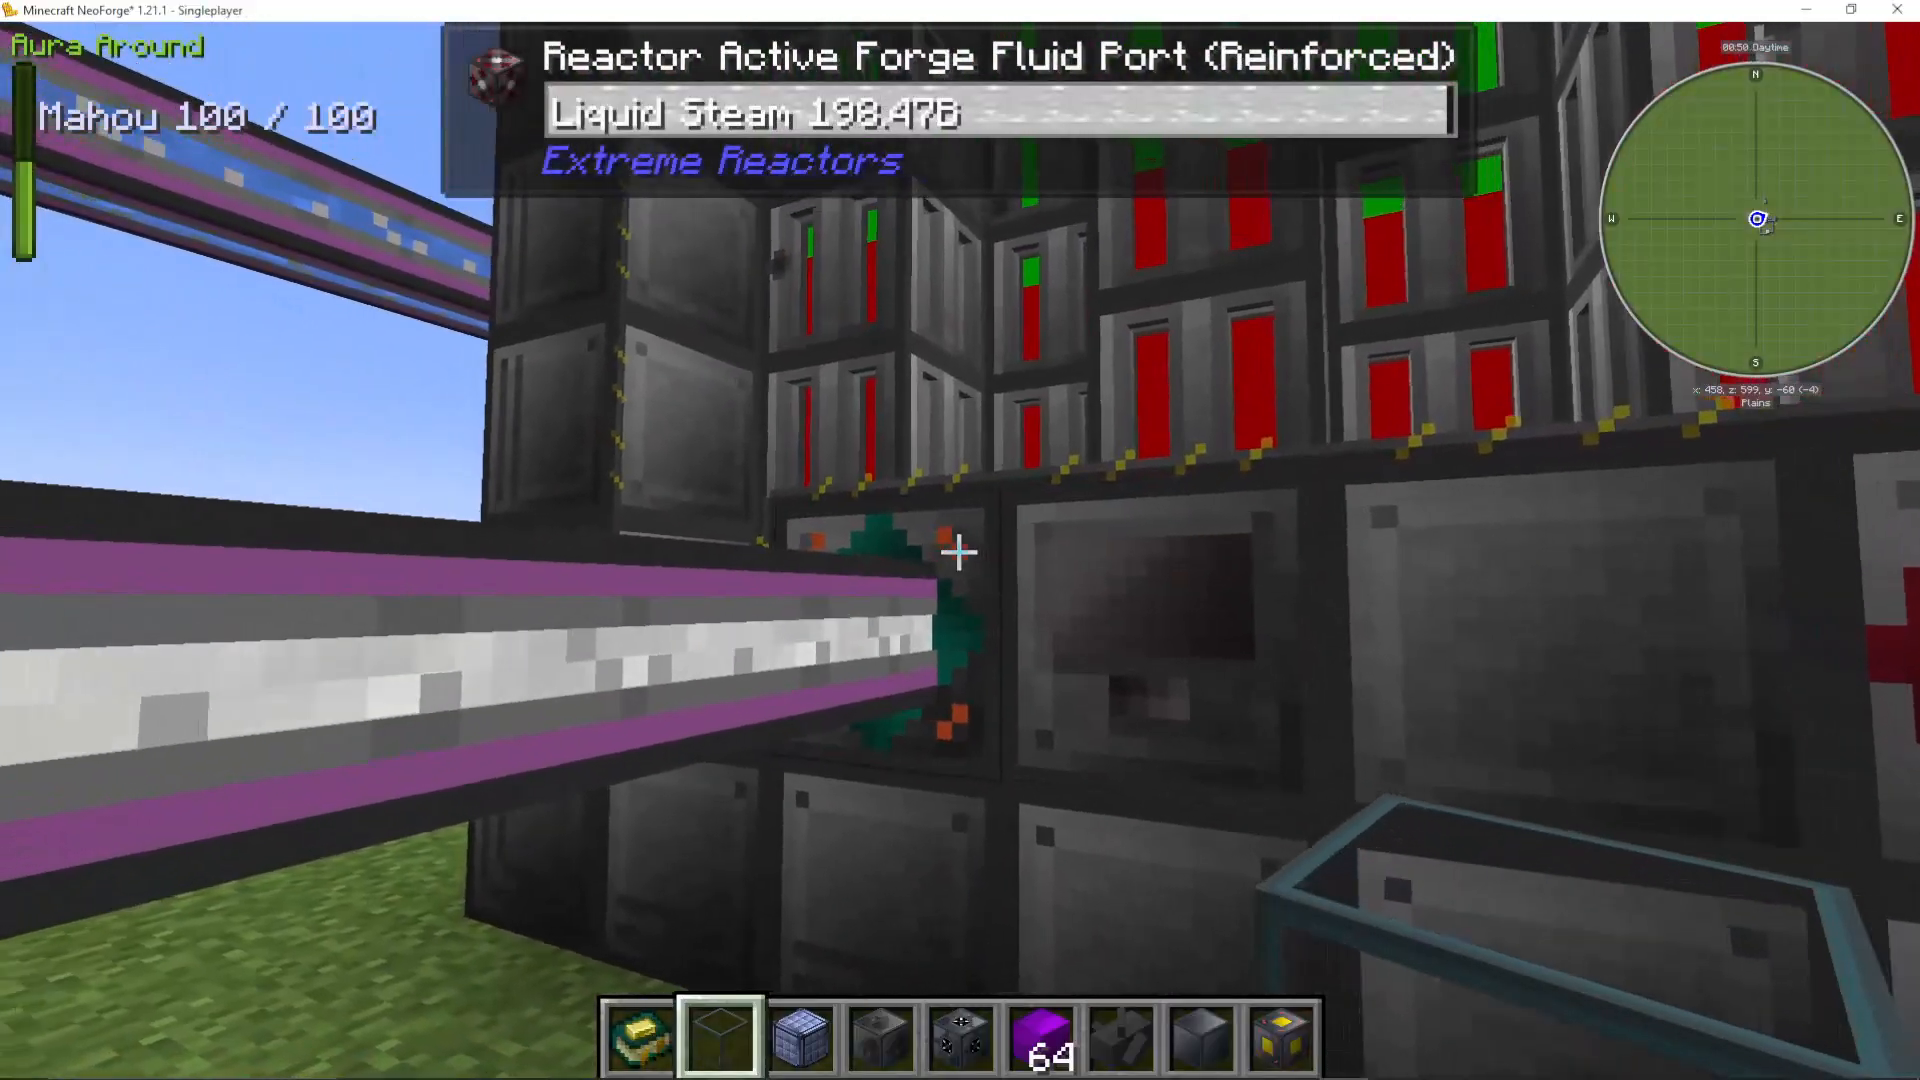
Actively Cooled Reactor Behavior
Once active cooling is enabled, the reactor controller shows different information:
Coolant Tank: Tracks water input and condensed steam (coolant output).
Vapor Tank: Tracks steam production.
Energy Generation: Changes from direct RF generation to vapor/steam generation.
The reactor no longer generates energy directly. Instead, it generates steam, which must be piped to a turbine for conversion to electrical energy.
Building a Turbine
Turbine Overview
A turbine converts steam from an actively-cooled reactor into usable electrical energy. It’s a multiblock structure with rotating shafts and coils that determine efficiency and power output.
Turbine Components
You’ll need:
Turbine Casing (basic or reinforced)
Turbine Controller (x1)
Turbine Rotor Bearing (x1)
Turbine Shaft (multiple blocks)
Turbine Rotor Blades (multiple)
Turbine Glass (optional, for visualization)
Coil Blocks (e.g., Ludicrite, Radiculite, or Insanite)
Turbine Active Forge Energy Power Tap (x1)
Turbine Active Forge Fluid Port (x2 – one for steam input, one for water output)
Basic Turbine Layout
A basic turbine is limited to 5×5×10 maximum. Reinforced turbines can be much larger:
Dimensions: Start with 5×5 cross-section. Reinforced can go larger (e.g., 7×7 or beyond).
Height: 10 blocks is the standard maximum for basic; reinforced can exceed this.
Rotor Bearing: Place at the bottom center of the turbine. The shaft extends upward from here.
Turbine Shaft: Extends from the bearing toward the top. The shaft without blades must pass through the coil section.
Rotor Blades: Attach to the shaft in the lower section, interacting with incoming steam.
Coils: Wrap around the upper, non-bladed section of the shaft. These increase energy generation efficiency.
Exterior: Edges must be casing; inner spaces can be glass or casing.
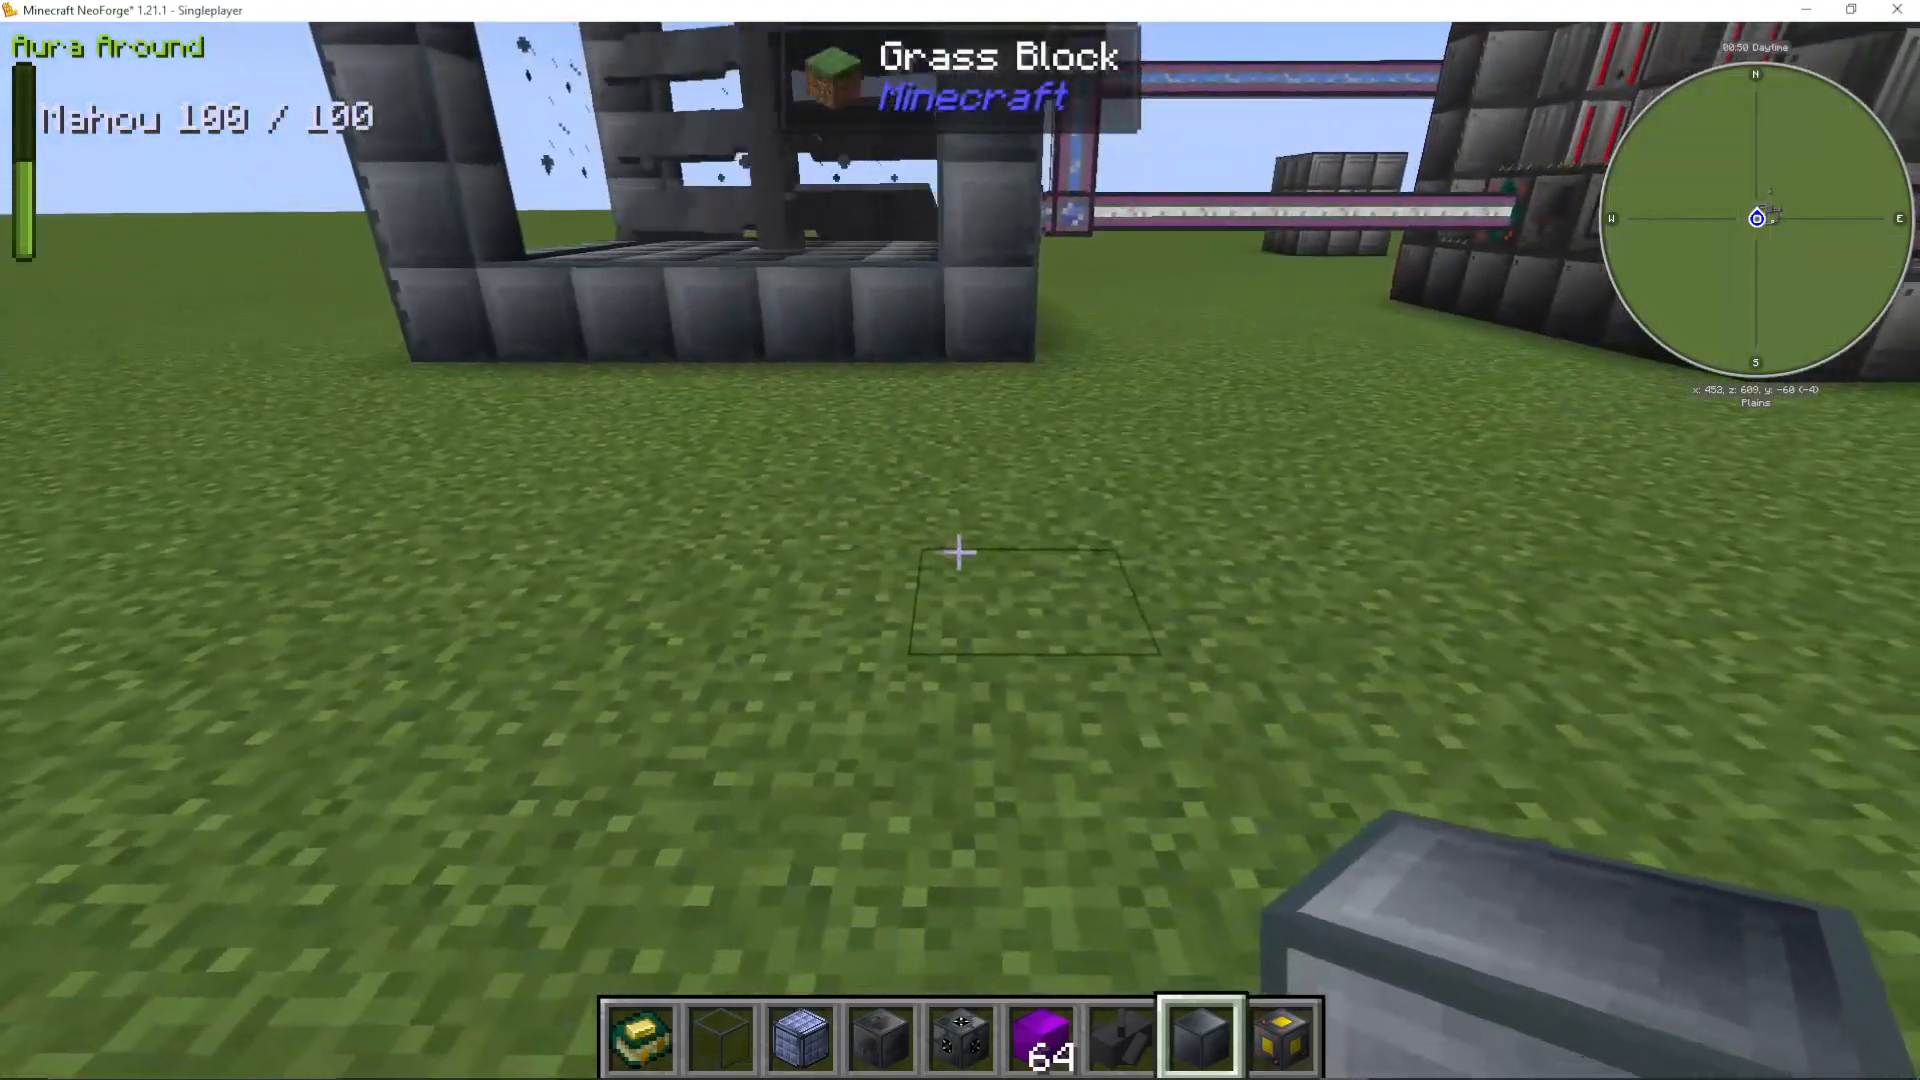
Turbine Configuration
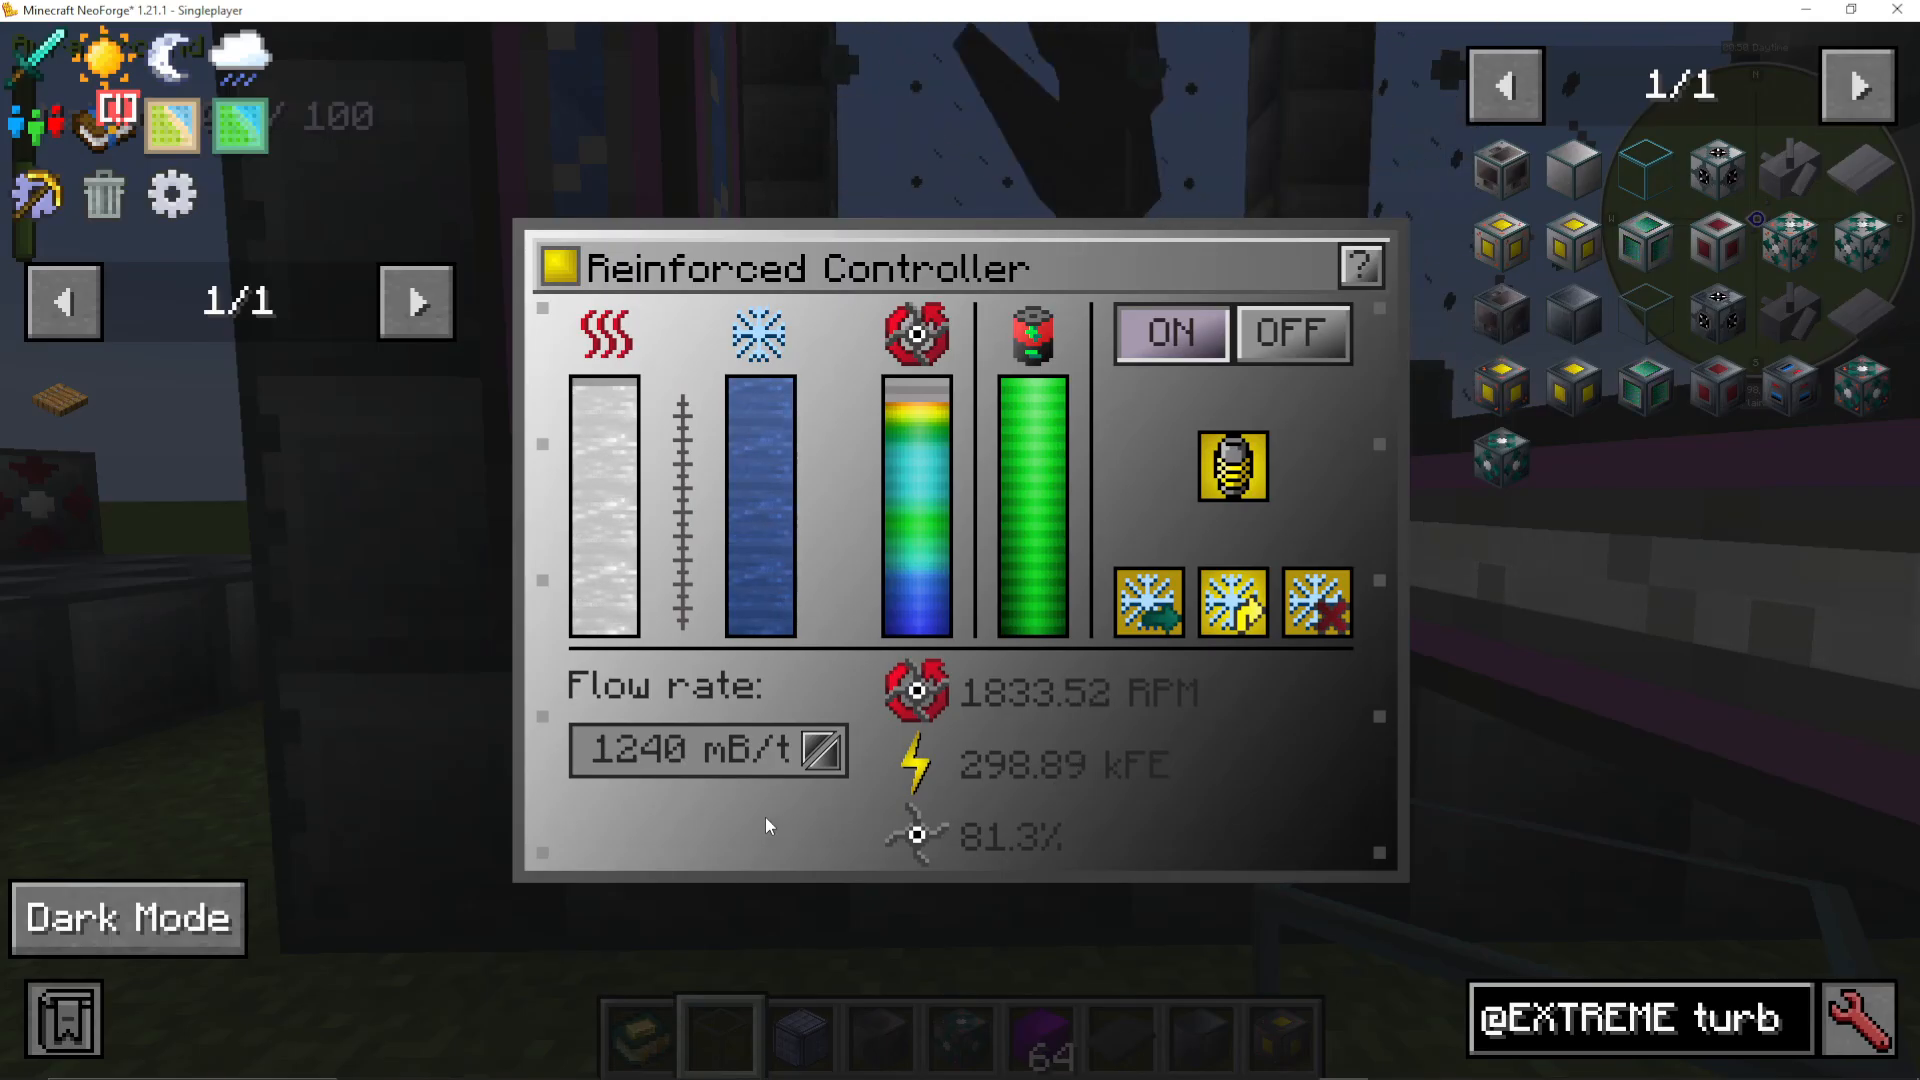
Once the turbine is built, open the controller to configure it:
Steam Tank: Shows incoming steam volume.
Coolant Tank: Stores steam condensed back into water, to be piped back to the reactor.
Rotor Speed: Displayed in RPM. Turbines perform best at 900 or 1800 RPM. Speeds above 2000 will cause catastrophic failure.
Flow Rate: Adjust this slider to control how much steam enters the turbine, thereby controlling rotor speed. Higher flow = higher speed.
Induction Coils: Toggle whether coils should generate energy. Coils are mandatory for efficient operation.
Coolant Venting: Choose to vent excess coolant, vent only excess, or vent none. “Vent excess” is recommended, returning water directly to the reactor.
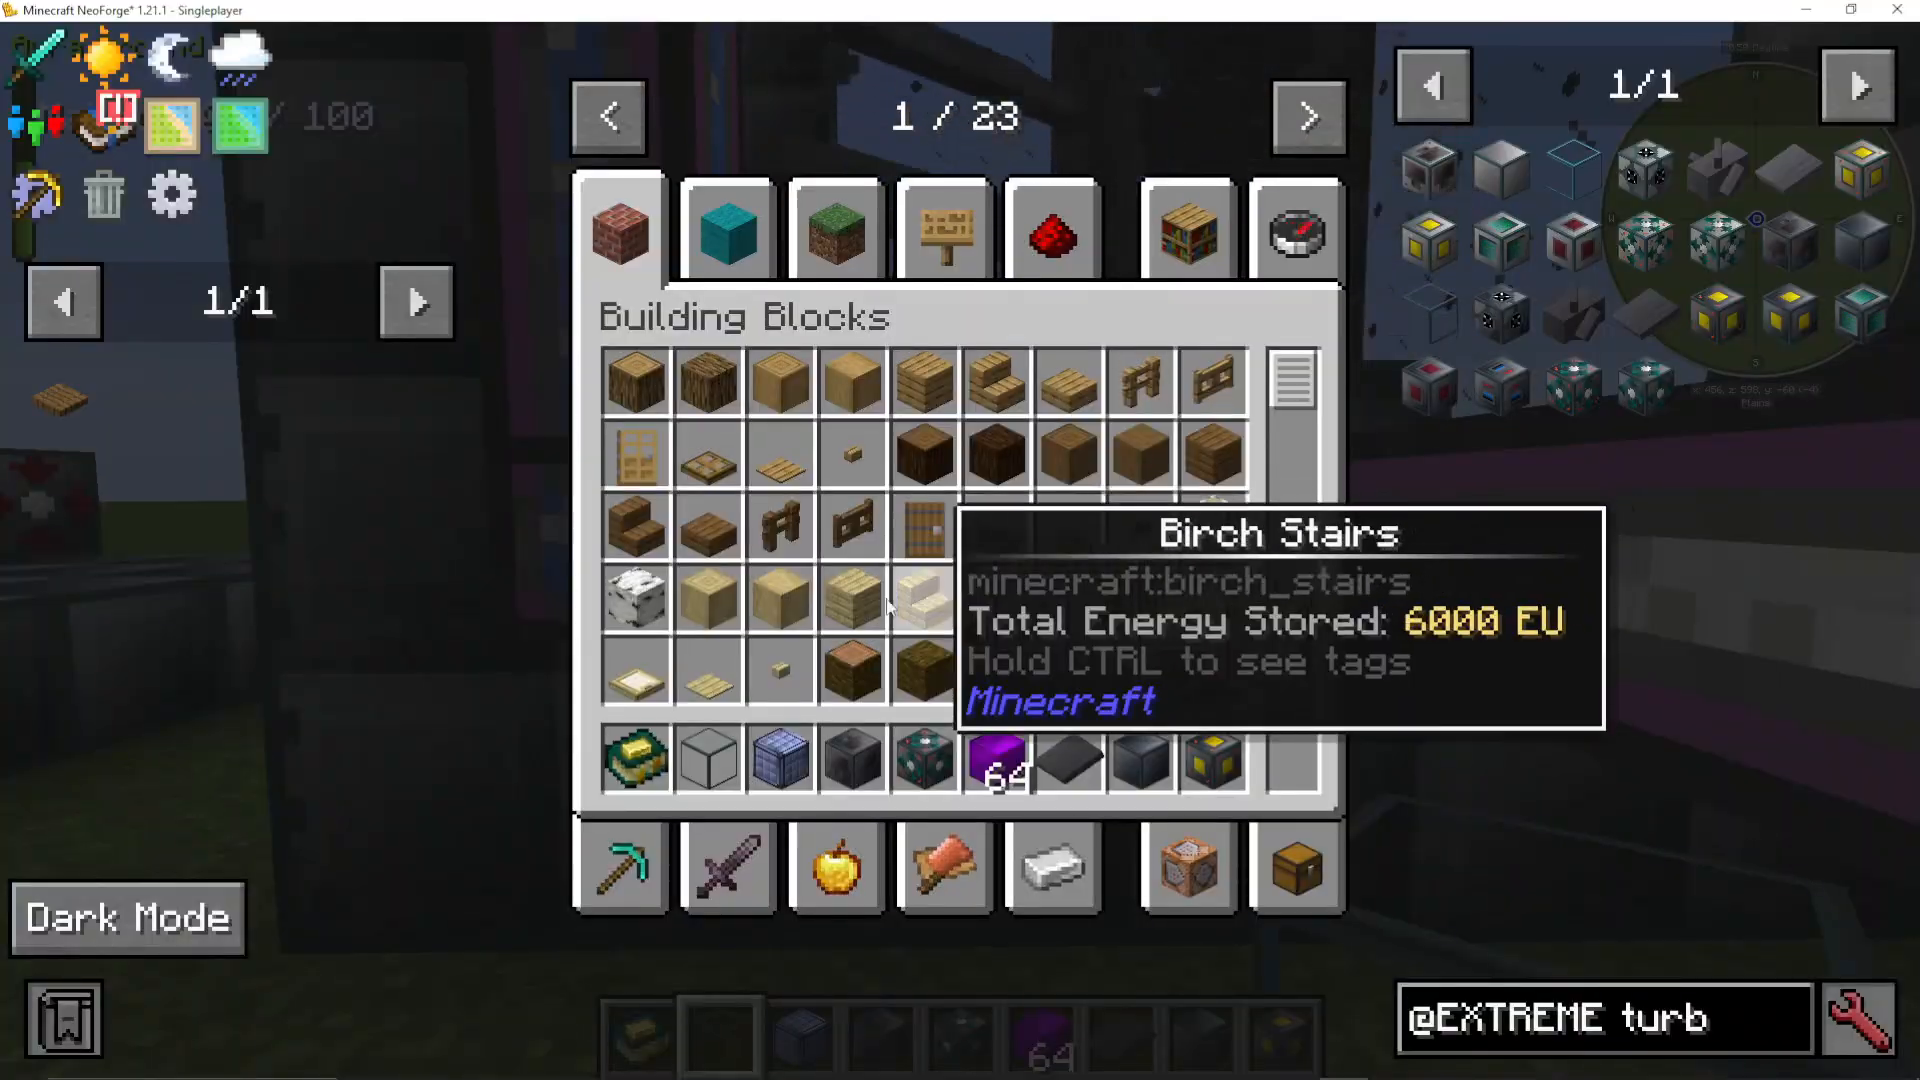
Fine-Tuning Rotor Speed
Achieving optimal rotor speed (1800 RPM) requires careful adjustment of the flow rate slider:
Set flow rate to maximum (e.g., 2000).
Turn on the turbine and monitor rotor speed.
As speed approaches your target, gradually lower the flow rate using Control+Click (decrements by 10) or individual clicks.
Aim for exactly 1800 RPM for best performance.
Once tuned, the turbine will maintain stable operation.
Power Output with Ludicrite Coils
Using Ludicrite coils in your turbine design significantly boosts power output:
Yellorium Reactor: 167,000 RF/tick
Plutonium Reactor: 227,000 RF/tick
Active Turbine with Ludicrite: 300,000+ RF/tick
Advanced Fuels and Coil Materials
Fuel and Coil Material Progression
As you progress, different materials provide dramatic power increases when used as turbine coils:
Ludicrite Coils: 300,000 RF/tick
Radiculite Coils: 2,000,000 RF/tick (6.6x increase)
Insanite Coils: 44–50,000,000 RF/tick (15x+ increase)
These materials are created through a multi-step reprocessing chain. You only need to create them once per coil block—they’re permanent components.
Creating Ludicrite
Ludicrite is created through reprocessing Cyanite:
Take Cyanite waste from your Yellorium reactor.
In the Fluidizer, convert solid Cyanite to Liquid Cyanite (solid-to-fluid).
In the Reprocessor, combine Liquid Cyanite + Solid Plutonium → Ludicrite.
Creating Radiculite
Radiculite requires Ludicrite and Magnetite:
Use Plutonium in a reactor to generate Magnetite waste.
In the Fluidizer, convert Magnetite to Liquid Magnetite.
In the Reprocessor, combine Ludicrite + Liquid Magnetite → Radiculite.
Creating Insanite
Insanite is the final coil material, created using Radiculite and Rossinite:
Create Verdirium in the Fluidizer (Yellorium + Plutonium → Liquid Verdirium).
Use Verdirium in a reactor to generate Rossinite waste.
In the Fluidizer, convert Rossinite to Liquid Rossinite.
You also need Benitoite ore (found in the Nether).
In the Reprocessor, combine Benitoite + Liquid Rossinite → Insanite.
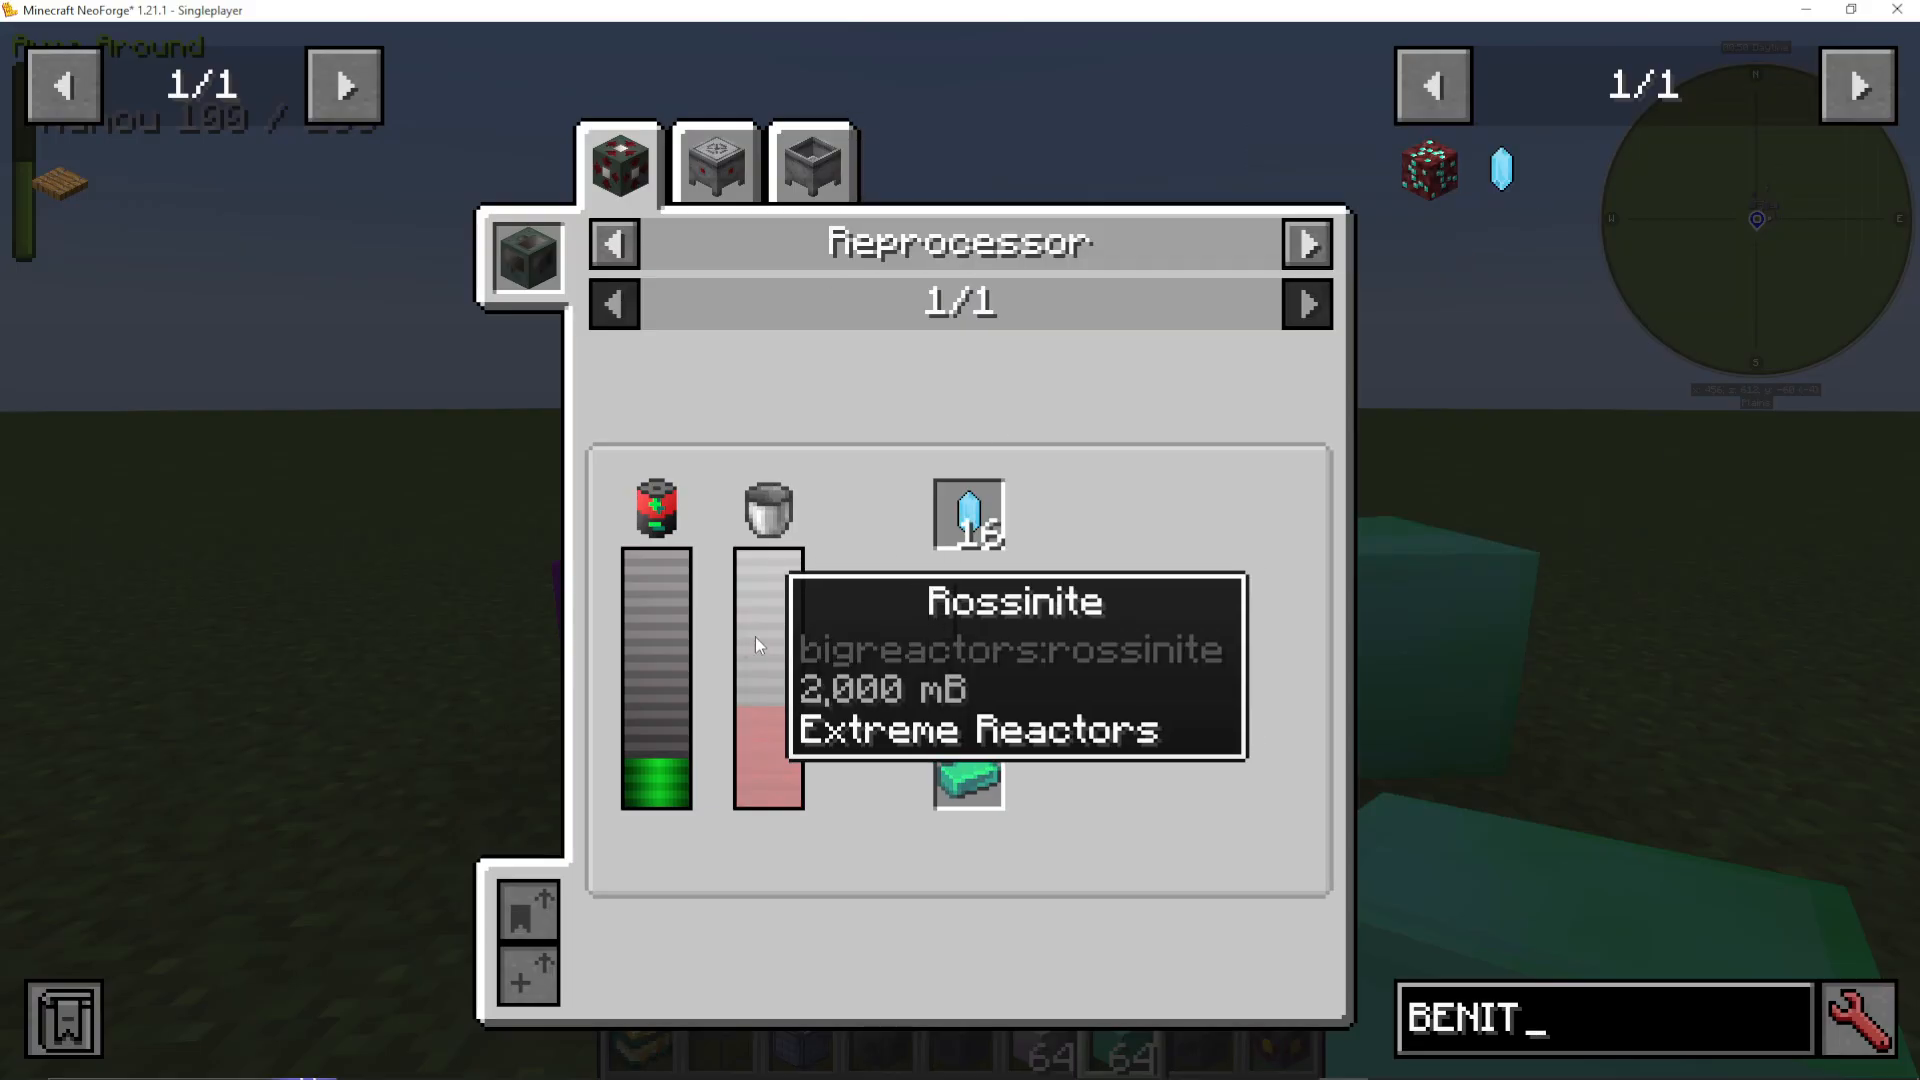
Complete Reaction Chain Flowchart
The full progression is complex. Here’s a summary:
Yellorium Reactor → Cyanite (waste)
Cyanite → [Fluidizer] → Liquid Cyanite + Reprocess with Plutonium → Ludicrite
Plutonium Reactor → Magnetite (waste)
Magnetite → [Fluidizer] → Liquid Magnetite + Reprocess with Ludicrite → Radiculite
Verdirium (Yellorium + Plutonium in Fluidizer) Reactor → Rossinite (waste)
Rossinite → [Fluidizer] → Liquid Rossinite + Reprocess with Benitoite → Insanite
Once created, these materials are used as coil blocks in your turbine. You won’t need to repeat the process—use one set of coils indefinitely.
Energy Storage with the Energizer
Energizer Overview
The Energizer is a massive energy storage battery that can hold enormous amounts of power. It’s useful for buffering your reactor output and providing stable power supply to your base.
Building an Energizer
The Energizer is a simple multiblock:
Minimum Size: 3×3×3
Components:
Energizer Controller (x1)
Energizer Energy Input Port (x1)
Energizer Energy Output Port (x1)
Optional: Computer Port, Redstone Port
Energizer Casing (exterior frame)
Energy Cells (interior filler)
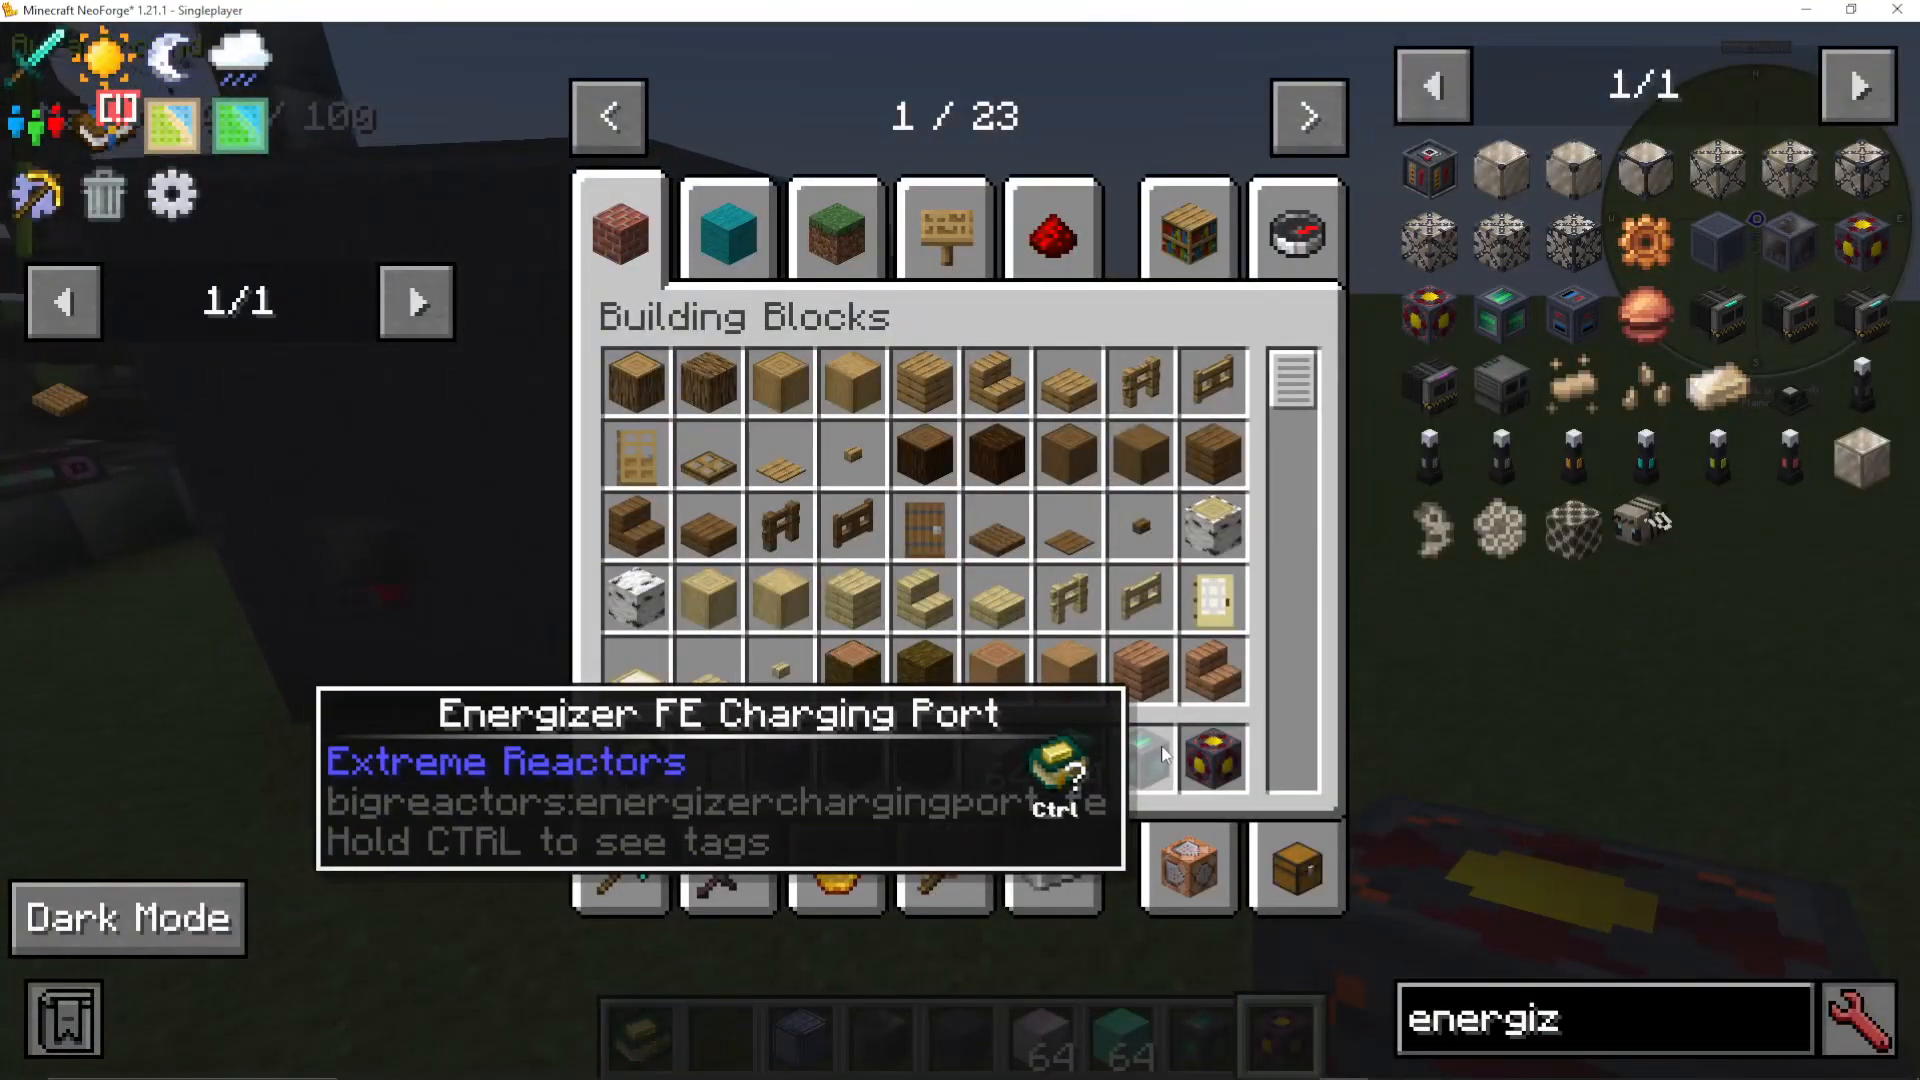
Energizer Storage Capacity
Storage scales with size. Even a 4×4 Energizer can store approximately 5.47 PFE (an astronomically large number). The limitation is filling it—you must craft Energy Cells to fill the interior:
Energy Cells require:
Blocks of Gold
Blocks of Iron
Benitoite ore (found in the Nether)
Energy Cores (crafted from Anglesite ore + Eyes of Ender + Magnetite blocks)
The cost of creating Energy Cells is reasonable, making the Energizer a practical late-game addition.
Summary and Next Steps
You’ve now learned the complete progression path for Extreme Reactors:
Build a basic passive reactor using Yellorium (167k RF/tick)
Reprocess waste Cyanite into Plutonium (227k RF/tick)
Create Verdirium using the Fluidizer for additional fuel options
Convert to active cooling and build a turbine (300k+ RF/tick with Ludicrite)
Unlock advanced coil materials: Radiculite (2M RF/tick), and Insanite (44–50M RF/tick)
Store excess energy with the Energizer
While this mod has a steep learning curve, the progression is logical and rewarding. Start with the basics, master passive reactors, then gradually unlock active cooling, turbines, and advanced materials. The energy output scales dramatically—you can go from thousands to millions of RF/tick with the right setup.
— Want to Support? —
If you would like to help us continue making these guides – please consider joining our patreon here – https://www.patreon.com/c/JaviHeals
Alternatively – we host a group of MC Servers you can join here – https://discord.gg/zD7Gjt6MHF



