







The ULTIMATE Beginners Guide to Create
The Ultimate Beginners Guide to Create Mod
Welcome to your complete beginner’s guide to the Create mod! This comprehensive tutorial will walk you through everything you need to know to get started, from generating power with windmills and water wheels to crafting complex automation systems. Whether you’re just beginning your Create journey or looking to expand your knowledge, this guide covers essential mechanics, useful items, fluid manipulation, and farm setups to help you build incredible contraptions.
Understanding Power and Kinetic Energy in Create
The first thing you need to understand in Create is how to make and use power. Unlike most mods, Create uses rotational power, also known as kinetic energy. Kinetic energy is the energy made from movement, and this is basically how you generate energy in Create.
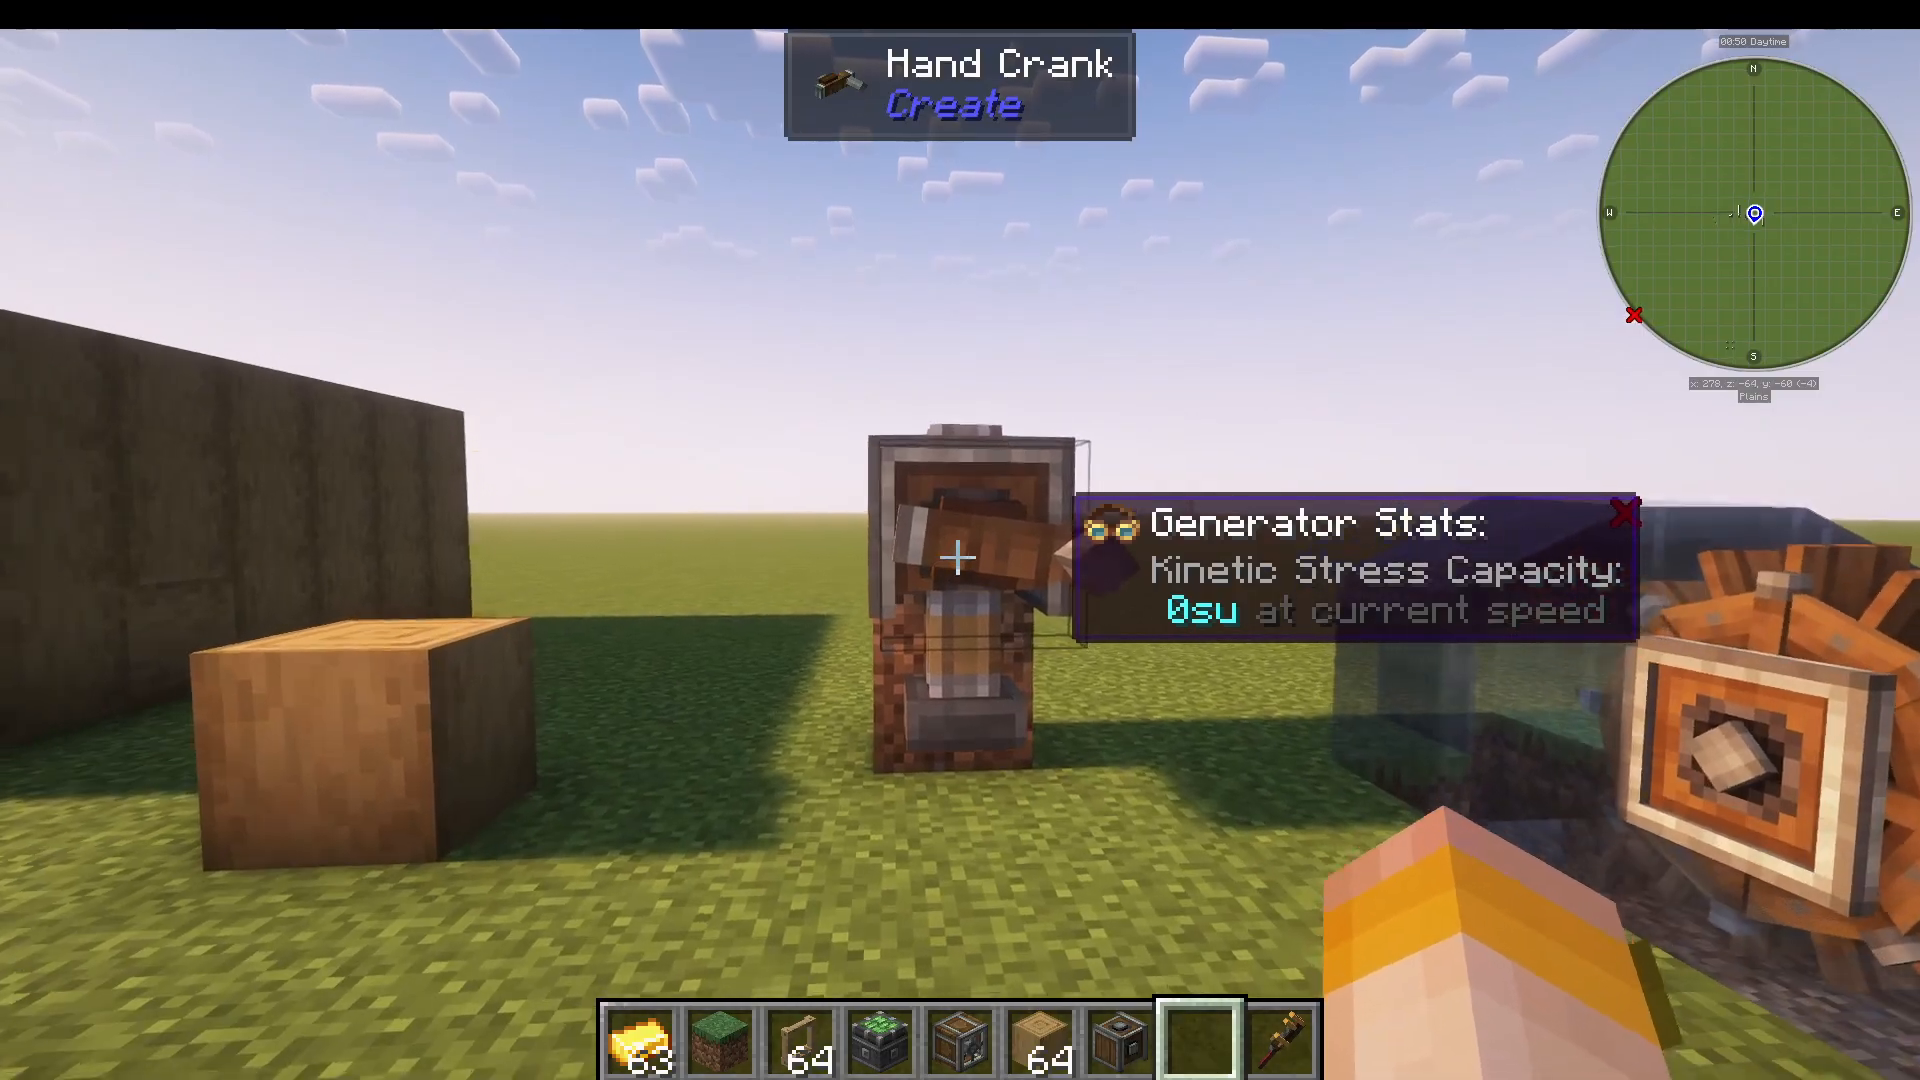
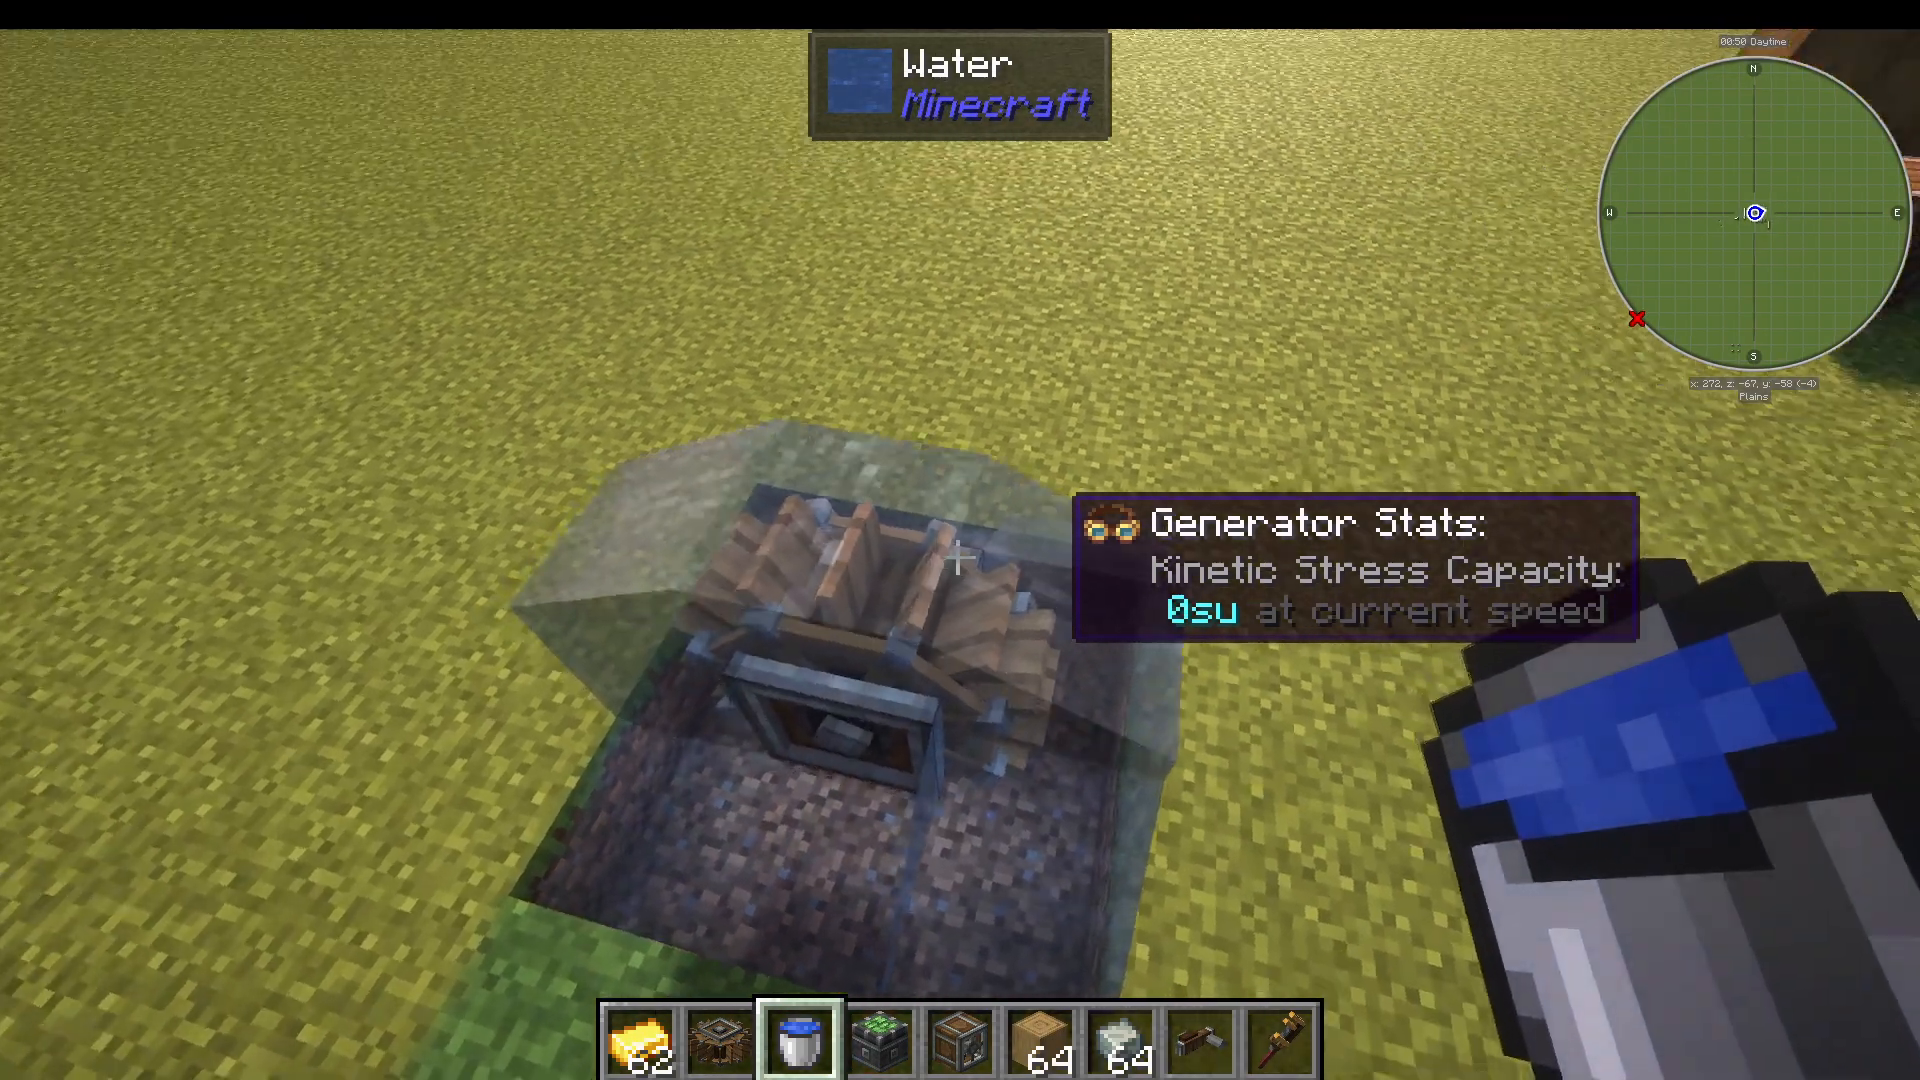
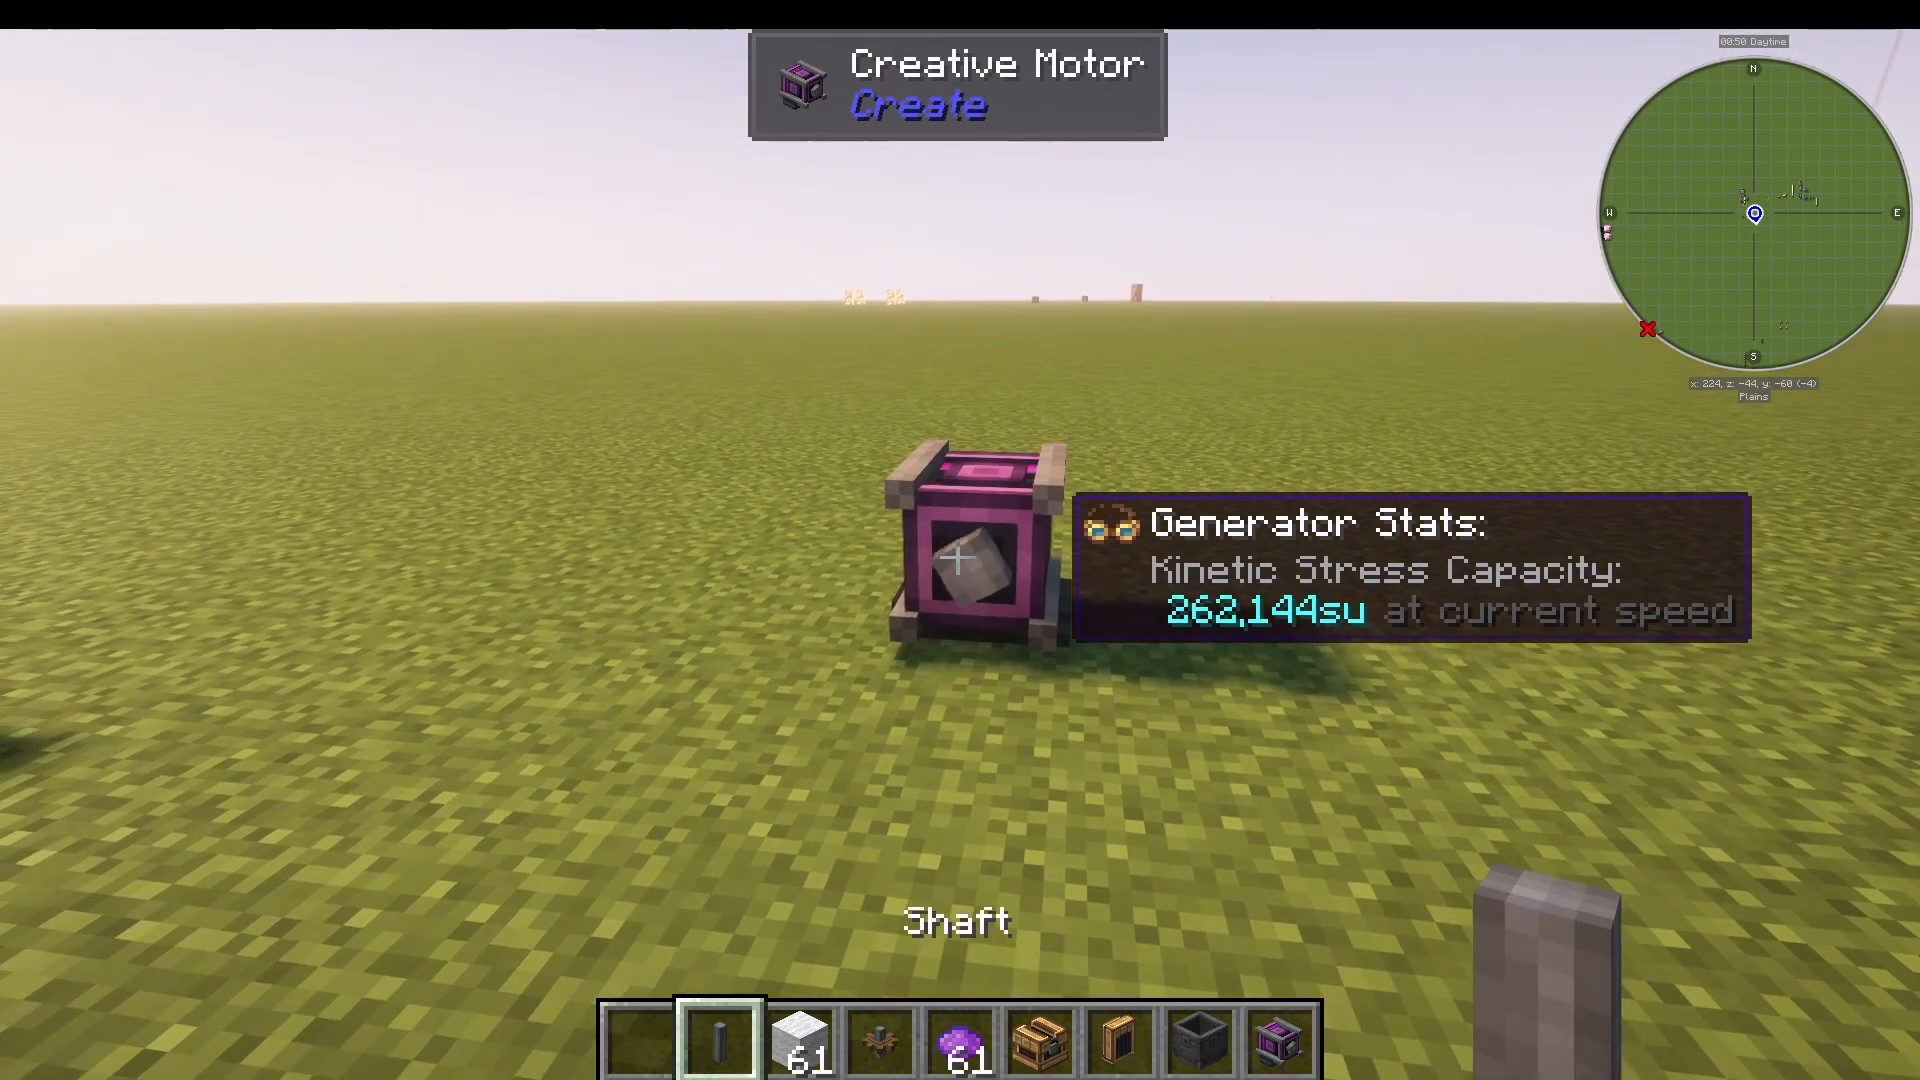
You’ll notice an overlay on your screen showing “Generator Stats Kinetic Stress Capacity” — this comes from the Engineers Goggles. These are easy to make using glass and a golden sheet (which is made with Create). The Engineers Goggles allow you to oversee how much kinetic stress you’re using at the current speed on your machines.
Making Your First Engineers Goggles
To craft Engineers Goggles, you’ll need to start with an Andesite Alloy. This is made from one Andesite and two iron nuggets. Andesite Alloy is going to be massively used in the Create mod, so make plenty of it. Use the Andesite Alloy on stripped wood to create an Andesite Casing.
Next, you’ll need a Mechanical Press. This is made with an Andesite Casing, a block of iron, and a shaft (which is just two Andesite Alloys). Once you have your Mechanical Press, throw in a gold ingot under it and use a hand crank. This will give you a golden sheet, which you can then use to craft your Engineers Goggles.
Basic Power Generation Methods
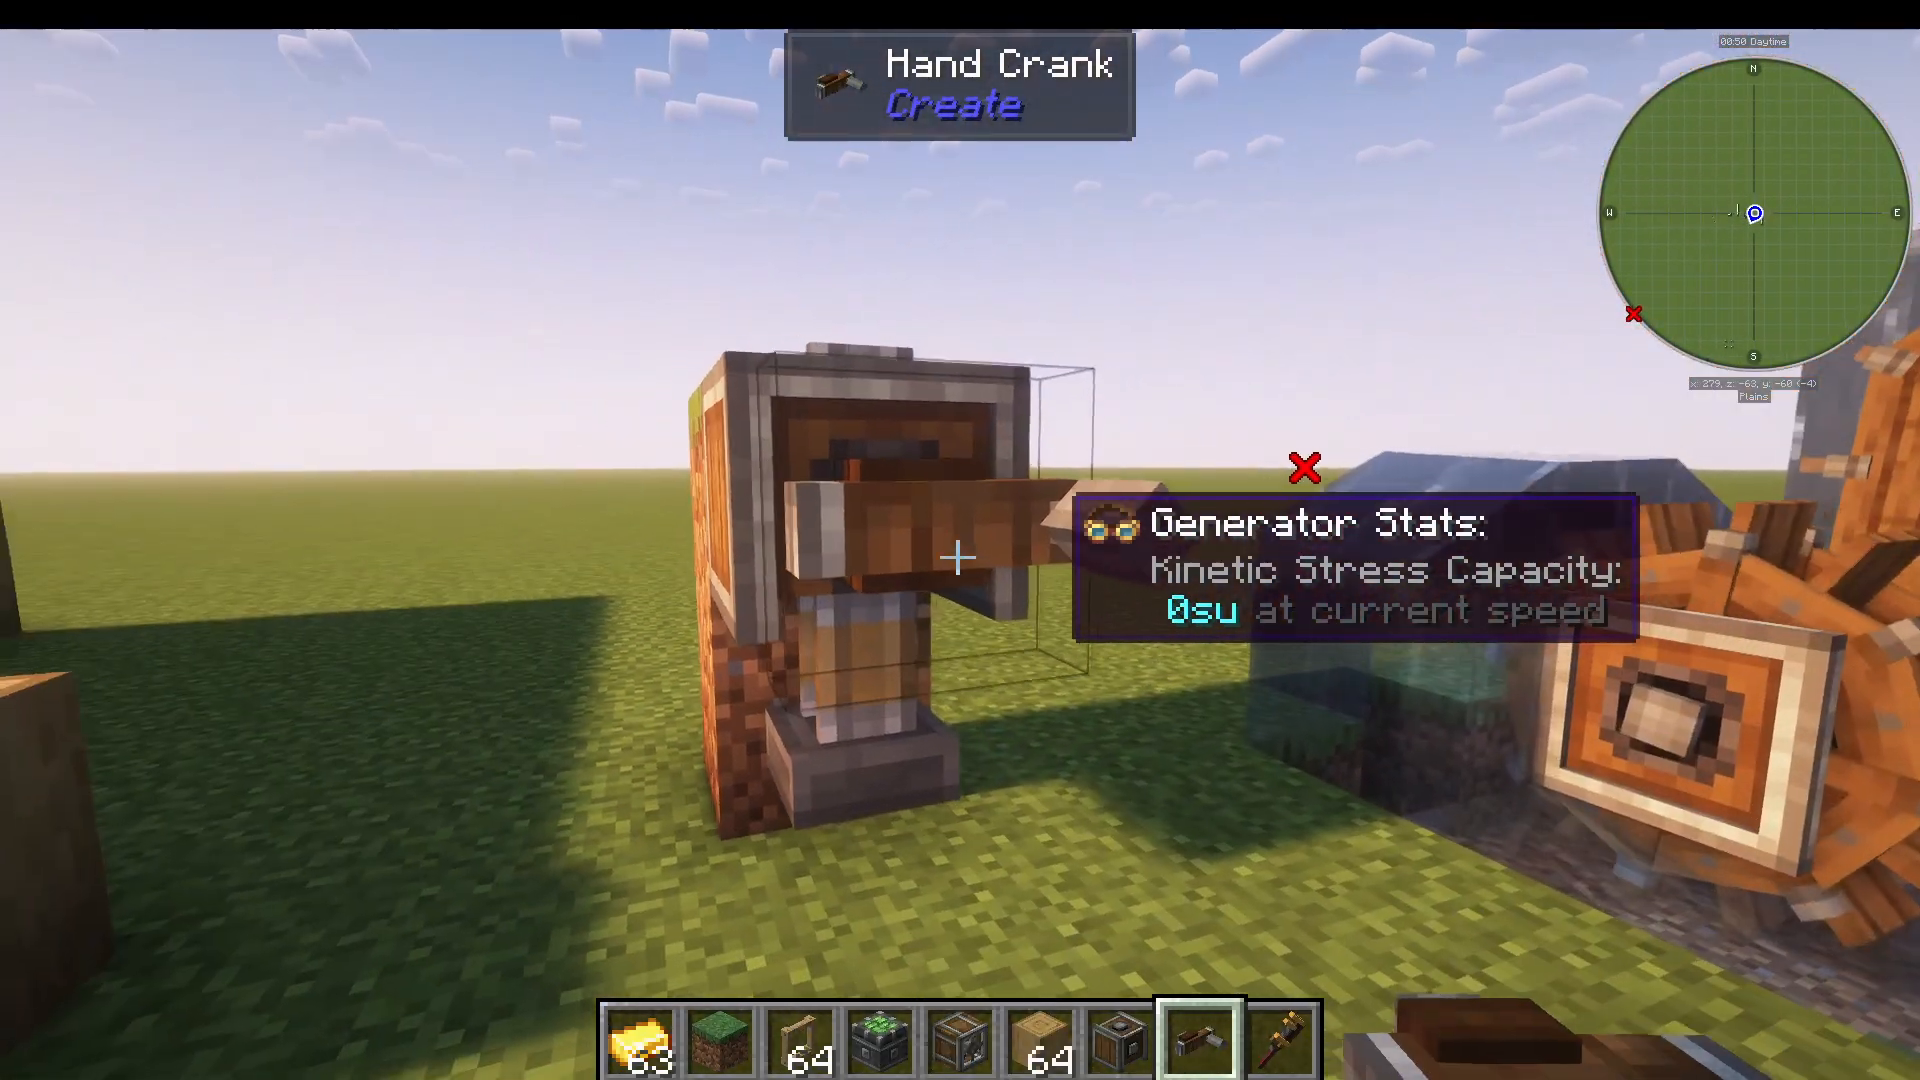
The Hand Crank
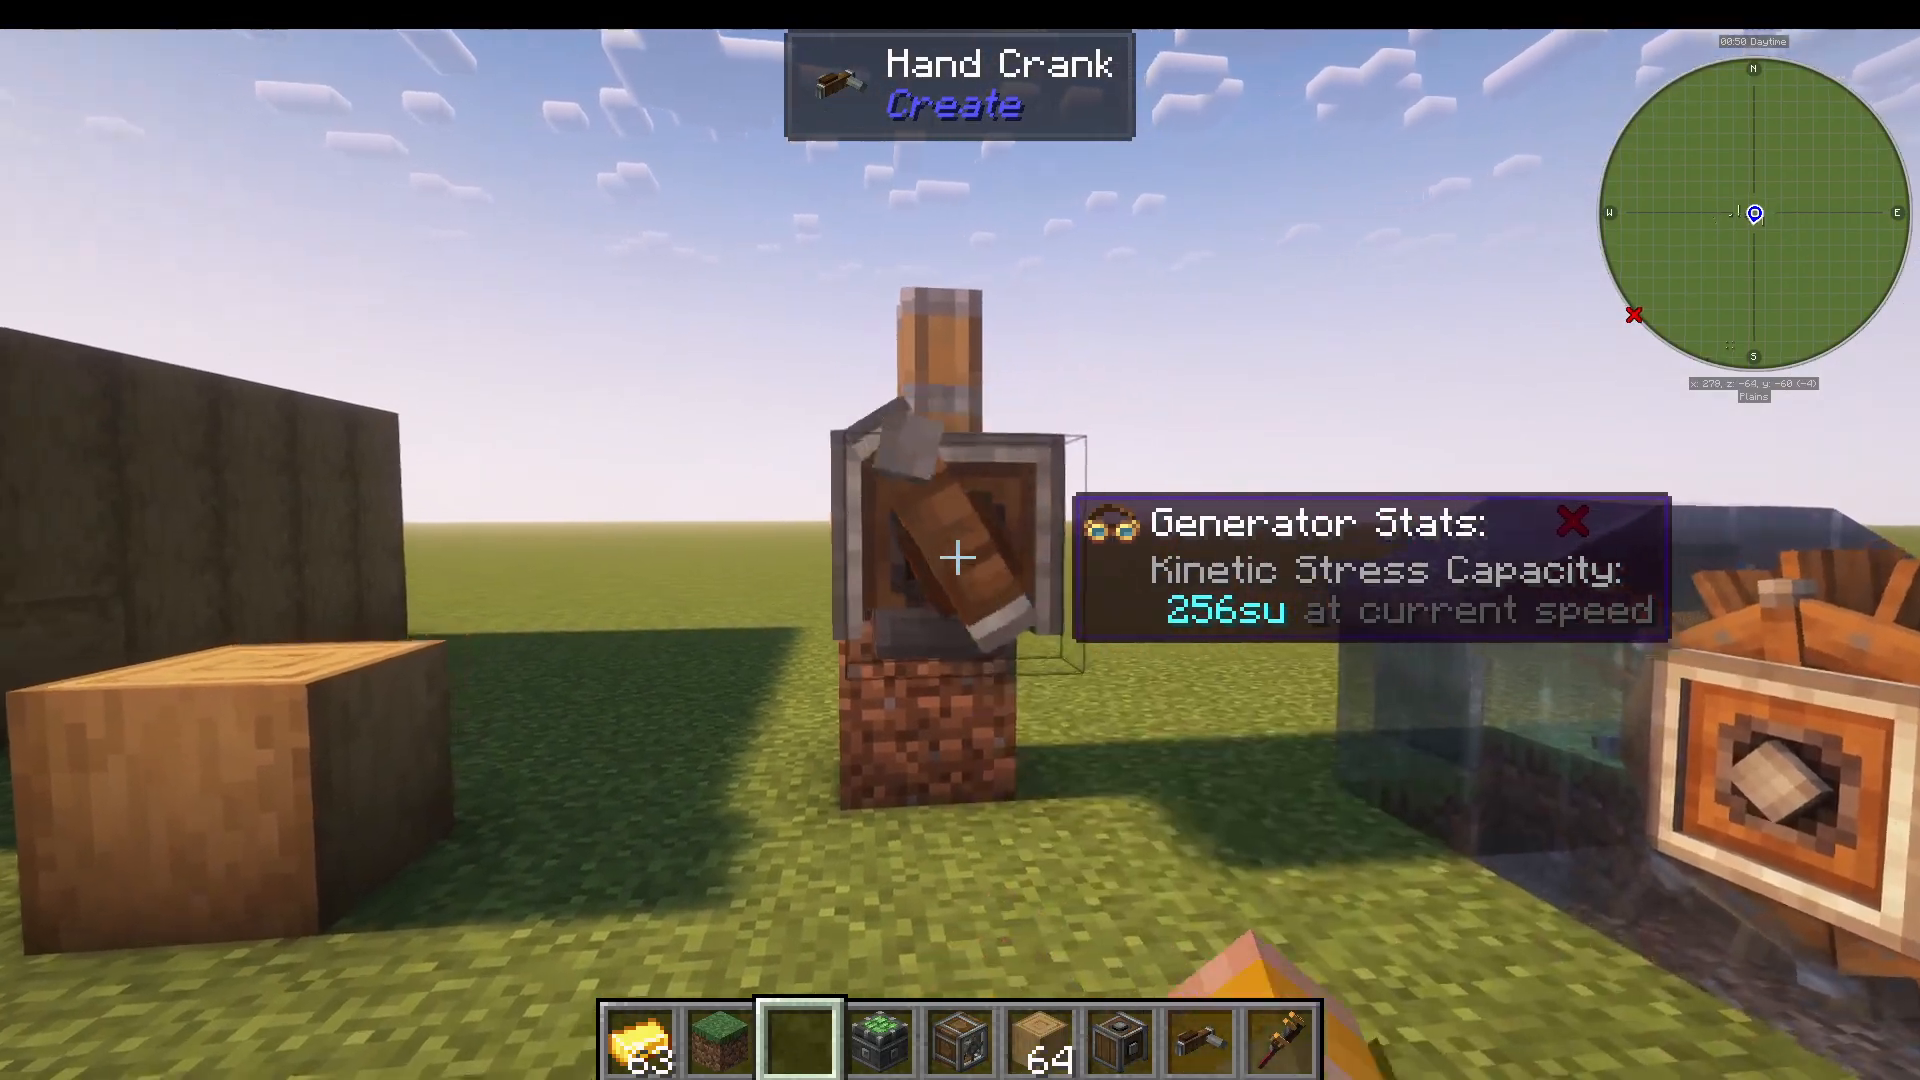
The first and simplest way to generate rotational power is with a hand crank. It requires Andesite Alloy. You can add your hand crank onto a bearing by right-clicking. When you hold right-click and use the hand crank, it generates 256 units at current speed. However, the hand crank is very manual, so you’ll want to upgrade to automatic power generation.
The Water Wheel
Water wheels are simple to set up and provide automatic power generation. Simply place the water wheel in flowing water. You can connect shafts to it by right-clicking. The small water wheel generates 256 units, while the large version (made with a small wheel with added planks around it) generates 512 units.
The Windmill
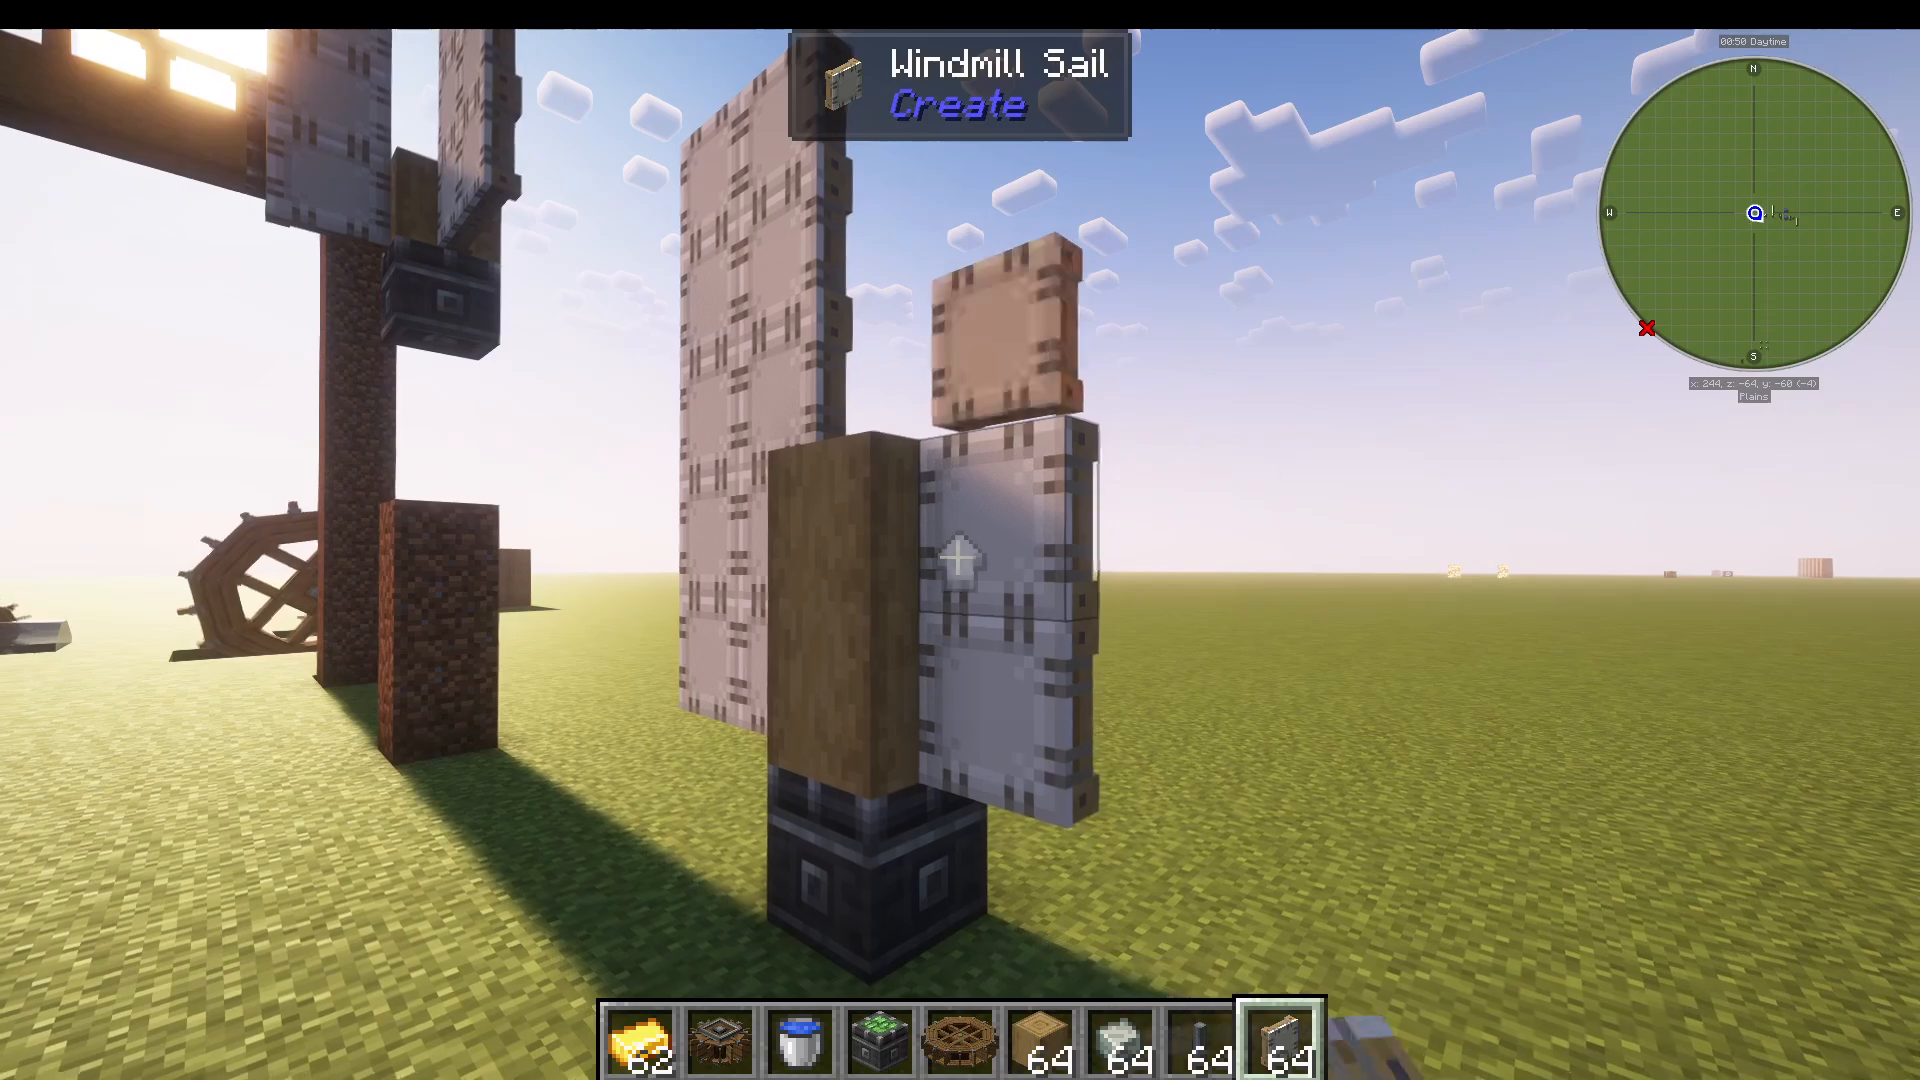
Windmills are more interesting than water wheels. You’ll need a windmill bearing made with basic materials. Place it down and it will already have glue on it. Add a piece of oak stripped log (or any log you prefer), then use windmill sails to add multiple sails to each side of the structure.
Right-click the bearing to make it start rotating and generating power. You can right-click and hold on the sails to switch between clockwise and counterclockwise rotation. To see the ideal windmill setup, hold W to ponder — this will show you recommended configurations with logs and trapdoors for maximum efficiency.
A basic windmill bearing can generate up to 8,000 units of power. You can dye your windmill by adding blue dye or other colors to customize the appearance. Add cogs to the back of the bearing to attach to machinery.
Working with Shafts and Gearboxes
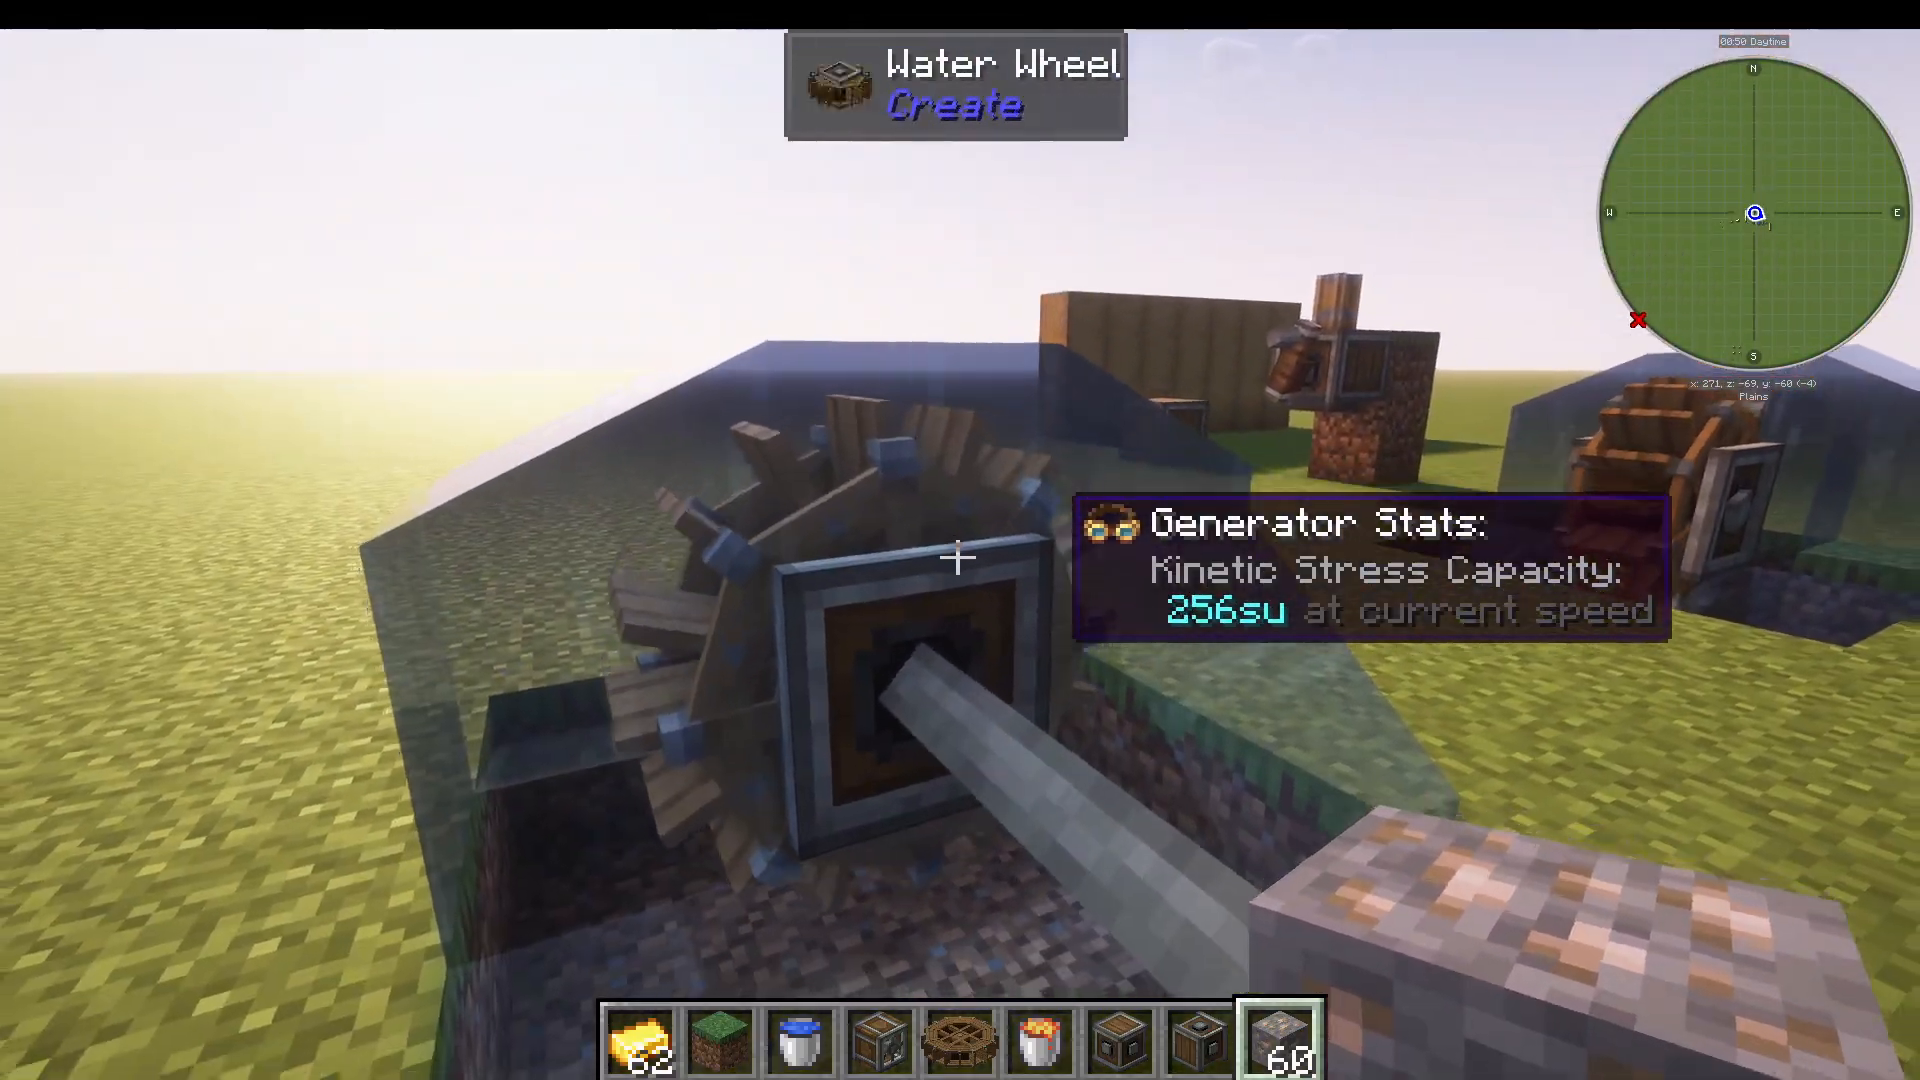
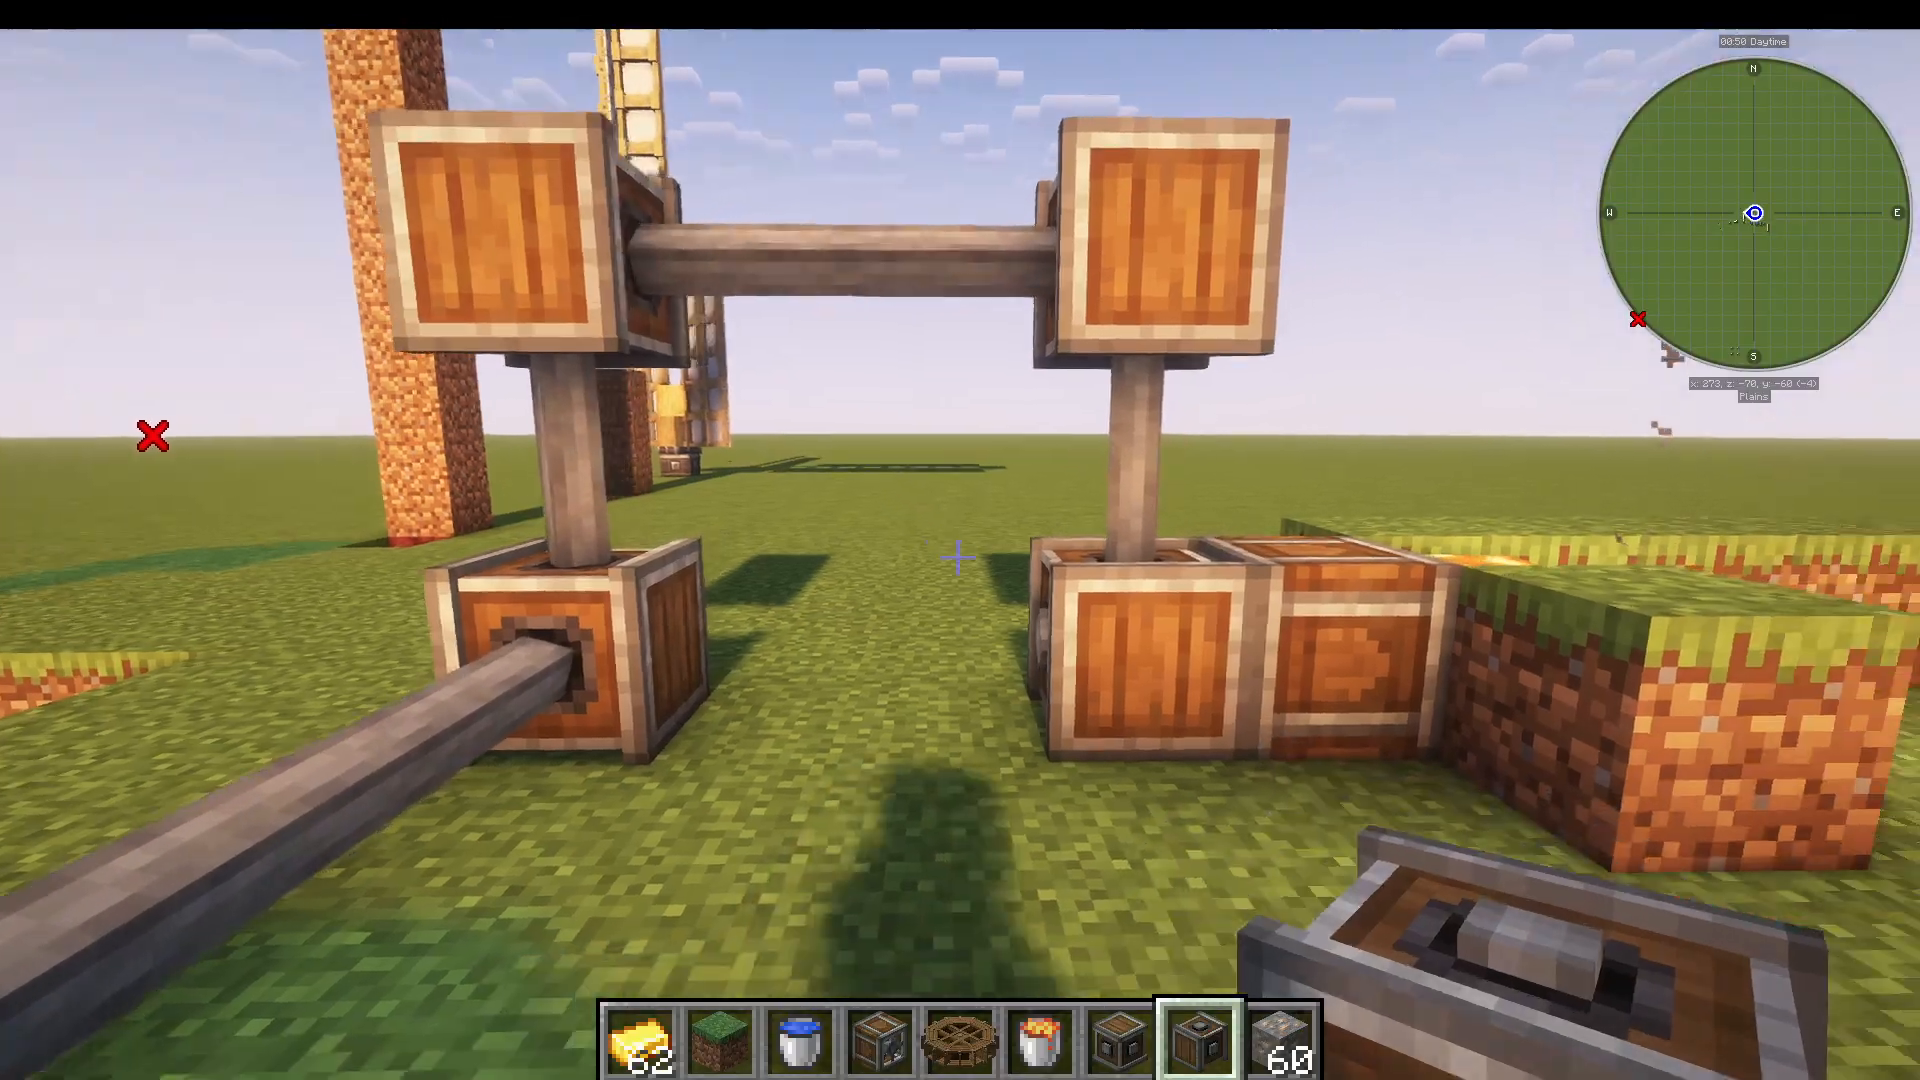
Once you have power, you can transmit it using shafts and gearboxes. A vertical gearbox allows you to turn corners and change the direction of rotation. Simply attach shafts to your power source and connect them to gearboxes to route power in different directions.
Using Power: The Encased Fan
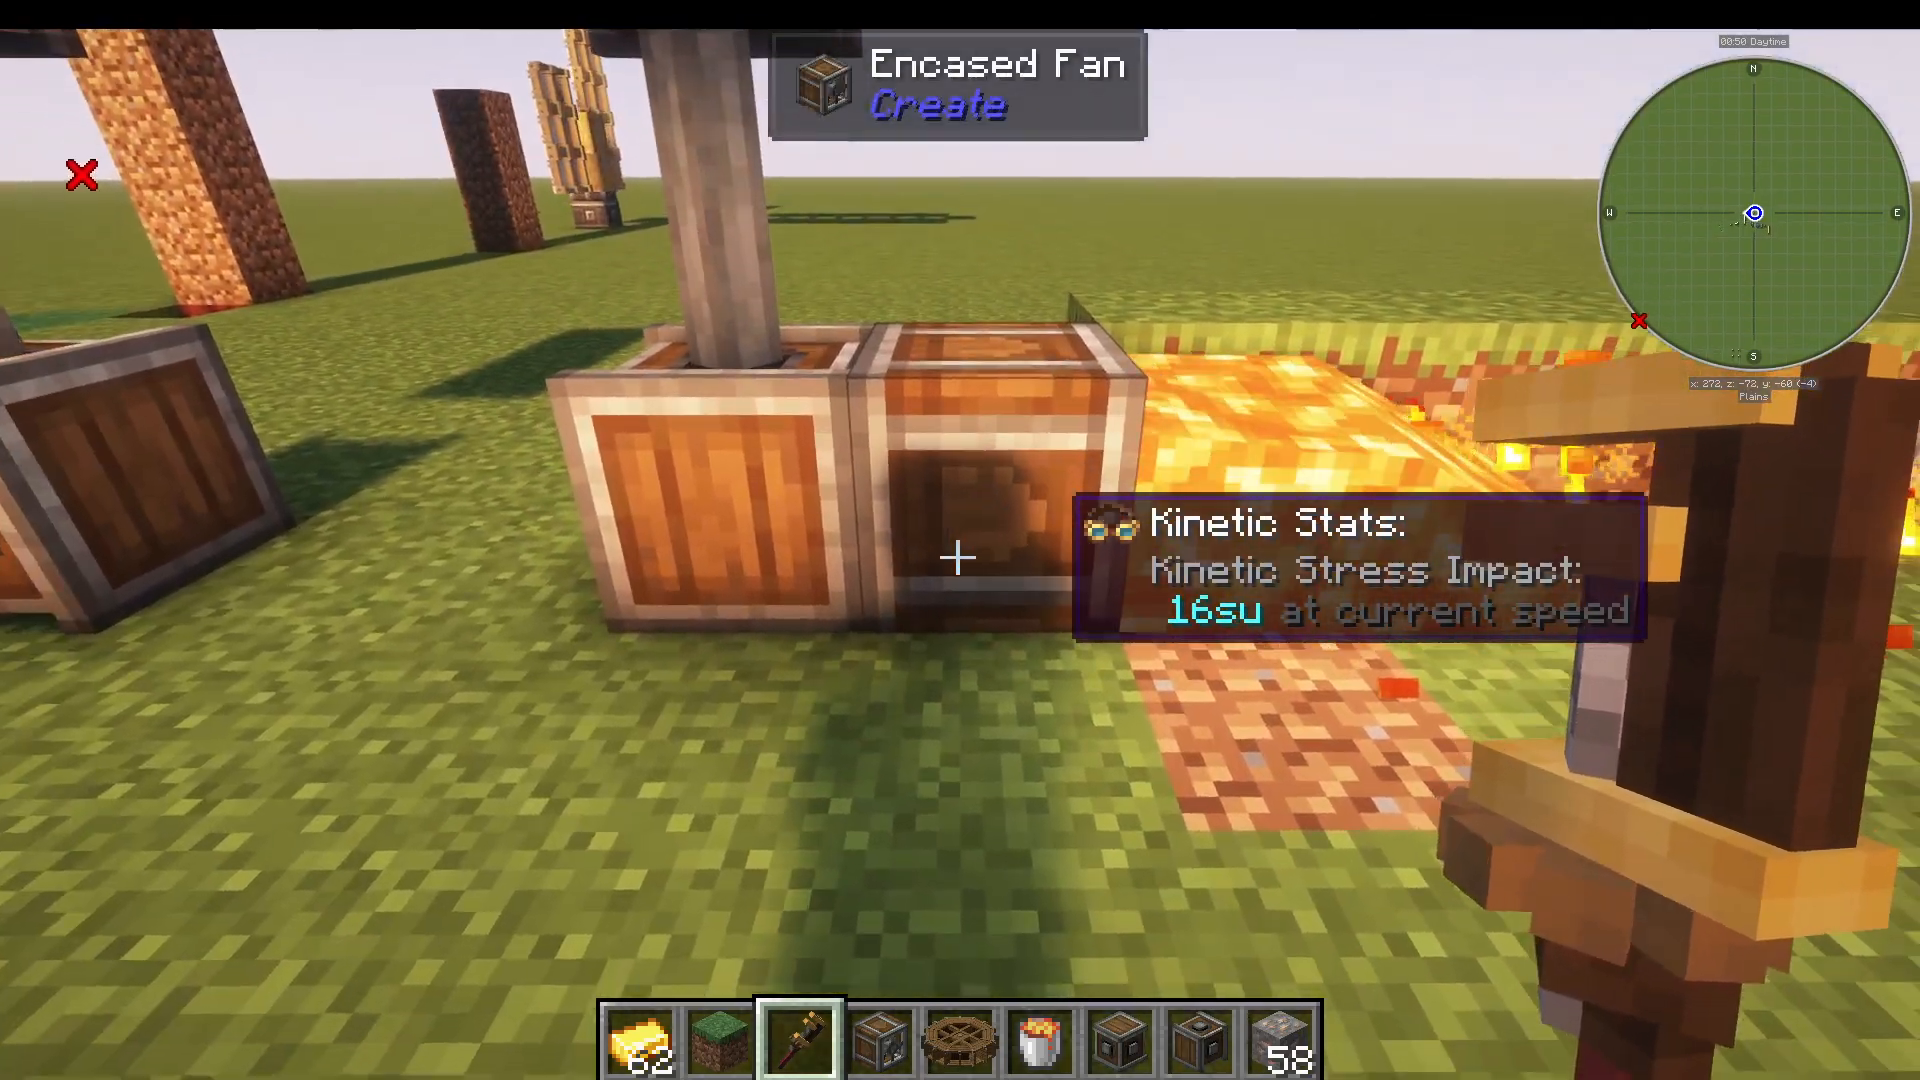
One practical application of rotational power is the Encased Fan. Connect your power source through shafts and gearboxes to an Encased Fan. If it’s blowing air in one direction, it will push items and mobs. If the rotation is reversed, it will pull air instead.
You can place lava in front of an Encased Fan to heat the air it pushes out. This heated air can be used to smelt items like iron ore into iron ingots — simply throw iron ore in front of the fan and wait about 20-30 seconds for the smelting to complete.
Rotating Items with the Wrench
The wrench is an essential tool that rotates items and changes their orientation. When you right-click with a wrench on an Encased Fan, you can rotate it to point in different directions. Pay attention to the bearing’s position — if the bearing is at the back, you need rotational power coming from below when the fan points upward.
Conveyor Belts and Item Transport
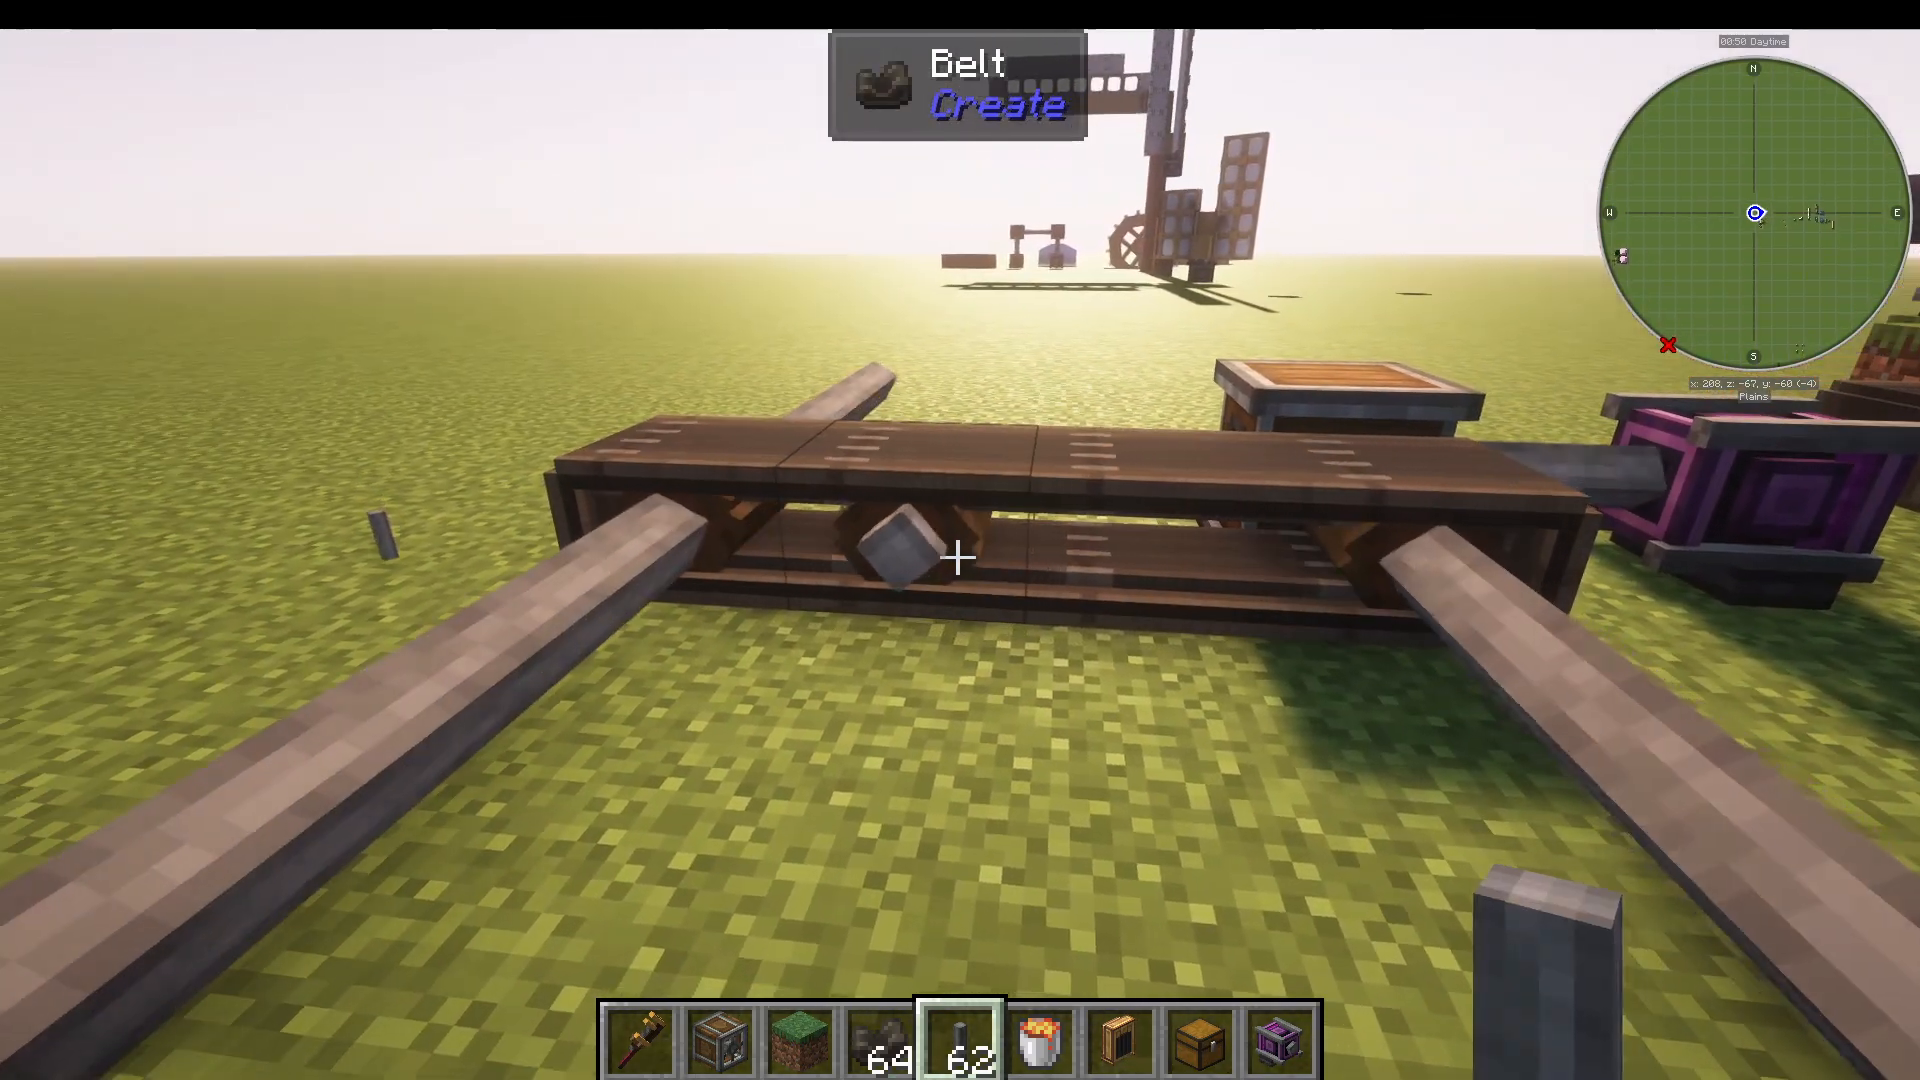
Mechanical belts are made from dried kelp and allow you to transport items. Connect two shafts with a belt by clicking on each shaft in sequence. The belt will move items in the direction the shaft is rotating.
You can change the direction a belt moves by using gearboxes. If you place a gearbox diagonally from your power source, the connected shaft will rotate in the opposite direction compared to a gearbox placed differently. This lets you create belts moving in different directions from the same power source.
📸 [ASSISTANT: TAKE SCREENSHOT AT SCREENSHOT AT TIMESTAMP 09:03]
Adding and Removing Shafts
Right-click a shaft onto a belt to add it. Use the wrench to right-click a shaft to remove it and disconnect it from the belt. You can extend shafts along a belt by using the wrench to connect and disconnect them as needed.
Funnels and Item Extraction
Andesite Funnels
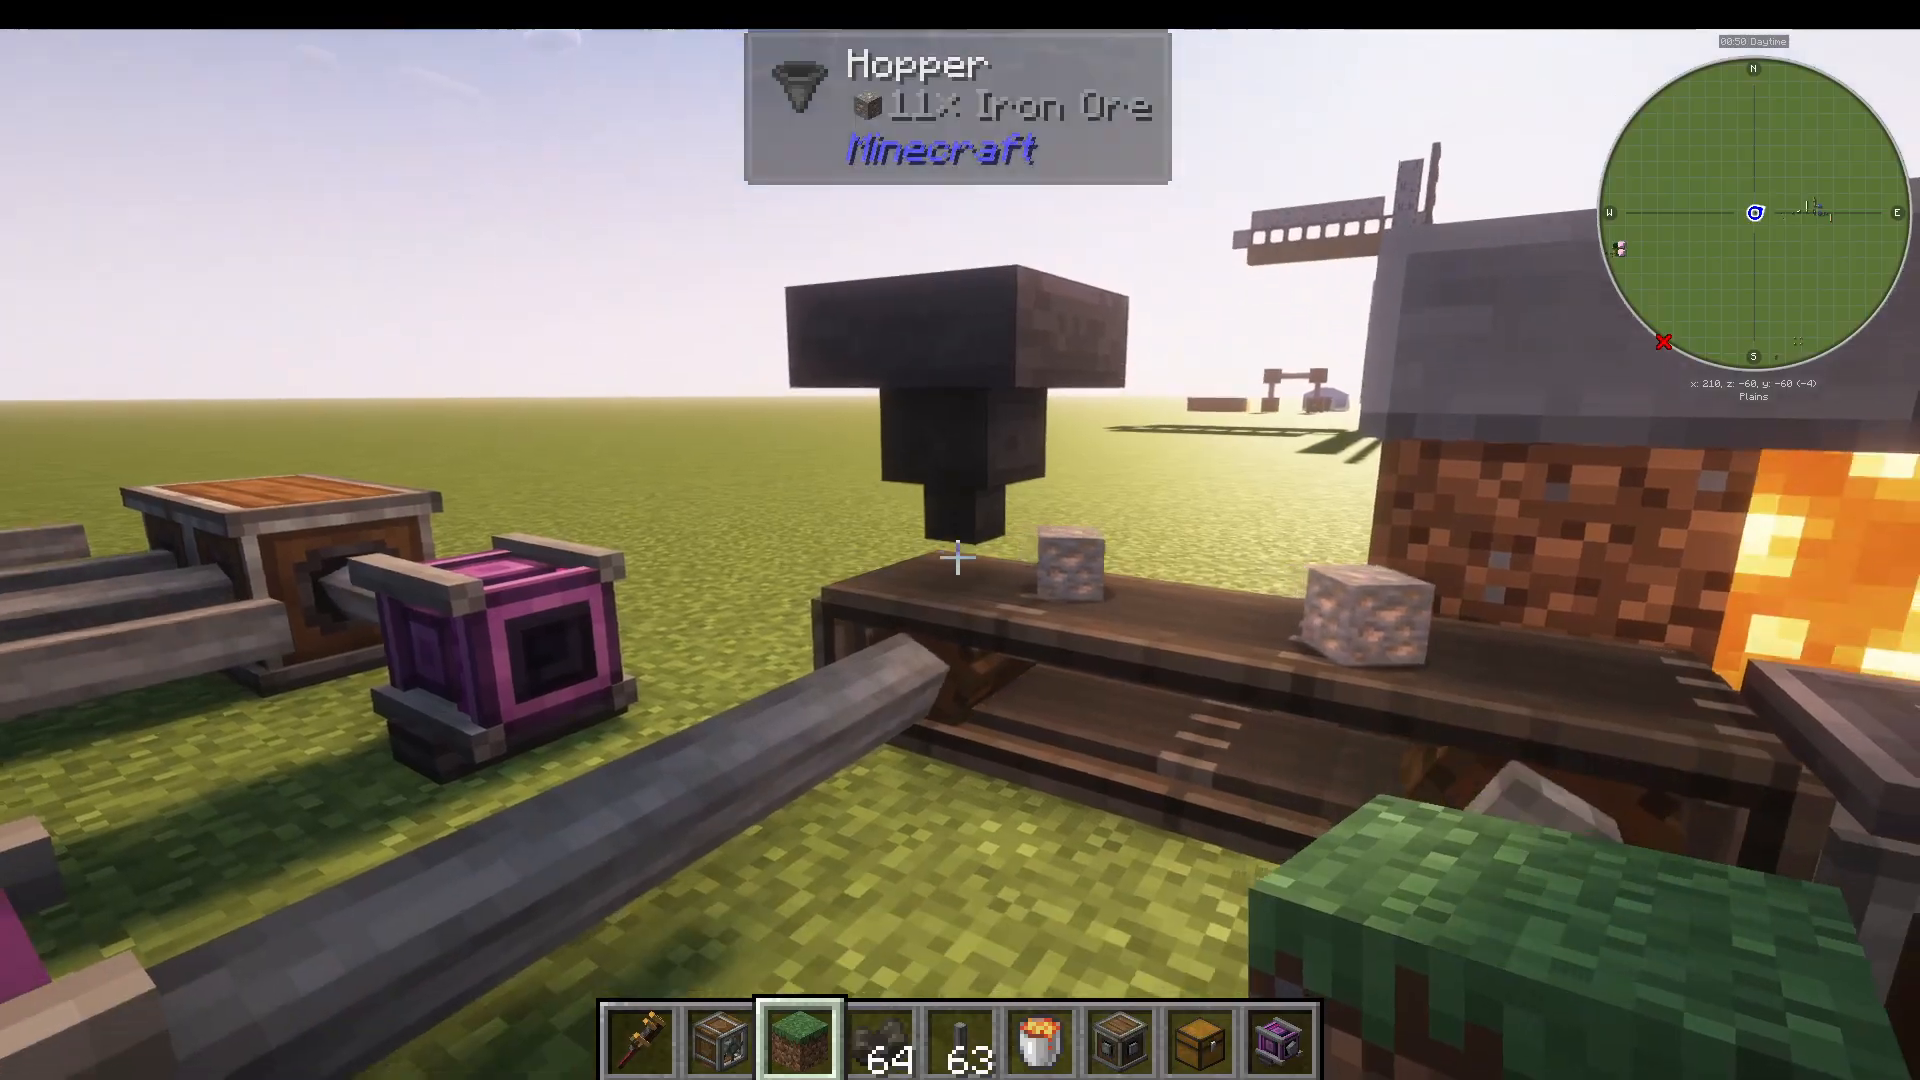
Andesite Funnels are basic input and output devices. They work with chests and can pull or push items. Right-click a funnel onto a conveyor belt to connect it. To control the direction items flow, use the wrench to rotate the arrow on the funnel. An arrow pointing down means items go into the chest below; an arrow pointing up means items come out of the chest.
Brass Funnels
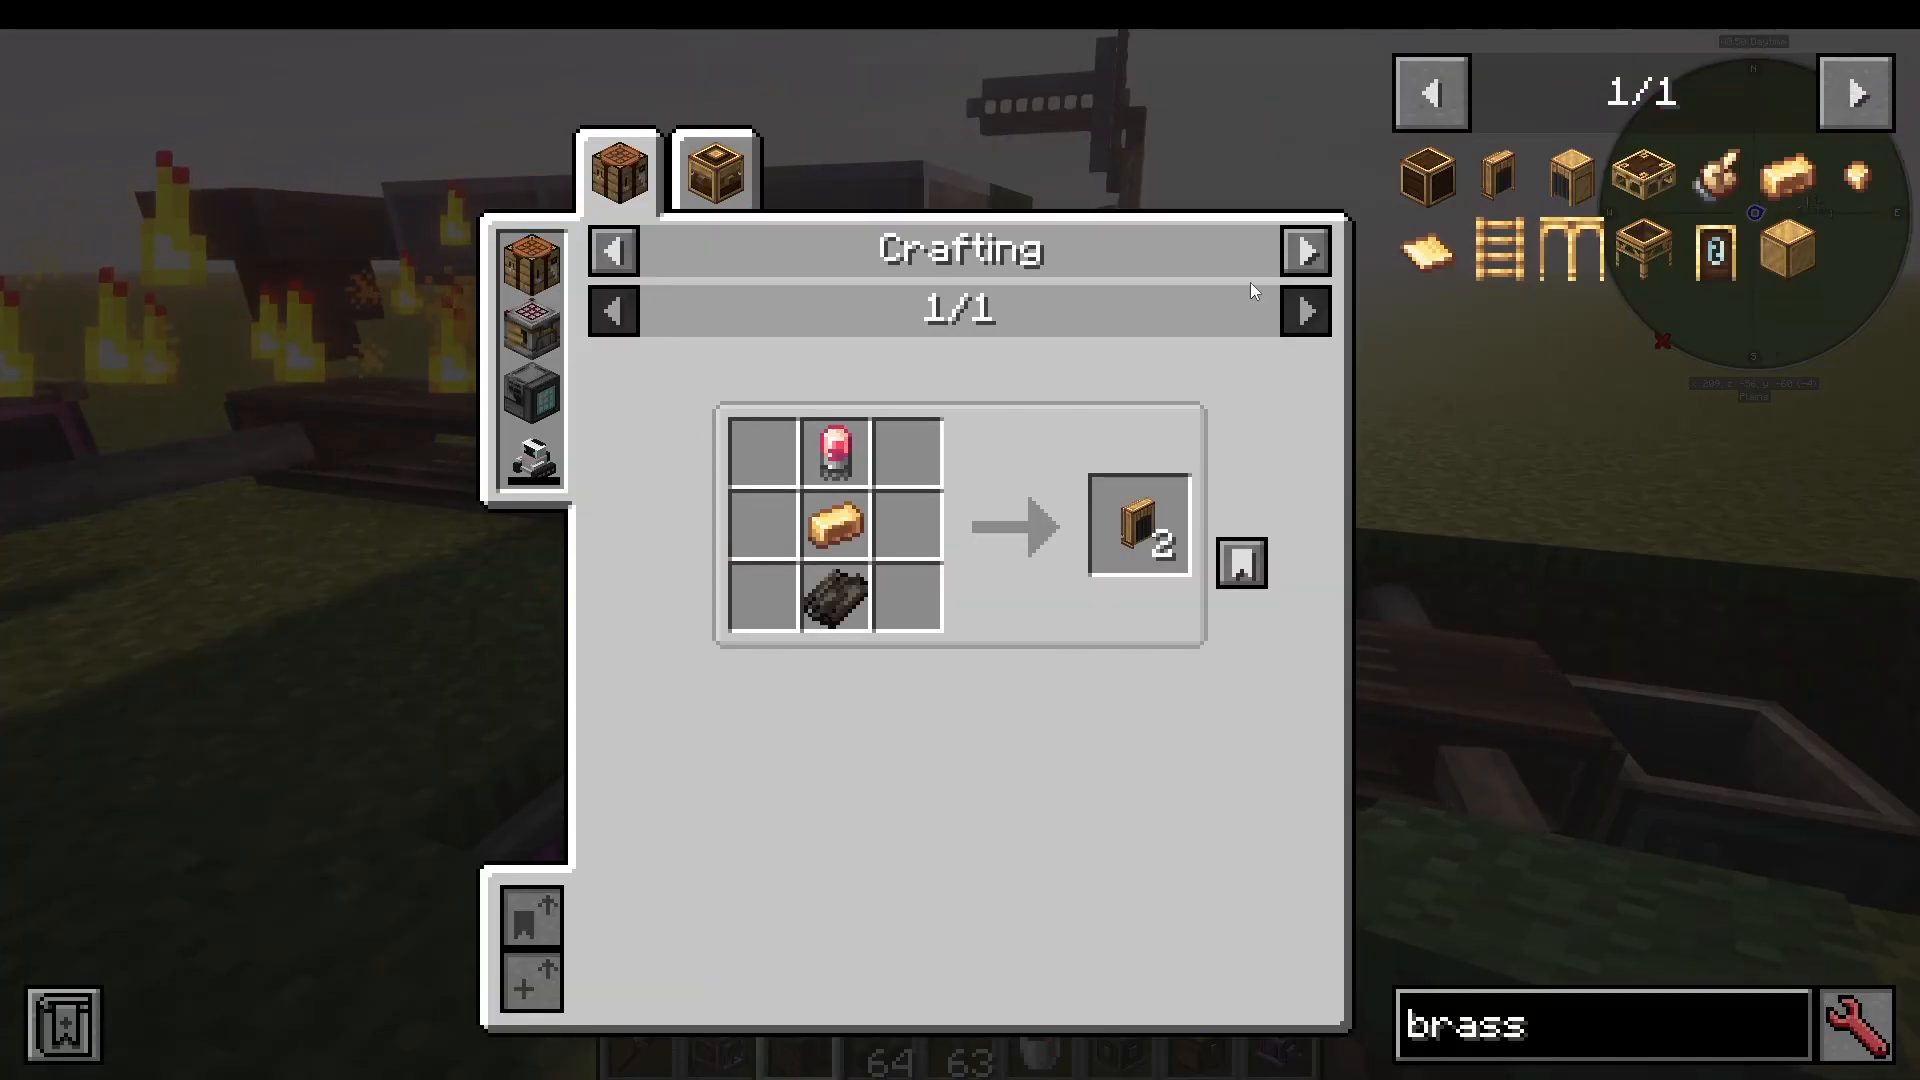
Brass Funnels are more advanced versions of Andesite Funnels. They require electron tubes, polished lapis quartz, and brass ingots, but offer filtering capabilities. Right-click an item onto a brass funnel to filter it — only that item type will be extracted or inserted.
Depots and Item Processing
A depot stops items in their tracks on a conveyor belt. This is useful when you need items to stay in place for processing. For example, when using an Encased Fan with lava to smelt items, place a depot on the belt so items stay under the heating mechanism long enough to be processed.
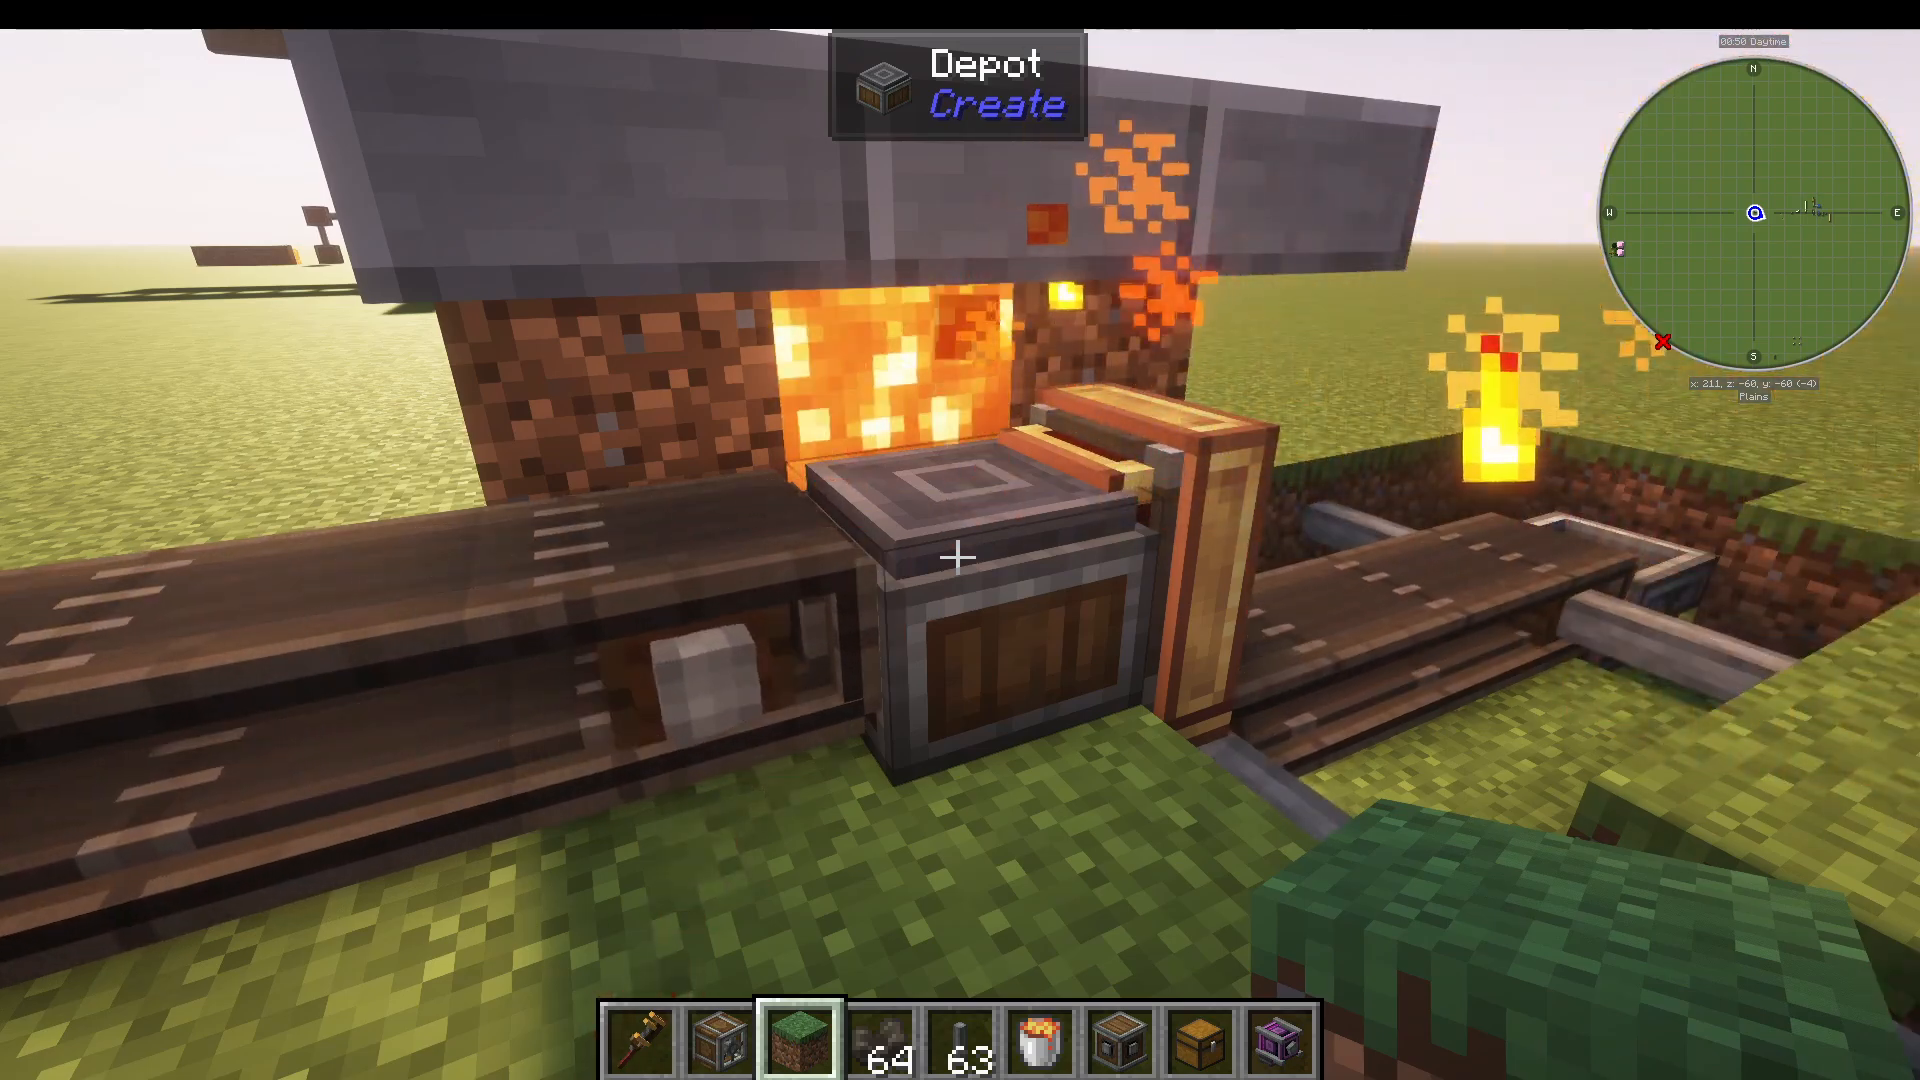
Shoots and Vertical Item Transport
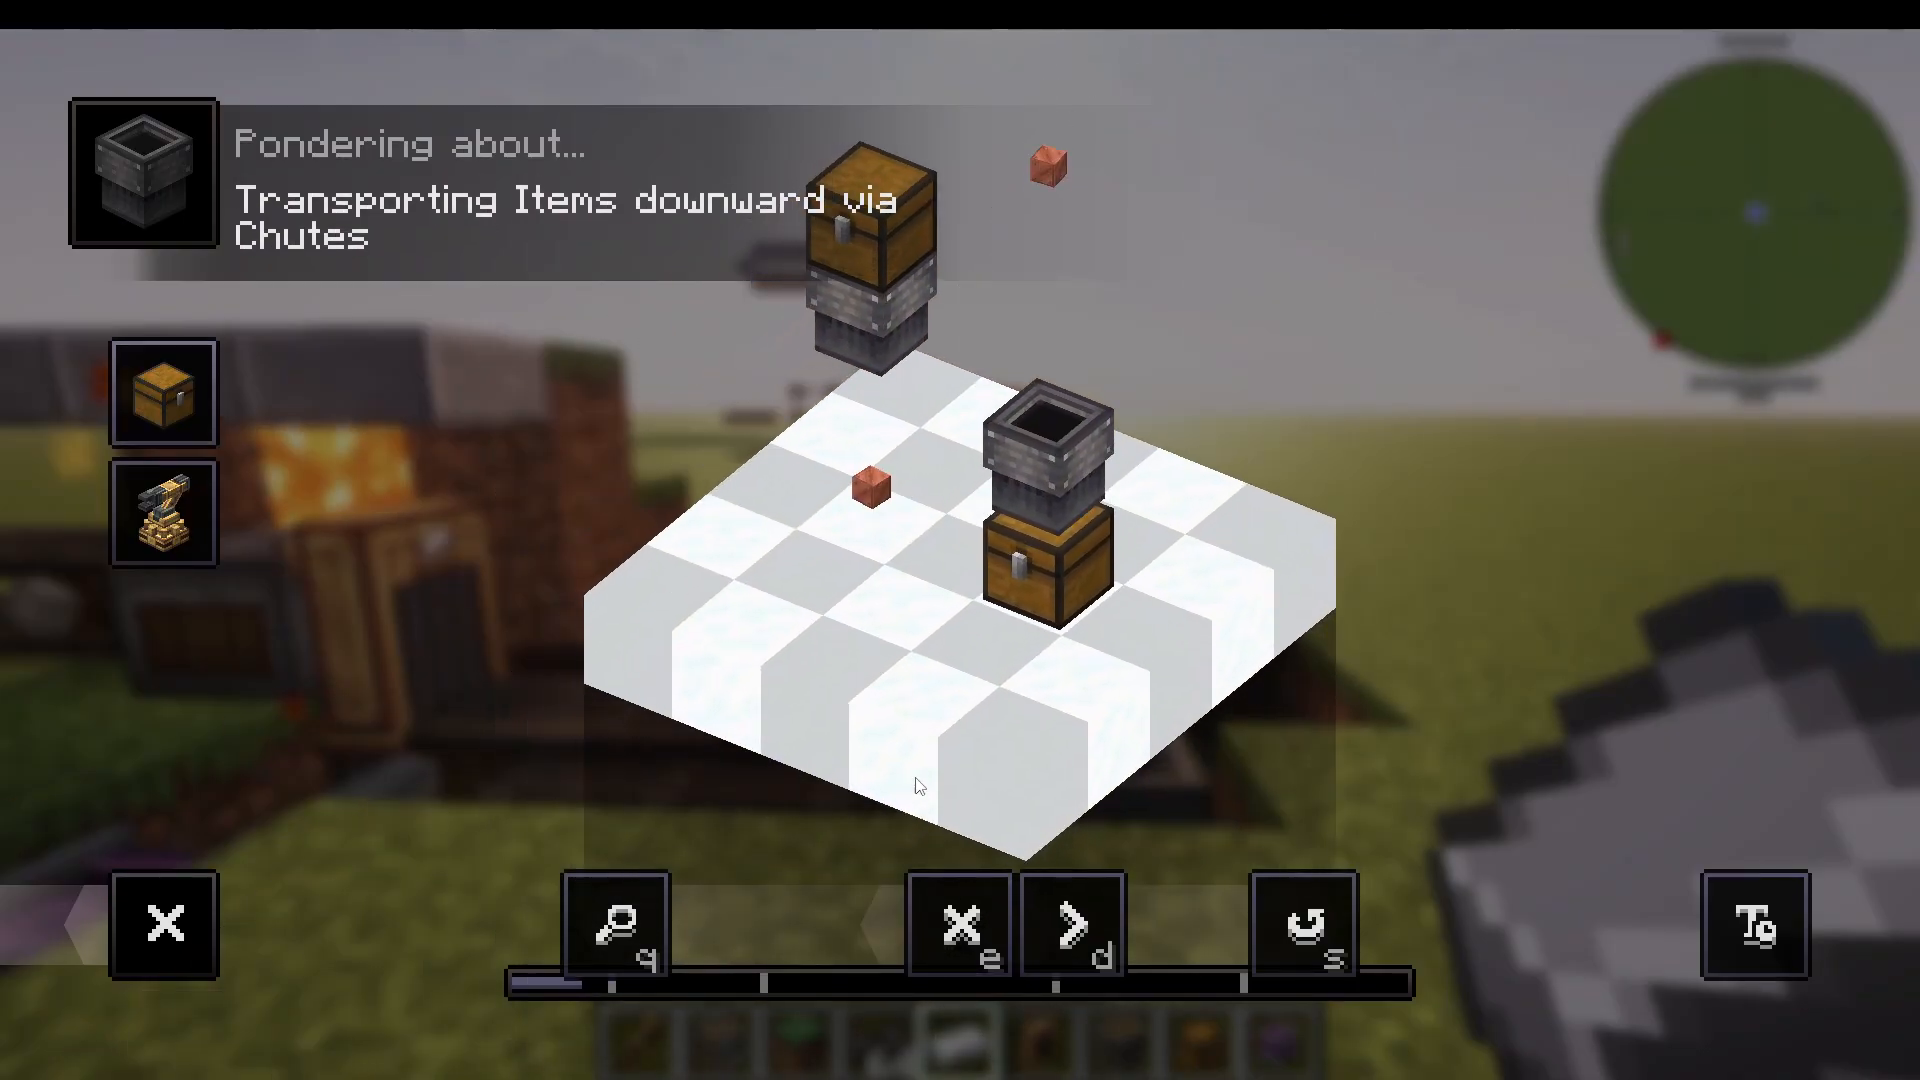
Shoots work similarly to funnels and act like Create hoppers. You can stack multiple shoots together to create a multi-faceted shoot structure, even making them diagonal. Right-click shoots with the wrench to create windows for visibility.
To move items upward through a shoot, use an Encased Fan blowing air into the shoot. Items will be pushed up the shoot where they can exit into another container or conveyor belt.
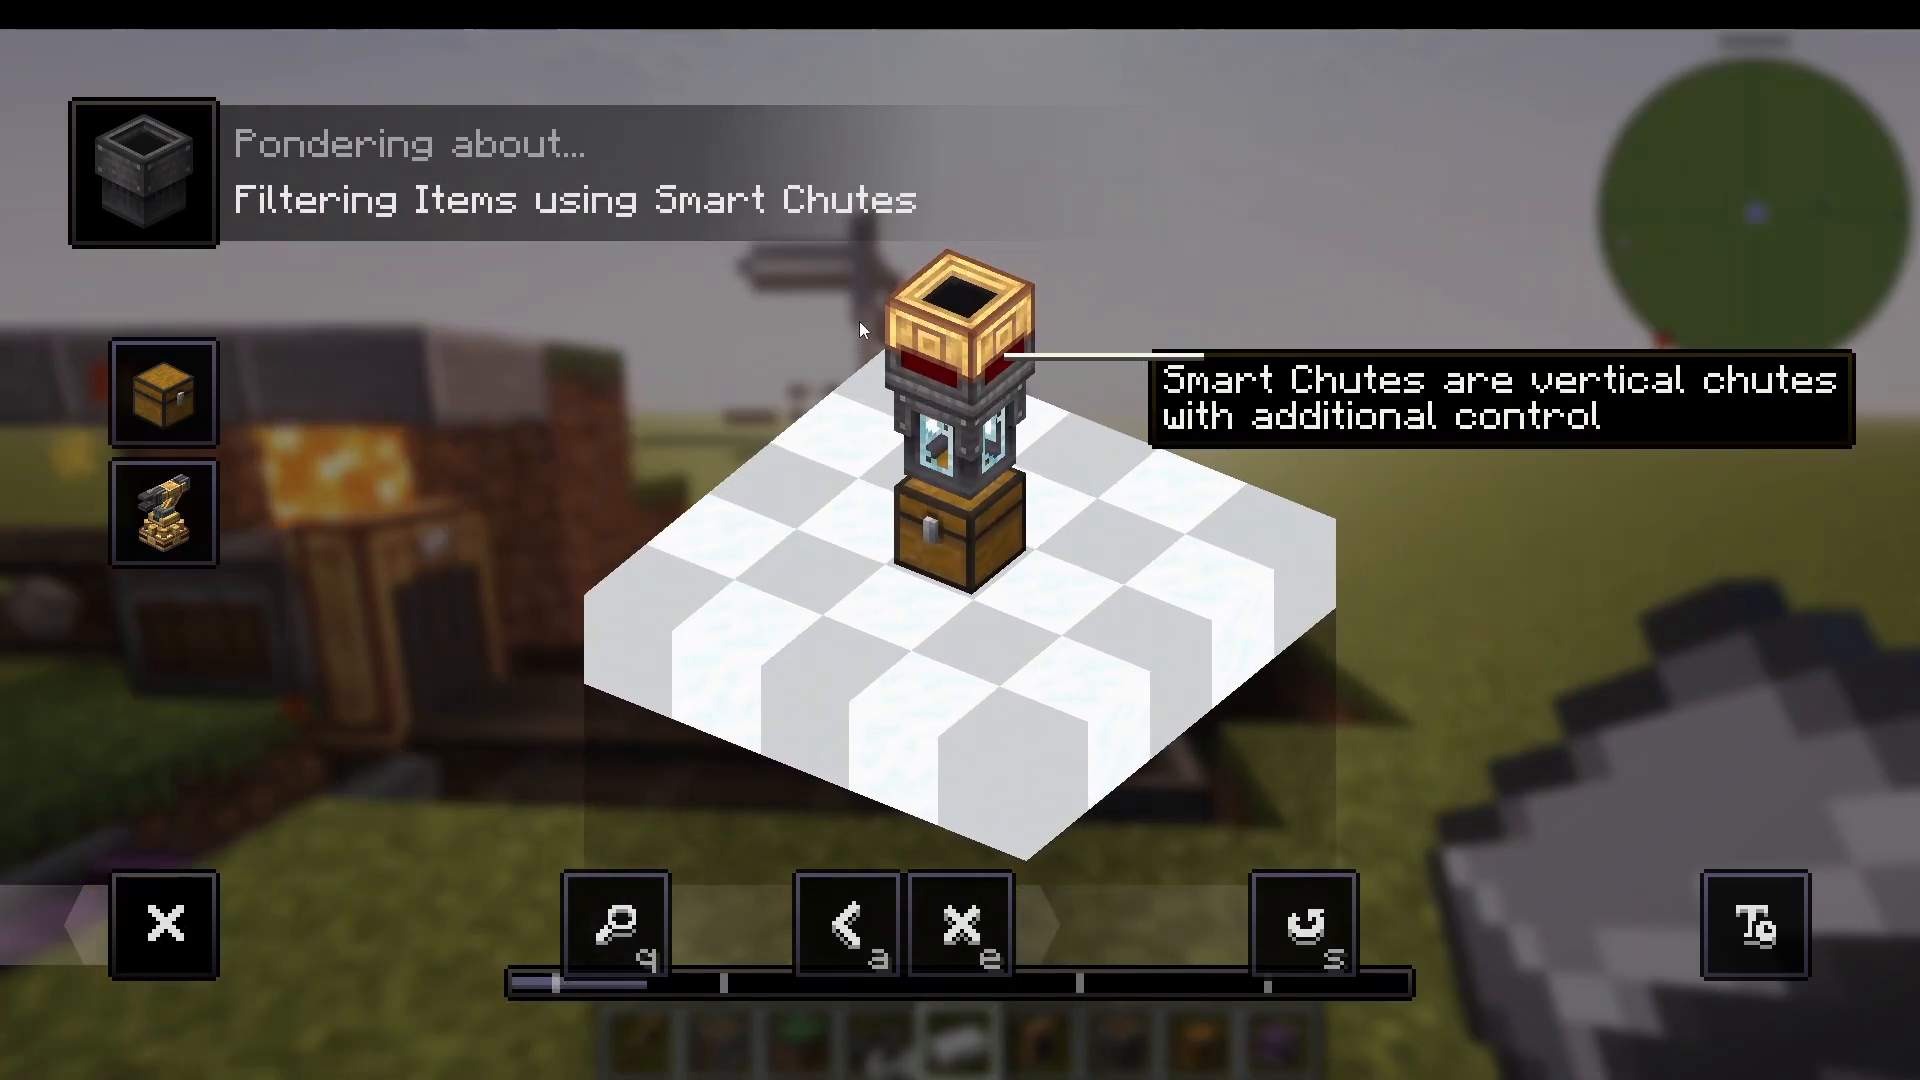
Smart Shoots
Smart Shoots are virtual shoots with filtering capabilities. Right-click an item onto a smart shoot to filter it so only that item type flows through. You can also right-click to specify the maximum stack size.
Tunnels for Item Distribution
Andesite Tunnels
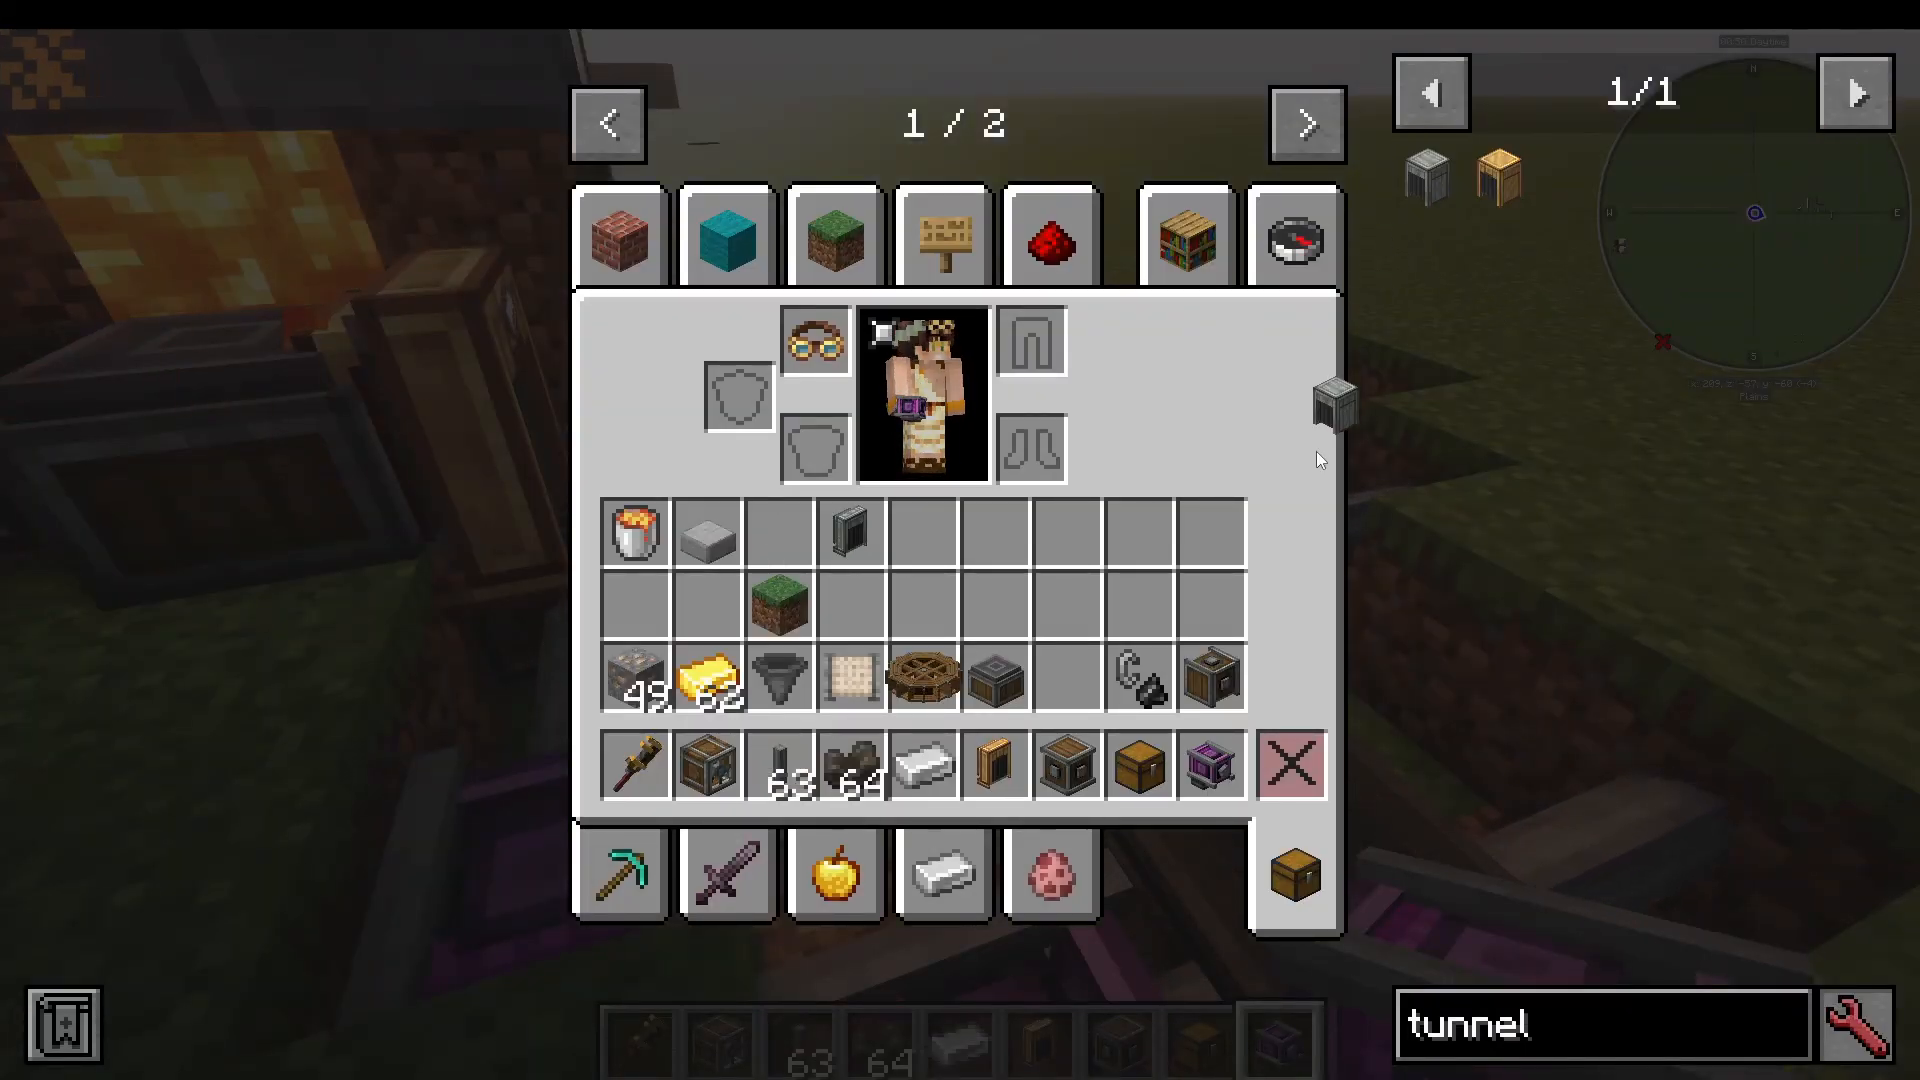
Andesite Tunnels allow items to pass through straight. If you drop individual items on a tunnel, they pass straight through. If you drop a full stack, most will pass through but one item will split off downward. These tunnels also serve as decorative coverings for your belts.
Brass Tunnels
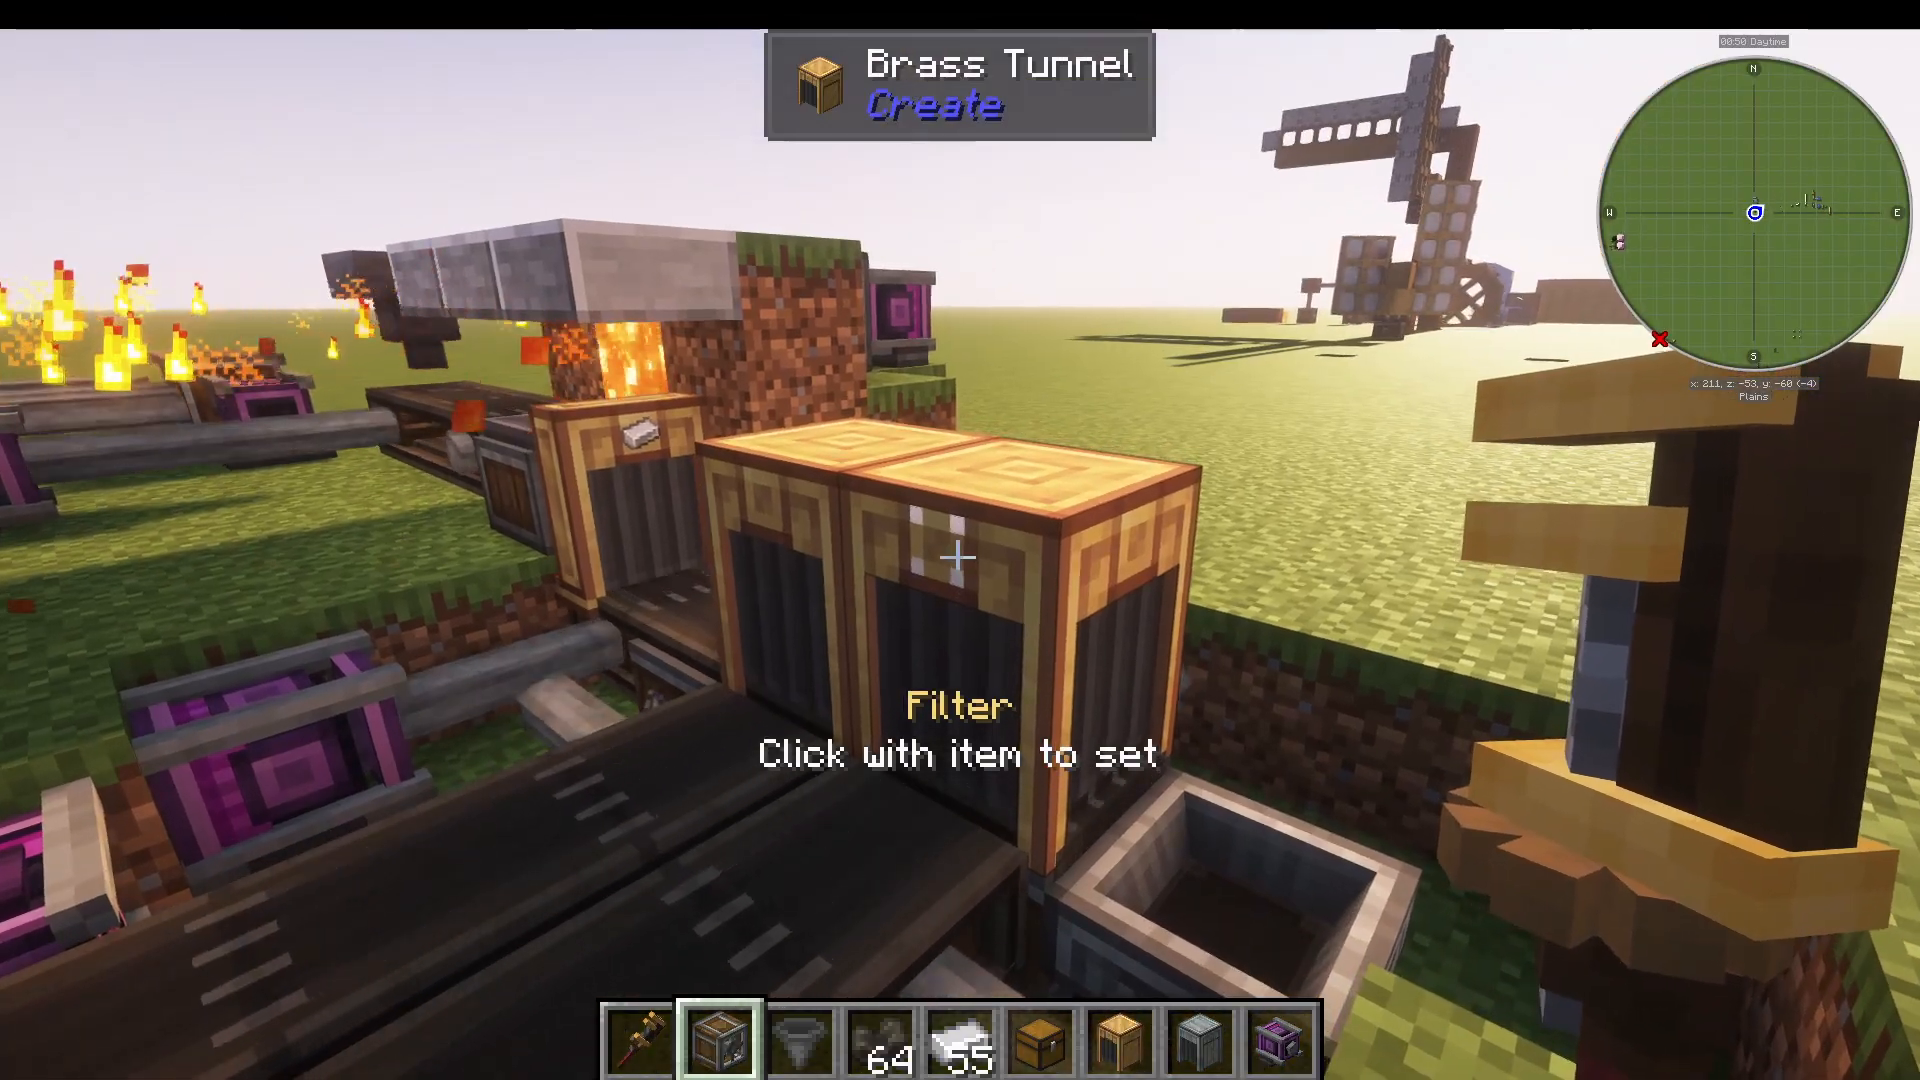
Brass Tunnels are much more advanced and offer multiple routing options. Right-click and hold on a brass tunnel to change how items are distributed between multiple exits. Options include:
Split: Distributes items evenly between exits
Forced Split: Ensures items are split between outputs
Round Robin: Items alternate between each exit in order
Forced Round Robin: Items strictly alternate between exits
Prefer Nearest: Items go to the nearest exit until it’s full, then overflow to others
Randomise: Items are randomly distributed
Synchronise Inputs: Multiple items exit simultaneously
You can also filter items by right-clicking them onto the tunnel, so only specific items exit through certain ports.
Using Basins for Crafting and Mixing
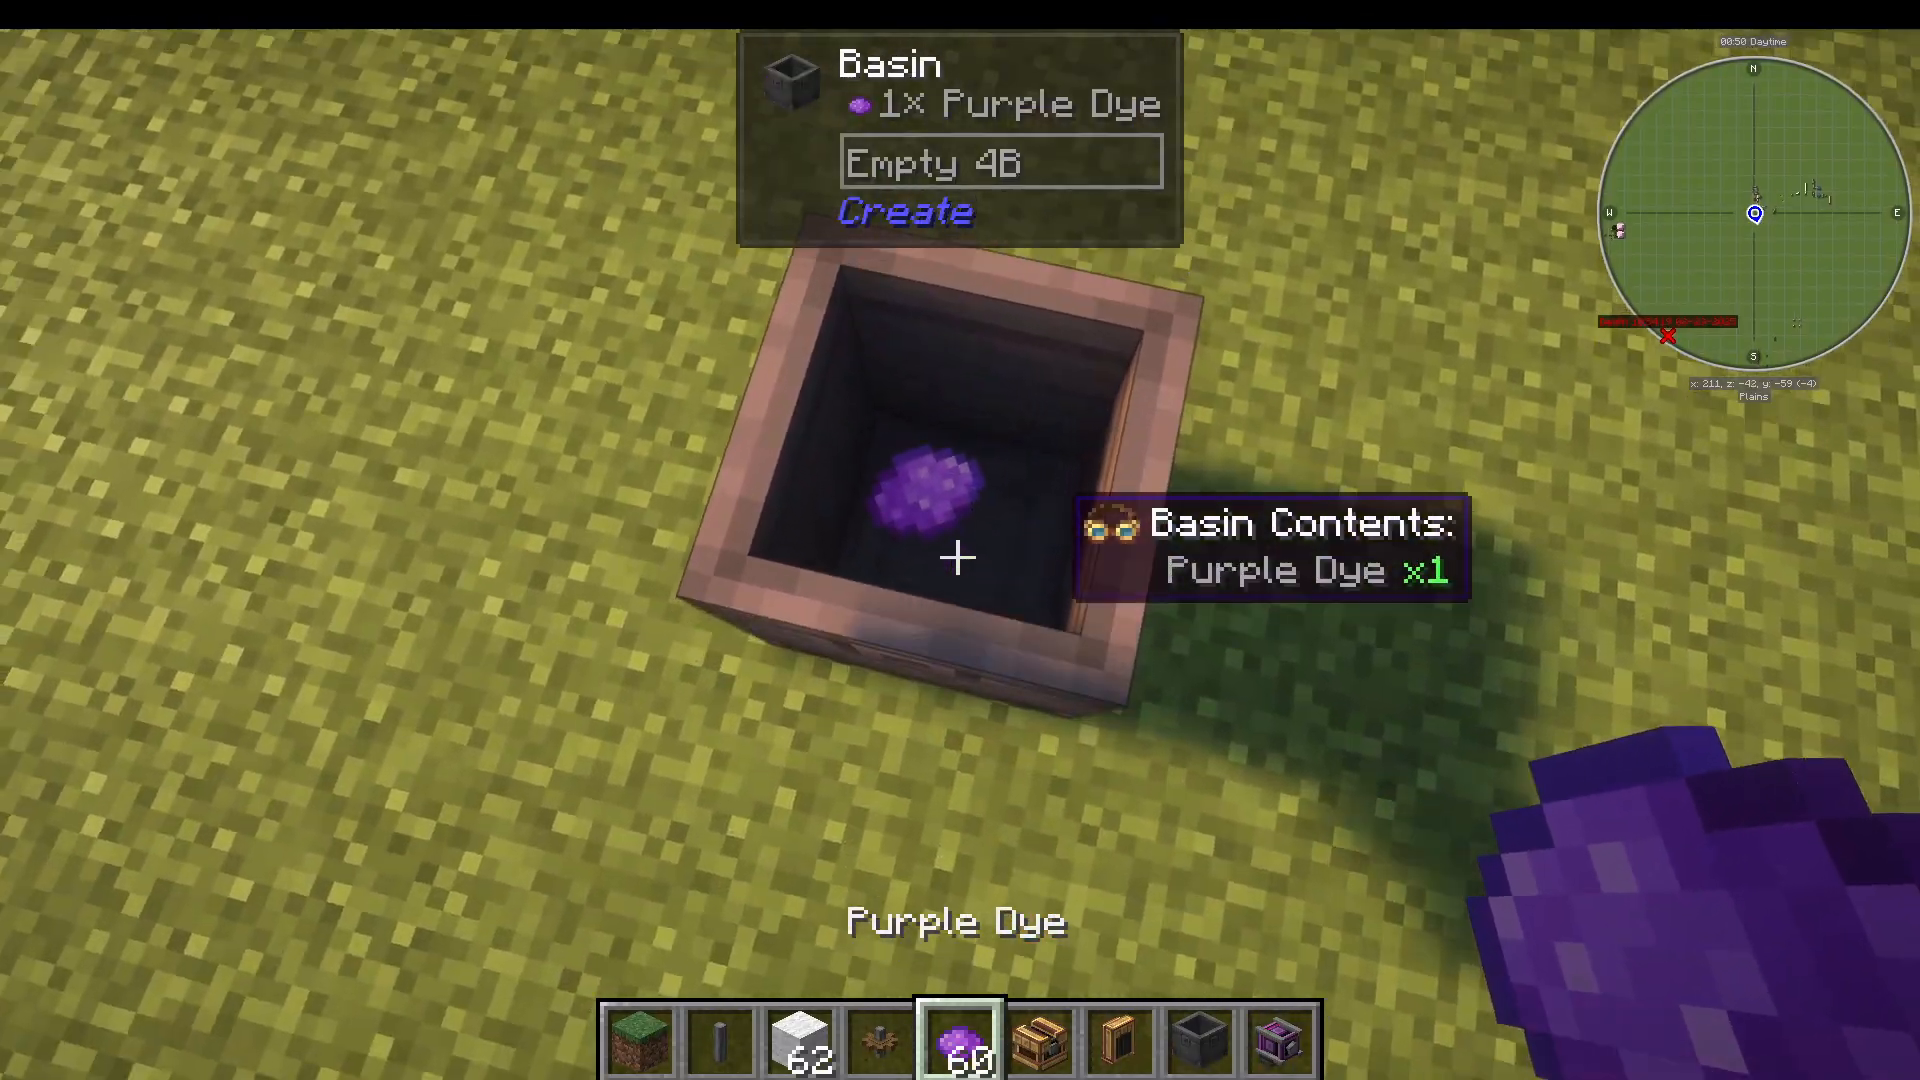
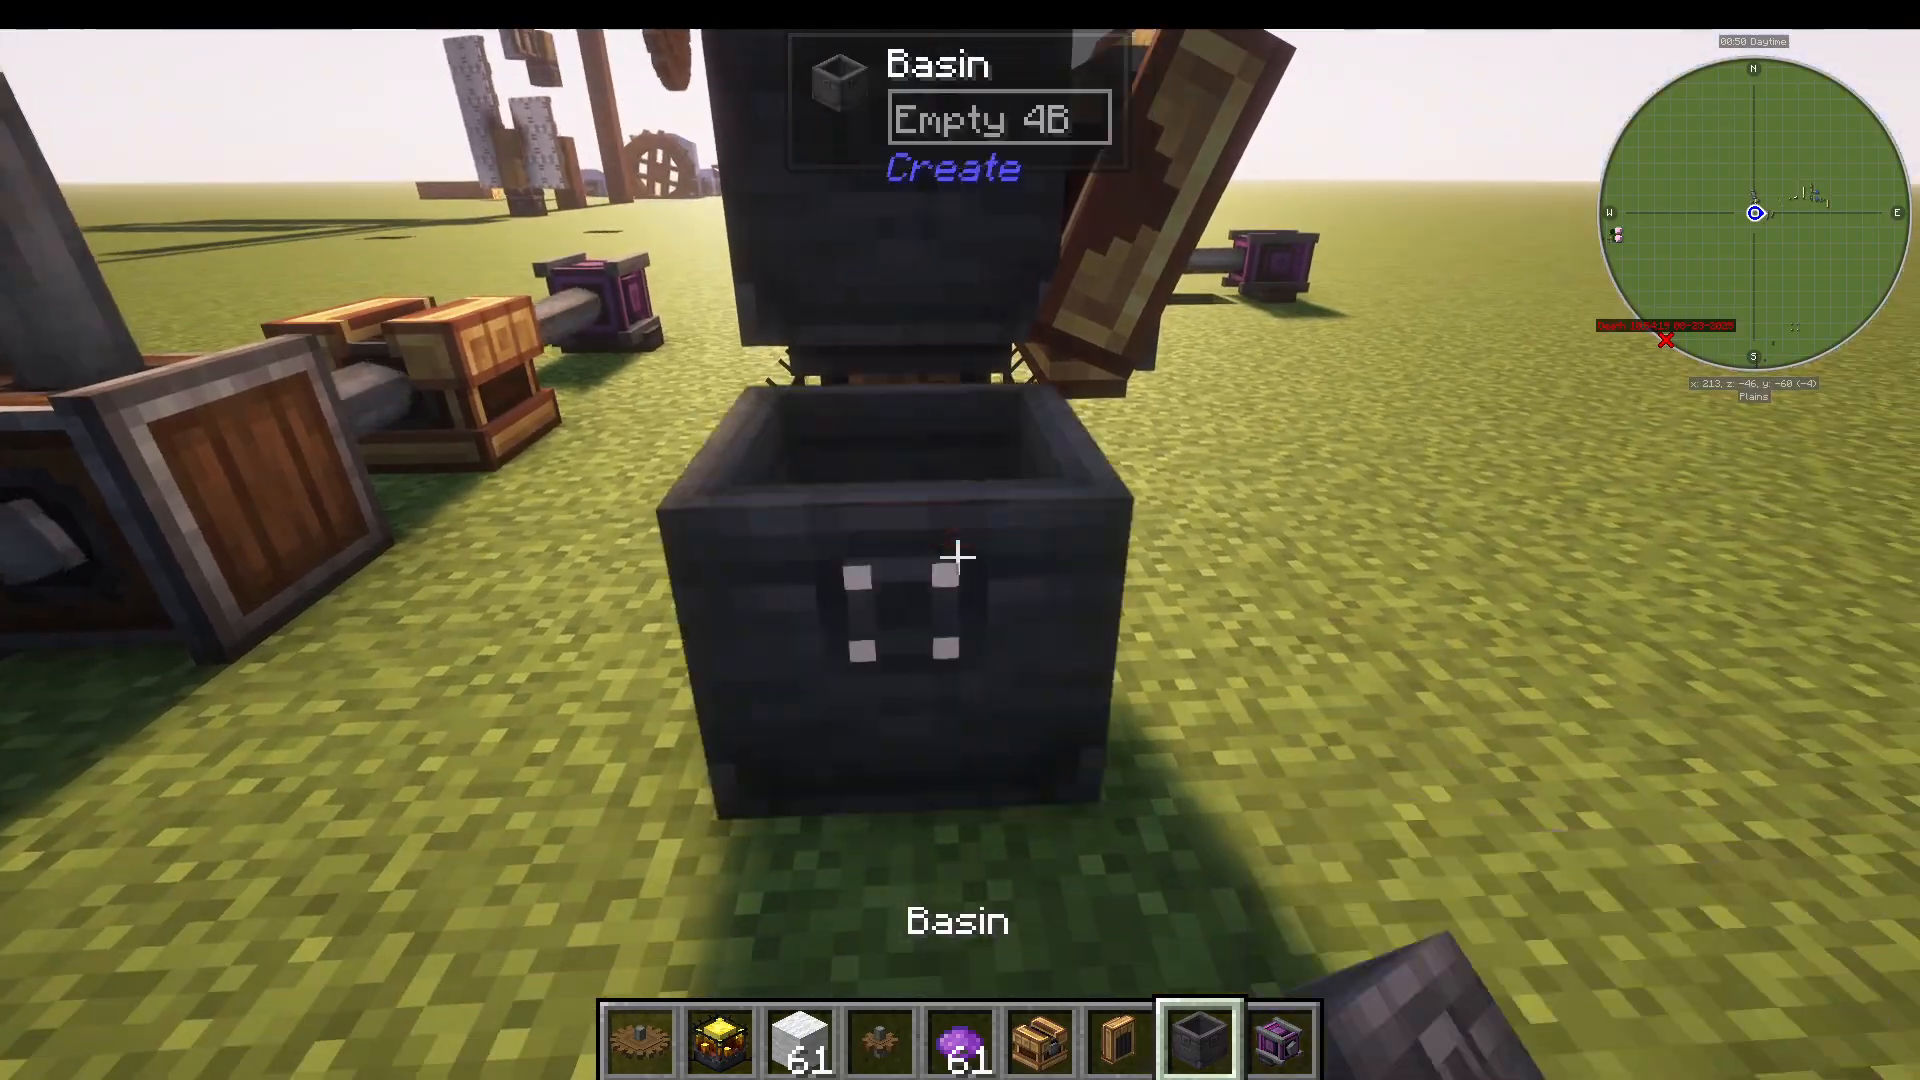
The Basin is used for auto-crafting and mixing recipes. You can throw items directly into a basin or use conveyors to input items automatically. The basin will attempt to output on all four sides around it.
The Mechanical Mixer
The Mechanical Mixer is used with basins for mixing recipes. For example, mix purple dye with white wool to create purple wool. Add the mixer to a basin’s cog wheel to activate it. The mixer needs sufficient rotational speed to function, so you may need to increase speeds using cog wheels.
The Mechanical Press
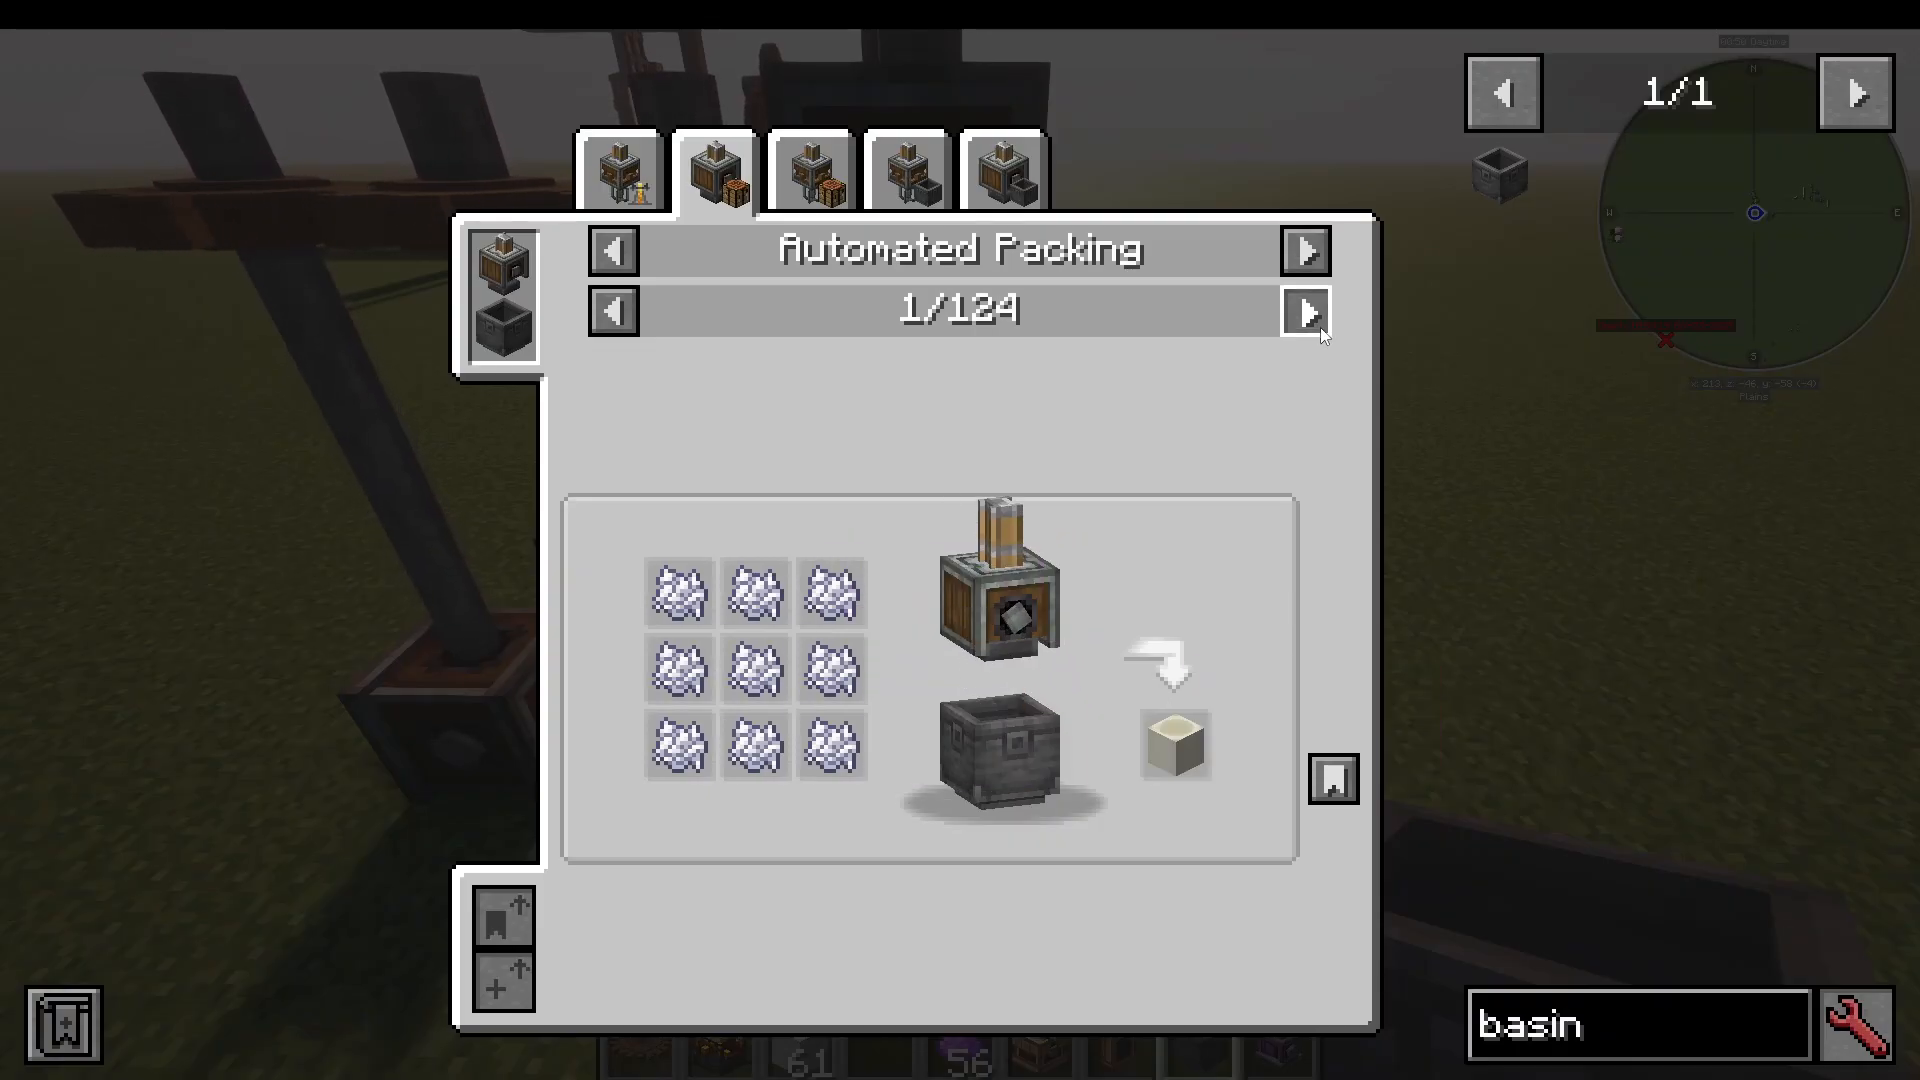
The Mechanical Press is used to compress or craft items in a basin. For example, press bone meal into bone blocks. Add a press to the top of a basin to use these recipes.
Heating with the Blaze Burner
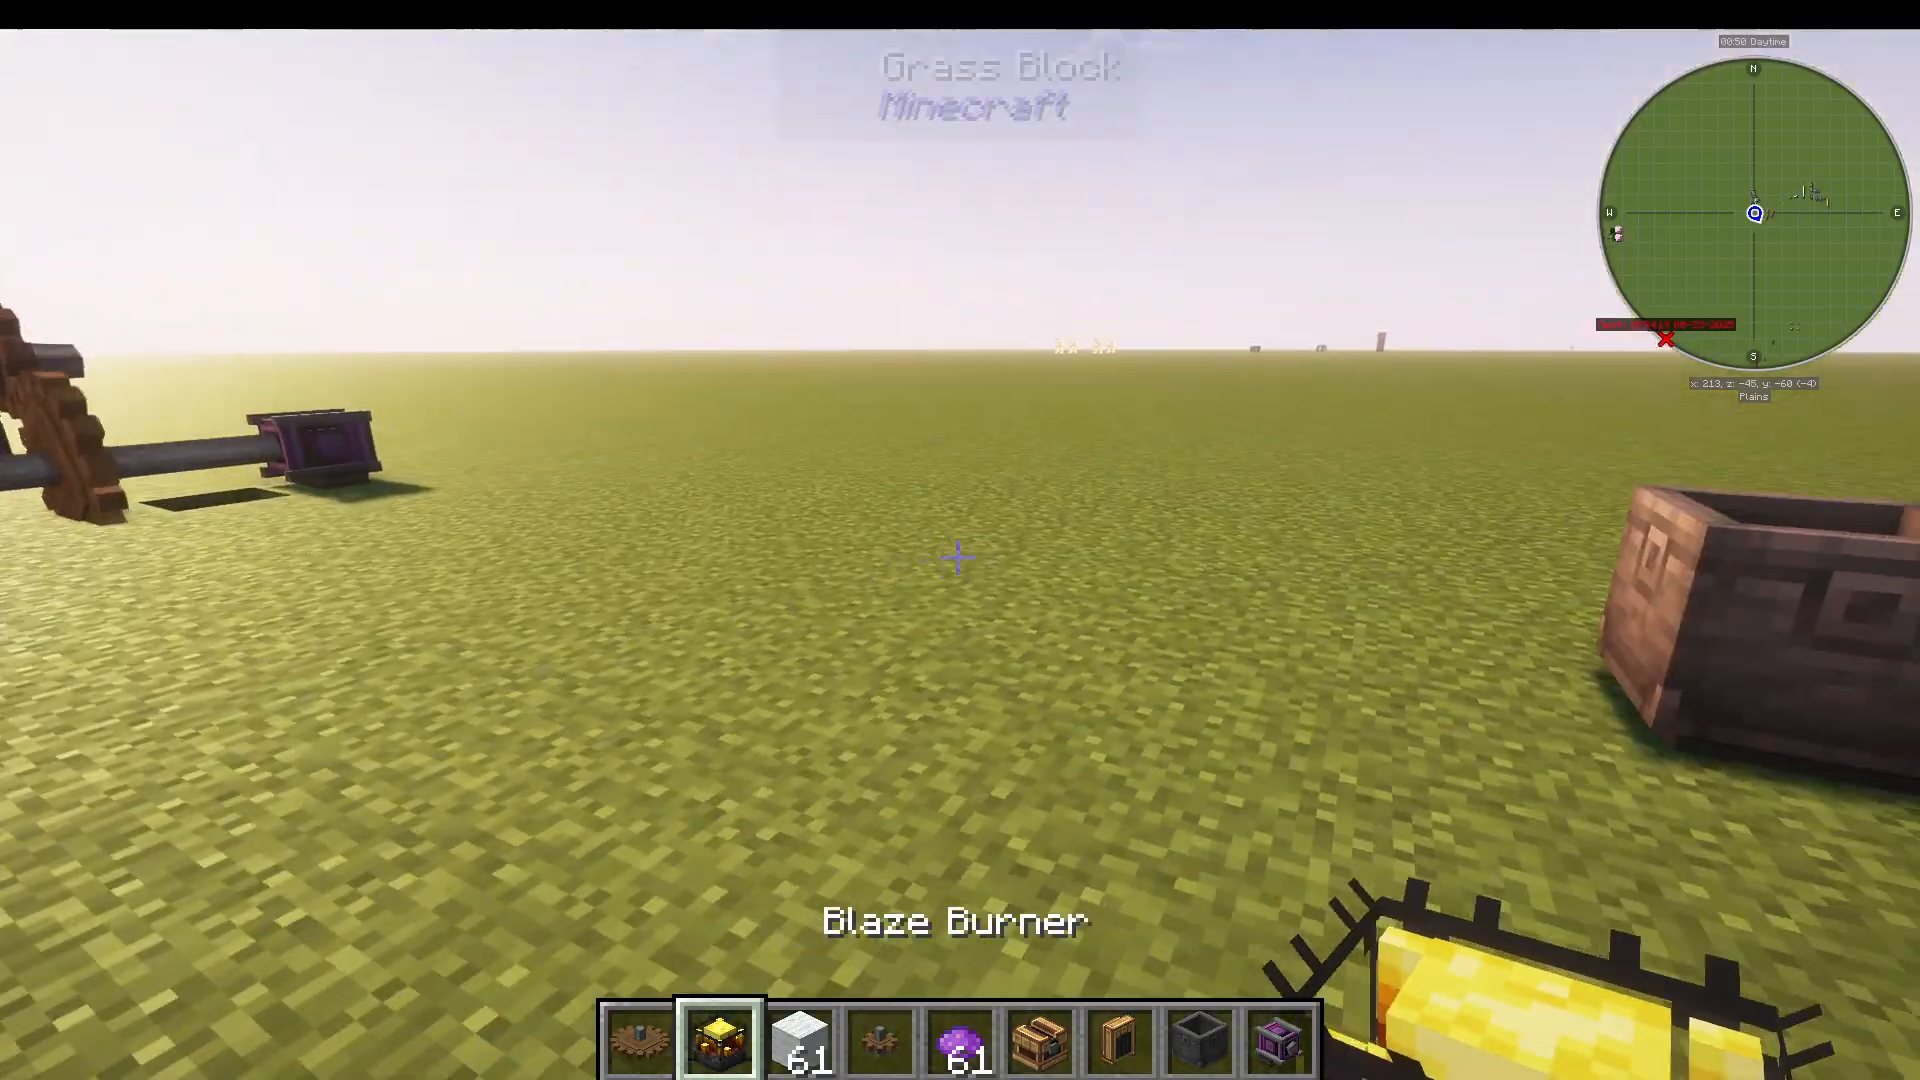
Some basin recipes require heat. Use a Blaze Burner to provide heat to a basin. Create a blaze burner by right-clicking an empty blaze burner onto a Blaze mob — this traps the Blaze inside and allows you to use the burner as a heat source.
Connecting Basins and Outputting Items
You can connect multiple basins together using spouts, which automatically transfer liquids between them. Right-click items onto spouts to filter what goes through. Output items from basins using funnels, chutes, or conveyor belts.
Increasing Rotational Speed
Many machines require sufficient rotational speed to function. There are several methods to increase speed:
Cog Wheel Method
The simplest way to increase speed is using cog wheels. A large cog wheel connected diagonally to your power source will spin slower than the source. A small cog wheel connected diagonally to a large cog wheel will spin twice as fast. To increase speed further, add a shaft in front, then a large cog wheel, then a small cog wheel diagonally. Repeat this pattern (big-small-shaft-big-small-shaft) to multiply speed.
Adjustable Chain Gears and Encased Chain Drives
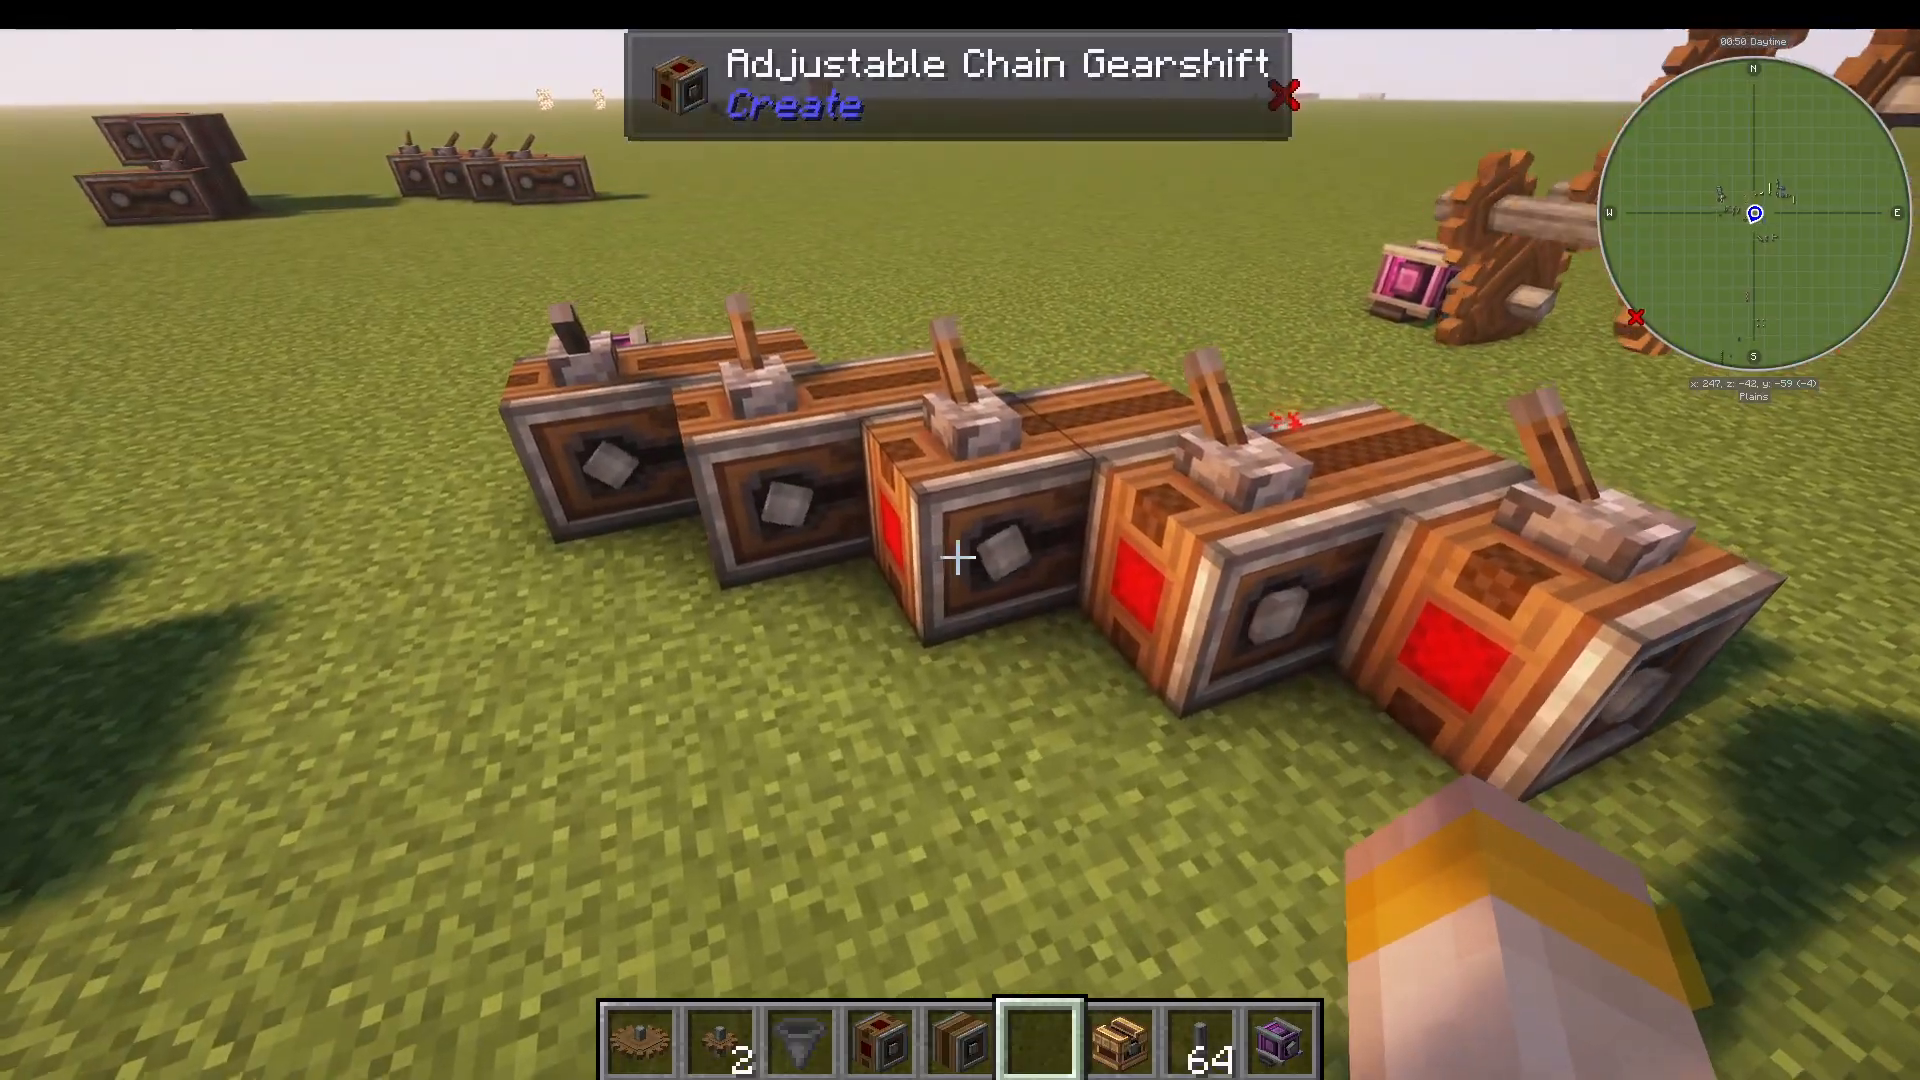
For more compact speed increases, use Adjustable Chain Gear Shifts paired with Encased Chain Drives. Alternate between adjustable and encased units, adding levers to the units with red dots. The configuration can be arranged horizontally or vertically for space efficiency.
Rotational Speed Controller (End Game)
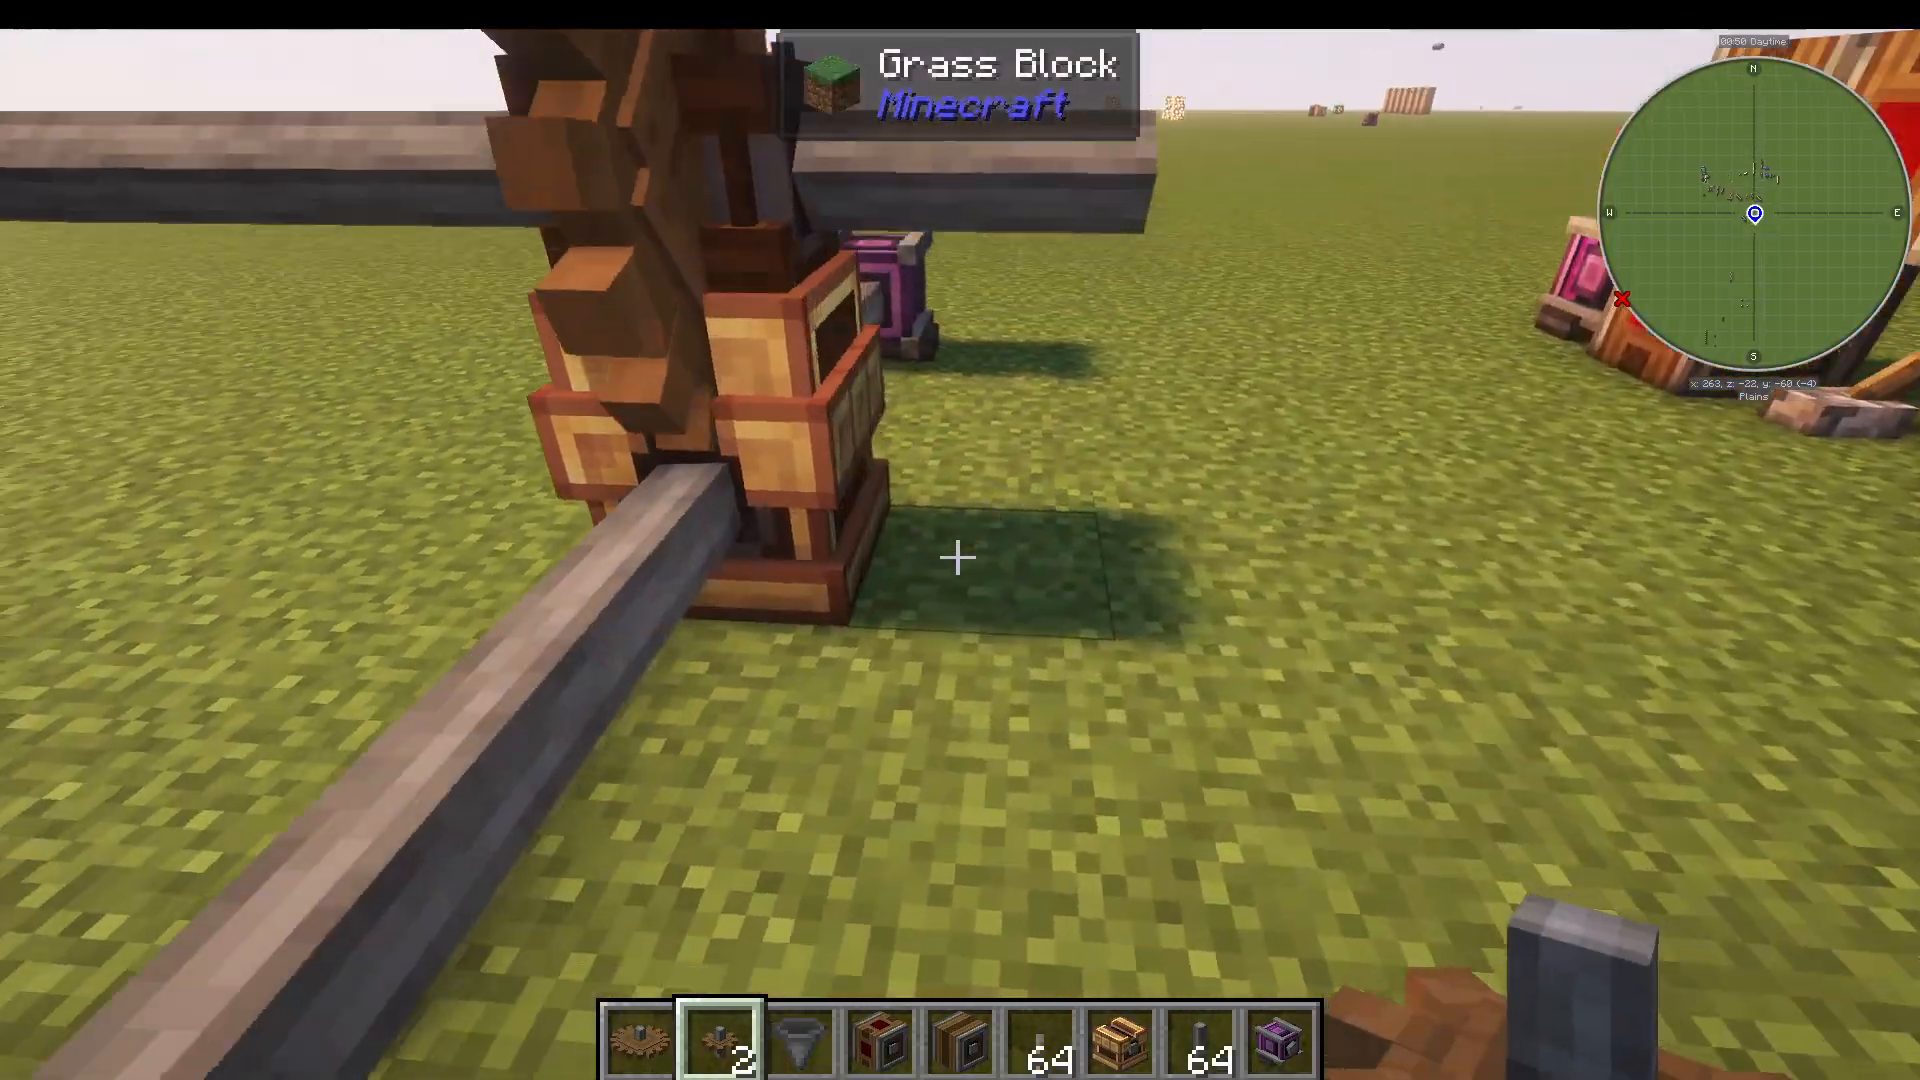
The Rotational Speed Controller is an end-game item that allows you to set any rotational speed you want. Place a large cog wheel on top of the controller. Right-click and hold to set the desired speed and rotation direction. The shaft passing through maintains its original speed, but the cog wheel above spins at your specified speed.
Creating a Rotational Speed Controller requires a Precision Mechanism, which uses deployers and has only an 80% success rate.
Miscellaneous Useful Items
The Wrench
The wrench is essential for rotating items and controlling their orientation. Right-click items with the wrench to rotate them and change which direction they face or push items.
Encased Fan with Nozzle
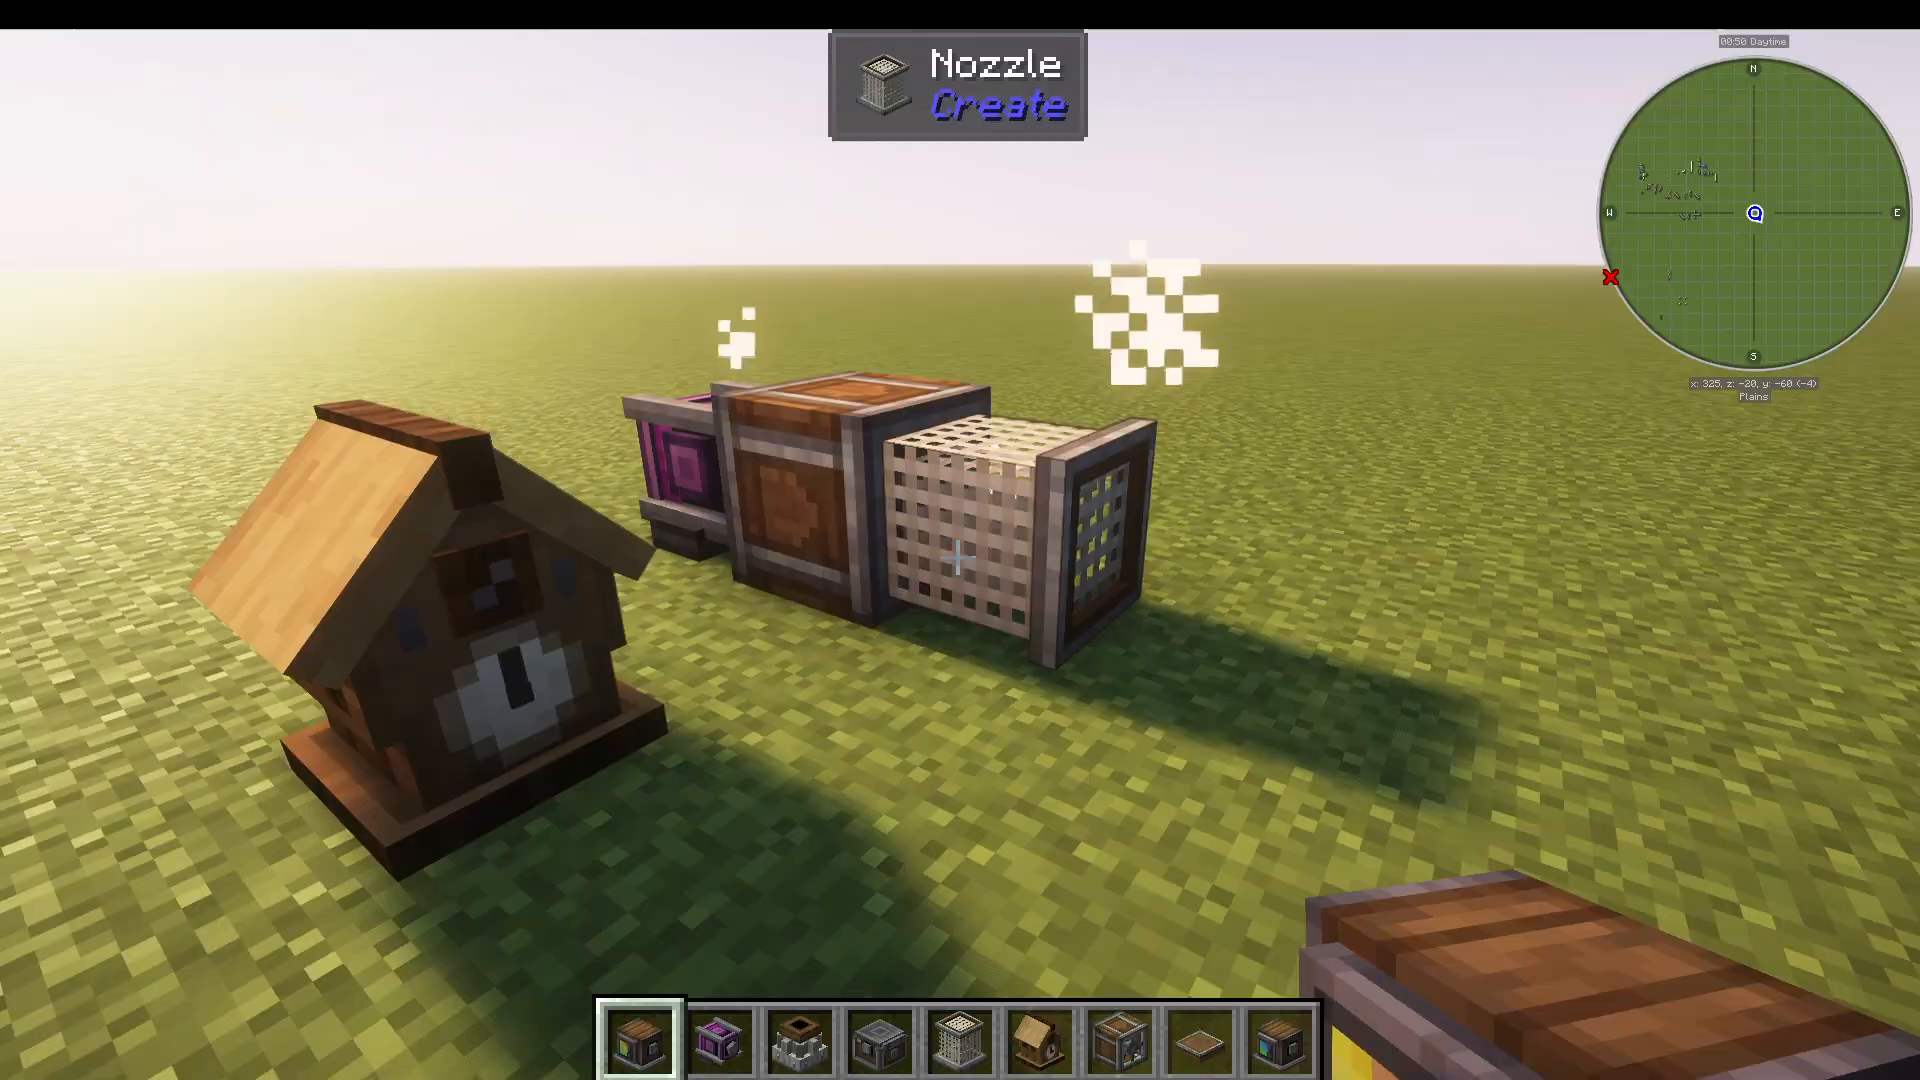
Add a nozzle to the front of an Encased Fan to make it push air in all directions instead of just forward.
The Millstone
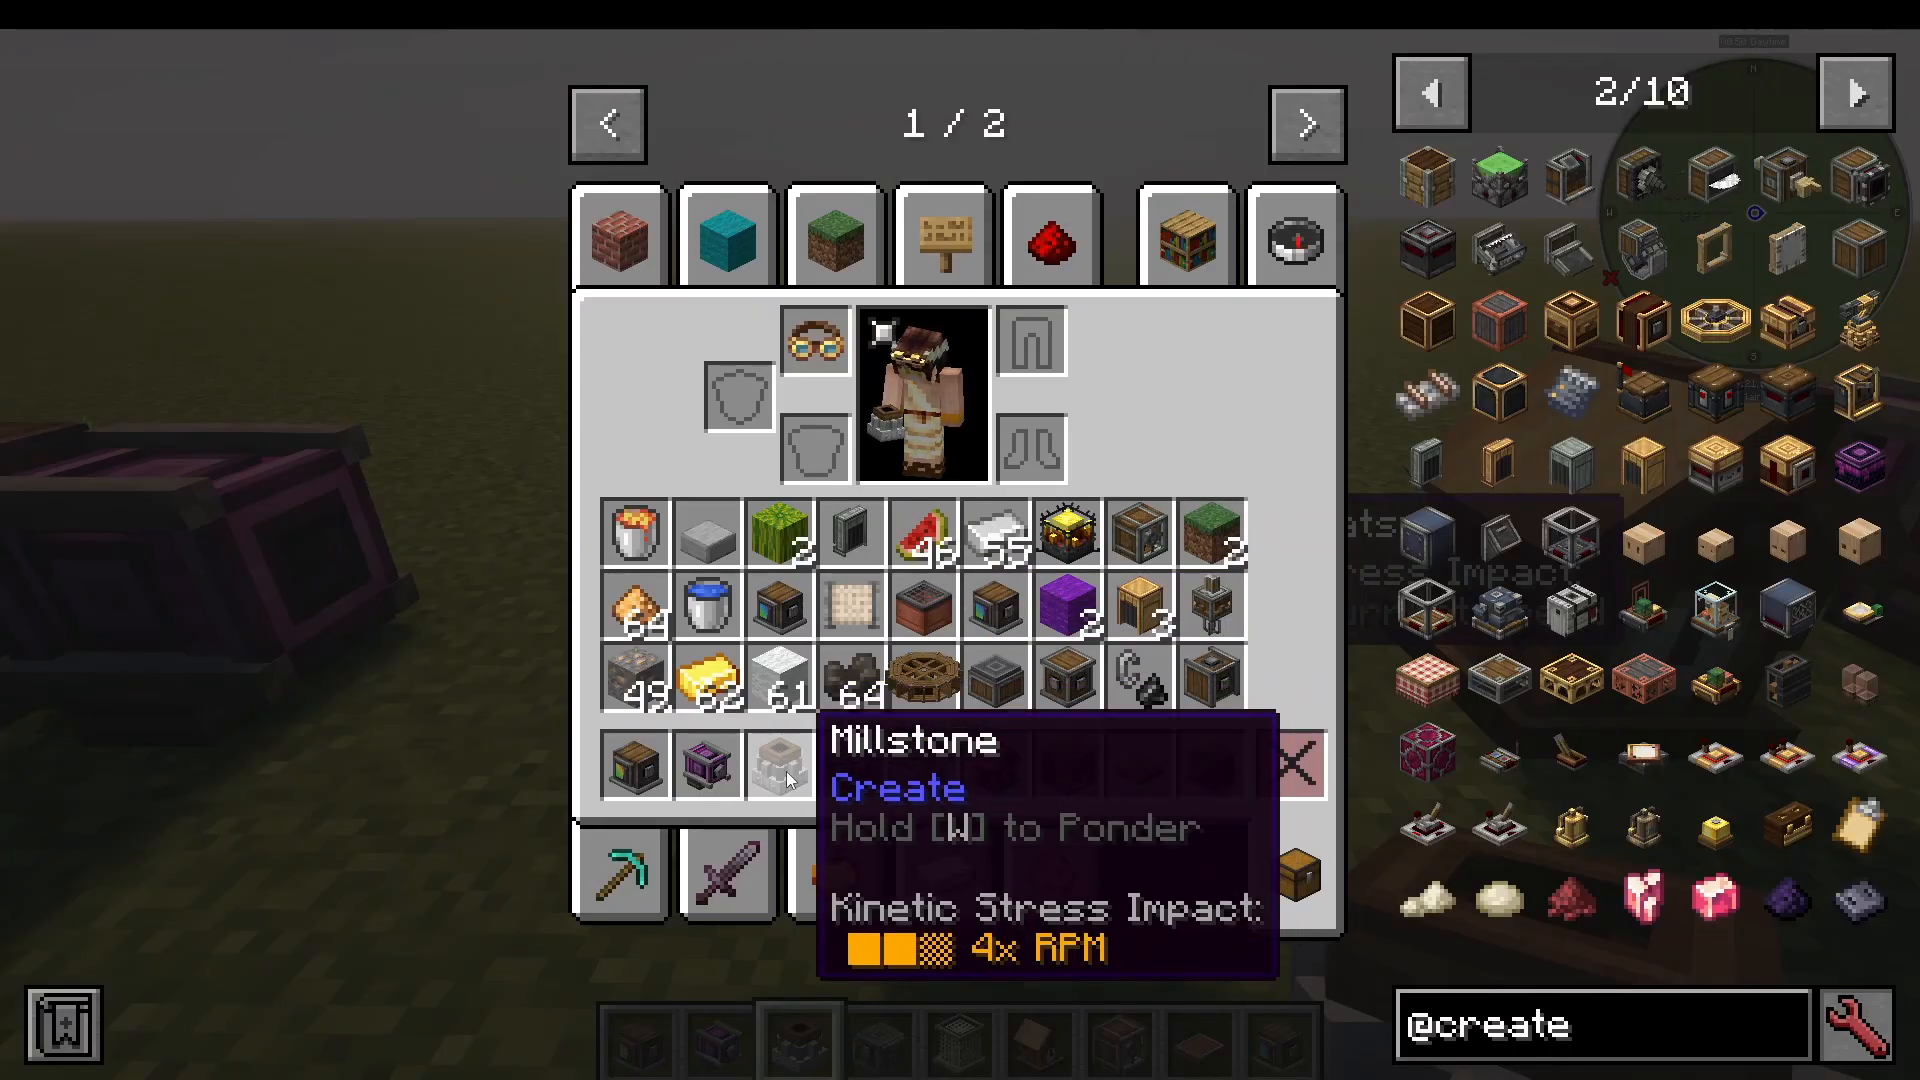
The Millstone grinds items into other materials. For example, grind charcoal into black dye. Add a shaft with a cog wheel to make it grind, then use funnels or conveyors to input and output items.
Speedometer and Stressometer
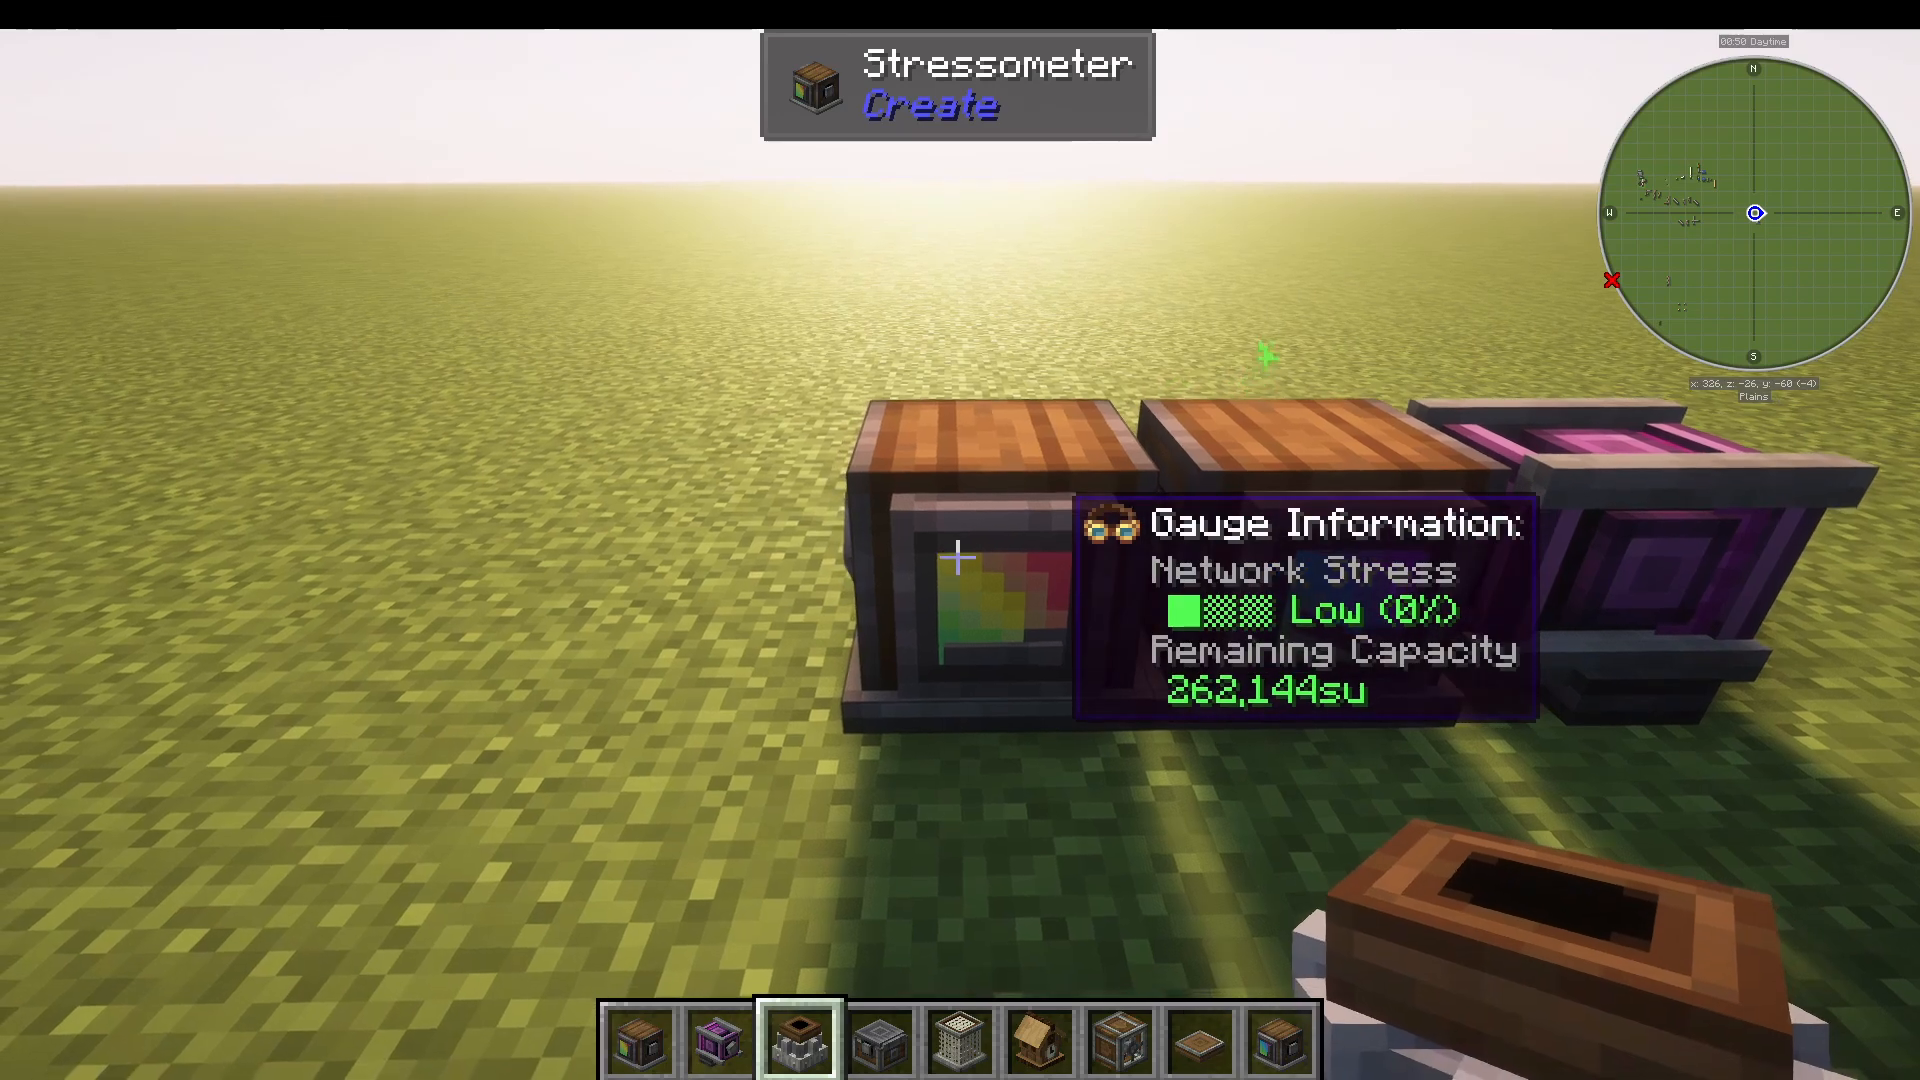
The Speedometer shows the rotation speed (RPM) of a connected shaft. The Stressometer displays remaining stress capacity in your power network. You can craft them together and switch between the two by crafting — you only need to make one and swap them out as needed.
Weighted Ejector
The Weighted Ejector launches items like a spring-loaded jack-in-the-box. Shift right-click to set a target, then right-click to fire items toward it. You can adjust the stack size it launches. This is useful for flinging items over distances instead of using conveyors.
Gantry Carriage and Gantry Shaft
The Gantry Carriage mounts on a gantry bearing and can move attached blocks back and forth. Blocks placed on top of the carriage have a green “sticky” indicator and will move with it. Use a Gantry Shaft to pull the carriage along its track.
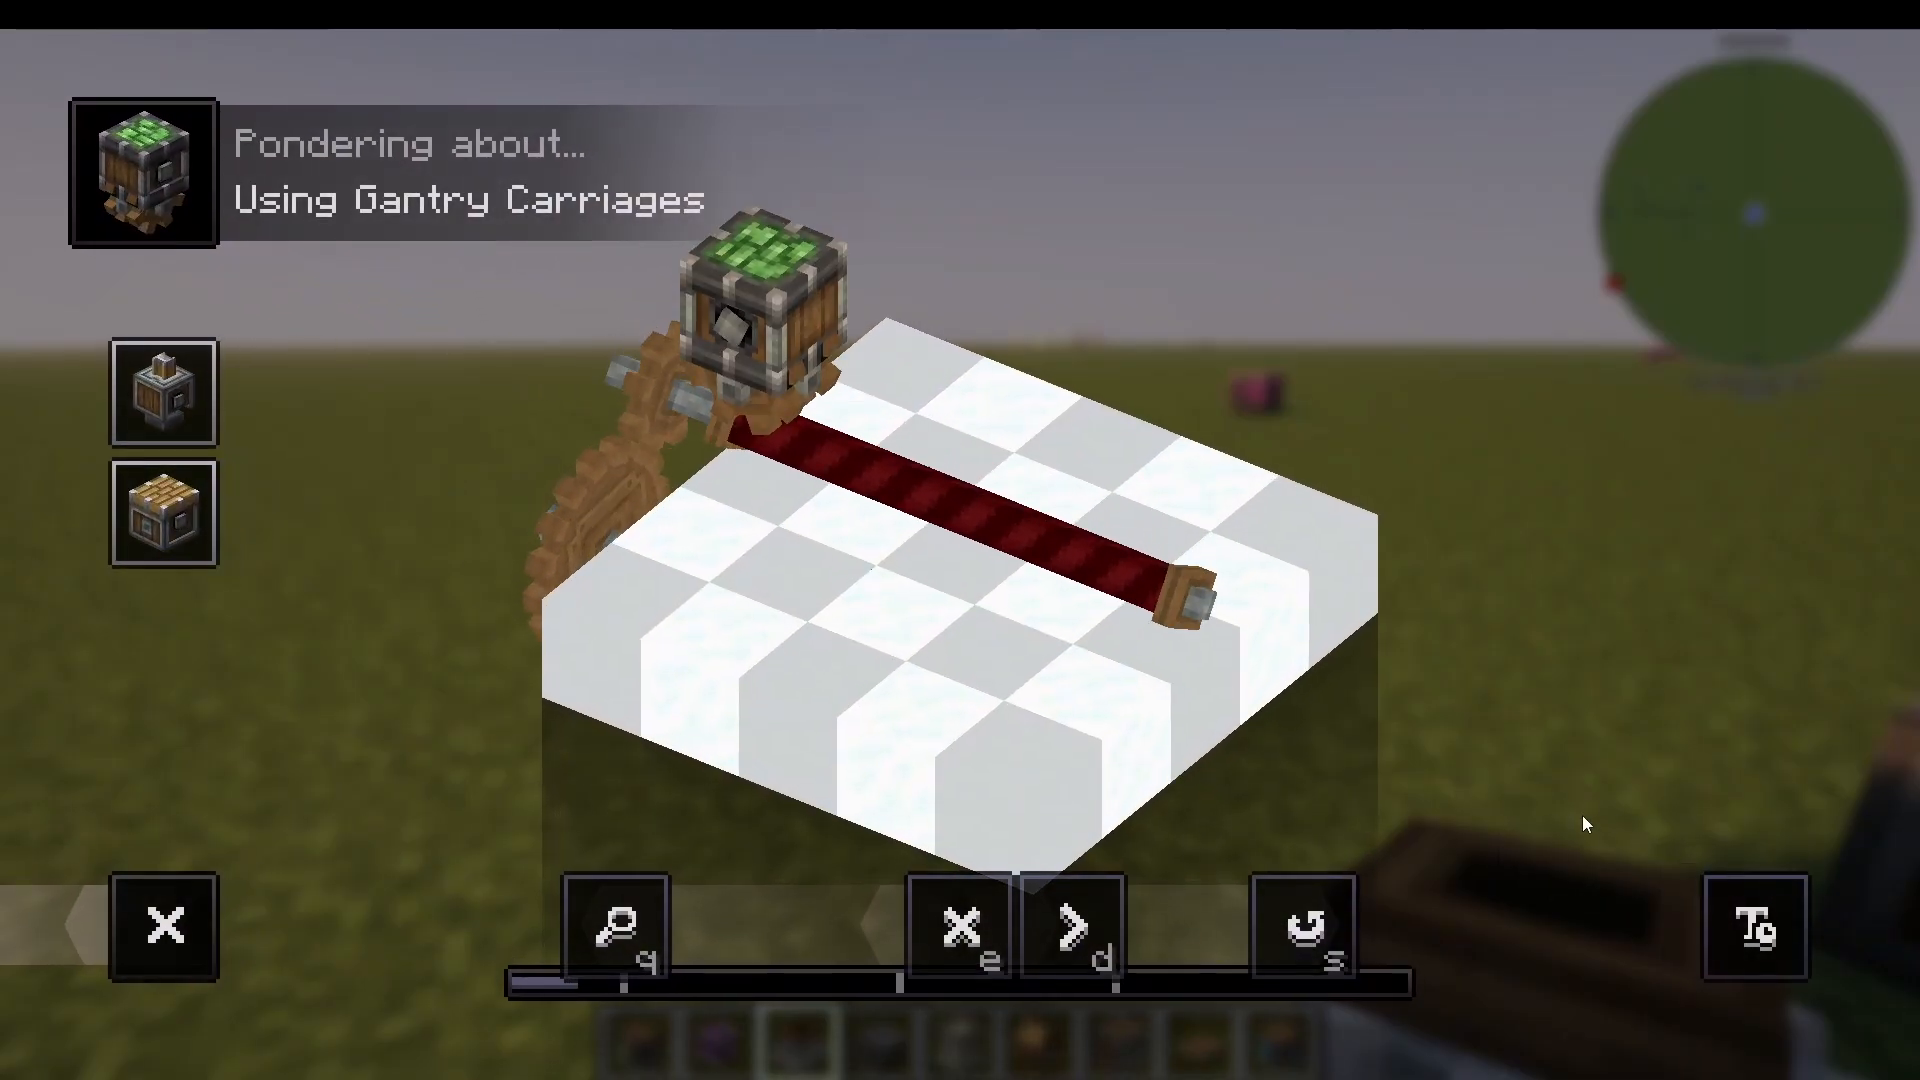
Clockwork Bearing
The Clockwork Bearing rotates an attached item based on the time of day. At 12 PM it faces upward, 3 PM to the side, 6 PM downward, and 9 PM to the opposite side. You can use super glue to attach structures permanently.
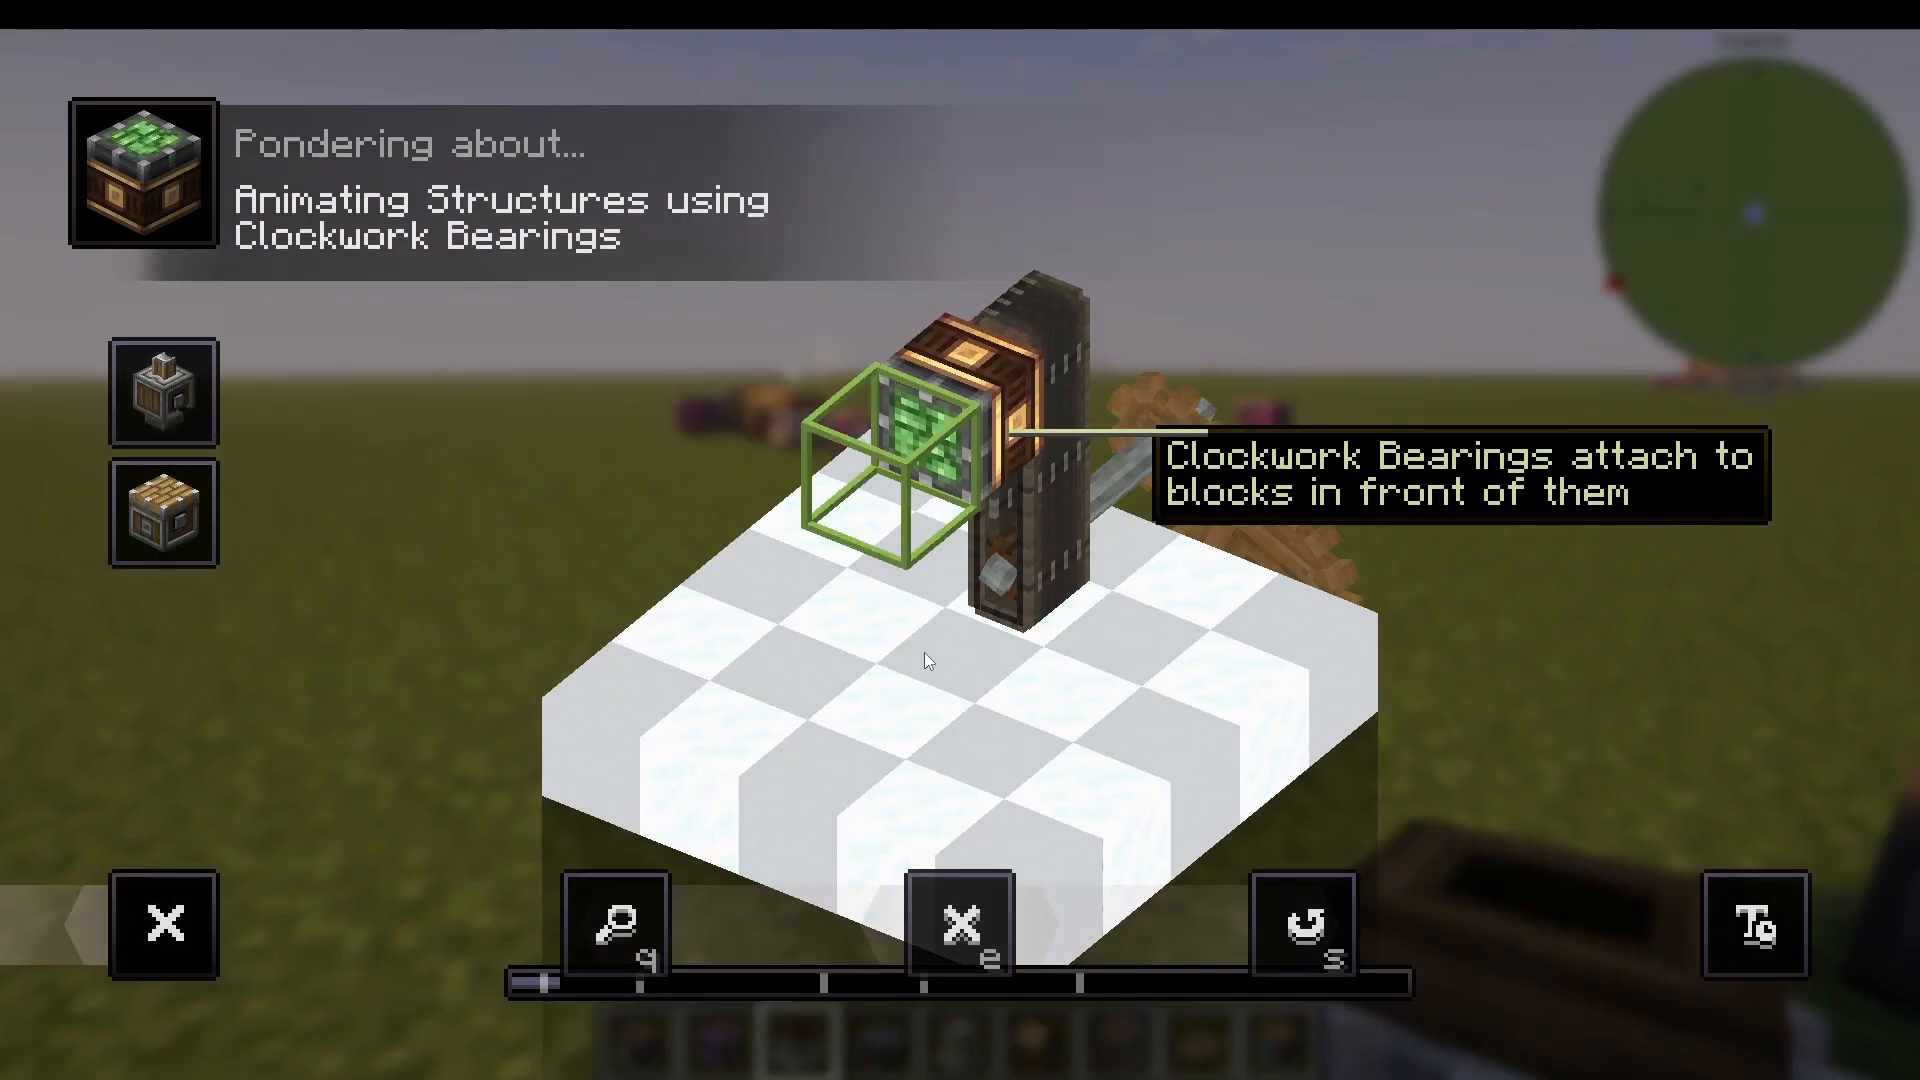
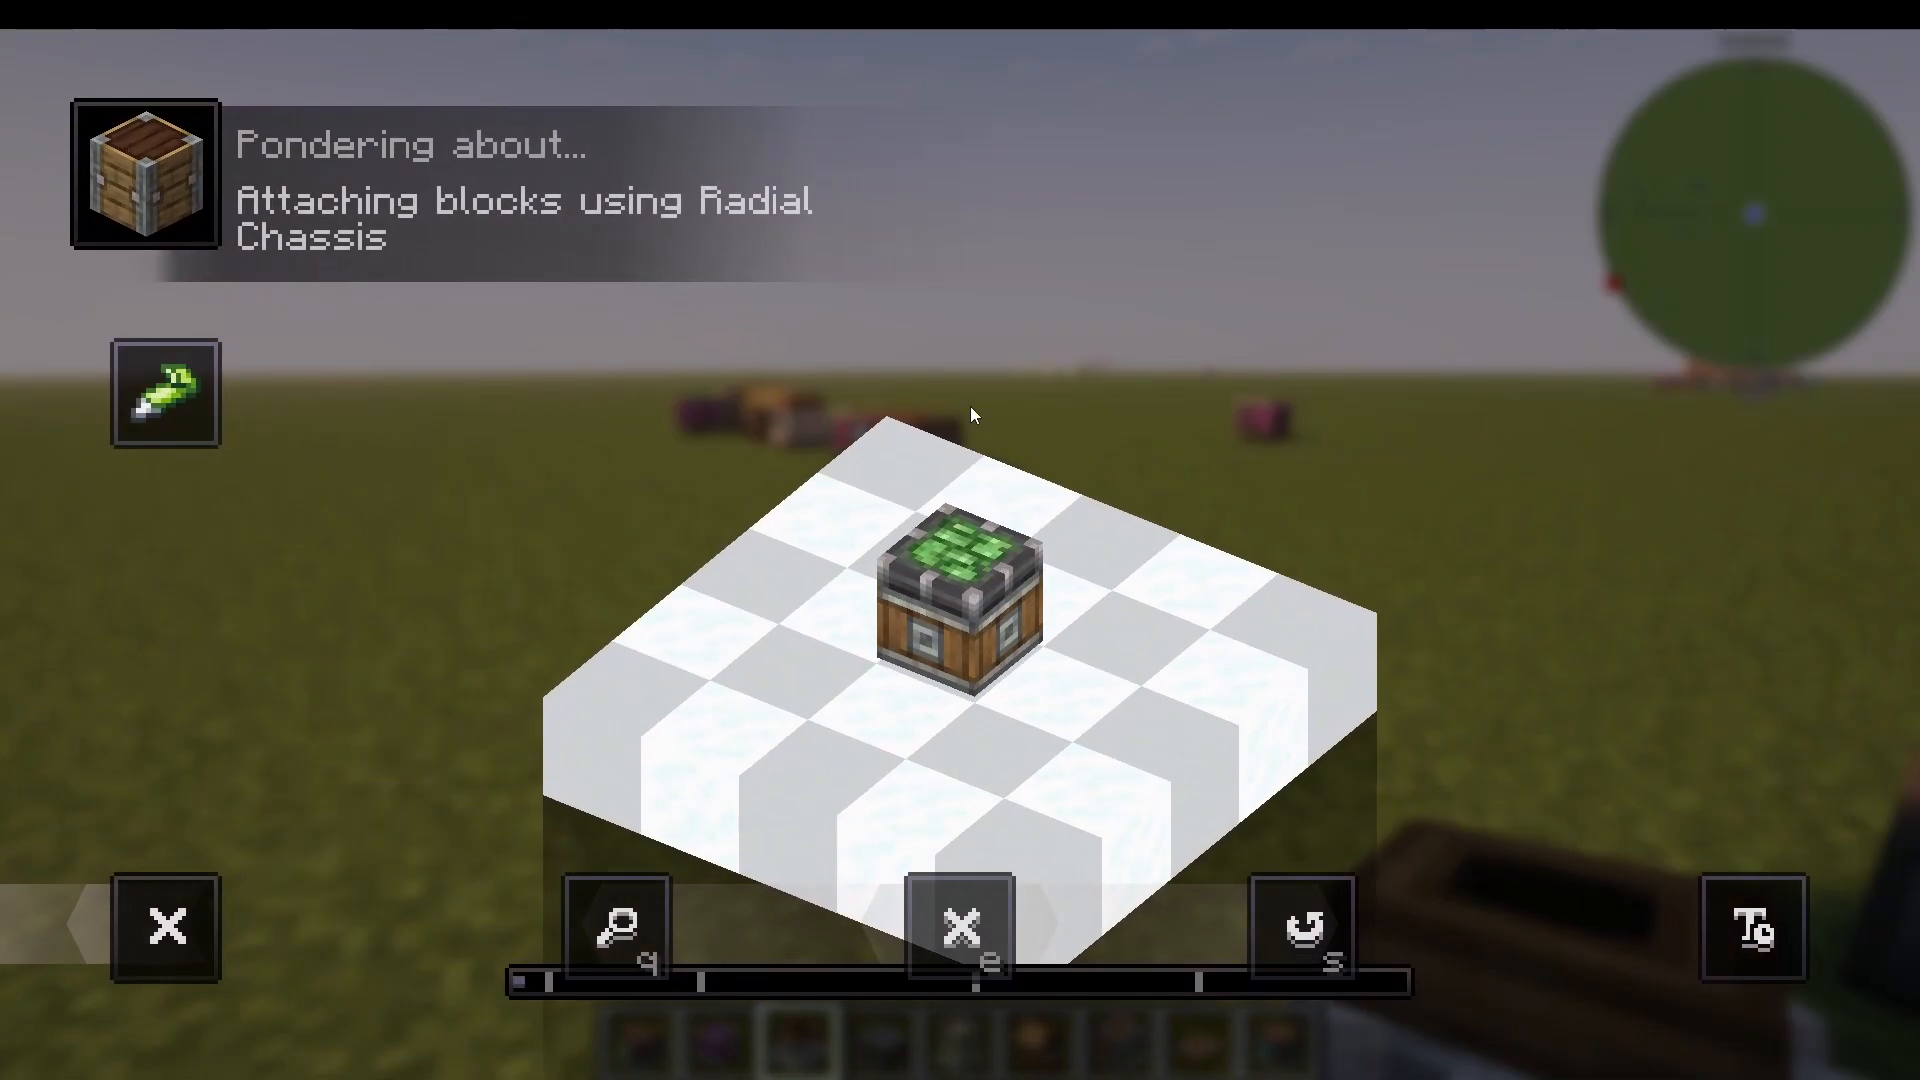
Radial Chassis and Windmill Sails
For larger windmills, use a Radial Chassis. Add these to a windmill bearing, then add slime balls for stickiness, and attach windmill sails to the sides. This creates a much larger, more efficient windmill.
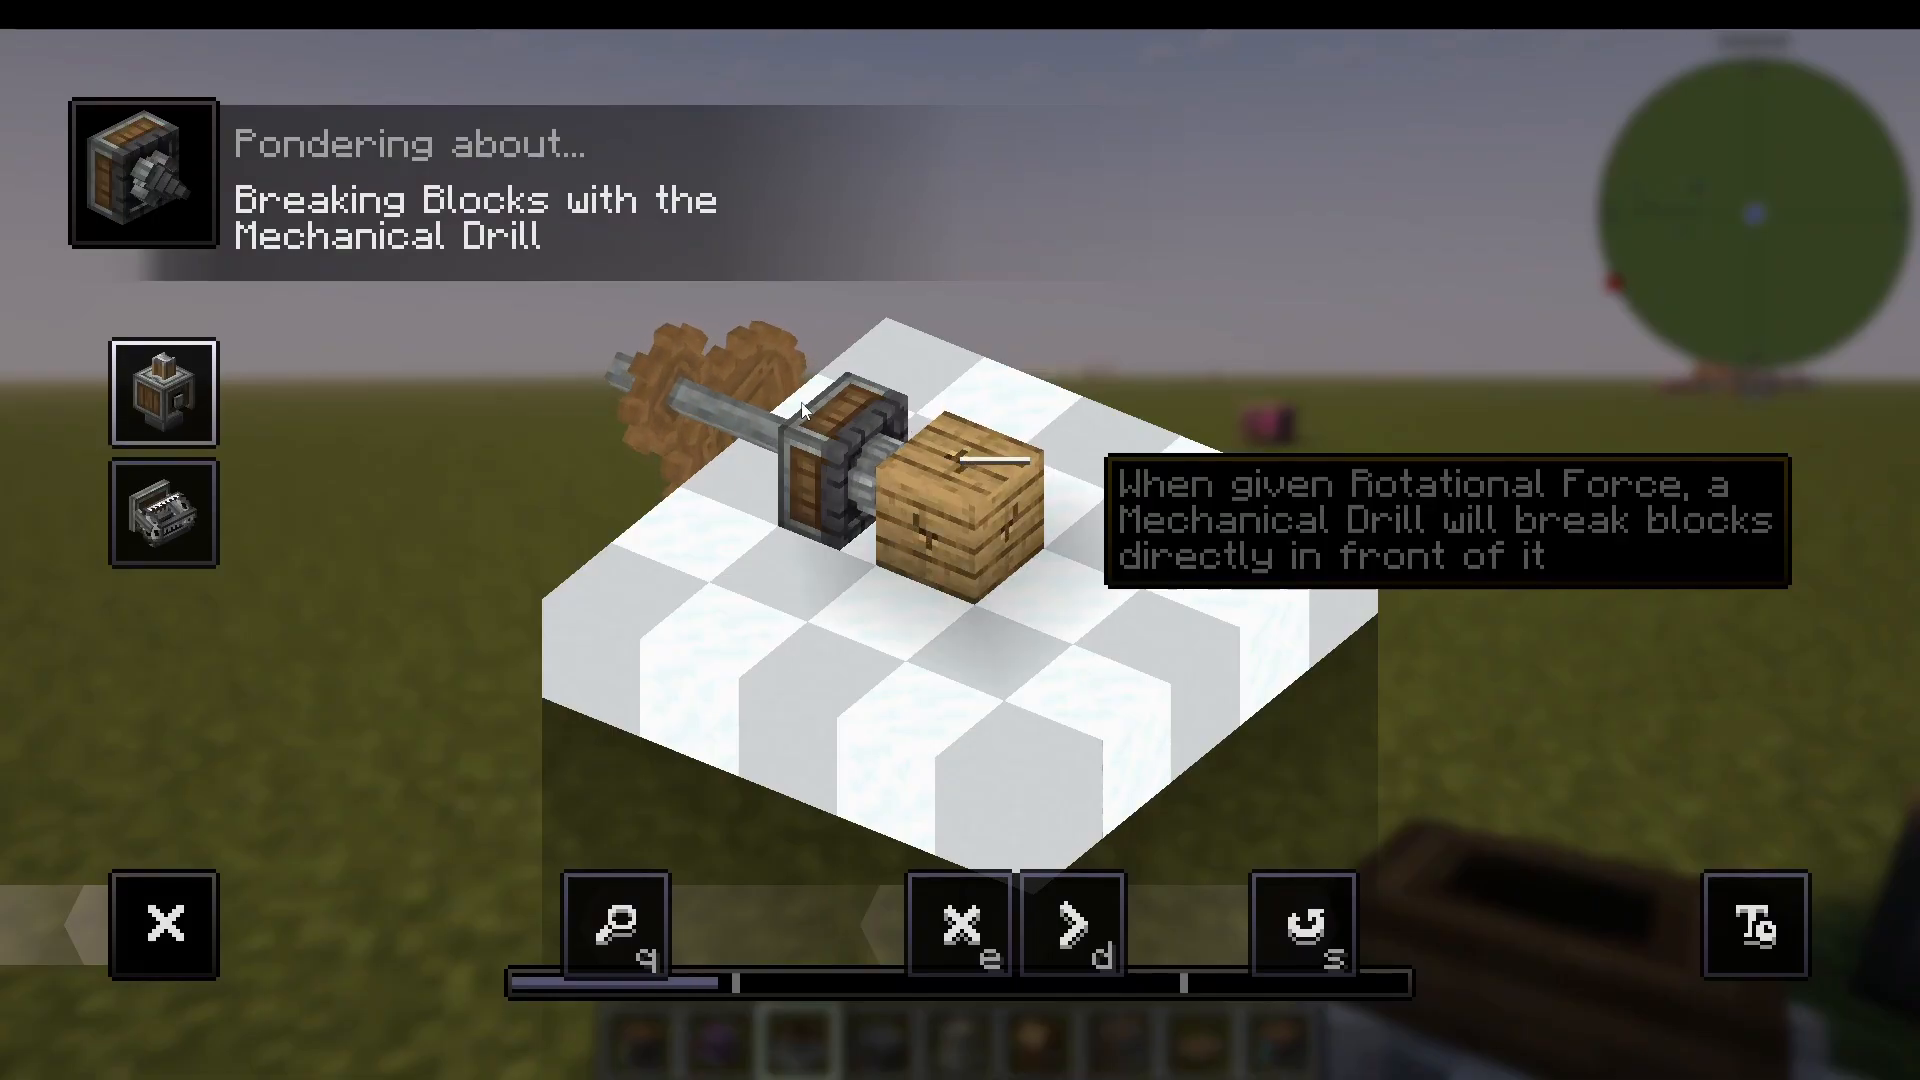
Mechanical Drill
The Mechanical Drill breaks blocks in front of it when given rotational power. This is useful for automated mining operations.
Mechanical Saw
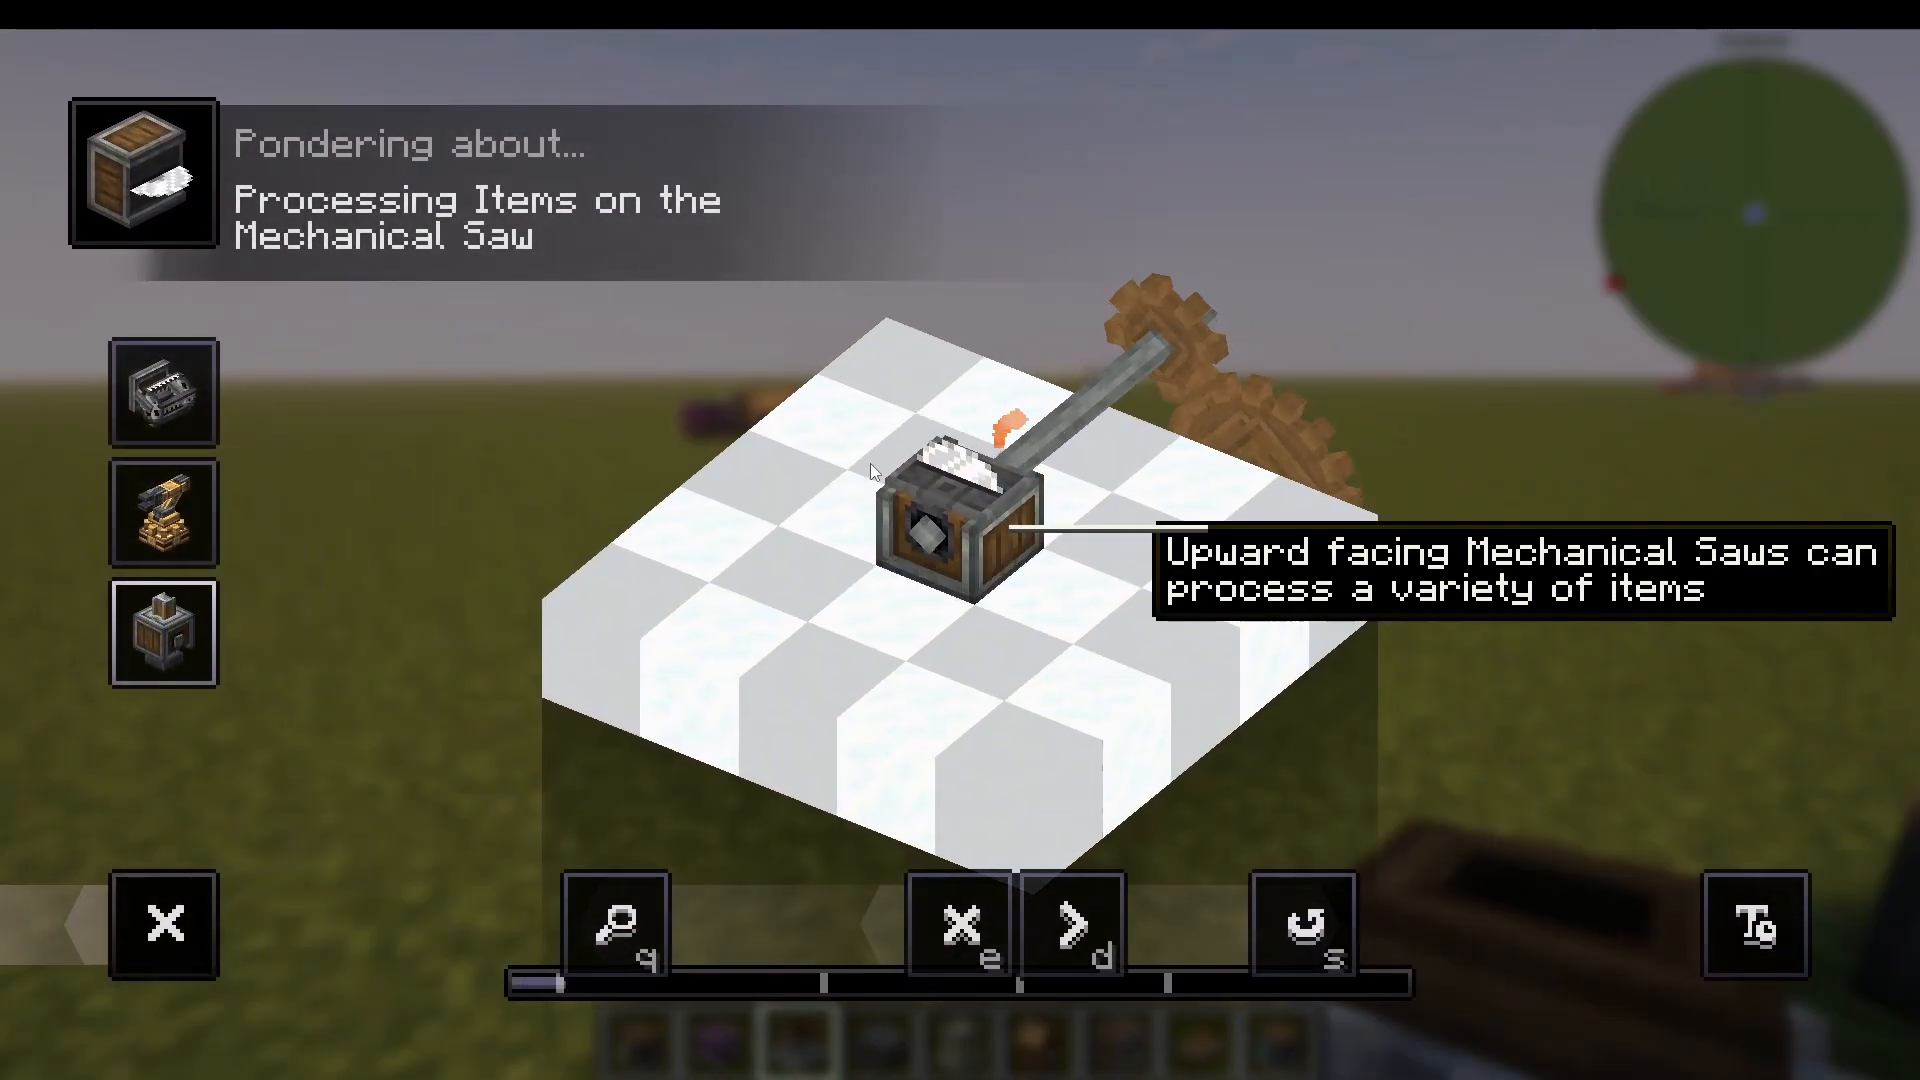
An upward-facing Mechanical Saw processes items — for example, a log will be turned into stripped logs. You can create entire production lines by connecting multiple saws with conveyor belts.
Mechanical Harvester and Plow
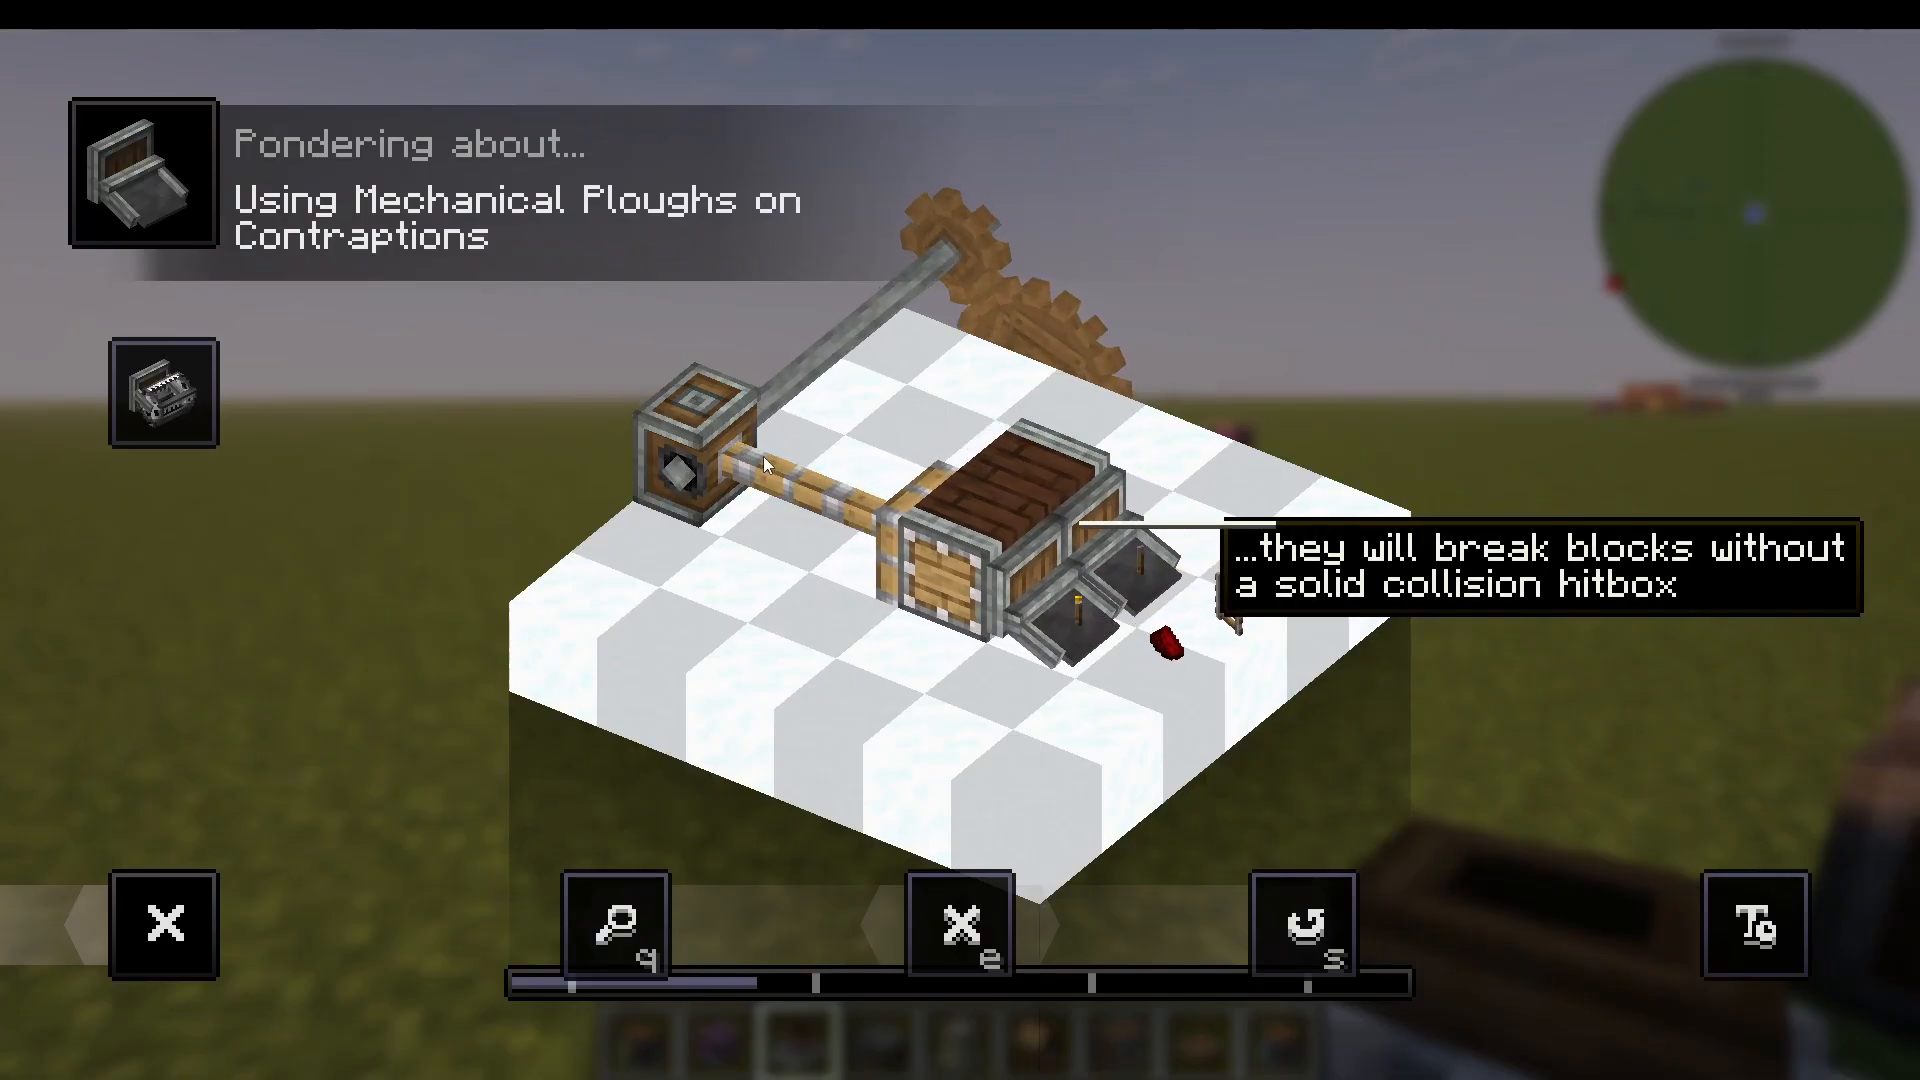
The Mechanical Harvester and Mechanical Plow are used for crop farming. These items will be covered in detail in dedicated farm guide videos.
Fluid Manipulation and Pumping
Fluid Tanks
Fluid Tanks are multi-block structures used to store liquids like water and lava. You can make them any size — 1×1, 2×2, 3×3, or larger. Right-click to expand them. Place a single tank or expand it by placing adjacent tanks and right-clicking to merge them into one larger tank.
Mechanical Pump
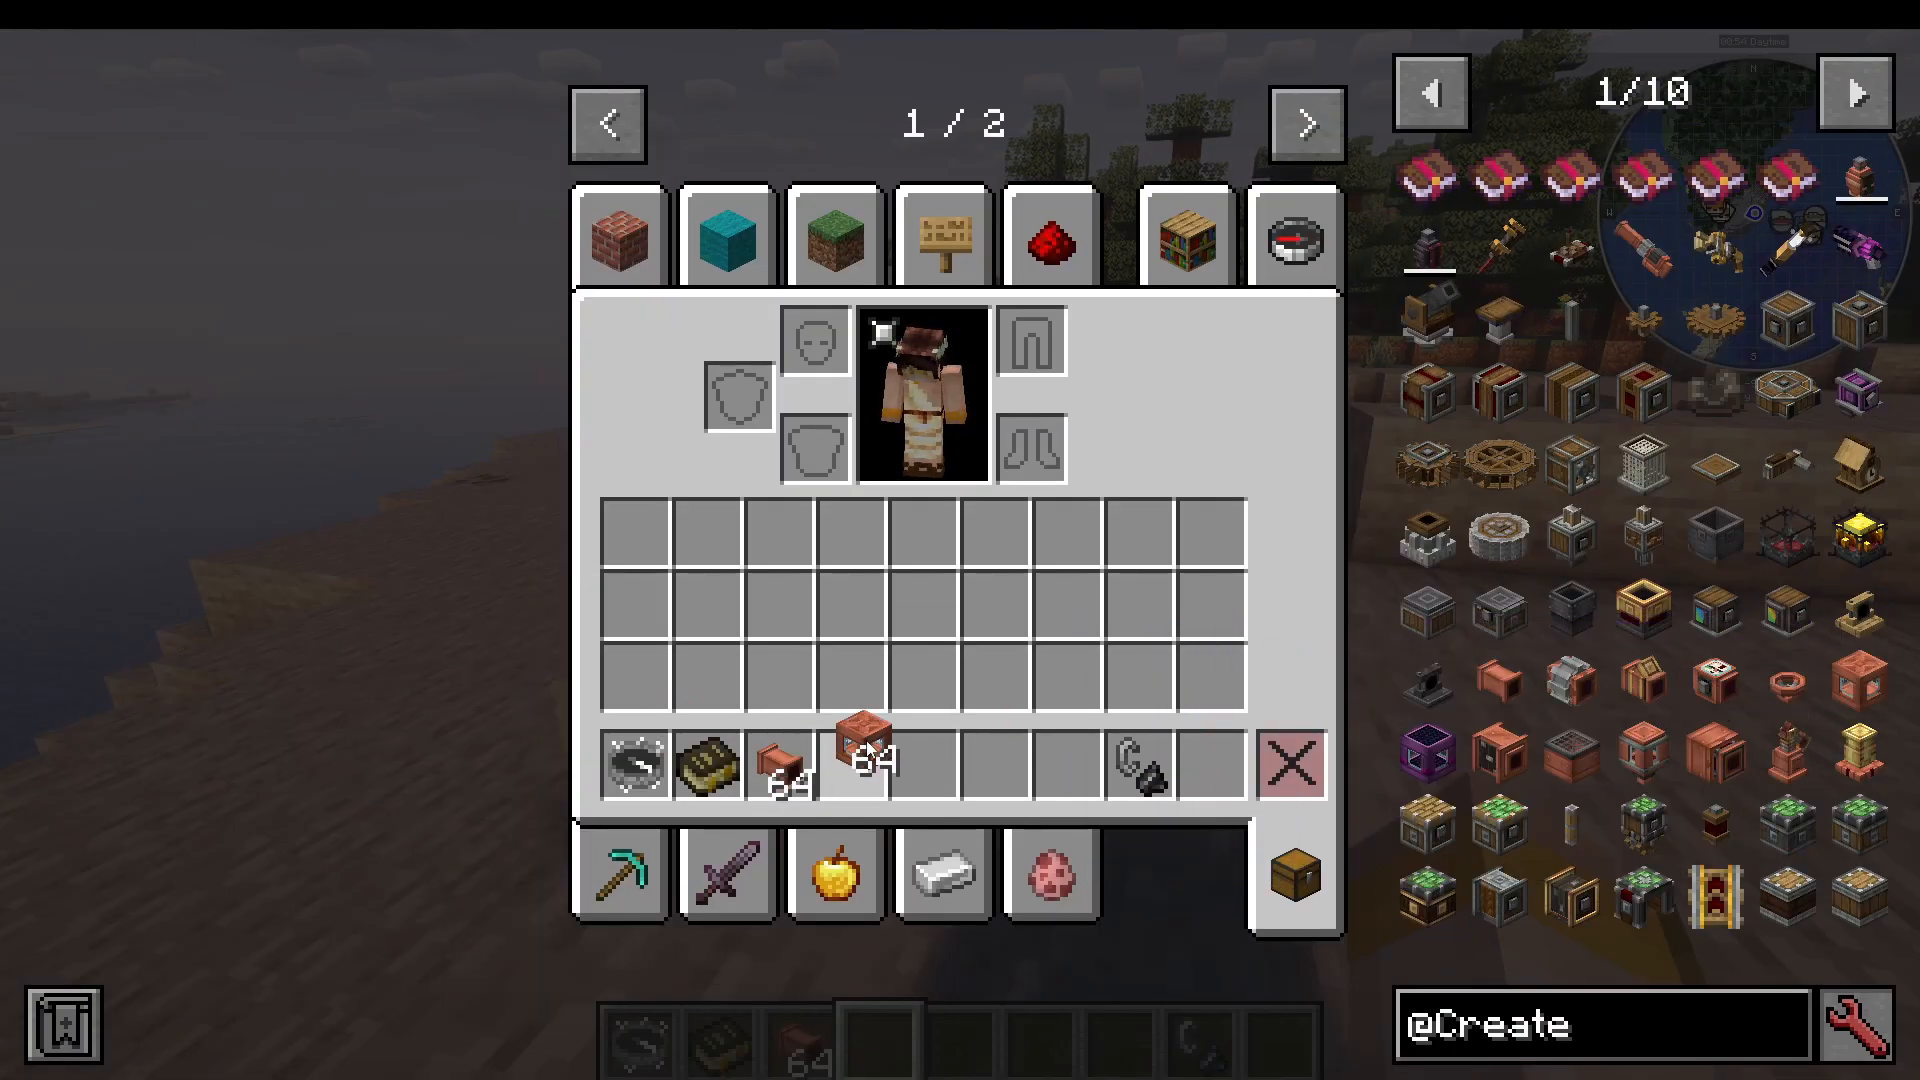
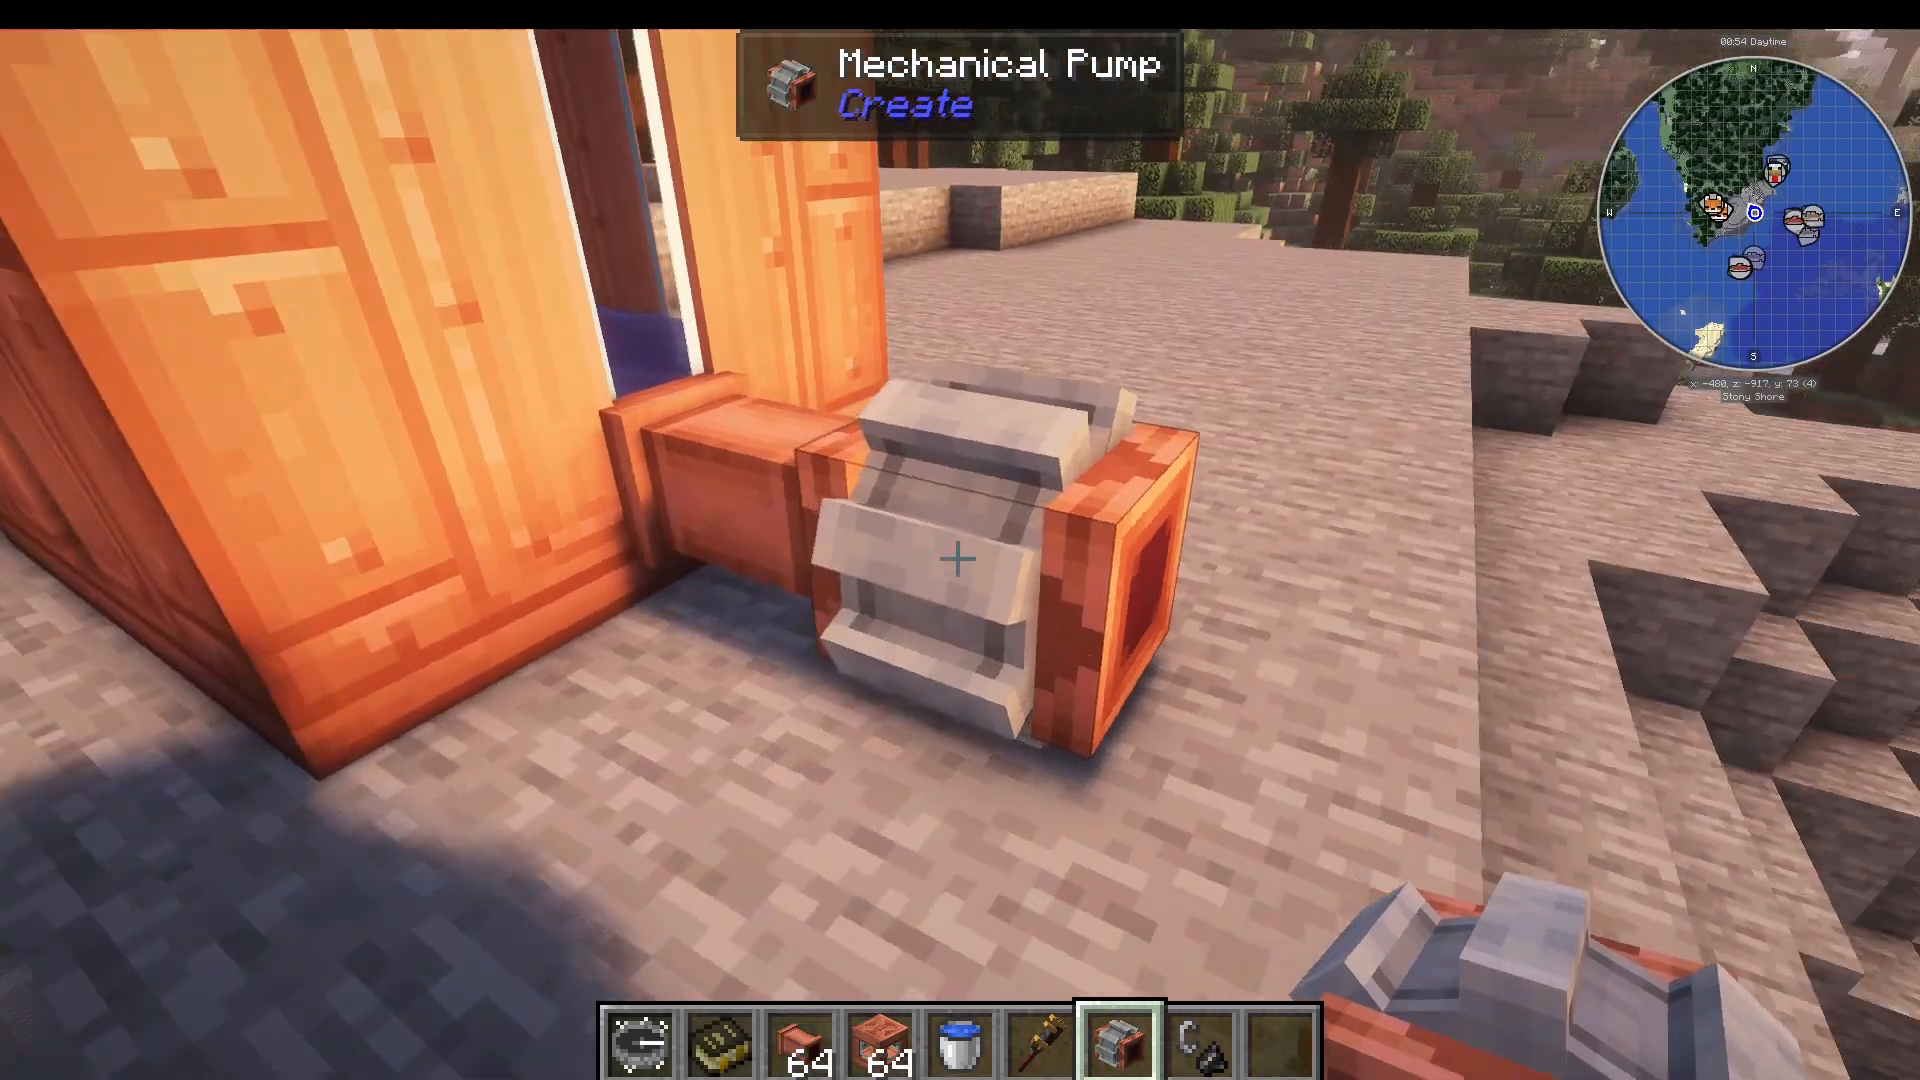
The Mechanical Pump moves fluids using rotational power. The arrow on the pump indicates direction — if it points toward the tank, it’s filling the tank; if it points away, it’s pushing fluid out. Right-click with a wrench to change direction.
Fluid Pipes
Fluid Pipes transport liquids between tanks and machines. If a mechanical pump is set to pull and a fluid pipe leads to water, the pipe will automatically pump the water up without needing the pump directly connected.
Right-click a fluid pipe with a wrench to toggle a glass covering so you can see if liquid is flowing through. Right-click again to pour out liquid until a full bucket is dispensed, then right-click again to reverse the flow back into the pipe.
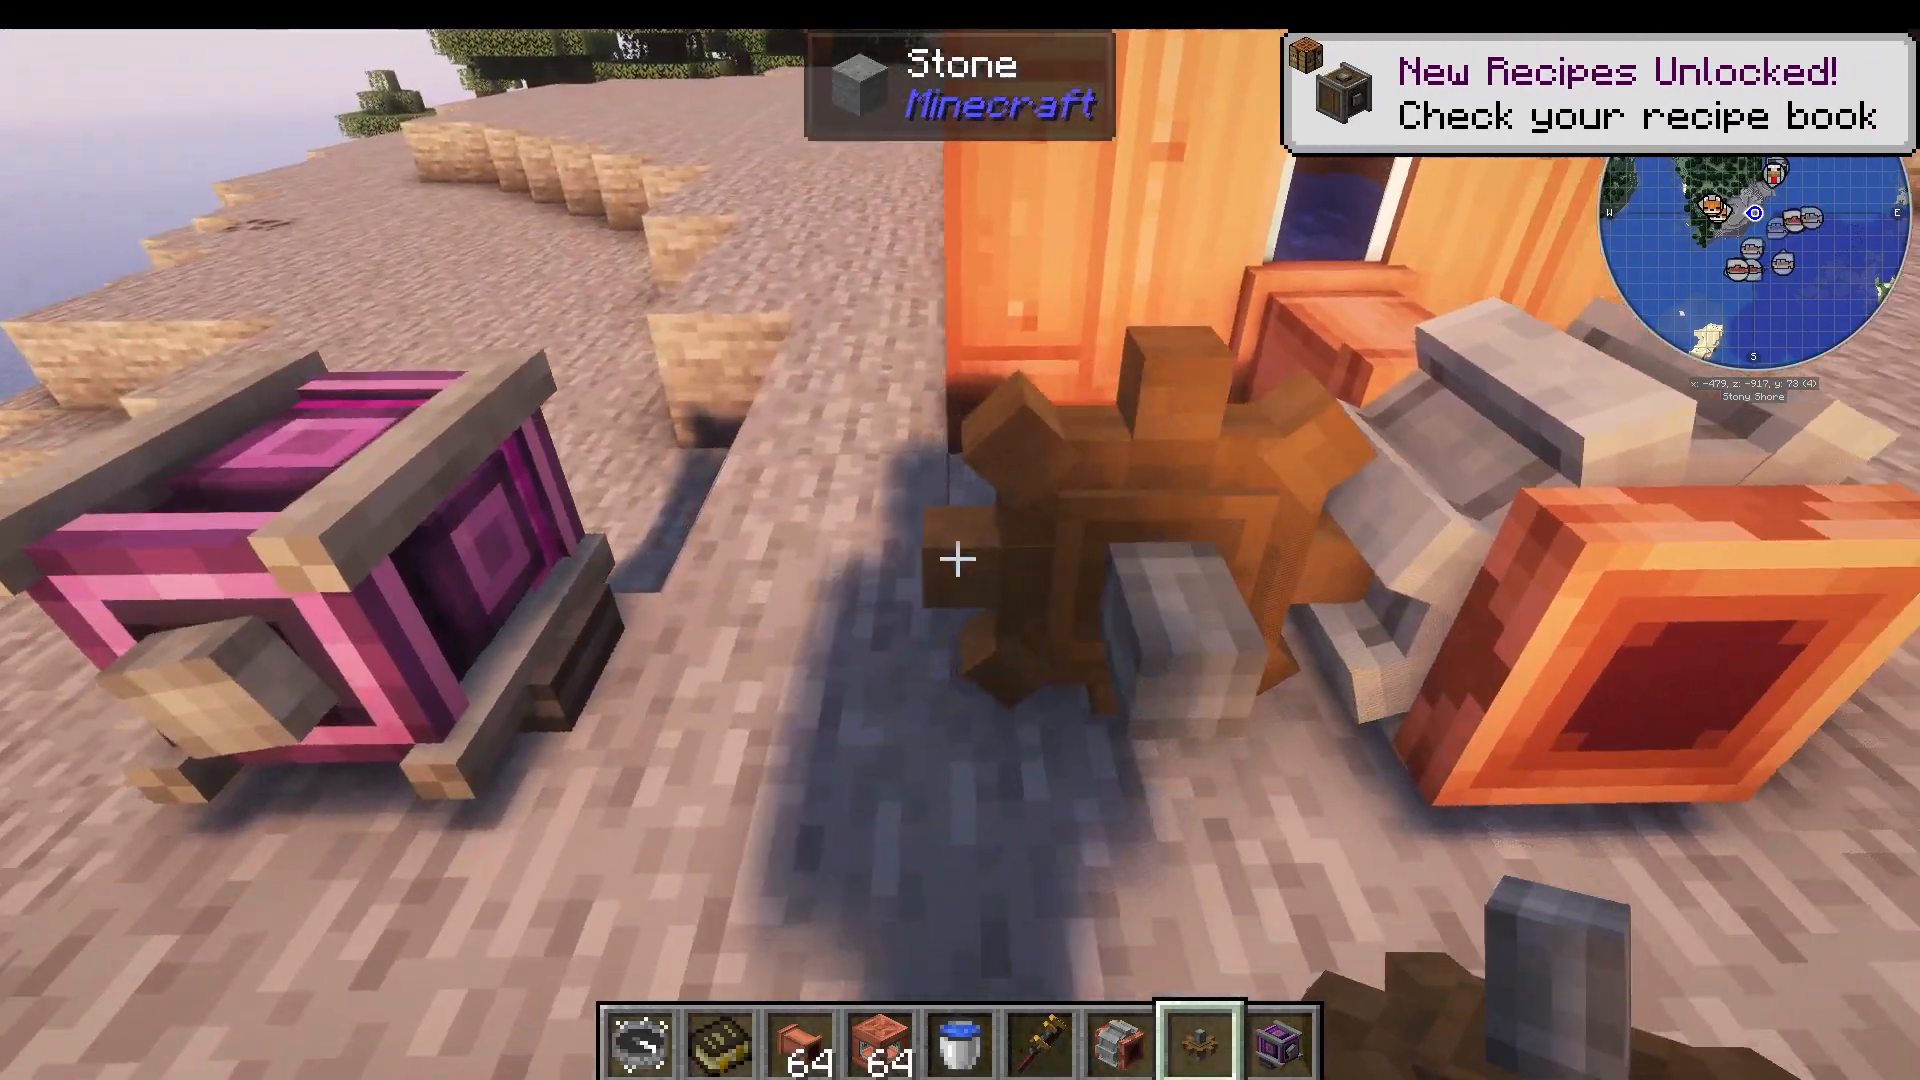
Smart Fluid Pipe
Smart Fluid Pipes filter what liquids can flow through. Place a bucket of a specific liquid (e.g., water) on a smart fluid pipe, and only that liquid type will flow through that pipe.
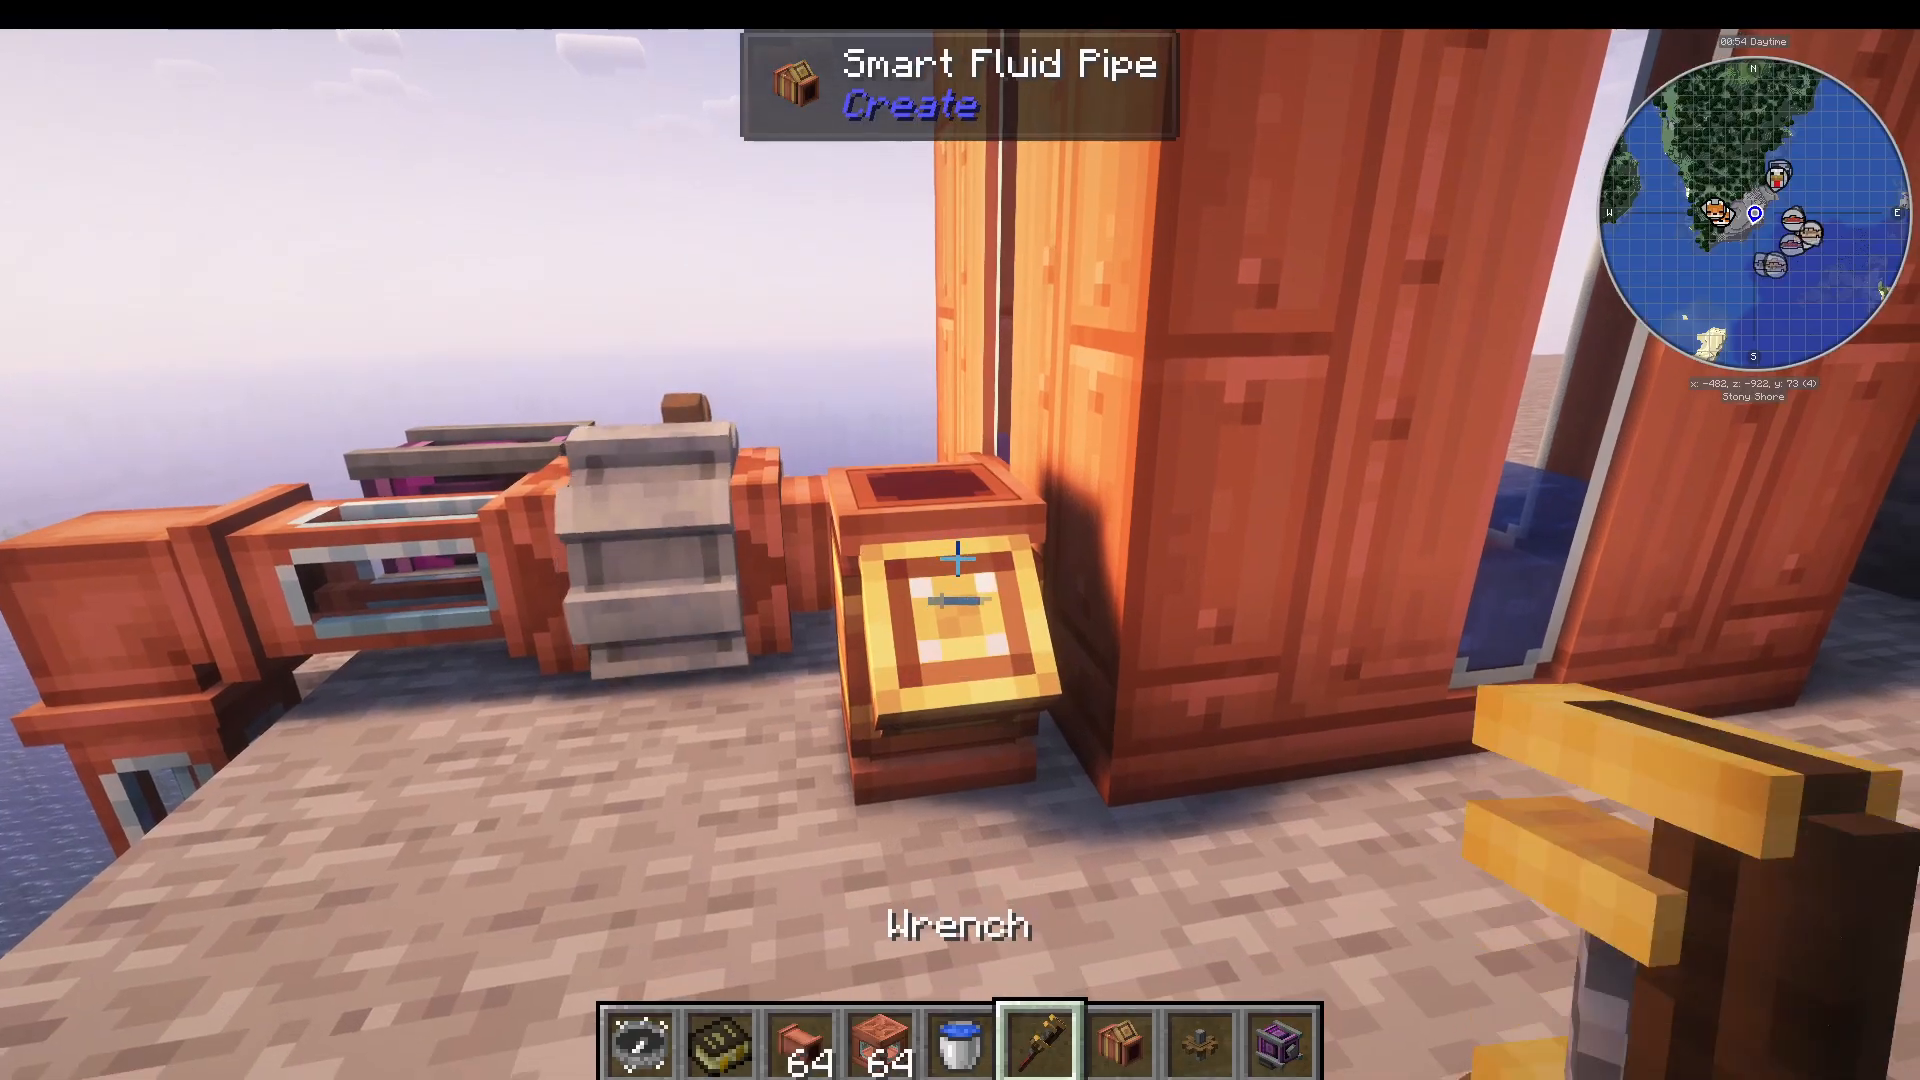
Fluid Valve
A Fluid Valve controls the flow of liquids using rotational power. Give it rotational force and it will let liquid flow through. Reverse the rotation direction to shut off the flow. This is useful for stopping and starting fluid flow at specific points in your system.
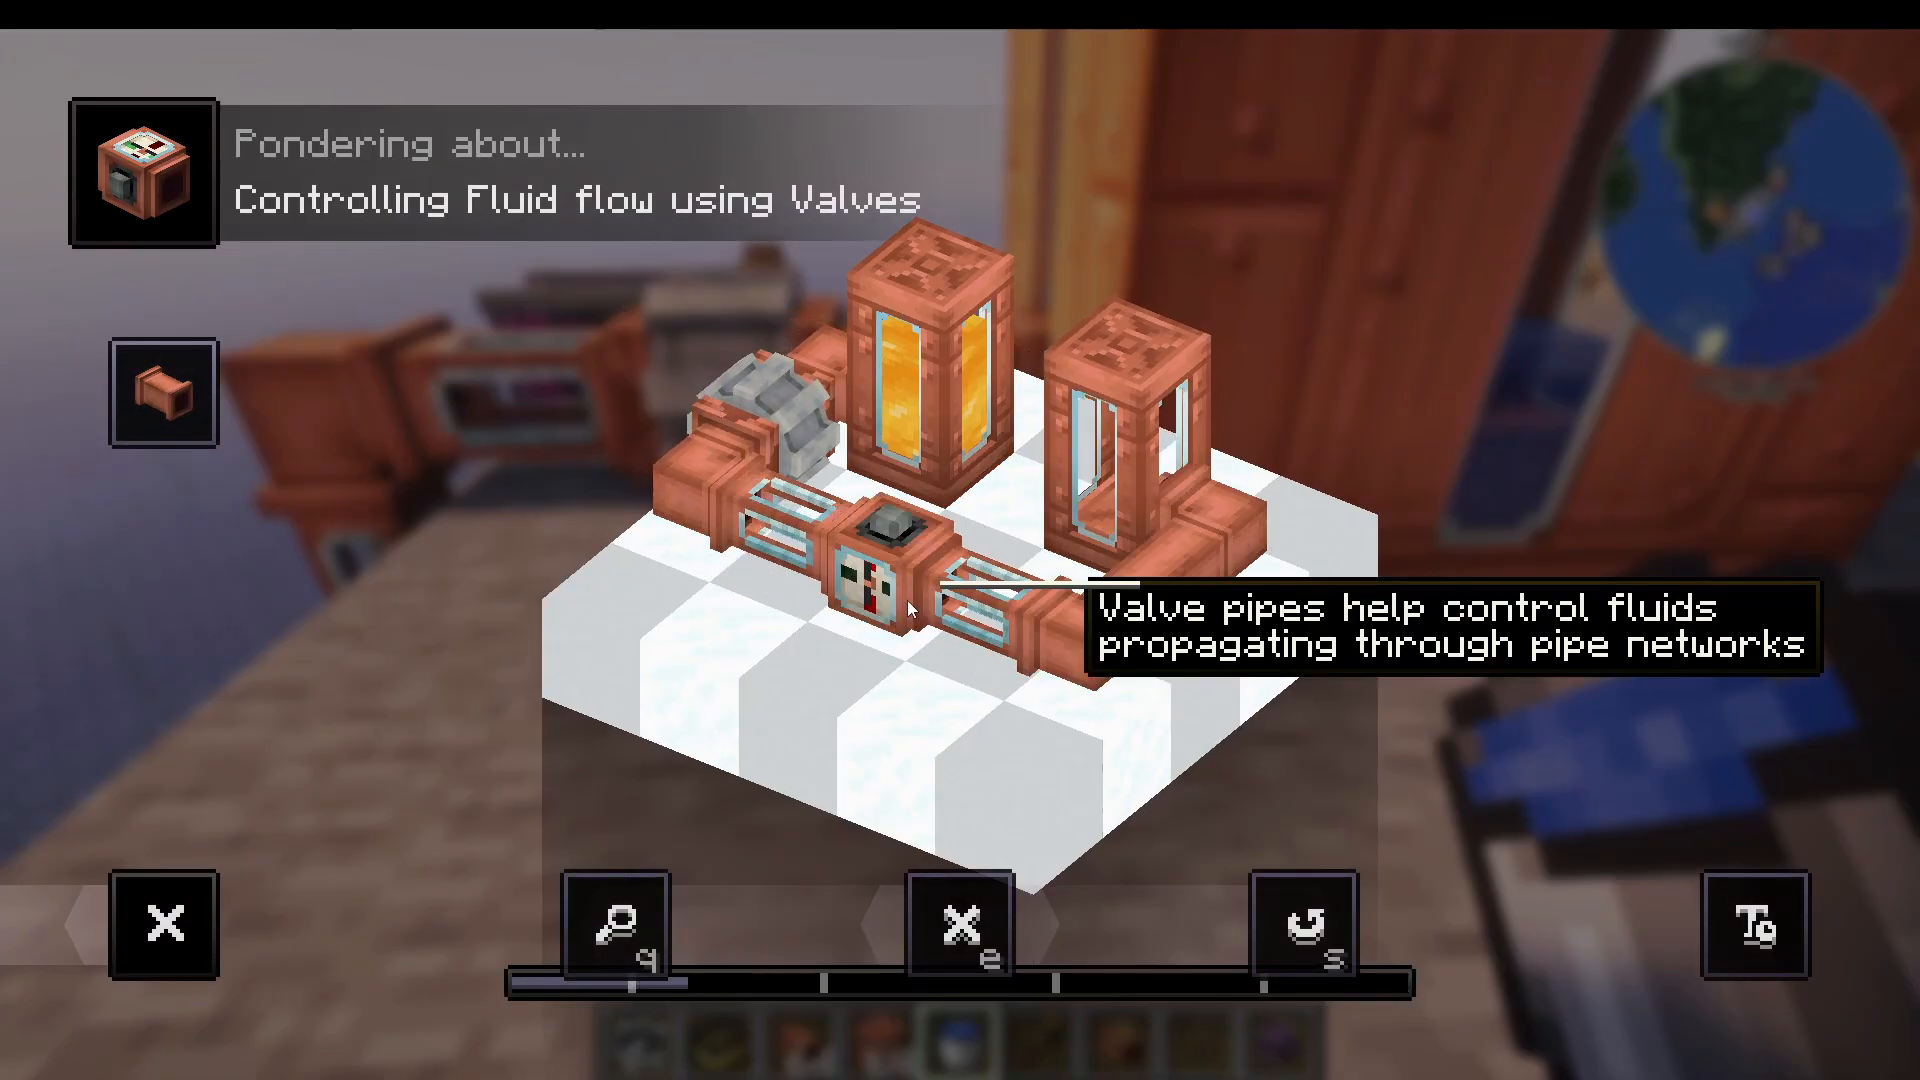
Item Drain
The Item Drain extracts fluids from items. You can right-click to manually extract fluids from a held item, or set up a conveyor belt to automatically extract fluids from items passing over it (e.g., buckets of lava).
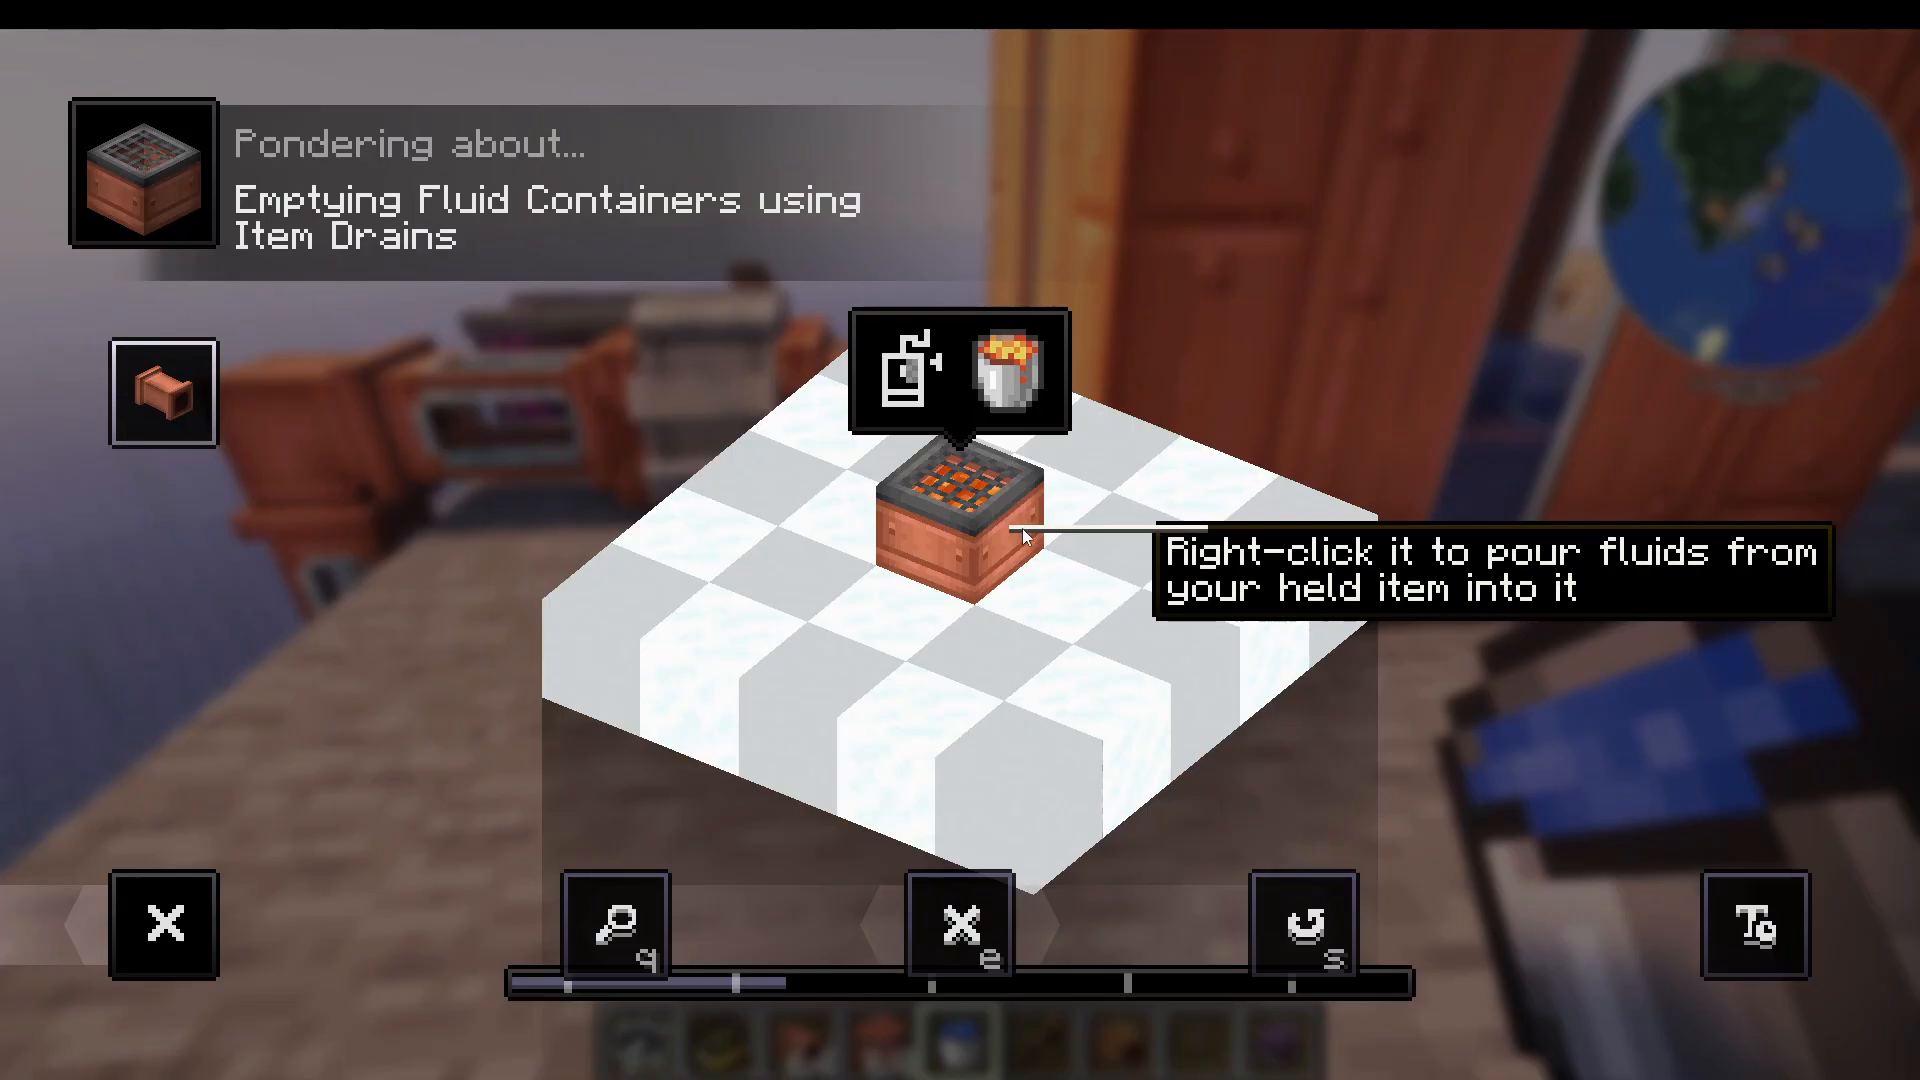
Spout
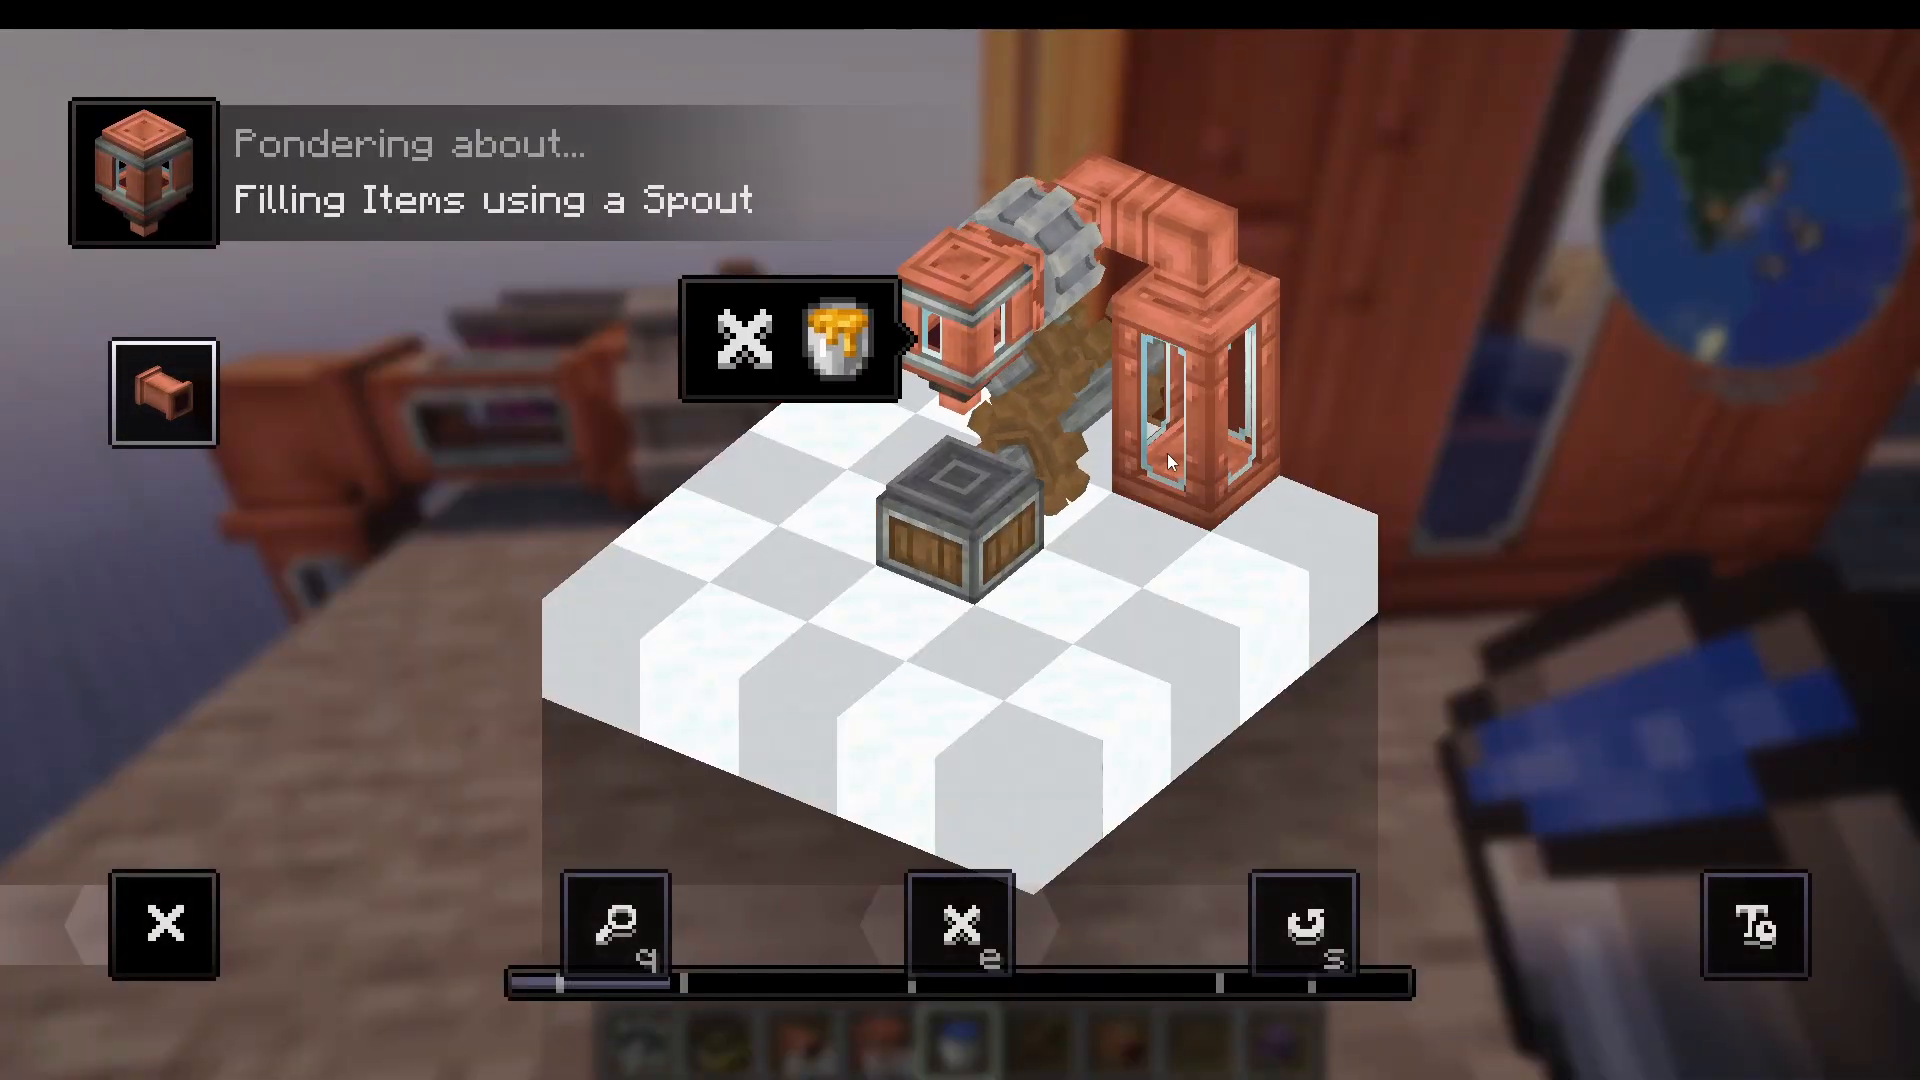
A Spout fills items with fluids. Set up a fluid motor connected to a tank, pointing toward a spout. Place a conveyor belt beneath the spout. Items passing over the spout (like water bottles or buckets) will automatically stop, fill with the liquid, and continue down the belt.
Hose Pulley
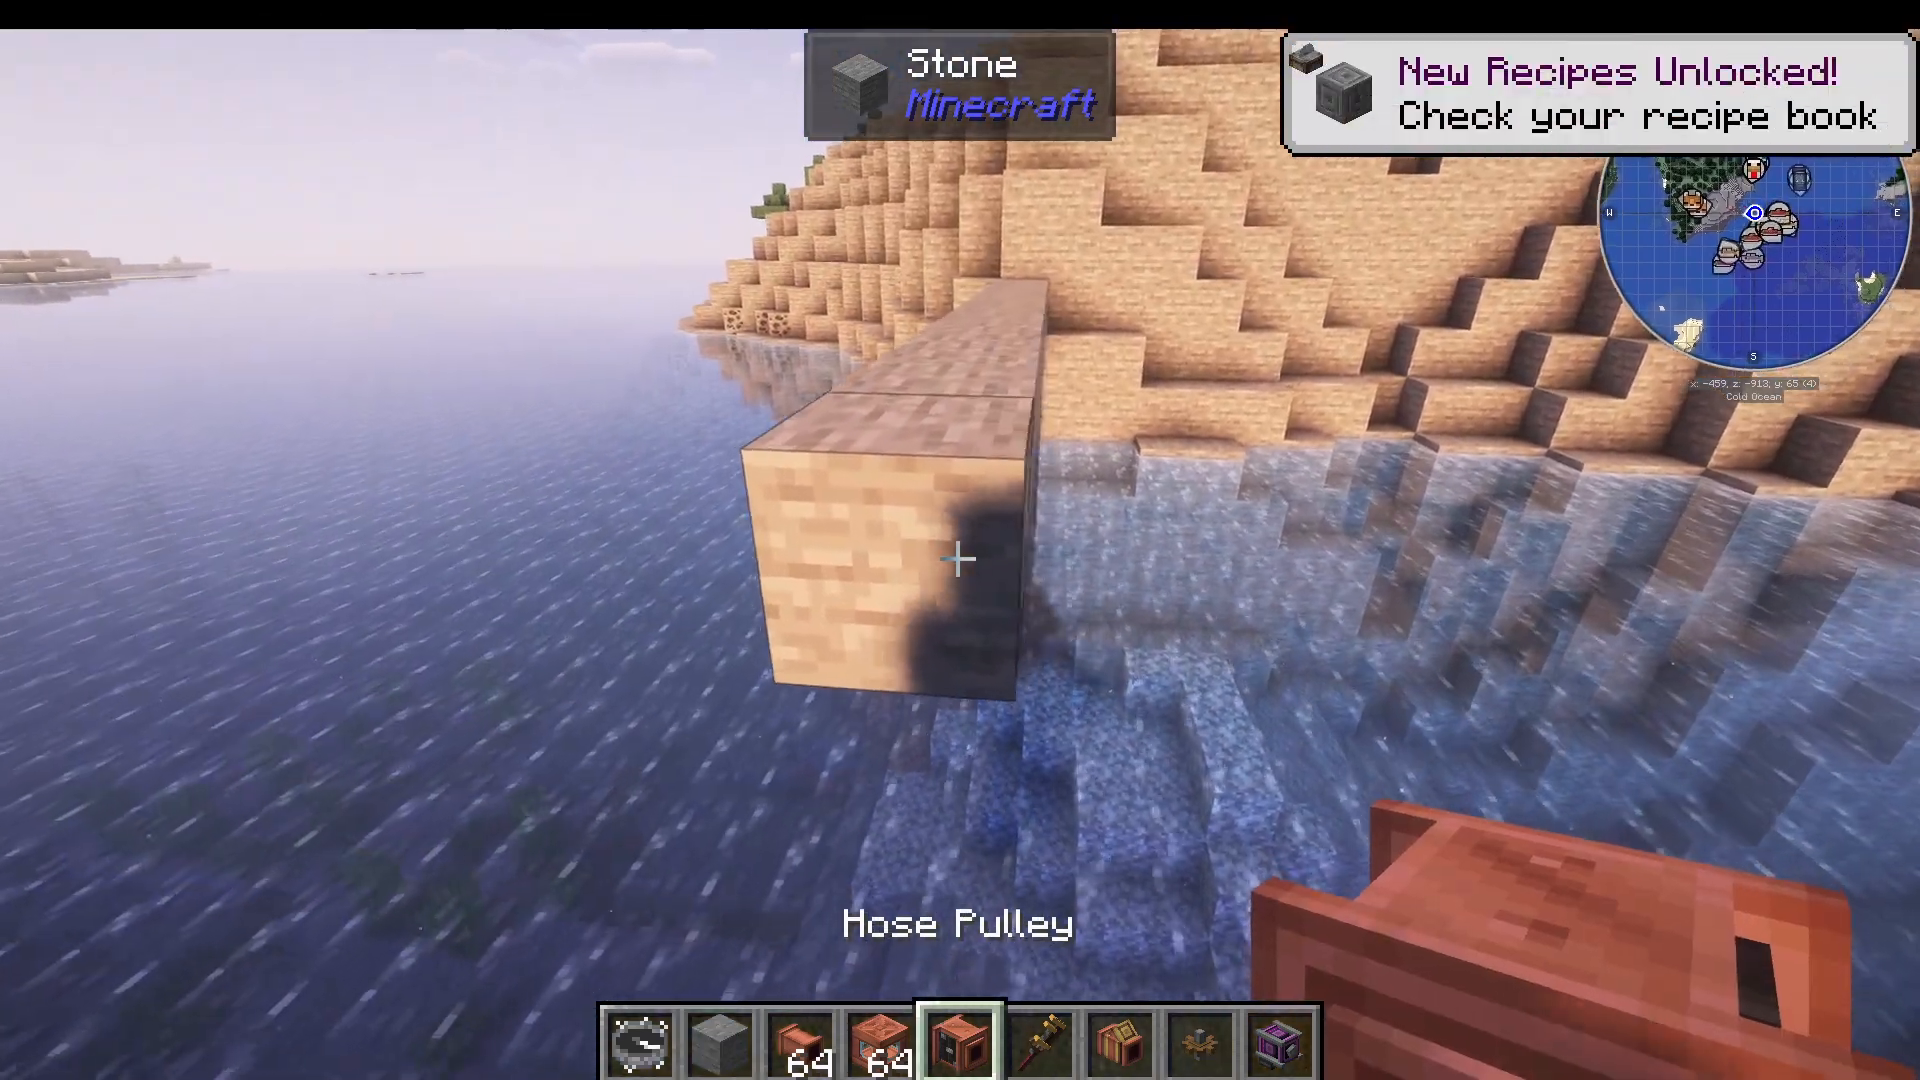
The Hose Pulley drains large bodies of water or lava. Place it above the liquid and turn it to extend the hose down. If the body of water is over 10,000 blocks (considered infinite), you can use a mechanical pump connected to the hose pulley to pump infinite water or lava without depleting the source.
This is especially useful for pumping lava from the Nether without affecting the lava lake.
Conclusion
Congratulations! You now have a solid foundation in the Create mod. You’ve learned how to generate power with water wheels and windmills, transport items with conveyor belts and funnels, craft and mix items in basins, and manipulate fluids for various purposes. Remember that the limit in Create is your imagination — use these building blocks to create amazing automation systems and farms. For detailed farm guides and more advanced techniques, check back for additional tutorials. The Create community is friendly and helpful, so don’t hesitate to ask questions if you get stuck!
— Want to Support? —
If you would like to help us continue making these guides – please consider joining our patreon here – https://www.patreon.com/c/JaviHeals
Alternatively – we host a group of MC Servers you can join here – https://discord.gg/zD7Gjt6MHF



