







Oritech Complete Beginner’s Guide – Minecraft 1.21.1
Oritech Complete Beginner’s Guide – Minecraft 1.21.1
Welcome to this comprehensive beginner’s guide to AureTech, one of the most intuitive and engaging tech mods available for Minecraft. This guide will walk you through world generation, machine crafting, power generation, and item management—everything you need to get started with this fantastic mod.
World Generation and Ore Distribution
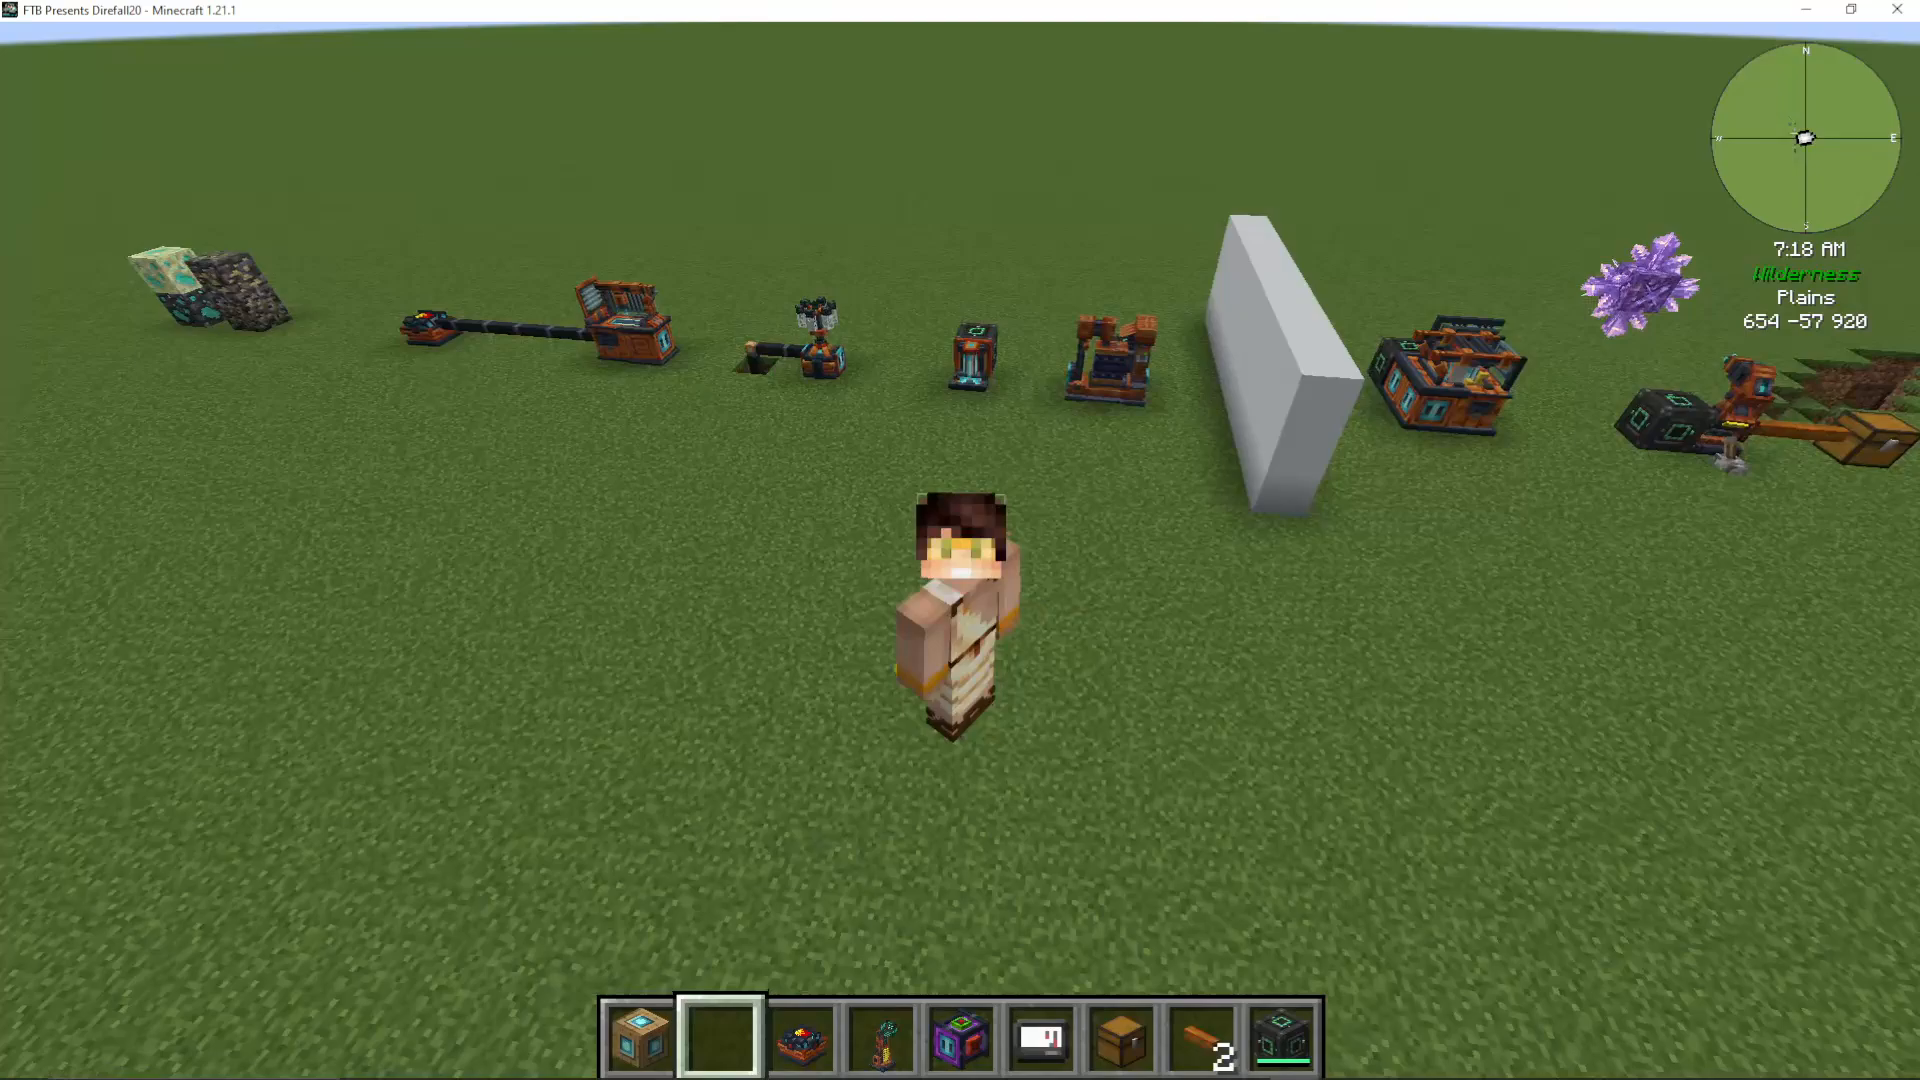
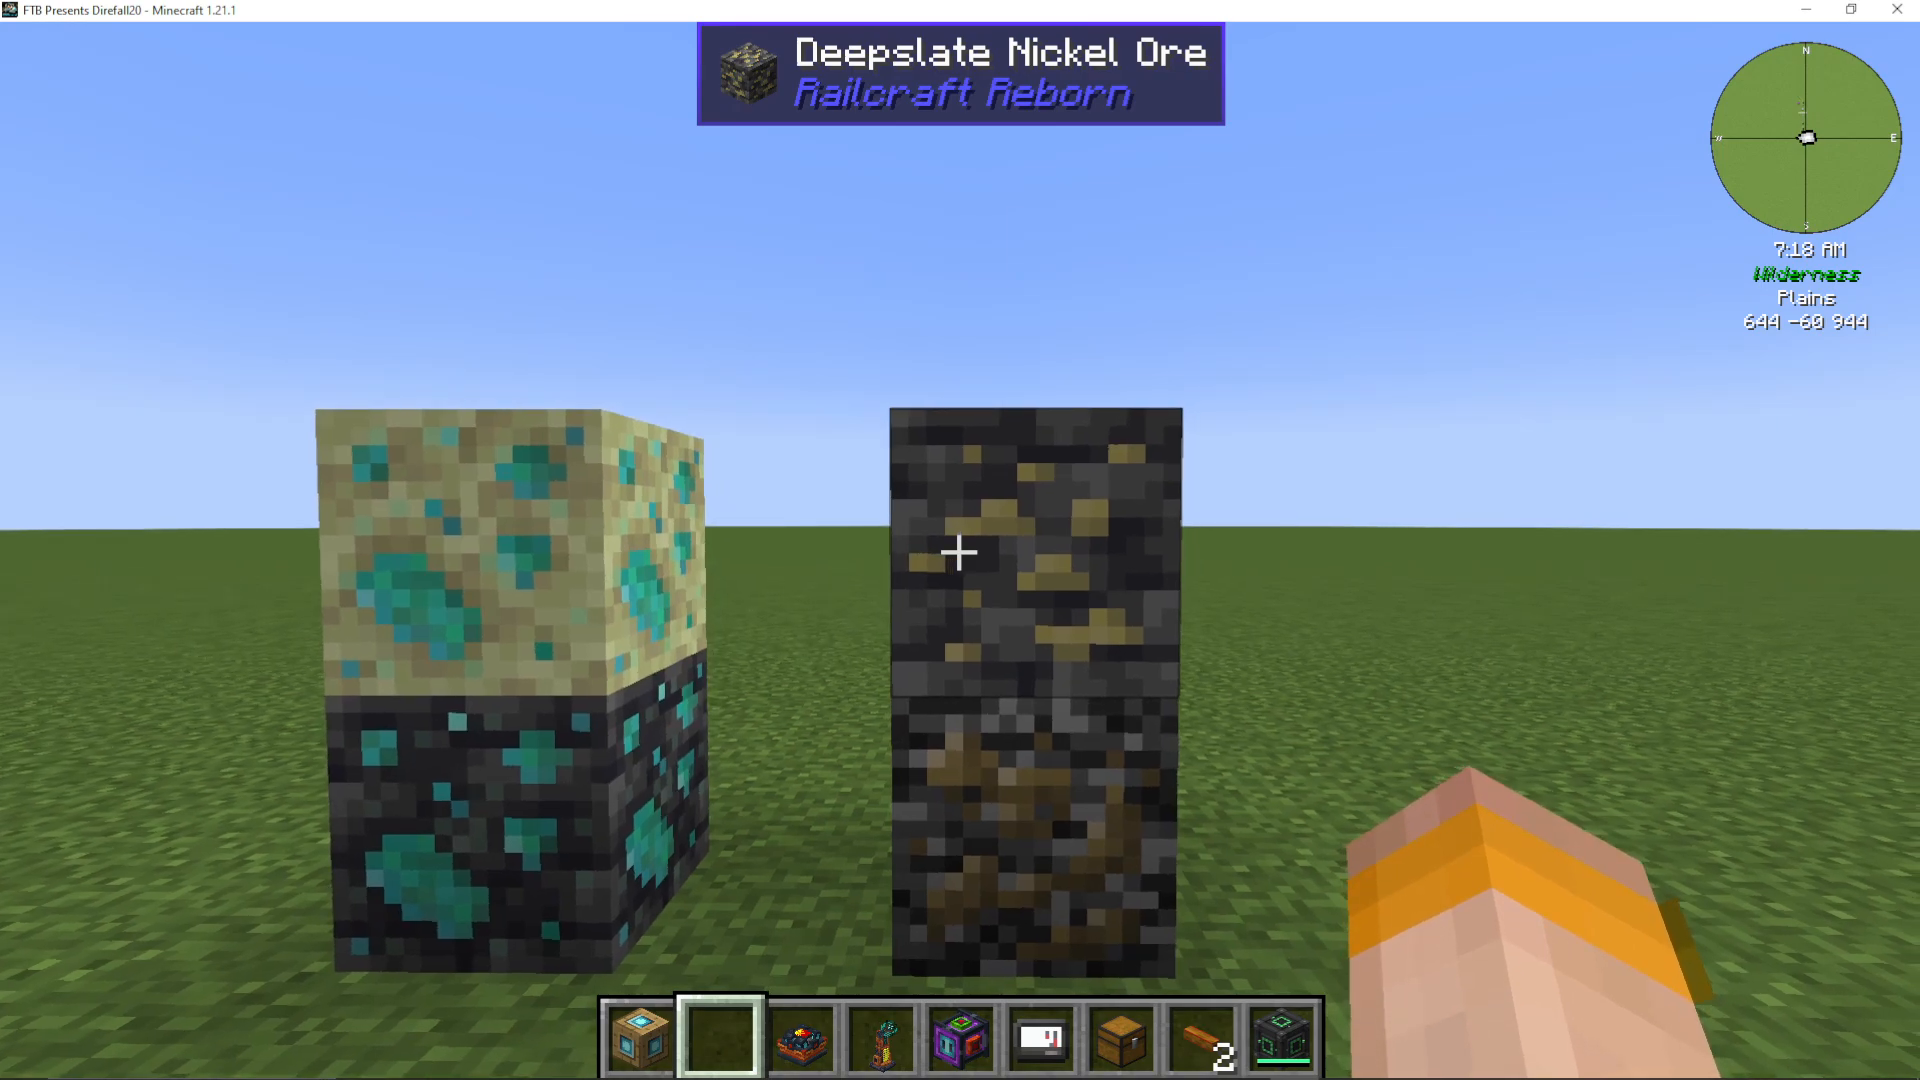
AureTech adds two new ores to the game: Nickel and Platinum. Understanding where to find these is crucial for your progression.
Nickel: Found at Y level 40 down to -65 in deepslate.
Platinum: Much rarer in the overworld, appearing between Y level -2 and -60. However, it is extremely abundant in the End dimension.
Don’t forget that you’ll still need gold, redstone, and diamonds—these are essential components for various AureTech recipes.
Your First Machine: The Basic Generator
Recipe and Components
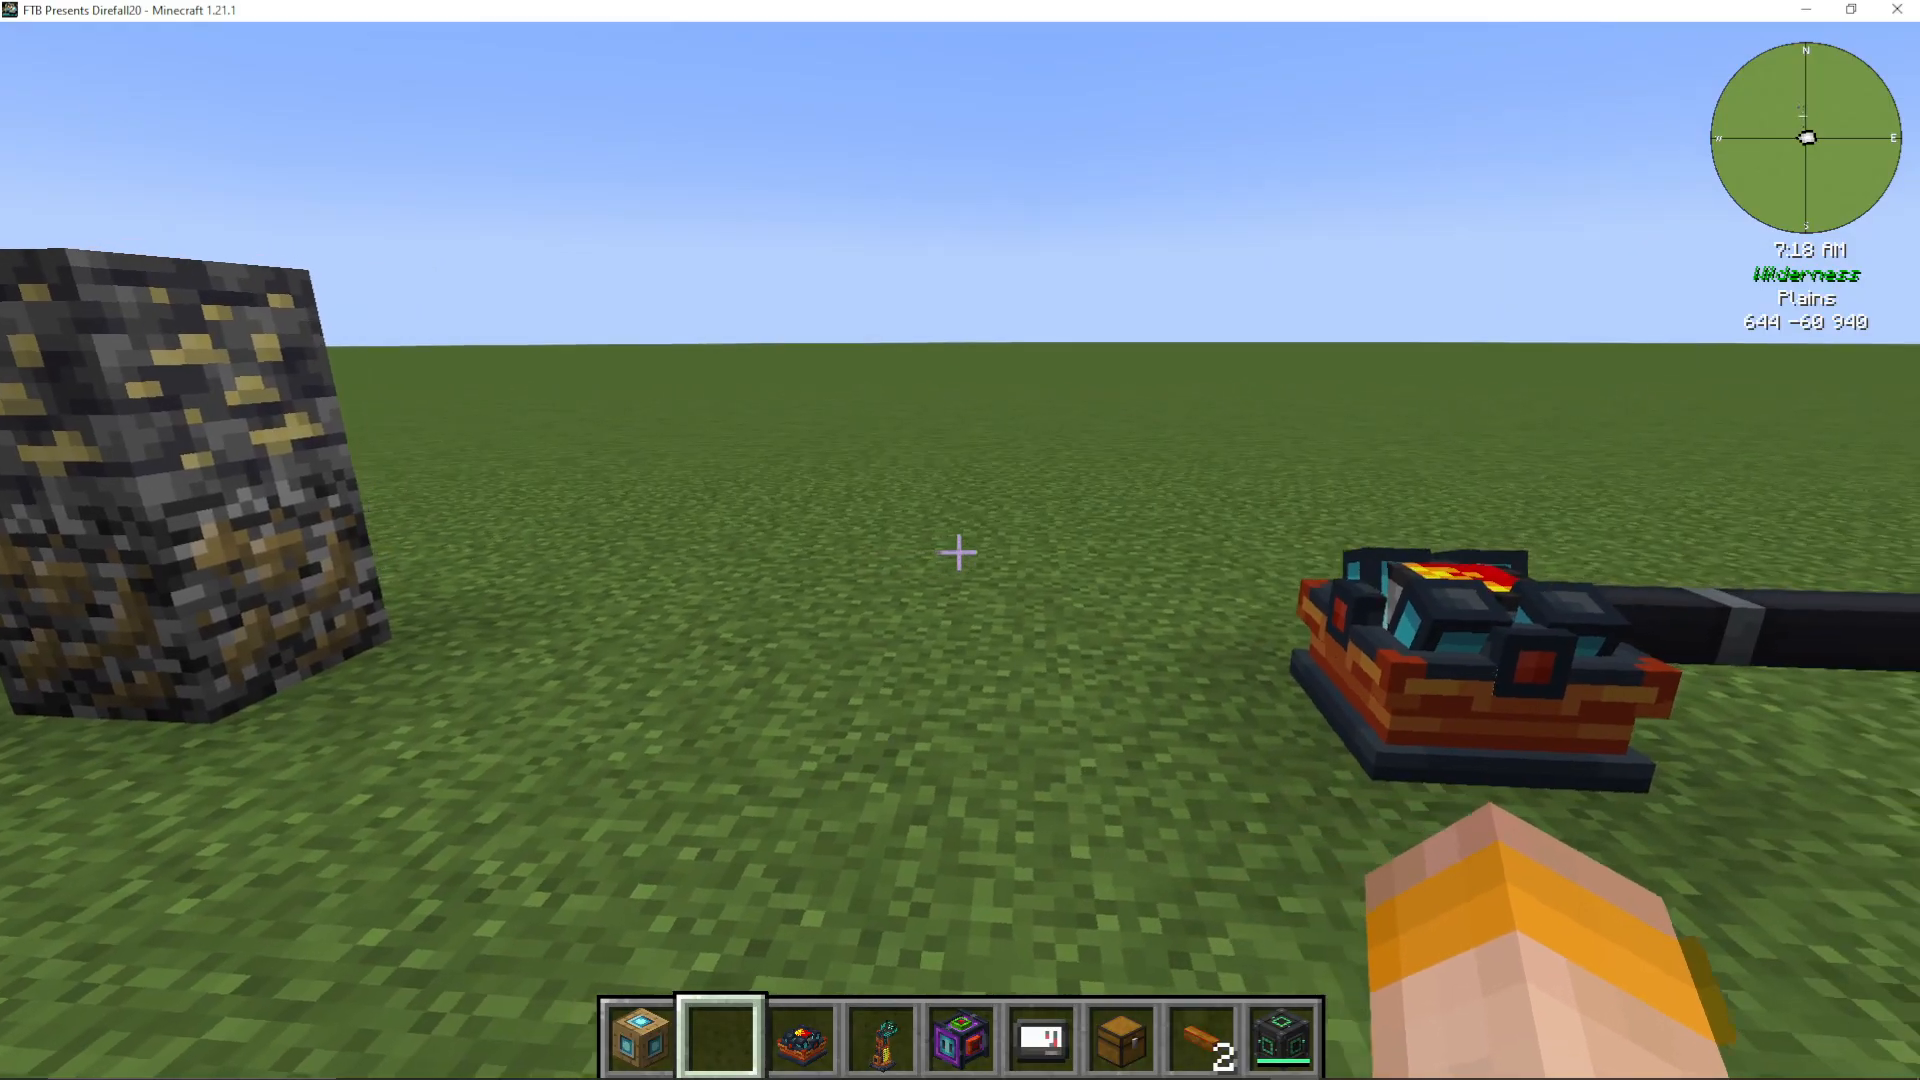
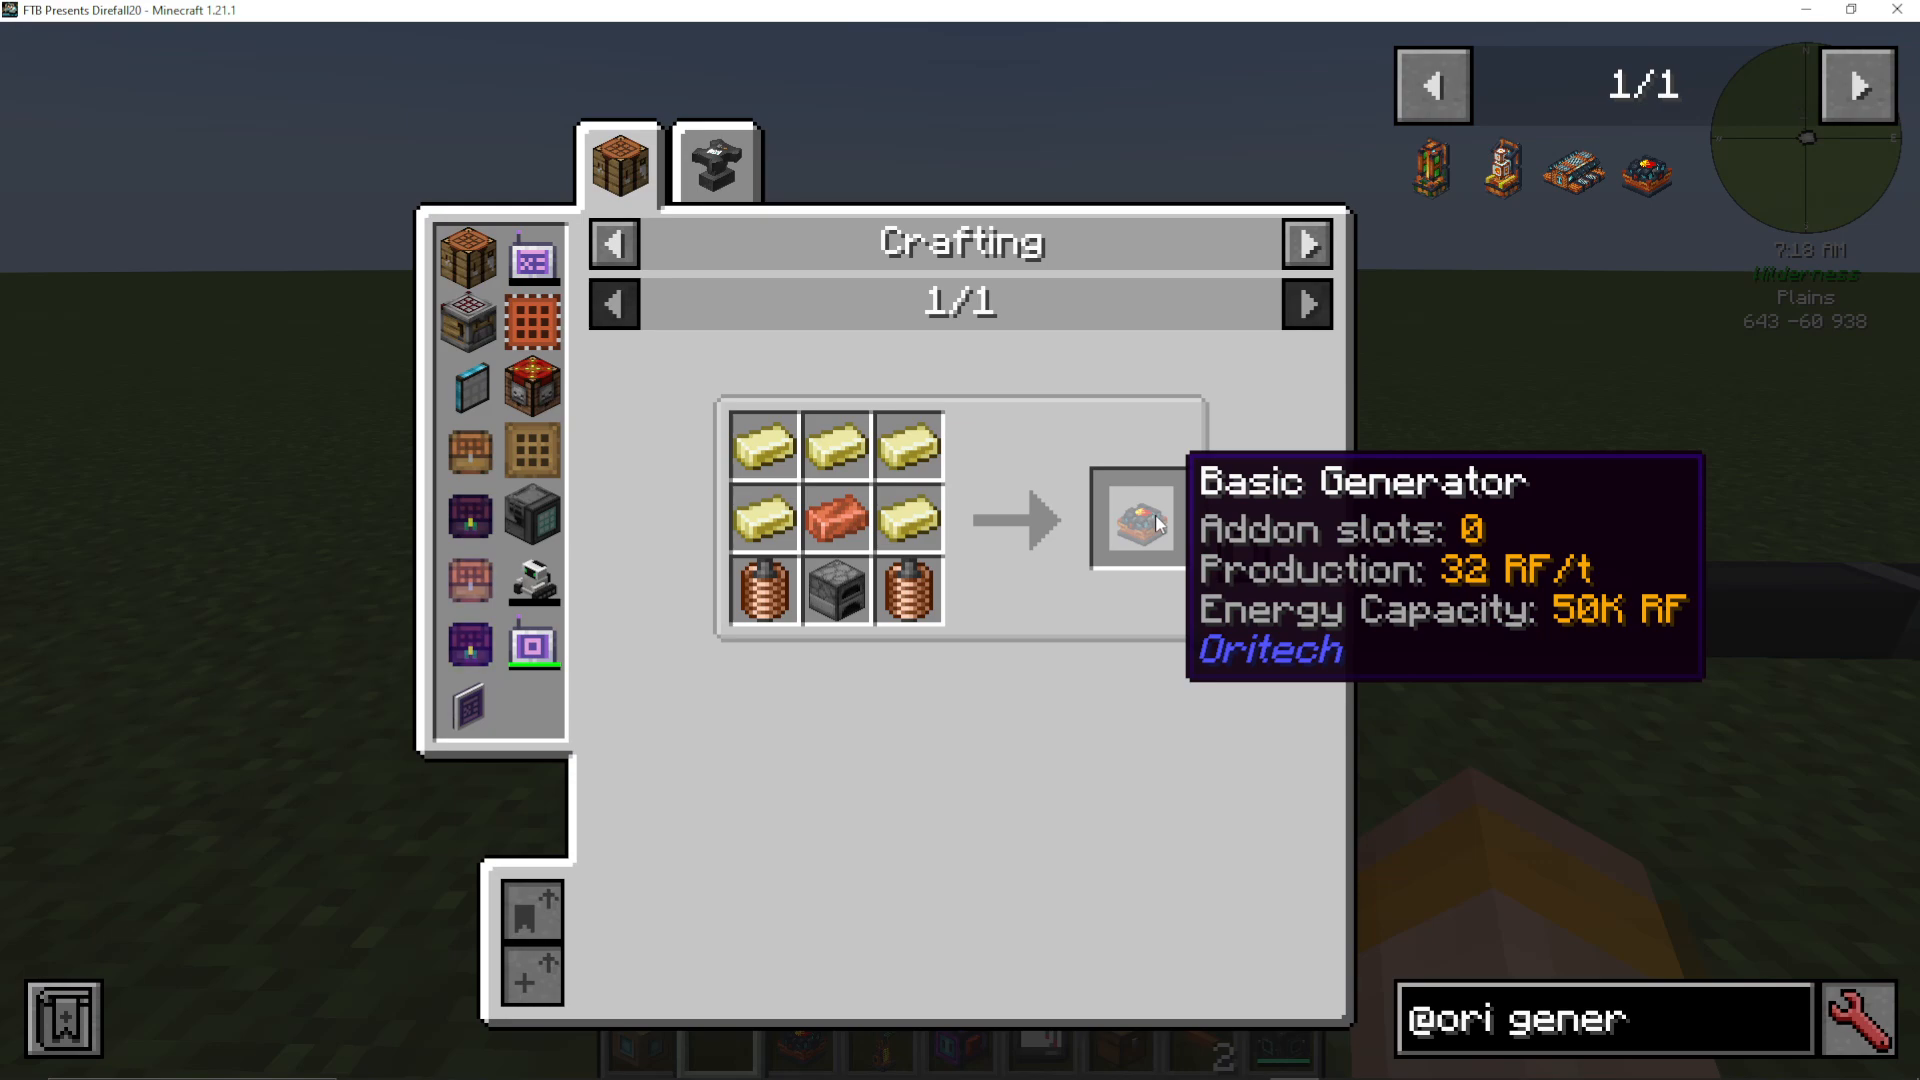
The Basic Generator is your entry point to power generation in AureTech. Here’s what you need:
Nickel ingots
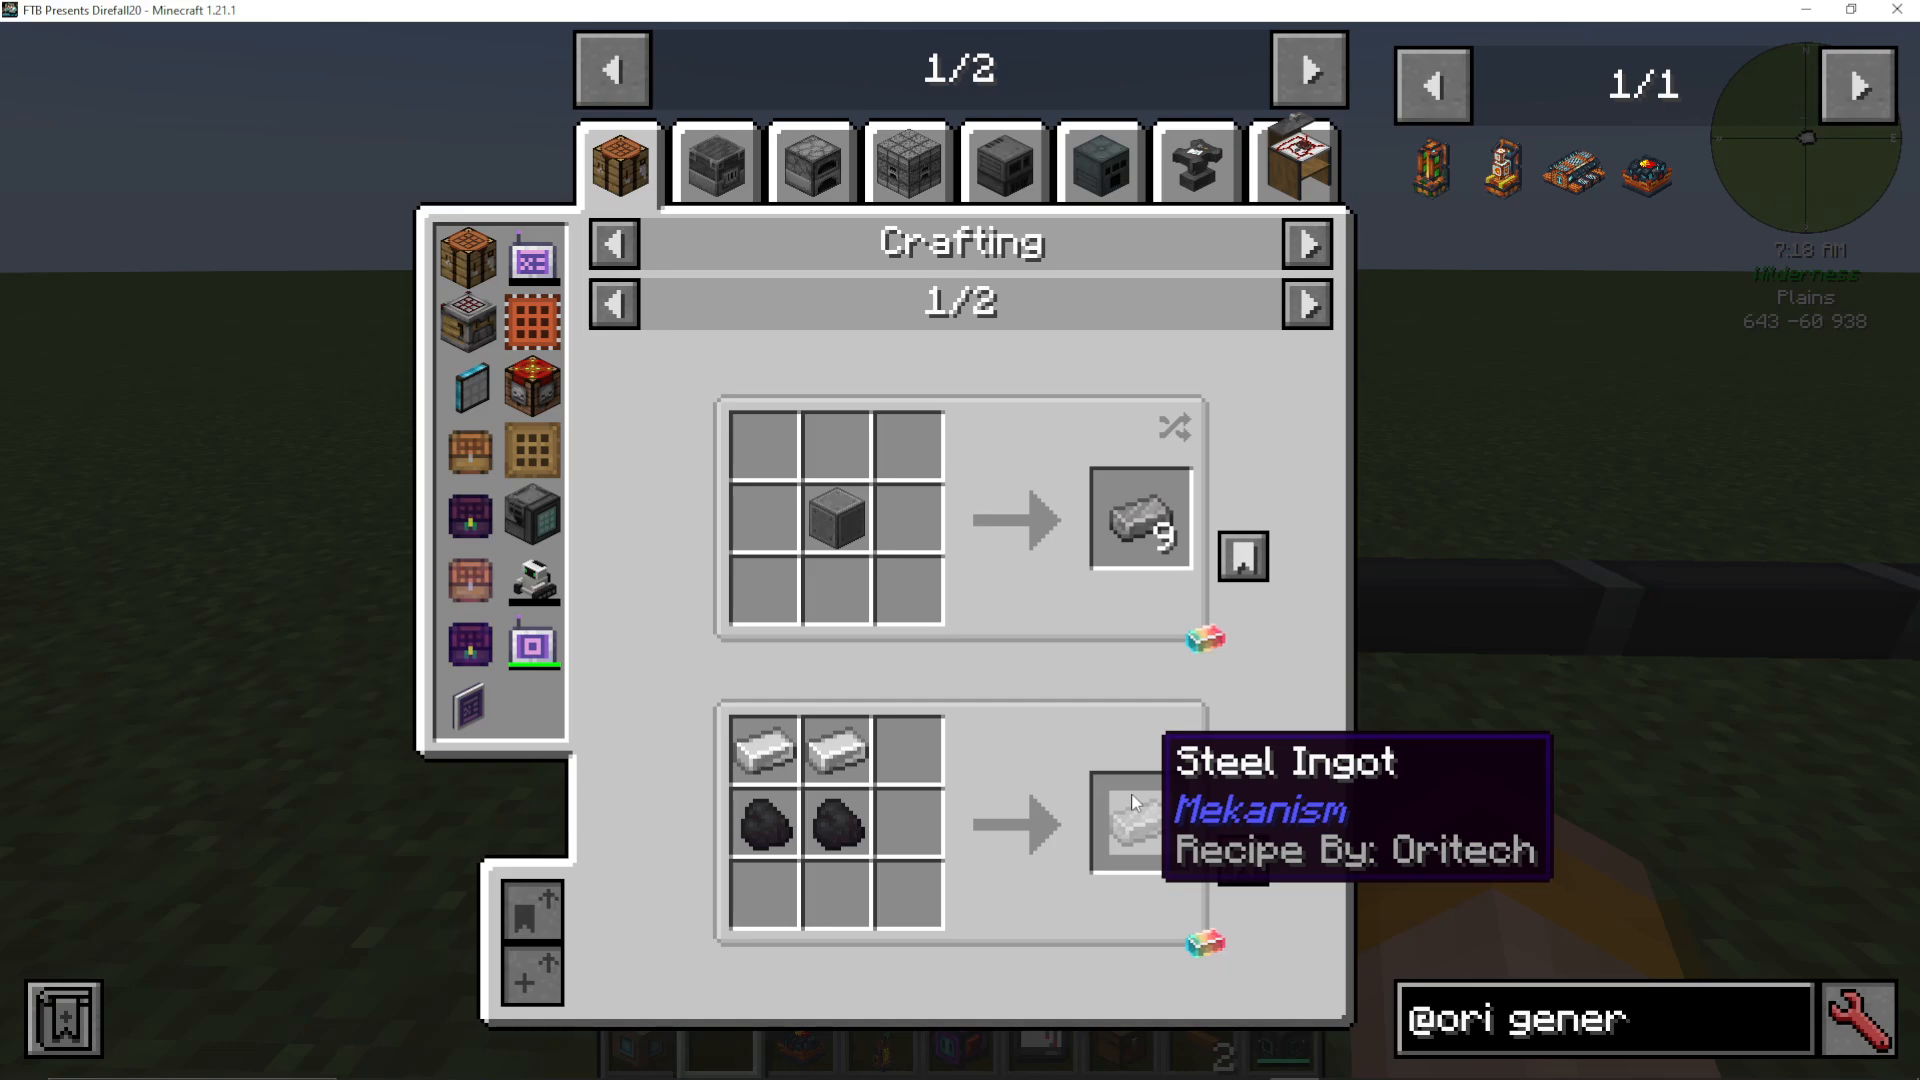
Magnetic coils (made from fine wire and steel)
Fine wire (3 nickel ingots → 4 fine wire)
Steel (2 iron + 2 coal in a crafting table)
Generator Specifications
When you examine the Basic Generator (hold Control for more info), you’ll see:
Power output: 32 RF per tick
Energy capacity: 50,000 RF
Add-on slots: None allowed
Powering Your Generator
Once placed, simply insert coal blocks into the generator. You’ll immediately see the power level rising as the machine generates energy.
Energy Pipes and Power Distribution
To transfer power from your Basic Generator to other machines, you’ll need Energy Pipes.
Energy Pipe Recipe
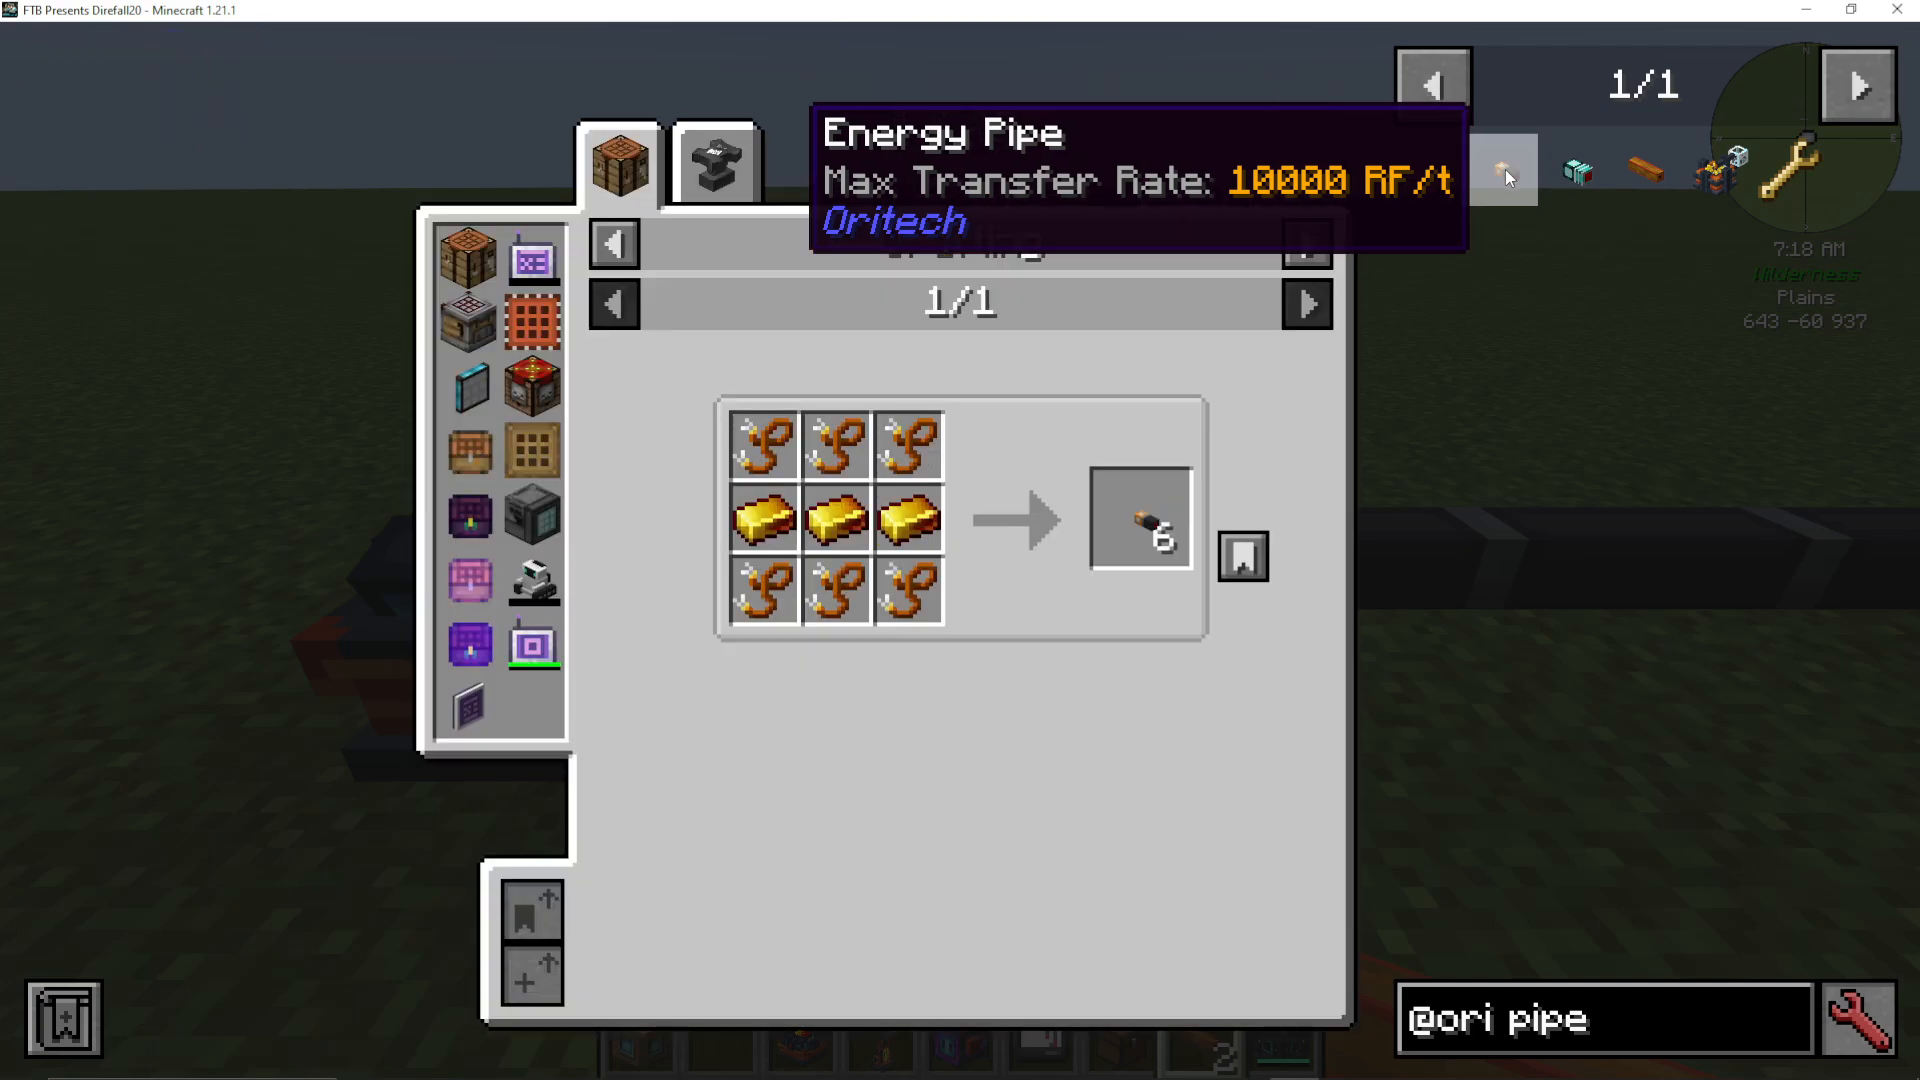
An Energy Pipe requires:
Electromagnets (2 gold + 2 redstone)
Fine wire
Installation
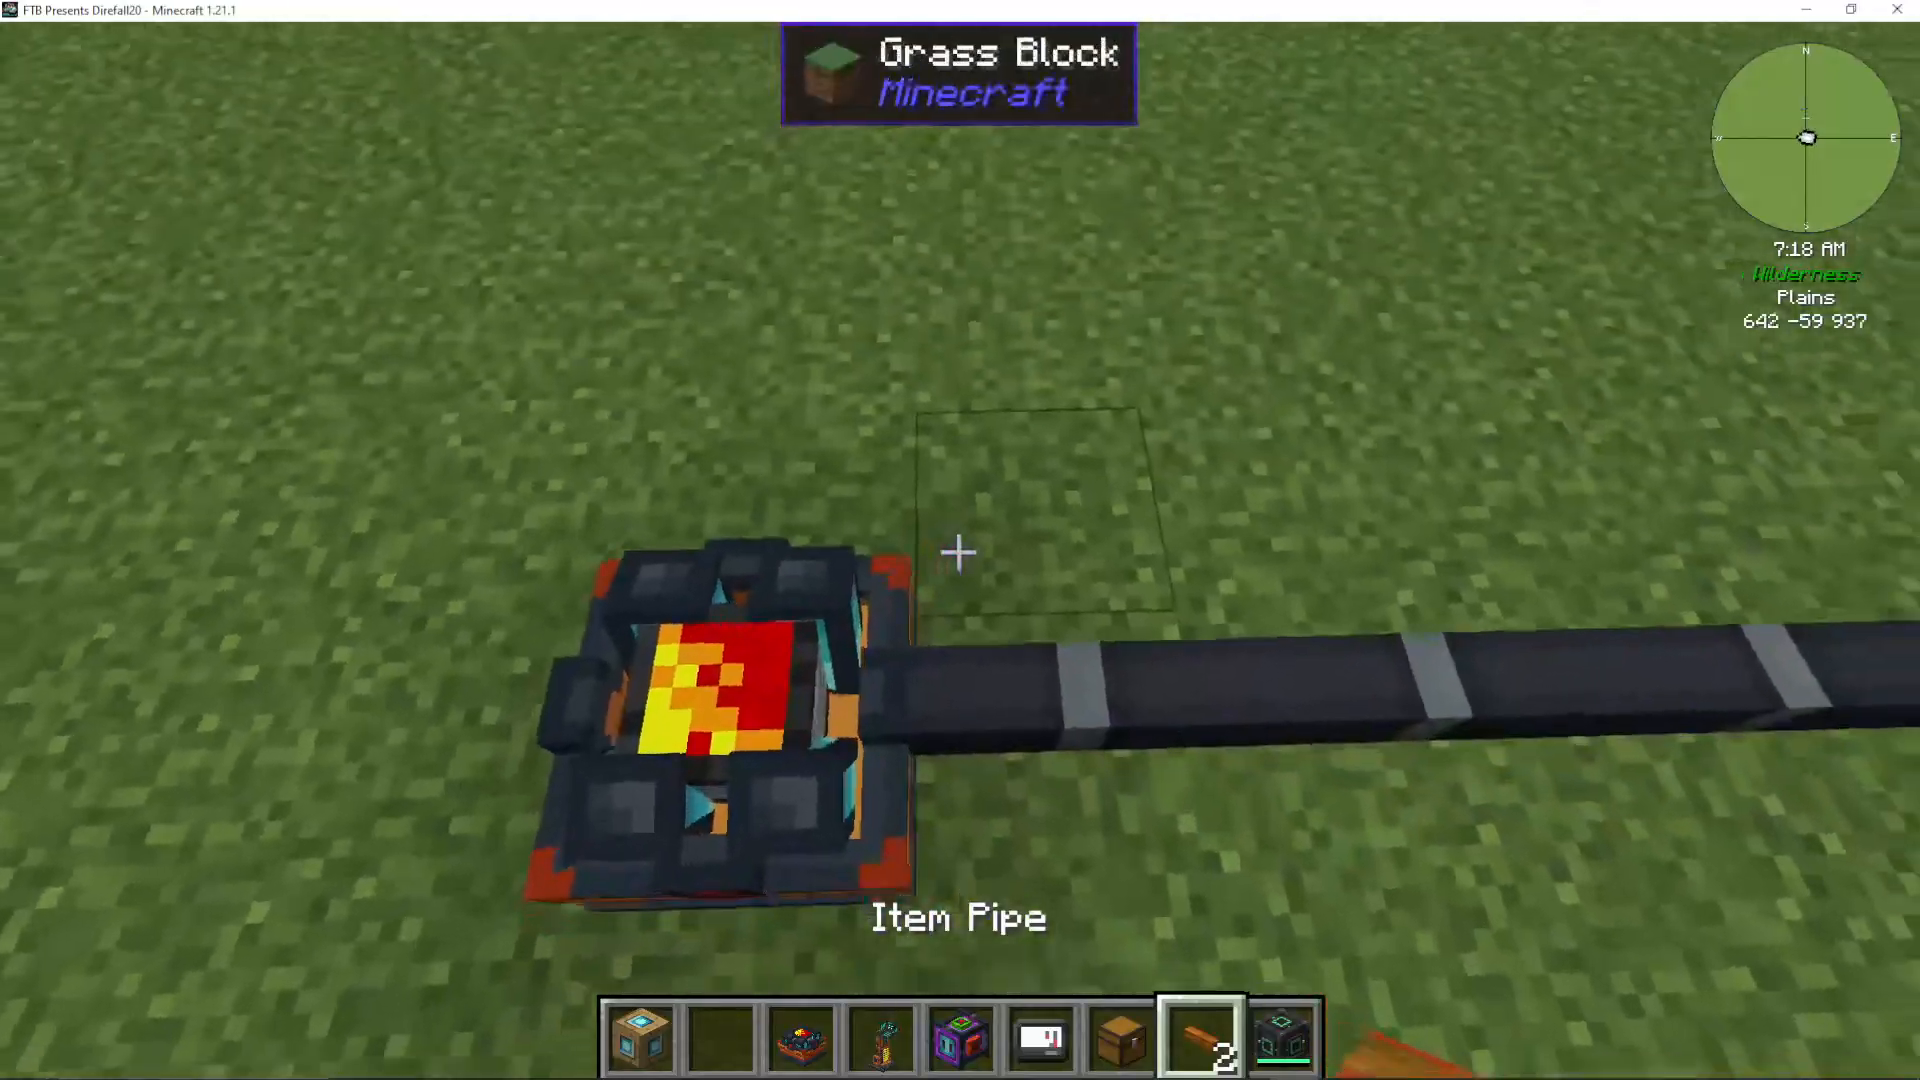
Energy pipes are simple to use. Simply attach them to any side of your Basic Generator and connect them to another machine (like an Assembler). The pipes will automatically transfer power from the generator to the target machine.
The Assembler
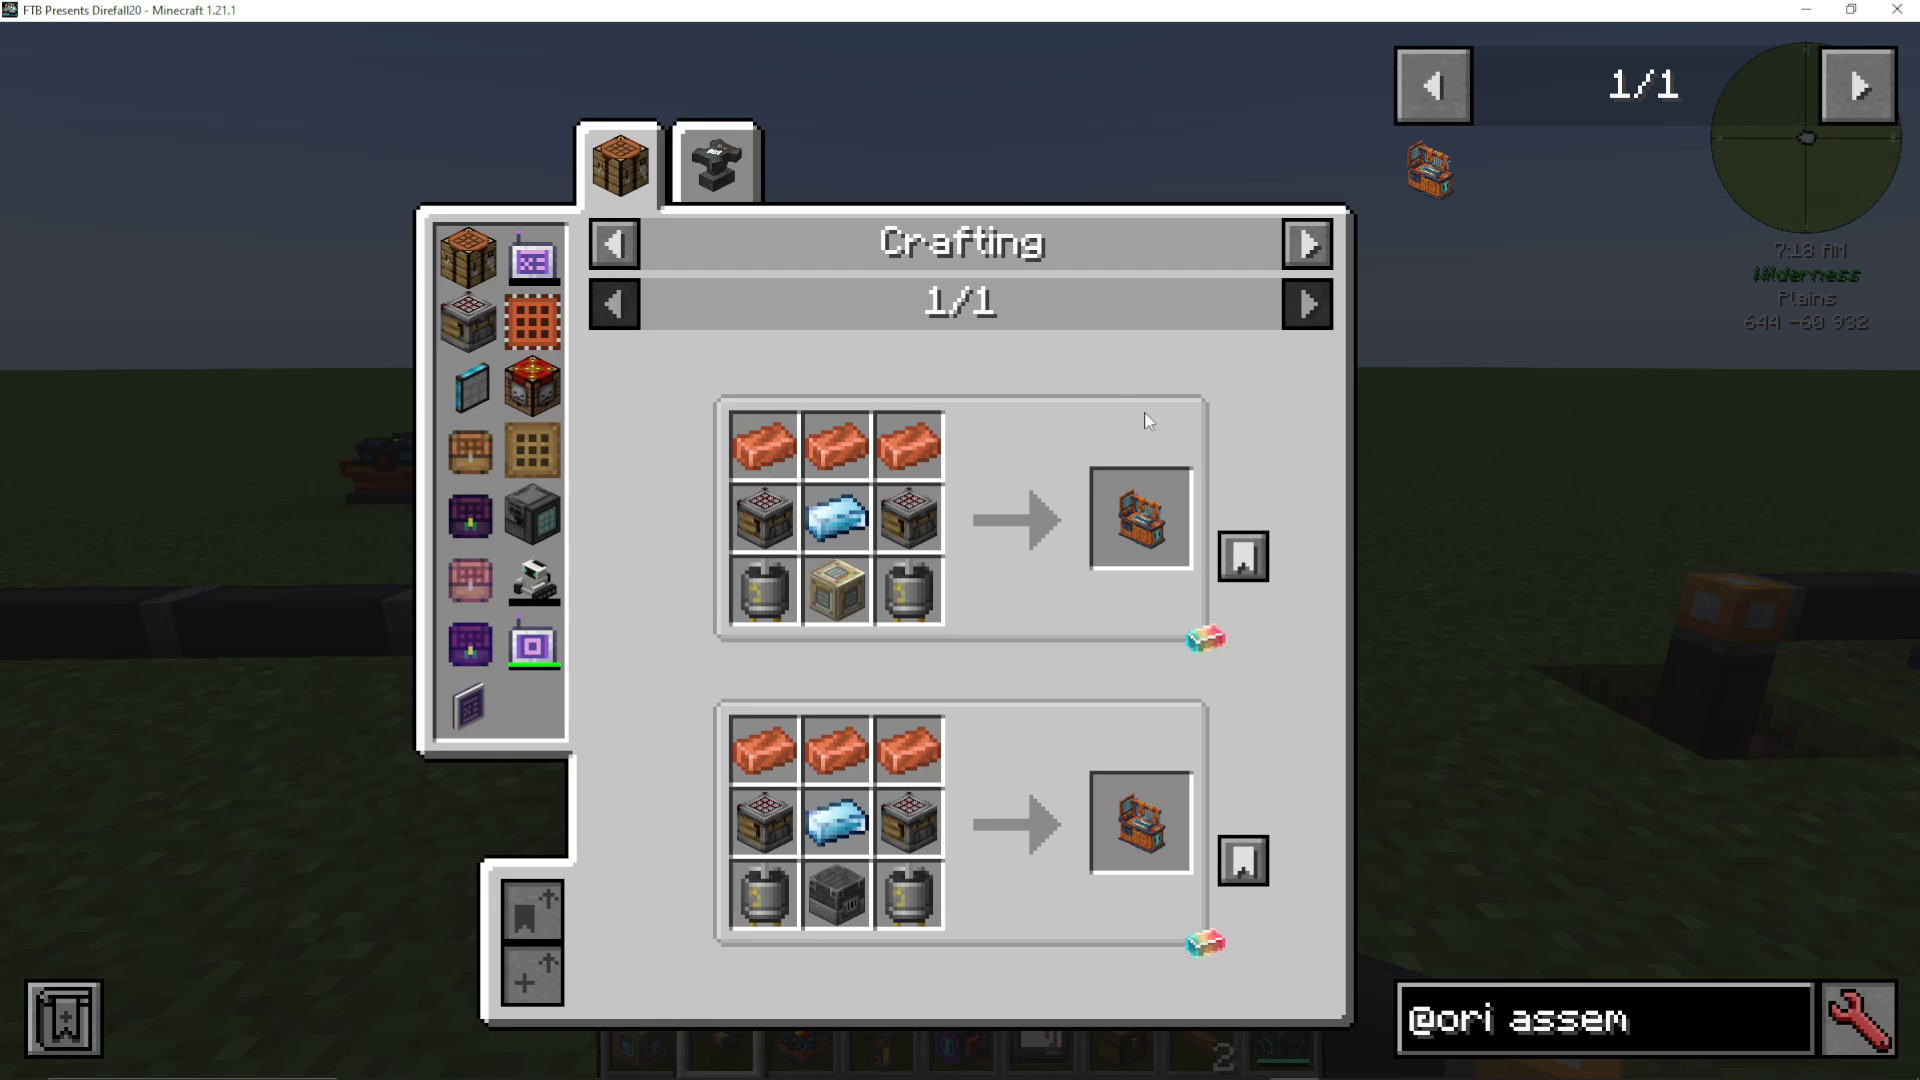
Crafting the Assembler
The Assembler is one of the most versatile machines in AureTech. To craft one, you’ll need:
Adamant ingot (made from 2 nickel + 2 diamonds)
Motors (steel + magnetic coils)
Reinforced plating
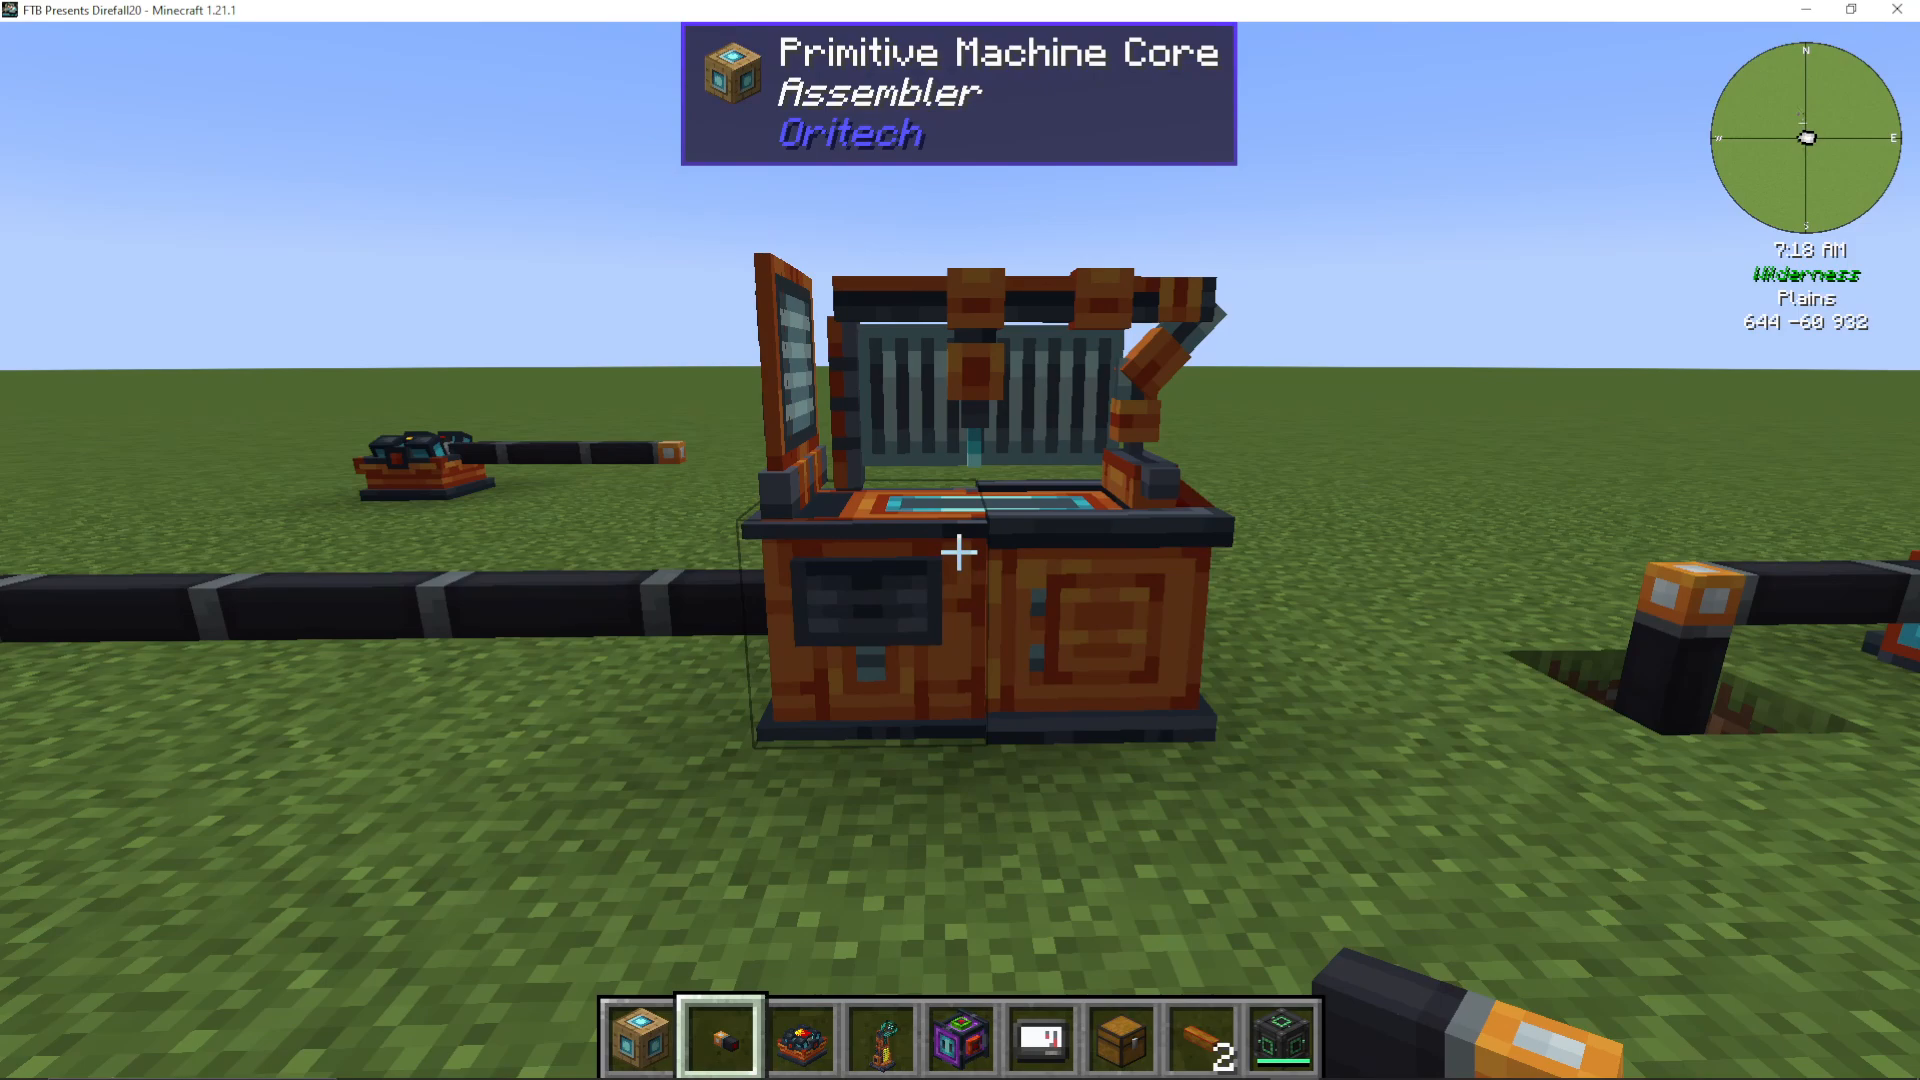
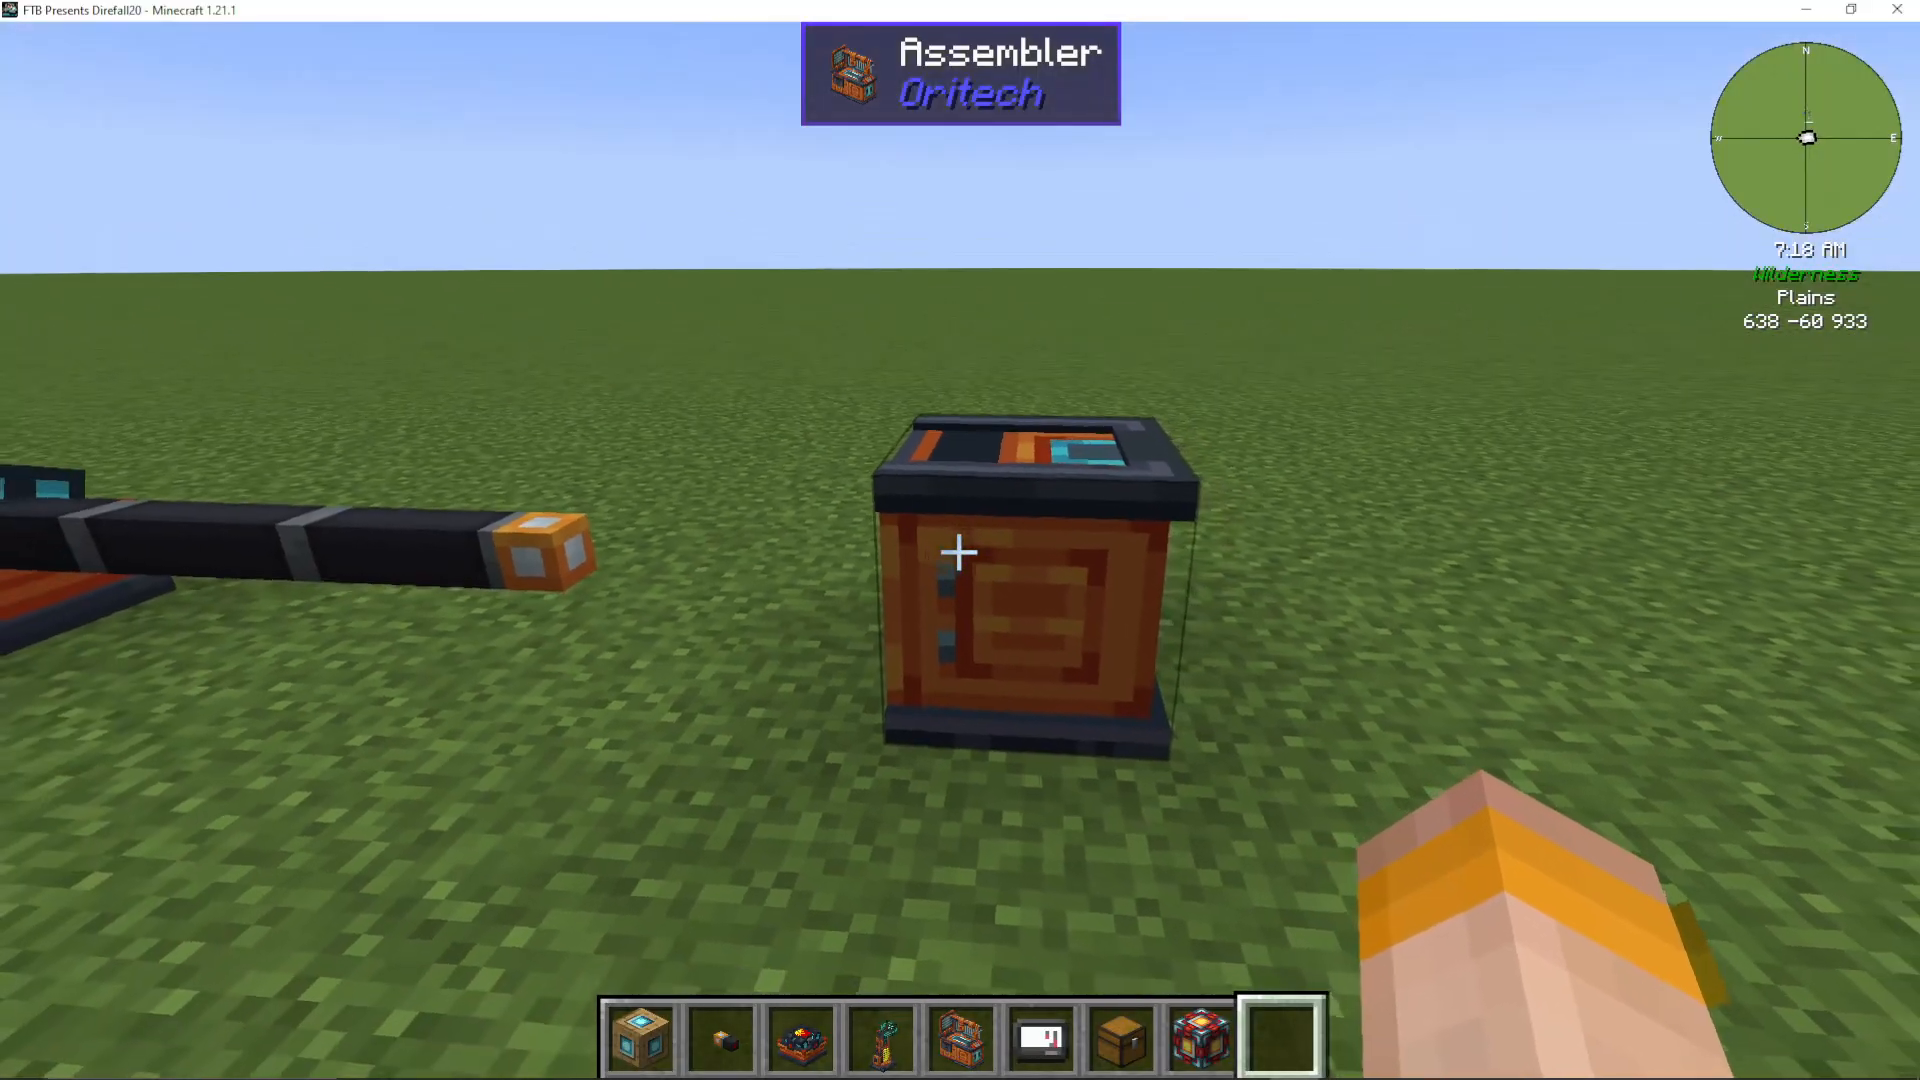
Placing the Assembler
When you place an Assembler, only one block appears initially. This is normal—the machine is incomplete until you add machine cores.
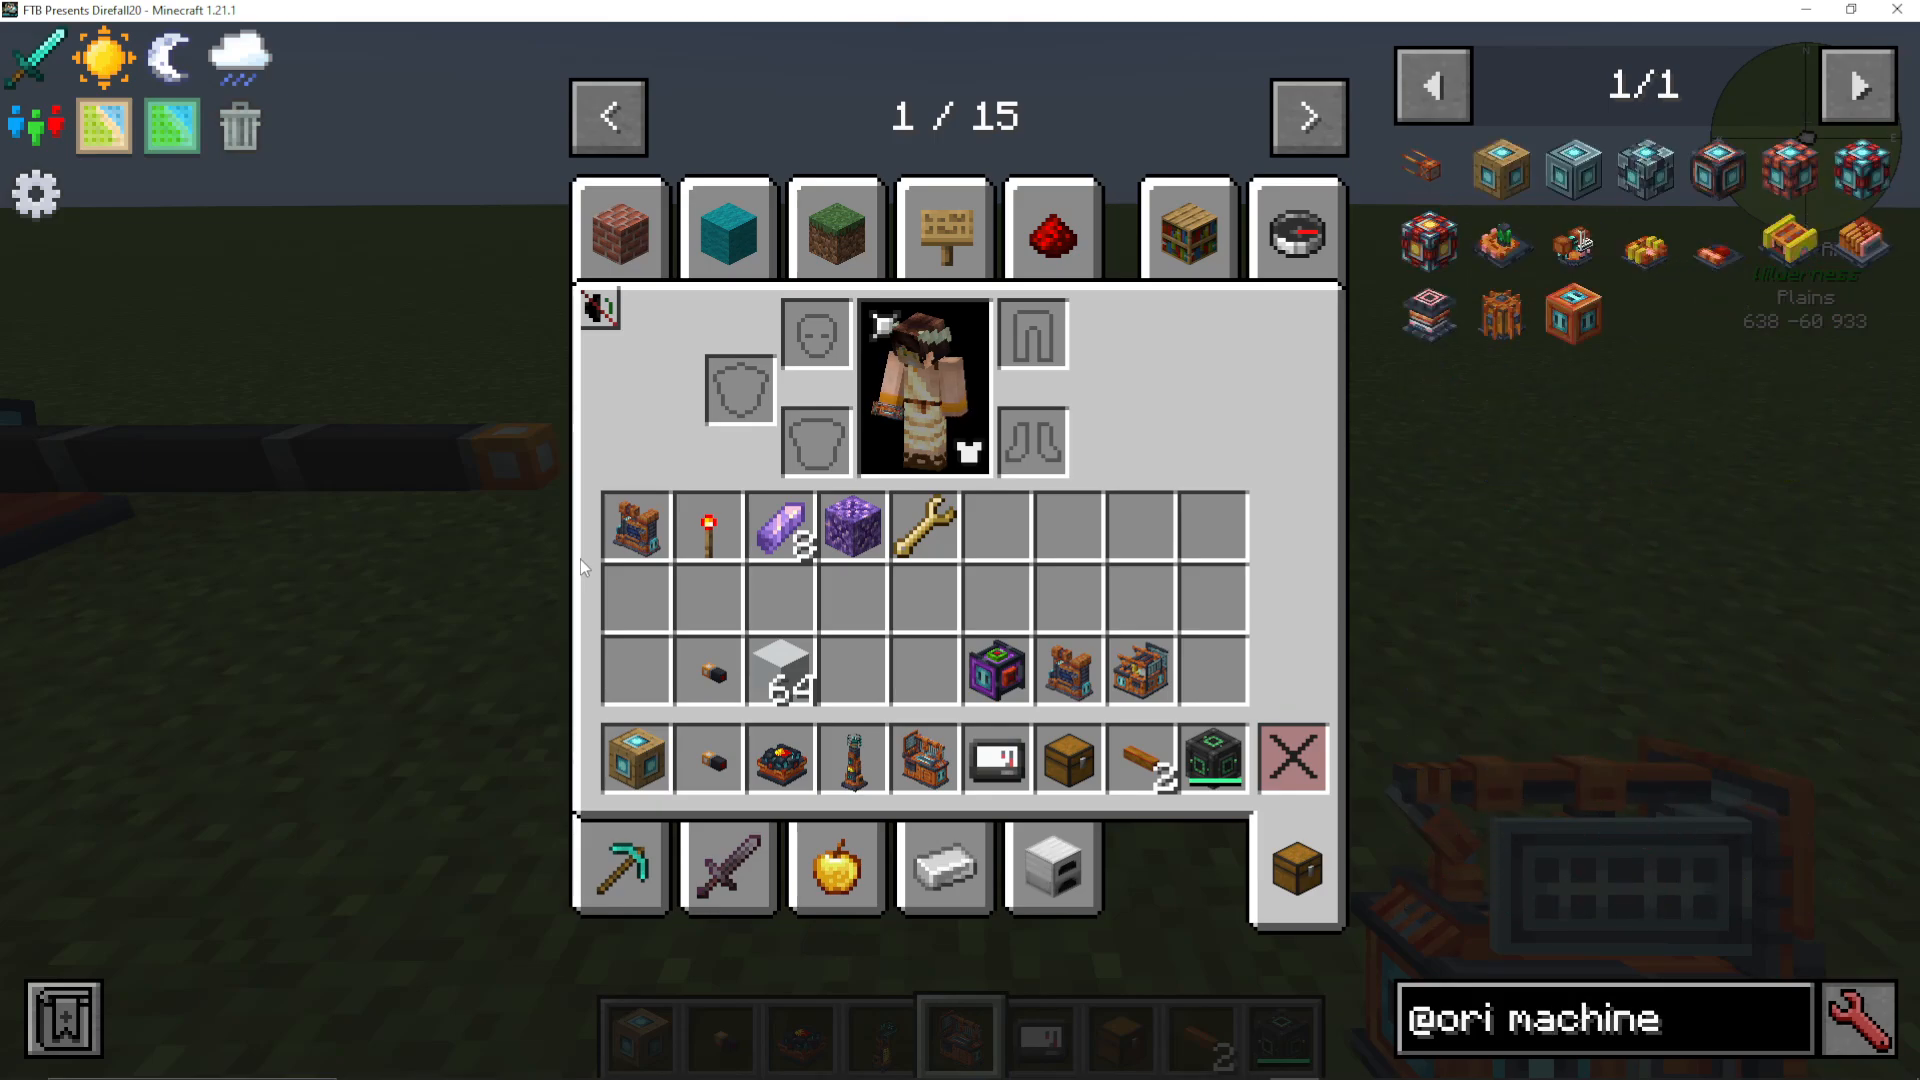
Machine Cores and Quality Levels
Machine cores determine the quality level of your Assembler, which controls how many layers of machine add-ons you can attach. Available cores include:
Primitive (easiest to make)
Basic
Improved (requires carbon fiber strands and nickel)
Advanced
Elite
Ultra
Ultimate (requires superconductors and rare materials)
If you don’t plan to use add-ons, a Primitive core is sufficient. An Ultimate core allows for maximum add-on capability.
Completing the Assembly
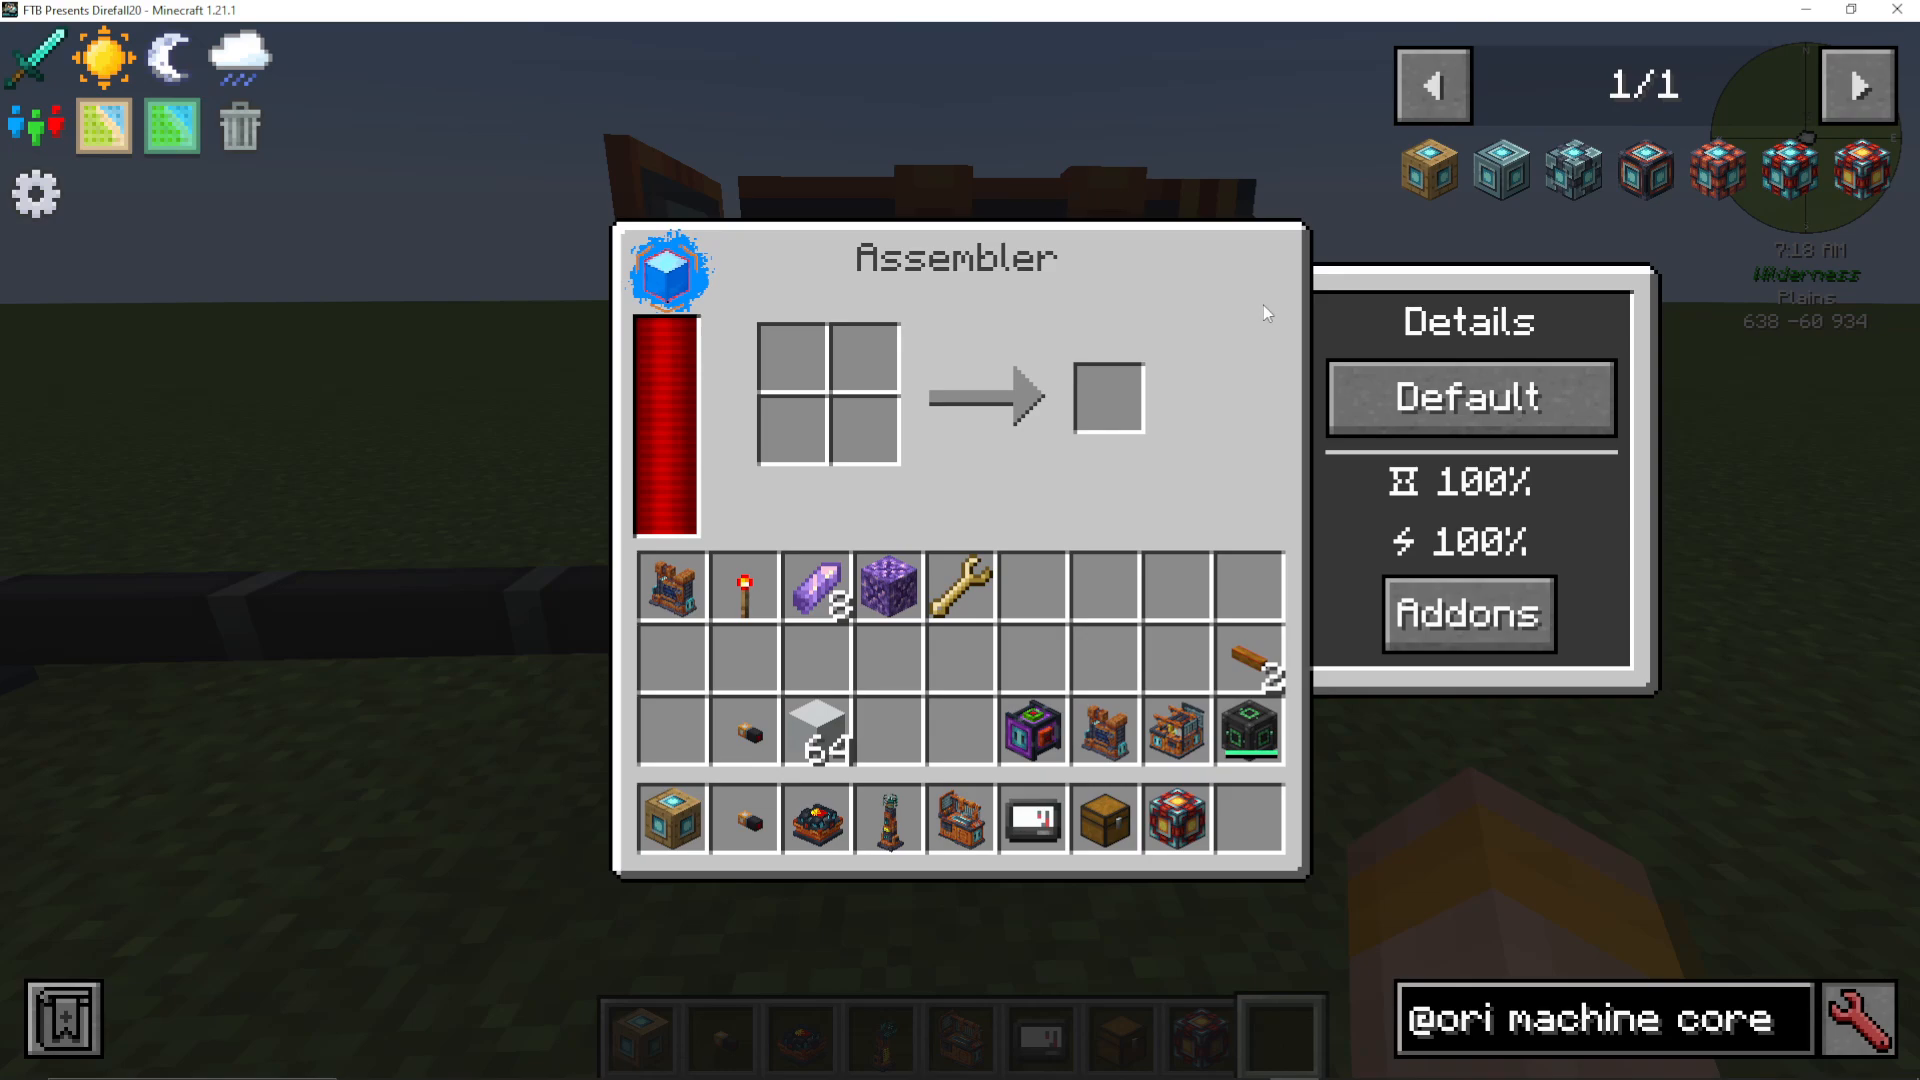
Right-click the Assembler with an empty hand to see where missing core blocks are needed. You’ll see three locations marked. You can either place the cores manually or right-click the Assembler three times to automatically place them.
Assembler Settings
Once built, you can configure how items are handled:
Default Fill: Fills slots from left to right
Evenly: Distributes items evenly across matching slots
Match Recipe: Always puts new items into the lowest matching slot
Balanced: Inserts items balanced according to matching recipes
Assembler Recipes
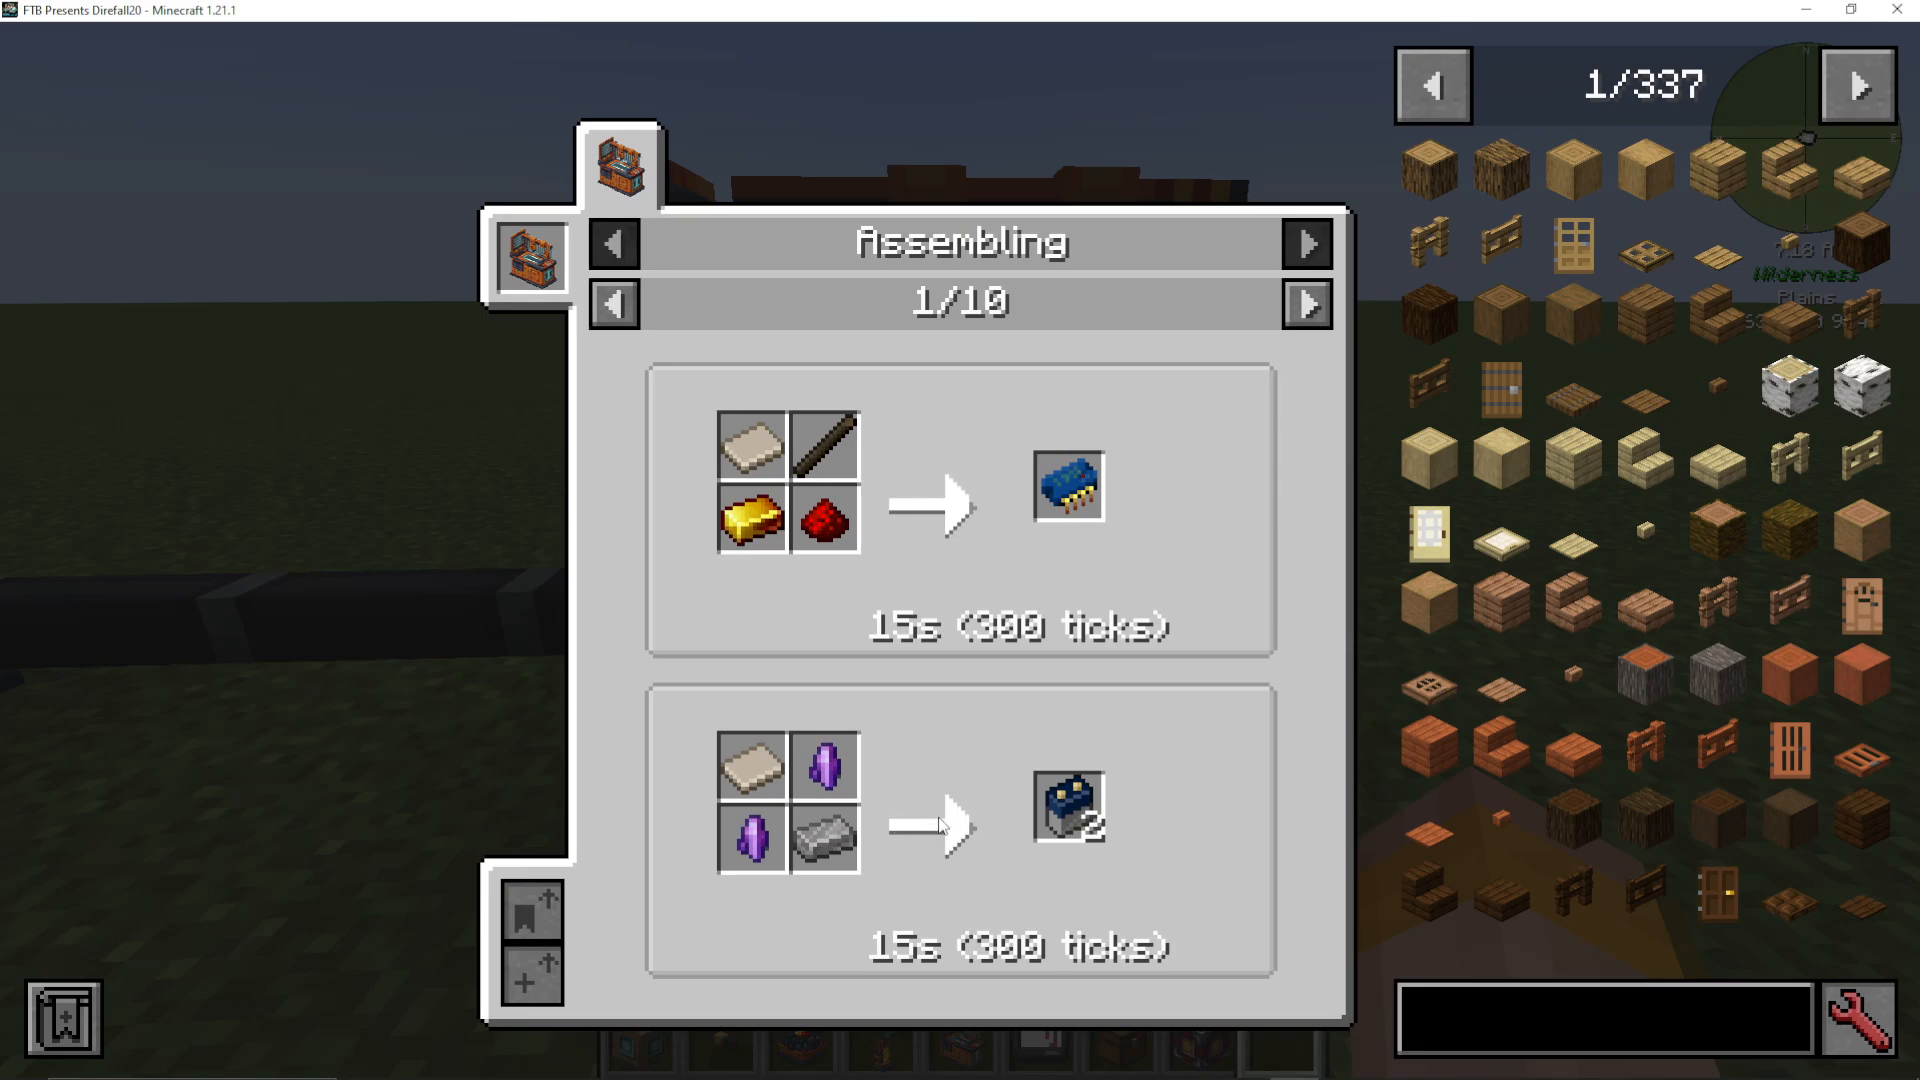
The Assembler can craft many items, including:
Processing units
Basic batteries
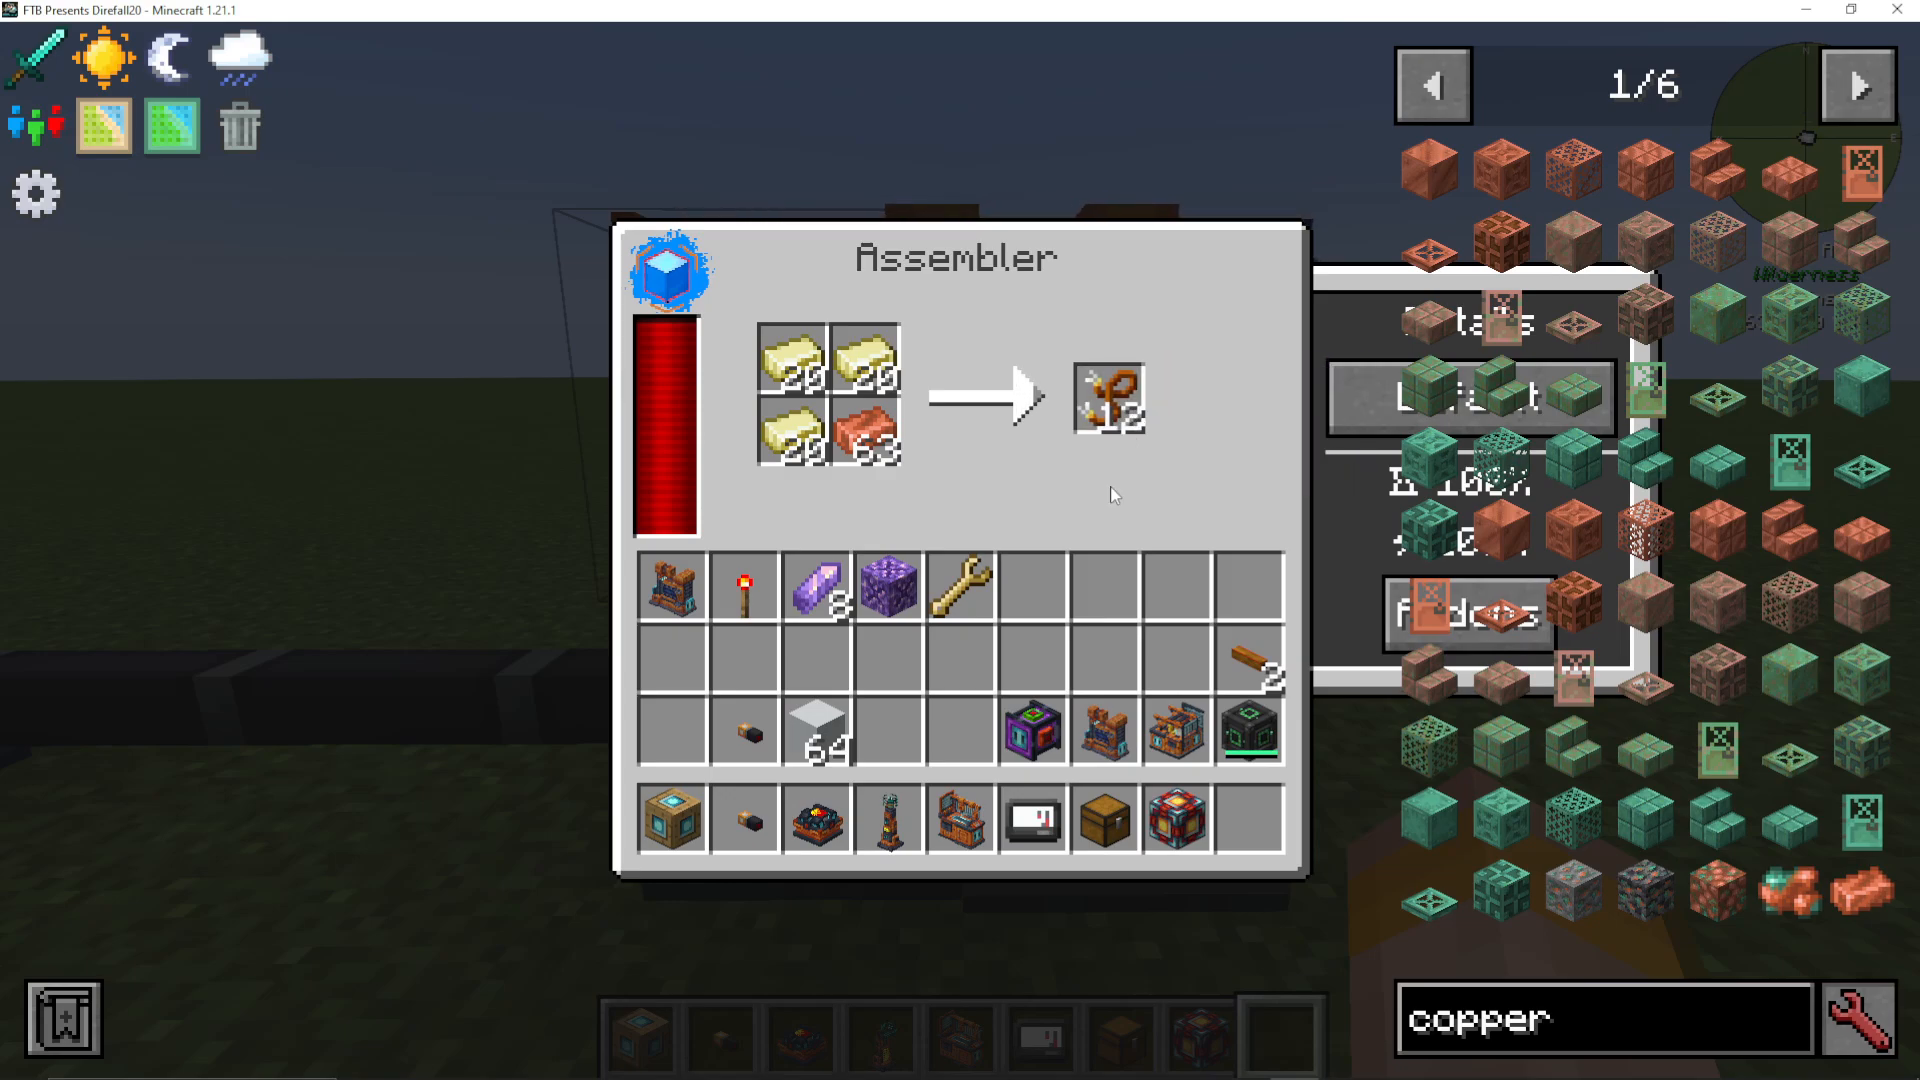
Fine wire (3 nickel + 1 copper → 12 fine wire, more efficient than crafting)
Magnetic coils
Motors
Vanilla Minecraft items like books
The Assembler makes crafting significantly more efficient than manual crafting methods.
The Powered Furnace
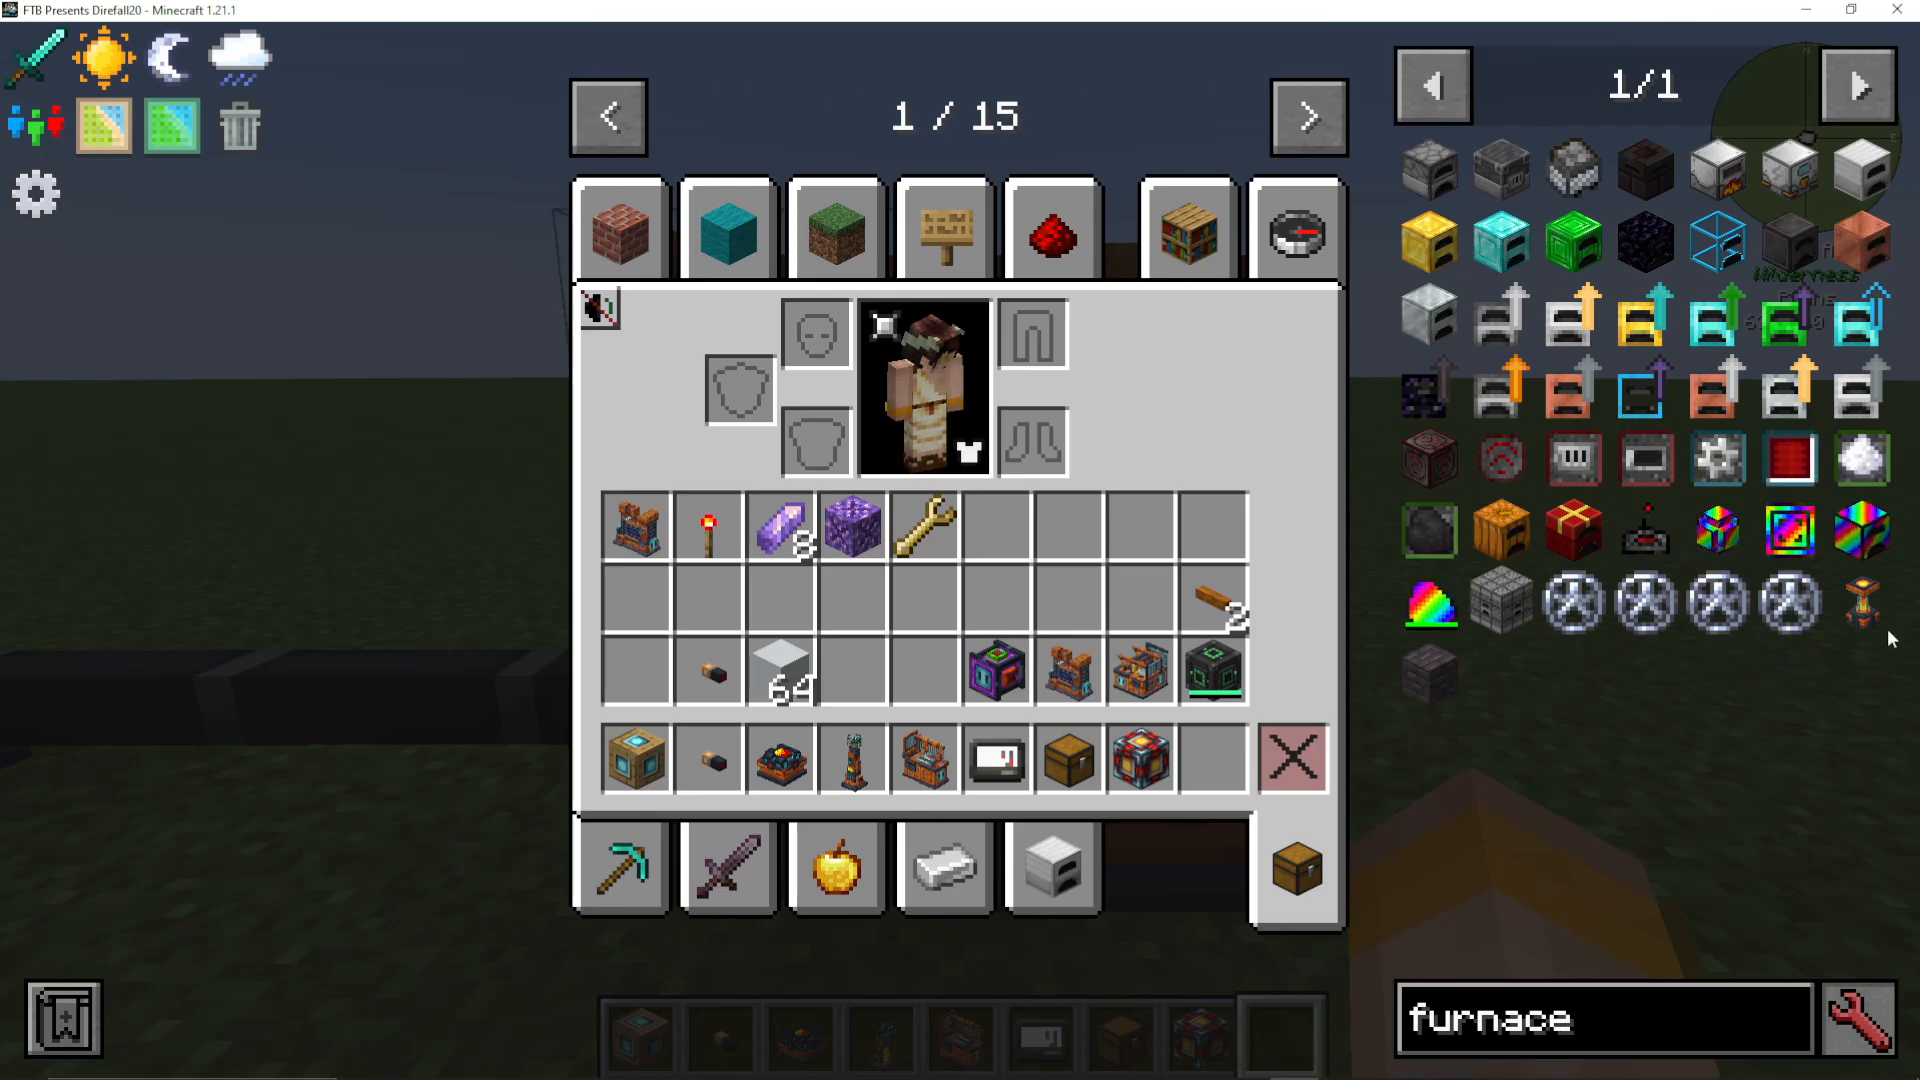
The Powered Furnace uses electrical energy instead of combustible fuel to smelt items.
Recipe
To make a Powered Furnace, you need:
Platinum ingots
Magnetic coils
Setup and Use
Place the Powered Furnace near your power source, attach energy pipes, add a machine core, right-click it, and right-click again to complete assembly. Instead of consuming coal, the furnace will use electrical power to smelt items like iron ore into iron ingots.
The Centrifuge
Crafting the Centrifuge
To make a Centrifuge, gather:
Blocks of iron
Motors
Glass bottles
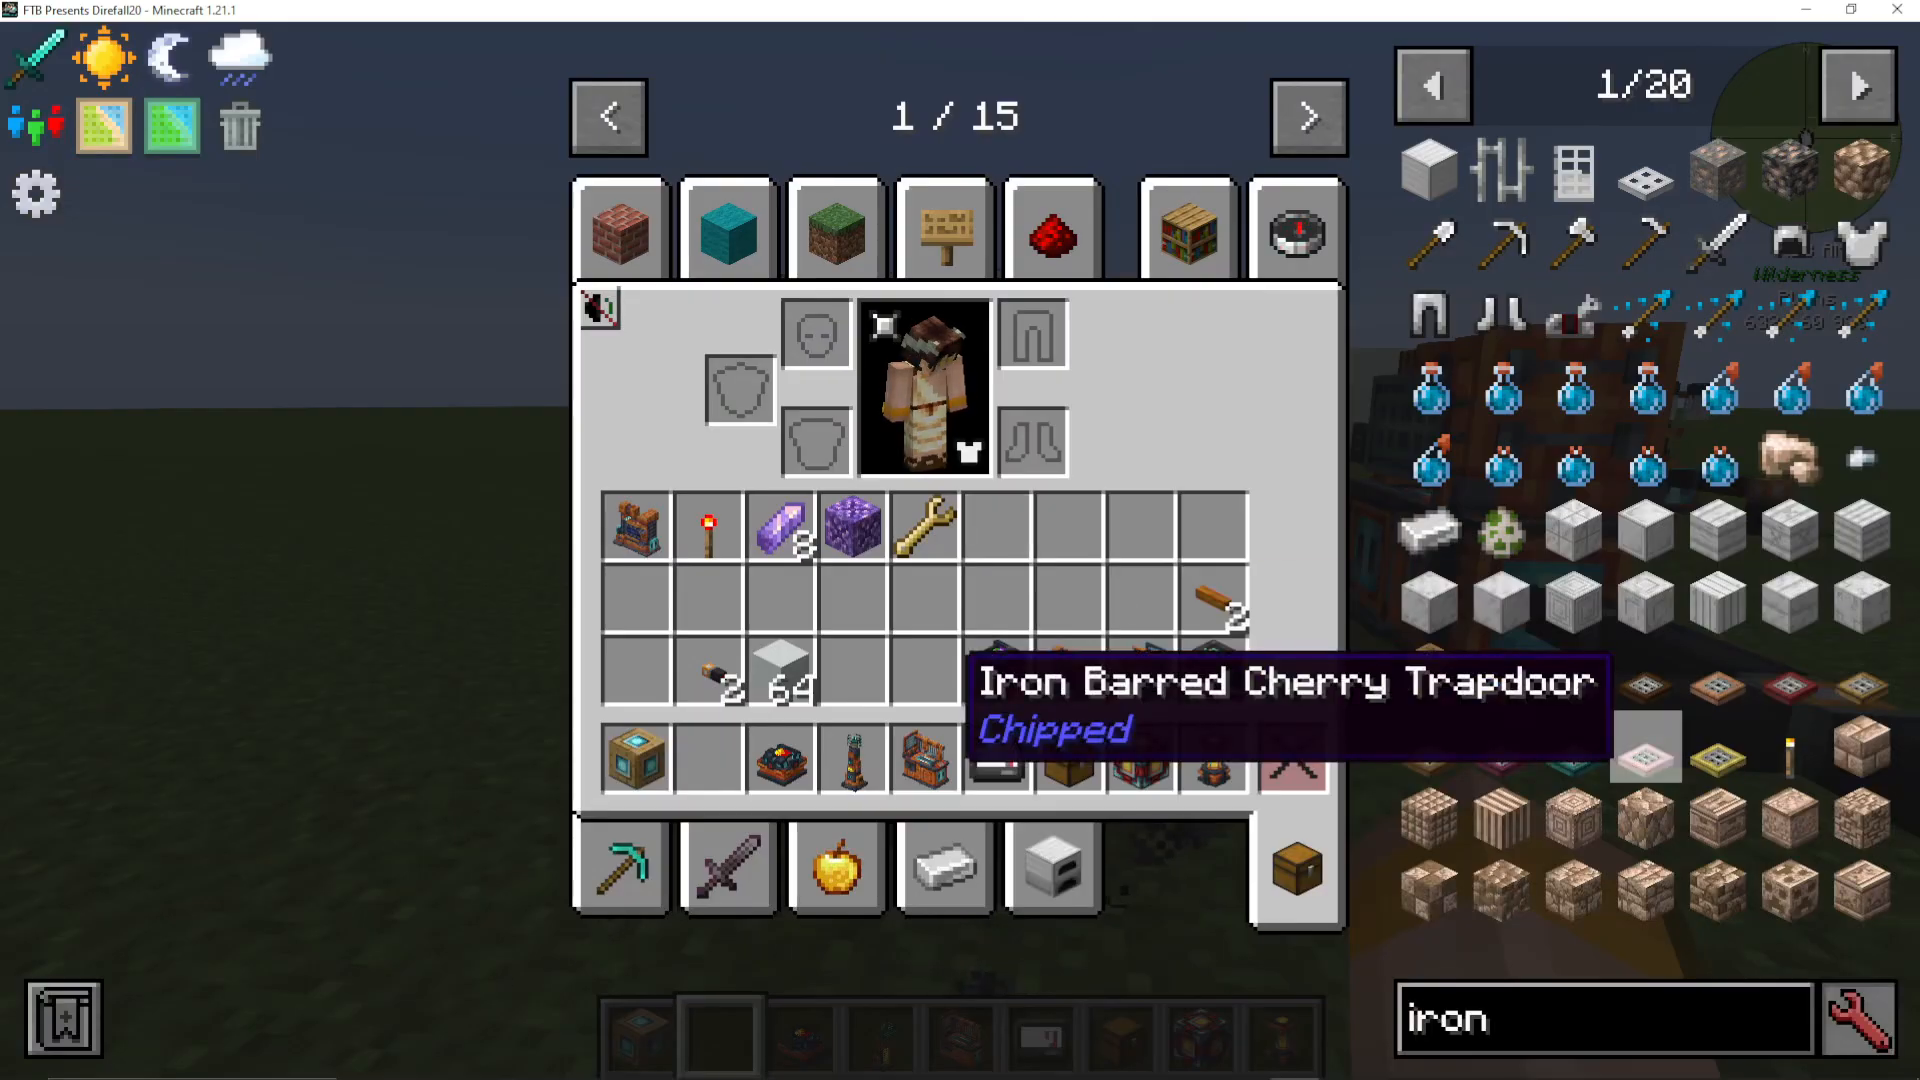
Assembly
Place the Centrifuge, add machine cores by right-clicking (it will show missing core blocks), and right-click again to complete assembly.
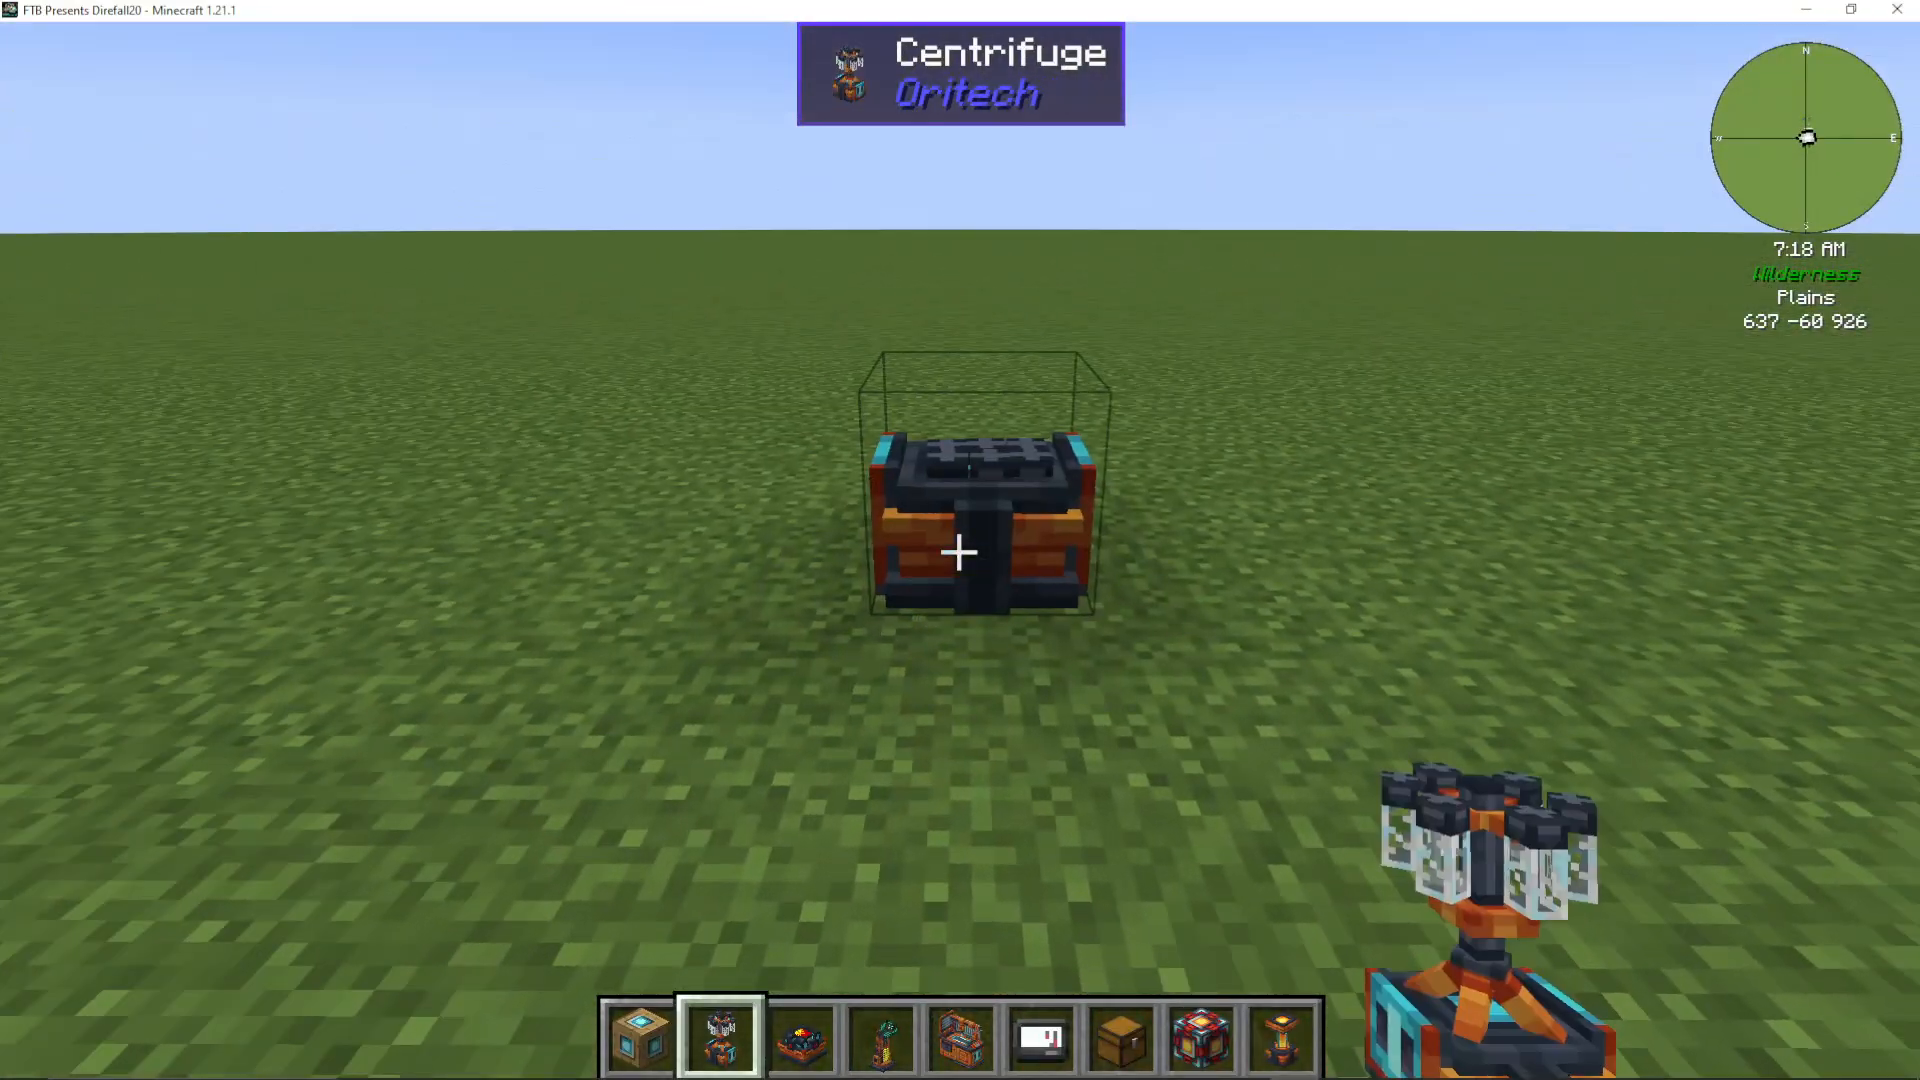
Centrifuge Functions
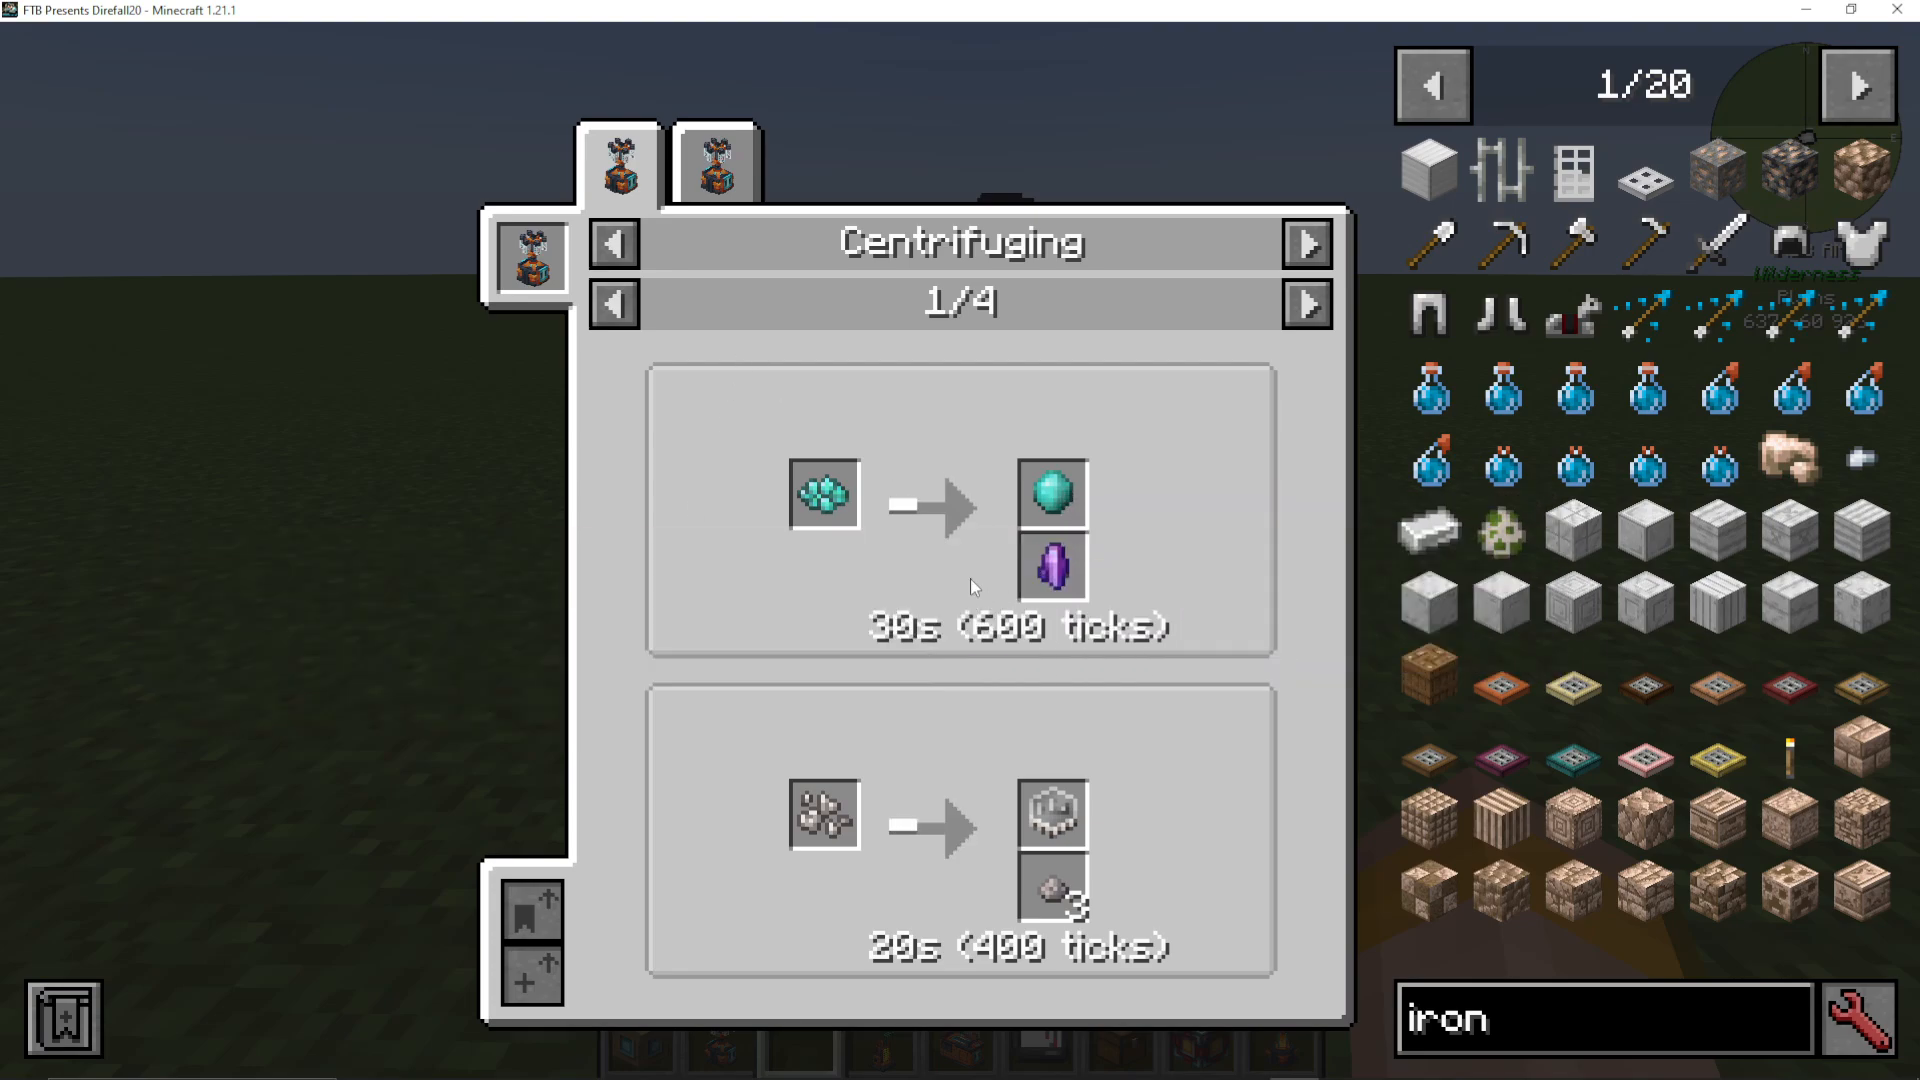
The Centrifuge performs item separation and fluid separation. For example:
Platinum clump → platinum gem + fluxite
Gold clump → gold gem + secondary materials
A key use is converting coal dust into carbon fiber strands (required for advanced recipes).
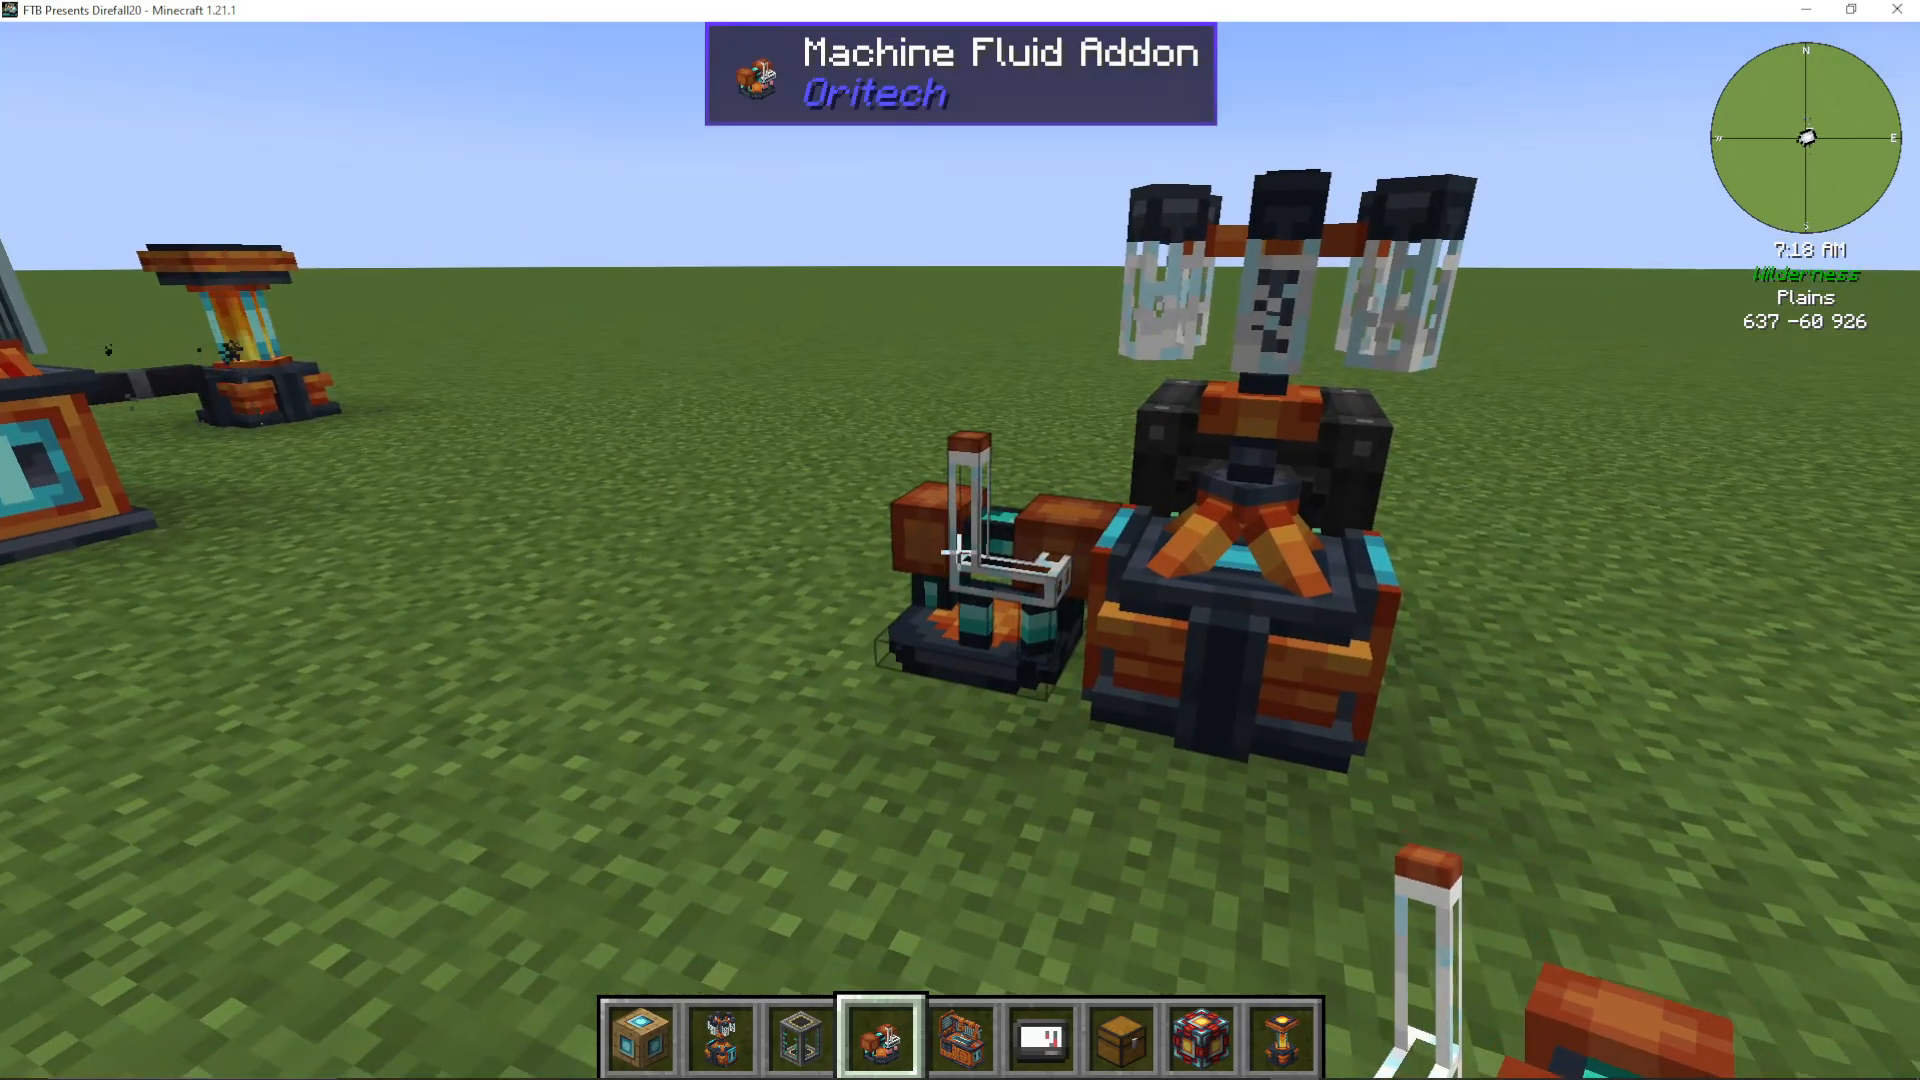
Fluid Separation with Add-ons
To perform fluid separation (e.g., water + dirt → clay), you need a Machine Fluid Add-on. This add-on requires:
Carbon fiber strands
Fluid pipes
Silicon
Place the Machine Fluid Add-on on one of the plug sockets on the Centrifuge’s sides. Then insert a water bucket into the water tank, and the Centrifuge can process fluid-based recipes.
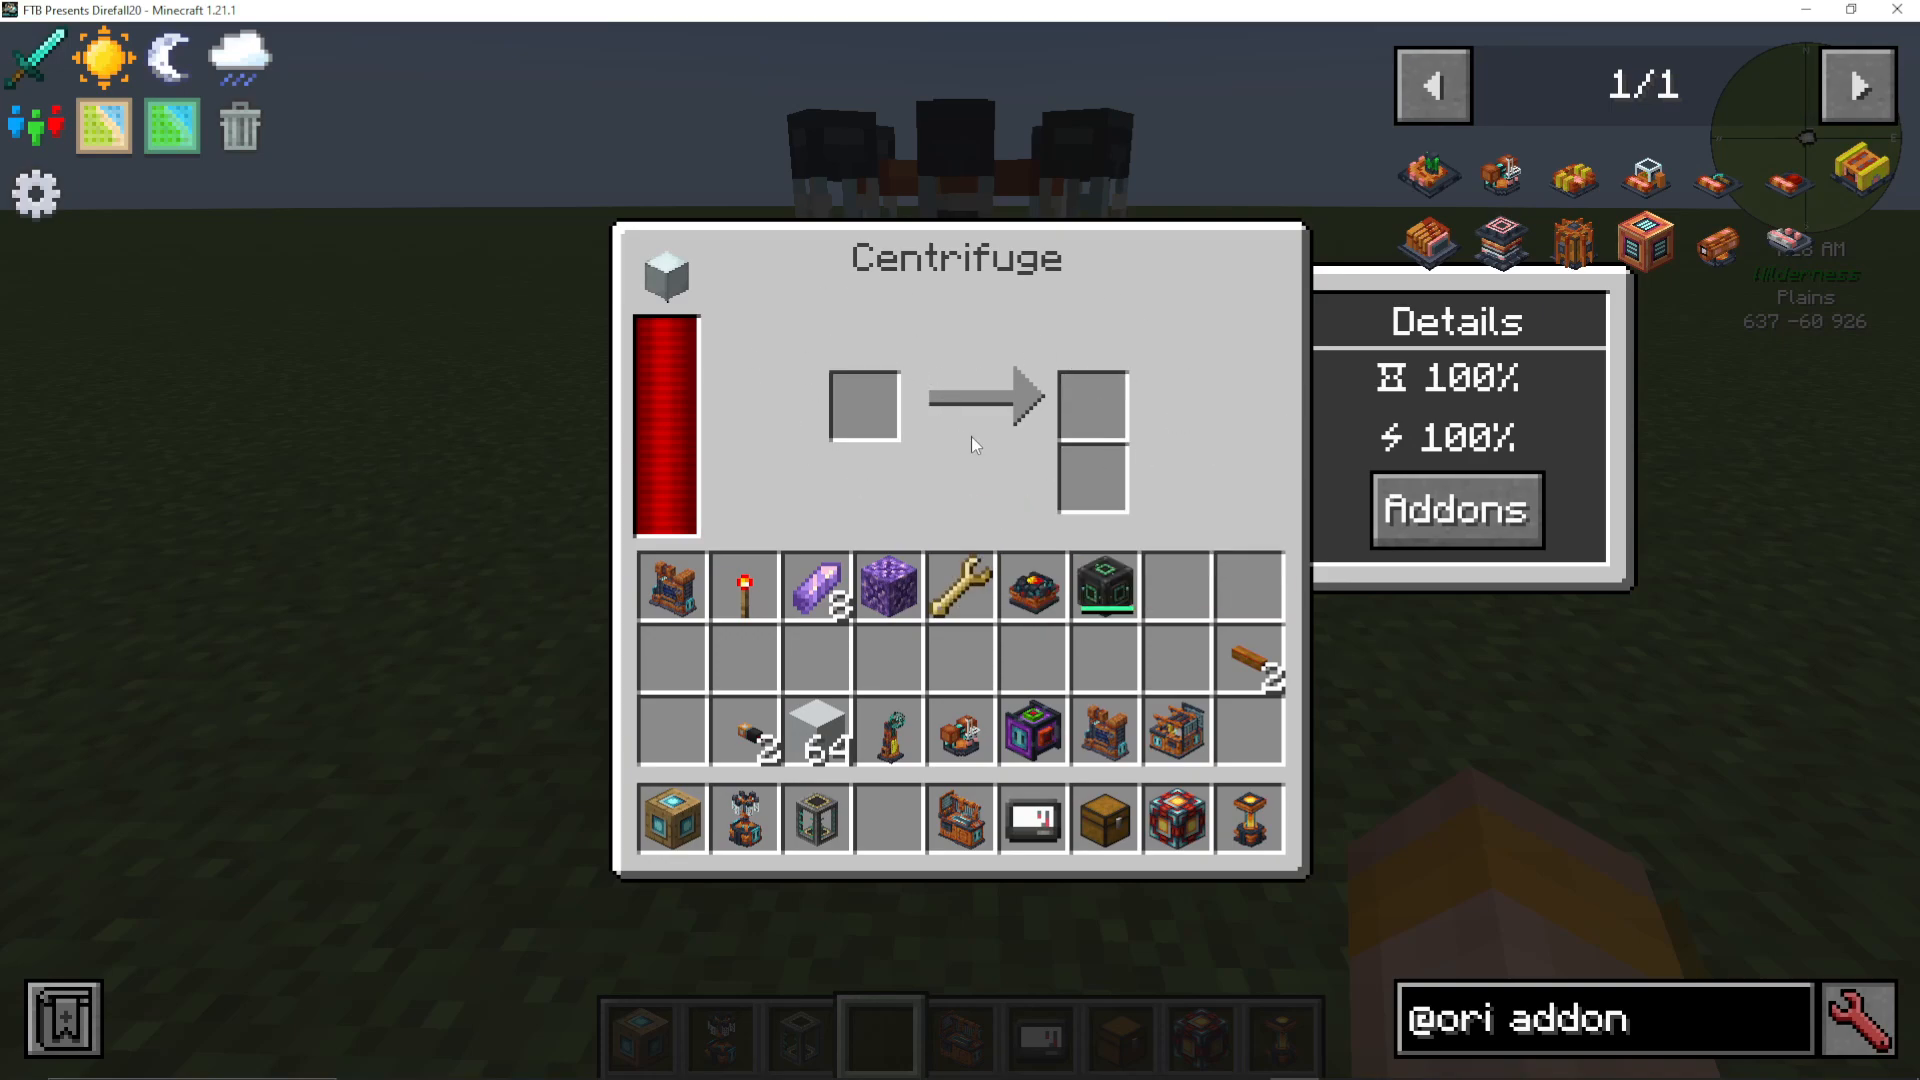
The Pulverizer
The Pulverizer breaks down items into dust and other materials. Common recipes include:
Nickel ore → 2 raw nickel
Glowstone → glowstone dust
Nether quartz → quartz dust
Adamant ingot → adamant dust
Iron ingot → iron dust
Coal → coal dust
4 wheat → packed wheat (for biomass)
Ender pearl → ender compound
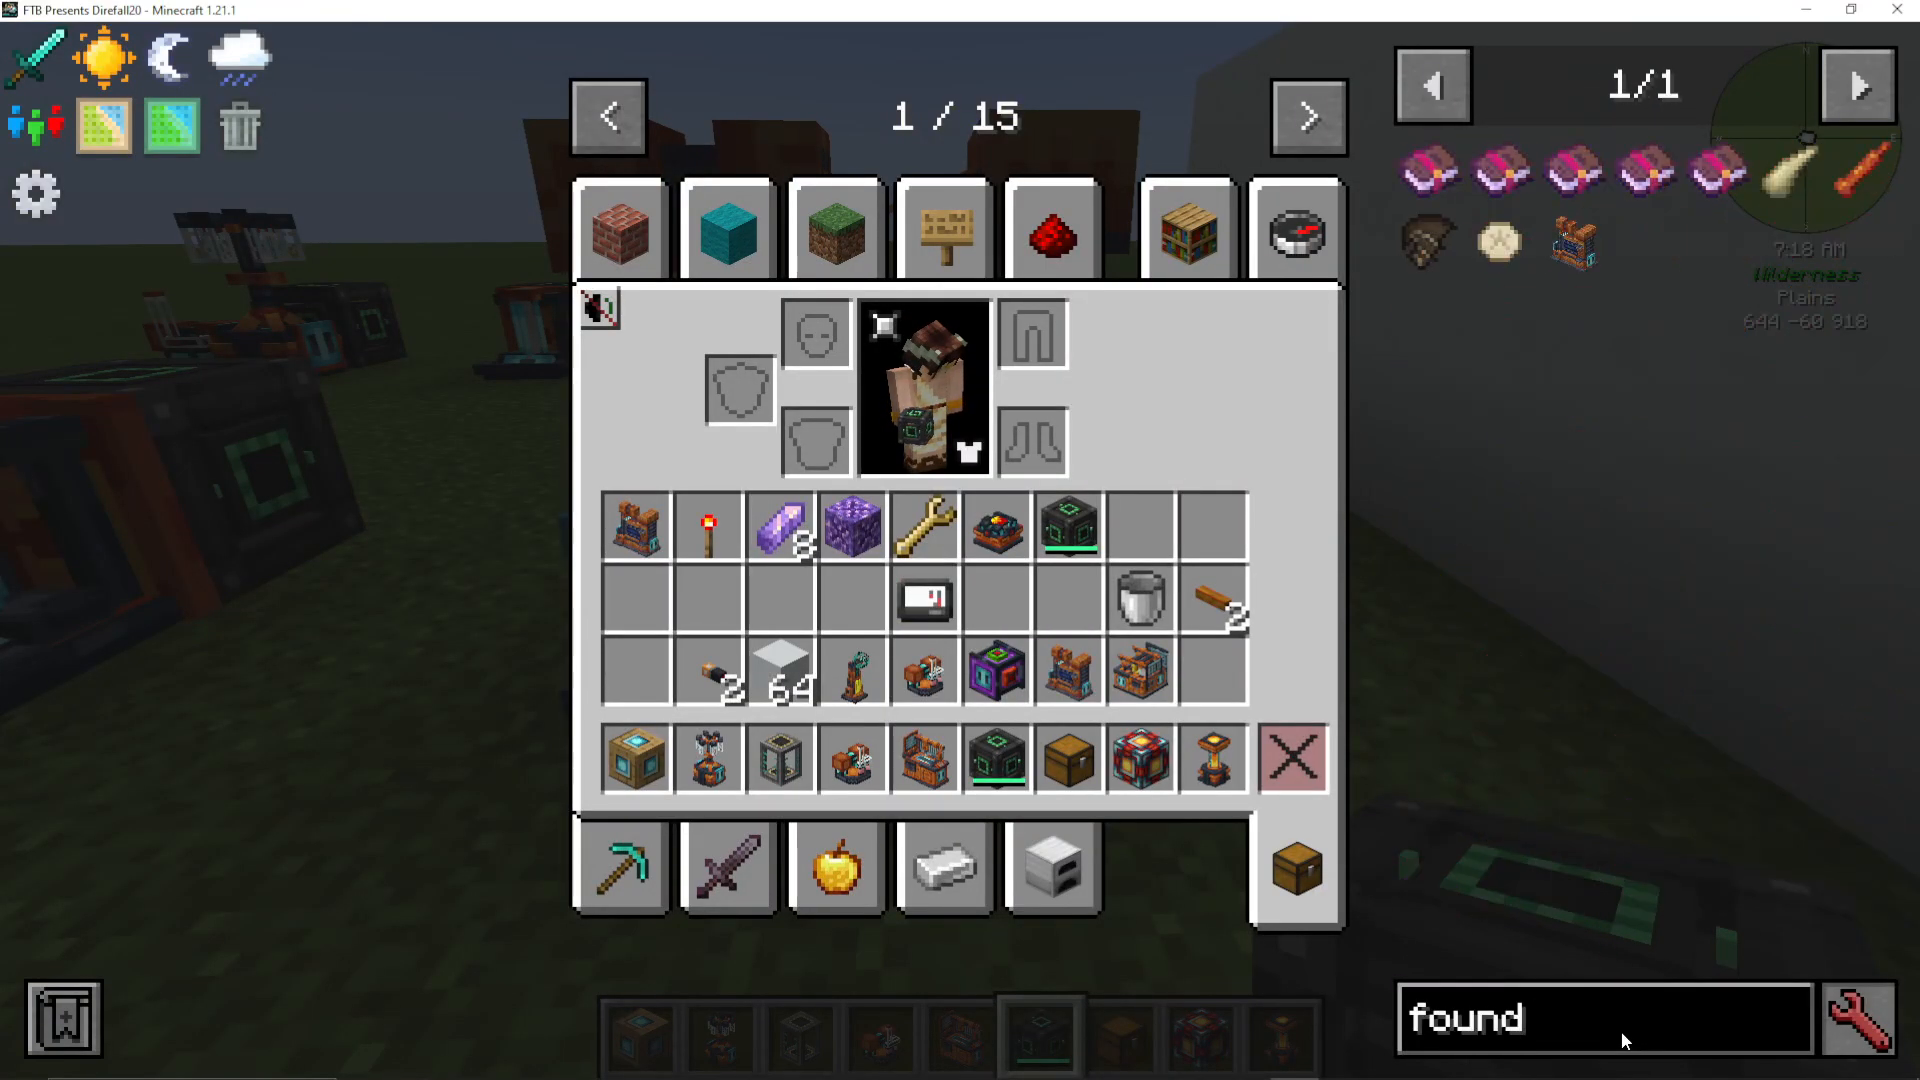
The Foundry
The Foundry creates alloys more efficiently than other crafting methods. Key improvements include:
Steel: 1 iron ingot + 1 coal dust (instead of 2 iron + 2 coal)
Bio steel: Created from raw bio polymer
Neverite ingot: 1 gold ingot + 1 neverite scrap (instead of 4 neverite scraps + 4 ingots)
Electric: 1 gold ingot + 1 redstone (instead of 2 gold + 2 redstone)
The Foundry provides approximately 50% efficiency gains for alloy crafting, making it worthwhile to construct early in your progression.
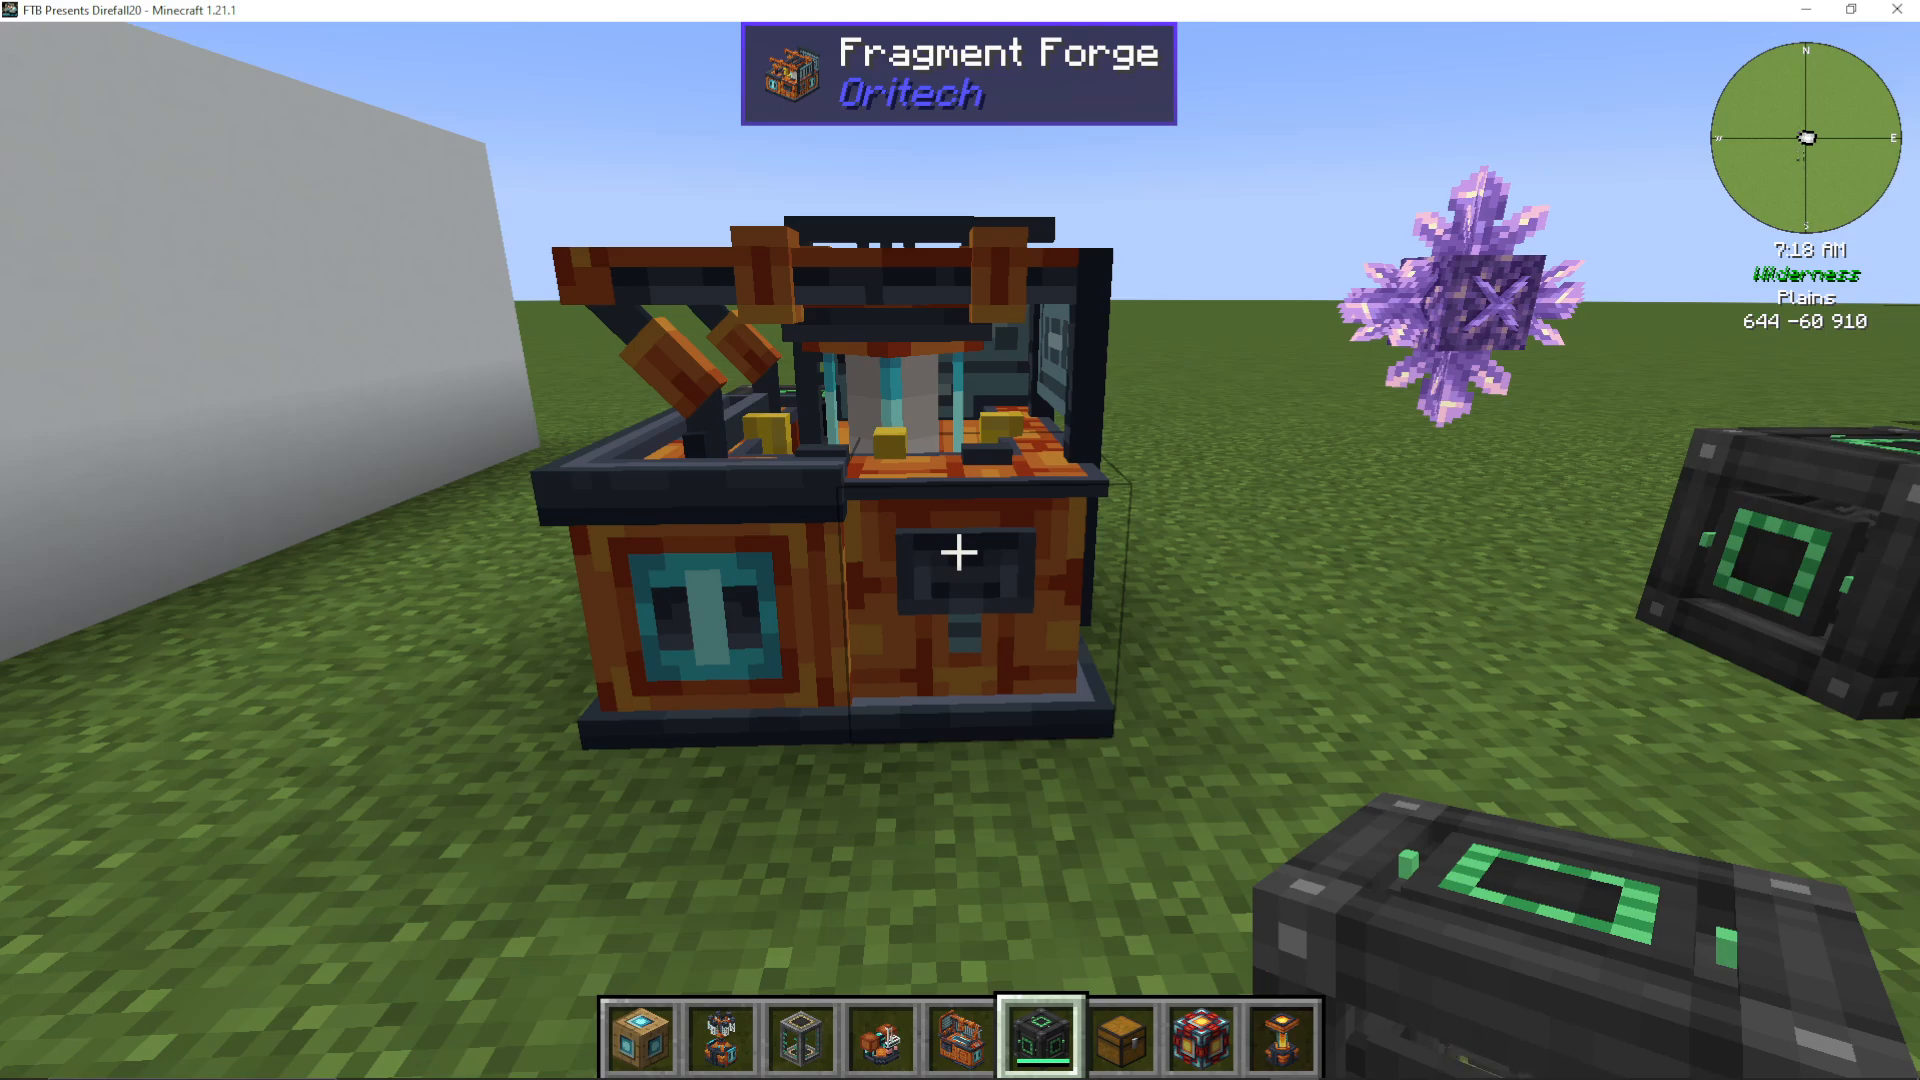
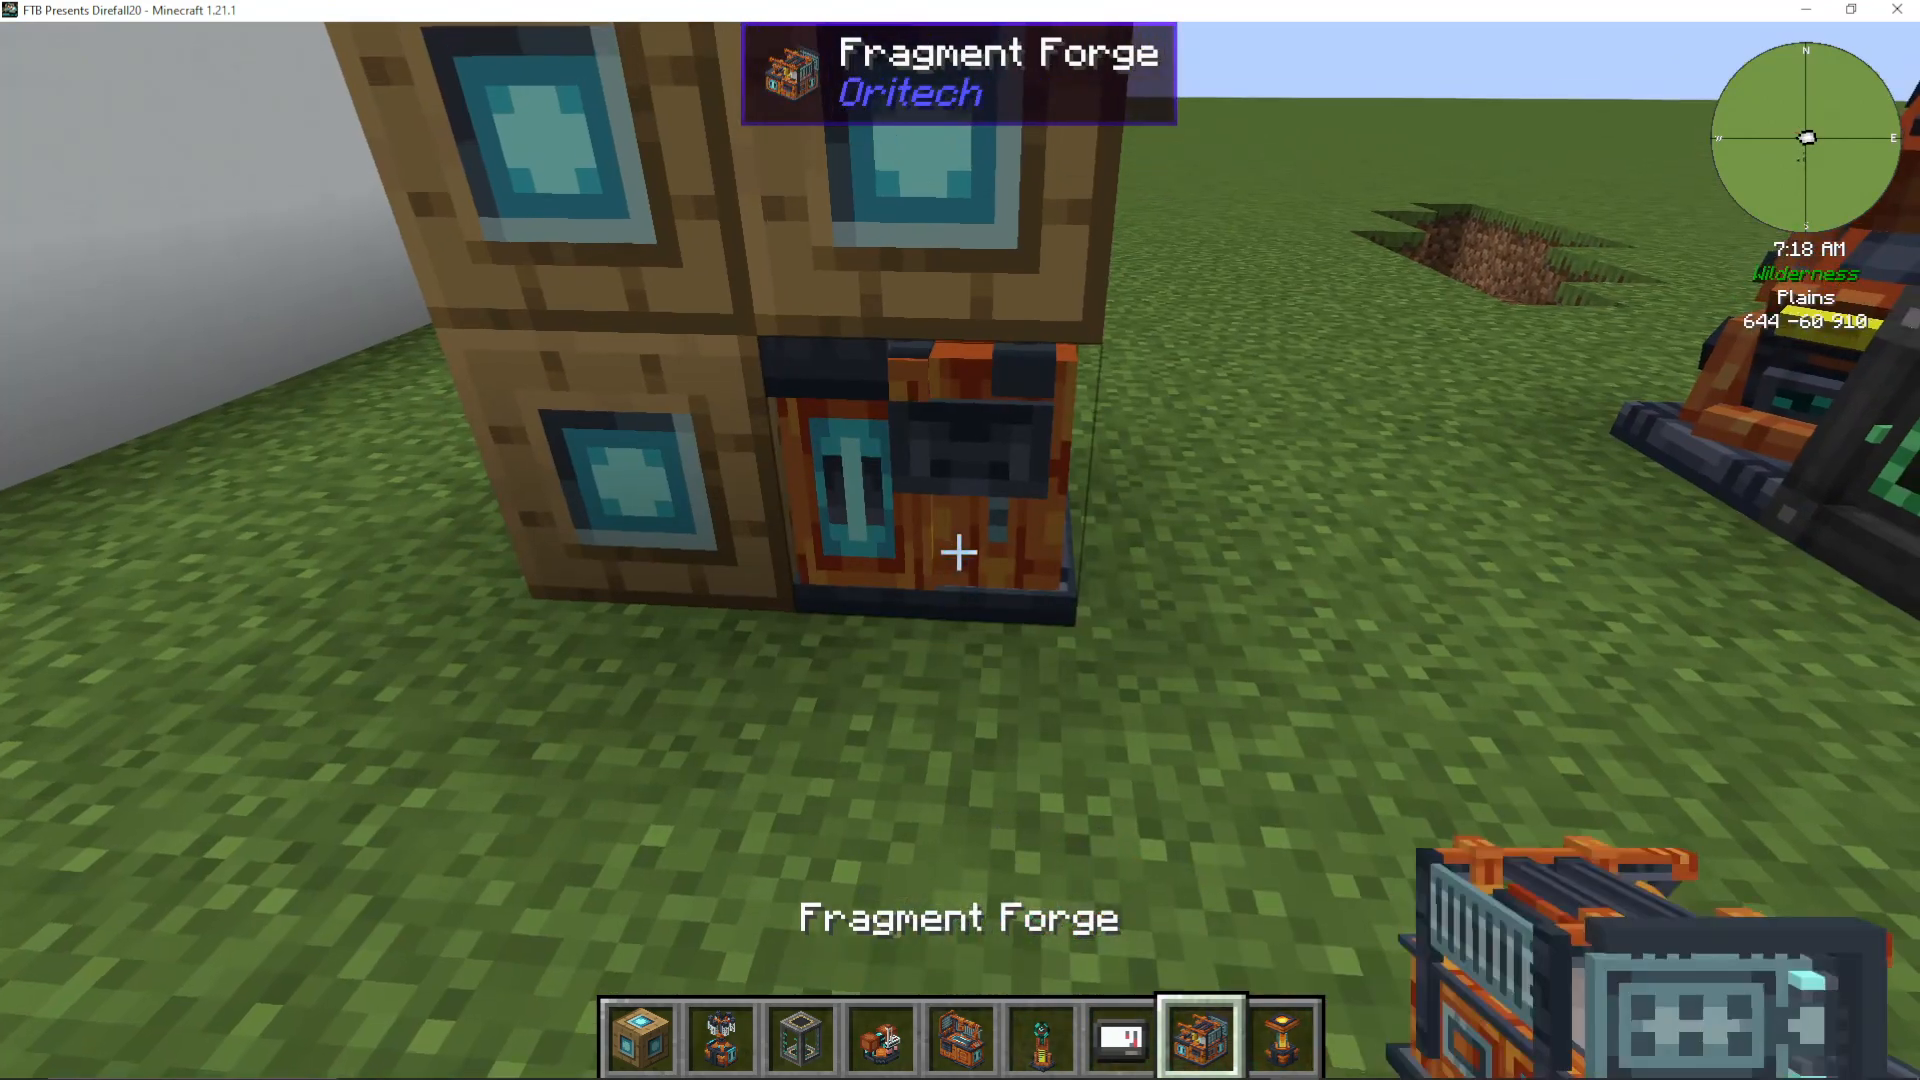
The Fragment Forge
The Fragment Forge dramatically increases ore yields by breaking ores into clumps and small clumps.
Fragment Forge Efficiency
Example with raw iron:
1 raw iron normally yields 1 iron ingot when smelted
1 raw iron in Fragment Forge yields 1 iron clump
1 iron clump in Centrifuge (fluid separation) yields 2 iron gems = 2 iron ingots
Additionally, you get 3 small iron clumps per raw iron
9 small iron clumps = 1 iron clump → 2 iron gems
Total: 3 raw iron can yield 8 iron ingots + 2 nickel ingots
Processing nickel yields small platinum clumps, which convert to platinum gems in the Centrifuge’s fluid separation mode.
The Enderic Laser and Target Designator
Components
To build an Enderic Laser system, you need:
Enderic laser
Target designator
Machine core
The Target Designator requires:
Steel
Electrome plastic sheets (made from raw bio polymer in the Centrifuge)
Carbon fiber strands
Processing units
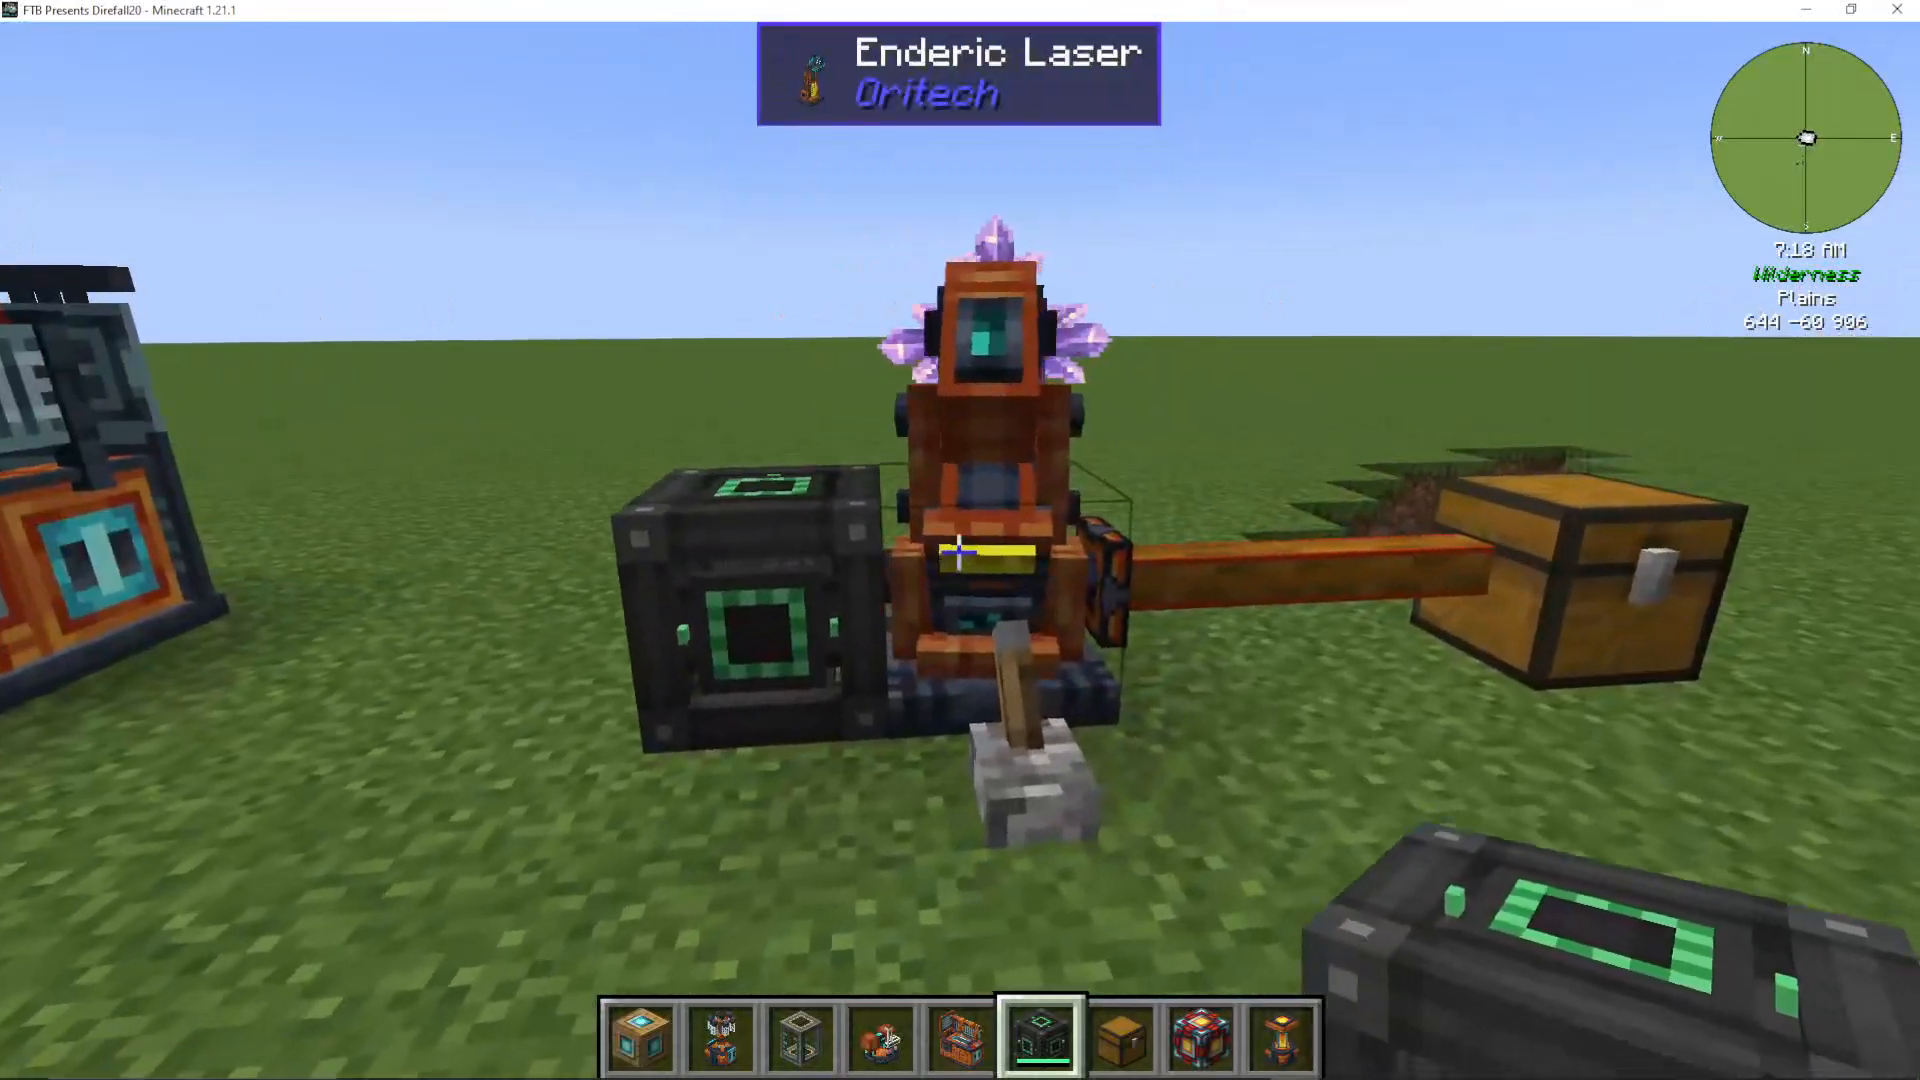
Using the Enderic Laser
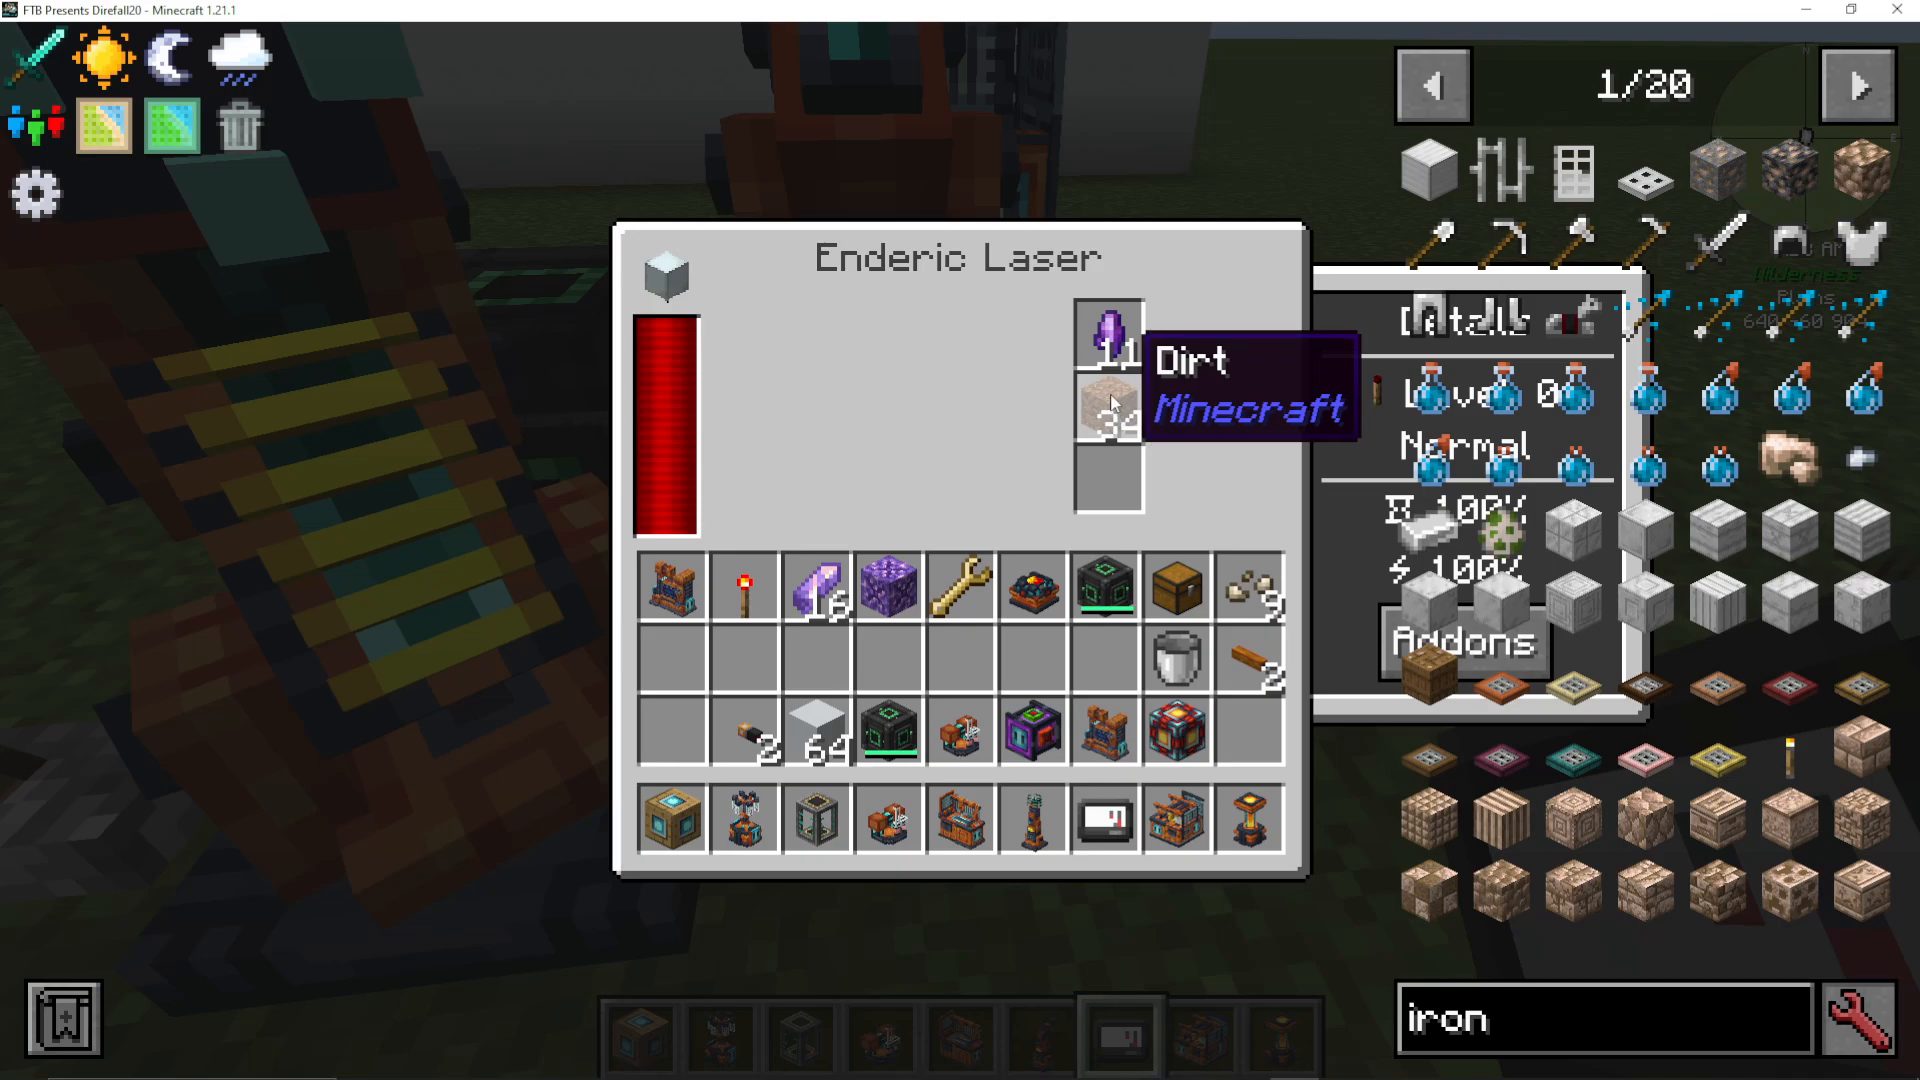
The Enderic Laser has multiple applications:
Growing Amorphous Crystals
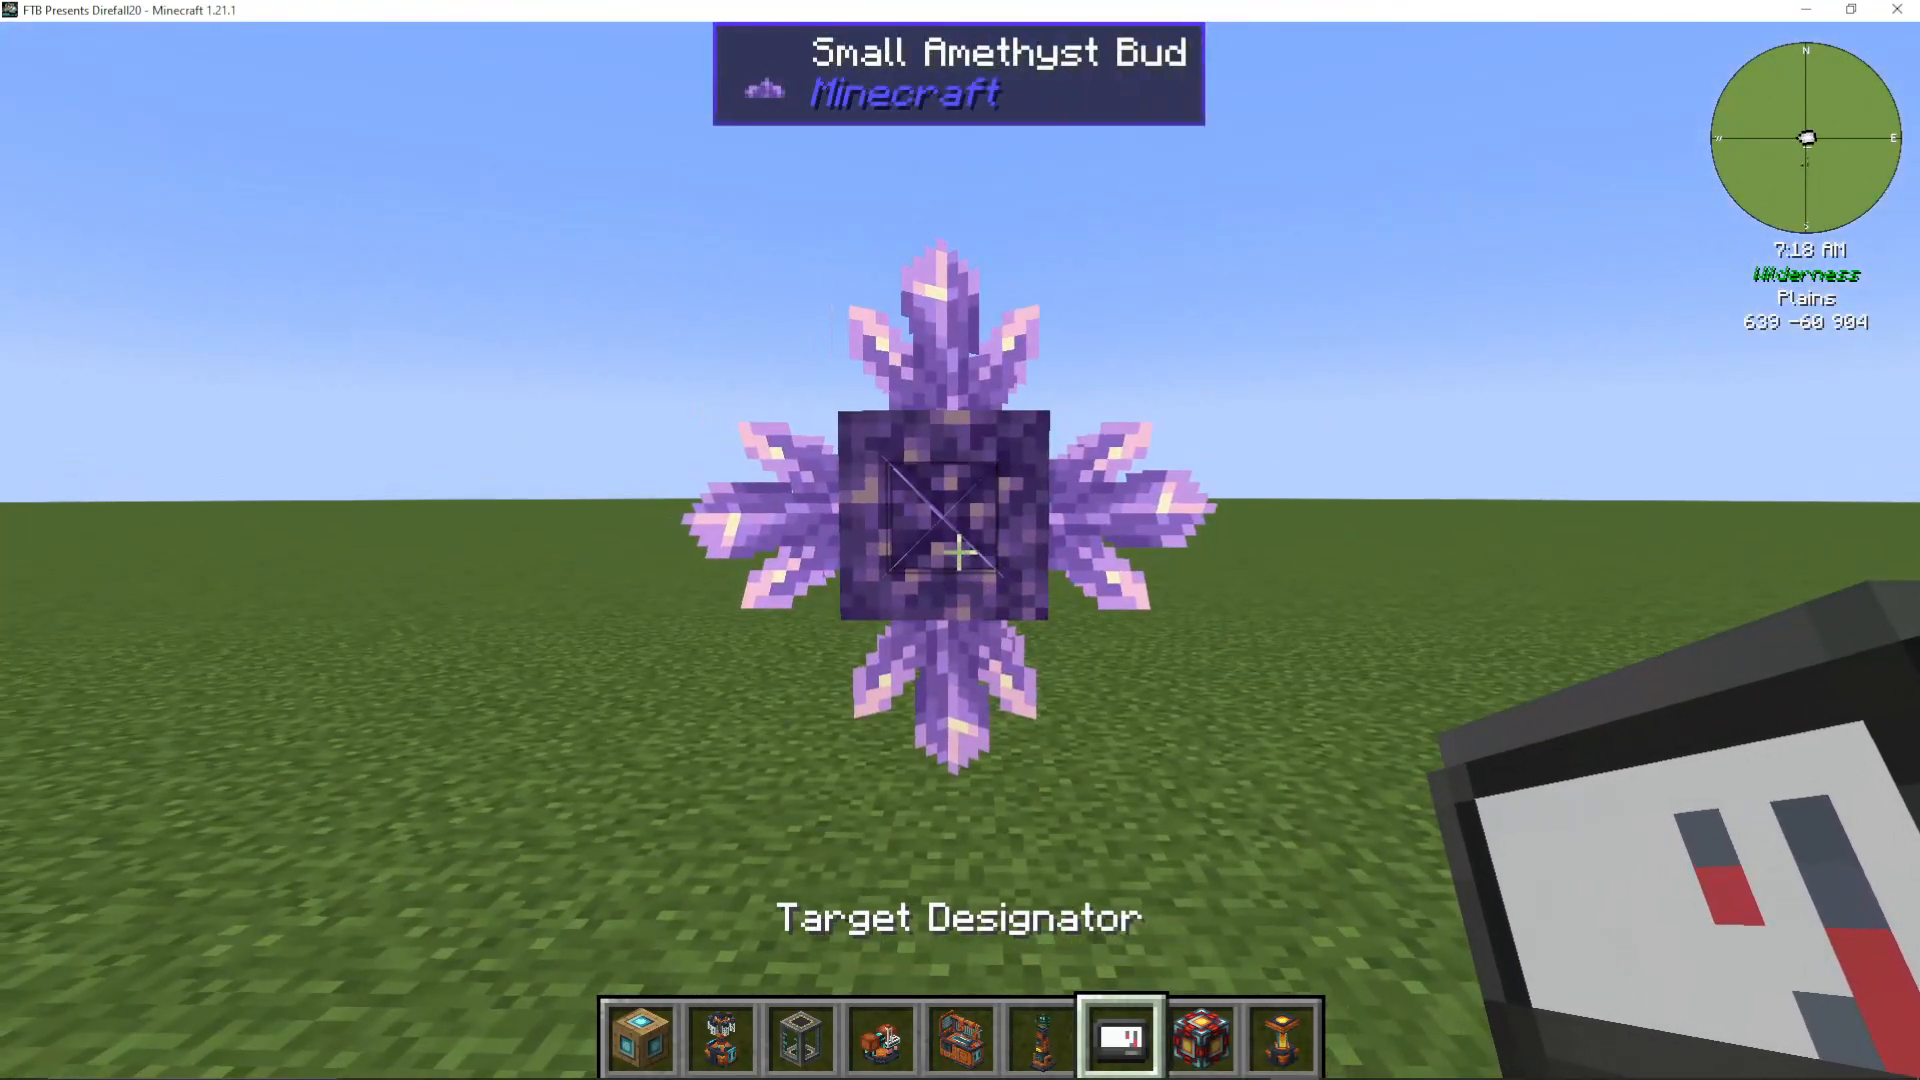
Use the Target Designator to shift-right-click a budding amorphous crystal, then shift-right-click the Enderic Laser to save the position. The laser will:
Accelerate bud growth
Overload the buds to produce fluxite (used for advanced machines and batteries)
You can add multiple lasers to speed up growth exponentially.
Mining and Collecting
Target the ground or any block to have the laser mine and collect items automatically.
Wireless Power Transfer
Target a machine with the Designator, then shift-click the laser to transfer power wirelessly to that machine.
Item and Fluid Transportation
Item Pipes
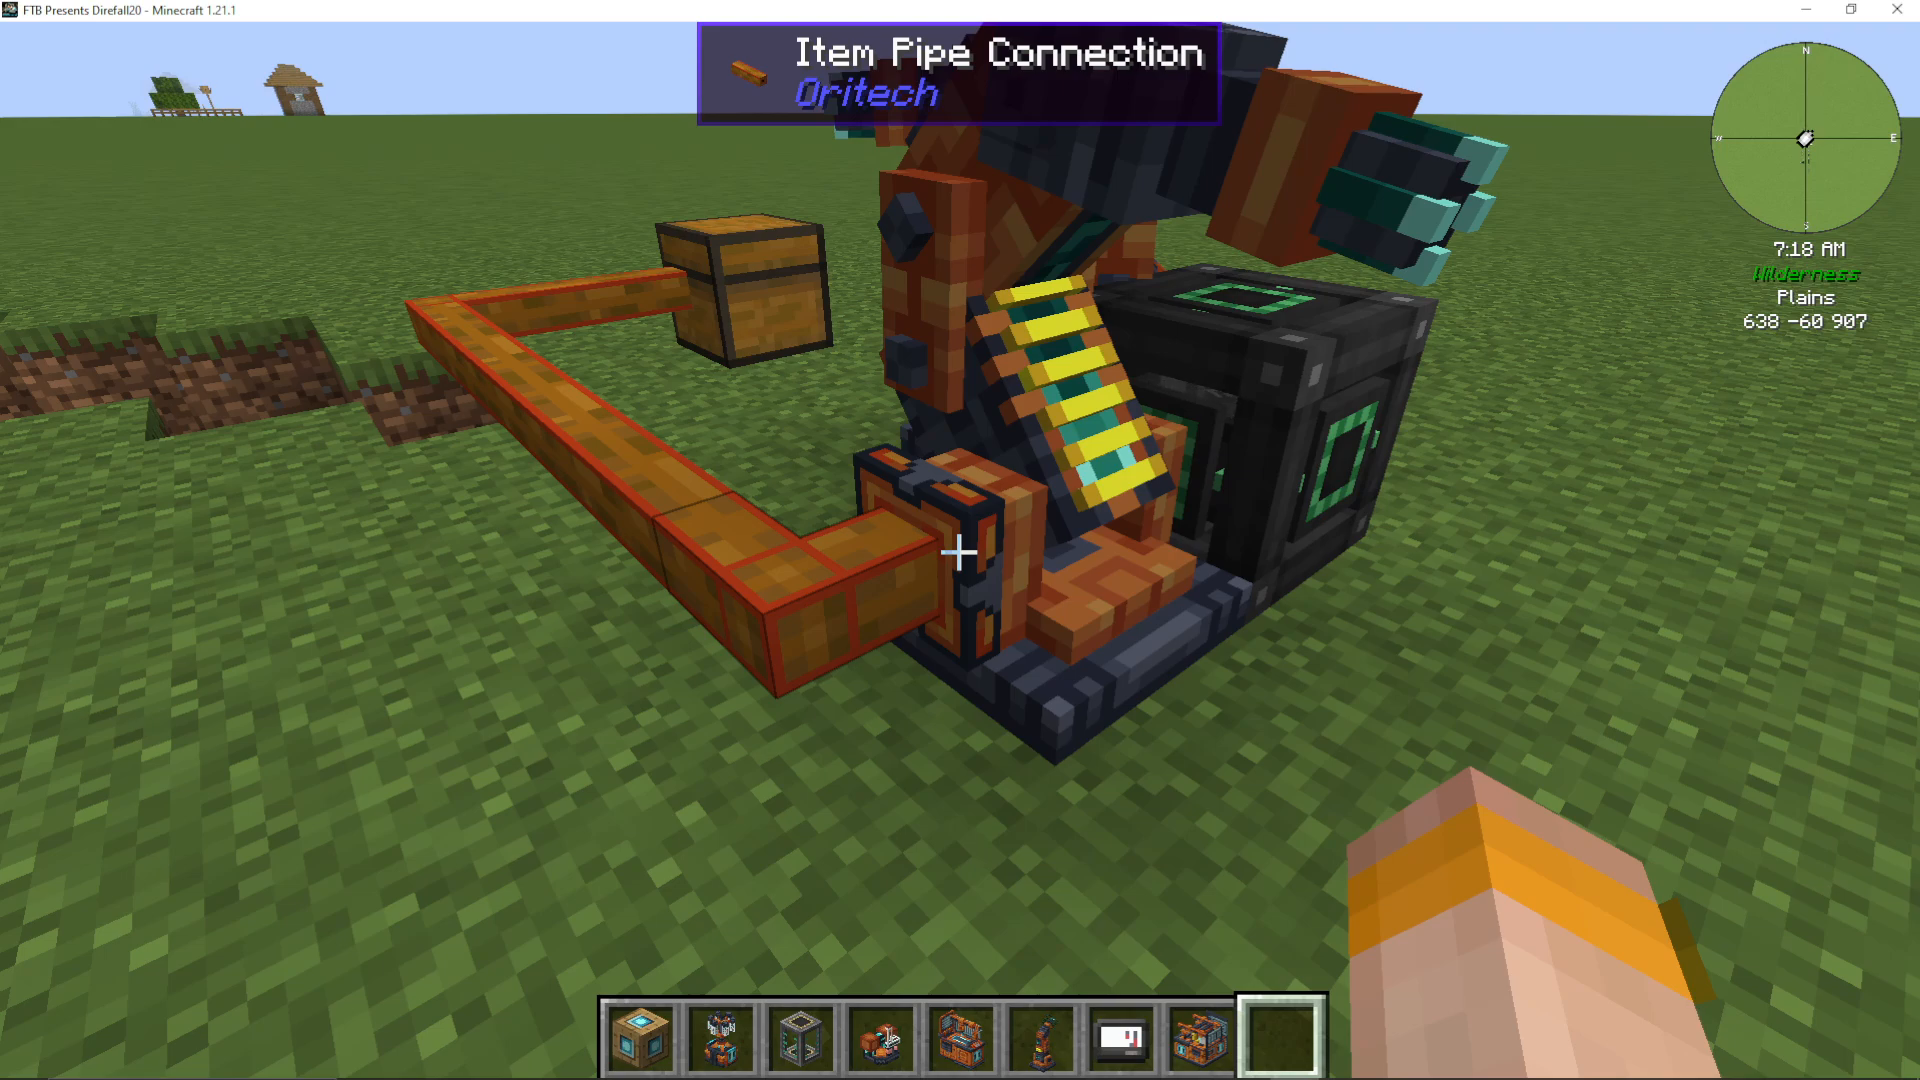
Item pipes transfer items between machines and storage:
Right-click a machine to attach the pipe
Right-click the destination (e.g., chest) to connect
Right-click the destination side again to specify extraction direction
Items automatically flow from source to destination
Pipe Wrench
Use a Pipe Wrench to:
Disable pipe connections (right-click)
Re-enable connections (right-click again)
Break pipe segments (shift-right-click)
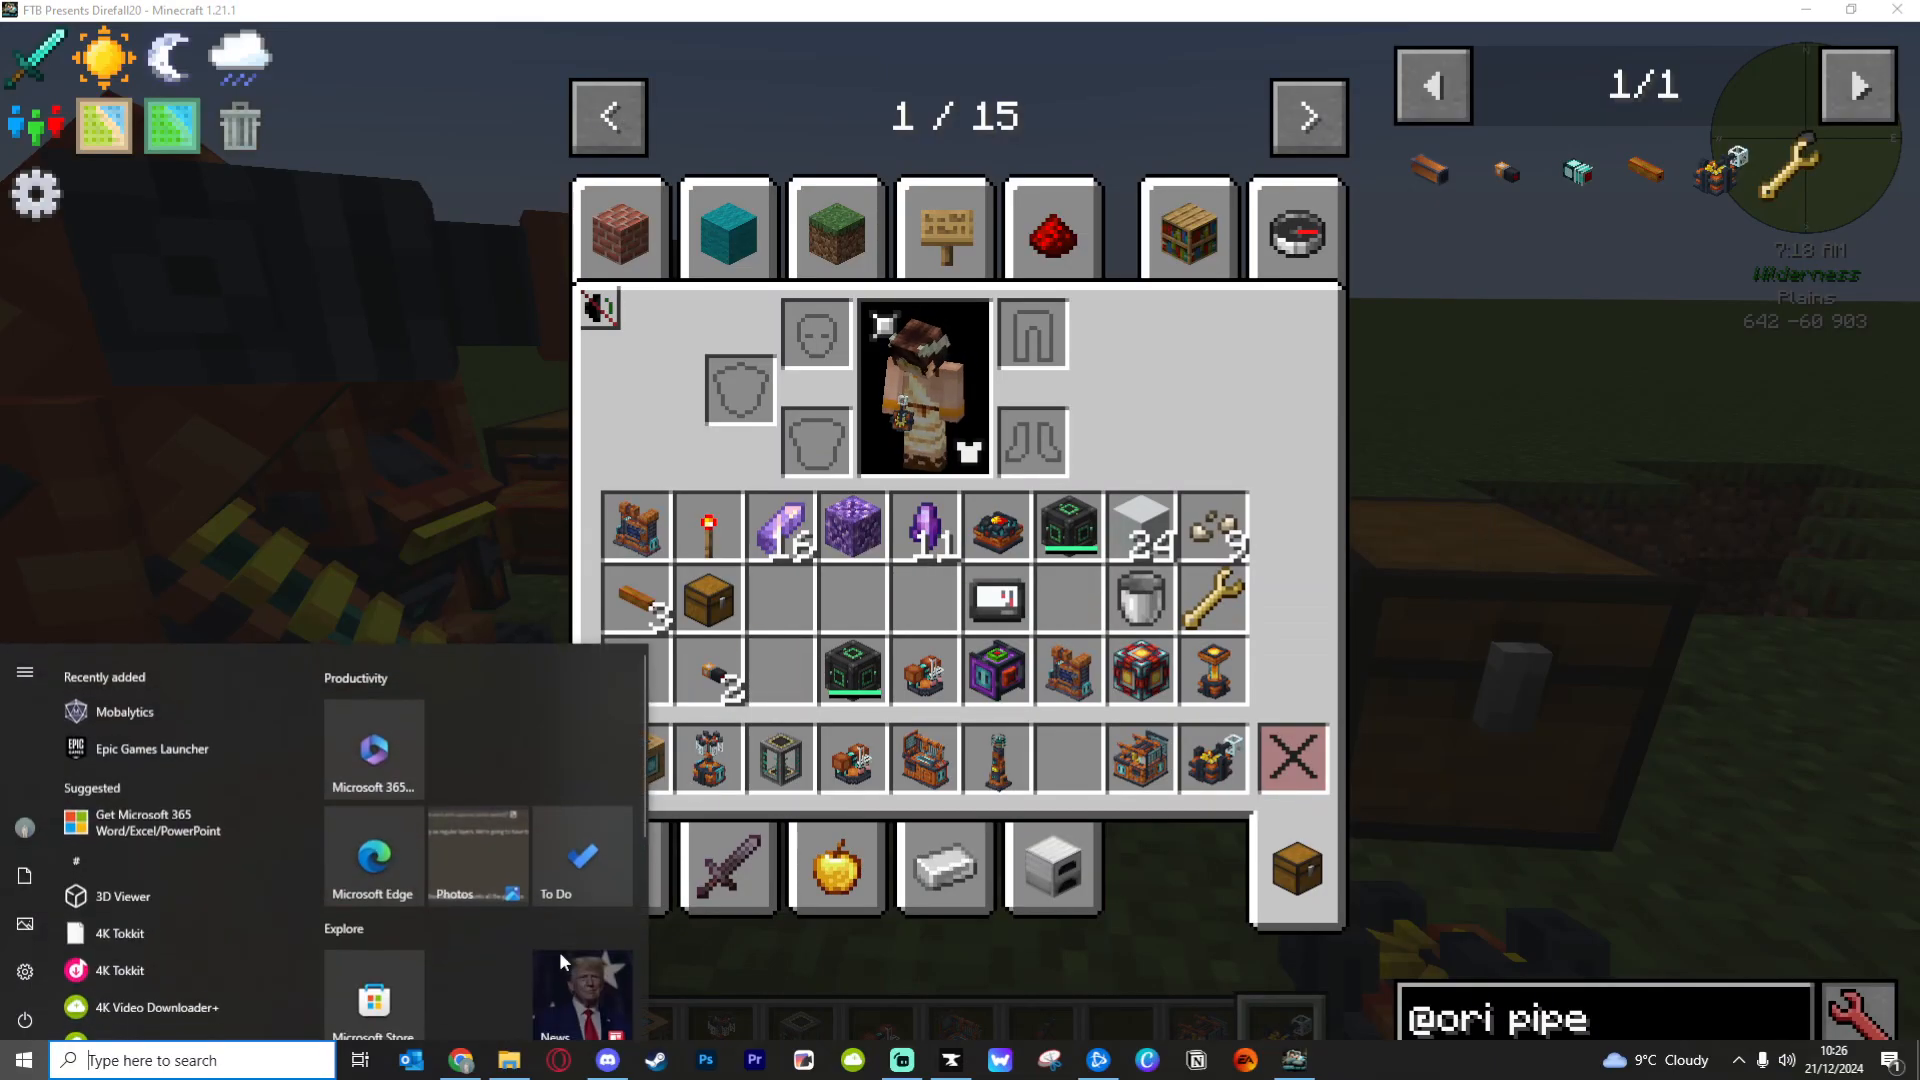
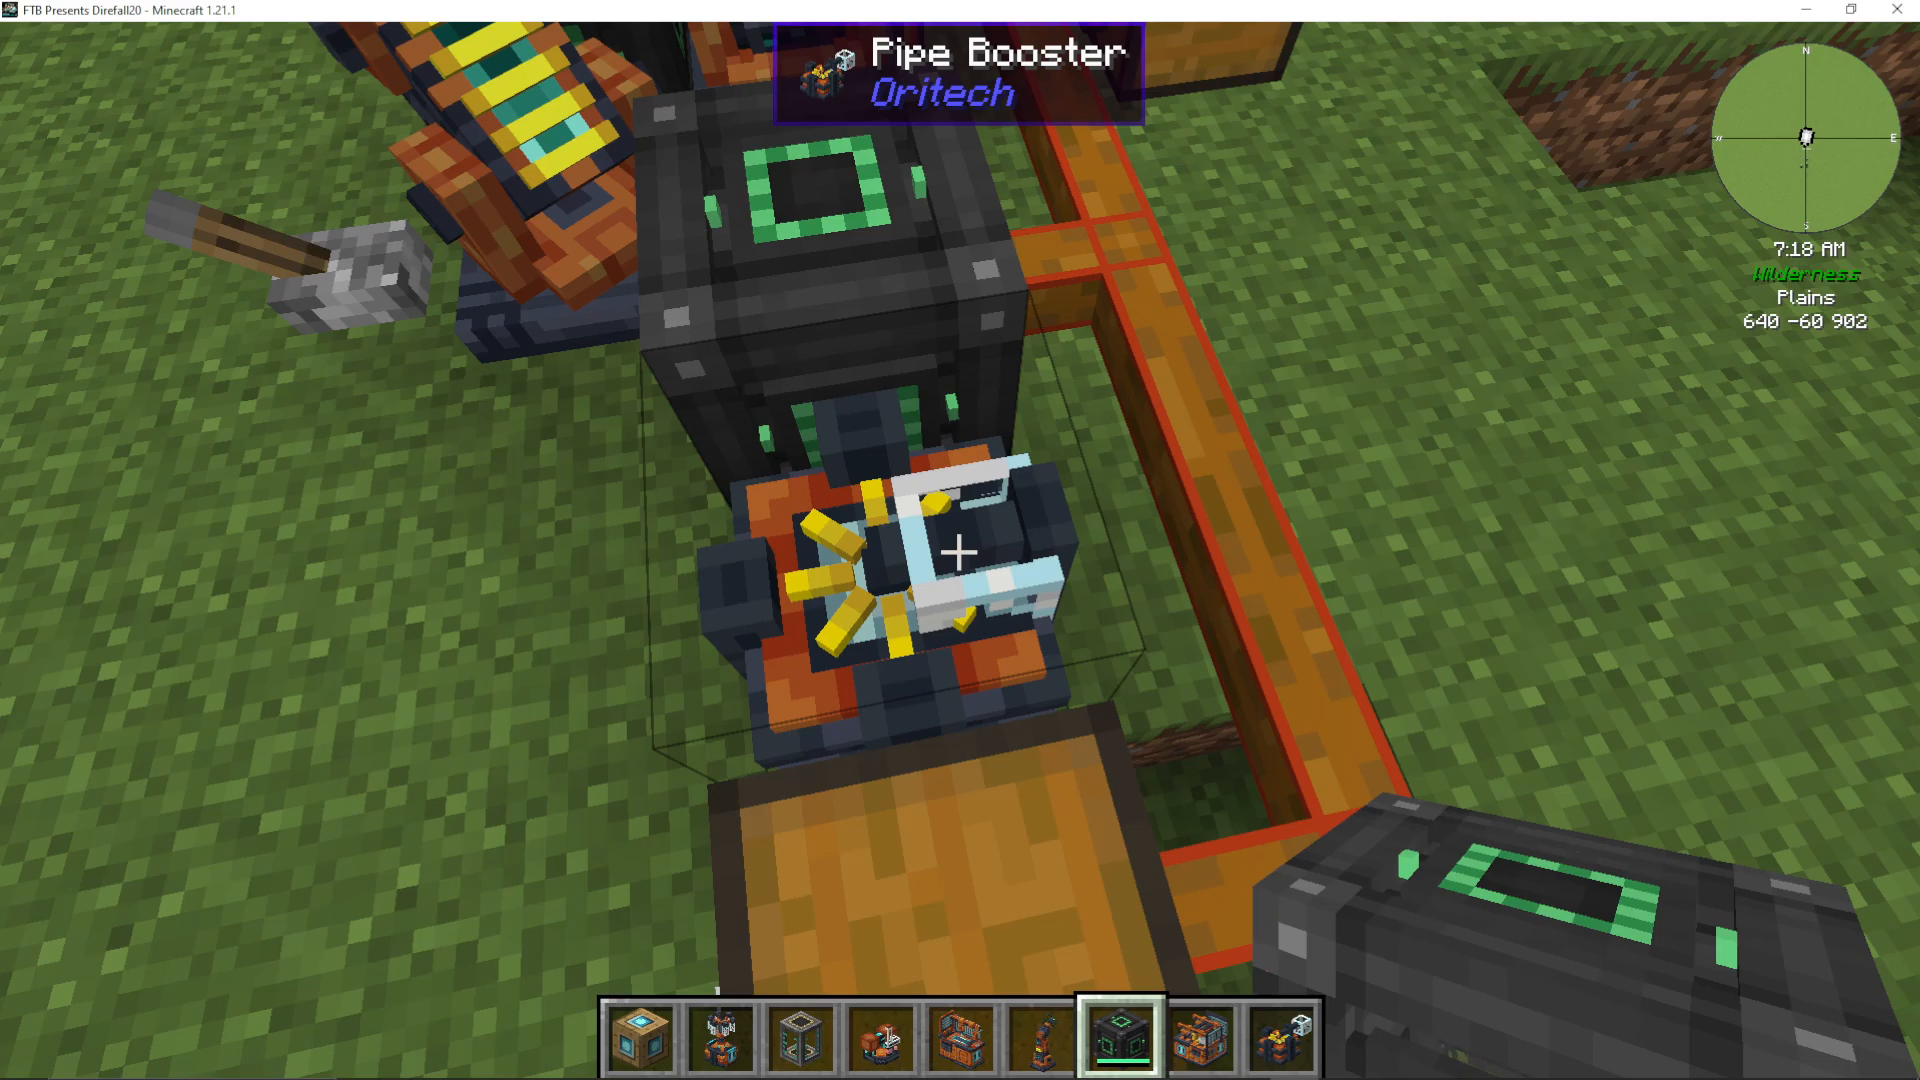
Pipe Boosters
Pipe Boosters increase transfer speeds dramatically:
Extract up to 40 buckets of fluid per tick
Extract an entire stack of items per tick
Requires power to operate
Face the booster toward the pipe you want to speed up
Fluid and Super Conductor Pipes
Fluid Pipes: Transfer fluids using the same connection system as item pipes.
Super Conductor: A high-capacity energy pipe that cannot connect to normal energy pipes. It requires:
Fine wire
Energite ingots (made from flux + iron + nickel in the Foundry)
Super conductors transfer energy far more efficiently than standard energy pipes.
Energy Storage
AureTech uses RF (Redstone Flux) energy by default and is compatible with the Reborn Energy API.
Energy Storage Blocks
Energy storage systems include:
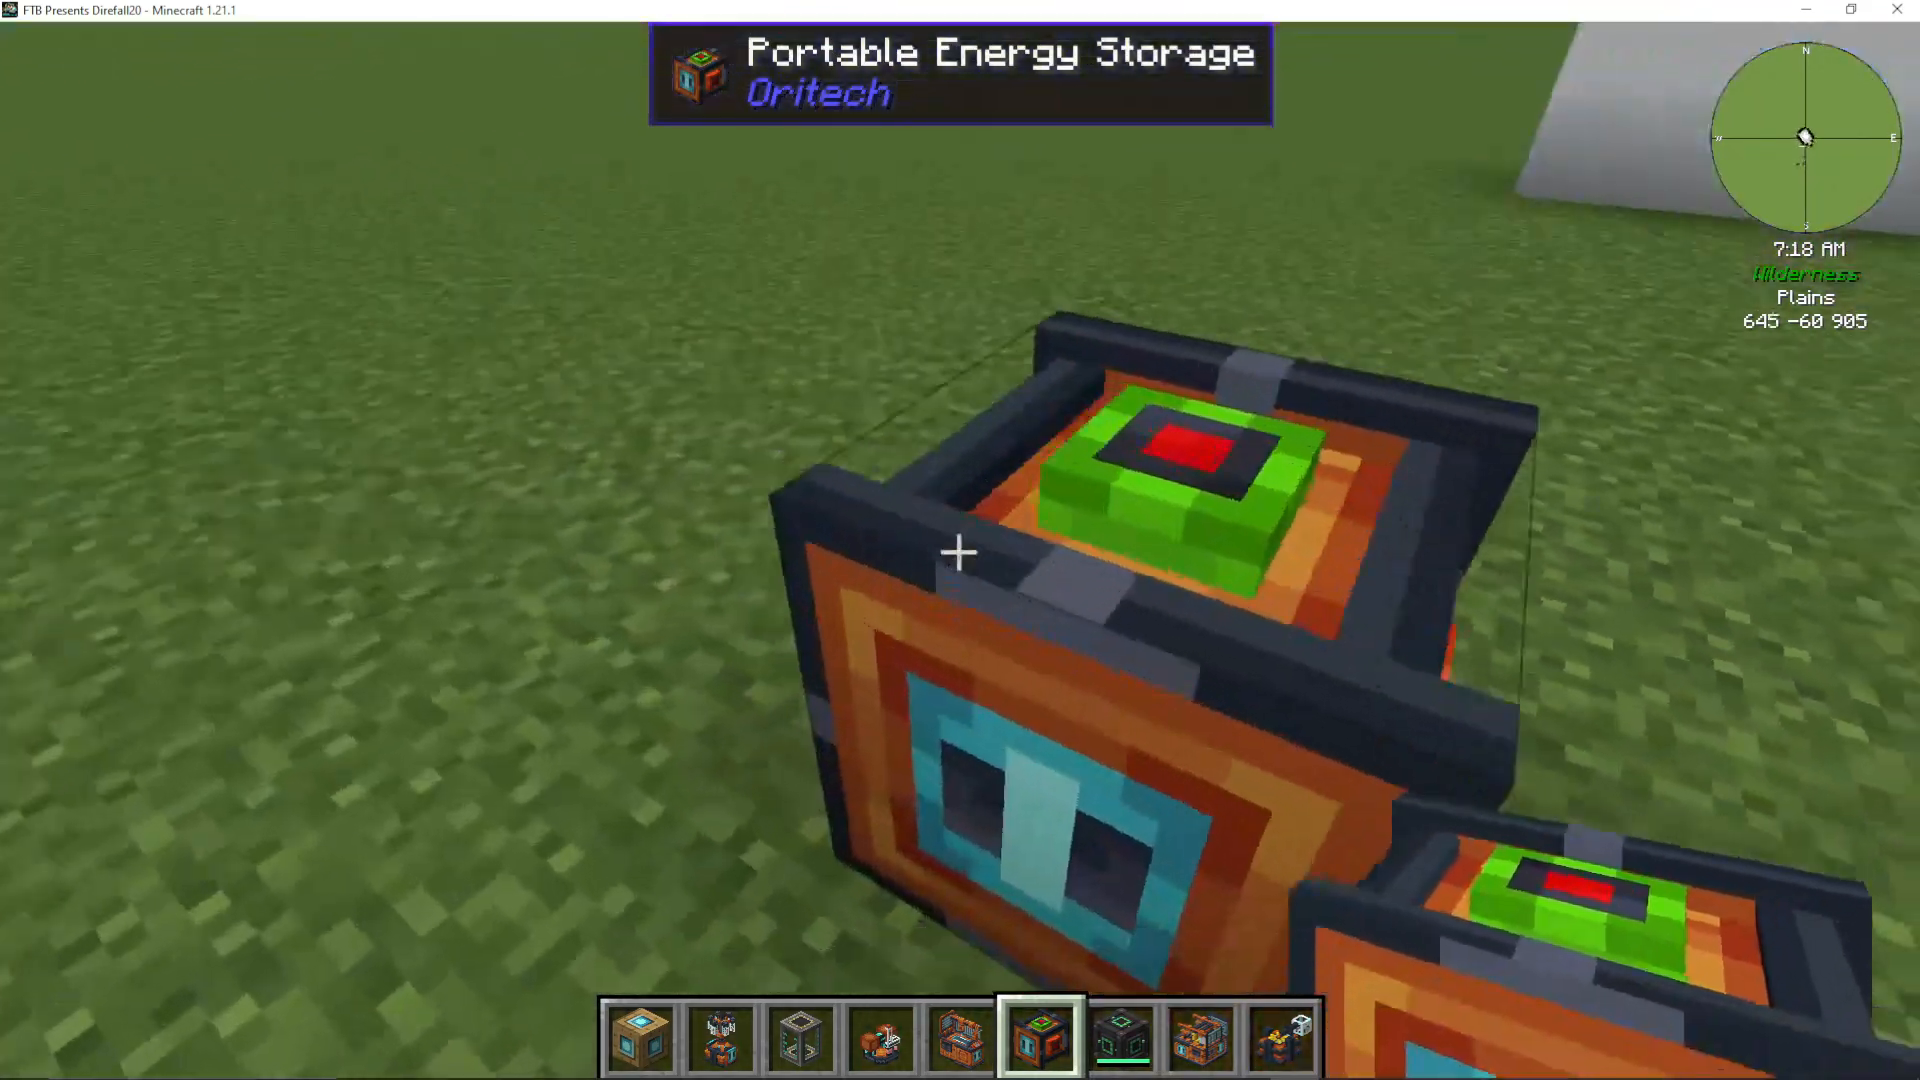
Portable Energy Storage: Compact storage; the red side is the output port
Large Energy Storage: Increased capacity with upgradeable design using machine casings
Energy cables have a 10k RF buffer at connection points to machines, though energy doesn’t store within the cables themselves.
Summary and Next Steps
You’ve now learned the foundational systems of AureTech, including:
World generation and ore locations
Basic power generation and distribution
Essential crafting machines (Assembler, Pulverizer, Foundry, Centrifuge, Powered Furnace)
Advanced processing (Fragment Forge, Enderic Laser)
Item and energy transportation systems
Energy storage solutions
AureTech is an incredibly deep mod with much more to explore. For detailed guides on individual machines and complete start-to-finish progression, check out the full AureTech playlist on the channel. This mod is intuitive once you understand the basics, and it has quickly become a favorite among tech mod enthusiasts.
If you’re looking for additional mod guides, visit the top shelf of the channel homepage for comprehensive tutorials on various Minecraft mods and other games.
Want to Support?
If you would like to help us continue making these guides – please consider joining our patreon here – https://www.patreon.com/c/JaviHeals
Alternatively – we host a group of MC Servers you can join here – https://discord.gg/zD7Gjt6MHF



