







How to Make Passive Aluminum in Gregtech CEu
How to Make Passive Aluminum in Gregtech CEu
This guide demonstrates how to set up a passive aluminum (or aluminium) automation line in Gregtech CEu at the medium voltage stage. This tutorial showcases not only an efficient way to produce aluminum from diorite, but also serves as an excellent introduction to filtering inputs and outputs using robot arms and item filters—techniques essential for advanced Gregtech automation.
Overview of the Passive Aluminum Line
The automation setup uses medium voltage machines throughout, though you’re free to adapt it to different voltage tiers. The basic process takes a single block of diorite and converts it into multiple valuable materials through a series of machines, all powered by electricity. The outputs include clay dust, sodium dust, lithium dust, aluminum dust, silicon dust, and water—making this a highly renewable process.
Step 1: Setting Up the Advanced Rock Crusher
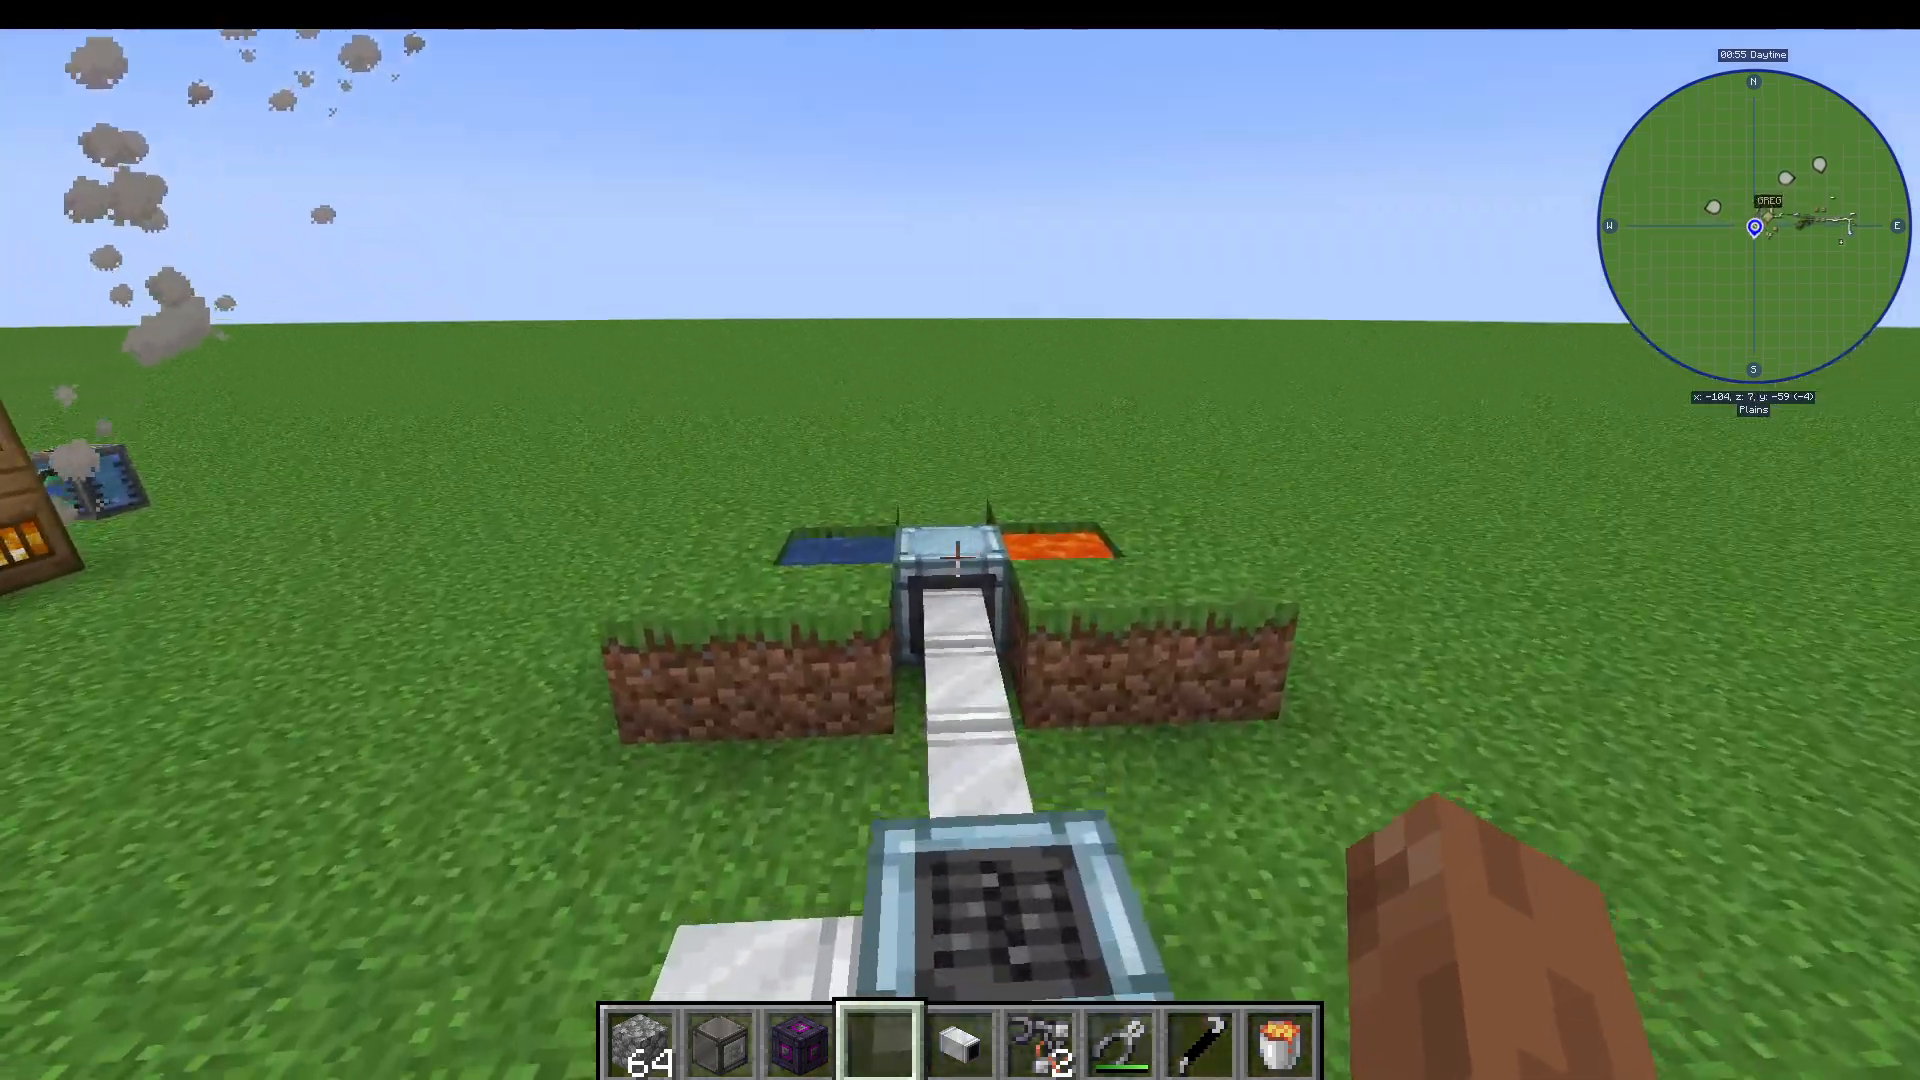
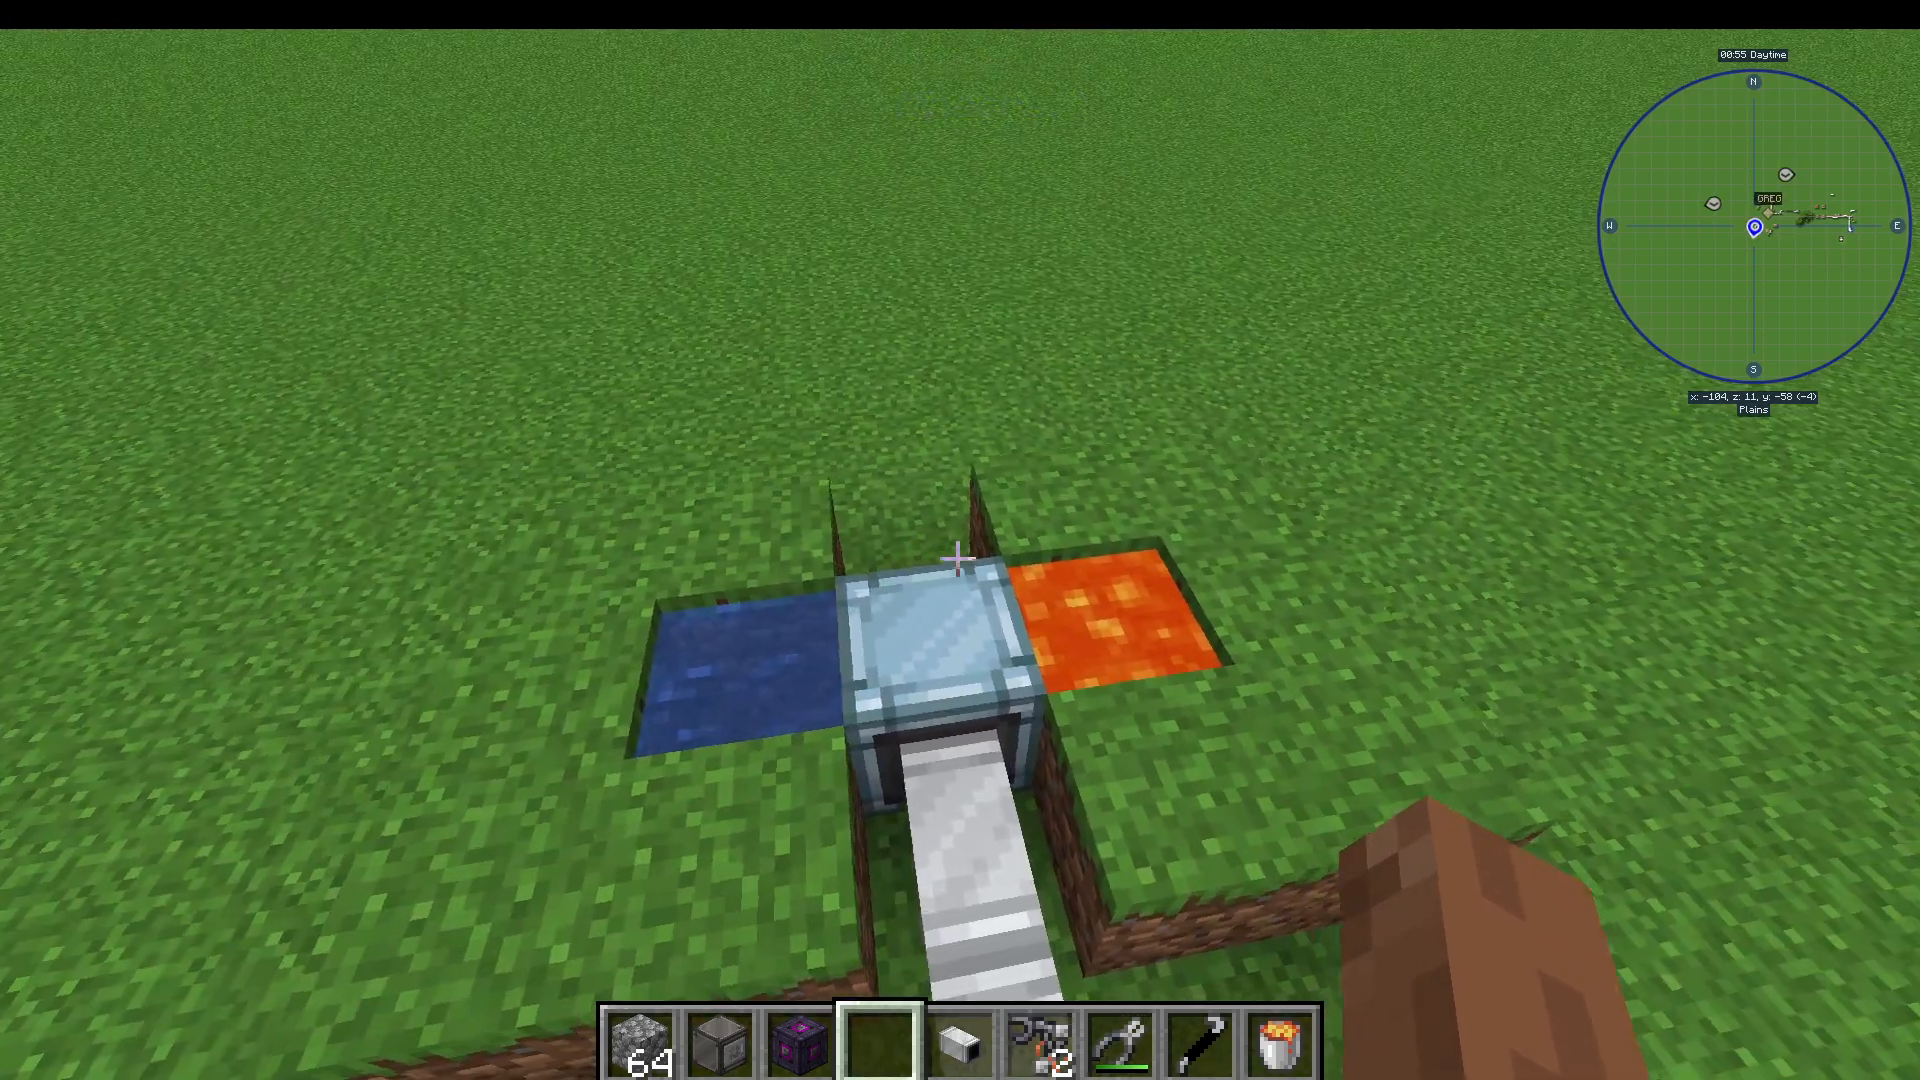
Start by placing an Advanced Rock Crusher and loading diorite into it. The machine will process the diorite with water and lava, preparing it for the next stage of automation.
Step 2: Processing with the Advanced Macerator
Connect the output from the Advanced Rock Crusher into an Advanced Macerator. This machine will process the crushed diorite into diorite dust, which serves as the input for the centrifuge stage.
Step 3: Separating Materials with the Advanced Centrifuge
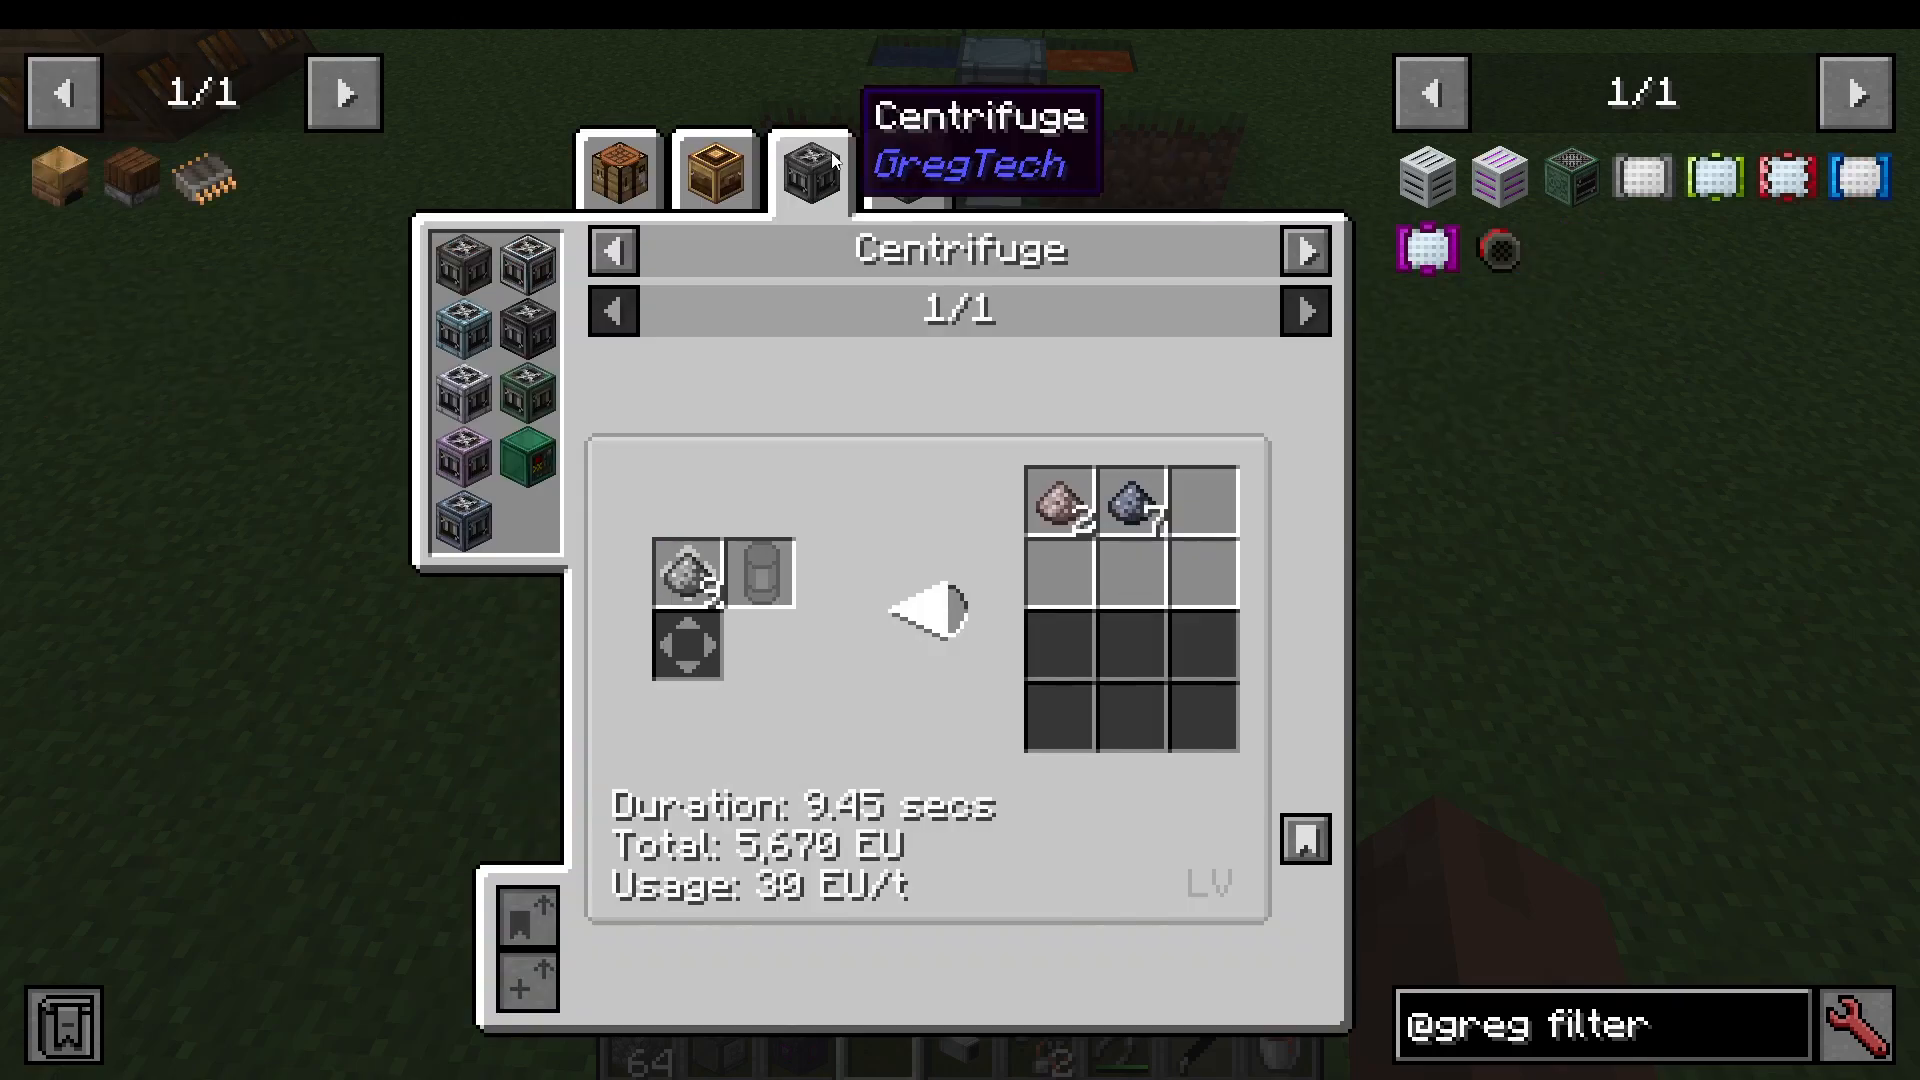
Feed the diorite dust into an Advanced Centrifuge. Here’s where things get interesting: the centrifuge produces both clay dust and mirabilite dust from the diorite dust. However, you only want the clay dust to proceed to the electrolyzer, as mirabilite dust is not needed for aluminum production.
Step 4: Understanding the Filtration Problem
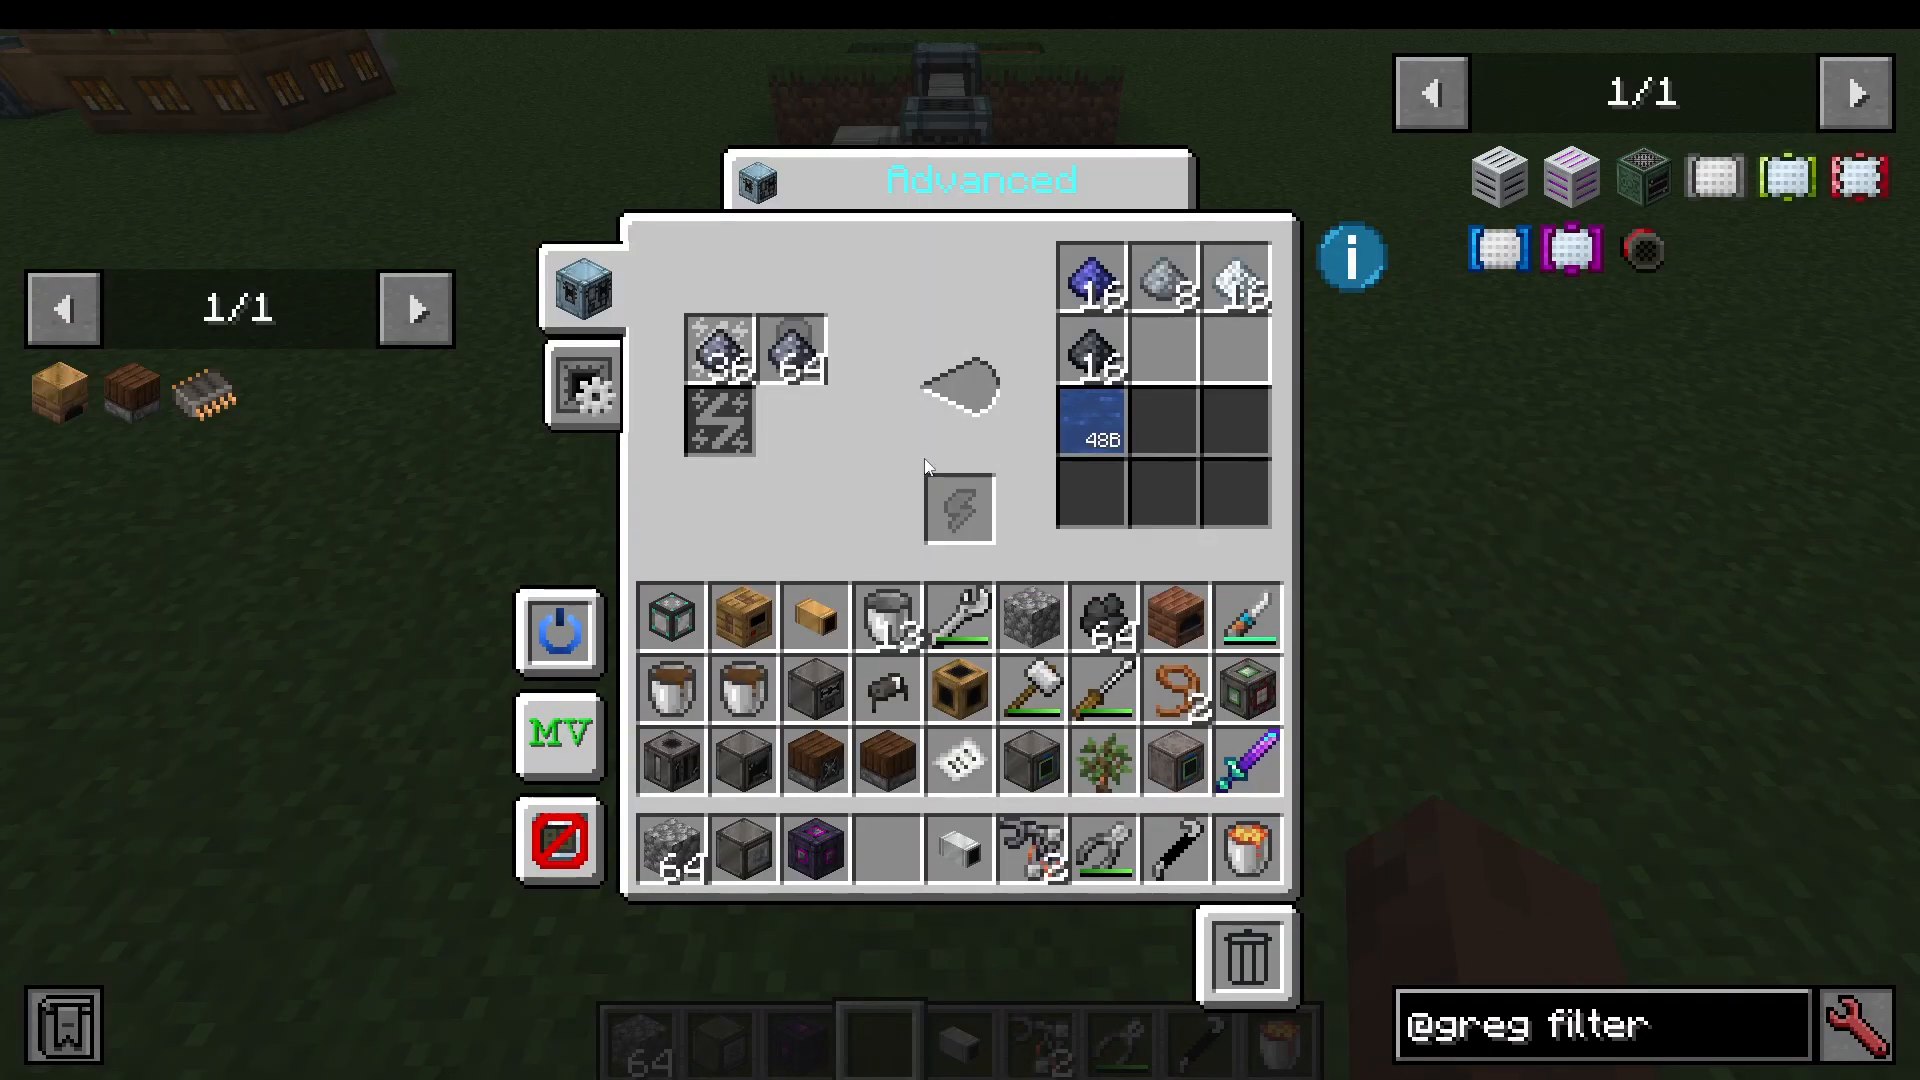
The Advanced Centrifuge outputs multiple materials, but you want to send only the clay dust to your Advanced Electrolyzer while routing the mirabilite dust elsewhere. This is where robot arms and item filters become essential tools for your automation setup.
Step 5: Installing Robot Arms as Covers
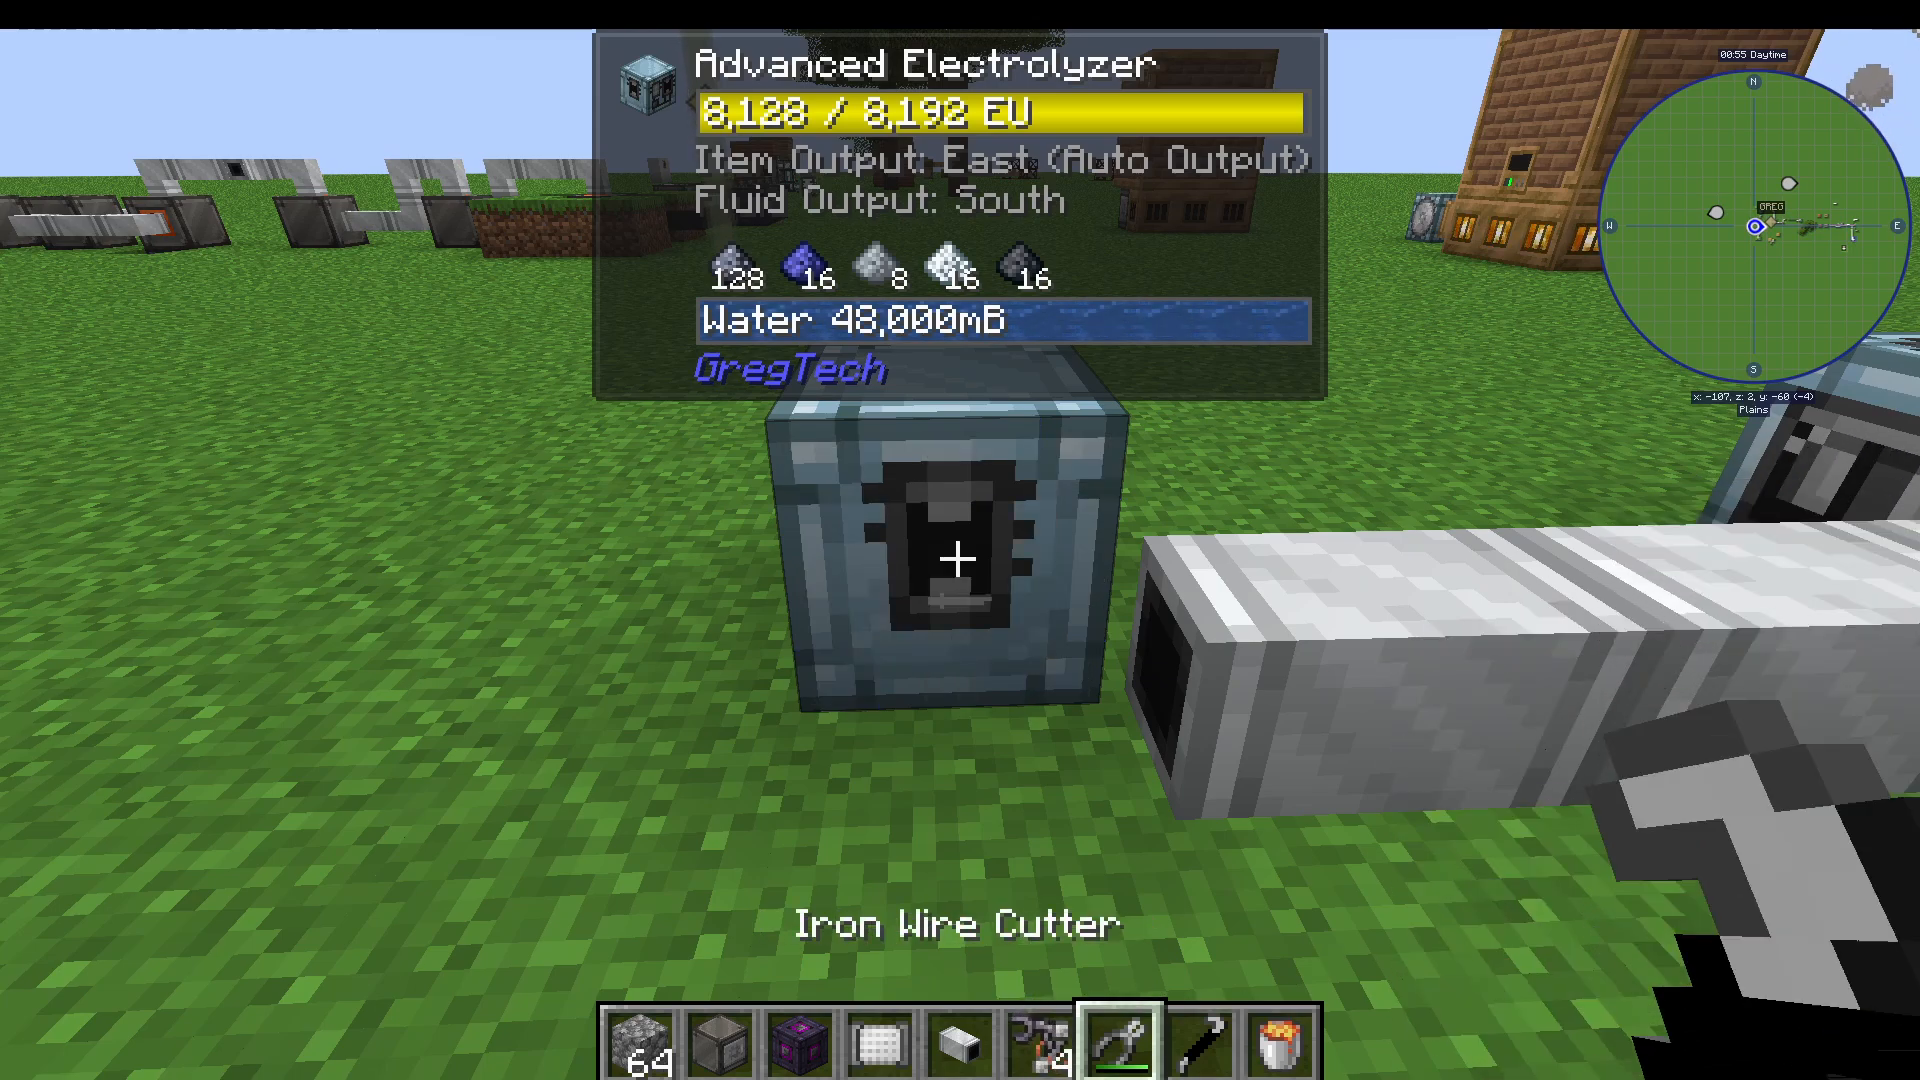
Robot arms can be applied as covers to your machines to control item input and output with precision. To attach a robot arm, simply right-click on the machine with the robot arm in your hand.
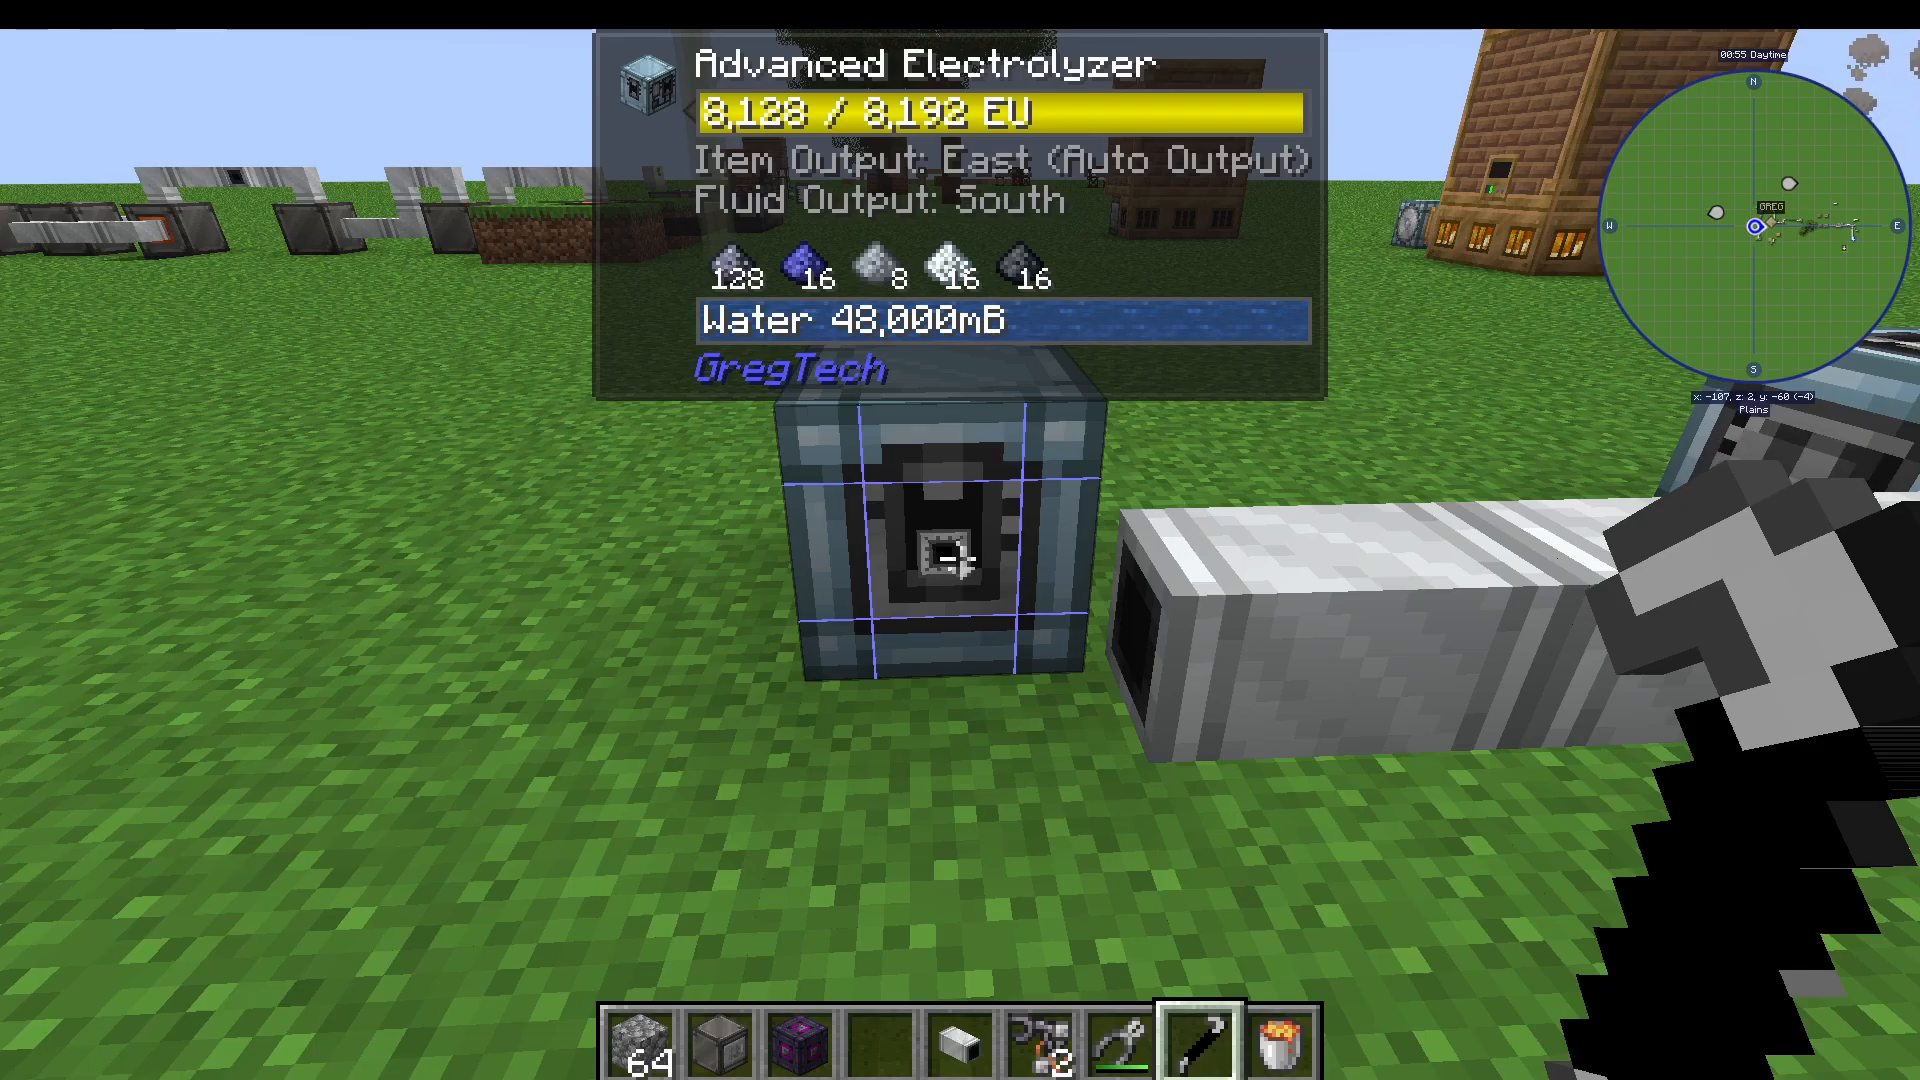
To remove a robot arm, craft a crowbar (steel works fine—it doesn’t need to be neutronium) and right-click the machine to pop the arm off.
Step 6: Configuring Robot Arm Settings
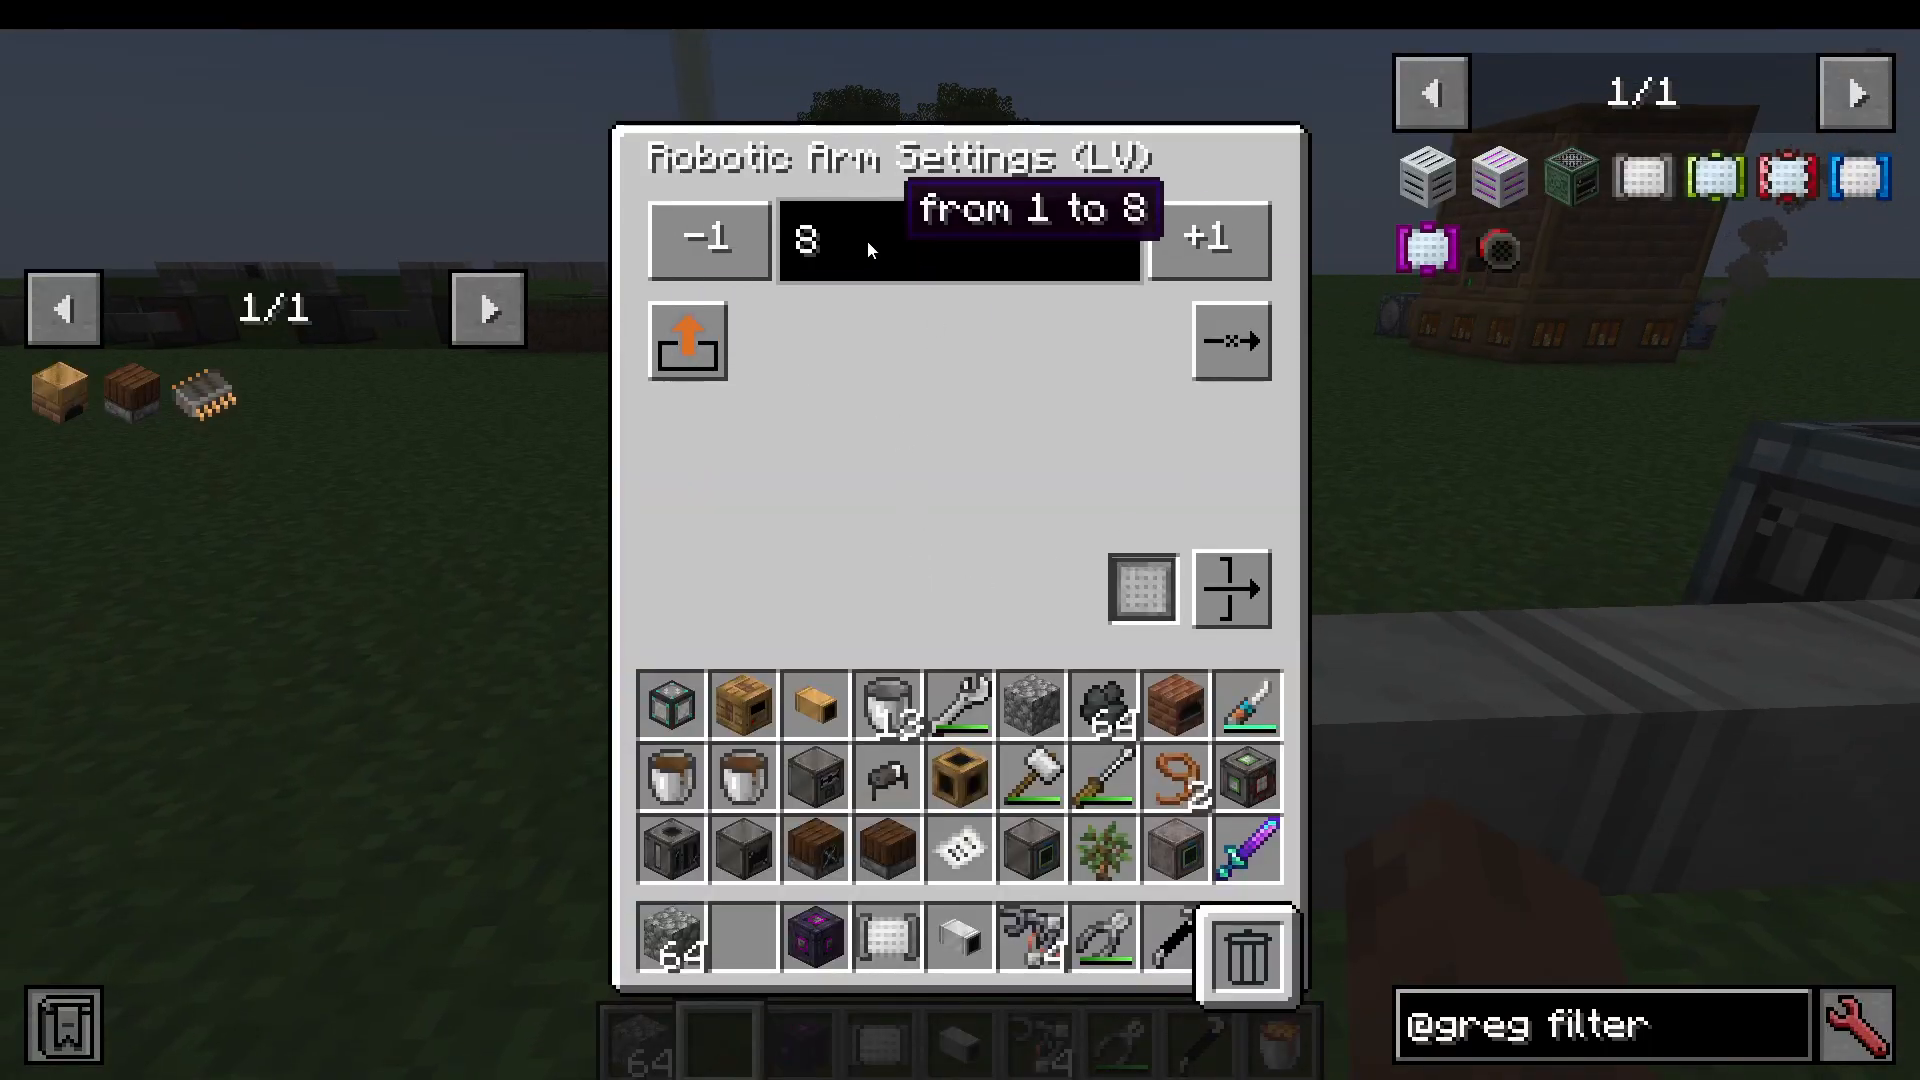
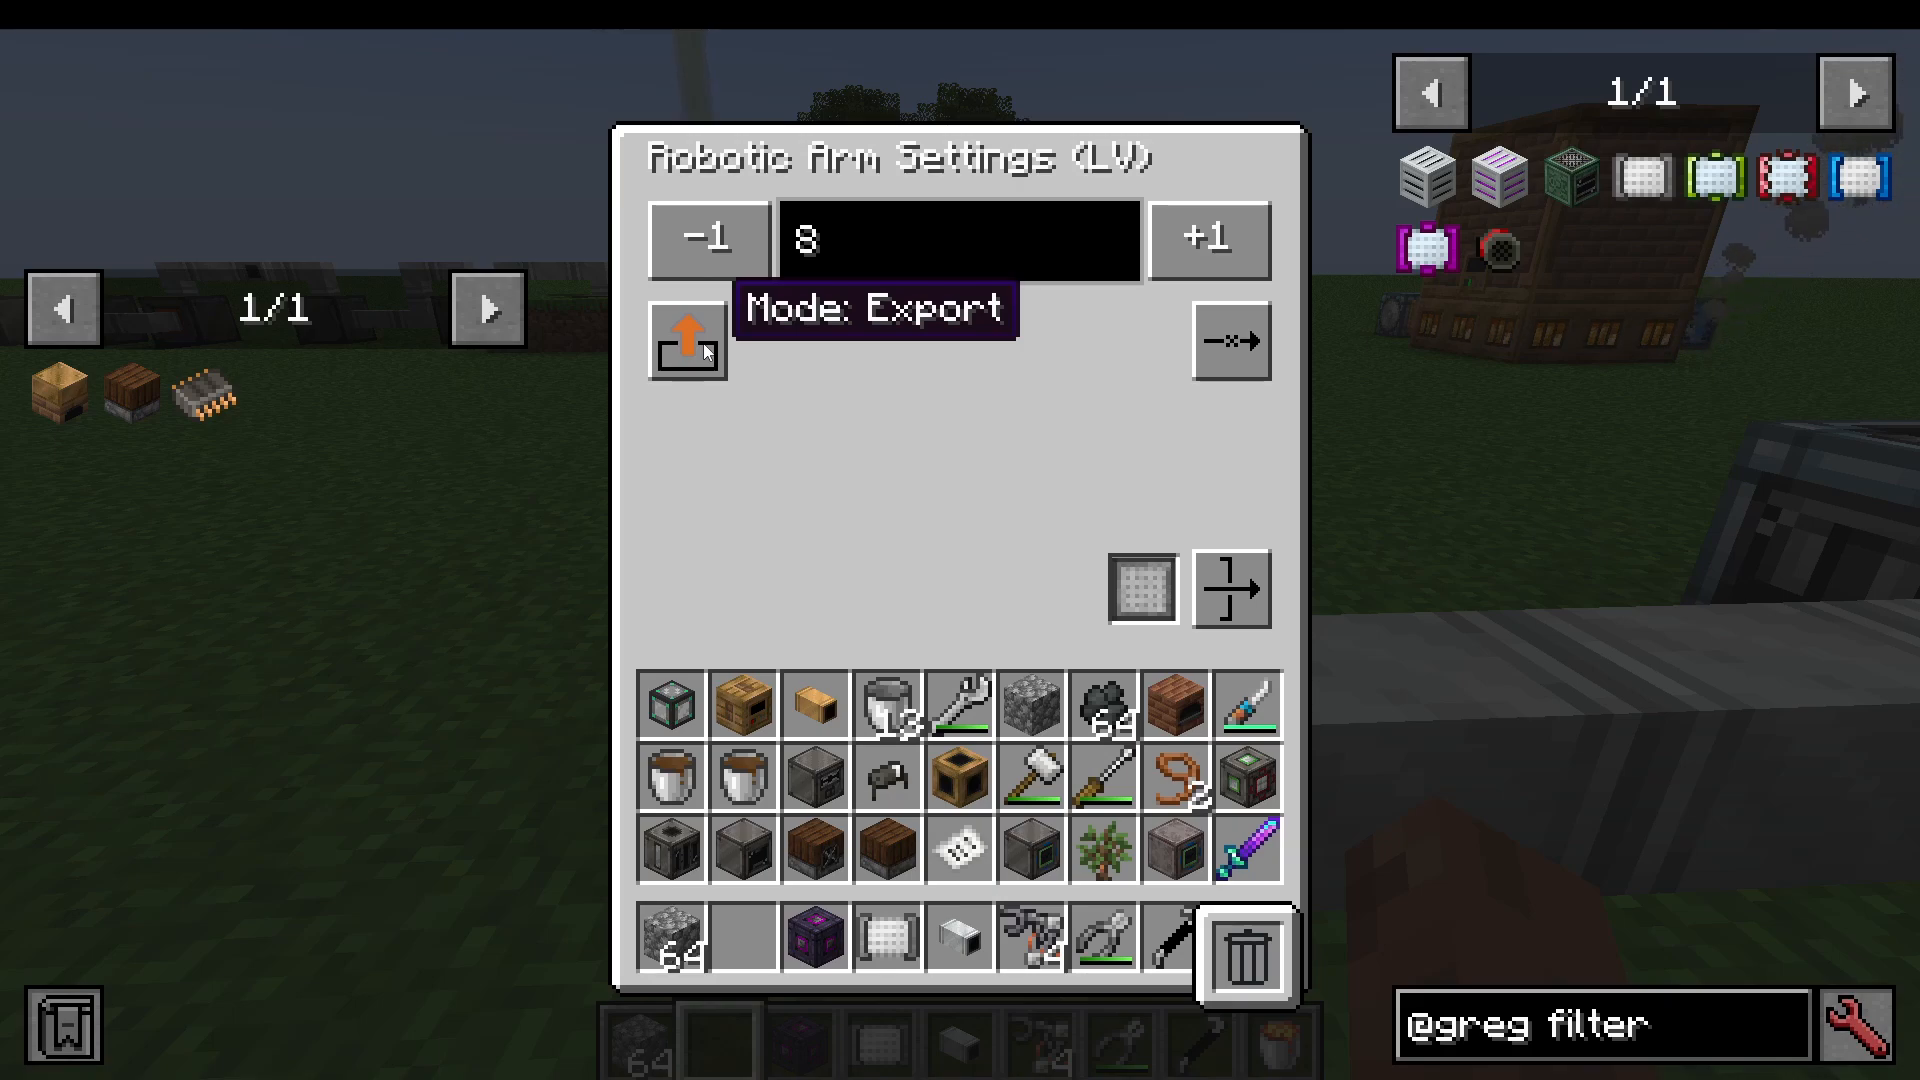
Once a robot arm is attached, shift right-click on the machine to open its settings panel. Here you can configure:
Item Quantity
Set how many items the robot arm extracts or inserts per operation. For this setup, use the full stack size of 8.
Mode Selection
Choose between Import (pulling items in) and Export (pushing items out). For filtering mirabilite dust away from the electrolyzer, you’ll use Export mode.
Step 7: Creating Item Filters
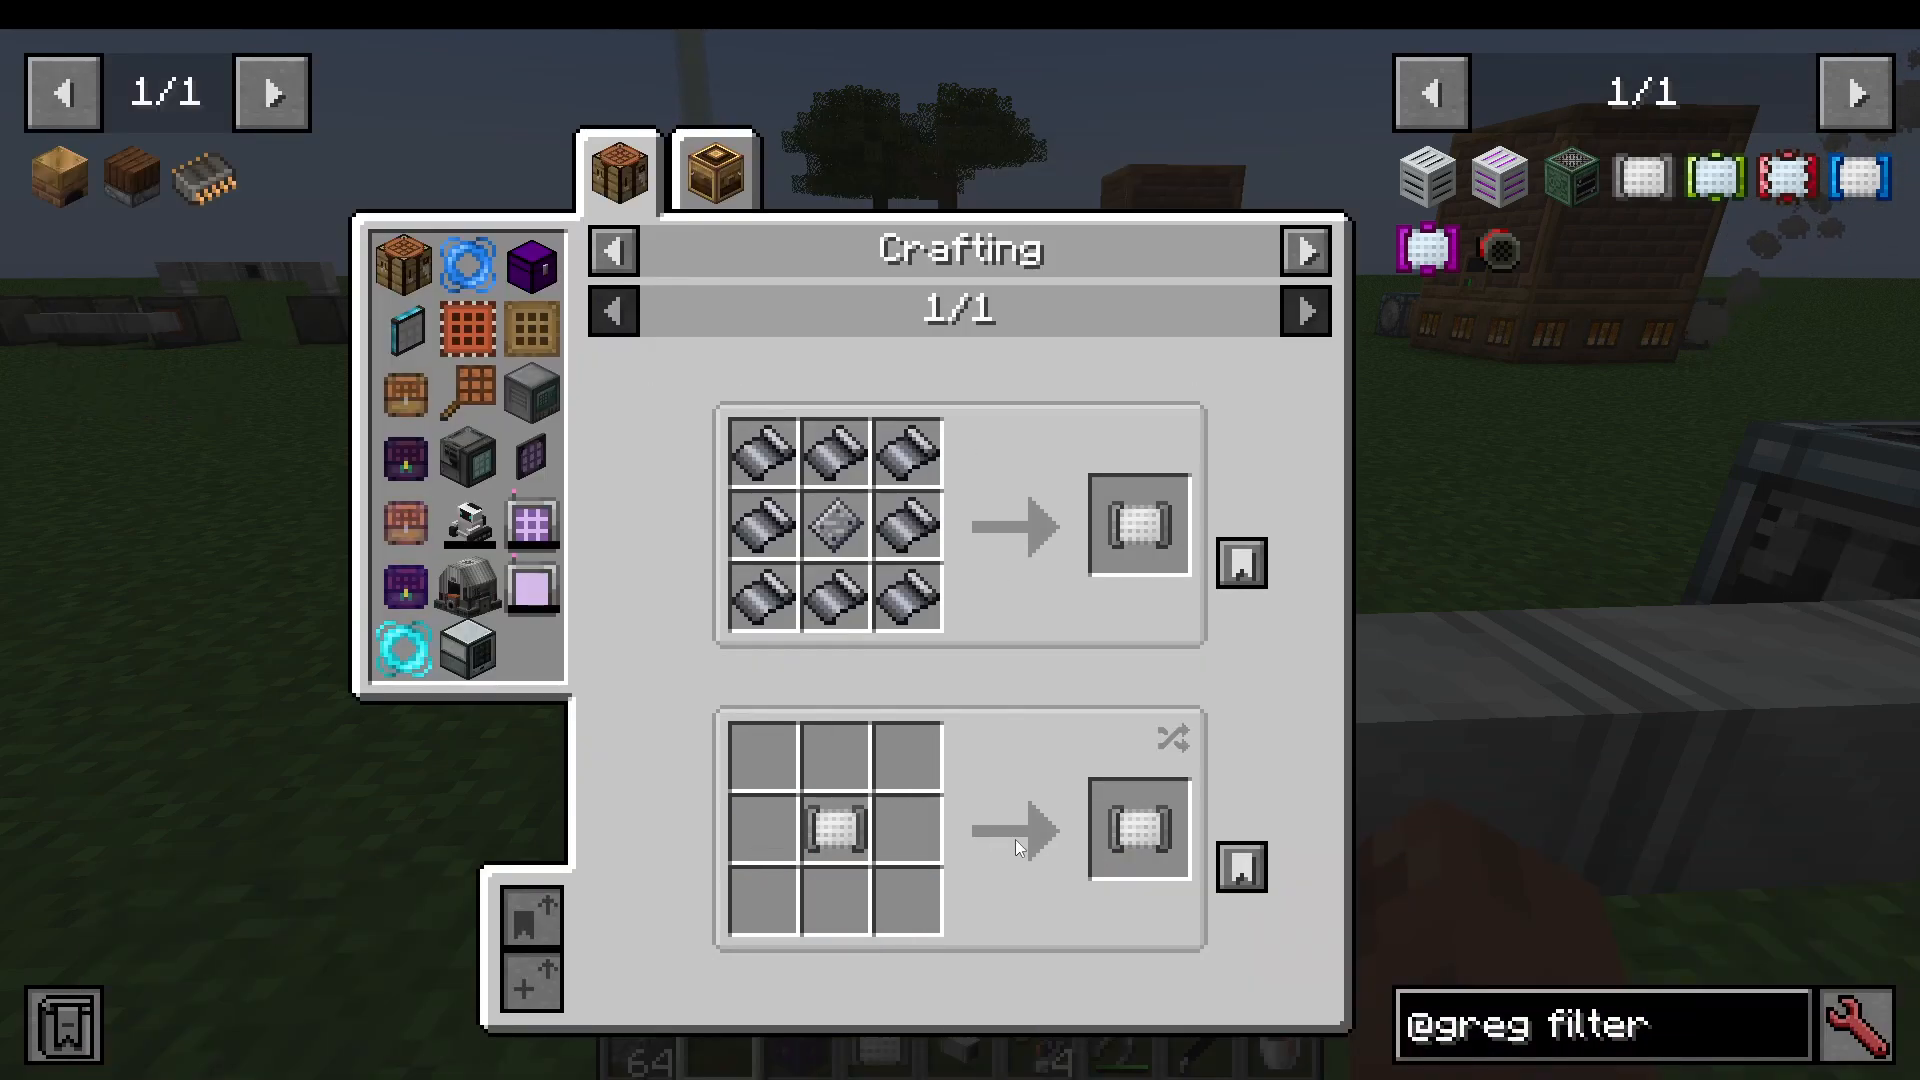
Item filters allow you to specify exactly which materials are moved by a robot arm. Available filter types include:
Item Filter – filters specific items
Item Tag Filter – filters by item tags
Smart Item Filter – advanced filtering options
Fluid Filter – for filtering liquids
Fluid Tag Filter – filters fluids by tags
For this automation, use a standard Item Filter.
Setting Up the Item Filter
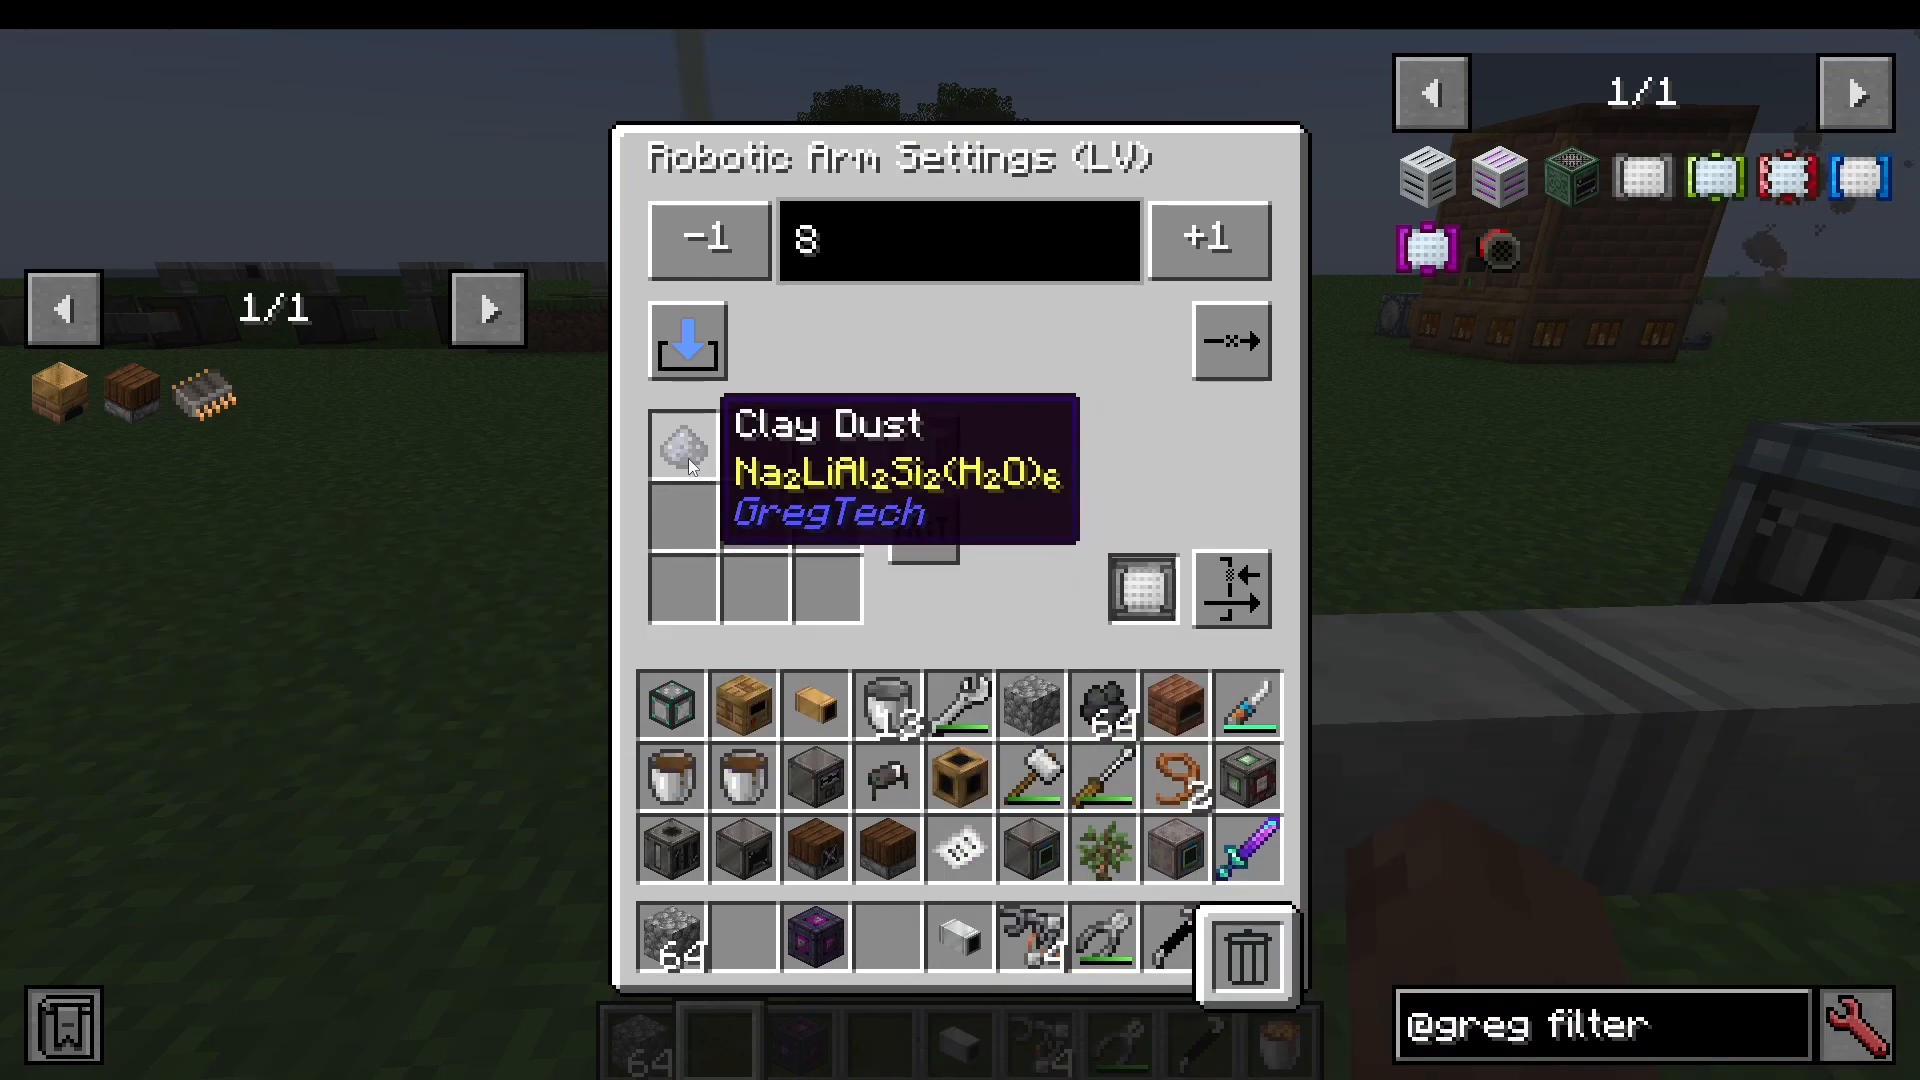
Place the item filter into the robot arm’s configuration slot. The filter will display the items you’ve placed in it and save these settings even if you remove them. For clay dust filtering, the filter will remember “clay dust” as its selection.
Step 8: Whitelist vs. Blacklist Configuration
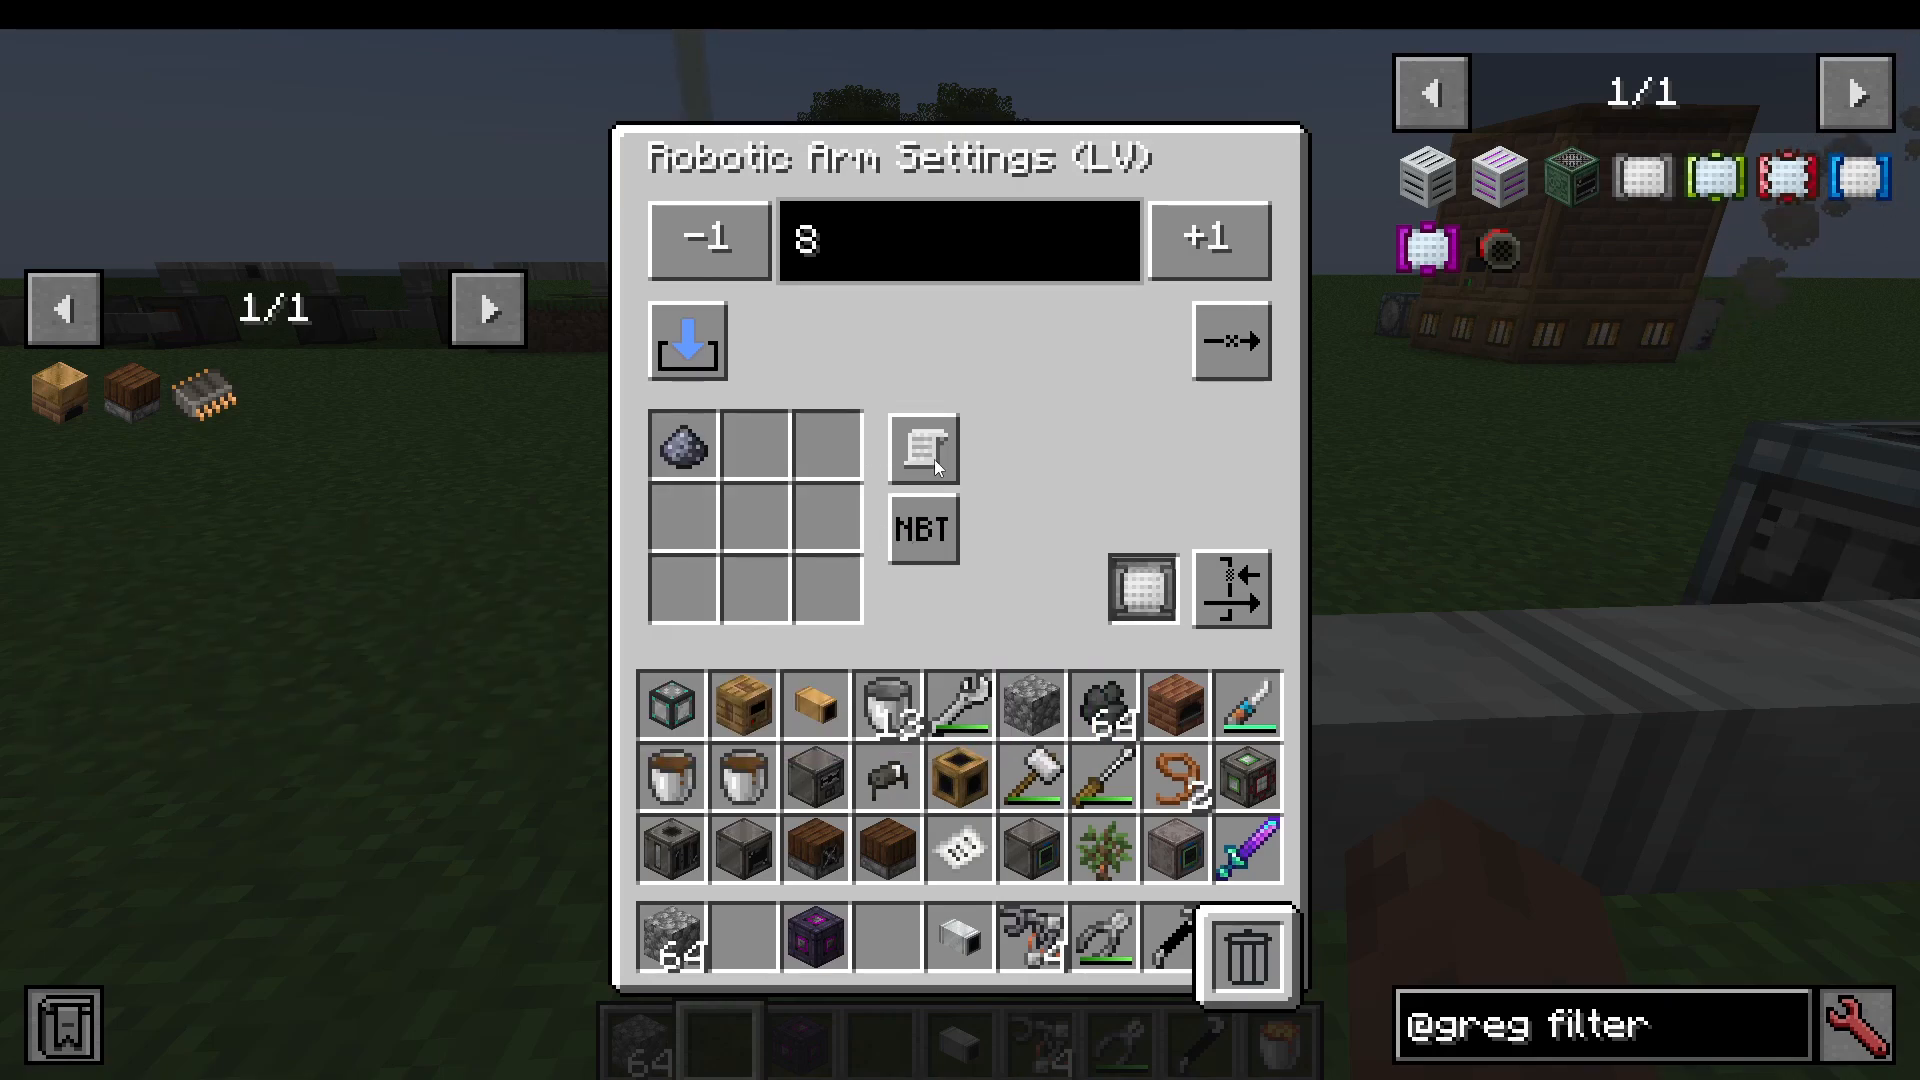
Choose between two filter modes:
Whitelist – only the items shown in the filter will be moved
Blacklist – all items except those shown in the filter will be moved
For this setup, whitelist clay dust so that only clay dust is extracted by the robot arm.
Step 9: Understanding Import/Export Options
The robot arm settings include additional options:
Manual Import/Export (Disabled) – the robot arm won’t function
Filtered – the robot arm only moves items matching the filter
Unfiltered – the robot arm moves items independently of the filter
Set this to “Filtered” to ensure only clay dust is moved by the robot arm.
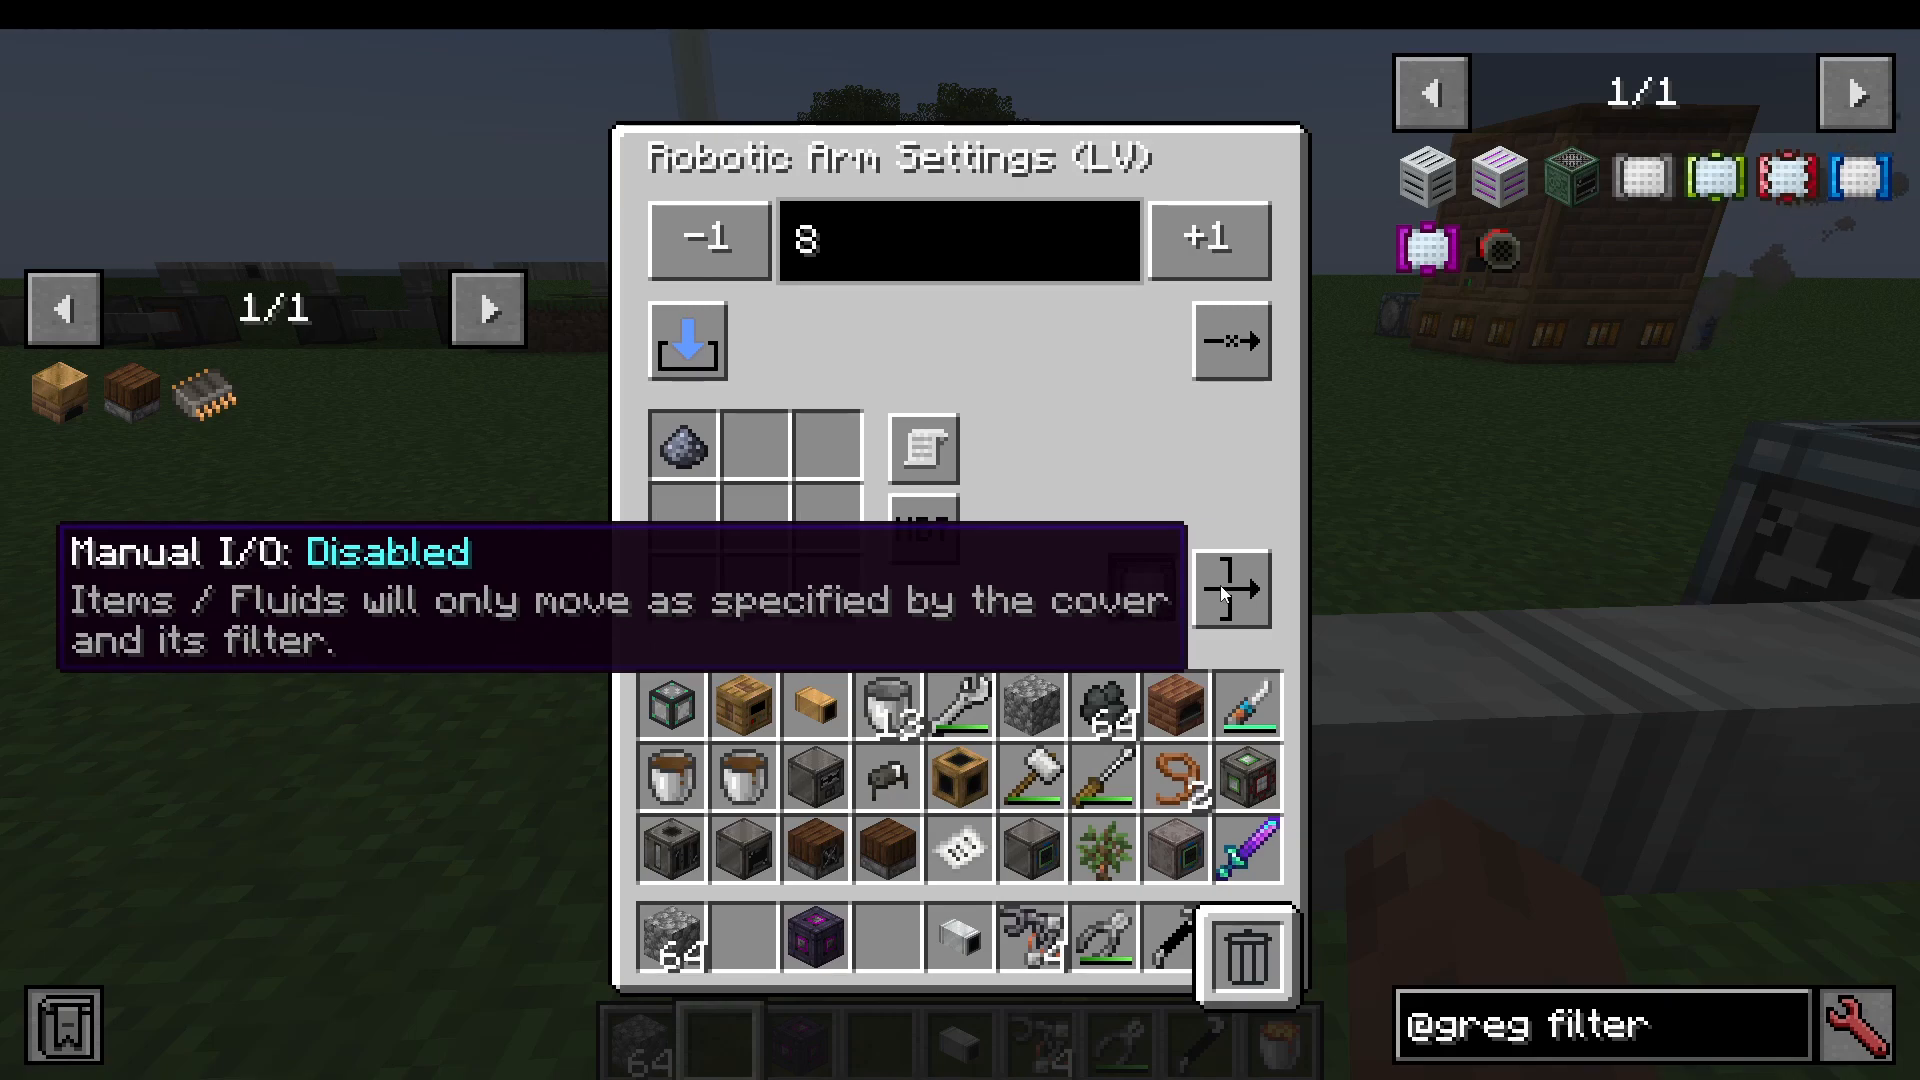
Step 10: Attaching Pipes with Filters
When using pipes to connect machines, you can also apply filters to specific sides. Use your wrench to attach the filtered pipe to the machine output. The filter will ensure only the specified material flows through that pipe.
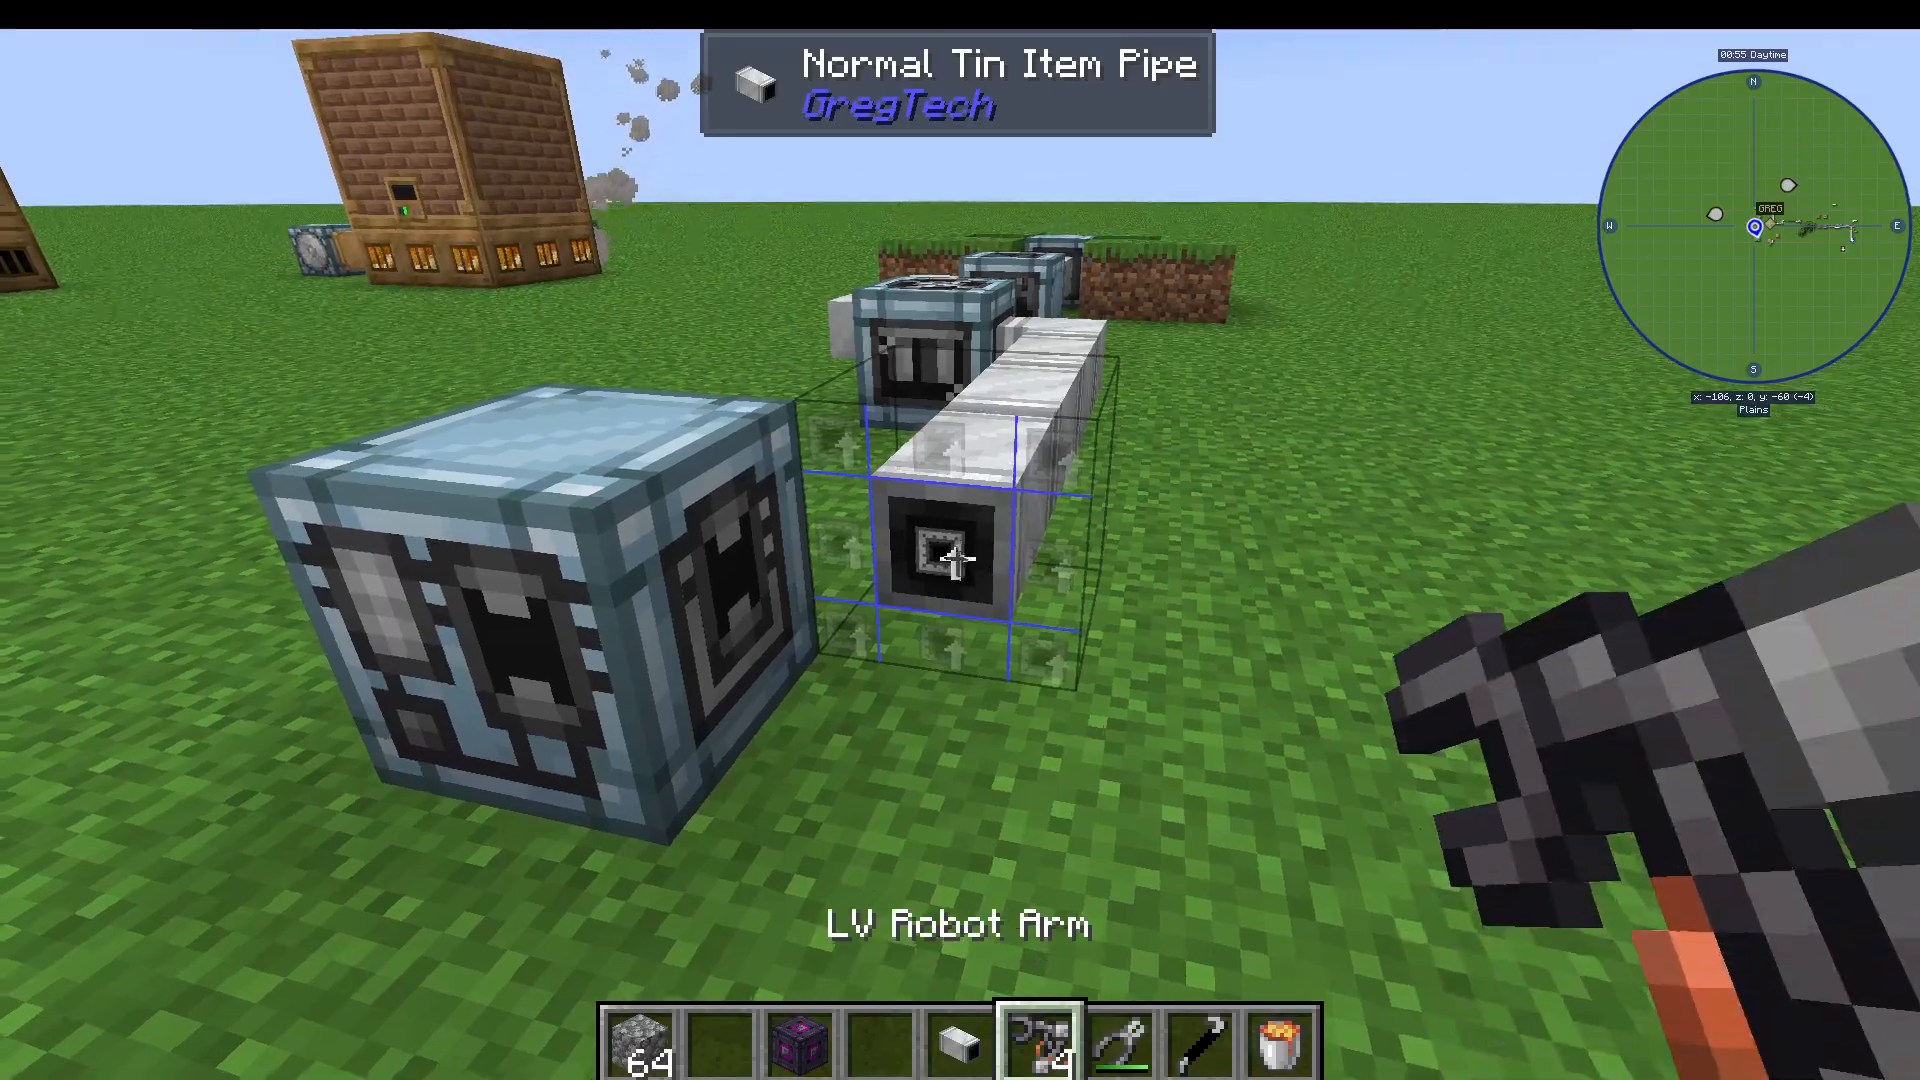
Step 11: Routing Mirabilite Dust
Install a second robot arm on the centrifuge to export mirabilite dust separately. You have several options for what to do with mirabilite dust:
Trash it if you don’t need it
Store it for later use
Process it in an electrolyzer to produce oxygen, sodium, sulfur, and additional water (requires 17 mirabilite dust)
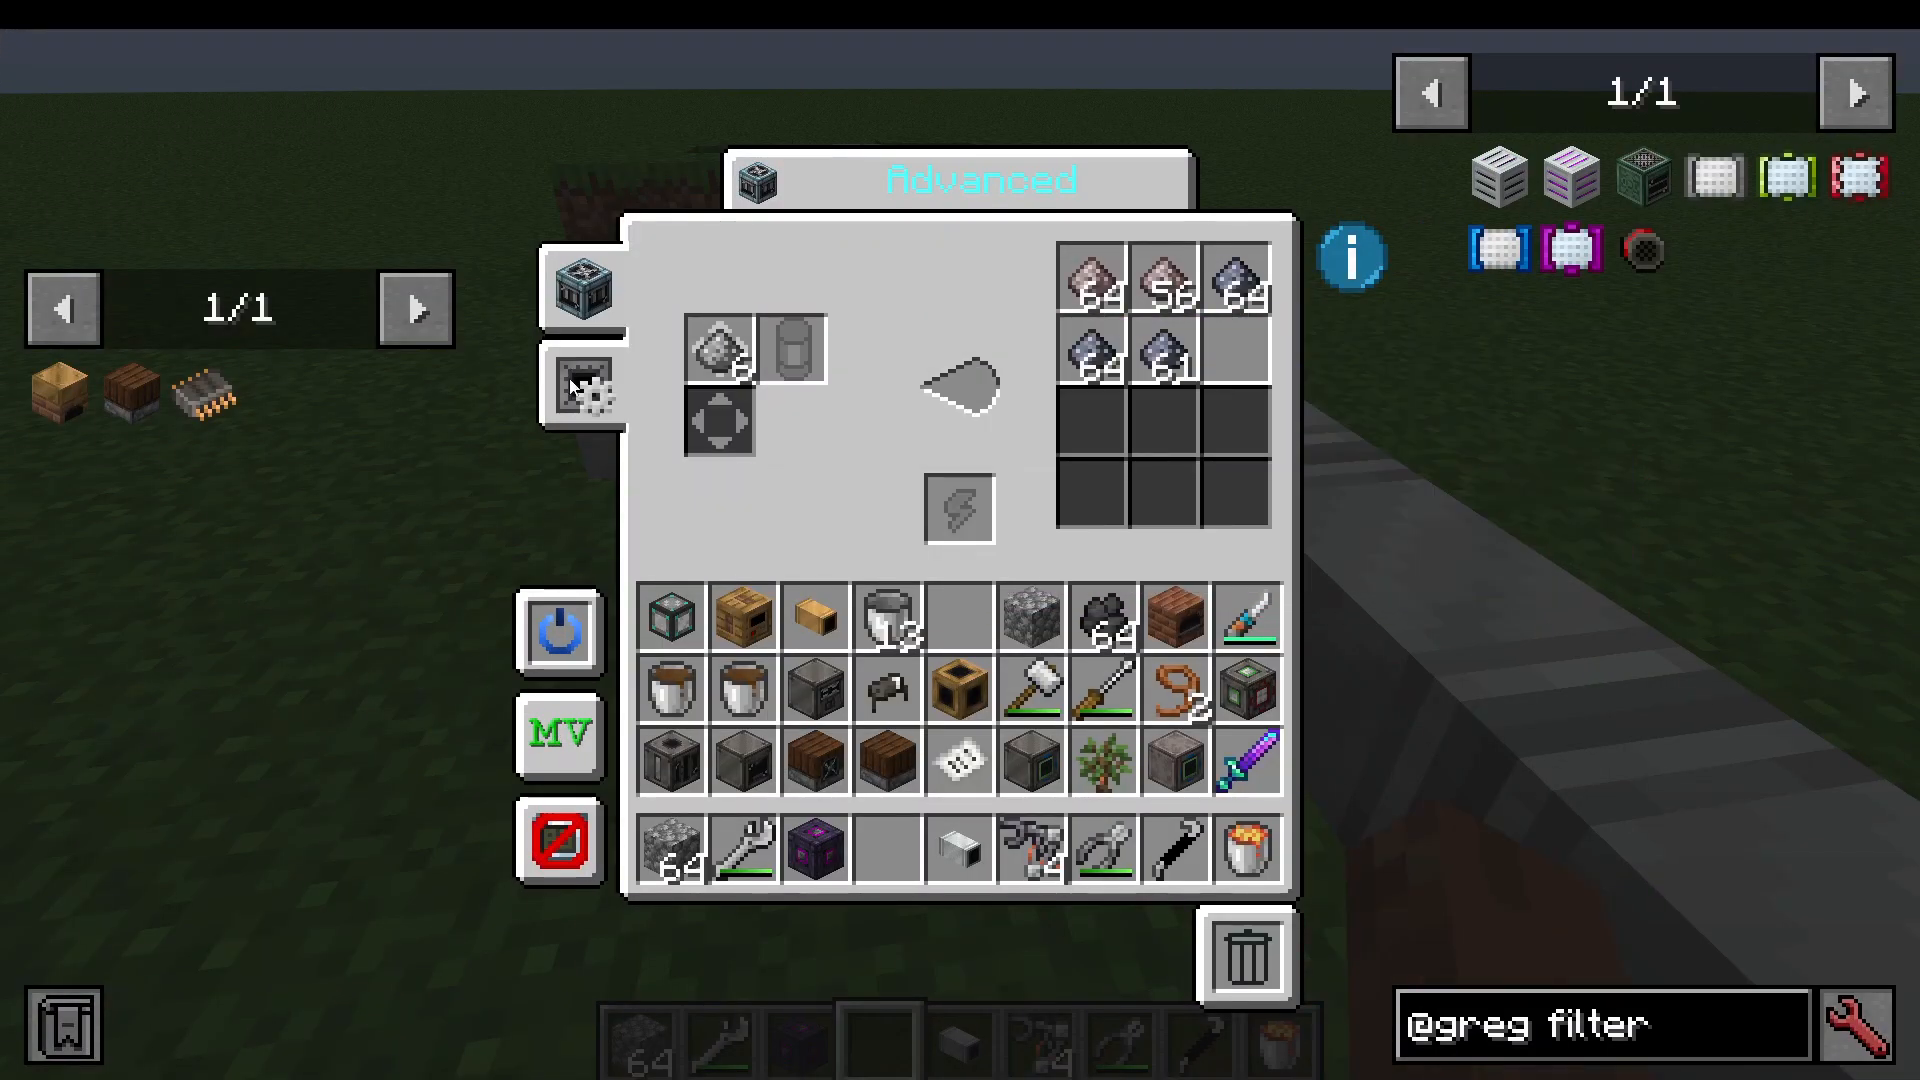
Step 12: Final Processing in the Advanced Electrolyzer
Once filtered clay dust reaches your Advanced Electrolyzer, it will be electrolyzed into the final products: clay, sodium dust, lithium dust, aluminum dust, silicon dust, and water. All of these materials are renewable outputs from your initial diorite input.
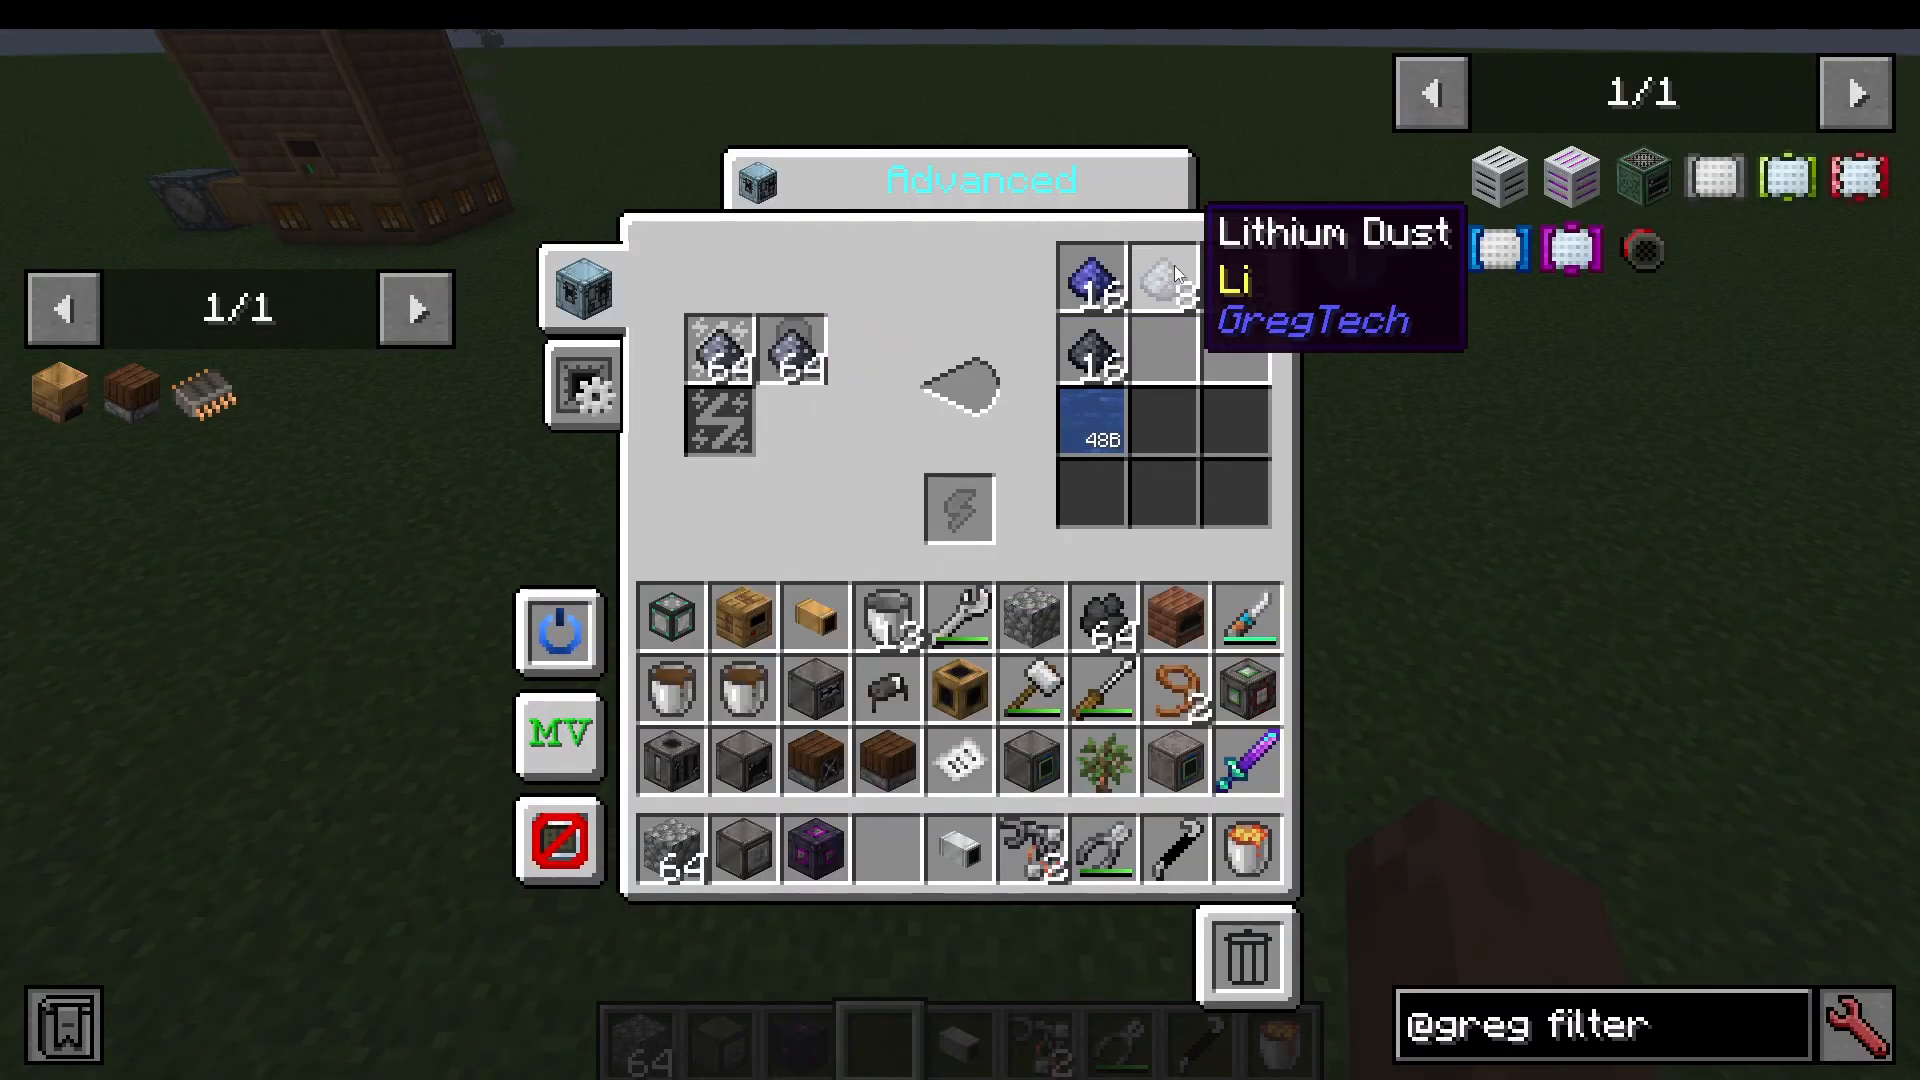
Complete Material Output Summary
From a single block of diorite, your passive automation line generates:
Clay dust
Sodium dust
Lithium dust
Aluminum dust
Silicon dust
Water
Additionally, if you process the mirabilite dust separately in an electrolyzer, you can produce oxygen, sulfur, and even more water and sodium.
Conclusion
This passive aluminum automation setup demonstrates the power of filtering and robot arm covers in Gregtech CEu. By controlling which materials flow through each machine using item filters, you can build sophisticated multi-output processing lines that maximize resource efficiency. This same technique applies to countless other Gregtech automation projects, making robot arms and filters essential tools in any modpack using Gregtech CEu.
Want to Support?
If you would like to help us continue making these guides – please consider joining our patreon here – https://www.patreon.com/c/JaviHeals
Alternatively – we host a group of MC Servers you can join here – https://discord.gg/zD7Gjt6MHF



