The Ultimate Guide to Embers Rekindled
The Ultimate Guide to Embers Rekindled
Embers Rekindled is a unique, old-fashioned tech mod for Minecraft that lets you harness a mysterious energy called Ember to process ores, manipulate fluids and items, craft powerful gear, and build advanced machines. Whether you’re just getting started or pushing into the late game, this guide covers everything you need to know — from finding your first ancient ruin to powering an Ignem Reactor.
Getting Started: Finding the Ancient Ruin
The first thing you need to do is locate a small underground structure called an Ancient Ruin. These are found at roughly Y level minus 17, so they’re not too deep. If your modpack includes Explorer’s Compass, right-click it, type ember in the search bar, and select Small Ruin to get the coordinates instantly. If you don’t have that mod, you’ll need to explore and find it manually.
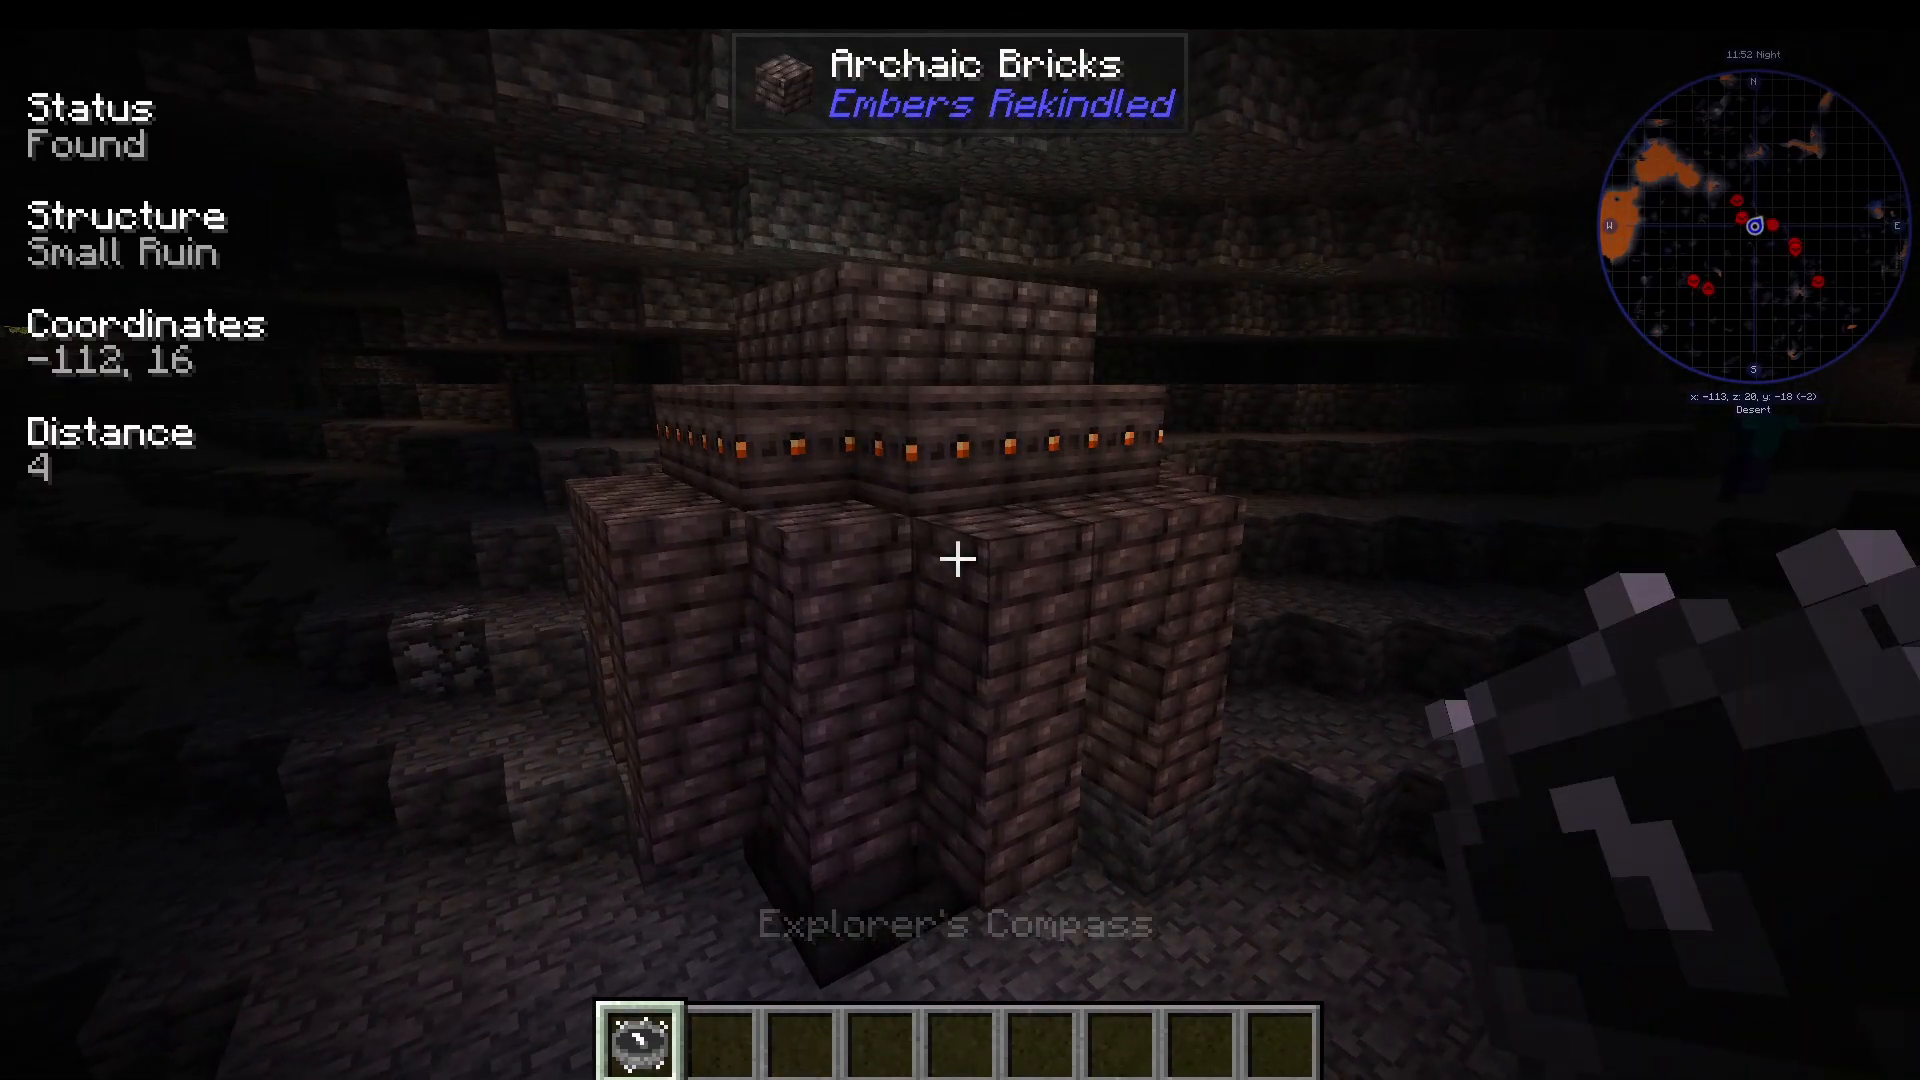
Inside the ruin you’ll find Ashen Tiles, Archaic Bricks, and a Lead Crystal Seed (useful later). More importantly, you’re looking for an Ancient Column — it may have already run out and the golem may be wandering the cave nearby, so look around if you can’t spot it immediately.
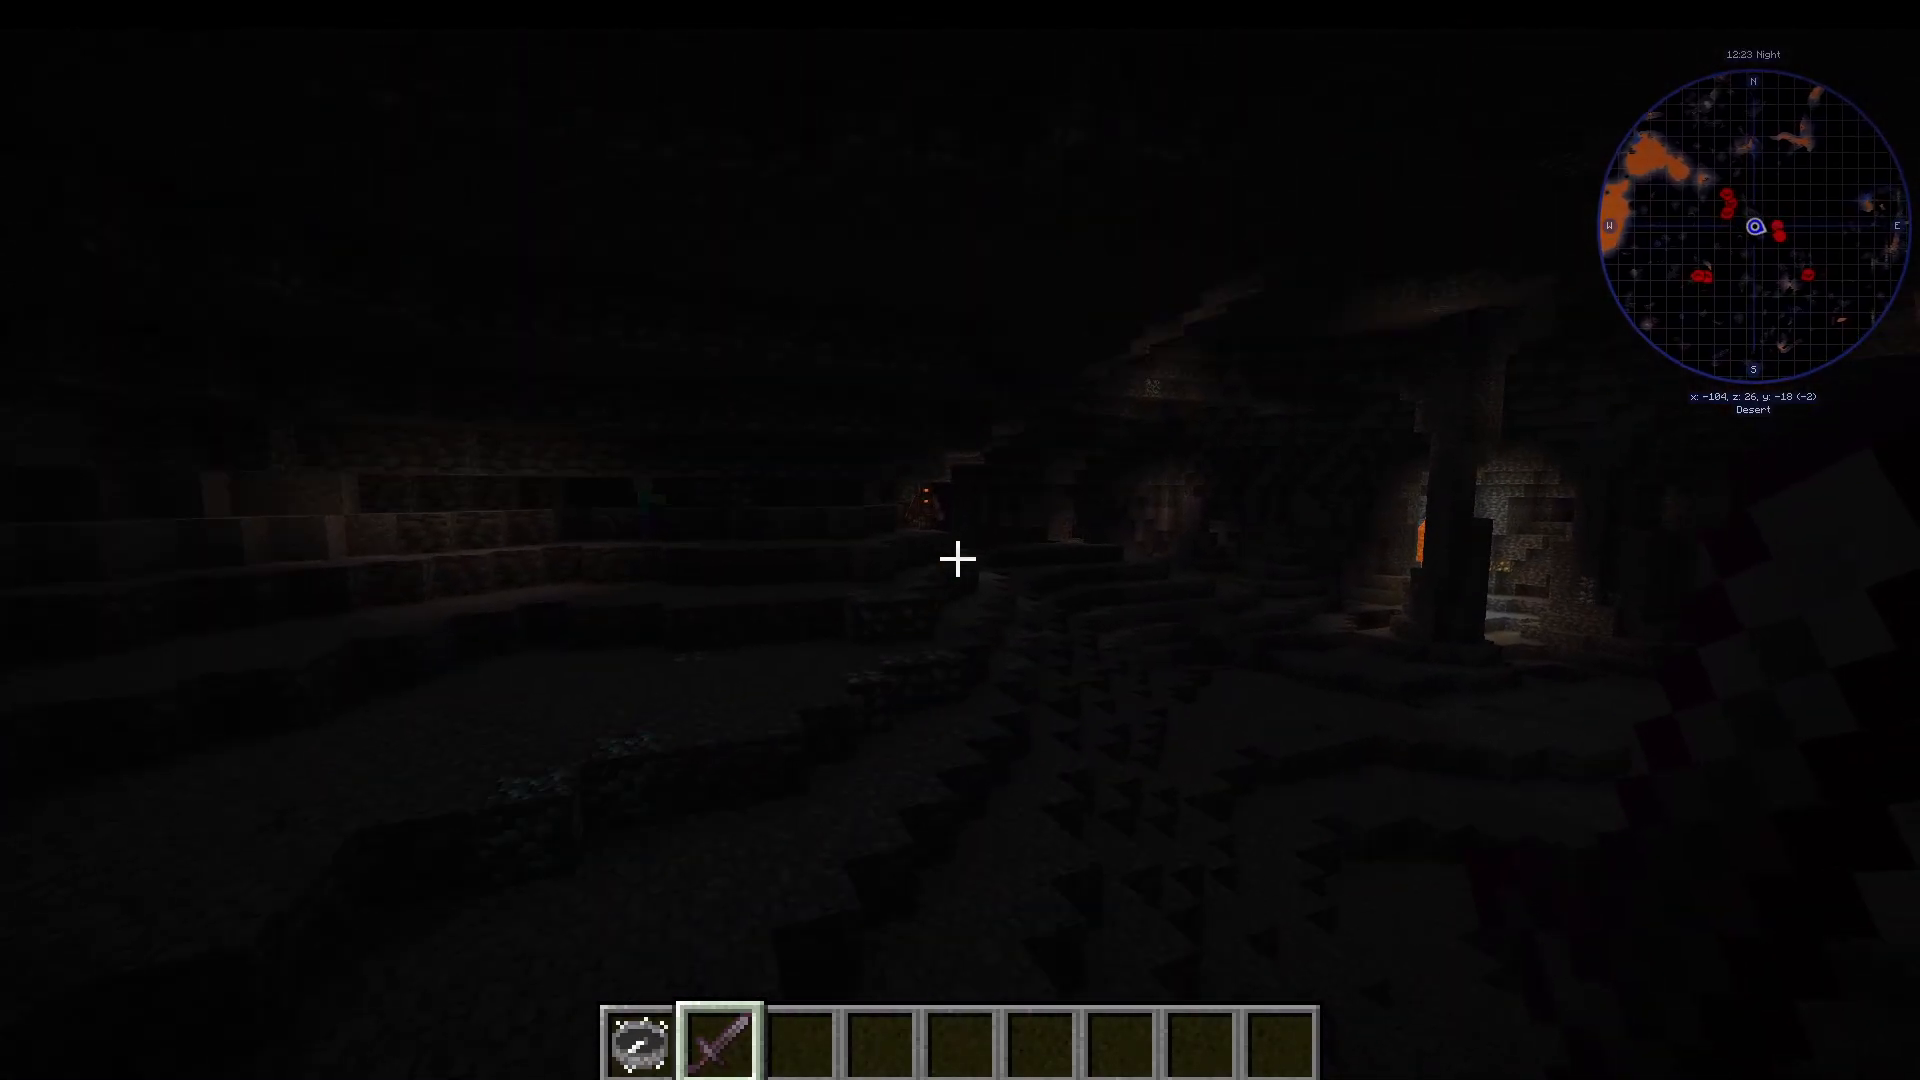
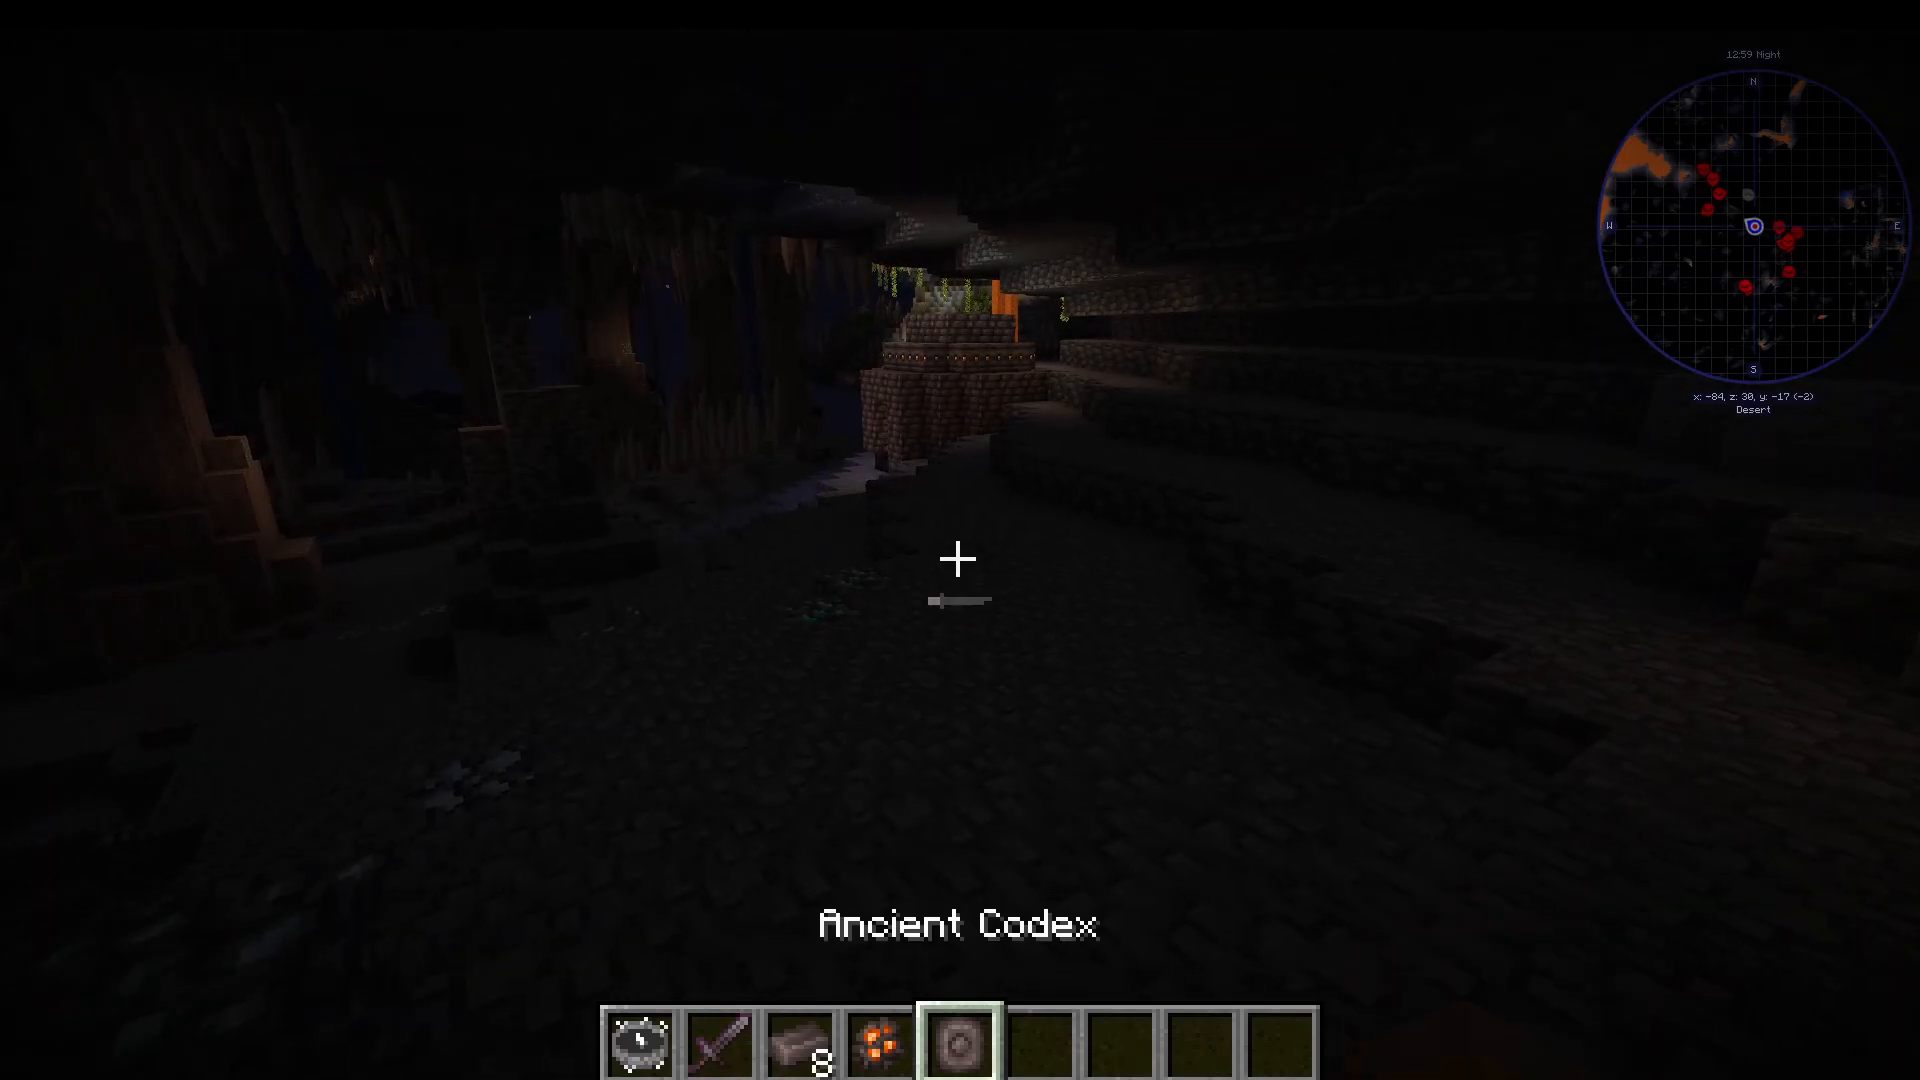
Defeating the Ancient Column drops an Ancient Motive Core and four Archaic Bricks. The core is used to craft an Ancient Codex — this is your guidebook for the entire mod. It also has uses in alchemy and on anvils later on.
Reading the Ancient Codex
Craft the Ancient Codex and open it. You’ll see several locked chapters including: Natural Energy, Energetic Alchemy, Transmutation, Metallurgy Constructs, Machinations of Fire, Augments, and Sniffing. These chapters unlock as you progress through the mod.
Essential Early Resources
Beyond the ruin, you’ll want to mine for two key ores:
Lead — found at Y level 20 to minus 25
Silver — found at Y level 0 to minus 64
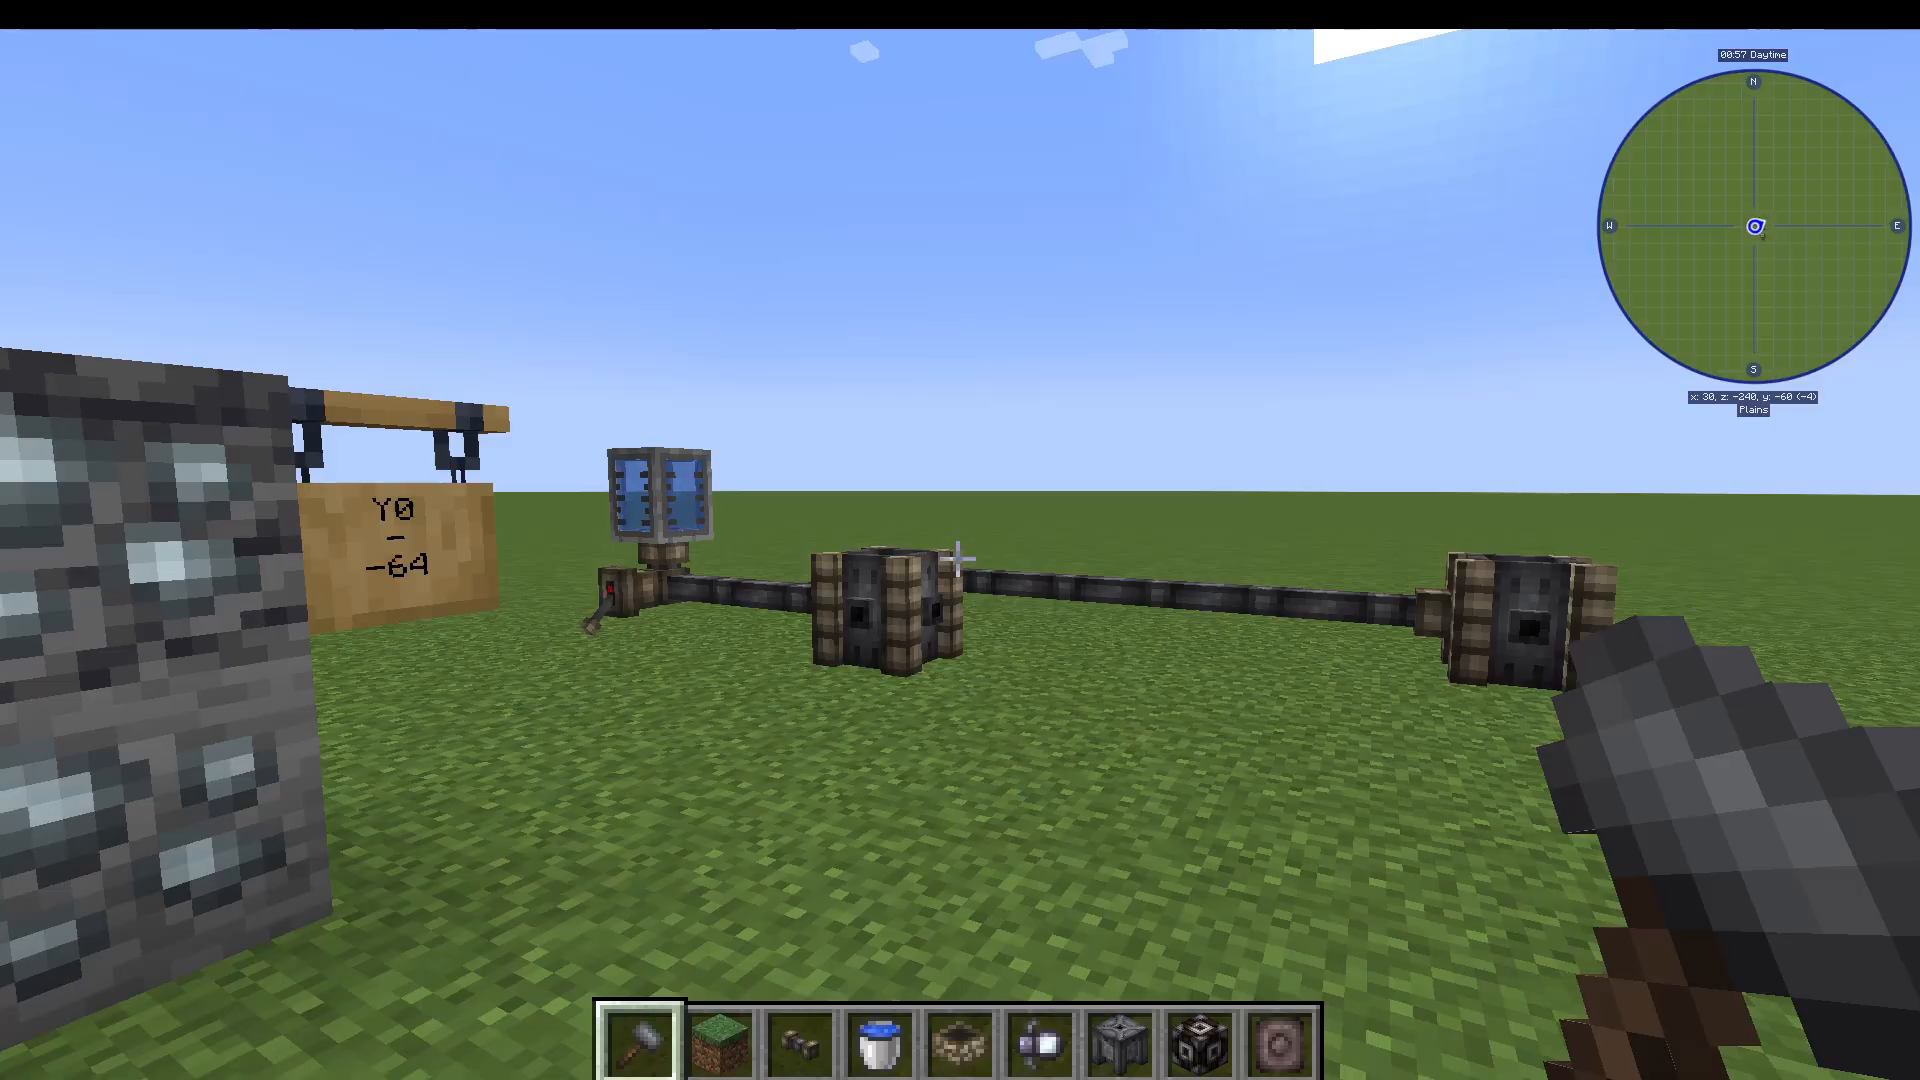
Mining between Y level 0 and minus 25 is ideal because you can find both ores in the same area. You’ll also want to craft a Tinker’s Hammer using a lead ingot — this is your all-purpose wrench for the mod. Press U while holding it to see that it can convert iron, dawnstone, and other ingots into plates. You can also right-click it on pipes to detach them from machines.
Working with Fluids
Fluid Vessels and Fluid Dials
One of the core mechanics of Embers Rekindled is fluid manipulation. Start by crafting a Fluid Vessel. To make it, you’ll need Camonite Bricks (crafted by smelting Camonite Blend, which is just clay and sand) and plates made with your Tinker’s Hammer. Right-click a water bucket on the vessel to fill it.
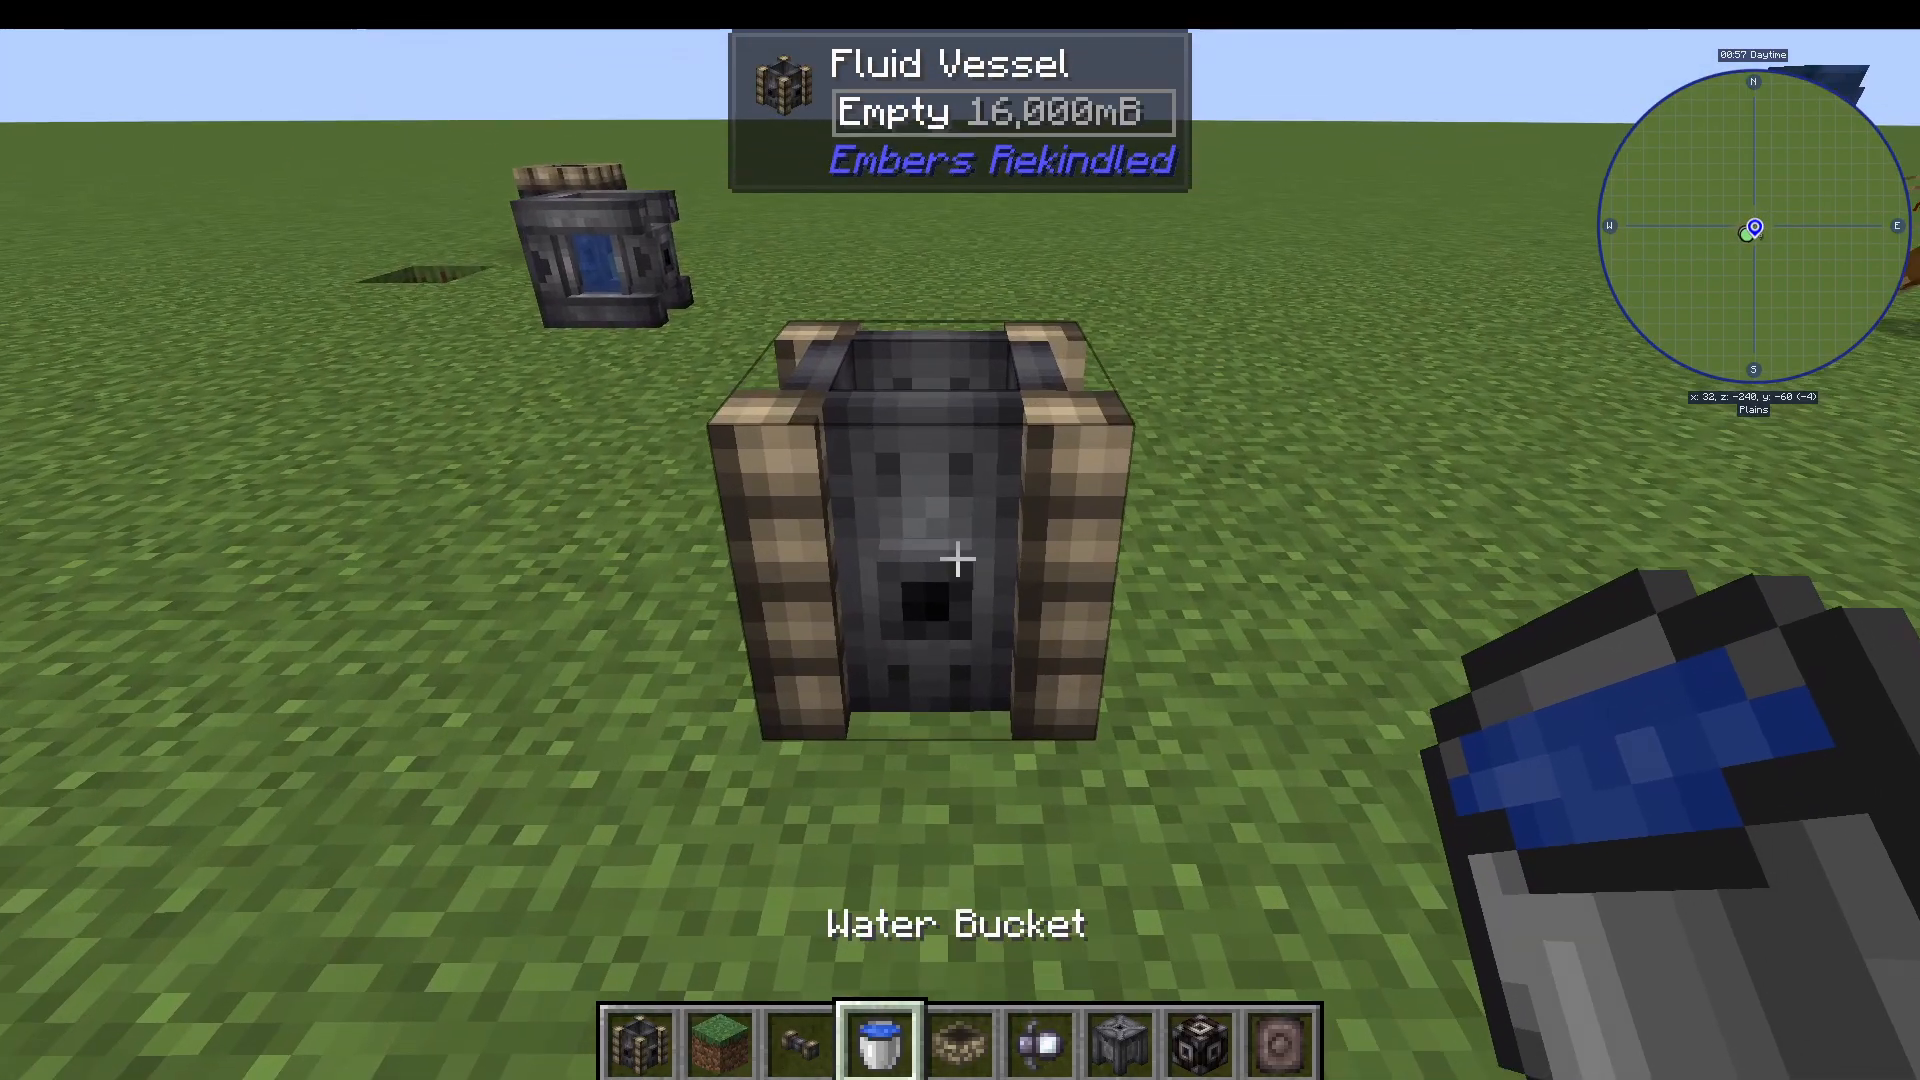
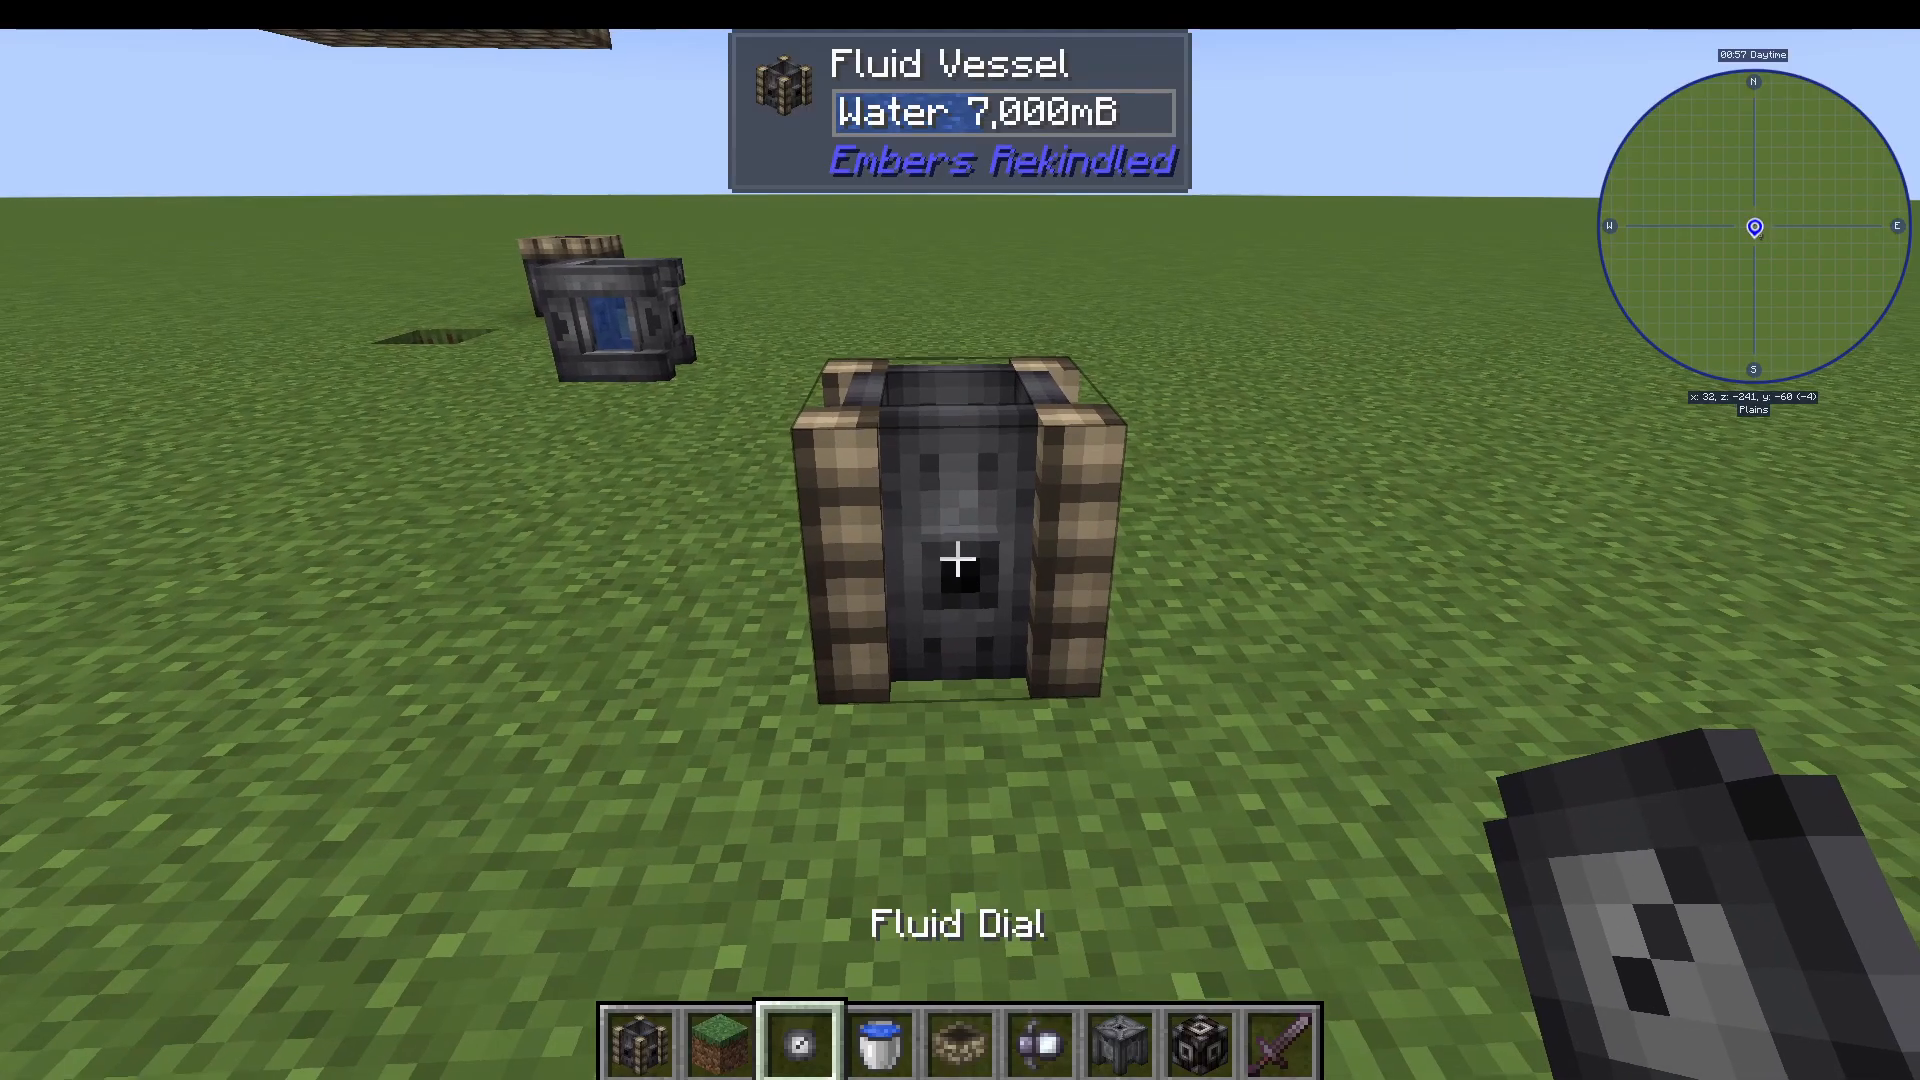
If you have a mod like Jade installed, fluid levels will display on-screen automatically. If not, craft a Fluid Dial and right-click it onto the vessel to read how much liquid it contains. This works for any liquid, not just water.
Automating Fluid Transfer
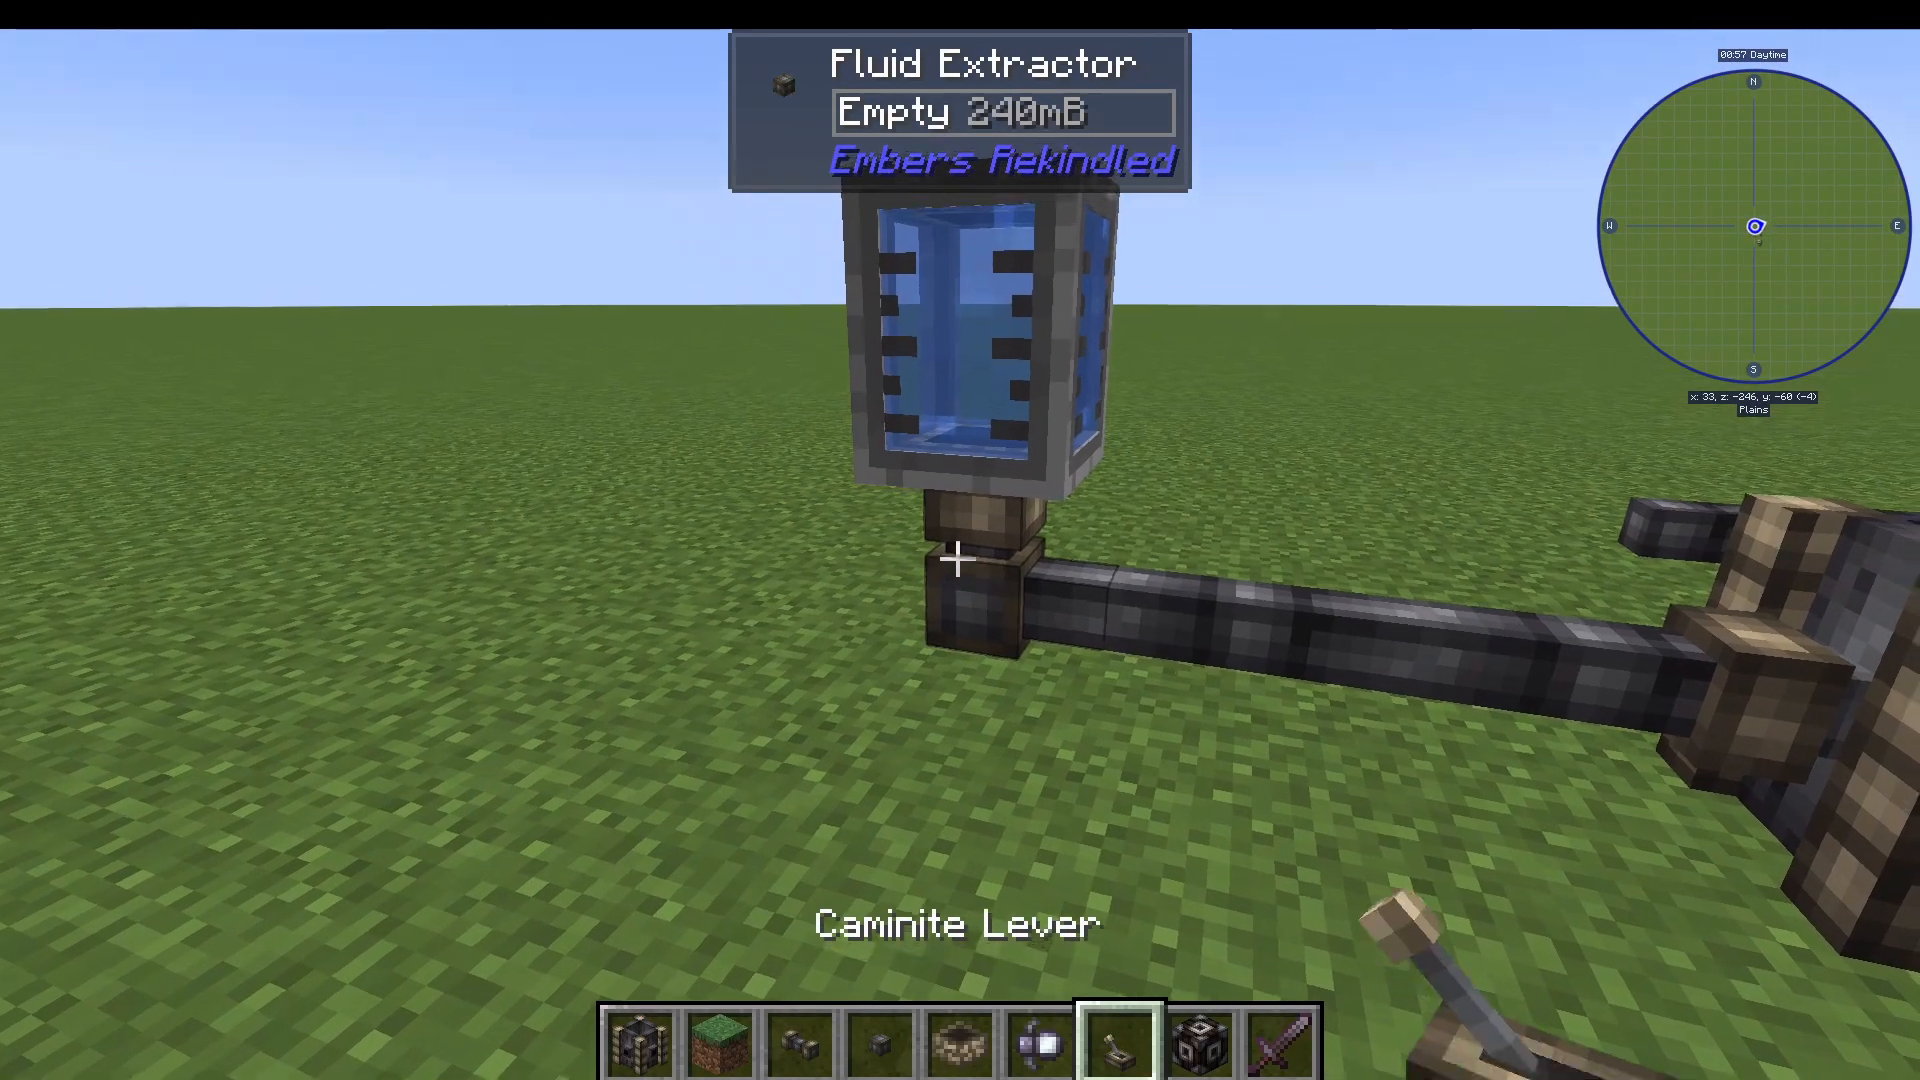
To move fluids automatically, you need a Fluid Extractor and Fluid Pipes. Attach the Fluid Extractor to the fluid source, then connect Fluid Pipes leading to your destination vessel. Note that the Fluid Extractor is redstone-controlled — attach a Camonite Lever or a standard lever to it and flip it to start the flow.
You can also use a Tinker’s Lens to visually inspect pipe flow. Holding it shows green if fluid is flowing correctly and red if the destination is full or there’s nowhere to pull from.
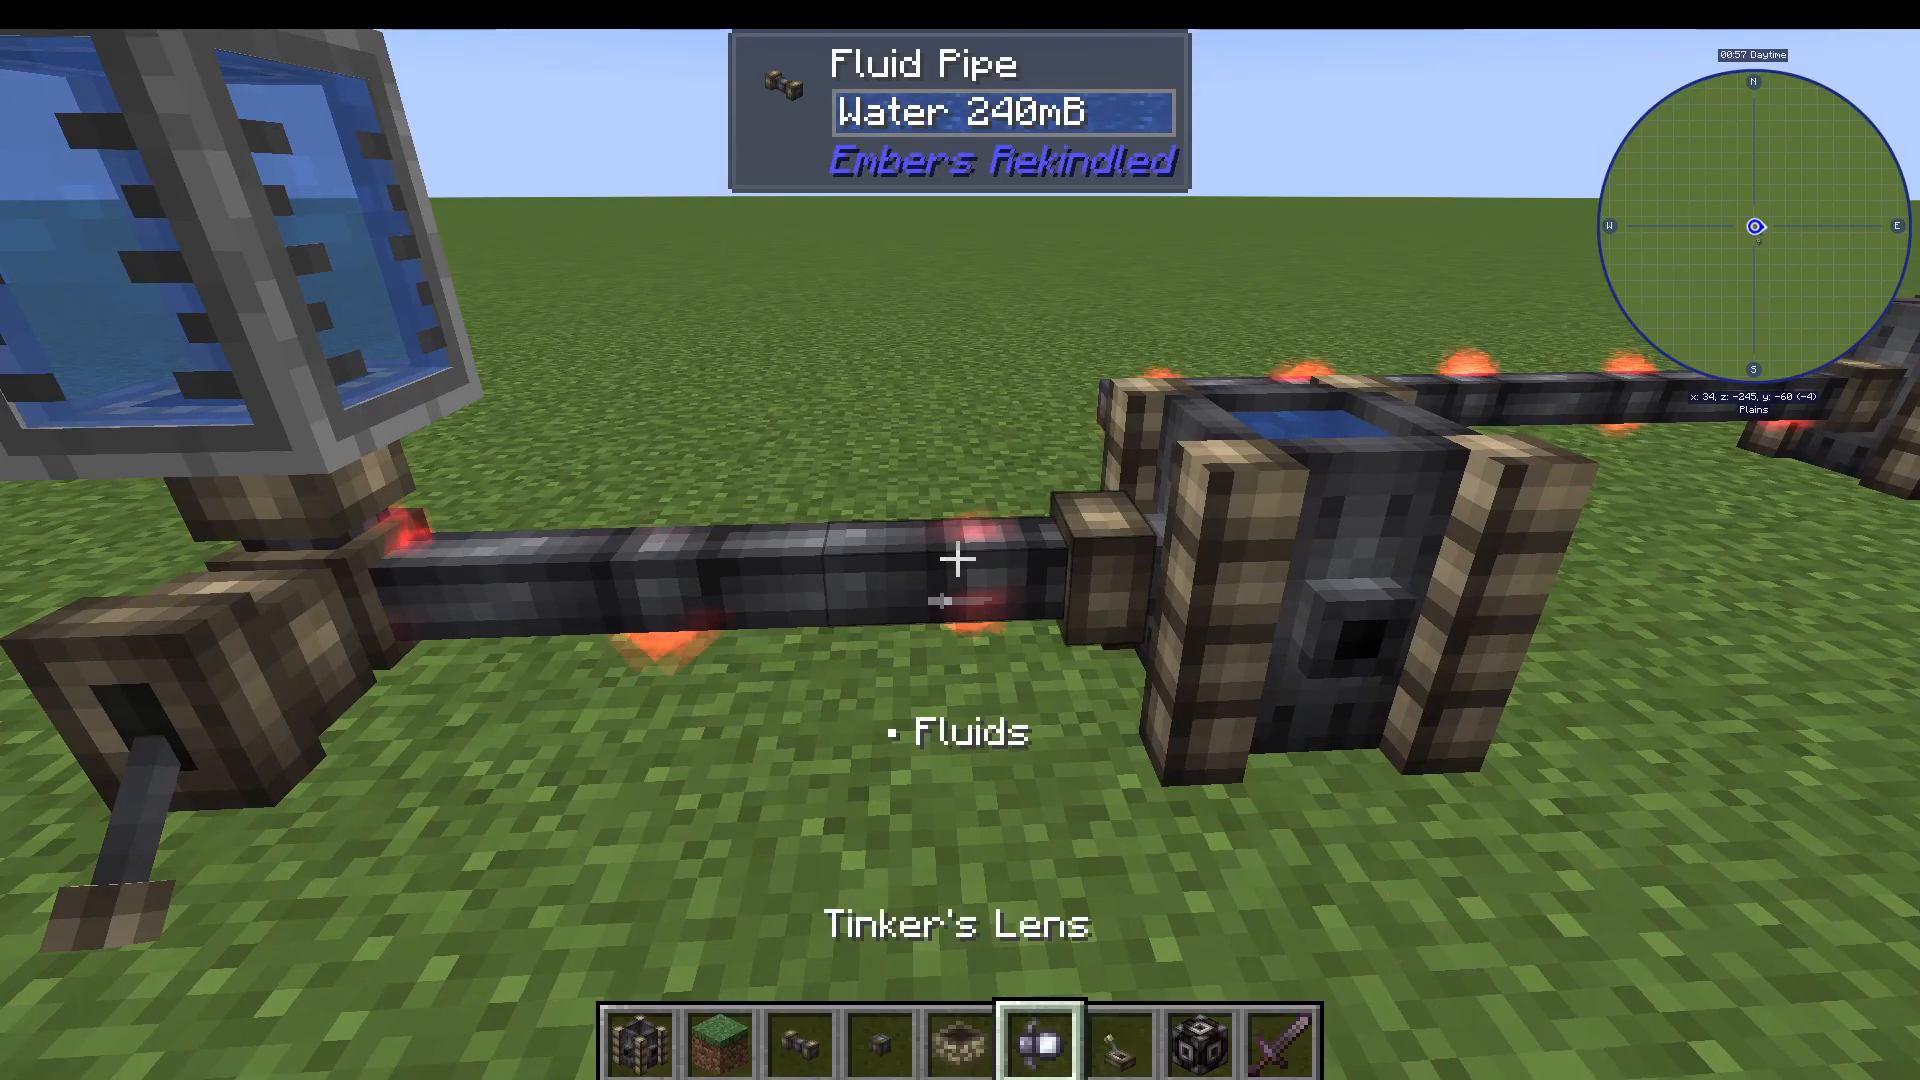
When chaining multiple vessels together, fluid will fill the closest vessel first before moving to those further away.
The Reservoir and Mechanical Core
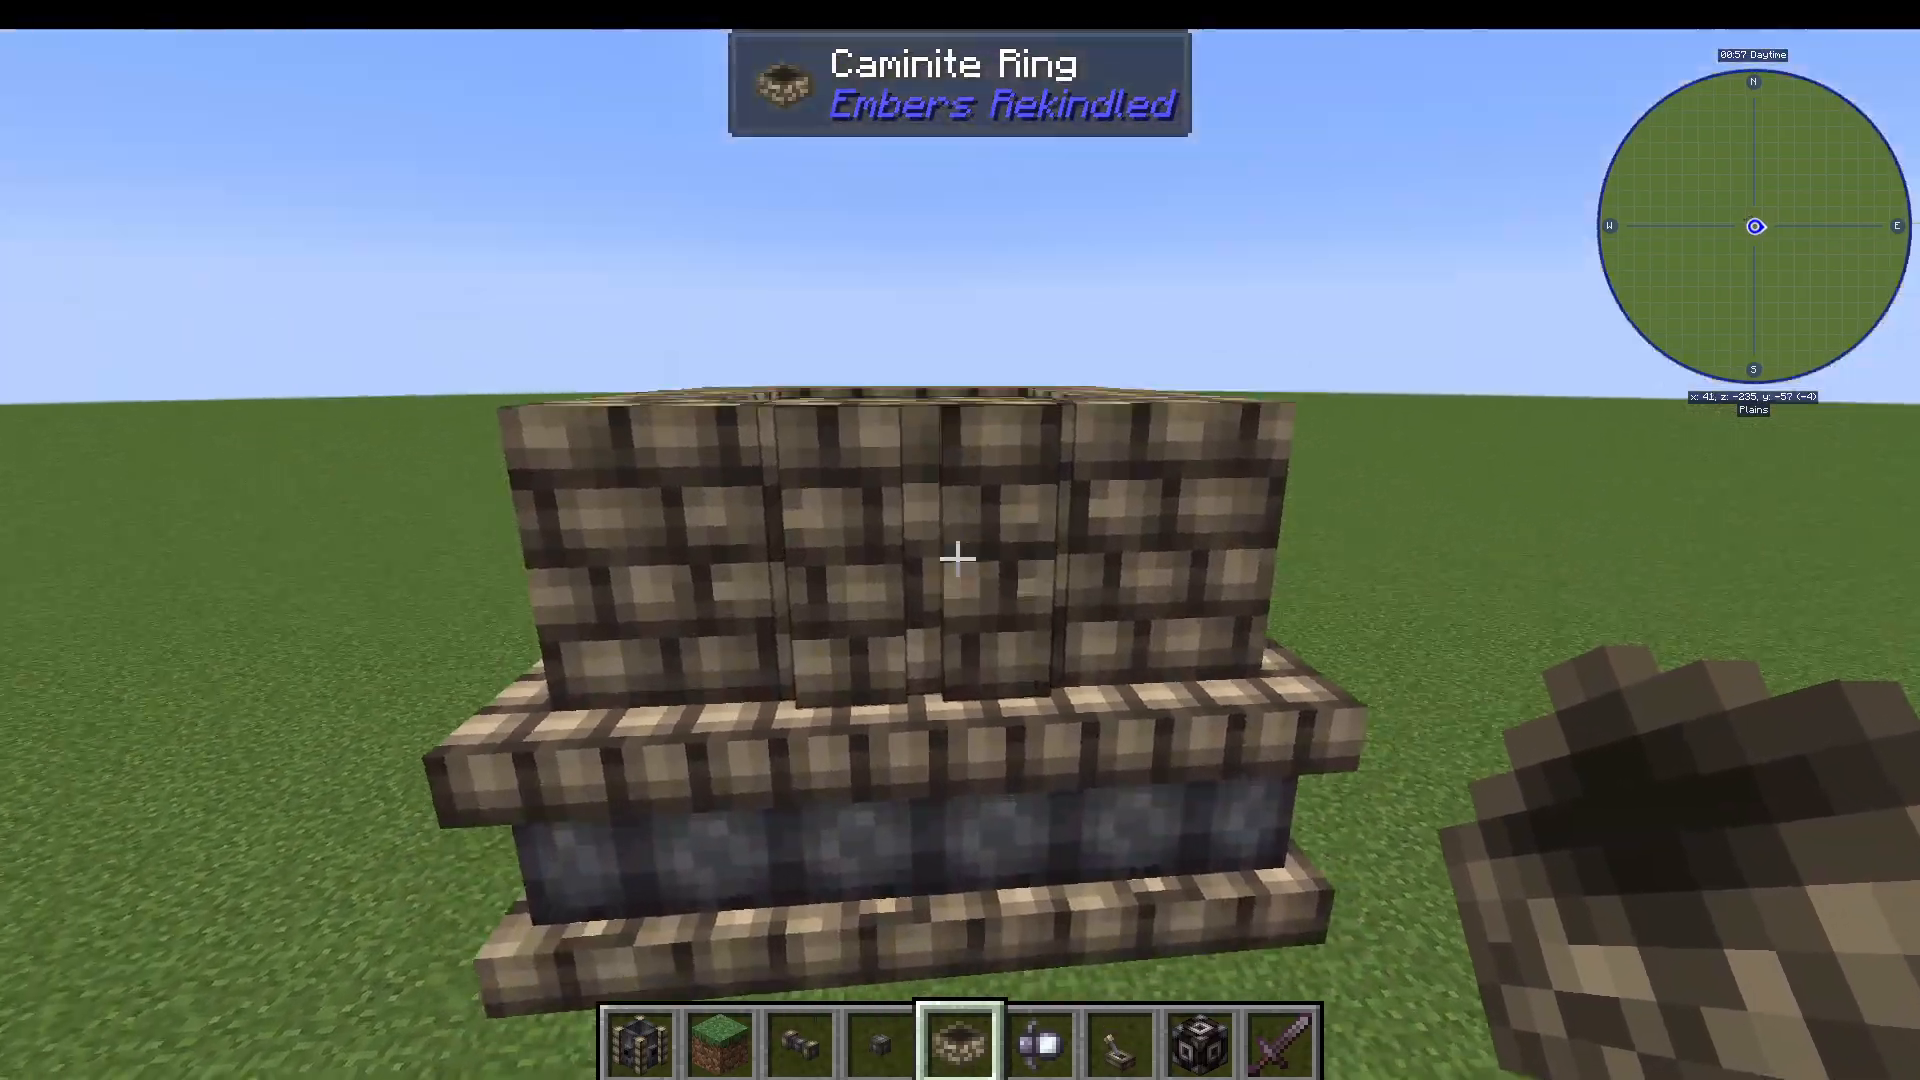
For larger-scale fluid storage, craft a Reservoir. Simply right-click it to place it and it automatically forms a multi-block structure. Right-click a Camonite Ring (crafted from Camonite Bricks) onto the top of the reservoir to increase its capacity — a single ring adds 40,000 buckets of storage, and each additional ring adds another 40,000. Stack as many as you need.
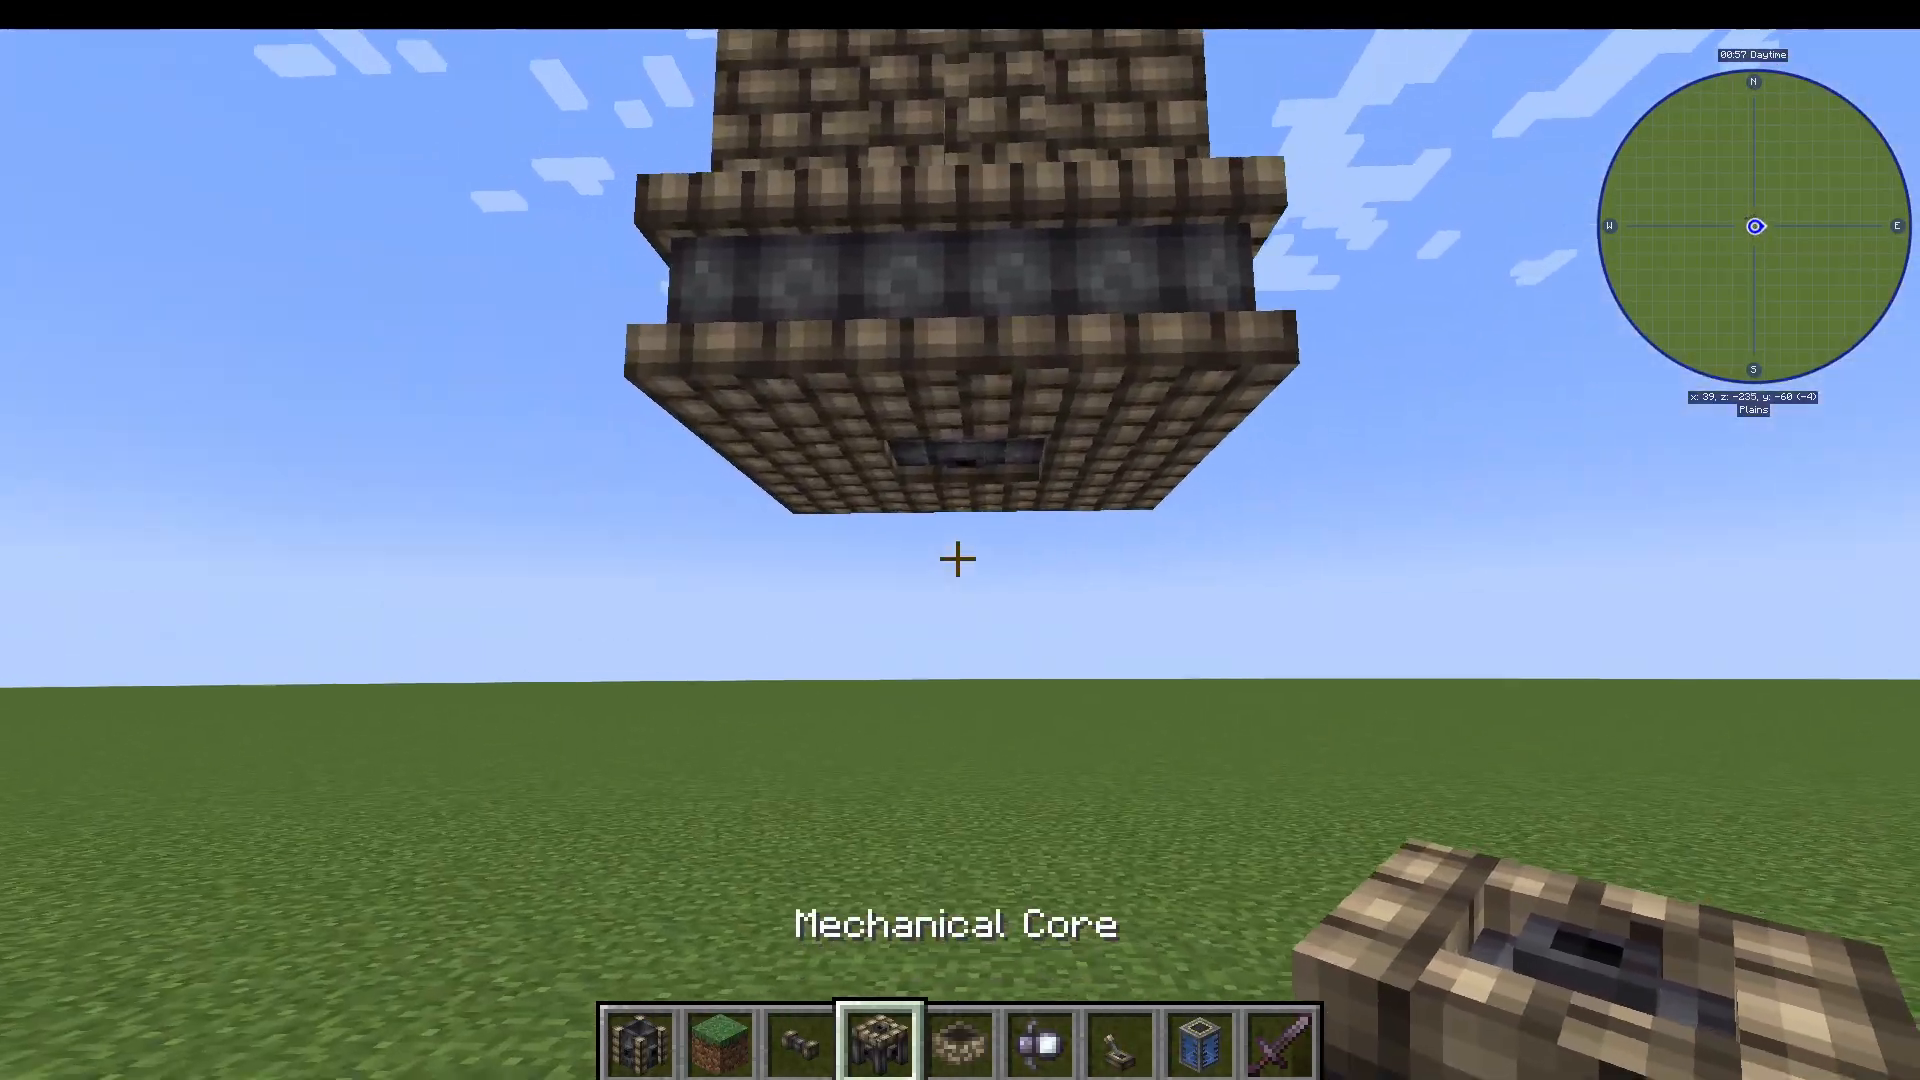
To gain more control over inputs and outputs, attach a Mechanical Core to the exit side of the reservoir. This gives you five separate connection points for fluid pipes — one on the bottom and one on each of the four sides — letting you manage multiple fluid inputs and outputs simultaneously.
Filtering Fluids with Fluid Transfers
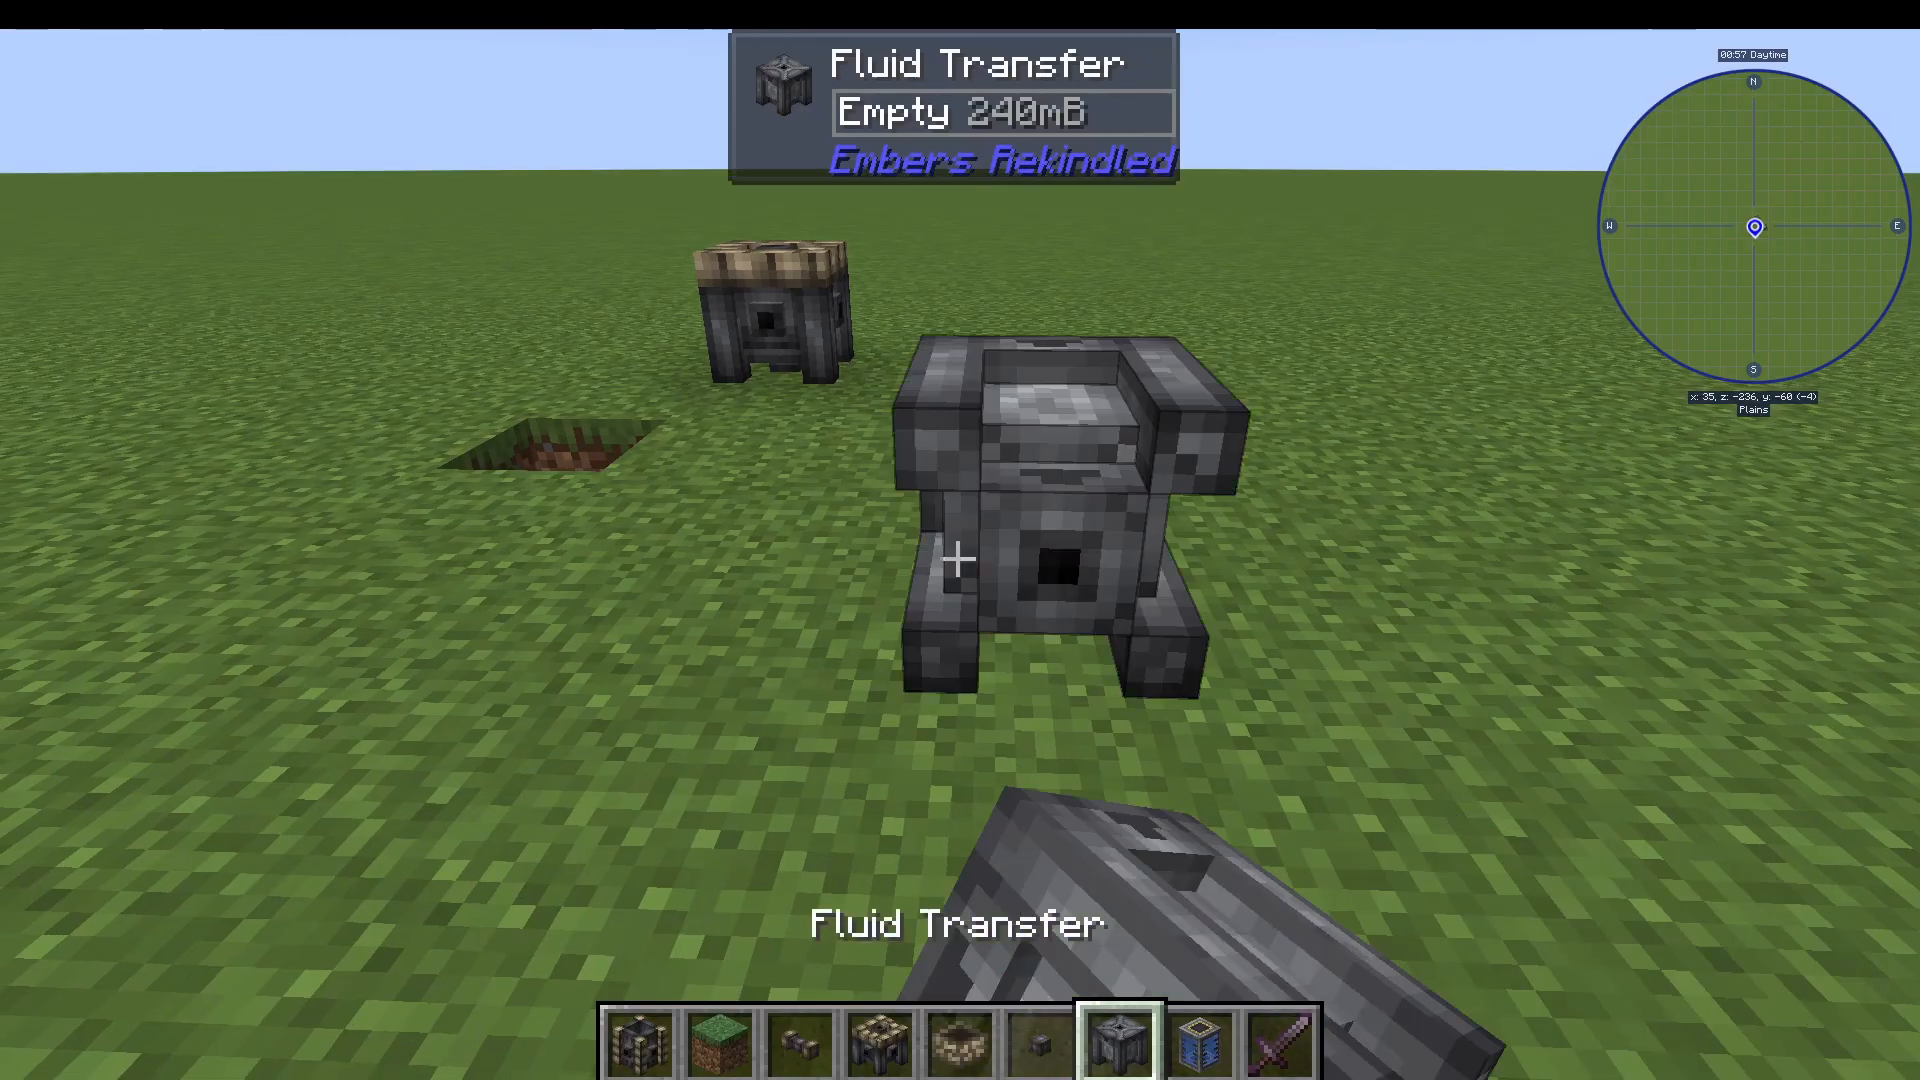
If you need to route different fluids in different directions, use a Fluid Transfer. The arrows on the block indicate flow direction. Right-click a fluid (e.g., water or lava) onto the Fluid Transfer to set a filter — only that fluid will pass through. You can set up multiple Fluid Transfers in the same pipe network to route water one way and lava another.
Working with Items
Bins, Item Pipes, and Item Extractors
Item transport works similarly to fluid transport. Craft a Bin to store items — right-click a stack of items into it. Attach an Item Extractor with a lever and Item Pipes to automatically pull items out. Just like the Fluid Extractor, the Item Extractor requires a redstone signal to operate.
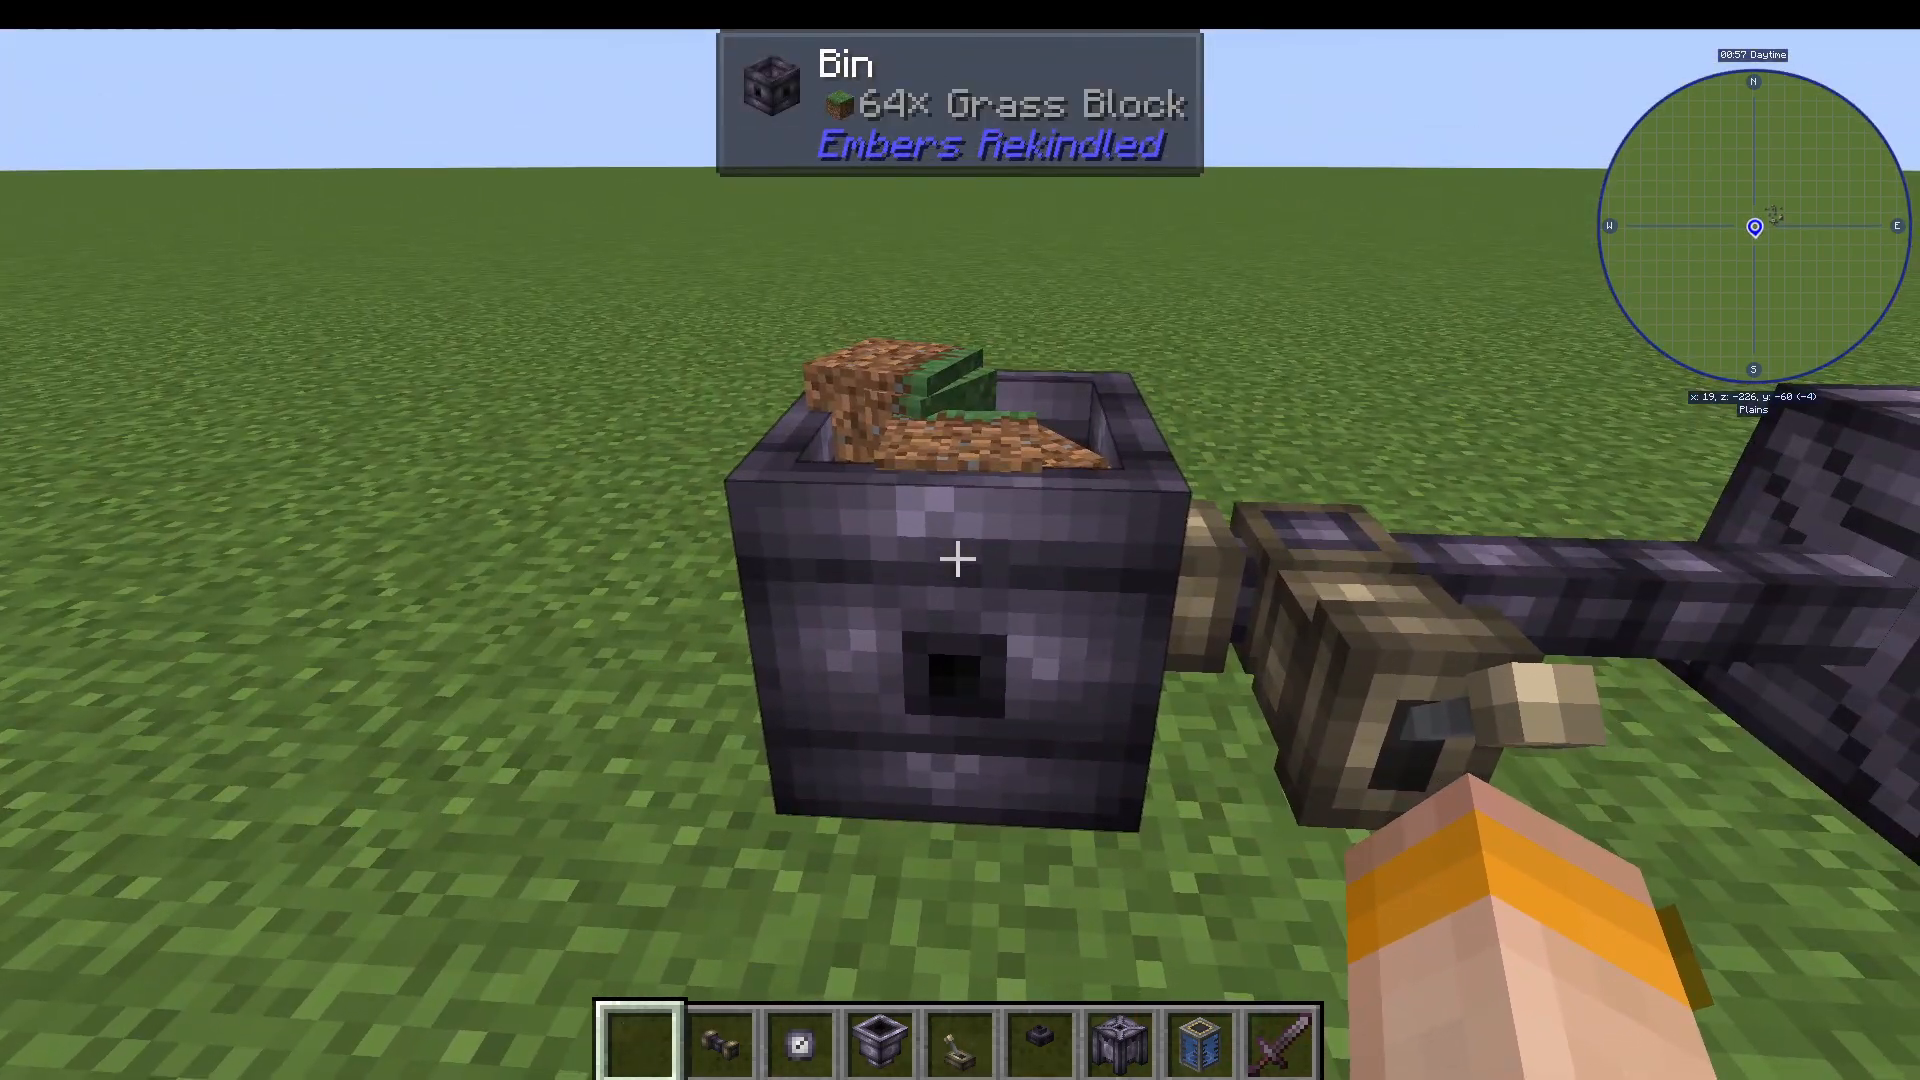
Item Transfers, Item Dials, and Droppers
Use an Item Transfer in your pipe network and right-click a specific item onto it to filter — only that item will pass through that segment of pipe. Attach an Item Dial to a bin to see its contents at a glance.
At the end of a pipe run, place an Item Dropper to physically drop items into the world. Below the dropper, you can place an Item Vacuum — when given a redstone signal, it vacuums up nearby items and routes them into a connected chest or bin.
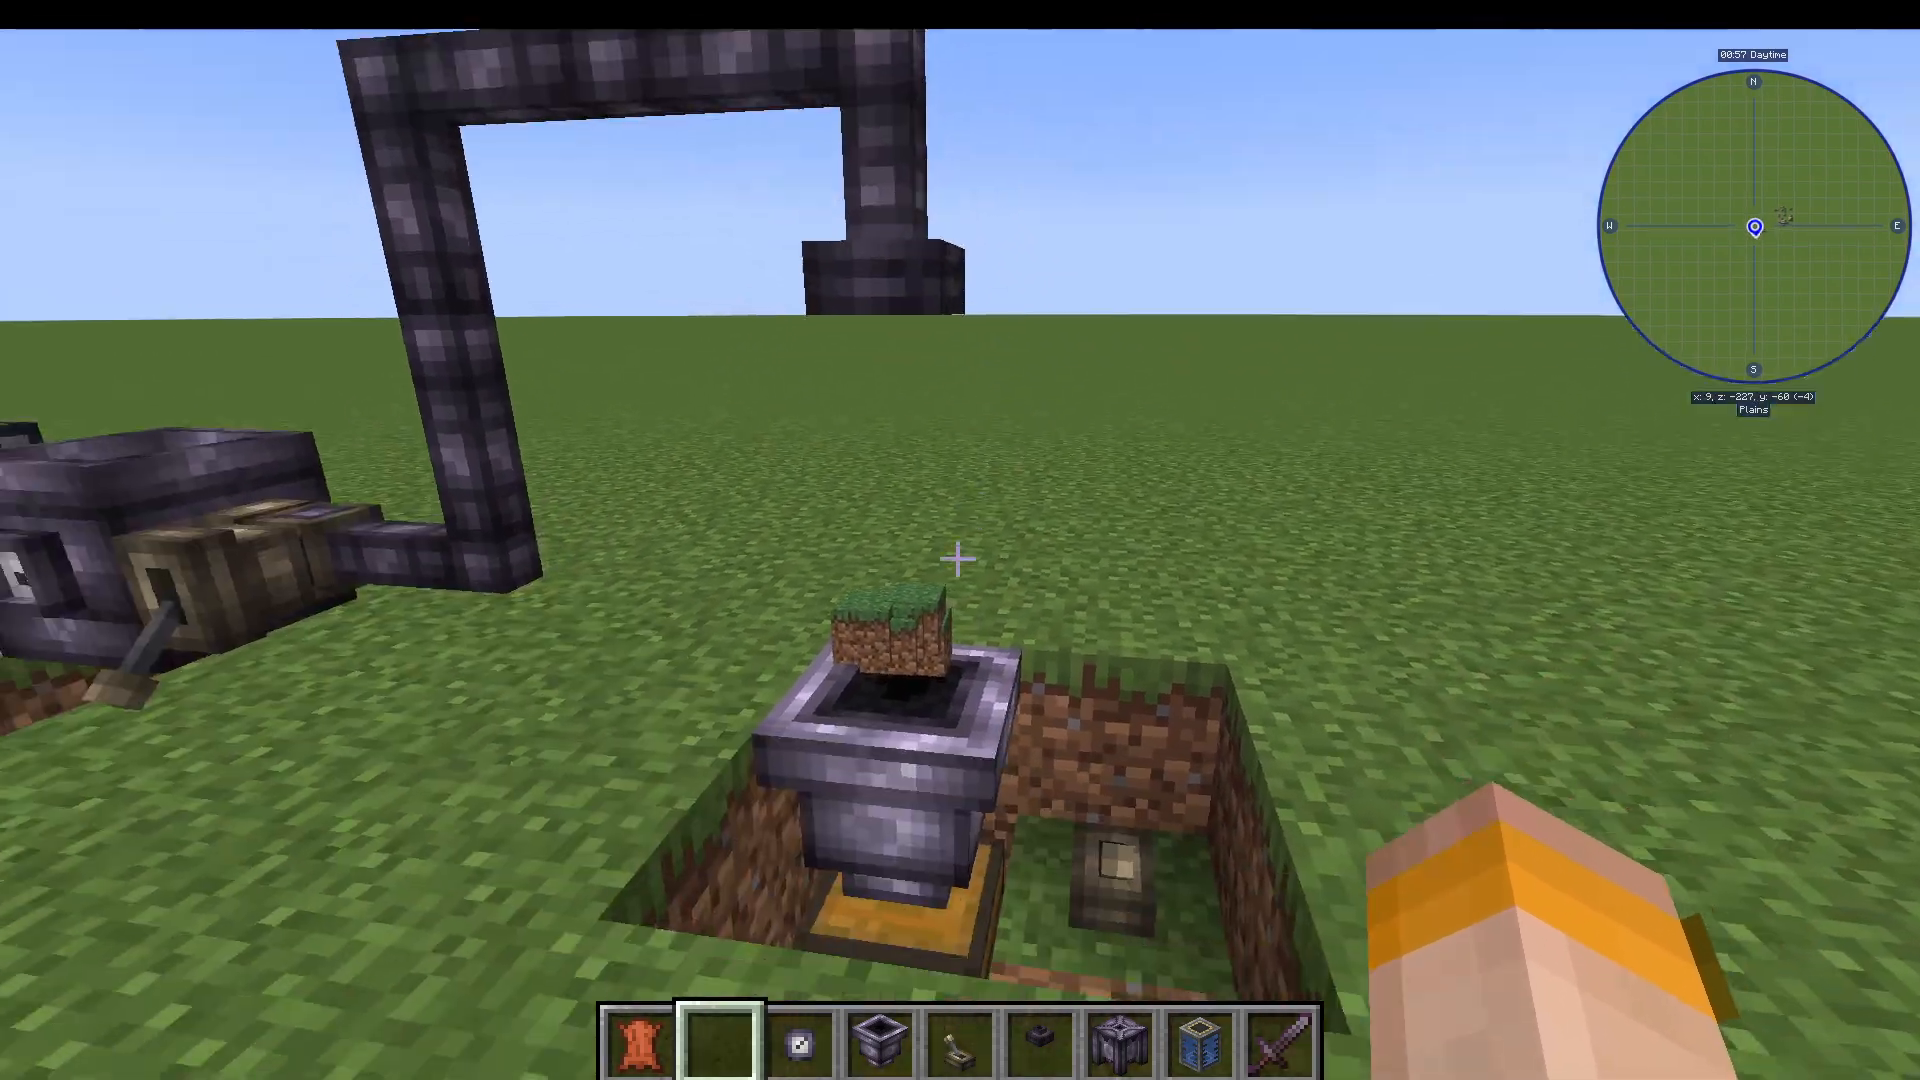
Generating Ember with the Ember Bore
Setting Up the Ember Bore
To get Ember — the core energy of the mod — you need to build an Ember Bore. It requires a 3×3 footprint and needs at least three blocks touching Bedrock directly beneath it to function. On a normal world, place it as close to Bedrock as possible. If the bore’s drill blades are visible below the machine, it’s working correctly.
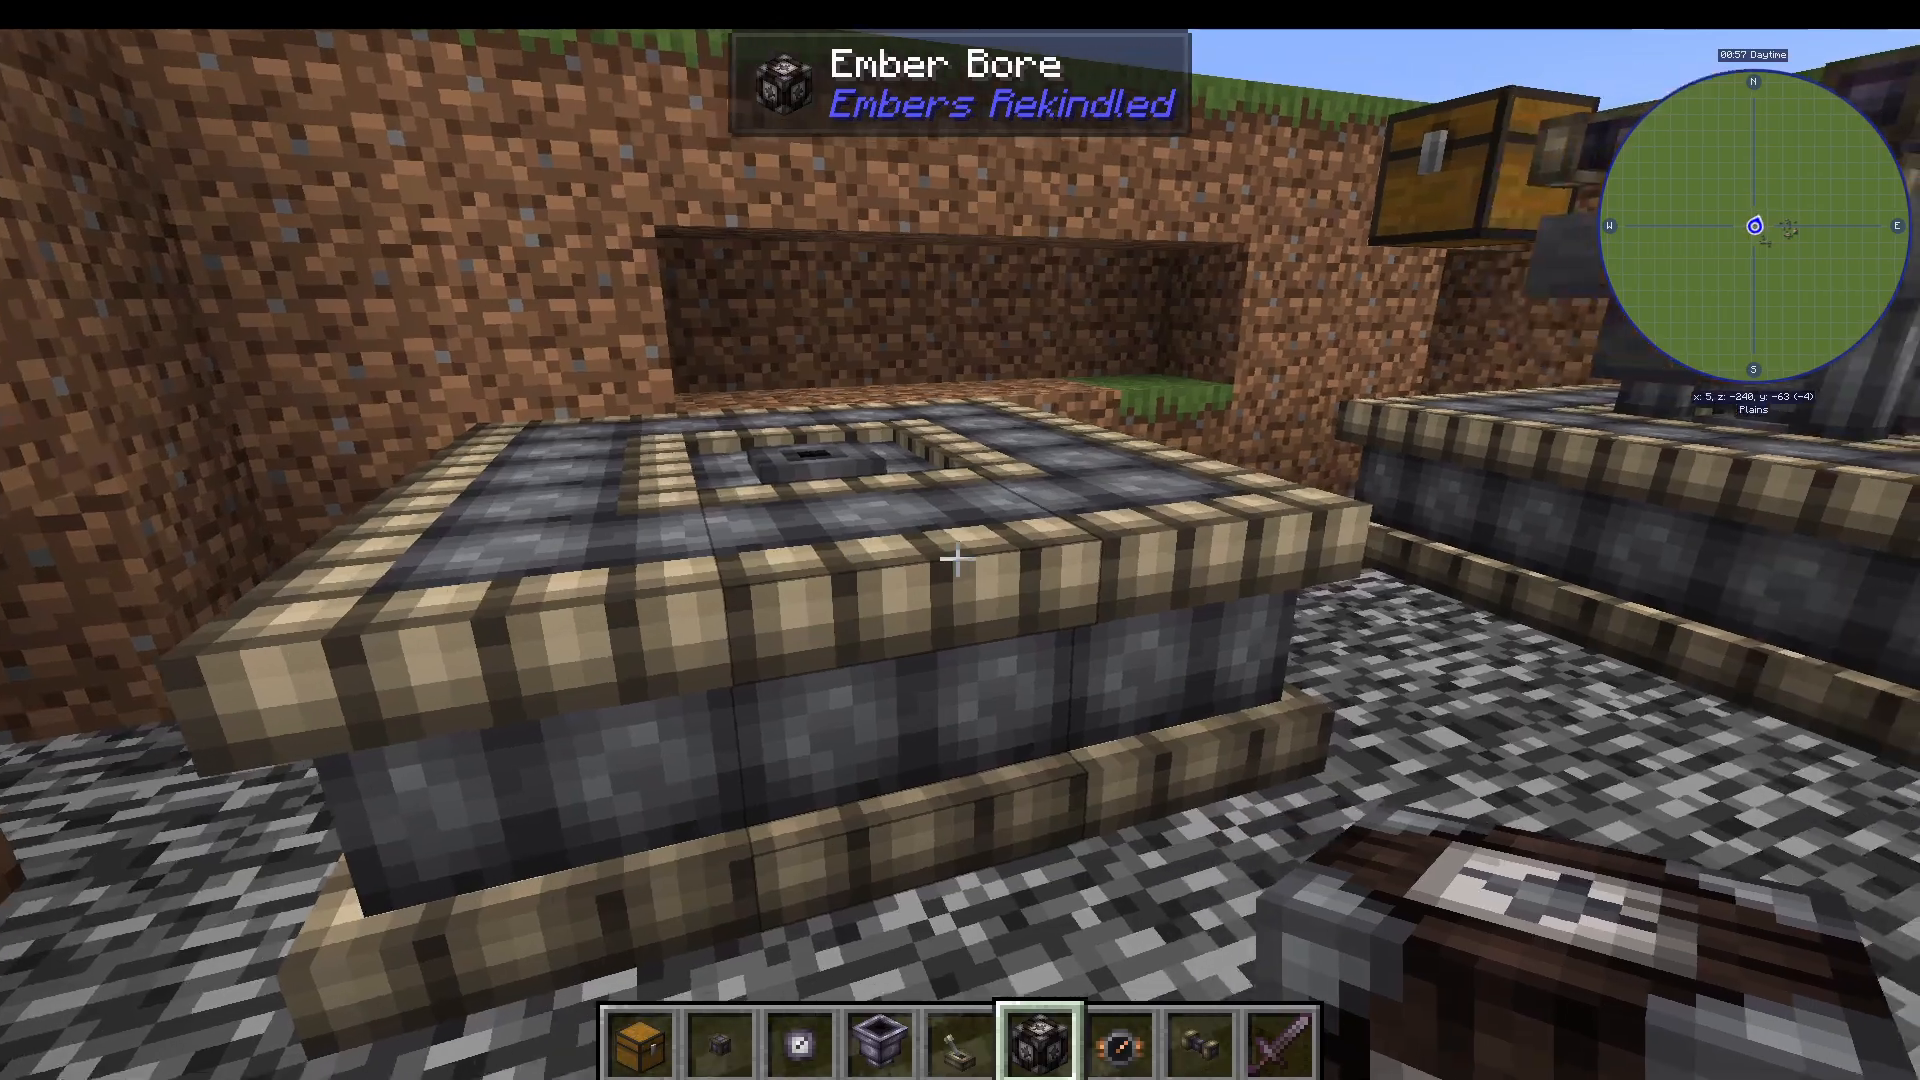
Place a Mechanical Core on top of the Ember Bore to handle inputs and outputs from different sides. Feed coal into the bore via a hopper connected to the Mechanical Core. On the output side, attach an Item Extractor with a lever and some Item Pipes leading to a chest to collect the results.
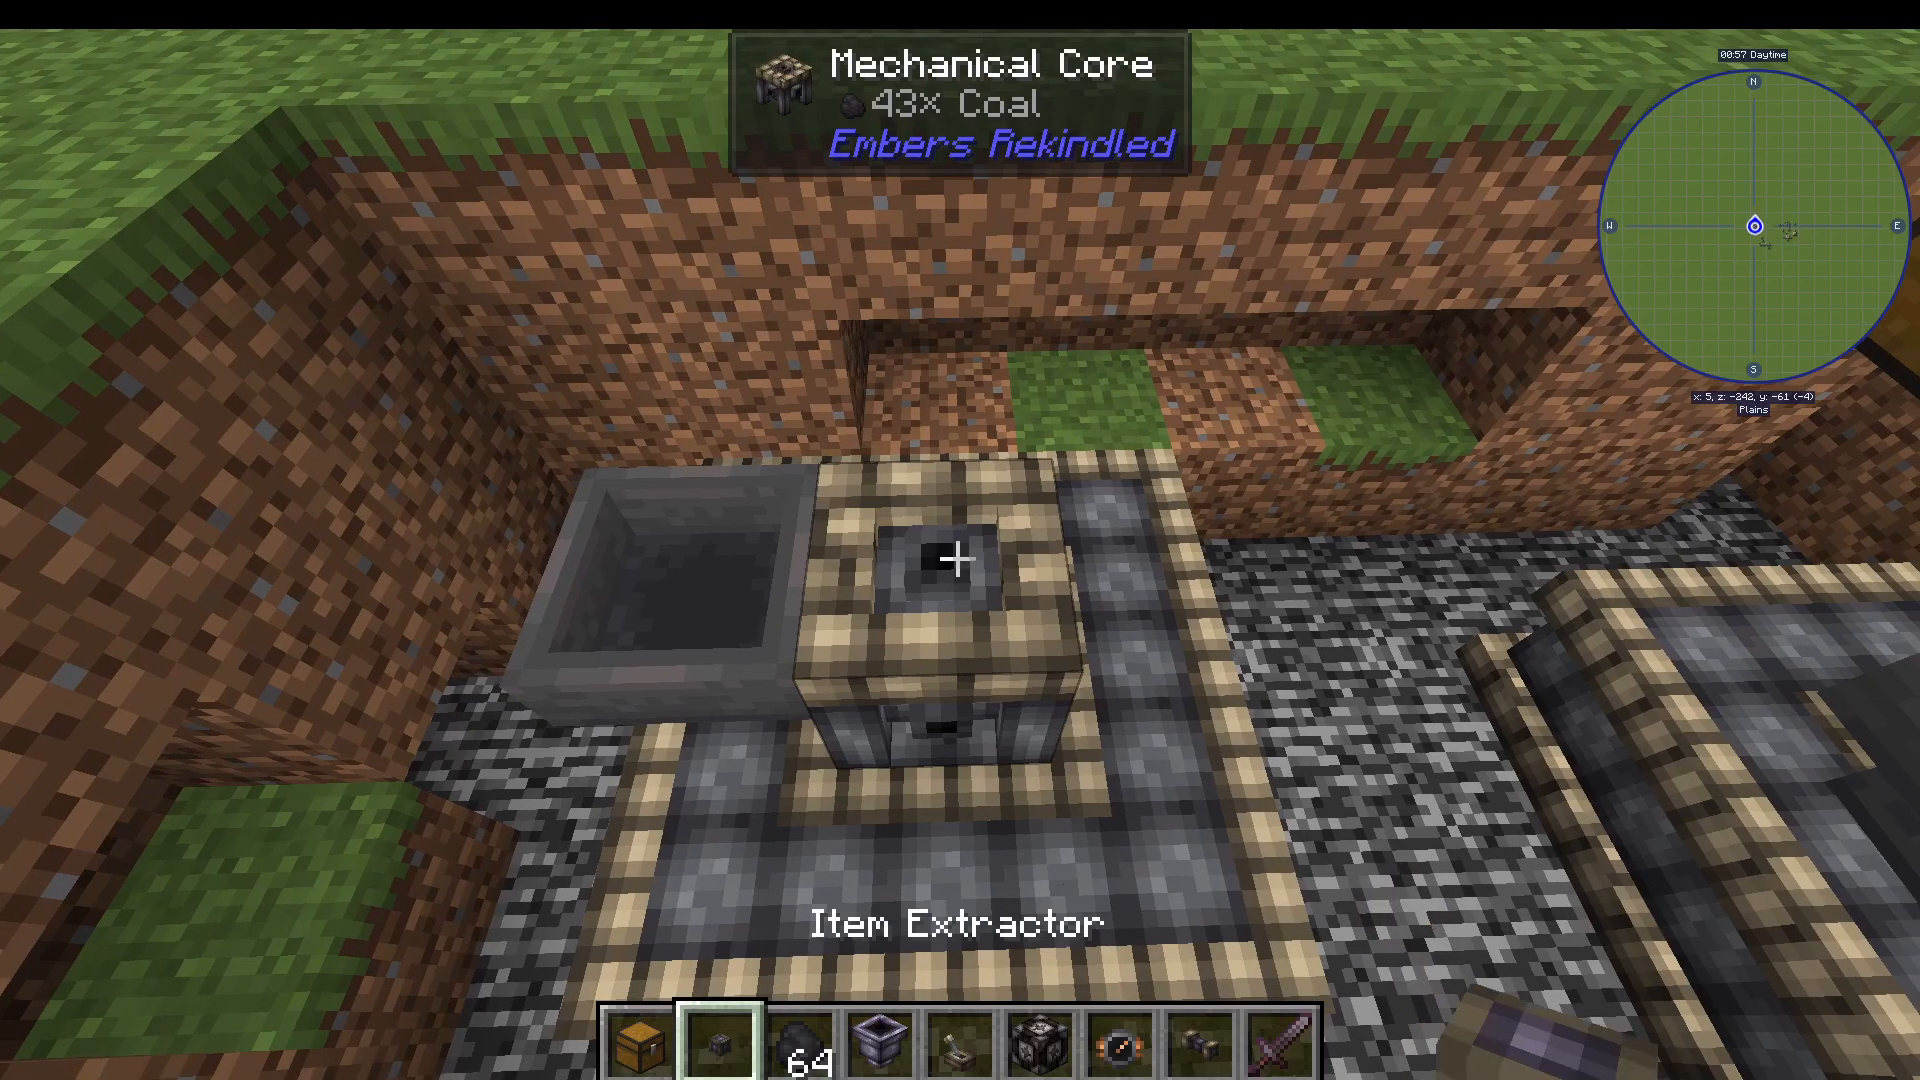
The Ember Bore will produce three things:
Ember Grit — usable as fuel
Ember Shards — crafting ingredient (6 shards = 1 Ember Crystal)
Ember Crystals — key crafting and fuel ingredient
The Atmospheric Gauge
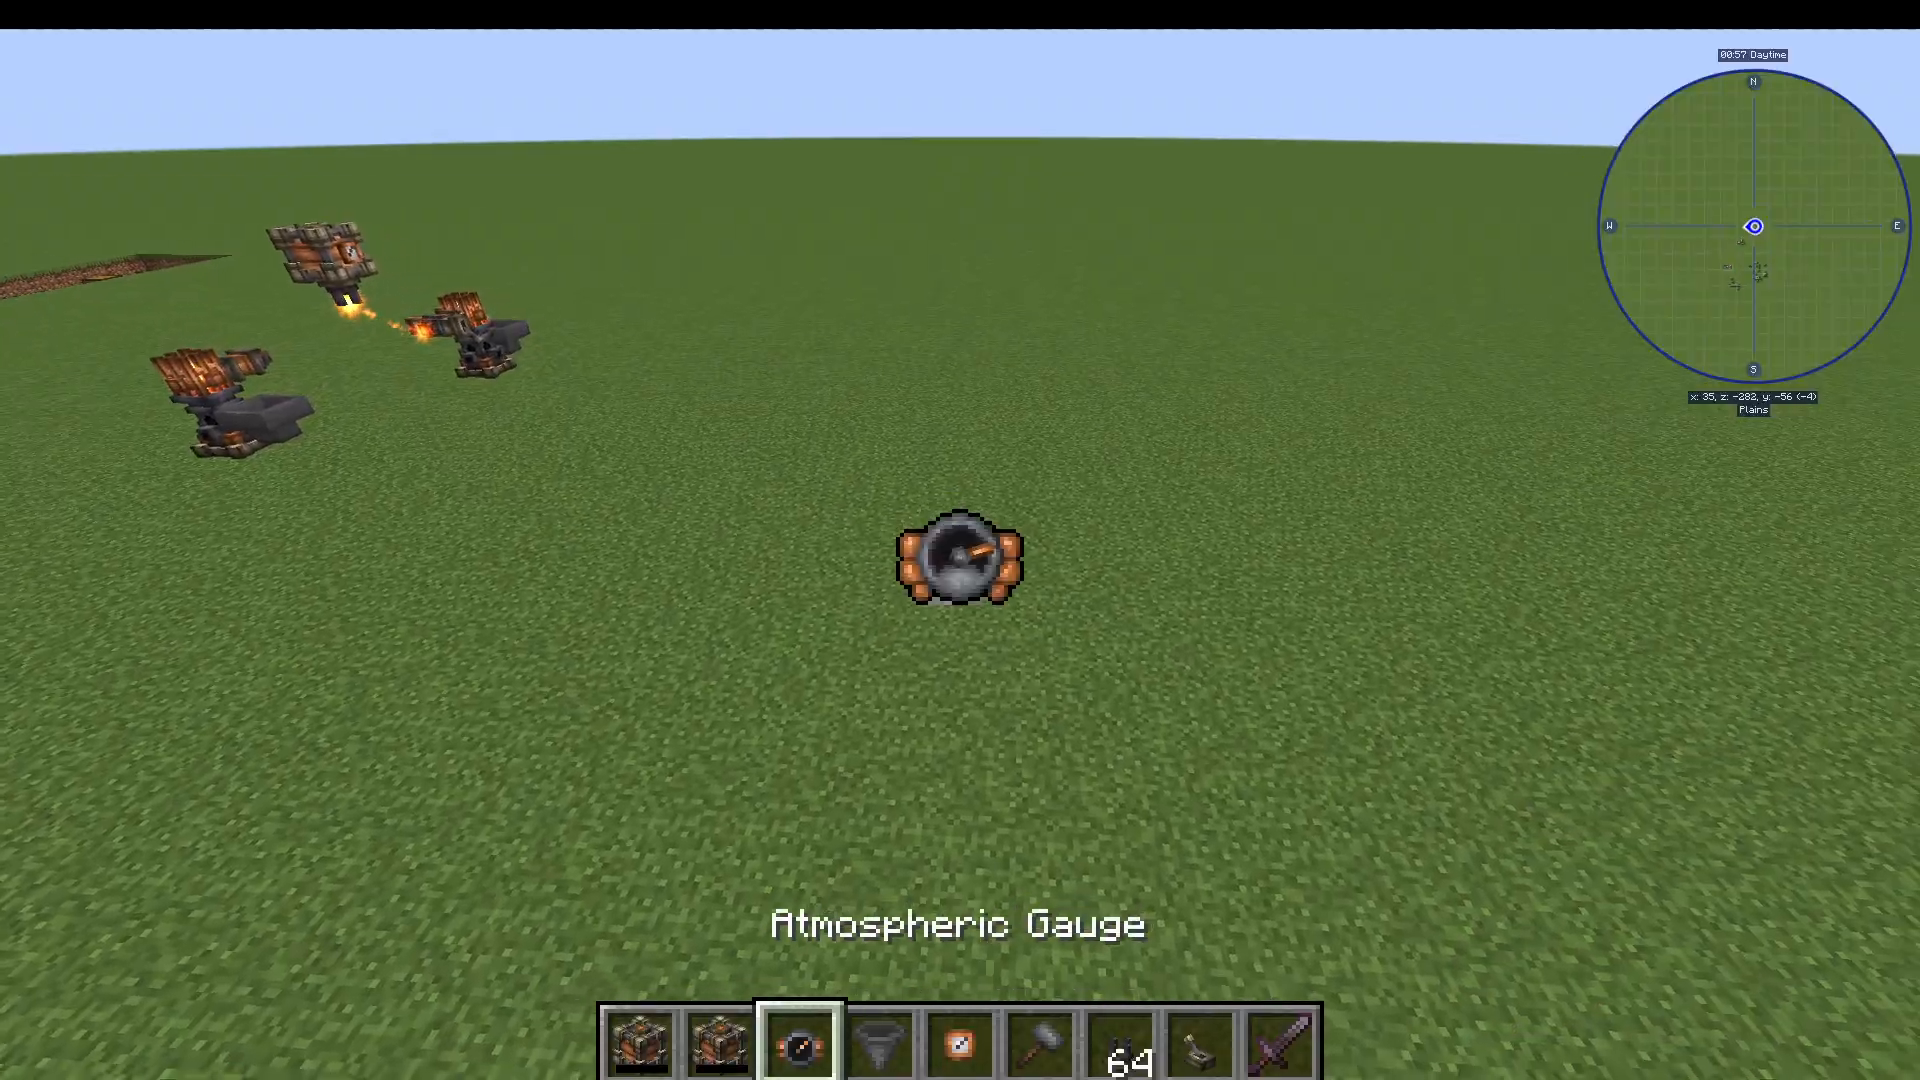
Before placing your Ember Bore, use an Atmospheric Gauge to check local Ember concentration. Place the gauge and observe which direction it points — a higher reading means more Ember in that area, which results in greater crystal yield from your bore. Always site your bore where the gauge reading is highest.
Activating and Transmitting Ember
The Ember Activator
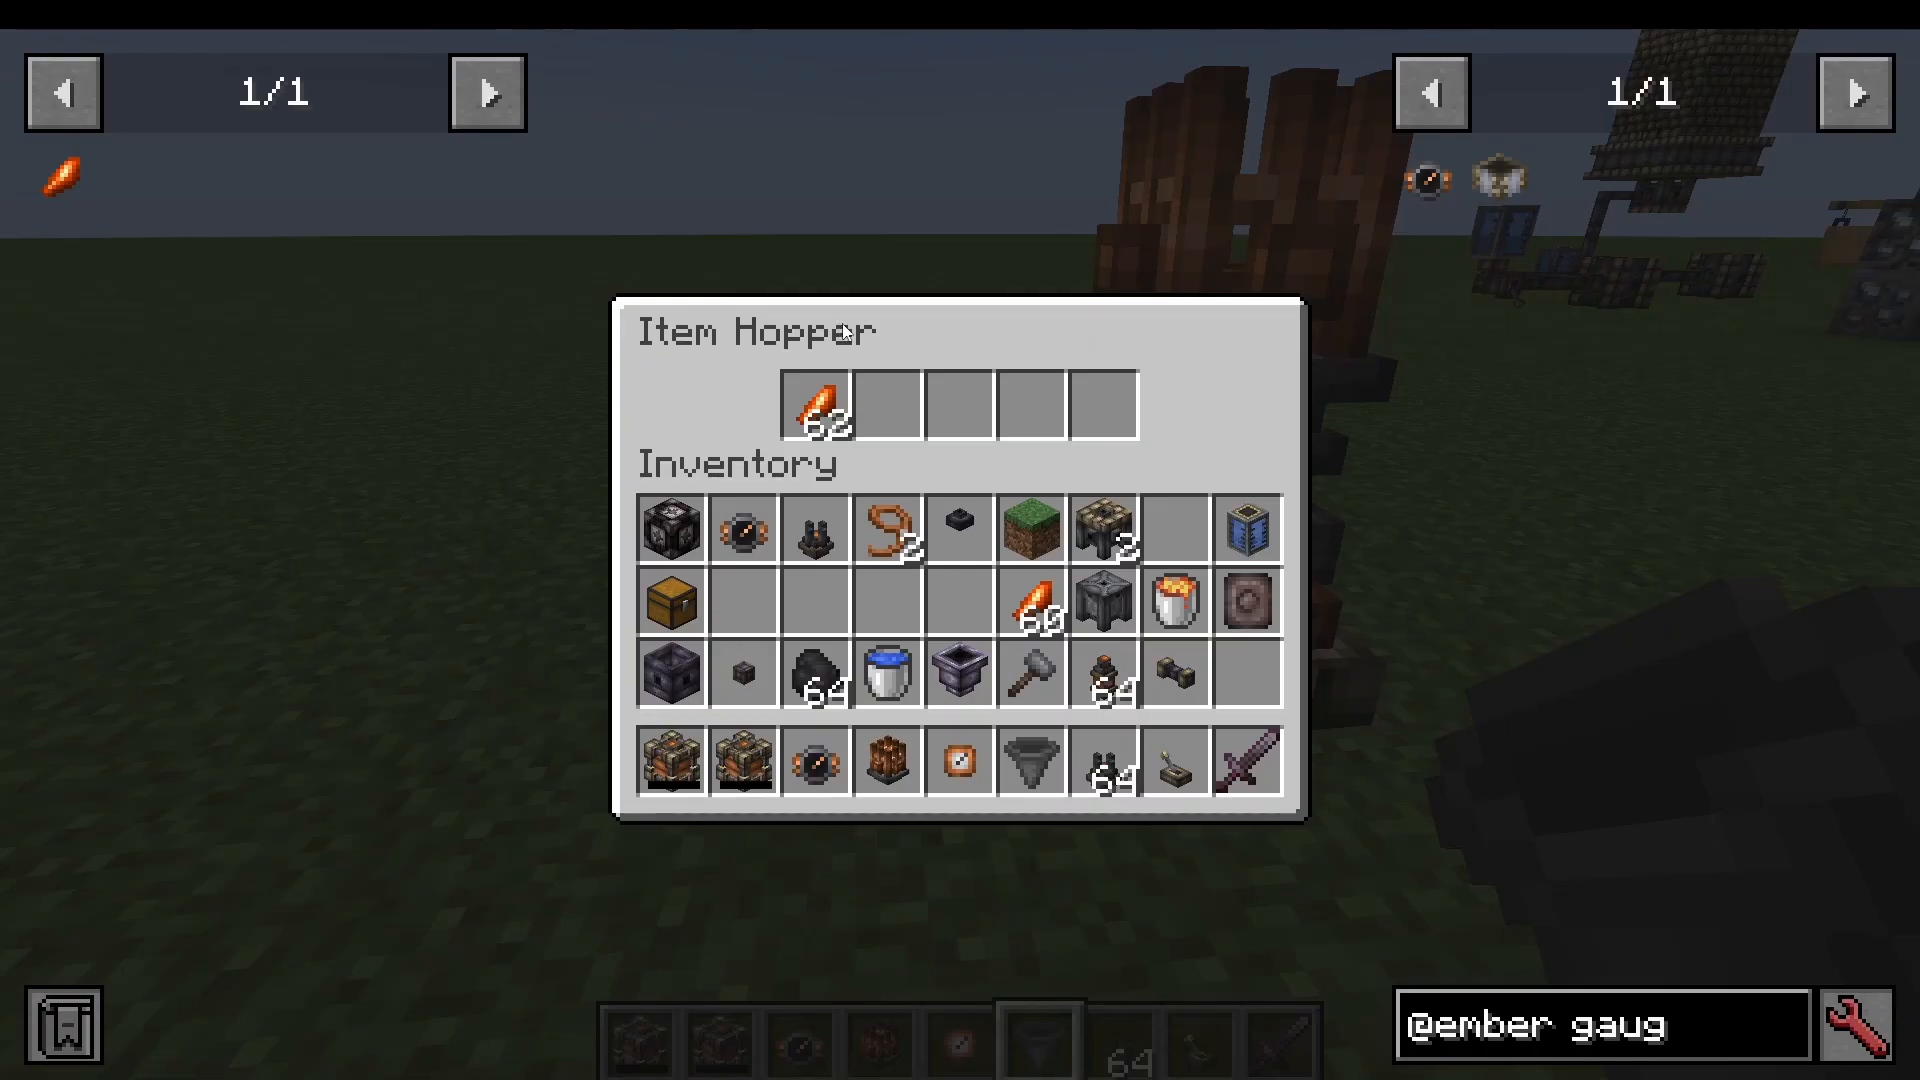
Raw Ember Crystals need to be activated before you can use Ember as energy. Craft an Ember Activator and feed Ember Crystals into it via a hopper. Attach an Ember Dial to see the current Ember level inside.
Emitters and Receptors
Ember energy is transmitted wirelessly using Emitters and Receptors. An Emitter sends Ember out; a Receptor receives it. To link them, hold your Tinker’s Hammer, right-click the Emitter, then right-click the Receptor — a visible wire connection will appear between them.
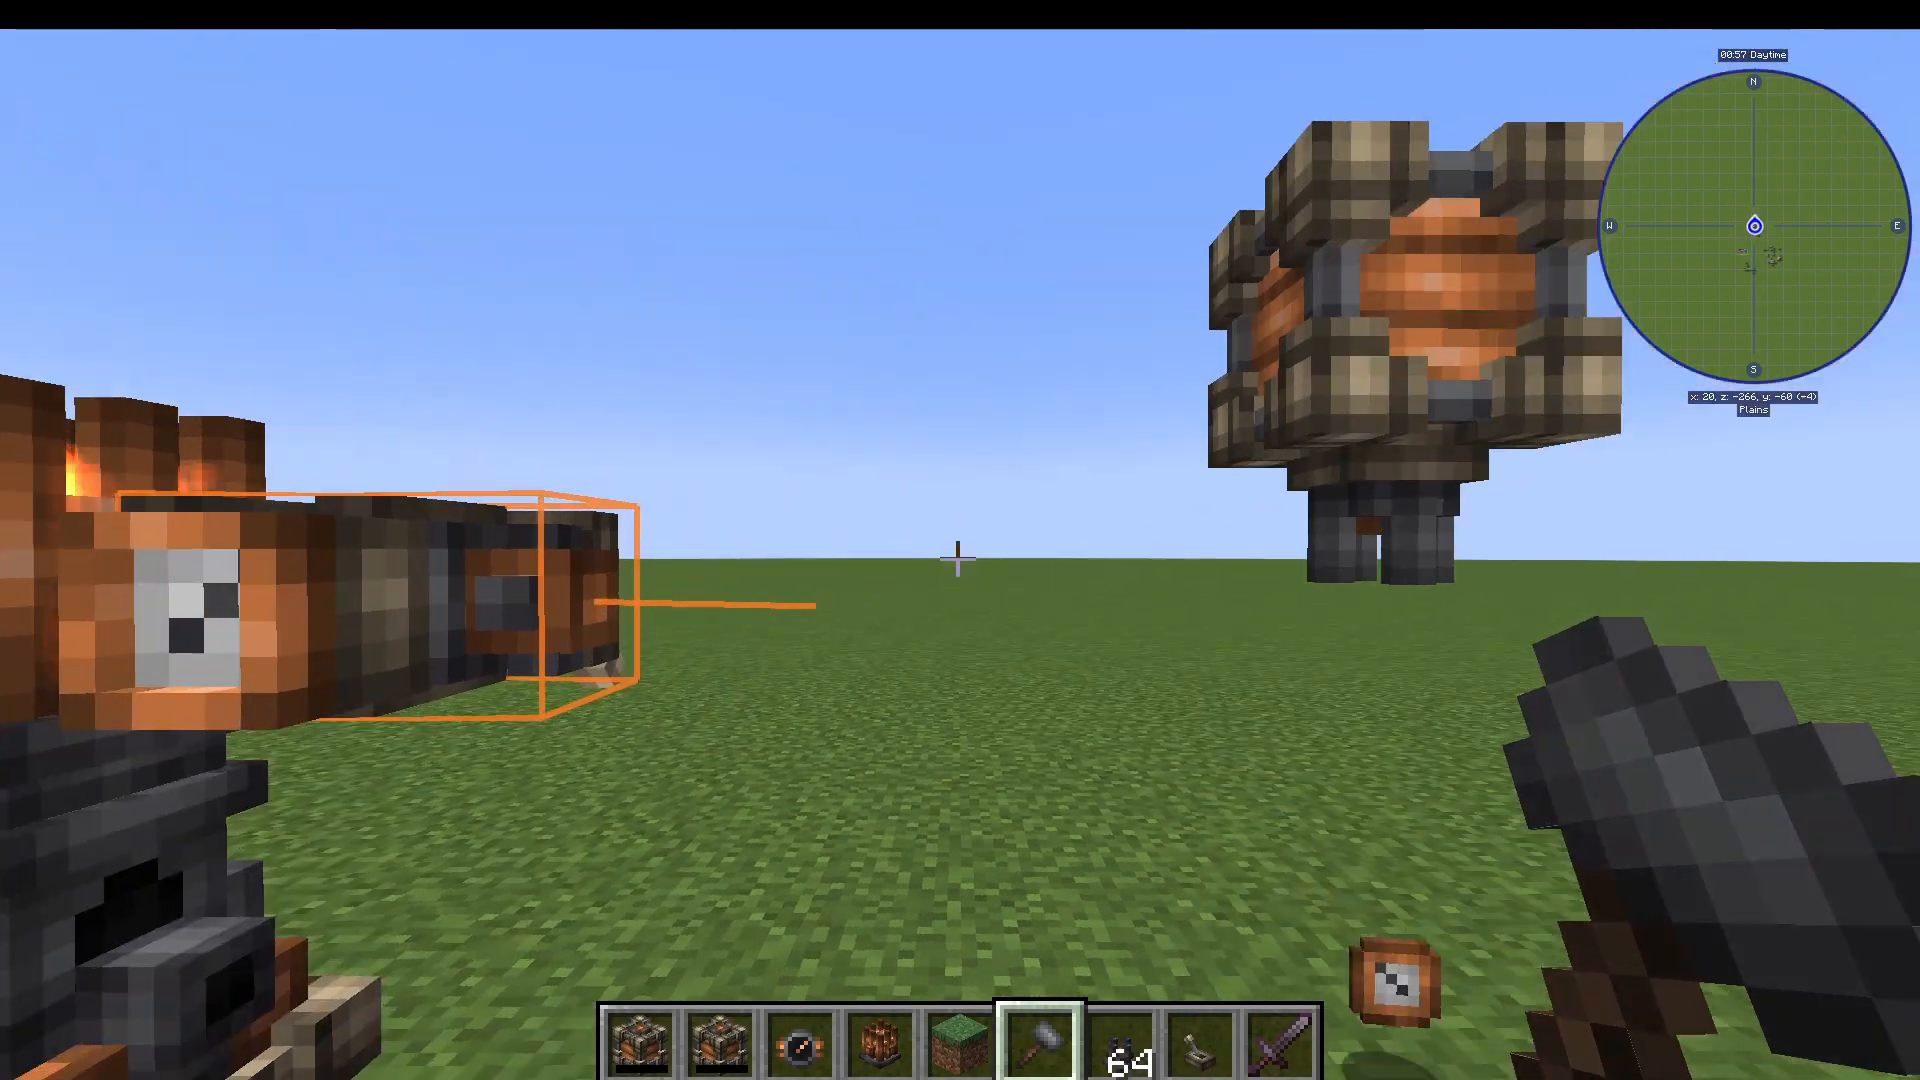
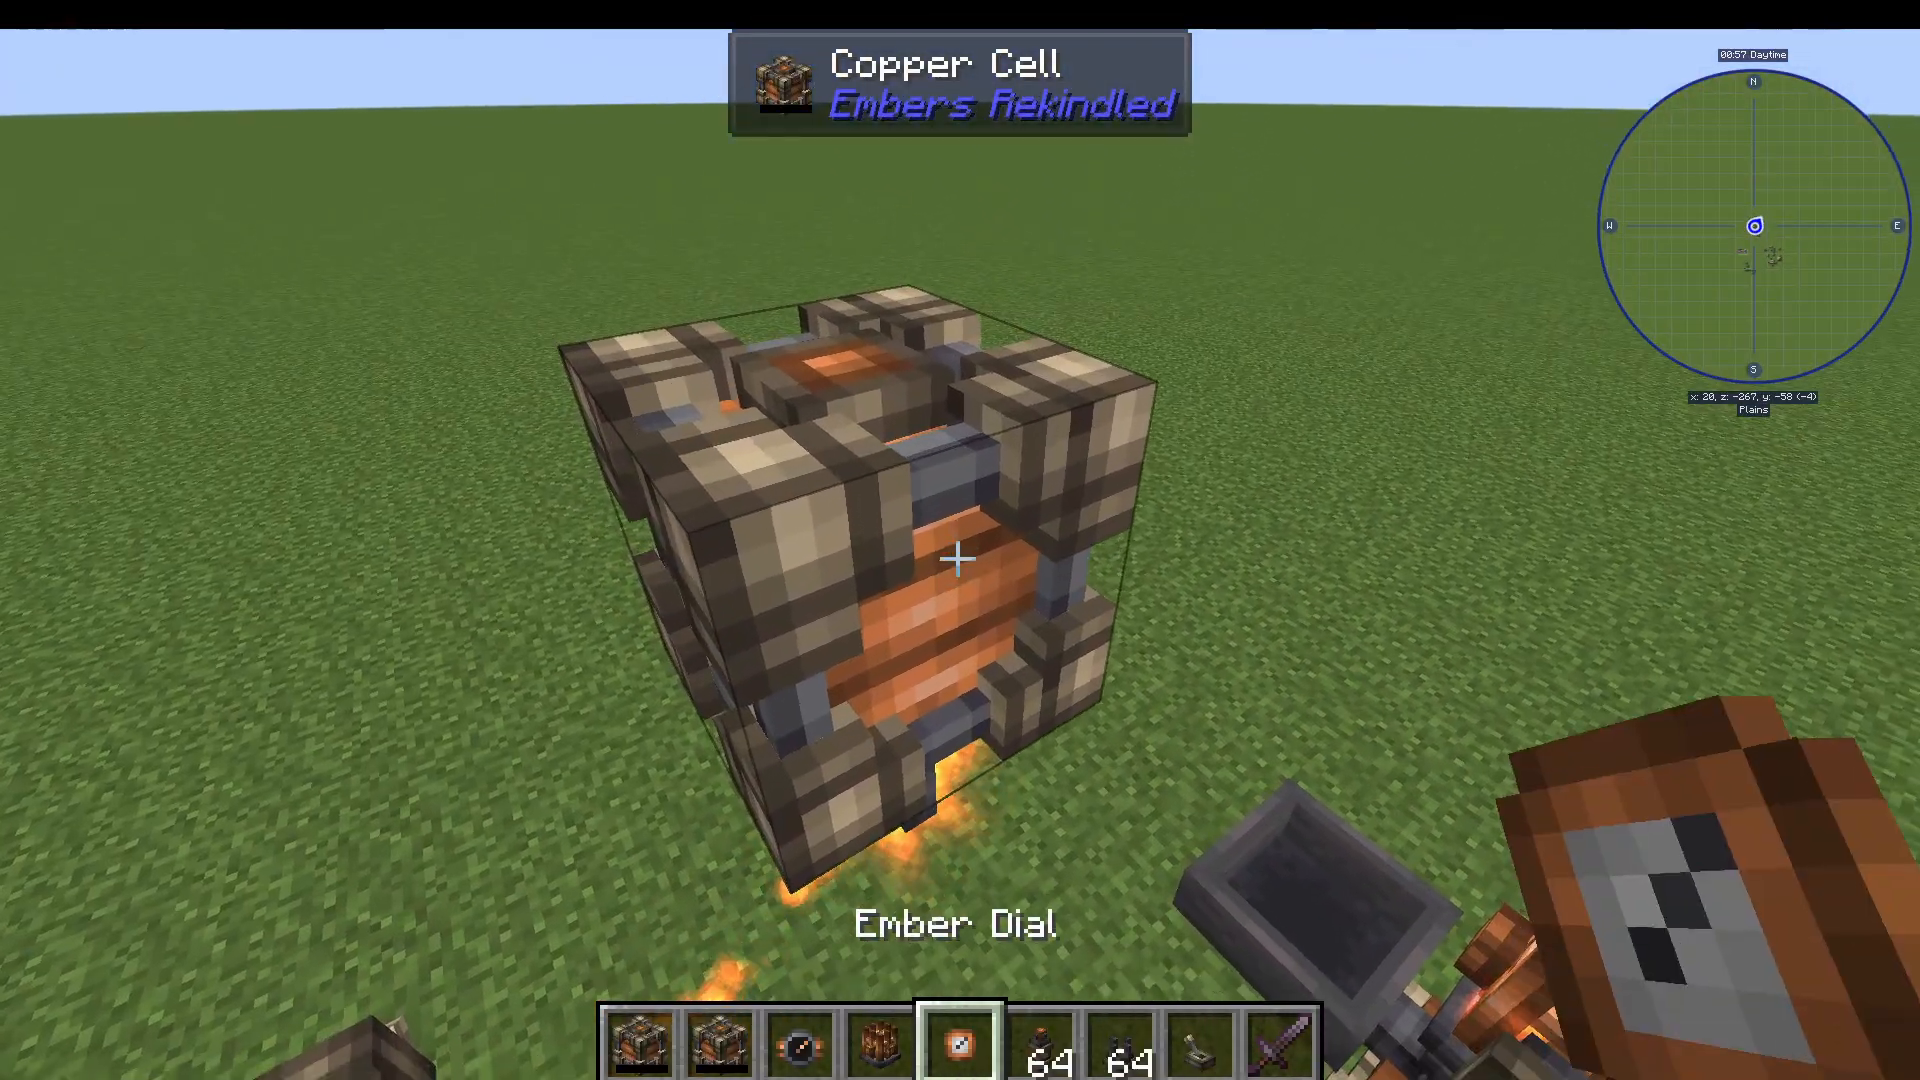
Don’t forget to attach a lever to your Emitters — they require a redstone signal to transmit. Use an Ember Dial on any component to verify how much Ember is present and confirm connections are working correctly.
Storing Ember with the Copper Cell
Early on, store your Ember in a Copper Cell. Attach a Receptor to receive Ember into it. This is your basic energy buffer while you work toward more advanced storage.
Processing Ores with the Melter and Stamper
The Melter
The Melter is your primary ore processing machine and provides significantly better output than a standard furnace — for example, one copper ore yields approximately 2.6 ingots. Feed items in via a hopper on top, and attach a Receptor to the bottom of the Melter (not the top) to power it.
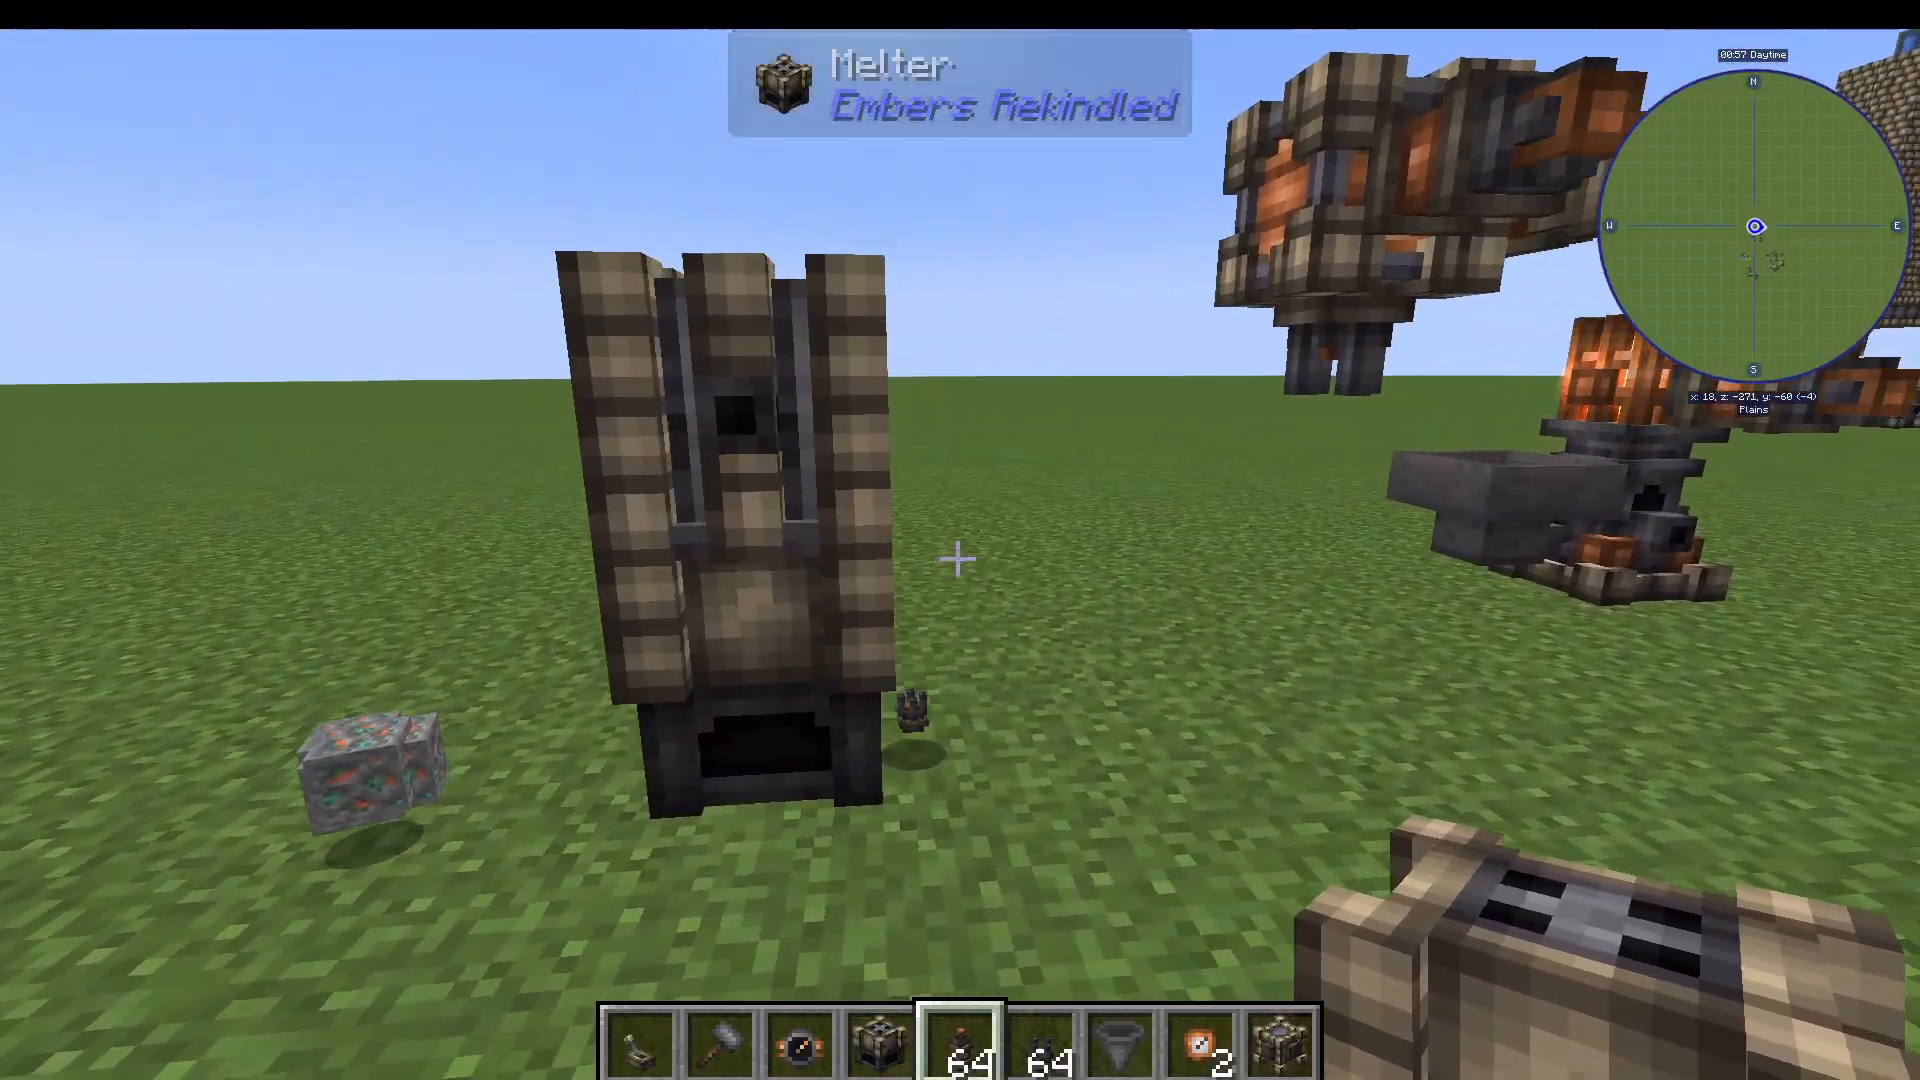
Optionally, attach a Geologic Separator to the bottom of the Melter to extract bonus by-products — for example, smelting copper will also yield a small amount of gold nuggets.
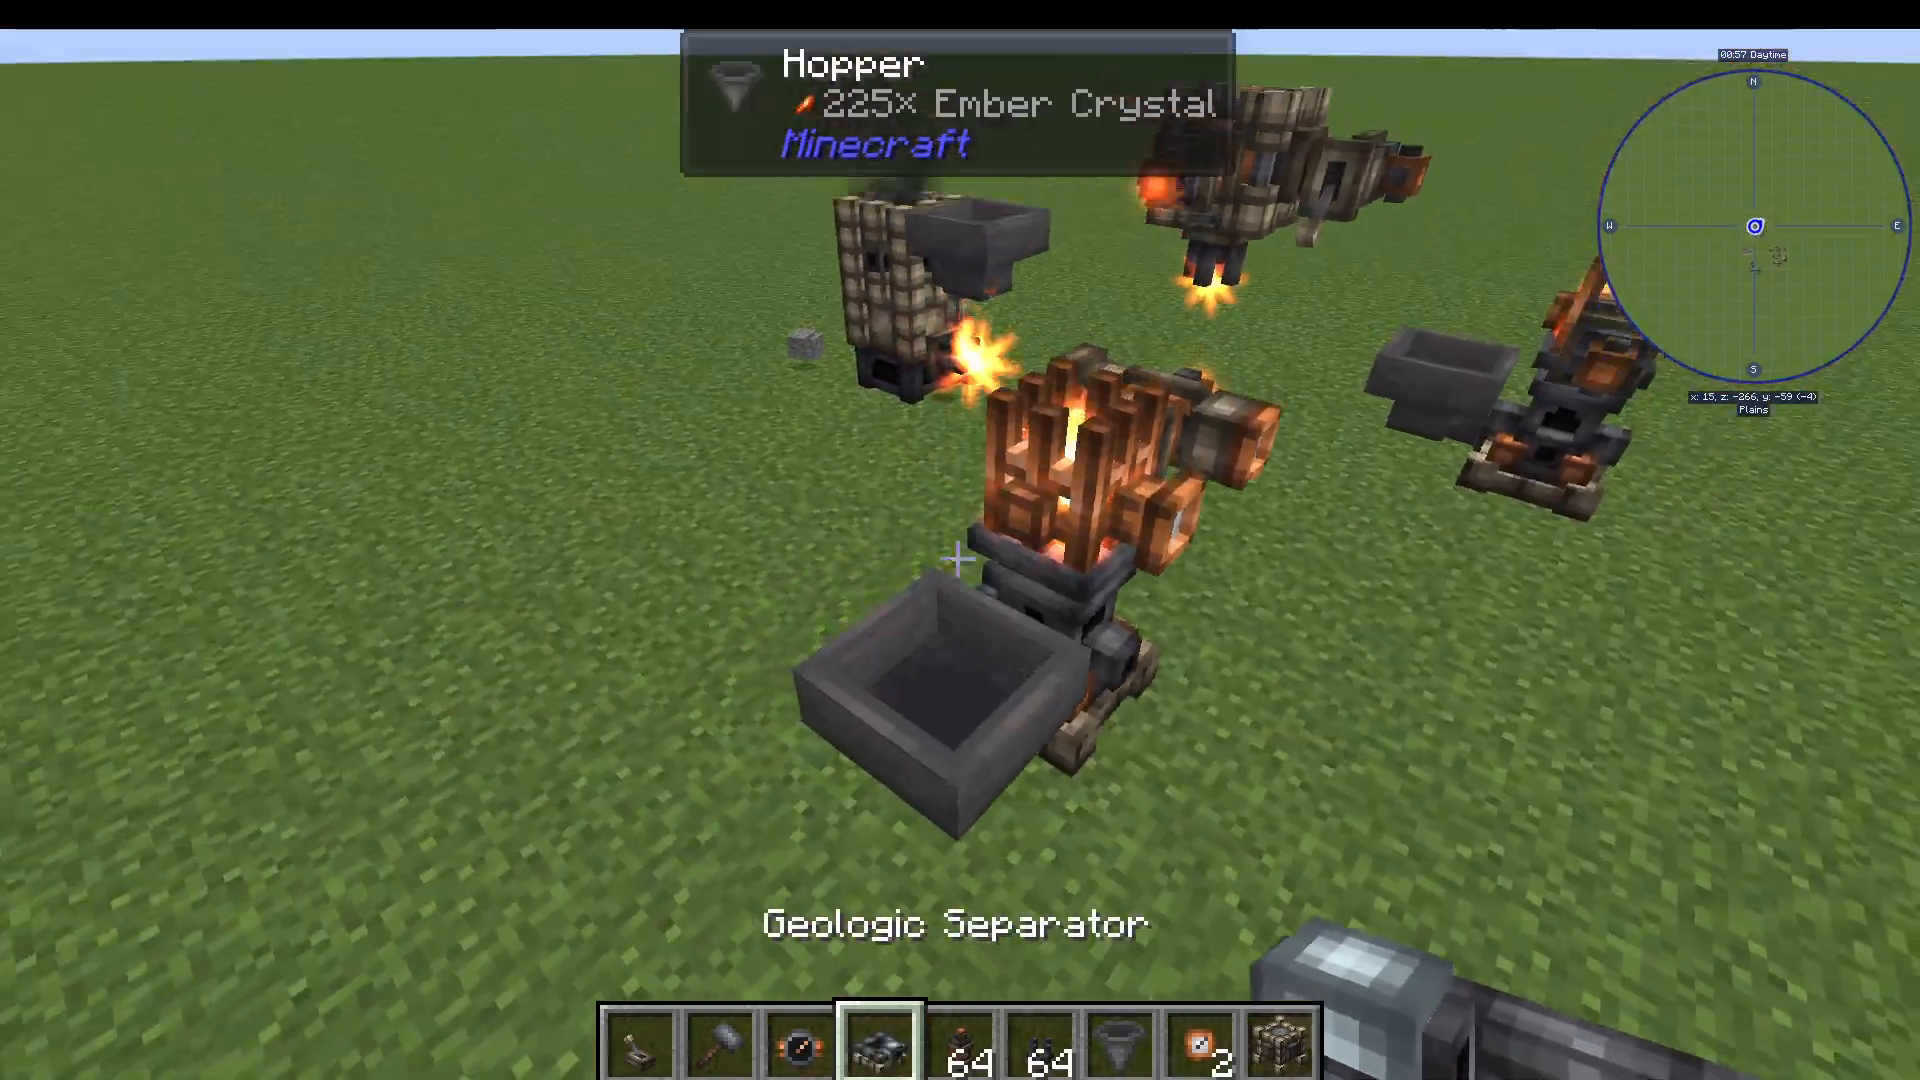
The Stamp Base and Stamper
To solidify your molten metals back into ingots, set up a Stamp Base with a Stamper two blocks directly above it. Use a Fluid Extractor (with a lever) to pump molten metal out of the Melter and into the Stamp Base.
Craft a Raw Ingot Stamp and smelt it into an Ingot Stamp, then right-click it onto the bottom of the Stamper. The Stamper also requires Ember power via a Receptor. Place a Bin directly beneath the Stamp Base to automatically collect the finished ingots.
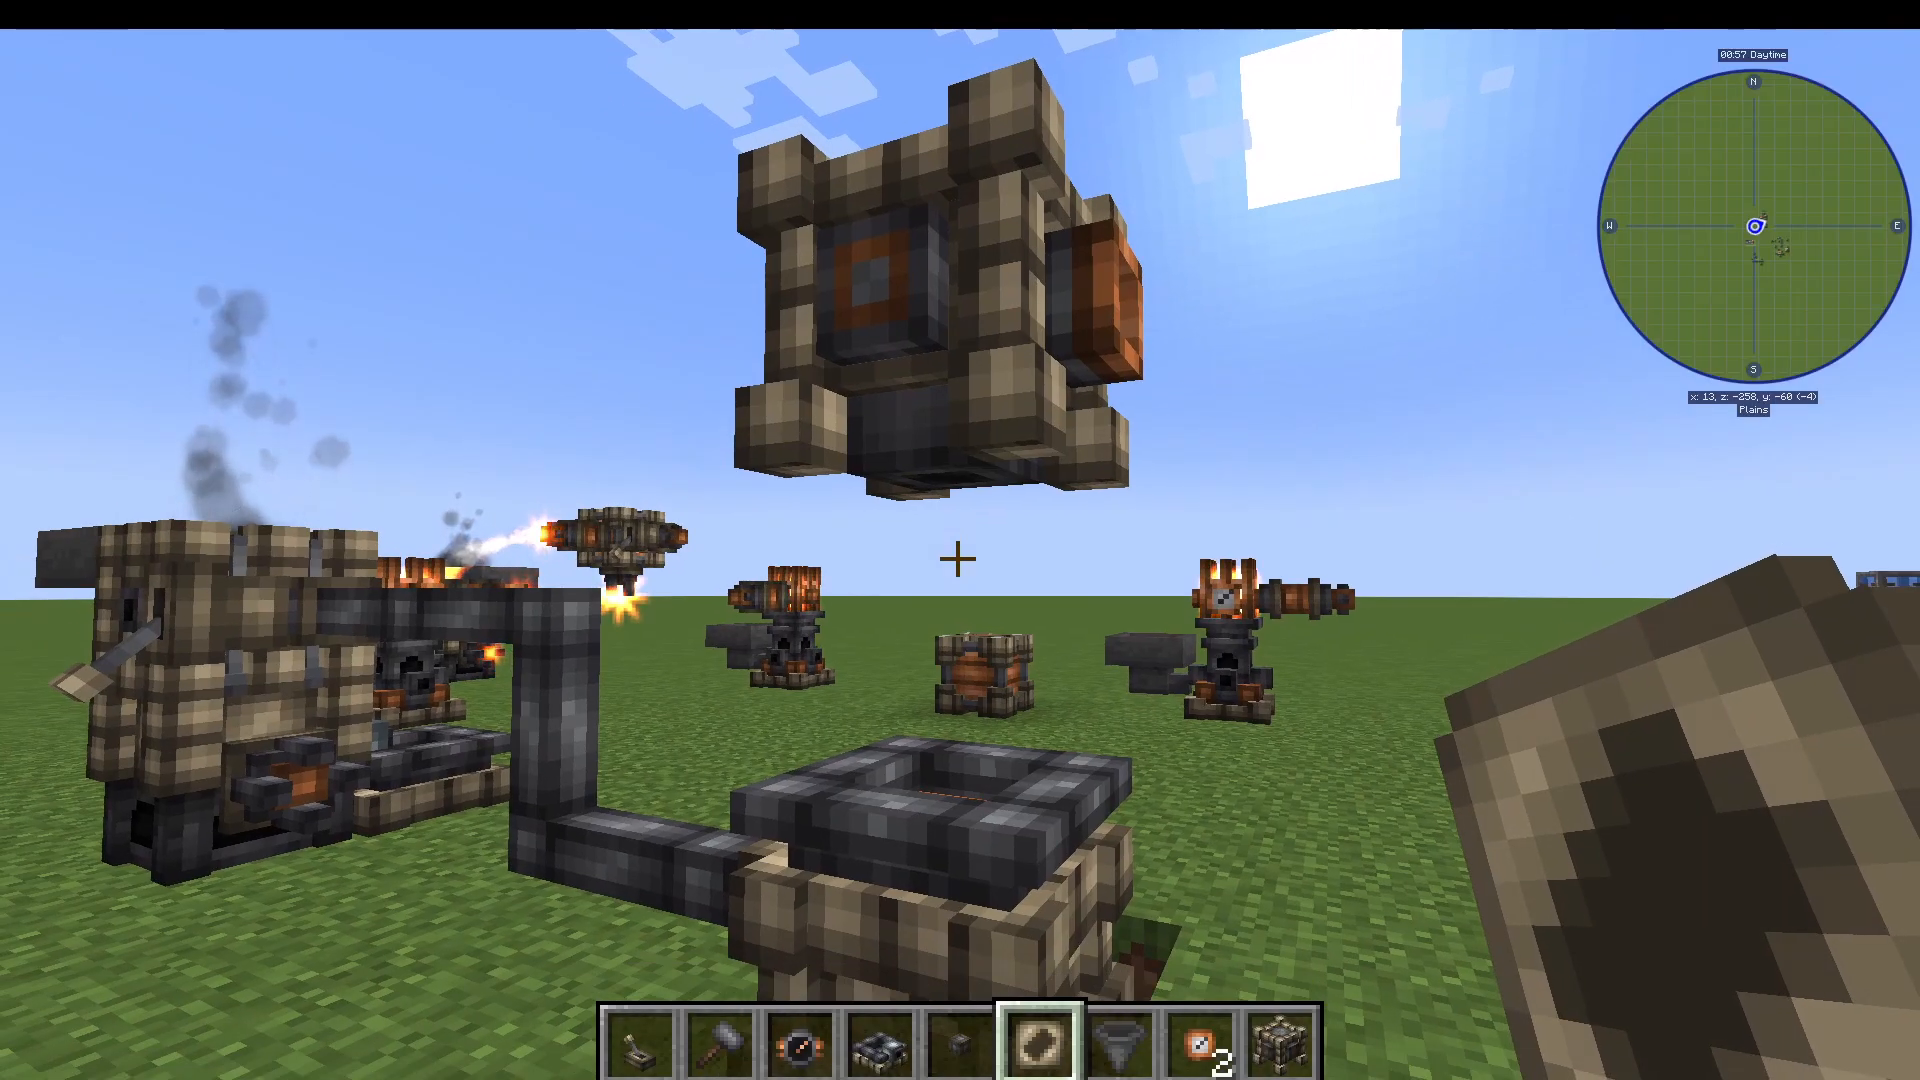
Other available stamps include:
Plate Stamp — for making metal plates
Gear Stamp
Nugget Stamp
Making Dawnstone with the Mixer Centrifuge
Dawnstone is one of the most important advanced materials in Embers Rekindled. To make it, you need two Melters feeding into a Mixer Centrifuge — one Melter for molten gold and one for molten copper. Pump the molten gold into one side of the centrifuge and molten copper into the other. Power the Mixer Centrifuge via a Receptor on top.
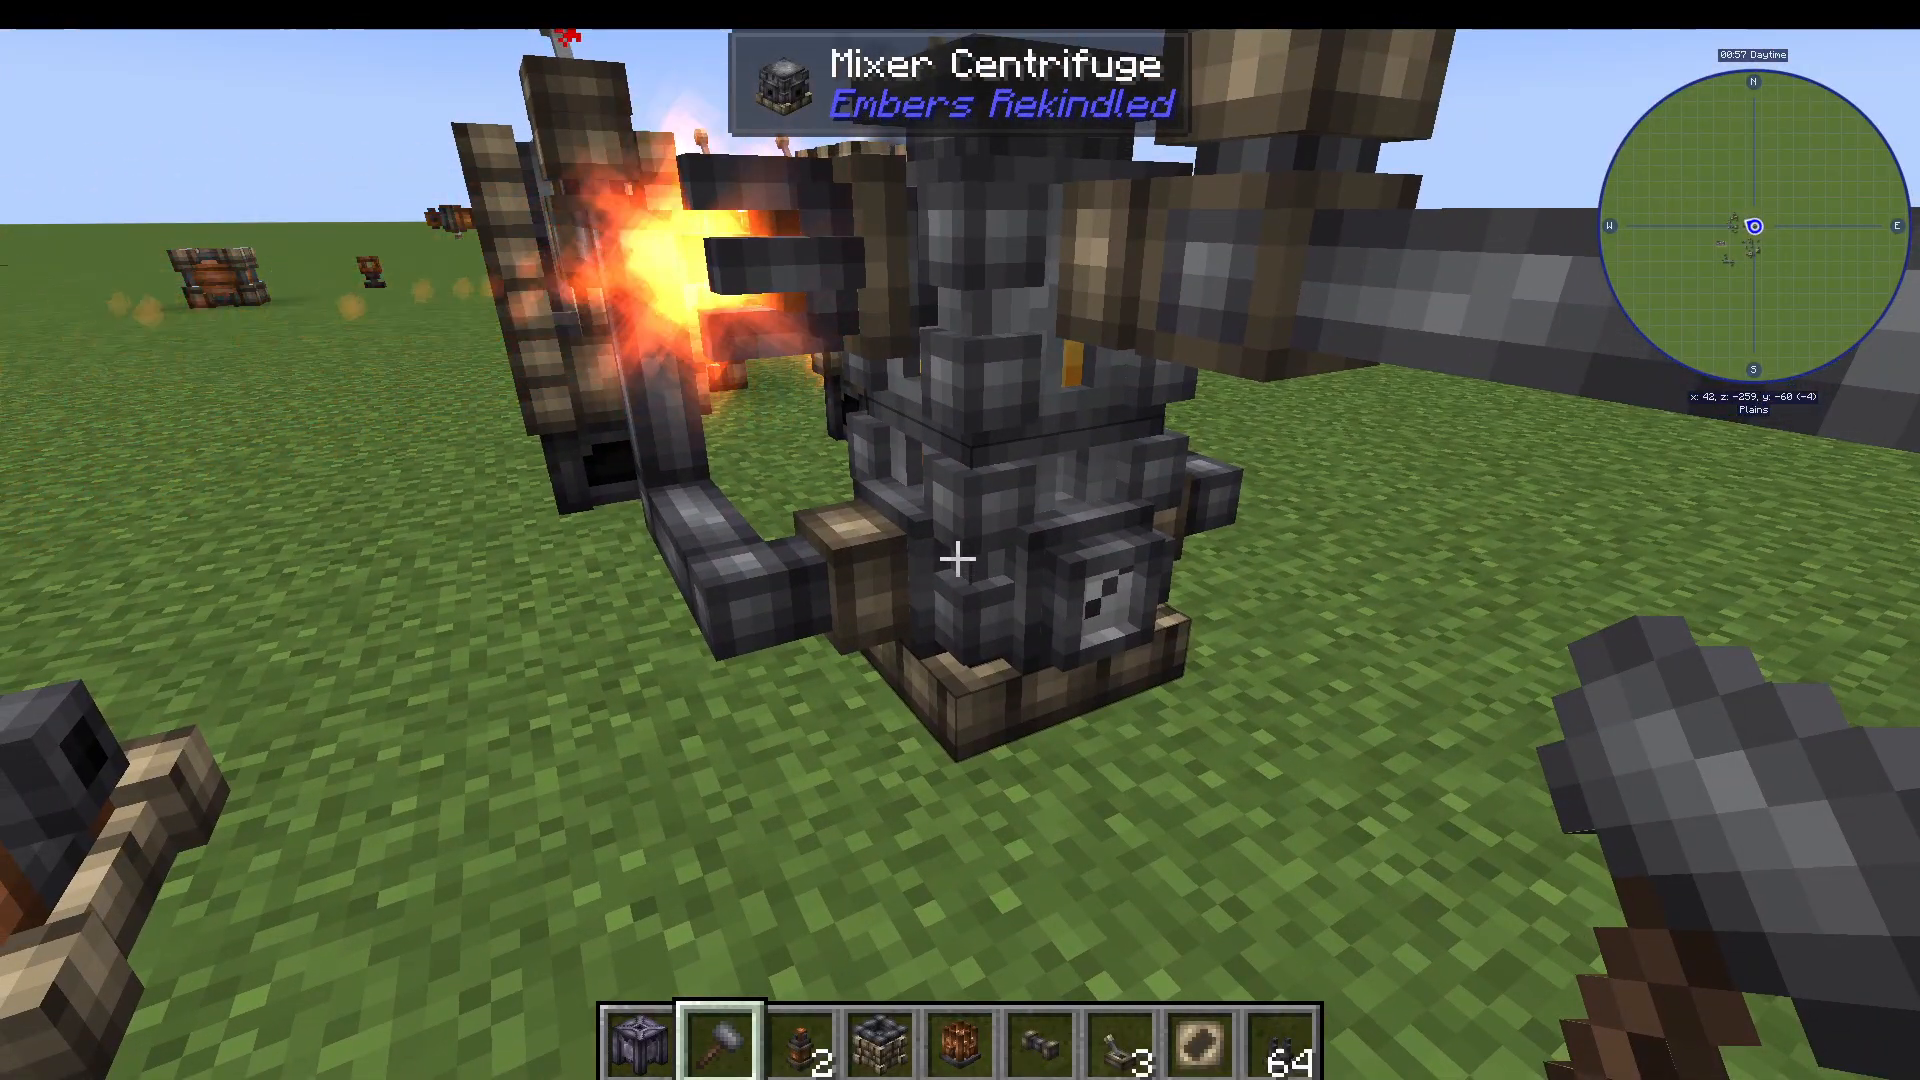
The centrifuge will automatically combine the two molten metals into Molten Dawnstone. Pump that out with a Fluid Extractor into a Stamp Base and Stamper setup (with an Ingot Stamp) to produce Dawnstone Ingots. Place a Bin beneath the Stamp Base to collect them automatically.
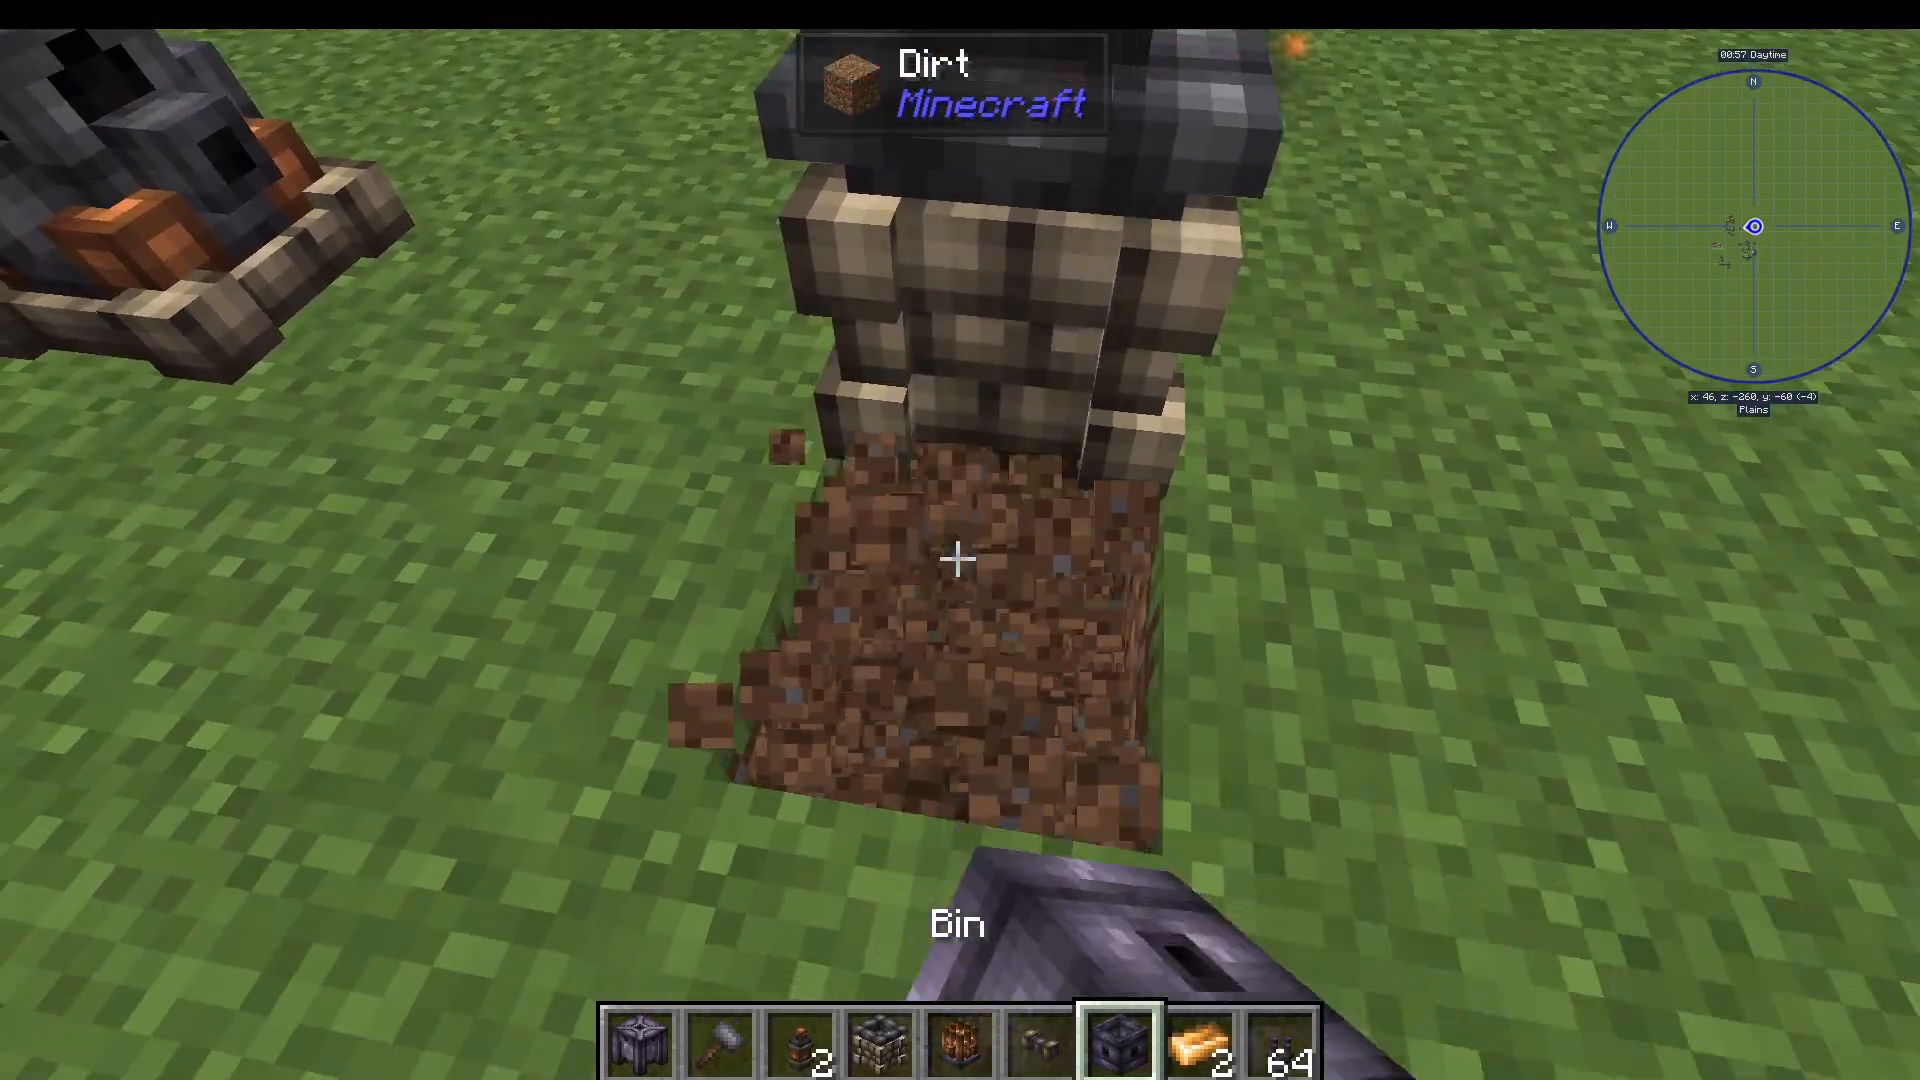
Press U on the Mixer Centrifuge to view all available recipes. Other notable combinations include:
Molten Copper + Molten Tin = Molten Bronze
Soul Crude + Steam = Dwarven Oil
Dwarven Oil (boiled) = Dwarven Gas
Steam is made by putting water into a Mini Boiler. Soul Crude is made by melting Soul Sand.
Advanced Power: The Pressure Refinery
Once you need more Ember than the Activator can provide, build the Pressure Refinery. It generates Ember at a far greater rate by pumping water through a heat source.
Setup
Place your chosen base material (a block of Gold, Silver, or Dawnstone) on the ground. Gold gives a 3x multiplier, but will slowly degrade into Weathered Copper over time. Silver and Dawnstone are more durable options.
Place the Pressure Refinery directly on top of that block.
Surround the base block with a heat source at the same height — either lava or Netherrack with fire. If using Netherrack/fire, place it one block below the refinery (at gold block height); if using lava, it should sit at the same level as the base block.
Use a Mechanical Pump to pump water into the refinery. Place the Mechanical Pump above a water source, power it with Ember via a Receptor on top, and pipe the water output into the bottom of the Pressure Refinery.
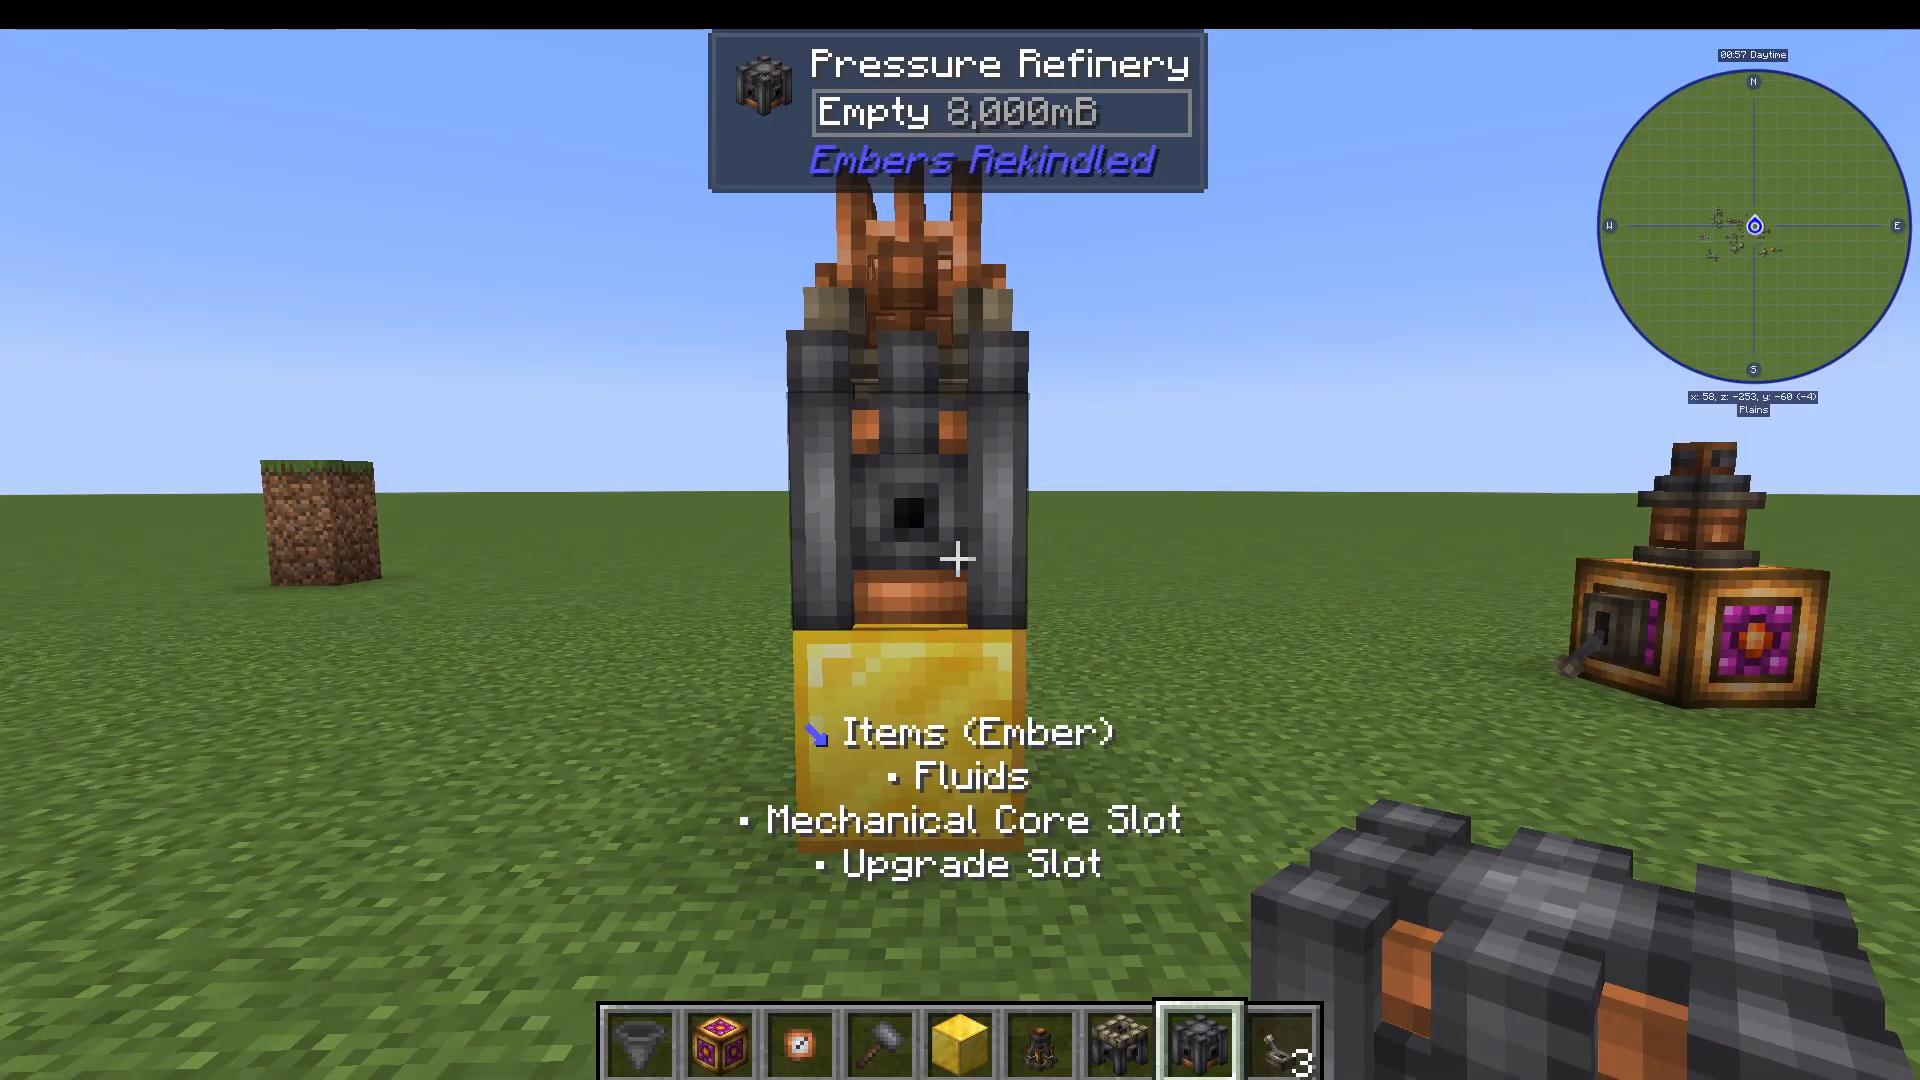
Beam Splitters, Funnels, and Ejectors
As your Ember production grows, you’ll need to distribute it to multiple machines. A Beam Splitter takes one Ember input and splits it evenly between two outputs. Connect your Emitter into the input port (the smaller side) and link the two output ports to separate Receptors using your Tinker’s Hammer. If you remove and replace a linked component, it will automatically remember the connection.
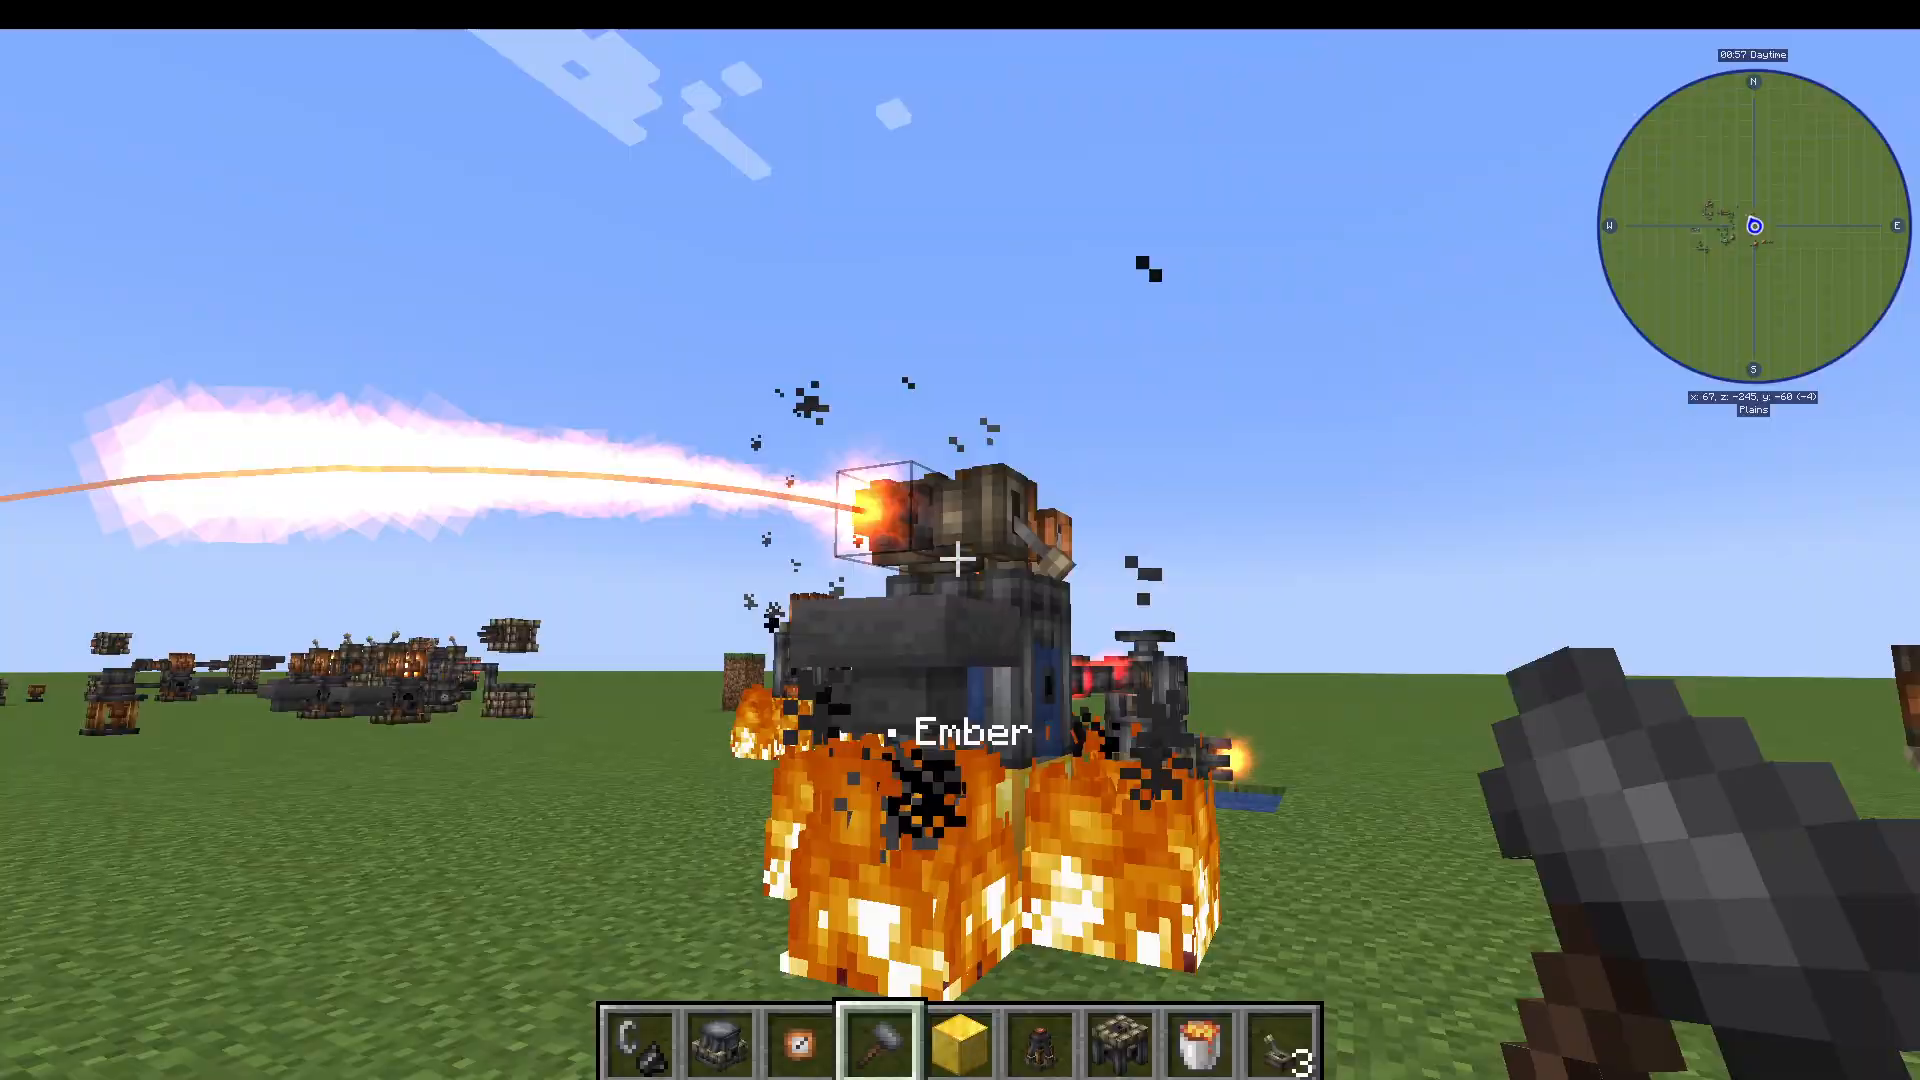
For higher-throughput Ember distribution, upgrade to Ember Funnels (upgraded Receptors) and Ember Ejectors (upgraded Emitters). A Siphon will automatically drain Ember from a storage cell like the Copper Cell and redistribute it — pair it with multiple Ejectors for flexible routing.
Storing Large Amounts of Ember: The Crystal Cell
The Crystal Cell is the high-tier upgrade to the Copper Cell. At its base configuration it stores 64,000 Ember. To increase its capacity, add a Mechanical Core to the bottom hole of the cell, attach a hopper, and feed in Ember Crystals. Each crystal added increases the cell’s storage capacity significantly — the crystal visually grows larger as you add more.
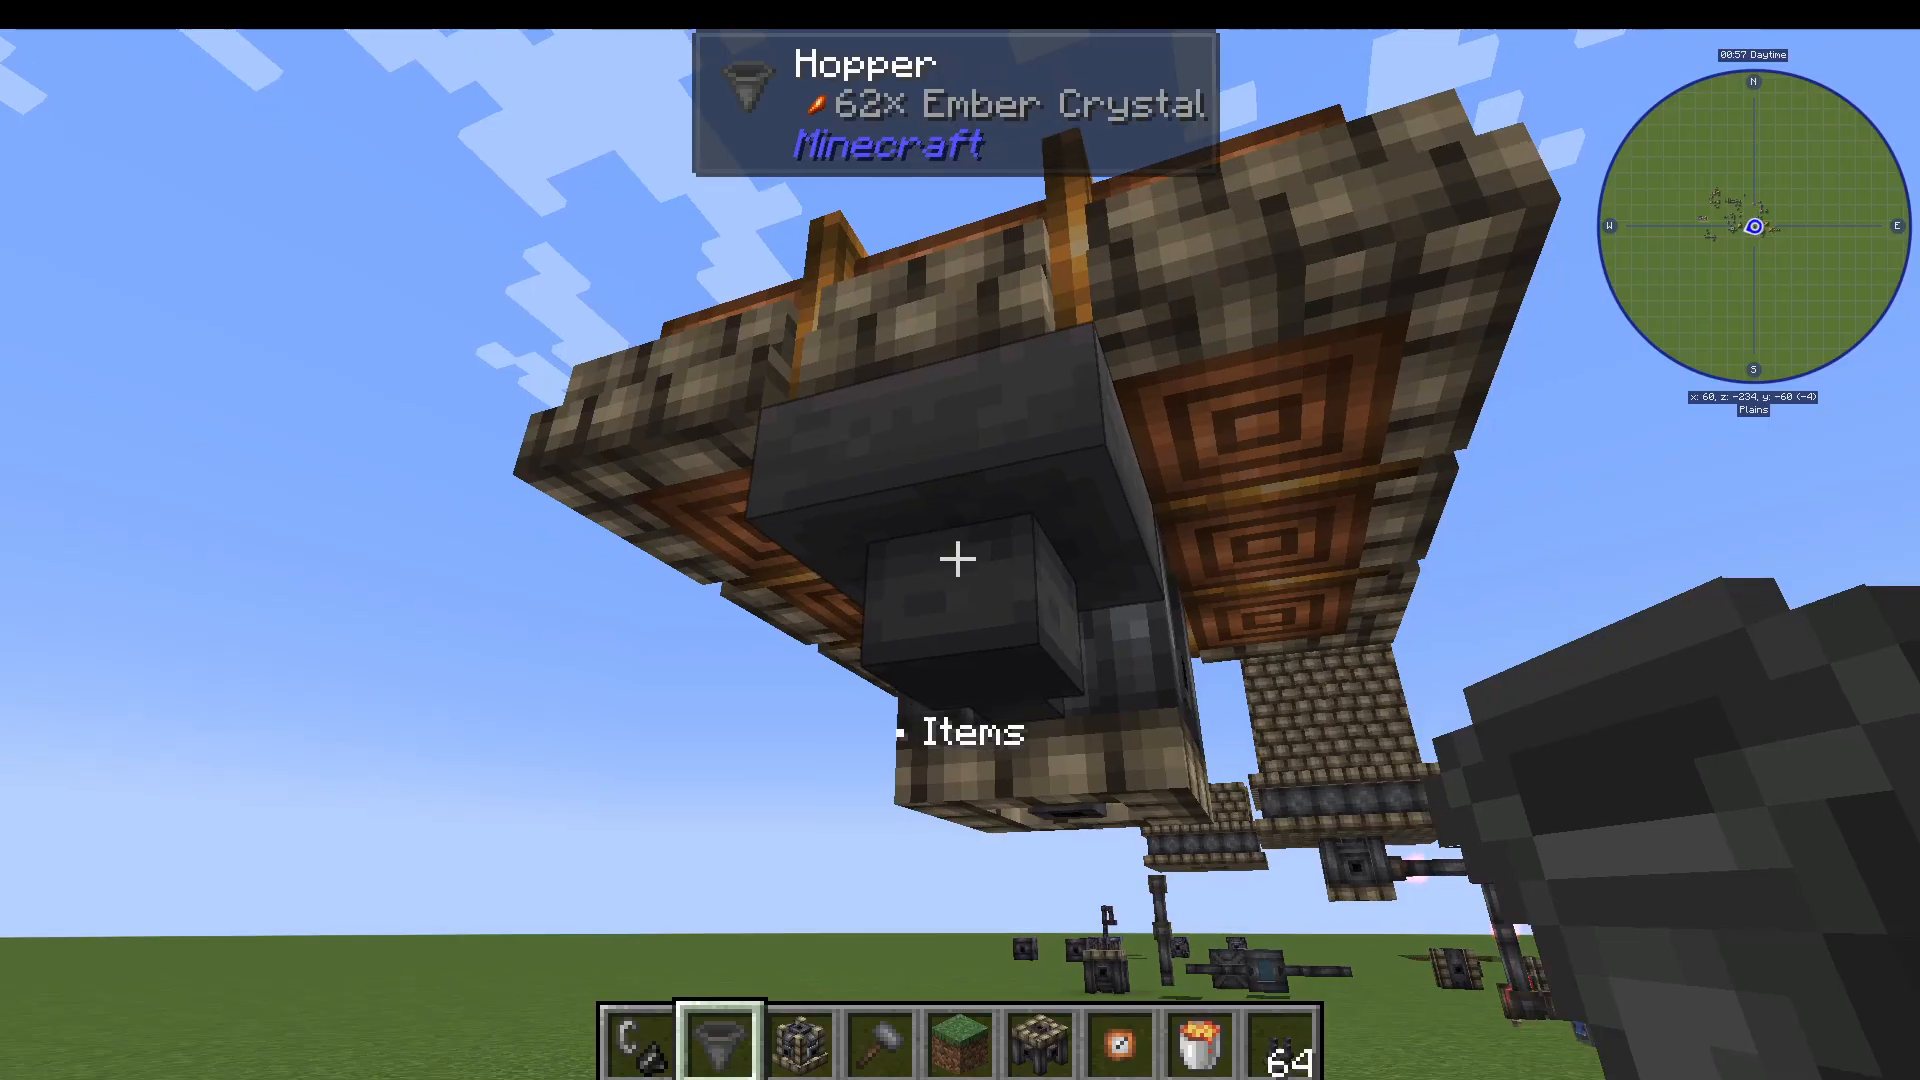
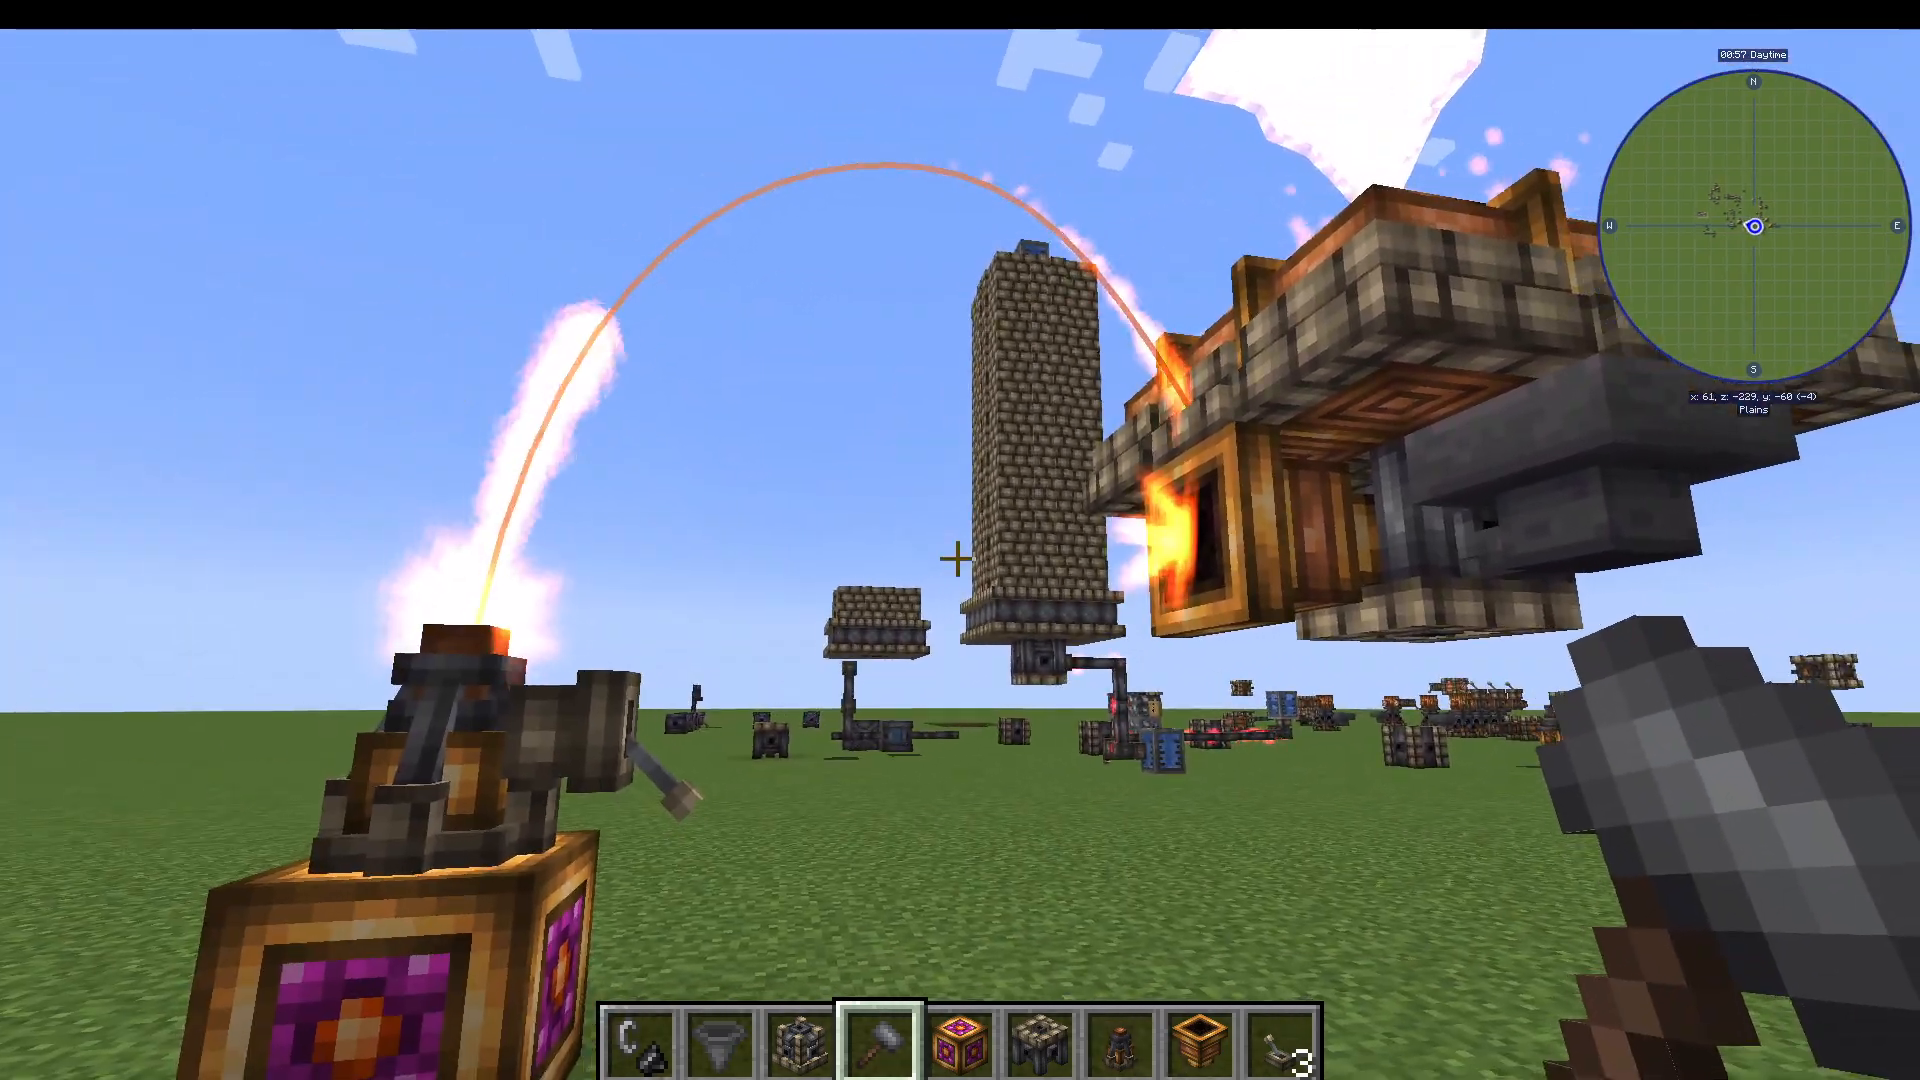
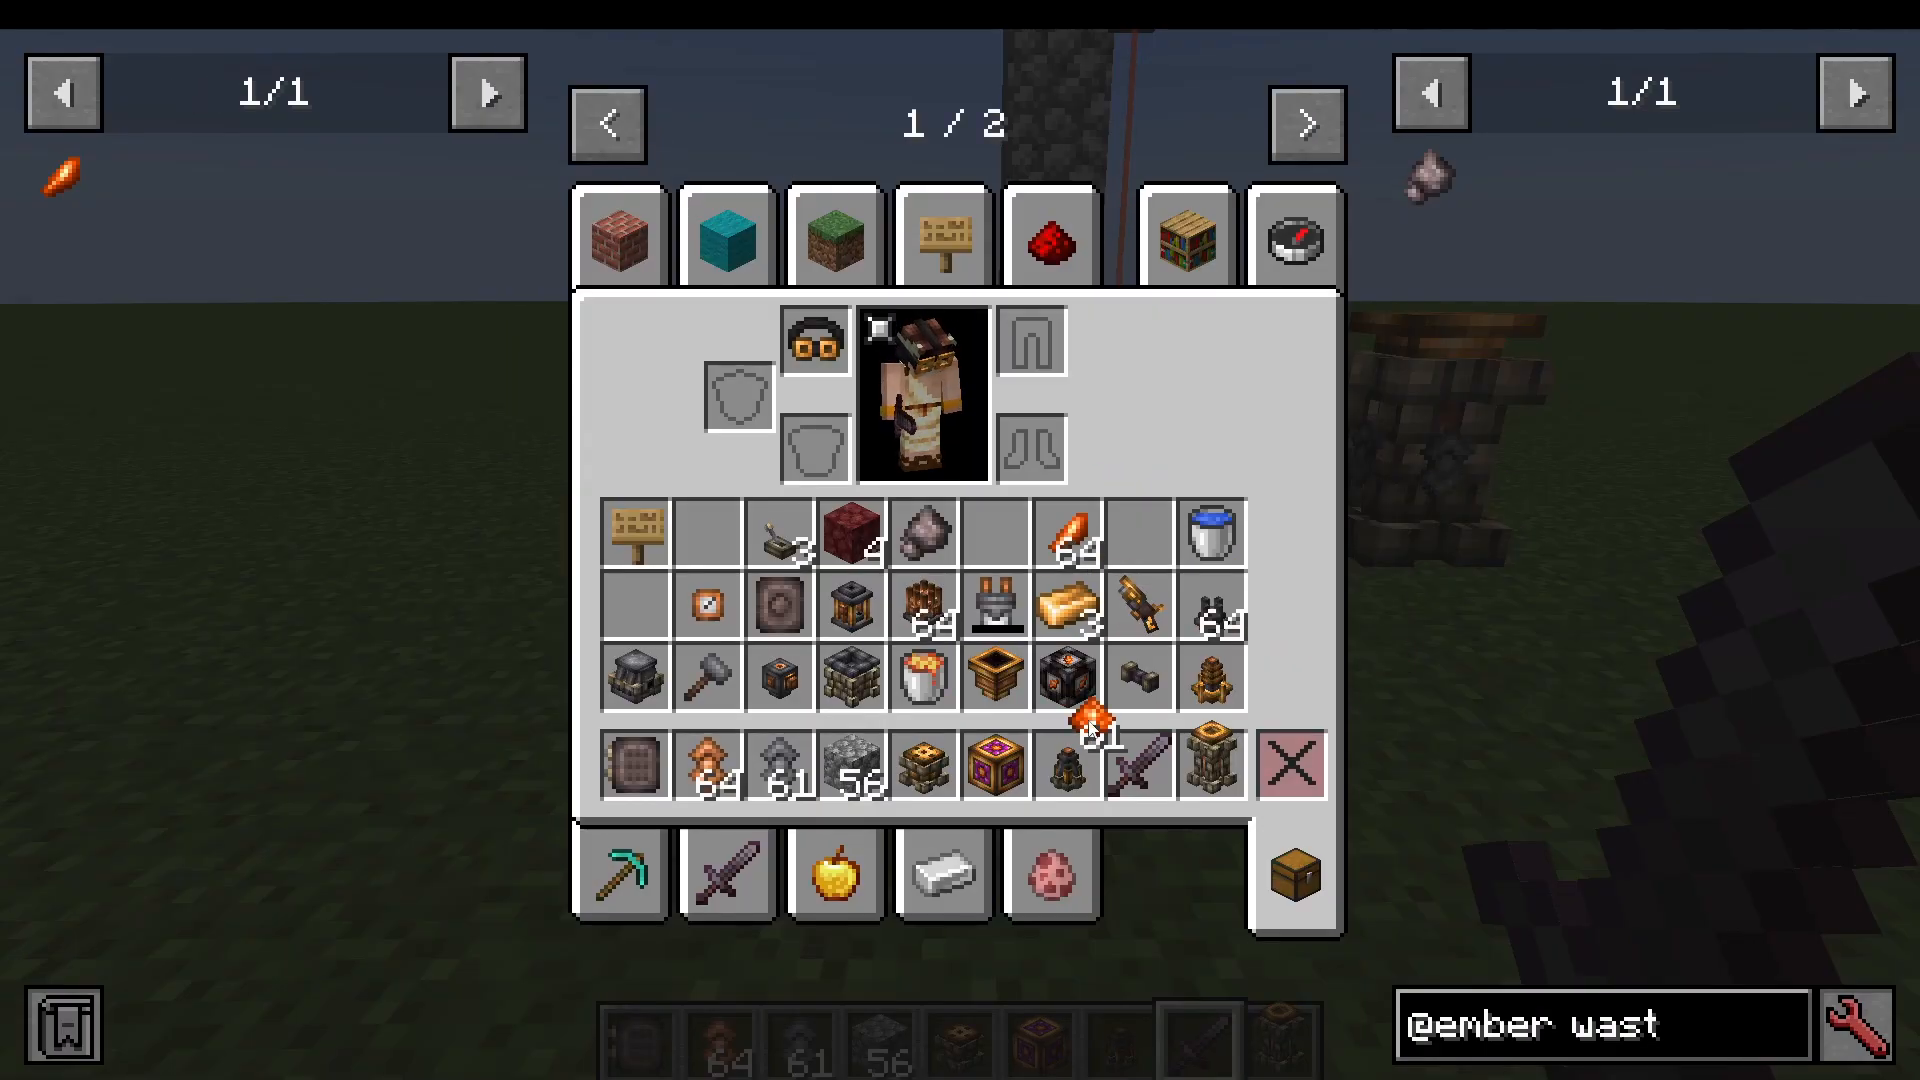
To fill the Crystal Cell with Ember quickly, attach an Ember Funnel and connect an Ember Ejector to it. Add a lever, turn it on, and link the Ejector to the Funnel with your Tinker’s Hammer. The cell will then fill hundreds of Ember at a time.
Alchemy
Alchemy is one of the more challenging systems in Embers Rekindled due to its trial-and-error nature, but it unlocks important recipes for materials like Netherrack, Shifting Scales, and more.
The Alchemy Setup
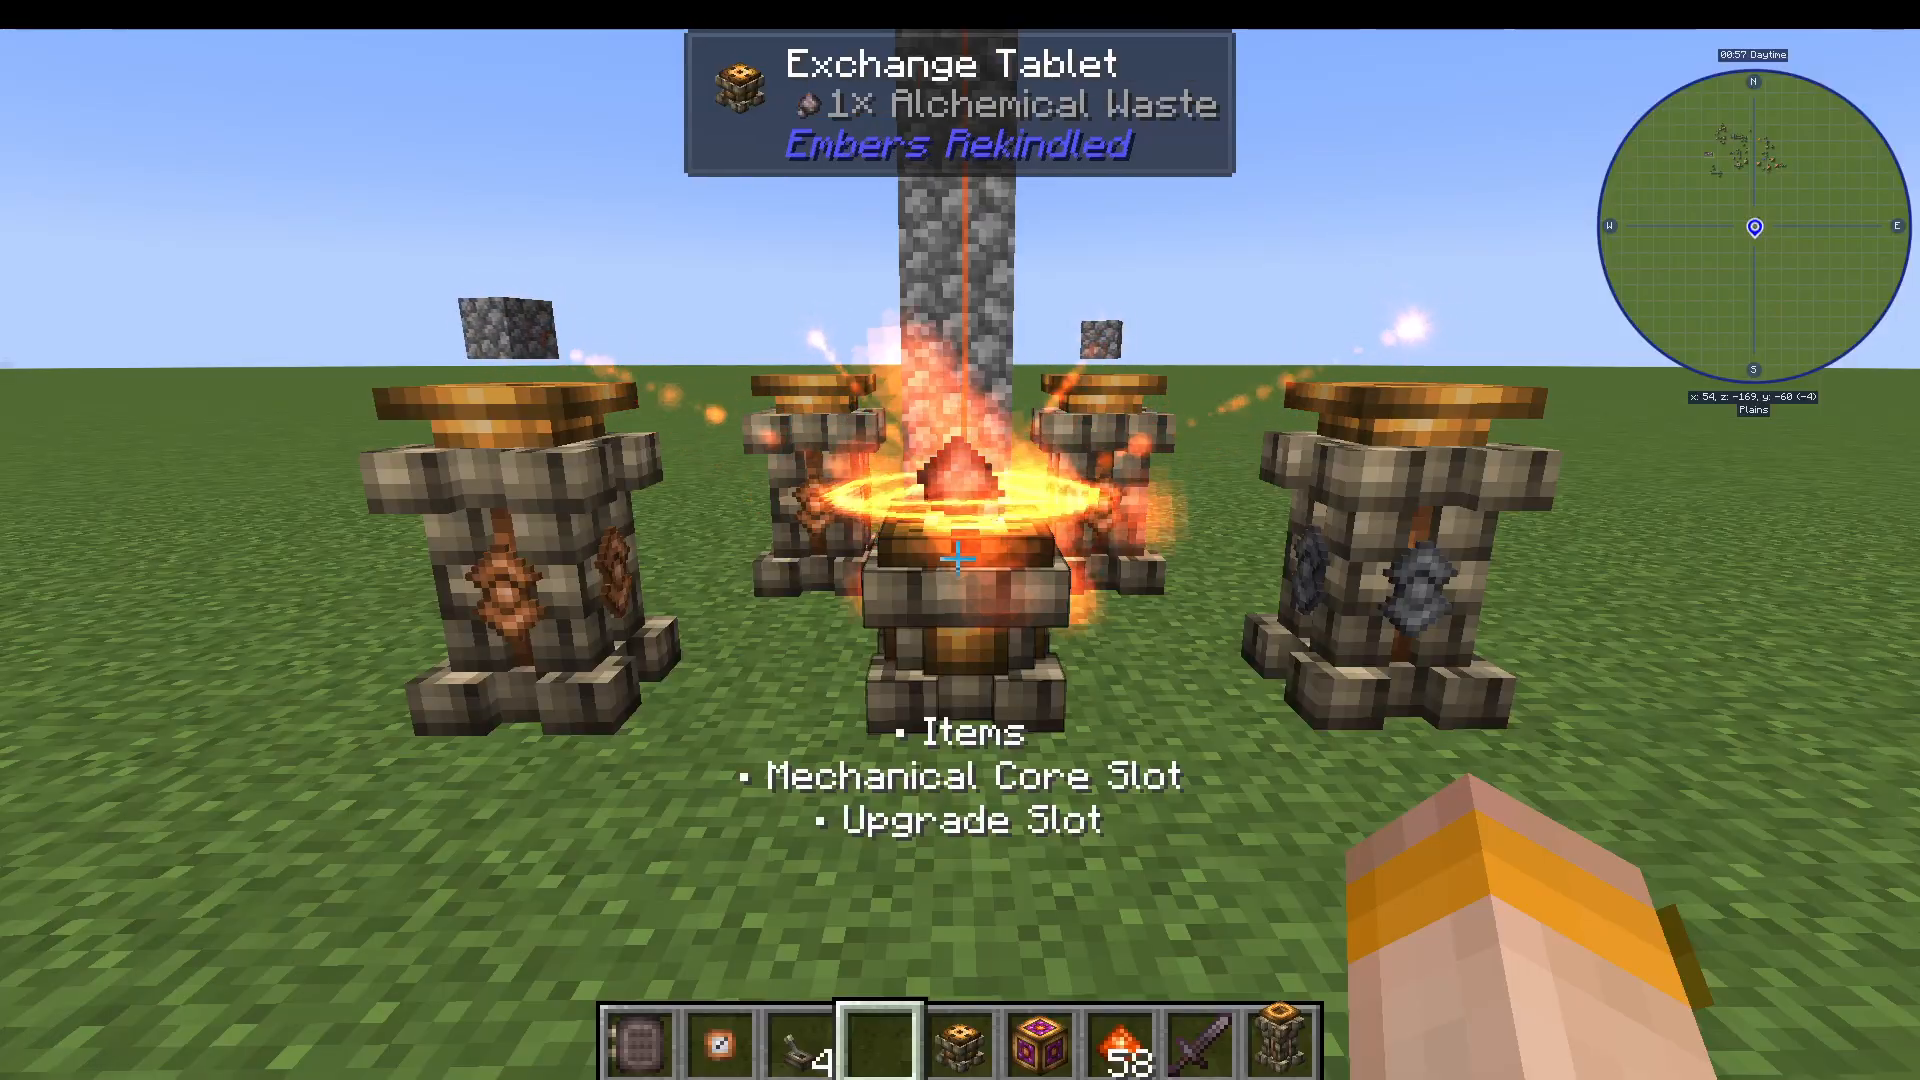
Place an Exchange Tablet in the center and surround it with Alchemy Pedestals. Some recipes require four pedestals; others may need more. Place the central ingredient (e.g., Ember Grit) on the Exchange Tablet and the surrounding ingredients (e.g., Cobblestone) on the pedestals.
Aspectus
Many alchemy recipes require Aspectus — special catalyst items. Craft a Raw Ingot Stamp and bake it together with an Ember Shard to create the relevant aspectus type (e.g., use Molten Copper for Copper Aspectus, Molten Iron for Iron Aspectus). By this point in the mod you should be comfortable using the Stamp setup to produce these.
Using the Beam Cannon
To trigger the alchemy process, you need a Beam Cannon pointed at the Exchange Tablet. Set up an Ember Funnel feeding into the Beam Cannon (charged via an Ember Ejector). Load approximately 2,000 Ember into the cannon, then flip a lever to fire it at the tablet.
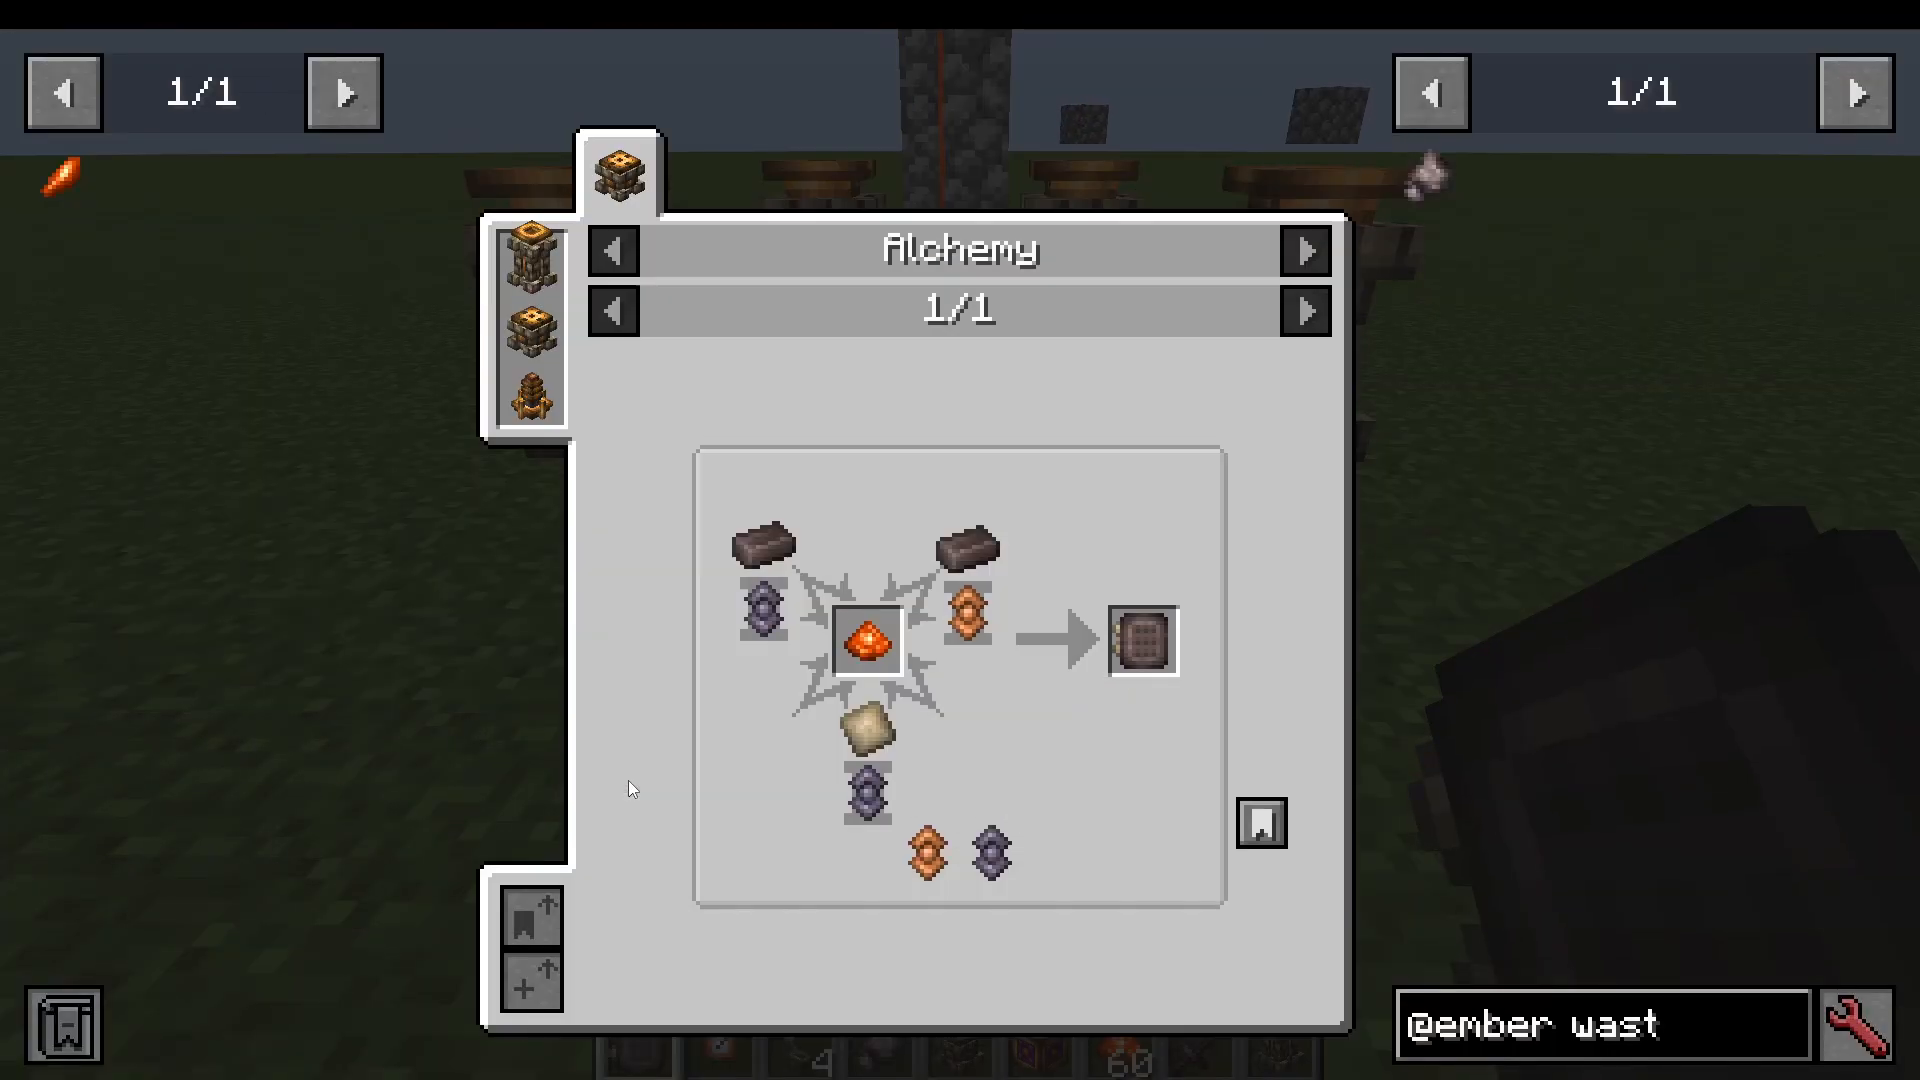
Trial and Error: Reading Alchemical Waste
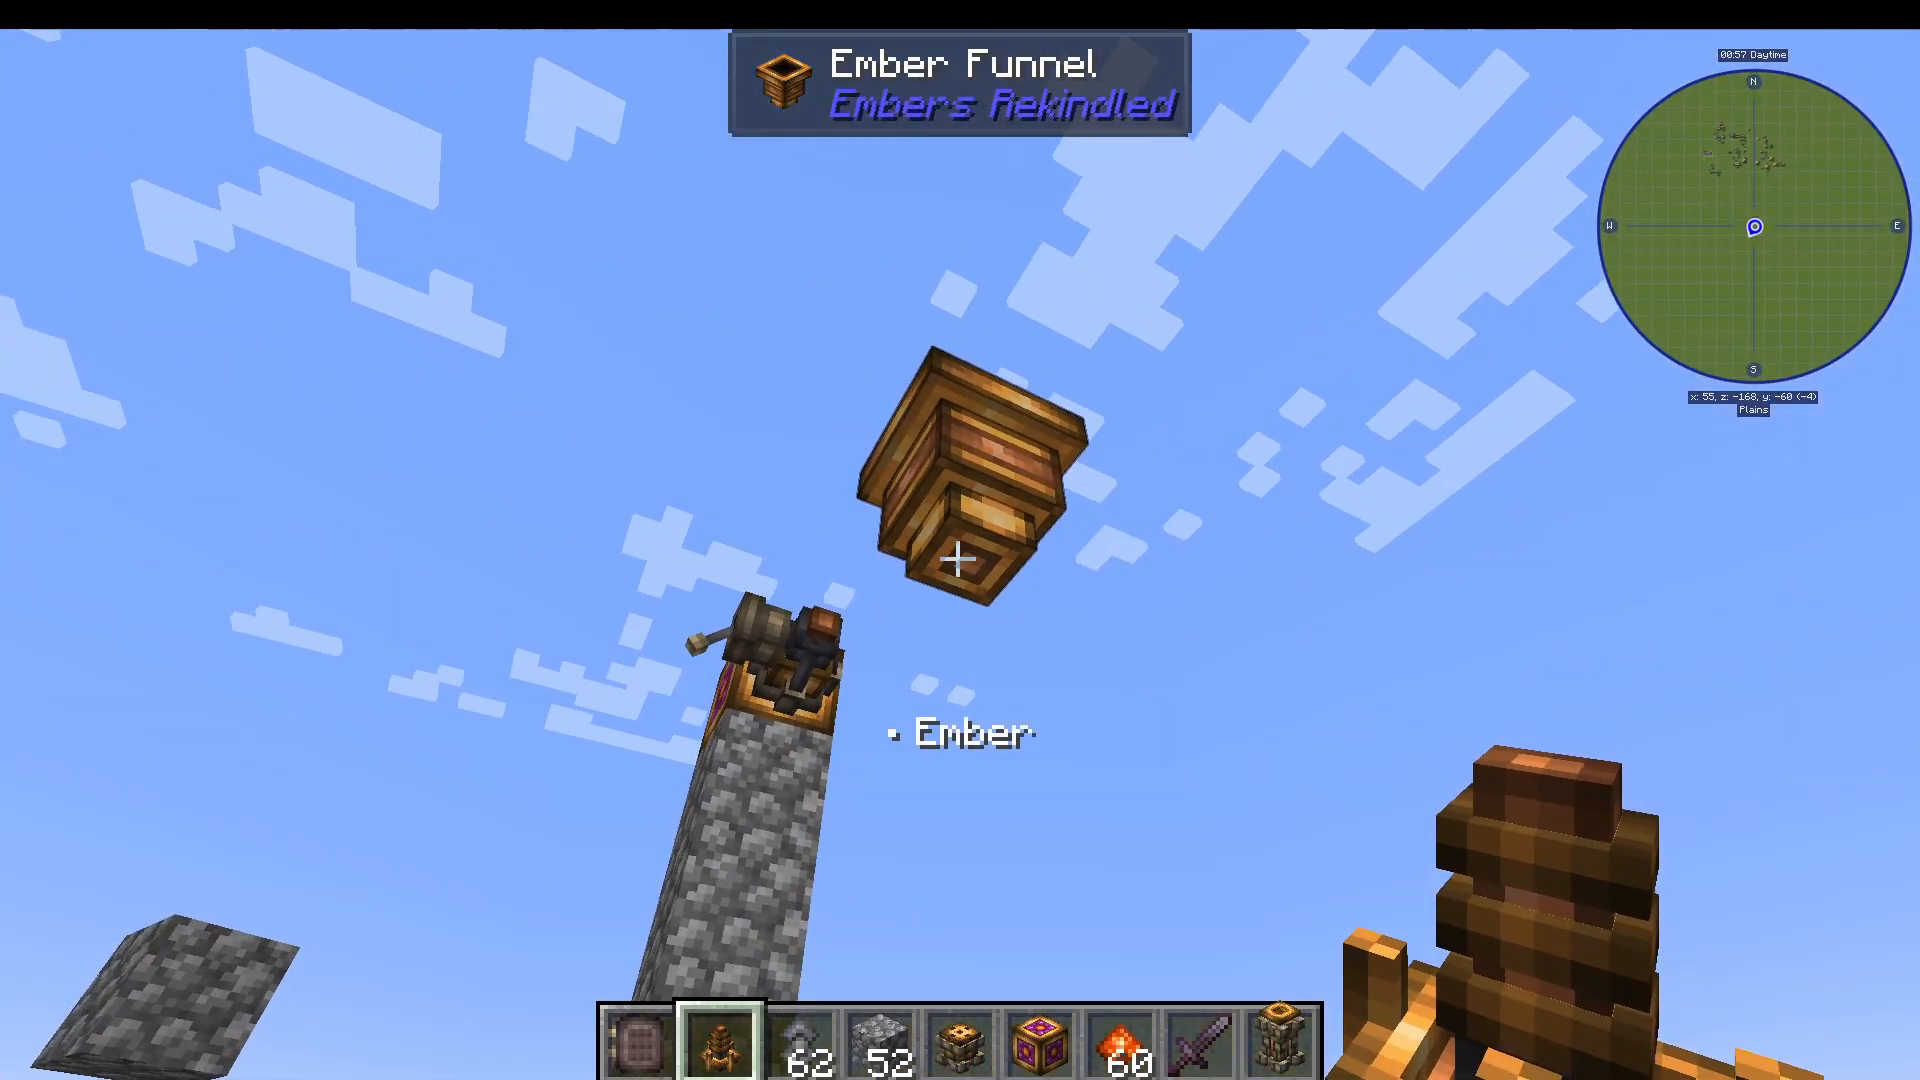
If the recipe is incorrect, you’ll receive Alchemical Waste instead of the desired result. Right-click the waste to read a message in chat — it will tell you how many of your aspectus placements were correct (e.g., “3 glowing spots” means 3 out of 4 are right).
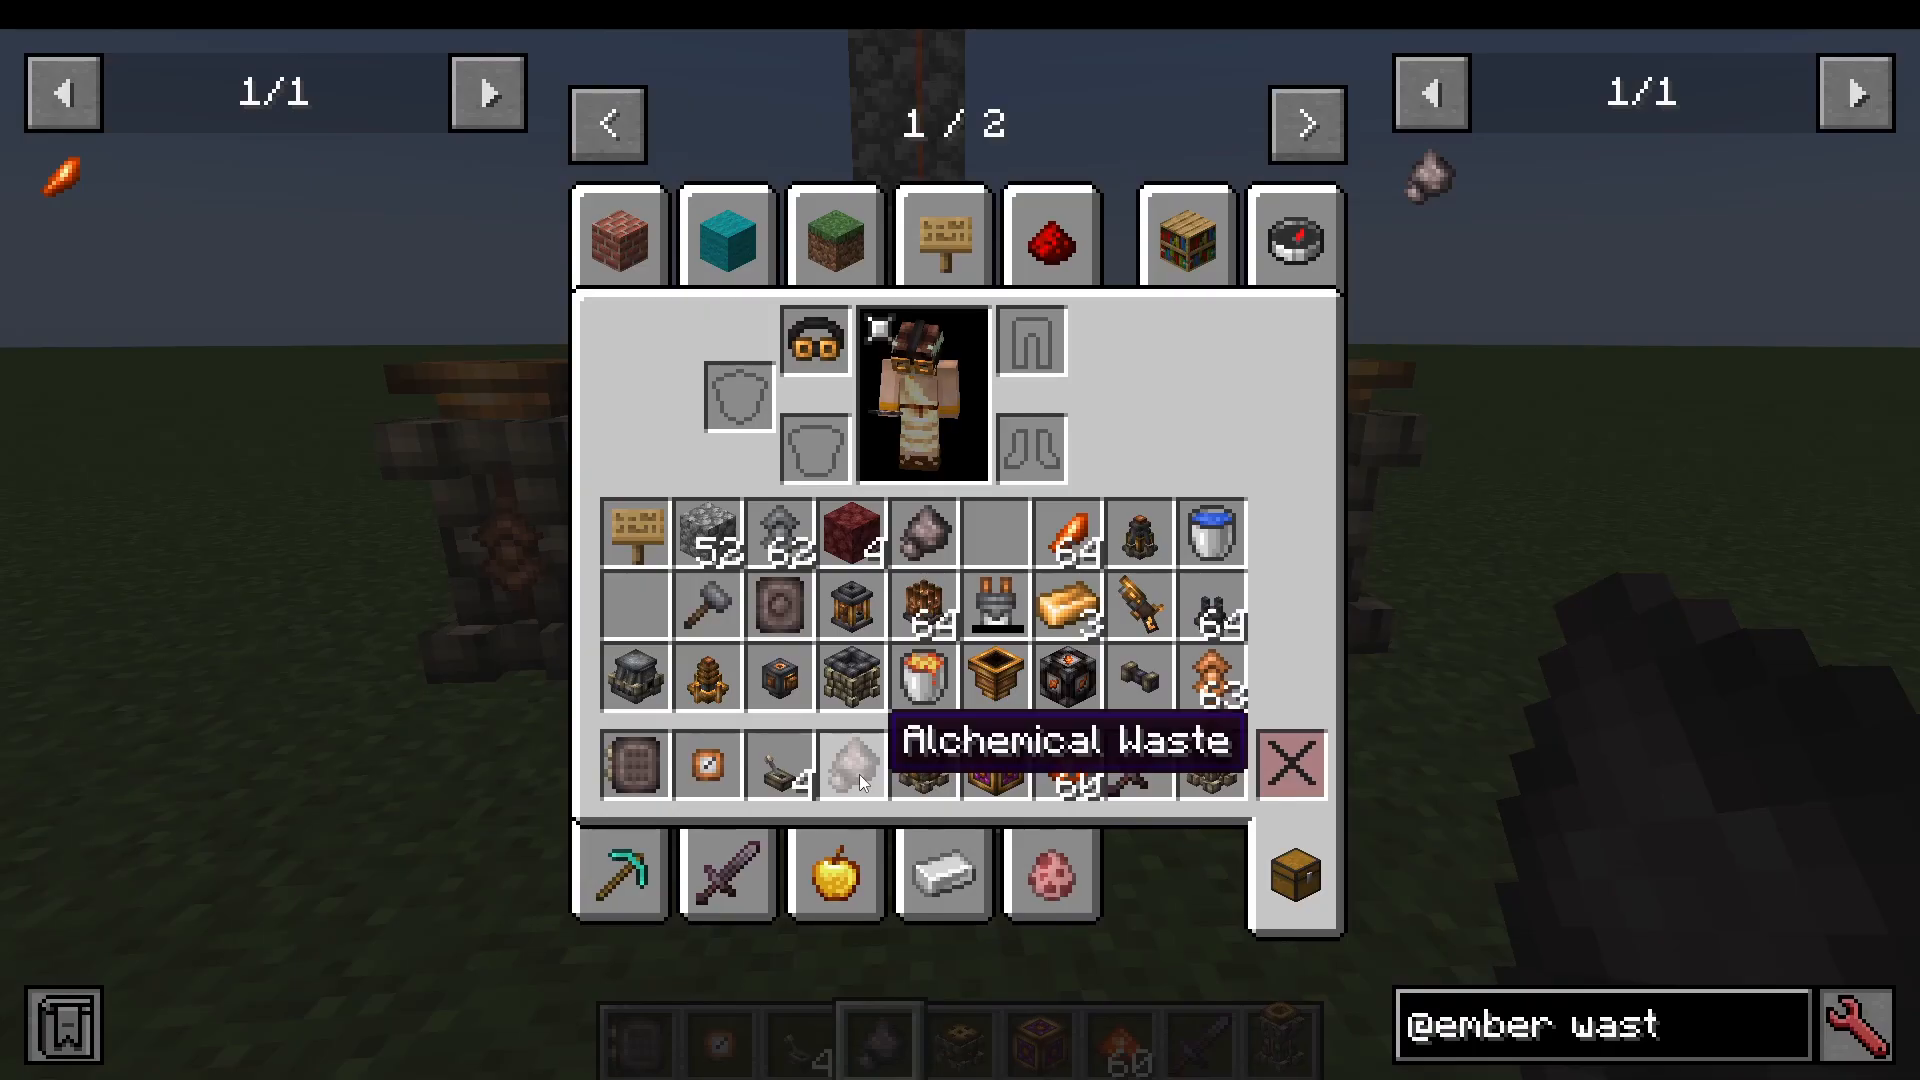
To get more detailed feedback, place the waste into a Code Breaking Slate. This shows you visually which slots are correct and which are wrong. Note that the Code Breaking Slate itself requires alchemy to craft — using Archaic Bricks and a Camonite Plate with Ember Grit — so expect some initial trial and error before you have it available.
Process of Elimination
The key insight for solving alchemy puzzles is that the pattern of aspectus placement doesn’t matter — only the quantity of each type matters. Use the following approach:
Start with a guess (e.g., 2 Copper, 2 Iron).
Fire the cannon and read the waste result.
If 3 are correct, only one is wrong. Try swapping one aspectus type.
If the number of correct spots decreases, the swap made it worse — revert and try the opposite change (remove one instead of adding one).
By comparing attempts in the Code Breaking Slate, you can narrow down the correct combination efficiently.
The Dawnstone Anvil and Gear
Weapons and Tools
Embers Rekindled adds several unique weapons and tools:
Clockwork Pickaxe and Clockwork Axe — standard unbreakable tools
Grand Hammer — functions like a pickaxe but voids mined items
Blazing Ray — a ranged Ember-powered weapon
Sinisite Staff — charges up to fire large bolts
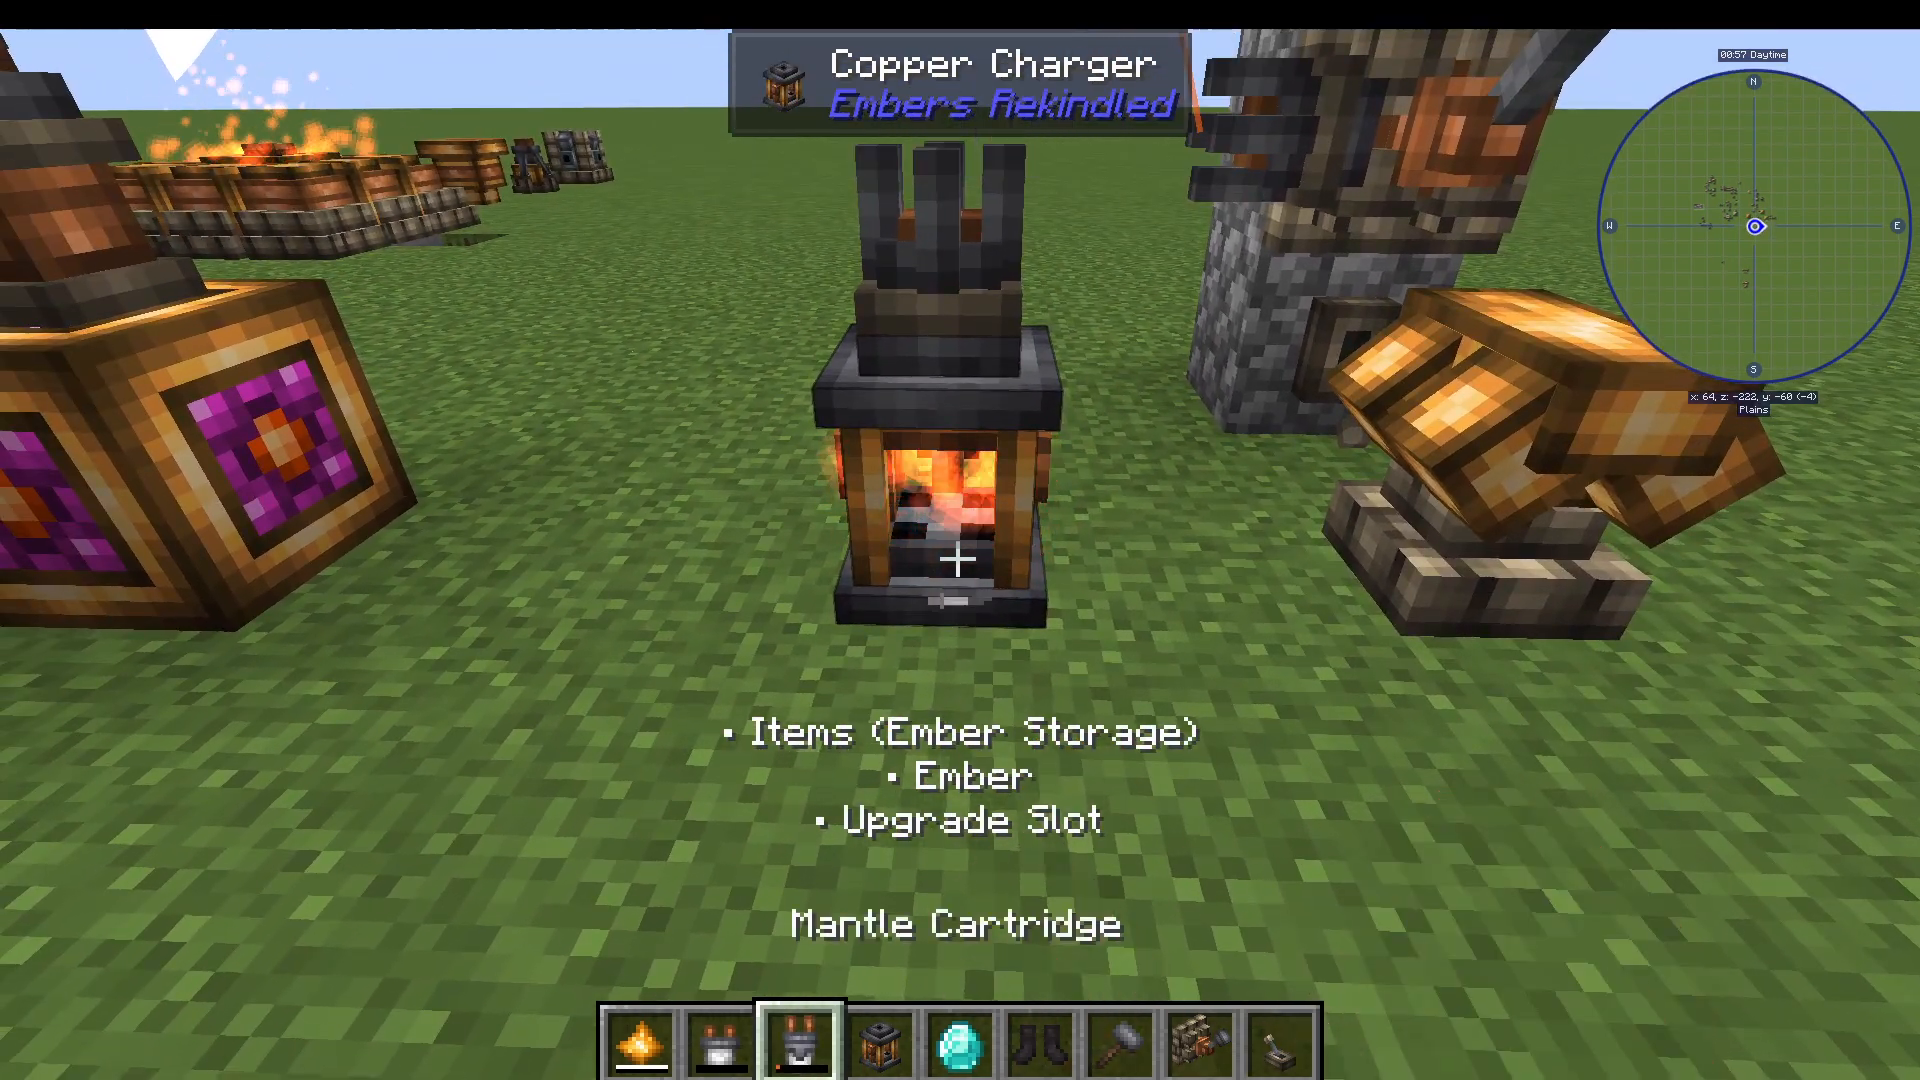
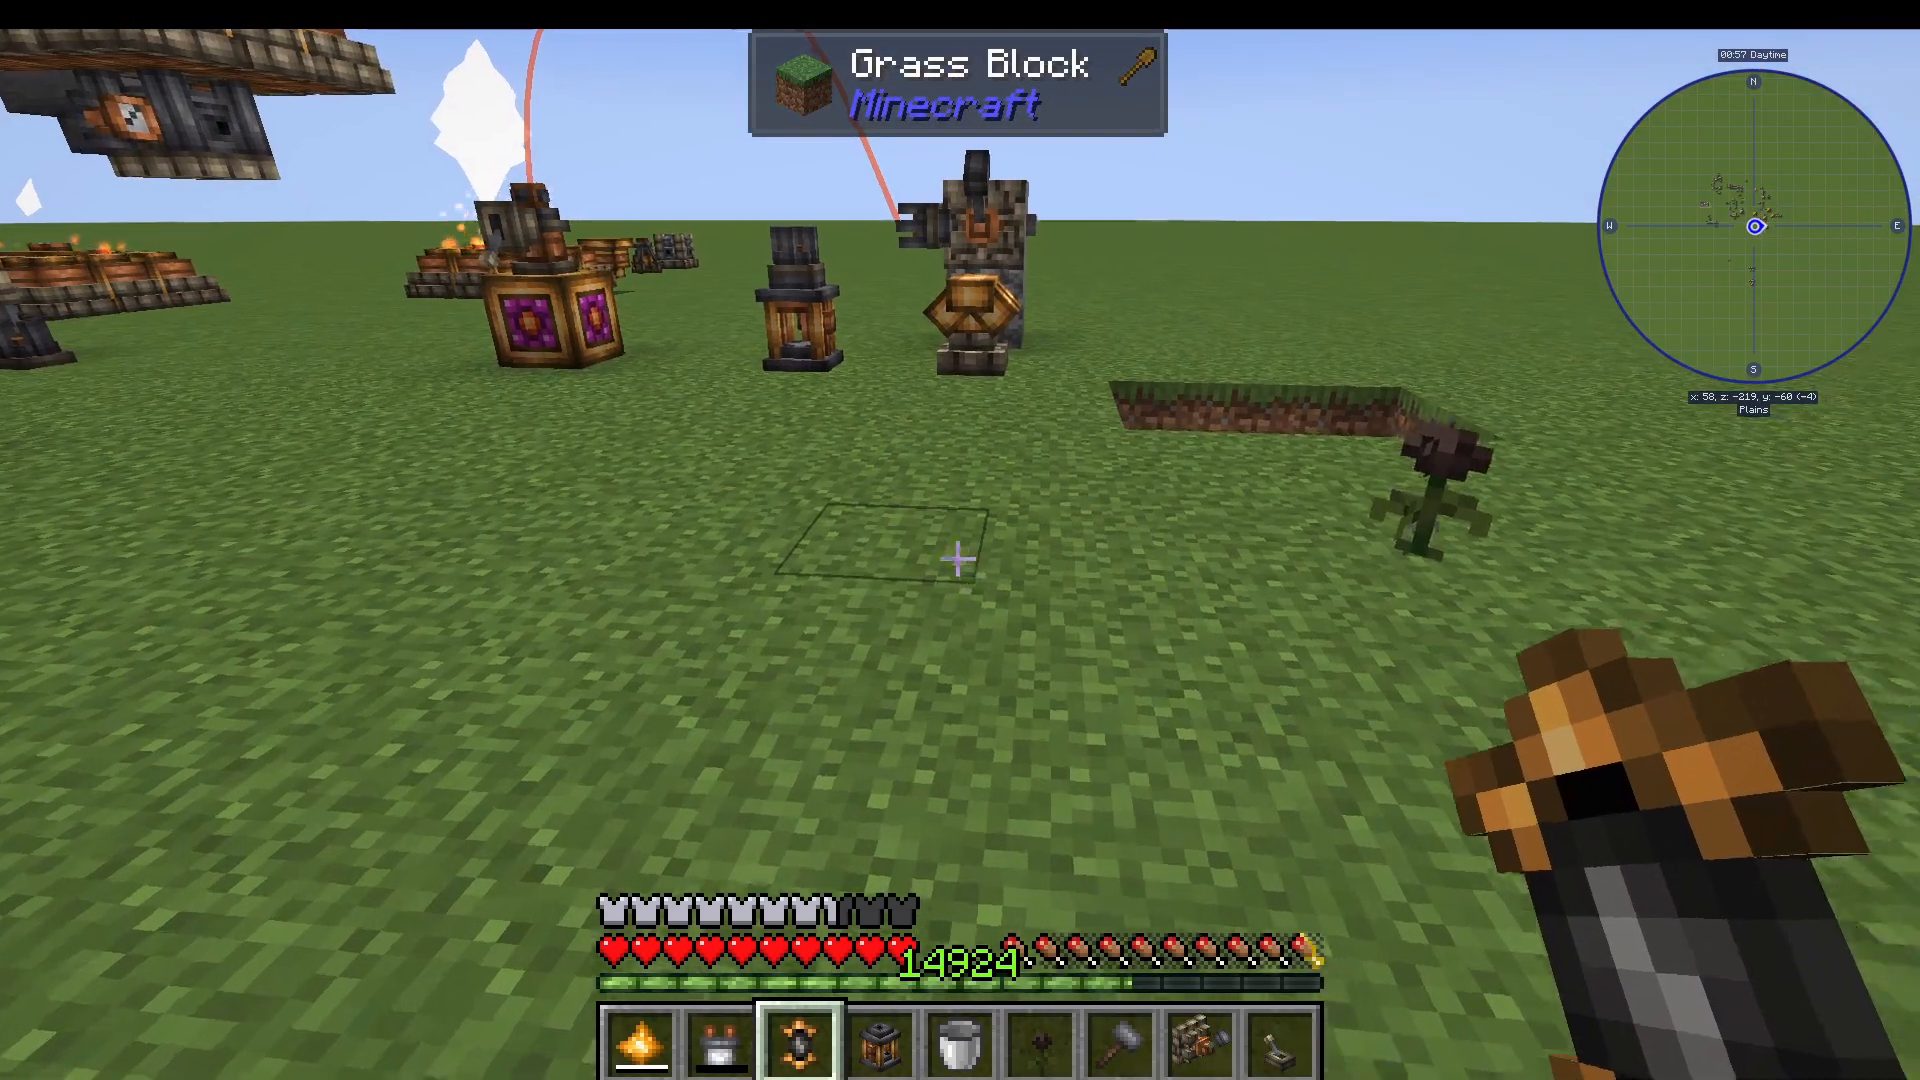
The Blazing Ray, Sinisite Staff, and other Ember weapons are powered using Mantle Jars or Mantle Cartridges. Jars can sit in your inventory; cartridges must be held in your off-hand but hold more Ember. Charge them in a Copper Charger by attaching a Receptor and right-clicking the jar or cartridge into it.
Armor and Accessories
Ashen Goggles — show an overlay of nearby Ember storage, pipes, and items. Crafted using Ashen Fabric (made via alchemy).
Ashen Cloak and Leggings — feature Inflicted Gem Slots
Dawnstone Mail — provides knockback resistance
Ember Ring — 12% Ember usage reduction
Ember Belt — 20% Ember usage reduction
Ember Amulet — 25% Ember usage reduction
Mantle Bulb — fits in a Curios slot and stores a small amount of Ember
Glimmer Crystal — a portable light source, upgradeable to a Glimmer Lamp that can be fired to leave permanent light sources
Inflicted Gems
Inflicted Gems are crafted via alchemy and start with no damage reduction. To attune a gem, take a specific type of damage (fire, drowning, etc.) while the gem is in your inventory — it will attune to that damage type. Add it to gear at a crafting table by combining the gem with a piece of string. You can fill all available gem slots in one crafting operation by placing multiple gems and one string together.
To remove gems, simply craft the gear piece again — it will return the gems. Ashen Boots have 3 gem slots; some armor pieces can have up to 7.
Repairing with the Dawnstone Anvil
The Dawnstone Anvil repairs gear using only a single ingot regardless of how much durability needs restoring (versus multiple ingots in a standard anvil). Place your item and a single repair ingot on the anvil, hold your Tinker’s Hammer, and right-click repeatedly until the repair is complete.
For automation, place an Automatic Hammer above the anvil (powered by Ember via a Receptor) and flip a lever — it will hammer automatically. Important: the Dawnstone Anvil must be oriented so that the hammer strikes along its length, not across it. If the hammer doesn’t work, try rotating the anvil 90 degrees.
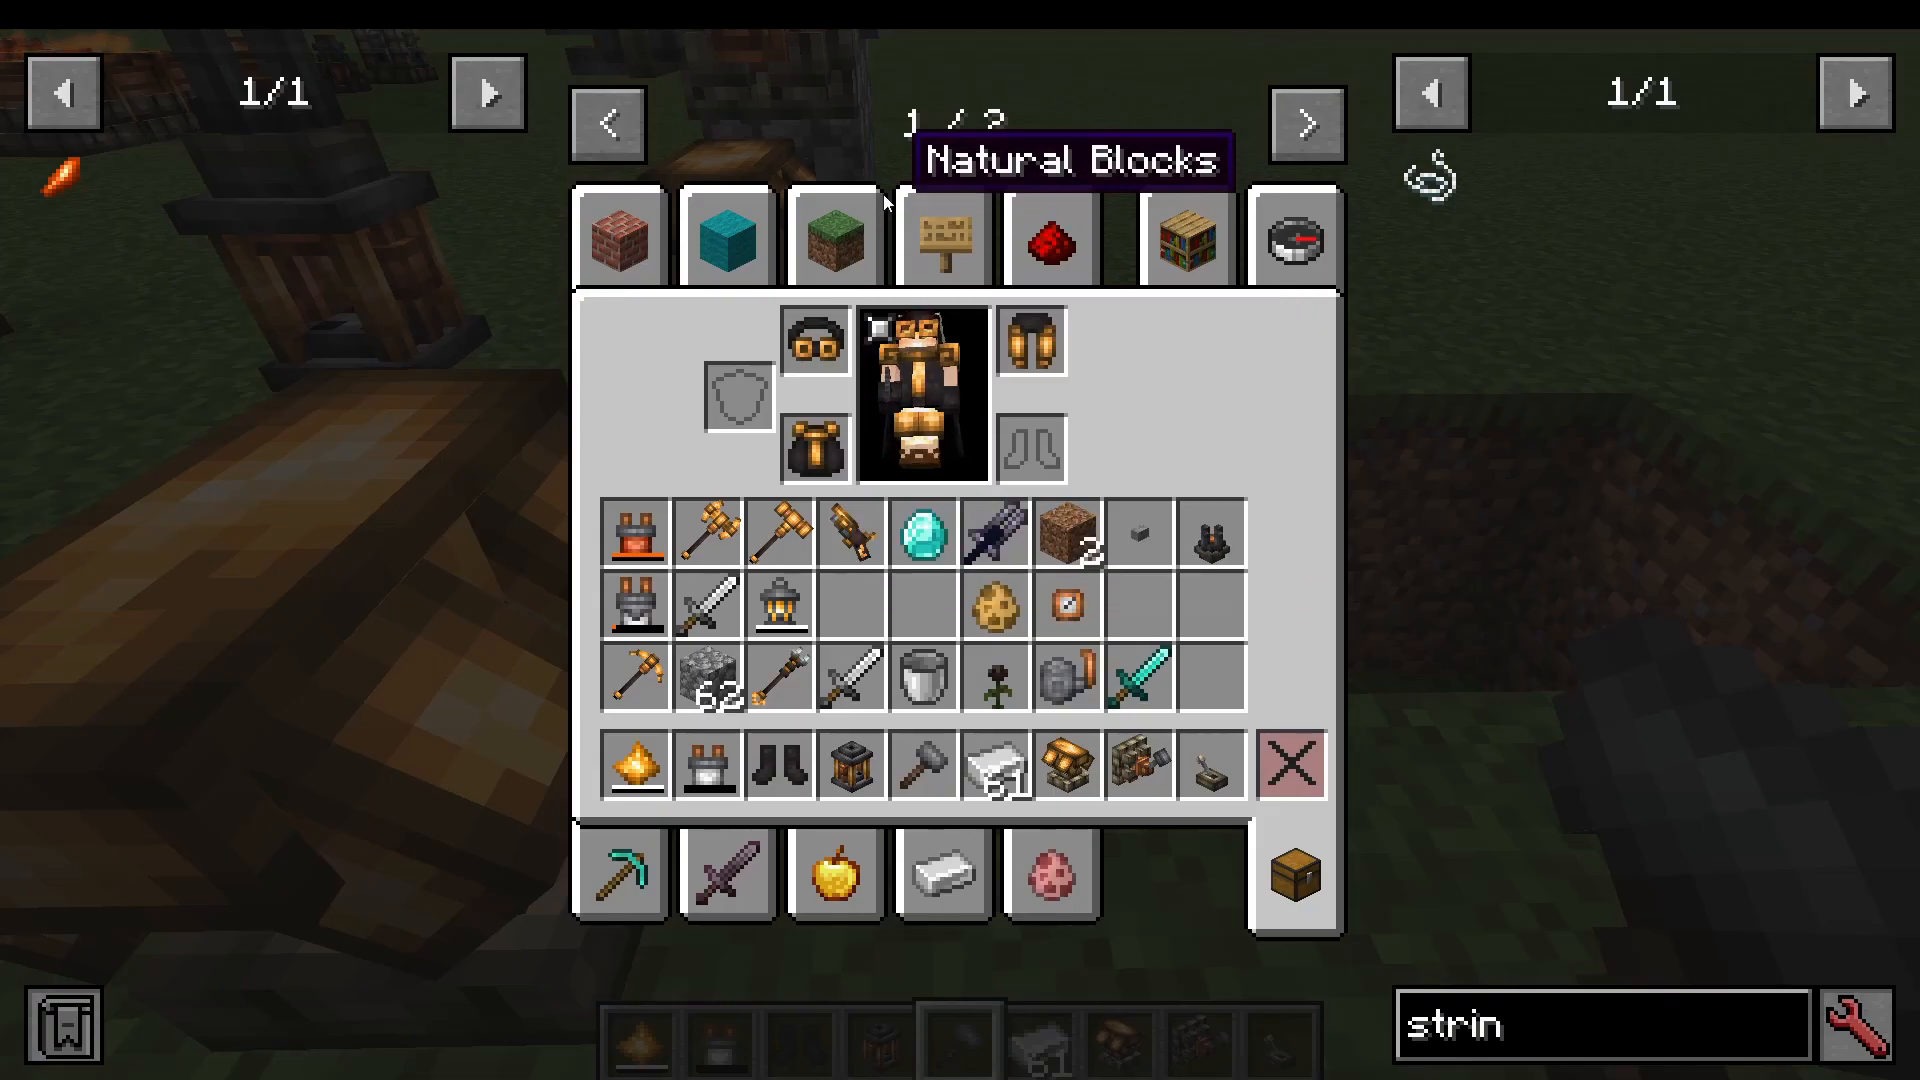
You can also use the Dawnstone Anvil to break down items into their components — placing a diamond sword on the anvil and hitting it will yield the constituent diamonds. Make sure to turn off the Automatic Hammer lever before placing items you don’t want destroyed.
Augmenting Gear
Click on a piece of gear and check the Dawnstone Anvil menu to see which augments can be applied. Augments are added by placing the gear, the augment item, and using the hammer (manual or automatic). Key augments include:
Sinder Jet — propels you forward when sprinting, with increasing speed at higher levels
Diffraction Barrel — turns Ember projectile weapons into a shotgun with spread
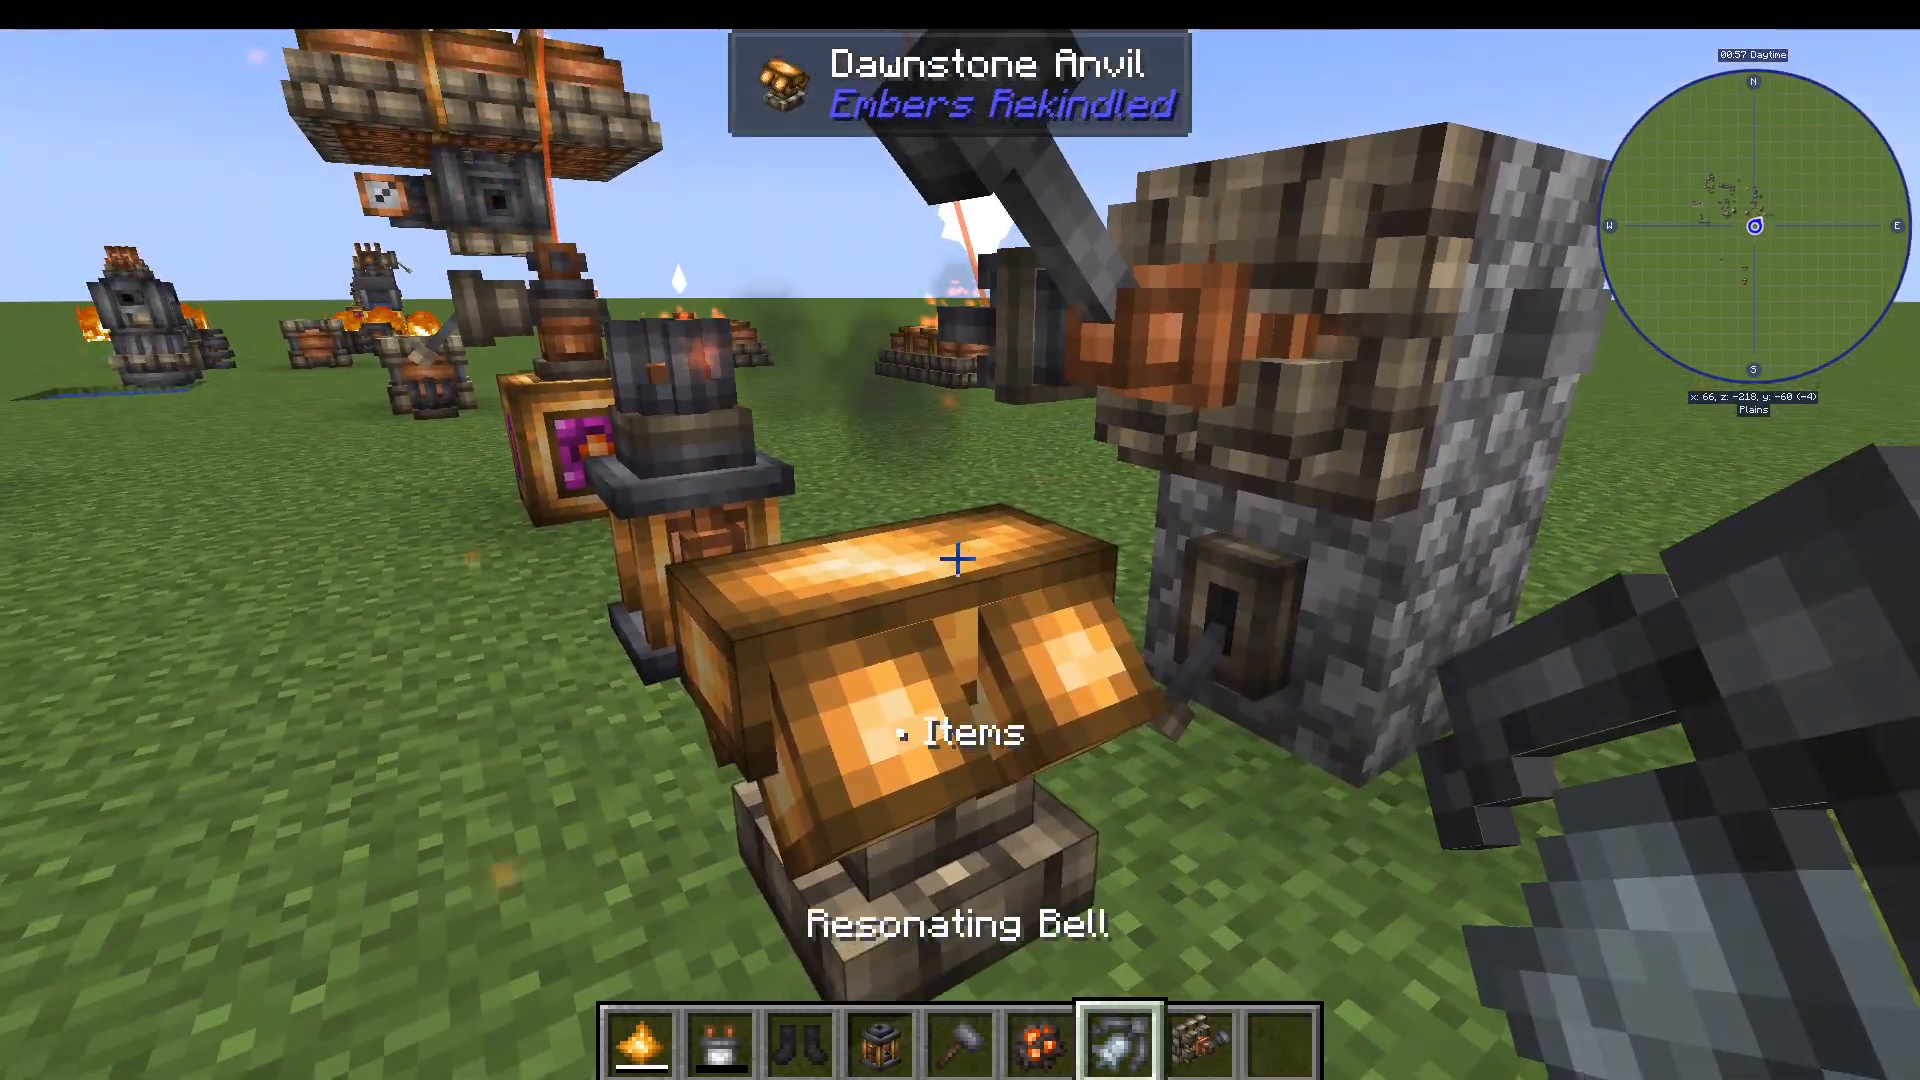
Resonating Bell — illuminates nearby blocks of the same type when you right-click a block
Caster — fires a small projectile each time you swing the weapon
Super Heater — automatically cooks dropped items from broken blocks
Shifting Scales (via alchemy) — regenerates protective scale hearts when you’re stationary and haven’t taken recent damage
Focal Lens — improves firing precision for Ember weapons
Winding Gears — right-click to wind up, then auto-attack rapidly
Eldritch Insignia — intimidates certain mobs, causing them to become afraid of you (they will retaliate if provoked)
Flame Barrier — reflects damage to attackers as fire
Lasting Core — causes explosions when striking blocks
Intelligent Apparatus — boosts experience gained from kills
Note that some augments require a prerequisite augment already applied. For example, the Resonating Bell requires the Heat augment (applied via an Ancient Motive Core) to already be on the weapon. Use the Ancient Motive Core to apply Heat first, then add further augments on top.
The Inferno Forge: Levelling Up Augments
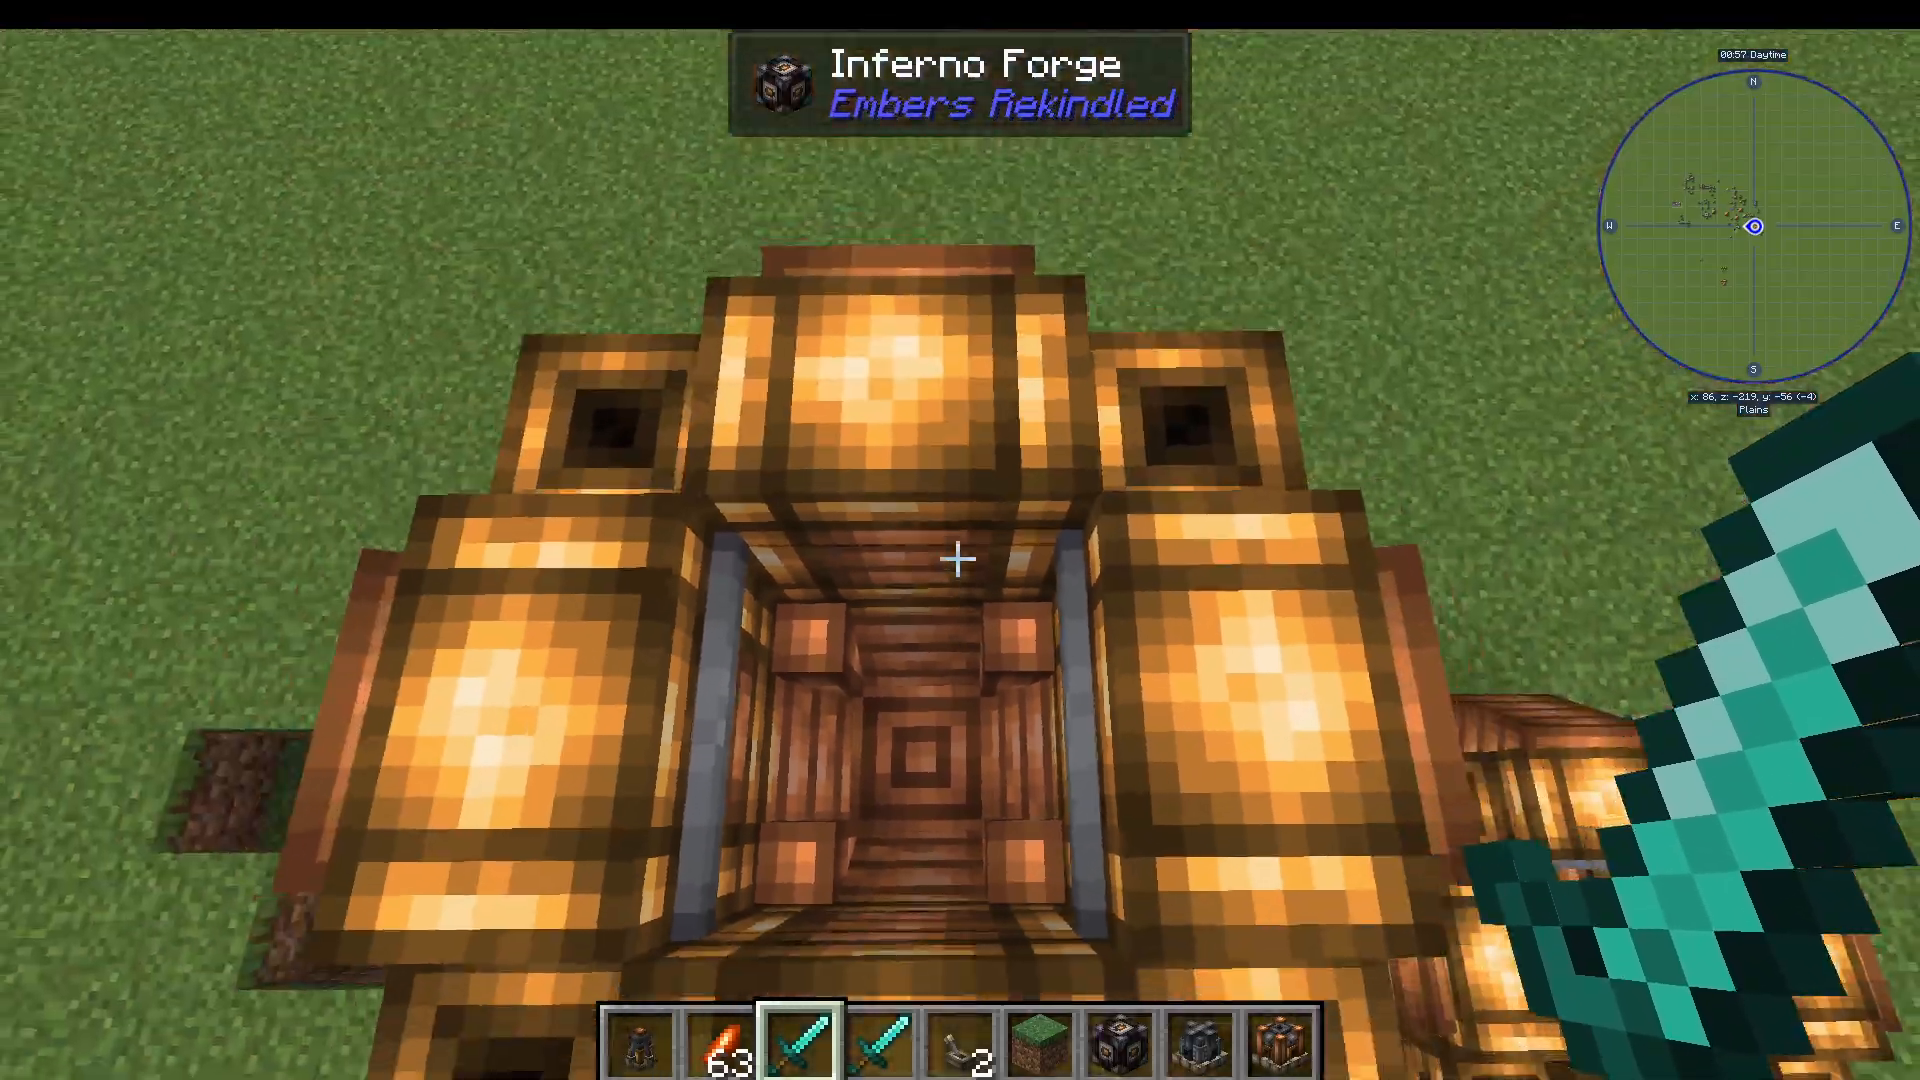
Augmented tools gain a Heat Bar that fills as you use them. When the Heat Bar is full, the tool is ready to be levelled up using the Inferno Forge. Place a Funnel on the middle-bottom slot of the forge and supply it with Ember. Right-click the trap door on the forge to open it, then throw in your tool along with three Ember Crystals and close the forge. After a few seconds, the tool will emerge at a higher augment level with a reset Heat Bar.
Late Game Power: The Ignem Reactor
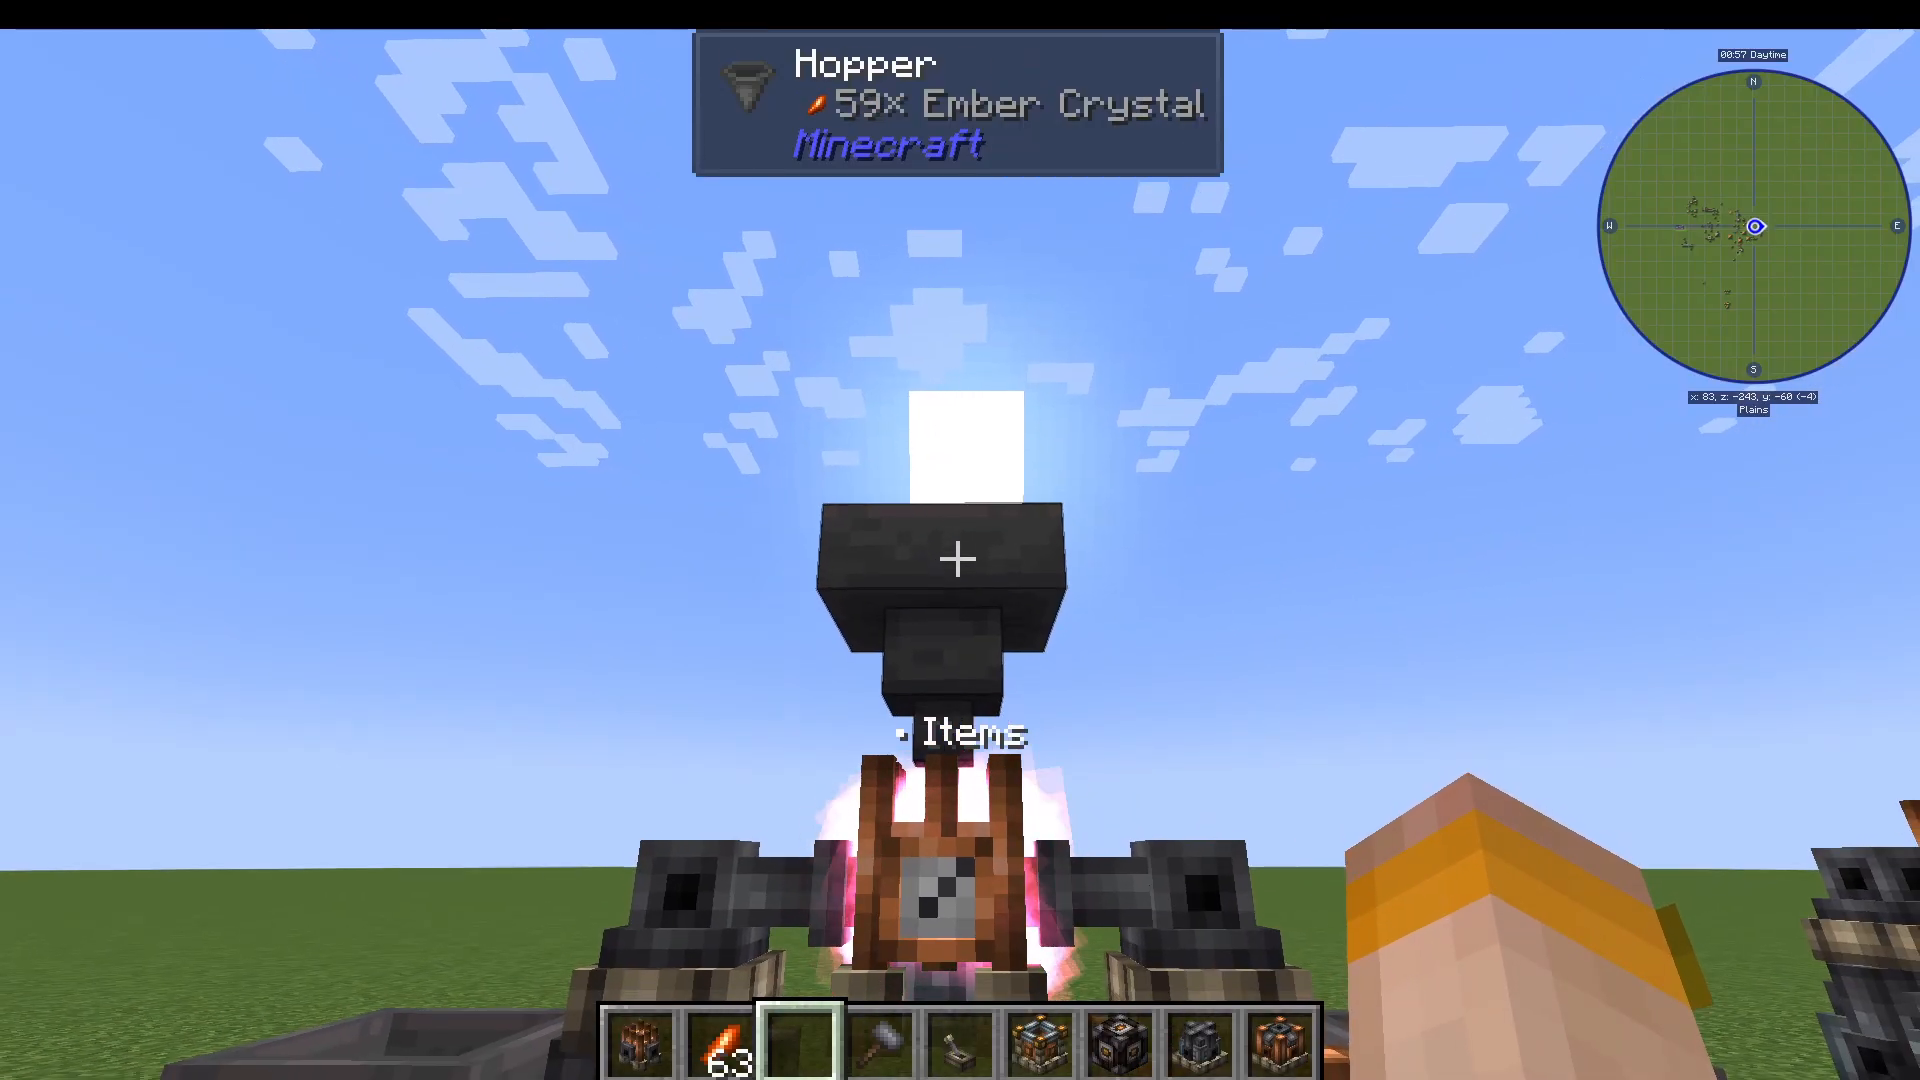
The Ignem Reactor is a powerful late-game Ember generator. To build it:
Place a Catalyst Chamber on the left.
Place a Combustion Chamber on the right.
Place the Ignem Reactor on top — it automatically connects to both chambers.
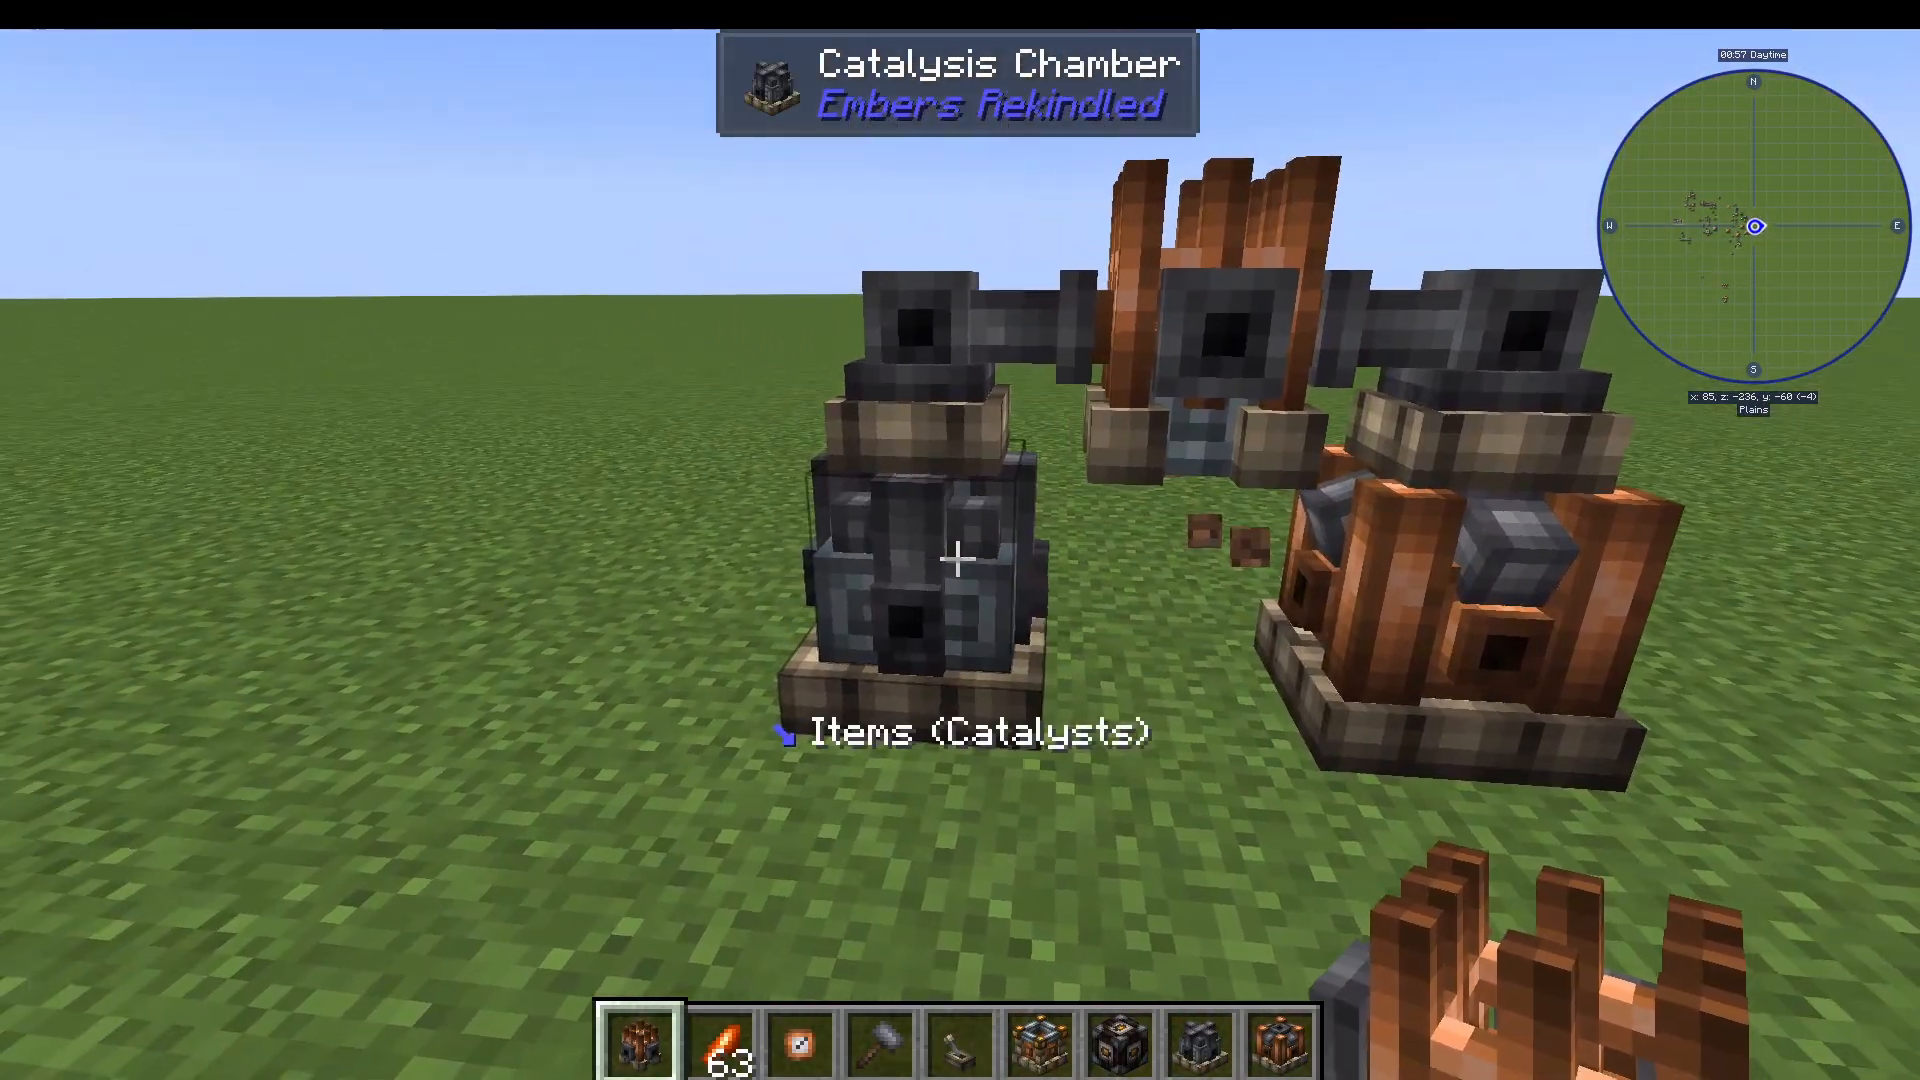
Feed the Catalyst Chamber with one of the following (and its production multiplier):
Ember Grit — 2x multiplier
Glowstone — 4x multiplier
Gunpowder — check in-game for value
Feed the Combustion Chamber with Charcoal or Blaze Powder (note: Blaze Powder may be bugged in some versions — if it doesn’t work, use Charcoal). Finally, pump Ember Crystals into the top of the reactor via a hopper. Once all three components are supplied, the reactor will begin generating Ember automatically.
Useful Extra Features
Catalytic Plug
Attach a Catalytic Plug to a Mechanical Core on any machine to speed up its processing rate. It requires a supply of Molten Redstone to function.
Field Chart
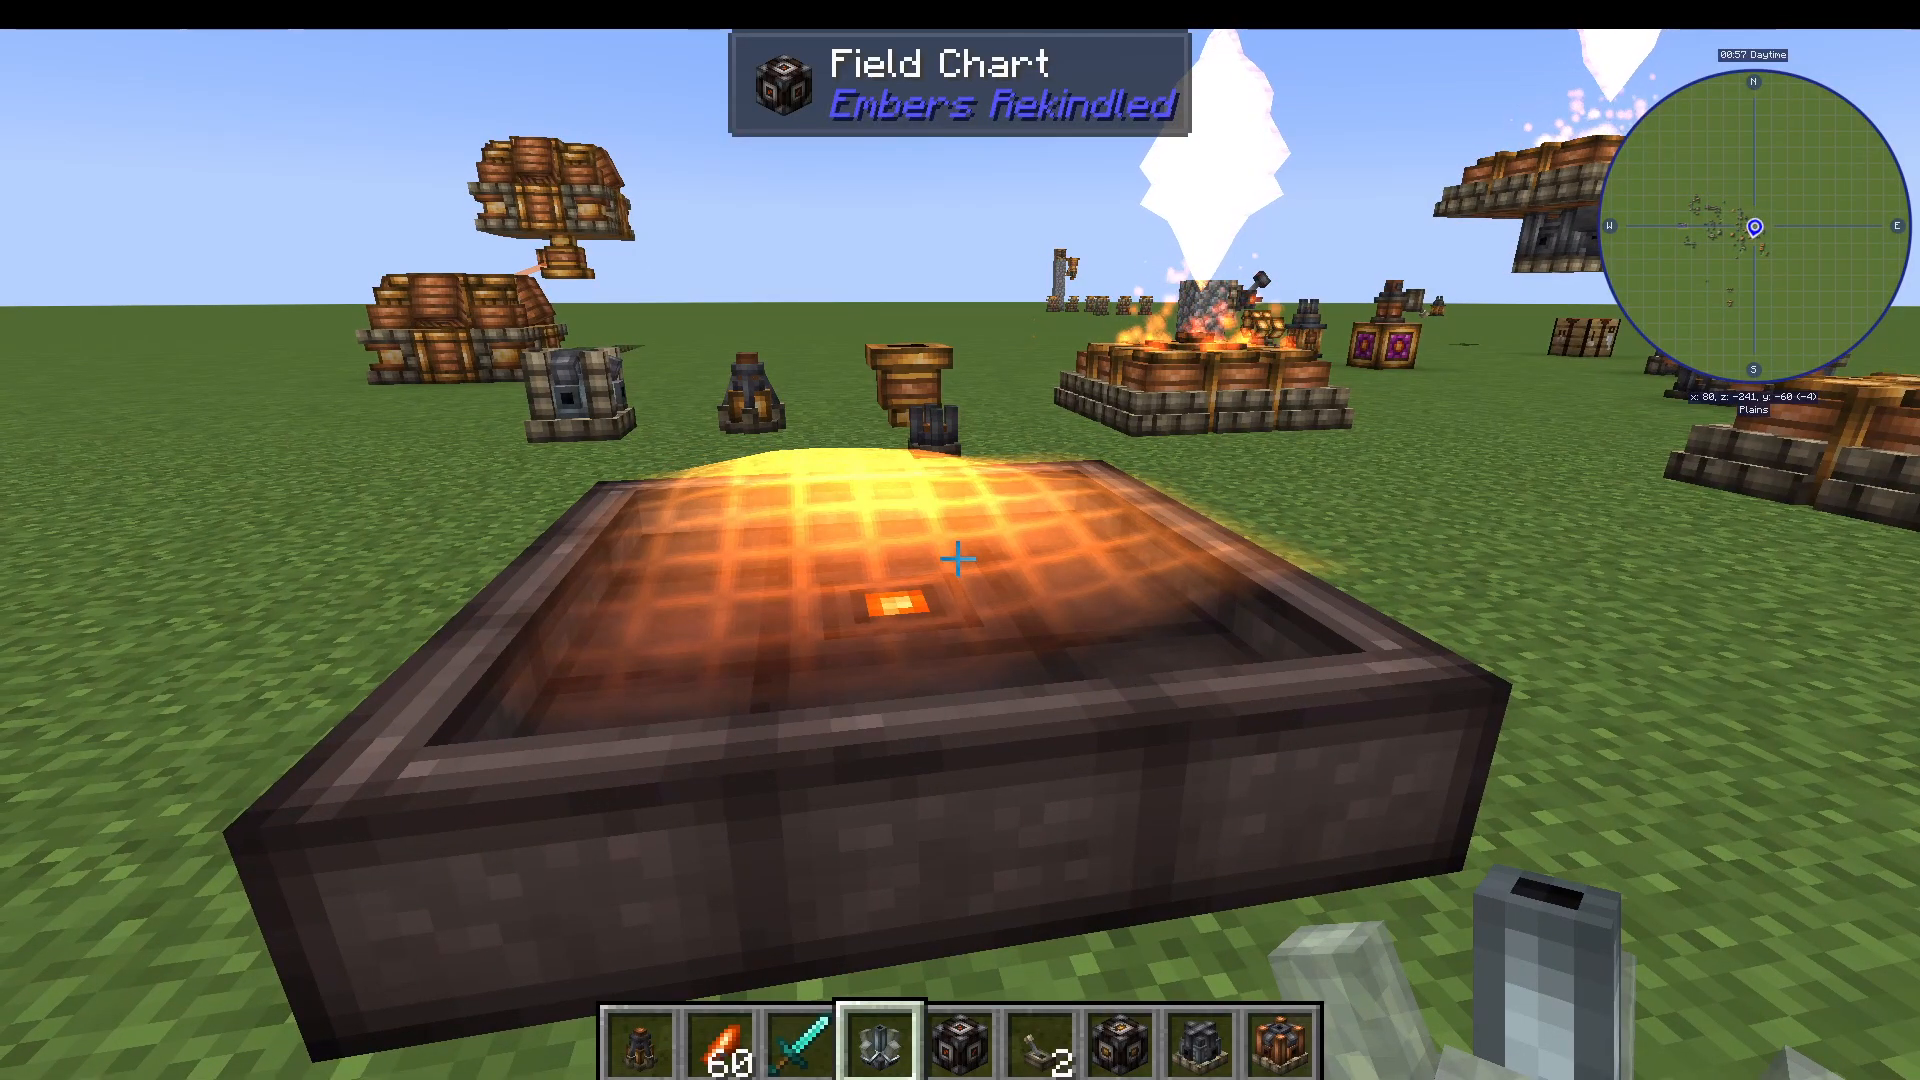
The Field Chart shows relative Ember concentration across an area from the point where it’s placed. Use it to scout the best location for your Ember Bore before committing to a build.
Crystal Seeds
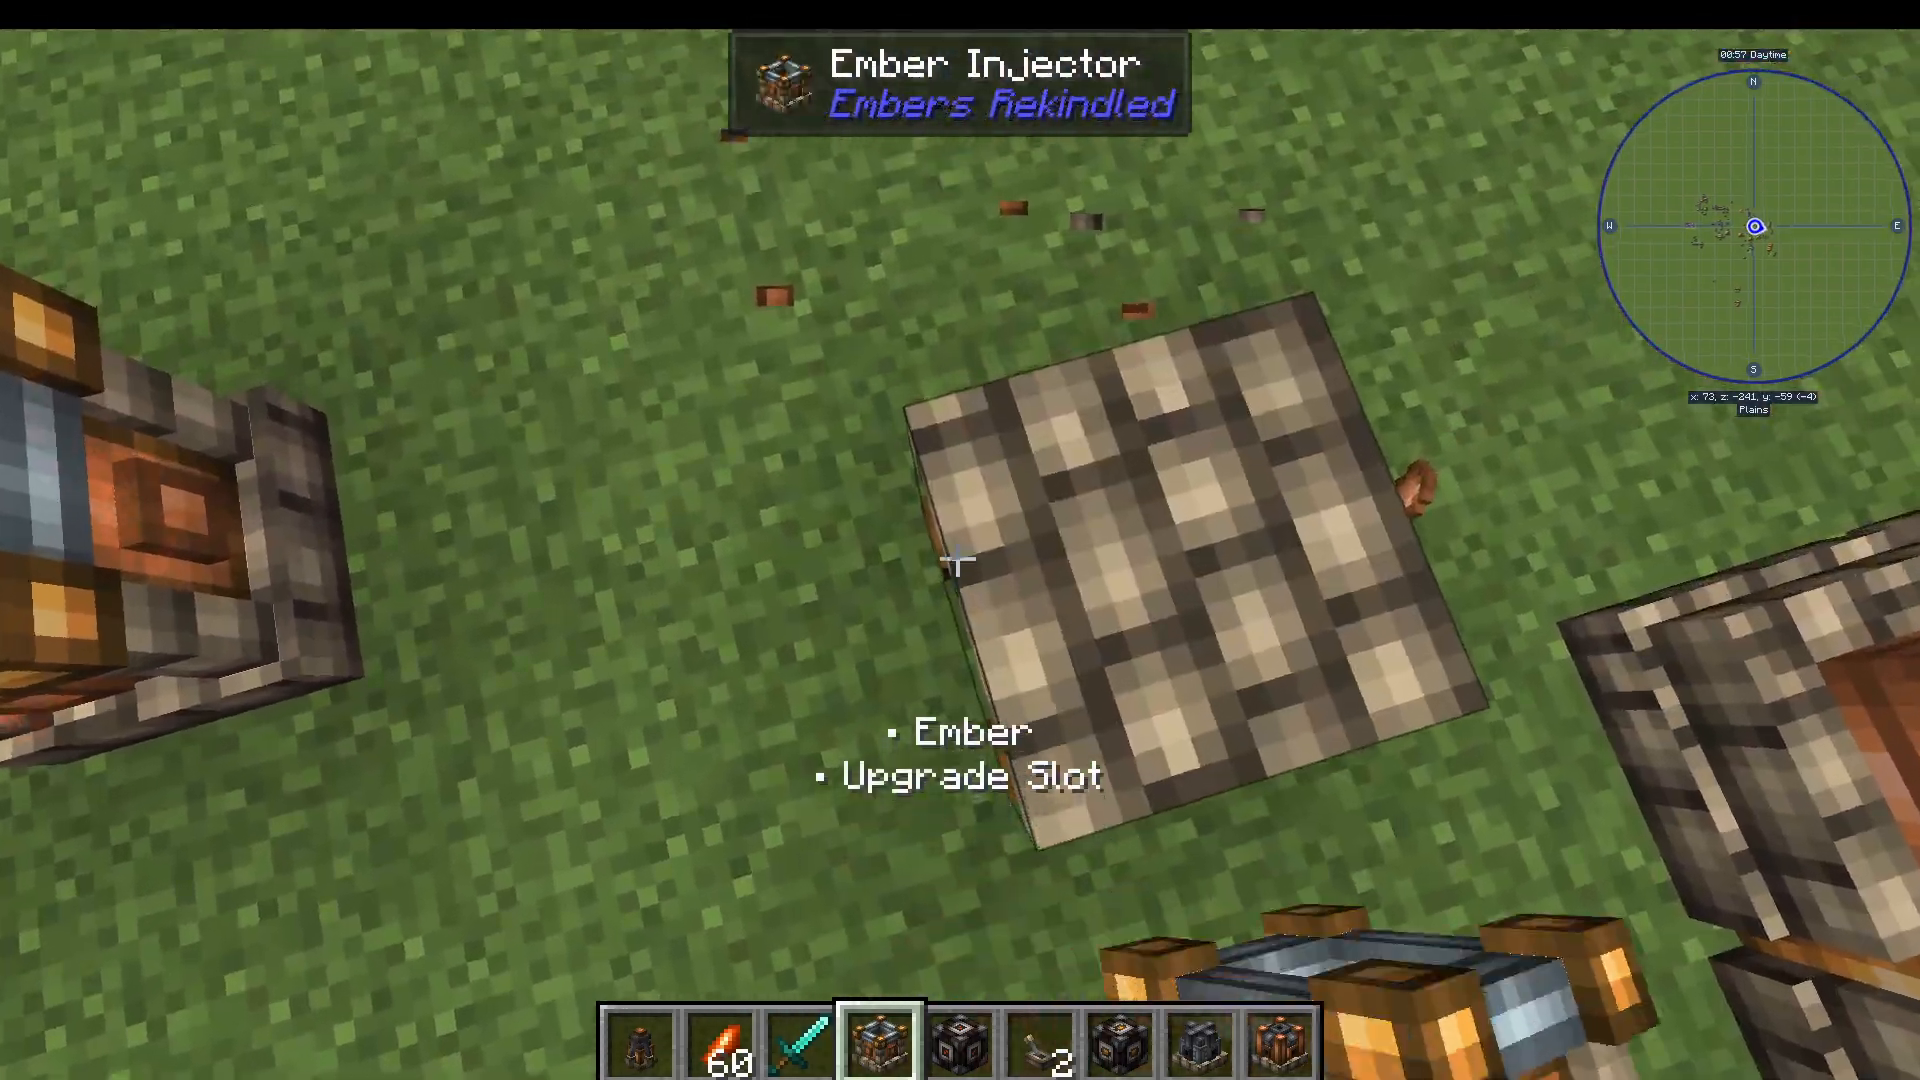
You can grow your own ore using Crystal Seeds (the Lead Crystal Seed from the starting ruin is one example). Use an Ember Injector, shift-click it on the floor to plant the seed, and then continuously feed it Ember. The seed levels up over time — the higher its level, the more ore nuggets it produces passively. Use an Item Vacuum to automatically collect the nuggets.
Mini Boiler and Wildfire Sterling
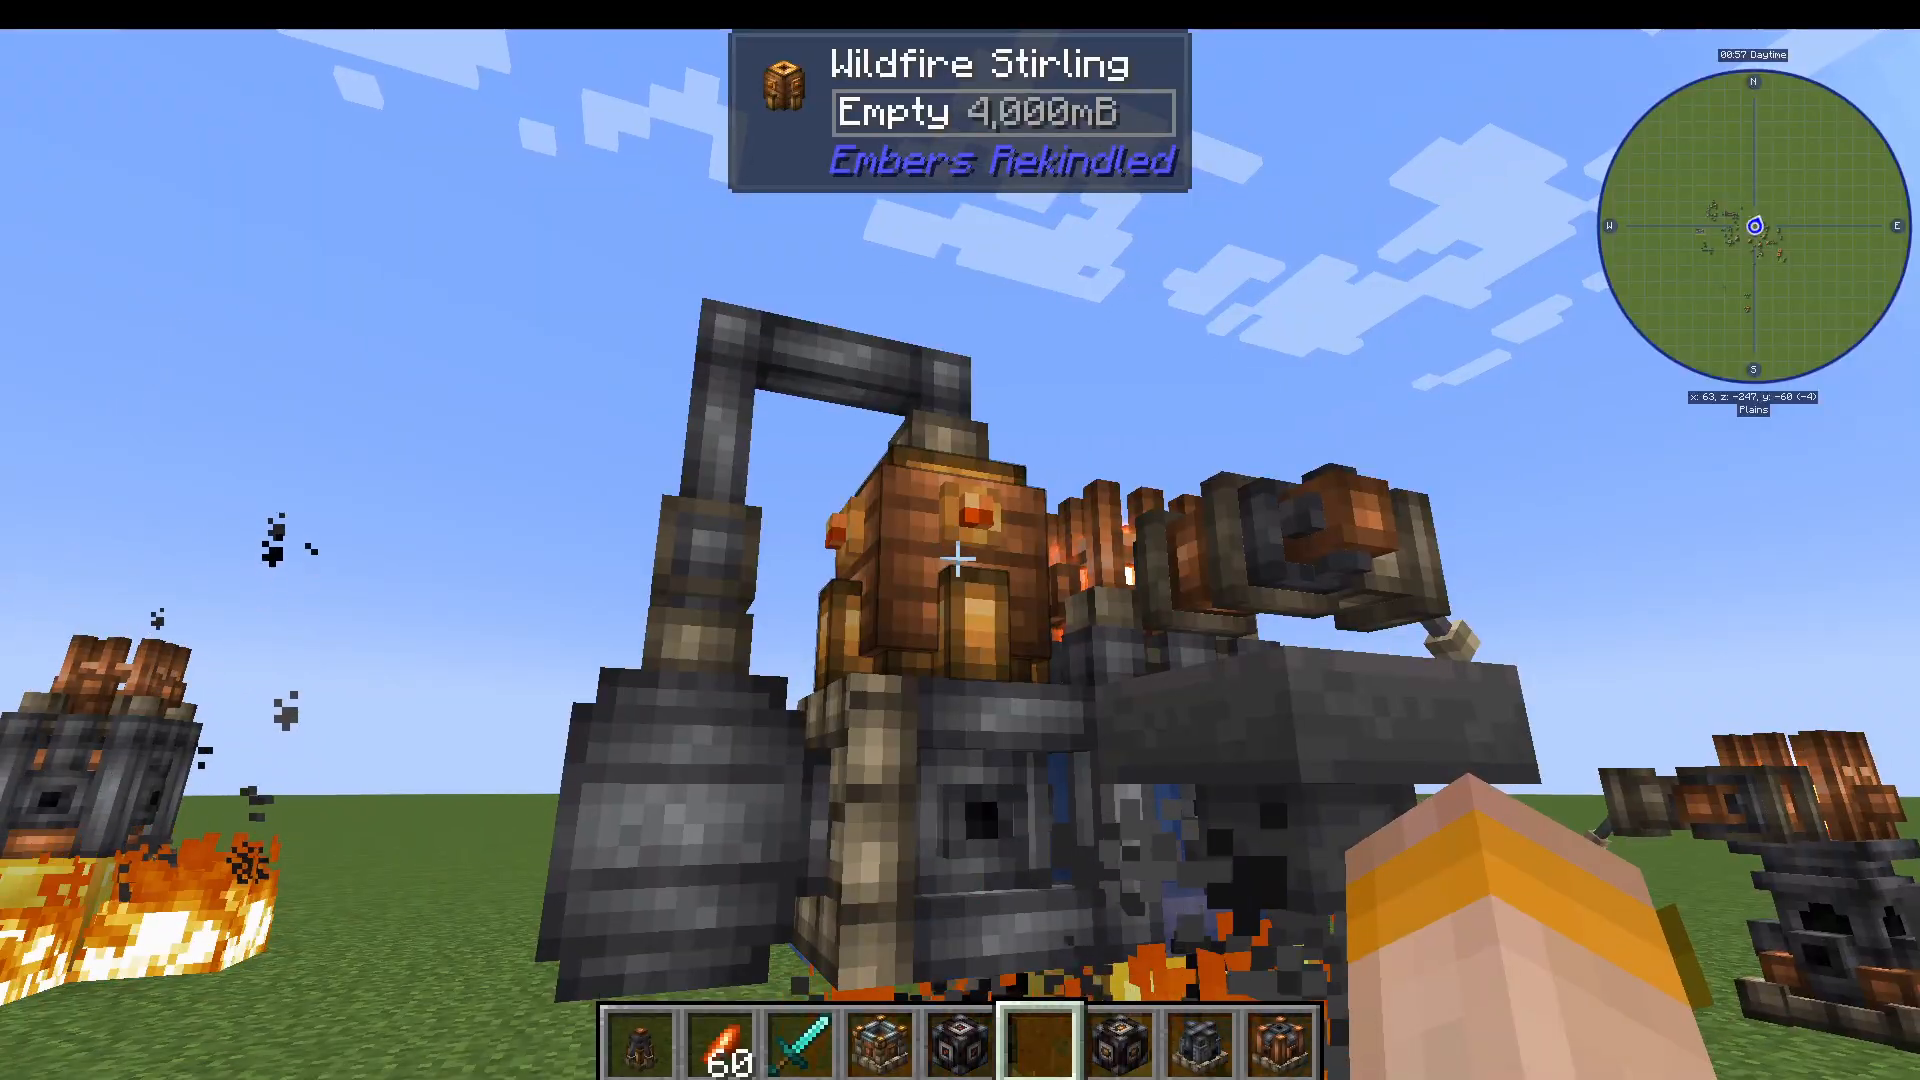
For an additional speed boost to your machines, pump water into a Mini Boiler attached to a Mechanical Core to generate Steam. Pipe that steam into a Wildfire Sterling attached to a Mechanical Core on your machine. This provides an extra production speed bonus on top of standard Ember power, though the setup is somewhat complex relative to the benefit it provides.
Summary
Embers Rekindled is a deep and rewarding tech mod that takes you from hunting ancient ruins underground to building reactor-powered Ember networks and augmenting legendary gear. Start by finding an Ancient Column for your Codex and Tinker’s Hammer, then build up through fluid and item automation, the Ember Bore, Melter/Stamper ore processing, and the Mixer Centrifuge for Dawnstone. Progress into the Pressure Refinery and Ignem Reactor for serious Ember generation, and use the Dawnstone Anvil and Inferno Forge to build powerful augmented tools and armor. Alchemy, though tricky, unlocks crucial materials that tie everything together. Good luck, and may your Ember never run dry.
Want to Support?
If you would like to help us continue making these guides – please consider joining our patreon here – https://www.patreon.com/c/JaviHeals
Alternatively – we host a group of MC Servers you can join here – https://discord.gg/zD7Gjt6MHF