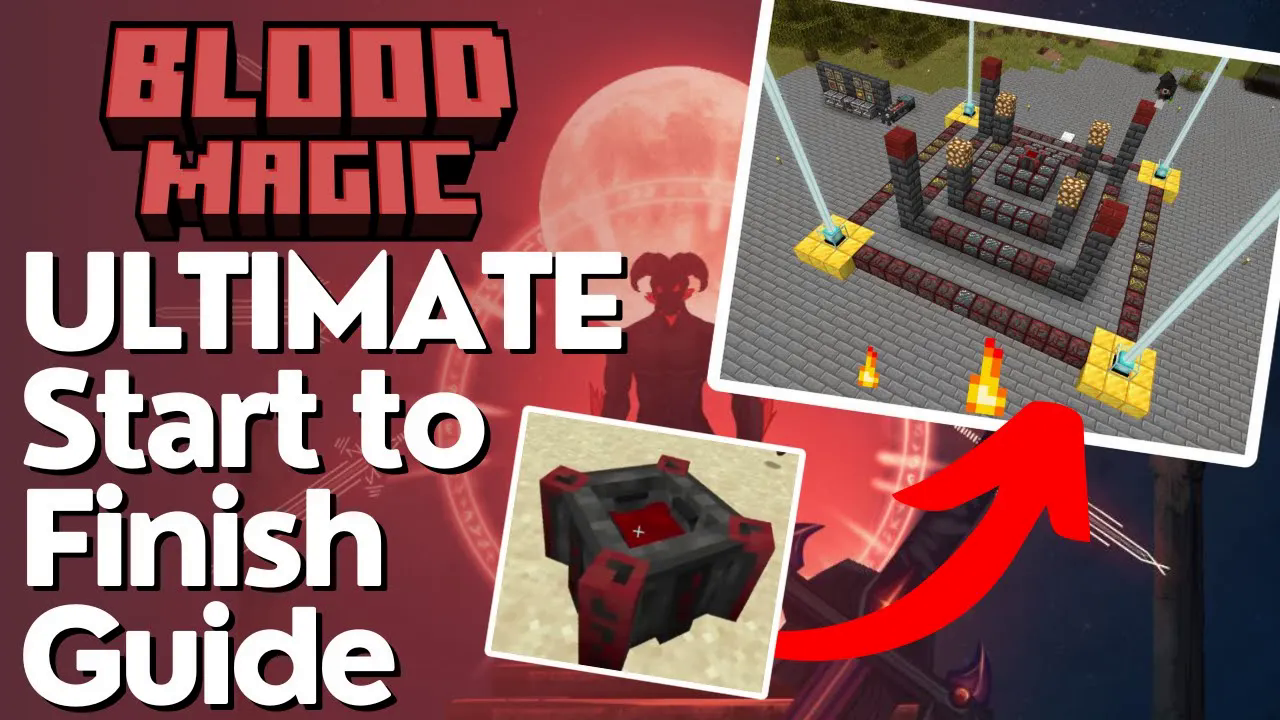
The Ultimate Guide to Blood Magic
The Ultimate Guide to Blood Magic in Minecraft
Welcome to the ultimate beginner’s guide to Blood Magic, one of Minecraft’s most powerful and atmospheric magic mods. Whether you’re just starting out or looking to push your altar to its limits, this guide walks you through every major system — from your first drop of blood to the fearsome Tier 5 altar. Note that this guide was filmed using Minecraft 1.20, though most steps should apply to older versions as well. If you need a guide for a specific older version, let us know in the comments!
Getting Started: Your First Blood
The Sanguine Scientium (Your Handbook)
The very first item you should craft is the Sanguine Scientium — Blood Magic’s in-game handbook. It is crafted using a book and glass. Once you open it, you’ll find it is divided into well-written chapters covering everything the mod has to offer. That said, this guide will walk you through everything you need, so you won’t have to rely on it alone.
📸 [ASSISTANT: TAKE SCREENSHOT AT 00:47]
The Sacrificial Knife and Blood Altar
To start collecting blood, you need two things: a Sacrificial Knife and a Blood Altar. Both are straightforward to craft. Once you’ve built them, place your Blood Altar down and right-click it with your Sacrificial Knife. This will draw a small amount of blood from yourself and begin filling the altar. Keep right-clicking to fill it up. Be warned — in survival mode, this will cost you health, so be careful!
📸 [ASSISTANT: TAKE SCREENSHOT AT 01:24]
You can monitor the altar’s blood level using a tool called The One Probe, which displays the current fill level at the top of the screen.
📸 [ASSISTANT: TAKE SCREENSHOT AT 02:05]
Blood Orbs and Your Life Network
The next item you need is a Blood Orb. There are several tiers — Weak, Apprentice, Magician, Master, and Archmage. To start, you’ll be crafting the Weak Blood Orb. Check the recipe in JEI: you need a diamond and a Tier 1 altar with at least 2,000 life points of blood stored. Simply right-click the diamond onto the altar and wait for it to transform. You’ll need around 8,000 millibuckets in the altar for the craft to complete.
📸 [ASSISTANT: TAKE SCREENSHOT AT 02:43]
Once you have the Weak Blood Orb, right-click it to bind it to yourself. When you hover over it, you’ll see it now shows your Minecraft username as the current owner. This links the orb to your personal Life Network. Any blood-consuming action will draw from this network automatically. To fill your orb, right-click it onto the Blood Altar — the altar’s stored blood will transfer into your orb.
📸 [ASSISTANT: TAKE SCREENSHOT AT 03:35]
Crafting Blank Slates
You’ll need a large number of Blank Slates throughout your Blood Magic journey. To make them, place any regular stone (not cobblestone) into the Blood Altar with one bucket’s worth of blood. This will yield two Blank Slates. Stock up on these early — you’ll use them constantly.
📸 [ASSISTANT: TAKE SCREENSHOT AT 04:25]
Demon Will and the Hellfire Forge
Soul Snares and Collecting Demon Will
To unlock the Hellfire Forge, you’ll first need to gather Demon Will. Start by crafting Soul Snares in your Tier 1 Blood Altar using string. Each snare costs about half a bucket of blood. Once crafted, throw a Soul Snare at a mob — such as a zombie — by right-clicking. You’ll see white bubbles appear around the mob. Kill the mob while the bubbles are active, and it will drop a glowing substance called Demon Will. Pick it up and watch the will quantity increase at the top of your screen.
📸 [ASSISTANT: TAKE SCREENSHOT AT 05:29] 📸 [ASSISTANT: TAKE SCREENSHOT AT 05:47]
Building the Hellfire Forge
With some Blank Slates and a few additional materials, you can now craft and place the Hellfire Forge. This is a key crafting station for Blood Magic and allows you to create powerful items using Demon Will.
📸 [ASSISTANT: TAKE SCREENSHOT AT 06:12]
Petty Tantaric Gem
The first thing you should craft in the Hellfire Forge is the Petty Tantaric Gem. Place Demon Will in the right-hand slot, then fill the remaining slots with: Redstone, Lapis Lazuli, a Gold Ingot, and Stained Glass (colour doesn’t matter). Watch the progress bar fill up — once it completes, your Petty Tantaric Gem is ready.
📸 [ASSISTANT: TAKE SCREENSHOT AT 07:17] 📸 [ASSISTANT: TAKE SCREENSHOT AT 07:44]
You can upgrade the gem further. Use a block of Redstone, a block of Lapis, a diamond, and your Petty Tantaric Gem to craft a Lesser Tantaric Gem. From there, continue upgrading using Imbued Slate and more advanced materials to reach Common, Greater, and beyond.
The Sentient Sword
One of the best early uses of your Petty Tantaric Gem is crafting the Sentient Sword. Combine the gem with an Iron Sword in the Hellfire Forge. Once crafted, killing enemies with the Sentient Sword will automatically collect Demon Will directly into your Tantaric Gem — no Soul Snares required. If you already have loose Demon Will, simply drop it on the floor and pick it back up; it will automatically be absorbed into the gem.
📸 [ASSISTANT: TAKE SCREENSHOT AT 08:34] 📸 [ASSISTANT: TAKE SCREENSHOT AT 09:09]
The Alchemy Table
Crafting the Alchemy Table
Once you have your Blood Orb and some Blank Slates, you can craft the Alchemy Table. This is another key crafting station with six ingredient slots and a central output slot. Your Blood Orb goes into the top-right slot, drawing from your Life Network to power the crafting.
📸 [ASSISTANT: TAKE SCREENSHOT AT 09:51]
Understanding Input and Output Sides
The Alchemy Table has directional side controls for automation. Each ingredient slot and the output slot can be configured independently. Clicking the directional buttons on the interface allows you to specify which sides item pipes from other mods can use to insert ingredients or extract outputs. A green arrow indicates an active side for that function.
📸 [ASSISTANT: TAKE SCREENSHOT AT 10:17] 📸 [ASSISTANT: TAKE SCREENSHOT AT 11:02]
Arcane Ashes and Alchemy Arrays
One of the first important recipes to make in your Alchemy Table is Arcane Ashes. Combine Gunpowder, White Dye, Redstone, and Coal along with your Blood Orb, and you’ll receive Arcane Ashes. Right-click these on the ground to create an Alchemy Array — a magical circle on the floor that you can use to perform special crafting operations.
📸 [ASSISTANT: TAKE SCREENSHOT AT 12:30]
To use an array, right-click the first item (the base material) onto it, then right-click the second item (the catalyst). For example, right-clicking Cobblestone and then an Iron Ingot onto an Arcane Ashes array will create a Spike Array — a trap that damages any entity that steps on it by one heart.
📸 [ASSISTANT: TAKE SCREENSHOT AT 13:18]
There are many other array types available. Using Lapis and Lapis will change the time to sunset, while Coal and Coal changes it to dawn — a great, easy way to control the time of day. Movement arrays and other functional arrays are also available; check your Sanguine Scientium under the Alchemy Arrays section for the full list.
📸 [ASSISTANT: TAKE SCREENSHOT AT 13:37]
Sigils
Sigils are powerful tools that draw on your Life Network when used. Most are crafted by first making a reagent in the Alchemy Table, then combining that reagent with a Blank Slate on an Alchemy Array. Here are the Tier 1 sigils you can make:
Lava Sigil — Right-click to place a source block of lava for 1,000 life points. Crafted using a Lava Bucket, Redstone Dust, Cobblestone, and a Block of Coal in the Alchemy Table, then combined with a Blank Slate on an array.
Water Sigil — Places a source block of water. Can also be used in Alchemy Table recipes as a substitute for water buckets.
Sigil of Magnetism — Increases item pickup range. Toggle it by crouching and right-clicking. Consumes life points every five seconds while active.
Sigil of the Frozen Lake — Functions like the Frost Walker enchantment.
📸 [ASSISTANT: TAKE SCREENSHOT AT 15:14] 📸 [ASSISTANT: TAKE SCREENSHOT AT 15:23]
Alchemy Flasks and Potions
Place glass bottles into your Blood Altar to receive Alchemy Flasks, which have eight uses each. Fill them with water using a water bucket. Then craft Simple Catalysts in the Alchemy Table and combine them with ingredients — for example, an Alchemy Flask, a Simple Catalyst, and a Golden Carrot will produce a three-minute Night Vision potion. Browse the Alchemy Table recipes to discover the full range of potions available.
📸 [ASSISTANT: TAKE SCREENSHOT AT 18:52]
Slate-Infused Vials and Salves
Using a Blank Slate and some stained glass in the Alchemy Table produces Slate-Infused Vials. Combine these vials with ingredients like Nether Wart, Iron Ingot, and a Bow (with blood) to create Salves — items you apply to your gear to enhance them. For example, a Repairing Salve repairs a damaged tool by one point each time it is used. Unlike flask potions, salves are consumed based on tool usage rather than duration.
Living Equipment
Using the Alchemy Array, you can craft Living Armor by combining iron armor with Arcane Ashes and a Binding Reagent. To craft the Binding Reagent, combine four specific ingredients in your Alchemy Table. You’ll need at least a Common Tantaric Gem to begin. Living Armor starts with durability equivalent to iron but has 100 upgrade points that can be spent to customize it. It can be repaired in an anvil using more Binding Reagents, and its durability is equivalent to diamond once upgraded. You can also craft a Training Bracelet using a Binding Reagent, a Diamond, and Arcane Ashes to manage upgrades.
📸 [ASSISTANT: TAKE SCREENSHOT AT 17:06]
Upgrading to a Tier 2 Blood Altar
Building the Tier 2 Altar
To upgrade your Blood Altar to Tier 2, craft nine Blank Runes using a Weak Blood Orb and a Blank Slate. Arrange them in a three-by-three pattern on the ground and place your Blood Altar on top. The structure won’t look dramatically different, but it is now a functioning Tier 2 Blood Altar.
📸 [ASSISTANT: TAKE SCREENSHOT AT 20:28]
Rune Upgrades
The Blank Runes can be replaced with upgraded rune types to improve your altar:
Speed Rune — Increases the crafting speed of the altar by 20% per rune. Crafted using Stone, two Blank Slates, Sugar, and a Blank Rune.
Rune of Sacrifice — Increases life essence gained from killing non-player entities near the altar.
Rune of Self Sacrifice — Increases blood gained when using the Sacrificial Knife on yourself.
📸 [ASSISTANT: TAKE SCREENSHOT AT 20:59]
The Dagger of Sacrifice
An upgrade to the Sacrificial Knife, the Dagger of Sacrifice instantly kills mobs within a two-block radius of your Blood Altar and pours their life essence directly into it. With Runes of Sacrifice installed, each kill fills the altar significantly faster. This is your primary method of bulk blood collection going forward.
📸 [ASSISTANT: TAKE SCREENSHOT AT 21:49] 📸 [ASSISTANT: TAKE SCREENSHOT AT 22:06]
Upgrading Slates
With your Tier 2 altar, you can now upgrade your Blank Slates. Place a Blank Slate into the altar to convert it into a Reinforced Slate. Here is the full progression:
Blank Slate → Reinforced Slate (Tier 2 altar)
Reinforced Slate → Imbued Slate — 5,000 life points, Tier 3 altar
Imbued Slate → Demonic Slate — 15,000 life points, Tier 4 altar
Demonic Slate → Ethereal Slate — 30,000 life points, Tier 5 altar
📸 [ASSISTANT: TAKE SCREENSHOT AT 22:48]
Tier 2 Sigils
With a Reinforced Slate, you can now craft Tier 2 sigils:
Air Sigil — Right-click to launch yourself in the direction you’re facing for 50 life points.
Void Sigil — Right-click on any liquid to remove it. Great for clearing lava in caves.
Seer’s Sigil — An upgraded Divination Sigil that provides more detailed information about your altars.
Sigil of the Green Grove — Right-click a growable crop to apply a bone meal effect for 155 life points. Shift-right-click to continuously boost growth in a seven-by-seven-by-five area.
Sigil of the Fast Miner — Applies a Haste potion effect while active, increasing mining and cutting speed.
Upgrading to a Tier 3 Blood Altar
Building the Tier 3 Altar
To build a Tier 3 altar, keep your existing Tier 2 three-by-three rune layout and expand around and below it. Add five additional runes on each outer side. In each corner of the expanded structure, place two Stone Bricks topped with Glowstone. You can visualize the full layout by checking the Blood Altar chapter in your Sanguine Scientium — it lets you preview and place the structure directly in the world.
📸 [ASSISTANT: TAKE SCREENSHOT AT 24:48] 📸 [ASSISTANT: TAKE SCREENSHOT AT 25:06]
New Tier 3 Runes
At Tier 3, two new rune types become available:
Displacement Rune — Speeds up how quickly blood can be extracted from your Life Network using pipes and tanks.
Rune of Capacity — Increases the maximum blood your altar can store by 20% per rune.
Upgrading Your Blood Orb
This is a good time to upgrade your Blood Orb. At Tier 2 you could craft the Apprentice Blood Orb with 5,000 life points. Now at Tier 3, you can craft the Magician Blood Orb using a Block of Gold and 25,000 life points in the altar.
📸 [ASSISTANT: TAKE SCREENSHOT AT 26:39]
Tier 3 Sigils
Sigil of the Blood Lamp — Launches a blood light in the direction you’re facing. When it hits a block, it spawns an invisible light source. Useful for lighting caves without placing torches.
Sigil of Magnetism (Tier 3 version) — Increases item pickup range by seven blocks while active.
Sigil of Holding — Holds up to five other sigils at once, providing their passive effects and allowing you to activate them on demand. Use the keybind to open its inventory and cycle through sigils with the scroll wheel. Compatible with the Curios API as a charm slot item.
Rituals
Getting Started with Rituals
With your Tier 3 altar in place, you can now begin performing Rituals. Open your Sanguine Scientium and click the Rituals tree-branch icon to browse all available rituals. You’ll only be able to perform Tier 1 rituals at this stage. To begin, you’ll need to craft the following:
Ritual Stones — Craft a large stack of these. Aim for at least 64 to start.
Master Ritual Stone — You need one per ritual.
Ritual Diviner — Requires Inscription Tools, which are crafted in the Tier 3 Blood Altar. The Fire Inscription Tool uses Magma Cream, the Water one uses Lapis, another uses a Ghast Tear, and the last uses Obsidian. Note: in some versions, these tools have 40 durability, while in others, durability has been removed and they last forever.
📸 [ASSISTANT: TAKE SCREENSHOT AT 28:43]
Using the Ritual Diviner
Right-clicking with the Ritual Diviner in hand displays the current direction setting (North, East, South, West). To choose a ritual, shift-right-click in the air to open the ritual selection menu. Tier 1 rituals include: Ritual of the Full Spring, the Timberman, the Green Grove, High Jump, the Filler, the Zephyr, Magnetism, Satiated Stomach, and Hidden Realm.
📸 [ASSISTANT: TAKE SCREENSHOT AT 29:32]
The Ritual of the Hidden Realm
The first ritual you should perform is the Ritual of the Hidden Realm. This is important because it gives you access to materials you’ll need to progress further. Here’s how to set it up:
Select “Hidden Realm” using your Ritual Diviner (shift-right-click).
Place your Master Ritual Stone on the ground.
Right-click the Master Ritual Stone with your Ritual Diviner — the ritual stones will automatically place themselves around it.
For any earth-type ritual stones that need to be painted, use your Inscription Tool directly on the stone.
Craft a Weak Activation Crystal by placing a Lava Crystal into your Tier 3 Blood Altar.
Right-click the Master Ritual Stone with the Weak Activation Crystal to activate the ritual. If successful, you’ll see the message “A rush of energy flows through you.”
📸 [ASSISTANT: TAKE SCREENSHOT AT 30:15] 📸 [ASSISTANT: TAKE SCREENSHOT AT 30:52]
If you get an error, check that: (1) you have enough life essence in your network, and (2) the ritual stones are properly placed with no blocks obstructing them above or below.
Exploring the Hidden Realm
Right-clicking the Master Ritual Stone after activation will transport you to the Hidden Realm dimension. Inside, you’ll find a chest with Iron Keys near the entrance. Use these keys to open dungeon-sealed doors. Explore the dungeon to find loot chests, iron, and most importantly — Toful Fruit. This fruit is a critical material for future crafting.
📸 [ASSISTANT: TAKE SCREENSHOT AT 31:47] 📸 [ASSISTANT: TAKE SCREENSHOT AT 32:26]
Growing Saturated Toful
Once you’re back home, plant your Toful Fruit on tilled ground. To grow it into Saturated Toful — which you’ll need for crafting — you must have a mob (such as a cow or pig) standing on top of it as it naturally matures. The plant absorbs the mob’s life force during growth, converting into Saturated Toful instead of regular Toful Fruit. You cannot rush this with bone meal alone — the mob must be present during the maturation process.
📸 [ASSISTANT: TAKE SCREENSHOT AT 33:09] 📸 [ASSISTANT: TAKE SCREENSHOT AT 33:40]
The Alchemical Reaction Chamber
Crafting the Chamber
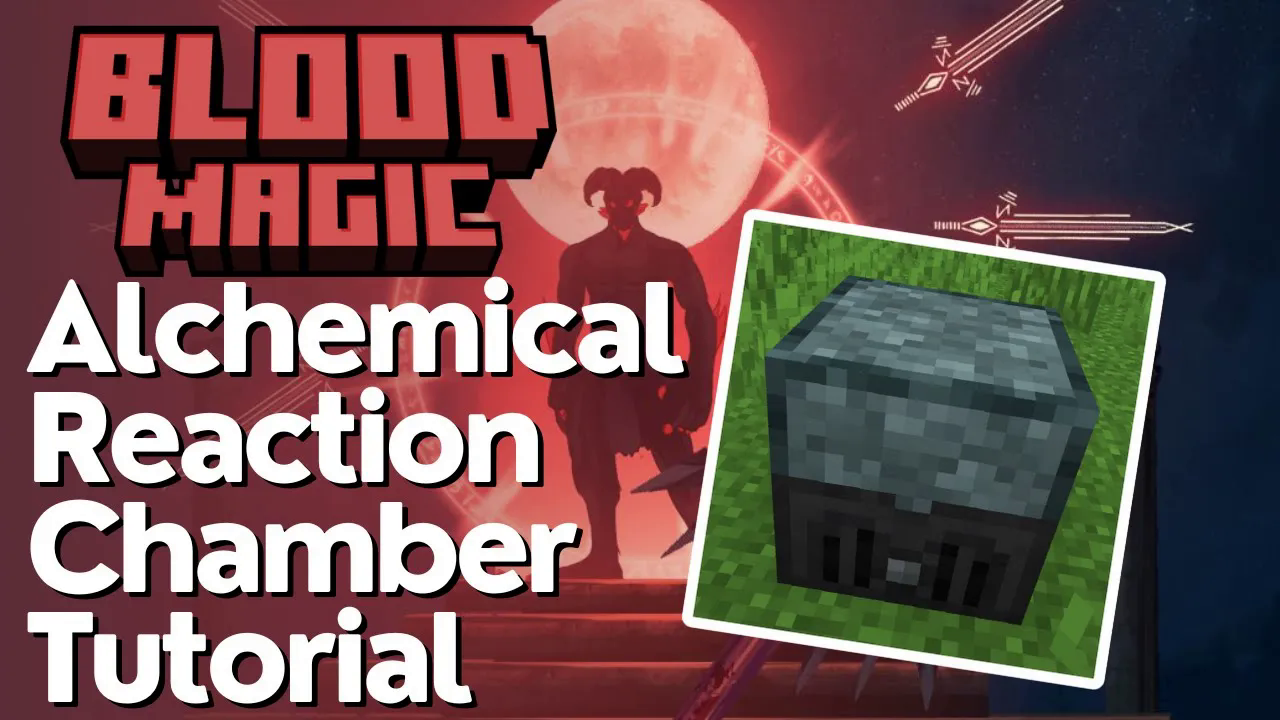
To progress toward your Tier 4 altar, you’ll need the Alchemical Reaction Chamber. Craft it using Imbued Slates (your Tier 3 slates) and place it down. It functions somewhat like a furnace but uses special fluid cells and produces enhanced outputs.
📸 [ASSISTANT: TAKE SCREENSHOT AT 33:55]
Using Cells in the Chamber
The chamber uses different types of cells to perform reactions. Available cells include:
Primitive Hydration Cell — Used with water. For example, place the cell in its slot, add a Water Bucket to fill it, then insert Terracotta to convert it back into Clay.
Reinforced Explosive Cell
Hell Forged Explosive Cell
Primitive Fuel Cell
📸 [ASSISTANT: TAKE SCREENSHOT AT 34:34] 📸 [ASSISTANT: TAKE SCREENSHOT AT 34:49]
Crafting the Weak Bloodshard
The key item you’re working toward is the Weak Bloodshard. To craft it, you need:
Saturated Toful (grown as described above)
Sanguine Reverta — Crafted in the Hellfire Forge using an Imbued Slate, Shears, Stone, an Iron Ingot, a Tantaric Gem, and Demon Will.
Place the Sanguine Reverta in the left slot of the chamber and the Saturated Toful in the top slot. No water or additional fluid is needed for this recipe. Once the craft completes, you will receive your Weak Bloodshard.
📸 [ASSISTANT: TAKE SCREENSHOT AT 35:39] 📸 [ASSISTANT: TAKE SCREENSHOT AT 36:05]
Upgrading to a Tier 4 Blood Altar
Building the Tier 4 Altar
The Tier 4 altar expands significantly. Keep your Tier 3 structure and add a second outer ring of runes extending further outward and downward. In each corner of the outer ring, place a stack of Stone Bricks topped with a Large Bloodstone Brick — crafted using your Weak Bloodshards. This completes the Tier 4 Blood Altar.
📸 [ASSISTANT: TAKE SCREENSHOT AT 36:30] 📸 [ASSISTANT: TAKE SCREENSHOT AT 36:55]
New Tier 4 Runes
Charging Rune — Gradually stores a charge, instantly applying it to Blood Orbs placed in the altar for charging.
Acceleration Rune — Reduces the delay on Speed Runes, making them even more effective.
Augmented Capacity Rune — Provides a multiplicative increase to altar capacity (approximately 7.5% per rune).
Master Blood Orb
With your Tier 4 altar, you can now craft the Master Blood Orb. Place a Weak Bloodshard into the altar with 40,000 life points, and you’ll receive the Master Blood Orb, which can store up to one million life essence.
📸 [ASSISTANT: TAKE SCREENSHOT AT 37:54]
Tier 4 Sigils
Teleposition Sigil — Shift-click on a Teleposer to record its location and dimension. Right-click the sigil to teleport back to that recorded location. The Teleposer itself is crafted using Enderpearls and a Teleportation Focus (made from Enderpearls in a Blood Altar).
Sigil of Suppression — Obliterates all fluids within a roughly six-block radius around you, pushing liquids away. Excellent for surviving lava encounters.
📸 [ASSISTANT: TAKE SCREENSHOT AT 38:16]
Upgrading to a Tier 5 Blood Altar
The Ritual Diviner Dusk and the Demon Realm
Reaching Tier 5 requires a new crafting tool: the Ritual Diviner Dusk. Craft it using two Demonic Slates (Tier 4 slates) and two Dusk Inscription Tools — made with Coal in a Tier 4 Blood Altar. With your Ritual Diviner Dusk, shift-right-click in the air to choose the Pathway to the Endless Realm ritual.
📸 [ASSISTANT: TAKE SCREENSHOT AT 39:32]
Place your Master Ritual Stone, right-click it with your Ritual Diviner Dusk to build the ritual structure, then activate it with a Weak Activation Crystal. Right-click the Master Ritual Stone to travel to the Demon Realm.
📸 [ASSISTANT: TAKE SCREENSHOT AT 40:04] 📸 [ASSISTANT: TAKE SCREENSHOT AT 40:19]
Exploring the Demon Realm
The Demon Realm is a dungeon dimension — be prepared for combat. Use your Iron Keys (found in the chest near the entrance) to open sealed doors. Explore carefully for hidden chests containing valuable loot including Saturated Toful, Copper, Gold, and more.
📸 [ASSISTANT: TAKE SCREENSHOT AT 40:45]
Look for a special door marked with a question mark and four red dots. Open it with an Iron Key to find the Foreman’s Key. Use the Foreman’s Key to access the Mines Room, where you can mine Demonite Ore. Smelt this ore into Hell Forged Ingots, which are essential for your Tier 5 altar.
📸 [ASSISTANT: TAKE SCREENSHOT AT 41:05] 📸 [ASSISTANT: TAKE SCREENSHOT AT 41:23]
Intricate Hell Forged Parts
Also deep in the Demon Realm, you’ll find Intricate Hell Forged Parts. These can be used — along with Nether Brick Scraps, Large Bloodstone Bricks, an Ethereal Slate, and the relevant rune — to double the power of any rune on your altar (e.g., a double-strength Speed Rune). You won’t be able to craft these upgraded runes until you have Tier 5 Ethereal Slates, but collect the parts now.
📸 [ASSISTANT: TAKE SCREENSHOT AT 41:50]
Building the Tier 5 Altar
Craft four Hell Forged Blocks (each requiring either 9, 18, 27, or 35 Hell Forged Ingots — use JEI to confirm exact amounts). Expand your Tier 4 altar outward once more and place one Hell Forged Block in each corner of the new outer ring. This completes your Tier 5 Blood Altar — the final tier. You can now craft Ethereal Slates and use them to build double-strength runes for maximum performance.
📸 [ASSISTANT: TAKE SCREENSHOT AT 42:39] 📸 [ASSISTANT: TAKE SCREENSHOT AT 42:47]
Additional Features and Advanced Content
The Incense Altar
The Incense Altar boosts the amount of blood you gain from self-sacrifice. Place it on a three-by-three platform of stone. While active, it emits flame particles from its top and transforms your Sacrificial Knife. Once the knife begins to glow, hold and release right-click near a Blood Altar to sacrifice 90% of your health at once for a massive blood deposit.
📸 [ASSISTANT: TAKE SCREENSHOT AT 43:15]
You can improve the Incense Altar’s output by increasing Tranquility in the surrounding area. Build paths extending outward from the three-by-three base in all four cardinal directions, using path blocks at least three blocks wide. Different path materials provide different tranquility bonuses — check the Sanguine Scientium for specifics. The more tranquil the environment, the more life points you gain per self-sacrifice.
📸 [ASSISTANT: TAKE SCREENSHOT AT 44:07] 📸 [ASSISTANT: TAKE SCREENSHOT AT 44:13]
Tome of Parisia
The Tome of Parisia allows you to safely store all of your experience points. This is an extremely useful tool to protect your XP during dangerous activities.
Ore Processing with Blood Magic
Blood Magic has a surprisingly deep ore processing system built into the Alchemical Reaction Chamber:
The chamber yields 2.5 ingots per raw ore or 4.5 ingots per ore block.
Craft Cutting Fluid in your Alchemy Table (a Water Sigil can substitute for a water bucket). Use it in the chamber to get 1.5 ore sand per raw ore or 3 ore sand per ore block on average.
Intermediate Cutting Fluid lasts eight times longer and increases crafting speed by 50%, but requires Toful Oil to make.
An Advanced Cutting Fluid version is also available for even better results.
Craft Explosive Powder in the chamber to convert ores into 4.5 ore fragments on average (2.25 per raw ore), and raw Nether Ore into Sulfur.
Use a Resonator to convert ore fragments into gravel for continued processing, producing Tiny Corrupted Dust (four times the durability).
Combine four Tiny Corrupted Dusts into Corrupted Dust, which can then boost the yield of other ores — for example, converting Iron Fragments into double Iron Gravel.
📸 [ASSISTANT: TAKE SCREENSHOT AT 45:30] 📸 [ASSISTANT: TAKE SCREENSHOT AT 45:52]
Summary and Conclusion
Blood Magic is a vast and rewarding mod that takes you on a journey from your very first drop of blood all the way to interdimensional demon-hunting and industrial-scale ore processing. Here’s a quick recap of the core progression path:
Craft your Sanguine Scientium, Sacrificial Knife, and Tier 1 Blood Altar.
Make a Weak Blood Orb and link it to your Life Network.
Craft Blank Slates, Soul Snares, and collect Demon Will.
Build the Hellfire Forge and craft a Petty Tantaric Gem and Sentient Sword.
Craft the Alchemy Table, make Arcane Ashes, and start using Alchemy Arrays and Sigils.
Upgrade to Tier 2 with nine Blank Runes and the Dagger of Sacrifice.
Upgrade to Tier 3 and perform the Ritual of the Hidden Realm to collect Toful Fruit.
Build the Alchemical Reaction Chamber and craft the Weak Bloodshard.
Upgrade to Tier 4, then perform the Pathway to the Endless Realm ritual.
Mine Demonite Ore in the Demon Realm and smelt it into Hell Forged Ingots.
Build your Tier 5 Blood Altar using four Hell Forged Blocks.
Explore optional content: the Incense Altar, Tome of Parisia, Living Armor, and Ore Processing.
Blood Magic rewards patience and exploration. Take your time, consult your Sanguine Scientium often, and don’t be afraid to experiment with sigils, arrays, and rituals as you progress. Good luck, and may your altar always be full!
Want to Support?
If you would like to help us continue making these guides – please consider joining our patreon here – https://www.patreon.com/c/JaviHeals
Alternatively – we host a group of MC Servers you can join here – https://discord.gg/zD7Gjt6MHF