The Ultimate Guide to Lord Craft
LordCraft Mod: The Complete Beginner’s Guide
LordCraft is a rich and rewarding Minecraft magic mod packed with mini-games, spell crafting, ritual systems, arcane machinery, and elemental progression. Whether you are just cracking open your first Book of Knowledge or trying to understand void pips and mana storage, this complete guide walks you through every major system — step by step — so you can get up and running as fast as possible.
Getting Started: Mining Crystals and Crafting Your Book of Knowledge
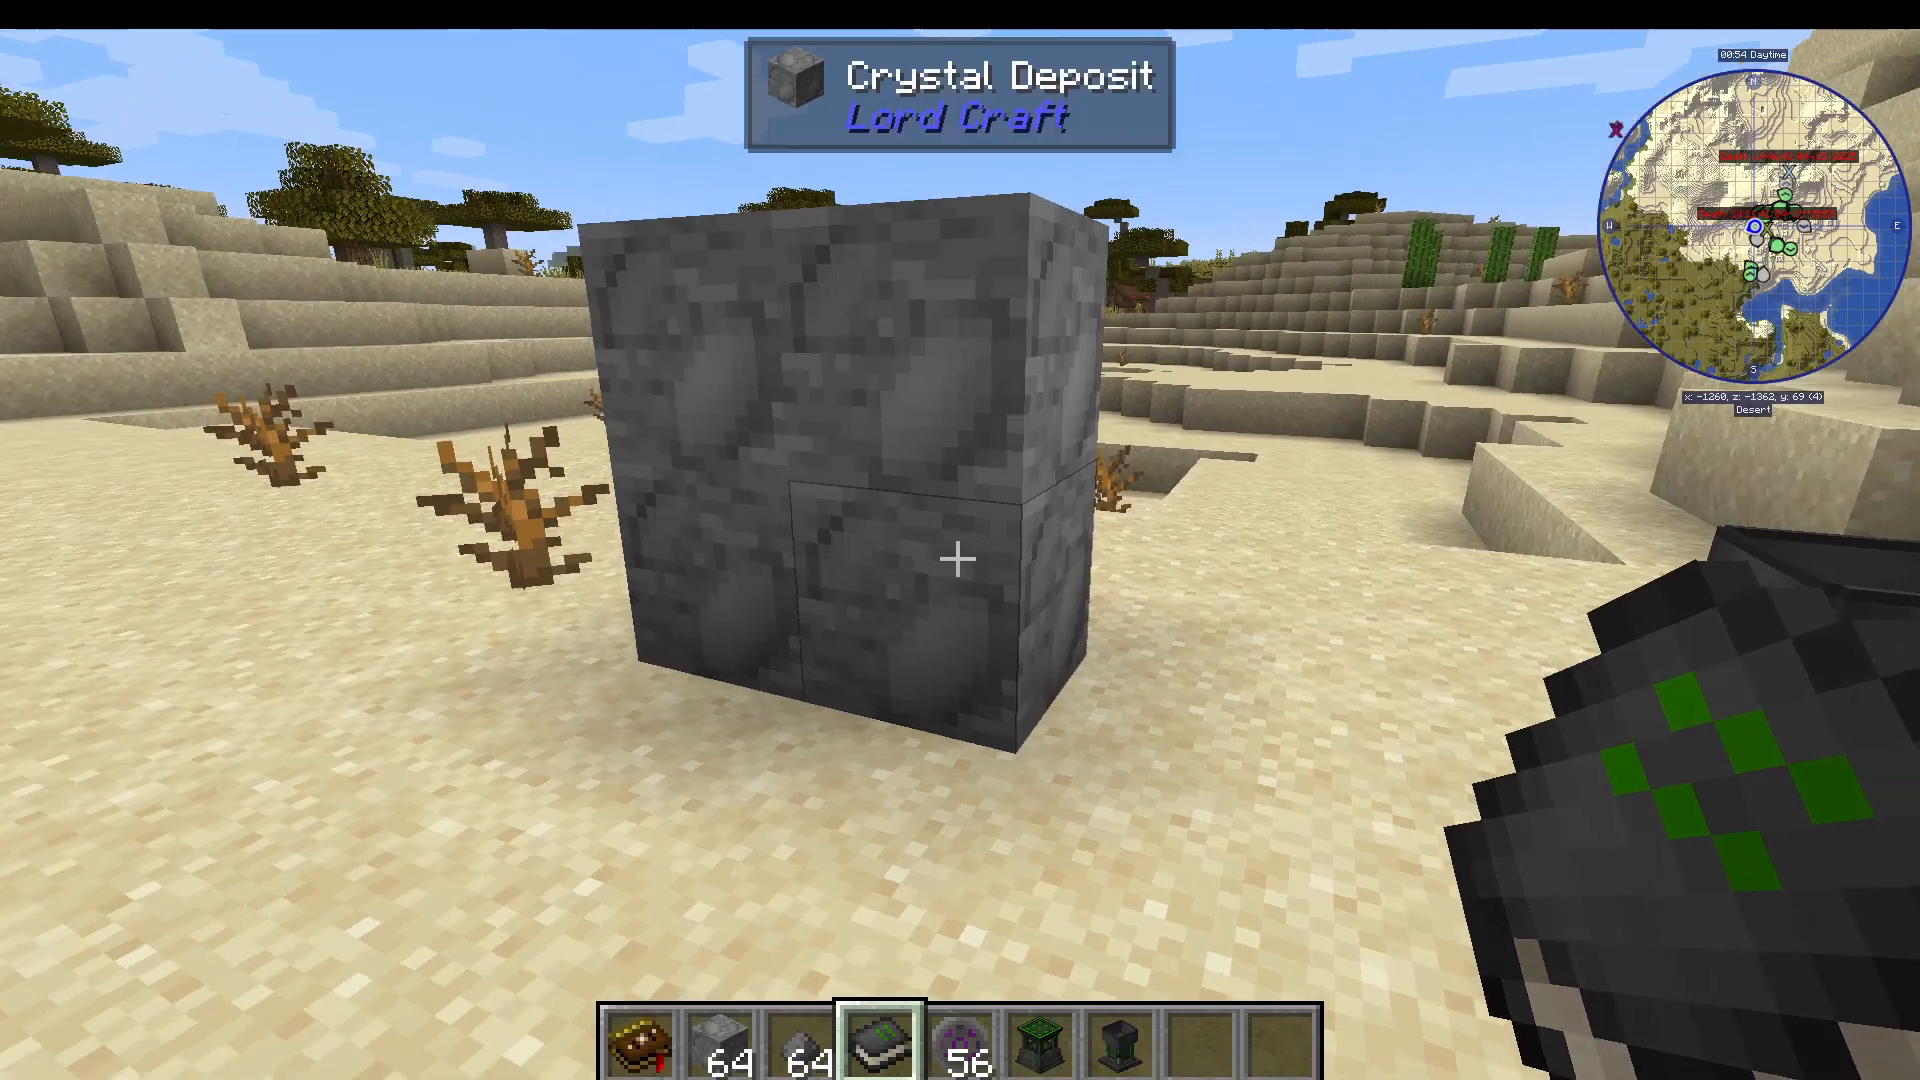
Your journey into LordCraft begins underground. Search for a crystal deposit, mine it, and you will receive Simple Dust. Combine that Simple Dust with a Book to craft your Book of Knowledge — the central hub for everything in the mod.
Choosing Your Legacy
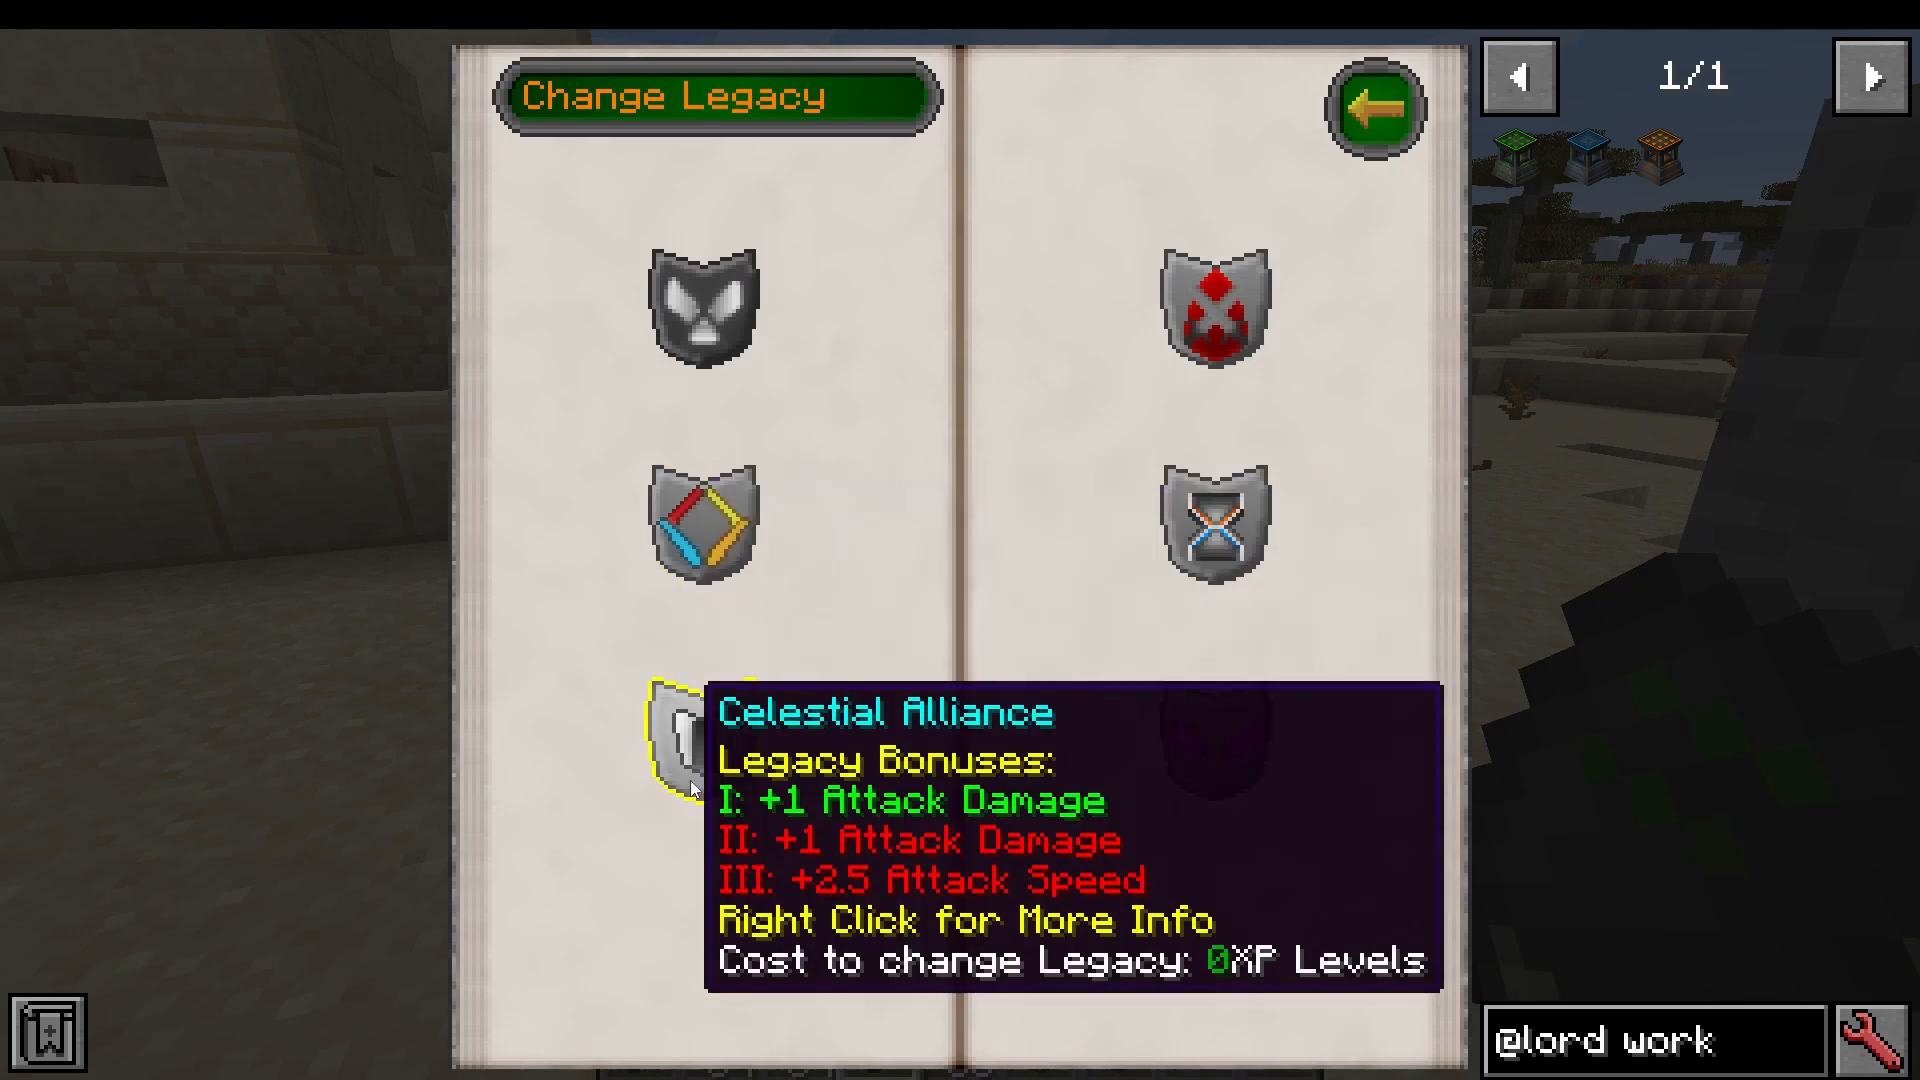
When you first open the Book of Knowledge, you are presented with a legacy selection screen. The available legacies include options such as the Adorac Order and Union Evaver, among others. Each legacy grants a passive bonus:
Attacks on animals grant mana — useful for spell casting.
Ancronoc provides mining bonuses.
Void Walkers gives better research skips — highly recommended for players who dislike the research mini-game.
Sessily Alliance and others are worth reading through carefully.
You can change your legacy at any time, so do not stress over this choice. Pick whichever bonus suits your current playstyle.
Choosing Your Element
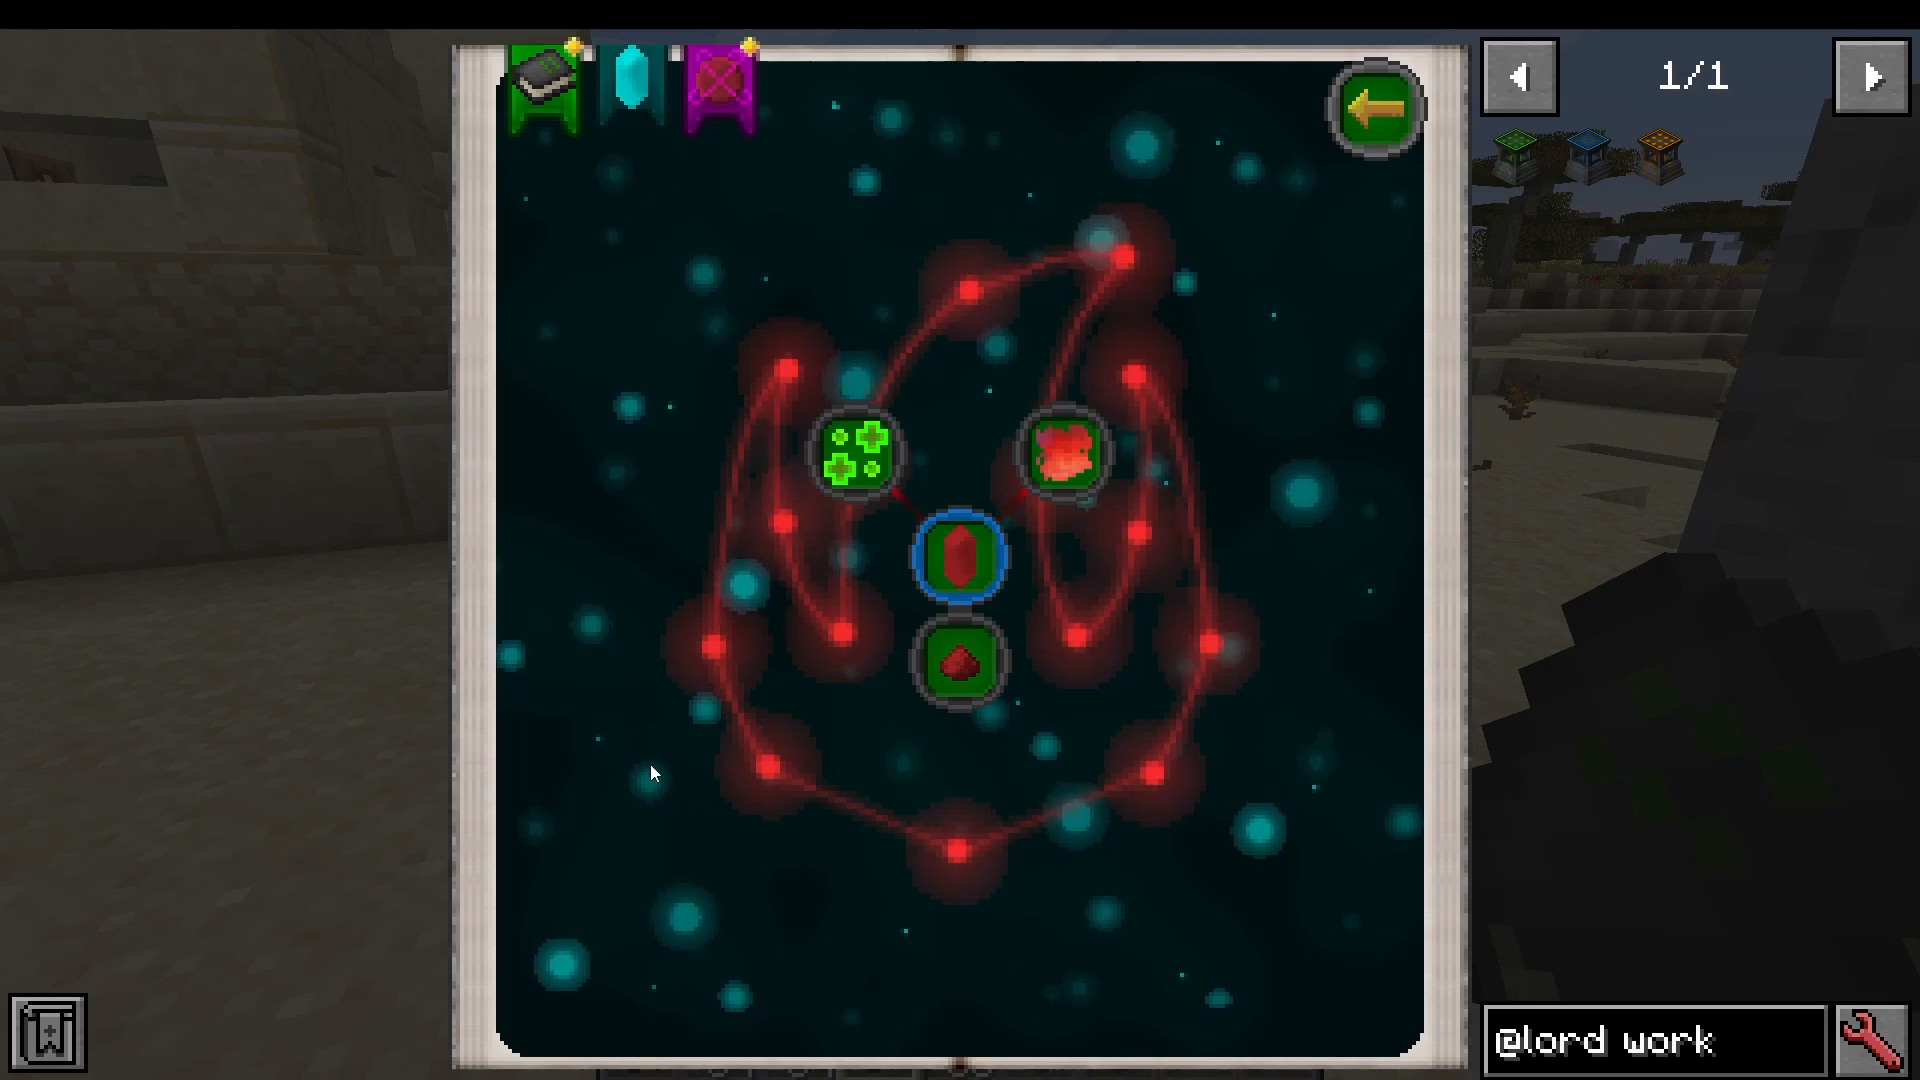
After selecting a legacy, you are taken to an element selection screen. The six available elements are: Fire, Air, Water, Light, Dark, and Earth. Choosing an element makes spells of that type cheaper to cast. For example, choosing Fire reduces the mana cost of fire spells. You can unlock all elements later in the game, so simply pick whichever appeals to you right now.
Understanding the Research System
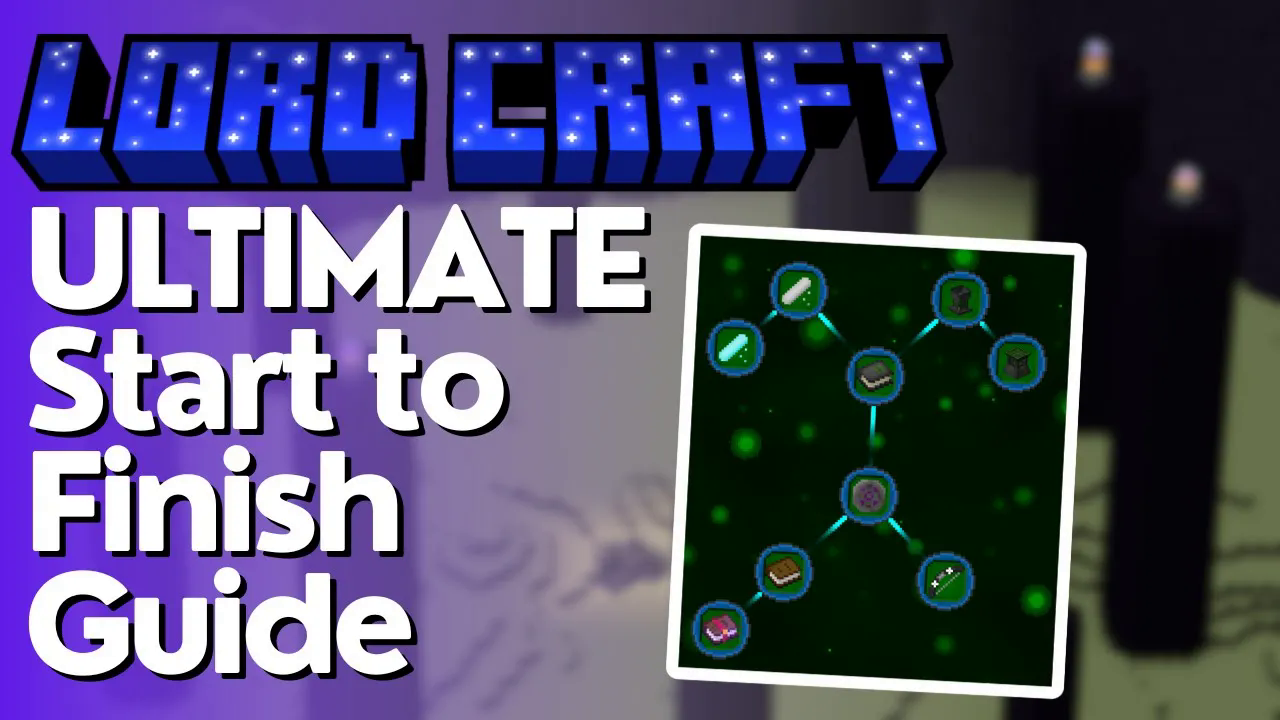
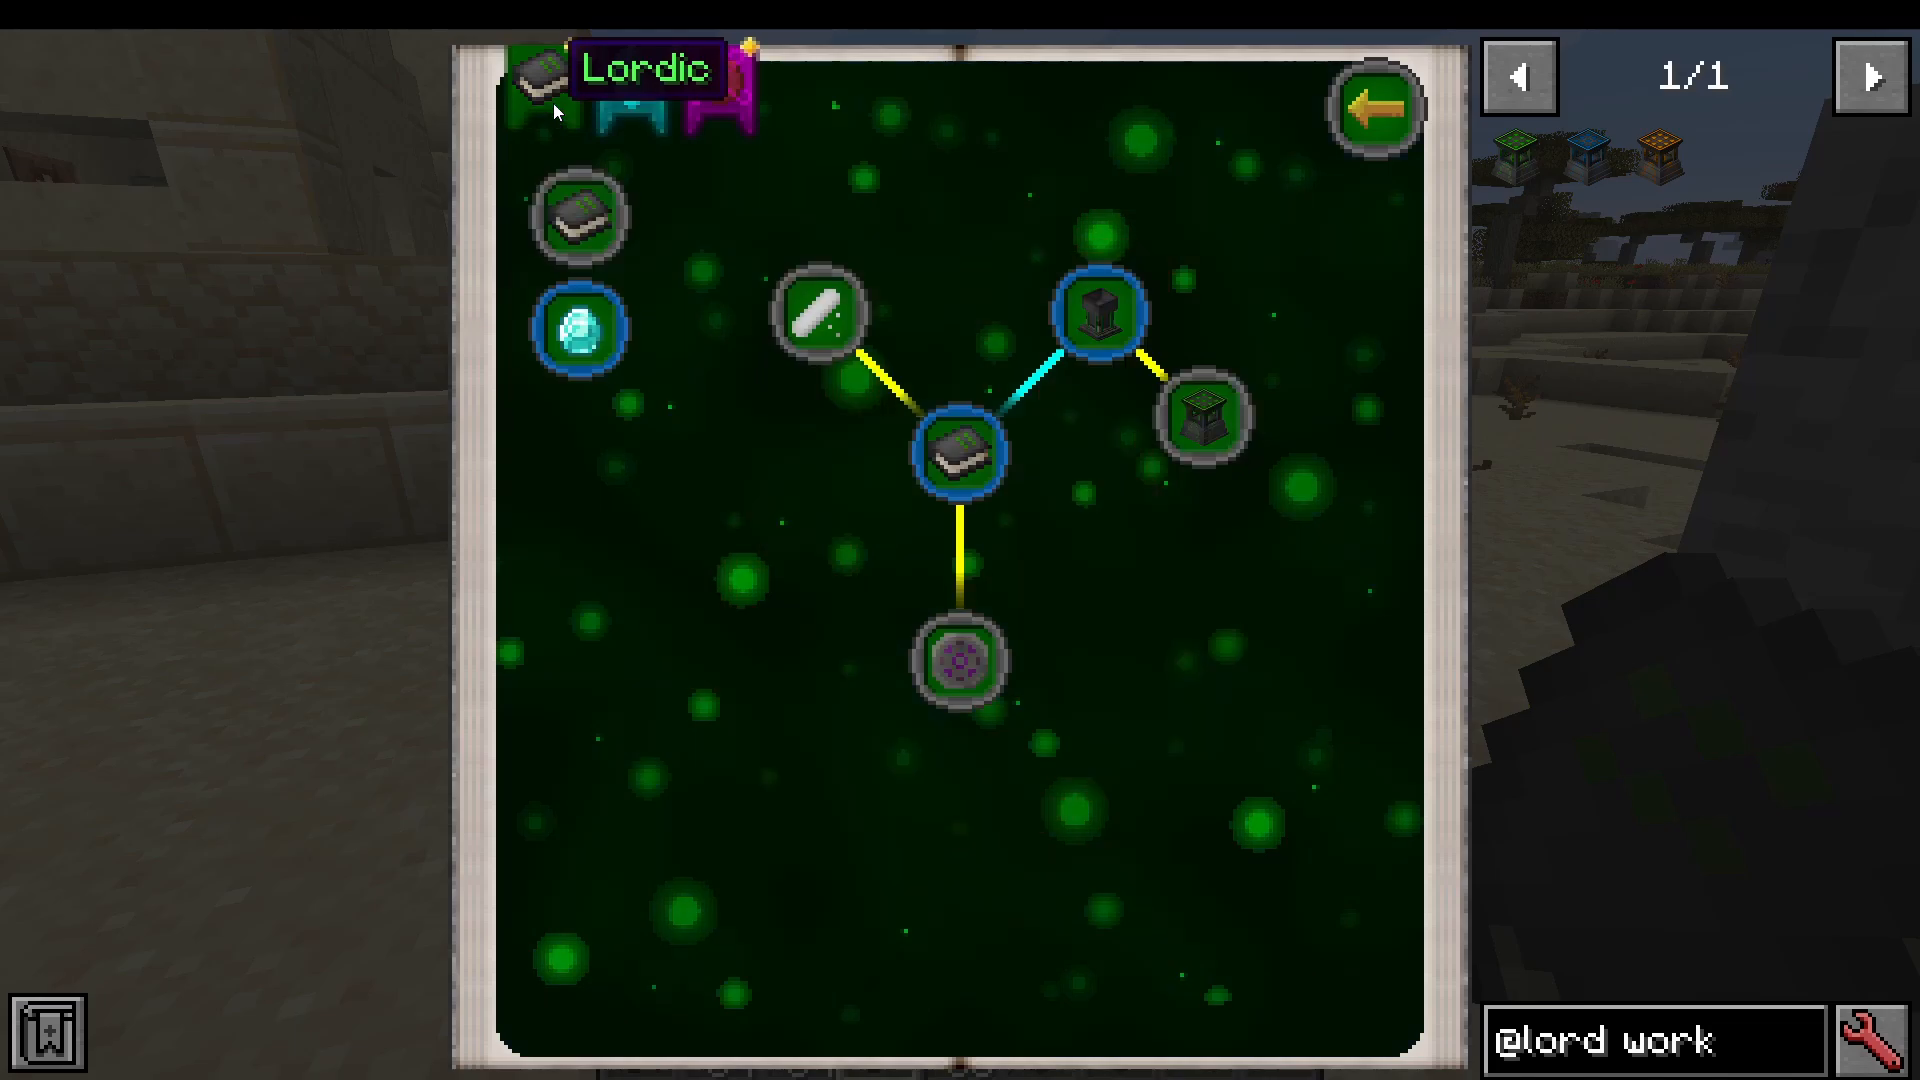
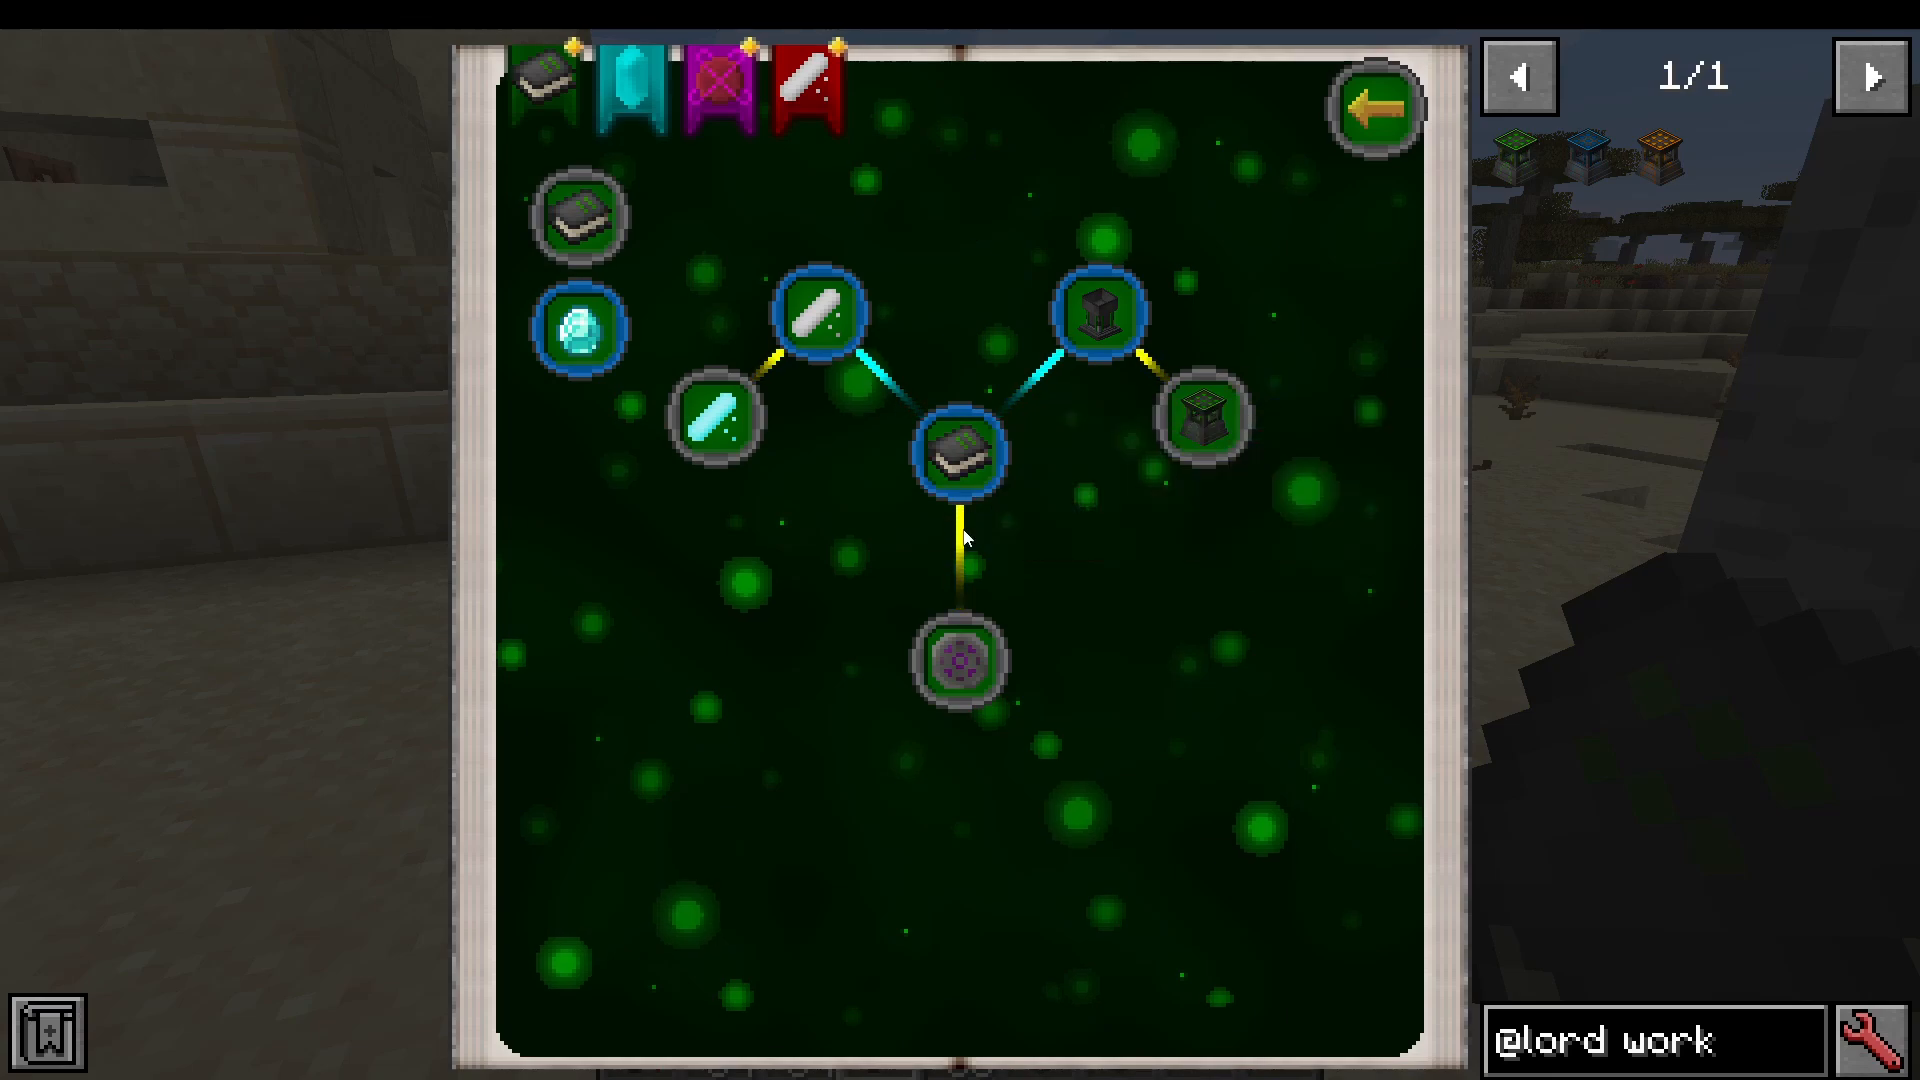
Research is how you unlock crafting recipes and mod features in LordCraft. The Book of Knowledge organises research into three tabs: Lordic, Elemental, and Alchemy. Some recipes require research from a specific tab, so always check which tab contains the research you need before wondering why a recipe is locked.
In the Lordic tab, you start with the Basics, which is automatically completed. The first things you will want to research are the Arcane Basin and Arcane Chalk.
The Research Mini-Game
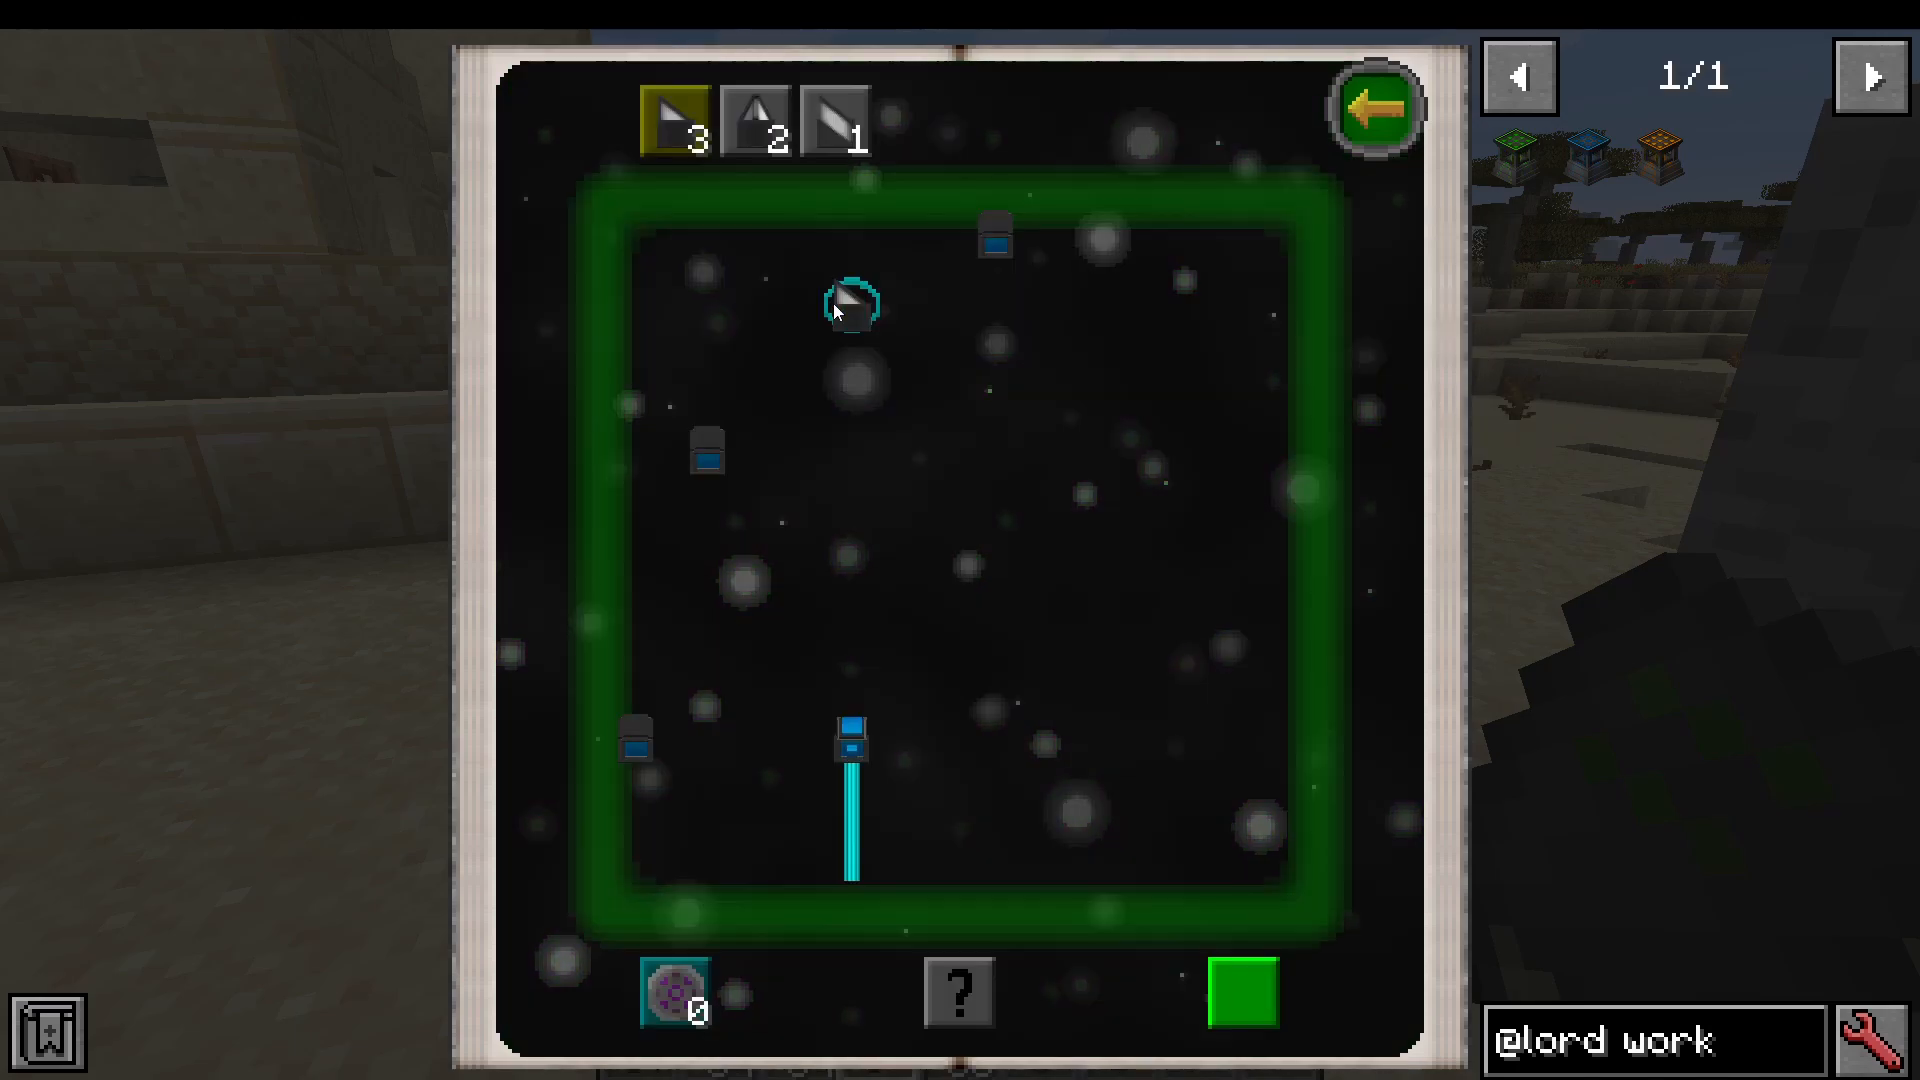
When you click on a piece of research — for example, Arcane Chalk — a mini-game launches. You are presented with a grid of blue target nodes that must all be hit with a light beam. You are given a set of mirrors to place and rotate in order to direct the beam across the grid. Here is how the controls work:
Left click to place a mirror on the grid.
Scroll the mouse wheel to rotate the mirror before placing.
Split the beam using the appropriate mirror type to reach multiple targets at once.
Once all targets are lit, they turn yellow. Press Attempt Completion to finish the research and unlock the associated crafting recipe.
Skipping the Mini-Game with Inscription Tiles
If you hate the research mini-game, there is a way to skip it. Every piece of research has an Advanced Research tab which shows a Force Completion option that uses Imbued Inscription Tiles.
To craft Imbued Inscription Tiles, combine two pieces of Paper and one Simple Dust in an Arcane Workbench — this yields two Imbued Inscription Tiles. Note that this recipe itself requires the Advanced Research research to be completed first. The Arcane Workbench is crafted from a standard Crafting Table and a piece of Simple Dust.
In short: the only piece of research you must complete manually via the mini-game is Advanced Research. Once that is done, use Imbued Inscription Tiles to force-complete every other piece of research and skip the mini-game entirely.
Task-Based Research
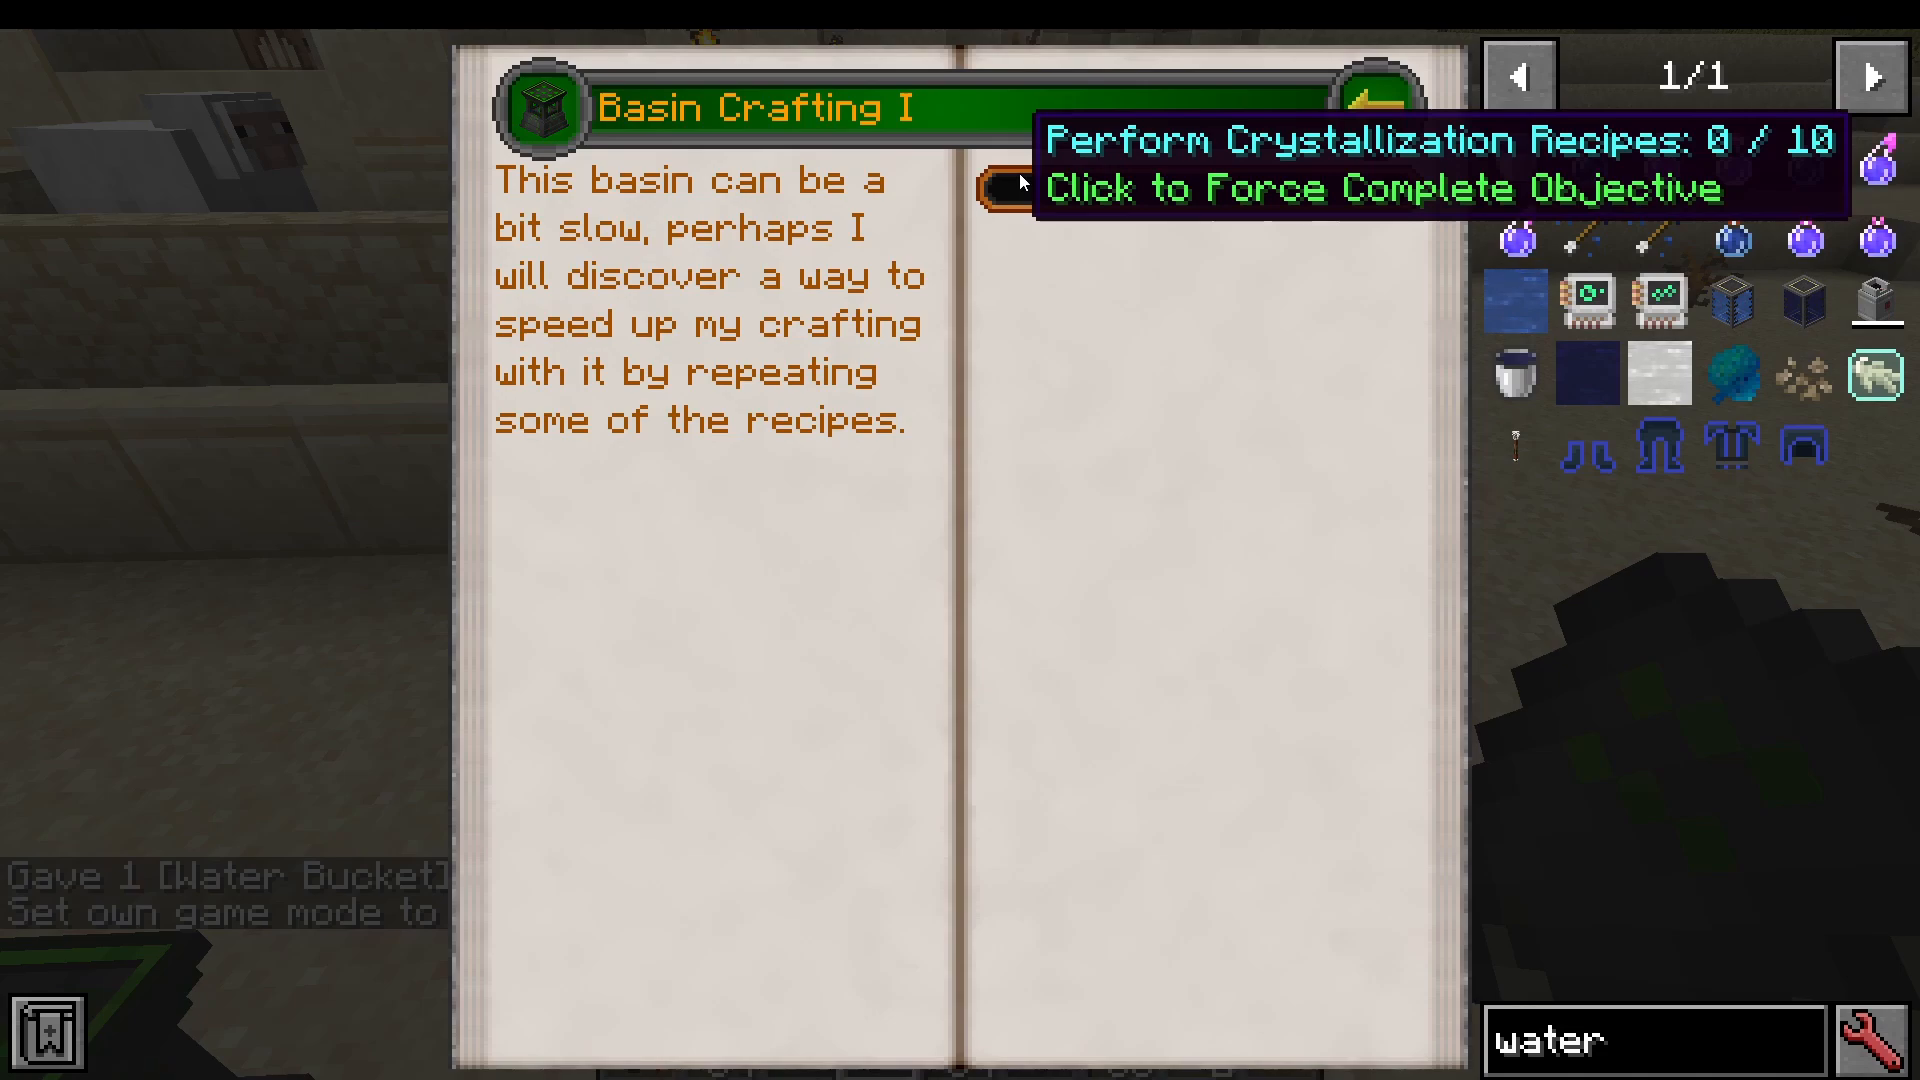
Some research entries require you to perform in-game actions rather than — or in addition to — completing the mini-game. For example, Basin Crafting One requires you to “Perform Crystallization Recipes 0 out of 10,” and Basic Rituals requires you to “Draw a Ritual Tile.” Progress happens naturally as you play, and once you hit the required count the research completes automatically.
Early Game Crafting: The Three Core Methods
The Arcane Workbench
The Arcane Workbench is your primary crafting station throughout early LordCraft. It works like a standard crafting table but enforces research requirements — if you have not completed the necessary research, a large red X appears and the recipe will not execute. Always verify you have the correct research before attempting a recipe.
A key early recipe to make in the Arcane Workbench is Lordic Mag Might, crafted from Simple Dust and Iron Ingots. Confirm the Mag Might research is complete in the Alchemy tab first, then right-click the Simple Dust into the water slot, followed by the Iron Ingot, to produce Lordic Mag Might.
Arcane Basin Crafting
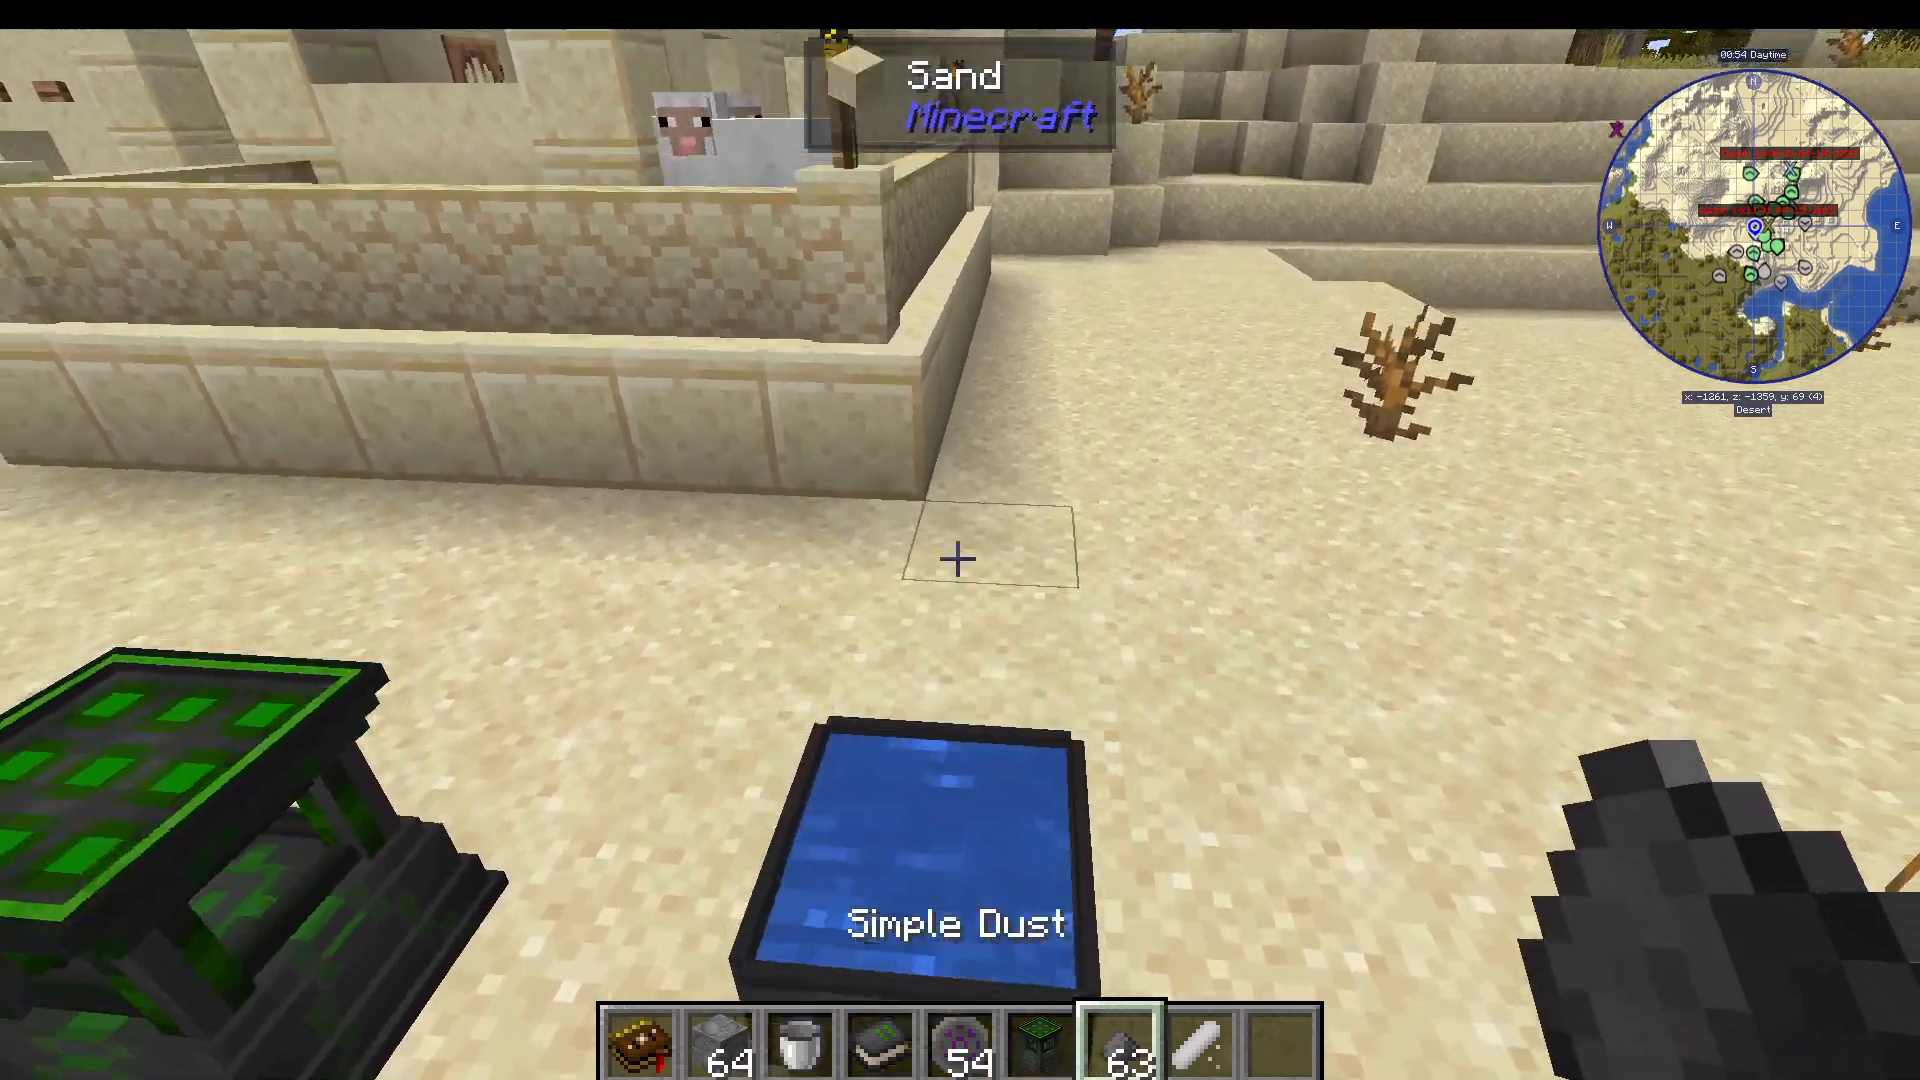
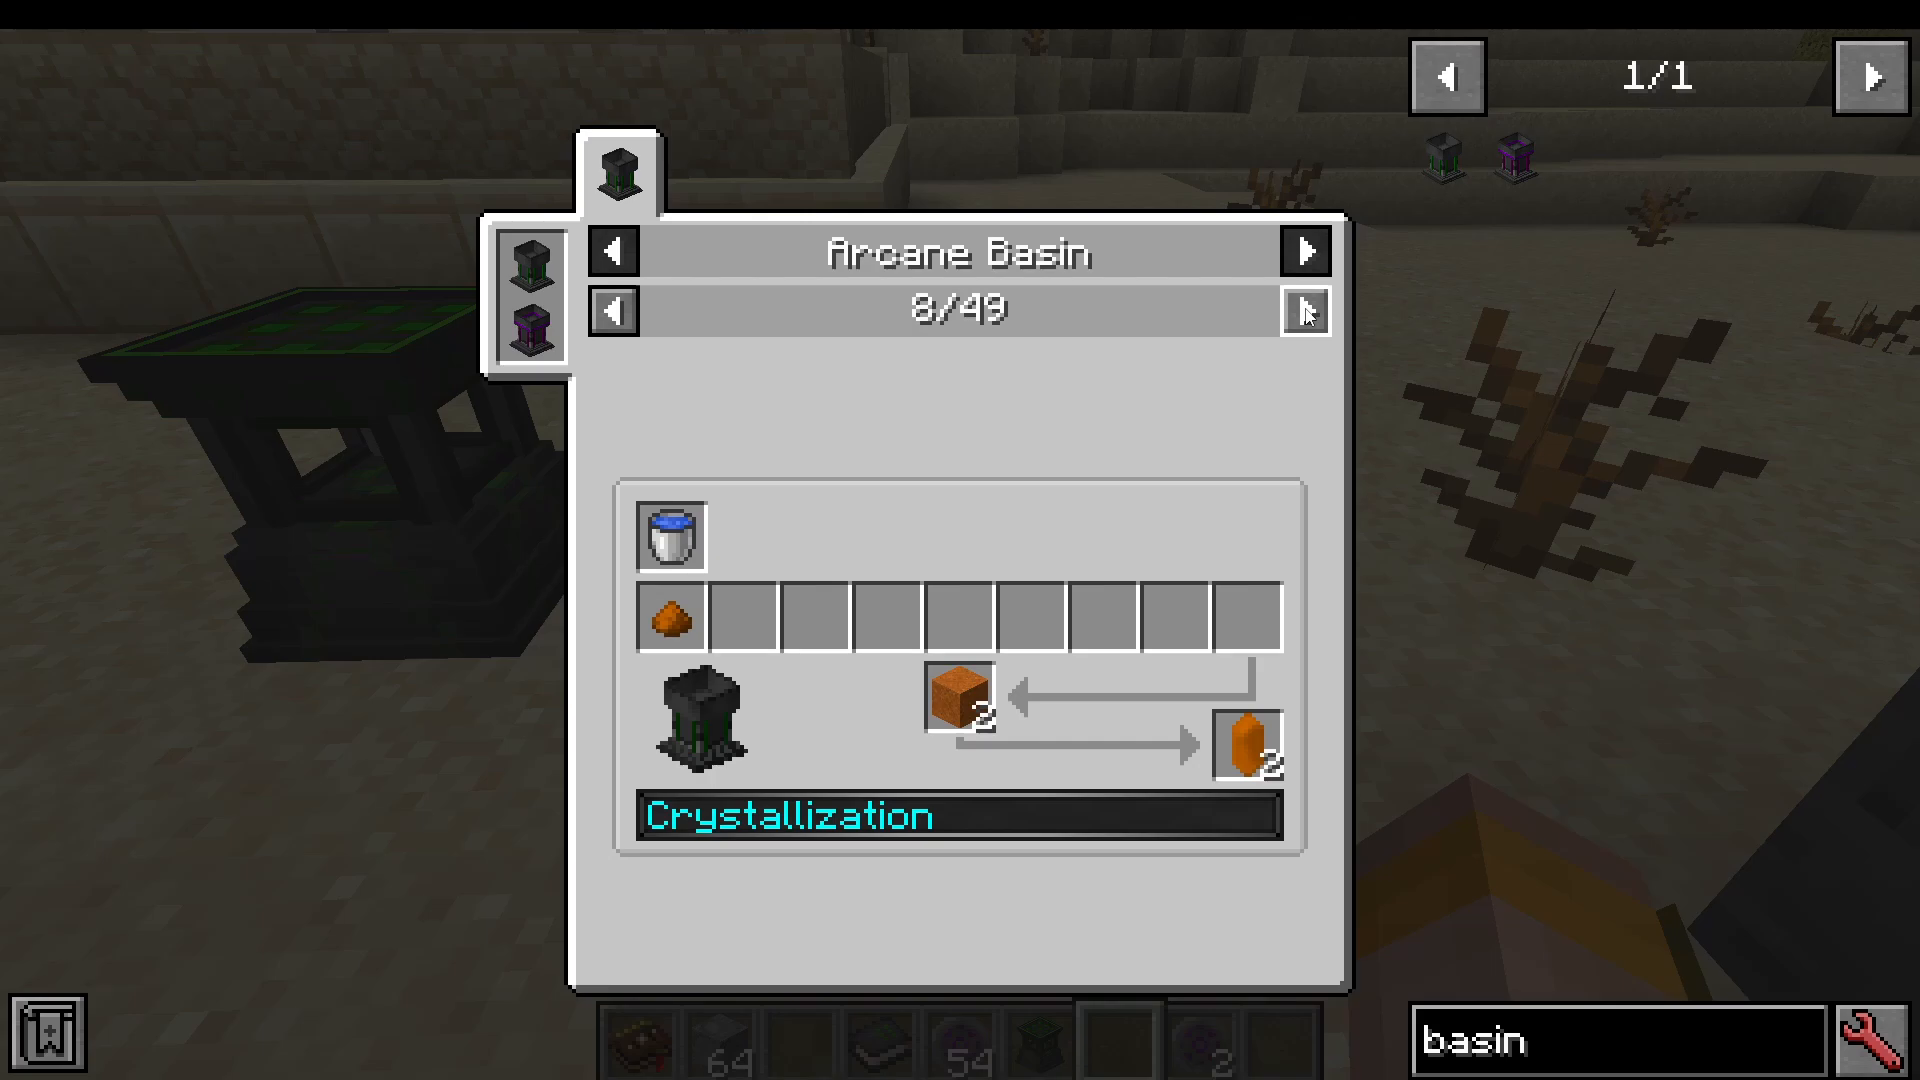
The Arcane Basin is a fluid-based crafting station. To use it, make sure it contains a bucket of water, then right-click your ingredients directly into the basin. For example, combining Simple Dust and Leather in a water-filled basin produces Infused Fabric — provided you have completed the Arcane Fabric research in the Alchemy tab.
Fusion Rituals
Fusion rituals allow you to craft items using far fewer ingredients than their Arcane Workbench equivalents. To perform a fusion ritual:
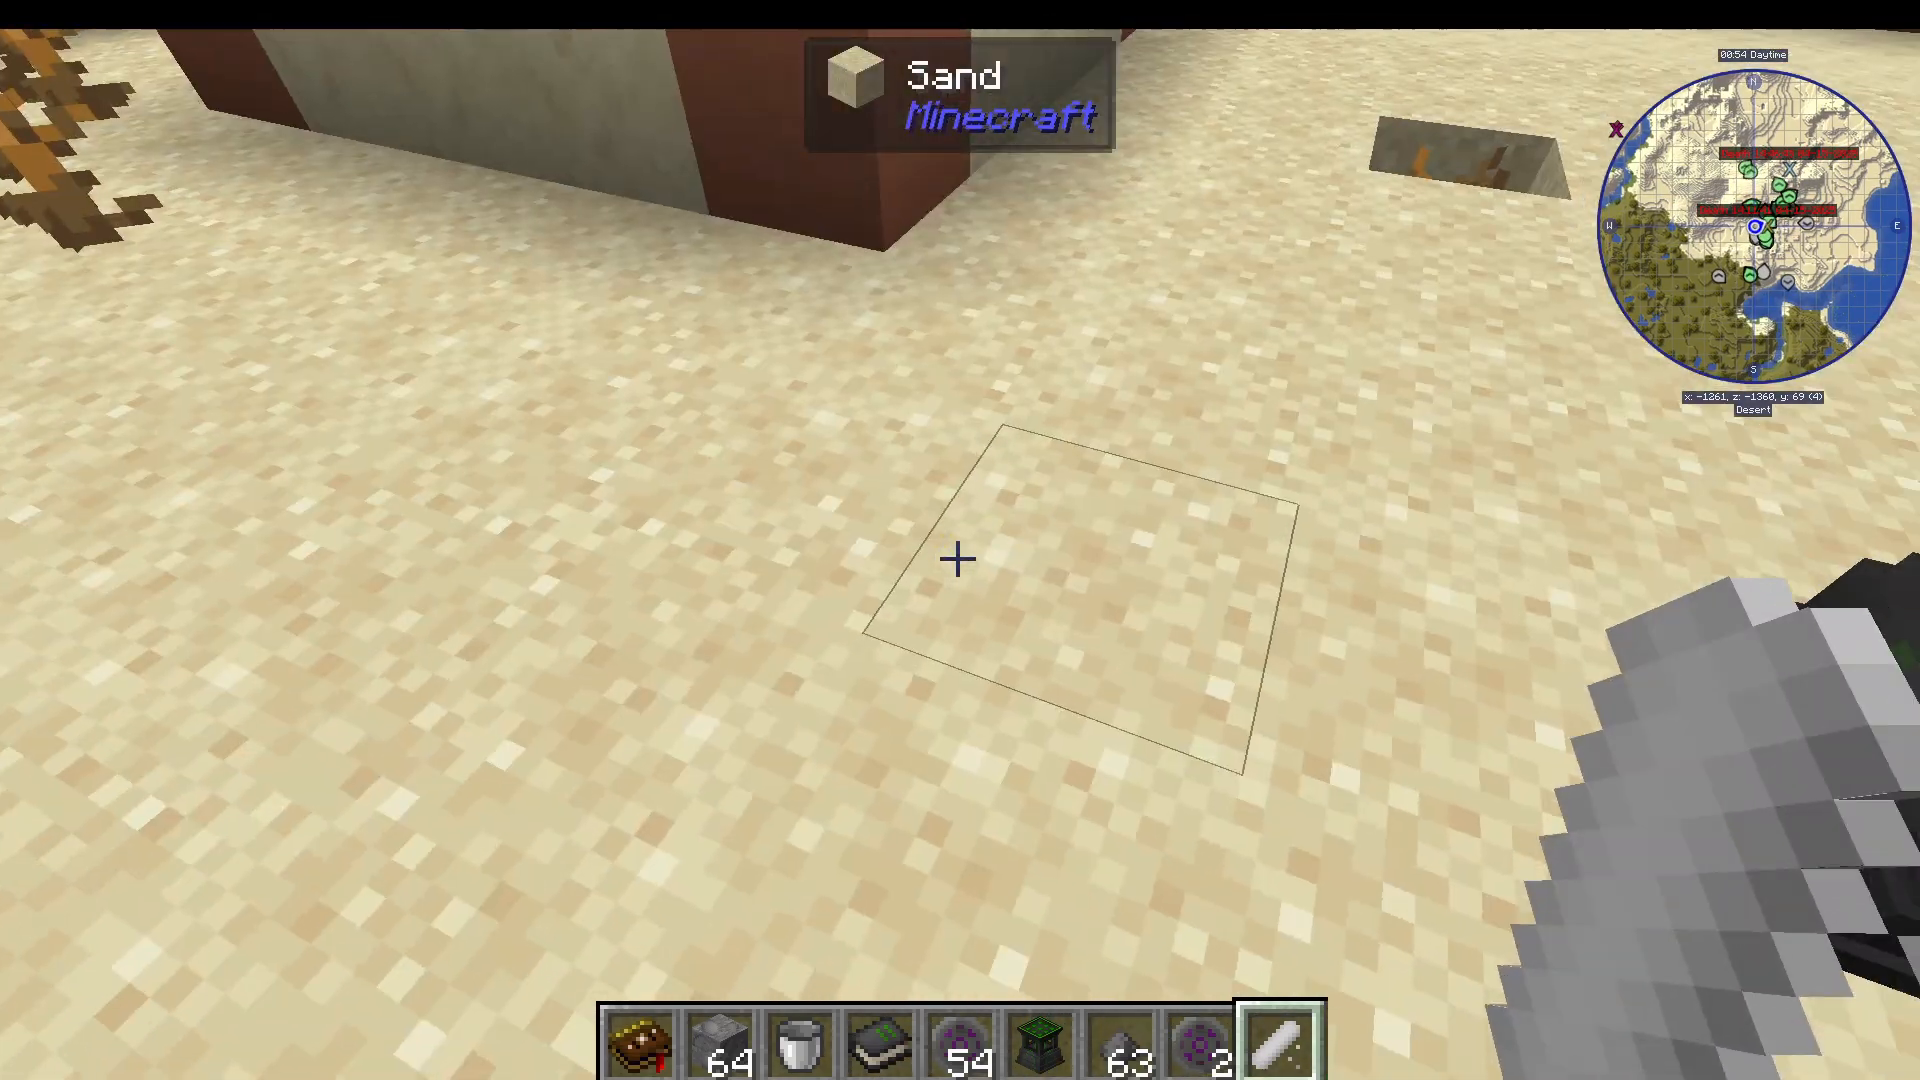
Craft Ritual Chalk in the Arcane Workbench (requires the Arcane Chalk research to be completed).
Right-click the Ritual Chalk on the ground to draw a ritual grid.
Right-click your ingredients onto the ritual grid in the correct order.
Right-click the centre of the grid again to trigger the ritual animation and receive your output item.
For example, crafting Arcane Ritual Chalk via fusion ritual requires only a Bone, Sand, and Redstone Dust — compared to the longer Arcane Workbench recipe. Note that some ritual recipes use Gunpowder instead of Redstone, so always double-check the recipe if something is not working.
As a time-saving alternative to setting up ritual grids manually, you can craft an Arcane Forge — a machine that performs fusion rituals automatically. Simply craft the Arcane Forge, place the ingredients inside, and it handles the rest.
The Alchemy Tab: Tools, Robes, Crystals, and Machines
Lordic Multi Tools and Crystalline Tools
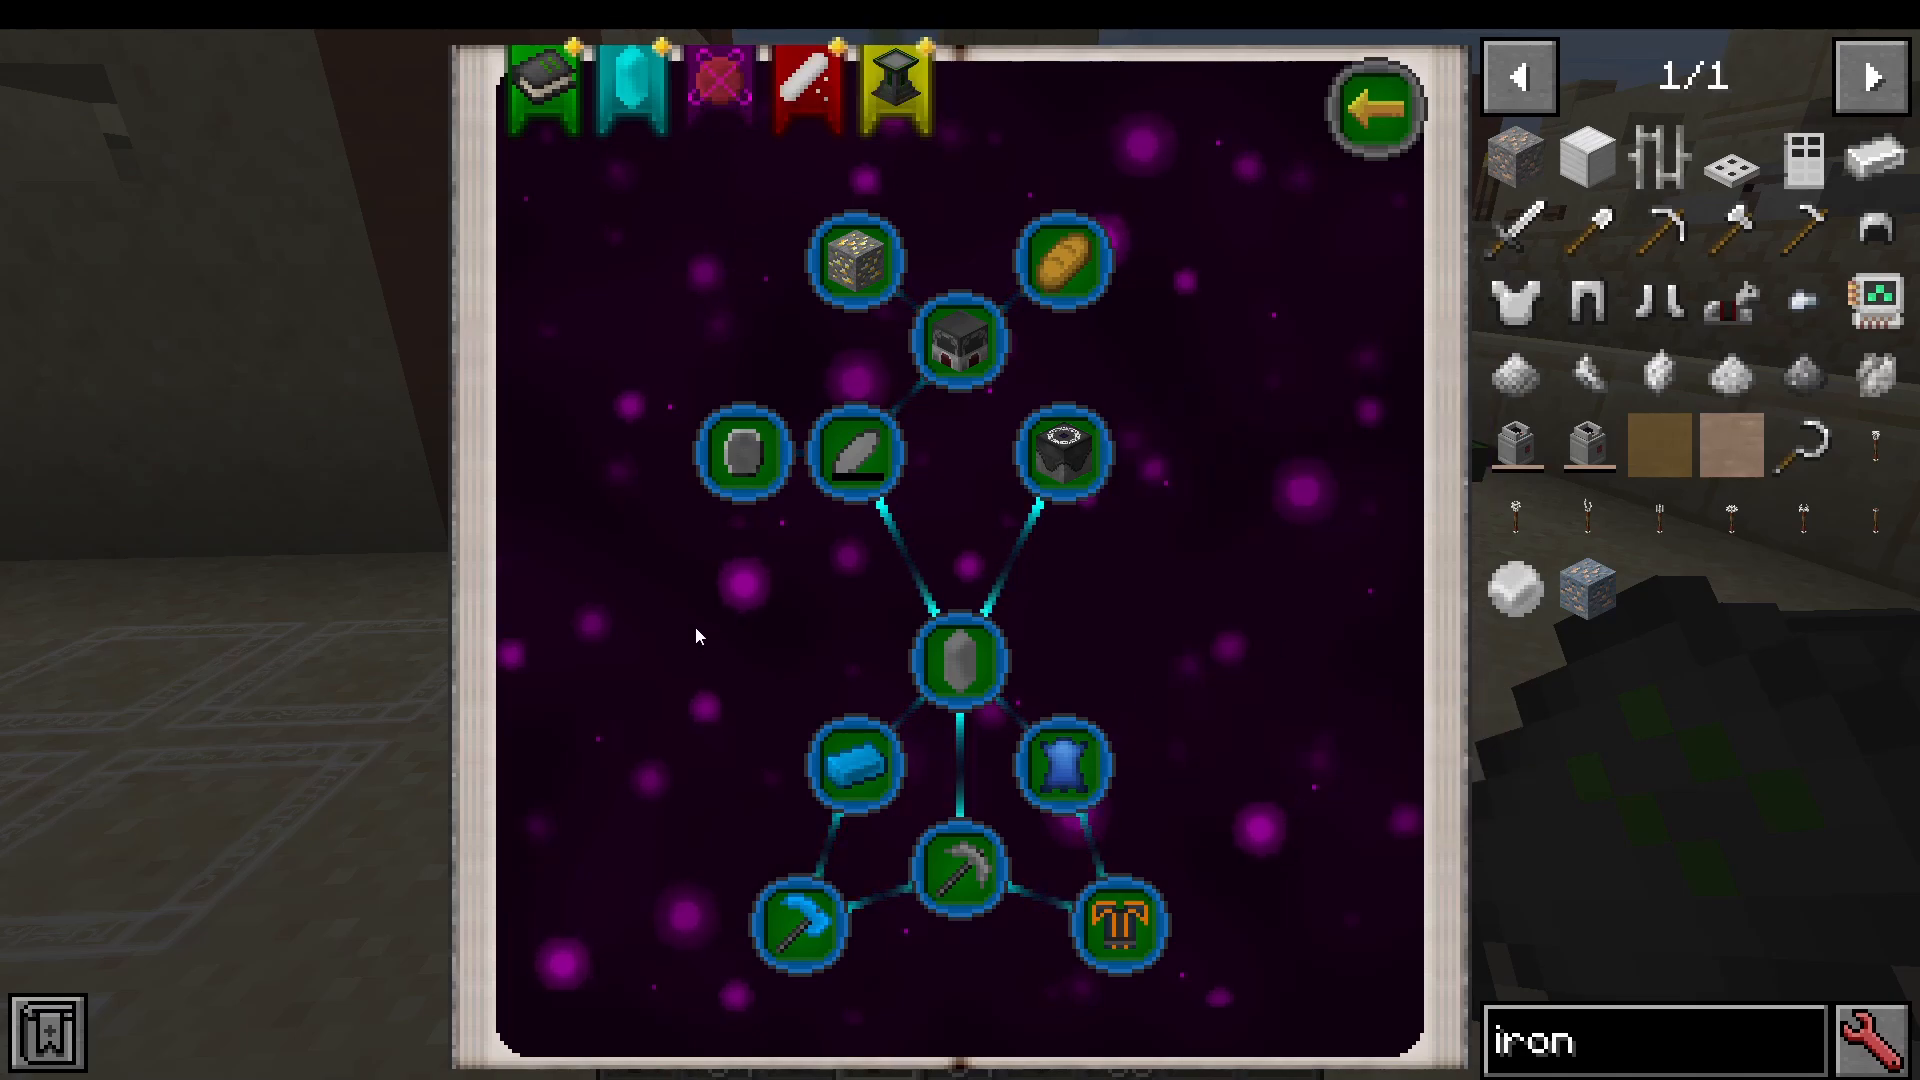
The Alchemy research tree unlocks Lordic Multi Tools, which function as a combined pickaxe, axe, and shovel in one item. These are crafted using Lordic Mag Might. You can also craft Crystalline Tools made from the elemental crystals you produce throughout the mod.
Robe Attunement and Elemental Gear
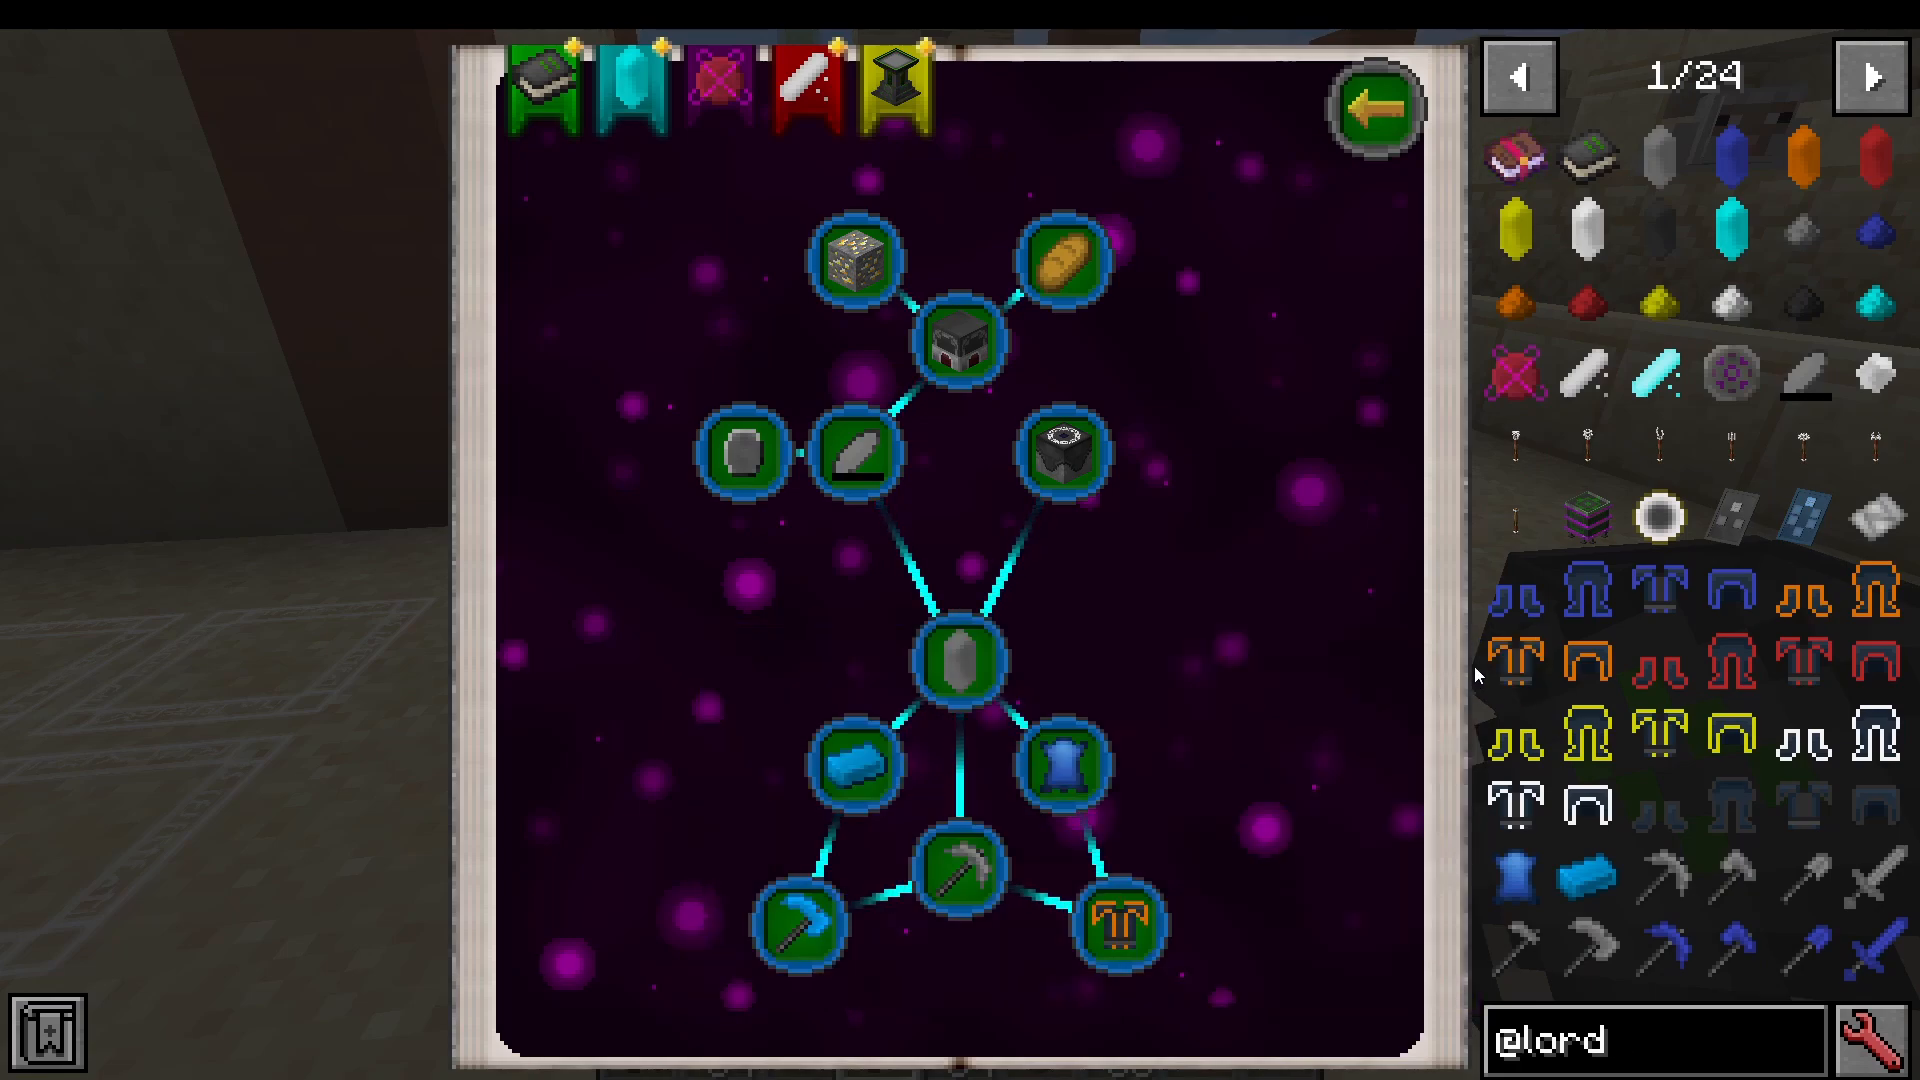
The Robe Attunement research unlocks elemental mage armour. For example, if you chose Fire as your element, you can craft Fire Infused Mage Leggings. Wearing the full set provides:
Reduced mana cost on all spells.
25 void pip regeneration per minute.
Robes require Infused Fabric and a Searing Crystal (for the fire variant). To make Searing Crystals, craft Searing Dust first via a fusion ritual using Simple Dust and two Blaze Rods, then combine Sand and Searing Dust in the Arcane Workbench to produce two Searing Crystals.
Each element has its own crystal type:
Damp Crystal — Water
Dense Crystal — Earth
Searing Crystal — Fire
Floating Crystal — Air
Bright Crystal — Light
Murky Crystal — Dark
Pure Crystal — All elements combined (requires Phelos research)
Attuned Arcane Workbenches
To craft elemental gear of a specific type, you need an Attuned Arcane Workbench. Start by upgrading to an Advanced Arcane Workbench, which is crafted by surrounding a standard Arcane Workbench with Lordic Mag Might. Then, use a fusion ritual with Redstone (or Gunpowder — check the recipe) and four of the appropriate elemental crystals to attune the workbench to a specific element. For example, four Murky Crystals create a Water-Attuned Arcane Workbench, while four Searing Crystals create a Fire-Attuned Arcane Workbench.
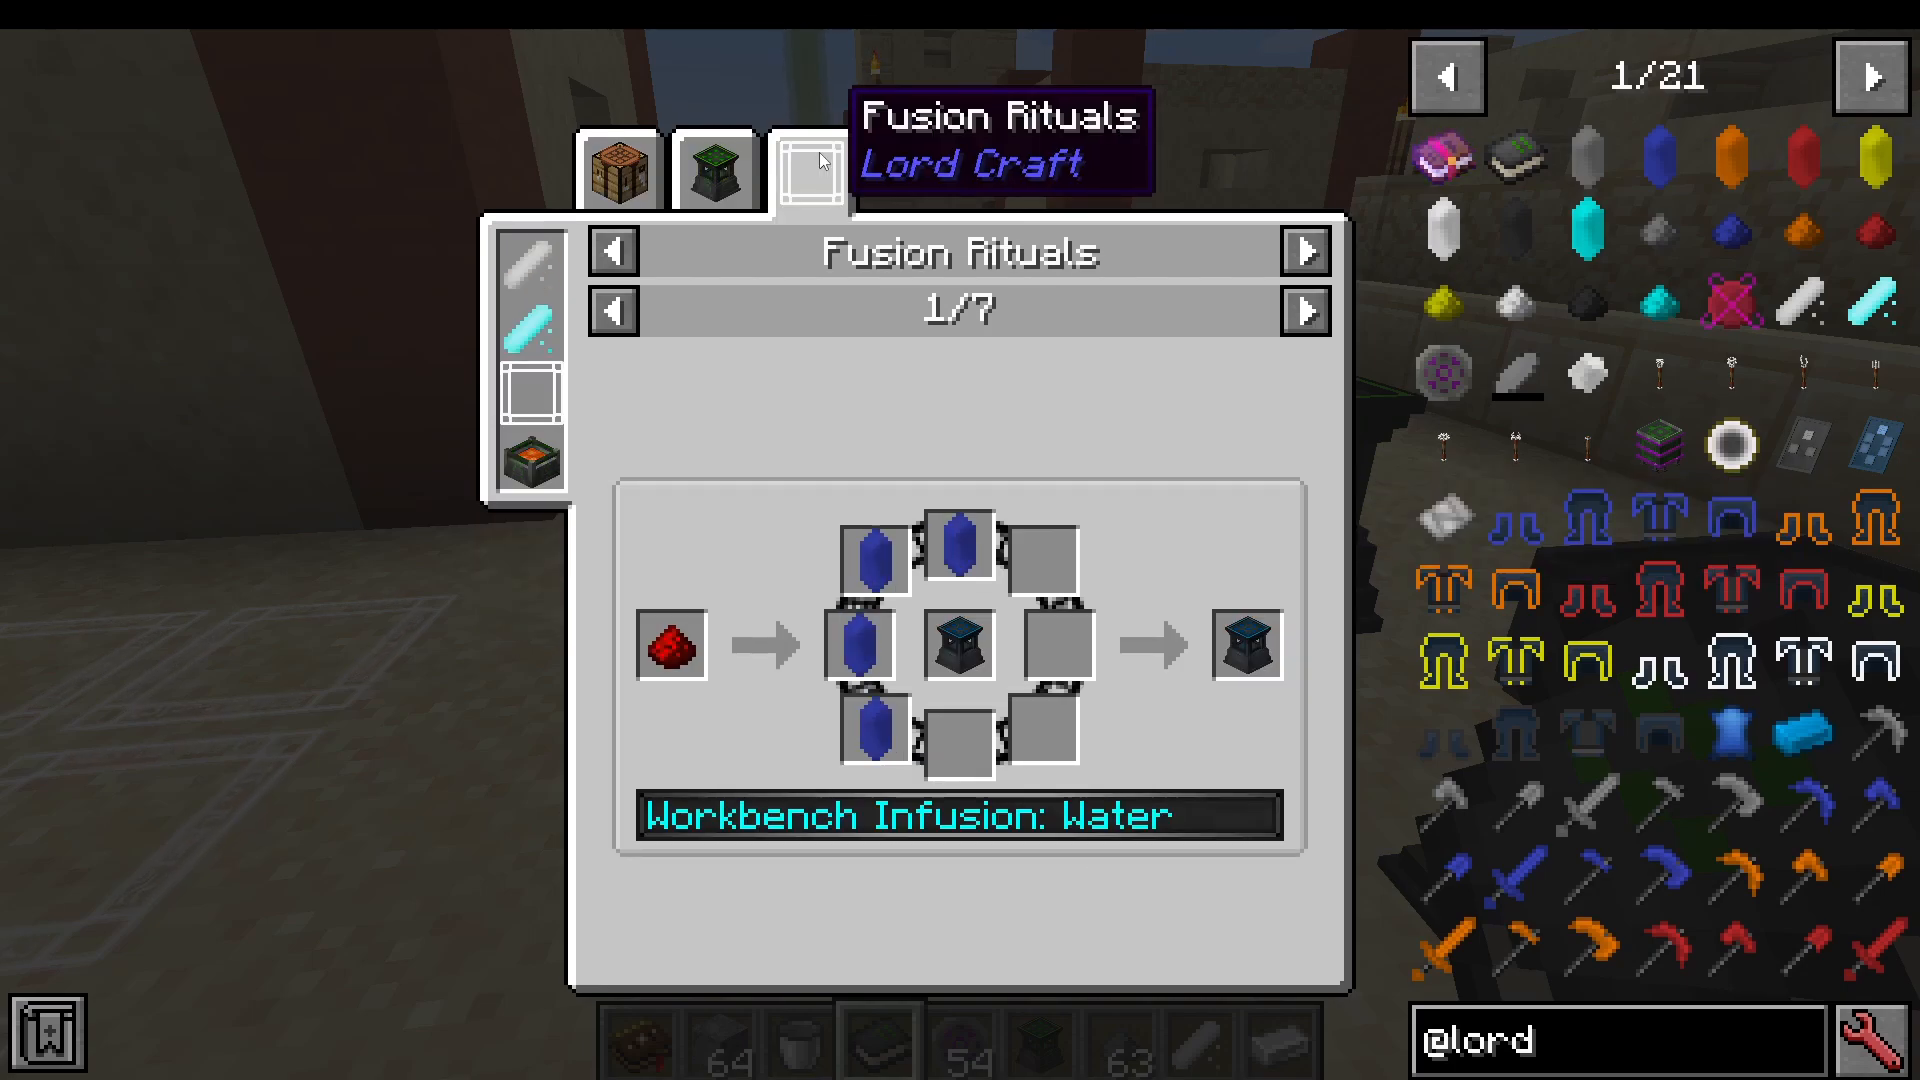
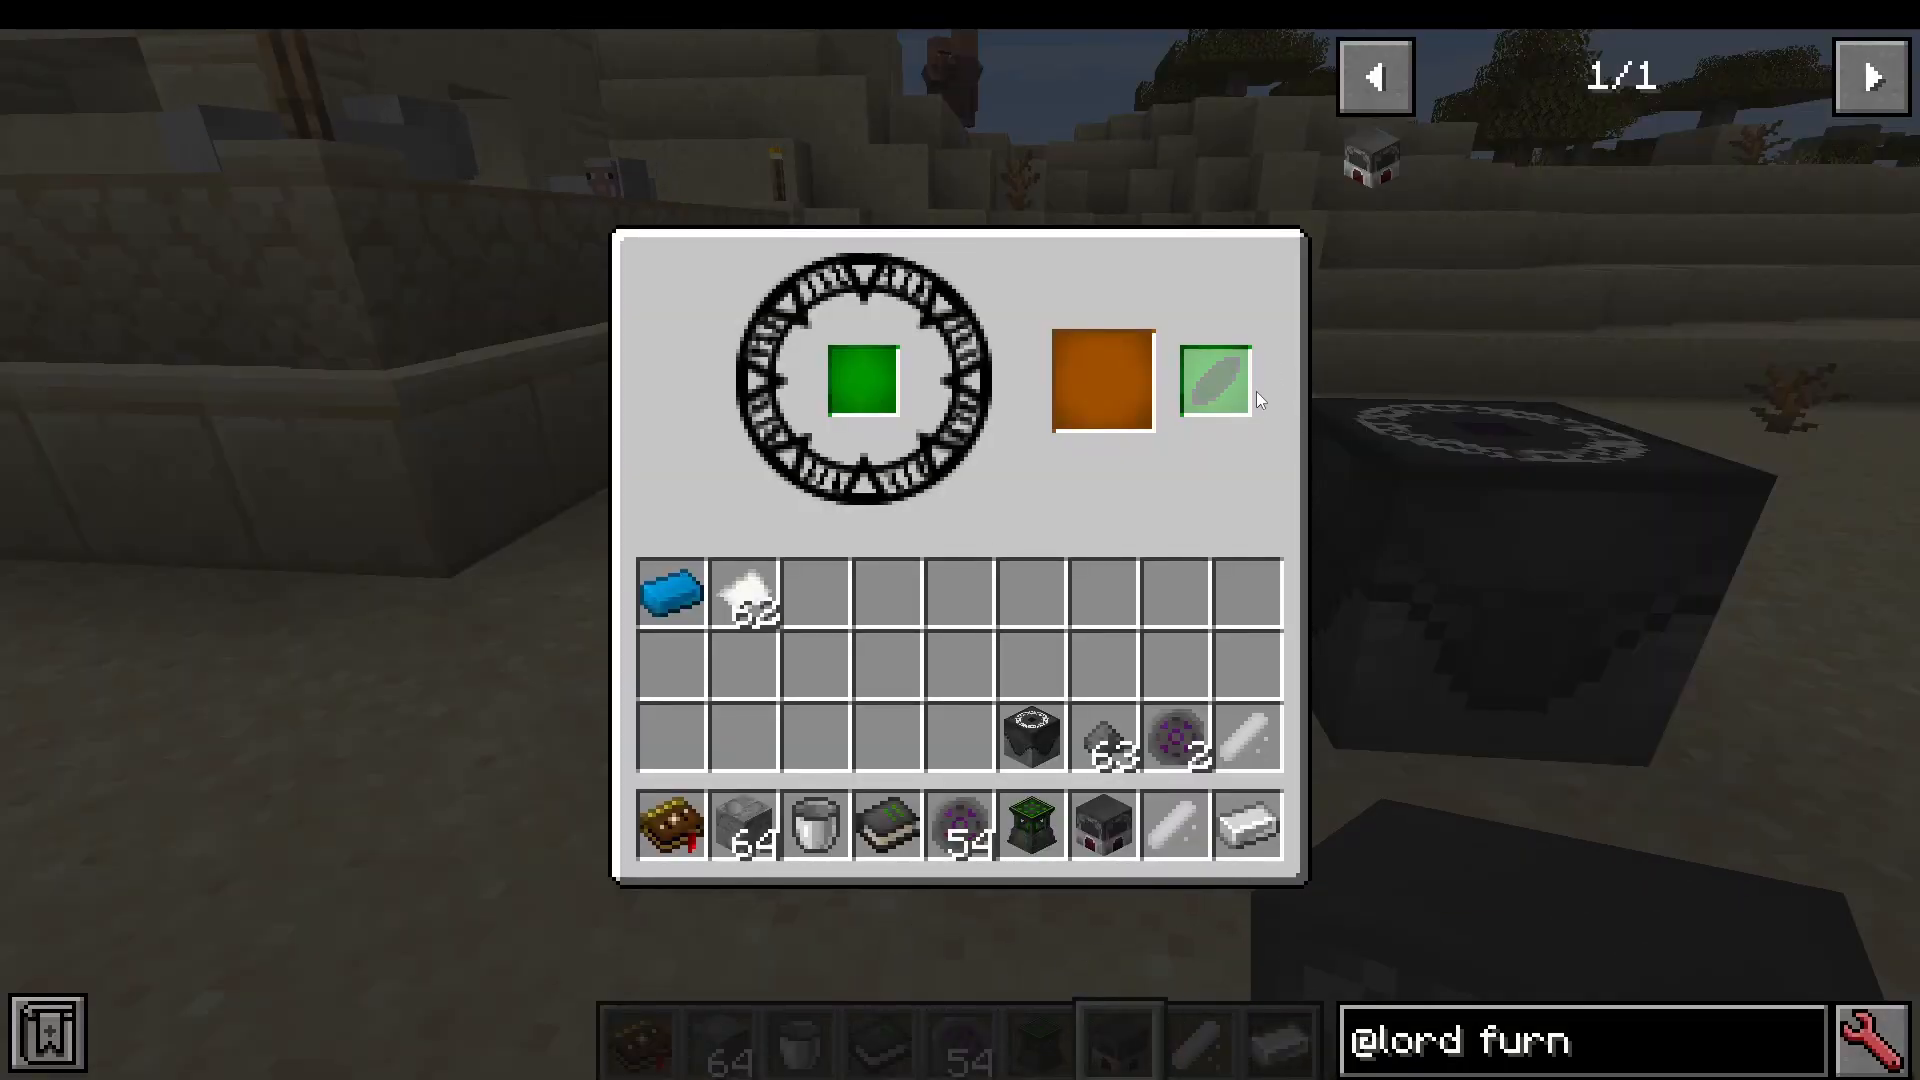
The Arcane Furnace
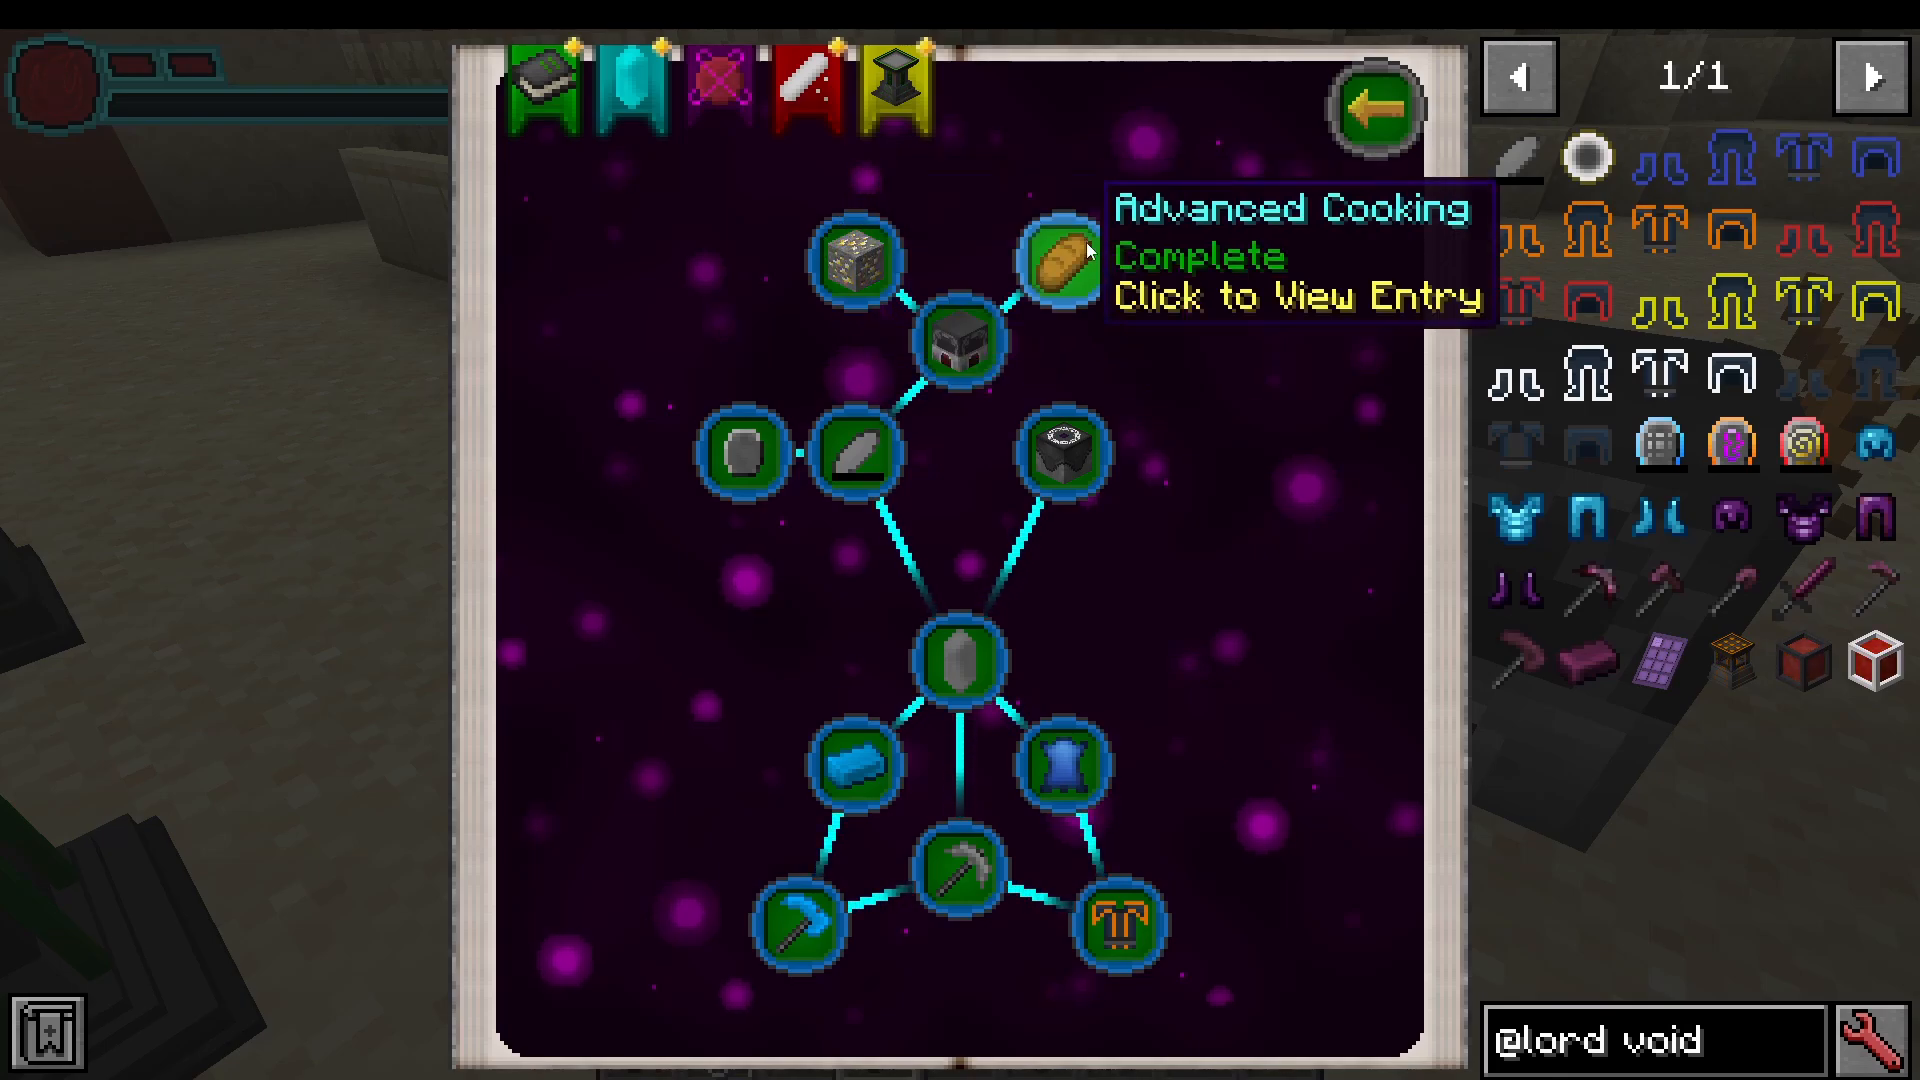
The Arcane Furnace is a powered furnace that uses Void Pips (explained in the next section) as its fuel source. To power it, slot a charged Void Crystal into the dedicated crystal slot on the furnace interface. Once you complete the relevant research in the Alchemy tree, the Arcane Furnace provides two major upgrades:
Ore Processing — Doubles the output of all smelted ores.
Advanced Cooking — Doubles the output of all cooked food. For example, one raw chicken produces two cooked chicken.
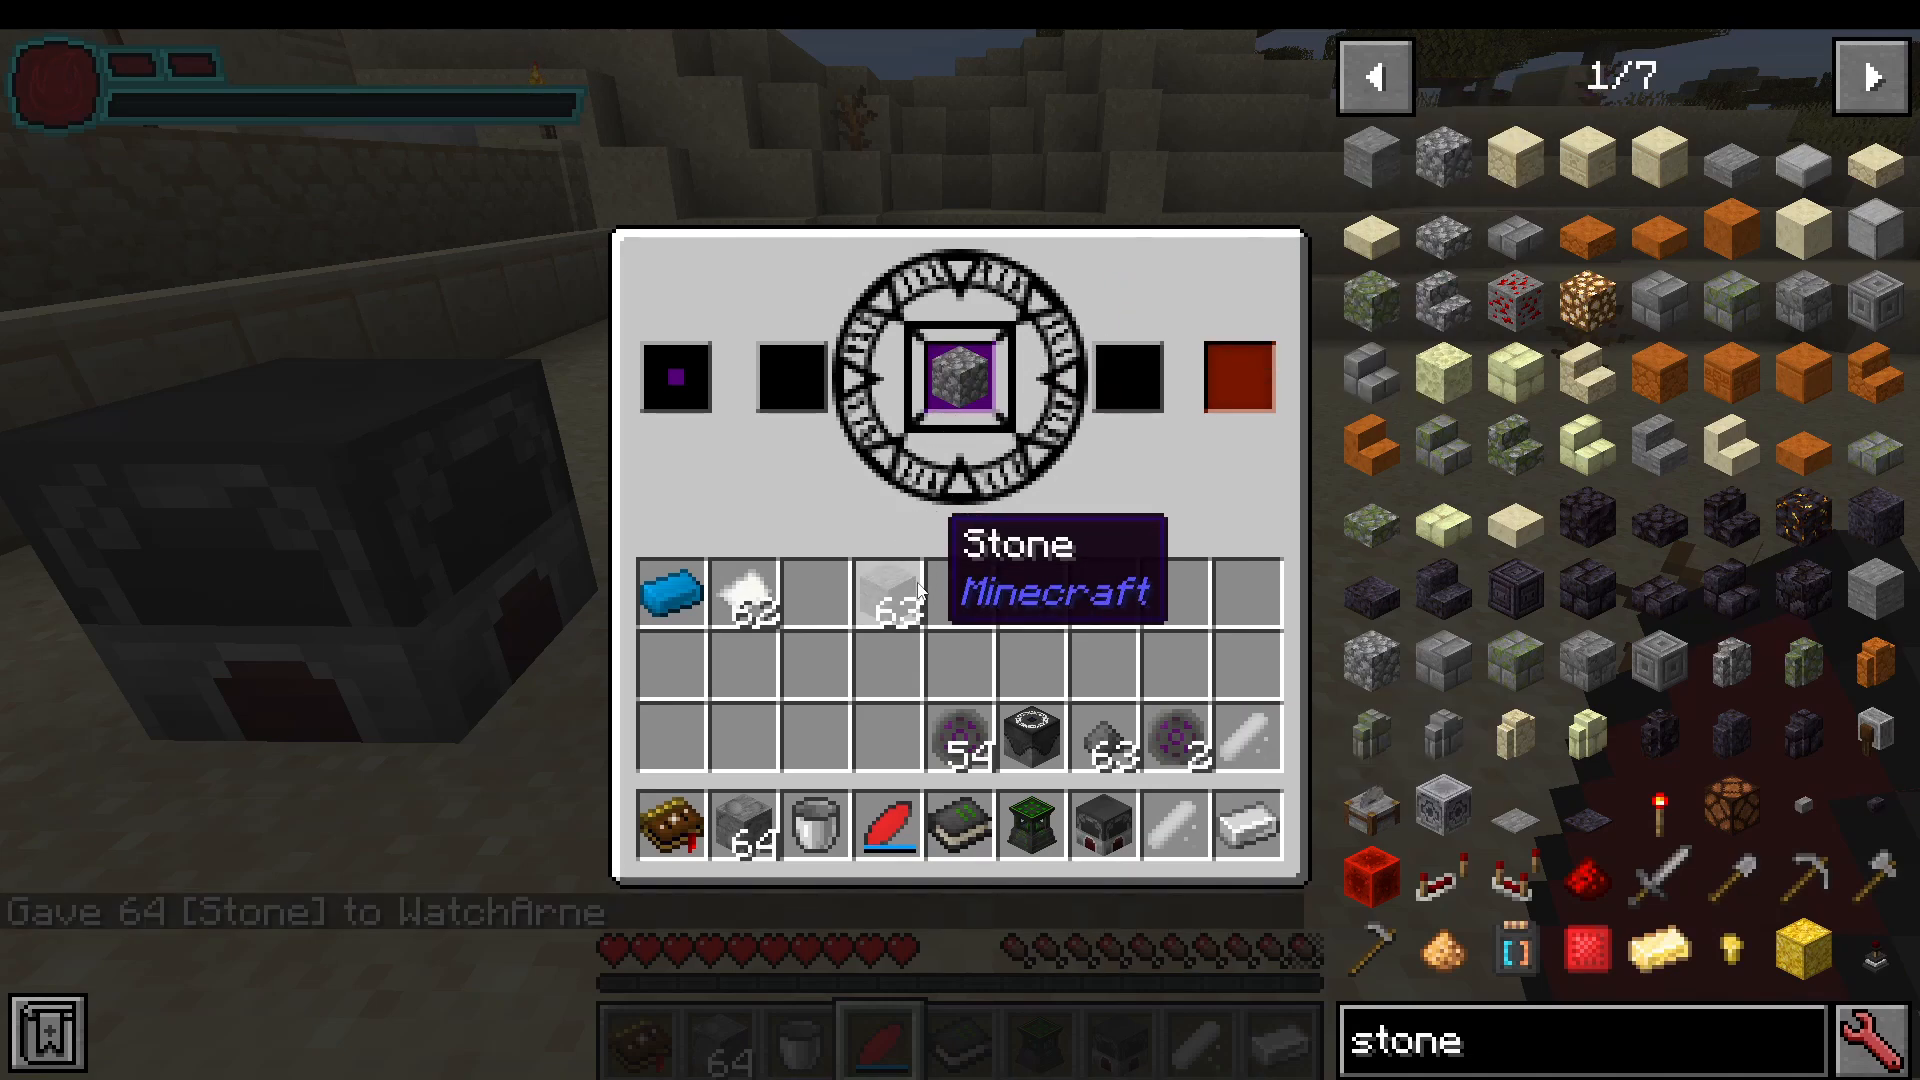
The Block Transmuter
The Block Transmuter converts blocks into other variants. Place a block such as Stone into the input slot and it converts to Cobblestone by default. Additional controls include:
Shifting Output Enabled — Pushes output to the right-hand side slot, compatible with pipes for automation.
Color Selection — Set a color such as White or Orange to produce colored variants (e.g., White Cobblestone, Orange Cobblestone).
Cycle Button (1 out of 19, 2 out of 19, etc.) — Cycles through 19 different transmutation outputs such as Magenta Stone, Bricks, Cracked Bricks, Chiseled Bricks, and more. You will need to cycle through manually to find the variant you want.
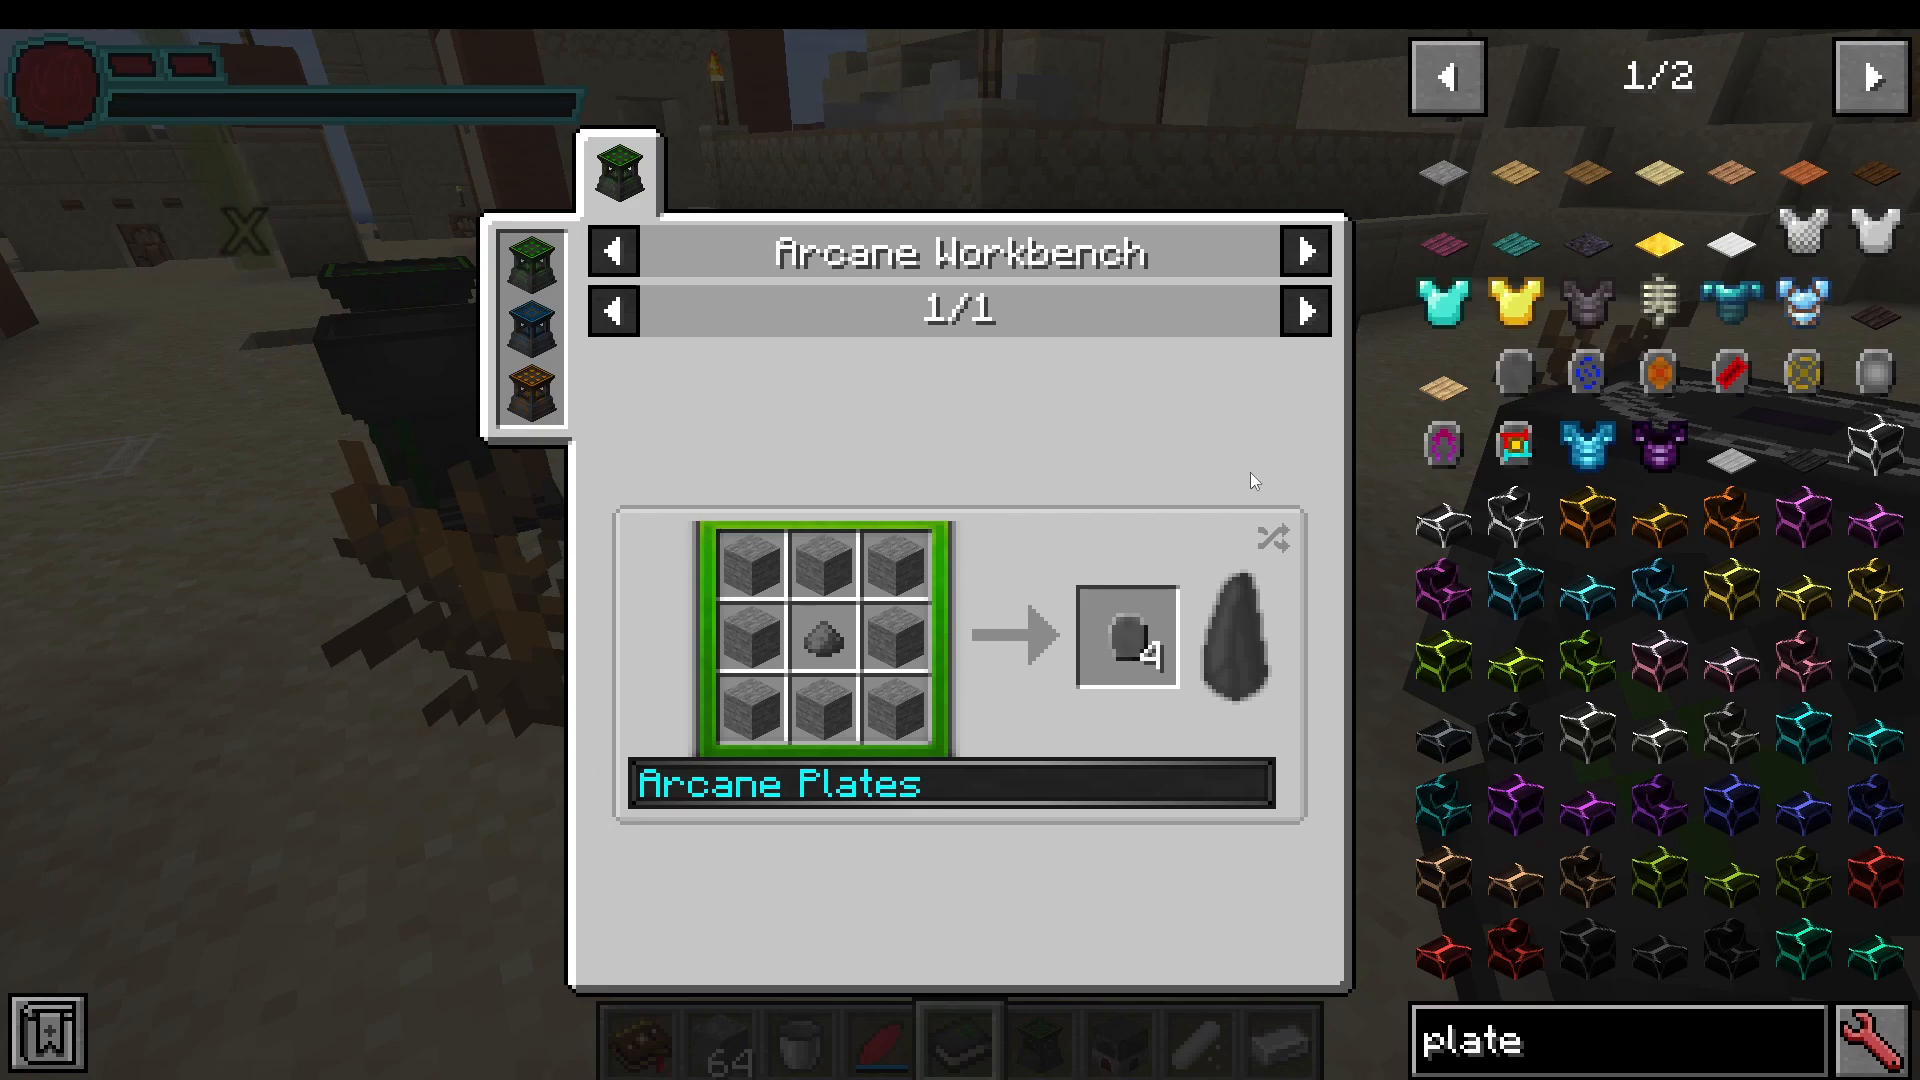
Arcane Plates
Arcane Plates are consumable utility items you can craft and carry for combat and exploration. The available plate types and their effects are:
Defense Plate — Grants Resistance for a few seconds on use.
Combat Plate — Grants Strength and Haste for approximately 15–20 seconds.
Agility Plate — Grants Speed and Jump Boost.
Transposition Plate — Shift right-click to mark a location; right-click again to teleport back to that marked block.
Changing Plate — Right-click to convert nearby Stone into Lordic Stone.
Healing Plate — Grants Regeneration on use.
Void Pips: What They Are and How to Get More
Void Pips are a dedicated resource used to power machines like the Arcane Furnace and to cast certain spells. They appear as small red dots in the top-left corner of your HUD. To enable the HUD display, open your Book of Knowledge, go to HUD Config, and turn on Void Pips, the Mana Bar, and the Primal Meter. You can also adjust the HUD color, theme (light or dark), and position from this same menu.
The Void Crystal
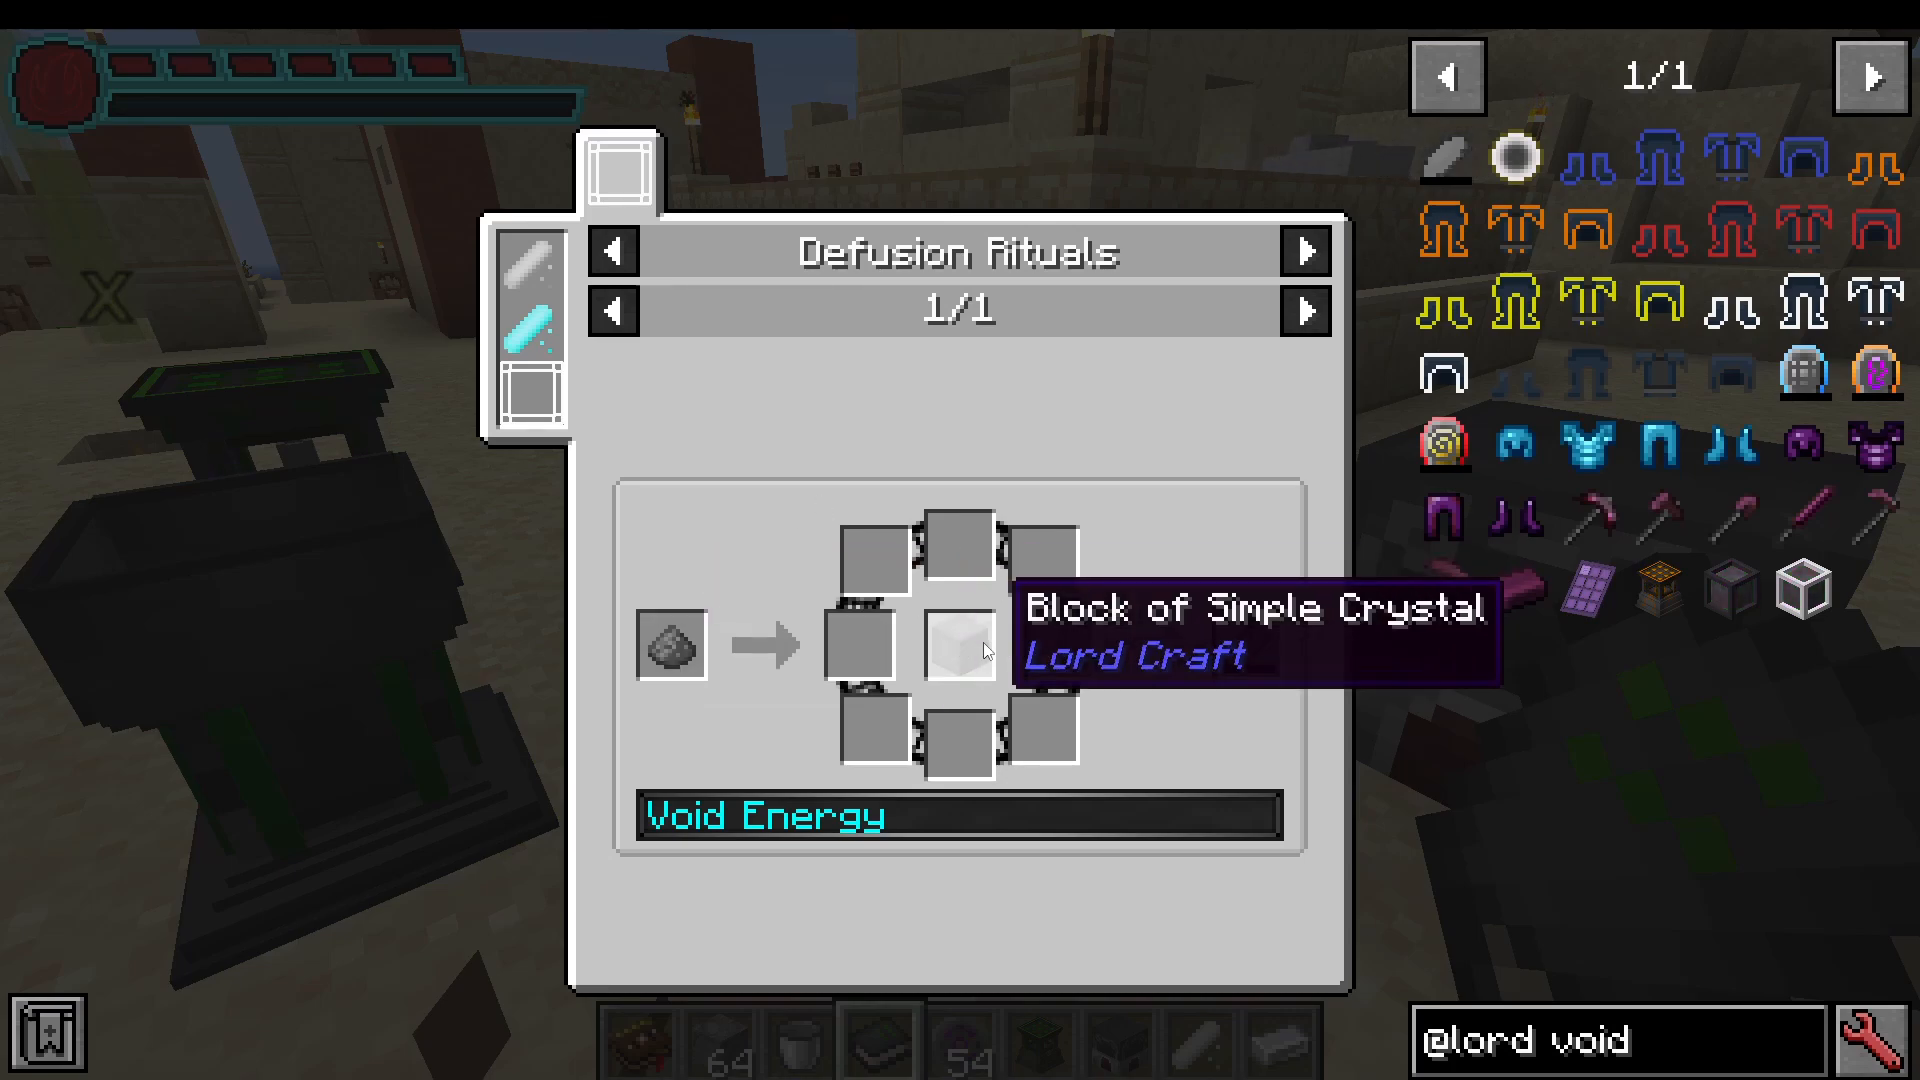
To interact with your Void Pips, you need a Void Crystal. Craft one using a diffusion ritual with Gunpowder and a Block of Simple Crystal. Once you have the Void Crystal in hand:
Right-click to discharge pips (spend them).
Shift right-click to recharge your pips back up.
Increasing Your Maximum Void Pips
You start with only two Void Pips, but you can increase your maximum through a ritual. Here is the process:
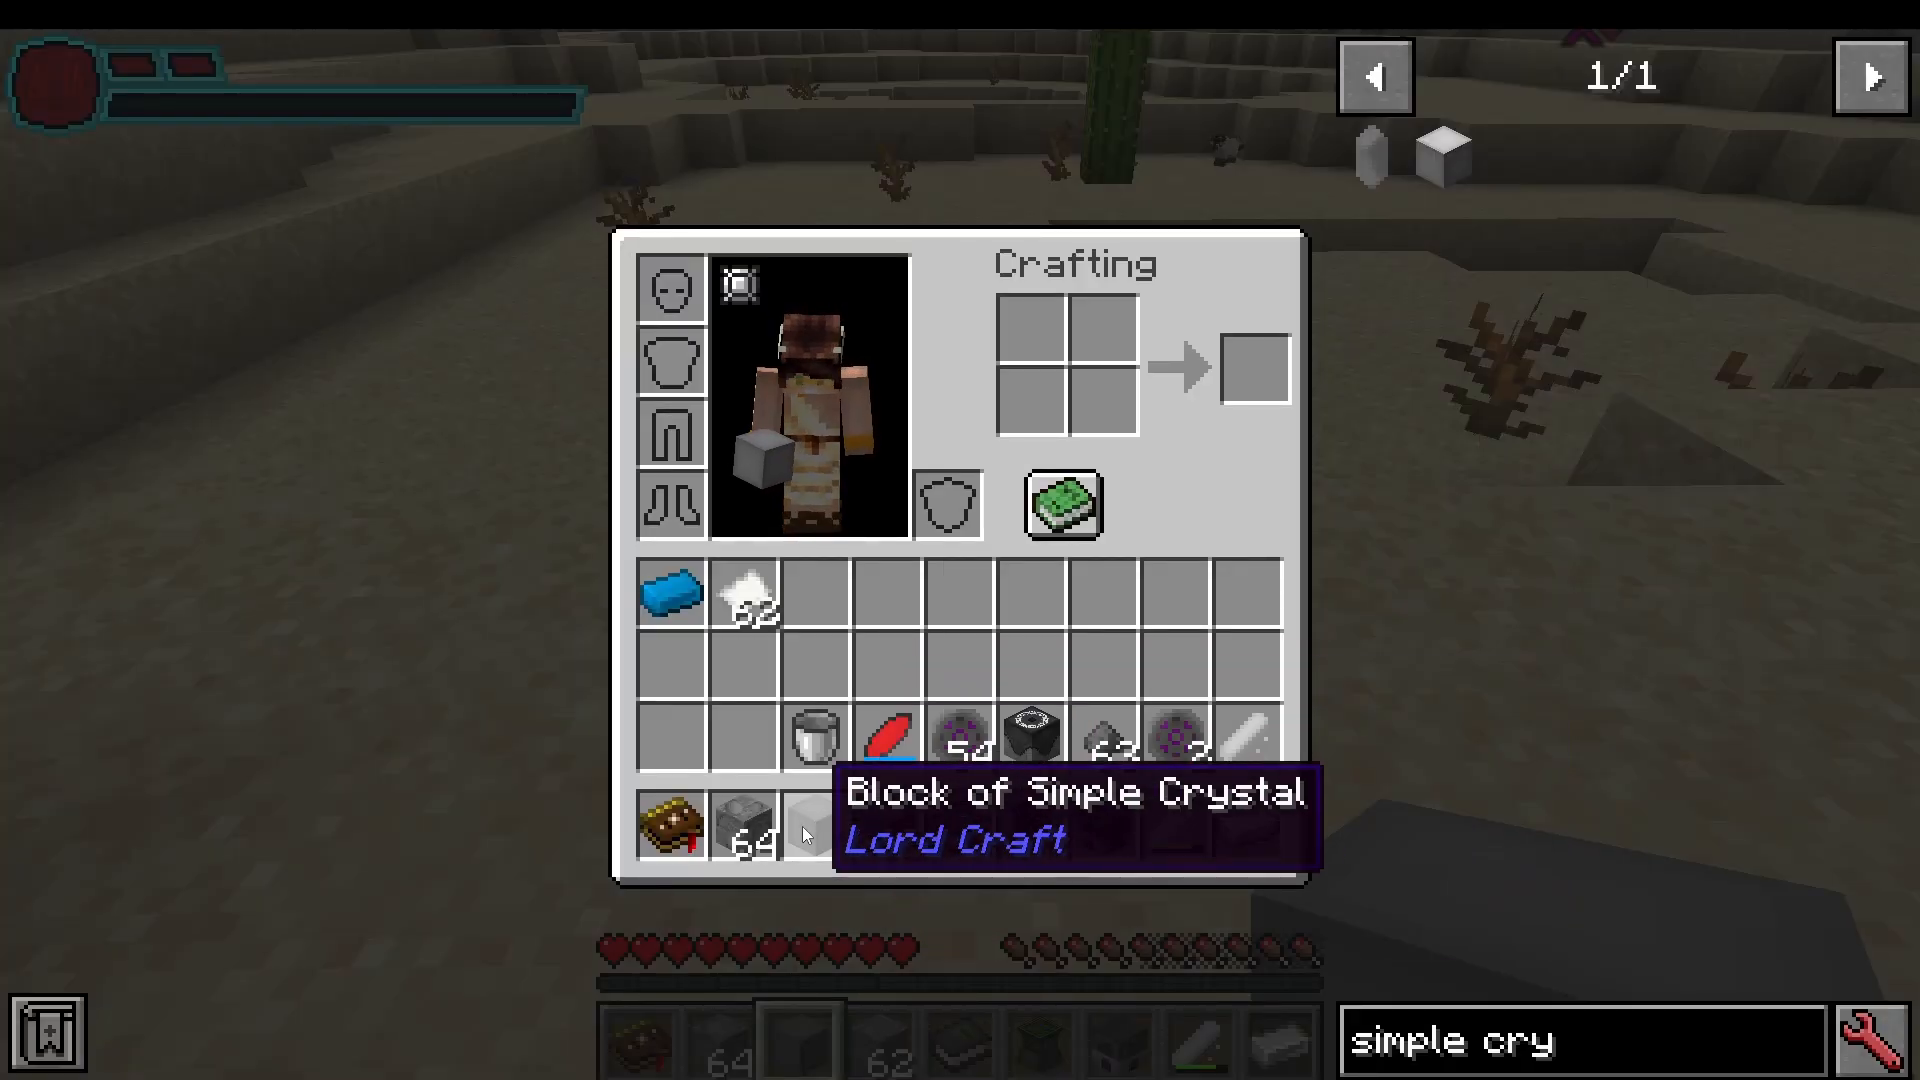
Craft a Simple Crystal Block by combining Simple Dust into a Simple Crystal, then crafting it into a block (3×3 grid of Simple Crystals).
Draw a ritual grid using your Ritual Chalk.
Ensure you have at least 5 XP levels.
Right-click the Simple Crystal Block onto the ritual grid and right-click again to activate.
After the animation completes, your maximum Void Pips increases by one.
Repeat this process as many times as you like. The Additional Void Pips research in the Rituals tab tracks progress (e.g., “Perform Void Pip Rituals 1 out of 14”), so keep performing this ritual to work toward completing that research entry too.
Elemental Artifacts and Multi Tool Abilities
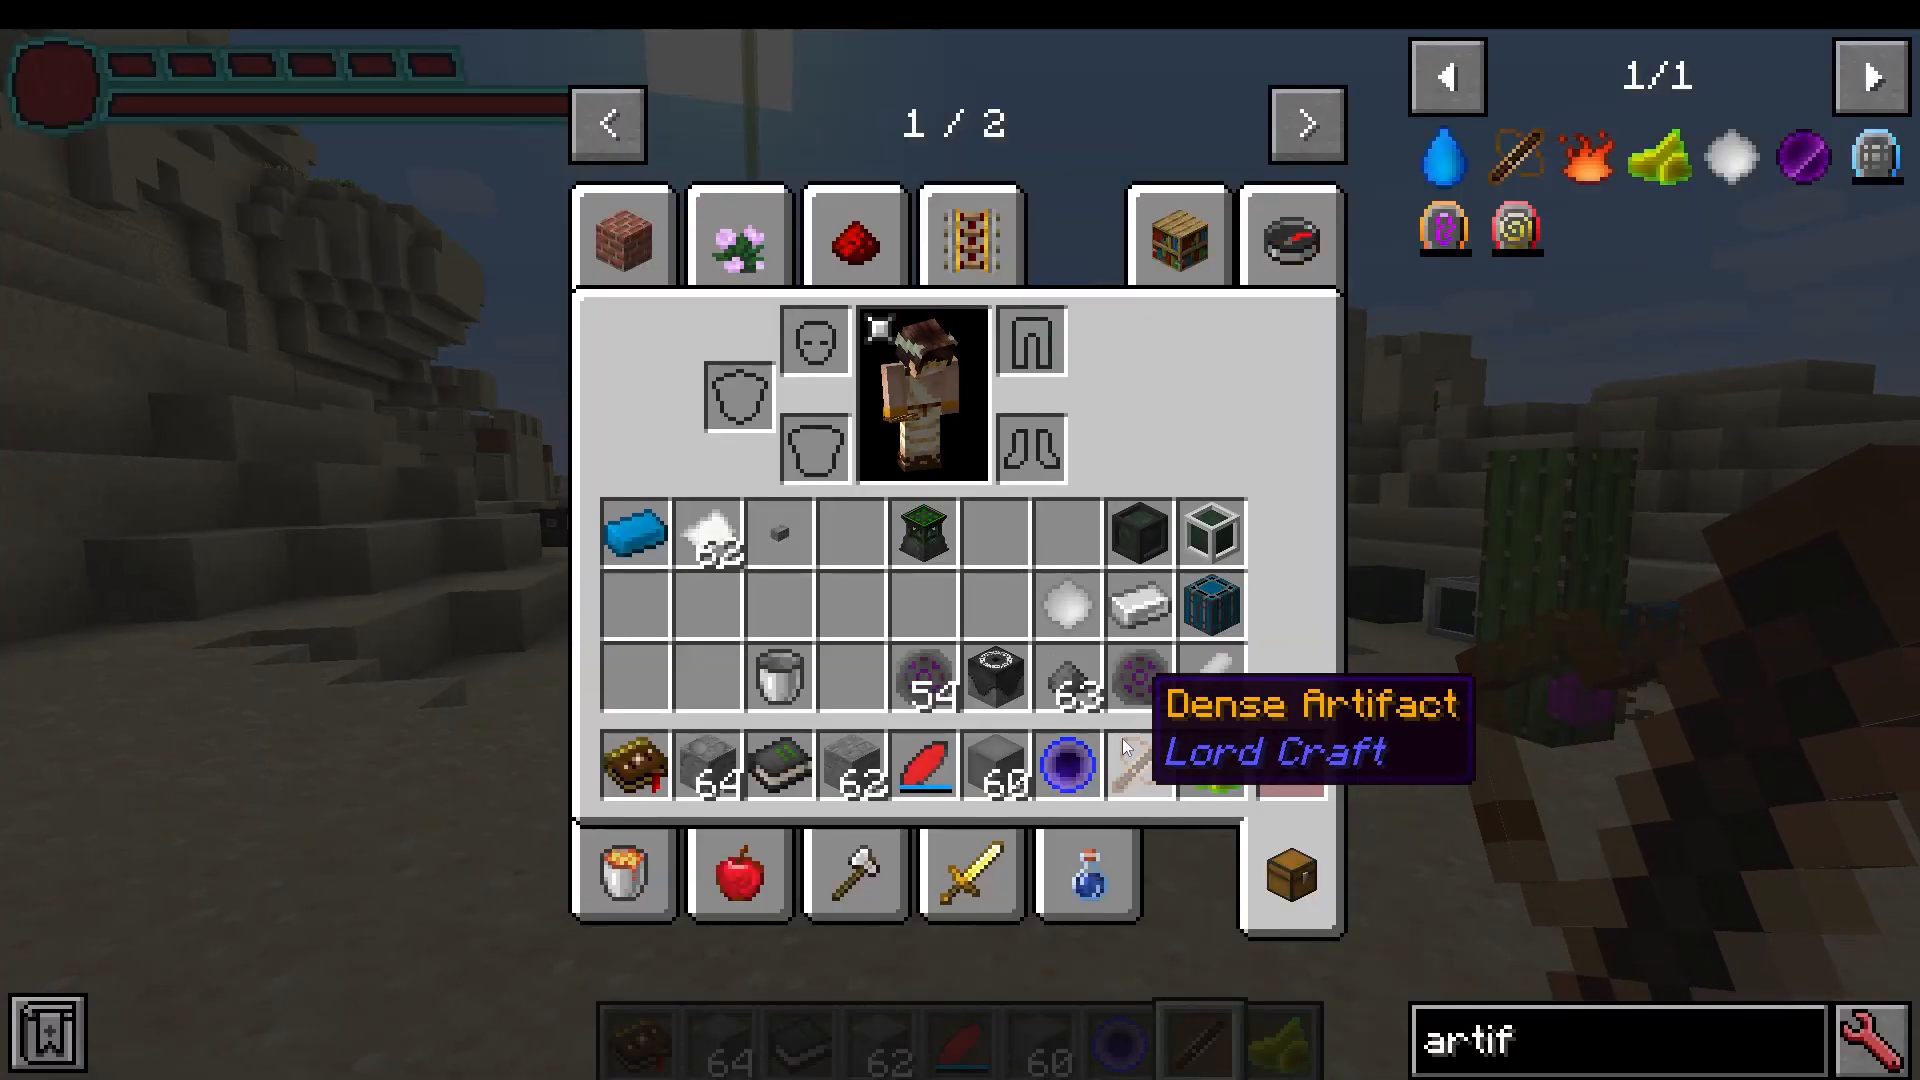
Each elemental crystal type corresponds to a unique Artifact and a unique Multi Tool ability. Here is a breakdown of what each element does when used as an artifact or built into a tool:
Artifacts
Dense (Earth) — Right-click to scan what blocks and ores are directly beneath your feet.
Floating (Air) — Propels you upward and forward for large jumps.
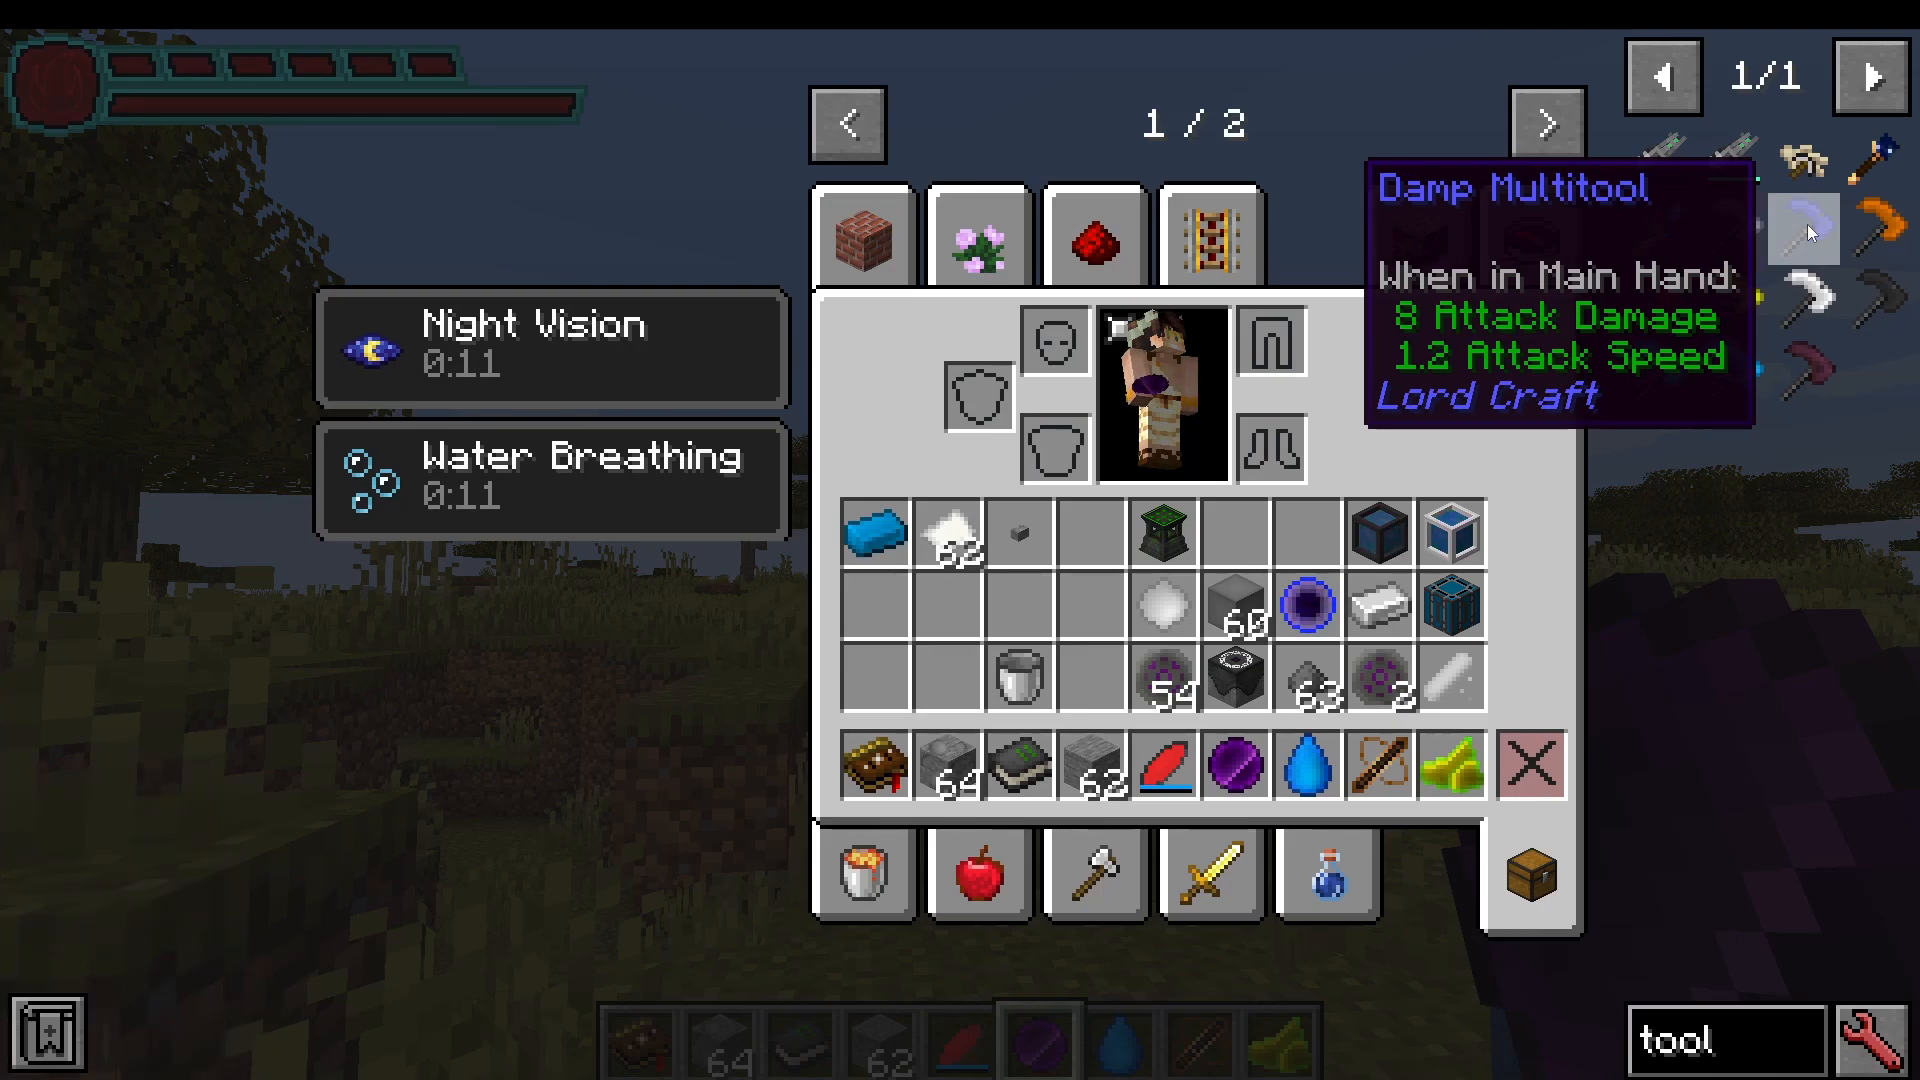
Damp (Water) — Places a water block; also grants water breathing.
Bright (Light) — Places a light source.
Searing (Fire) — Ignites a fire.
Murky (Dark) — Grants Night Vision and Water Breathing.
Multi Tool Abilities
Damp Multi Tool — Right-click to place water.
Dense Multi Tool — Displays nearby block and ore information.
Searing Multi Tool — Right-click to start a fire.
Floating Multi Tool — Prevents all fall damage while held.
Bright Multi Tool — Places a light source.
Murky Multi Tool — Teleports you forward (does not grant night vision like the artifact version).
Mana, the Void Interface, and Mana Storage
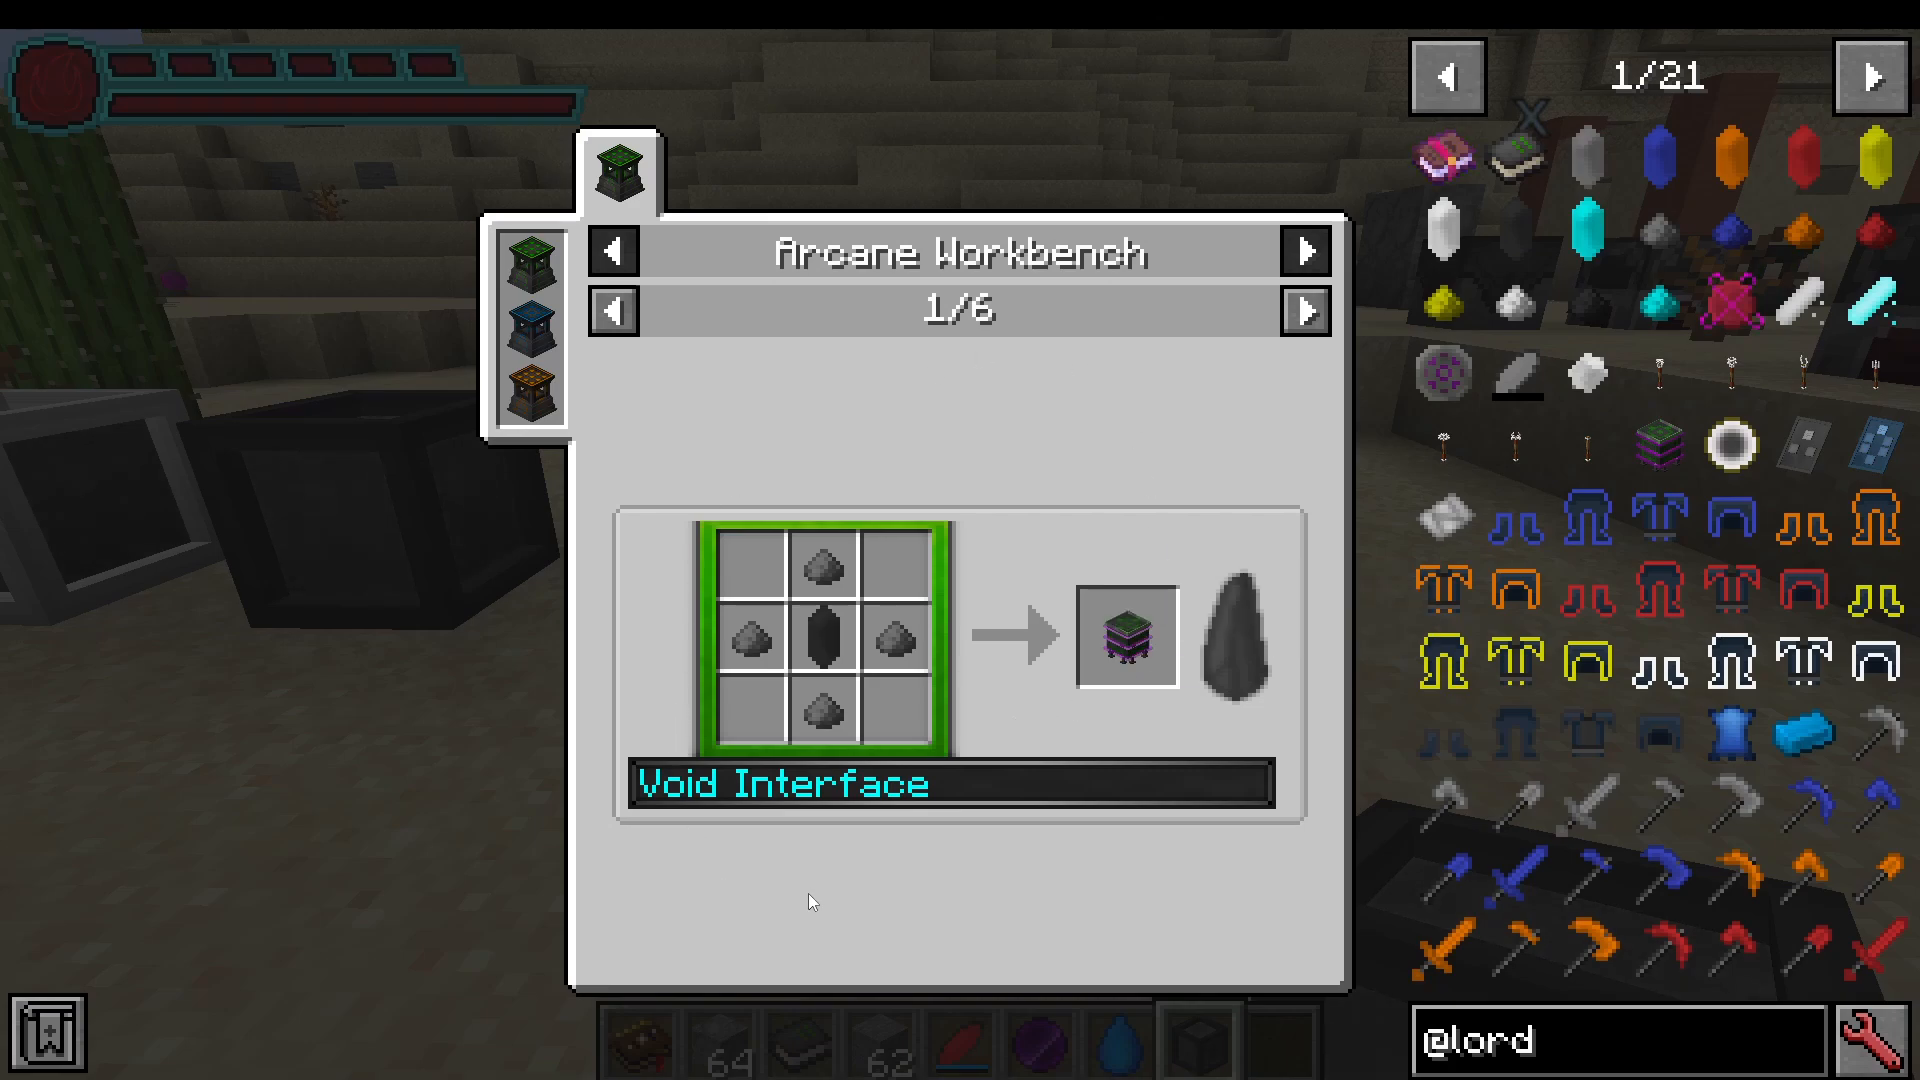
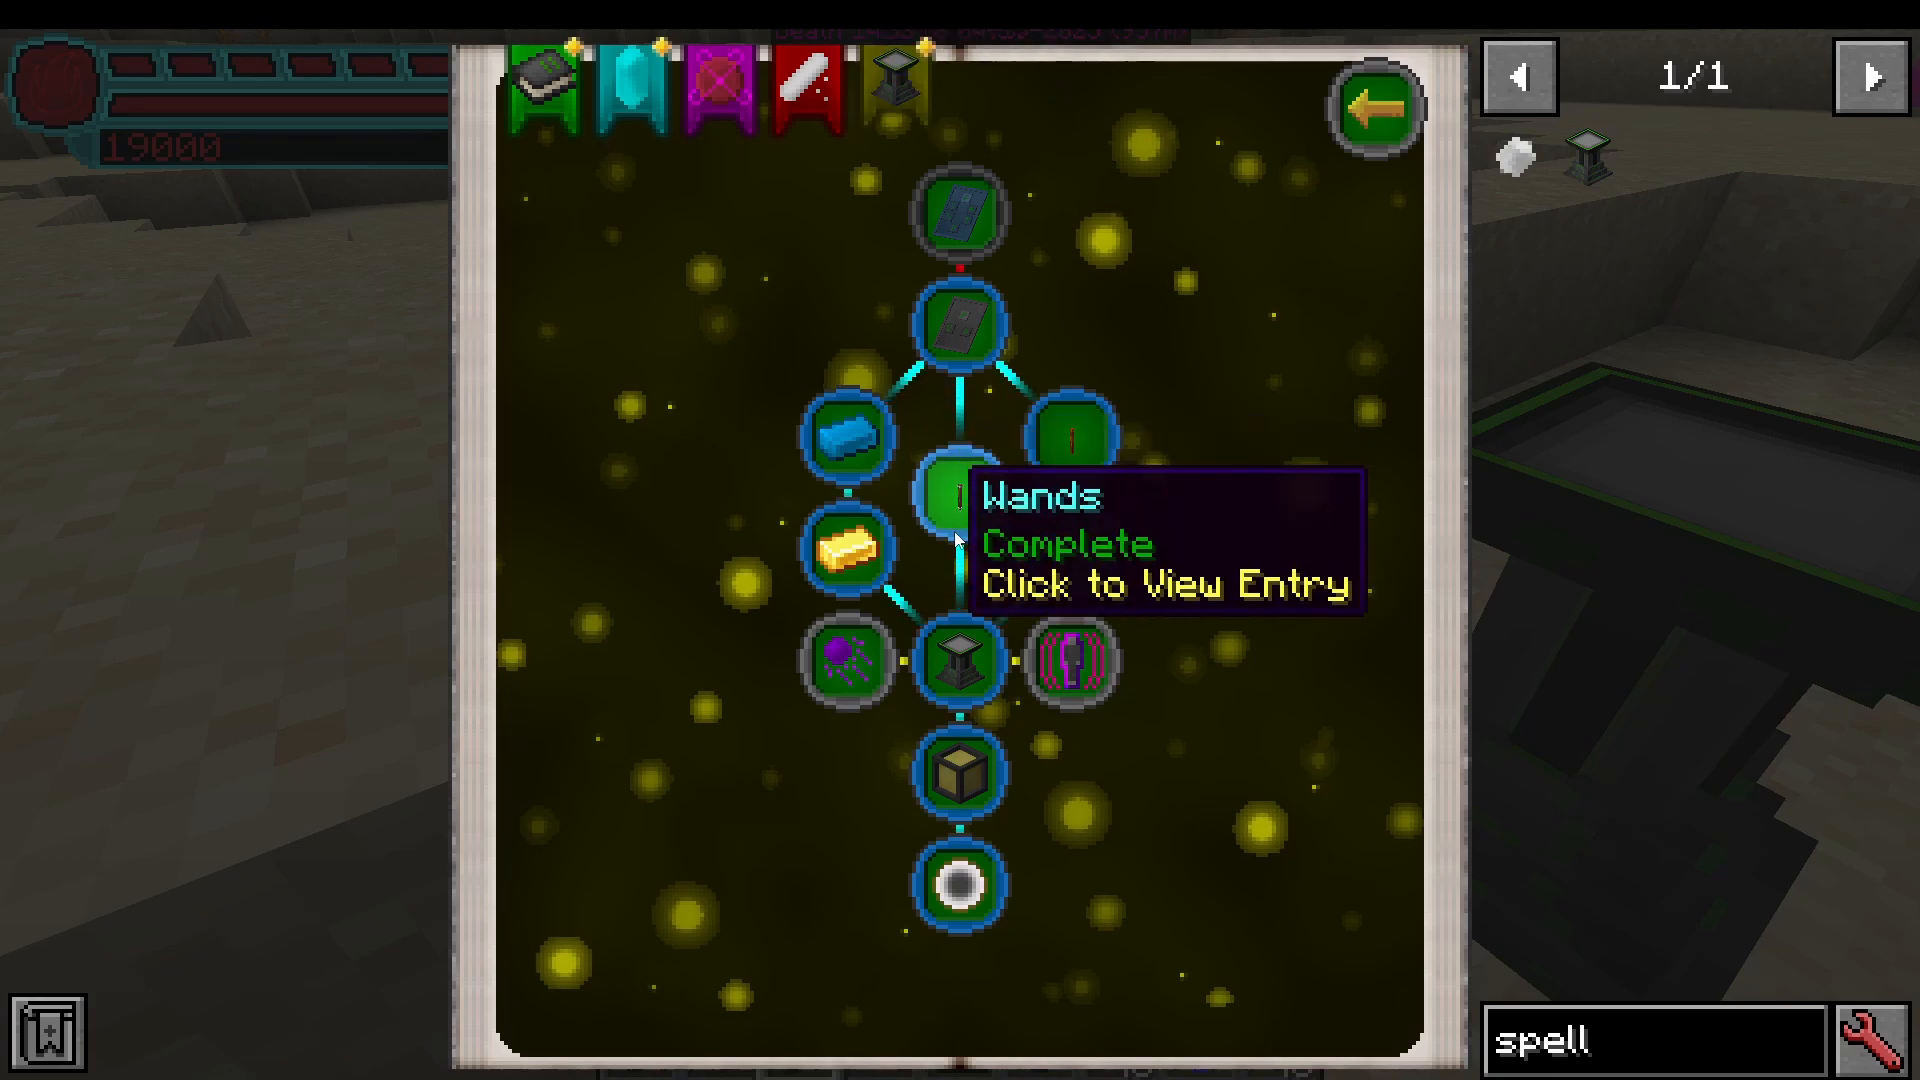
Before you can cast spells, you need a mana storage system. Navigate to the Arcana tab in your Book of Knowledge and research Spell Crafting followed by Void Interface.
Setting Up the Void Interface
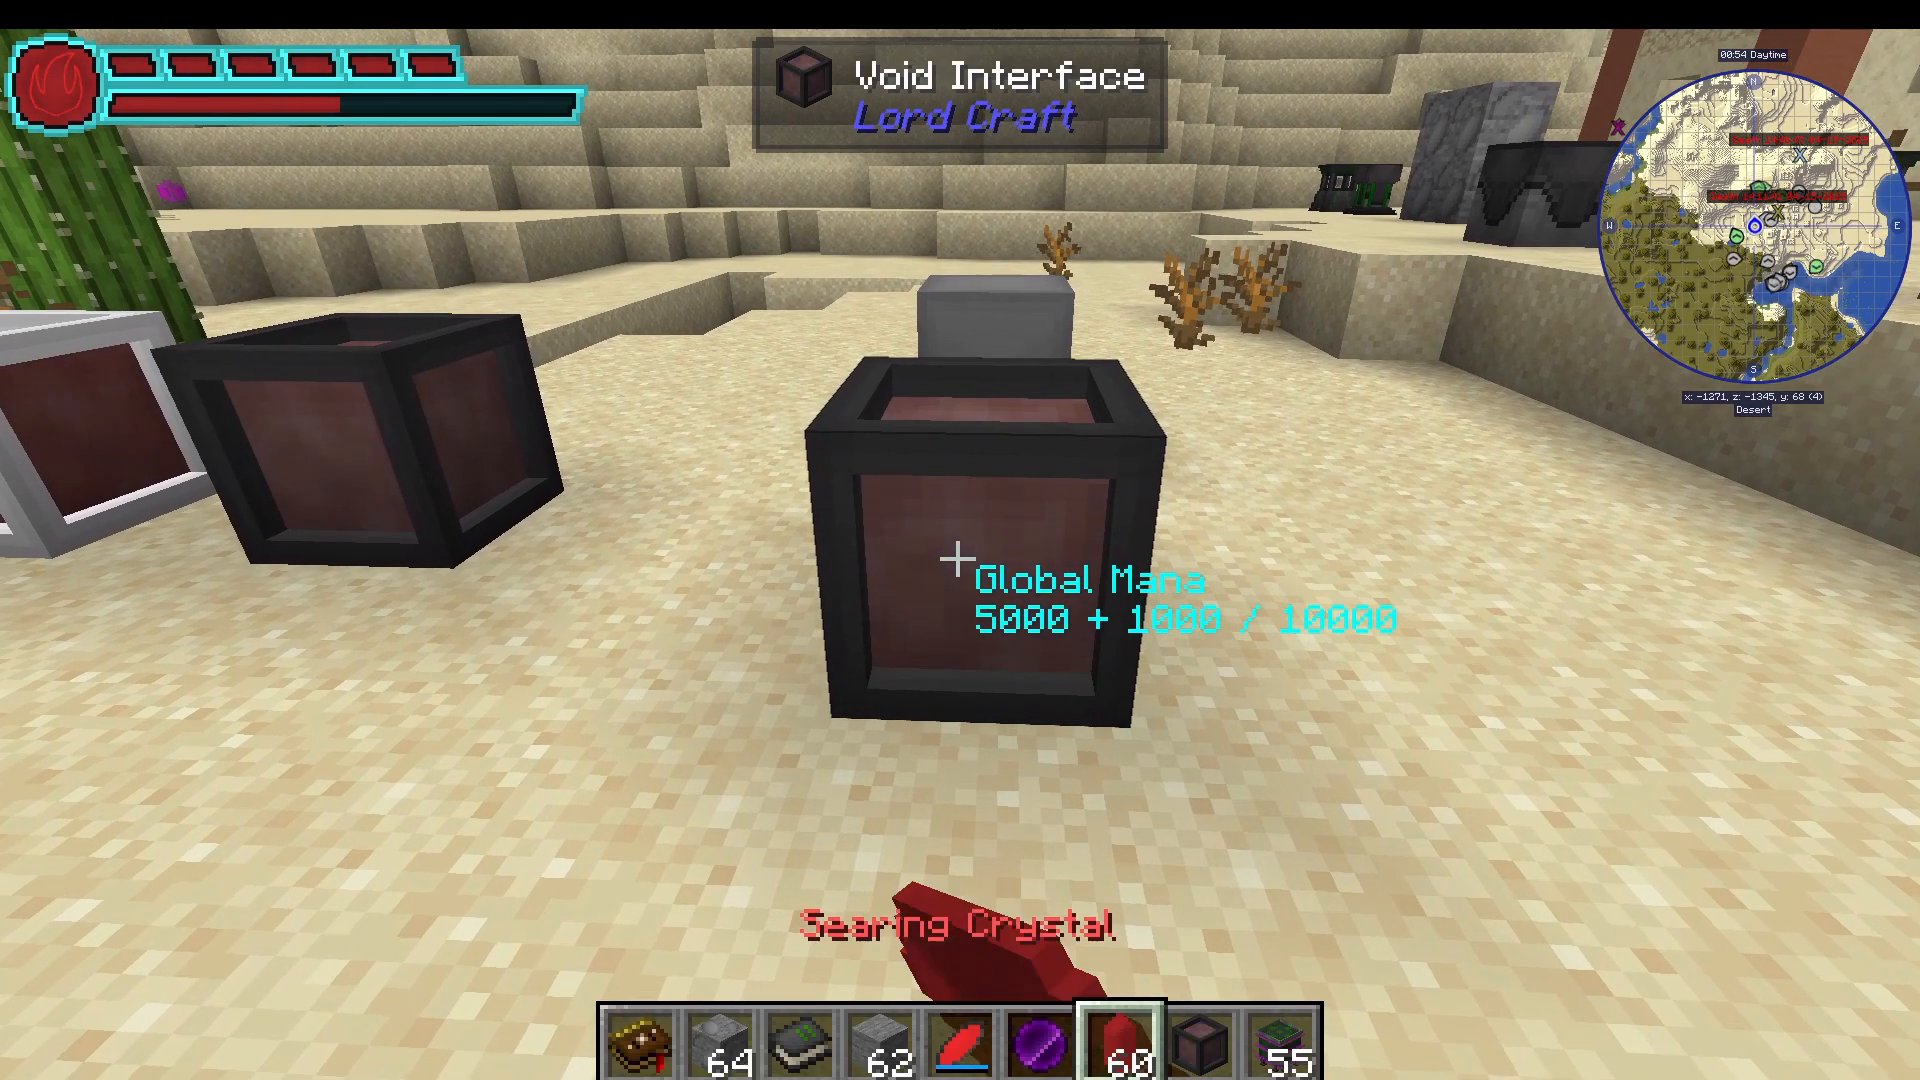
Craft and place a Void Interface. By default it holds 1,000 Global Mana. To increase your mana storage capacity, craft Mana Siphons and right-click them onto the Void Interface. Each Mana Siphon added increases your storage, for example stacking four Mana Siphons brings total storage up to 10,000 mana, as shown by the mana bar in the top-left HUD.
Filling Your Mana Storage
To fill the Void Interface with mana, right-click any of your elemental crystals (such as a Searing Crystal) directly into the interface. Your mana bar fills instantly. Alternatively, craft a Flat Void Interface — a floor-placed version — and throw or drop crystals onto it to refill mana passively.
The Void Eye
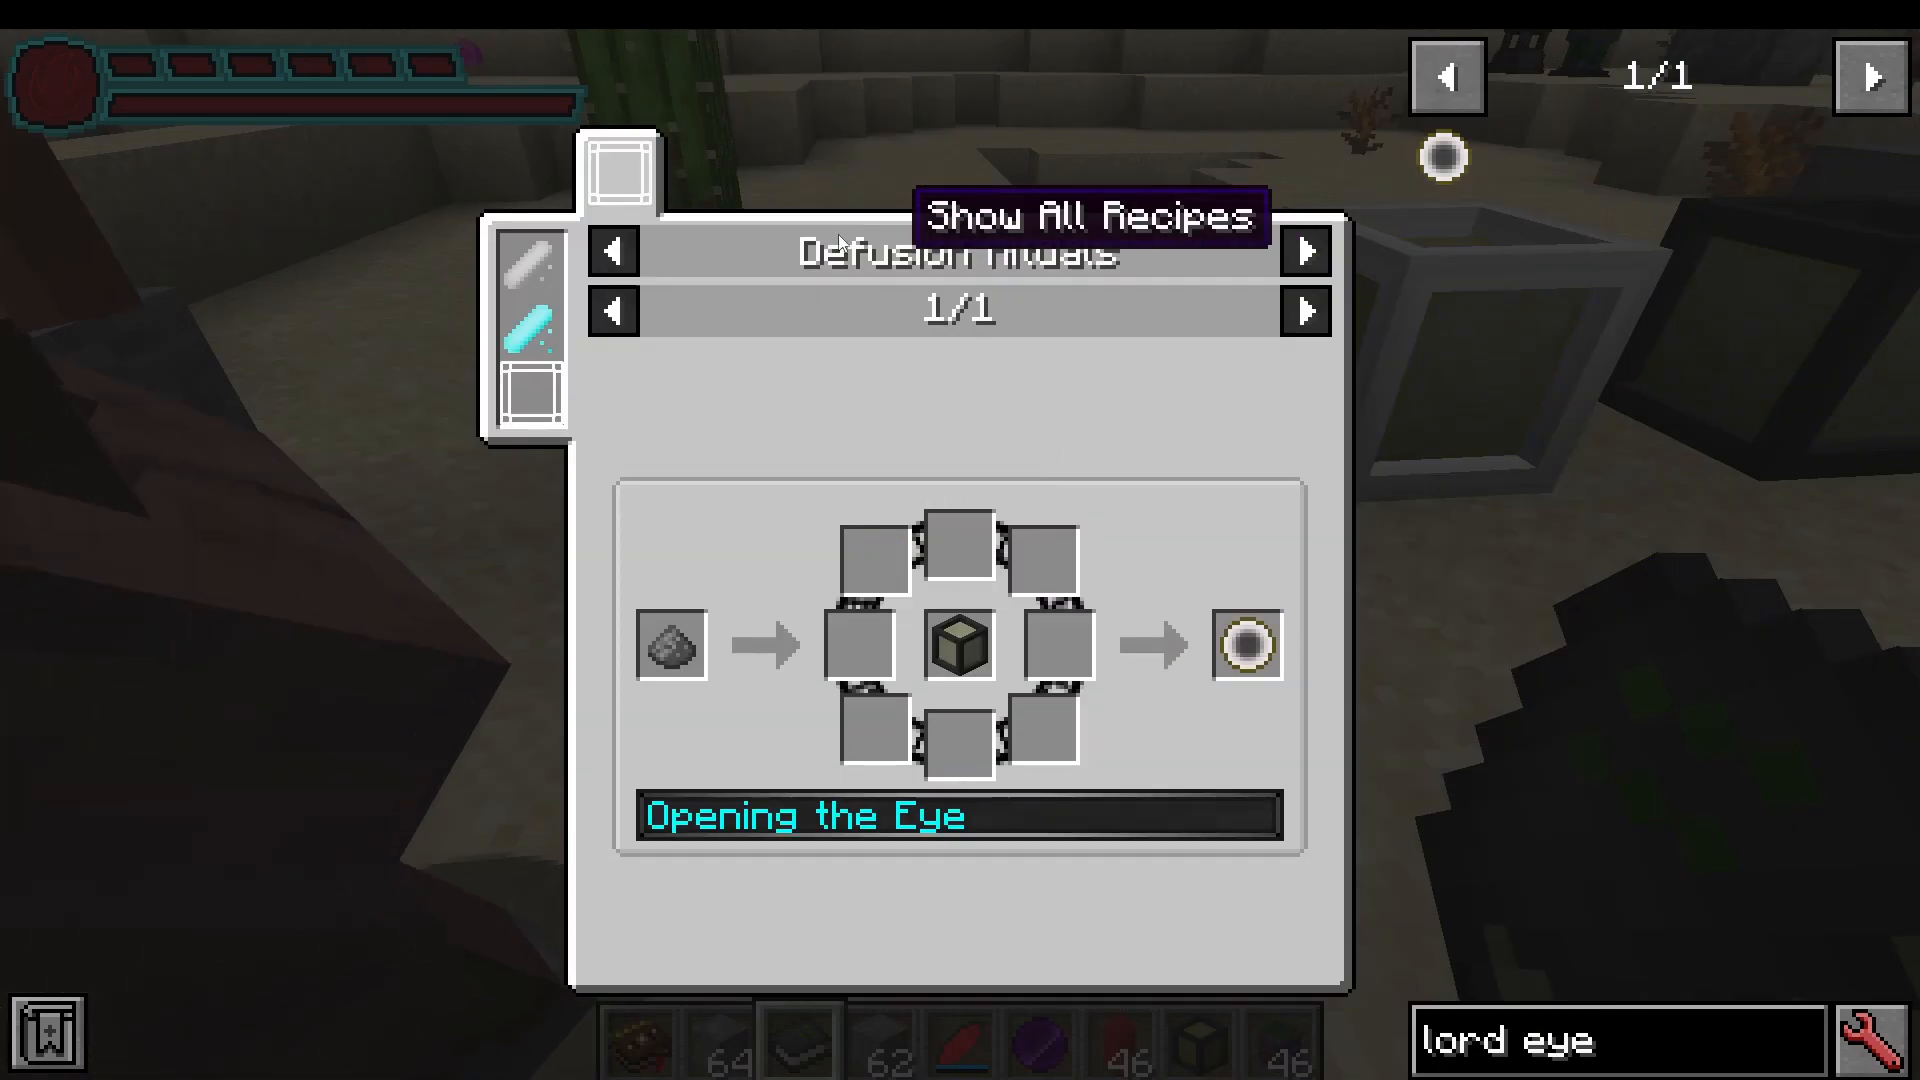
Craft a Void Eye using a diffusion ritual. Right-clicking the Void Eye unlocks a secondary mana display bar beneath your character and causes a small NPC figure to briefly appear — it vanishes when you look directly at it, but its primary purpose is enabling the numeric mana readout on your HUD.
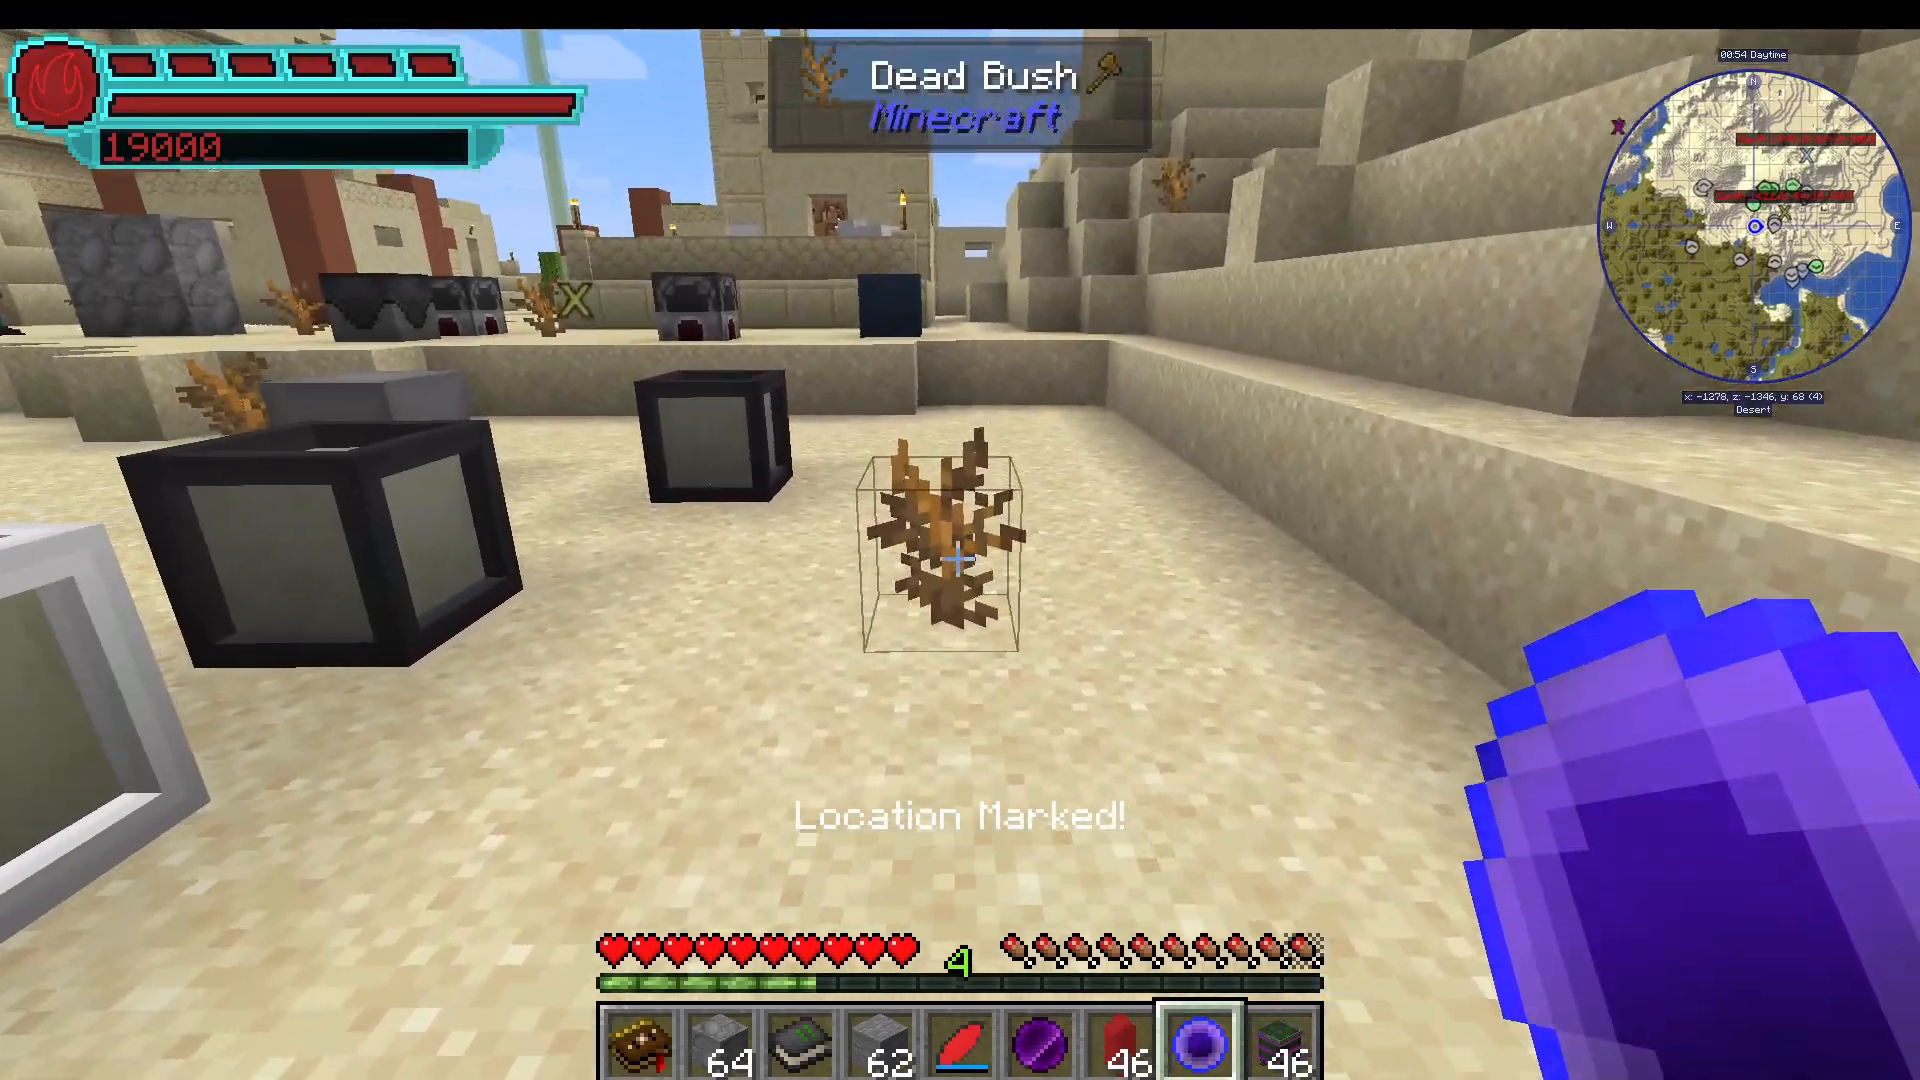
The Block Translocator
Also found under the Arcana research tree is the Block Translocator. To use it:
Craft a Translocation Marker and right-click it on any block to register that block as the target.
Shift right-click the Block Translocator to assign it, then attach a Redstone Button.
When the button is pressed, the Translocator teleports the registered item or block to the marked location.
This device has many potential uses in automation and base building.
Spell Crafting: Building and Using Spells
Once your mana system is set up, you are ready to start making spells. You need two things: a Spell Crafter and a Spell Focus.
The Spell Crafter
The Spell Crafter is unlocked via the Spell Crafting research in the Arcana tab — it is the very first research in that tab. Craft and place it to begin building your spells. You can also research additional spell focus types here, such as Spell Focus Projectile, Spell Focus AOE, and others.
Crafting a Spell Focus
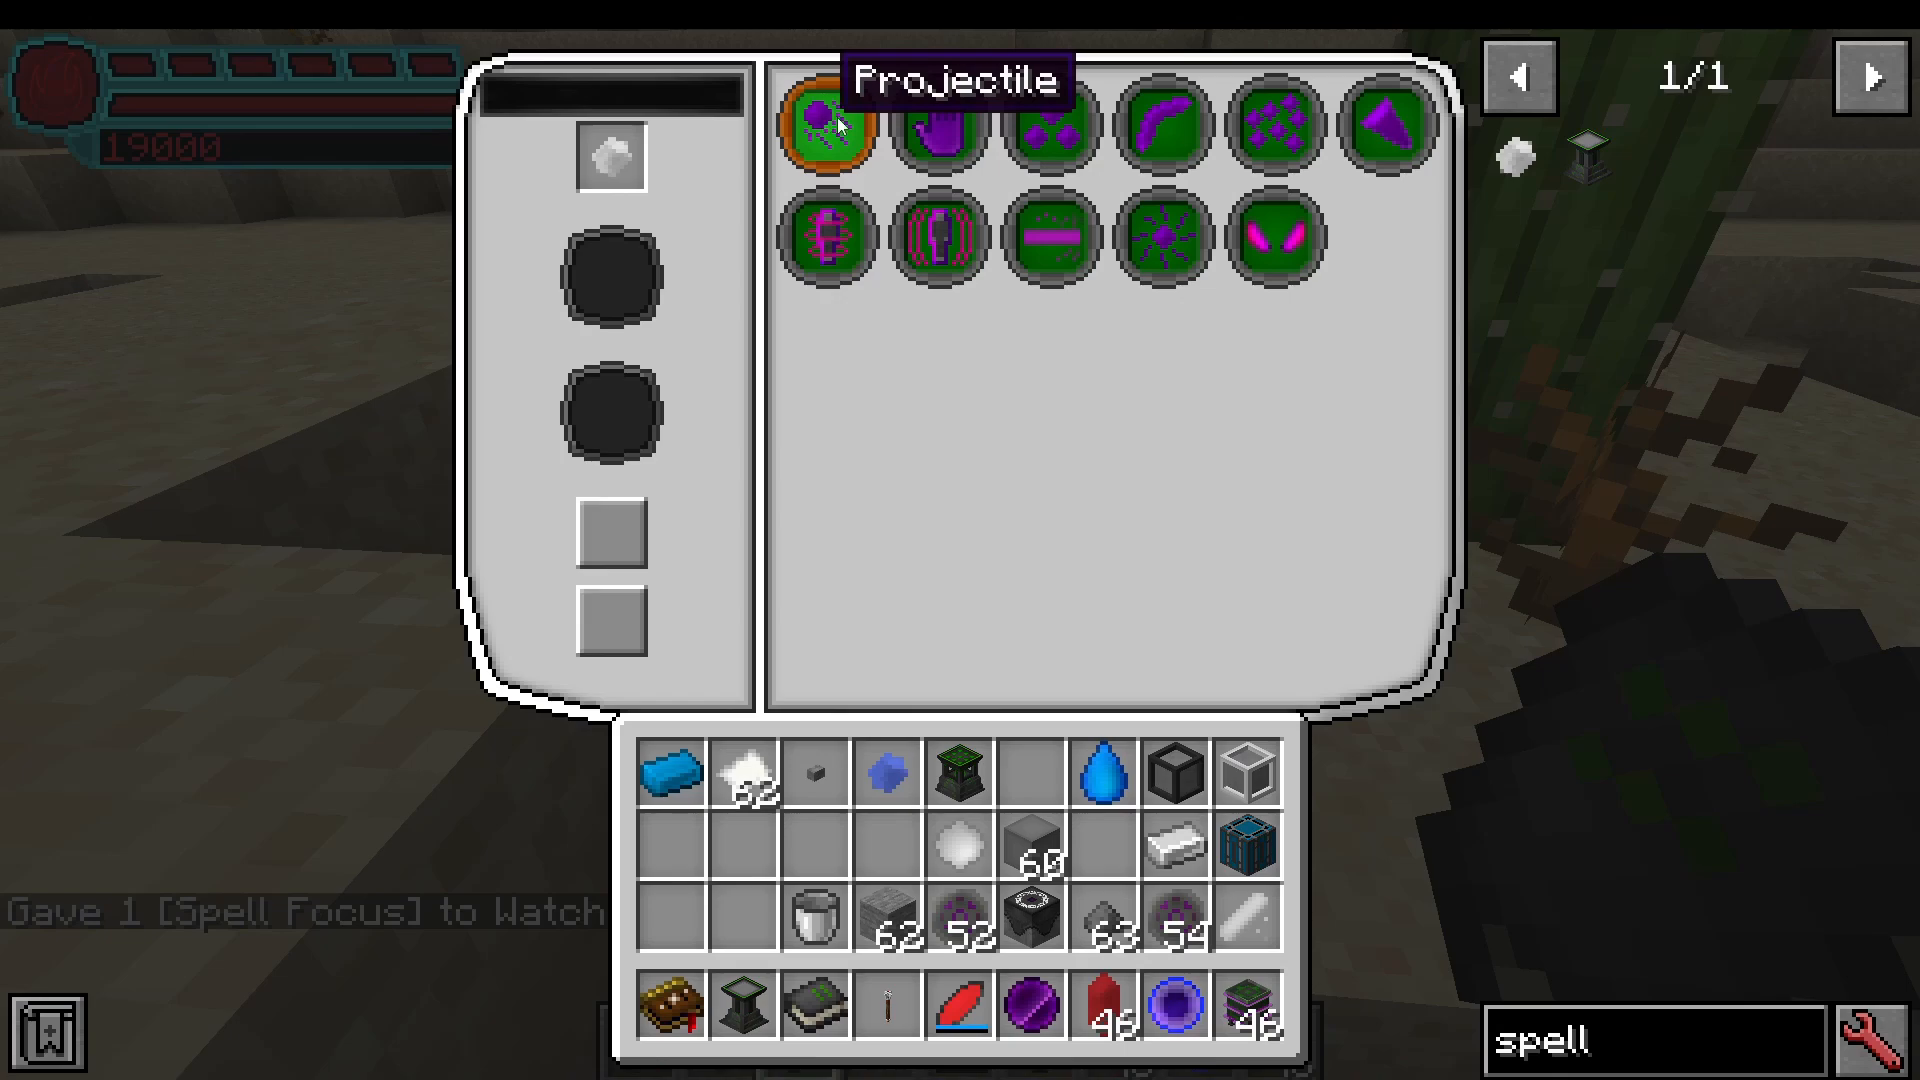
A Spell Focus is crafted via a fusion ritual. Once made, slot it into the top-left icon in the Spell Crafter interface. The crafter has two configuration areas:
Focus — Determines the delivery method of the spell: Projectile, Touch, Arc, Scatter, Cone, etc. Select Projectile and then choose a sub-type such as Charging (direct velocity) or Lobbing (arcing trajectory).
Spell Effect — Determines what the spell does, such as Ignite, and optional modifiers such as Frugal, which reduces mana cost. For example, a Projectile Ignite spell costs 1,000 mana normally, but only 757 mana with the Frugal modifier applied.
Press Craft Spell to finalise the spell. You can also give the spell a custom name inside the interface before crafting.
Staves: Loading and Using Spells
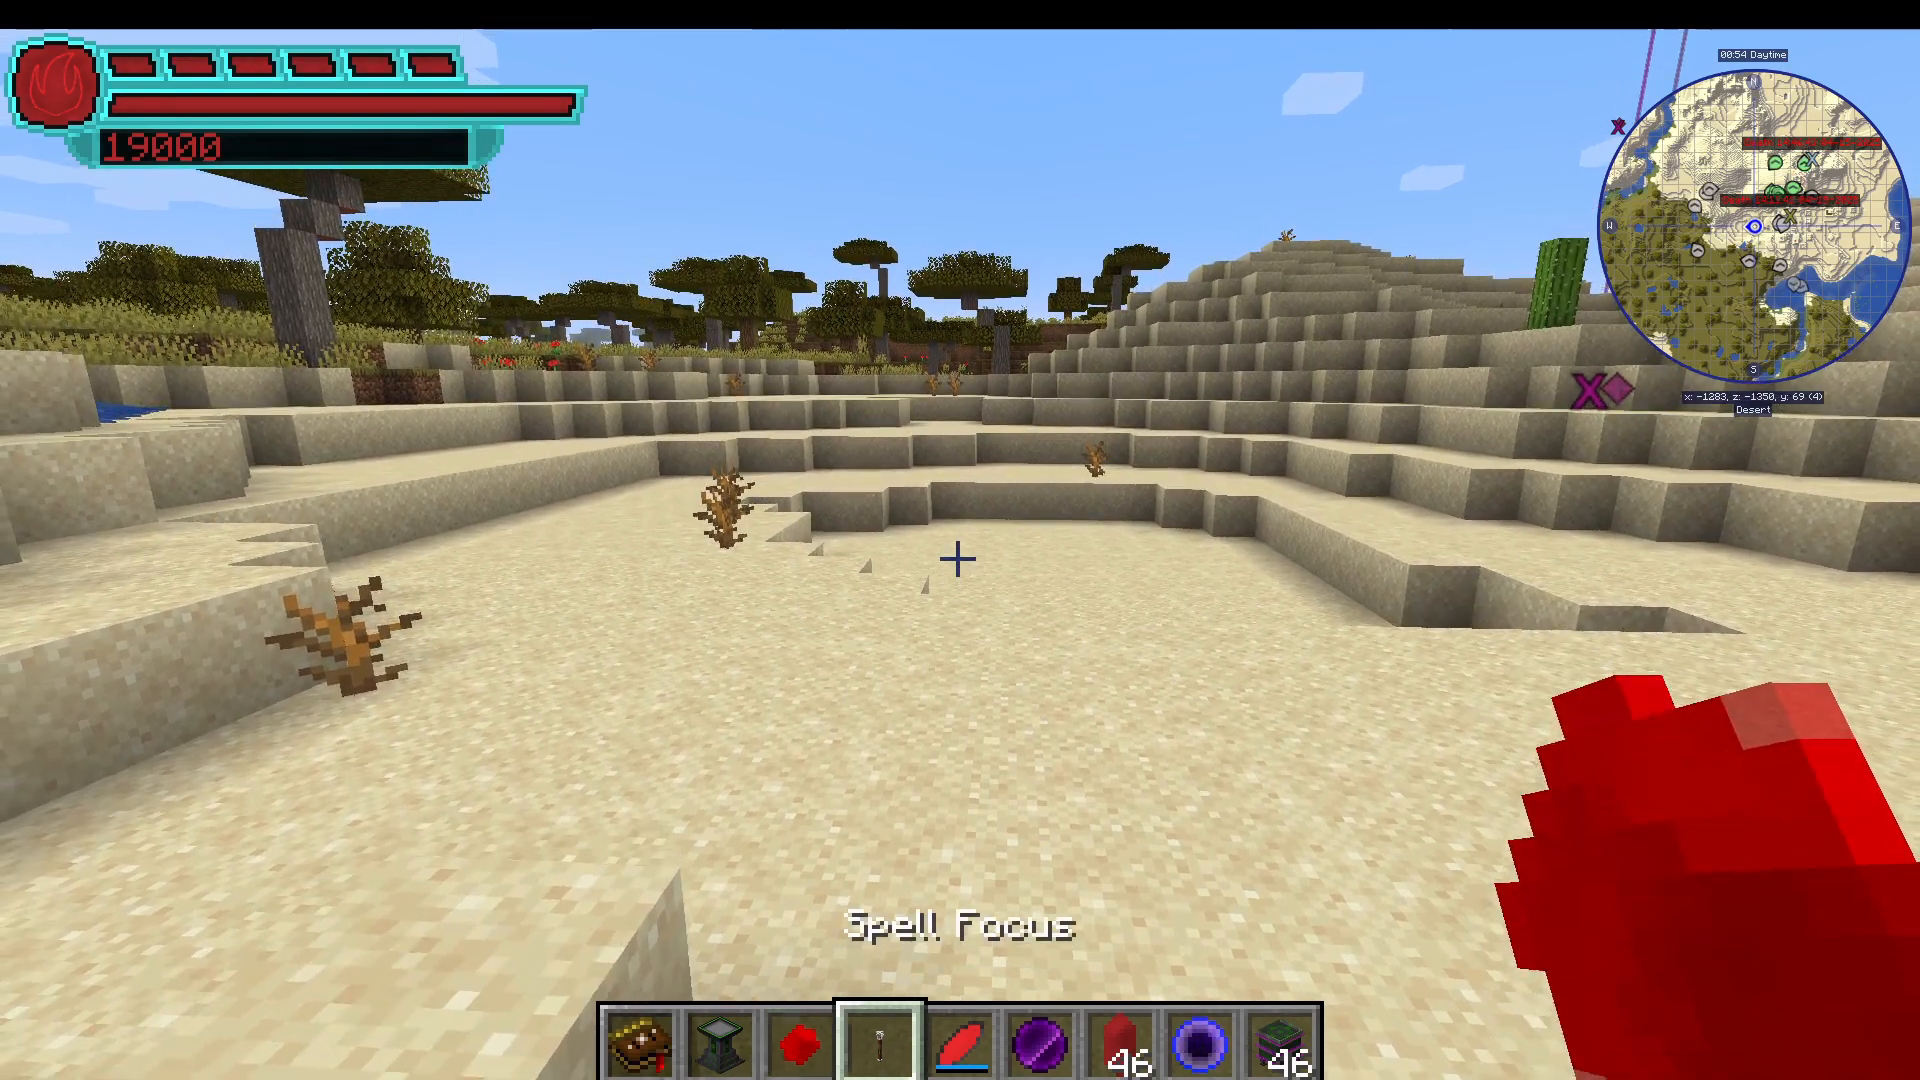
To use a spell, you need a Staff. A basic staff — the Iron Cap Simple Water Staff — is crafted using a Simple Amplification Rod and Iron Staff Caps. To equip a spell:
Hold the staff in your hand.
Right-click — it will pull the first Spell Focus from your hotbar and load it into the staff tip.
To remove a focus, Shift + Scroll Wheel Down.
Right-click to cast the loaded spell. This consumes mana and, for certain spells, Void Pips.
Upgrading Your Staff
Staff power scales with the components you use:
Iron Staff Caps — Basic damage capacity.
Golden Staff Caps — Improved capacity.
Mag Might Staff Caps — Best early-game damage capacity; use these over iron whenever possible.
Complex Staff Core / Ultimate Staff Core — Allows you to cast spells with higher mana costs.
Rune Stones: Multiple Spell Slots
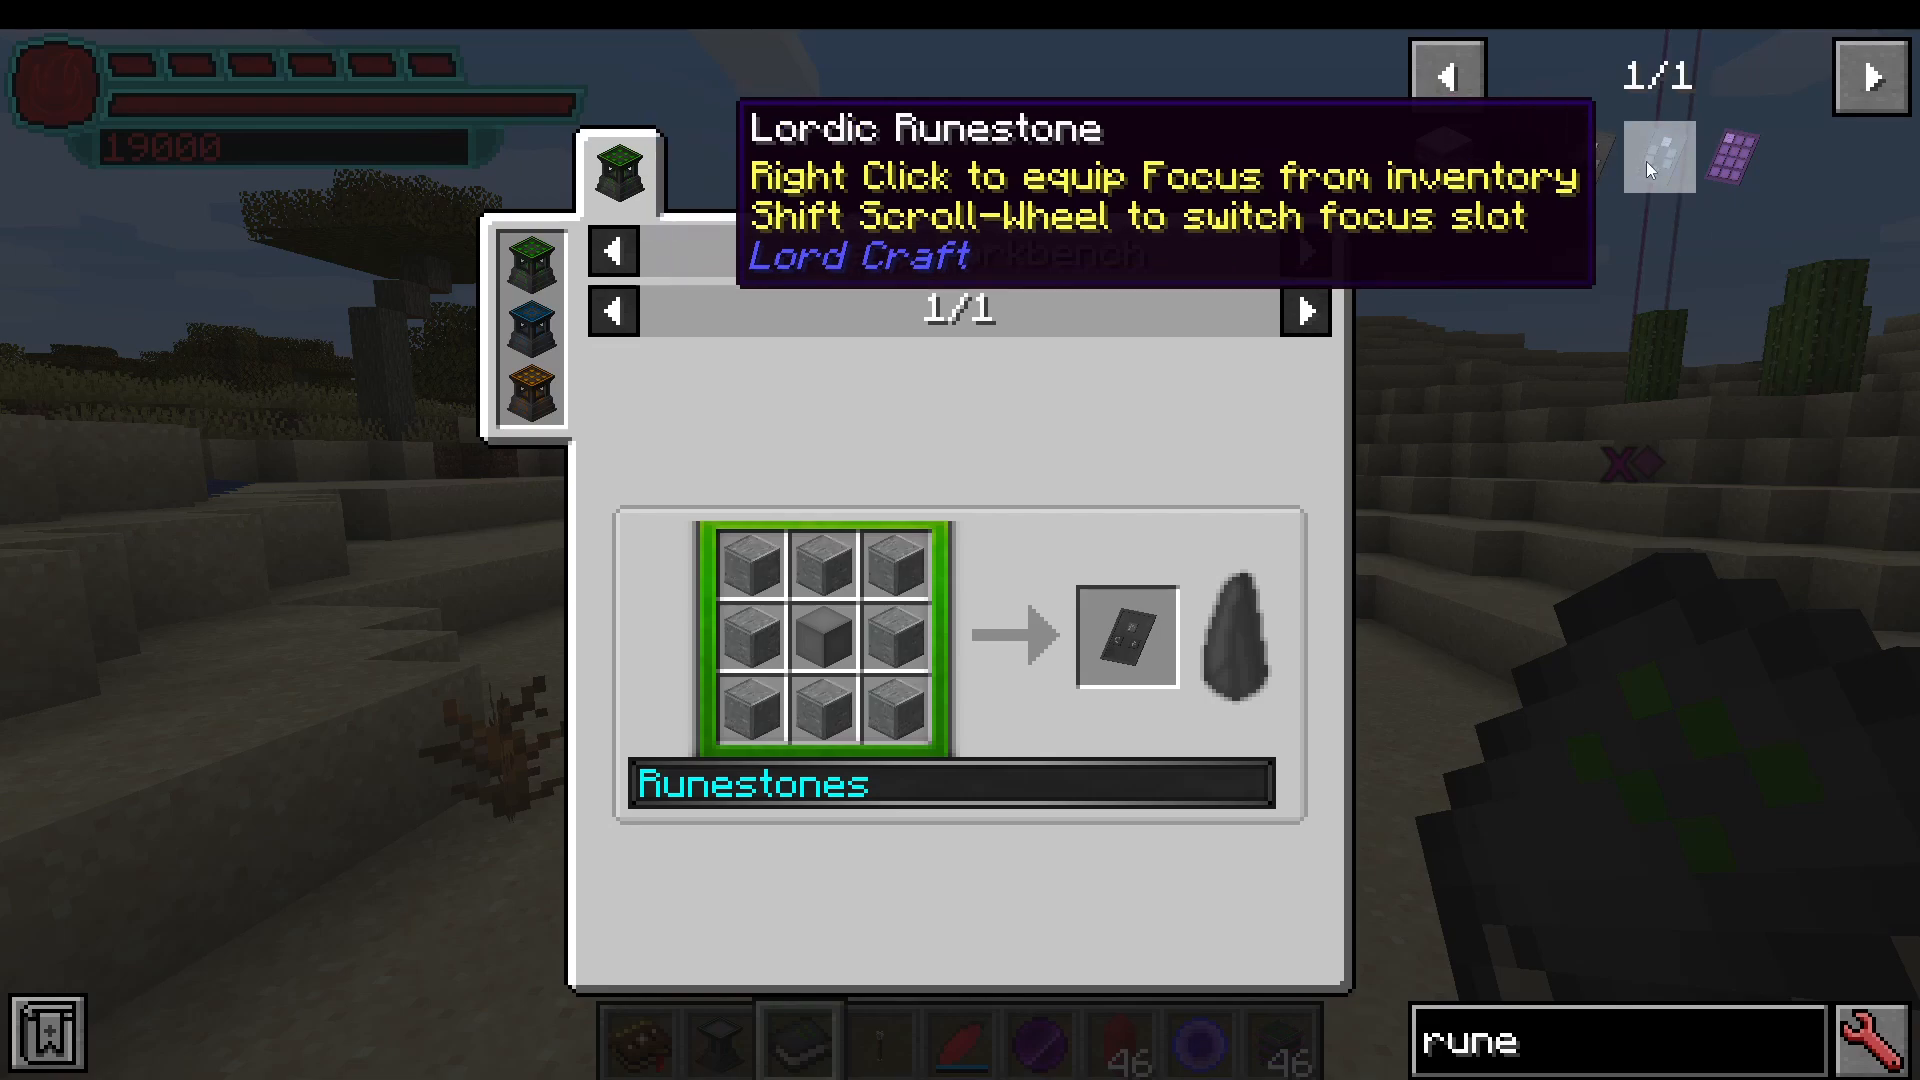
Rune Stones allow you to equip more than one Spell Focus at a time. Right-click a Rune Stone to equip a focus directly from your inventory, and use Shift + Scroll Wheel to switch between loaded focus slots. This lets you carry and switch between multiple spells on a single staff.
Summary and Next Steps
LordCraft is a deep but very approachable magic mod once you understand its three core crafting systems — the Arcane Workbench, the Arcane Basin, and Fusion Rituals. From there, progress naturally flows into Void Pip management, mana storage, and eventually full spell crafting. Here is a quick recap of the recommended early-game order:
Mine crystal deposits to get Simple Dust and craft your Book of Knowledge.
Choose your Legacy (Void Walkers recommended) and your Element.
Complete the Advanced Research mini-game once, then use Imbued Inscription Tiles to skip all future mini-games.
Build an Arcane Workbench and Arcane Basin for early crafting.
Learn Fusion Rituals to save materials; upgrade to an Arcane Forge for convenience.
Set up a Void Interface with Mana Siphons and begin increasing your Void Pip count through rituals.
Research Spell Crafting in the Arcana tab, craft a Spell Focus and a Staff, and start casting spells.
With these foundations in place, you are well on your way to mastering LordCraft — from elemental robes and attuned workbenches to powerful projectile spells that can set entire villages ablaze. Happy crafting!
“`