The Ultimate Guide to Ars Nouveau
The Ultimate Guide to Ars Nouveau – From Beginner to Advanced
Ars Nouveau is one of the most rewarding magic mods available for Minecraft, and this guide is going to take you through everything you need to know — from your very first spell to advanced automation, source generation, gear upgrades, familiars, and rituals. Whether you’re brand new to the mod or just need a structured reference, this guide has you covered. We’ll assume you know how to use JEI at a minimum, but everything else will be explained from scratch.
World Generation – What to Look For
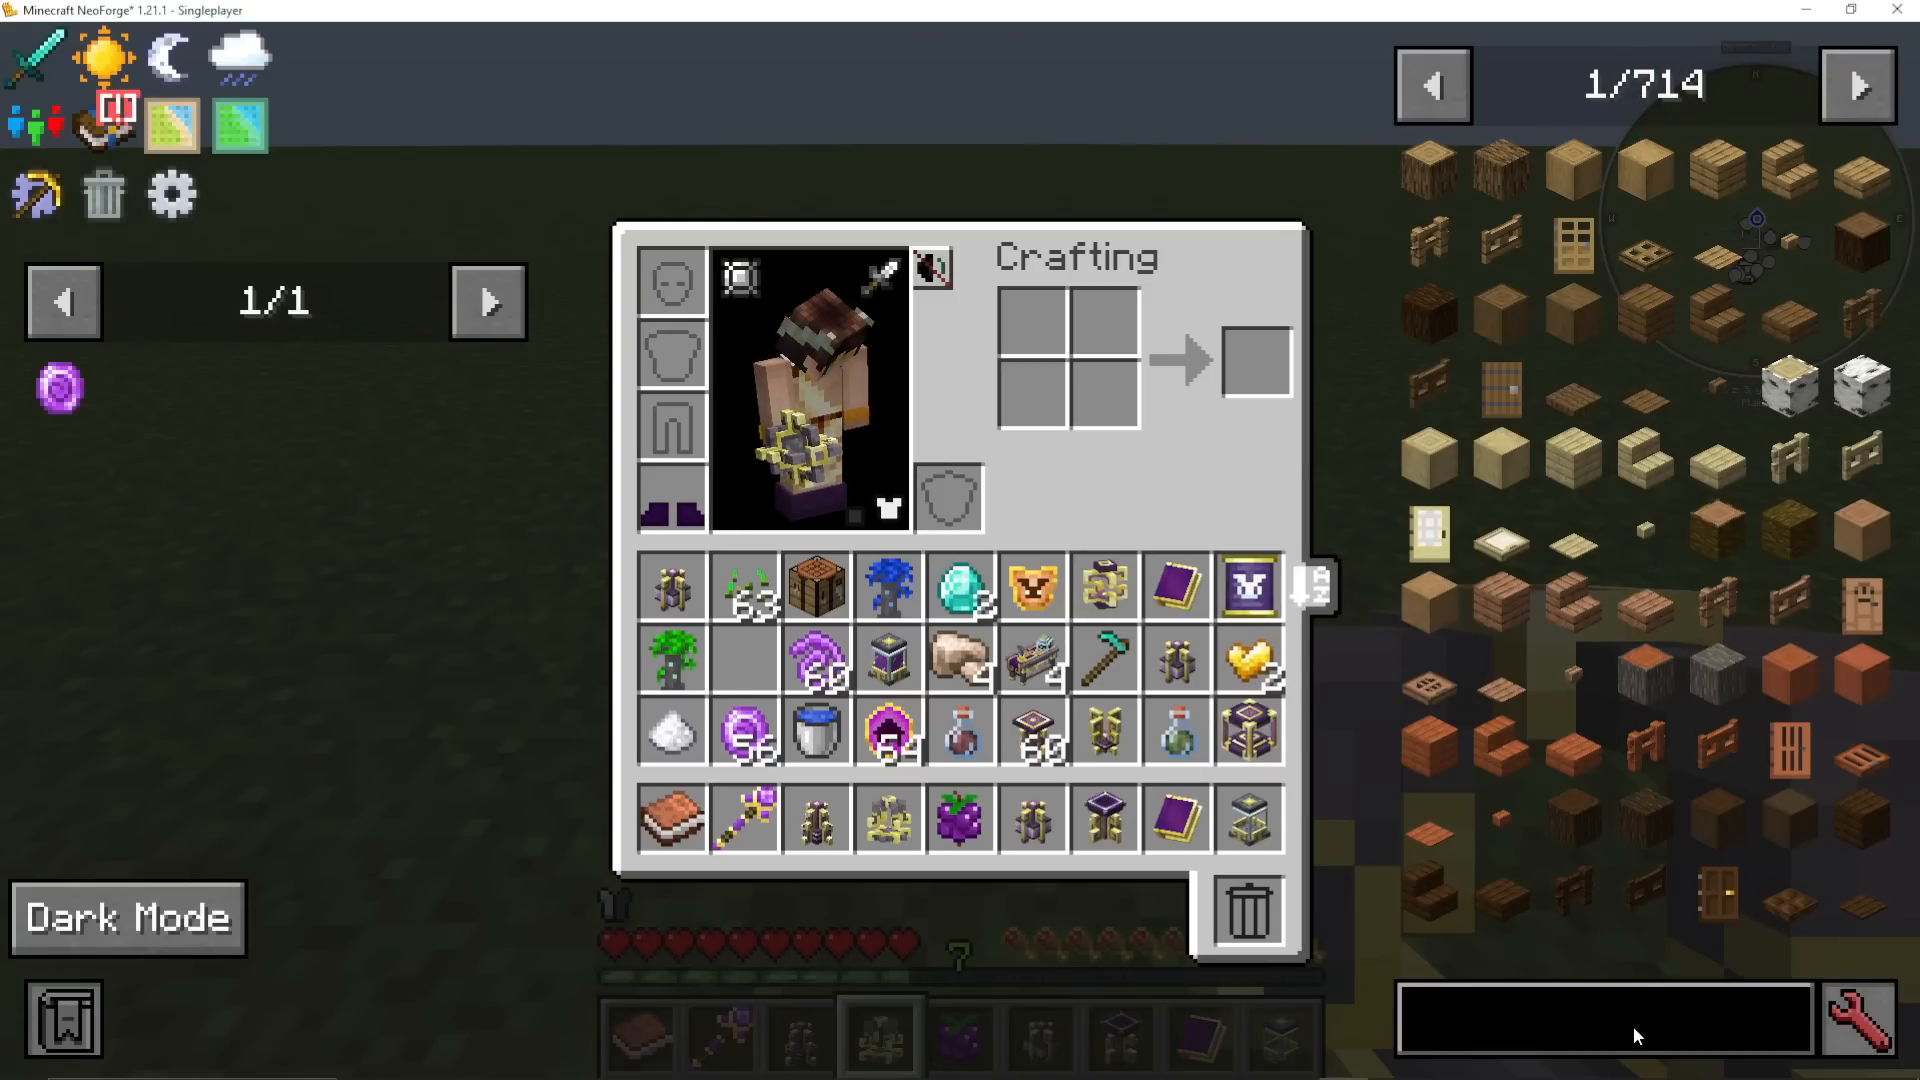
When you first load into a world with Ars Nouveau installed, keep an eye out for special trees scattered across biomes. These are called Archwood Trees and come in four variants: Vexing Archwood, Blazing Archwood, Cascading Archwood, and Flourishing Archwood. Sometimes you’ll stumble across an entire Archwood Forest filled with magical creatures and multiple tree types — well worth exploring.
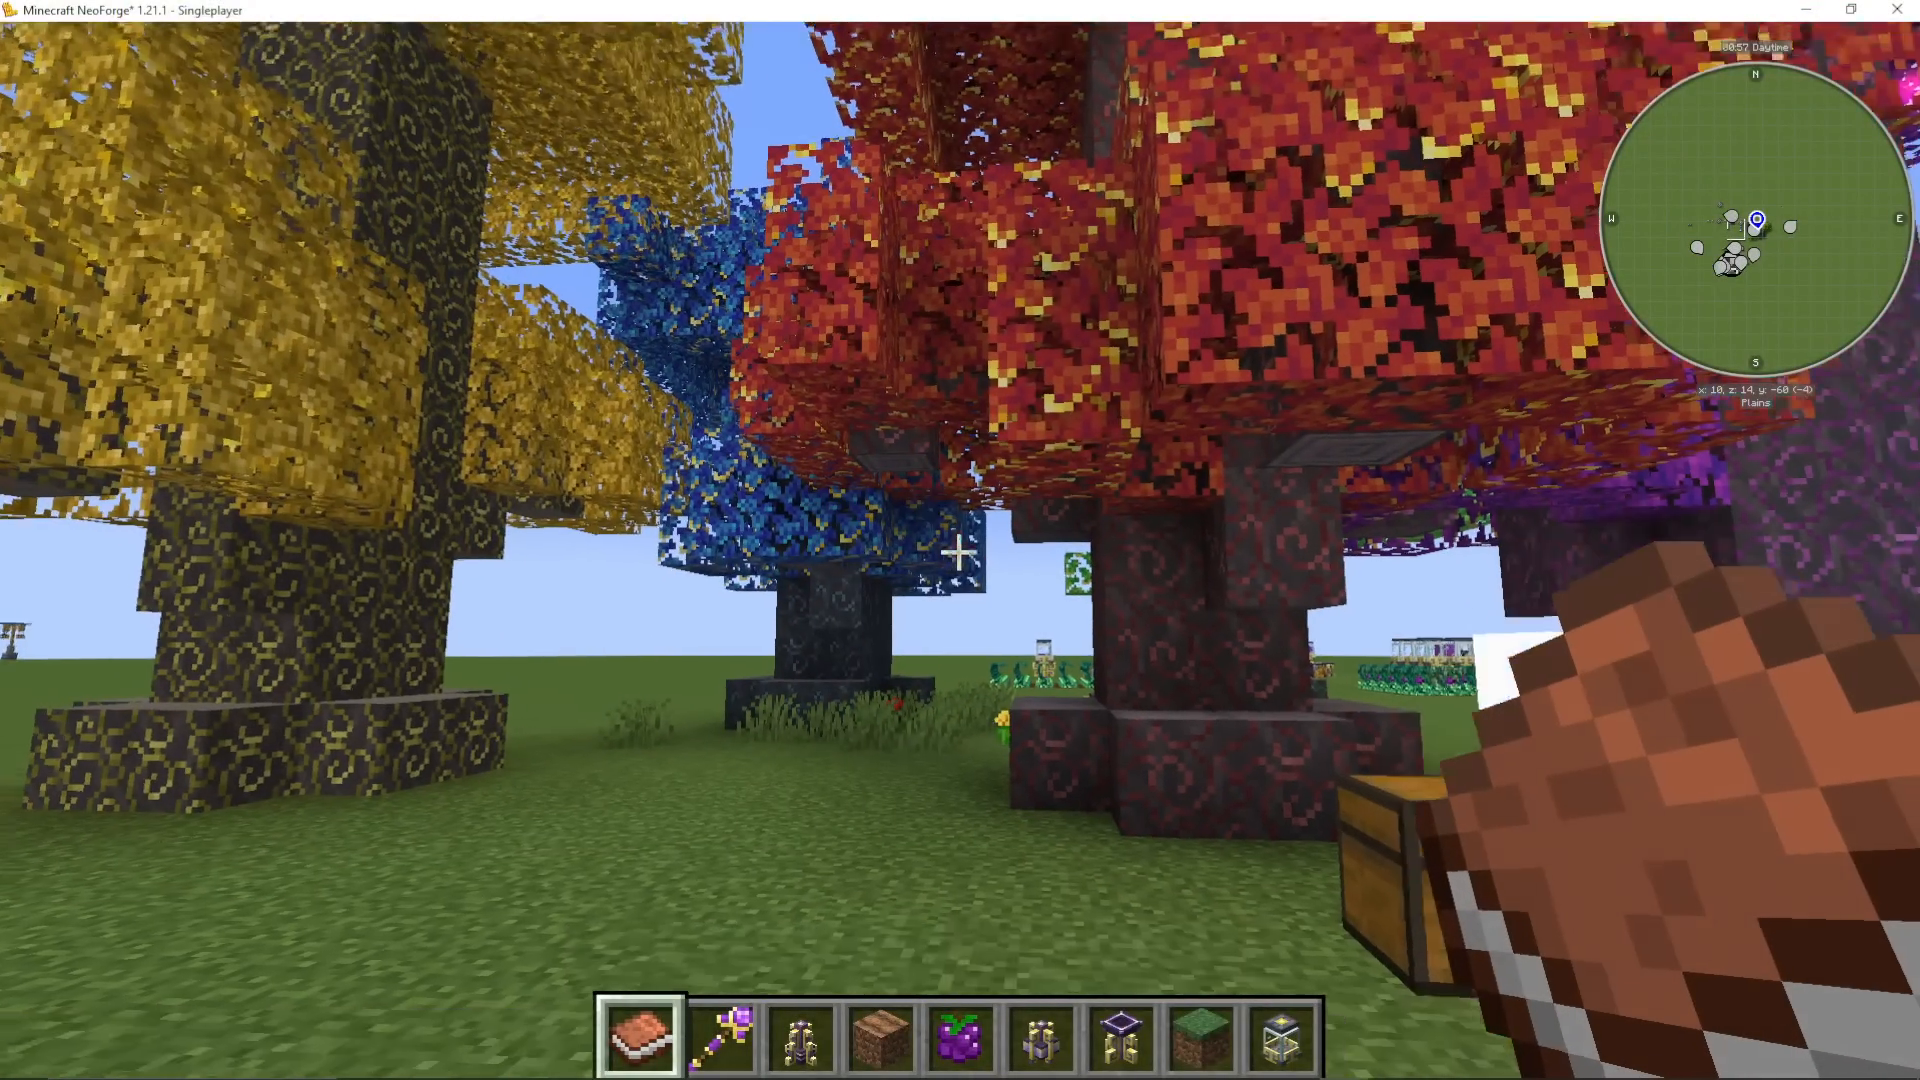
Archwood Fruits and Their Potions
These trees can drop special fruits, each of which can be brewed into a useful potion:
Bomba Granite – Brews into a Potion of Blasting, causing the target to explode when the duration ends.
Mendosteen – Brews into a Potion of Recovery, increasing all healing received. A very strong potion for survivability.
Frostire – Brews into a Potion of Freezing, freezing your target solid.
Bastion Fruit – Brews into a Potion of Defence.
It’s highly recommended to grab a sapling from each tree type when you find them, bring them home, and farm them for a steady supply of these fruits.
Source Berries
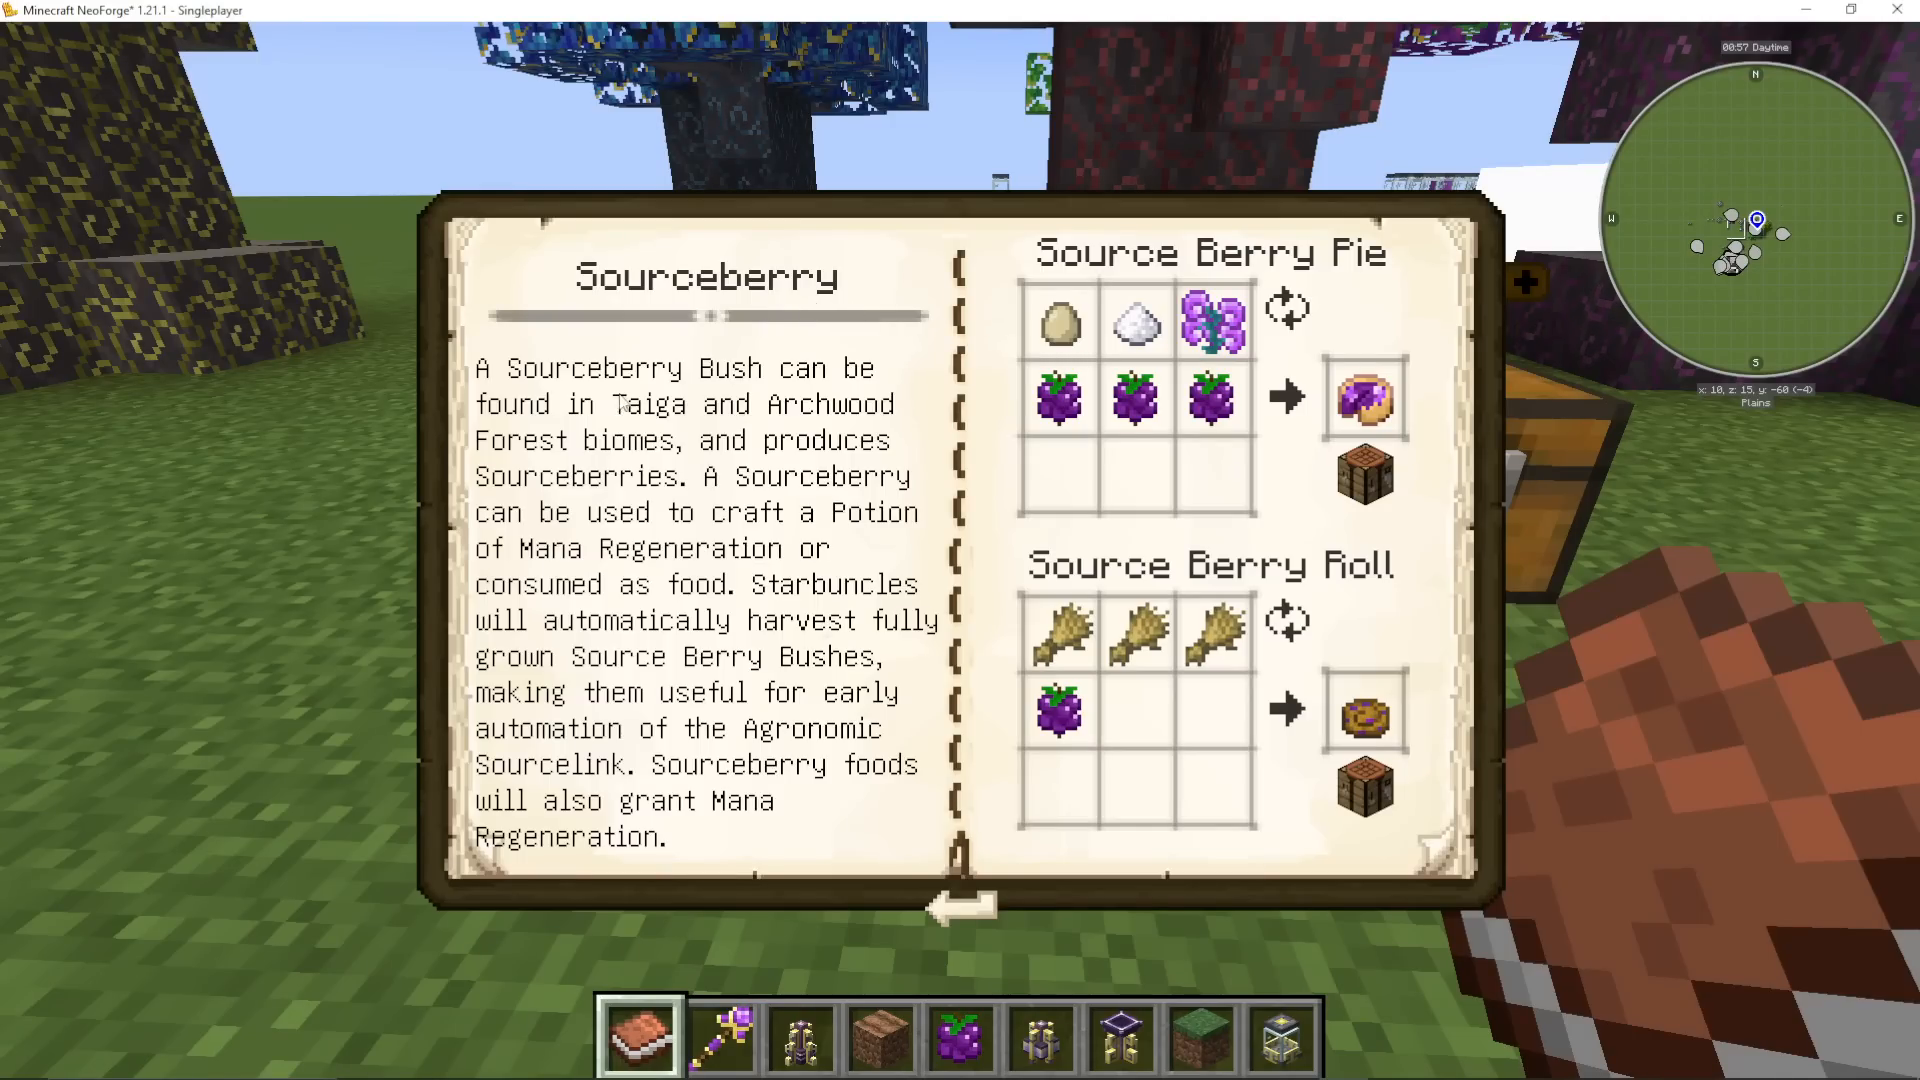
Also found growing in Taiga and Archwood Forest biomes are Source Berries. These small plants are extremely important to Ars Nouveau. On their own they don’t restore much hunger, but they have several uses:
Combined with a Mage Bloom, sugar, and an egg to craft a Source Berry Pie.
Combined with wheat to make a Source Berry Roll — a surprisingly filling early-game food.
Can be turned into purple dye.
Are the best crop to use for generating Source (more on that shortly).
Getting Started – The Worn Notebook
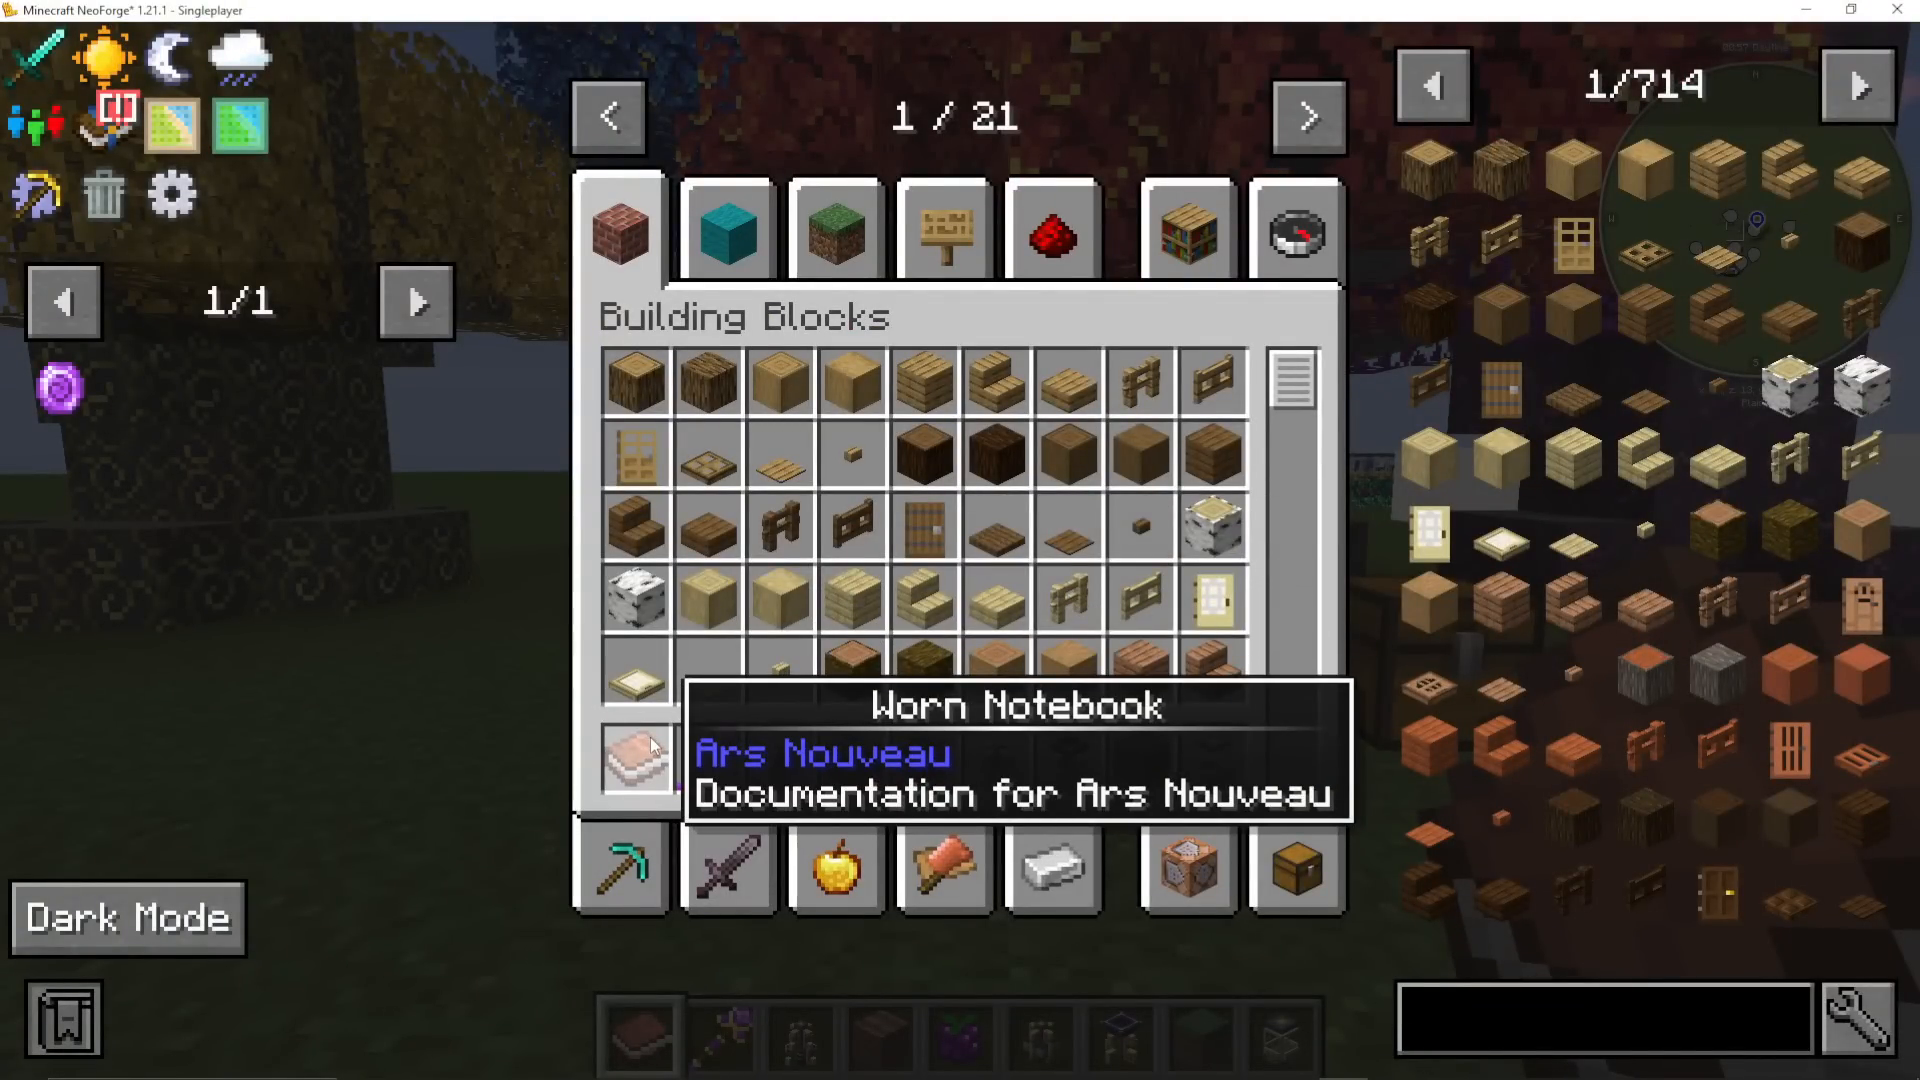
The first item you need is the Worn Notebook. This is Ars Nouveau’s in-game documentation guide. To craft it, combine a piece of Lapis Lazuli and a Book in your crafting grid. While the Worn Notebook does cover everything in the mod, it can be tricky to navigate — which is exactly why this guide exists.
Your First Spellbook and Spells
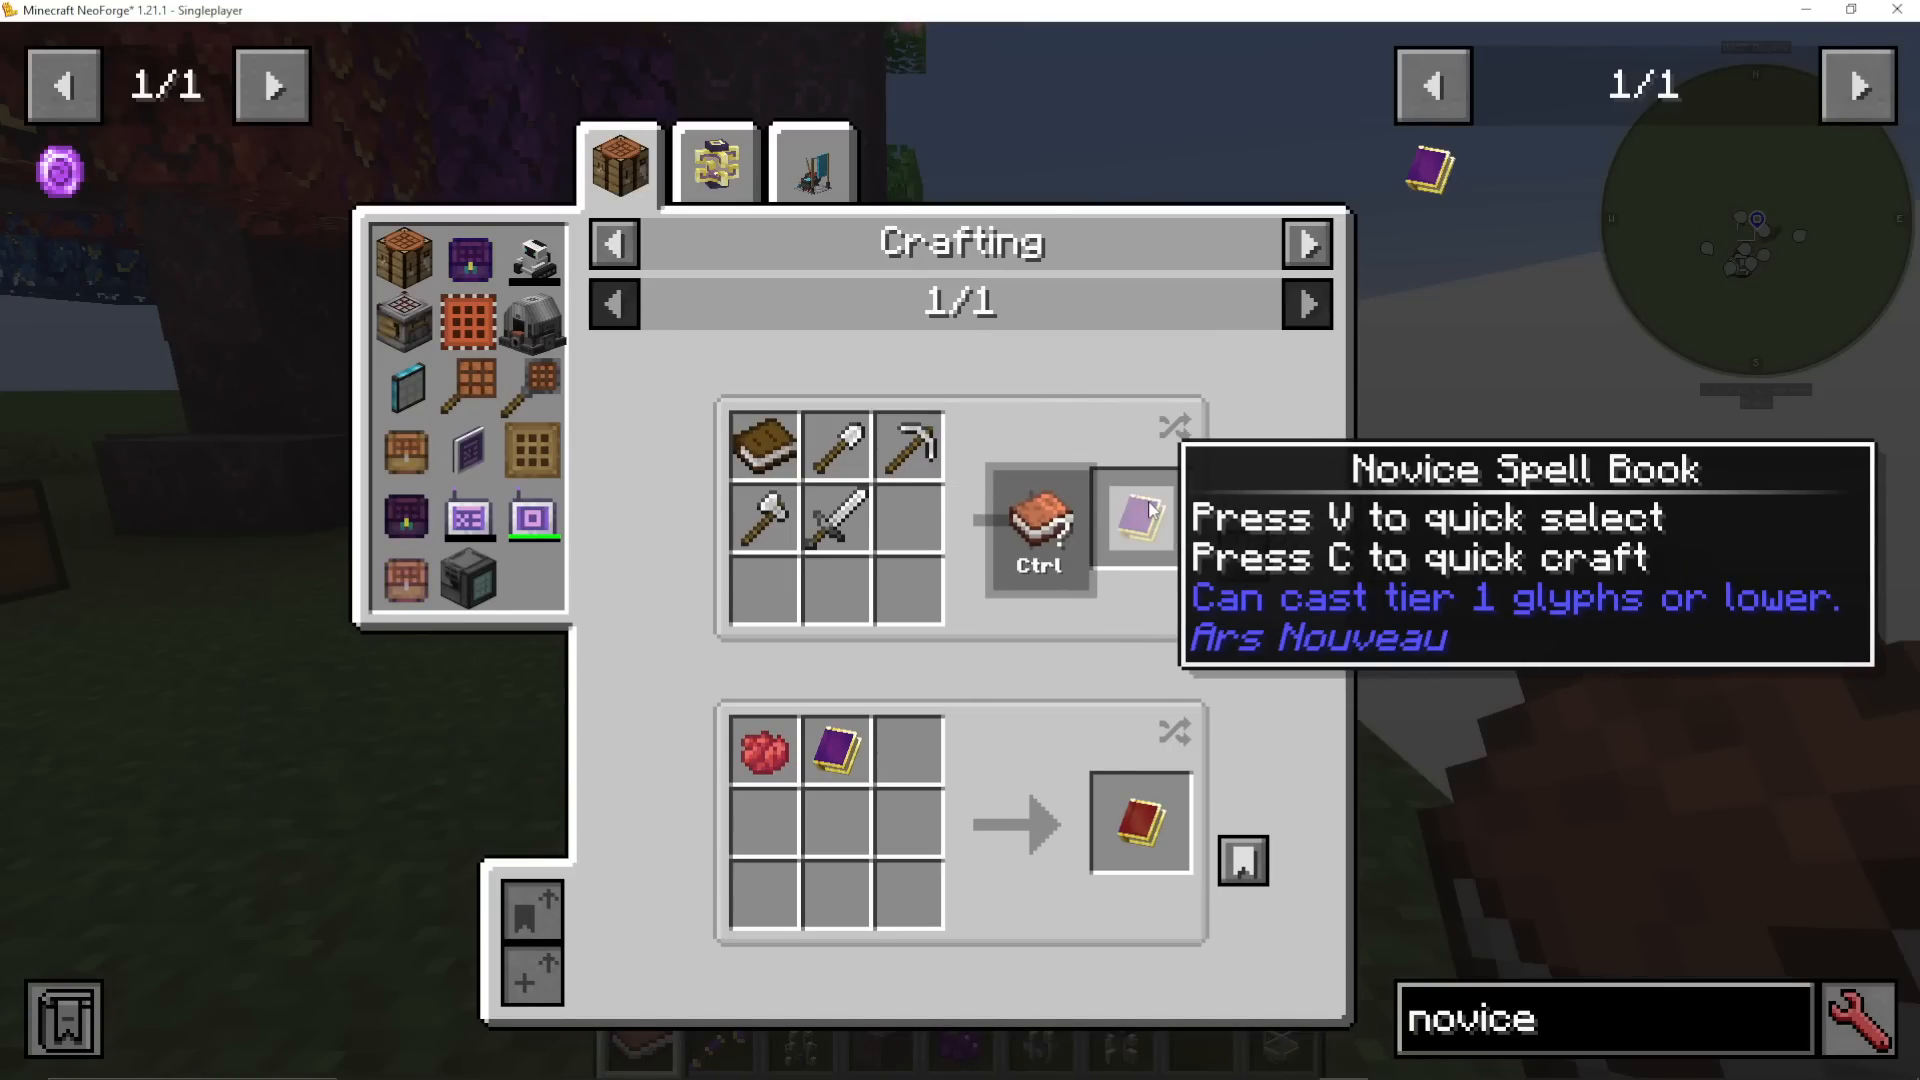
To start casting spells, you’ll need a Novice Spellbook. Craft it by placing one of each tool (sword, pickaxe, axe, shovel) and a book in your crafting table. The Novice Spellbook can cast Tier 1 glyphs or lower. There are three tiers of glyphs in Ars Nouveau, and we’ll look at upgrading your spellbook later.
Opening the Spellbook and Key Binds
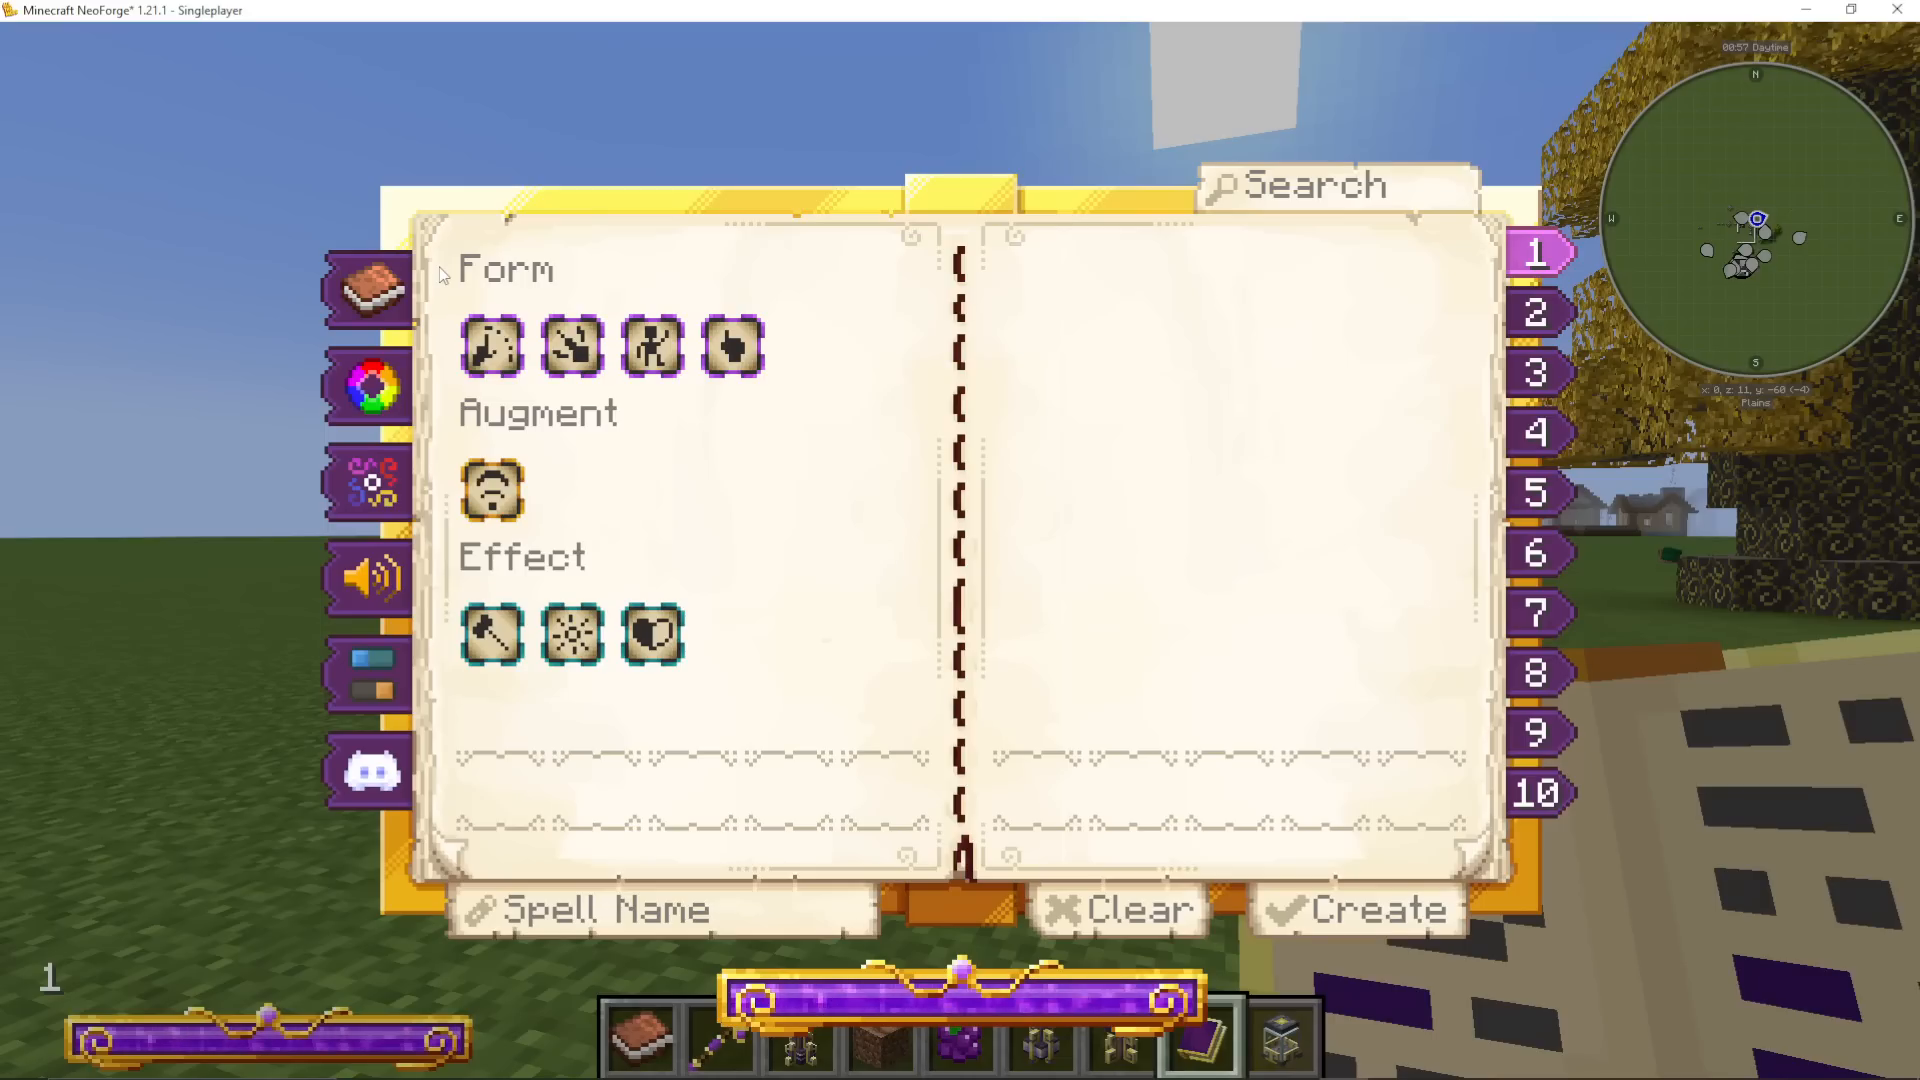
Press C to open your spellbook. Inside you’ll see several key elements:
Mana Bar – This powers your spell casts and regenerates passively over time.
Glyphs Panel – The available spell components you’ve unlocked. By default you’ll have a small starter set.
Color Picker – Changes the visual colour of your spells.
Familiars – Where you can summon companion familiars (covered later).
Sounds & Settings – Adjust sound levels and toggle dynamic lighting (useful for reducing lag).
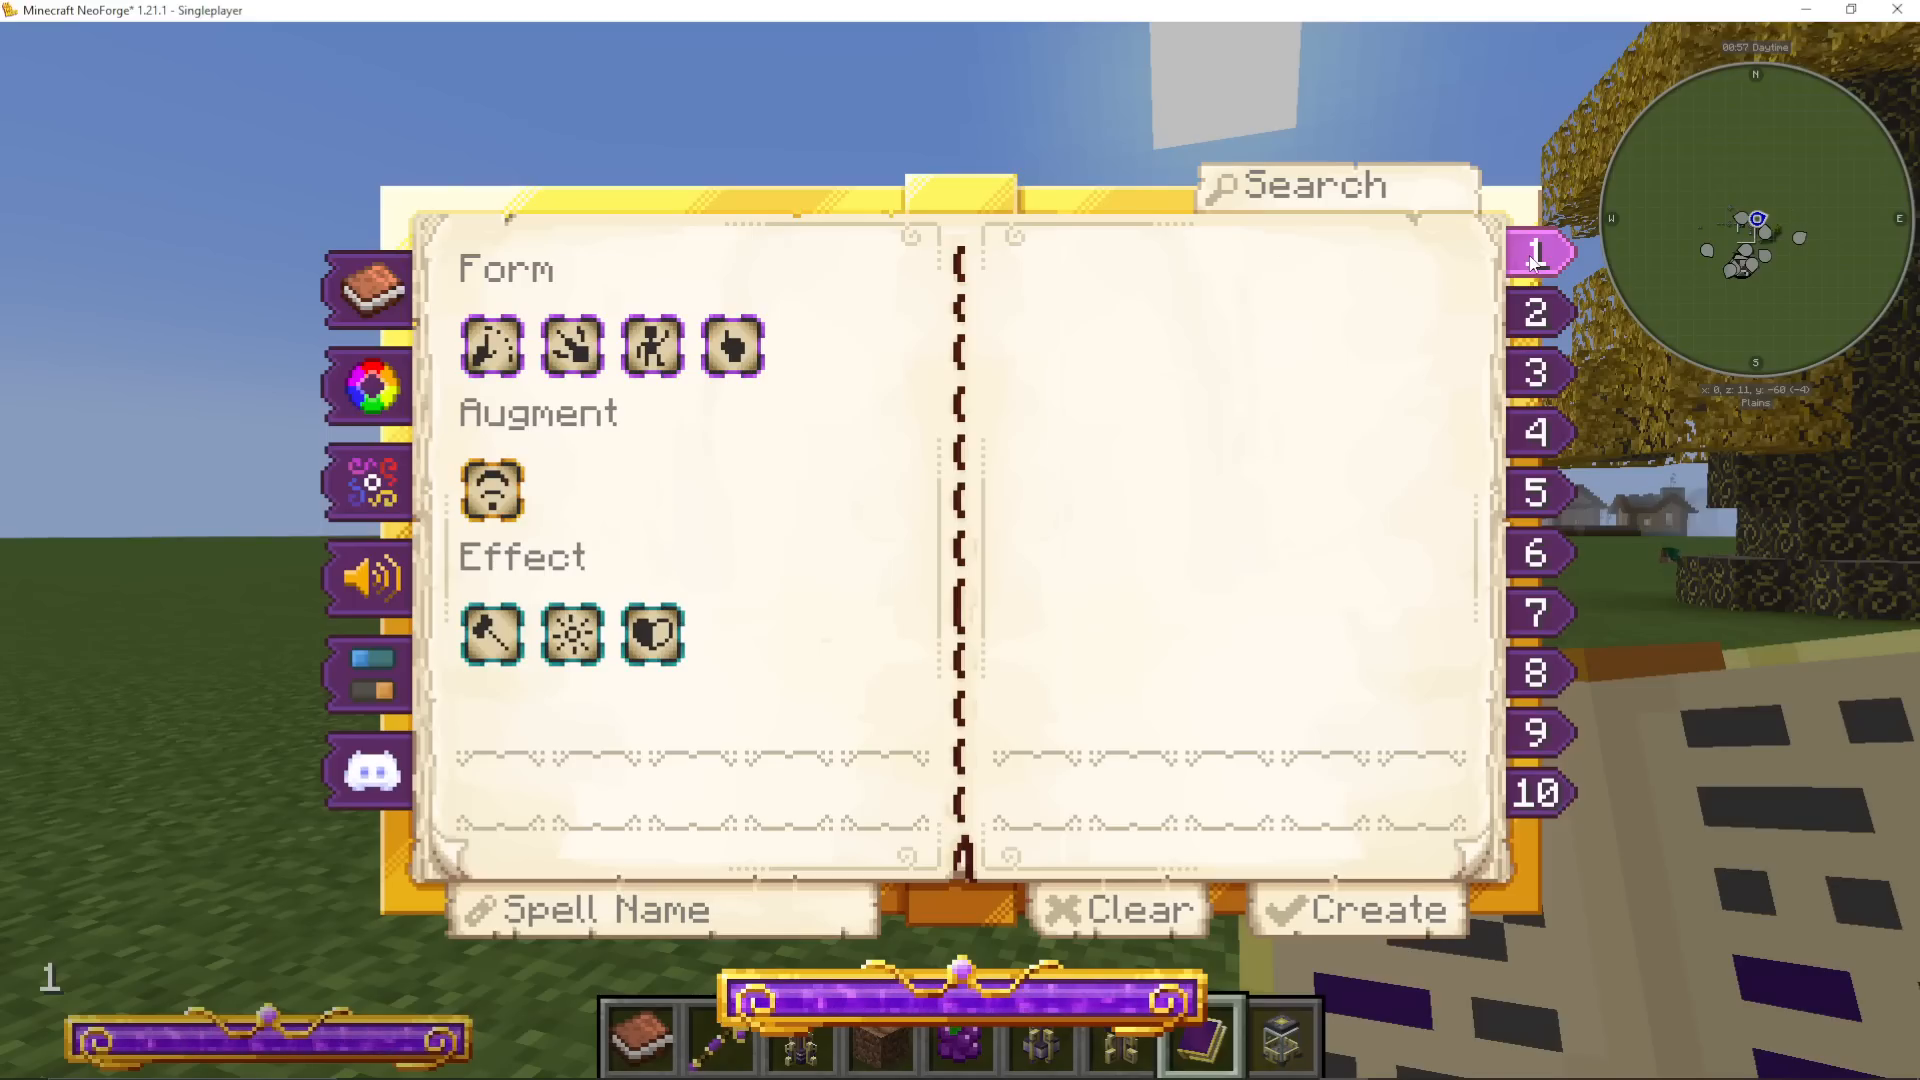
10 Spell Slots – On the right-hand side, these hold your created spells.
The top-left arrow takes you back to the Worn Notebook for documentation.
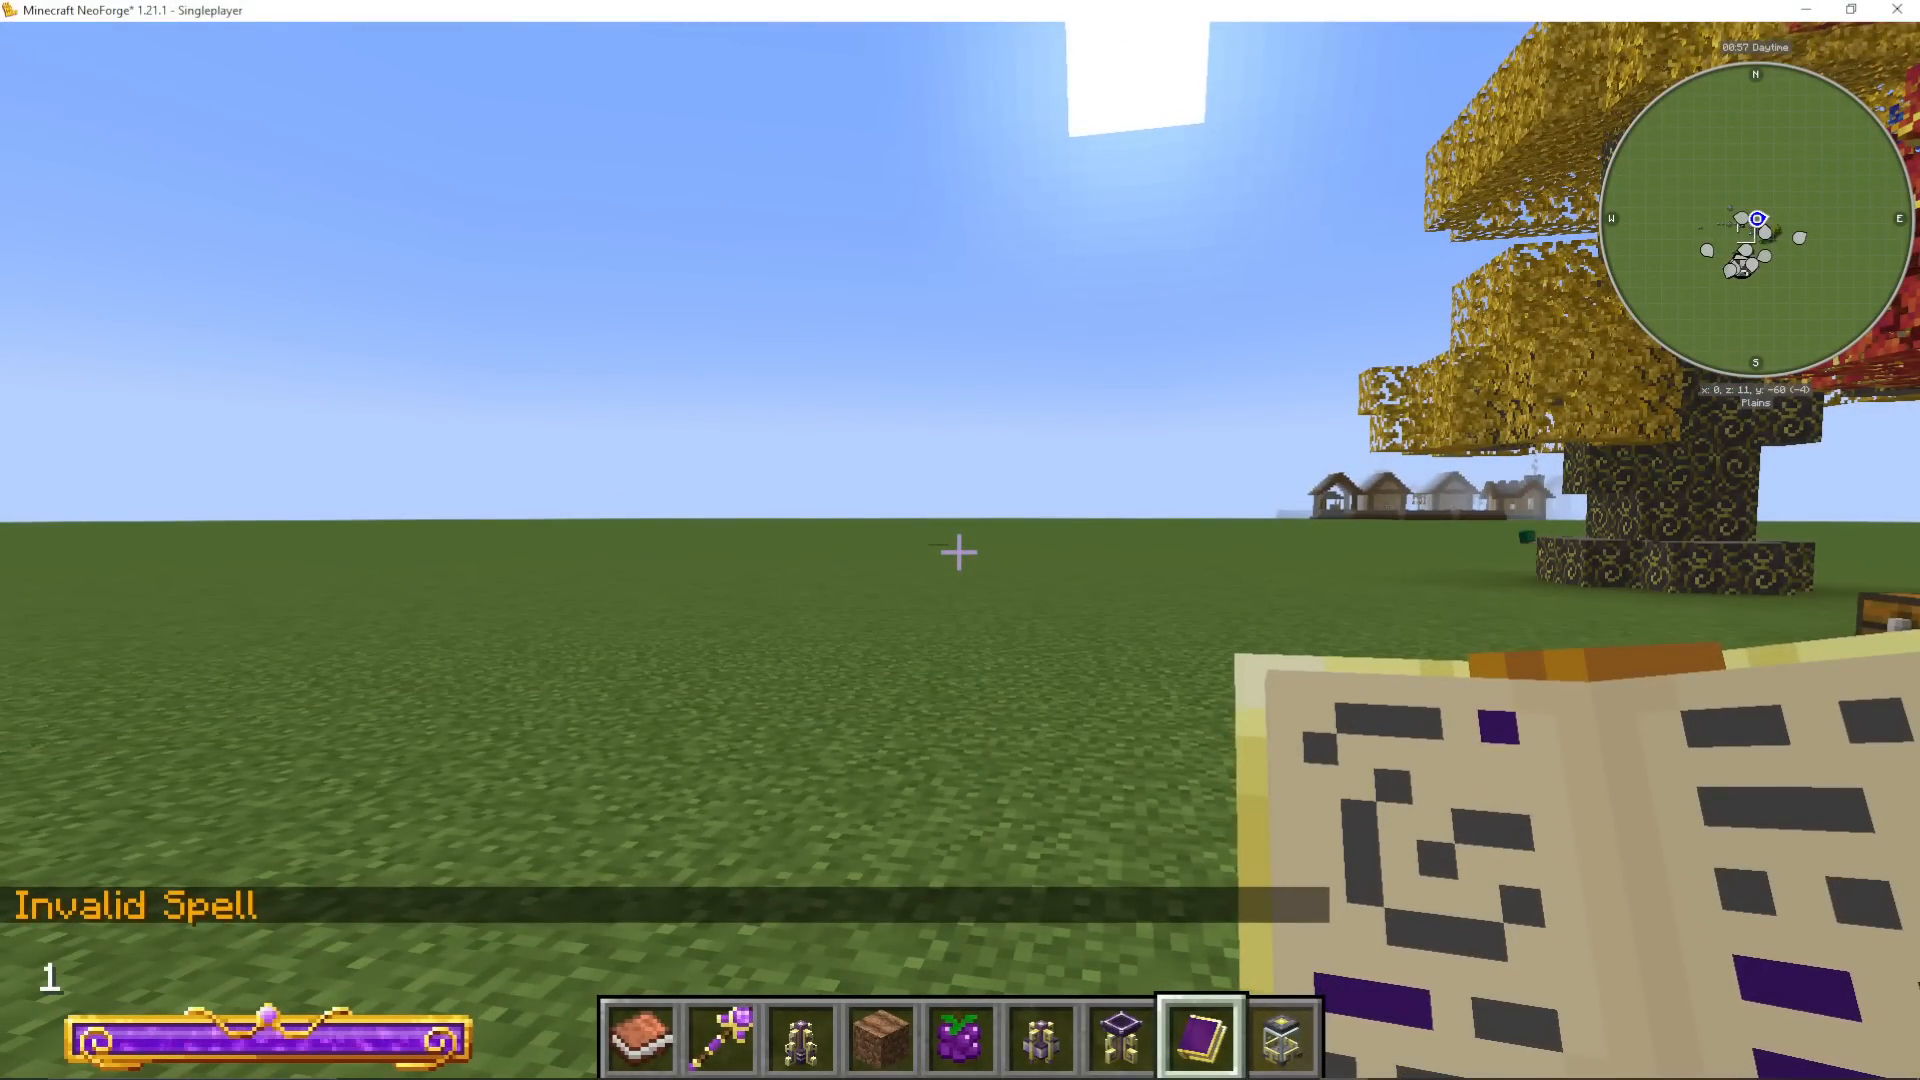
How Spells Are Structured
Each spell you build is made of up to three components:
Form – How the spell is delivered. Examples include Projectile (launches a projectile), Self (affects the caster), and Touch (affects blocks you’re touching).
Augments – Optional modifiers that enhance or change the spell’s behaviour. These are unlocked separately.
Effect – What the spell actually does. Examples include Break (breaks blocks of average hardness), Harm (deals damage), and Conjure Mage Light (summons a light source).
Creating Your First Spell – Projectile Break
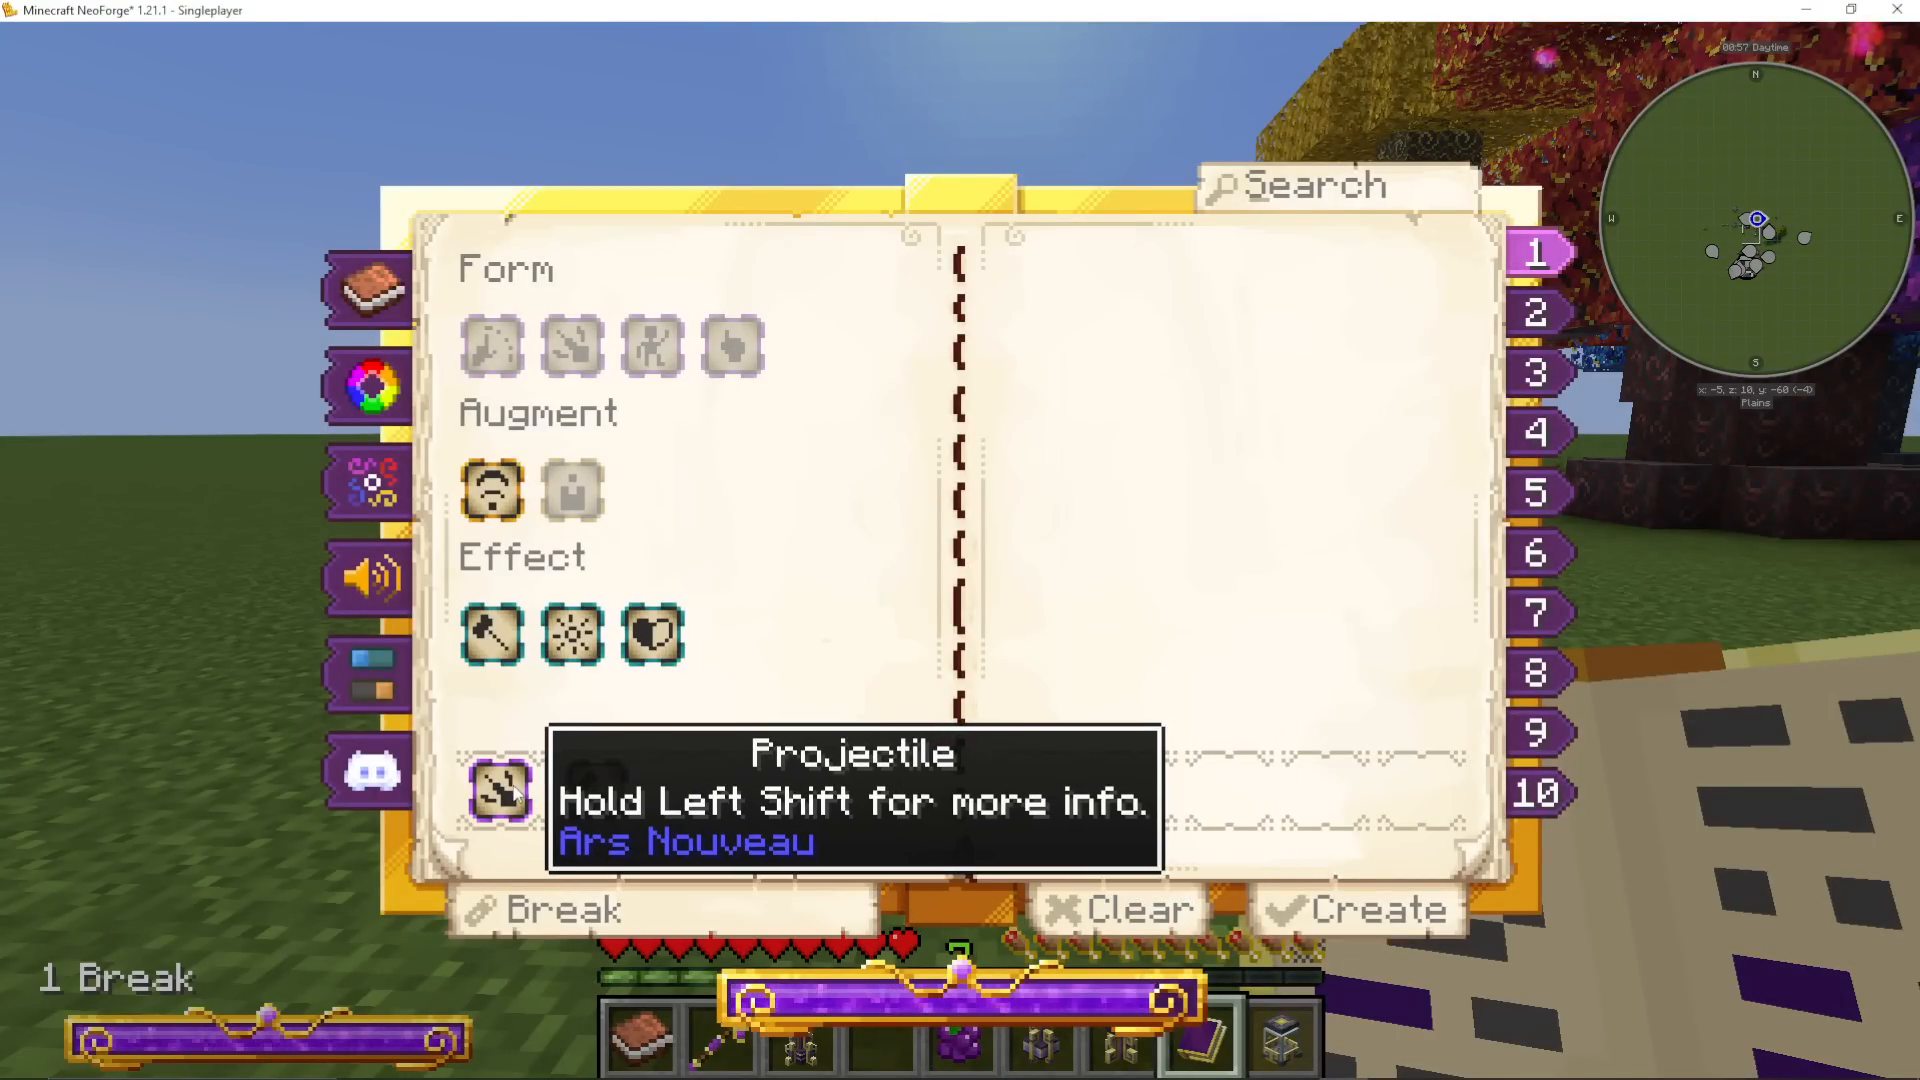
Let’s build a basic mining spell. In slot one of your spellbook, left-click Projectile as the form, then click Break as the effect. Give the spell a name (e.g. “Break”) and press Create.
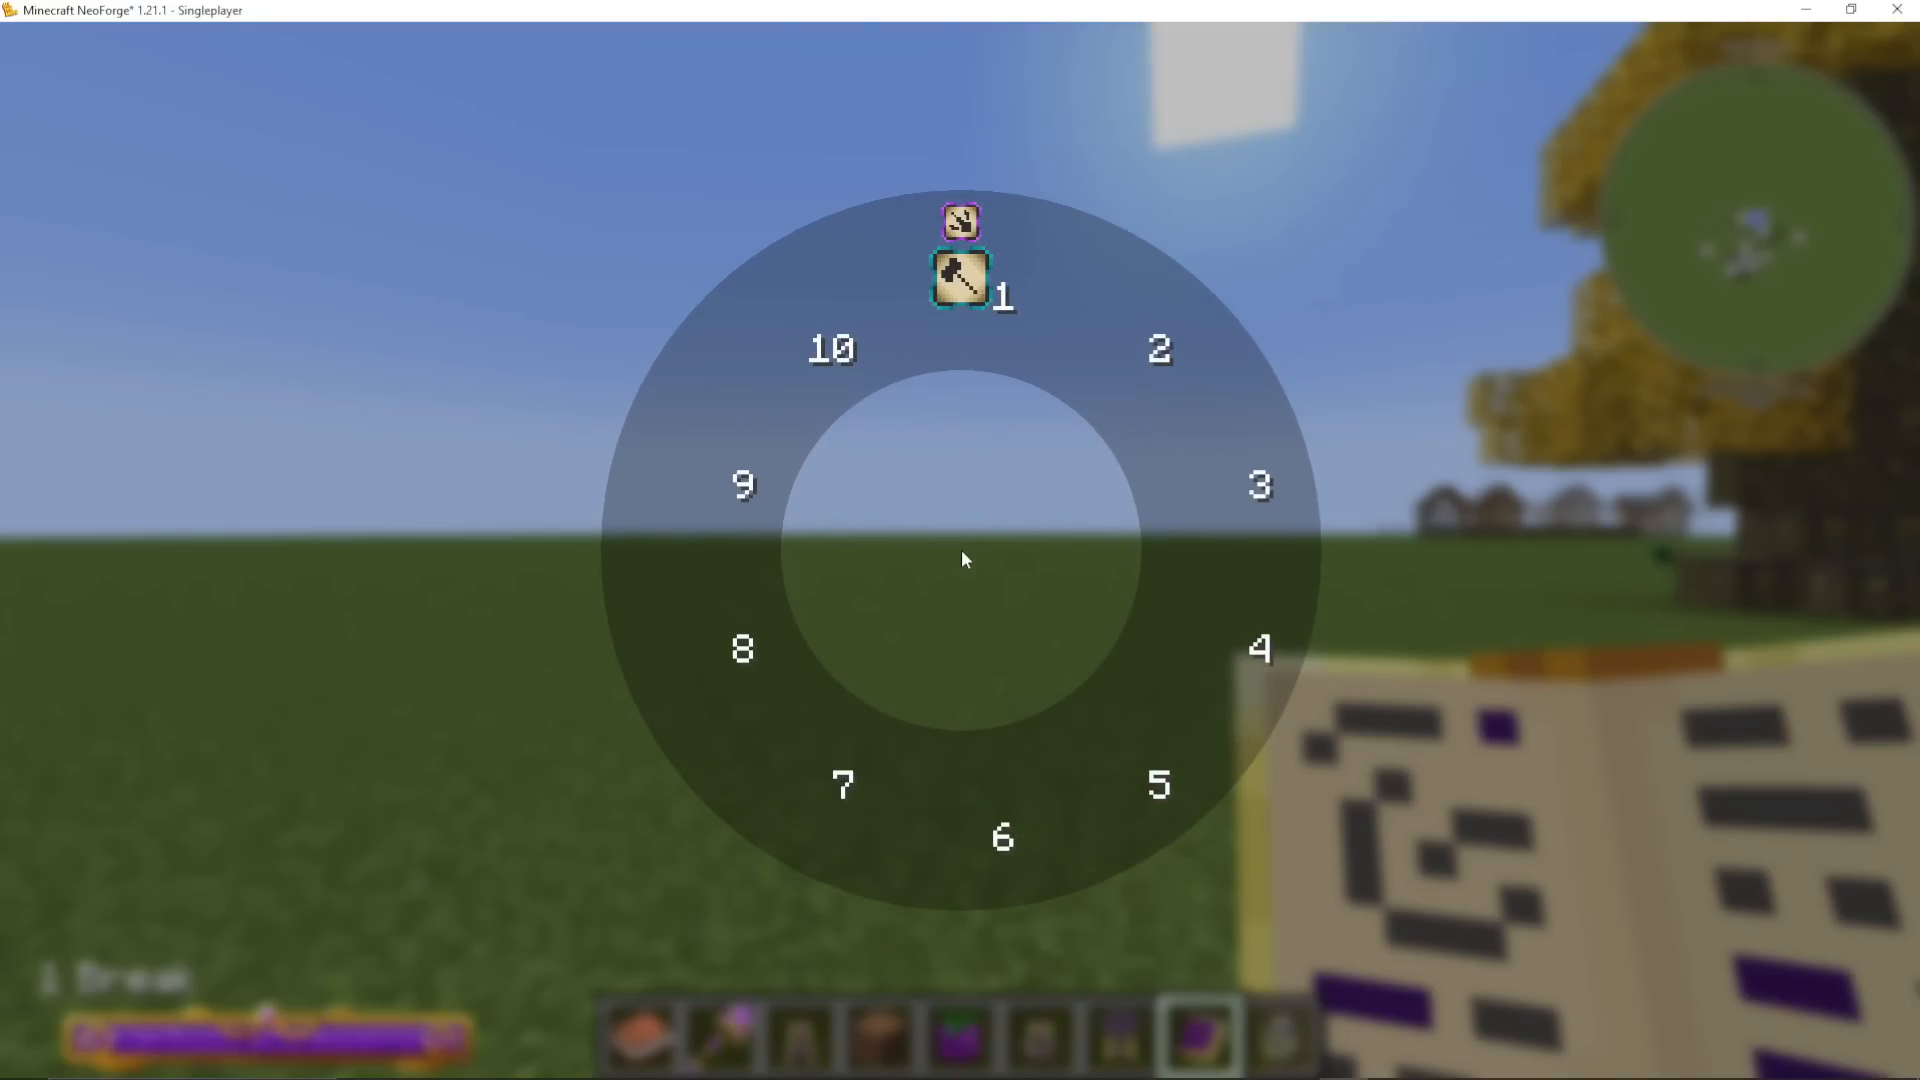
Press V to open the Spell Wheel and select your new spell. You can also cycle through your spells using the Z and X keys — the currently active spell is shown in the bottom-left corner of your screen. Hold your spellbook and right-click to fire the spell.
The Break spell works well on most blocks including iron ore — but try it on obsidian and you’ll find it’s simply not powerful enough. You’ll also notice your mana bar decreasing each time you cast. This is where upgrades come in.
Unlocking Glyphs – The Scribes Table
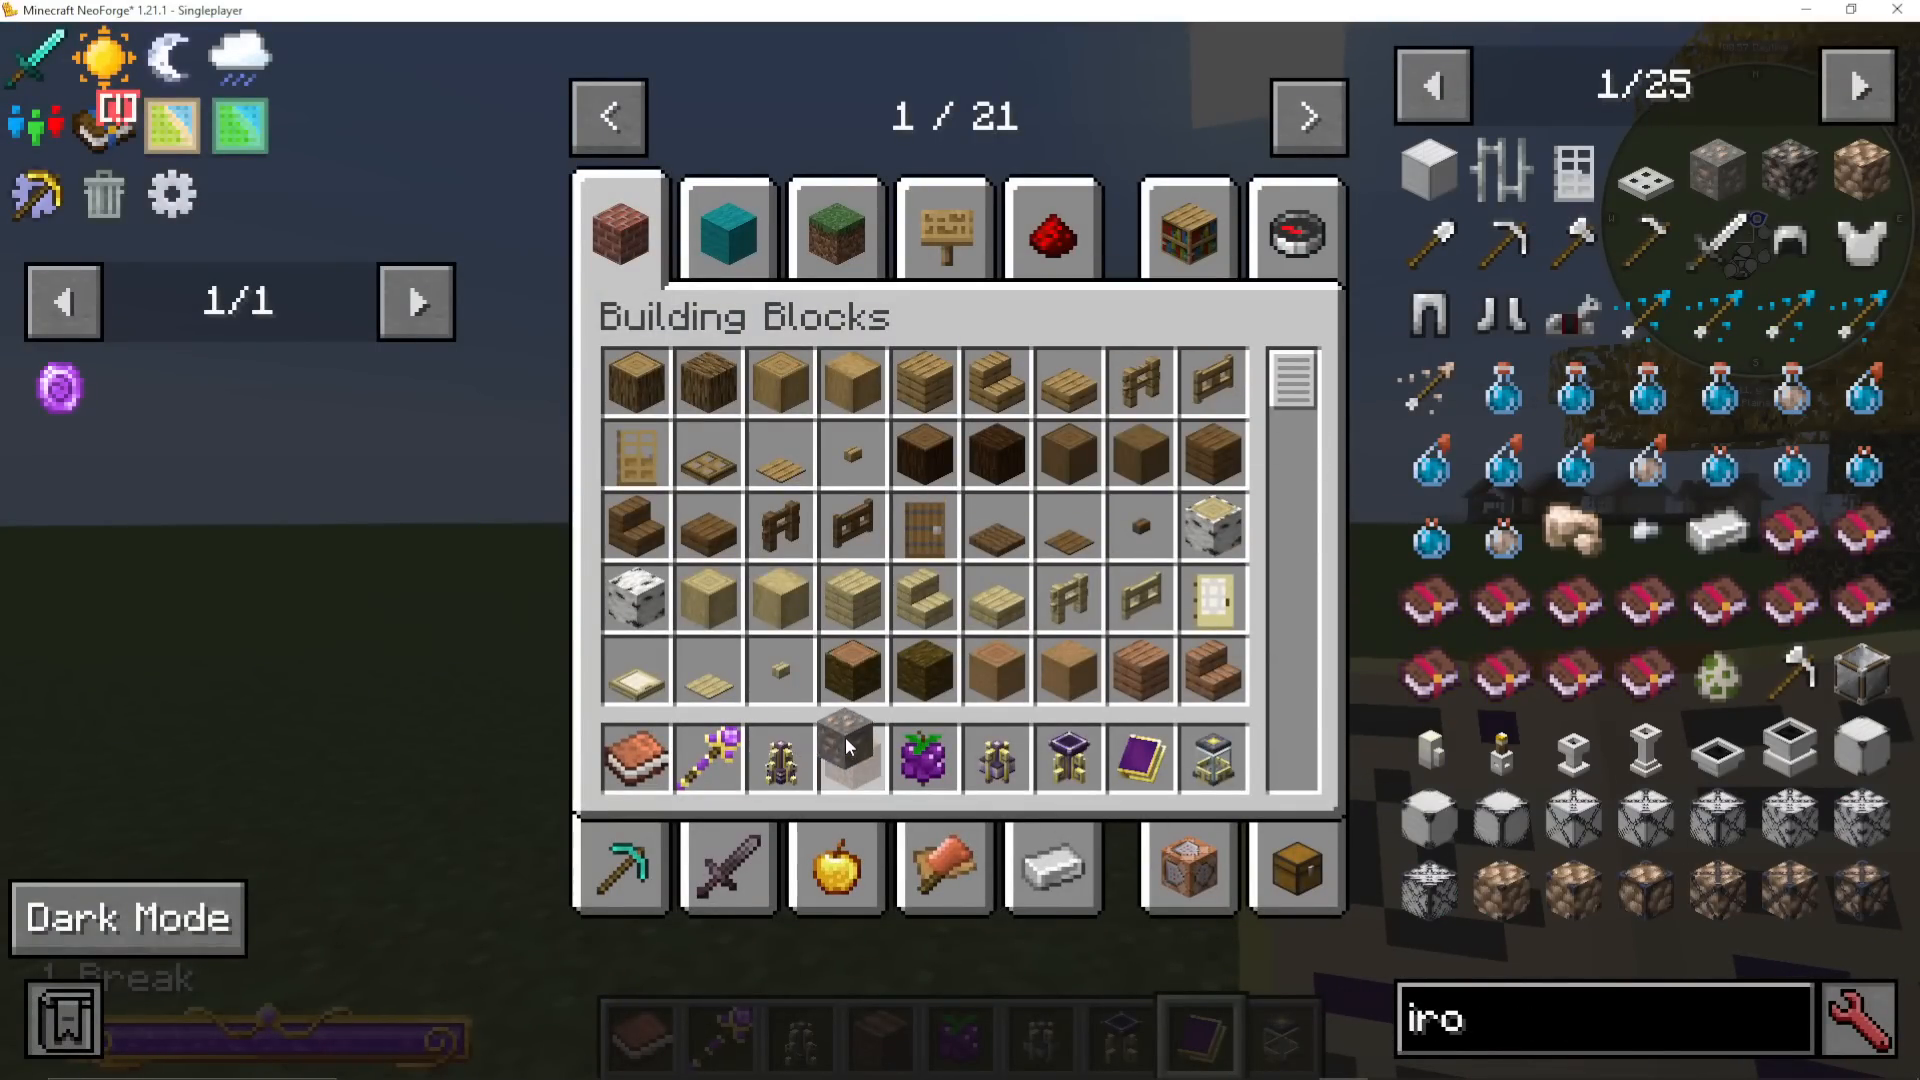
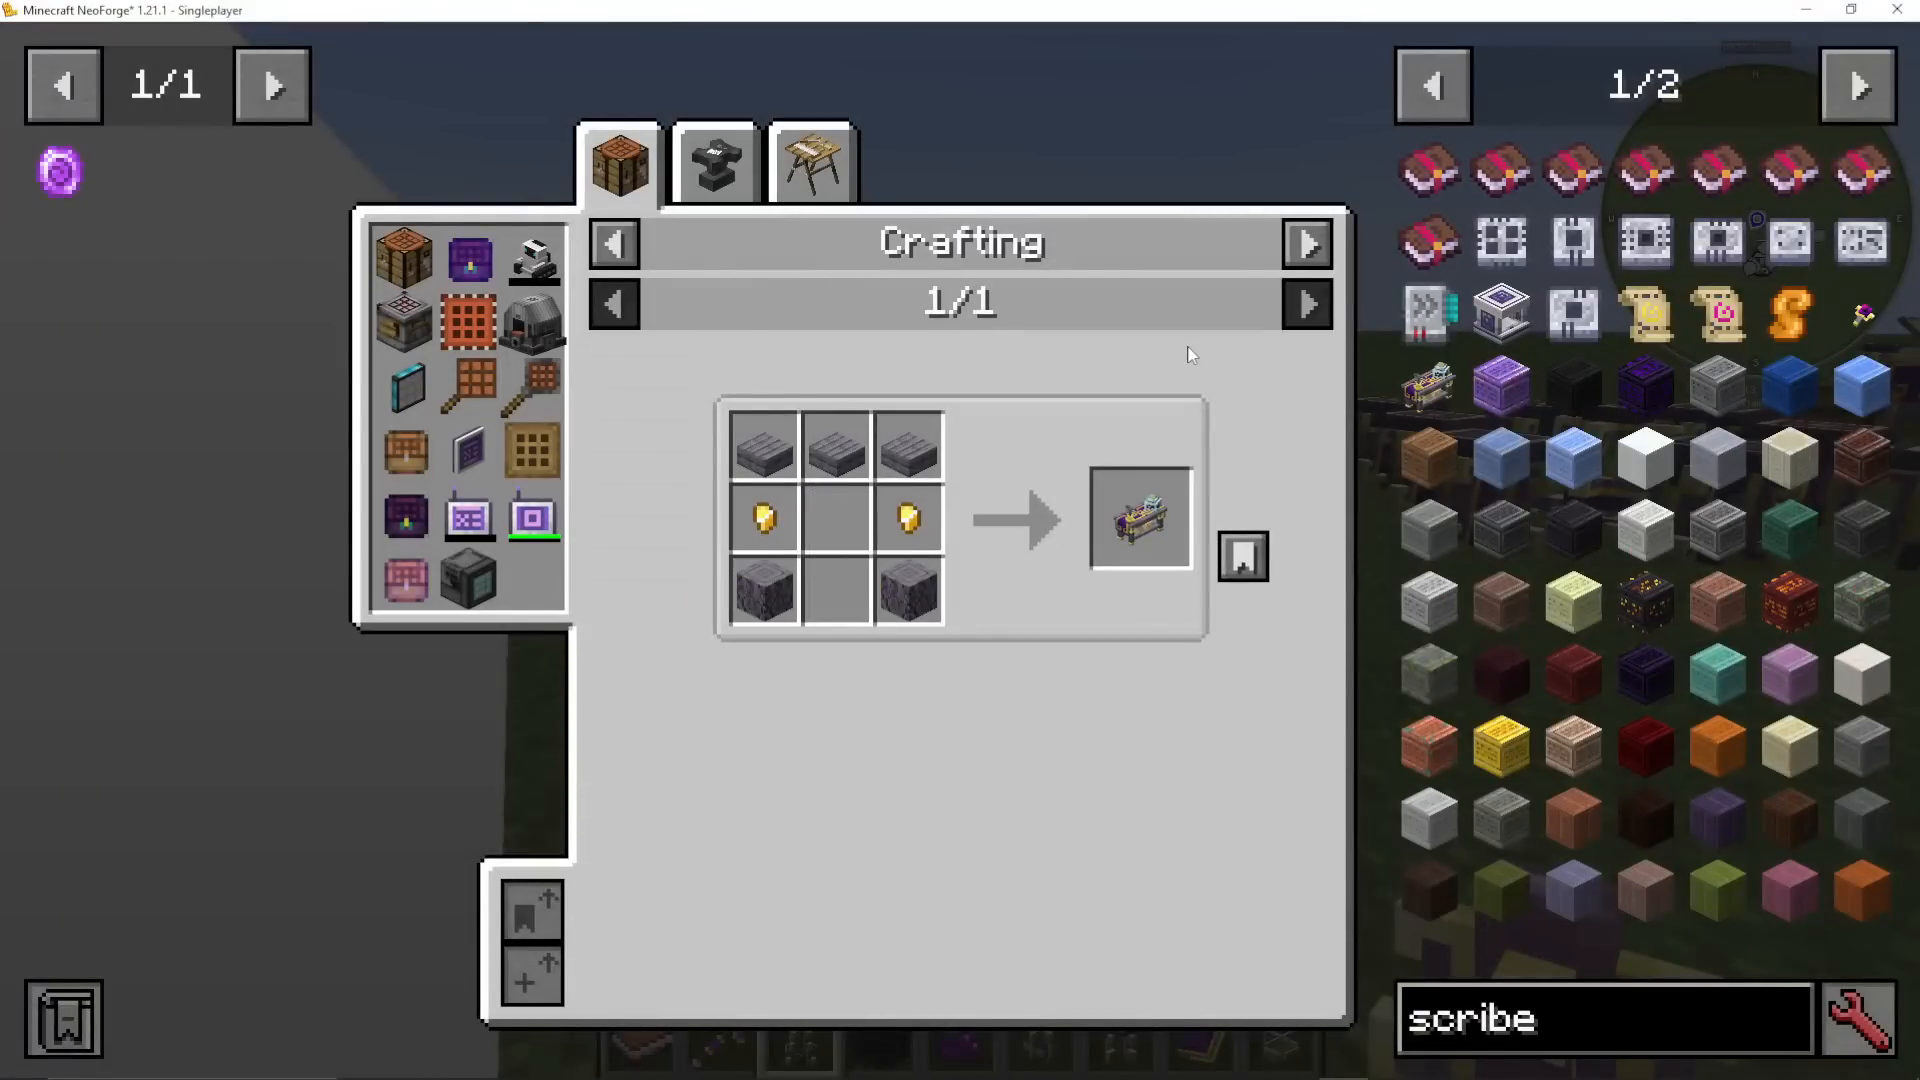
To unlock more glyphs and upgrade your spells, you need a Scribes Table. Craft it using pieces of any Archwood wood, some slabs, and gold. Place the table down and right-click it while holding your spellbook to open the glyph library.
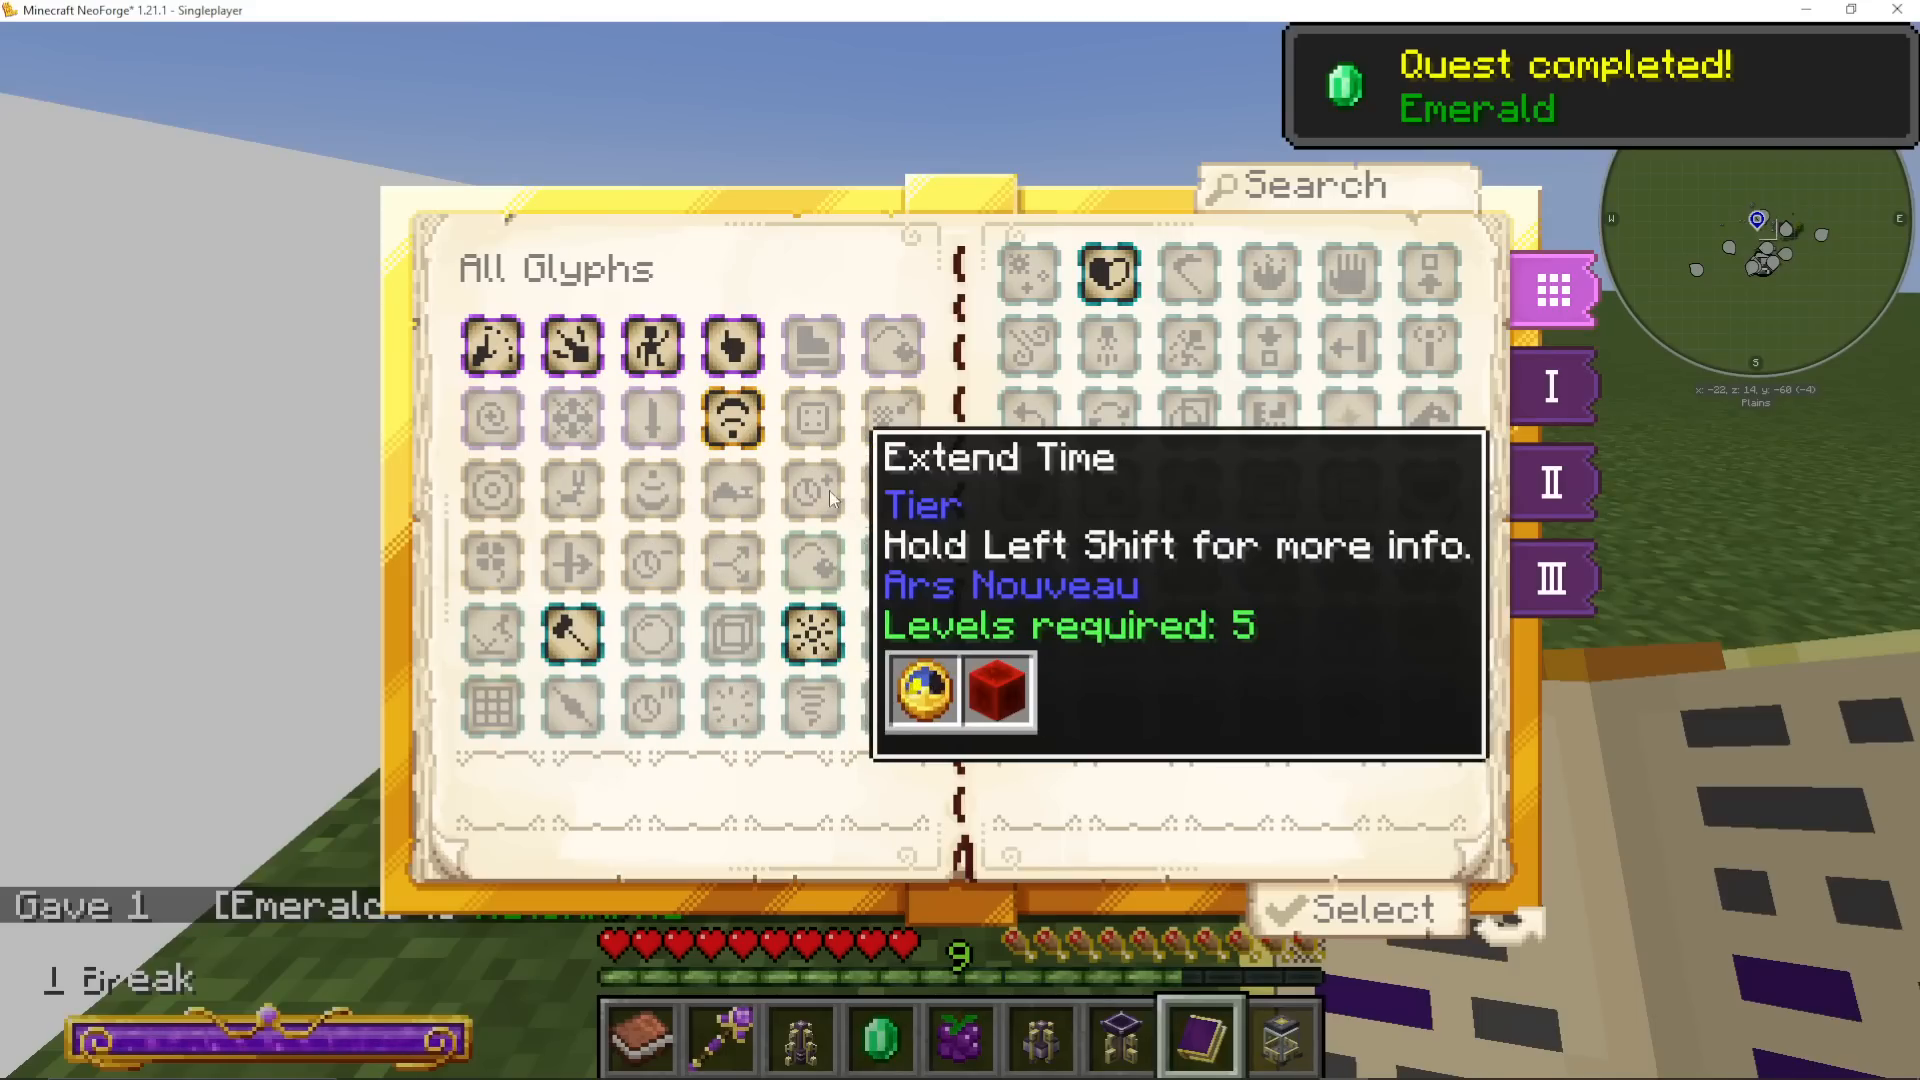
Inside the Scribes Table you’ll see all available glyphs sorted into Tier 1, Tier 2, and Tier 3. Hold Shift over any glyph for more information, including what it costs to unlock.
How to Unlock a Glyph
Each glyph requires a certain number of XP levels and a specific item. For example, the Extract glyph requires 5 XP levels and an Emerald. To unlock it:
Make sure you have the required item in your inventory.
Click the glyph in the Scribes Table, then press the Select button.
The XP levels will be consumed automatically.
Right-click the required item onto the Scribes Table.
Watch as the glyph is written out — then pick it up and right-click it to permanently unlock it.
Boosting Your Mana and Mana Regen
Here’s an important tip: every glyph you unlock adds mana and mana regen to your spellbook. Even if you don’t plan to use a glyph in a spell, unlocking it still increases your total mana pool. Unlock as many glyphs as early as you can — it makes a significant difference to your spell-casting ability. Upgrading to higher-tier spellbooks also increases mana and mana regen.
Amplifying Your Spells with Augments
The Amplify augment (Tier 1) is one of the most important early glyphs to unlock. It additively increases the power of most spell effects. To unlock it you need 3 XP levels and a Diamond Pickaxe.
Once unlocked, open your spellbook, edit your Break spell, and add two Amplify augments. Notice the mana cost indicator on the mana bar — it shows how much mana the spell will consume per cast. With two Amplify augments added, press Create to save the updated spell. You can now break through obsidian with ease.
Notable Glyphs to Explore
There are a huge number of glyphs to discover. Some highlights worth looking into:
Cut – Simulates using shears on entities and blocks.
Crafting – Opens a crafting menu directly.
Freeze – Freezes water or lava in a small area.
Fell – Harvests entire trees at once.
Item Pickup – Picks up nearby items on the ground.
Evaporate – Removes fluids in an area.
Summon Steed – Summons a saddled horse (it will vanish after a few minutes).
Experiment with different form + augment + effect combinations to discover spells that suit your playstyle.
Source – The Core Resource of Ars Nouveau
Source is the primary energy resource in Ars Nouveau. It powers crafting in advanced stations, fuels certain rituals, and drives automation. Let’s look at how to create it and store it.
The Imbuement Chamber – Early Game Crafting
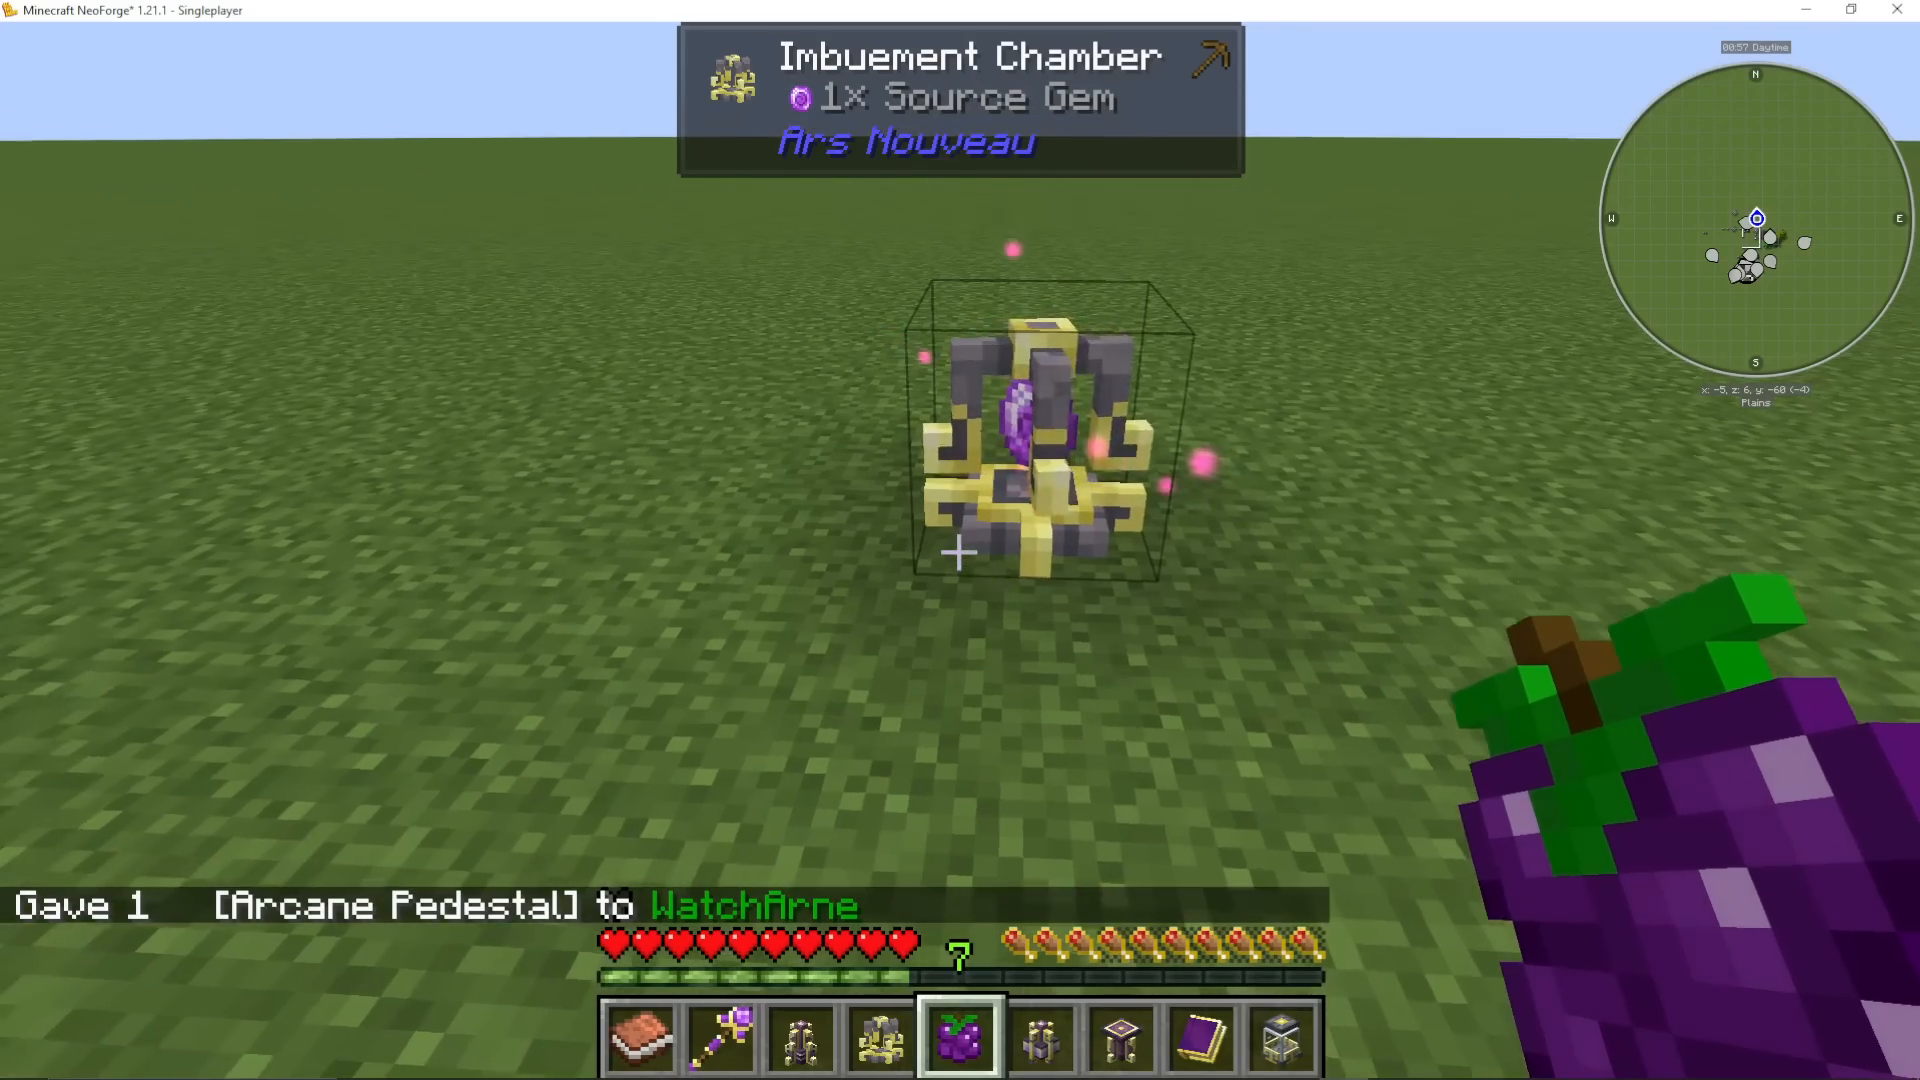
The Imbuement Chamber is your first crafting station beyond basic tools. Place it on the ground to begin. The first thing you’ll craft here is a Source Gem — the foundational ingredient for many Ars Nouveau recipes.
Crafting a Source Gem
To make a Source Gem, simply right-click a piece of Lapis Lazuli (or Amethyst) into the Imbuement Chamber. You’ll see a crafting progress indicator count up. The Source Gem is special — it’s one of the only recipes in the Imbuement Chamber that draws Source directly from the surrounding air, so no external Source supply is needed. Once the progress reaches 100%, right-click to collect your Source Gem.
Using Pedestals for Multi-Item Recipes
More advanced Imbuement Chamber recipes require additional items to be placed on Pedestals surrounding the chamber. Pedestals are crafted using Source Gems and Source Stone (Source Stone is made with a Source Gem and regular stone). Place up to eight pedestals around the chamber — one on each side and corner — and right-click items onto them to include them in the recipe.
Generating Source – The Source Links
There are several types of Source Links that convert different types of energy or materials into Source, which is then stored in a Source Jar. Source Jars are simple to craft and things like the Imbuement Chamber will automatically draw from nearby Source Jars to speed up crafting.
Agronomic Source Link (Early Game – Start Here)
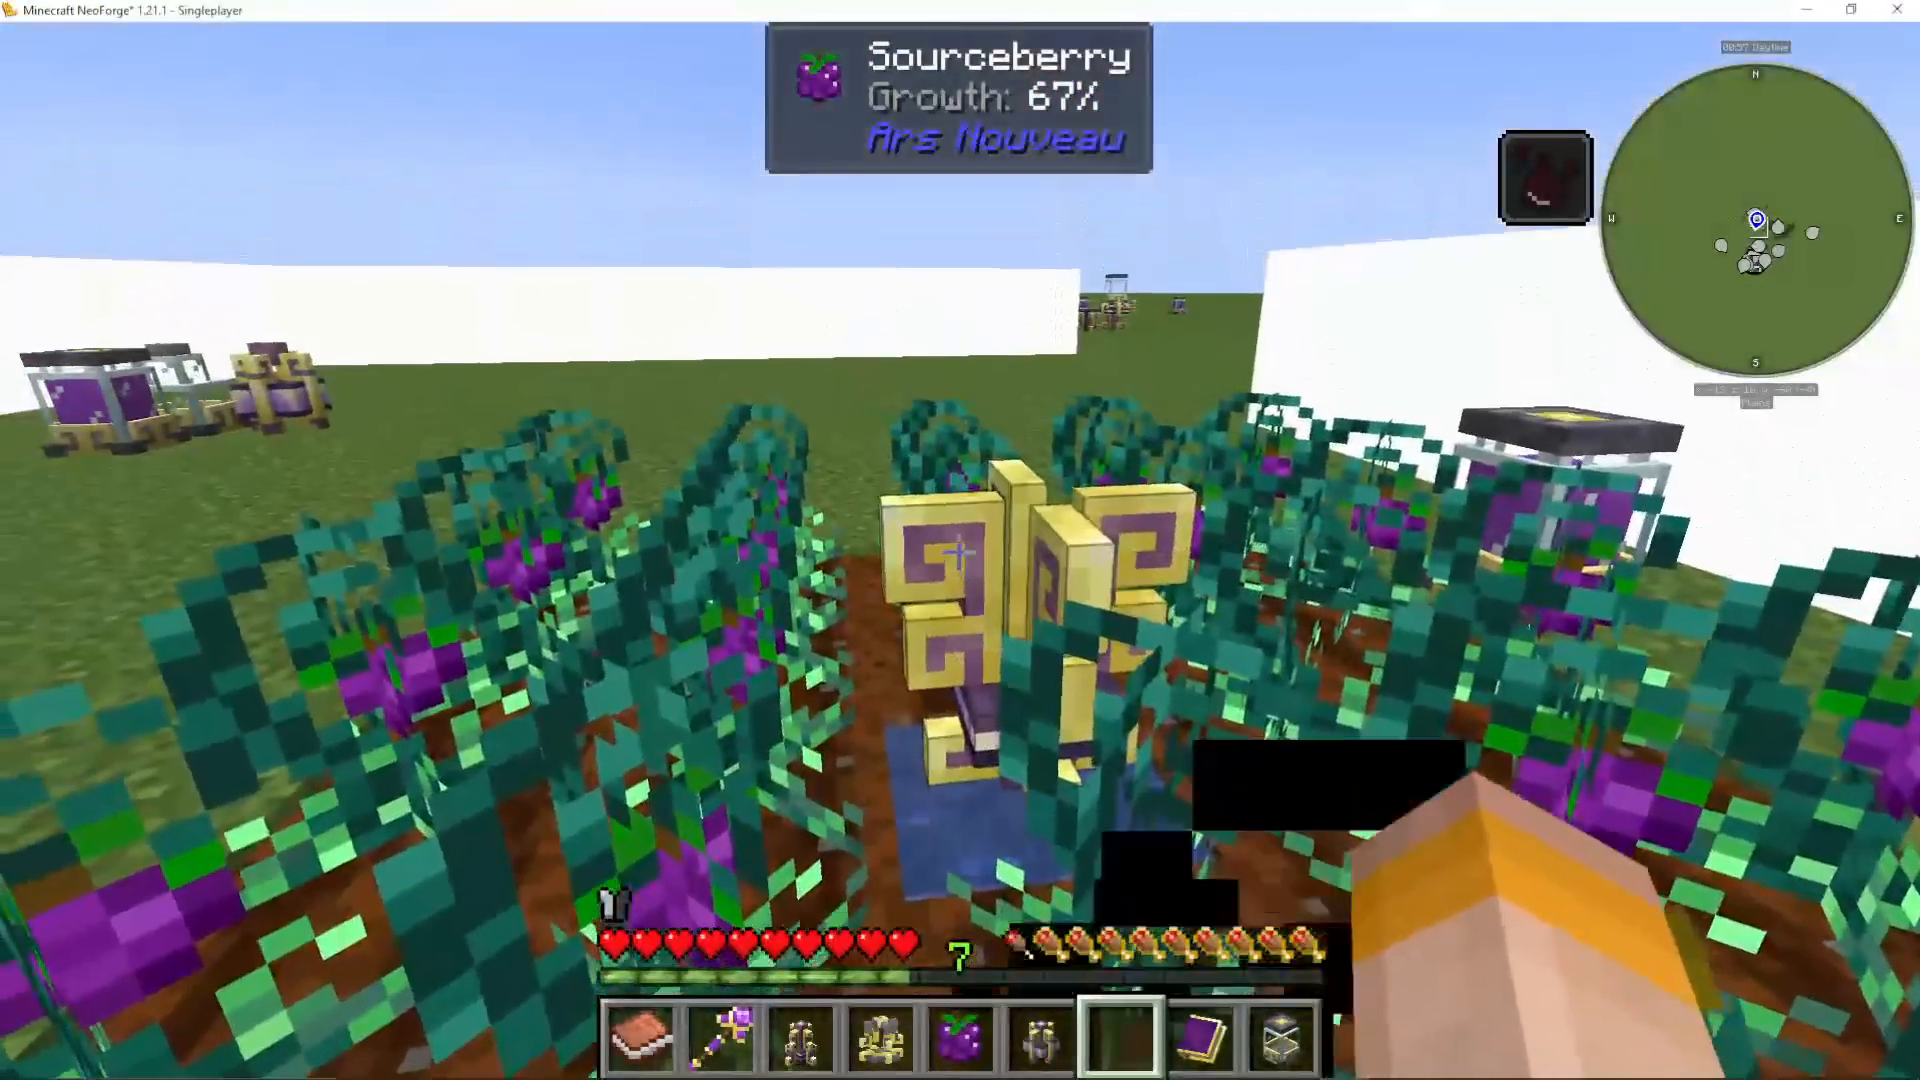
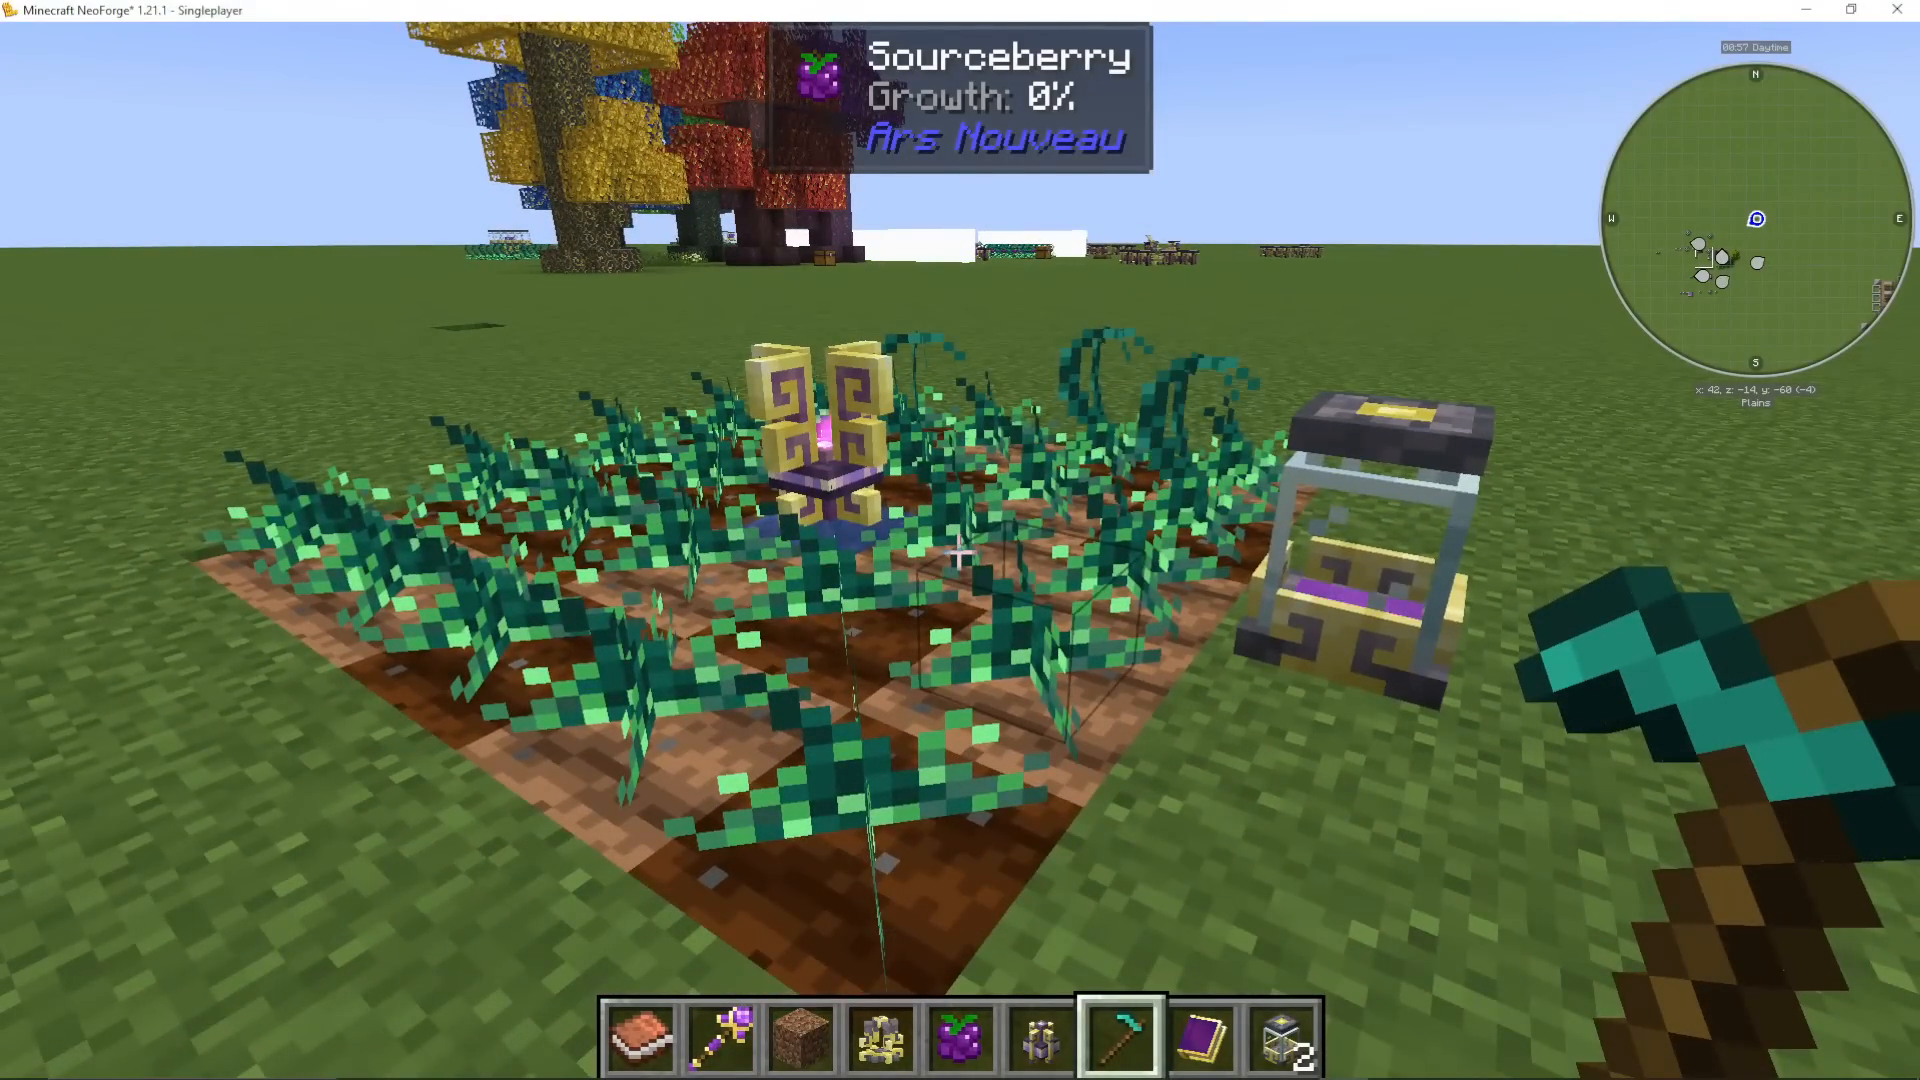
The Agronomic Source Link is your go-to early-game Source generator. It converts the growth energy of nearby crops into Source. Craft it using basic materials and Source Gems, then place it near a crop farm. It draws from a 17×17 area around it.
The best crop to use is Source Berries (found in Taiga and Archwood Forest biomes) — they generate more Source than standard crops and are better for automation. However, wheat, carrots, potatoes, and any other crop will work. Note: bone meal does not trigger Source generation — the plants must grow naturally via random ticks.
Place a Source Jar nearby and you’ll see pink bolts of energy fly into it each time a crop gets a growth tick.
To see the speed benefit of having a full Source Jar nearby: with a Creative Source Jar placed adjacent to the Imbuement Chamber, the crafting progress goes from 0% to 100% in seconds compared to running on ambient air energy alone.
Mycelial Source Link
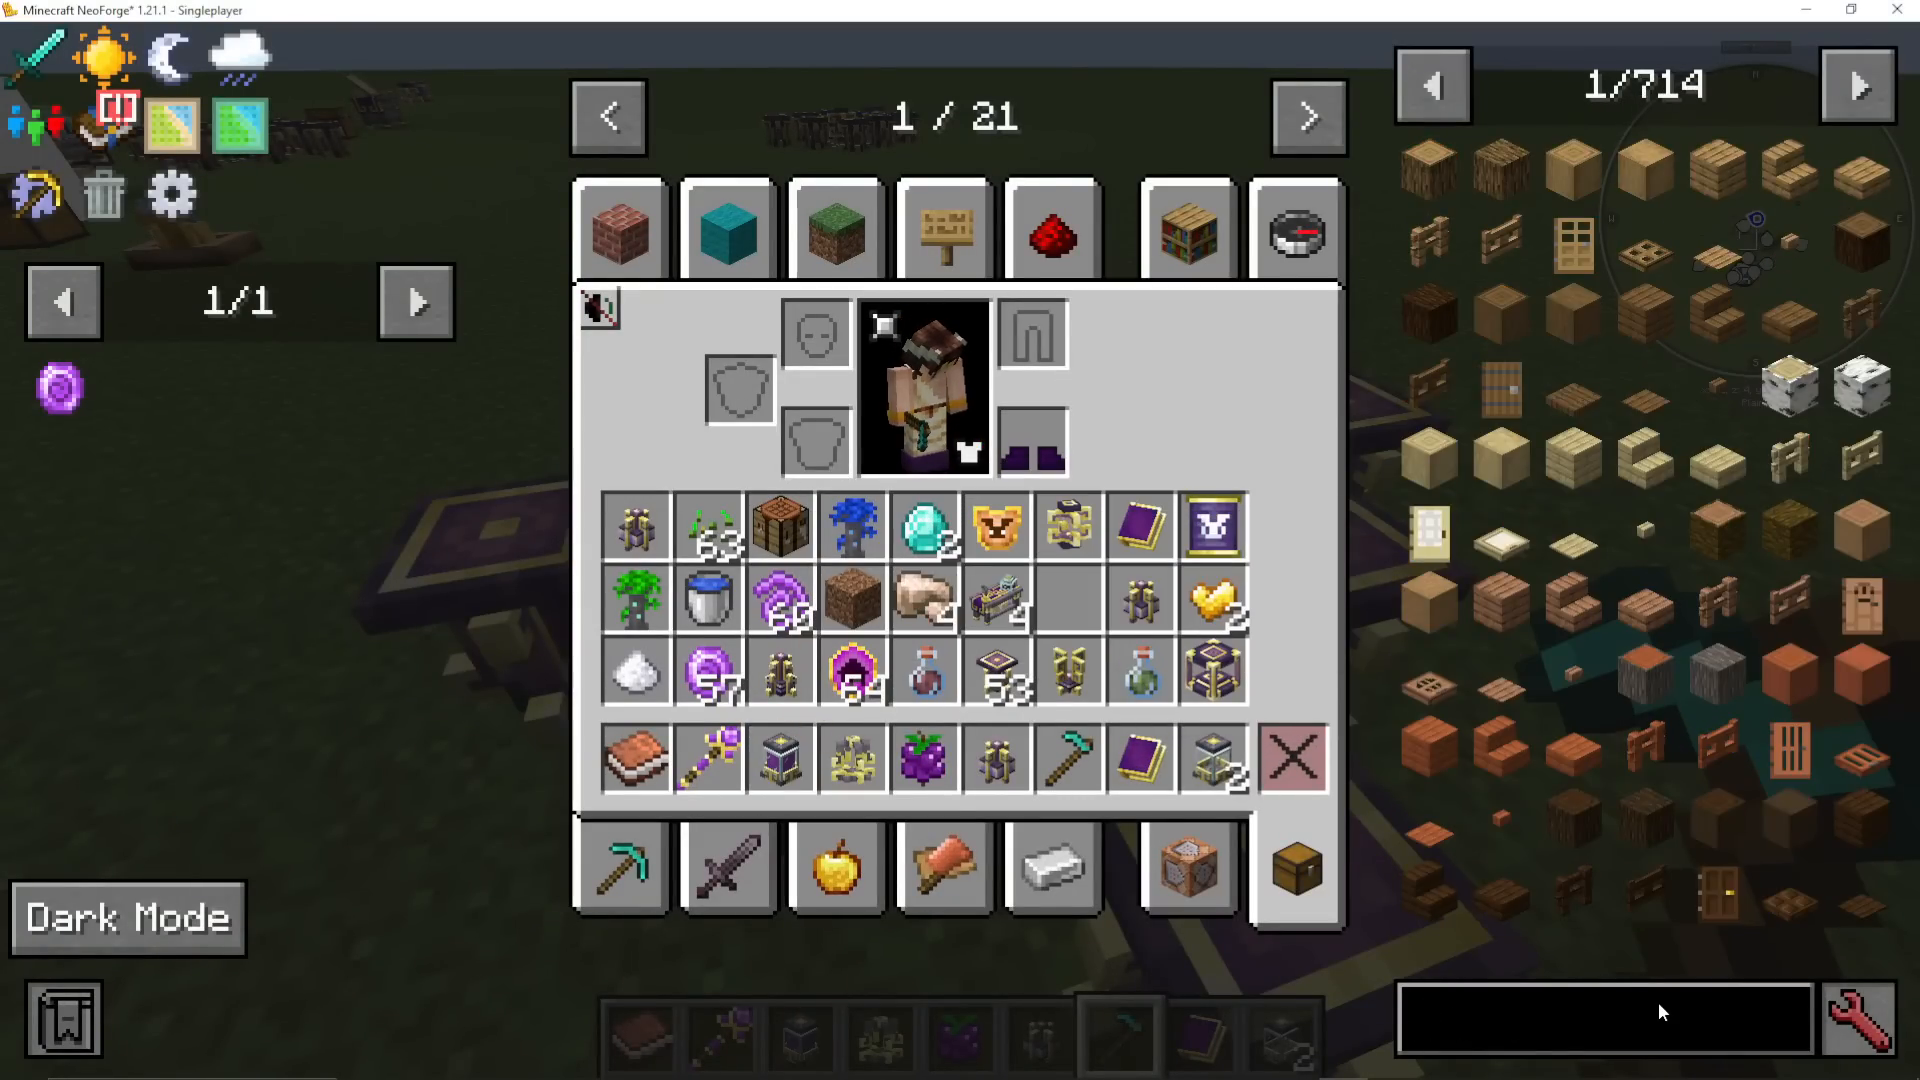
The Mycelial Source Link consumes nearby food items — either dropped on the ground or placed on pedestals — and converts them into Source. As a secondary effect, it slowly converts the dirt beneath it to mycelium and may grow mushrooms over time. You can combine it with the Agronomic Source Link on your Source Berry farm to squeeze out two streams of Source from the same crop.
Volcanic Source Link
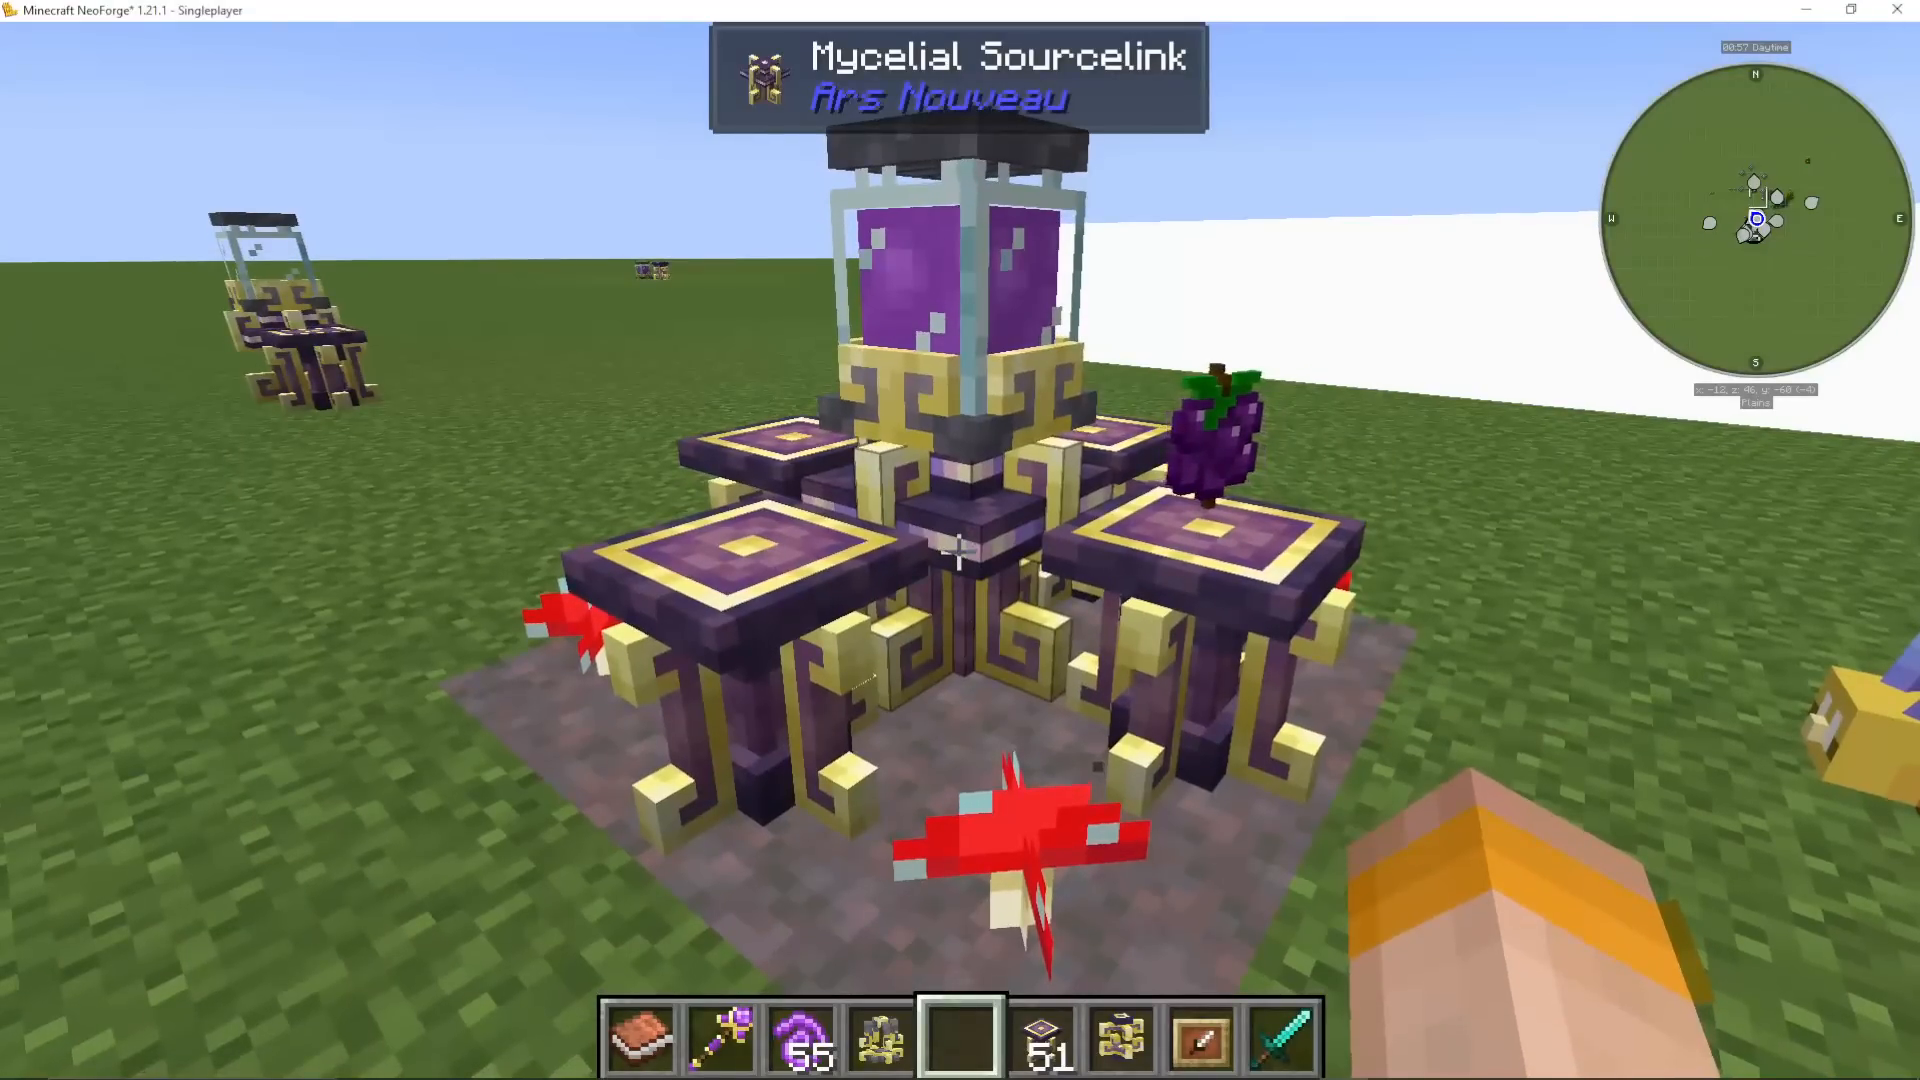
The Volcanic Source Link burns combustible items to generate Source. The best fuel is Blazing Archwood, but any burnable material will work. As a side effect, it heats nearby stone blocks, gradually converting them first into magma blocks and then into lava — making it a useful passive lava farm if you can keep it supplied. It may also occasionally produce special fiery flowers.
Vitalic Source Link
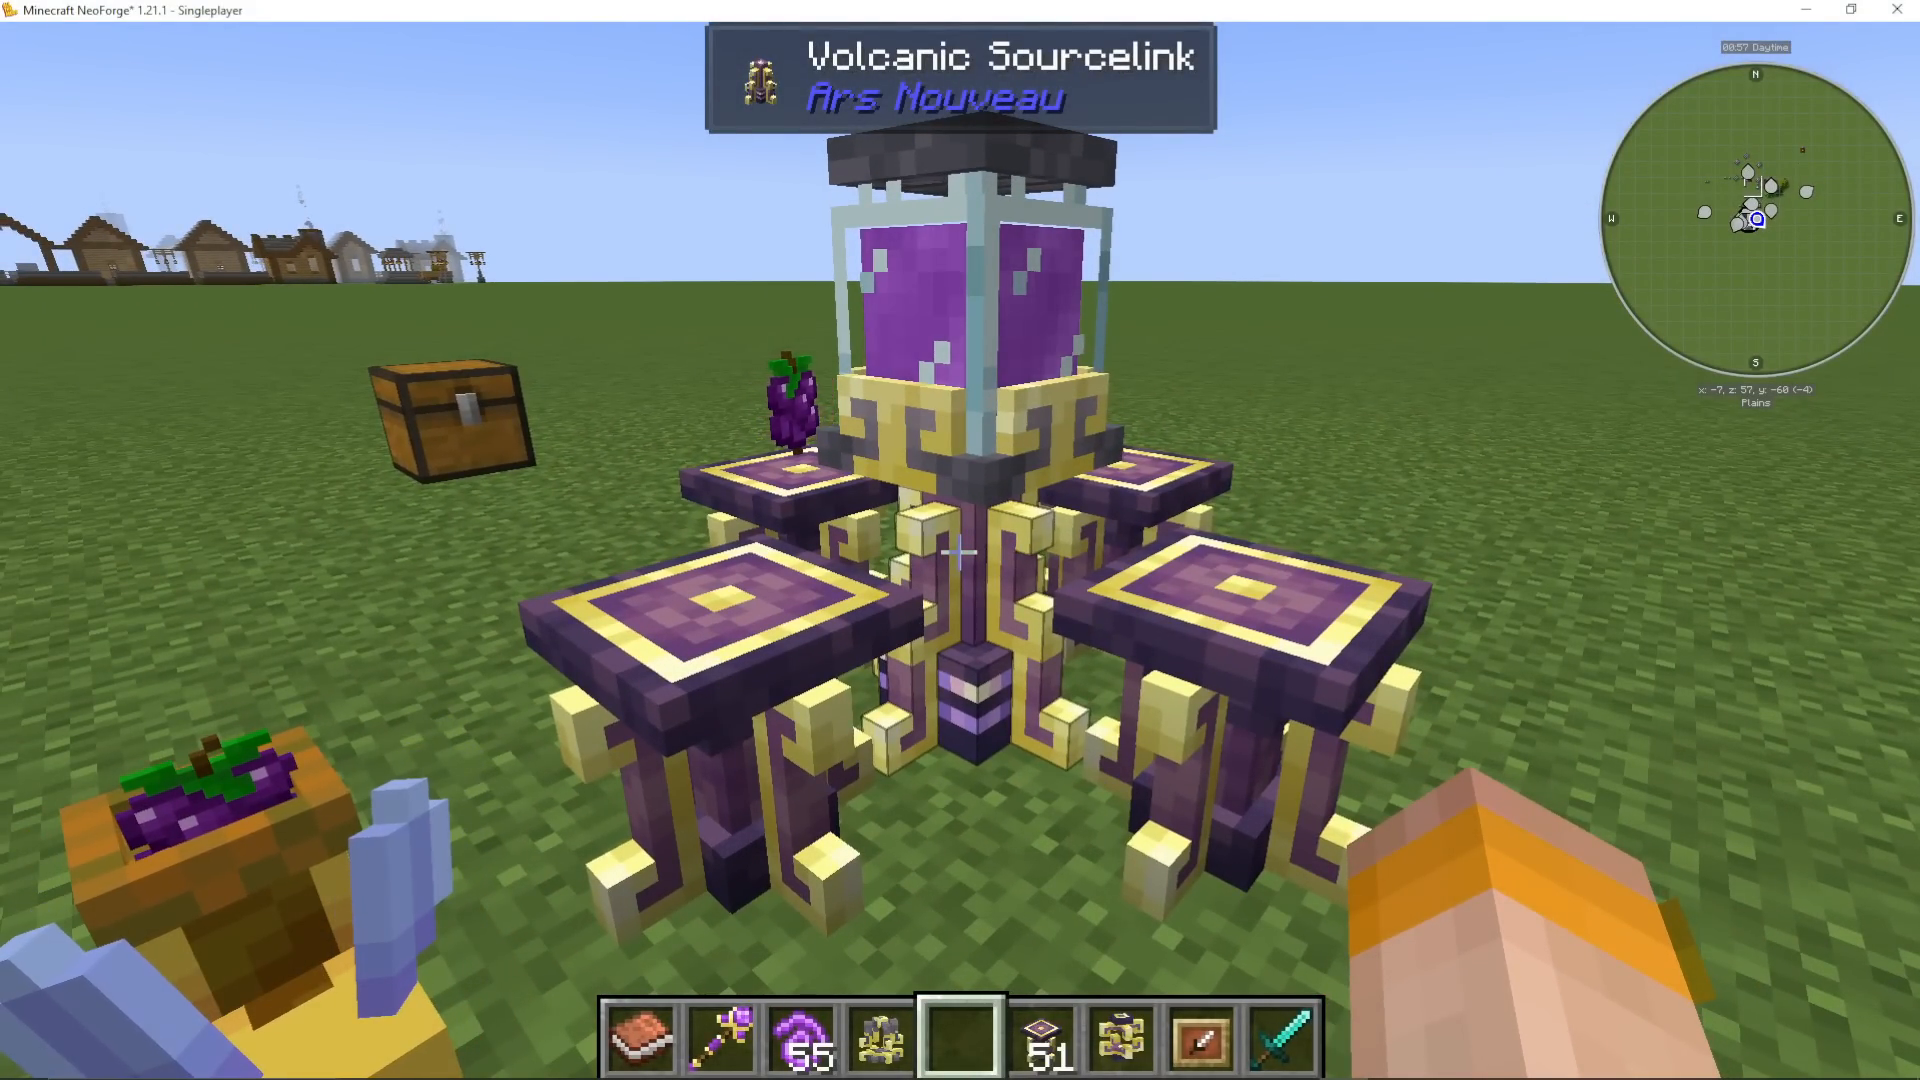
The Vitalic Source Link generates Source from two biological events happening nearby:
Animal breeding – Each time animals breed or receive a growth tick, Source is generated.
Mob deaths – When a mob dies near the link, a portion of its life energy is converted into Source.
This makes it a great companion to a mob farm or a dedicated breeding pen.
Alchemical Source Link (Advanced)
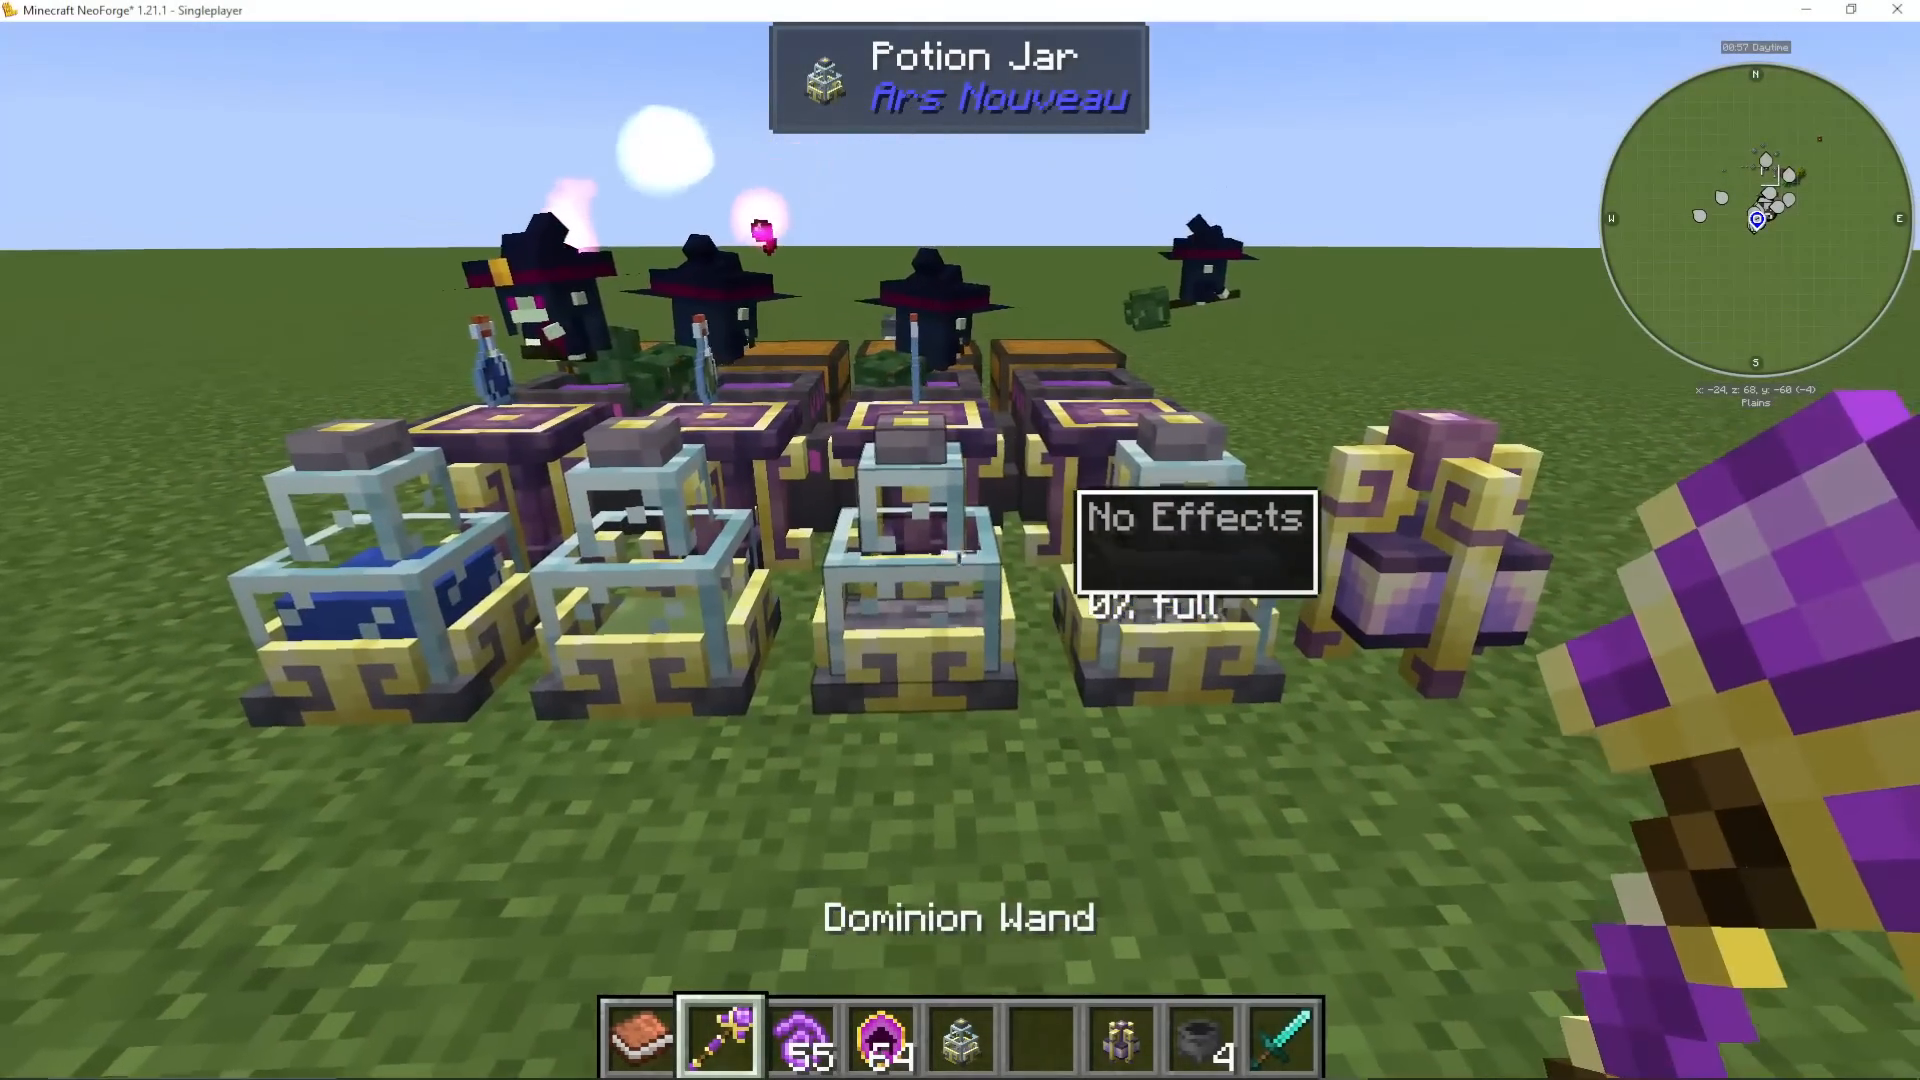
The Alchemical Source Link is the most powerful — and most complex — Source generator. It converts potions stored in Potion Jars into Source. The more complex the potion, the more Source it generates. This link works in tandem with Wixie Cauldrons (covered below), which can automatically brew potions to feed it.
A Potion Jar is crafted from a Source Jar and some Abduction Essence (made in the Imbuement Chamber). Each Potion Jar can store up to 100 potions.
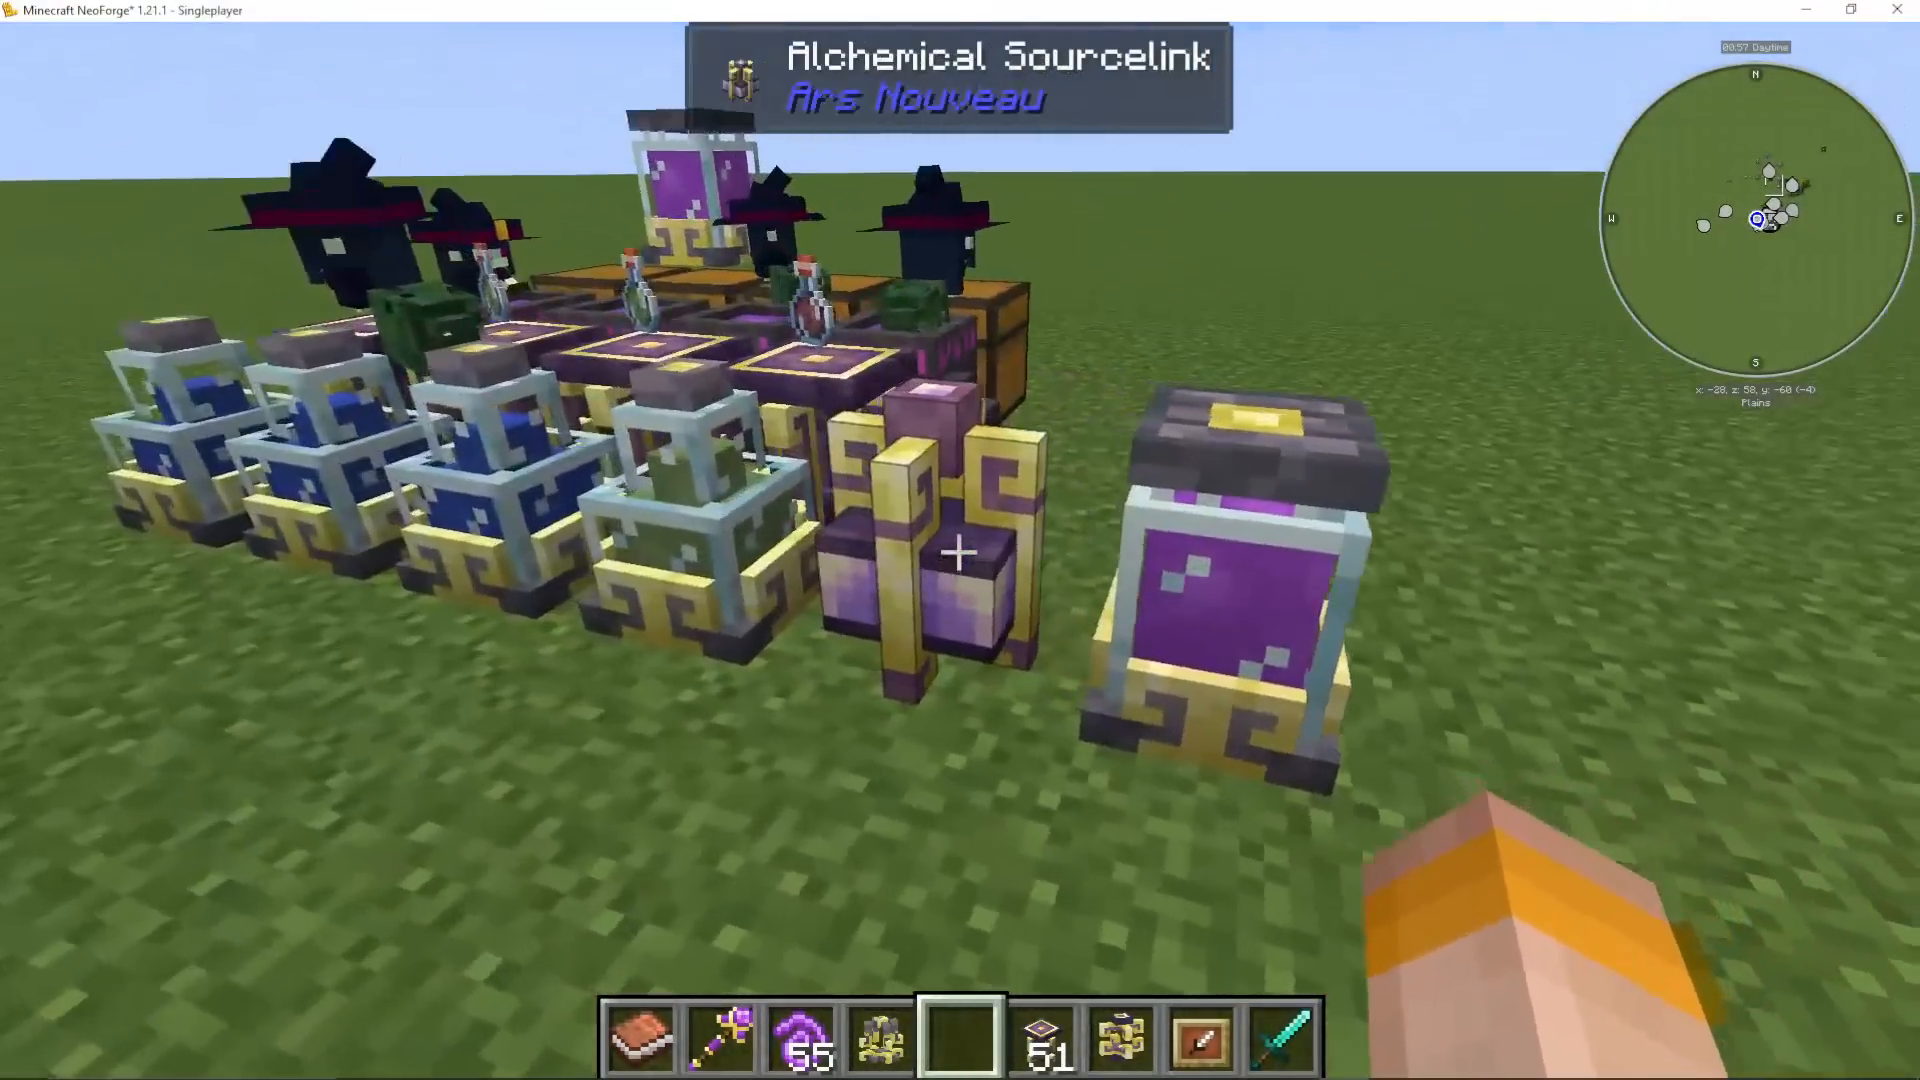
To set up an automated potion pipeline for the Alchemical Source Link, you’ll need Wixie Cauldrons (see the Wixies section below). Chain potions from simple to complex — for example: Awkward Potion → Potion of Poison → Extended Potion of Poison → Potion of Harming → Splash Potion of Harming II — with each stage being handled by a separate Wixie Cauldron. The more complex the final potion, the more Source it yields.
Transporting Source – Relays
Once you’re generating Source in multiple locations, you’ll need to move it around your base. This is done using Source Relays. Craft a relay using a Source Gem Block. Use your Dominion Wand to link Source Jars to relays and relays to other jars — right-clicking sets the “take from” point and shift-right-clicking sets the “send to” point.
There are several relay variants available:
Source Relay – Basic point-to-point transfer.
Source Relay Collector – Automatically collects Source from nearby jars (within 5 yards) without needing manual linking.
Source Relay Depositor – Automatically deposits Source into nearby jars.
Source Relay Splitter – Can take from and transfer to multiple jars simultaneously, with higher throughput than a standard relay.
Source Relay Warp – Transfers Source over much greater distances, though some Source may be lost over very long ranges.
Redstone Relay – A redstone-controlled variant for more complex automation setups.
The Enchanting Apparatus – Advanced Crafting
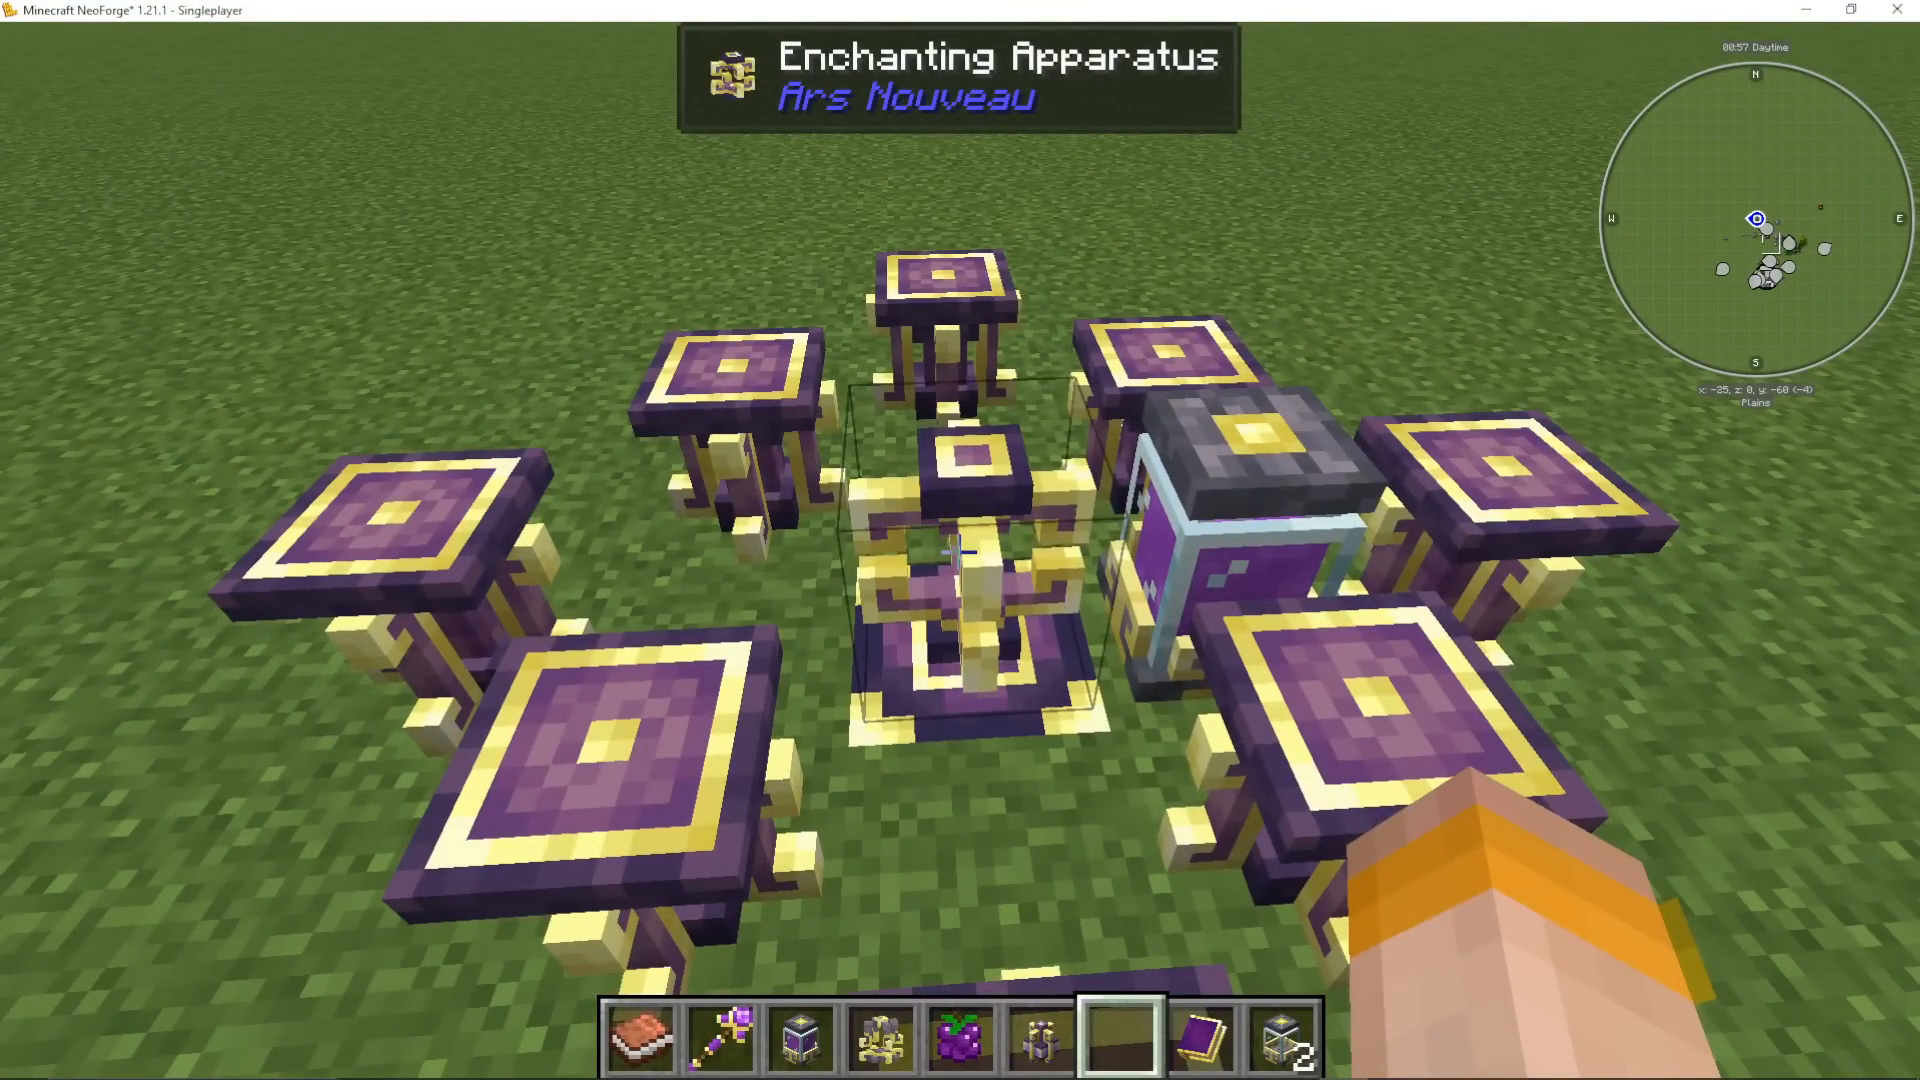
The Enchanting Apparatus is the next tier up from the Imbuement Chamber. It looks similar but handles more complex recipes requiring multiple ingredients on surrounding pedestals. To set it up:
Place the Enchanting Apparatus block.
Craft an Arcane Core (requires Source Gems and Source Stone) and place it beneath the Enchanting Apparatus.
Surround the apparatus with Pedestals — place them on the corners and then one block further out as needed.
Place Source Jars nearby (or above) to power the crafting process.
Crafting a Mage Bloom Seed
The first item you’ll want to make in the Enchanting Apparatus is a Mage Bloom Seed. Place four Source Gems on the surrounding pedestals, right-click a regular Seed into the apparatus, and watch as the materials are consumed to produce a Mage Bloom Seed. Plant it and let it grow into a Mage Bloom.
What Mage Bloom is Used For
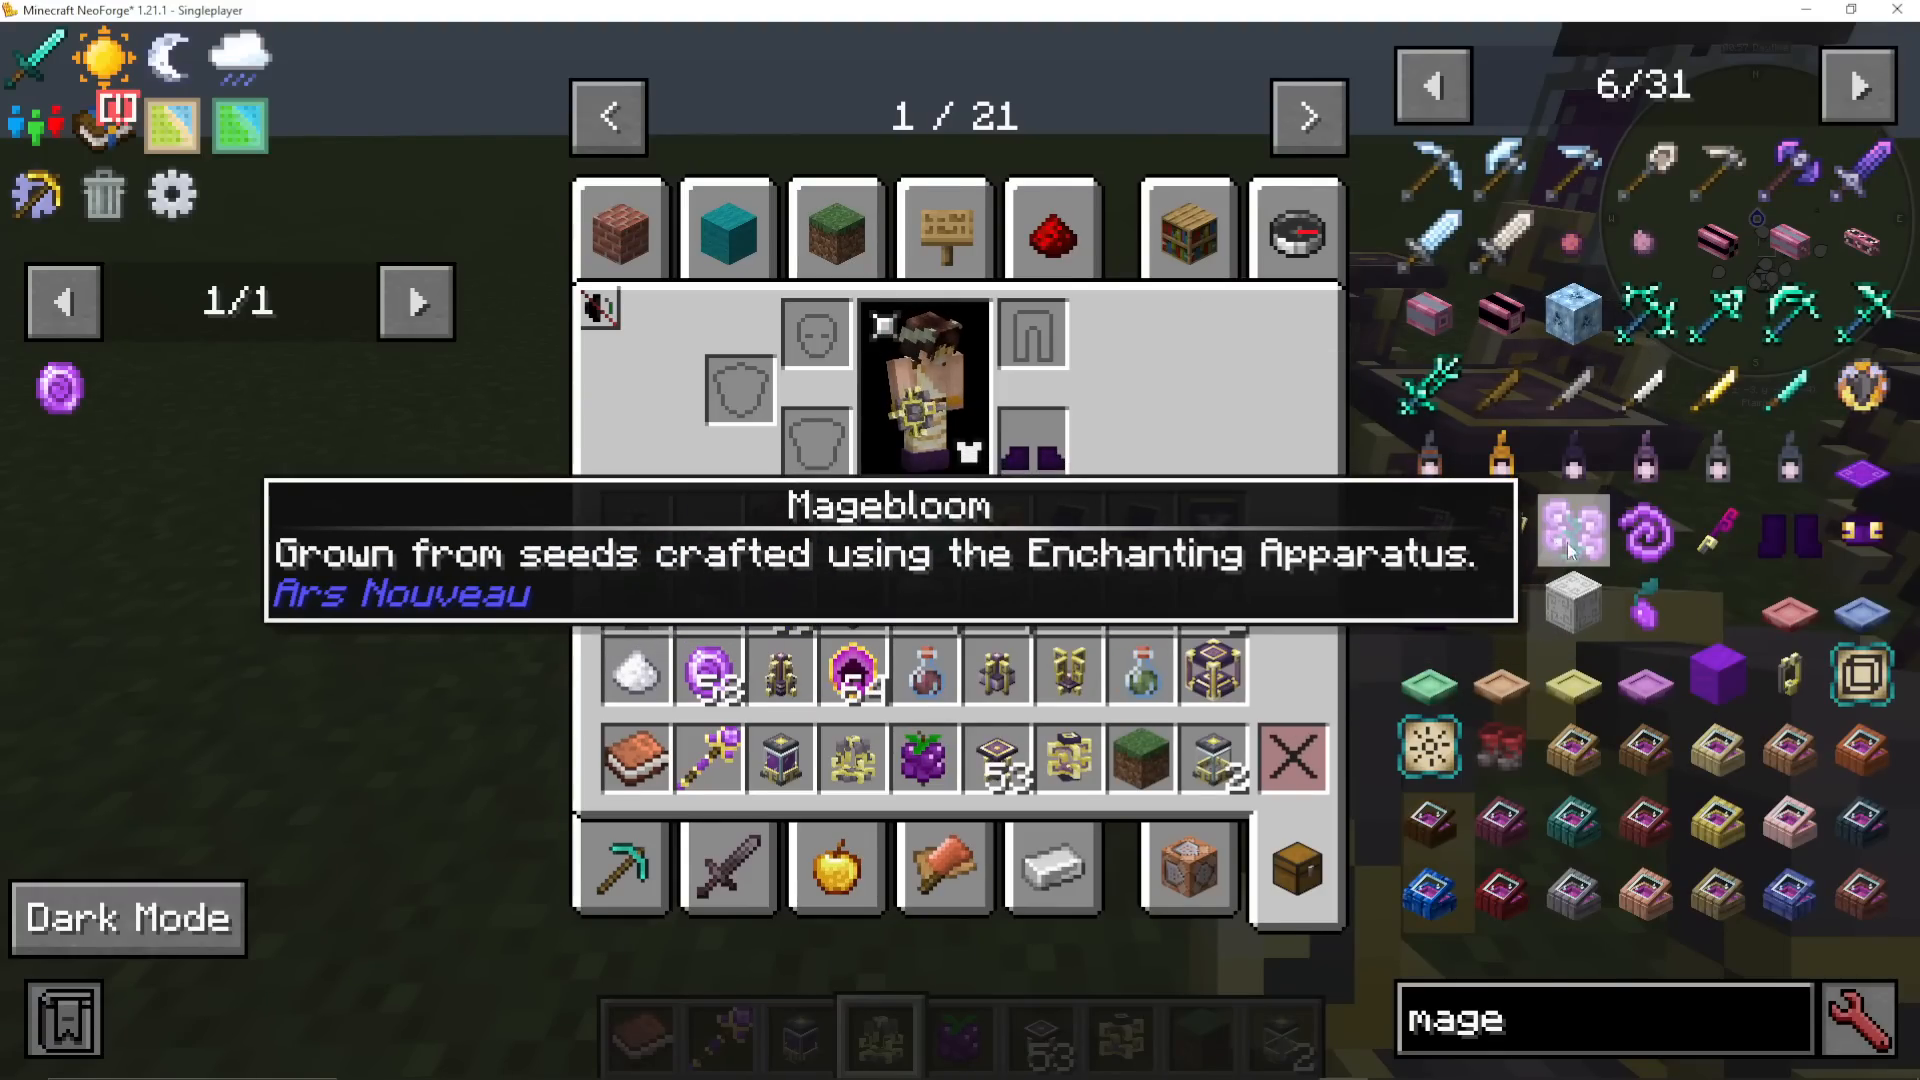
Mage Bloom and its processed form, Mage Bloom Fiber, are used in many recipes throughout the mod:
Source Berry Pie (with source berries, sugar, and egg)
Trinket Pouches
Wixie Hats (lets Starbuncles transport potions)
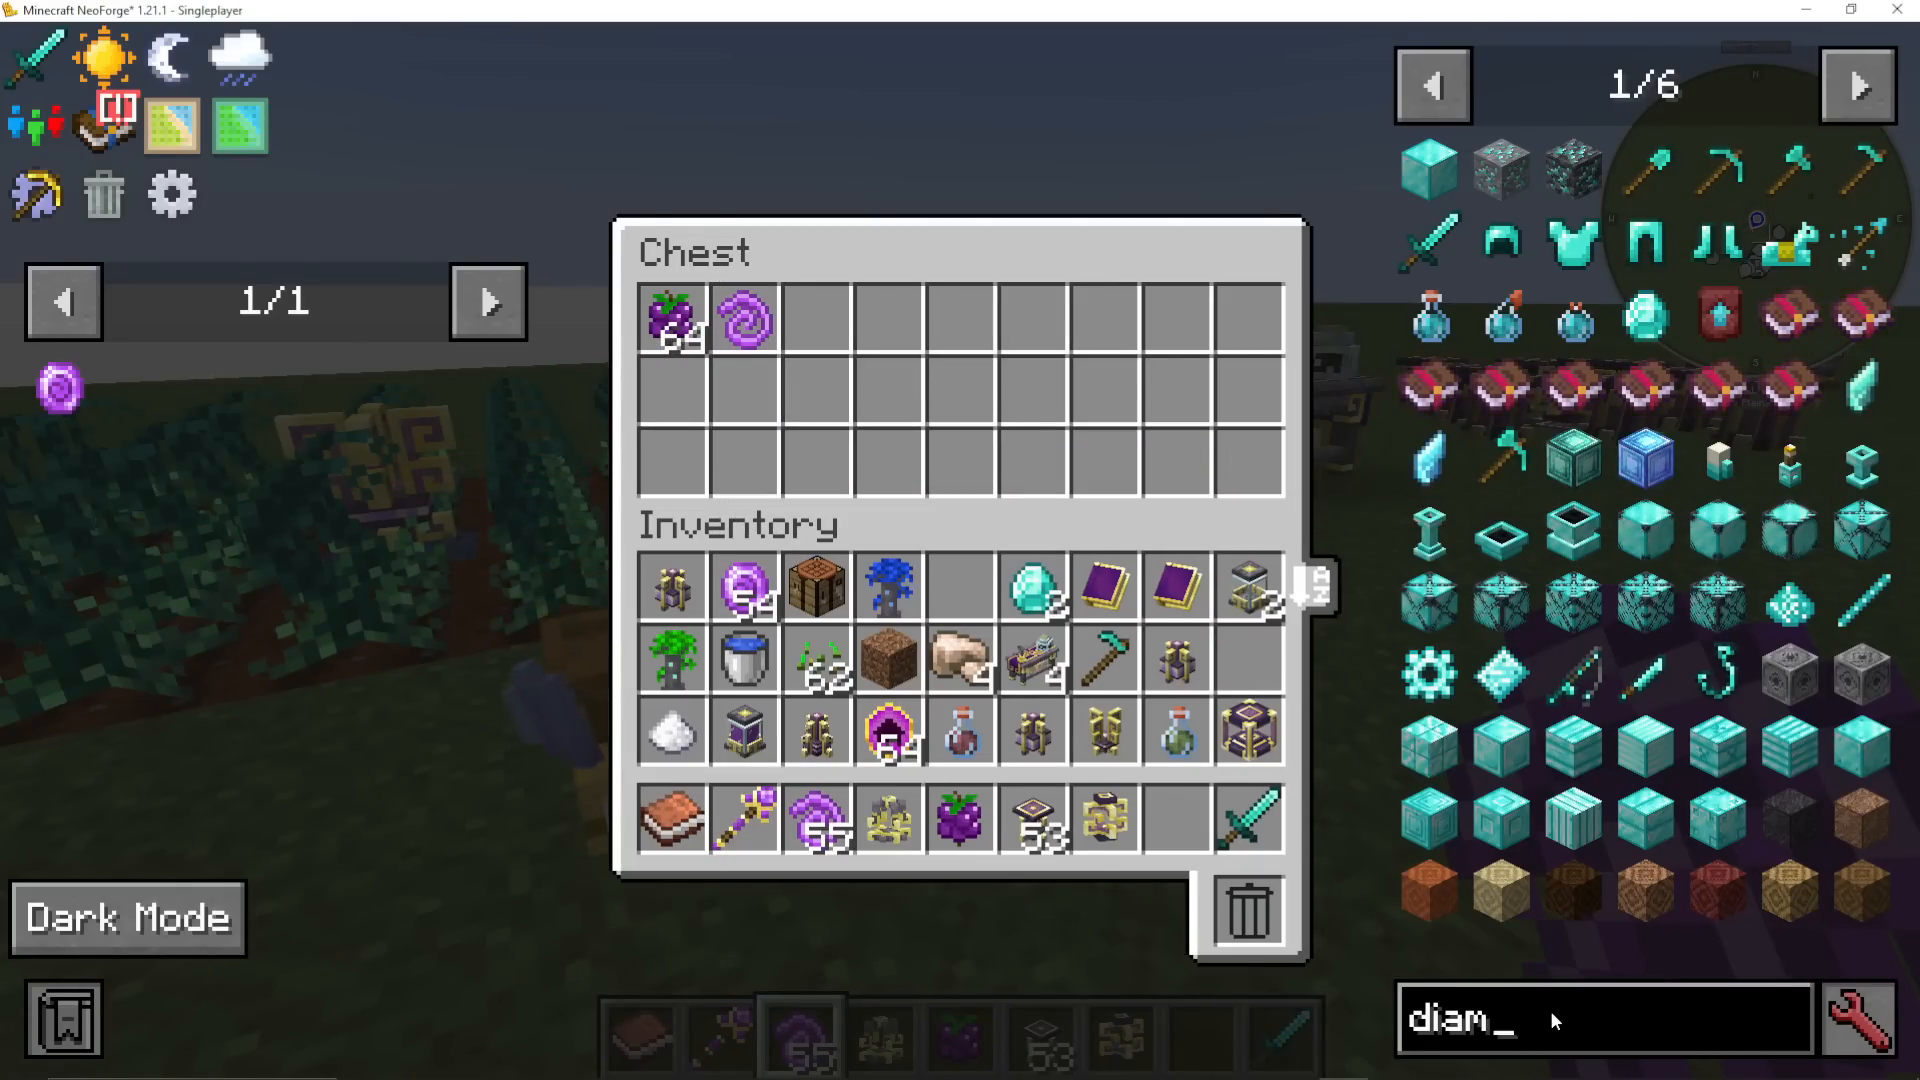
Orange Mage Bloom Beds (used to assign Starbuncle resting spots)
Alteration Tables
Blank Threads (used for gear upgrades)
Gear – Sorcerer’s Set, Arcanist’s Set, and Battle Mage’s Set
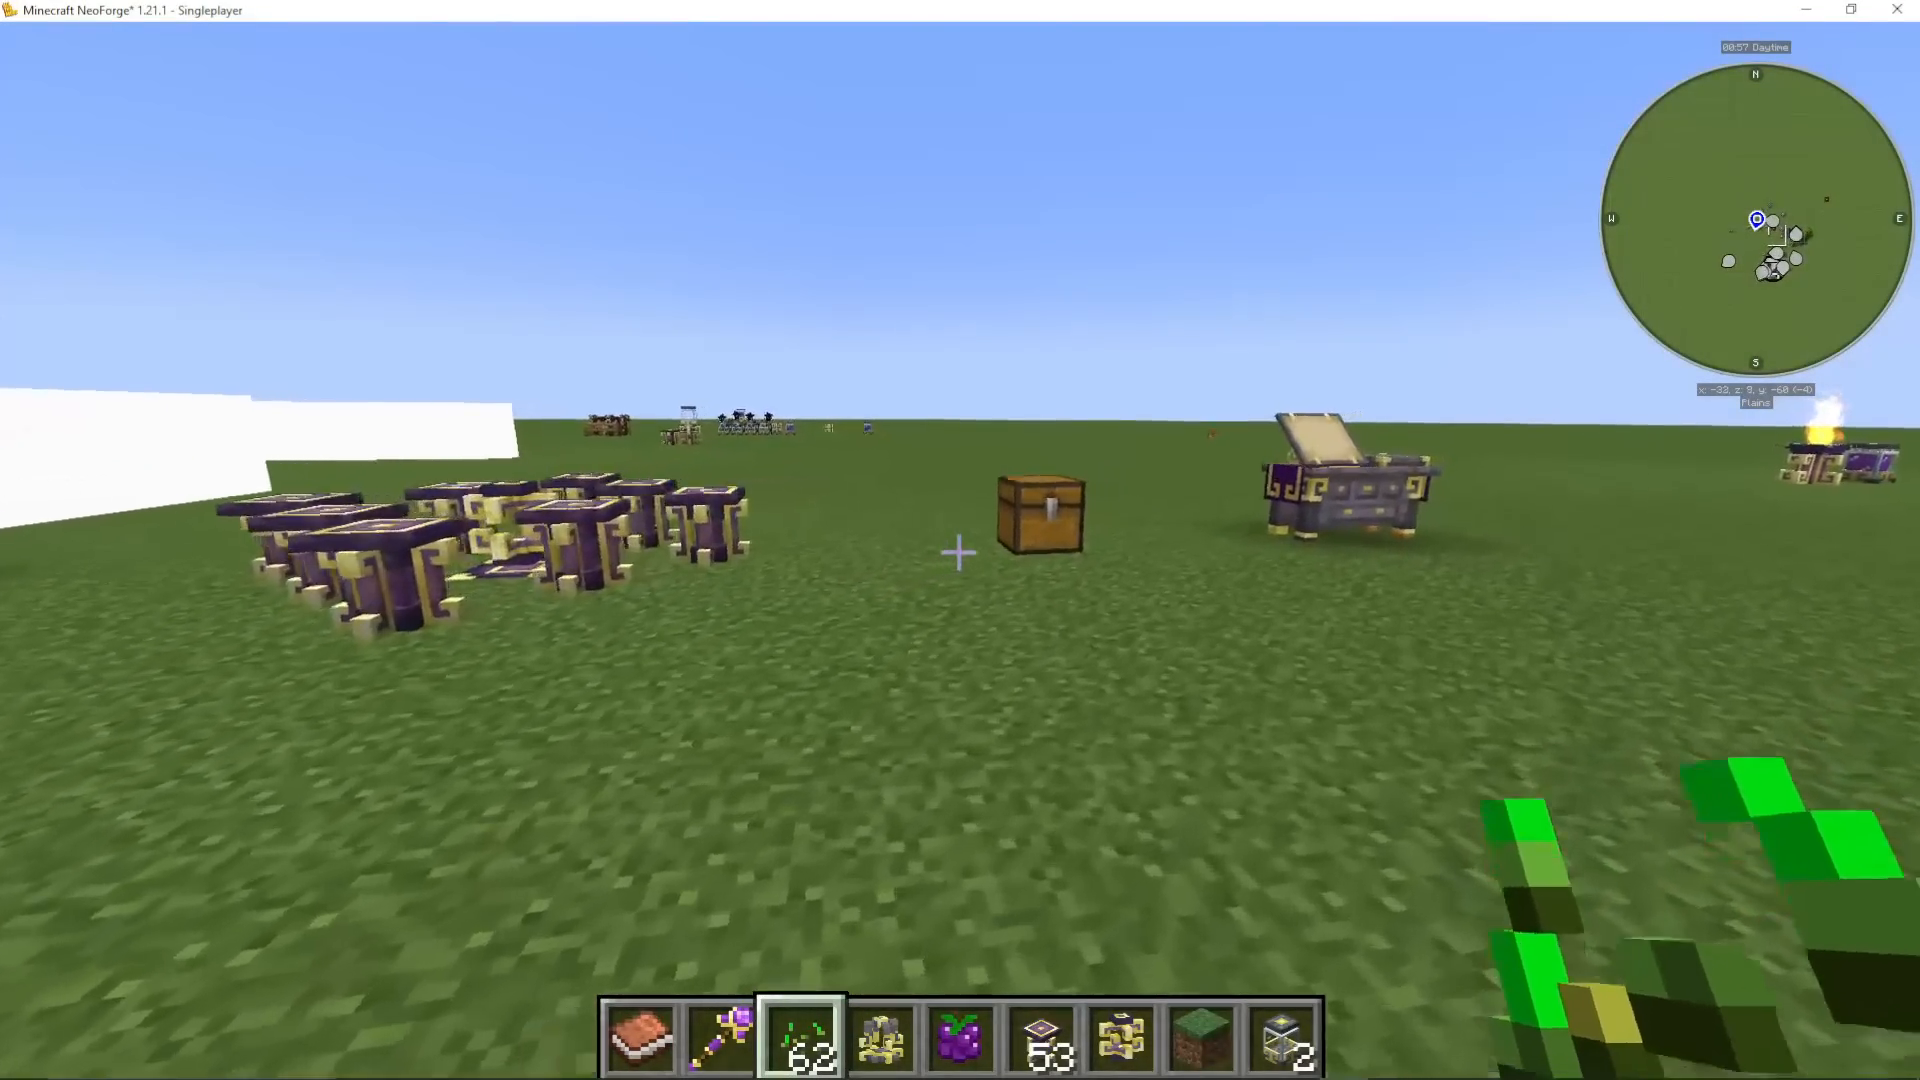
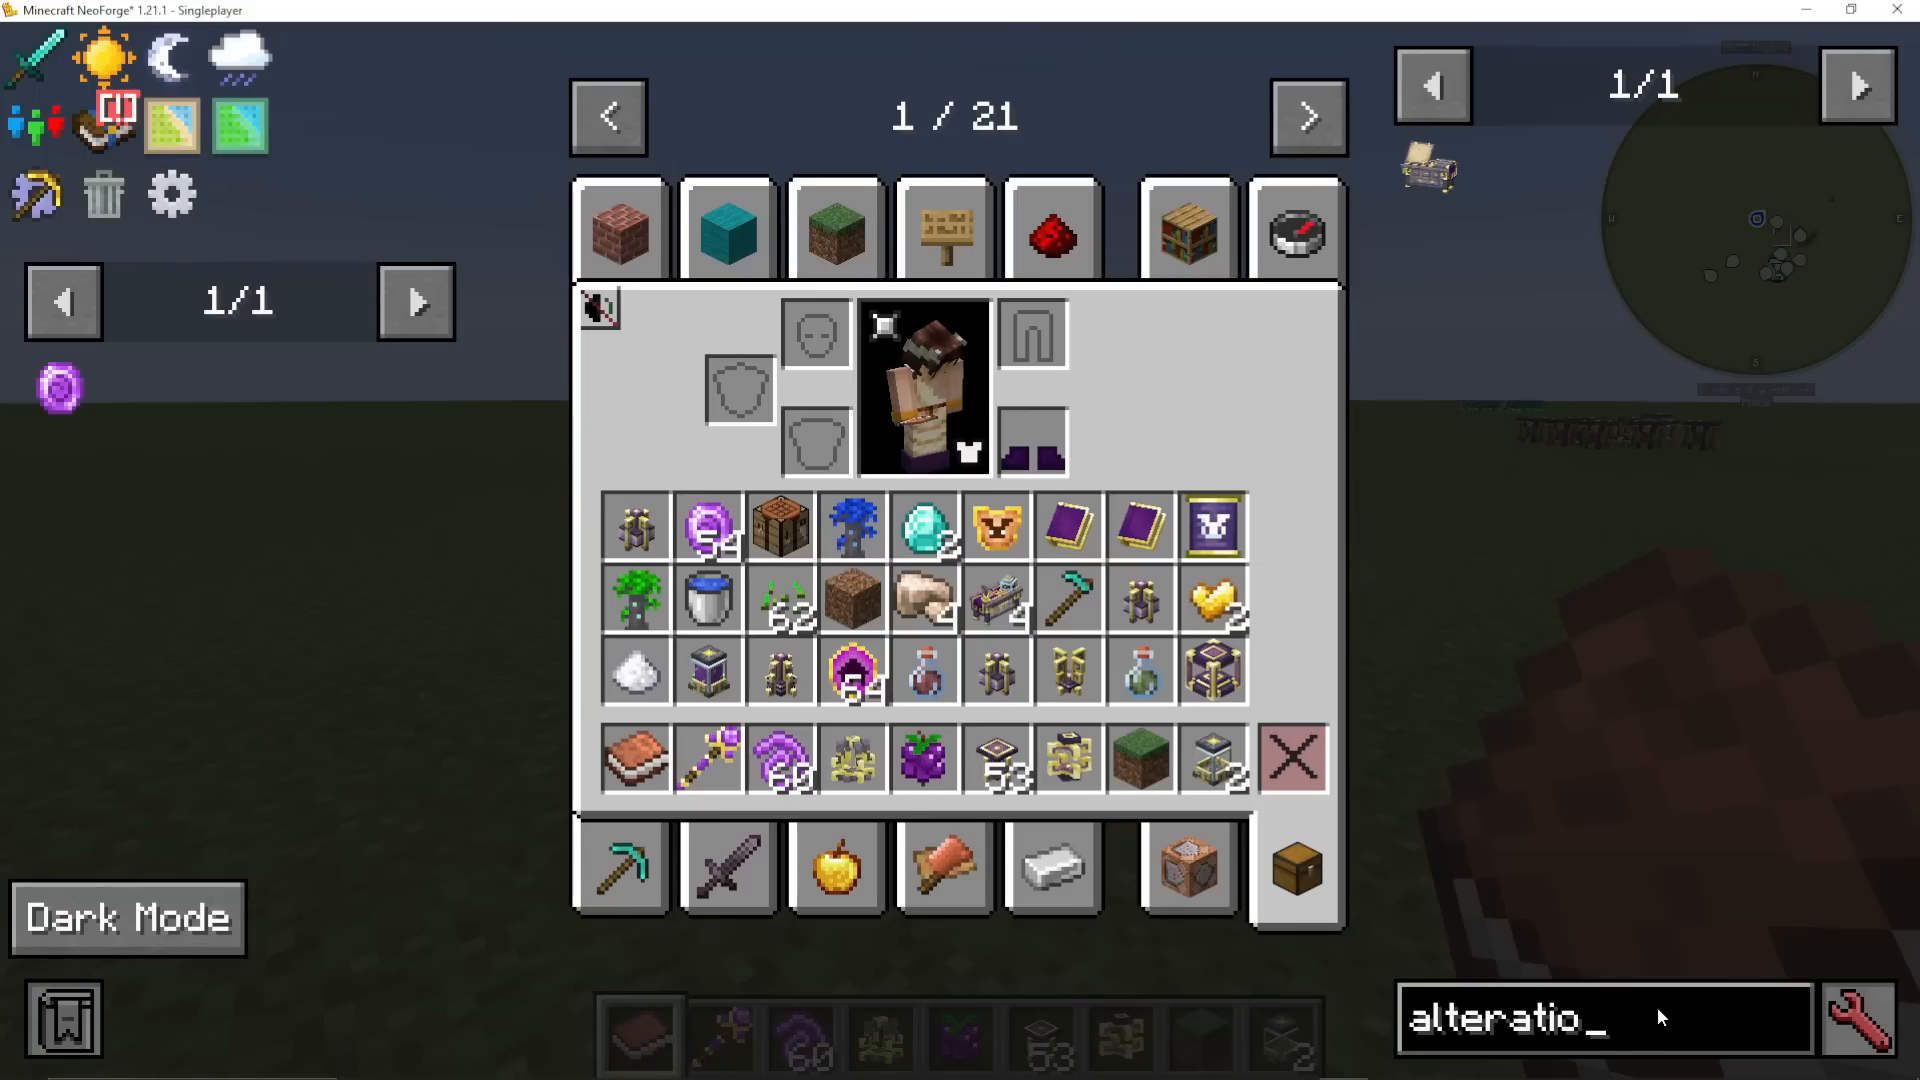
Ars Nouveau includes three unique armour sets. Before you can craft and upgrade them, you’ll need an Alteration Table, which is crafted from four Mage Bloom Fiber and a Scribes Table.
Understanding Gear Tiers and Upgrade Slots
Each piece of armour comes in Tier 1, Tier 2, and Tier 3, and each tier determines what level of thread upgrades it can accept:
Tier 1 Head – One Tier 1 upgrade slot.
Tier 2 Head – One Tier 1 and one Tier 2 upgrade slot.
Tier 3 Head – One Tier 1, one Tier 2, and one Tier 3 upgrade slot.
Tier 1 Chest – One Tier 2 upgrade slot.
Tier 2 Chest – One Tier 2 and one Tier 3 upgrade slot.
Tier 3 Chest – Two Tier 2 and one Tier 3 upgrade slots.
The TLDR: higher-tier gear gives you more and better upgrade slots.
Crafting the Sorcerer’s Set
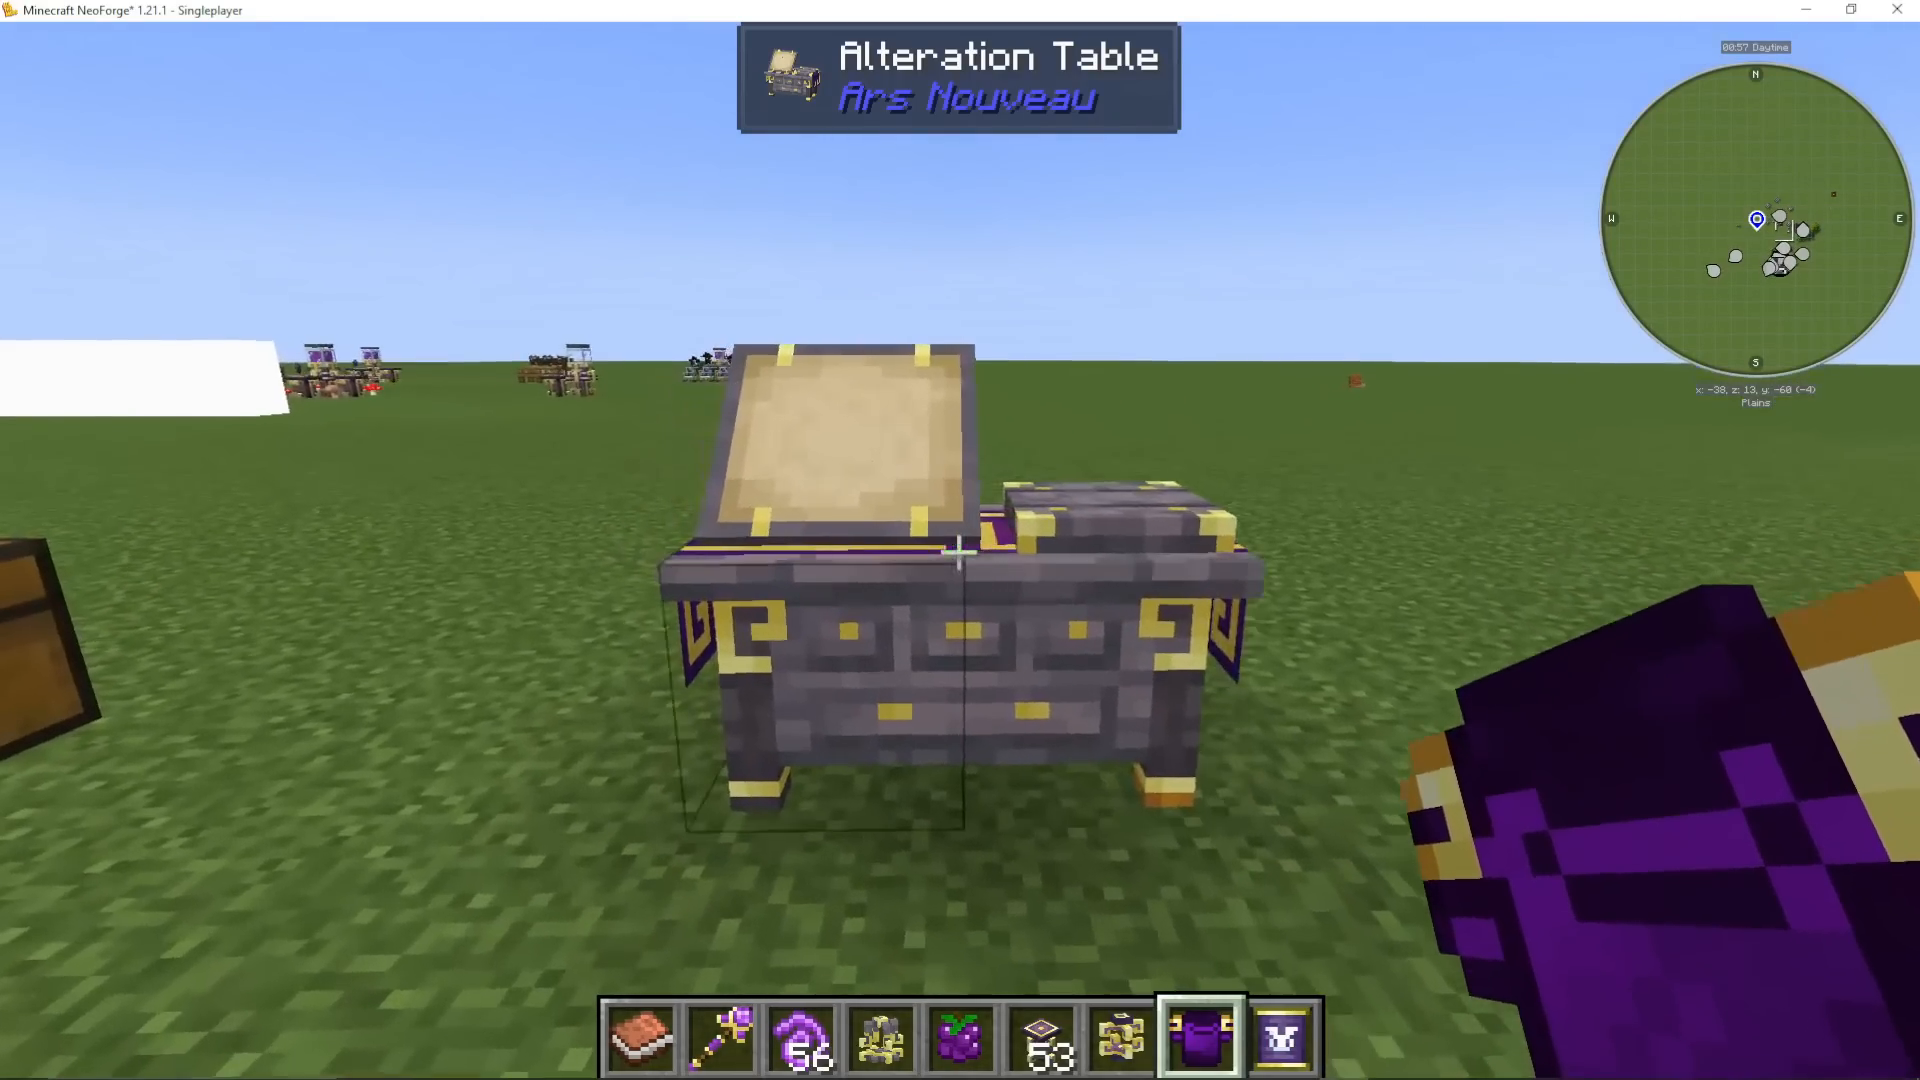
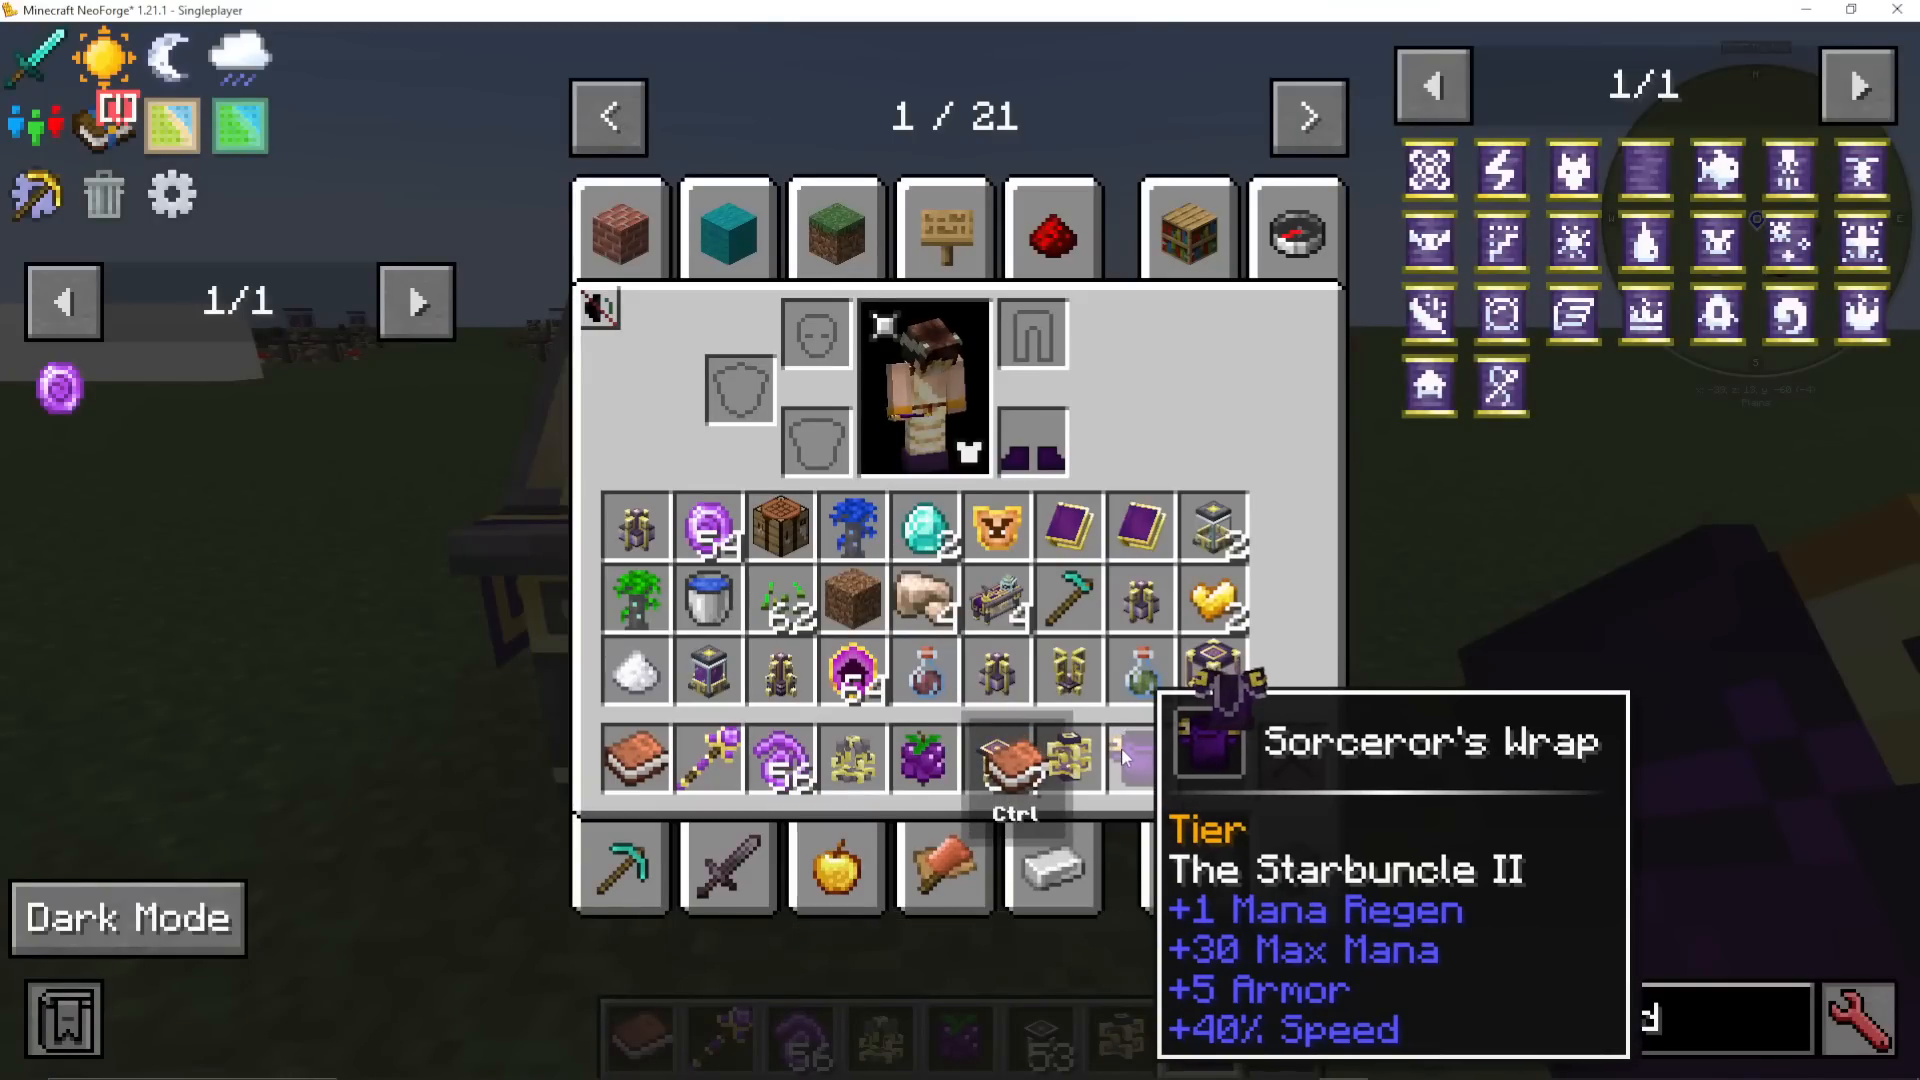
To make a piece of Sorcerer’s Armour, place four Mage Bloom Fiber on the pedestals around the Enchanting Apparatus, then right-click the corresponding gold armour piece (helmet, chestplate, leggings, or boots) into the apparatus. The output is your Sorcerer’s armour piece, which provides bonus mana regen, increased max mana, and some armour protection.
Crafting and Applying Threads (Upgrades)
To upgrade your gear, you use Threads. Start by crafting a Blank Thread using Mage Bloom Fiber and Gold Nuggets. You then convert the Blank Thread into a specific upgrade thread using the Enchanting Apparatus with the appropriate surrounding ingredients. Some thread examples:
Thread of Warding – Reduces magic damage taken (flat reduction per level). Requires 8 Mage Bloom Fiber around the Blank Thread.
Thread of the Starbuncle – Increases player movement speed by 20% per level.
To apply a thread, right-click your armour piece into the Alteration Table, then right-click the thread onto the table. The thread is now applied. To remove a thread, place the armour back in the table and right-click the thread again — it will be removed cleanly.
Remember: a Tier 1 chest piece gets a Tier 2 upgrade slot, meaning the Thread of the Starbuncle (a Tier 2 thread) will grant 40% speed (double the per-level bonus) because it fills the entire Tier 2 slot. A helmet or boots would only give 20% since they have a Tier 1 slot.
Upgrading Gear to Tier 2 and Tier 3
To upgrade a piece of gear to Tier 2, place it in the Enchanting Apparatus with 2 Blaze Rods and 2,500 Source. To upgrade from Tier 2 to Tier 3, you’ll need 5,000 Source, 2 Ender Pearls, and a Chorus Fruit.
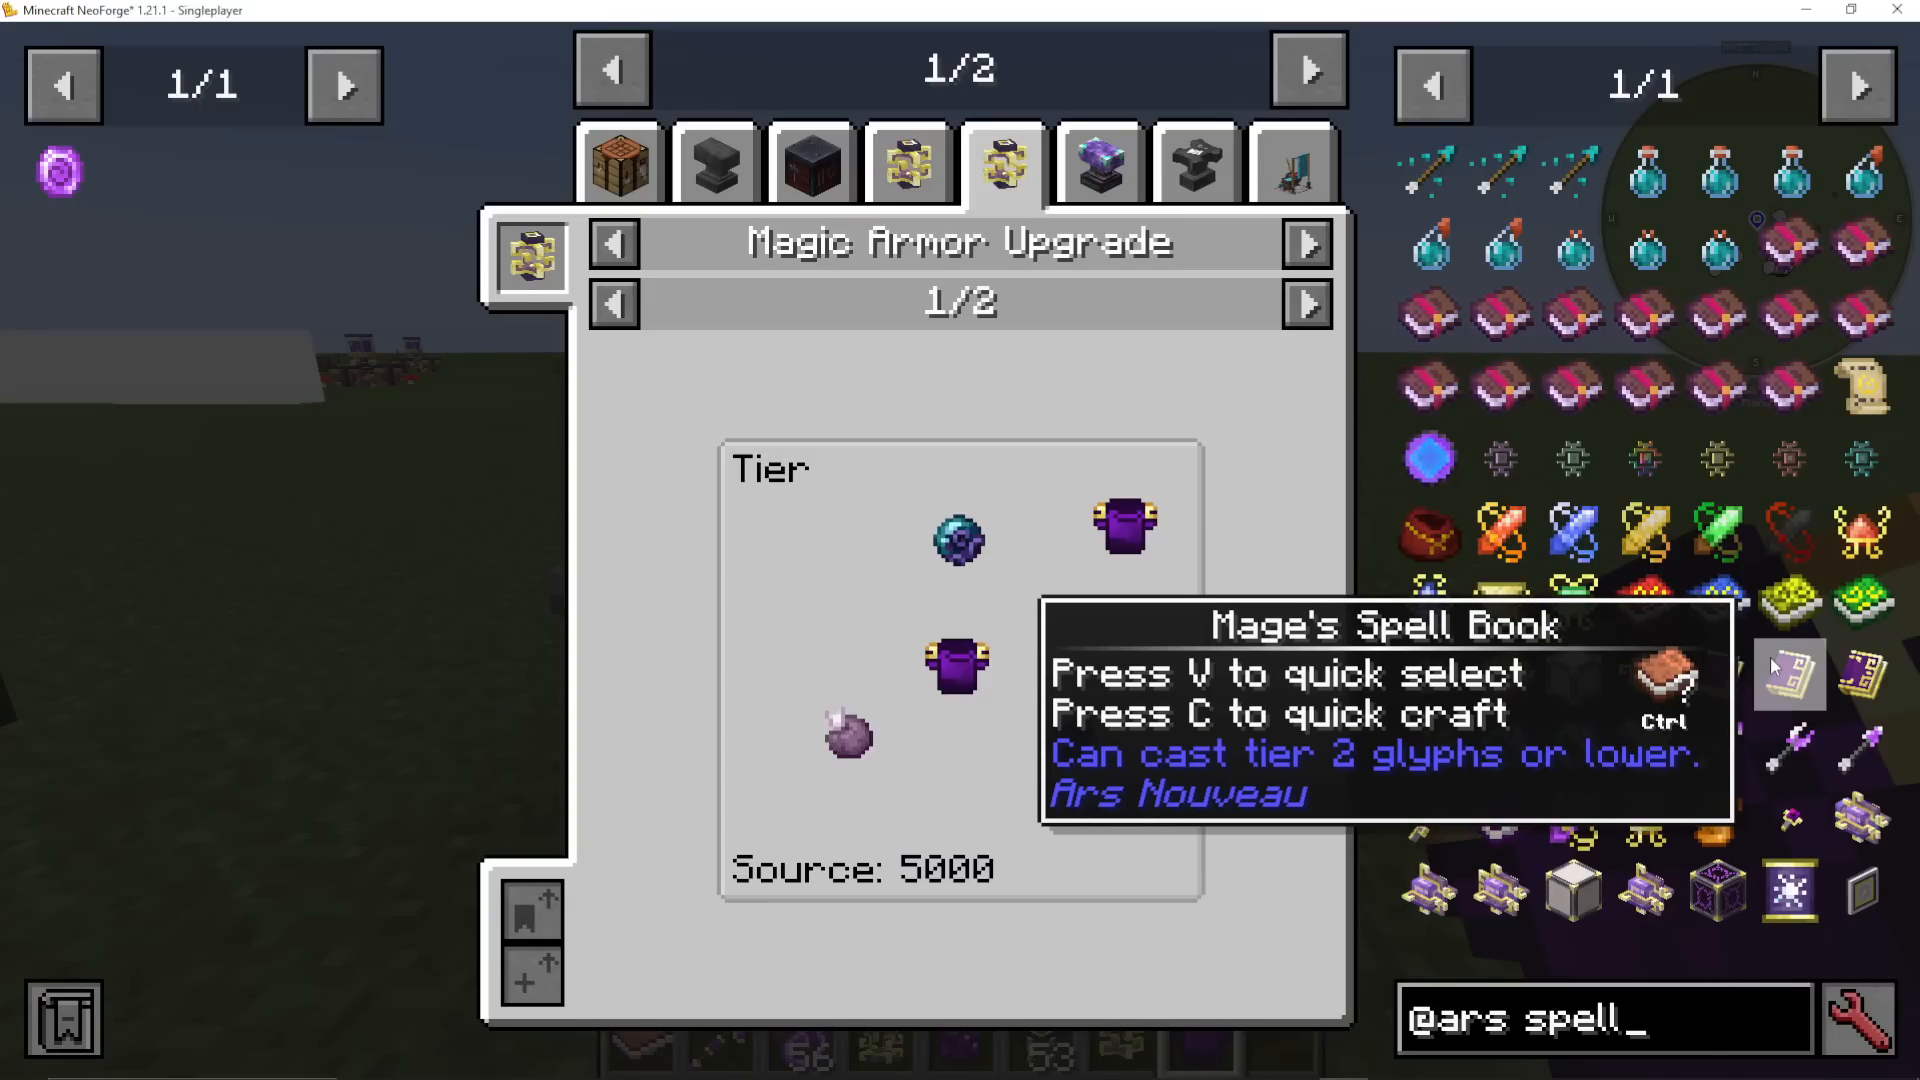
Upgrading Your Spellbook
Just like gear, your Spellbook can be upgraded through three tiers:
Novice Spellbook (Tier 1) – Casts Tier 1 glyphs or lower.
Mage’s Spellbook (Tier 2) – Casts Tier 2 glyphs or lower. Requires 2 Blocks of Quartz, some Diamonds, and other materials (varies by modpack — in ATM10, these are the requirements).
Archmage’s Spellbook (Tier 3) – Requires rarer materials including a Nether Star and a Wilderness Tribute, obtained by defeating the Wilderness Chimera via the Ritual of Summon Wilderness.
As a bonus, you can also dye your Spellbook any colour you like.
Starbuncles – Automation Companions
Starbuncles are adorable fox-like creatures that naturally spawn in wooded areas. They’re skittish around players, but you can win them over with a Gold Nugget. Drop a nugget near one and it will run toward it, pick it up, vanish, and leave behind a Starbuncle Token.
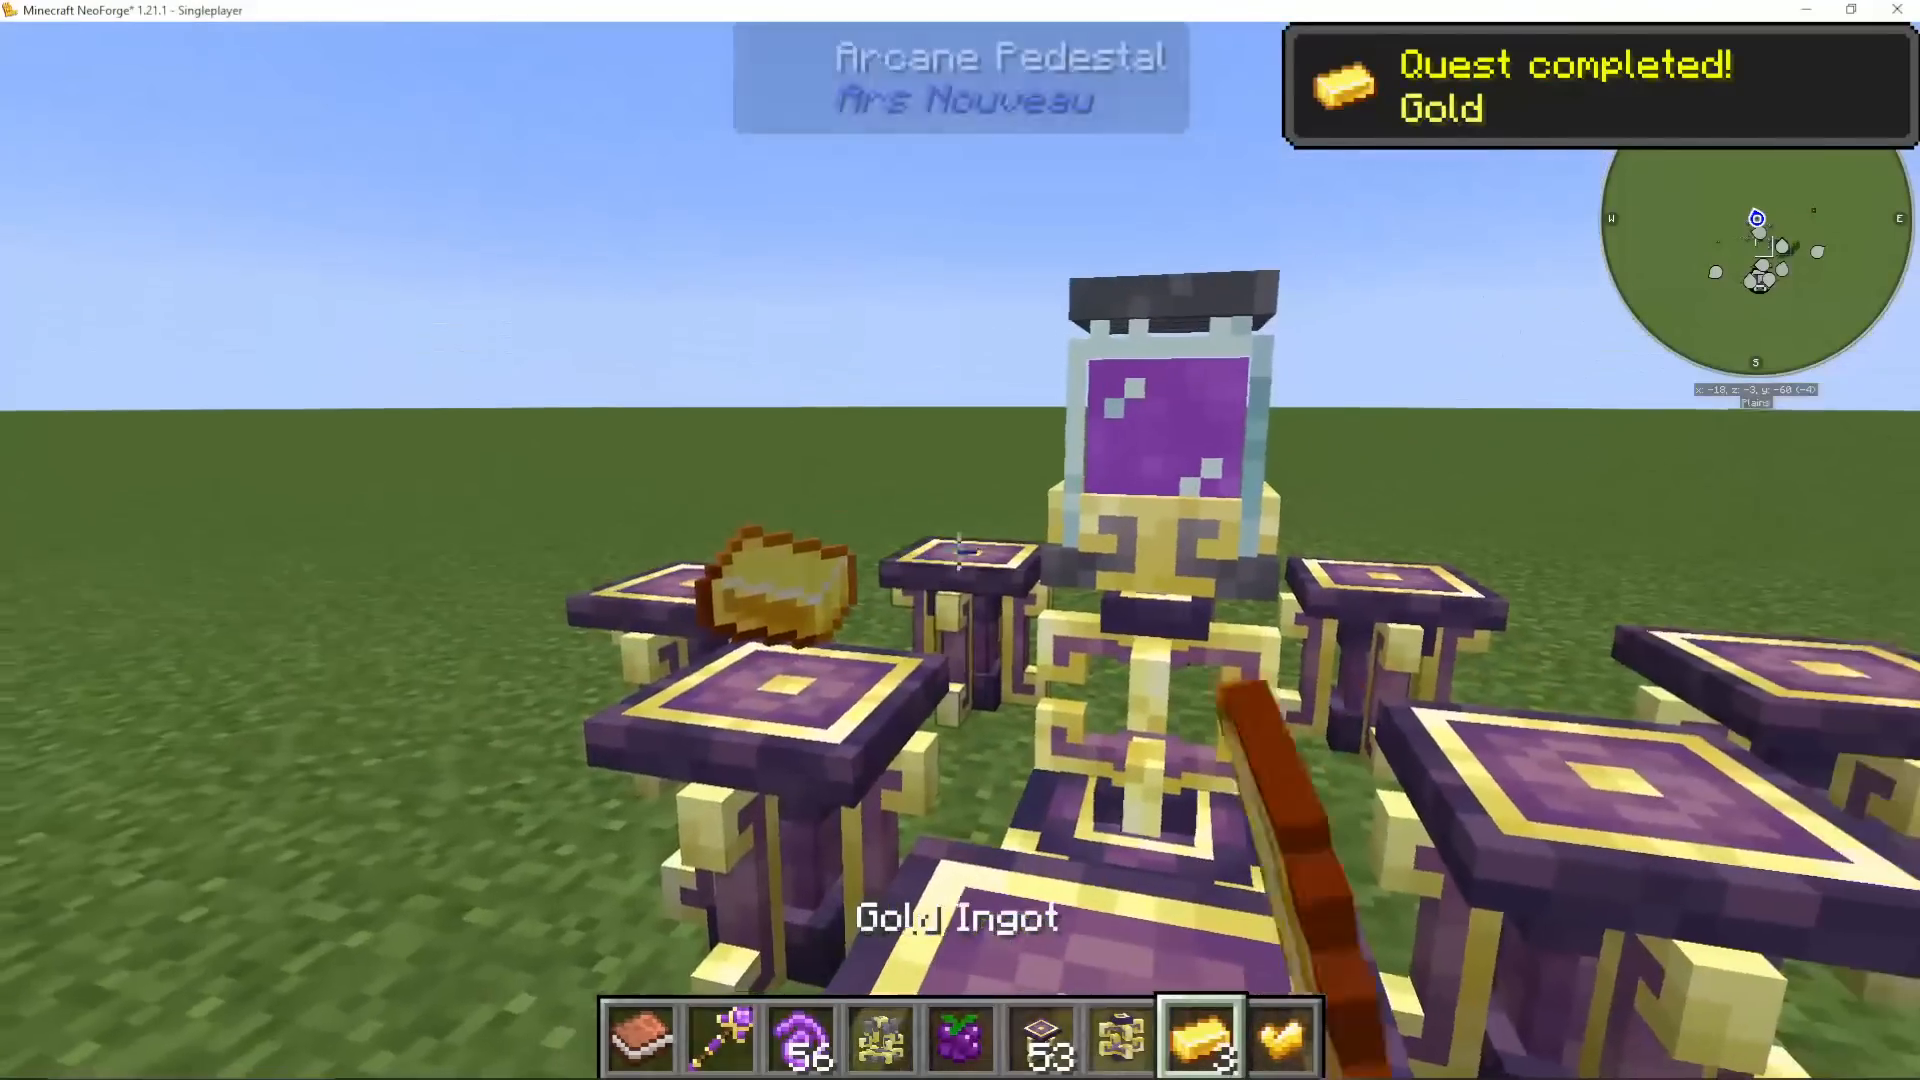
Take the Starbuncle Token to your Enchanting Apparatus, place 4 Gold Ingots on the pedestals, insert the token, and craft a Starbuncle Charm.
The Dominion Wand
To control Starbuncles, you need a Dominion Wand — crafted in the Enchanting Apparatus. Think of automation with Starbuncles as assigning two points: Point 1 (take from) and Point 2 (deliver to).
Right-click the Starbuncle first (since it has no inventory interface).
Shift-right-click the destination chest to assign the delivery target.
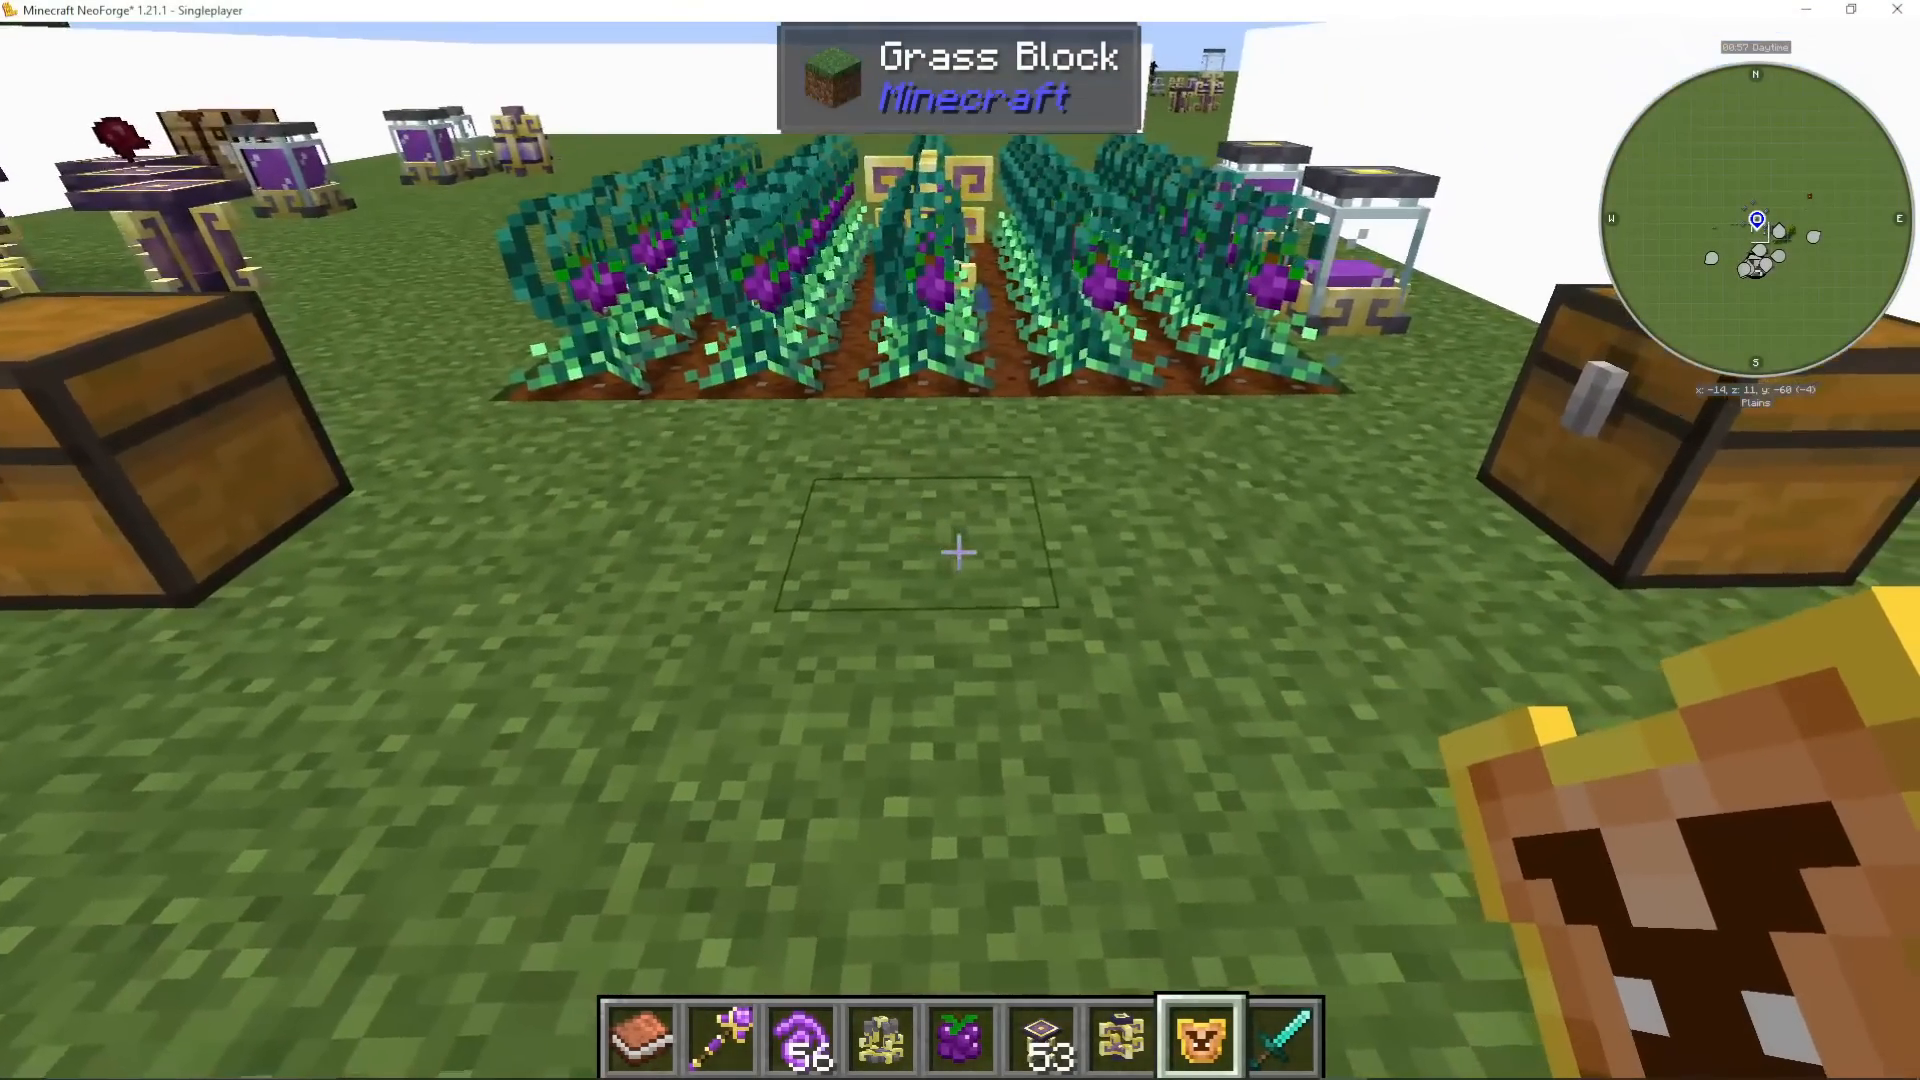
Starbuncles will automatically harvest Source Berries without being told — so assigning them a chest destination is all you need to automate your Source Berry farm.
Filtering Starbuncle Deliveries
To filter what a Starbuncle delivers to a specific chest, place an Item Frame on that chest and put the desired item in the frame. The Starbuncle will now only deposit that item type into the filtered chest. You can give a single Starbuncle multiple tasks by assigning them additional point pairs. To clear all tasks from a Starbuncle, shift-right-click it with the Dominion Wand.
Mage Bloom Beds
Craft an Orange Mage Bloom Bed and assign it to a Starbuncle (right-click the Starbuncle, then shift-right-click the bed). When the Starbuncle has no active tasks, it will rest in the bed — keeping it out of harm’s way and clear of other farm machinery.
Wixies – Potion Brewing Automation
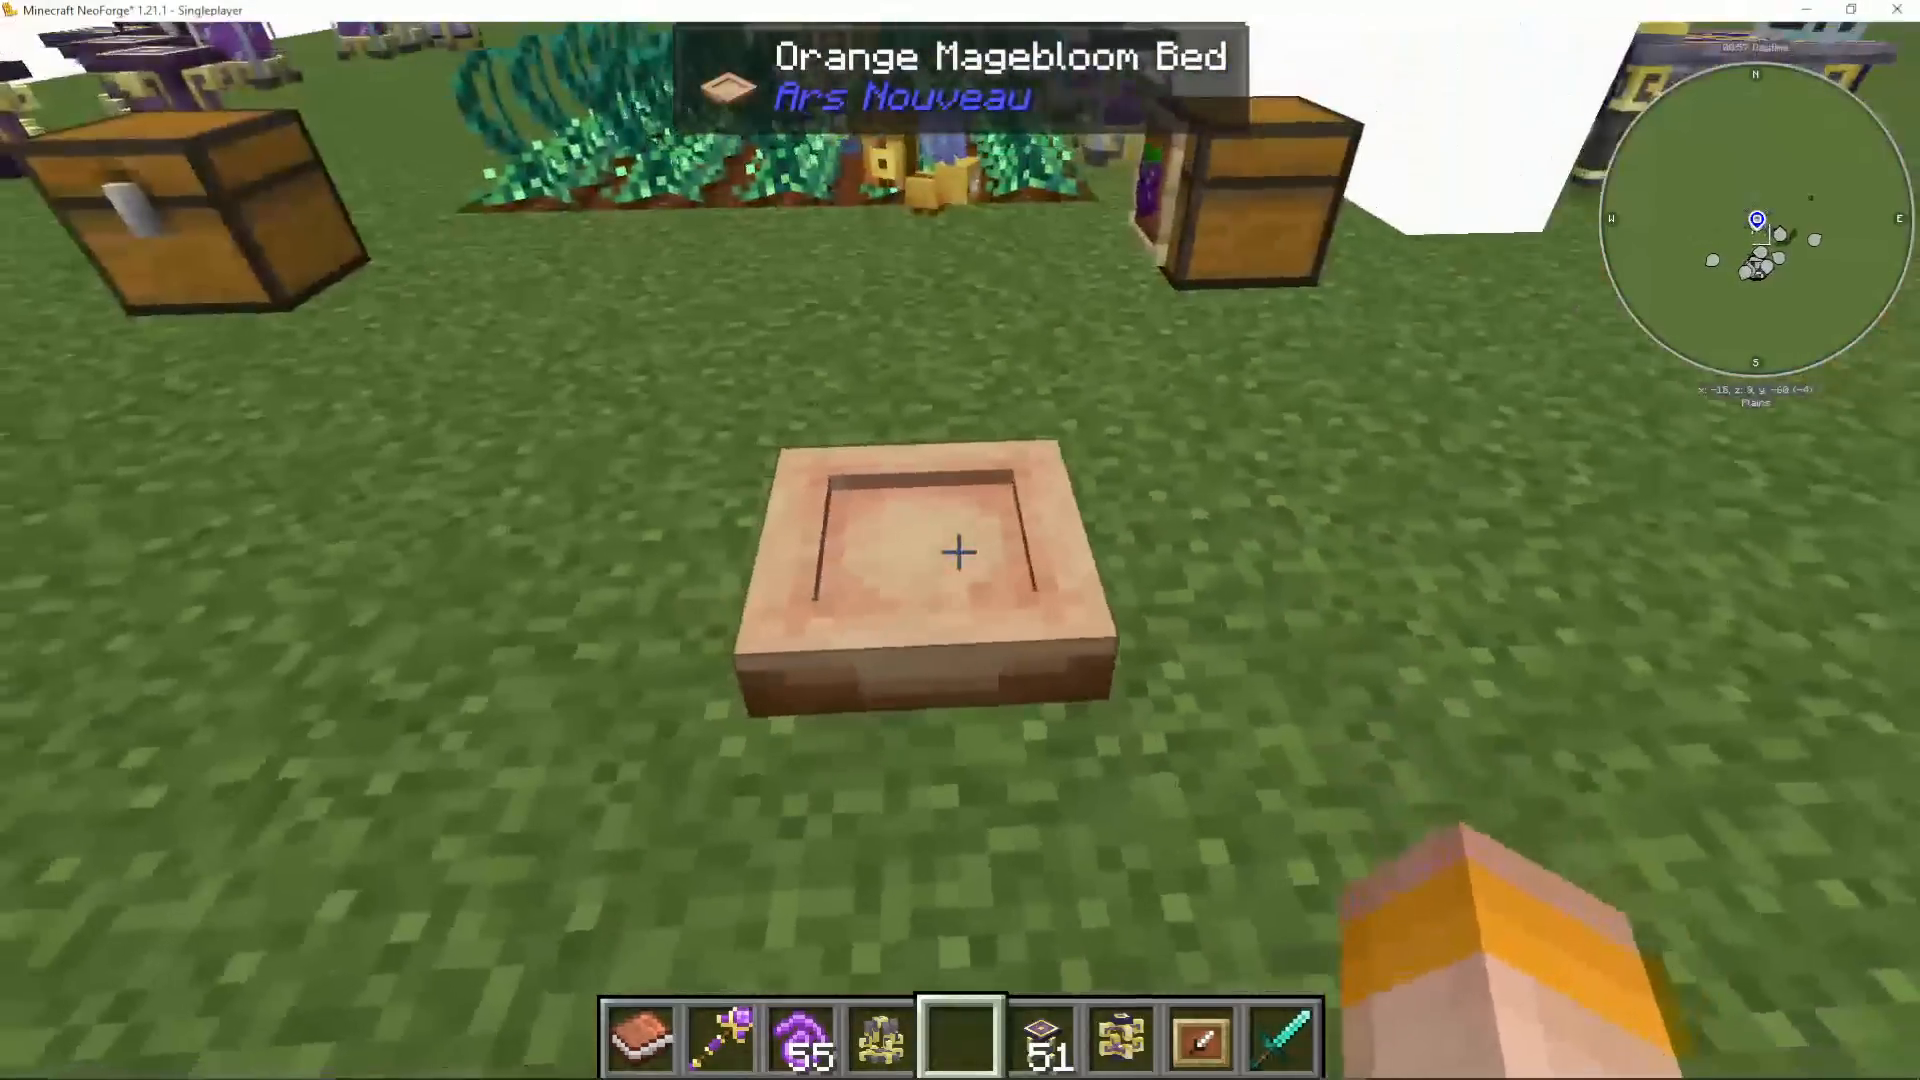
Wixies are magical potion-brewing companions. To obtain one, you need to cast a Dispel spell on a Witch that is at half health or below. The Dispel glyph is unlocked at the Scribes Table and requires 3 Buckets of Milk and an Abduction Essence.
Creating the Dispel Spell and Getting a Wixie Token
Build a spell with Projectile as the form and Dispel as the effect. Save it to a slot. Find a Witch, reduce it to below half health with a weapon, then fire the Dispel spell at it. If successful, the Witch drops a Wixie Token.
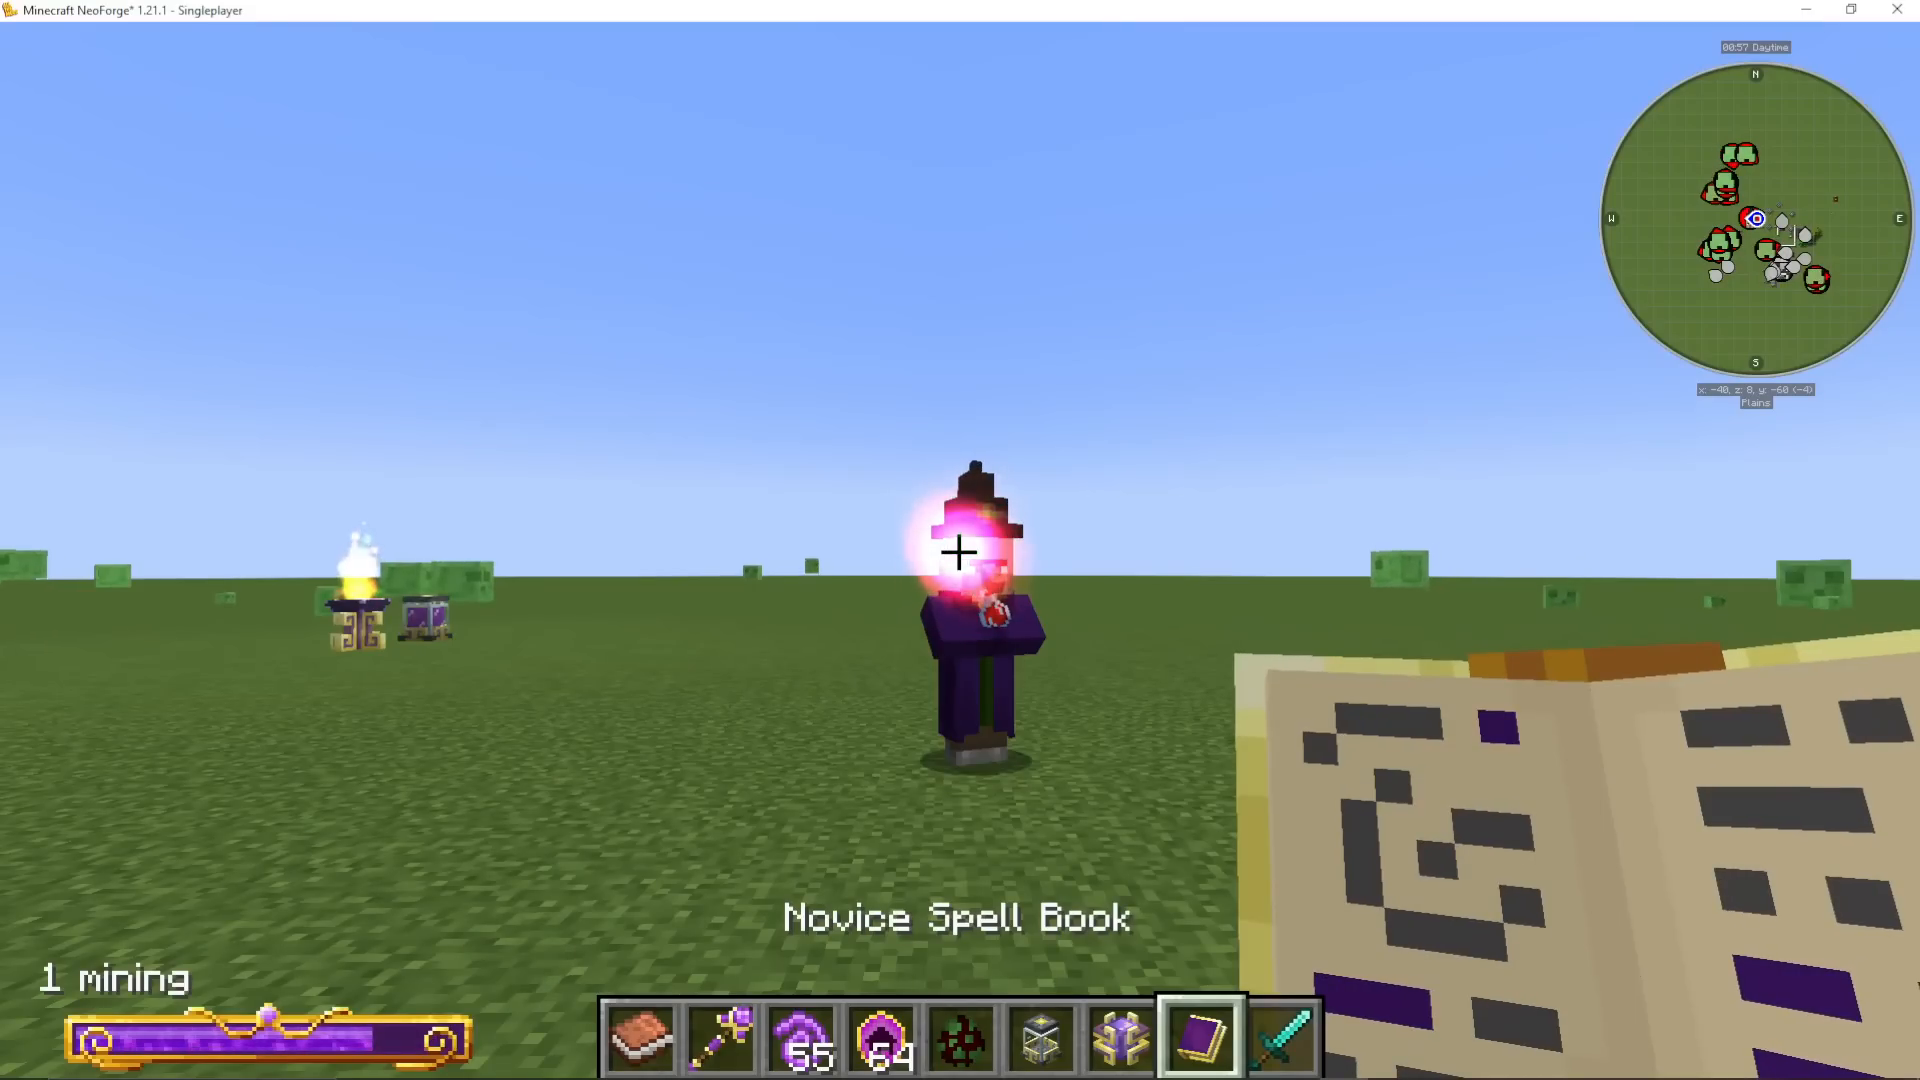
Take the Wixie Token to the Enchanting Apparatus and surround it with a Sapling, an Emerald, a Crafting Table, and a Brewing Stand to produce a Wixie Charm. Right-click the charm onto a Cauldron to summon your Wixie and transform it into a Wixie’s Cauldron.
Setting Up Wixie Brewing
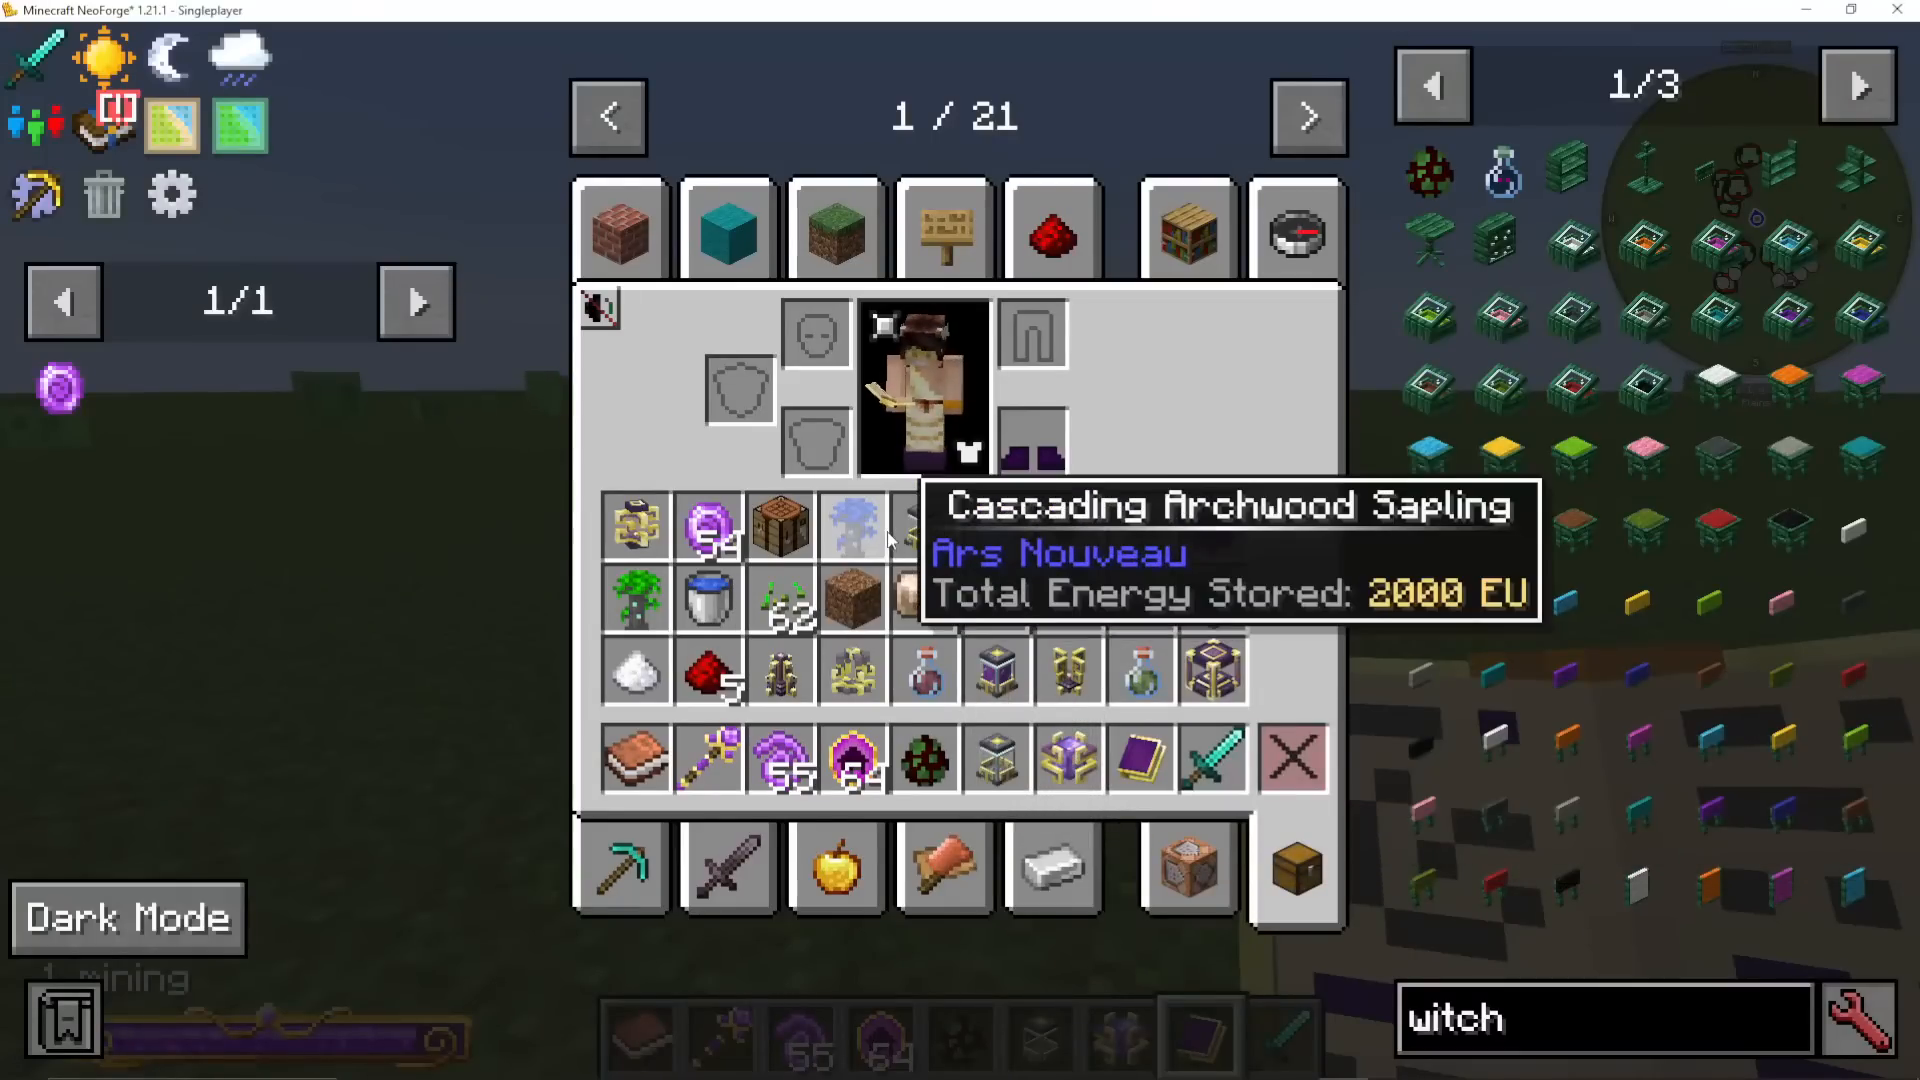
Wixies will automatically provide water — no Glass Bottles needed since you’ll use Potion Jars. To assign a brewing recipe:
Place an Arcane Pedestal in front of the Wixie’s Cauldron with the desired potion recipe item on it (e.g. Awkward Potion).
Place a chest nearby with the required ingredients (e.g. Nether Wart).
With the Dominion Wand, shift-right-click the chest and then shift-right-click the Wixie’s Cauldron to bind the inventory.
Ensure a Source Jar is nearby — Wixies need Source to brew.
The Wixie will fetch ingredients from the bound chest and brew potions into the nearby Potion Jar. Wixies can also handle any type of crafting recipe, not just potions — the setup is the same.
To lock the current recipe in a Potion Jar so it isn’t accidentally changed, shift-right-click the Potion Jar with the Dominion Wand.
Familiars – Companions That Follow You
There is an important distinction in Ars Nouveau between summoning creatures (placing them in the world to automate tasks) and binding them as a Familiar (a companion that follows you and gives you passive bonuses). To bind a creature as a Familiar, you use the Ritual of Binding.
All Available Familiars and How to Obtain Them
Starbuncle
Drop a Gold Nugget near a wild Starbuncle to receive a Starbuncle Token. Craft a Starbuncle Charm in the Enchanting Apparatus using 4 Gold Ingots + the token. As a familiar, the Starbuncle grants you Speed II. You can also use a Gold Nugget on your Starbuncle familiar to give yourself a short-duration Scrying for Gold effect.
Wixie
Cast Dispel on a Witch at half health or below for a Wixie Token. Craft the Wixie Charm in the Enchanting Apparatus with a Sapling, Emerald, Crafting Table, and Brewing Stand. As a familiar, the Wixie increases the duration of potions you consume.
Whirlisprig
Found exclusively in forested areas. Befriend one by growing a tree (plant a sapling and bone meal it) near a wild Whirlisprig — it will drop a Whirlisprig Totem. Craft a Whirlisprig Charm in the Enchanting Apparatus. To summon it in the world, use the charm on a Flower — this becomes its home (10 blocks in any direction). Place a Chest next to the flower and keep a Source Jar nearby; it will generate natural materials like wood, crops, seeds, and flowers. Its output depends on its happiness, which is influenced by the diversity of natural blocks within its home radius. As a familiar, the Whirlisprig reduces the Source cost of Earth glyphs by half and grants bonus saturation from food.
Siren
Found in warmer ocean biomes, jumping in and out of the water. Give one a Seapickle and it will leap and leave behind a Siren Token. Craft the Siren Charm in the Enchanting Apparatus. Use the charm on a block of Prismarine to transform it into a Siren Shrine — this generates fishing loot over time at the cost of Source. More aquatic plants and animals around the shrine improve loot quality. Tamed Sirens can change colour if given kelp or coral. As a familiar, the Siren increases the damage of Water spells.
Flamecow (Flame Cannon Charm)
A wandering sentry that patrols an assigned area (set with the Dominion Wand) and fires flaming projectiles at enemies. Its appearance can be changed using Soul Sand and Magma Blocks.
Drygmy
Found wandering anywhere, though somewhat rarely. Befriend one by throwing a Wilden Horn near it (Wildens are werewolf-like creatures that spawn outdoors at night — easy to find). The Drygmy will drop a Drygmy Charm. Use the charm on a block of Mossy Cobblestone to summon it as a Drygmy Henge — it will produce drops from nearby animals and monsters passively, without harming them. It also produces Experience Gems (consume them to gain XP). Add multiple charms to the Henge for more Drygmies. As a familiar, the Drygmy increases the damage of Earth spells and boosts looting chances.
Amethyst Golem
Harvests, grows, and collects Amethyst. Obtain one by performing a Ritual of Awakening near Budding Amethyst.
Bookworm
Automatically picks up nearby items and experience orbs within 5 blocks of the player. Brew items will not be picked up. To obtain Bookworm Charms, perform a Ritual of Awakening and augment it with Books and Quills (one charm per Book and Quill added, right-clicked into the Ritual Brazier before activation). As a familiar, the Bookworm acts as a magnet for nearby drops and XP orbs.
Allay
Found on beaches. Give one a Pottery Shard and it will drop an Allay Token. It can sift sand and gravel to find items normally found at archaeology sites. More details are found under the Automation section of the Worn Notebook, page 2.
Wixie Hat – Letting Starbuncles Transport Potions
Craft a Wixie Hat from Mage Bloom Fiber and equip it on a Starbuncle. This unlocks the ability to use the Dominion Wand to connect the Starbuncle between Potion Jars, allowing it to transfer potions between them automatically.
How to Bind a Familiar (Ritual of Binding)
To turn a summoned creature into a bound Familiar that follows you:
Craft a Ritual Brazier and place it near the creature you want to bind.
Get a Tablet of Binding and right-click it onto the Brazier.
Activate the ritual with an empty hand right-click.
The creature vanishes and a Bound Script drops in its place.
Right-click the Bound Script to unlock it as a familiar in your spellbook.
Press C to open your spellbook, navigate to the Familiars tab, select the familiar, and cast it to summon it as your companion.
Bookworms and the Storage Lectern – Inventory Management
The Storage Lectern is Ars Nouveau’s answer to centralised inventory management. It lets you view and manage multiple connected chests from a single interface. The number of inventories you can connect is equal to the number of Bookworm Charms added to it.
Setting Up a Storage Lectern
Place a Storage Lectern.
Right-click it with a Bookworm Charm to add a Bookworm to the network.
Use the Dominion Wand: shift-right-click a chest you want to connect, then right-click the Bookworm to link them. Repeat for each chest, adding more Bookworm Charms as needed (one per additional inventory).
Place an unconnected chest adjacent to the lectern — this acts as the input chest. Items placed here will be automatically sorted into the connected inventories by the Bookworms.
Connected inventories that share a name will appear as a unified tab inside the Storage Lectern. You can also daisy-chain multiple Lecterns together (up to 40 blocks apart). Note: once a Lectern is linked to another Lectern, it can no longer directly connect to inventories — it becomes a relay node in the chain.
For remote access, craft a Warp Index — this allows you to access your Storage Lectern from anywhere within the same dimension. Storage blocks called Repositories can also be named and used with the Lectern, preserving their name even when broken and placed elsewhere.
Rituals – Powerful Persistent Spells
Rituals are more powerful versions of spells that can run continuously or be used as one-time effects. To perform a ritual, you need a Ritual Brazier and a Ritual Tablet.
Performing a Ritual
Craft a Ritual Brazier (simple recipe using basic materials).
Place it down and ensure a Source Jar is nearby.
Right-click the Brazier with the Ritual Tablet to load the ritual.
Add any augment items (right-click them into the Brazier before activating).
Right-click with an empty hand to activate the ritual.
Notable Rituals
Tablet of Fast Starbuncles – Grants a long-lasting speed boost to Starbuncles within a 15-block cube radius. Refresh every 30 seconds. Augmenting with a Gold Block increases the radius.
Tablet of Flight – Grants nearby players Creative-style flight when they jump. Refreshes automatically while the ritual is active and consumes Source from nearby jars. Place these around your base so visitors can fly too.
Tablet of Arcane Maintenance – Forceloads surrounding chunks when provided with a constant Source stream.
Tablet of Awakening – Awakens nearby Archwood Trees into Wheeled Walkers and Budding Amethyst into Amethyst Golems. Augmenting with Books and Quills produces Bookworm Charms instead (one per Book and Quill added).
Tablet of Binding – Converts a nearby eligible entity into a Bound Script for use as a familiar (see the Familiars section above).
Ritual of Summon Wilderness – Summons the Wilderness Chimera boss, which drops the Wilderness Tribute needed to craft the Archmage’s Spellbook.
Magical Equipment – Accessories and Focuses
The Worn Notebook’s Magical Equipment section contains many powerful accessories worth exploring at your own pace. A few highlights:
Amulet of Mana Regen – Fits in a Bauble/Curio slot and passively increases your mana regeneration rate.
Elemental Bangles – Earth, Air, Water, and Fire bangles that each increase the damage of their respective spell school.
Focuses – Equippable items that enhance the behaviour or power of specific spell types.
Every item in this section is crafted using the Imbuement Chamber, the Enchanting Apparatus, through a ritual, or via unlocking glyphs at the Scribes Table — all tools you’ve now mastered.
Summary – You Now Have Everything You Need
You’ve now covered the full breadth of Ars Nouveau, from start to finish:
World Generation – Archwood Trees, their fruits, and Source Berries.
The Worn Notebook and Worn Spellbook – Your core documentation and spell-casting tools.
Glyphs and the Scribes Table – Unlocking spells, boosting mana, and building powerful spell combinations.
The Imbuement Chamber – Early-game crafting and the Source Gem.
Source and Source Links – Five different source generation methods: Agronomic, Mycelial, Volcanic, Vitalic, and Alchemical.
Source Relays – Transporting Source across your base efficiently.
The Enchanting Apparatus – Advanced crafting for Mage Bloom, gear, threads, and charms.
Gear and Threads – The Sorcerer’s, Arcanist’s, and Battle Mage’s sets, tiered upgrades, and thread enchantments.
Starbuncles – Automating item collection, farming, and delivery with the Dominion Wand.
Wixies – Automated potion brewing and general crafting automation.
Familiars – Binding companions for passive bonuses and active abilities.
Bookworms and Storage Lecterns – Centralised item storage and automated sorting.
Rituals – Powerful persistent effects including flight, speed boosts, and boss summoning.
If there’s anything you feel was missed or you have further questions, drop a comment below or come join the community Discord — we love hearing from you. Now go out there and master Ars Nouveau!
Want to Support?
If you would like to help us continue making these guides – please consider joining our patreon here – https://www.patreon.com/c/JaviHeals
Alternatively – we host a group of MC Servers you can join here – https://discord.gg/zD7Gjt6MHF